18 Baby Shower Invitation Ideas That Guests Actually Keep
A baby shower invitation is the first hello of the whole shower, and I learned how much it matters when a beautiful card I sent arrived with no address on it at all. These baby shower invitation ideas are the ones I have made, ordered, or received myself, and I kept only the styles that got a reply, a fridge spot, or a real compliment.
How I picked these: I made or ordered each style myself, sent a real batch, and watched what happened. I kept a style only if the details were easy to read, the card survived the mail, and at least one guest mentioned it afterwards. Every idea below tells you what it cost me, how long it took, and where it went wrong.
Key Takeaways
- Send paper invites 4 to 6 weeks ahead, and digital invites 2 to 3 weeks ahead, with one friendly reminder.
- One clear photo or one clear theme beats a busy design every time.
- Put the date, time, address, and RSVP details where guests can find them in five seconds.
- Order 10 to 15 percent extra cards for mistakes, keepsakes, and last-minute guests.
- A simple, sturdy card survives mail and fridges far better than a fussy one.
18 Baby Shower Invitation Ideas
1. The Classic Photo Card
This is the baby shower invitation I send when I want zero risk: one big photo of the mum-to-be, her name, and the party details in clean type. I ordered mine on thick matte cardstock, 5 by 7 inches, photo on top and words underneath, using a smiling photo from her maternity shoot.
The downside is that one photo carries the whole card, so a dark or blurry shot ruins it. My first test print came back too dark, and I swapped in a brighter outdoor photo before ordering the full batch. My sister still has that card on her fridge.
Pro Tip: Print one test card at home before ordering the full batch, even if the online preview looks perfect.
Cost / Time / Difficulty: $1 to $2 per card ordered online | 1 hour to design | Easy
2. The Watercolour Floral Card
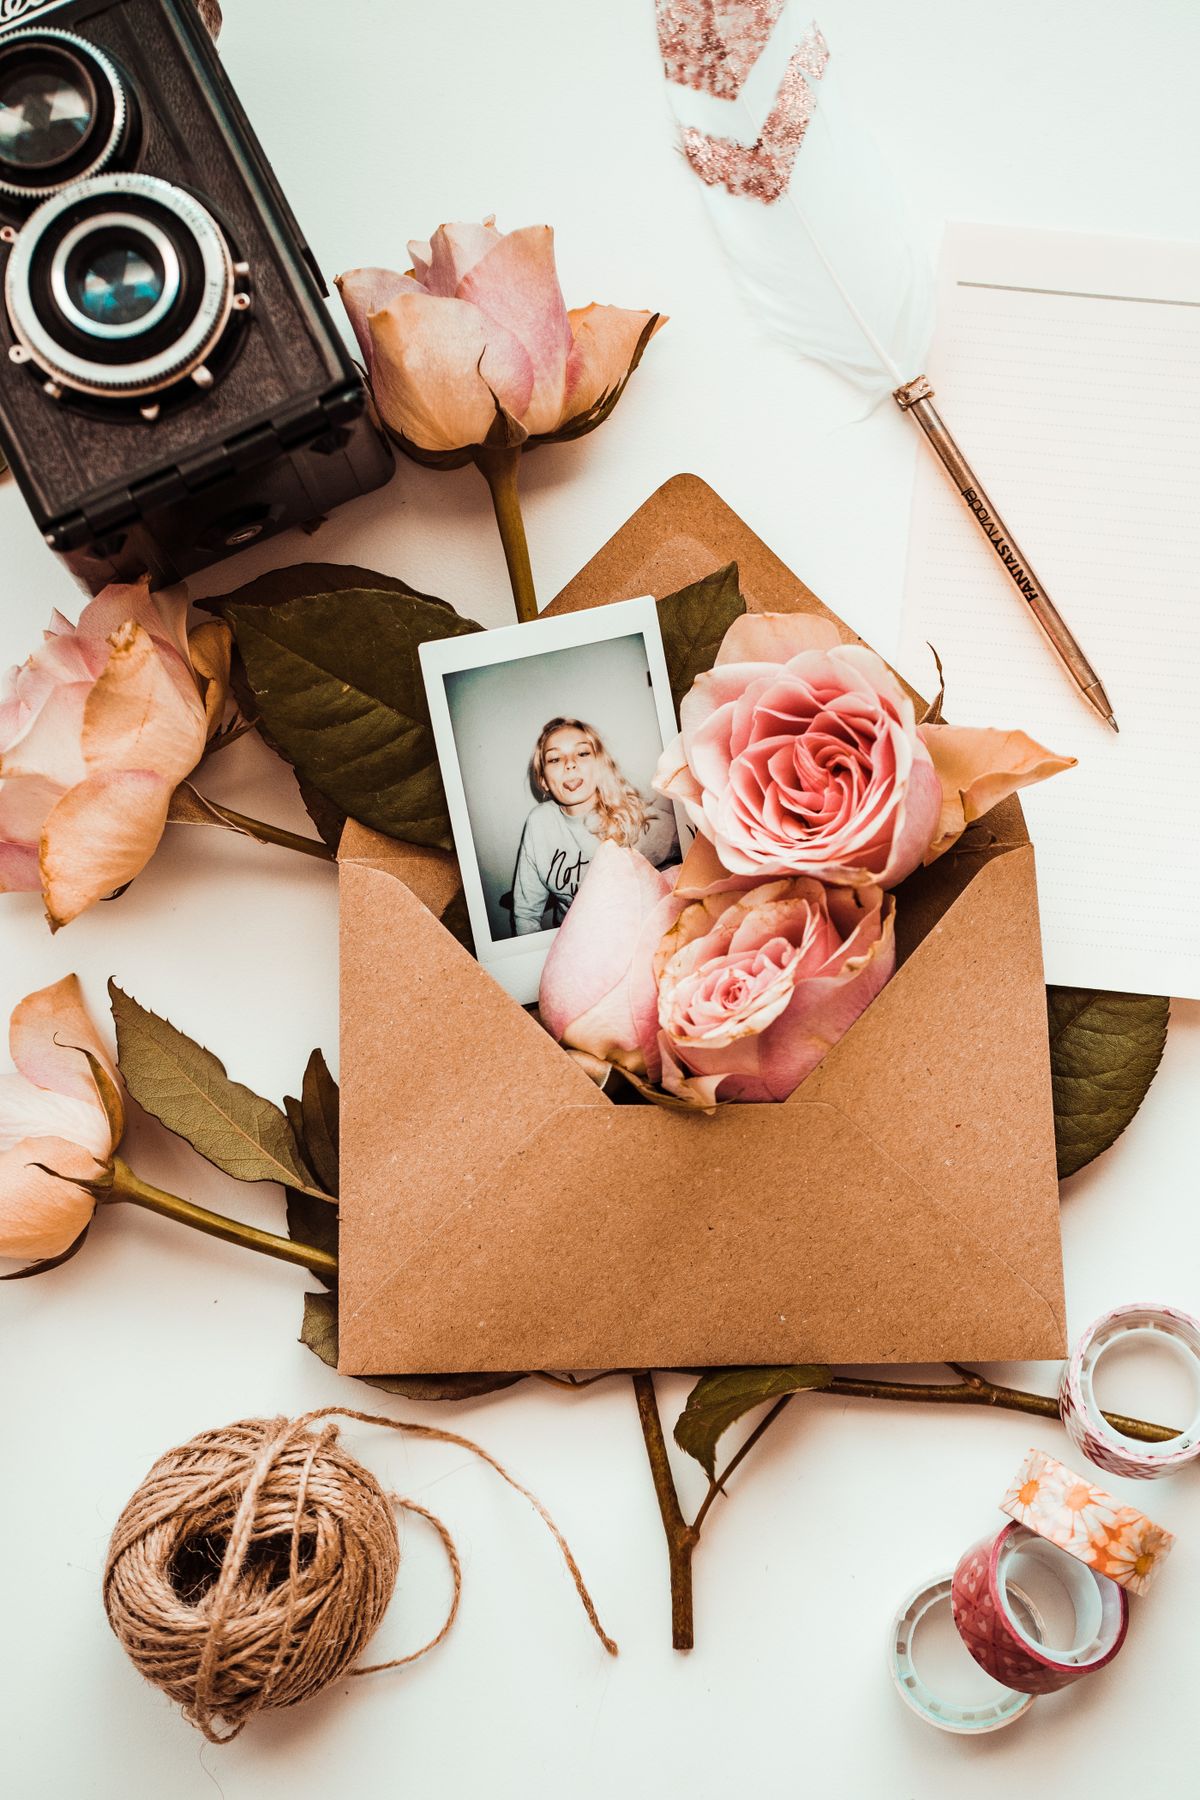
I painted a simple floral arch in watercolour across the top of plain white cards, then printed the party details below on my home printer. Each card came out slightly different, which guests loved. I used a basic watercolour set, a medium round brush, and 110 lb cardstock cut to 5 by 7 inches, painting ten cards an evening.
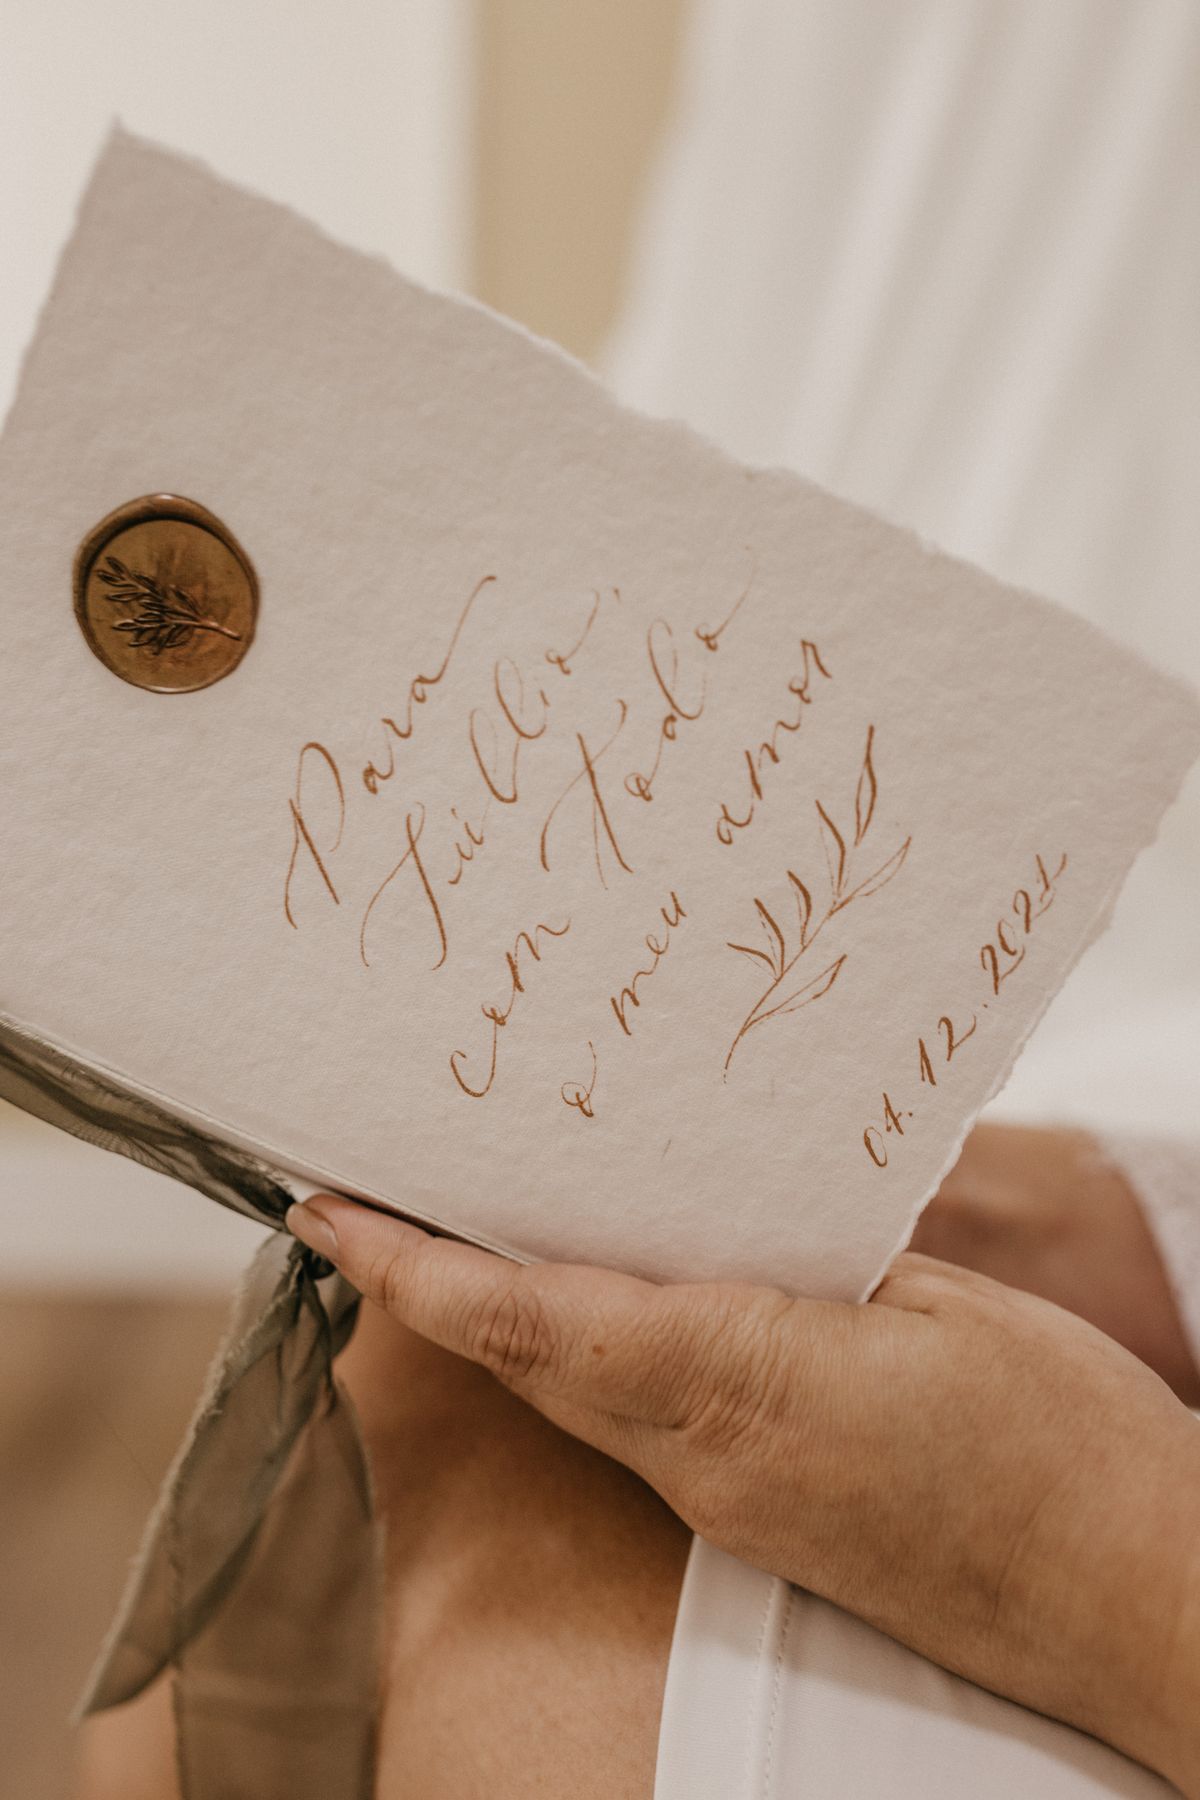
The downside is time and consistency. My first five arches looked wobbly, and two cards got water spots where I overloaded the brush. I kept the wobbly ones for close family and learned to let each layer dry for ten minutes.
Pro Tip: Paint all the floral arches first, let them dry fully, then print the text in a second pass.
Cost / Time / Difficulty: $0.50 to $1 per card | 3 to 4 evenings for 30 cards | Medium
3. The Balloon-Themed Invite
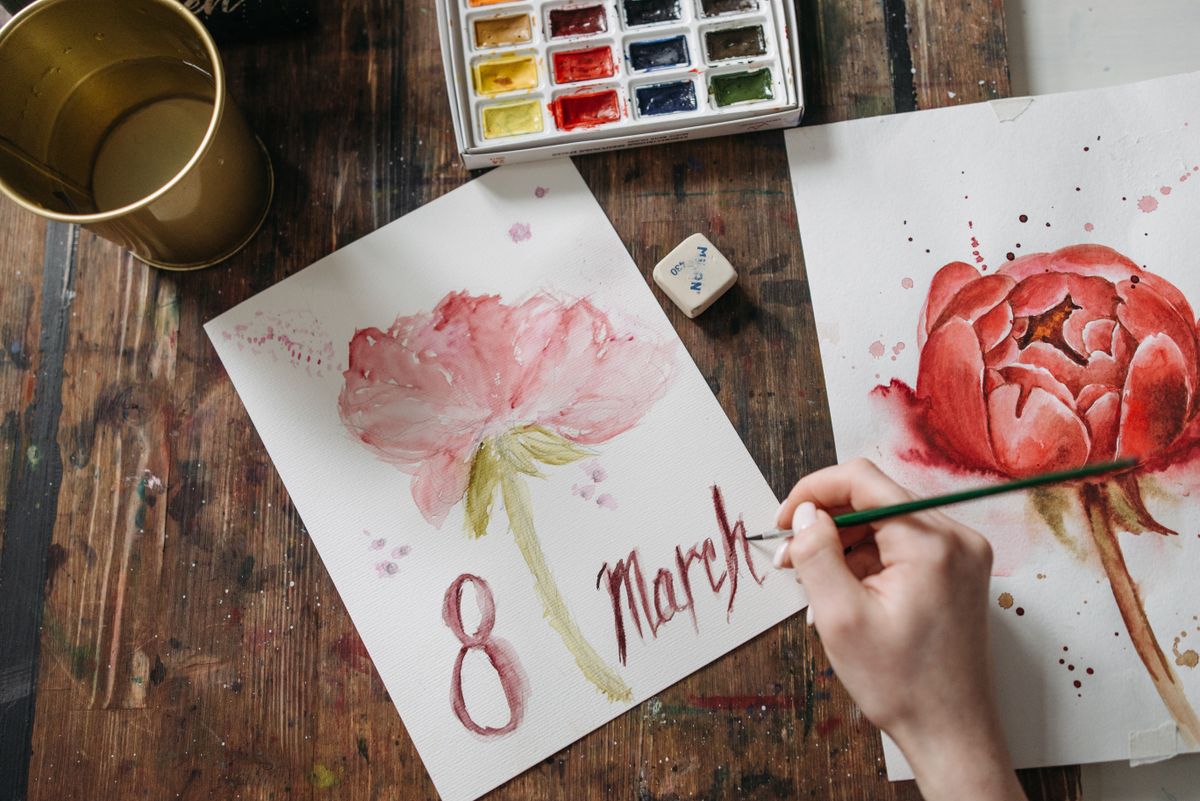
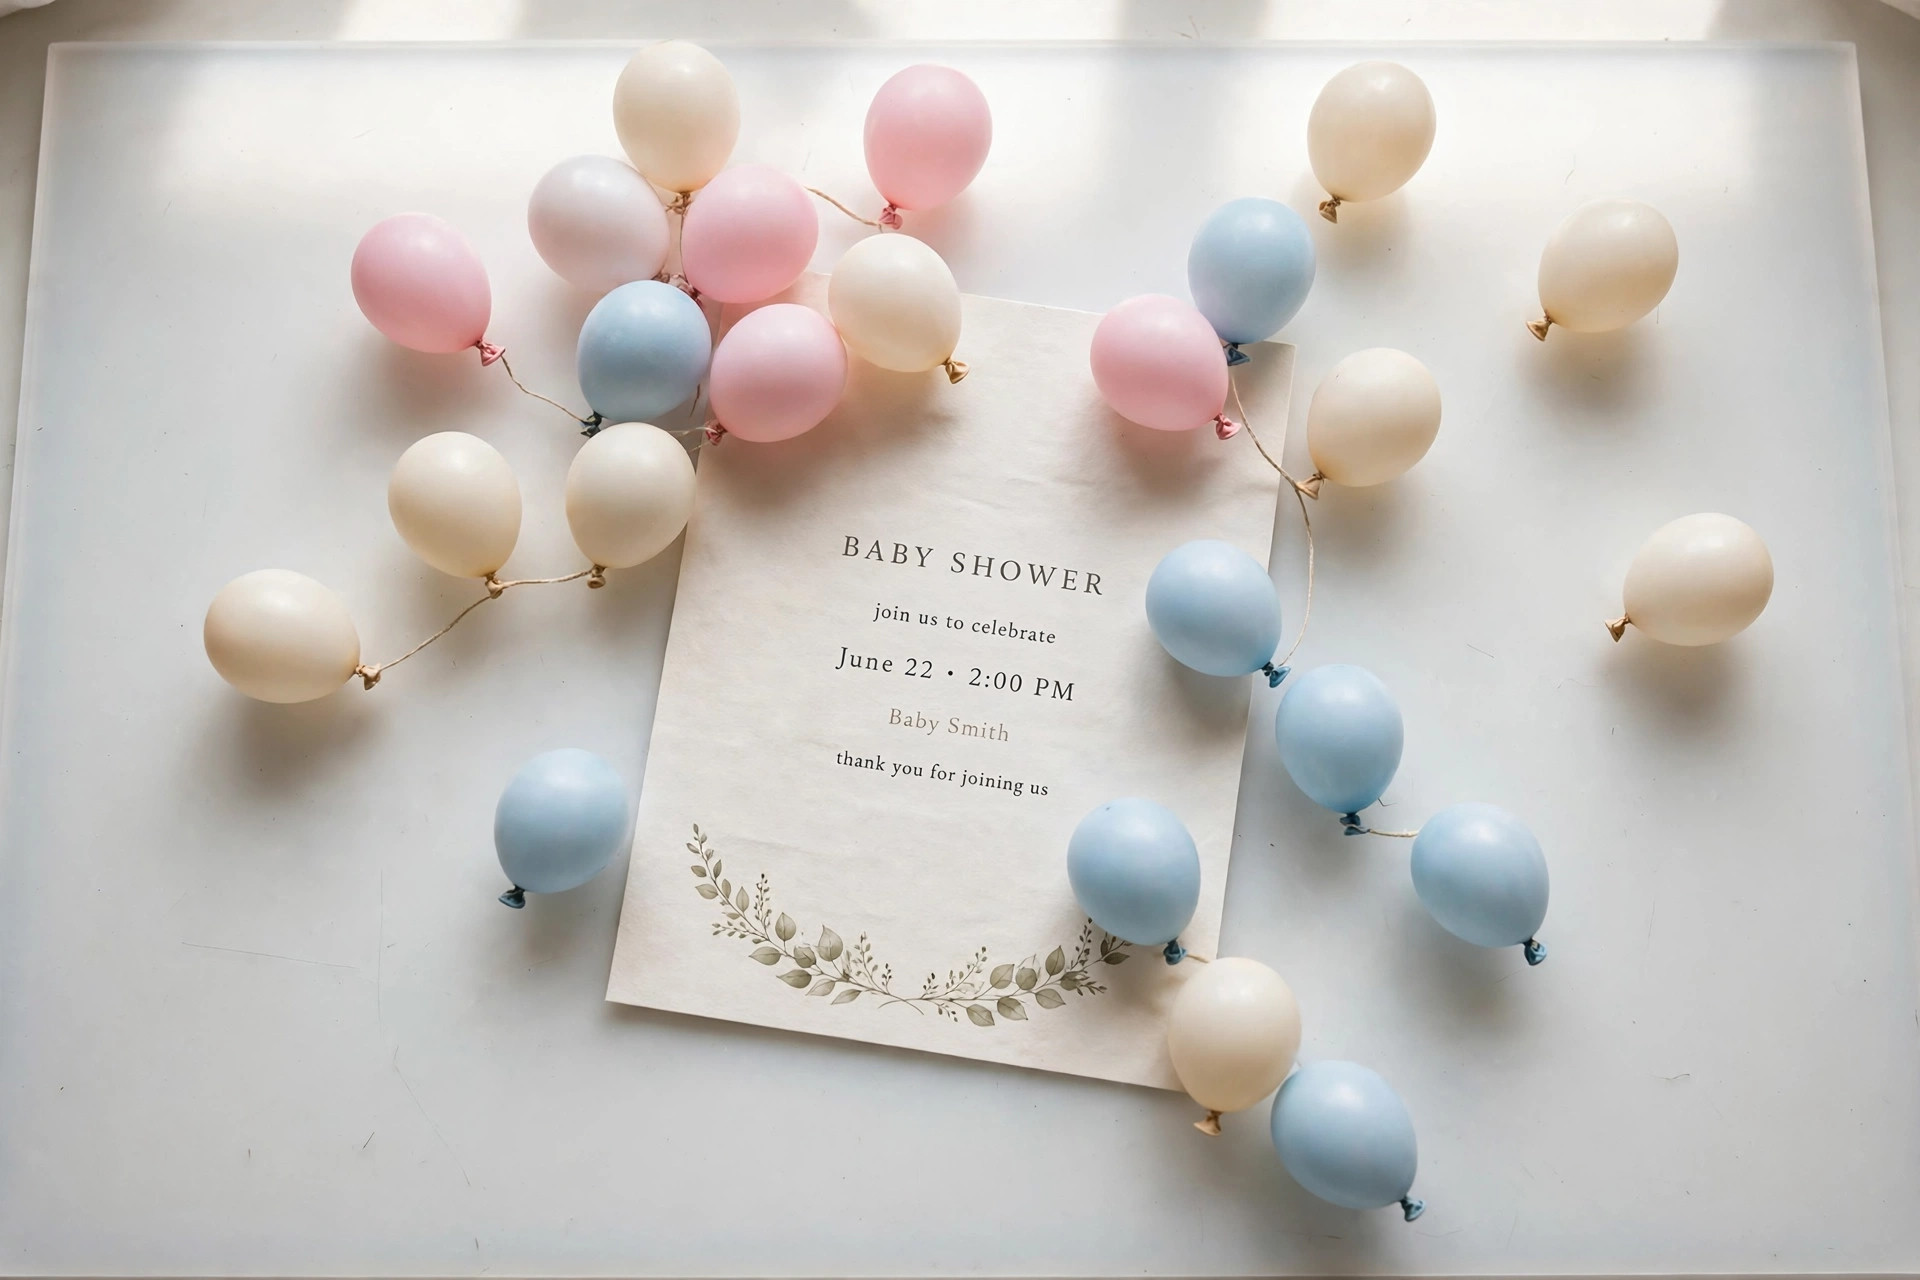
For a cheerful shower I used a balloon design: pastel balloons across the top, the mum-to-be’s name in big letters, and the details below in a clean font. I ordered these online on matte card, and they matched the party balloons exactly, which made the whole shower feel planned.
The downside is colour matching. My first batch printed more orange than the blush pink I wanted, because my screen was brighter than the printer. I ordered a single sample first the second time, and the colour came out right.
Pro Tip: Order one sample card to check colours before you pay for the full batch.
Cost / Time / Difficulty: $1 to $2 per card | 1 hour to design | Easy
4. The Rustic Kraft Card
For a woodland shower I used brown kraft cardstock, a white ink pen, and a hand-drawn leaf border. The card felt warm and earthy with no fancy printing, and the whole batch cost less than a takeaway dinner. I wrote the details by hand over one evening.
The watch-out is legibility. White ink on kraft looks gorgeous but is hard to read in dim light, and my handwriting worsened after the tenth card. I switched to printing the details in a clean font on a cream label stuck to the card, which kept the rustic look and fixed the reading problem.
Pro Tip: Print the essential details on a cream label if your handwriting tires, and handwrite only the greeting.
Cost / Time / Difficulty: $0.40 to $0.80 per card | 1 evening for 30 cards | Easy

5. The Digital Animated Invite
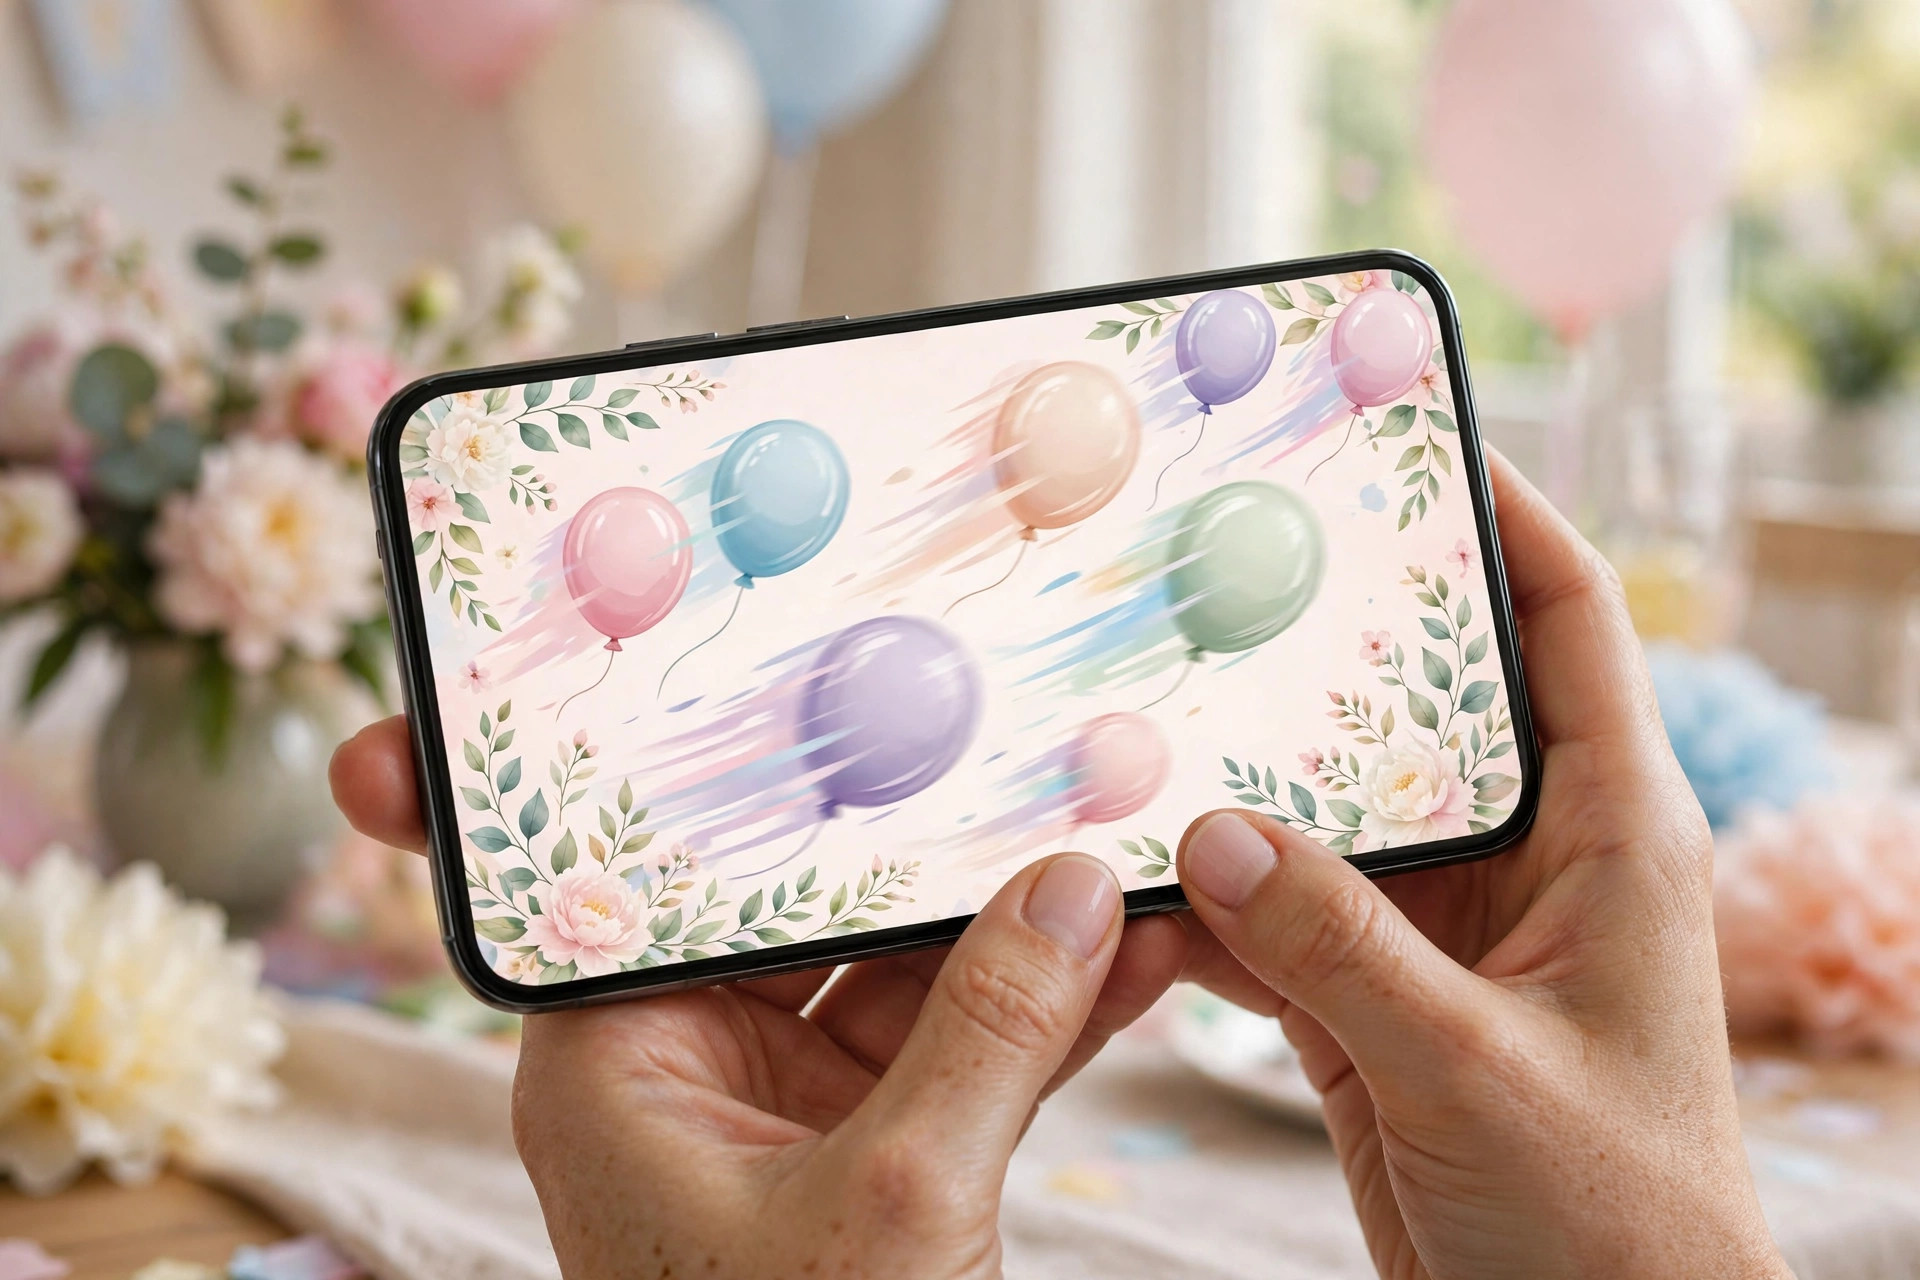
When our guest list passed sixty and postage made me wince, I switched to an animated digital invite: balloons floating up, a photo fading in, and the details on the final frame. I built it on my phone in about forty minutes from a free template, and replies came back within hours.
The downside is older relatives may never open it. My grandmother called to ask if the shower was still happening because the video sat unplayed in her inbox. Now I mail paper cards to grandparents and send digital invites to everyone else.
Pro Tip: End the video on a still frame with the date, time, and address held for five full seconds.
Cost / Time / Difficulty: Free to $15 | 40 minutes | Easy
6. The Foil-Stamped Elegant Card
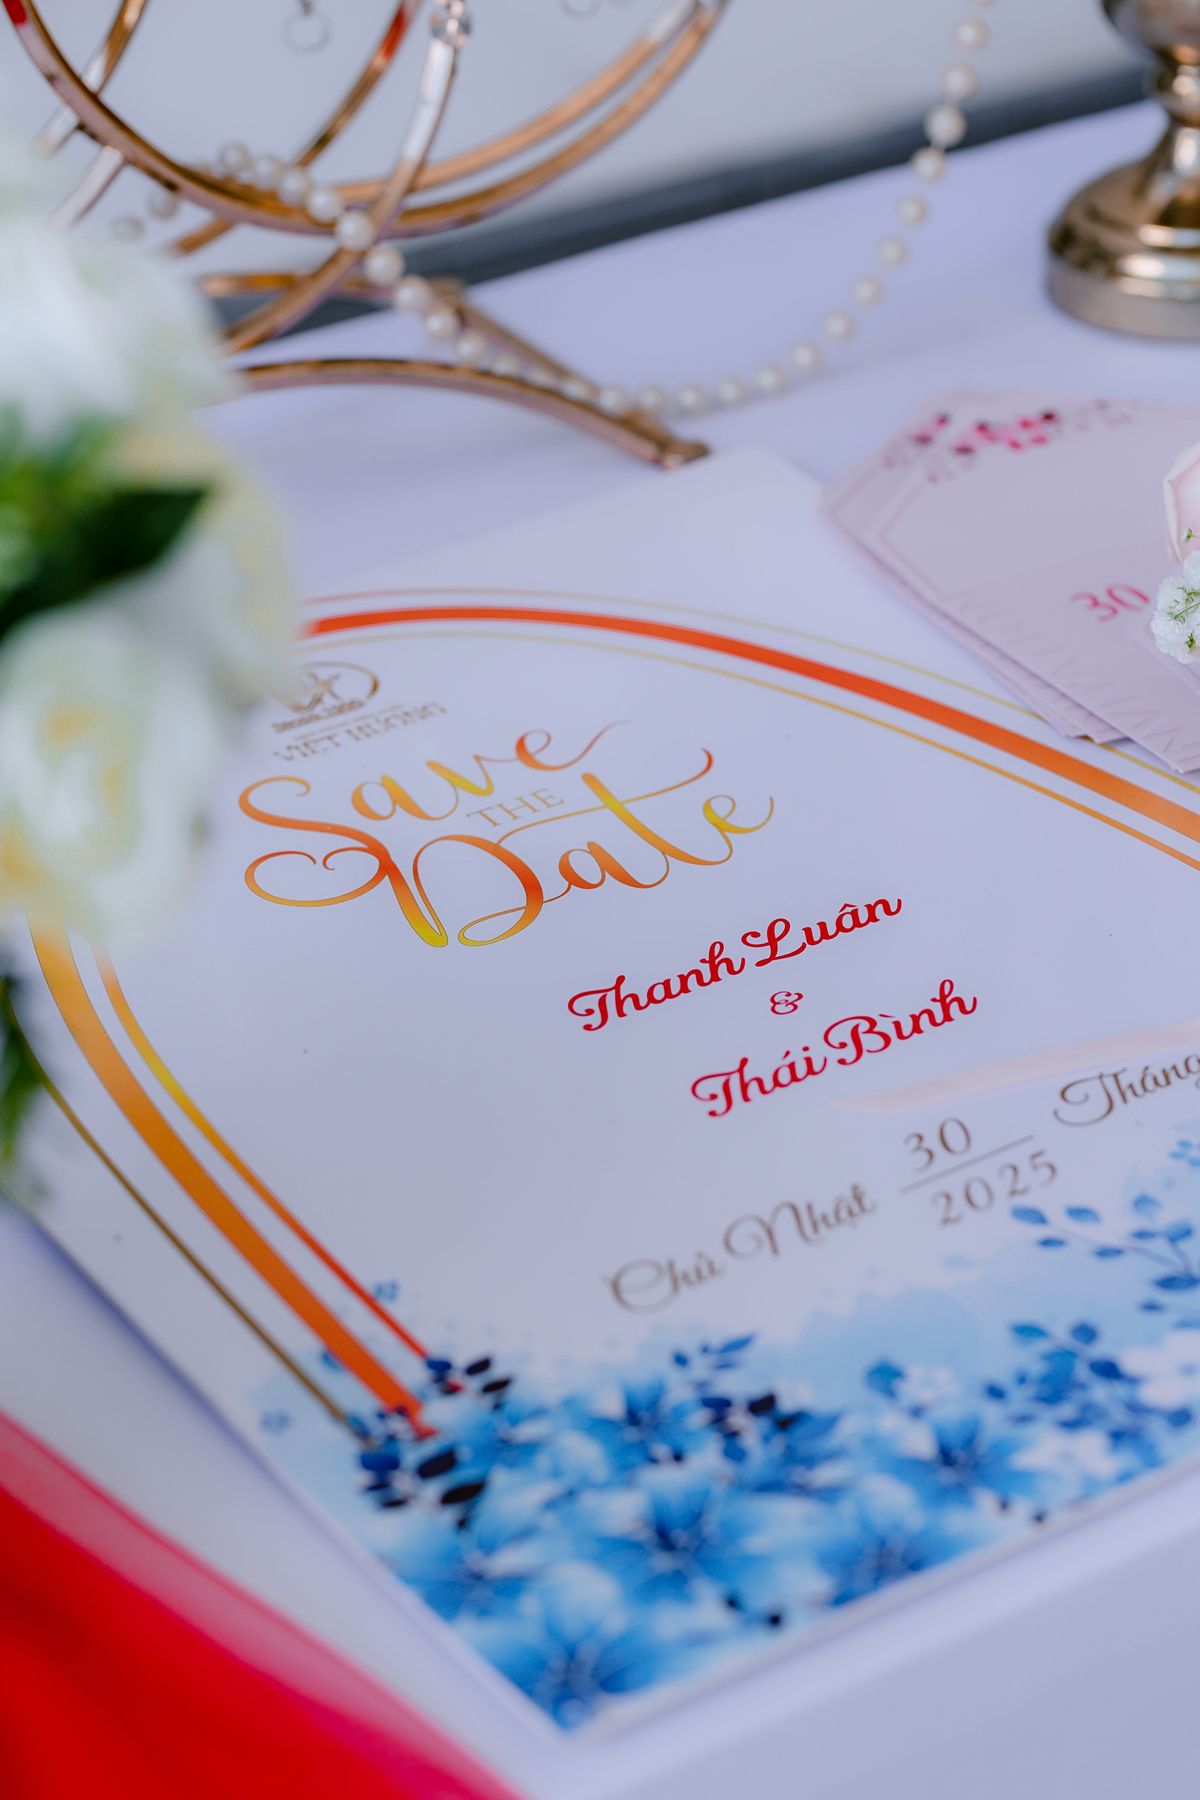
For a formal shower I ordered foil-stamped cards in gold on cream card, with the mum-to-be’s name in foil and the details in dark grey. They felt expensive in the hand, and guests kept saying they looked like wedding invitations. I chose a simple border so the foil could do the work.
The downside is cost and proofing. Foil shows every typo, and my first proof had the wrong postcode, which I only caught because I read it aloud. Foil also smudges if you handle the cards with damp hands, so I kept them in their box until posting day.
Pro Tip: Read every proof aloud, letter by letter, before you approve foil printing.
Cost / Time / Difficulty: $2.50 to $4 per card | 2 hours to design, 1 week for printing | Medium
7. The Storybook Invite
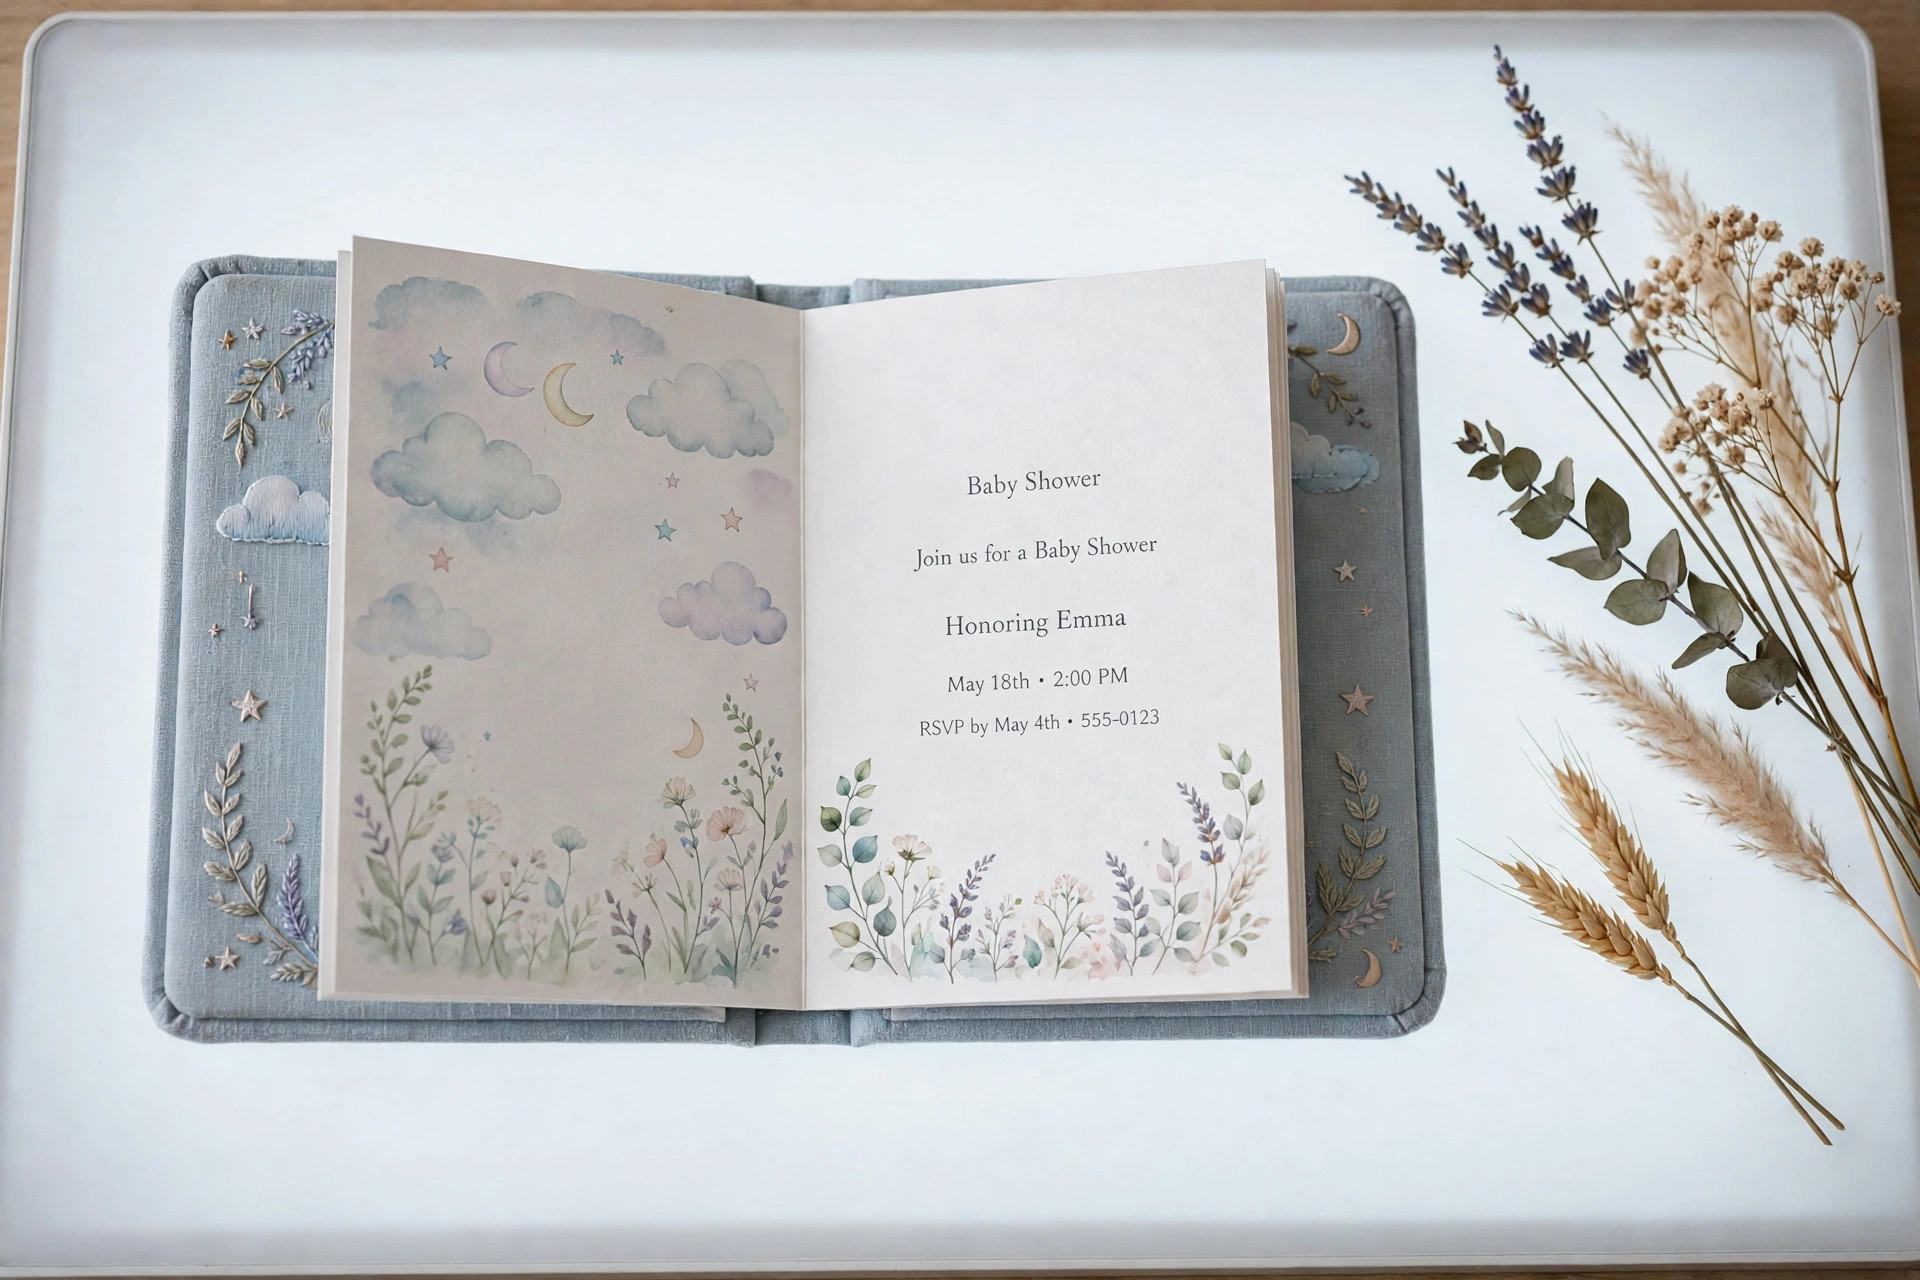
I wrote a tiny four-page storybook invite beginning “Once upon a time, a little baby was on the way,” ending with the party details as the final chapter. I printed it as a folded booklet, one photo per page, tied with ribbon. Guests read it to their kids at bedtime, which is the best review an invitation can get.
The downside is printing. Booklets jam printers and page order confuses everyone. I wasted six sheets getting the folds right and numbered pages by hand. Keep the story under 150 words, test one full copy first, and save this for twenty guests or fewer.
Pro Tip: Test-fold one complete booklet before printing, and number the pages lightly in pencil.
Cost / Time / Difficulty: $1 to $2 each | 3 hours for 20 | Medium
8. The Ticket-Style Invite
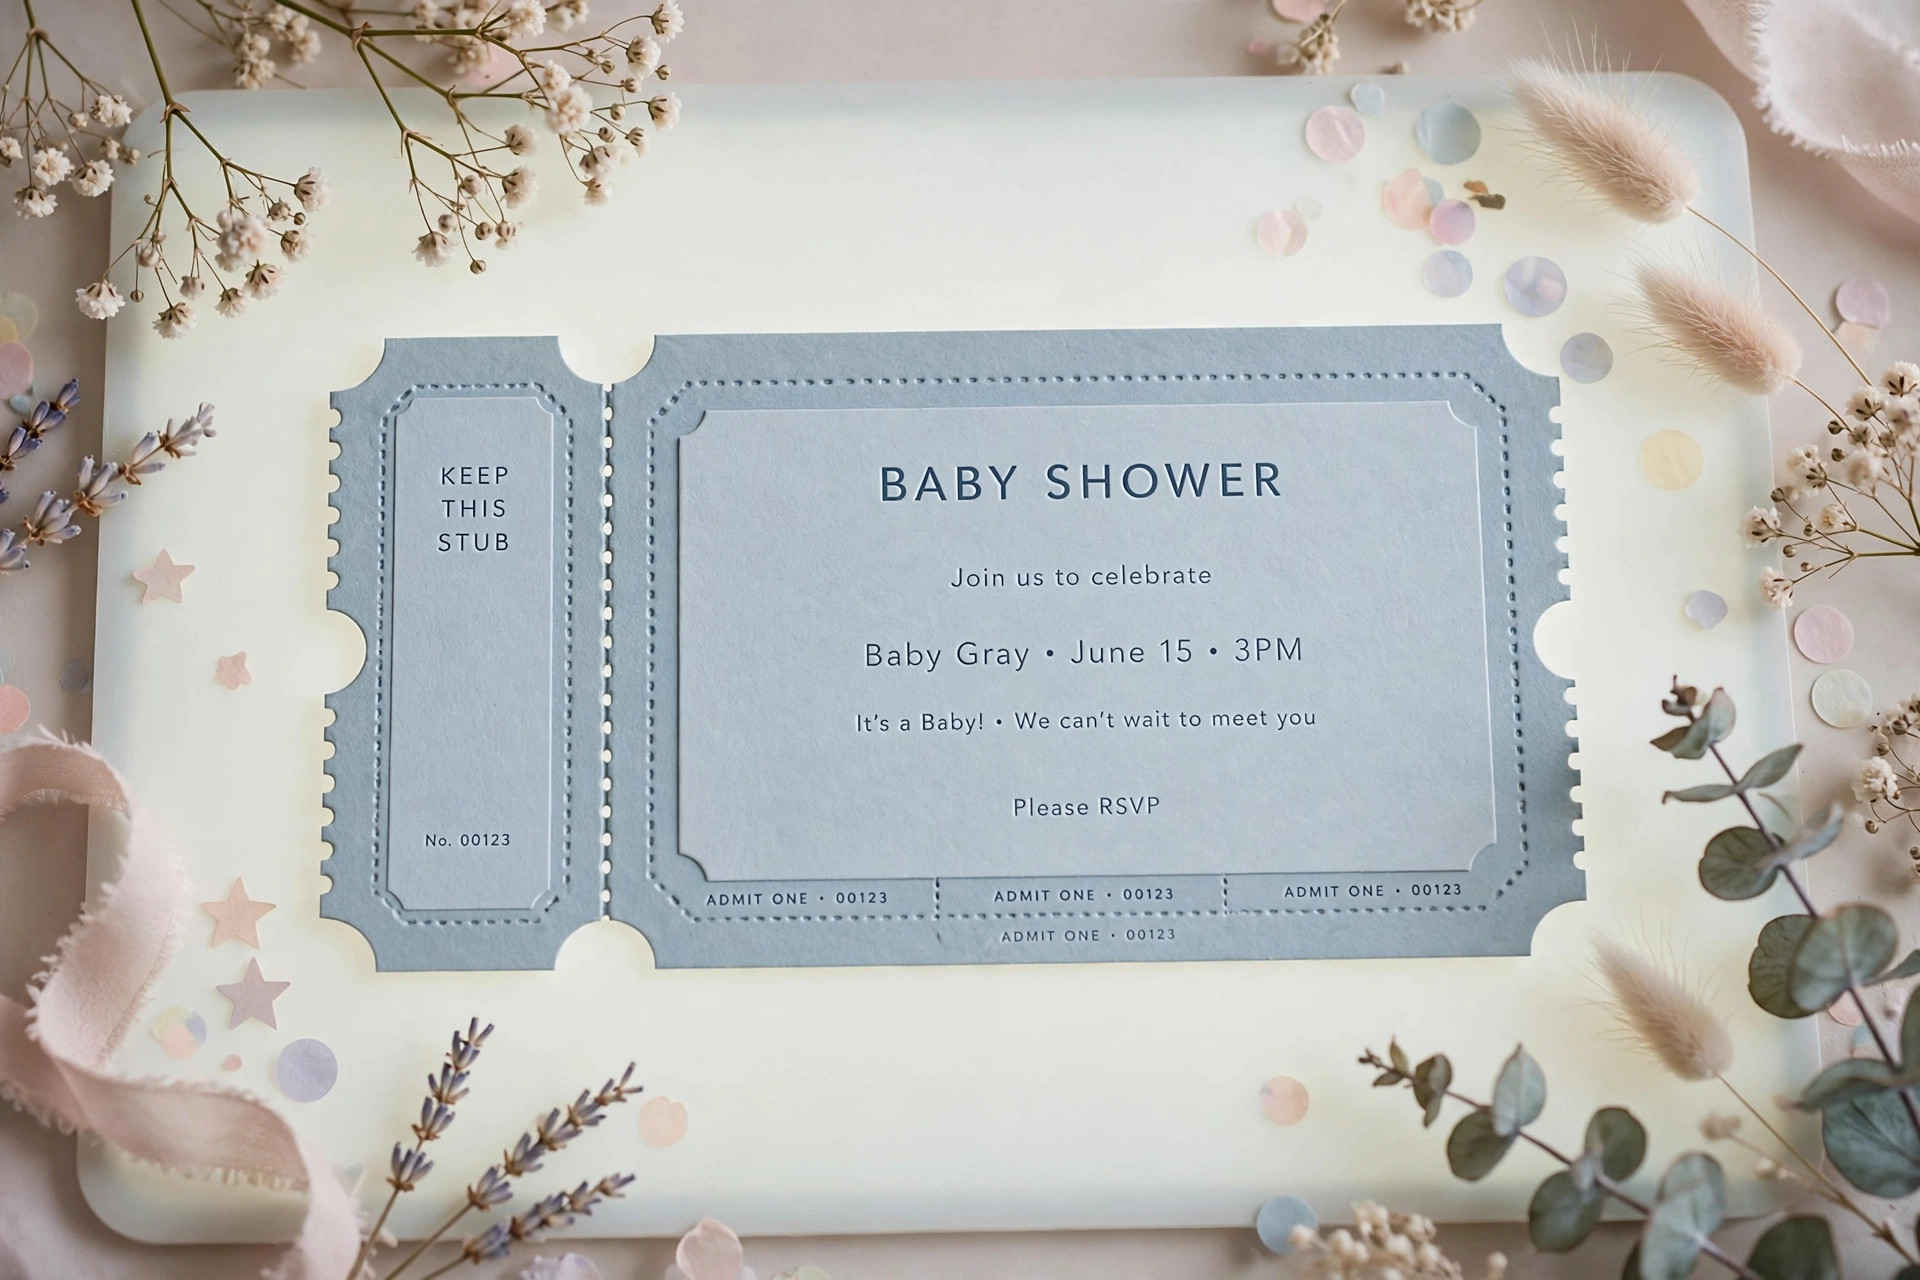
I designed this invite to look like a golden admission ticket, with “Admit One Little Guest” across the top. It matched a carnival-themed shower, and guests treated it like a real ticket. I printed them on kraft cardstock with a small star stamp in the corner.
The watch-out is readability. Ticket designs love tiny type, and tiny type gets lost. My first draft had the address in 8-point font, and two guests texted to ask where the shower was. I bumped the essentials to 12-point bold and moved decoration to the edges.
Pro Tip: Keep the date, time, and address in large bold type, and let the ticket styling stay decorative.
Cost / Time / Difficulty: $0.75 to $1.50 per card | 1 to 2 hours | Easy
9. The Plantable Seed Paper Invite
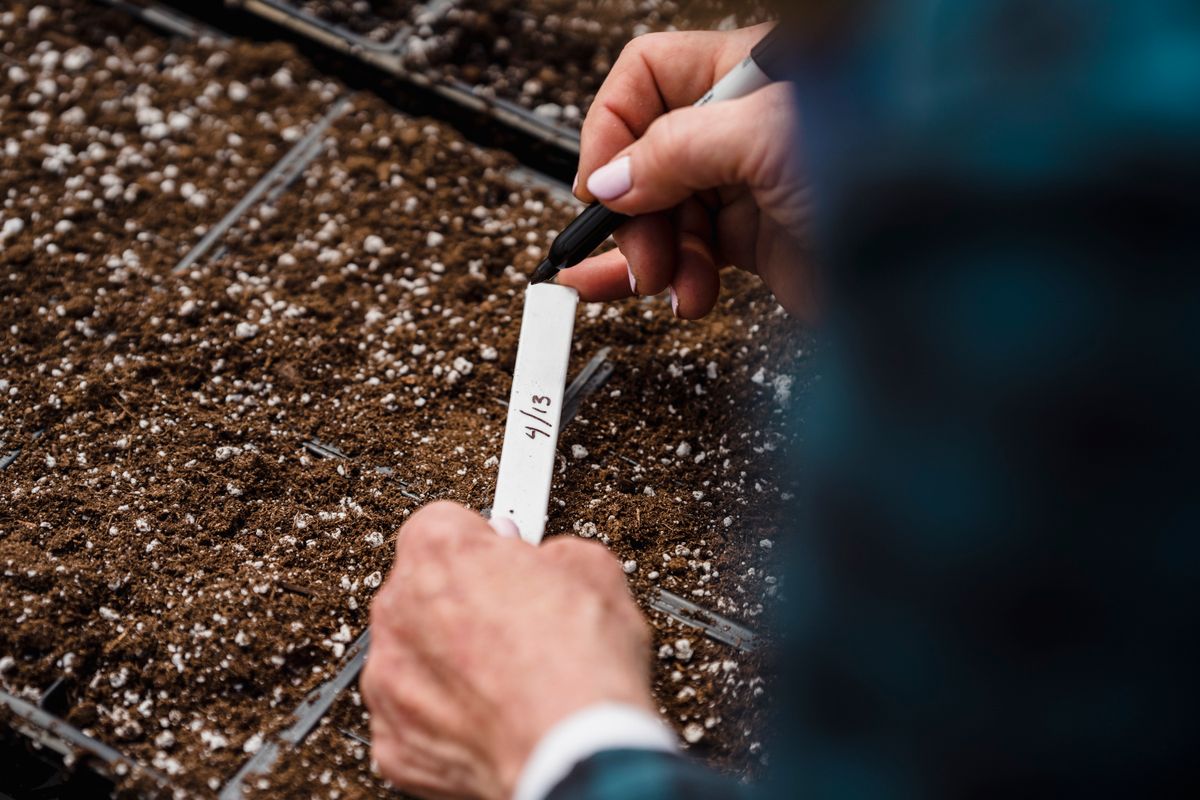
This invite is printed on plantable seed paper, so guests can soak the card after the shower and grow wildflowers from it. I ordered seed paper sheets, printed a simple design with plenty of white space, and added “Plant me after the party” at the bottom. My sister planted hers on her balcony, and the first shoots made a second round of family photos.
The downside is print quality. Thick, textured seed paper blurs fine details and dark ink can bleed. My first test smeared the RSVP line completely. I switched to bold type, wider spacing, and one-sided printing.
Pro Tip: Use bold type, wide spacing, and print on one side only for seed paper.
Cost / Time / Difficulty: $2 to $4 per card | 2 hours | Medium
10. The Tea Party Invite
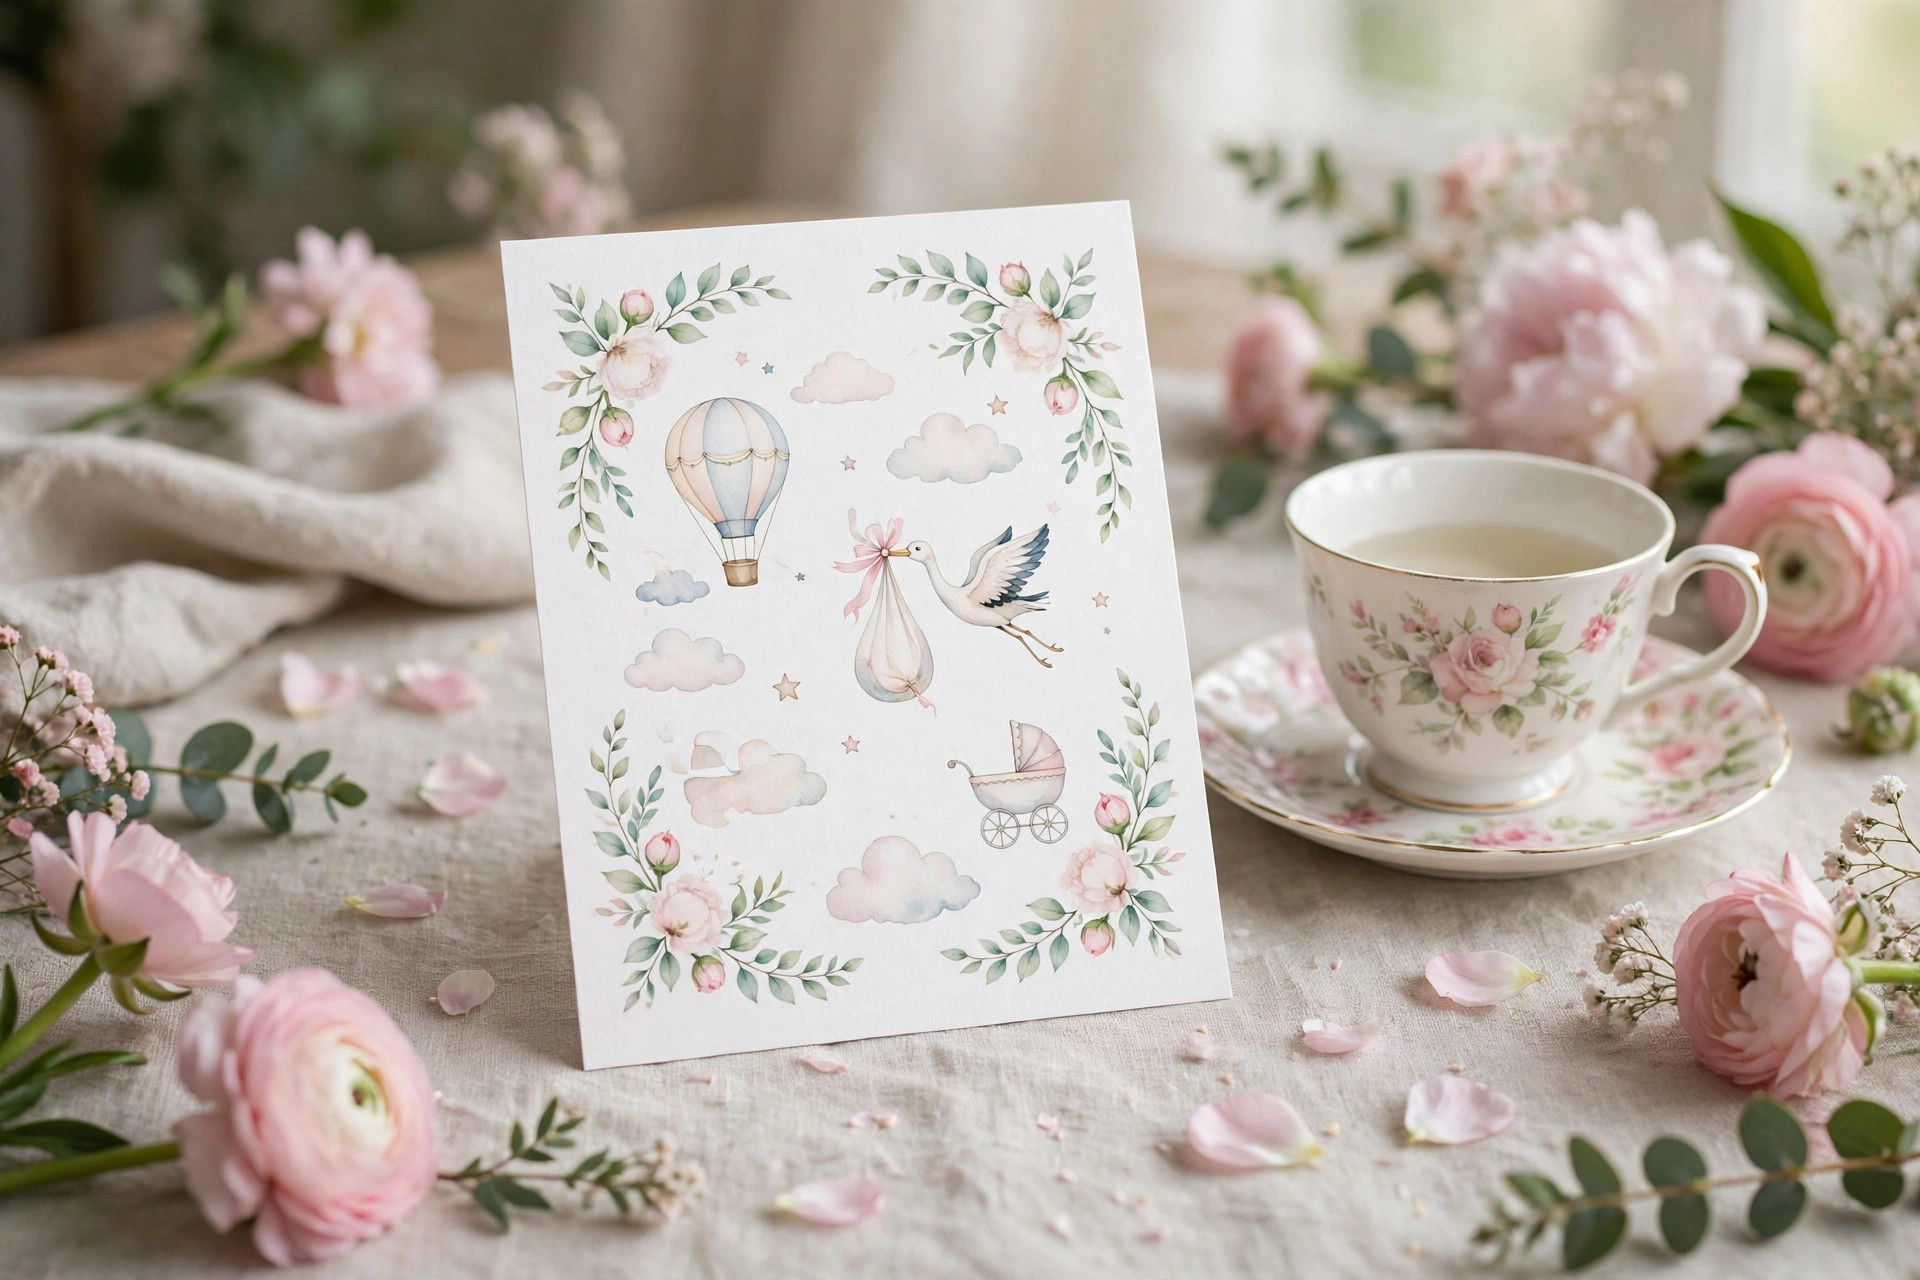
For an afternoon tea shower I used a teacup design on cream card, with a floral border and the words “Tea for Two, Soon to Be Three” on the front. I printed them at home on thick card, and they set the tone perfectly: guests arrived in dresses, and someone even brought a teapot as a gift.
The downside is that a cute theme can hide the details. My first draft put the address in tiny script under a teacup picture, and one guest missed it. I moved the address to a plain panel on the back, in a larger font, and the problem went away.
Pro Tip: Put the party details on a plain panel, even if the front is highly decorated.
Cost / Time / Difficulty: $0.75 to $1.50 per card | 2 hours | Easy
11. The Boho Dried Flower Card
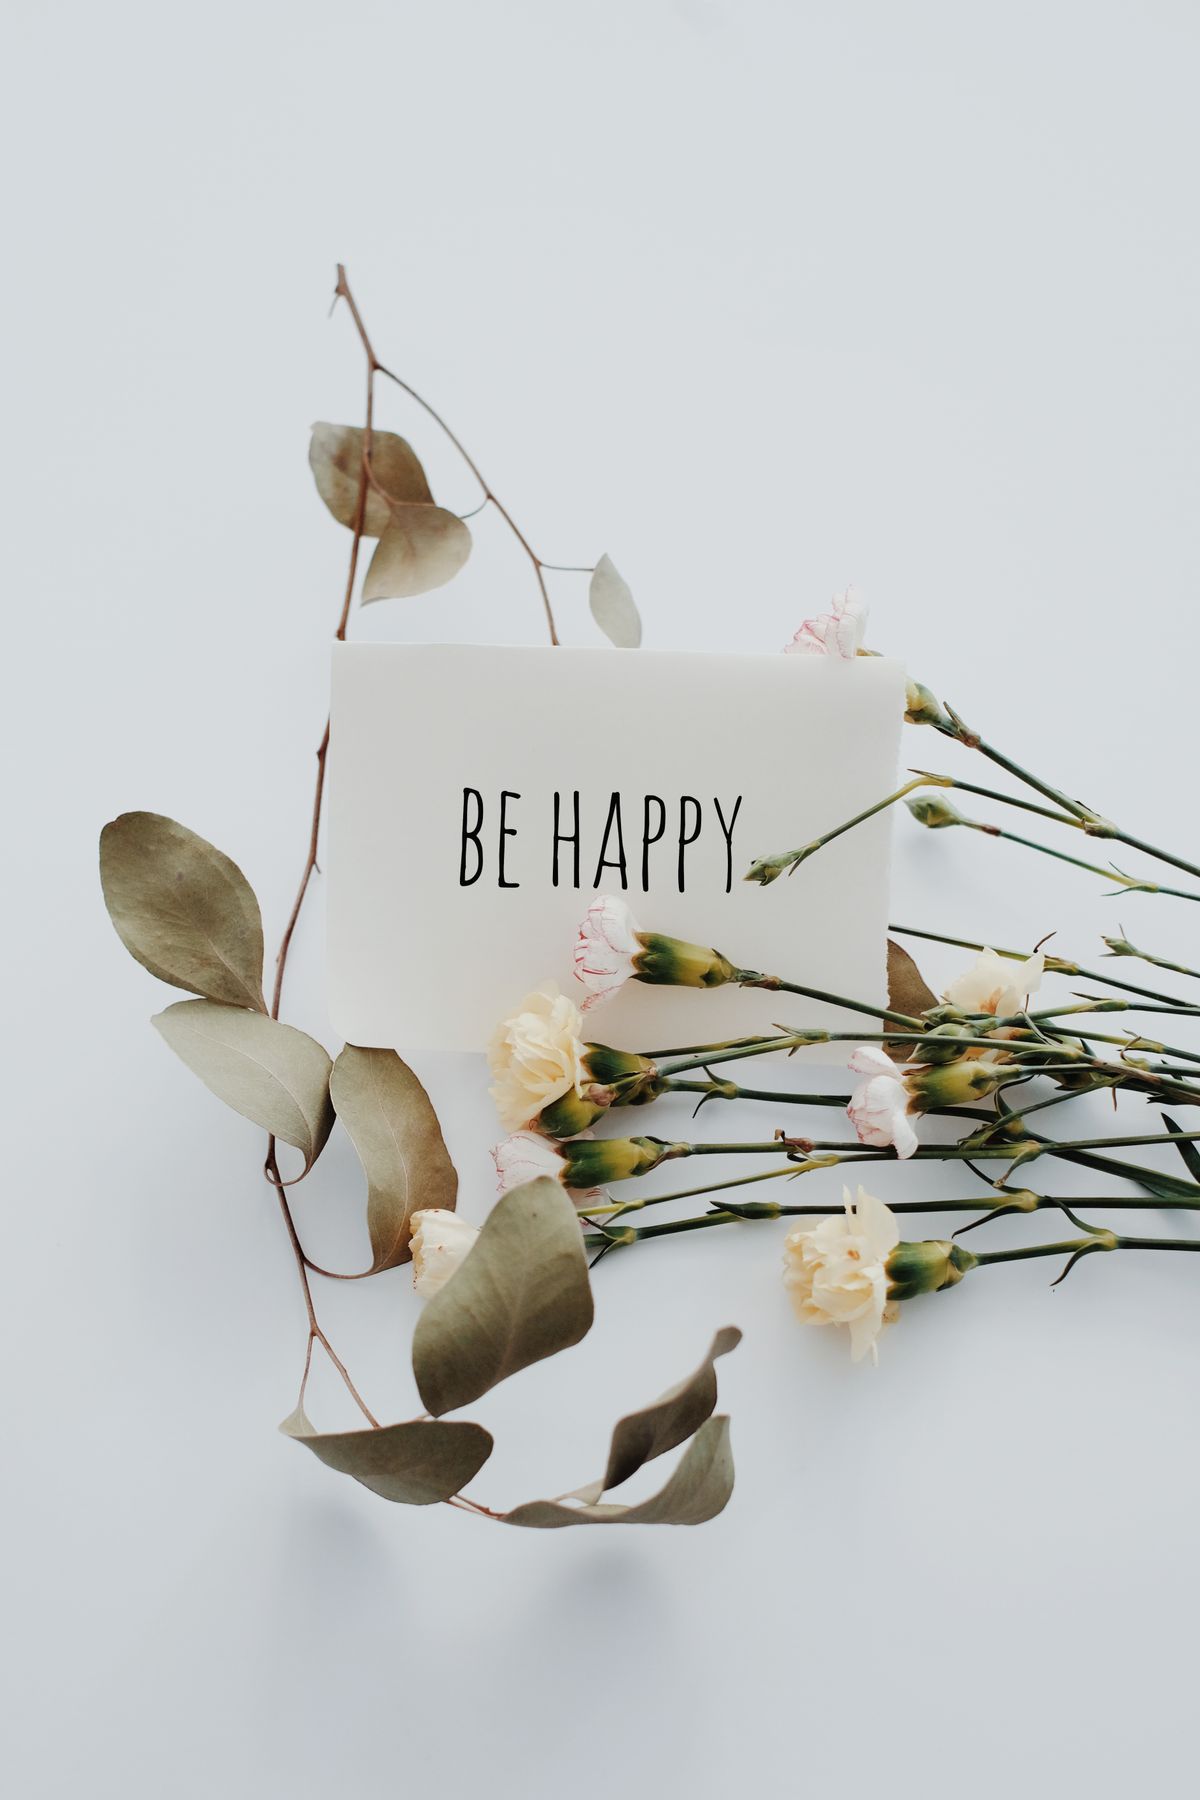
I glued a tiny bunch of dried flowers to the front of each card, tied with twine, and printed the details on cream card underneath. The cards smelled faintly of lavender, and guests kept them long after the shower. I bought dried flowers in bulk and assembled thirty cards in one evening.
The downside is postage and breakage. Dried flowers crush in normal envelopes, and three cards arrived with broken stems. I switched to padded envelopes and a flat flower arrangement, glued well down, which survived the post much better.
Pro Tip: Use flat dried flowers, glue them well down, and post in padded envelopes.
Cost / Time / Difficulty: $1.50 to $2.50 per card | 1 evening for 30 | Medium
12. The Photo Magnet Invite
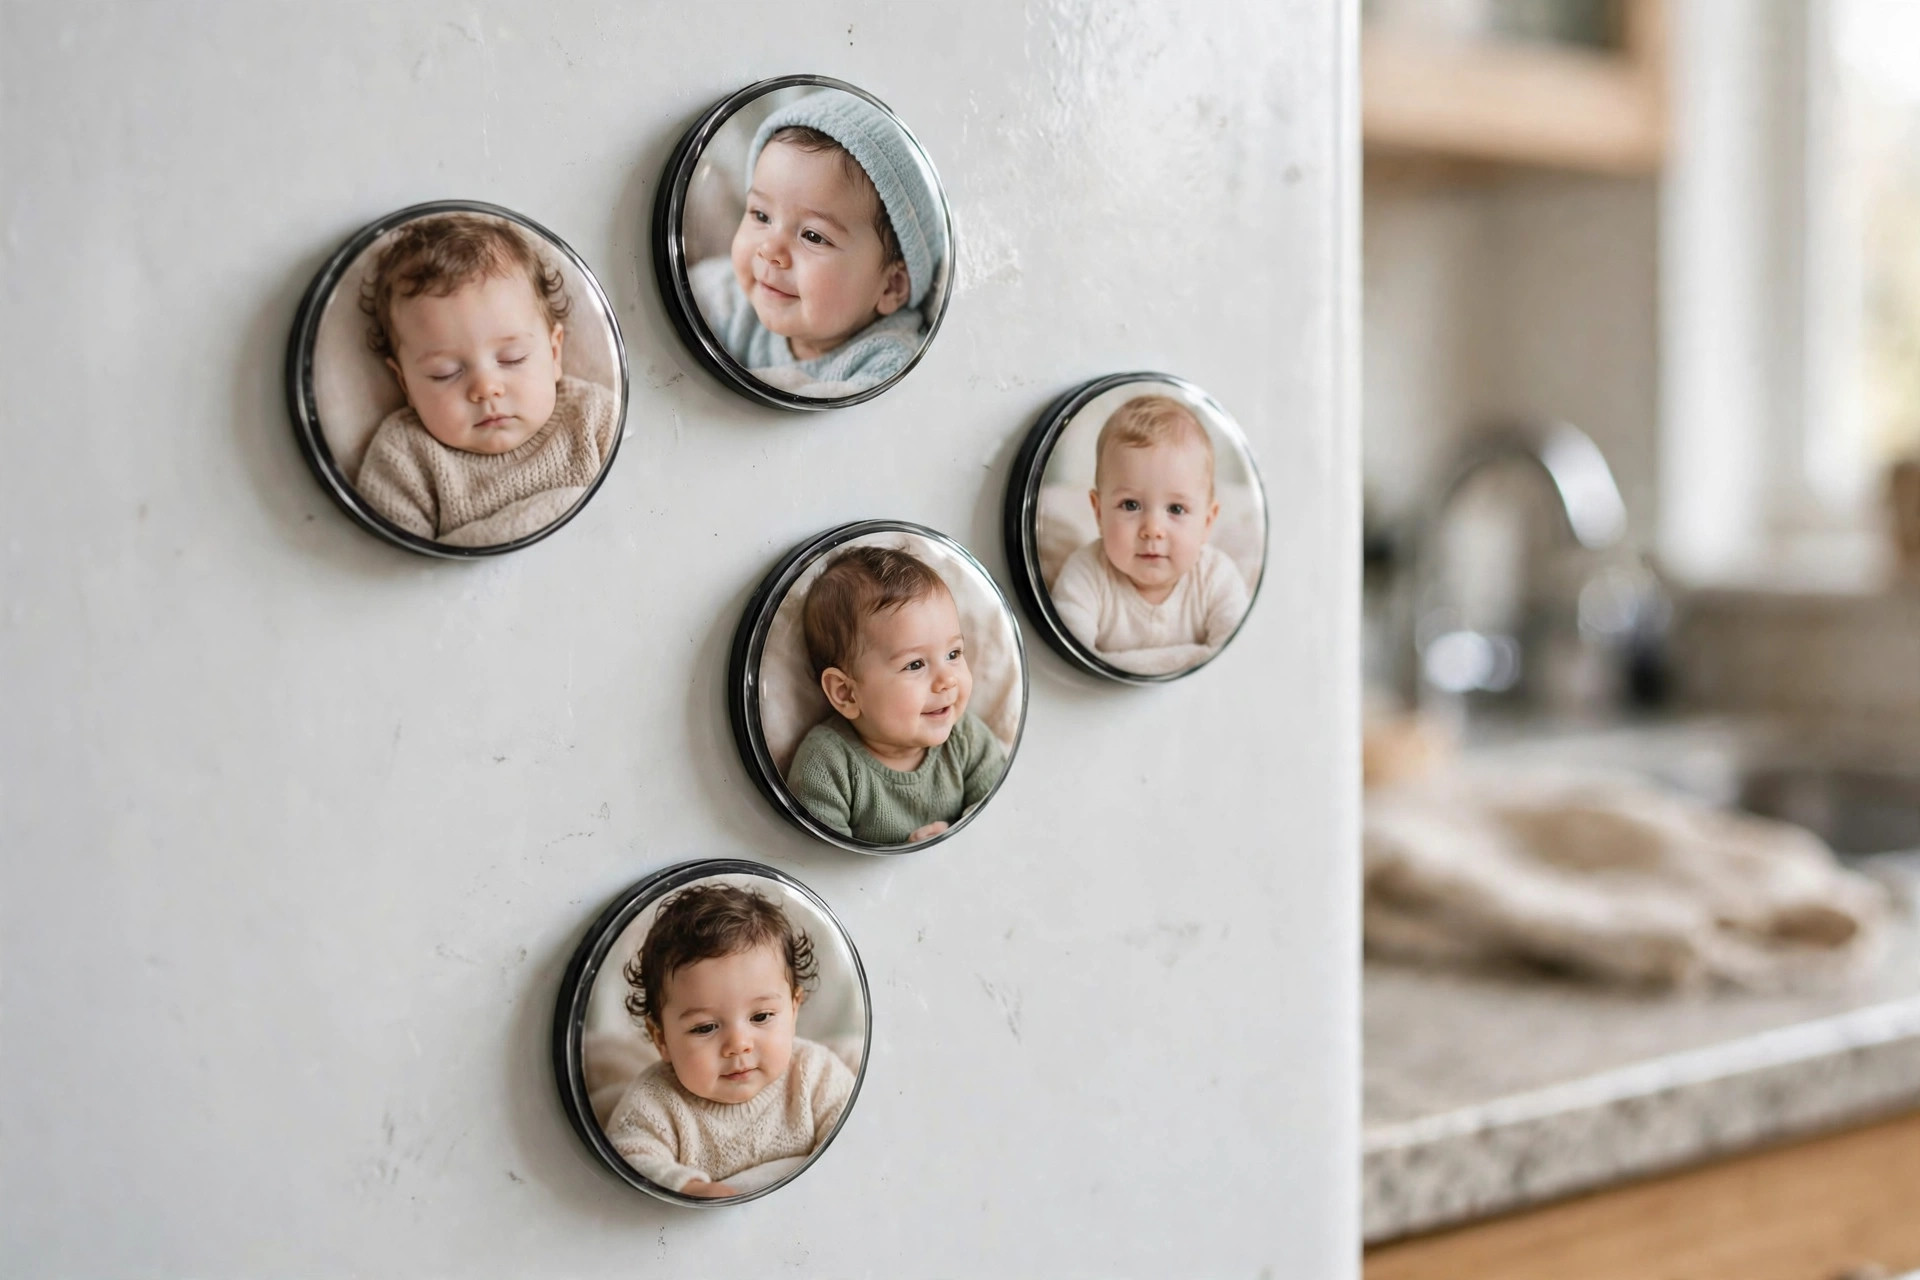
I turned the invite into a fridge magnet, printing the photo and details on magnetic sheets cut to 4 by 6 inches. Guests stuck them straight on the fridge, so the date stayed visible for weeks. I made these for grandparents and godparents only, since they cost more, and every one mentioned it.
The downside is weight and postage. Magnets are heavier than cards and stick together in envelopes. I slipped wax paper between each magnet and used a padded envelope. Do not send one with a single stamp through a normal letter slot; weigh one at the post office first.
Pro Tip: Separate magnets with wax paper and weigh one at the post office before buying stamps.
Cost / Time / Difficulty: $2 to $3 each | 1 to 2 hours for 15 | Easy
13. The Video Message Invite
I recorded a thirty-second video of the mum-to-be opening a tiny baby outfit, added text overlays with the party details, and sent it as our invite to close friends. Friends replied with videos of their own, and the whole shower felt personal before anyone arrived.
The downside is that video invites do not work as a record. Guests forget the date because the video scrolls away in a chat. I now send a still image with the date, time, and address straight after the video, so guests can save it.
Pro Tip: Always follow a video invite with a still image of the details that guests can save.
Cost / Time / Difficulty: Free | 30 minutes | Easy

14. The Pop-Up Card
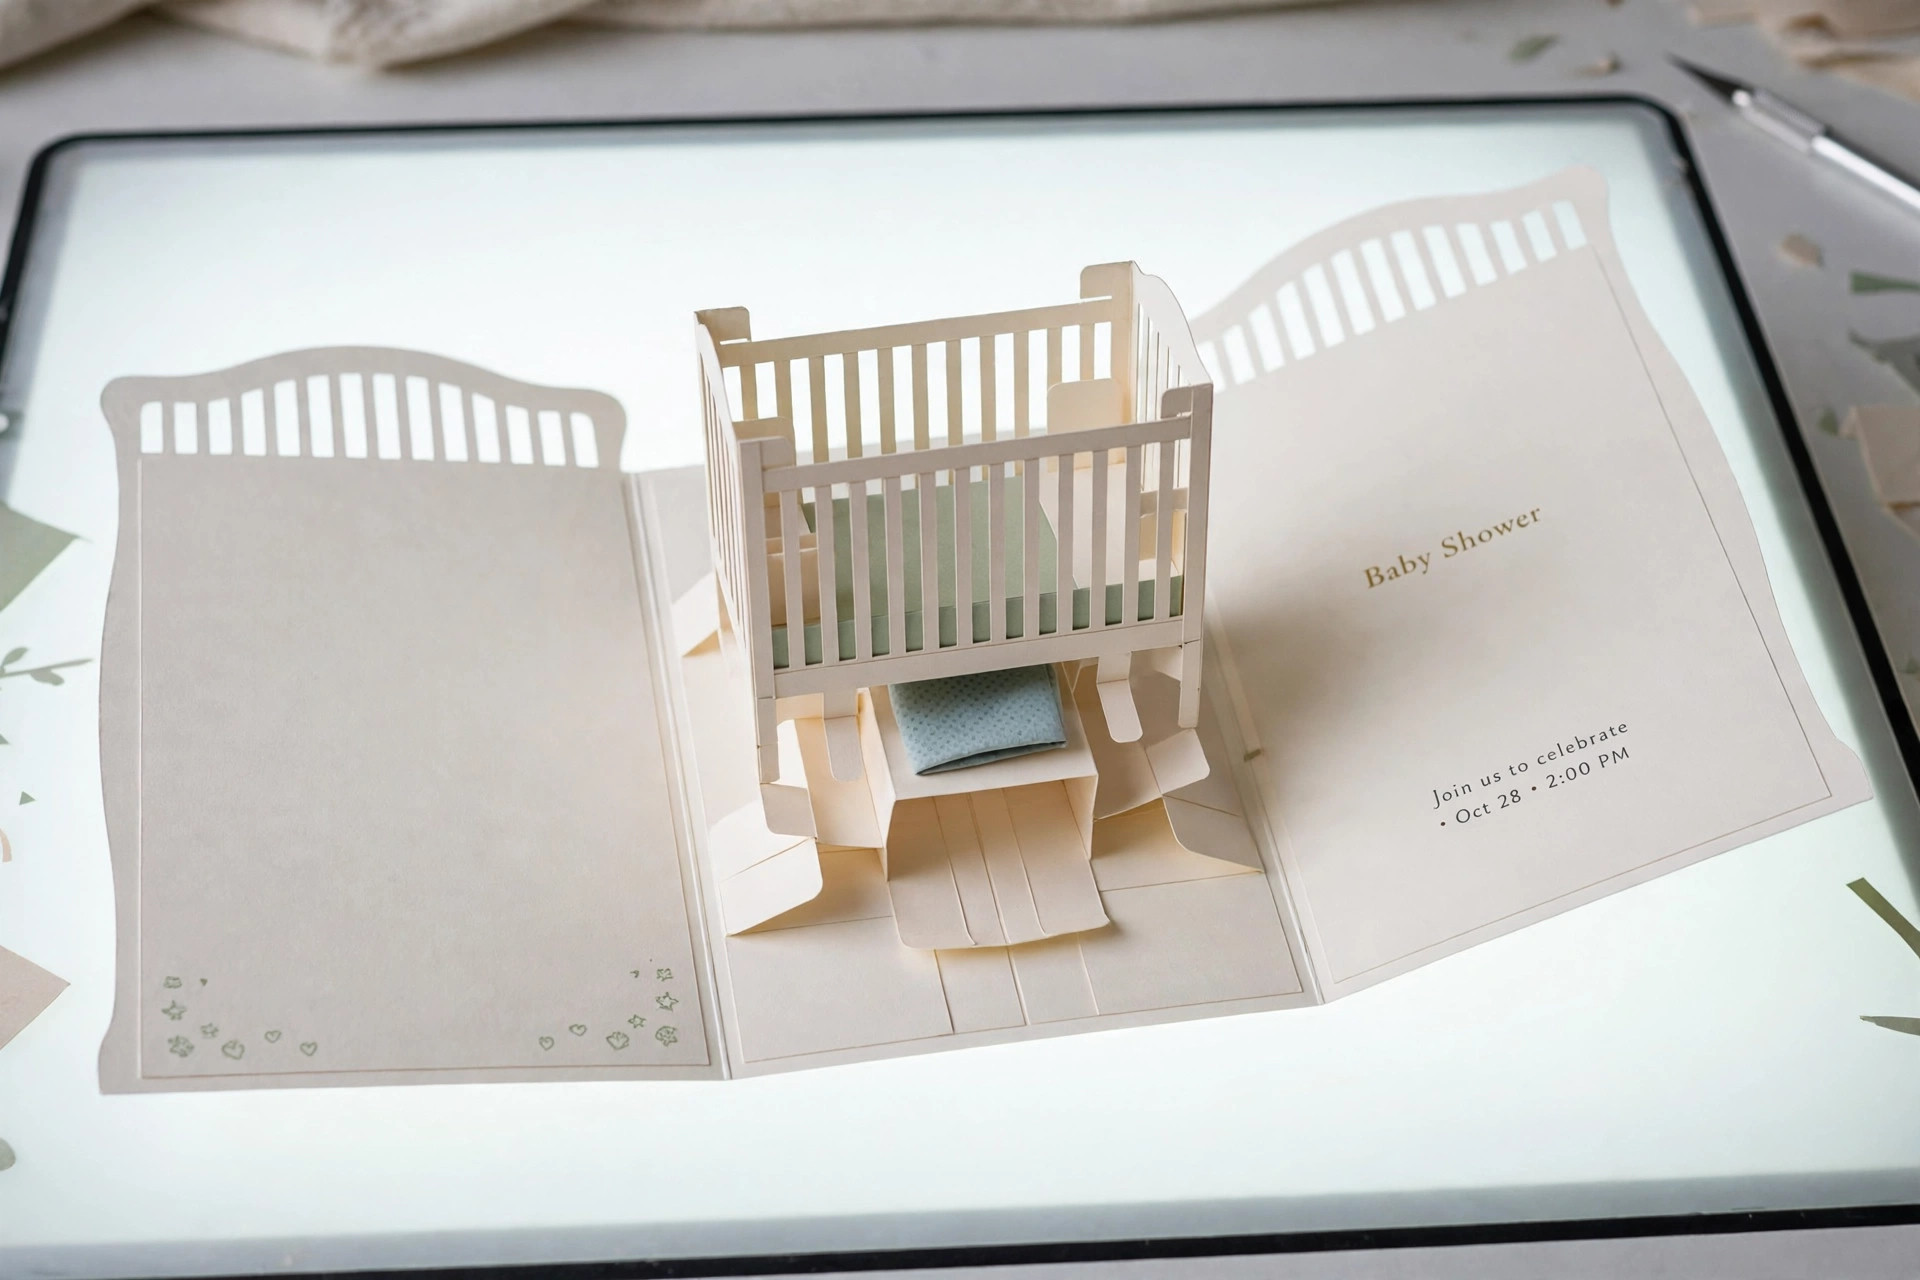
I made a pop-up card where a tiny paper crib springs up when guests open it. I cut the crib from cream card, folded it carefully, and glued it inside a larger card with the details printed below. Children loved opening it, and adults kept it on their mantels.
The downside is fiddliness. Pop-up mechanisms tear if they are glued even slightly off-centre, and I ruined four cards learning the fold. This is a small-batch idea only; for more than twenty guests, order a printed pop-up instead of hand-making them.
Pro Tip: Make one perfect prototype, then use it as your template for the whole batch.
Cost / Time / Difficulty: $1.50 to $3 each handmade | 3 to 4 hours for 20 | Hard
15. The Minimalist Modern Card
For a mum who hates fuss, I used a minimalist card: white card, black type, one small line drawing of a baby footprint, and nothing else. It looked calm and grown-up, and guests said it was the easiest invite they had ever read. I printed these at home in under an hour.
The downside is that minimalism can look empty if the paper is cheap. My first batch on thin copy paper looked like a printout, not an invitation. Switching to thick matte card, at least 300 gsm, fixed it instantly.
Pro Tip: With a minimalist design, spend your money on thick paper, not on decoration.
Cost / Time / Difficulty: $0.50 to $1 per card | 1 hour | Easy
16. The Vintage Postcard Invite
I designed this invite as a vintage postcard, with a faded floral photo on the front and the party details written like a postcard message on the back. Guests loved the old-fashioned feel, and several framed theirs. I printed them on thick postcard stock, 4 by 6 inches, with rounded corners.
The downside is that postcards travel without an envelope, so the front can get scuffed in the post. Two of mine arrived with dirty corners. I now put each postcard in a clear sleeve for posting, which keeps it clean without hiding the design.
Pro Tip: Post vintage postcards in clear sleeves so they arrive clean but still look like postcards.
Cost / Time / Difficulty: $0.75 to $1.25 per card | 1 to 2 hours | Easy
17. The Hand-Painted Calligraphy Keepsake
For a very small shower I hand-painted each guest’s name in calligraphy on the front of a cream card, with the details printed inside. Each card took about fifteen minutes, and guests treated them as keepsakes. One friend framed hers next to a photo from the shower.
The downside is time, and it does not scale. Fifteen minutes times thirty guests is a whole weekend, and my hand cramped by the tenth card. Save hand calligraphy for under fifteen guests, or use it for the mum-to-be and grandparents only.
Pro Tip: Use hand calligraphy for a small guest list only, and print the rest in a calligraphy-style font.
Cost / Time / Difficulty: $1 to $2 per card plus time | 15 minutes per card | Hard
18. The Balloon Pop Reveal Invite
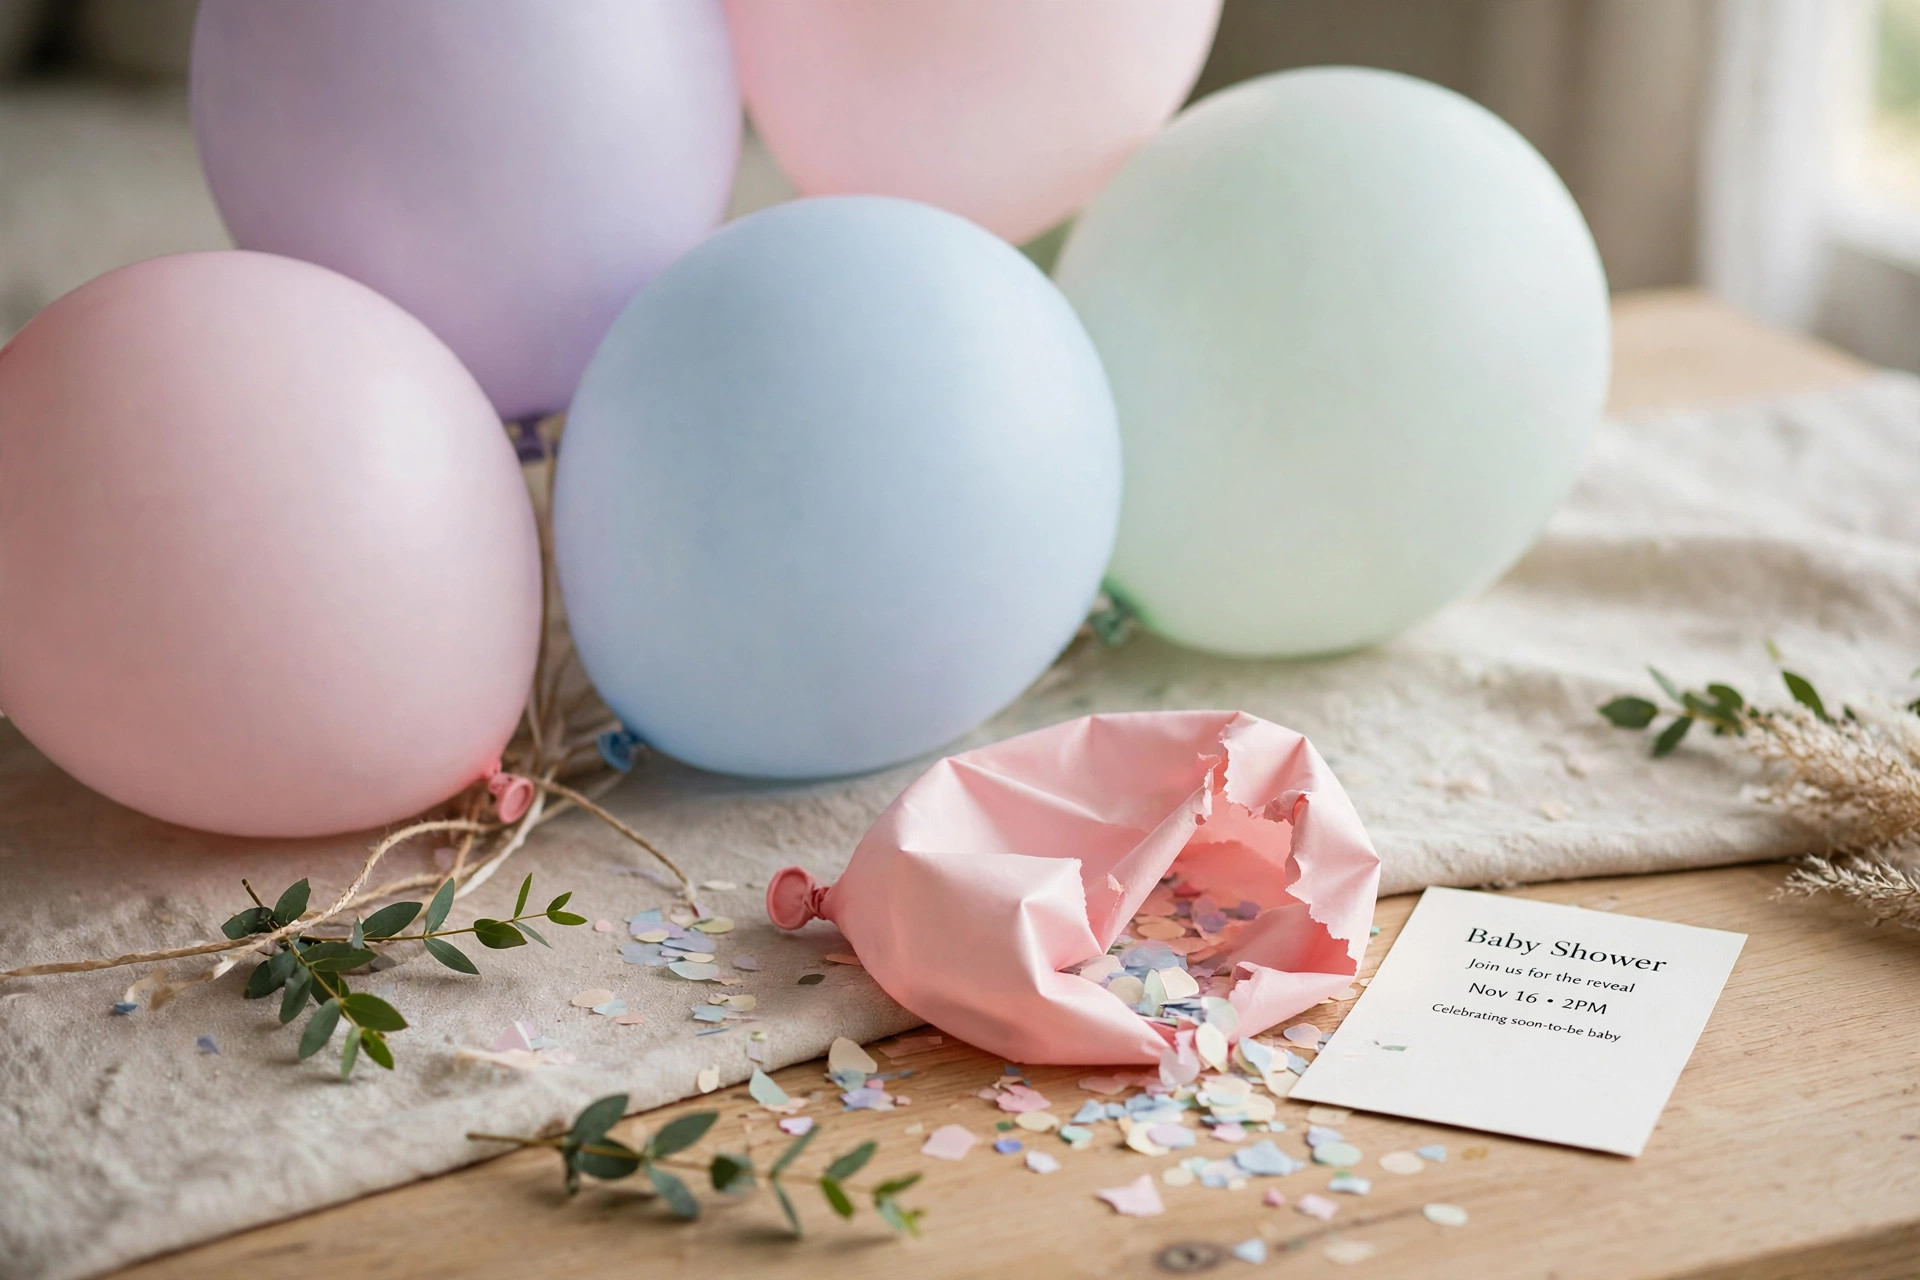
This one is pure theatre: I slipped a tiny printed card inside a clear balloon with confetti, and guests popped it to read the shower details. I made twenty for close friends and family, inflating each by hand with the rolled card and tissue confetti inside. The adults filmed every pop.
The downside is logistics. Balloons deflate, so you must hand-deliver within a day or two; they are useless by mail. One popped in my car en route, covering the back seat in gold confetti. I now carry a spare flat card for every balloon invite.
Pro Tip: Hand-deliver balloon invites within 48 hours and always carry a spare flat card.
Cost / Time / Difficulty: $1 to $2 each | 2 hours for 20 | Medium
Comparison Table
| Idea | Best for | Cost per card | Effort |
|---|---|---|---|
| Classic Photo Card | Any shower, zero risk | $1 to $2 | Easy |
| Watercolour Floral Card | Small, crafty guest lists | $0.50 to $1 | Medium |
| Balloon-Themed Invite | Cheerful, colourful showers | $1 to $2 | Easy |
| Rustic Kraft Card | Woodland and outdoor showers | $0.40 to $0.80 | Easy |
| Digital Animated Invite | Large guest lists, fast replies | Free to $15 total | Easy |
| Foil-Stamped Elegant Card | Formal showers | $2.50 to $4 | Medium |
| Storybook Invite | Small, sentimental guest lists | $1 to $2 | Medium |
| Ticket-Style Invite | Themed showers | $0.75 to $1.50 | Easy |
| Plantable Seed Paper Invite | Eco-friendly showers | $2 to $4 | Medium |
| Tea Party Invite | Afternoon tea showers | $0.75 to $1.50 | Easy |
| Boho Dried Flower Card | Boho showers, keepsakes | $1.50 to $2.50 | Medium |
| Photo Magnet Invite | Grandparents and close family | $2 to $3 | Easy |
| Video Message Invite | Close friends, personal touch | Free | Easy |
| Pop-Up Card | Small batches, wow factor | $1.50 to $3 | Hard |
| Minimalist Modern Card | No-fuss mums-to-be | $0.50 to $1 | Easy |
| Vintage Postcard Invite | Old-fashioned charm | $0.75 to $1.25 | Easy |
| Hand-Painted Calligraphy Keepsake | Under 15 guests | $1 to $2 | Hard |
| Balloon Pop Reveal Invite | Hand-delivered surprises | $1 to $2 | Medium |
Mistakes I Made (So You Don’t Have To)
I sent a beautiful card with no address on it. I was so focused on the design that I forgot the most basic detail, and three guests called to ask where the shower was. Now I check the address first, before I check the colours.
I trusted my screen for colours. My blush pink printed orange, because screens are brighter than printers. I order one sample card now, every single time, even when I am in a hurry.
I made a fiddly card for sixty guests. Pop-ups and hand calligraphy are lovely for fifteen people and miserable for sixty. I match the effort to the guest list now, not to my ambition.
I forgot older relatives. A video invite that younger guests loved sat unopened in my grandmother’s inbox. Paper cards for grandparents, digital for everyone else, is my rule now.
Frequently Asked Questions
How far ahead should I send baby shower invitations?
Send paper invites 4 to 6 weeks ahead, and digital invites 2 to 3 weeks ahead. Add one friendly reminder a week before the shower, because even the best invite gets buried in a busy inbox or a pile of mail.
How many extra invitations should I order?
Order 10 to 15 percent extra. I use the spares for mistakes, for keepsakes, and for the last-minute guests who always appear. It is far cheaper than a second print run.
What should I do differently if I did this again?
I would start with the guest list and the budget, not the design. A simple card sent on time beats a perfect card sent late, and I learned that the hard way with my own first shower invites.
What if guests do not reply?
Send one polite reminder with the date, time, and address in the message itself, not just as a photo. I got twice as many replies when guests did not have to open an attachment to find the details.
Final Thoughts
The best baby shower invitation ideas are not the fanciest ones. They are the ones guests can read in five seconds, that survive the mail, and that make the mum-to-be smile when she sees them. Pick a style that fits your guest list and your patience, order a sample first, and send it on time.
Related article: Baby Shower Cake Ideas will help you plan the cake once the invites are out. Also read Baby Shower Games Ideas for games guests enjoy. Read this next: Baby Shower Food Ideas for a menu guests remember long after the games are over.