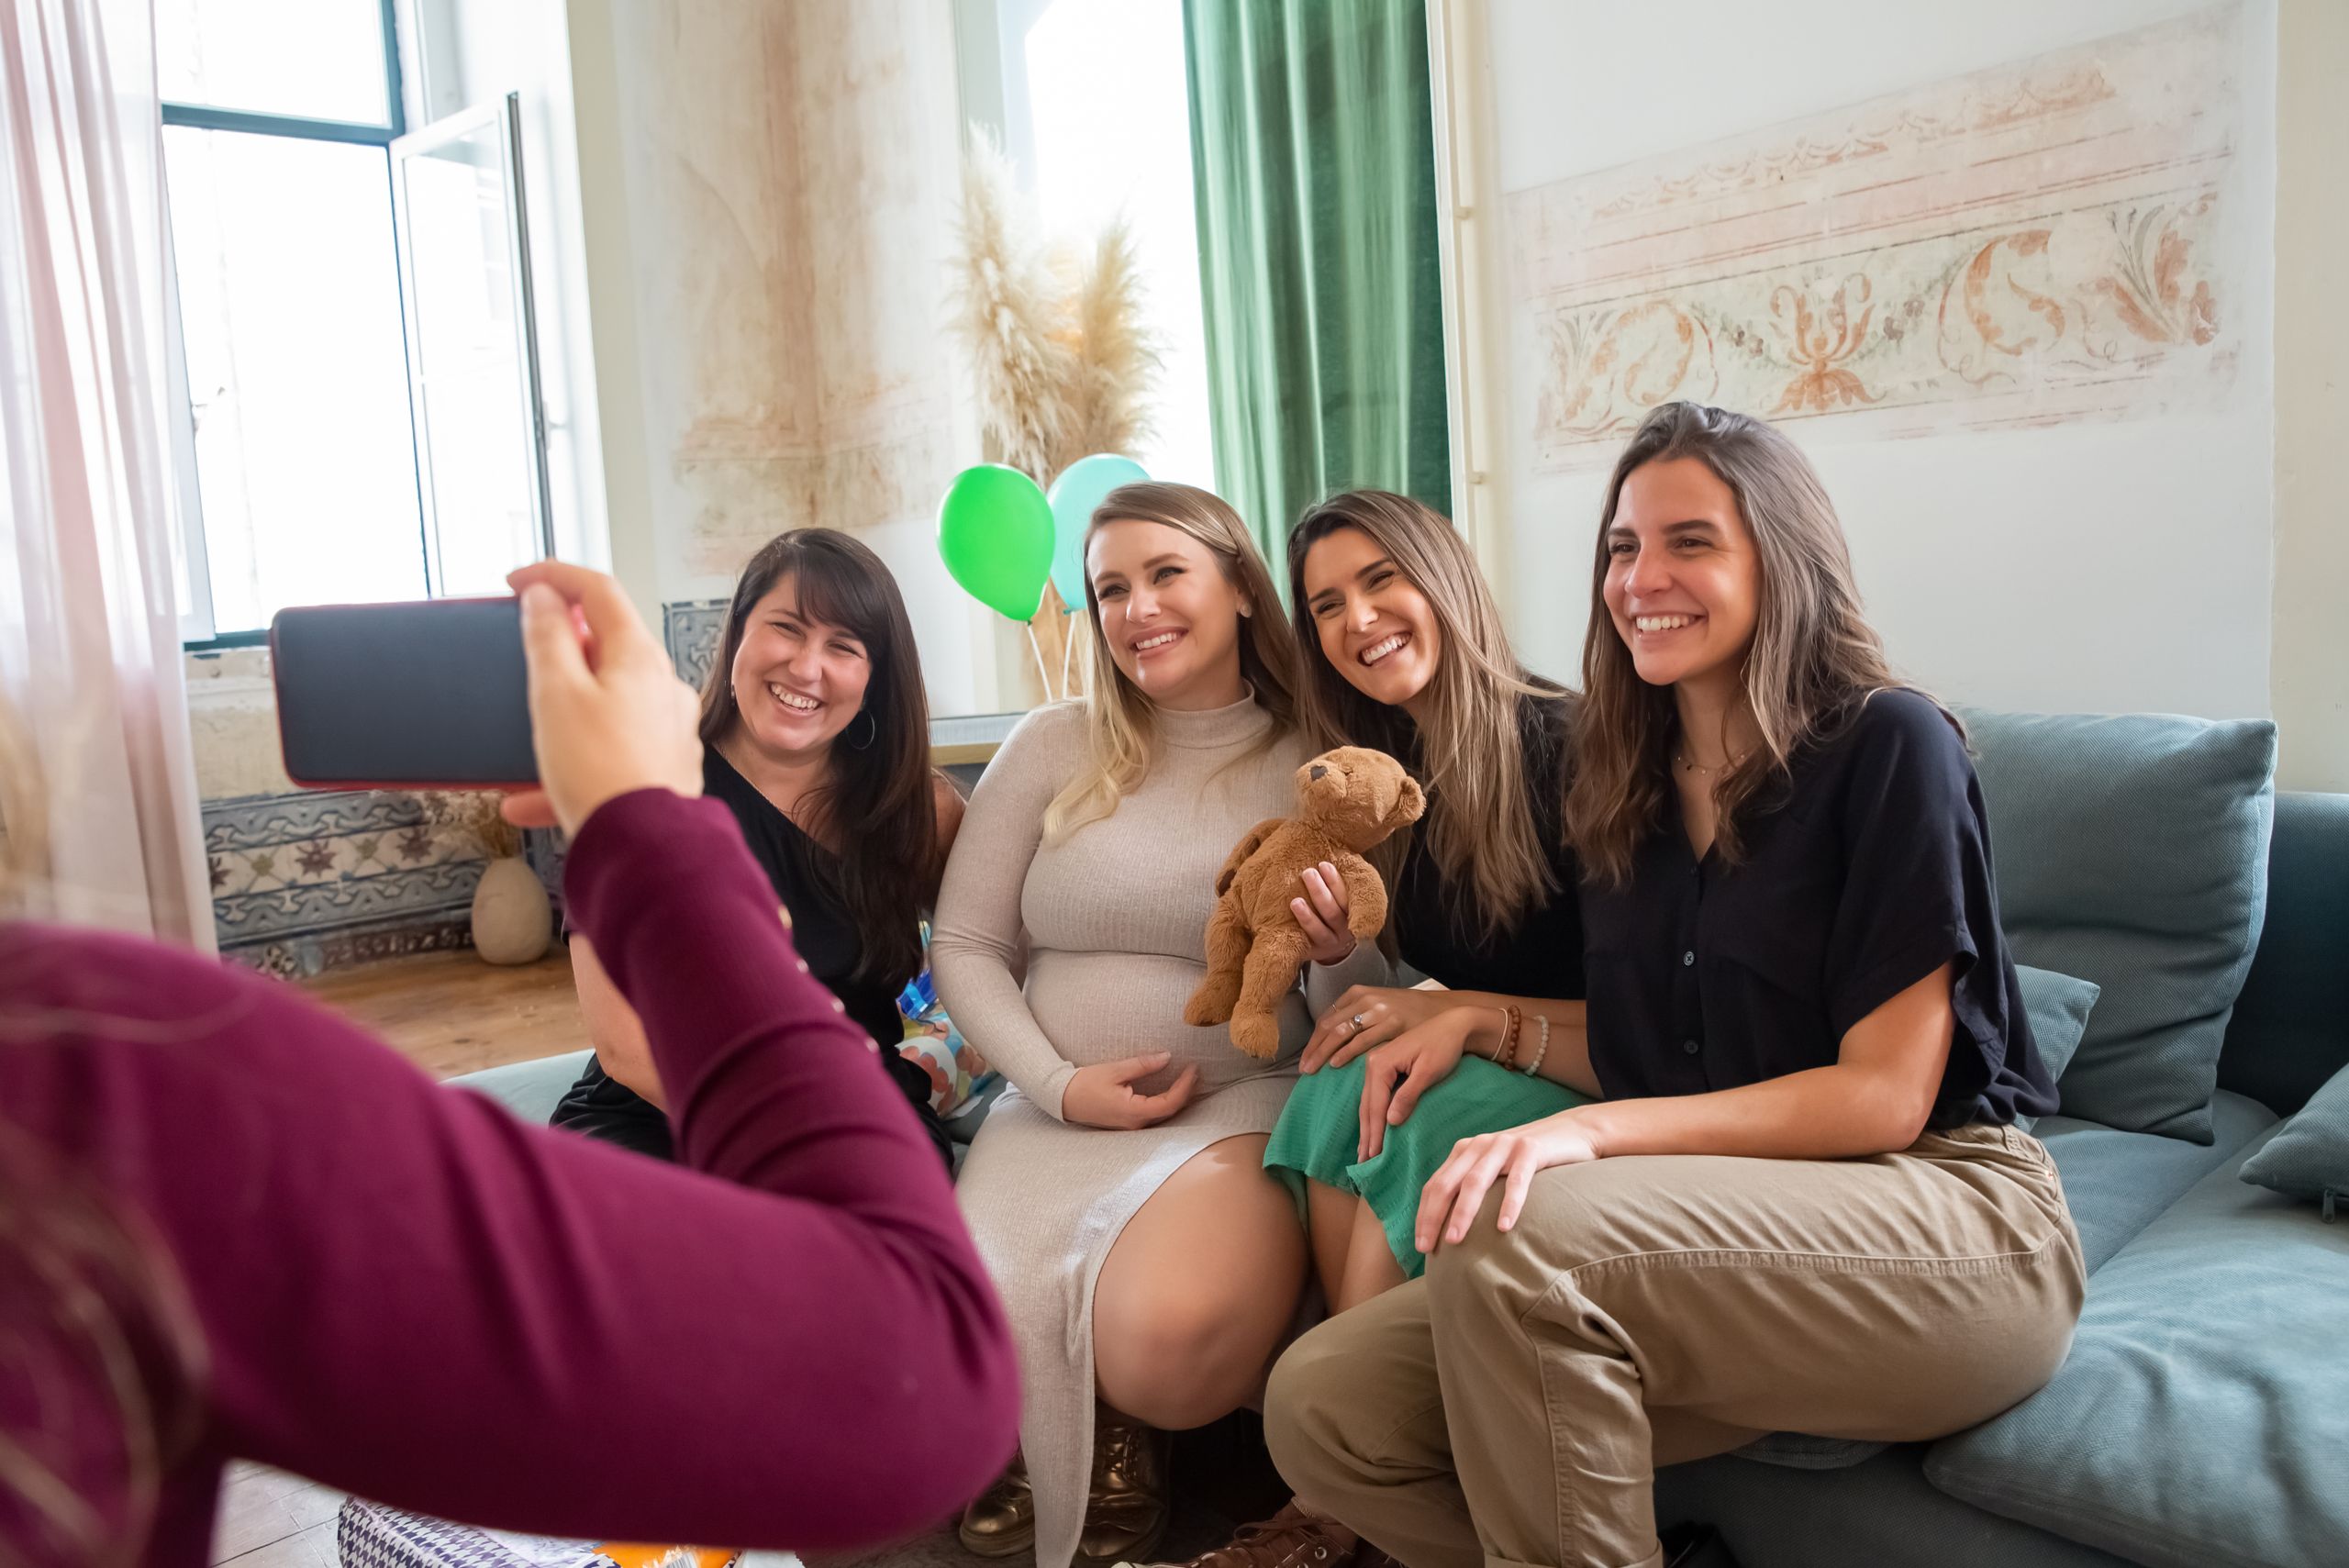
18 Baby Shower Photo Booth Ideas Guests Will Actually Line Up For
These baby shower photo booth ideas are the ones I have actually built, stood in front of, and watched guests queue for, and I will tell you which survived a whole afternoon and which fell apart before the cake was cut.
How I picked these: I built each setup for a real shower, keeping only booths that photographed well in daylight and survived three hours of guests.
Key Takeaways
- Put the booth near a window or in open shade; good light matters more than an expensive backdrop.
- Give guests something to hold; empty hands make awkward photos.
- Tape or weigh down every backdrop; one gust or toddler can end the whole booth.
- Keep the camera on a tripod, so guests are not hunting for a photographer.
Baby Shower Photo Booth Ideas: My 18 Setups
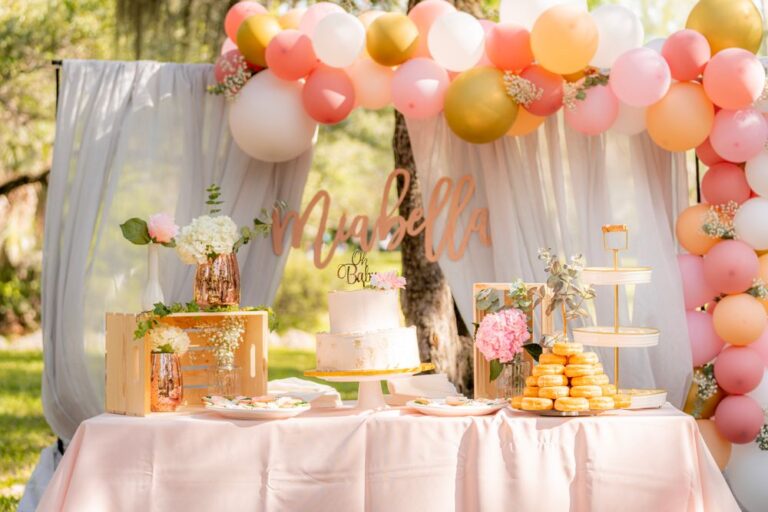
1. The Balloon Garland Backdrop
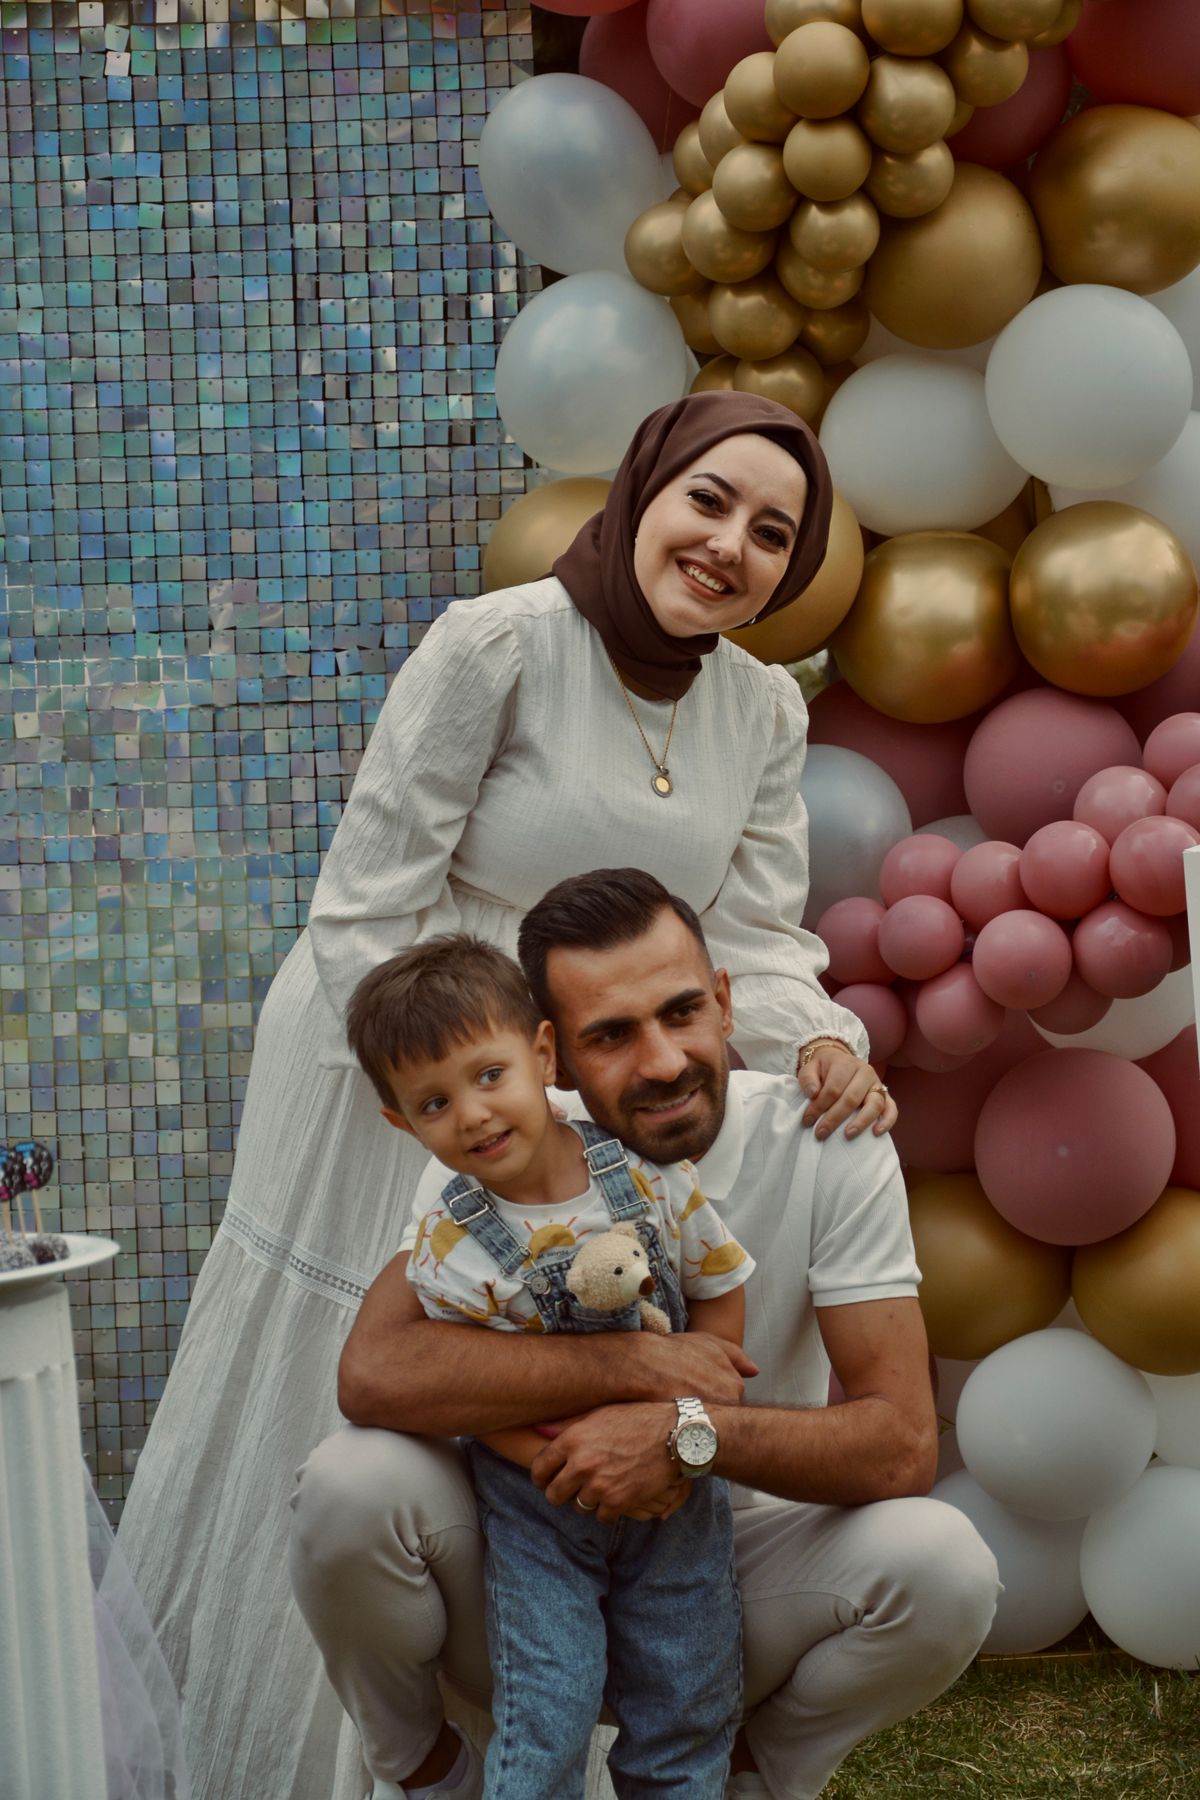
This is the booth I build when I want instant colour with no sewing and no painting. I made a garland from about sixty latex balloons in blush pink, cream, and sage, threaded onto a balloon strip hung from two command hooks, framing a six-foot space for guests.
My first garland sagged because I hung it from one hook only, and by lunchtime it looked like a tired rainbow. Now I use two hooks plus centre tape, and inflate balloons that morning.
Pro Tip: Inflate balloons the morning of the shower and hang from two hooks, not one, so the garland cannot sag.
Cost / Time / Difficulty: $25 to $40 | 1.5 hours | Easy
2. The Flower Wall Backdrop
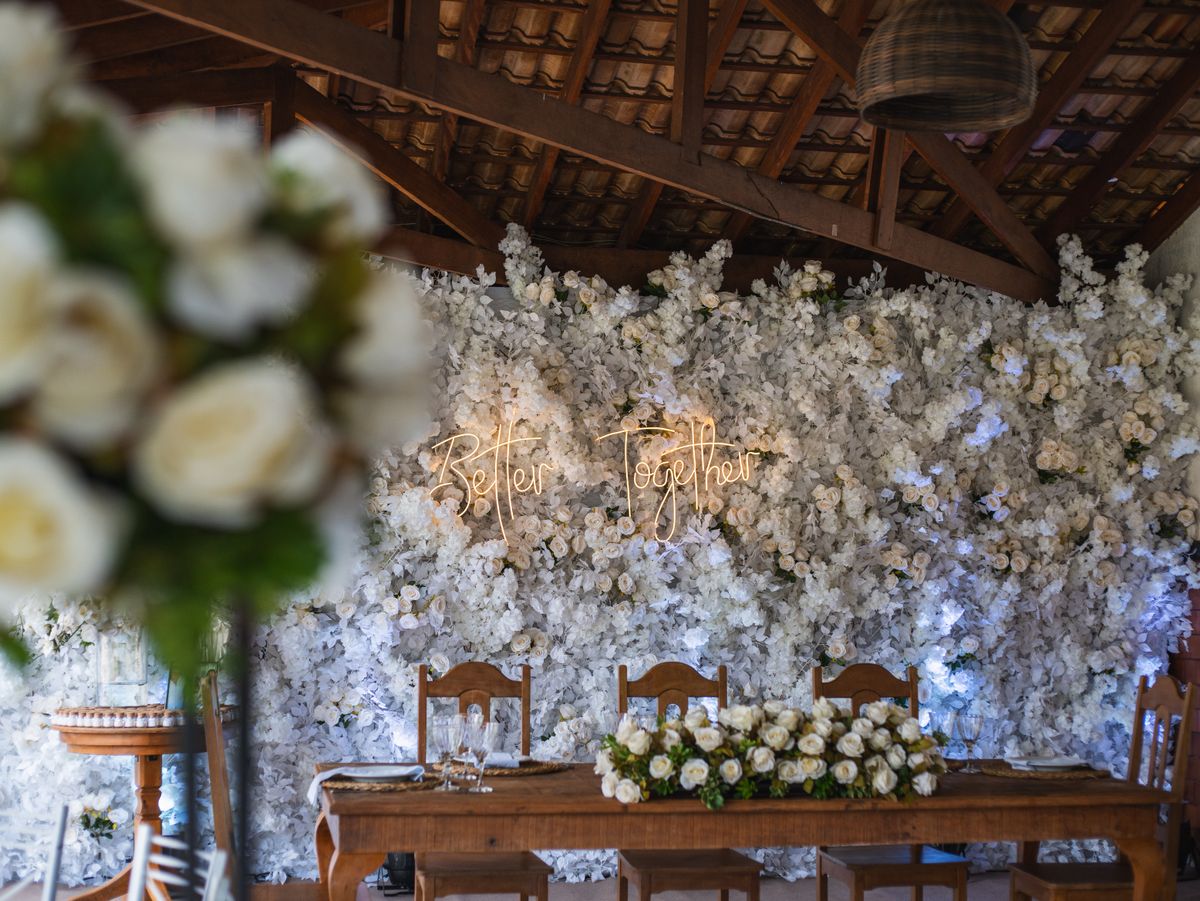
A flower wall makes every guest look like they hired a photographer. I built mine from three foam boards covered in faux roses, peonies, and eucalyptus, glued on in clusters rather than rows so it looked full instead of flat, measuring six feet wide and five feet tall.
The downside is weight and storage. My first wall was so heavy I could barely move it, and it shed petals on my carpet for a week. I now use lighter boards, glue flowers in clusters, and store panels flat under a bed.
Pro Tip: Glue flowers in clusters with gaps, not solid rows, so the wall looks full but stays light enough to move.
Cost / Time / Difficulty: $60 to $90 | 3 hours | Medium
3. The Onesie Clothesline Booth
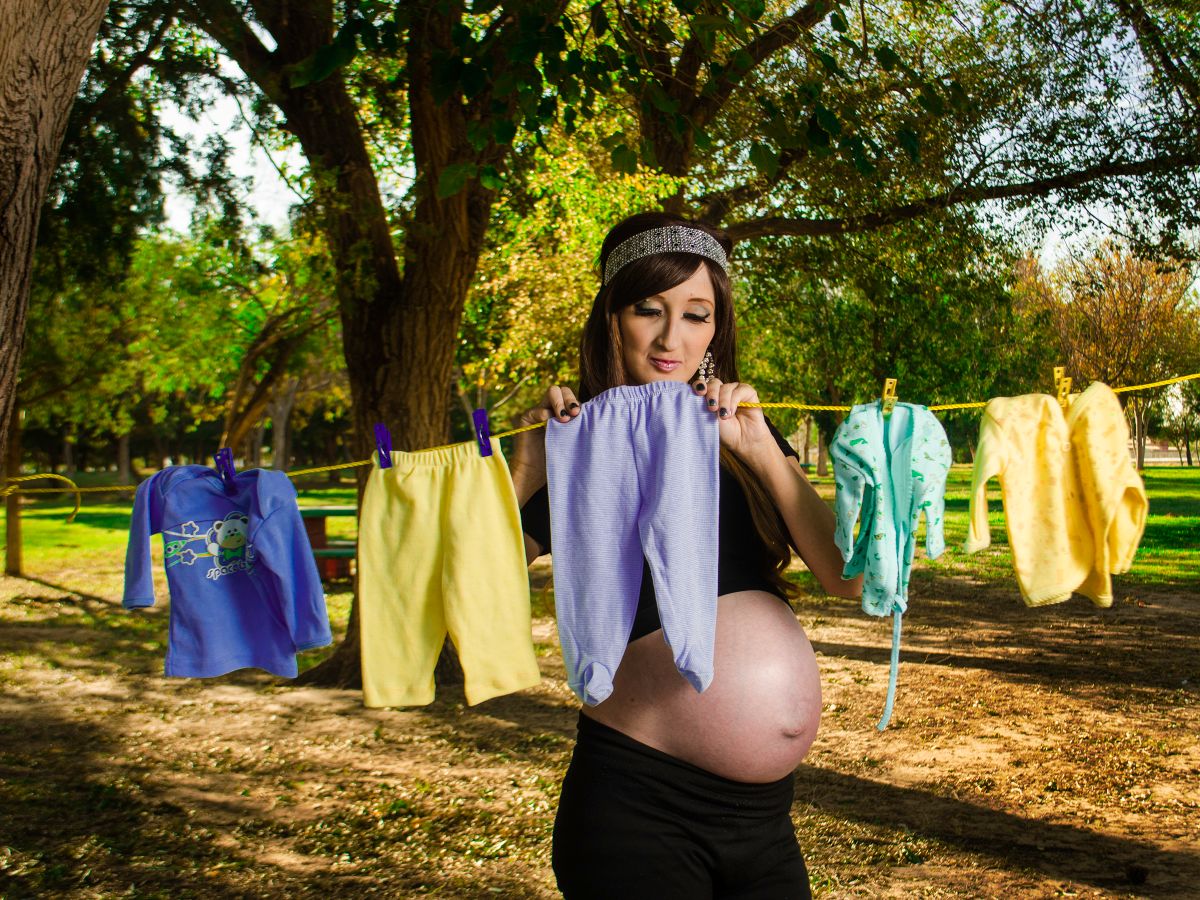
This booth is a clothesline strung across a corner, pegged with tiny baby clothes, doubling as decoration and gift display. I ran cotton rope between two hooks, about five feet high, and pegged ten tiny onesies, two pairs of socks, and a knitted hat along it with wooden pegs.
The watch-out is sagging and wind. My outdoor line dipped under the clothes, and one onesie blew into the punch bowl. I now use thicker rope, pull it drum-tight, and keep this booth indoors.
Pro Tip: Pull the rope drum-tight and keep this booth indoors, because even a light breeze drops pegged clothes.
Cost / Time / Difficulty: $15 to $30 | 45 minutes | Easy
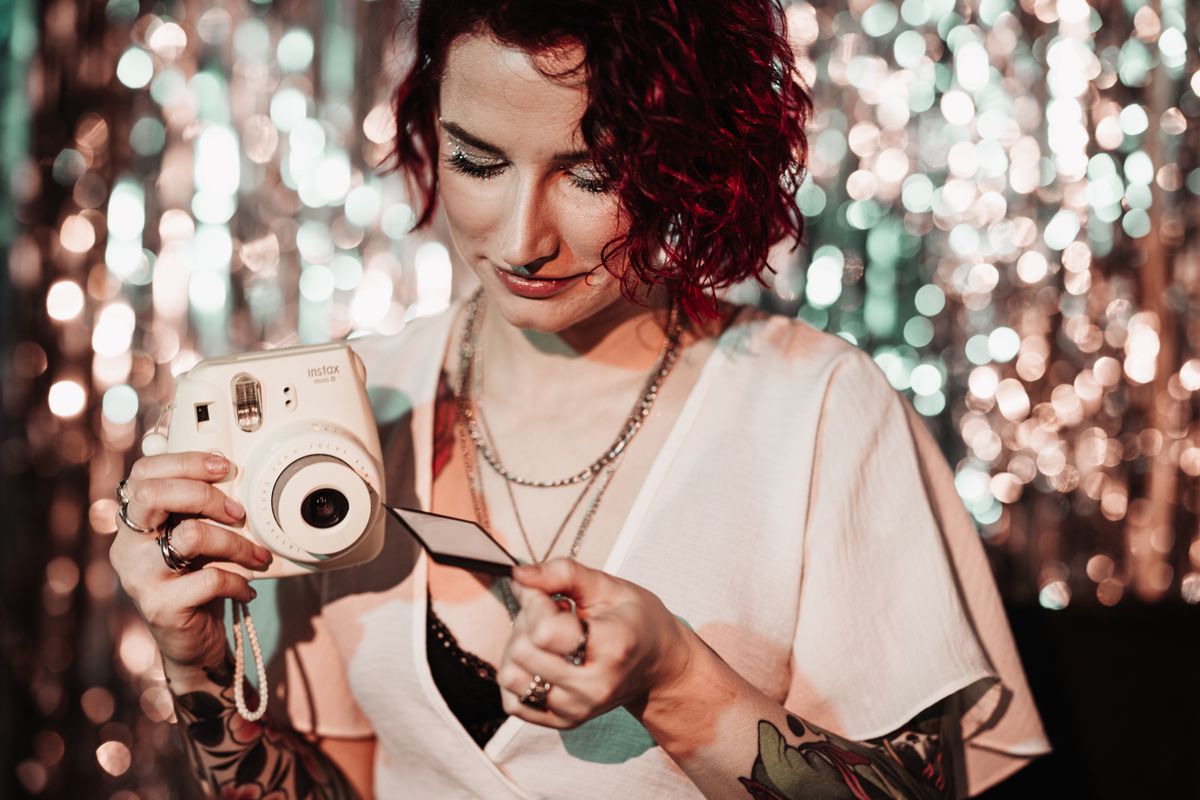
4. The Instant Camera Station
An instant camera station is the booth where guests leave with a photo in their hand, not just on their phone. I set a small table beside the backdrop with two instant cameras, two packs of film, and a sign saying “Take one, shake it, keep it.”
The honest downside is film cost and waste. Film runs about a dollar a shot, and guests took forty photos in the first hour, including six of the floor. I now put out one camera, limit guests to two shots, and keep spare film with me.
Pro Tip: Limit guests to two shots each and keep spare film with you, or the film will be gone before the cake.
Cost / Time / Difficulty: $40 to $70 | 20 minutes setup | Easy
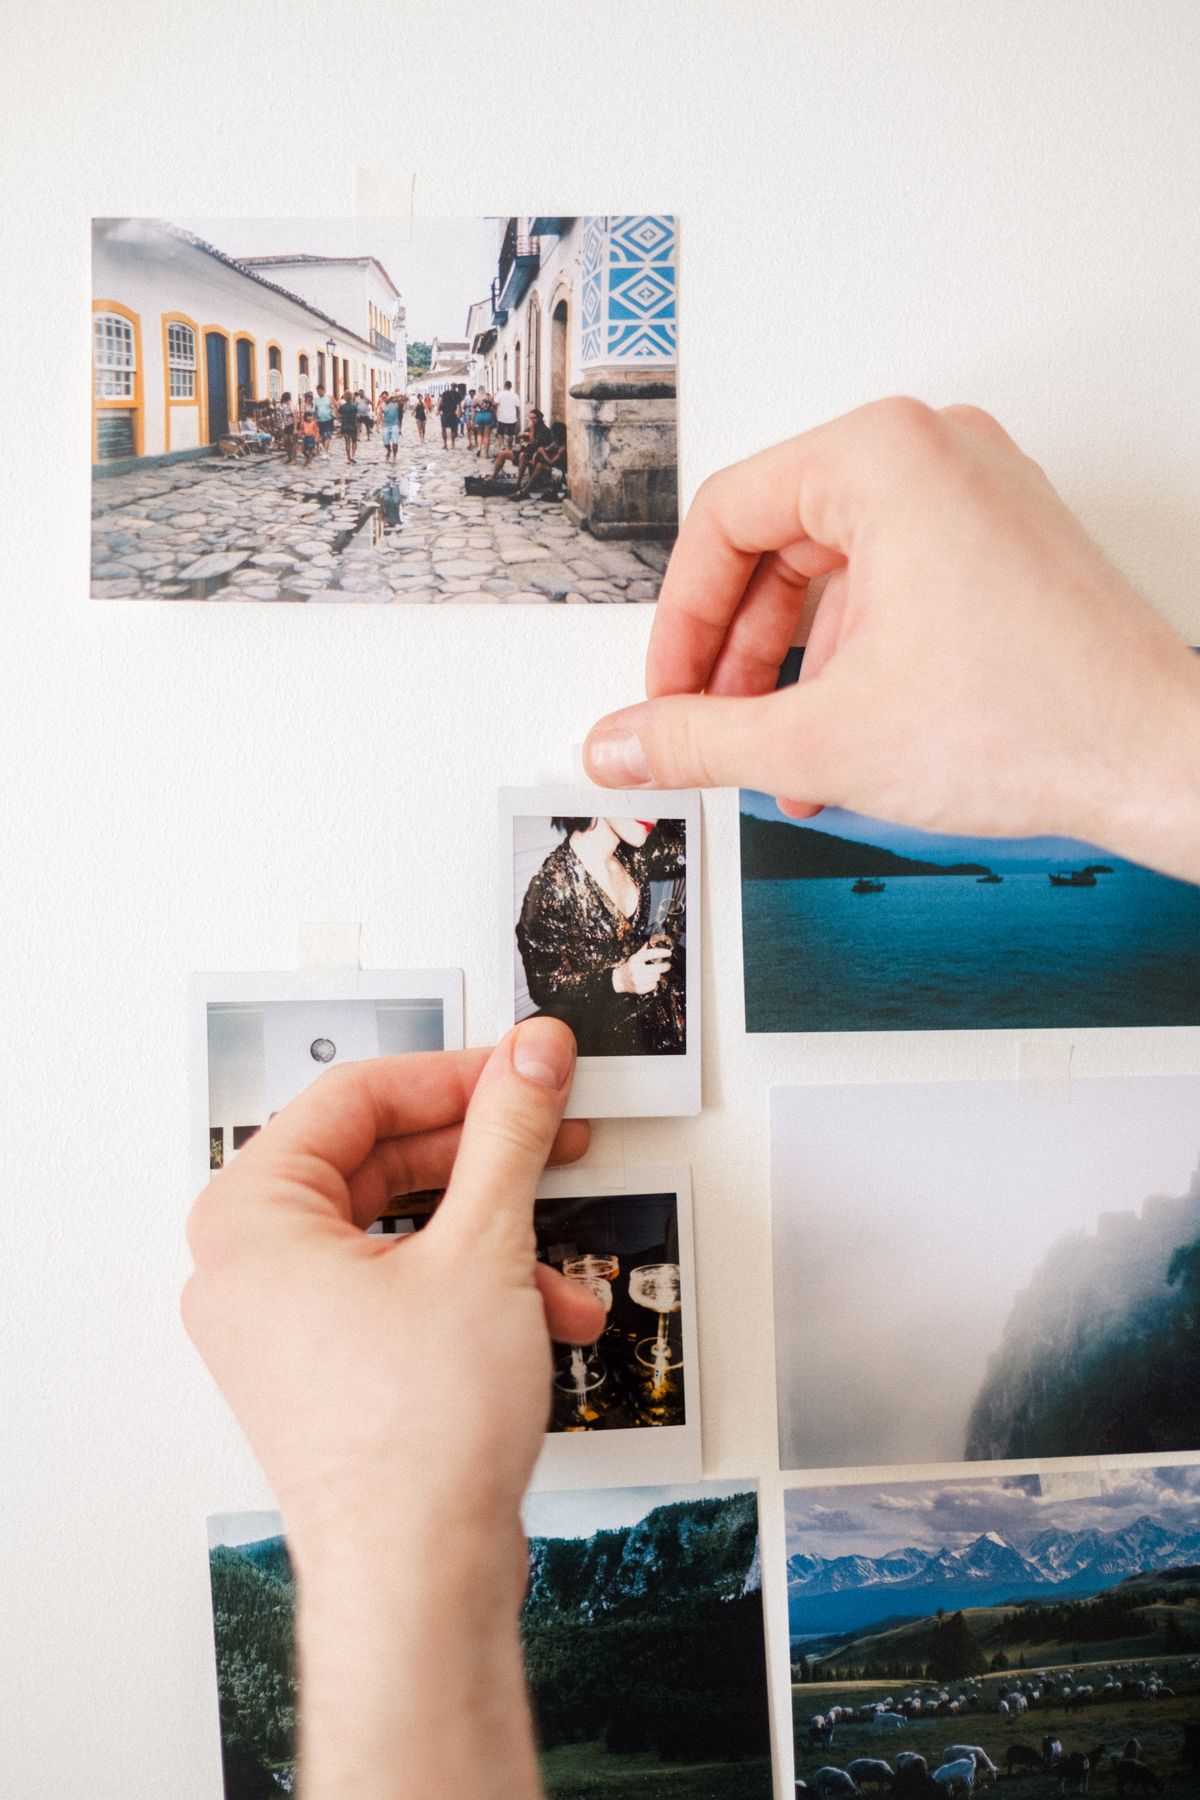
5. The Polaroid Guest Book Wall
This is my favourite keepsake booth: guests take a photo, stick it on a wall, and write a message beside it. I pinned a roll of kraft paper to the wall next to the backdrop, set out a camera, tape, and thick markers, and guests stuck their print on the paper with a note underneath.
The problem is drying time and smudging. Fresh prints smudge if taped too soon, and one marker bled onto the next page. I now wait two minutes before taping, use thick markers only, and lay the paper on a table so nobody leans on wet prints.
Pro Tip: Wait two minutes before taping prints and use thick markers, so nothing smudges or bleeds through.
Cost / Time / Difficulty: $30 to $50 | 30 minutes setup | Easy
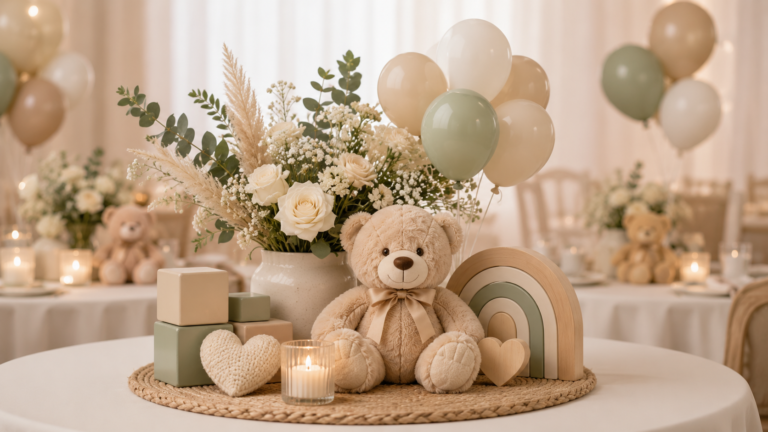
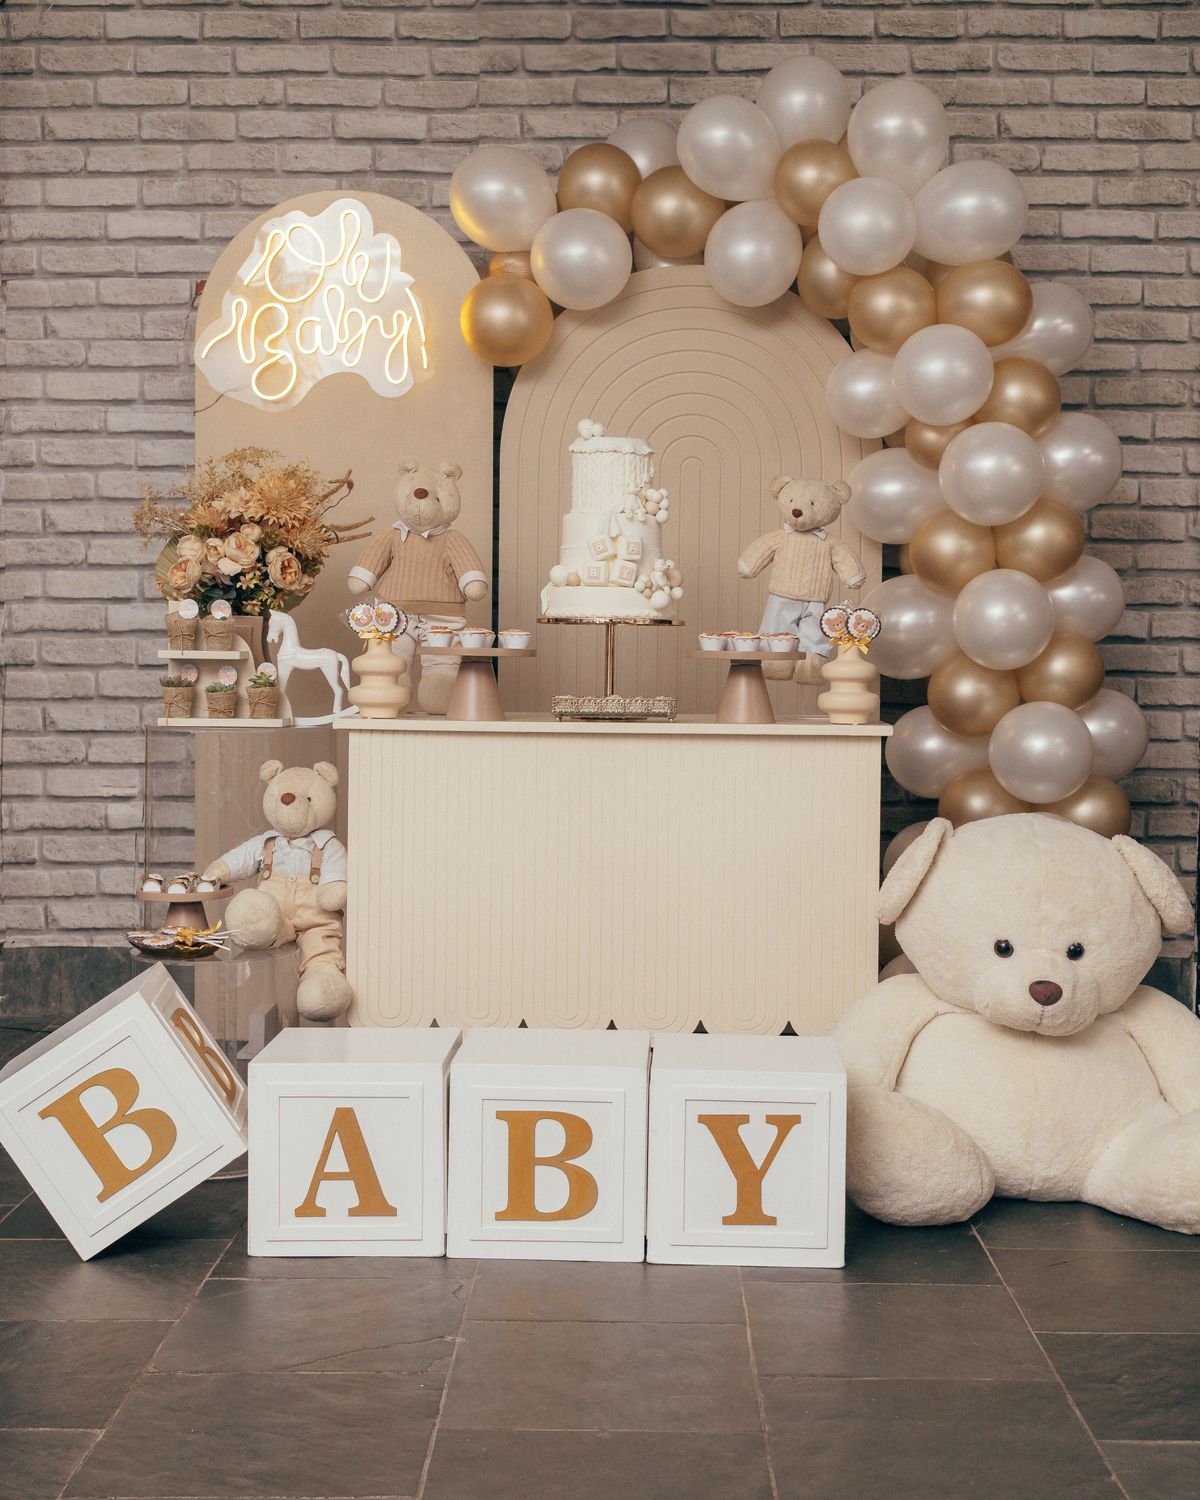
6. The Teddy Bear Corner
A teddy bear corner is the softest booth I have built, and children love it as much as adults do. I piled six plush teddy bears of different sizes on a small armchair, draped a cream blanket over the chair back, and hung a pastel balloon bunch behind it. Guests sat holding a bear, and the photos came out warm instead of stiff.
The downside is that bears wander off. Two left the chair within an hour, one to a toddler and one to a handbag, and I spent the afternoon retrieving them. I now buy cheap bears for this booth.
Pro Tip: Use inexpensive bears for this booth and accept that one or two will wander off with guests.
Cost / Time / Difficulty: $20 to $35 | 20 minutes | Easy
7. The Gold Confetti Curtain
A confetti curtain is a doorway of hanging gold strips that guests pose behind, and it photographs like pure celebration. I hung three gold foil curtain panels across a doorway frame, taped at the top and weighted at the bottom with small stones in the hem, with a rug in front so guests knew where to stand.
The watch-out is tangling and static. My first curtain knotted within an hour as guests pushed through it, and the foil clung to clothes. I now leave a gap in the middle for walking through, and spray the panels lightly with anti-static spray first.
Pro Tip: Leave a gap in the middle for walking through and spray foil curtains with anti-static spray first.
Cost / Time / Difficulty: $10 to $20 | 30 minutes | Easy

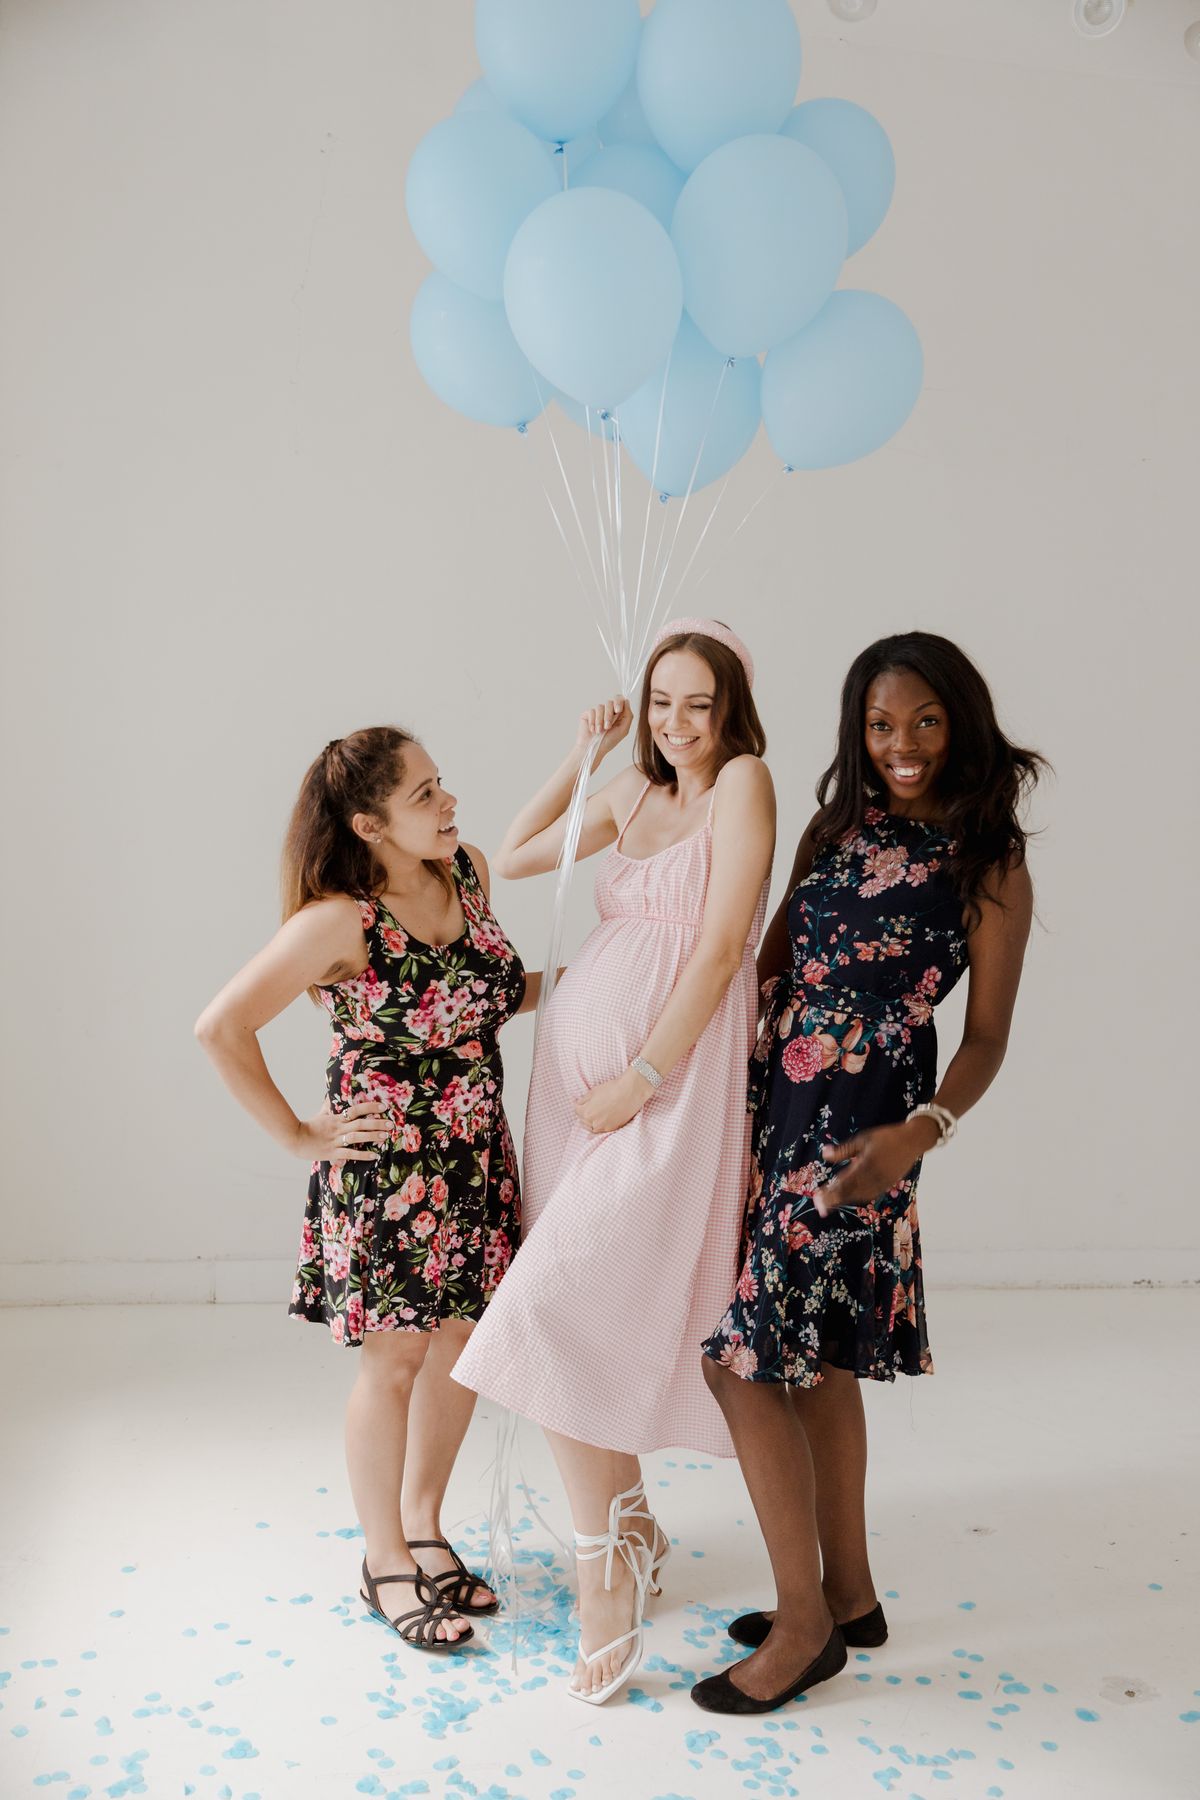
8. The Blue Balloon Celebration Spot
For a boy-themed shower I built the simplest booth of all: a big bunch of blue and white balloons tied to a heavy weight, with a plain white wall behind it. I used twenty balloons in three shades of blue, tied in bunches of five and left floating at different heights so the photo had depth.
The downside is that balloons drift and pop. One bunch escaped through an open door within twenty minutes, and a balloon popped during a group photo. I now tie bunches to a chair leg as well as a weight, and keep the booth away from doors and sunny windows.
Pro Tip: Tie balloon bunches to furniture as well as a weight, and keep them away from doors and sunny windows.
Cost / Time / Difficulty: $15 to $25 | 30 minutes | Easy
9. The Gender Reveal Confetti Moment
This booth is built around one big moment: the confetti pop in front of the camera. I set up a plain backdrop, gave the mum-to-be two confetti cannons in the shower colours, and had a friend on camera duty for the exact second she popped them. The pink confetti photo is the most shared from any shower I have hosted.
The honest downside is cleanup and timing. Confetti went everywhere, into drinks, onto the cake, and into my carpet for a month, and if the camera person misses the second, the moment is gone. I now use biodegradable confetti outdoors only, and brief the photographer on the exact count of three.
Pro Tip: Use biodegradable confetti outdoors only, and brief your photographer on the exact count before the pop.
Cost / Time / Difficulty: $15 to $30 | 20 minutes setup | Easy
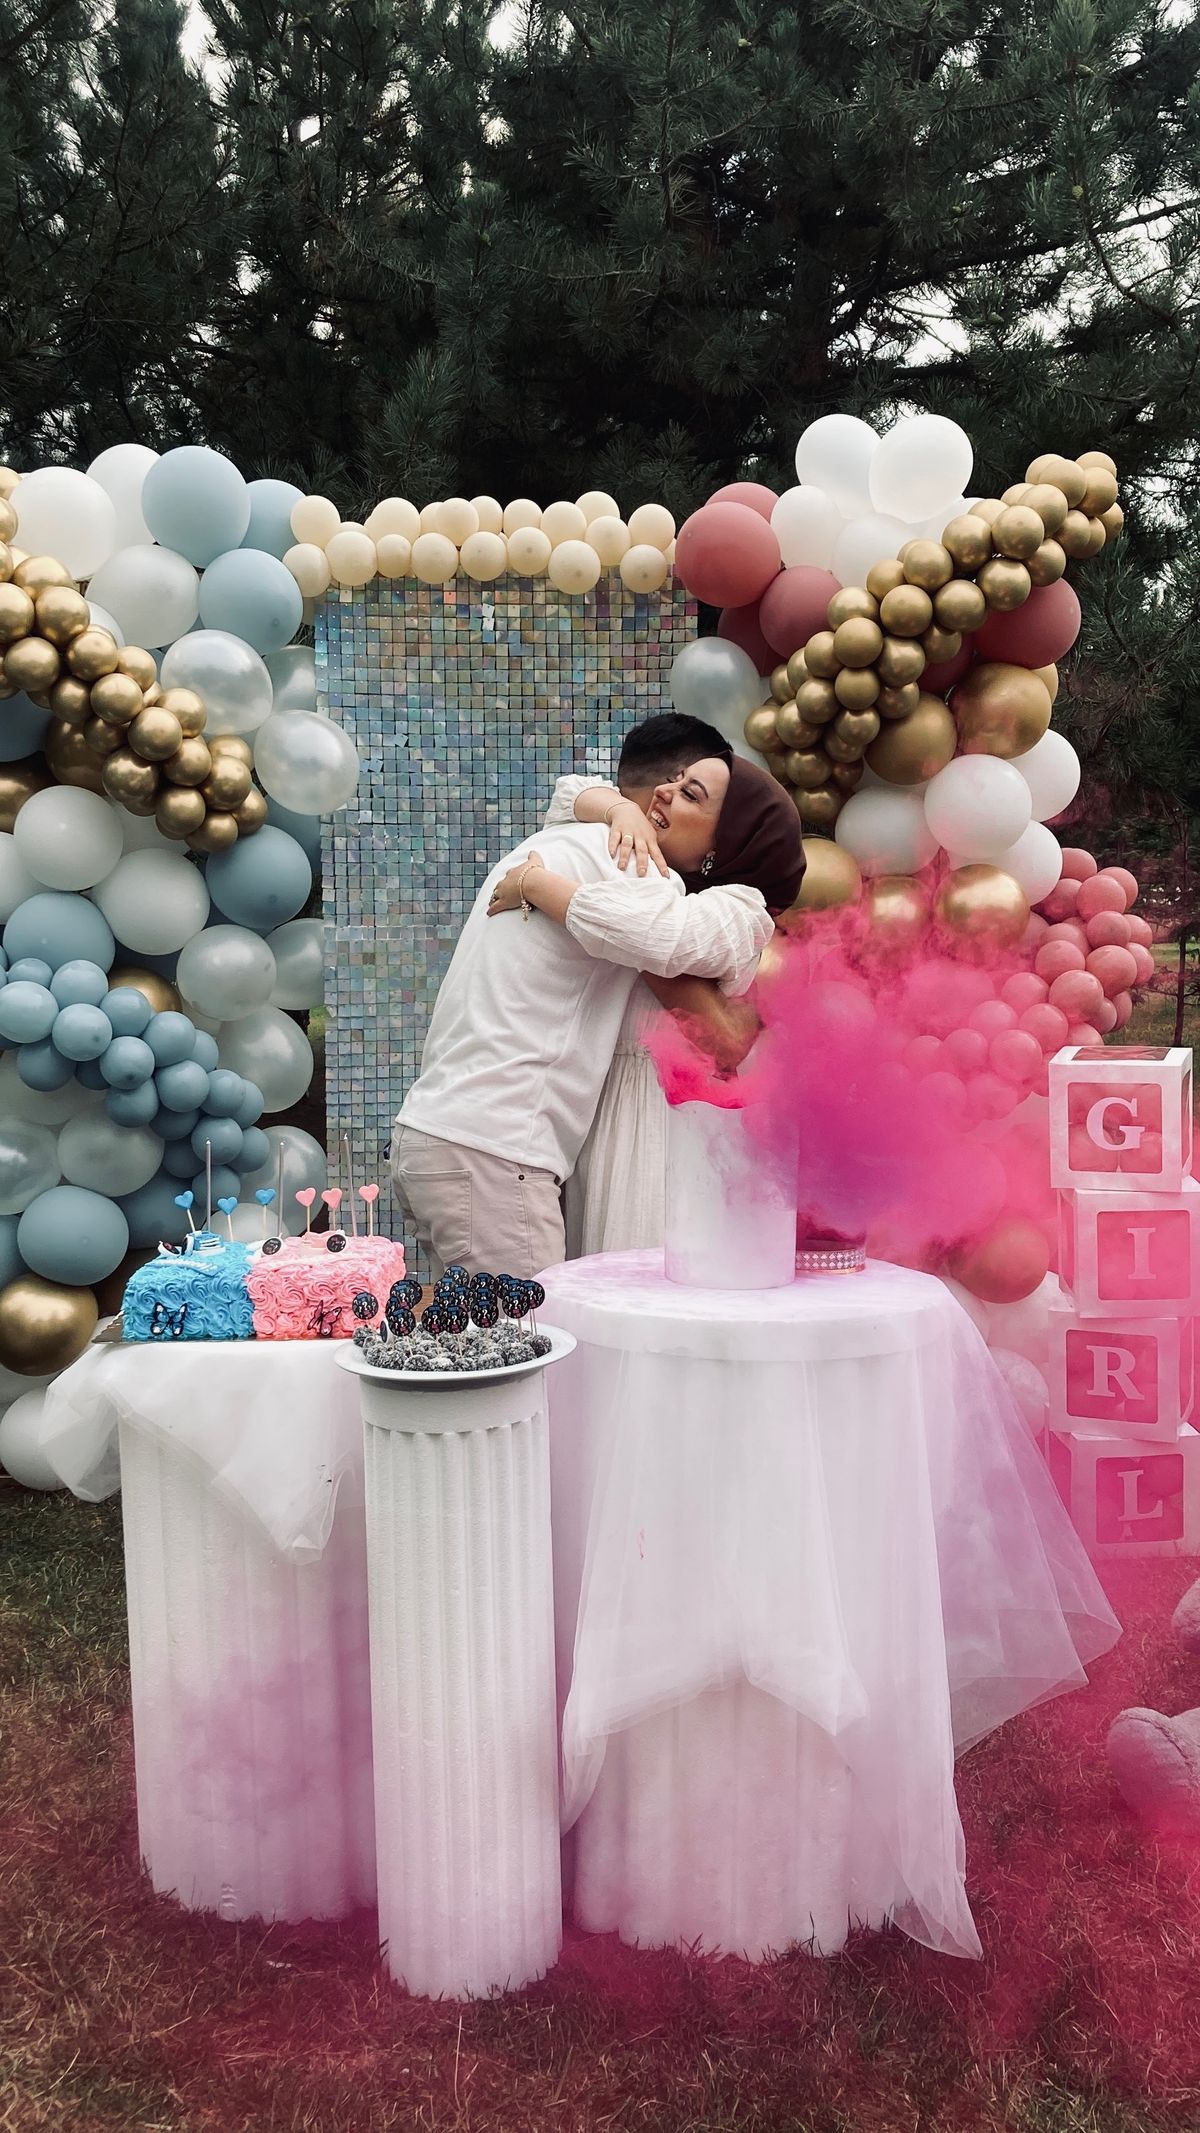
10. The Posing Station With Props on Sticks
Props on sticks are the booth that gets shy guests laughing, because holding a silly moustache is easier than posing with empty hands. I printed twenty props, baby bottles, pacifiers, crowns, glasses, and speech bubbles saying “Oh Baby!” and “Future Auntie,” glued them to wooden dowels, and stood them in a tall jar beside the backdrop.
The problem is breakage. Card props bend and tear after a dozen uses, and my speech bubbles lost their sticks. I now print props on thick card, laminate them if I have time, and glue each stick with hot glue plus tape.
Pro Tip: Print props on thick card and reinforce every stick with hot glue plus tape, or they will snap by mid-afternoon.
Cost / Time / Difficulty: $10 to $20 | 1.5 hours | Easy

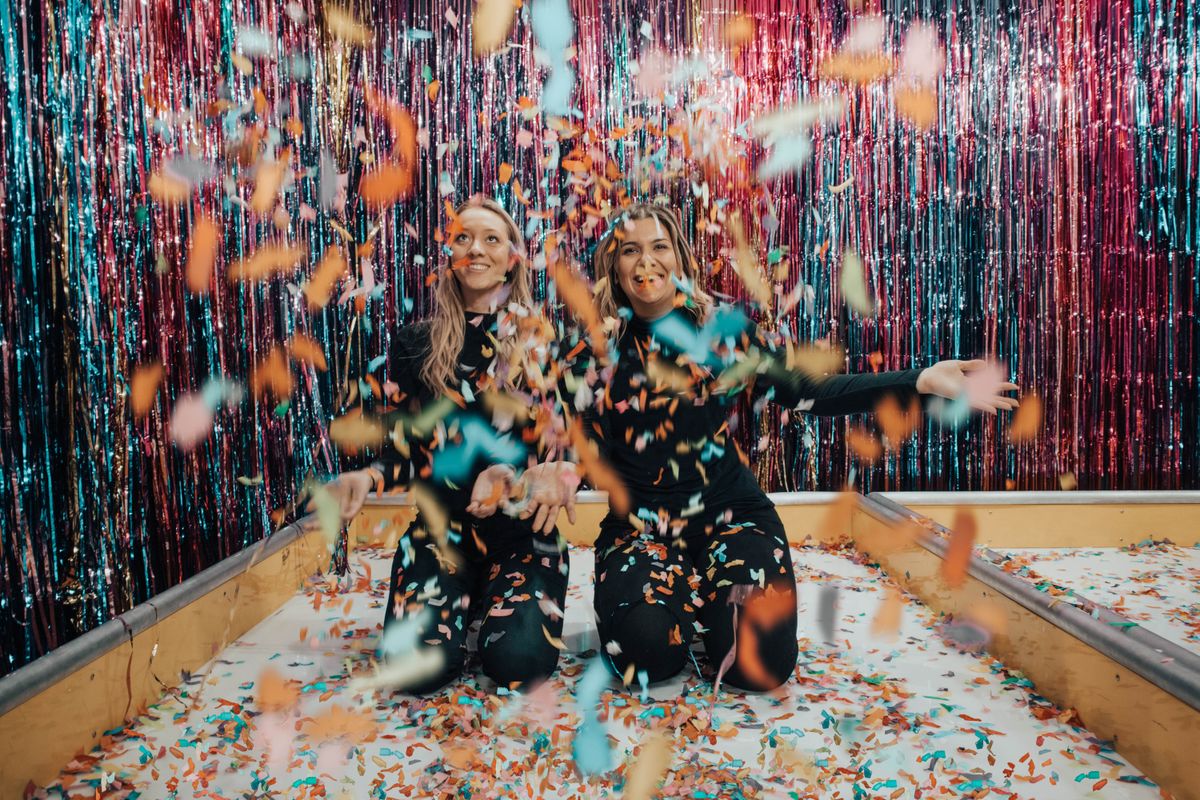
11. The Confetti Throw Group Shot
This booth is not a backdrop at all, it is a planned moment: the whole group throws confetti in the air while someone takes the photo. I marked a spot on the lawn with ribbon, handed each guest a small cup of pastel confetti, and counted to three while my brother took five fast photos in a row. The best frame hangs in my sister’s hallway.
The downside is that you get one real chance. Confetti falls fast, guests throw early or late, and my first attempt produced a photo of half the group looking at the ground. I now do a practice throw first, so everyone knows the timing, and shoot in burst mode.
Pro Tip: Do a practice throw first and shoot in burst mode, because confetti falls too fast for a single shot.
Cost / Time / Difficulty: $8 to $15 | 15 minutes | Easy
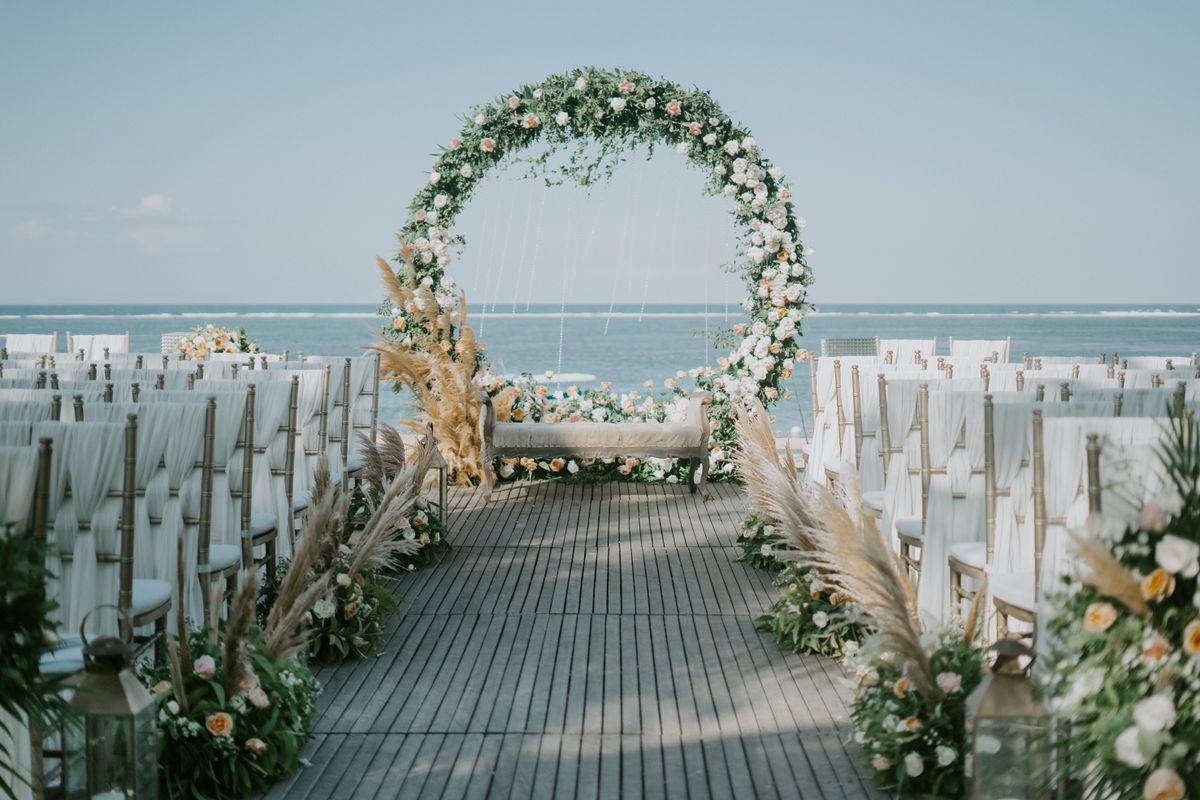
12. The Floral Arch Frame
A floral arch is a freestanding frame dressed with flowers that guests stand under, and it makes every photo look like a portrait session. I built mine from a garden arch, wrapped in faux greenery, with blush roses and white peonies at the top corners. Guests walked through it for their photo.
The watch-out is stability and size. My first arch wobbled when leaned on, and was too narrow for two adults plus a bump. I now weigh the feet down with sandbags, make the opening at least four feet wide, and tell guests to stand in front of the arch, not to hang off it.
Pro Tip: Weigh arch feet down with sandbags and keep the opening at least four feet wide for group photos.
Cost / Time / Difficulty: $50 to $80 | 2 hours | Medium
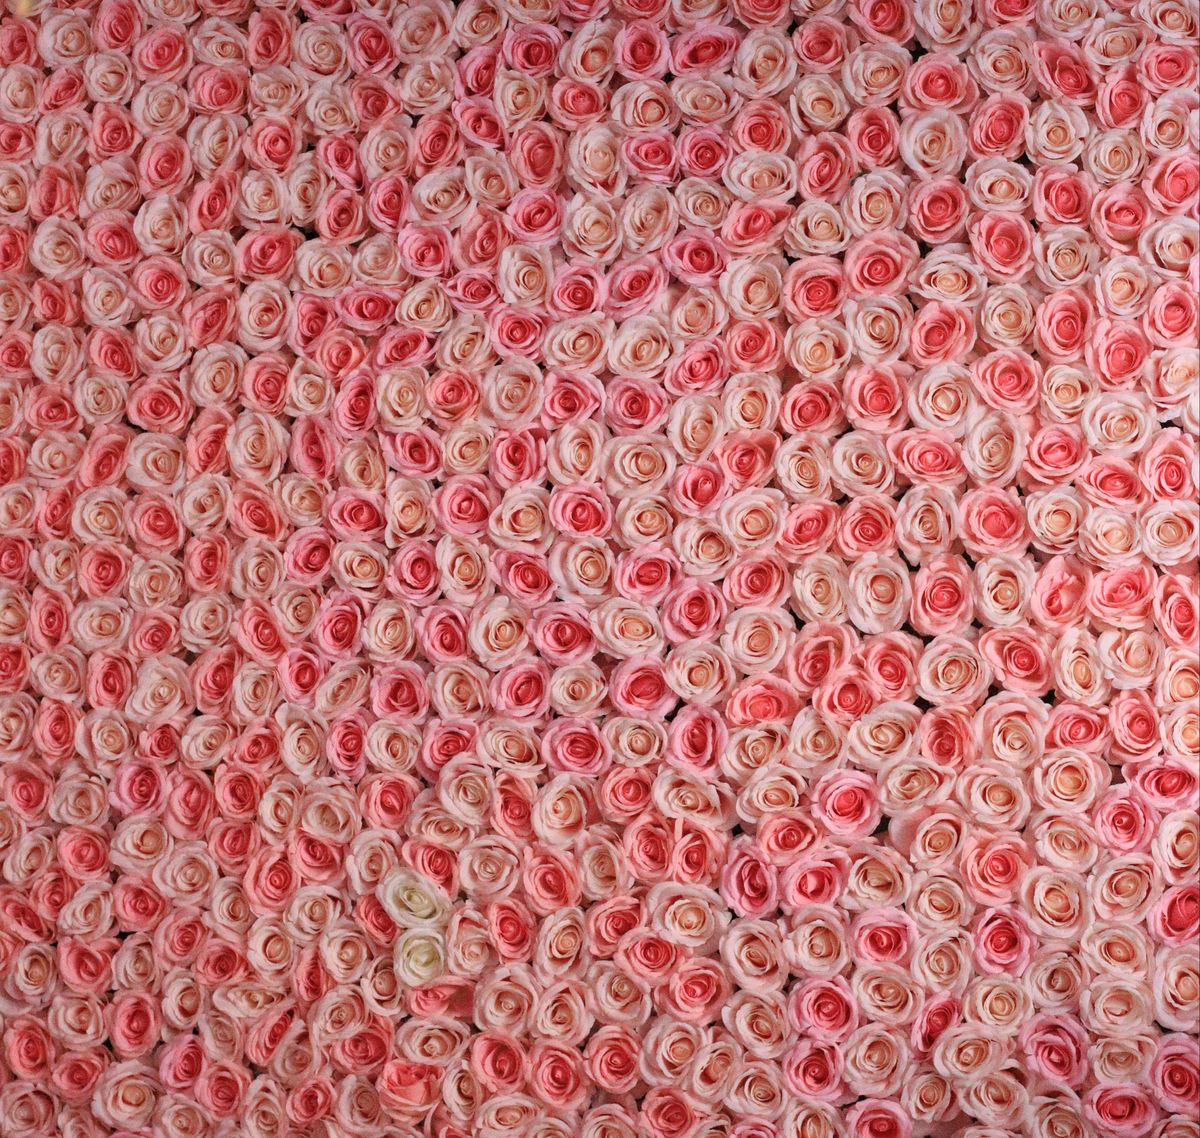
13. The Rose Pattern Backdrop
This booth is a wall of pink and white roses that fills the whole photo background so no plain wall shows at all. I covered two large foam boards with faux rose heads, packed tightly edge to edge, and leaned them against the wall behind a small stool. Guests sat on the stool with roses all around them, and the photos looked like a studio shoot.
The downside is cost and time if you use real flowers. My first attempt with real roses cost twice the budget, wilted by evening, and took an hour to strip. Faux roses are the honest answer: they cost less, they do not wilt, and guests cannot tell the difference in a photo.
Pro Tip: Use faux roses and pack the heads edge to edge, because any gap shows the board behind in photos.
Cost / Time / Difficulty: $40 to $70 | 2.5 hours | Medium
14. The Pink Flower Flat-Lay Wall
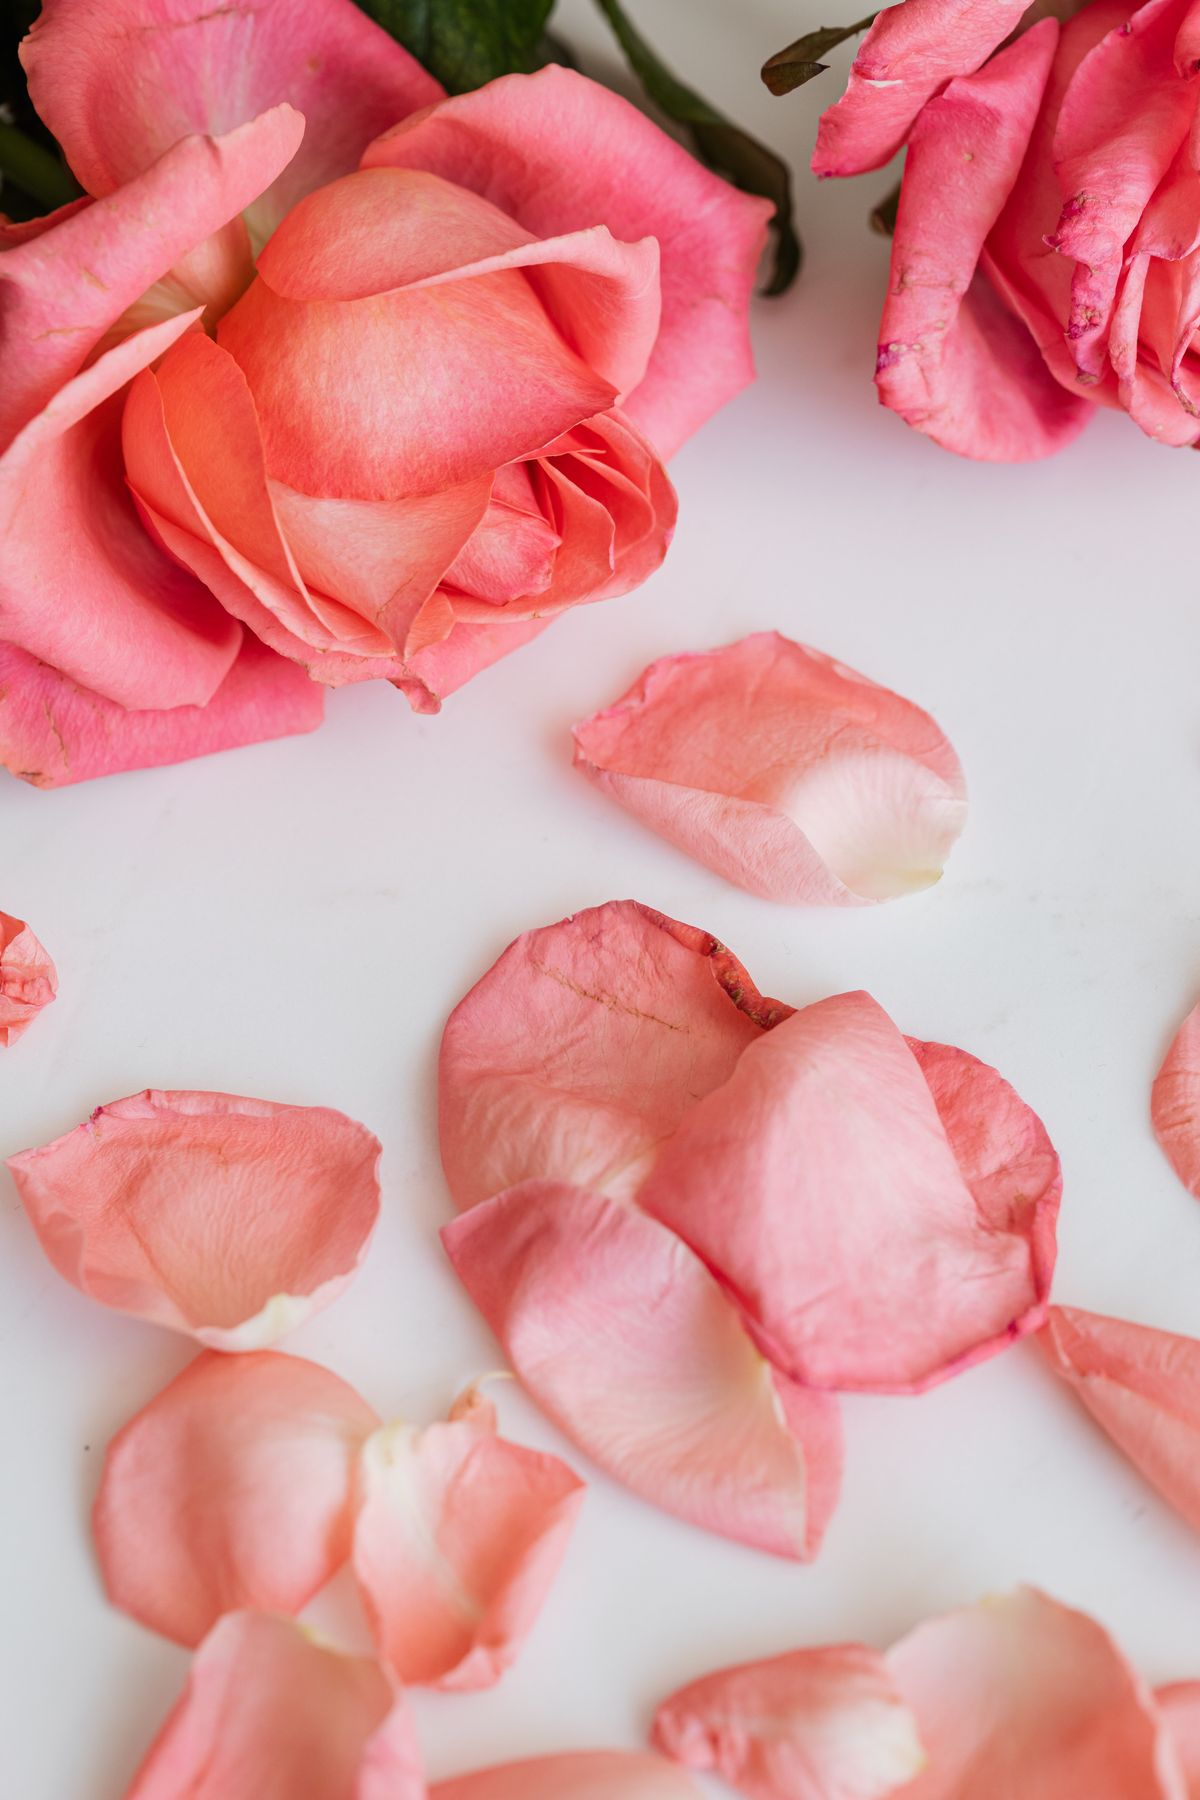
This is the prettiest low-effort booth I have made: pink and white flowers arranged flat against a white wall, with guests standing in front. I taped faux flower stems to a white sheet hung on the wall, clustering them at the top corners and letting a few trail down the sides, so the frame looked soft.
The problem is tape and drooping. My first stems slid down within an hour on light tape, and one cluster fell during a group photo. I now use strong double-sided tape plus a few pins through the sheet into the wall, and keep the clusters small and light.
Pro Tip: Use strong double-sided tape plus pins, and keep flower clusters small and light so nothing slides down.
Cost / Time / Difficulty: $20 to $35 | 1 hour | Easy
15. The Friends Celebration Corner
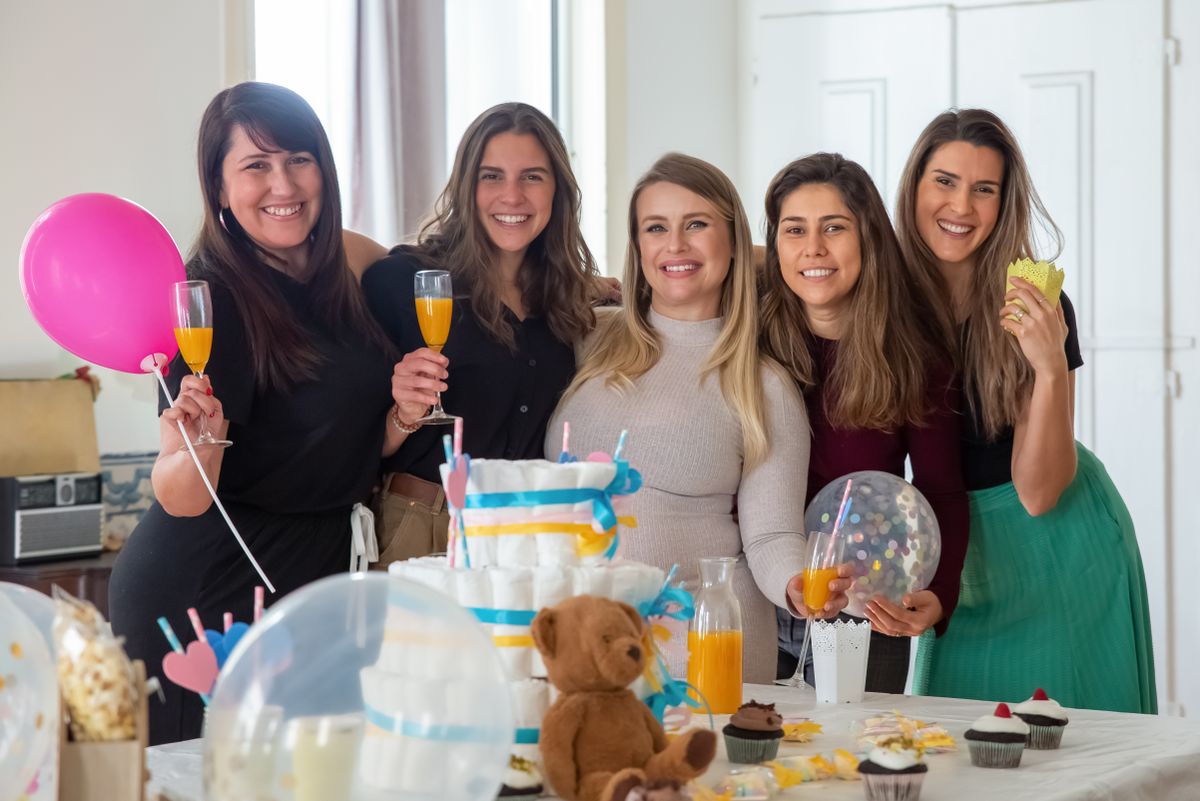
This booth is simply a corner dressed for a group photo: a few balloons, a string of fairy lights, and a rug, with no formal backdrop at all. I hung fairy lights along the corner wall, placed a basket of props on a chair, and let guests gather naturally with drinks in hand. The photos came out candid and warm, because nobody felt like they were performing in front of a set.
The honest downside is that without a clear backdrop, photos can look messy. My first corner had a bookshelf and coat rack behind it, and every photo needed cropping. I now clear the corner completely, hang a plain curtain if the wall is busy, and timer the fairy lights to glow before guests arrive.
Pro Tip: Clear the corner completely and hang a plain curtain if the wall is busy, or every photo will need cropping.
Cost / Time / Difficulty: $10 to $20 | 30 minutes | Easy
16. The Pastel Balloon Cluster Wall
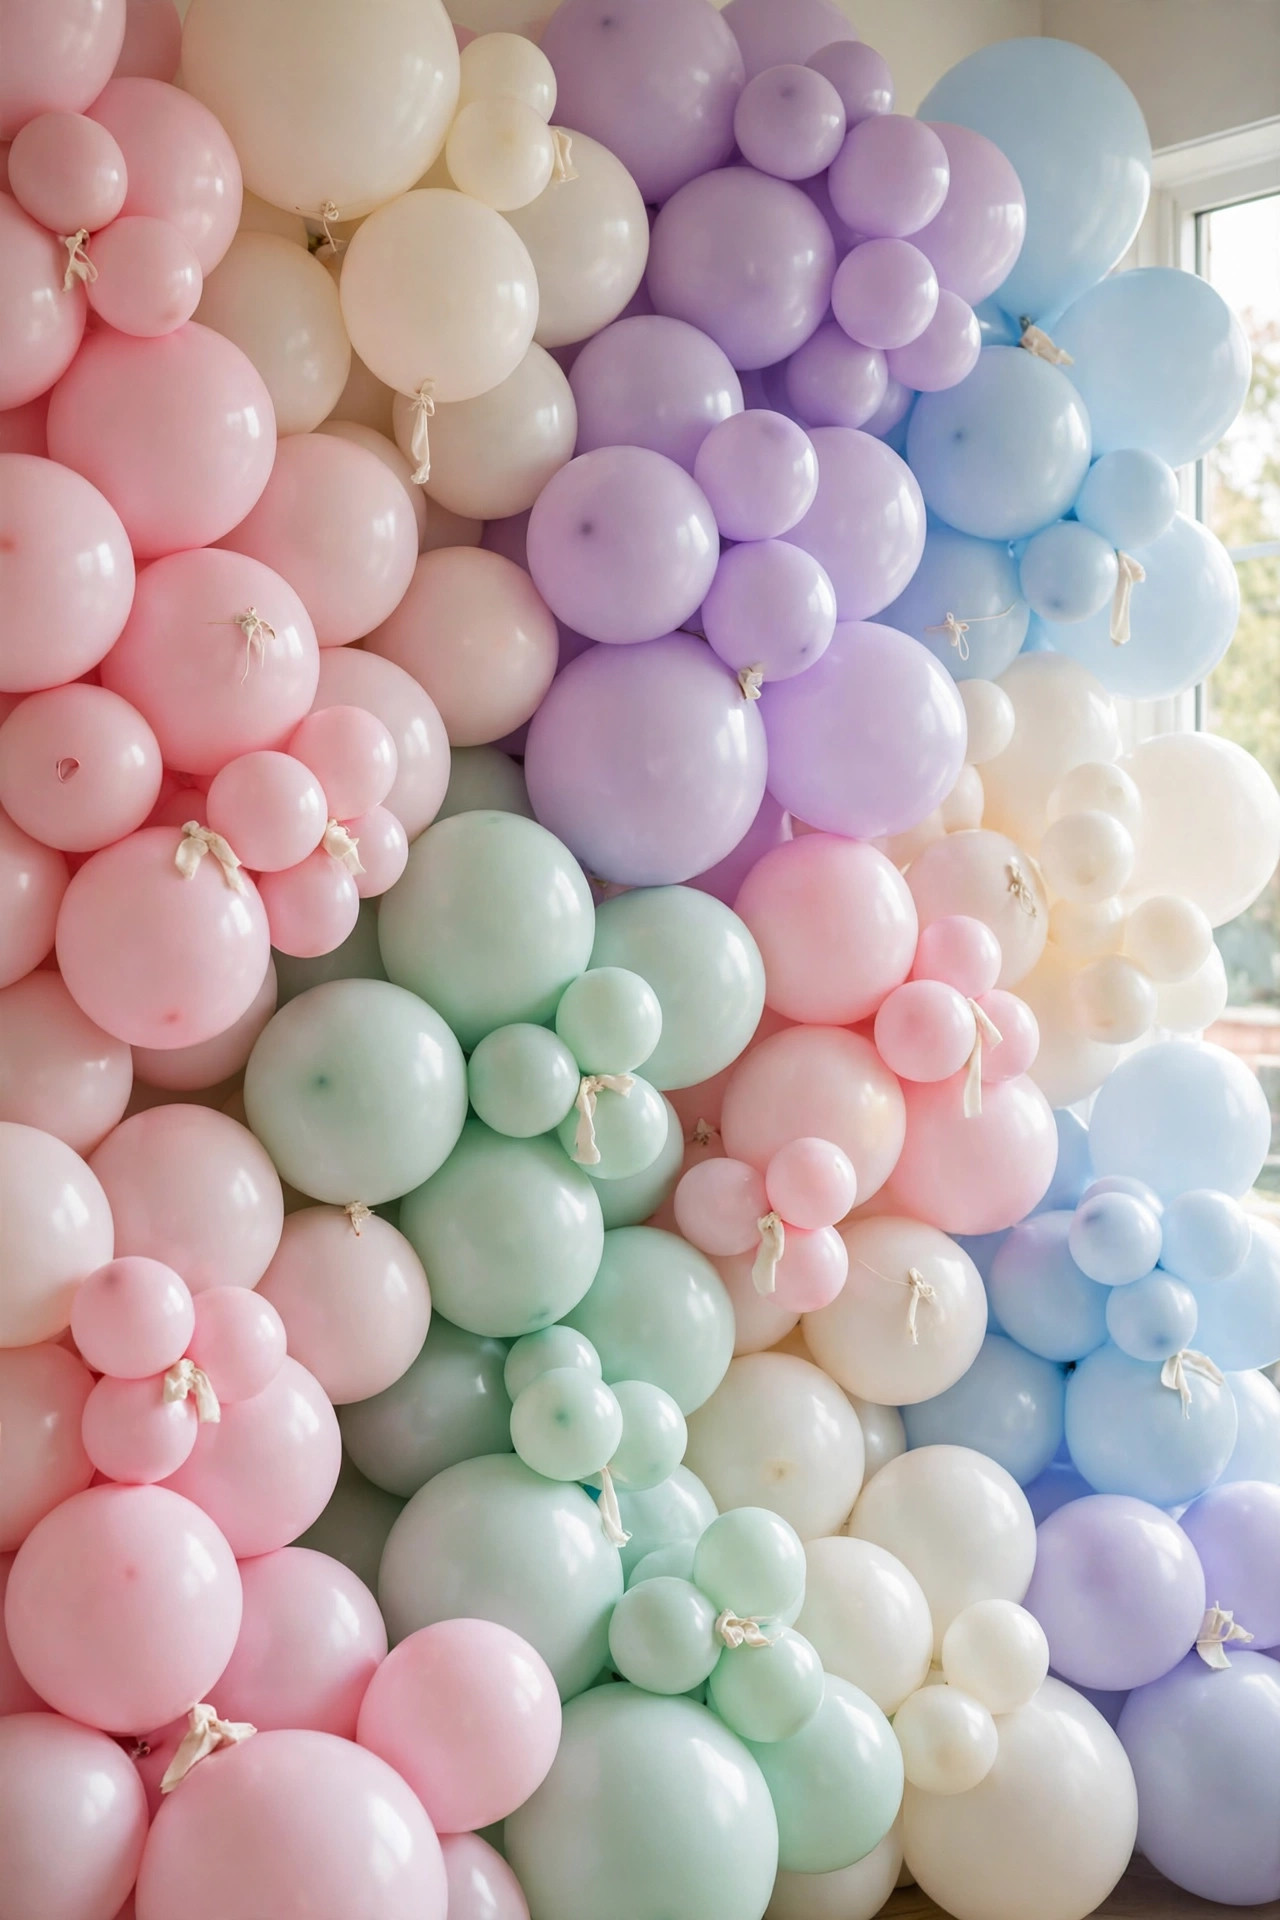
This booth covers one whole wall with pastel balloons at different heights, so guests stand inside a cloud of colour. I inflated about eighty balloons in pastel pink, blue, cream, and lilac, tied them in bunches, and taped the bunches to the wall from floor to ceiling, leaving a gap in the middle for standing.
The watch-out is time and popping. Inflating eighty balloons took two hours even with an electric pump, and three popped while taping. I now inflate in two sessions, keep spare balloons ready, and tape bunches to the wall with strong tape, not pins, because pins pop balloons.
Pro Tip: Use an electric pump, inflate in two sessions, and tape bunches with strong tape, never pins.
Cost / Time / Difficulty: $20 to $35 | 2 hours | Medium
17. The Teepee Nook Booth
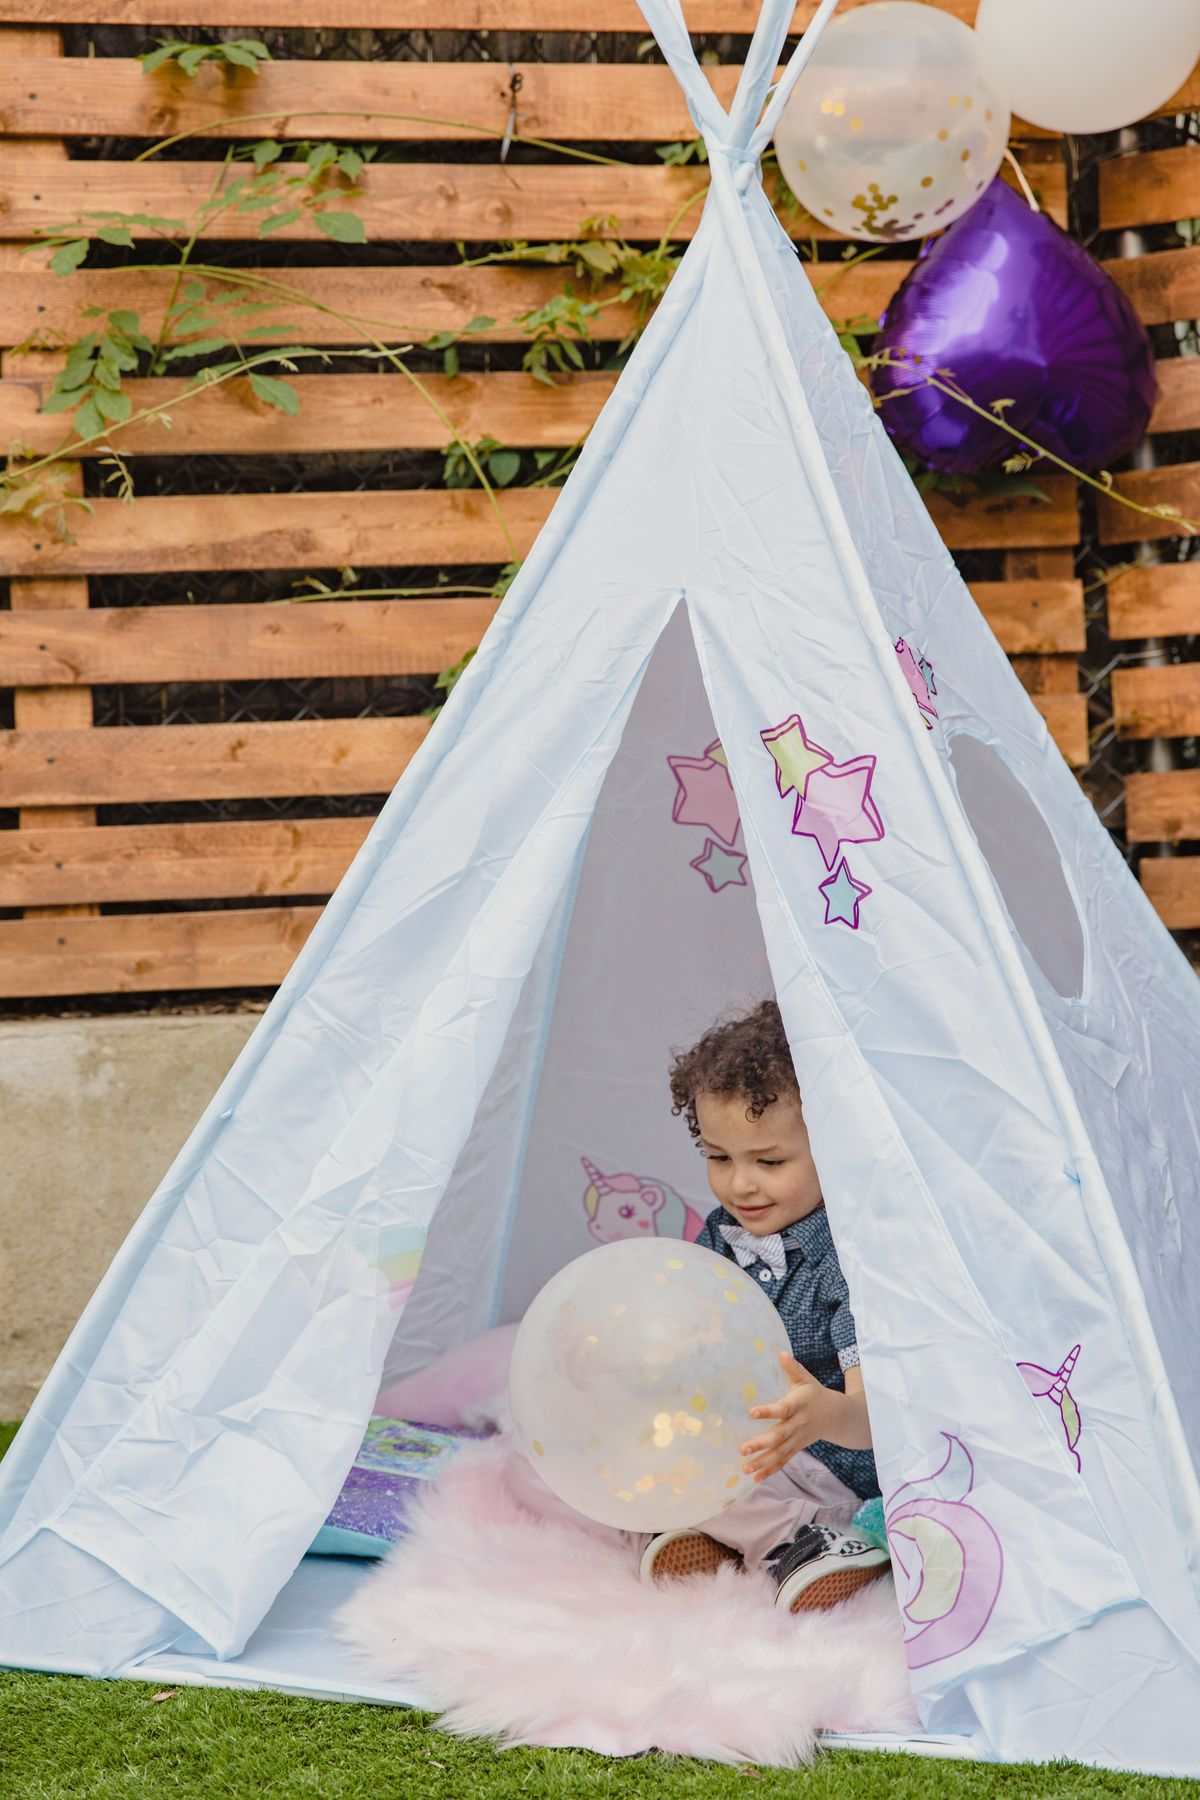
A teepee nook is a small tent dressed with balloons and gifts that guests sit inside for photos, and it is the booth children refuse to leave. I set up a children’s teepee in the corner, piled cushions inside, hung a small balloon bunch at the entrance, and placed wrapped gifts beside it. Adults crouched inside for funny photos while children played in it all afternoon.
The downside is size and light. A teepee is dark inside, so photos come out shadowy without light, and adults do not fit long. I now drape fairy lights inside the teepee and put a small stool outside for adults who want a photo without crouching.
Pro Tip: Drape fairy lights inside the teepee, or photos will come out too dark, and keep gifts as decoration only.
Cost / Time / Difficulty: $30 to $60 | 30 minutes | Easy
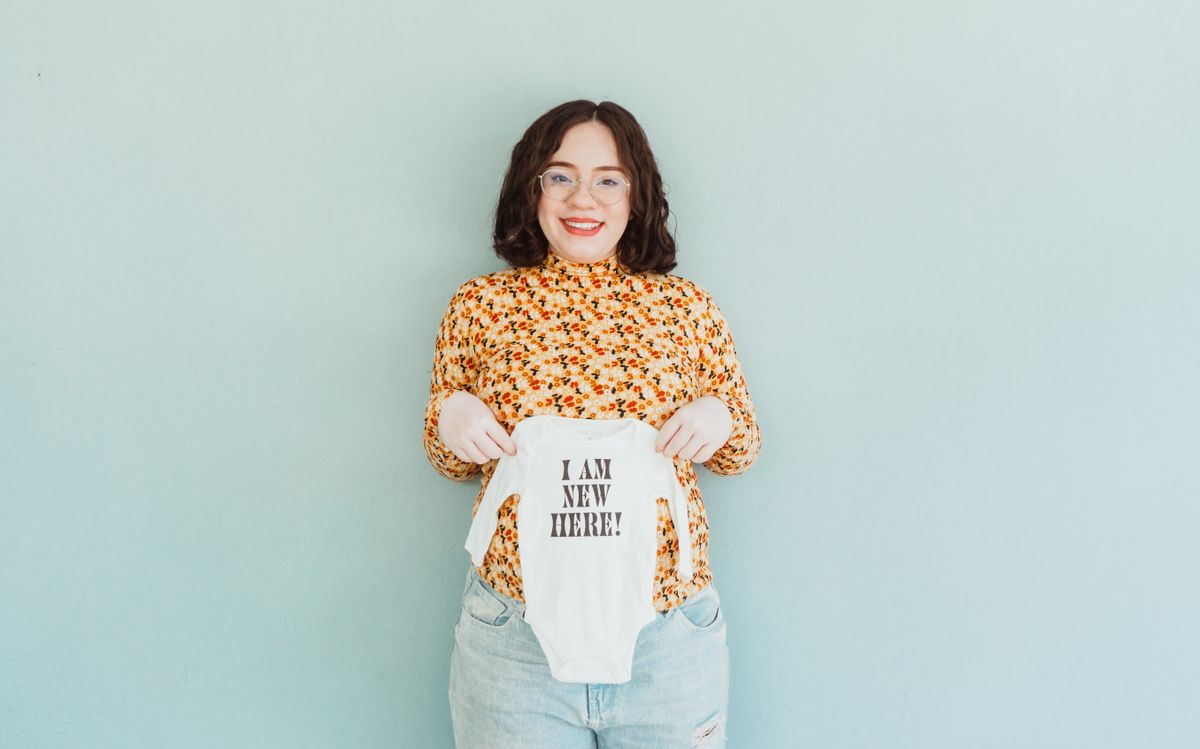
18. The “I Am New Here” Onesie Sign Booth
This booth is built around one big sign: a giant onesie or a board saying “I am new here!” that guests hold up for photos. I painted the words on a large foam board, cut it into a onesie shape, and added a wooden handle on the back so guests could hold it up like a sign. The mum-to-be held it for the first photo, then every guest took a turn.
The problem is that a big sign hides faces if guests hold it wrong. My first photos showed the sign and no faces; guests held it at chin height. I now tell guests to hold the sign at waist height, off to one side, and mark the handle position with tape so it sits right every time.
Pro Tip: Hold the sign at waist height and off to one side, or it will hide faces in every photo.
Cost / Time / Difficulty: $10 to $20 | 1 hour | Easy
Comparison Table
| Idea | Best for | Cost | Effort |
|---|---|---|---|
| Balloon Garland | Any shower | $25 to $40 | Easy |
| Flower Wall | Elegant showers | $60 to $90 | Medium |
| Onesie Clothesline | Gift display | $15 to $30 | Easy |
| Instant Camera | Guests who want prints | $40 to $70 | Easy |
| Polaroid Guest Book | A keepsake | $30 to $50 | Easy |
| Teddy Bear Corner | Small corners | $20 to $35 | Easy |
| Gold Confetti Curtain | Glamour | $10 to $20 | Easy |
| Blue Balloons | Boy-themed showers | $15 to $25 | Easy |
| Gender Reveal Moment | The reveal photo | $15 to $30 | Easy |
| Props on Sticks | Shy guests | $10 to $20 | Easy |
| Confetti Throw | Whole-group photo | $8 to $15 | Easy |
| Floral Arch | Garden showers | $50 to $80 | Medium |
| Rose Backdrop | Studio-style photos | $40 to $70 | Medium |
| Pink Flower Wall | Small showers | $20 to $35 | Easy |
| Friends Corner | Relaxed showers | $10 to $20 | Easy |
| Pastel Balloon Wall | High impact | $20 to $35 | Medium |
| Teepee Nook | Showers with children | $30 to $60 | Easy |
| Onesie Sign | A running joke | $10 to $20 | Easy |
Mistakes I Made (So You Don’t Have To)
I built a booth in bad light. My first booth faced a dark hallway, and every photo came out yellow and grainy, no matter how pretty the backdrop was. Now I pick the light first, then build the backdrop around it.
I left the backdrop unsecured. A balloon garland fell on a guest mid-photo because I had used one hook, and photos stopped for twenty minutes while we rebuilt it. Two hooks, tape, and weights are now non-negotiable for me.
I forgot to assign a photographer. Guests stood waiting, phones in hand, because nobody knew whose job the photo was. I now assign camera duty to one friend, or set a phone on a tripod, before guests arrive.
I used real flowers for a whole wall. They wilted by evening and cost twice my budget. Faux flowers photograph the same and survive the whole shower, so I save real flowers for the table.
Frequently Asked Questions
How much space do I need for a baby shower photo booth?
Six feet wide and four feet deep fits two or three guests, and eight feet wide works for groups. I measure the spot before building.
How long did your booths actually last at a real shower?
Balloon garlands lasted a full afternoon when inflated that morning, and my flower wall has survived three showers. I keep spares for foil curtains and card props.
What would you do differently if you built these again?
I would start with light and a photographer, not the backdrop. A plain wall in good light beats a fancy backdrop in a dark corner with nobody holding the camera.
Do I need a professional camera for good booth photos?
No. A phone on a tripod in good daylight takes photos guests love, and an instant camera adds a print to keep. I spend on light and a steady stand, not a camera I cannot use.
Final Thoughts
The best baby shower photo booth ideas are not the most expensive ones. They are the ones guests find easily, use without instructions, and leave with a photo they want to keep. Pick a booth that fits your space, secure it, put it in good light, and assign a photographer.
Then enjoy it yourself; the mum-to-be’s photo in front of your booth is the one that ends up framed.
Related article: Baby Shower Cake Ideas will help you plan the cake once the booth is built. Also read Baby Shower Games Ideas for games guests enjoy between photos. Read this next: Baby Shower Food Ideas for a menu guests remember long after the photos are printed.