21 Unicorn Birthday Party Ideas That Turn an Ordinary Birthday Into Pure Magic
When my niece turned six, she asked for exactly one thing: unicorn birthday party ideas that felt like real magic, not just a pink tablecloth and a plastic horn. I spent three weekends testing decorations, cakes, and games in my own living room and backyard before her big day, and I learned which ideas actually survive contact with twenty excited kids.
I picked these 21 unicorn birthday party ideas by trying them myself first, keeping only the ones that looked magical in photos, held up for a full party, and did not leave me scrubbing glitter out of the carpet for a week. Every idea below is one I have set up, served, or played with my own hands.
Key Takeaways
- Start with a pastel palette of pink, lavender, mint, and gold, and repeat it in every single detail, from balloons to napkins.
- One showstopper, like a rainbow layer cake or a balloon arch, beats ten small decorations scattered everywhere.
- Mix one craft, one active game, and one photo moment so kids of every energy level have something to love.
- Keep glitter contained to one station, and your cleanup time drops by half.
The Best Unicorn Birthday Party Ideas
1. Pastel Balloon Arch Entrance
I built a balloon arch over the front door using pink, lavender, mint, and white balloons in clusters of four, tied to a simple plastic arch strip. It took me about an hour with a small electric pump, and the moment kids walked under it, they gasped.
My honest downside is that balloons pop, especially in heat, so I kept six spare balloons and a pump by the door. One popped during the party and I replaced it in under a minute.
Pro Tip: Inflate balloons the morning of the party, not the night before, so they stay full and tight.
Cost: $25–$40 | Time: 1 hour | Difficulty: Easy

2. DIY Unicorn Headband Craft Station
I set up a table with plain headbands, felt ears, gold pipe cleaners twisted into horns, and fabric flowers, and let each child build their own unicorn headband. I pre-cut the ears and horns so younger kids only had to glue and decorate, which kept the line moving.
The downside is glue gun burns, so I ran this station myself and kept the hot glue gun on my side of the table. Kids chose colors and placement while I did the gluing.
Pro Tip: Pre-glue the horn to a small felt base so kids only add ears and flowers.
Cost: $15–$25 | Time: 30 minutes setup | Difficulty: Easy

3. Rainbow Layer Cake Showstopper
I baked six thin layers, one in each rainbow color, using two boxes of white cake mix divided into six bowls with gel food coloring. I stacked them with white buttercream, and when we cut the cake, the kids literally cheered at the rainbow inside.
The honest downside is time: six layers take a full afternoon to bake and cool, and you need a steady hand to stack them evenly. My third layer slid slightly, and I fixed it with extra frosting.
Pro Tip: Freeze each layer for 20 minutes before stacking so they do not slide.
Cost: $20–$35 | Time: 3–4 hours | Difficulty: Medium

4. Unicorn Piñata Smash
I hung a white unicorn piñata from a sturdy tree branch, filled it with small candies, stickers, and mini erasers, and let kids take turns with a lightweight plastic bat. The birthday girl got the final swing, and the candy explosion sent kids scrambling in the best possible way.
My downside warning is the mess and the scramble: candy flew everywhere, and two kids bumped heads chasing the same lollipop. Next time I will mark a candy zone with tape and let kids collect in age groups.
Pro Tip: Fill with wrapped candy only, and skip anything tiny enough to be a choking hazard for toddlers.
Cost: $20–$30 | Time: 20 minutes | Difficulty: Easy

5. Pastel Dessert Table Display
I covered a folding table with a lavender cloth, then arranged cupcakes, cookies, and a small cake on cake stands at different heights using upside-down boxes hidden under the cloth. Guests walked straight to it when they arrived, which told me the display was doing its job.
The downside is that little hands grab fast, so I put the dessert table against a wall and served the main cake myself later. I also learned to keep a spare tray ready, because one plate of cookies vanished in the first fifteen minutes.
Pro Tip: Use odd numbers of stands at three heights for a display that photographs well.
Cost: $30–$50 | Time: 45 minutes | Difficulty: Easy

6. Rainbow Sprinkle Cupcakes
I baked vanilla cupcakes, frosted them in pastel pink, lavender, and mint, and let the kids add their own rainbow sprinkles at a topping bar. The kids treated it like real decorating work, tongues out in concentration, and proudly showed off their creations before eating them.
The downside is sprinkle migration: within minutes, sprinkles were on the floor, the table, and one child’s hair. I laid a cheap plastic tablecloth under the station and rolled it up afterward, which saved my real tablecloth.
Pro Tip: Frost cupcakes the night before and refrigerate, then bring to room temperature one hour before serving.
Cost: $12–$20 | Time: 1 hour | Difficulty: Easy

7. Unicorn Face Painting Corner
I hired a friend who paints faces and asked her to offer three designs only: a unicorn horn with rainbow swirls, a rainbow cheek, and a gold star. Limiting choices kept the line short, and each design took under five minutes.
The honest downside is waiting: even at five minutes each, twenty kids means a long line, so I handed out numbered tickets and let kids play while they waited. I also kept makeup wipes ready for the one child who changed her mind halfway through.
Pro Tip: Use water-based face paint and patch-test one small spot on sensitive skin first.
Cost: $0–$60 | Time: 1–2 hours | Difficulty: Easy

8. Magical Photo Booth Backdrop
I hung a pastel fringe curtain on a curtain rod between two coat stands, added a big unicorn foil balloon, and set out props like star glasses, flower crowns, and foam horns on sticks. I taped a phone stand to a chair so parents could take their own photos, and the backdrop got used constantly.
The downside is that fringe curtains tangle fast when kids grab them, so I taped the bottom of the curtain to the floor with clear tape. I also learned to put the booth near a window for natural light, because my first test photos in a dark corner looked dull.
Pro Tip: Face the backdrop toward a window or bright light source for flattering photos.
Cost: $20–$35 | Time: 30 minutes | Difficulty: Easy
9. Whimsical Cake Topper Display
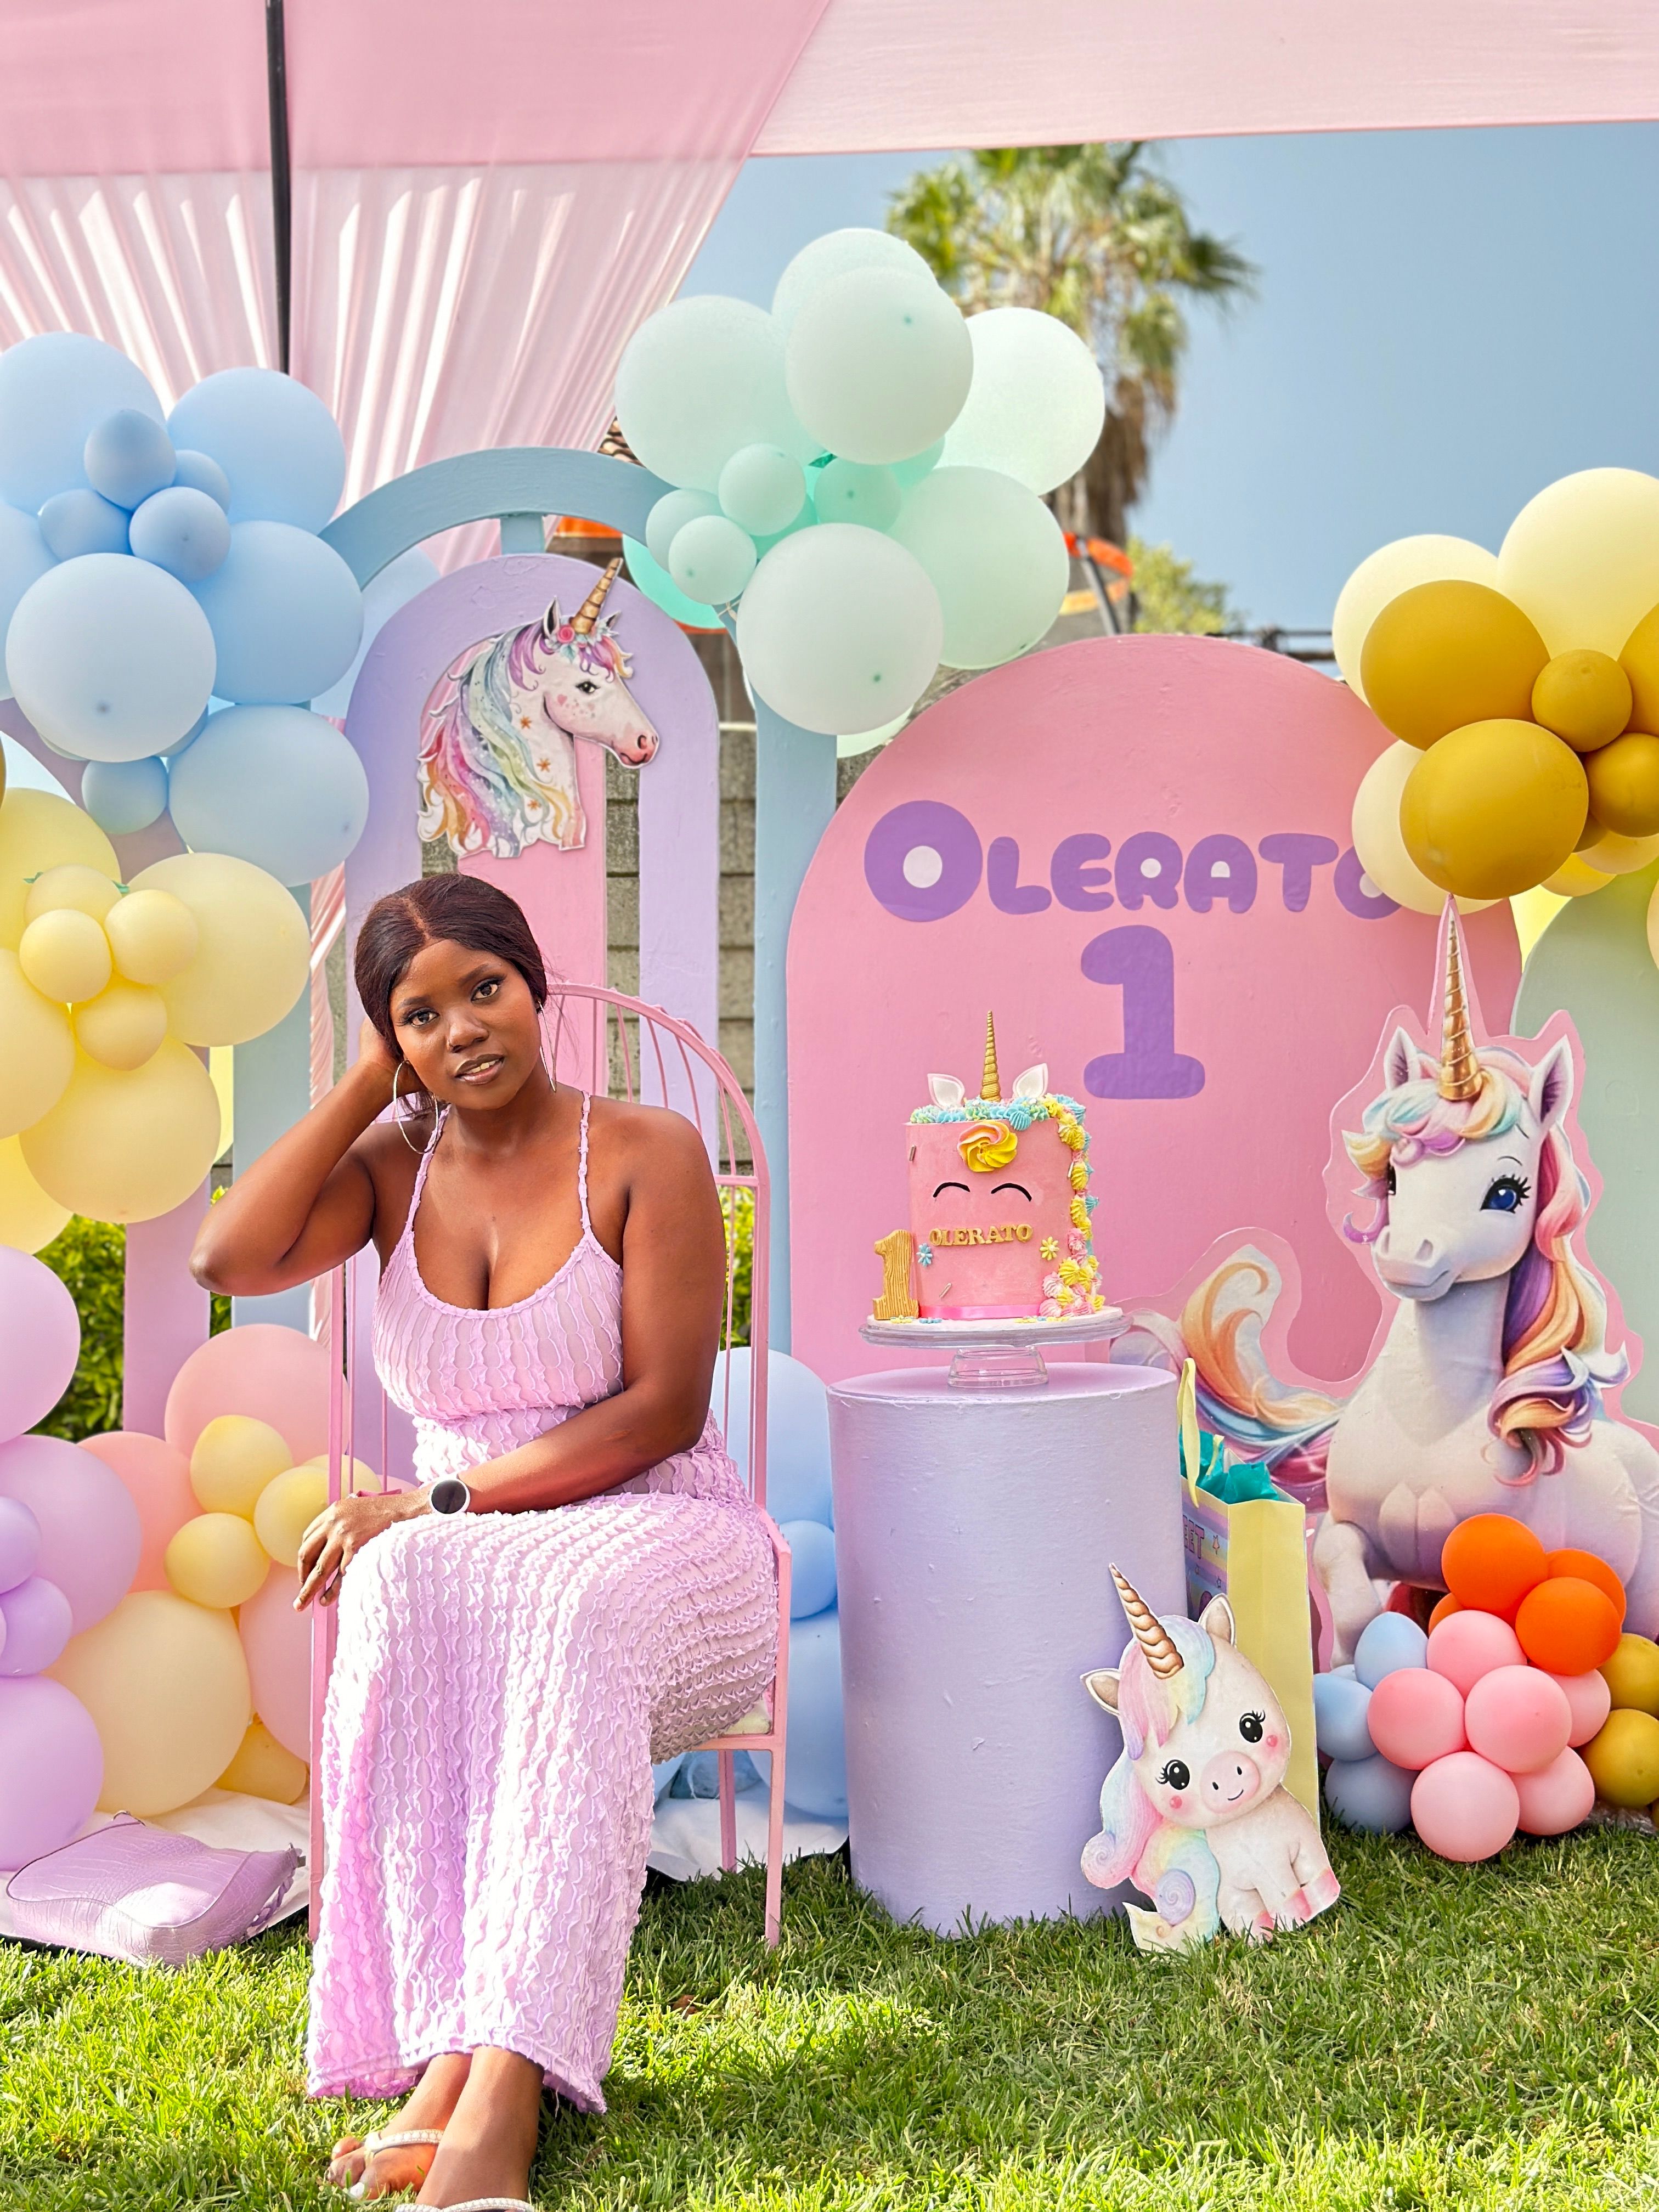
I topped the cake with a handcrafted carousel-style topper with horses and pastel details, which gave the whole dessert table a storybook feel. I chose it because it looked like something from a magical fairground, and it matched the gold and pink palette perfectly.
The honest downside is that a fancy topper can overwhelm a small cake, so I used it on an eight-inch cake rather than a six-inch one. I also kept it away from the candles, because one year a paper decoration caught a spark.
Pro Tip: Insert the topper only after frosting has set, so it stands straight and does not sink.
Cost: $10–$25 | Time: 10 minutes | Difficulty: Easy

10. Rainbow Frosting Decorating Station
I set out plain frosted cupcakes, bowls of pastel frosting in piping bags, and rainbow sprinkles, and let kids pipe their own swirls. I gave a quick demo first, showing how to squeeze from the top of the bag, and even the youngest kids managed a wobbly swirl they were proud of.
The downside is frosting on clothes, so I handed out old adult t-shirts as smocks and tied them at the back. Two shirts still went home pink, but no party outfits were ruined.
Pro Tip: Chill piping bags for 10 minutes before use so the frosting holds its swirl shape.
Cost: $15–$25 | Time: 40 minutes | Difficulty: Easy

11. Unicorn Dreamcatcher Craft
I hung a sample dreamcatcher on the craft table and gave kids paper plates with the centers cut out, yarn, ribbons, and foam stars to weave their own. I punched holes around each plate rim in advance, which made threading easy even for four-year-olds.
The downside is tangled yarn, so I cut every piece to arm’s length before the party and tied one end to the plate for each child. One boy still managed a spectacular tangle, and we laughed and started fresh together.
Pro Tip: Pre-cut all yarn and ribbon pieces the night before to avoid scissors chaos.
Cost: $10–$18 | Time: 45 minutes | Difficulty: Easy

12. Balloon Garland Centerpieces
I made small balloon garlands for each table using a balloon strip, pastel balloons, and a few gold ones, draped loosely around a mason jar of silk flowers. They took twenty minutes per table once I got the rhythm, and they made even plain folding tables look dressed up.
The honest downside is that garlands shed balloons if the strip is not twisted tightly, and I lost two balloons before I learned to double-knot each cluster. I also kept them low enough that adults could still talk across the table, which matters more than a dramatic tall display.
Pro Tip: Vary balloon sizes in each cluster for a full, professional-looking garland.
Cost: $15–$25 per table | Time: 20 minutes per table | Difficulty: Medium

13. Unicorn Birthday Outfit Moment
I dressed the birthday girl in a white unicorn t-shirt, a pastel tulle tutu, and her handmade headband, and she lit up the room. I kept the outfit comfortable, with soft leggings underneath, because a scratchy costume ruins a child’s mood fast.
The downside is that tutus shed tulle threads and t-shirts stain, so I packed a backup plain shirt for after cake time. Sure enough, chocolate frosting found the white shirt within minutes of cutting the cake.
Pro Tip: Take the special outfit portrait before guests arrive, not after cake.
Cost: $15–$30 | Time: 15 minutes | Difficulty: Easy

14. Rainbow Cake Cutting Reveal
I saved the cake cutting for the moment when every guest was gathered, candles lit, and phones out, because the rainbow inside deserves an audience. I cut the first slice slowly with a warm knife, wiped between cuts, and held the slice up so everyone could see the layers.
The downside is pressure: everyone watches, and a crumbling slice feels like a disaster even though it tastes the same.
Pro Tip: Run the knife under hot water and wipe it dry between every single slice.
Cost: Included in cake | Time: 15 minutes | Difficulty: Easy

15. Outdoor Garden Unicorn Party
I moved the whole party to the backyard, strung fairy lights between trees, and set the tables under a pastel bunting banner. I kept one pop-up canopy over the food table in case of drizzle, and the fresh air made the whole party feel bigger and freer.
The honest downside is weather, and I checked the forecast three times that week. Wind knocked over my balloon garland twice before I weighted the jars with stones.
Pro Tip: Weight every outdoor decoration with stones or sandbags to beat the wind.
Cost: $20–$40 | Time: 1 hour setup | Difficulty: Easy

16. Picnic-Style Unicorn Party
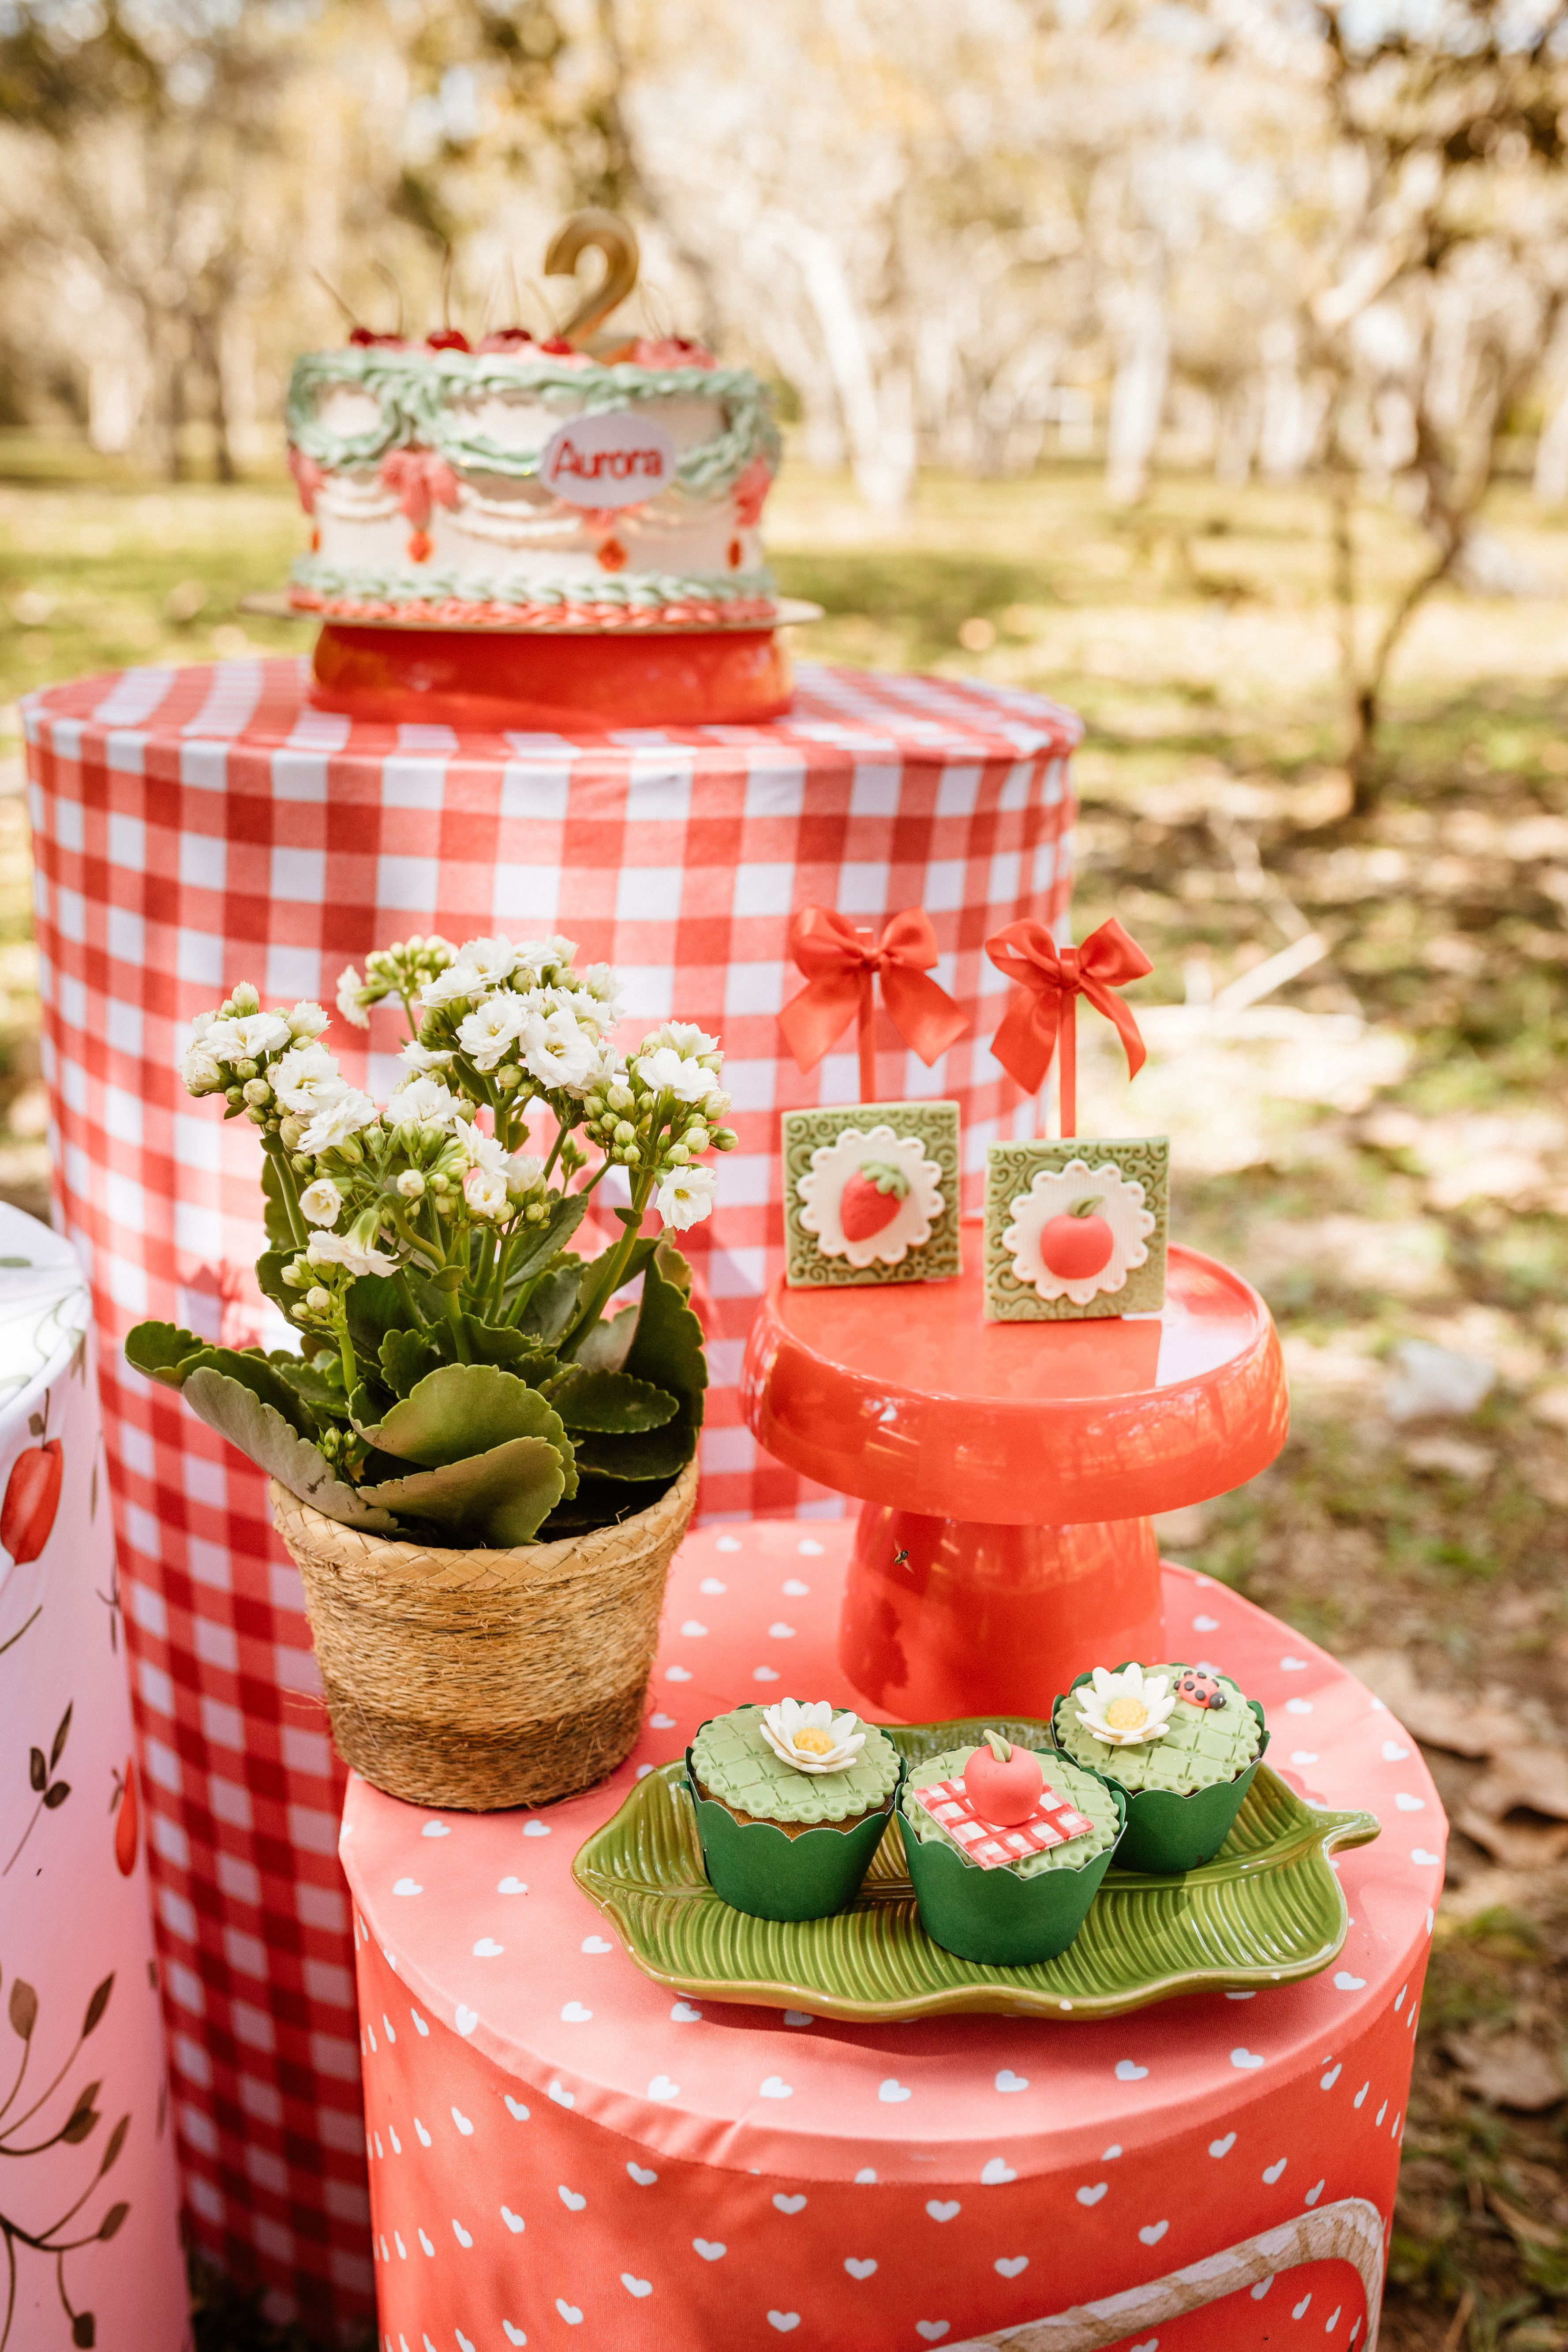
I laid picnic blankets on the grass, set out low trays of sandwiches, fruit, and cupcakes, and let kids sit in small groups like a storybook picnic. I used pastel paper plates and cups, and each blanket got a small jar of flowers and a stack of napkins.
The downside is ants and damp grass, so I put a plastic sheet under each blanket and kept food covered until serving time.
I also packed extra napkins, because picnic food and small hands always make a mess together.
Pro Tip: Put a waterproof sheet under every blanket, even if the grass looks dry.
Cost: $25–$45 | Time: 45 minutes | Difficulty: Easy
17. Painting and Craft Table
I covered a table with brown craft paper, set out watercolor paints, brushes, and unicorn coloring pages, and let kids paint freely between games. I taped the paper down so it did not slide, and I put a cup of water and a rag at each seat.
The downside is paint on sleeves, so I rolled sleeves up and handed out smocks before anyone sat down.
I also kept a roll of paper towels on the table, because paint water spills at least once at every party.
Pro Tip: Tape the craft paper to the table edges so it cannot slide or bunch up.
Cost: $10–$20 | Time: 20 minutes setup | Difficulty: Easy

18. Cupcake Decorating Contest
I gave each child a plain frosted cupcake and a small tray of toppings, then set a timer for five minutes and let them decorate. I judged on creativity, not neatness, and gave every child a sticker prize so nobody felt like a loser.
The downside is competitive tears, which is why I made every prize equal and praised something specific about each cupcake. One little boy cried because his sprinkles slid off, and we fixed it together with extra frosting glue.
Pro Tip: Give every child the same prize so the contest stays friendly, not stressful.
Cost: $12–$20 | Time: 30 minutes | Difficulty: Easy

19. Teepee Gift Corner
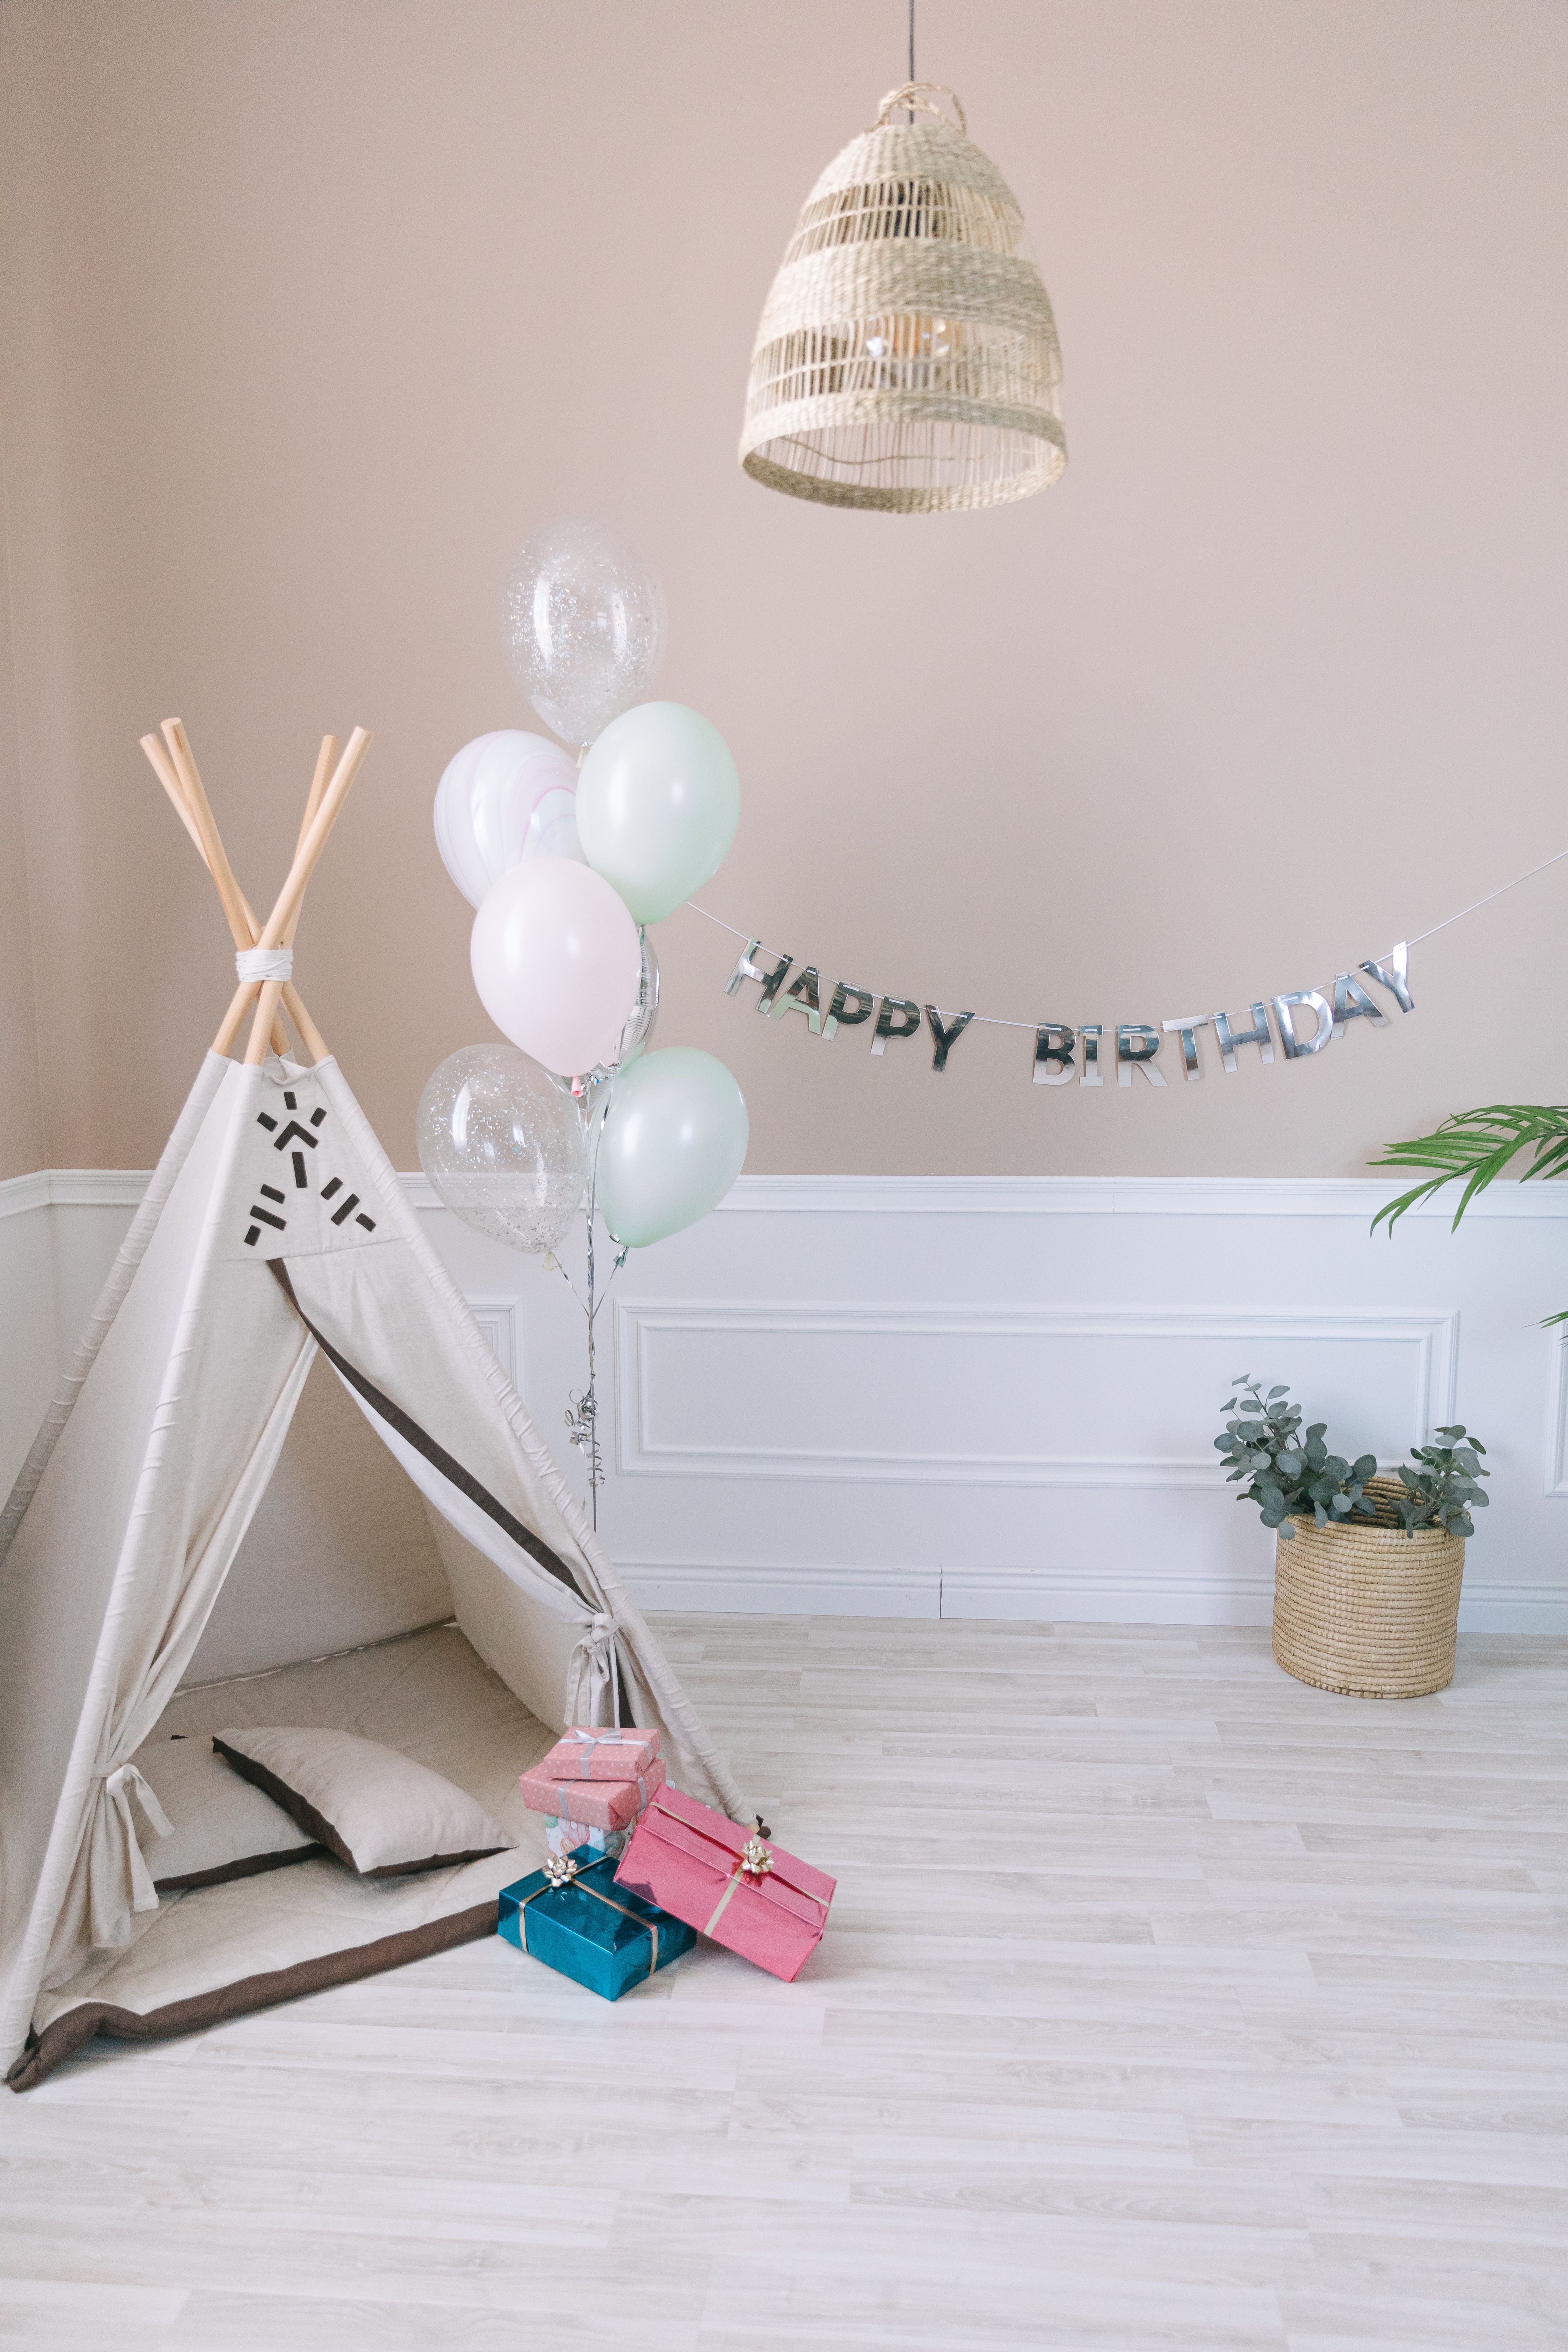
I set up a small fabric teepee in the corner, filled it with soft pillows, and placed gifts beside it with pastel balloons tied to the poles. The gift corner looked intentional instead of like a pile of bags on a chair, and the birthday girl opened her presents sitting inside the teepee like a little queen.
The downside is that teepees tip when kids pile in, so I weighted the poles with small sandbags and limited it to two kids at a time.
Pro Tip: Weight teepee poles with sandbags and limit it to two kids at a time.
Cost: $25–$50 | Time: 20 minutes | Difficulty: Easy
20. Pretty Party Table Setting
I set the main table with a white cloth, pastel plates, gold cutlery, and a small vase of white tulips at each end, keeping the center low so kids could see each other. I folded napkins into simple fans and tucked a paper star into each one, which took ten minutes and looked far fancier than it was.
The downside is that pretty settings and small children are natural enemies, so I used sturdy paper plates that looked like real ones and kept the glass vases out of reach. One vase did get bumped, but it was plastic, and nothing broke.
Pro Tip: Use lookalike paper plates and plastic vases so the table stays pretty and safe.
Cost: $20–$35 | Time: 30 minutes | Difficulty: Easy

21. Unicorn Favor Bags and Balloon Photos
I packed favor bags with a mini unicorn eraser, stickers, a small candy, and a thank-you note, then handed them out as kids left with a pastel balloon each. The favor bags cost less than four dollars each, and parents told me their kids carried those balloons around for days.
The honest downside is balloon safety for toddlers, so I gave balloons only to kids over three and gave younger ones an extra sticker sheet instead. I also learned to pack bags the night before, because packing them on party day while guests arrived was pure chaos.
Pro Tip: Pack favor bags the night before and keep a checklist by the door for the goodbye rush.
Cost: $3–$5 per bag | Time: 1 hour packing | Difficulty: Easy

If you are planning another themed celebration, Related article on dinosaur parties has the same kind of hands-on games and crafts. For a water-themed twist, Also read about mermaid parties, and if your kids want more unicorn crafts after the party, Read this next for easy unicorn craft projects.
Comparison Table: Which Unicorn Idea Fits Your Party?
| Idea | Best For | Budget | Effort |
|---|---|---|---|
| Balloon Arch | Big first impression | $25–$40 | Medium |
| Headband Craft | Quiet creativity | $15–$25 | Low |
| Rainbow Cake | Showstopper moment | $20–$35 | High |
| Piñata | High energy fun | $20–$30 | Low |
| Dessert Table | Photo-worthy display | $30–$50 | Medium |
| Face Painting | Most requested activity | $0–$60 | Medium |
| Photo Booth | Memories to keep | $20–$35 | Low |
| Picnic Party | Small groups, low budget | $25–$45 | Low |
Mistakes I Made / What I Learned the Hard Way
Glitter Gets Everywhere, So Contain It
At my first unicorn party, I let kids shake glitter over crafts at an open table, and I found glitter in my car, my bed, and my hair for two weeks. Now glitter lives in one station, on a tray, with lids on, and I use glitter glue instead of loose glitter whenever I can. Contained sparkle is just as pretty and ten times easier to clean.
Do Not Schedule Every Minute
I once planned the party down to five-minute blocks, and the schedule fell apart by the second activity because kids needed bathroom breaks, snack breaks, and plain running-around time. Now I plan three anchor moments, cake, one game, and one craft, and let the rest flow. A relaxed host makes a relaxed party.
Buy Backup Balloons and Batteries
One year, my balloon pump batteries died halfway through the arch, and I finished inflating balloons by mouth while guests were arriving. I never want to do that again. Now I buy spare batteries, spare balloons, and spare tape, and I keep them in one labeled box by the door. Backups are boring until they save your party.
Taste-Test the Cake Before Party Day
I once tried a brand-new rainbow cake recipe on party day, and the layers came out dry. The kids did not mind, but I did. Now I bake a test cake at least a week before, adjust the recipe, and freeze the real layers two days ahead. A tested cake is a calm host, and a calm host is the real magic.
FAQ
What colors work best for unicorn birthday party ideas?
Pastel pink, lavender, mint, and white with gold accents work best, because they read as magical without clashing. I repeat those four colors in balloons, plates, frosting, and favors so the whole party looks coordinated even when decorations are simple.
How much should a unicorn birthday party cost?
A home unicorn party for 10 to 15 kids typically costs $150 to $300 if you bake your own cake and make your own decorations. The biggest costs are the cake, balloons, and favors, and you can cut costs fast by choosing a picnic setup and craft-station favors.
What age is a unicorn party best for?
Unicorn parties shine brightest for ages 3 to 8, when kids still believe in magic and love dressing up. Older kids enjoy them too if you add a cupcake contest or a photo booth, but toddlers under three need simpler activities and balloon-free favors for safety.
Can I do a unicorn party outdoors?
Yes, and my favorite unicorn parties have been outdoors, with fairy lights, a piñata tree, and room to run. Just weight your decorations against wind, cover food until serving, and keep an indoor backup room ready in case of rain.
How do I keep glitter cleanup manageable?
Keep glitter in one station on a tray, use glitter glue instead of loose glitter, and lay a plastic tablecloth underneath that you can roll up and throw away. I also keep a lint roller by the door for quick clothes touch-ups before photos.
Final Thoughts
My niece’s unicorn party taught me that magic is not about spending the most money or buying the fanciest decorations. It is about one rainbow surprise, one craft kids can wear home, and one moment when the birthday girl feels like the most special person in the world.
Pick three or four ideas from this list, do them well, and leave room for happy chaos. If you try any of these unicorn birthday party ideas, I would love to hear which one your birthday star loved most.