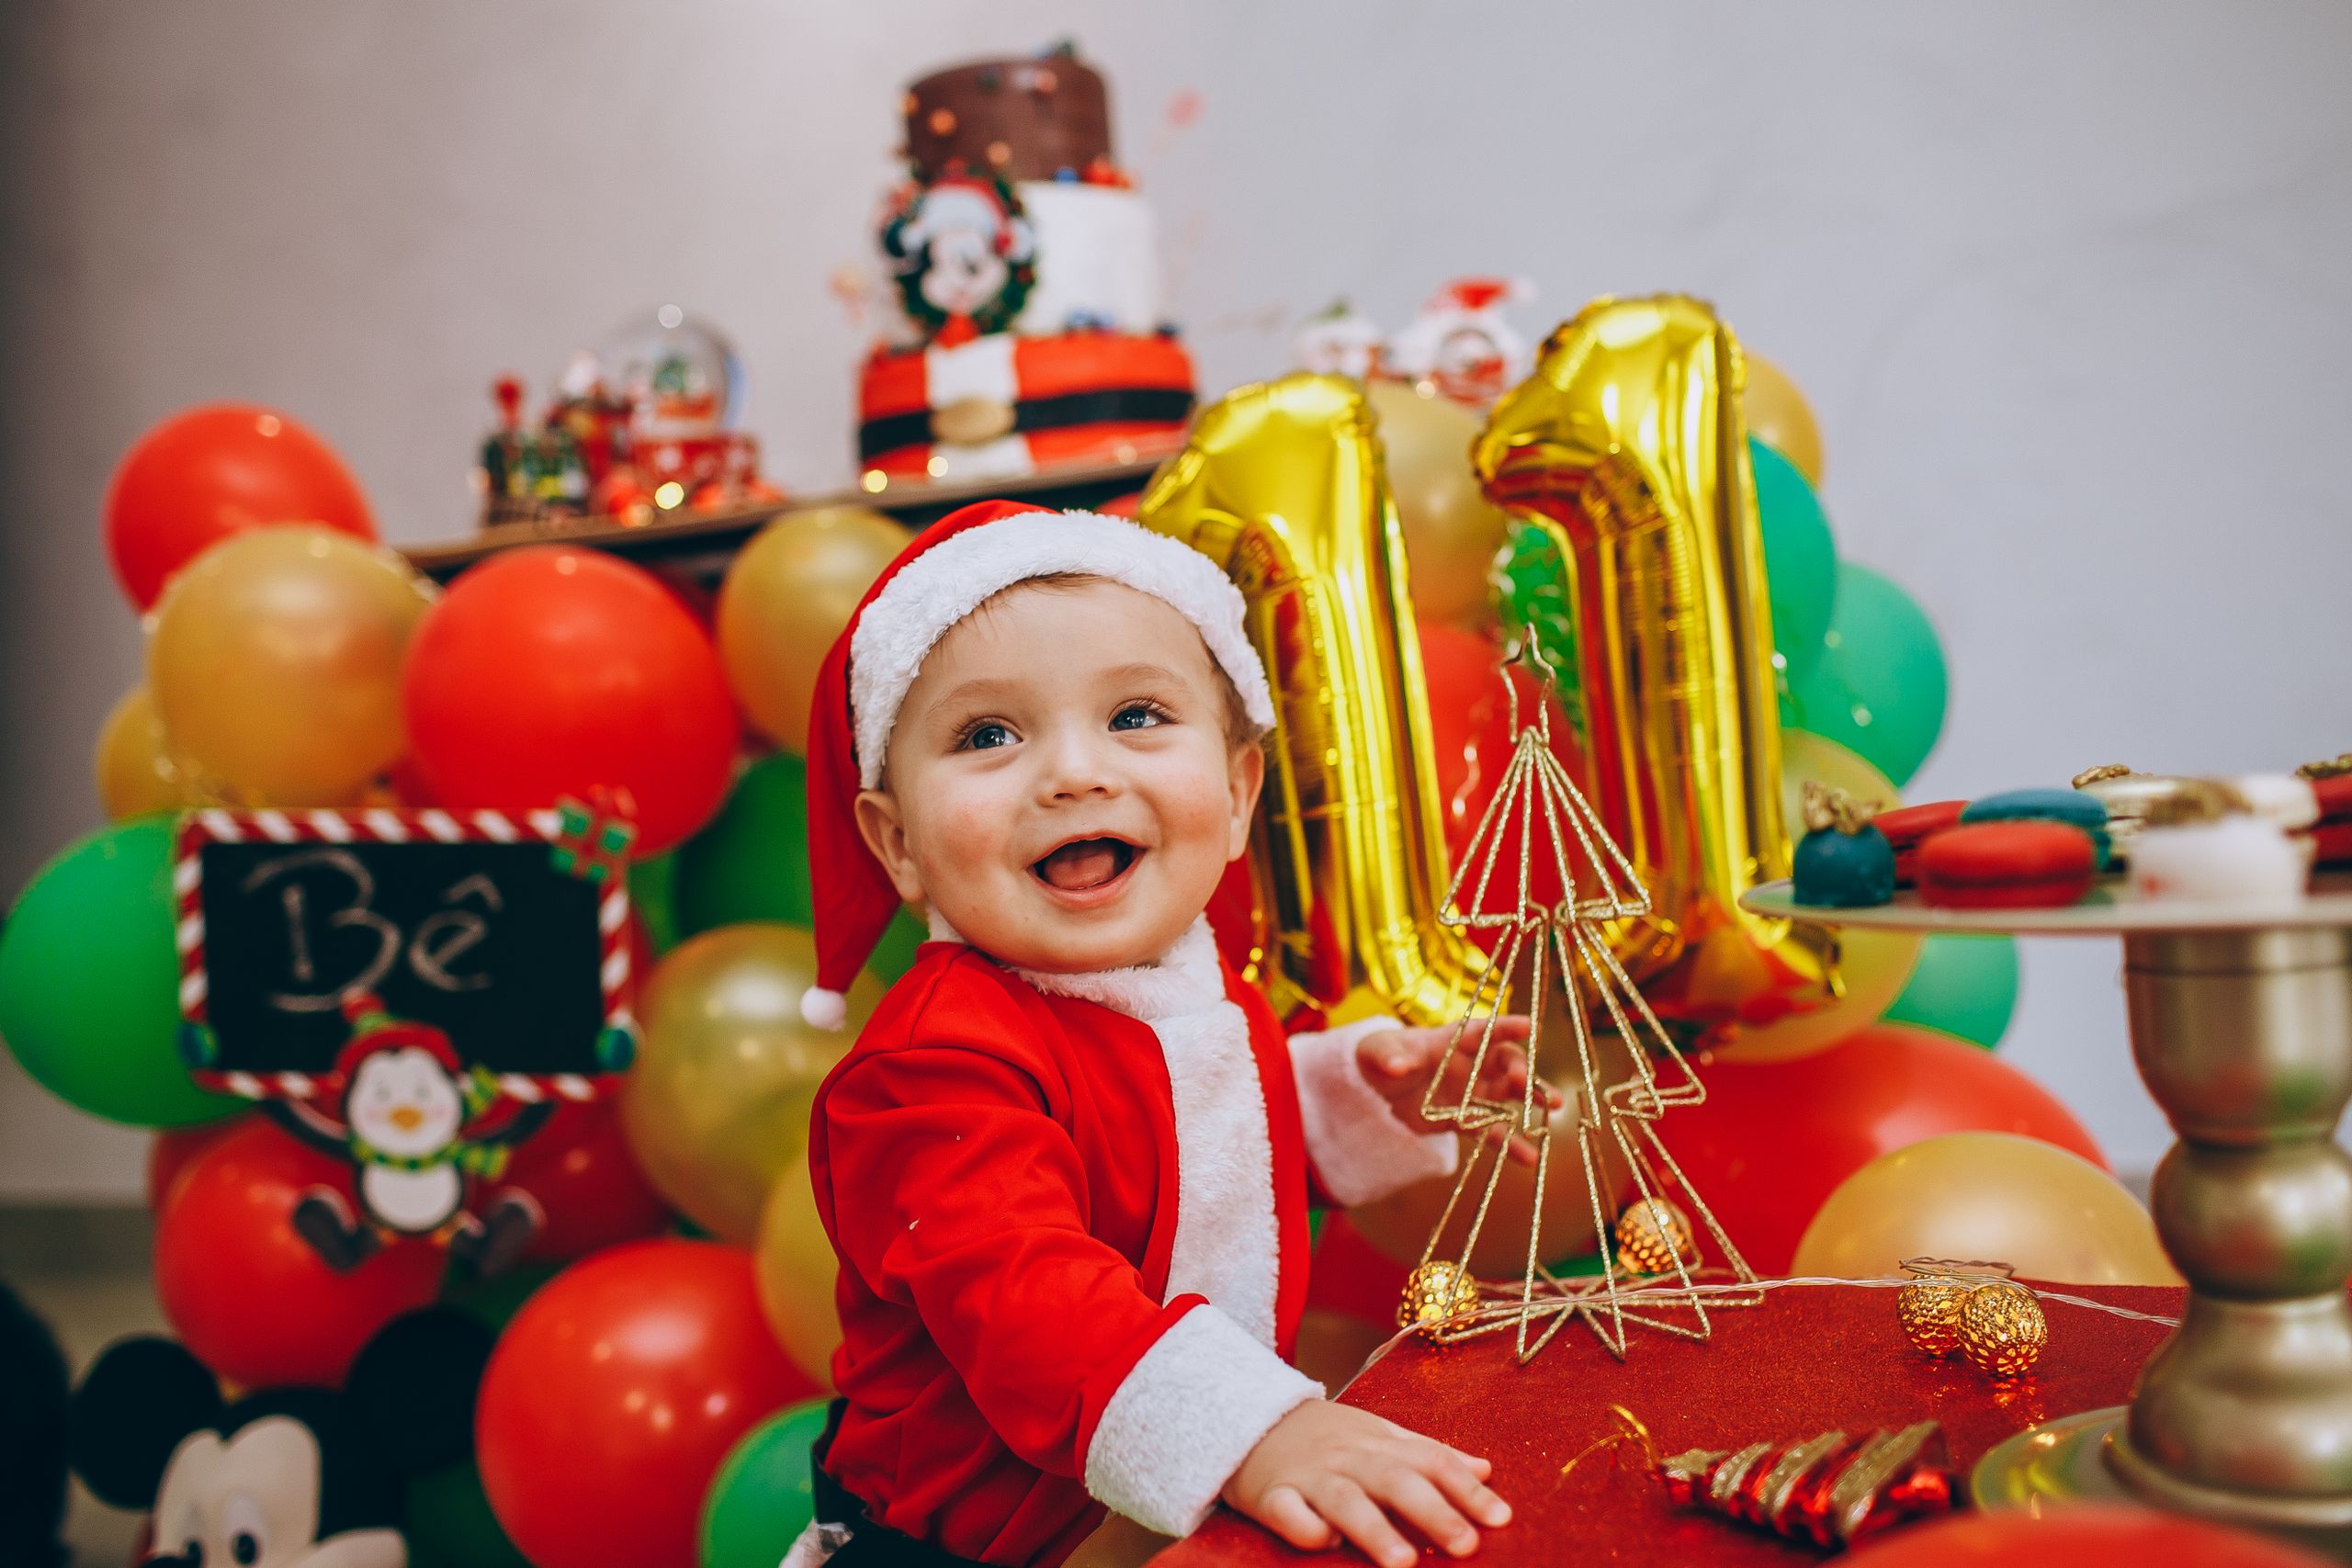
20 First Birthday Winter Party Ideas
When my daughter turned one in the middle of January, I learned that winter changes everything about a first birthday. These first birthday winter party ideas are the ones I actually planned and hosted in cold weather, with warm rooms, short schedules, and food that suited one-year-olds and their grandparents alike.
How I picked these: I kept only ideas that worked for a one-year-old in winter in real life — warm indoors, brief outdoor moments, no hot drinks at toddler height, and nothing that left a baby cold or overtired. I tested timings around naps, kept parties to about two hours, and dropped anything that needed a baby to stay outside. For the general party plan, see this Related article on first birthday party ideas.
Key Takeaways: First Birthday Winter Party Ideas
- Keep the whole party indoors and warm, with any outdoor moment limited to ten minutes in full layers.
- Schedule around the nap, keep the party to about two hours, and plan the cake smash while the baby is fresh.
- Keep hot drinks, candles, and small decorations at adult height, well away from grabbing hands.
- Serve soft, lukewarm finger foods and label allergens, with adult treats kept on a high stand.
- Use battery lights and air-filled balloons fixed high, so nothing drifts down to the floor.
1. Cozy Winter Onederland Party

I turned our living room into a soft winter wonderland for my daughter’s first birthday, with white and silver paper snowflakes hung high on the walls, a felt snowman in the corner, and a big number one that stayed well above grabbing hands. I kept the palette calm and warm, with cream blankets on the sofa and battery fairy lights tucked behind sheer curtains, so the room glowed without any trailing wires or hot bulbs near little fingers.
The honest downside is that paper snowflakes shed and curl in a warm room, so I cut them the night before and hung them last, after the heating had settled.
Pro Tip: Hang every decoration at adult height and use battery lights only, so nothing dangles into the play area.
Cost/Time/Difficulty: About $30 for paper, lights and a number balloon / 1 hour to decorate / Easy.
2. Hot Cocoa Bar for the Grown-Ups

I set up a hot cocoa bar on the kitchen counter, far from the babies, with a slow cooker of warm cocoa, mugs, marshmallows, and cinnamon sticks for the adults. My daughter got her own warm milk in a sippy cup with a soft biscuit, so she felt included without ever touching a hot drink.
The watch-out is obvious but worth saying plainly: never put a hot drink station at toddler height, and keep the slow cooker cord tucked behind the counter.
Pro Tip: Label one jug clearly as the grown-ups’ cocoa and keep the baby’s cup in a different colour, so nobody mixes them up.
Cost/Time/Difficulty: About $25 for cocoa, mugs and toppings / 30 minutes / Easy.
3. Fireside Story Corner

I made a fireside story corner with a deep armchair, two soft cushions, and a basket of chunky board books, placed near our fireplace but with a fireguard firmly in place and the fire itself unlit. Every half hour I read a short winter story aloud, and tired babies drifted over to listen, which gave the party a calm rhythm instead of constant noise and excitement.
The downside is that a story corner only works if an adult stays with it, otherwise toddlers climb the chair and pull books off the shelf.
Pro Tip: Choose books with thick pages and no small flaps, and sit the corner away from the food table so pages stay clean.
Cost/Time/Difficulty: About $0 if you use books you own / 20 minutes / Easy.
4. Snowflake Smash Cake, Indoors and Warm

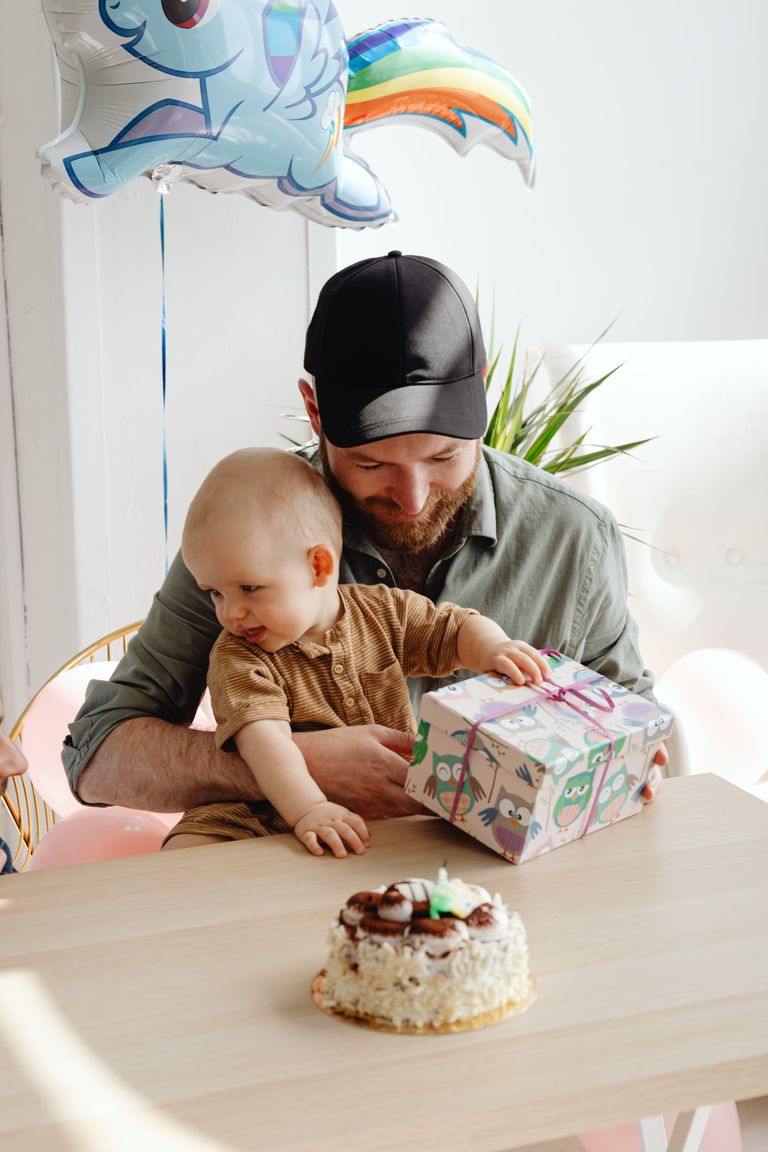
I ordered a small, soft smash cake in pale blue with white snowflake icing, and served it in the high chair within the first hour, while my son was still fresh and curious. The cake was egg-light, with no hard sugar decorations and no candles on the smash cake itself, and I laid a wipeable mat under the chair so the mess stayed in one place.
He mostly patted the icing and looked surprised, which made the best photos of the day.
Pro Tip: Photograph the clean high chair first, then bring the cake out, so you get both the pretty shot and the messy one.
Cost/Time/Difficulty: About $25 for a small smash cake / 20 minutes / Easy.
5. Winter Woodland Animal Theme

I chose woodland animals for a winter party because foxes, owls, and deer feel seasonal without turning the whole day into a Christmas party. I used pine branches in jars, felt animal faces on the wall at adult height, and a woodland tablecloth, and I dressed my daughter in a soft brown knitted outfit that photographed beautifully against the greenery.
The honest downside is that real pine drops needles, and one-year-olds put everything in their mouths, so I kept every branch in a heavy jar on a high shelf and swept the floor twice before guests arrived.
Pro Tip: Use fabric and felt animals at baby height and keep real greenery high and out of reach.
Cost/Time/Difficulty: About $35 for felt animals, jars and a tablecloth / 45 minutes / Easy.
6. Knit Sweater Photo Station
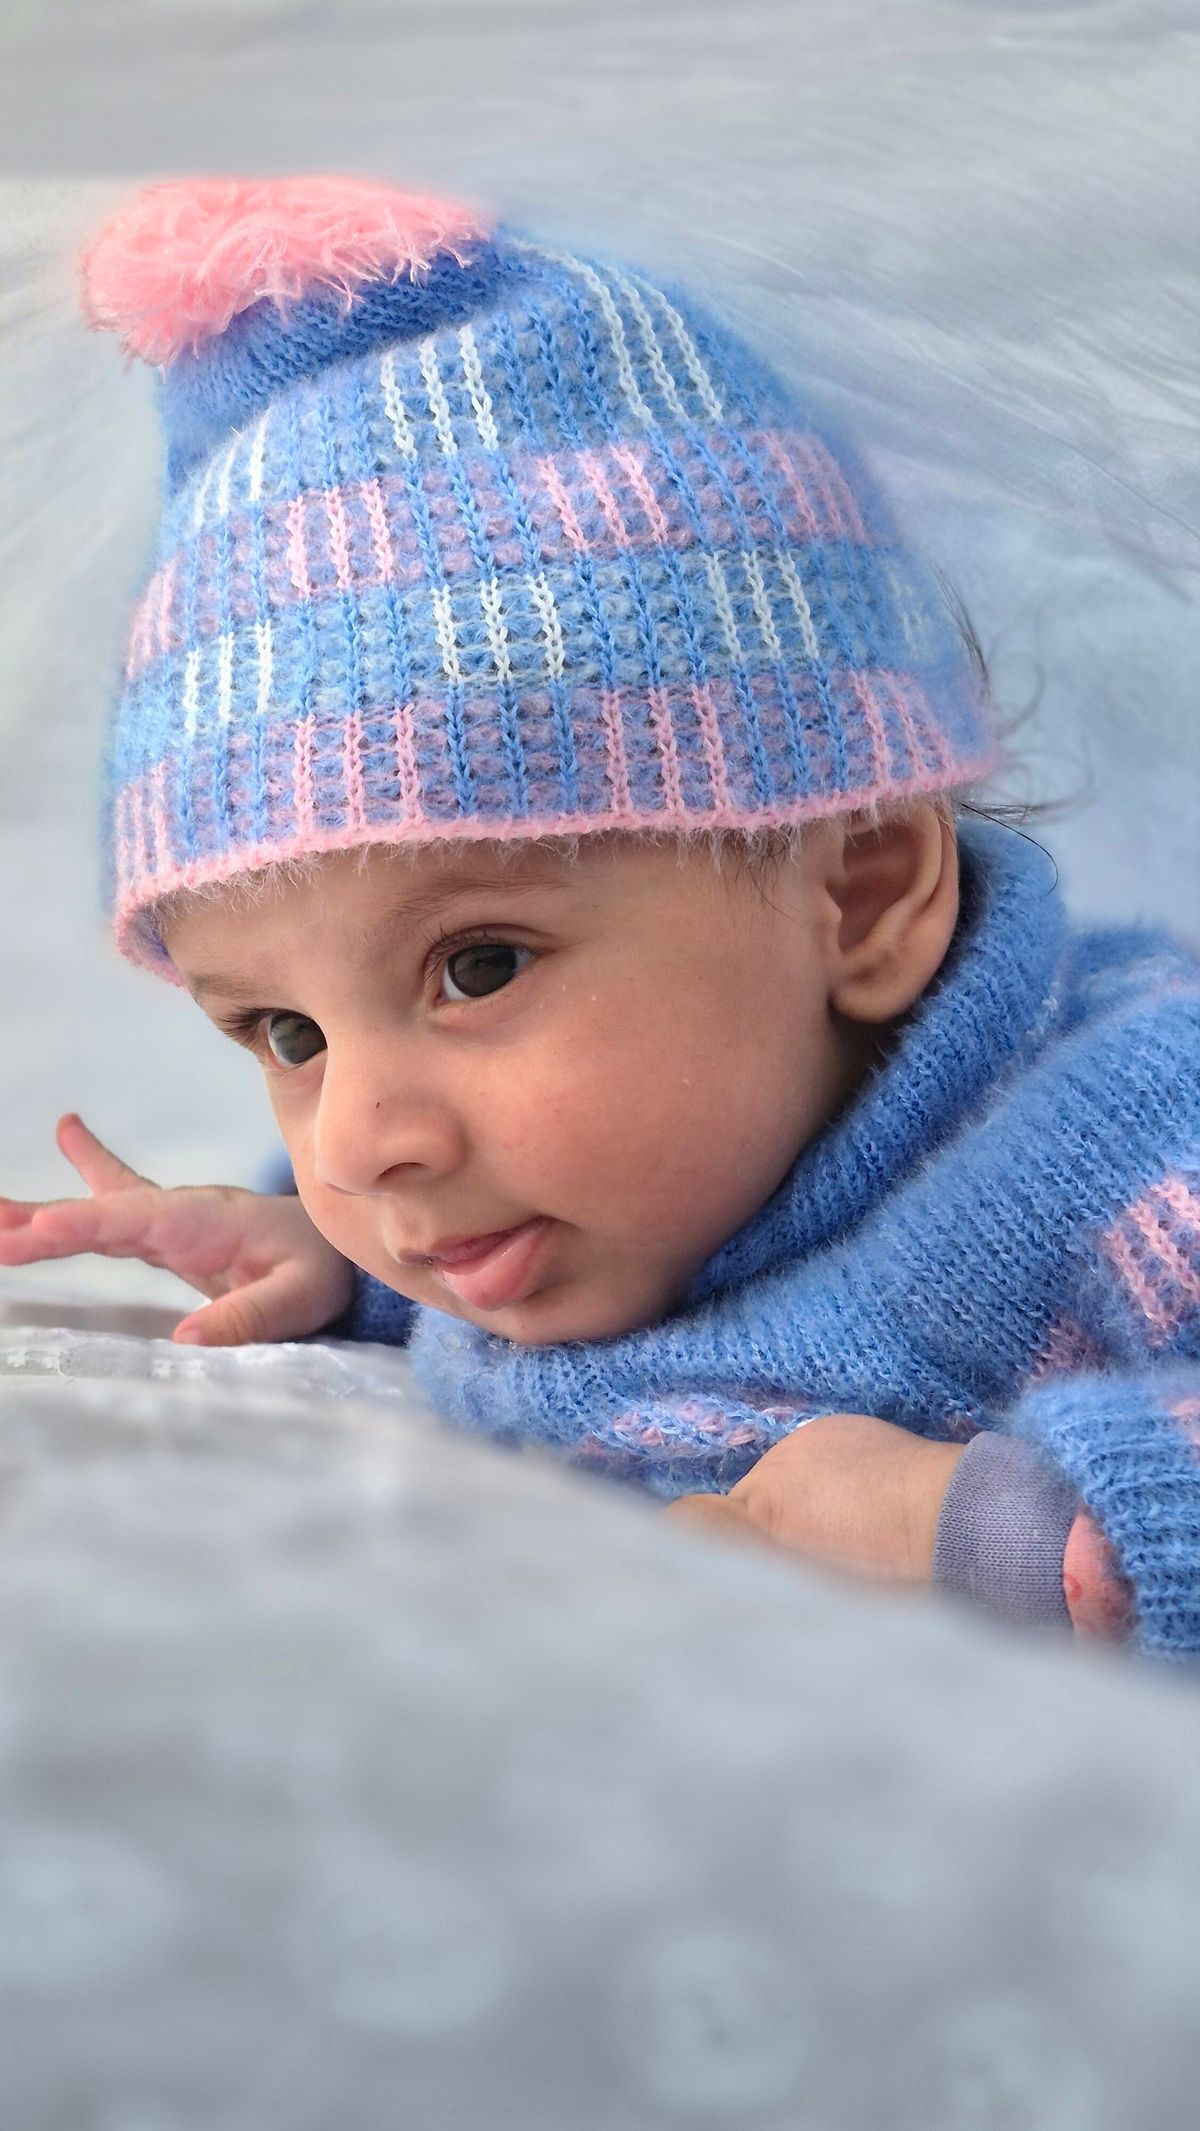
I set up a photo station with a cream knitted blanket, a wooden crate, and a soft knitted bonnet, and I dressed my son in a chunky knit sweater that his grandmother had made. We took the photos in the first 30 minutes, before he got tired or messy, and I kept the whole session to ten minutes with lots of breaks for cuddles.
The downside is that knitted outfits are warm, and a baby in a heated room will fuss and sweat fast.
Pro Tip: Take photos early, keep the session short, and have a lighter change of clothes ready beside the station.
Cost/Time/Difficulty: About $0 to $20 for a knitted outfit / 15 minutes / Easy.
7. Indoor Snowball Toss with Soft Pom-Poms

I filled a washing basket with large white pom-poms and called it a snowball toss, which let toddlers throw, scoop, and carry soft balls with no risk at all. Older children aimed at the basket, while one-year-olds simply sat in the pom-poms and laughed, and the whole game needed no rules, no winners, and no small pieces.
The downside is that pom-poms escape everywhere, and I found them behind the sofa for a week.
Pro Tip: Use pom-poms at least 5 centimetres wide, so nothing fits in a small mouth, and play on a sheet for easy tidying.
Cost/Time/Difficulty: About $10 for a bag of large pom-poms / 10 minutes / Easy.
8. Warm Finger Foods for Little Hands
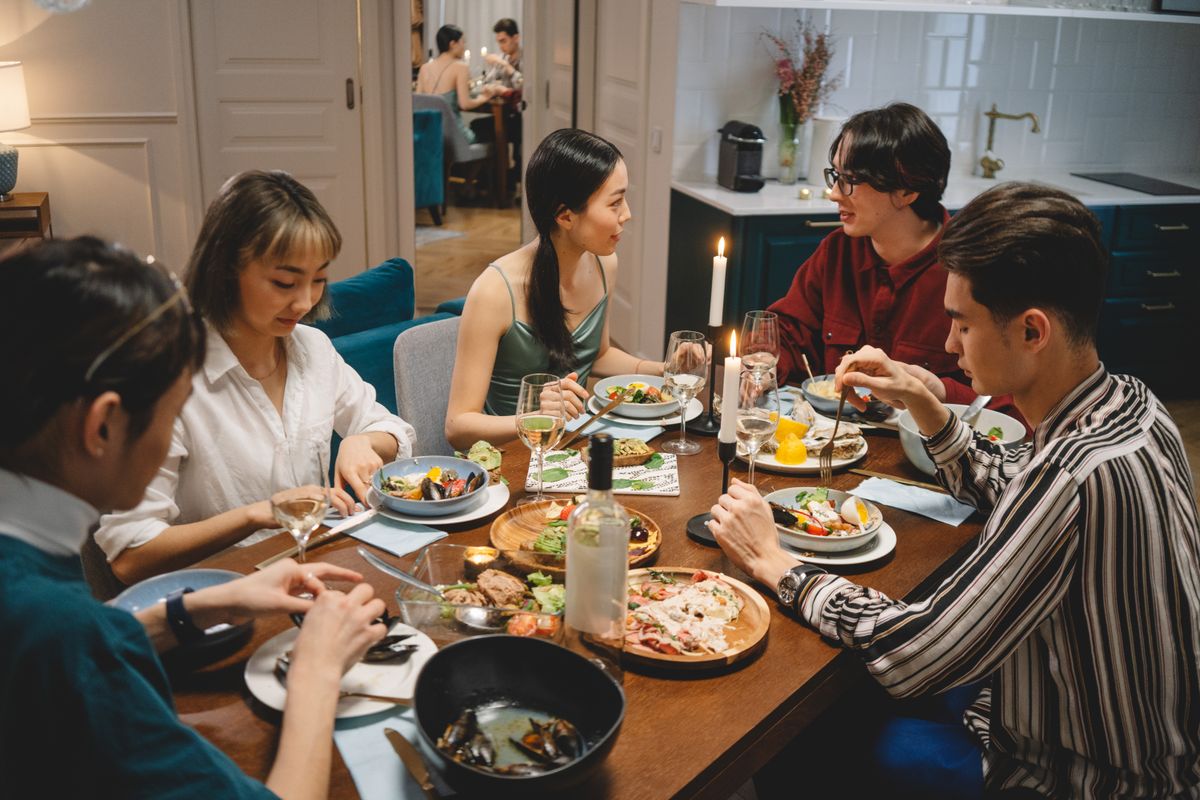
I served warm, soft finger foods that a one-year-old could actually manage: tiny cheese toasties cut into strips, soft-cooked carrot batons, banana slices, and mini pancakes torn into pieces. Adults got the same food with added chutney and spice on the side, so I cooked one menu instead of two, and nobody ate a separate sad meal.
The watch-out is temperature and texture.
Pro Tip: Serve food lukewarm, cut everything into soft strips, and label allergens on small cards beside each dish.
Cost/Time/Difficulty: About $40 for food for 12 guests / 1 hour to prepare / Moderate.
9. Twinkle Light Backdrop, Battery Only

I hung two strings of warm-white battery fairy lights behind sheer white curtains to make a glowing backdrop for photos, with no mains cables anywhere near the floor. The lights made the whole room feel festive in winter daylight, and they photographed beautifully behind the high chair and the cake table.
The downside is that cheap fairy lights tangle and eat batteries, so I bought two sets with timers and fresh batteries, and I hung them the night before.
Pro Tip: Use battery lights with a timer, hang them the night before, and keep all wires behind furniture.
Cost/Time/Difficulty: About $15 for two battery light sets / 30 minutes / Easy.
10. Winter Balloon Arch, Hung High

I built a balloon arch in icy blue, white, and silver and fixed it high on the wall above the cake table, with no balloons at floor level at all. It looked like a winter sky in photos, and because nothing floated down to the floor, I never had to worry about a popped balloon or a baby chewing a burst piece.
The downside is that an arch takes longer than it looks, and my first attempt sagged in the middle.
Pro Tip: Use air-filled balloons on a strip, not helium, and fix the arch firmly above adult head height.
Cost/Time/Difficulty: About $25 for balloons and a strip / 1 hour / Moderate.
11. A Brief First Snow Photo, Then Back Inside
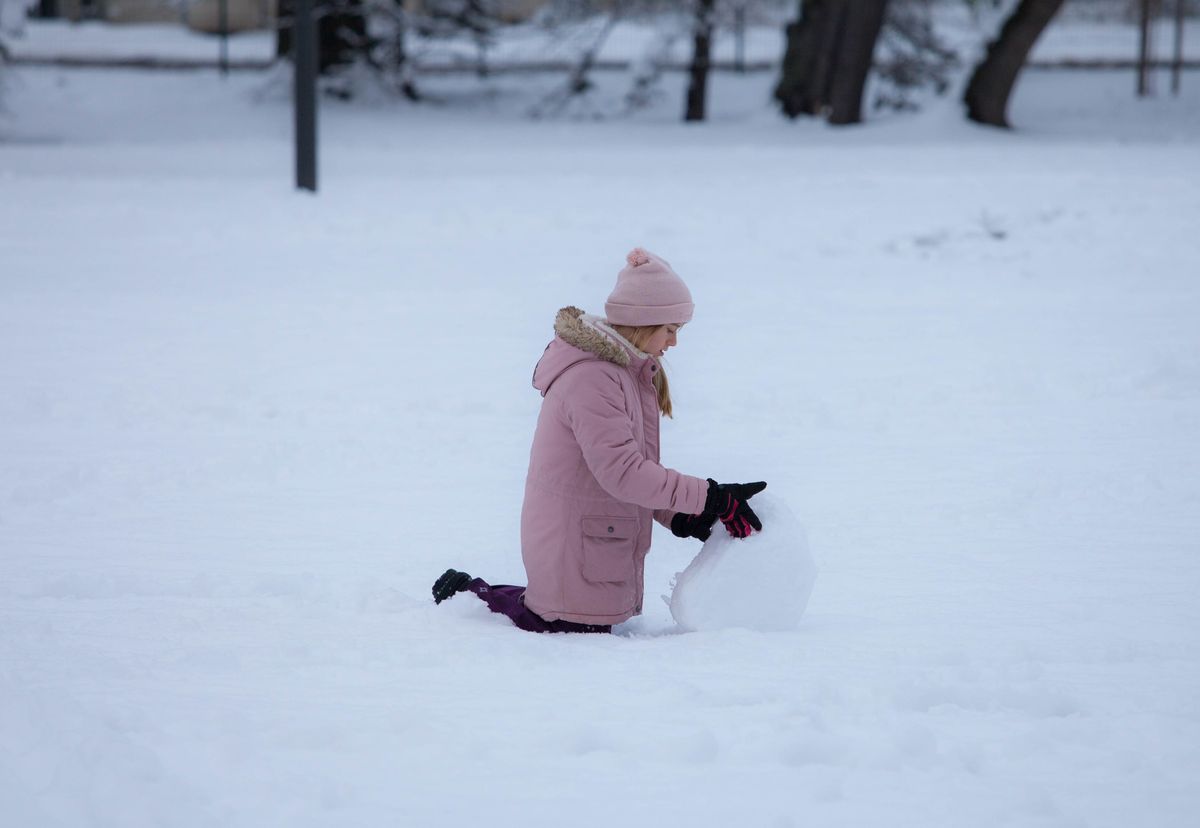
When snow fell on the morning of my daughter’s party, I took her outside for exactly five minutes in a snowsuit, hat, mittens, and boots, for one photo beside a tiny snowman we had built earlier. She touched the snow, laughed, and then we came straight back inside for warm milk and dry clothes, which kept the moment magical instead of miserable.
The safety rule I follow is strict: five to ten minutes maximum for a one-year-old in snow, with dry clothes ready inside, and no snow play if the wind chill is harsh or the baby is already tired.
Pro Tip: Limit outdoor snow time to ten minutes, dress in full layers, and have warm, dry clothes waiting indoors.
Cost/Time/Difficulty: About $0 if you already own a snowsuit / 10 minutes / Easy.
12. Pinecone Craft Table for Older Guests
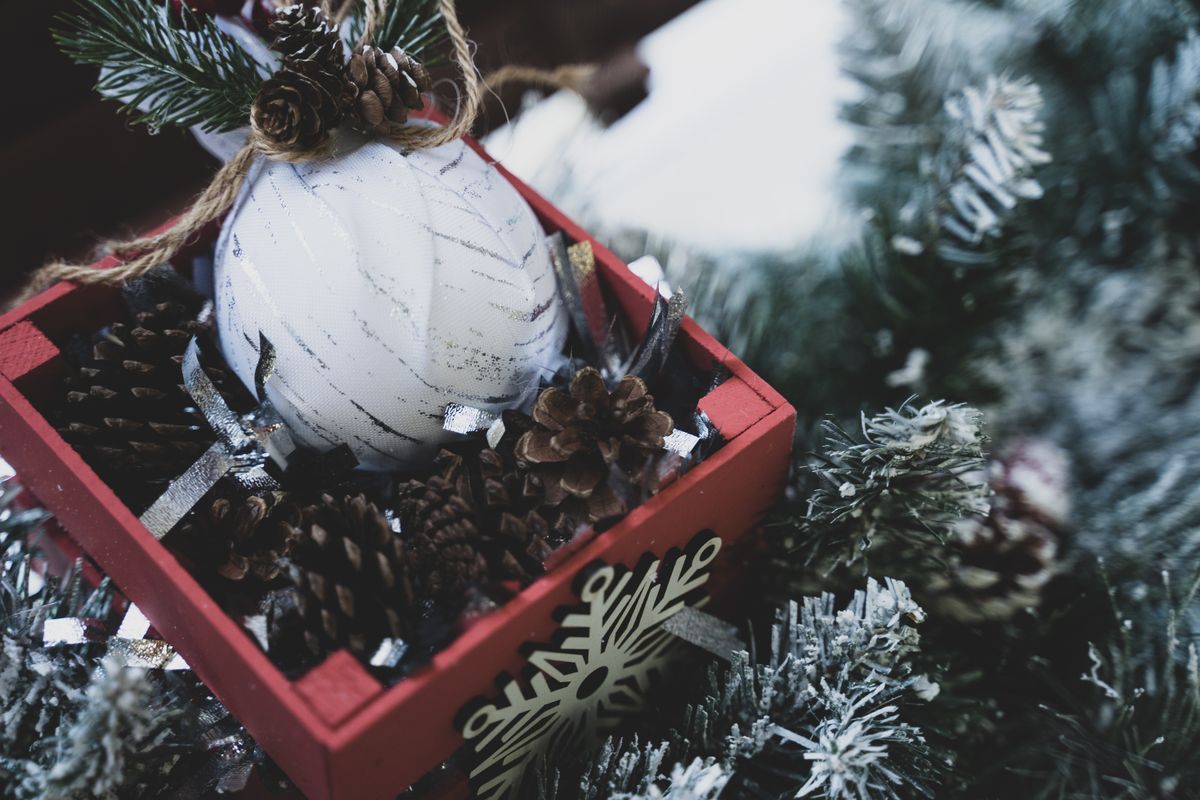
I set a craft table for older children and adults with large pinecones, ribbons, and glue dots, while babies stayed in the soft-play corner with a grown-up. The older children made pinecone ornaments to take home, which gave them a job and kept them from crowding the baby, and the finished ornaments doubled as table decorations.
The safety note matters here: pinecones are not a baby toy, and glue dots and small ribbons are choking hazards.
Pro Tip: Keep craft tables in a separate, supervised space, and use large pinecones only, never small cones or loose glitter.
Cost/Time/Difficulty: About $15 for pinecones, ribbon and glue dots / 30 minutes / Easy.
13. Cozy Blanket Fort Nap Zone

I turned a corner of the spare room into a blanket fort nap zone, with layered blankets, two cushions, and a white-noise machine, so any tired baby had a quiet place to rest. One guest’s baby actually napped there for 40 minutes, which saved that family from leaving early, and the fort also became a calm retreat for overwhelmed toddlers.
The downside is that a nap zone needs supervision, even when babies are asleep, because toddlers wander in and out.
Pro Tip: Keep the nap zone supervised at all times, keep the door open, and use clean blankets that can be washed after.
Cost/Time/Difficulty: About $0 using blankets from home / 20 minutes / Easy.
14. Winter High-Chair Decor Moment
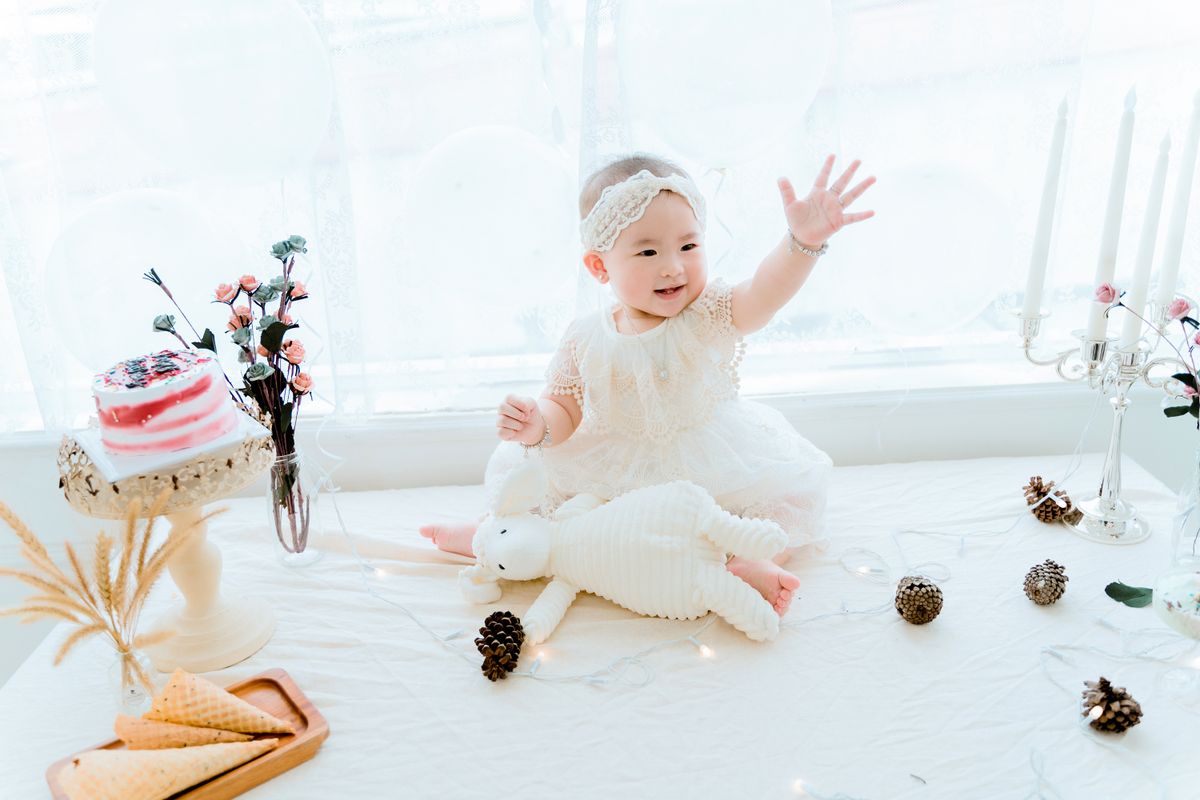
I decorated the high chair with a soft white pom-pom garland tied at the back, out of reach, and a small winter banner fixed to the wall behind it, then kept the tray completely clear for the cake. The chair became the centre of every photo, and because the decorations were behind the baby, she never pulled at them or chewed them.
The downside is that some babies hate a decorated chair and arch backwards the moment they sit down.
Pro Tip: Decorate the chair after seating, tie everything at the back, and keep the tray clear.
Cost/Time/Difficulty: About $10 for a garland and banner / 15 minutes / Easy.
15. Warm Winter Brunch for the Adults

I served a warm winter brunch for the adults — a slow-cooker sausage and bean stew, crusty bread, and a tray of pastries — while babies ate their soft finger foods from a separate, low table. Cooking one big pot kept me out of the kitchen during the party, and the smell of warm food made the house feel welcoming on a cold day.
The downside is that a slow cooker on a counter is a burn risk if a toddler can reach the cord, so I pushed it to the very back of the counter, taped the cord down, and kept babies out of the kitchen with a stair gate.
Pro Tip: Keep hot pots at the back of the counter with cords taped down, and use a stair gate for the kitchen.
Cost/Time/Difficulty: About $50 for brunch for 12 adults / 1 hour / Moderate.
16. Snow Globe Keepsake Station

I set up a snow globe keepsake station where each family shook a small, sealed snow globe and took a photo with it, and I later printed one photo per family as a thank-you. The globes were large, unbreakable plastic, with no small parts, and they sat on a high table so babies admired them from an adult’s arms rather than grabbing them.
The honest downside is that real glass snow globes break, and broken glass at a baby’s party is a nightmare.
Pro Tip: Buy unbreakable plastic snow globes only, check them for cracks, and keep them on a high table.
Cost/Time/Difficulty: About $20 for four plastic snow globes / 20 minutes / Easy.
17. Gentle Winter Lullabies, Not Loud Music

I played a playlist of gentle winter lullabies and soft acoustic songs at low volume, instead of loud party music, and the difference in the babies was immediate. Nobody cried at a sudden drumbeat, tired babies settled faster, and adults could actually talk, which is the whole point of a first birthday for the grown-ups.
The downside is that a quiet playlist can feel flat if the room is large, so I used two small speakers at opposite ends of the room rather than one loud one.
Pro Tip: Use two small speakers at low volume, and keep it quiet enough to hear a baby cry.
Cost/Time/Difficulty: About $0 using a streaming playlist / 10 minutes / Easy.
18. Mitten and Hat Dress Code, Kept Cozy

I asked guests to come in cozy knits, and I dressed my son in a soft grey knitted cap and a chunky sweater for the first photos, which gave the whole party a warm, wintery look without any costume stress. Grandparents loved the dress code, and several guests brought hand-knitted gifts that matched the theme perfectly.
The downside is that a dress code can make guests anxious, especially if they do not own knits.
Pro Tip: Word the dress code as optional, and keep a spare hat and scarf by the door for photos.
Cost/Time/Difficulty: About $0 / 10 minutes / Easy.
19. Winter Cookies and Soft Fruit Table

I set a cookie table with soft, baby-friendly options on one side — plain shortbread fingers, banana slices, and soft pear pieces — and decorated ginger biscuits for adults on the other side, clearly separated and labelled. Babies got treats they could gum safely, and adults still felt spoiled, which is the balance every first birthday table needs.
The watch-out is sugar and hard biscuits.
Pro Tip: Keep baby treats soft and plain, put adult biscuits on a high stand, and label everything.
Cost/Time/Difficulty: About $20 for biscuits and fruit / 30 minutes / Easy.
20. Golden-Hour Photos by the Winter Window
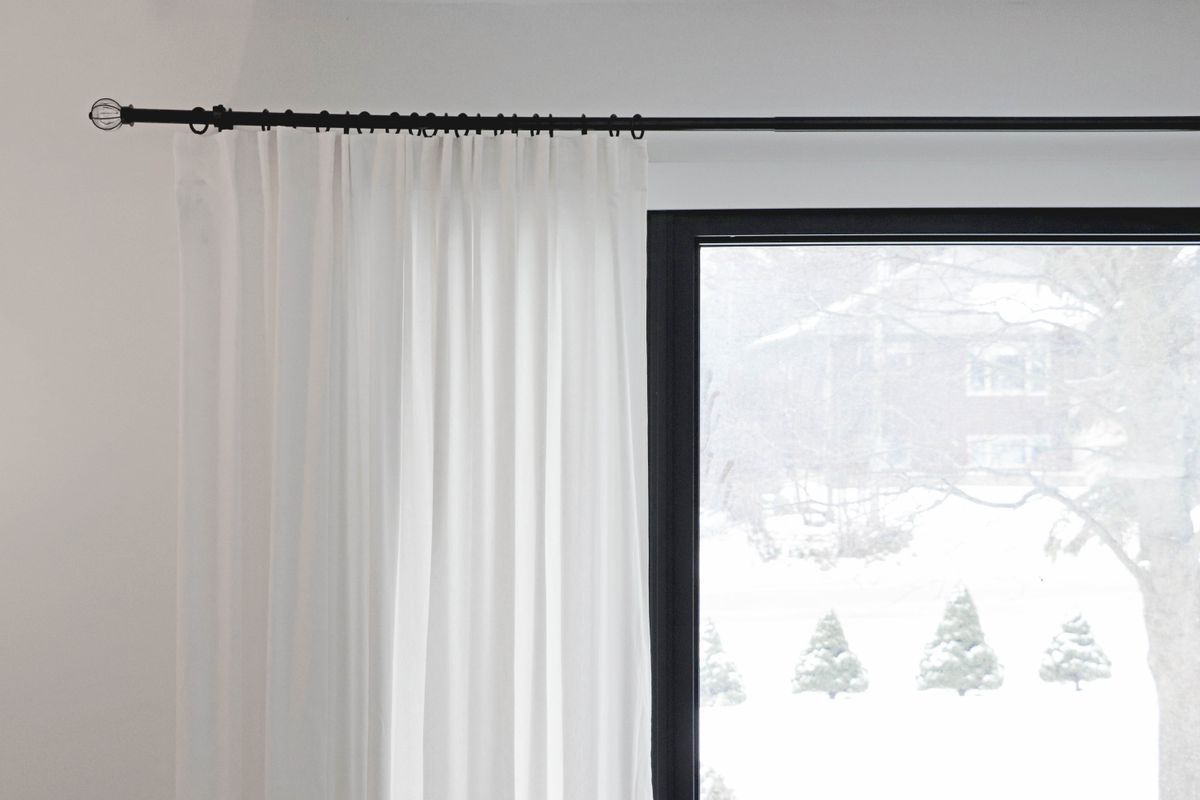
I took our family photos by the big living-room window in the last hour of daylight, when winter light turns soft and golden, instead of using a flash that startled my daughter. I placed a cream blanket on the floor by the window, sat with her on my lap, and let a relative take photos while we played peekaboo, which gave us natural smiles instead of stiff poses.
The downside is that winter daylight fades fast, and my first attempt ran late and ended up dark.
Pro Tip: Schedule window photos 90 minutes before sunset and keep the session to ten minutes.
Cost/Time/Difficulty: About $0 / 15 minutes / Easy.
Winter Party Choices Compared
Use this table to pick the winter ideas that suit your house, your budget, and your baby’s nap schedule.
| Option | Best for | Cost | Effort |
|---|---|---|---|
| Indoor winter wonderland | Cold or snowy days | Low | Medium |
| Brief outdoor snow photo | A snowy morning birthday | Free | Low |
| Hot cocoa bar for adults | Grandparents and grown-ups | Low | Low |
| Woodland animal theme | A non-Christmas winter look | Medium | Medium |
| Blanket fort nap zone | Parties with several babies | Free | Low |
For food planning, see this Also read on first birthday food ideas, which helped me balance baby-safe dishes with adult favourites.
Mistakes I Made / What I Learned the Hard Way
The first winter party I hosted, I put the hot drinks on a low table because it looked pretty, and a toddler reached for a mug within ten minutes. Nobody was hurt, but I moved the whole station to the kitchen counter and never made that mistake again.
I also once dressed my son in a thick snowsuit indoors for photos, and he overheated and cried through the cake. Now I photograph in a knit sweater, then change him into something lighter straight away, and I keep the room a degree cooler than usual.
My third lesson was about daylight: I planned window photos at 4 p.m. in January and the light had already gone. Now I check sunset the day before and schedule photos 90 minutes earlier, which gives soft light and a happy baby.
Finally, I learned not to mix a winter theme with a Christmas theme unless the birthday is actually near Christmas. Guests brought Christmas gifts in January once, which confused the birthday baby’s day, so I now keep winter themes clearly separate from festive ones.
Frequently Asked Questions
How long should a winter first birthday last?
About two hours is right for a one-year-old, especially in winter when rooms are warm and babies tire fast. I plan the cake smash in the first hour, then free play, then goodbyes, and I always put a clear end time on the invitation.
Is it safe to take a one-year-old outside in snow for photos?
Yes, for a very short time in full layers, with dry clothes ready inside. I limit it to ten minutes, skip it entirely in harsh wind chill, and watch for red cheeks or fussing, which mean it is time to come straight back in.
What would you do differently next time?
I would hang decorations the night before and photograph earlier in the day. Both changes cost nothing, but they removed the two biggest stresses from my first winter party: a sagging balloon arch and dark, rushed photos.
How do I keep hot food and drinks safe around babies?
Keep every hot item at the back of a counter, tape cords down, use a stair gate for the kitchen, and serve baby food lukewarm after testing it on your wrist. I also give the birthday baby a different-coloured cup, so nobody mixes up drinks.
For photo ideas that work in low winter light, see this Read this next on first birthday photo ideas.
Final Thoughts
These first birthday winter party ideas show that a winter first birthday does not need snow outside or a huge budget inside. It needs a warm room, a short schedule, safe food, and a baby who is rested enough to enjoy it. Pick the ideas that fit your house, keep the hot things high, and take the photos early — the rest will take care of itself.

One Comment