Thanksgiving Table Decor Ideas
Thanksgiving table decor ideas used to overwhelm me. I would save dozens of photos, buy too much, and end up with a centrepiece so tall nobody could see each other across the table.
These thanksgiving table decor ideas are the ones I actually use and reuse in my own home.
I picked and tested them by one simple rule: the table must still work for dinner, with room for food, space to talk, and nothing that topples when someone reaches for the gravy.
I tried them in a small dining room, not a showroom, and I kept the ones that looked good in candlelight and survived a real family meal.
Below you will find rustic, elegant, minimal, and last-minute options, with honest costs and the mistakes I made along the way, so you can set a table that feels warm, not stressful.
Key Takeaways
- Every centrepiece stays low enough to talk across, with room left for serving dishes.
- Most ideas cost under $50 and use things you can buy at a grocery or craft store.
- Place cards, napkin details, and candlelight do more work than expensive flowers.
- Each idea includes a real cost and time, so you can plan around cooking, not just decorating.
- A last-minute option is included, because real life does not always allow a week of planning.
Thanksgiving Table Decor Ideas to Try This Year
1. Low Pumpkin Centerpiece
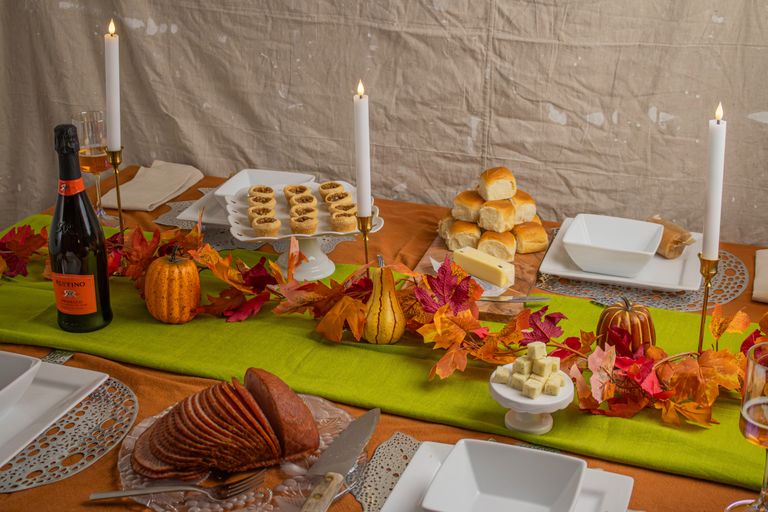
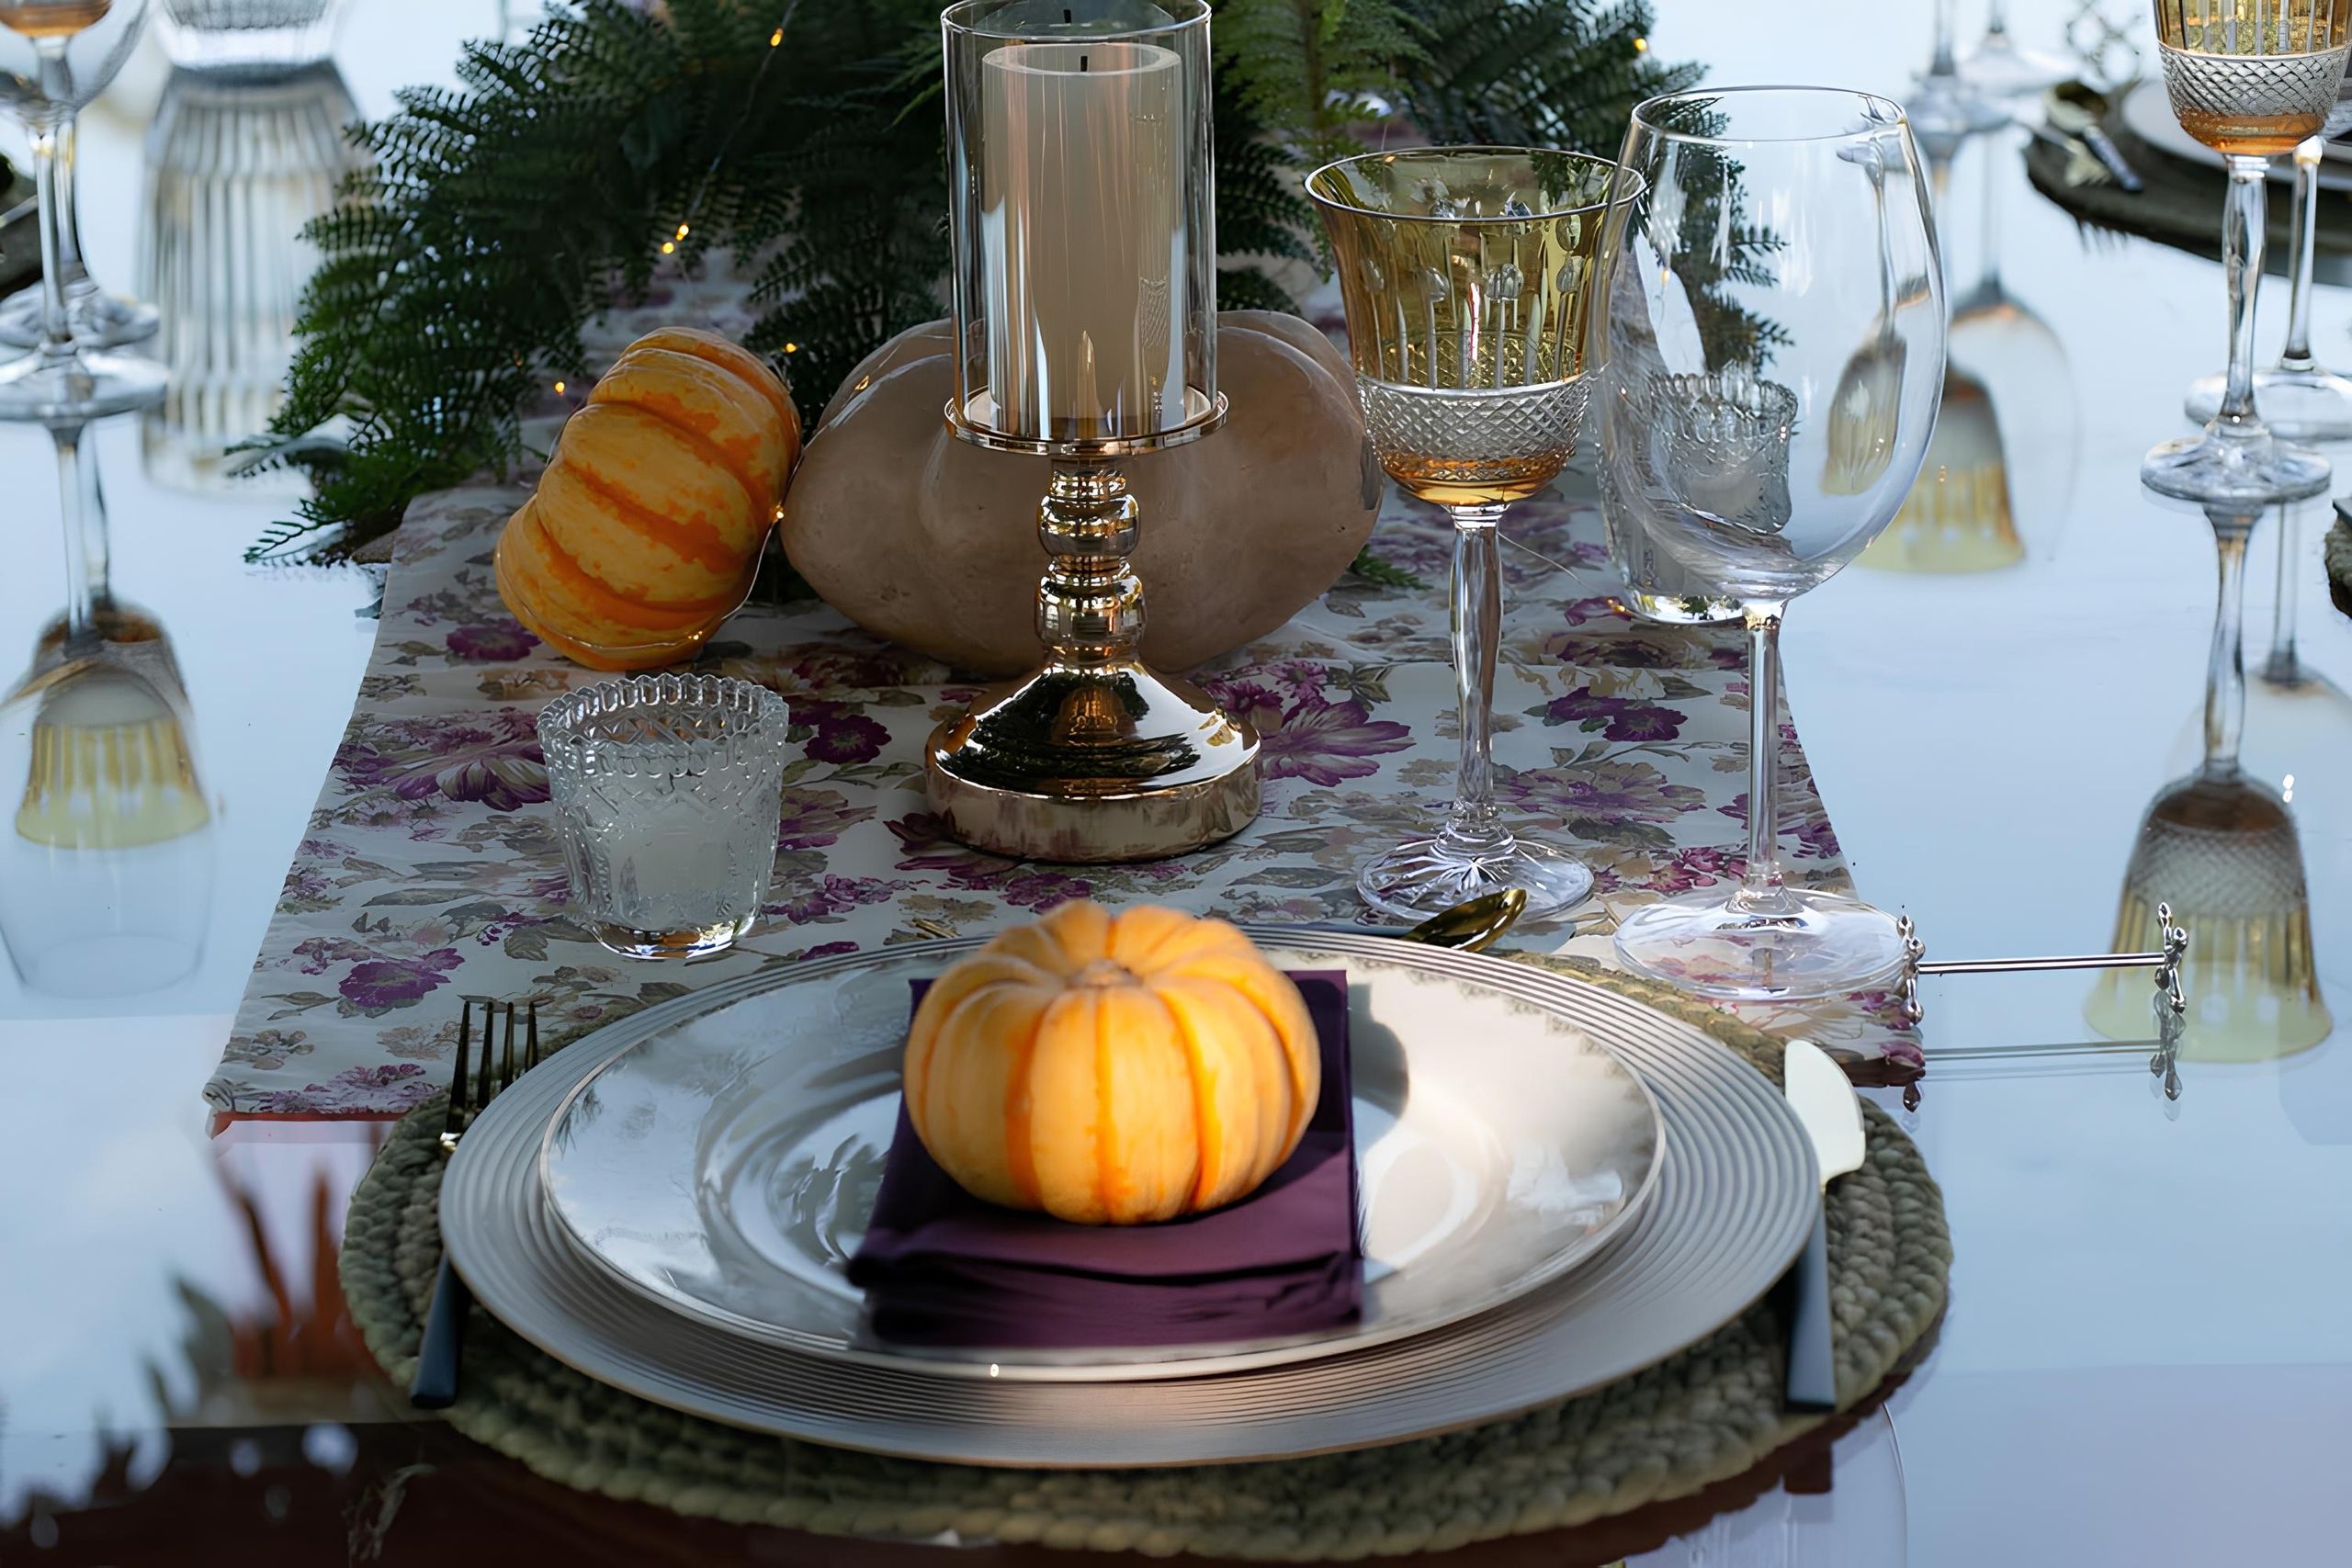
I start with pumpkins because they are forgiving. I placed three small pumpkins of different heights down the centre of my table, tucked in eucalyptus sprigs, and added two low candles.
It looked abundant without blocking anyone’s view, which matters when you actually want to talk across the table.
The downside is that real pumpkins can be heavy and wobbly on a tablecloth, so I set each one on a small plate or coaster to protect the cloth and keep it steady.
I keep the candles low so the pumpkins, not the flames, are the first thing guests notice.
Pro Tip: Use odd numbers and varied heights, because three pumpkins always look more natural than two or four.
Cost: $15–$30 | 20 minutes | Easy
2. Eucalyptus and Candle Runner
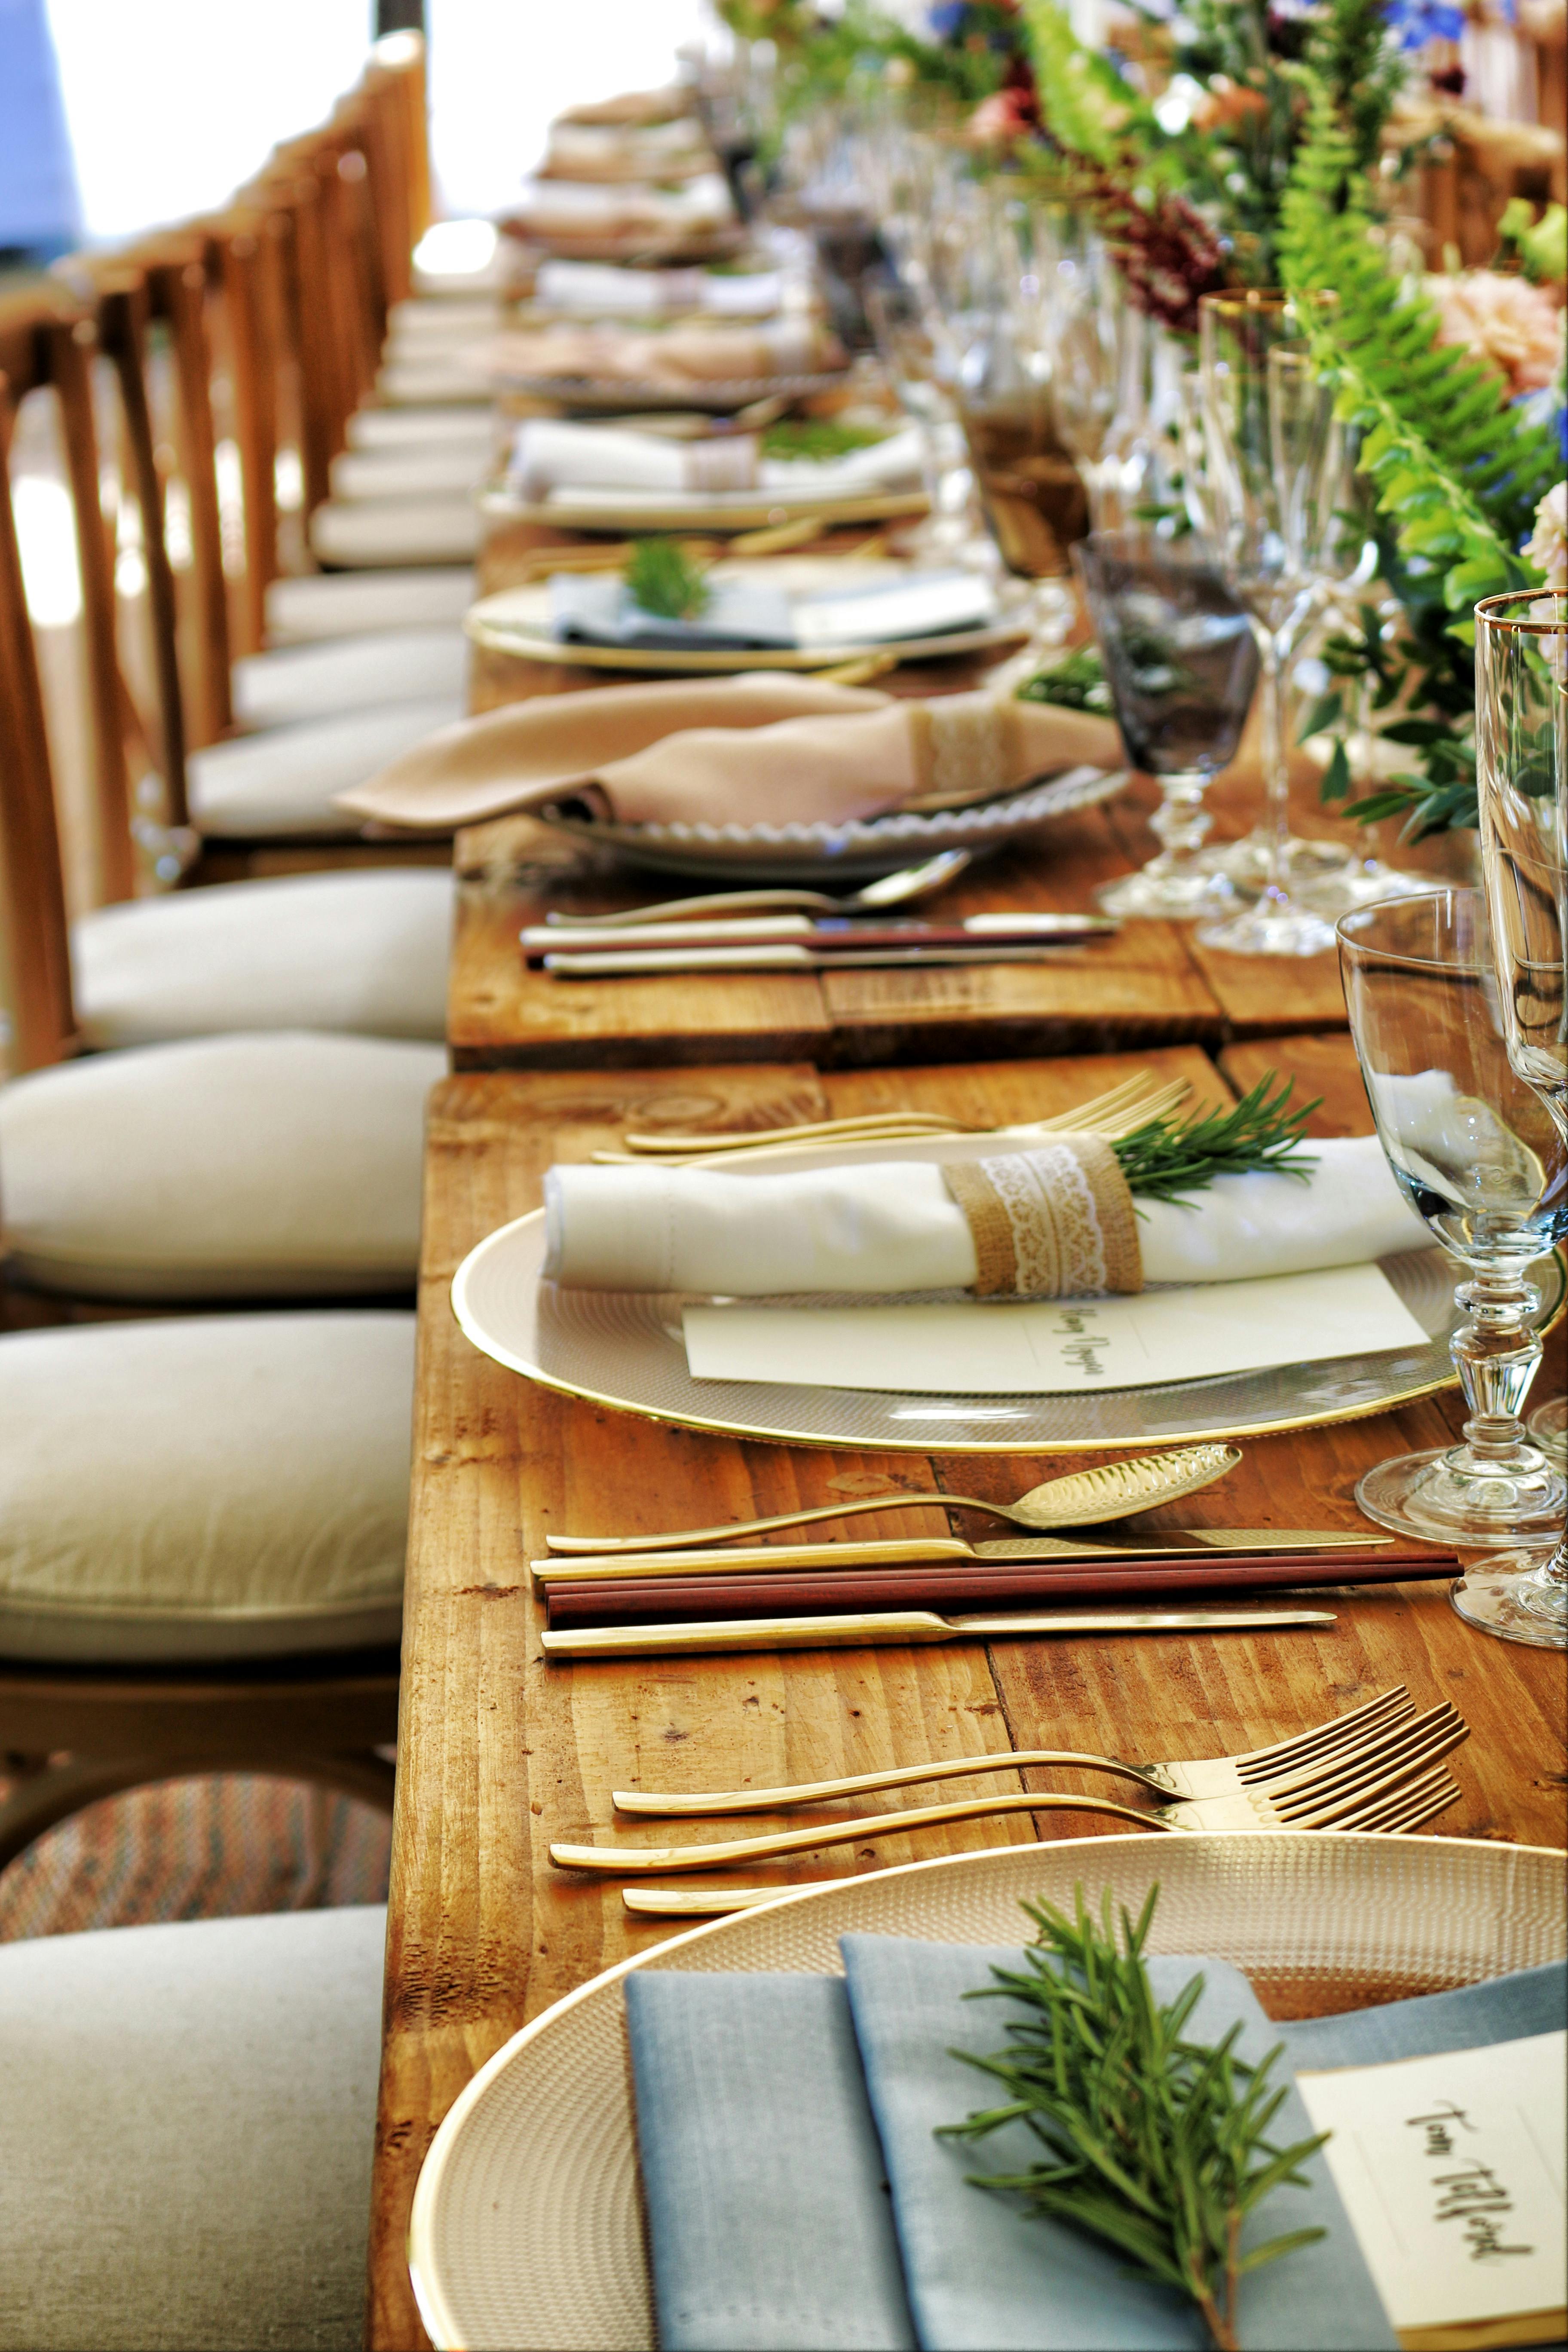
This is my go-to when I want elegance without a lot of shopping. I laid a long eucalyptus garland down the middle of the table, then placed pillar candles in glass hurricanes along it. The greenery smells wonderful, and the candlelight makes everyone look lovely.
The honest downside is that fresh eucalyptus sheds a little, so I lay the garland the morning of dinner, not days ahead, and I keep candles away from the garland ends.
I fluff the garland after laying it, because a flat runner looks thin once the plates go down.
Pro Tip: Use battery candles if you have children at the table, or keep real flames well clear of greenery.
Cost: $25–$45 | 30 minutes | Easy
3. Gold and Cream Elegant Table
For a more formal year, I used cream linen, gold chargers, and white pumpkins, with gold flatware and cream candles. It felt special without feeling stiff, and the pale palette let the food be the colour on the table.
The downside is that gold chargers show fingerprints and water spots, so I wipe them just before guests sit down and I do not stress about perfection after the first course.
I polish the flatware last, since dull cutlery spoils an otherwise elegant table in seconds.
Pro Tip: Mix one metallic, not three, so the table looks intentional rather than busy.
Cost: $40–$80 | 45 minutes | Medium

4. Rustic Wood and Burlap Table
This is the table I set when my family wants cosy, not fancy. I used a burlap runner over a wooden table, mason jar candles, pinecones, and kraft paper place cards. It felt warm and homemade, and nobody worried about spills.
The downside is that burlap sheds fibres, so I shake it outside first and I do not use it over a white tablecloth I love. I add one sprig of greenery to each place, which ties the whole rustic table together.
Pro Tip: Layer a plain cotton cloth under the burlap if your table scratches easily.
Cost: $20–$35 | 30 minutes | Easy

5. Harvest Fruit Centerpiece
I love this centrepiece because guests can eat it. I piled pomegranates, figs, grapes, and small apples in a low wooden bowl, tucked in a few leaves, and let it run down the centre.
It looked like a painting and gave people something to snack on while dinner finished. The downside is that cut fruit browns and soft fruit bruises, so I use whole fruit only and I replace anything soft on the morning of dinner.
I set the bowl slightly off-centre, so serving dishes still fit without crowding the fruit.
Pro Tip: Choose firm, unblemished fruit, and wash and dry it well before arranging.
Cost: $20–$40 | 25 minutes | Easy

6. Plaid and Pinecone Casual Table
Plaid is my shortcut to instant Thanksgiving. I used a plaid runner, red napkins, pinecones, and small plaid ribbon tied around the napkins. It felt cheerful and unfussy, and it hid a multitude of sins on my old table.
The downside is that too much plaid can look loud, so I keep the plaid to the runner and napkins, and I let the plates and candles stay plain. I iron the runner quickly, because wrinkles show badly against a busy plaid pattern.
Pro Tip: Pick one plaid pattern and one solid colour to repeat, not three competing patterns.
Cost: $15–$30 | 20 minutes | Easy

7. Minimalist White and Sage Table
Some years, less really is more. I set a white tablecloth, sage green napkins, simple white plates, and a single sprig of rosemary on each plate, with two white candles in the centre. It felt calm and modern, and the food stood out beautifully.
The downside is that white shows every splash of gravy, so I keep stain remover nearby and I choose a washable cloth, not a precious heirloom, for this look. I use plain white candles here, since coloured candles would fight the calm palette.
Pro Tip: Let one herb do the work: rosemary, sage, or thyme, repeated at every place.
Cost: $20–$35 | 20 minutes | Easy
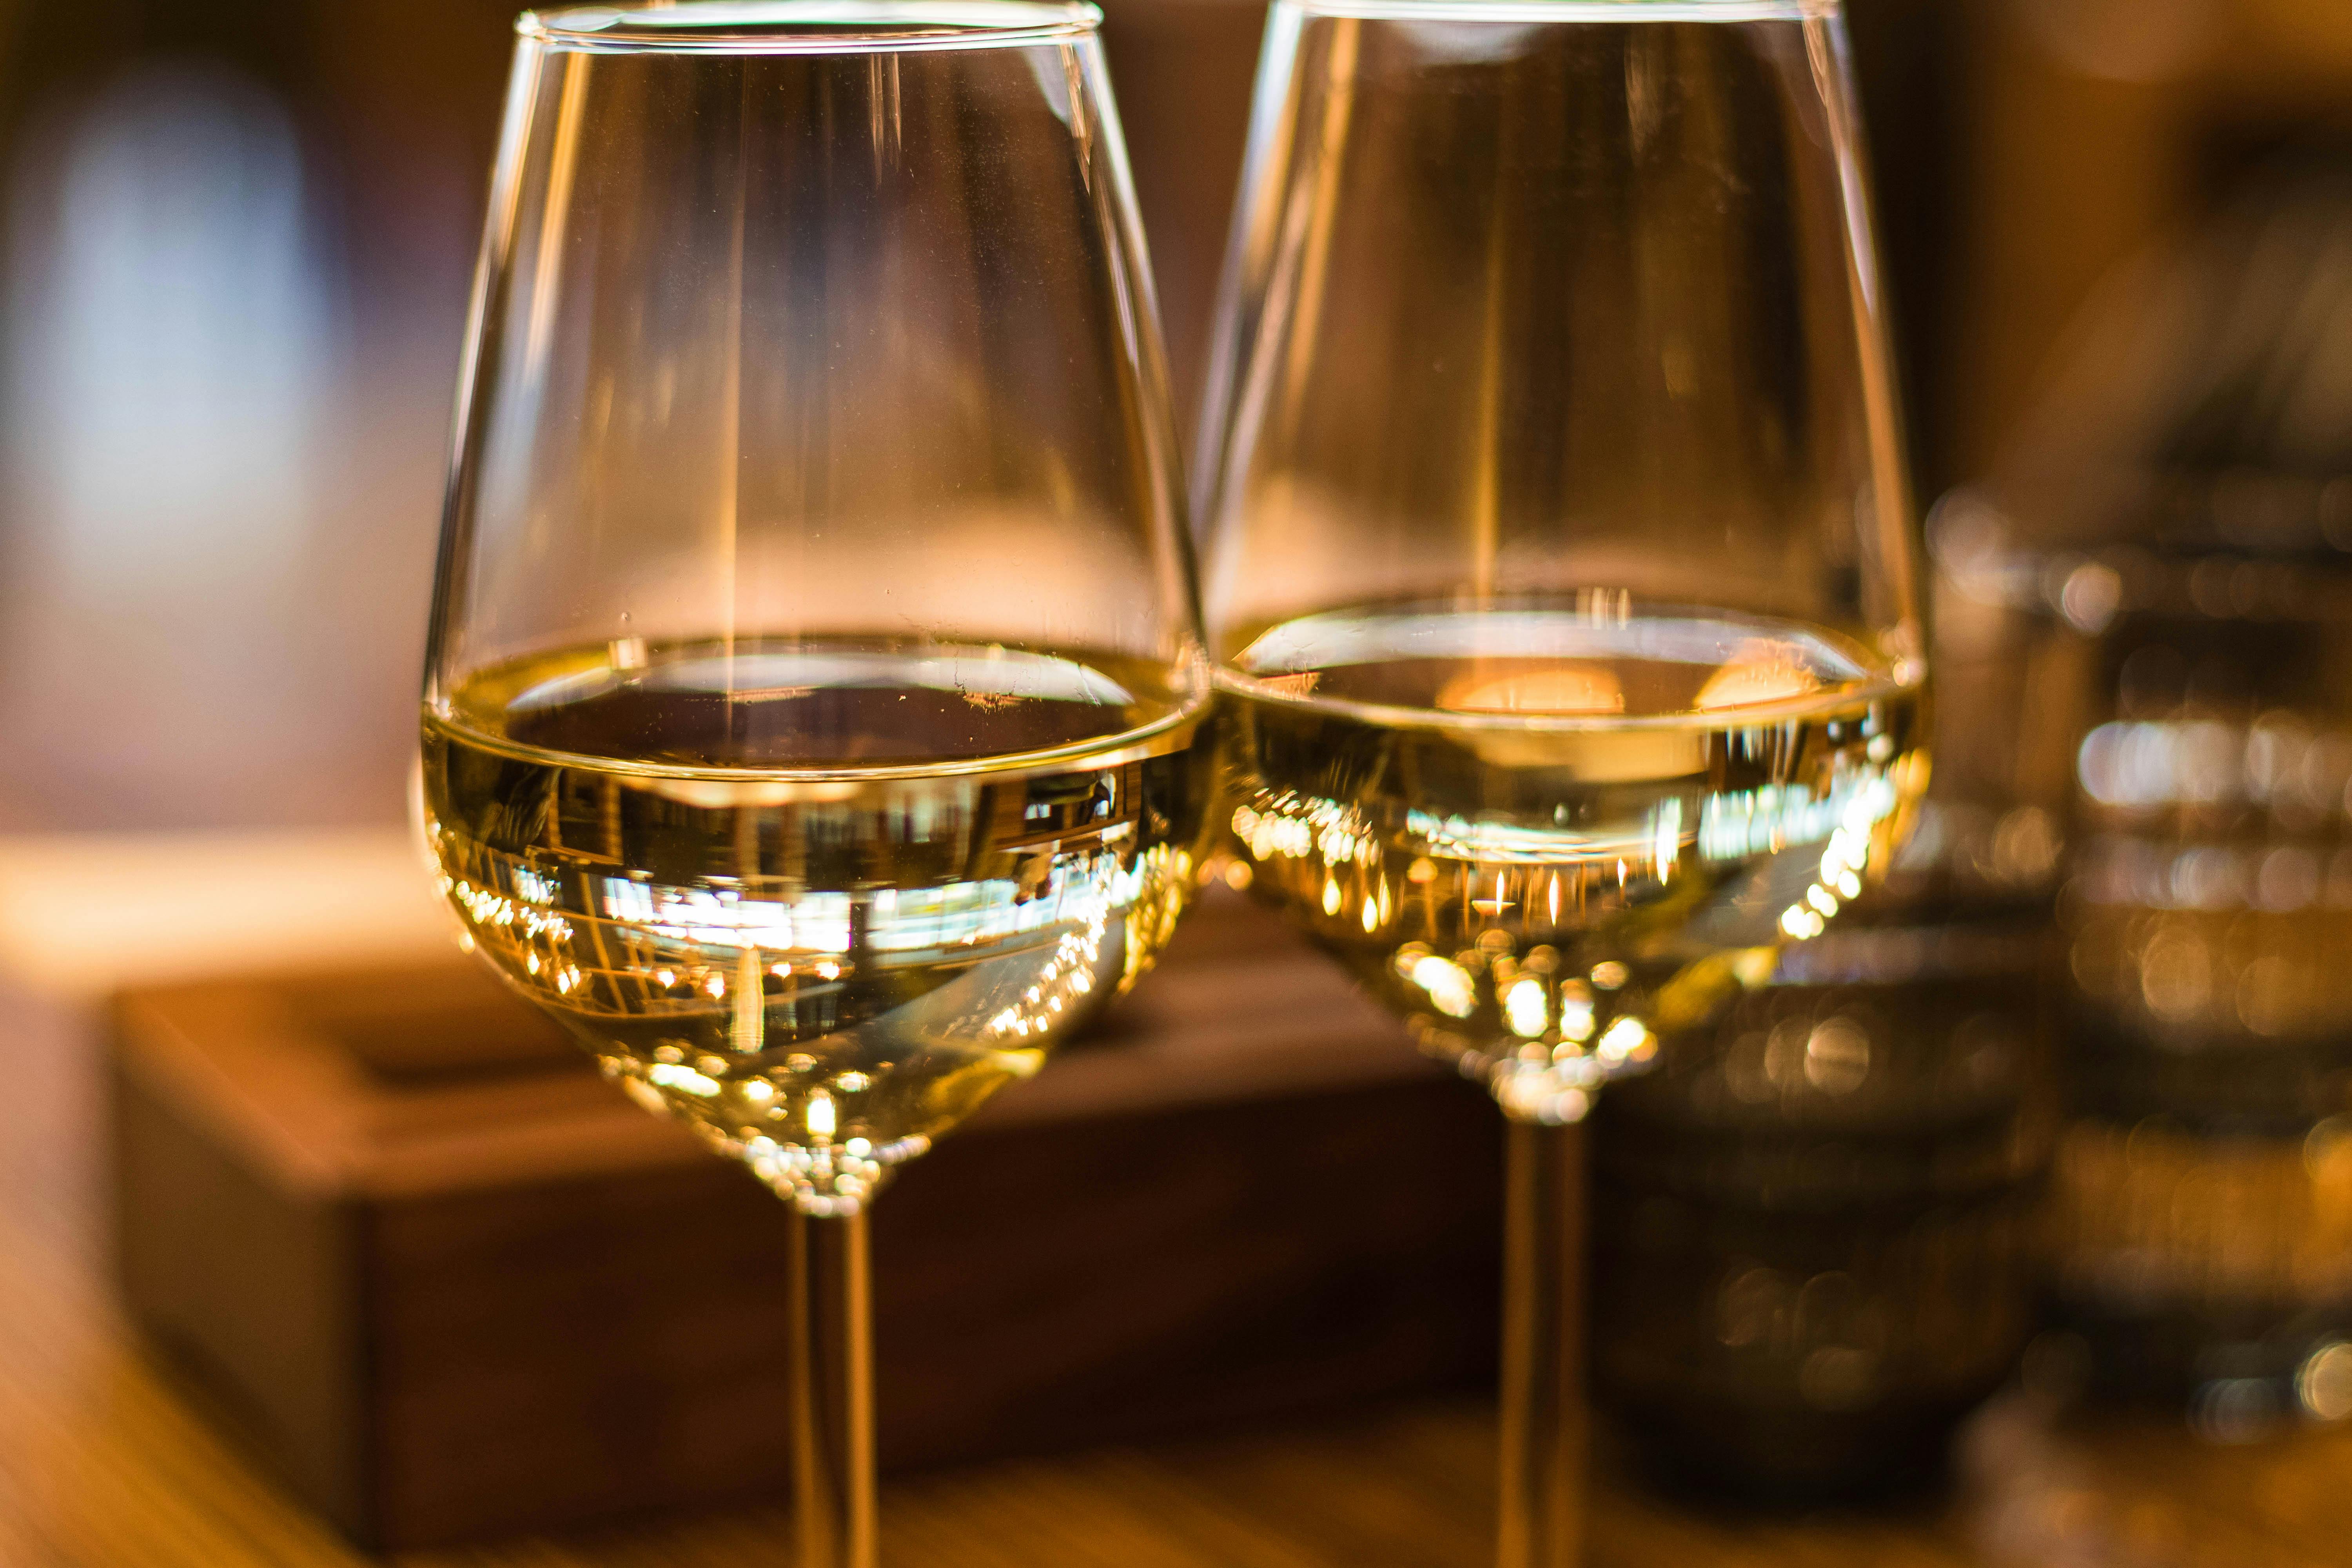
8. Candlelit Amber Glass Table
Amber glass changed my table completely. I collected amber bottles and small amber glasses, added tea lights, and placed them among dried oranges and cinnamon sticks. When the candles were lit, the whole table glowed warm gold.
The downside is that amber glass is easy to knock over when it is small, so I group pieces in threes on a tray, which keeps them stable and makes cleanup simple.
I light the candles ten minutes before guests arrive, so the glow is settled, not flickering wildly.
Pro Tip: Use a tray under grouped candles to catch wax and keep the arrangement tidy.
Cost: $25–$50 | 30 minutes | Easy

9. Personalized Place Cards with Herbs
Place cards are a small touch with a big payoff. I wrote each guest’s name on a kraft card, punched a hole, and tied it to a sprig of rosemary or thyme with twine. Guests loved finding their names, and the herbs smelled lovely.
The downside is that handwriting takes time and mistakes happen, so I write the cards the day before and I keep two spares for last-minute guests or spelling fixes. I stack the finished cards in seating order, which makes placing them a two-minute job.
Pro Tip: Write names in a thick pen so they are readable in candlelight.
Cost: $5–$10 | 30 minutes | Easy

10. Velvet Ribbon Napkin Rings
I wanted a touch of luxury without buying new napkin rings. I wrapped velvet ribbon around rolled linen napkins, tied a small bow, and tucked in a dried orange slice or a tiny pinecone. It looked expensive and took minutes.
The downside is that velvet ribbon can slip off smooth napkins, so I use linen or cotton napkins with a bit of texture, and I tie the bow snugly, not loosely.
I make one spare napkin bundle, in case a ribbon slips or a guest arrives unexpectedly.
Pro Tip: Choose ribbon in a deep autumn colour, like burgundy, forest, or mustard, for the richest look.
Cost: $10–$20 | 20 minutes | Easy

11. Tiered Stand Centre Display
A tiered stand is my secret for a small table. I placed pumpkins, candles, and small gourds on a two-tier stand in the centre, which gave height without taking up the whole table.
It also left room for serving dishes, which is the real test of any centrepiece.
The downside is that a tall stand can block views if it is too high, so I keep the top tier low and I use small items, not a tall vase.
I dust the stand before arranging it, because tiered displays show every speck from above.
Pro Tip: Keep the stand below eye level when guests are seated, and test it from a chair before dinner.
Cost: $25–$40 | 25 minutes | Easy
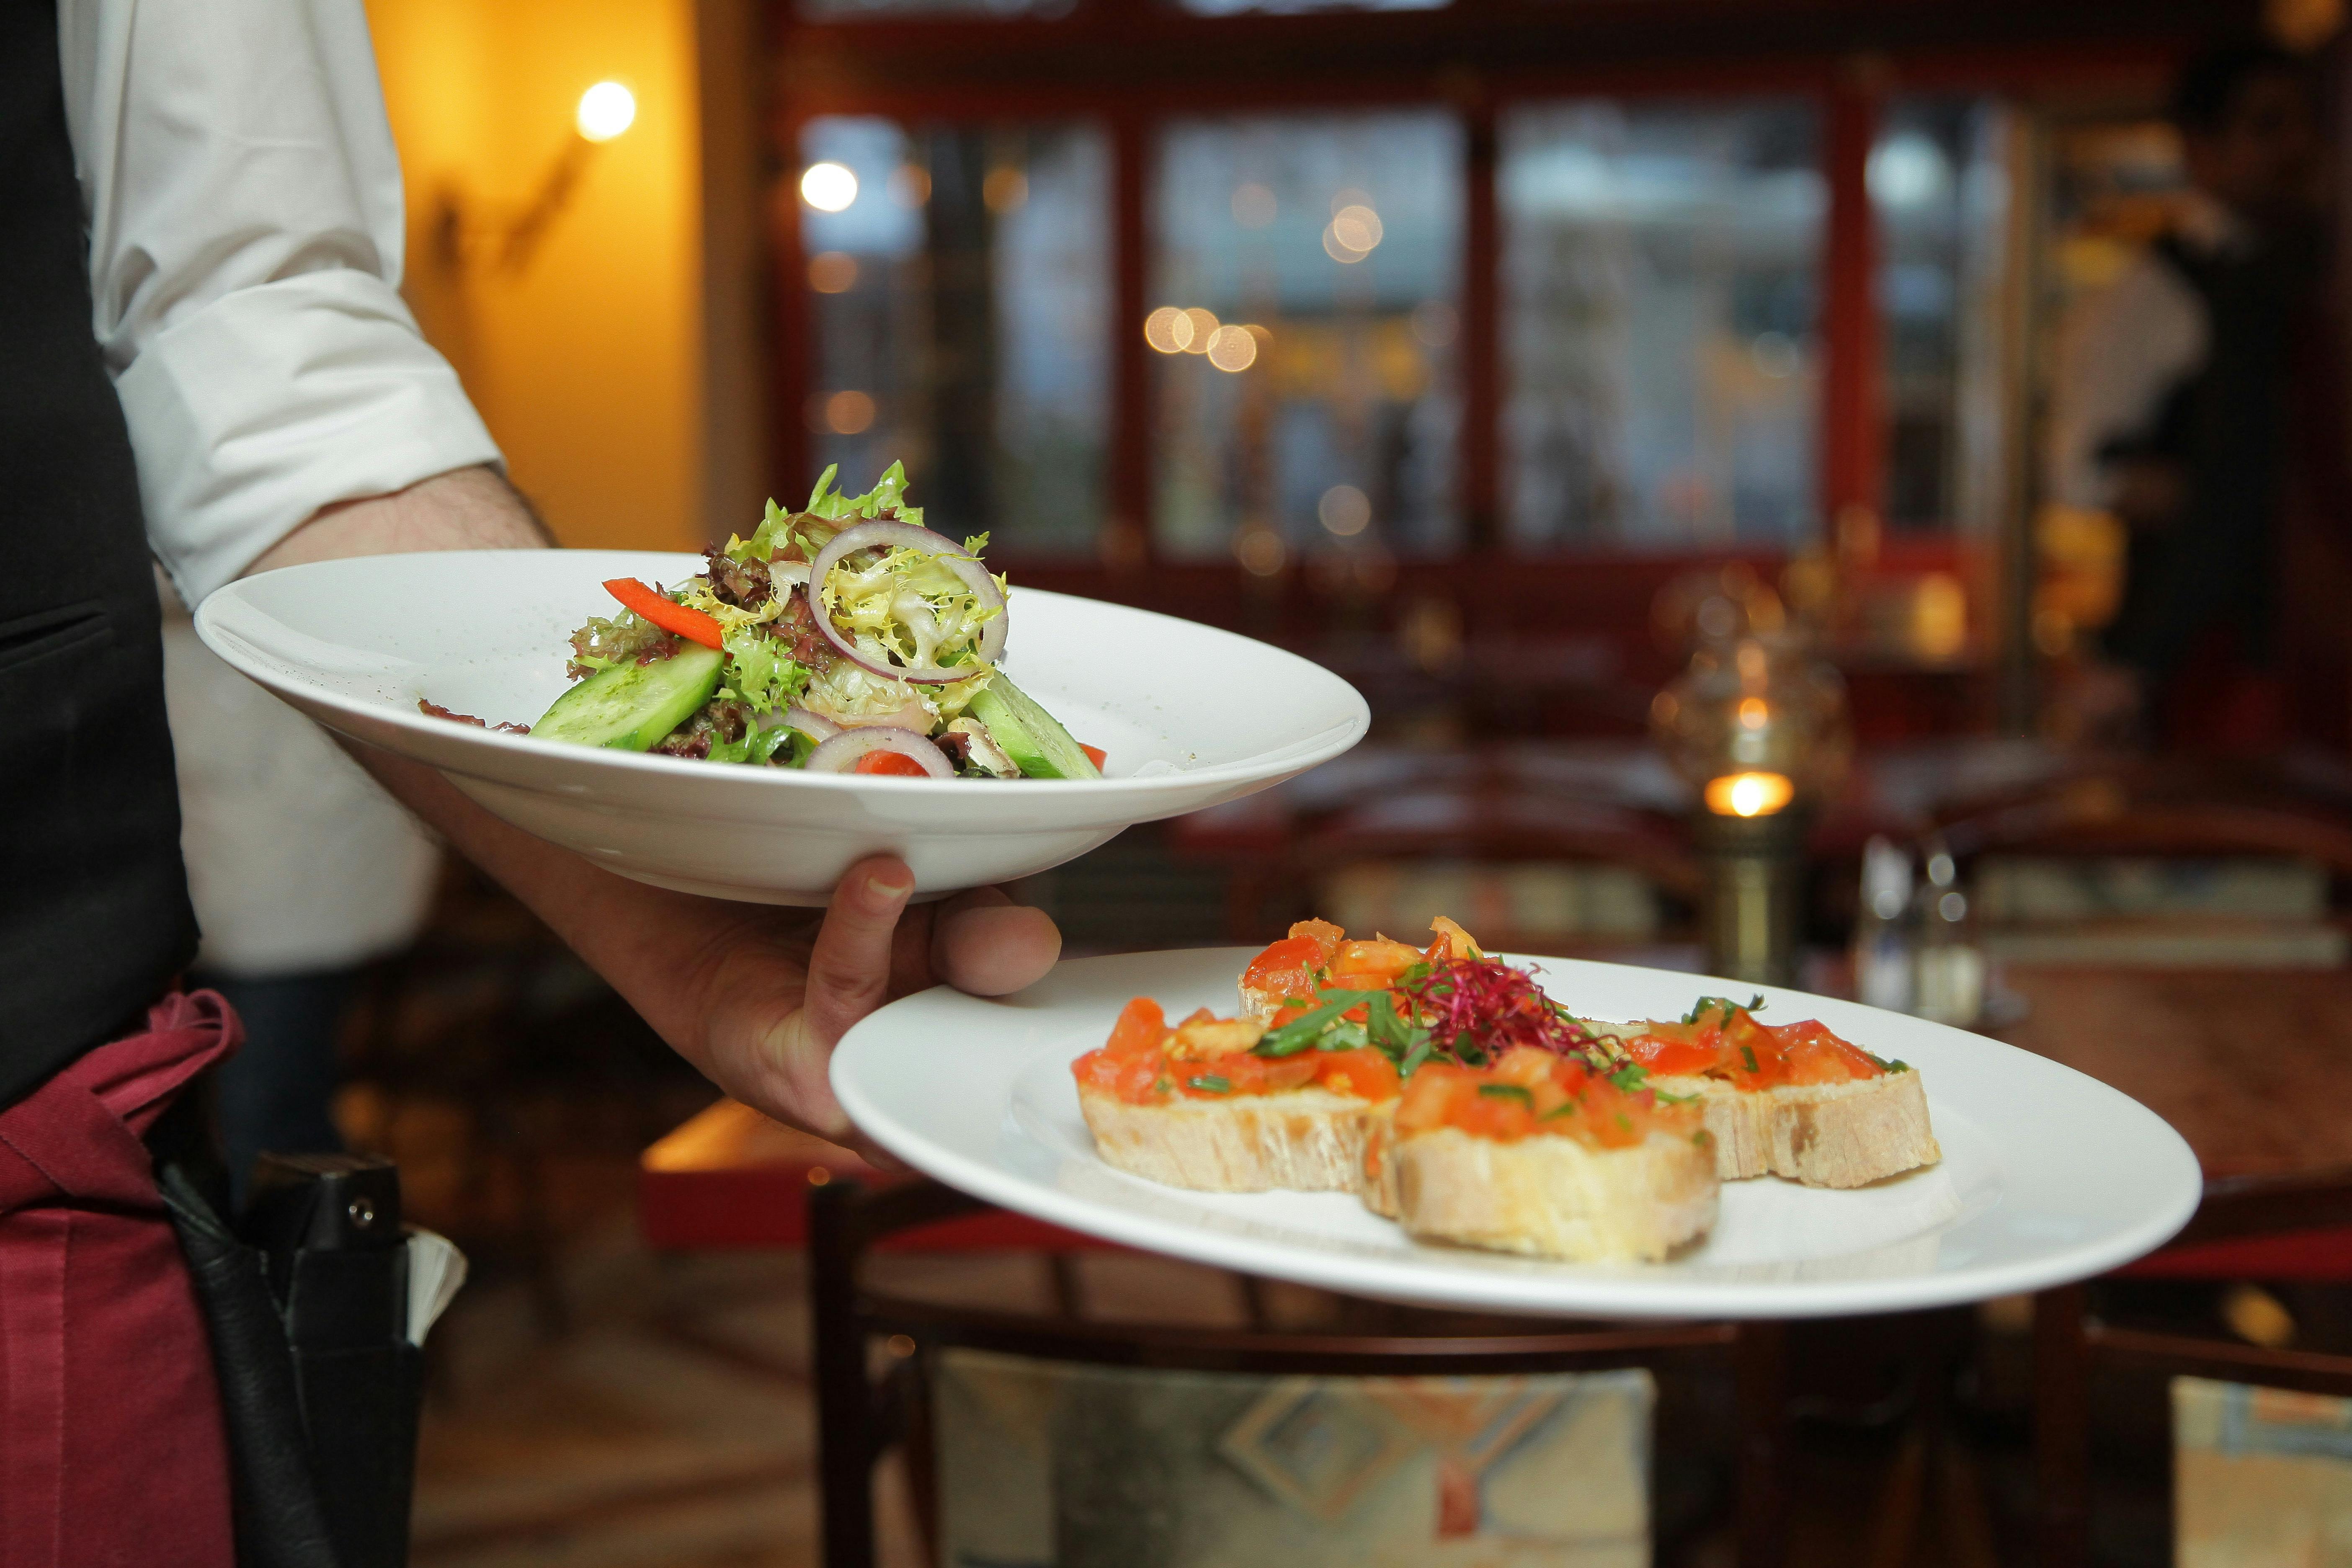
12. Gratitude Tree Centrepiece
This centrepiece started a tradition in my house. I placed bare branches in a vase, hung small paper leaves from them, and invited guests to write something they were grateful for. By dessert, the tree was full, and we read a few leaves aloud.
The downside is that branches can topple if the vase is light, so I fill the vase with stones or marbles first, and I keep the tree at one end of a long table, not the centre, if space is tight.
I provide short pencils, so even shy guests can write a leaf without hunting for a pen.
Pro Tip: Use sturdy branches and short strings so leaves do not tangle.
Cost: $10–$20 | 30 minutes | Easy

13. Moody Burgundy and Plum Table
For an evening dinner, I leaned into deep colours: burgundy napkins, plum candles, dark grapes, and brass holders. It felt rich and dramatic, and it photographed beautifully in candlelight.
The downside is that dark colours can feel heavy in a small room, so I balance them with cream plates and plenty of candlelight, and I avoid a dark tablecloth, which can make the room feel smaller.
I add cream candles to soften the dark napkins, which keeps the table inviting, not sombre.
Pro Tip: Balance one dark colour with cream or gold, so the table feels rich, not gloomy.
Cost: $30–$55 | 35 minutes | Medium

14. Farmhouse Dough Bowl Centerpiece
A dough bowl is the easiest centrepiece I own. I filled a long wooden bowl with moss, small pumpkins, pinecones, and candles, and set it down the centre.
It looked like it had always belonged there, and I could lift the whole bowl away when I needed room for serving dishes. The downside is that moss sheds, so I line the bowl first and I shake it outside after the holiday.
I trim any moss that hangs over the bowl edge, so it does not shed onto the plates.
Pro Tip: Line the bowl with a cloth so moss and soil do not stain the wood.
Cost: $25–$45 | 20 minutes | Easy
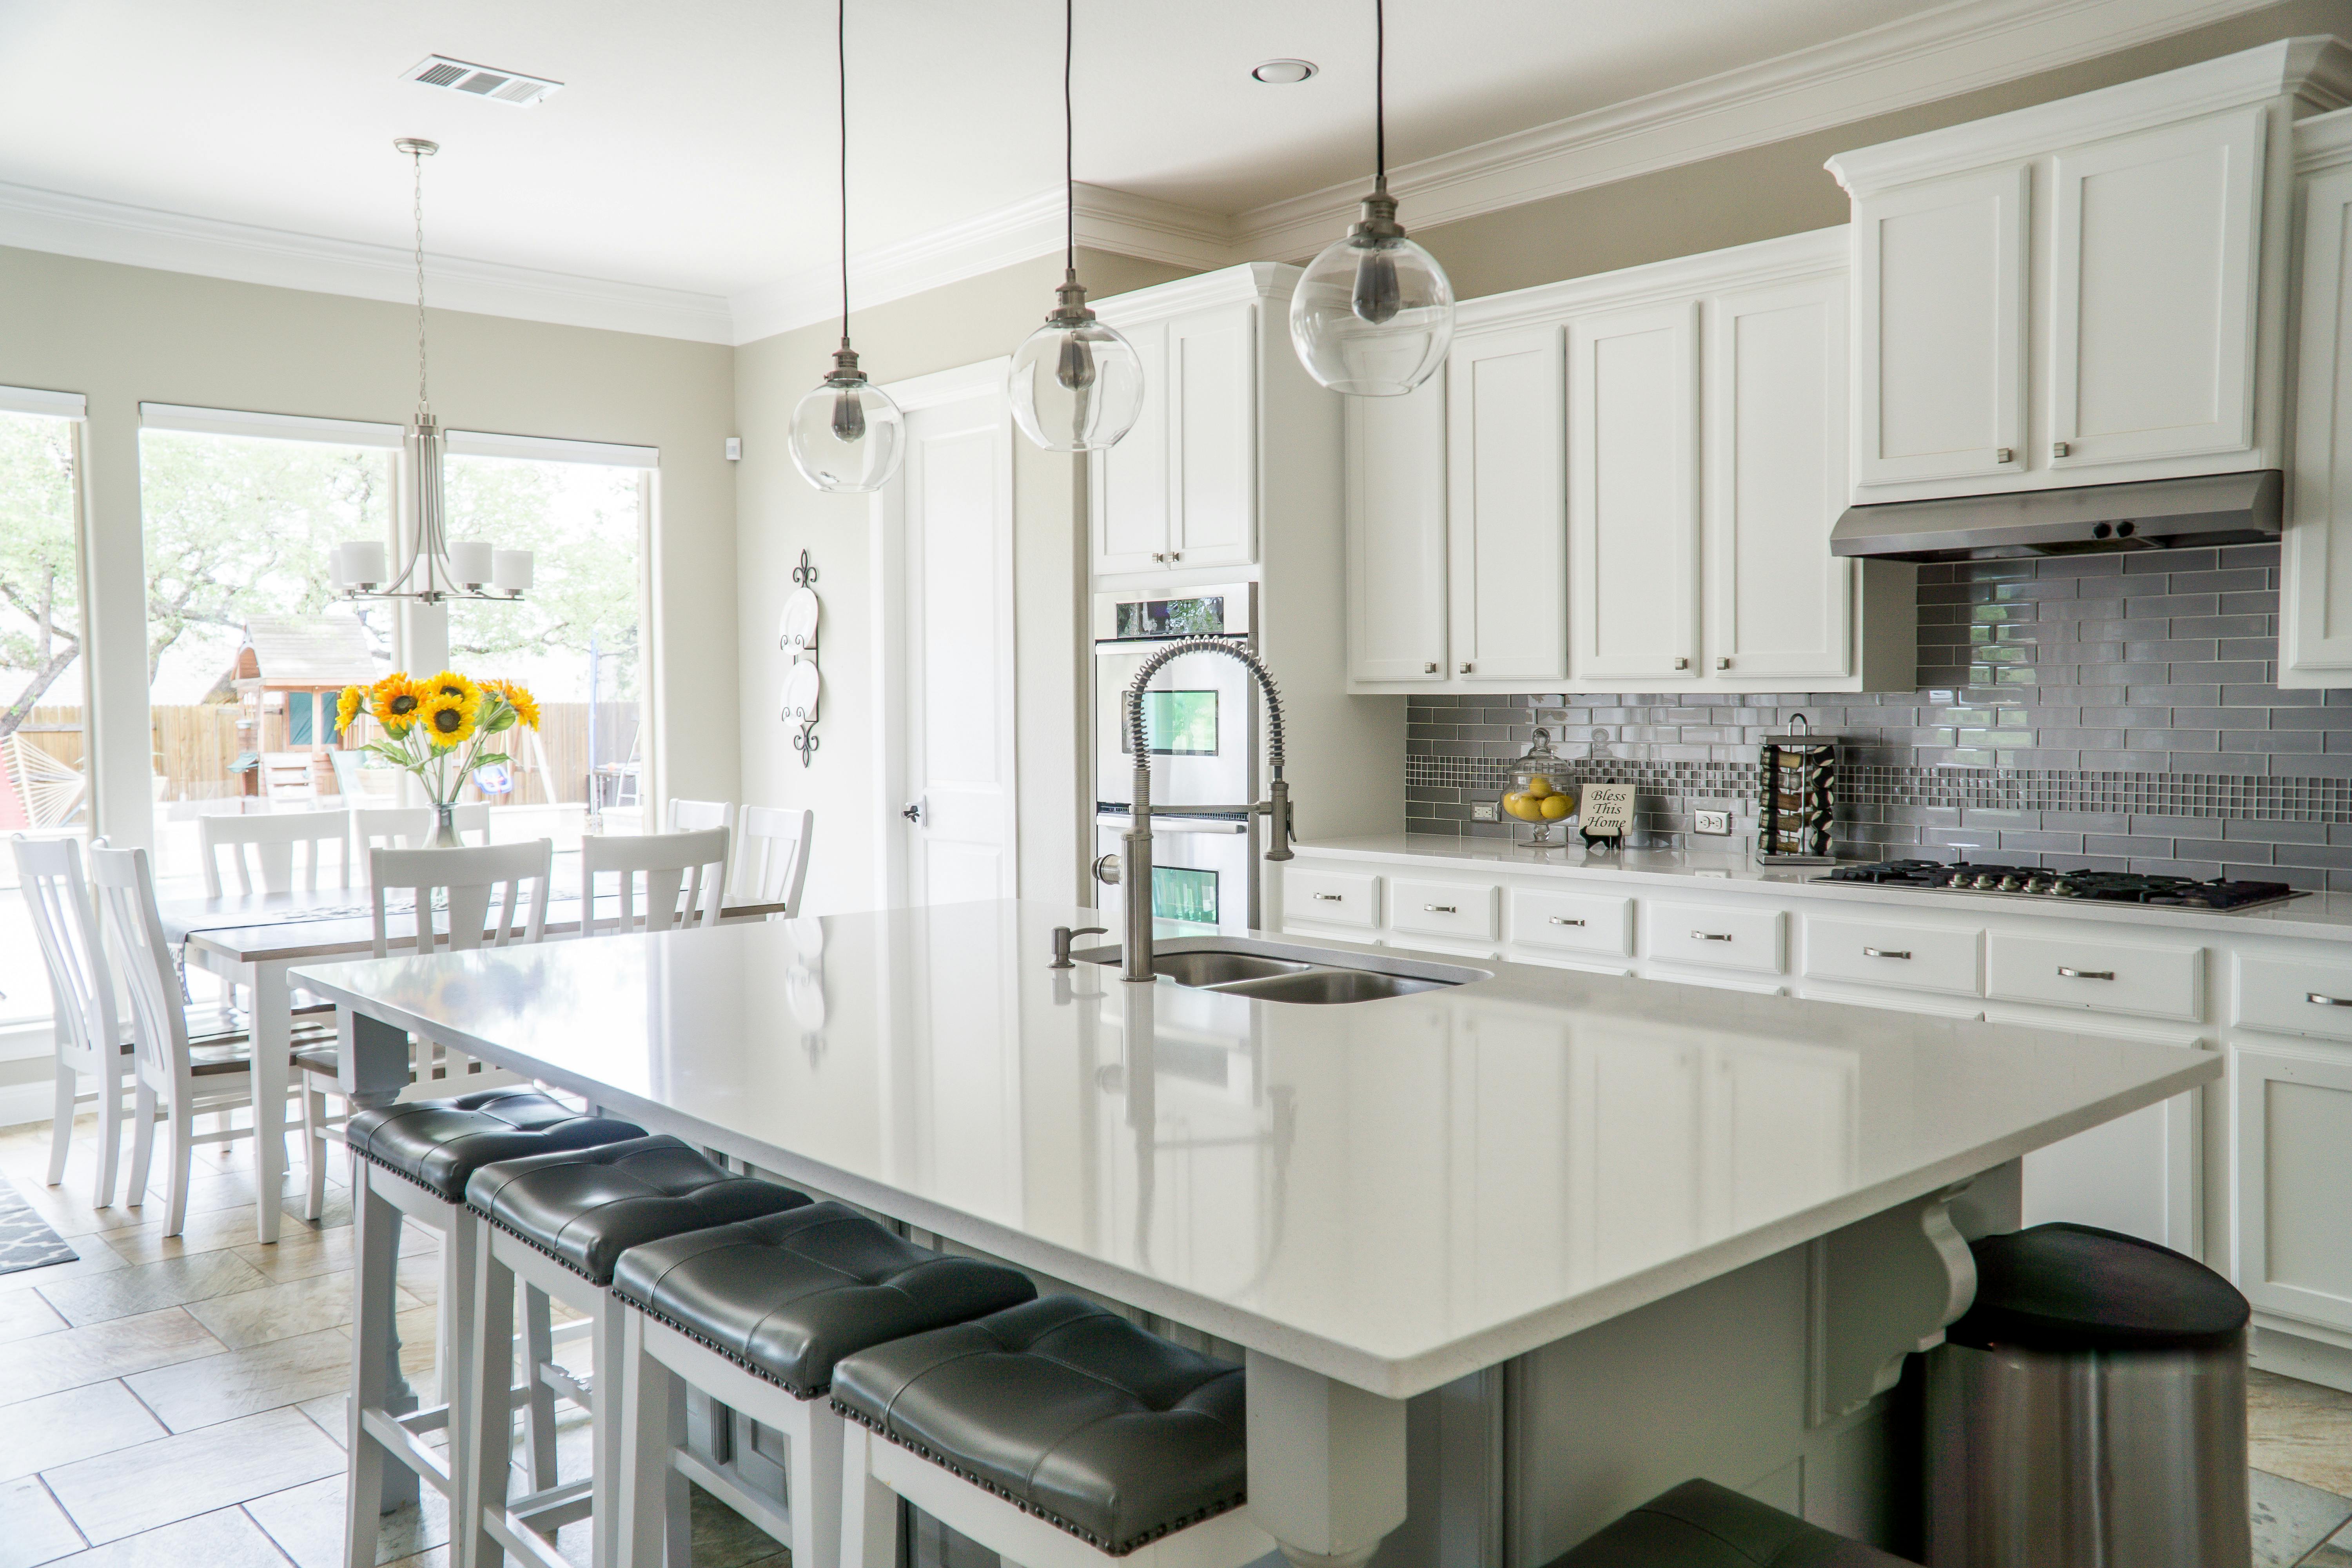
15. Copper and Terracotta Table
Copper and terracotta warm up a table instantly. I used terracotta pots as candle holders, copper mugs for cutlery, and dried leaves scattered sparingly. It felt earthy and a little unexpected, which I loved.
The downside is that terracotta can be dusty, so I wipe each pot before setting the table, and I do not use real soil in pots on the table, only candles or greenery.
I wipe the copper mugs before guests arrive, because fingerprints dull the warm shine.
Pro Tip: Repeat copper in just two or three places, so it reads as a theme, not clutter.
Cost: $25–$45 | 30 minutes | Easy
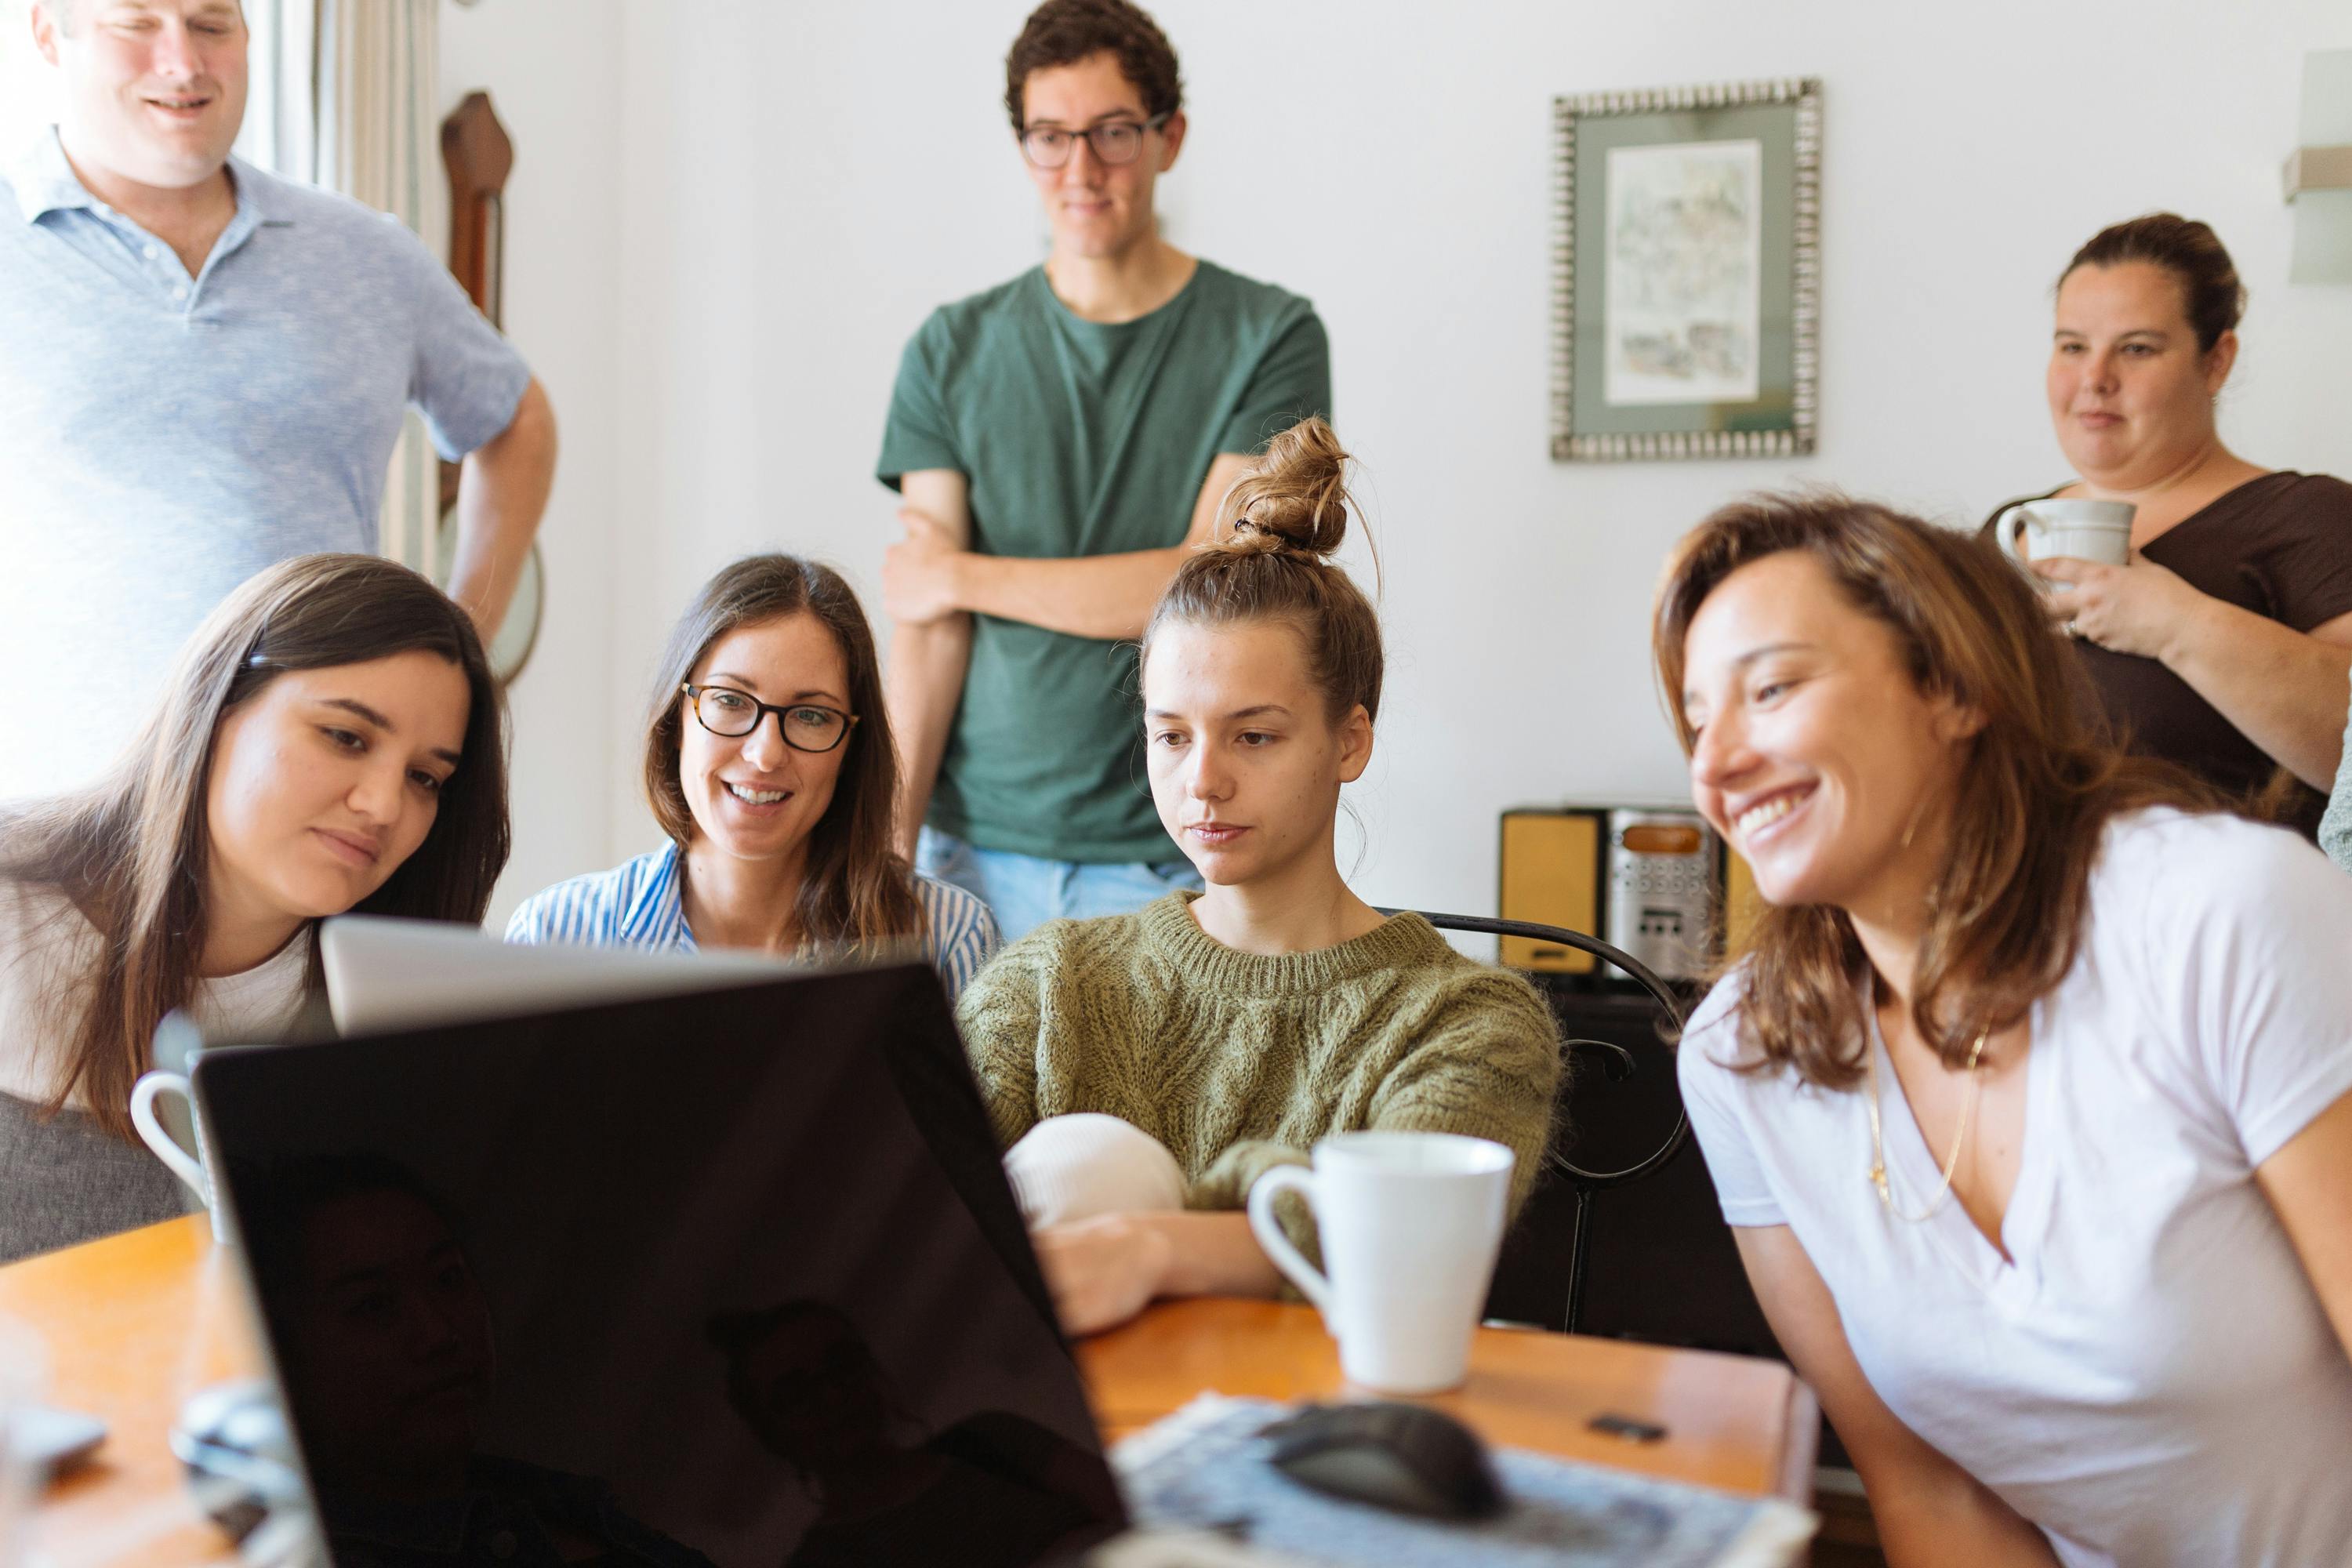
16. Modern Cornucopia Centerpiece
I gave the classic cornucopia a modern update. I used a simple woven horn, filled it with whole fruit, nuts, and greenery, and let it spill gently onto the table, rather than piling it high. It honoured tradition without looking old-fashioned.
The downside is that a horn can roll, so I anchor it with a small towel underneath and I place heavier fruit at the base to keep it steady.
I place the horn at an angle, so the spill faces the guests, not the serving dishes.
Pro Tip: Keep the spill low and to one side, so serving dishes still fit.
Cost: $20–$35 | 25 minutes | Easy
17. Mixed Metals Table
Mixing gold and copper used to scare me, but it works when you repeat both. I used gold chargers, copper candle holders, and cream napkins, with white pumpkins to calm the shine. The table felt warm and a little glamorous.
The downside is that too many metals can look chaotic, so I stick to two metals, repeat each at least three times, and keep everything else plain. I keep the plates plain white, which lets both metals shine without competing patterns.
Pro Tip: Repeat each metal at least three times, or it will look like an accident.
Cost: $35–$65 | 40 minutes | Medium
18. Pressed Autumn Leaf Place Settings
This is my favourite budget idea. I pressed autumn leaves between books for a week, then placed one leaf on each plate with a handwritten name card. It cost almost nothing, and guests took their leaves home.
The downside is that pressed leaves are fragile and can crumble, so I handle them gently, I press extras, and I do not use them if the table will be crowded with children reaching across it.
I press a few extra leaves the week before, so a broken one never delays setting the table.
Pro Tip: Press leaves for at least five days, and keep spares for any that break.
Cost: $0–$5 | 20 minutes plus pressing | Easy

19. Long Banquet Table for a Crowd
When I hosted fourteen people, one long table changed everything. I pushed two tables together, used one long runner, repeated small pumpkin and candle clusters every few feet, and kept the centre low all the way down.
Everyone could see and hear each other, which is the whole point. The downside is that a long table needs more of everything, so I counted places twice and I set one extra place, because someone always brings a friend.
I walk the length of the table after setting it, checking that every place has equal space.
Pro Tip: Repeat the same small cluster, rather than one huge centrepiece, so the table feels connected.
Cost: $40–$70 | 45 minutes | Medium

20. Last-Minute Grocery Store Table
I have set this table in under an hour, more than once. I bought a bunch of eucalyptus, a bag of small pumpkins, plain white candles, and kraft paper from the grocery store, then arranged them simply with cloth napkins I already owned.
It looked intentional, not rushed. The downside is that grocery store greenery varies, so I buy two bunches and pick the best stems, and I skip anything wilted, because one sad stem drags the whole table down.
I buy the pumpkins a day ahead, so they are firm and fresh, not soft from days in storage.
Pro Tip: Buy greenery last, keep it in water until setting time, and trim stems fresh.
Cost: $20–$35 | 45 minutes | Easy

Comparison Table
| Idea | Best For | Cost | Time |
|---|---|---|---|
| Low Pumpkin Centerpiece | Small / family table | $15–$30 | 20 min |
| Eucalyptus and Candle Runner | Elegant, low effort | $25–$45 | 30 min |
| Gold and Cream Elegant Table | Formal dinner | $40–$80 | 45 min |
| Rustic Wood and Burlap Table | Casual family | $20–$35 | 30 min |
| Harvest Fruit Centerpiece | Edible / abundant | $20–$40 | 25 min |
| Minimalist White and Sage Table | Modern / calm | $20–$35 | 20 min |
| Gratitude Tree Centrepiece | Family tradition | $10–$20 | 30 min |
| Last-Minute Grocery Store Table | Under an hour | $20–$35 | 45 min |
Mistakes I Made / What I Learned the Hard Way
I once built a centrepiece so tall that my guests had to lean around it to talk. Now I sit in a chair and check sightlines before dinner, and I keep every centrepiece below eye level when seated.
I lit real candles too close to dried leaves one year, and I spent dinner watching them instead of enjoying it. Now candles sit in glass holders, well clear of greenery, and I use battery candles when children are at the table.
I bought a whole new set of dishes for one theme, then never used them again. Now I change runners, napkins, and candles, and I keep my everyday plates, which saves money and storage space.
I set the table the day before with fresh greenery, and by dinner it looked tired. Now I set the base early, but I add fresh greenery, fruit, and place cards on the morning of Thanksgiving.
Frequently Asked Questions
How do I decorate a Thanksgiving table on a budget?
I start with what I already own, then add one fresh element, usually greenery or small pumpkins. The pressed leaf place settings and the grocery store table in this list both cost under $35, and candlelight does more than expensive flowers.
How do I leave room for food on a decorated table?
I use a low, narrow centrepiece and I test it with my serving dishes before guests arrive. If a dish does not fit, the centrepiece moves to a sideboard, and the table keeps a small candle cluster instead.
Are real candles safe on a Thanksgiving table?
They can be, with care. I use glass holders, keep flames clear of greenery and napkins, never leave them unattended, and I switch to battery candles when children are seated at the table.
When should I set the Thanksgiving table?
I set plates, cutlery, and non-perishable decor the day before, then I add fresh greenery, fruit, and place cards on the morning of dinner. That way the table looks fresh without a last-minute rush.
Final Thoughts
My advice is simple: pick one centrepiece, one napkin detail, and candlelight, and stop there. A table that feels warm and usable will always beat a table that only photographs well.
Related article will help if you are still planning the whole day, and Also read is useful for napkin and setting details. Read this next when you want more seasonal table inspiration, and return to your favourite idea here when you shop.
Set the table, light the candles, and enjoy the people around it. That is the whole point, after all.