17 Park Shelter Birthday Party Ideas That Look Way More Expensive Than They Are
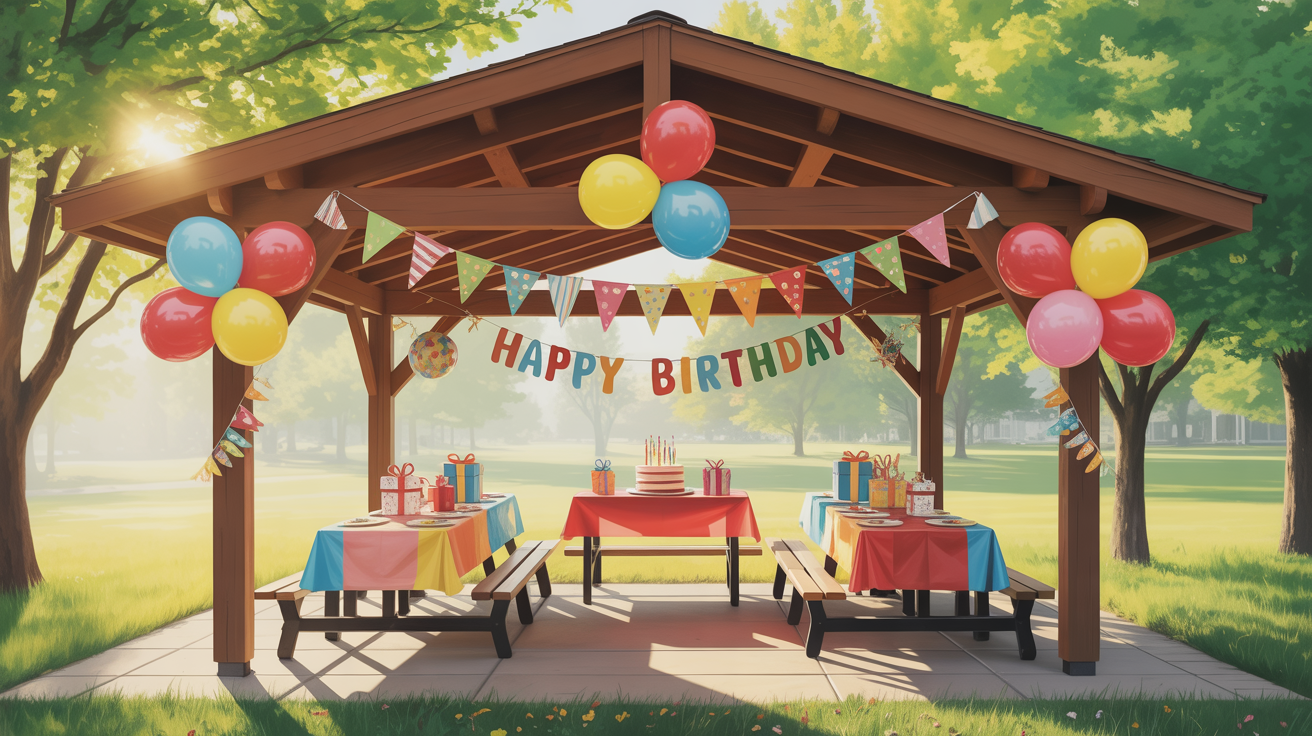
Planning a birthday party at a park shelter used to feel intimidating to me. A basic pavilion with picnic tables and concrete floors doesn’t exactly scream “celebration.” But after hosting several outdoor parties, I realized that a park shelter can become an amazing party space without spending a fortune.
What I love most is the flexibility. Kids have room to run, adults can relax, and I don’t have to worry about expensive venue fees. With a few thoughtful decorations and smart setup tricks, an ordinary shelter can look surprisingly polished.
Save this for later
Table of Contents
A park shelter birthday party is one of the most affordable ways to host a memorable celebration. Most shelters cost far less than indoor venues, and they already provide seating, shade, and open space for activities. In this guide, I share practical ways to decorate pavilion posts, create attractive food stations, organize lawn games, build photo areas, and set up the space efficiently. These ideas help create a party that feels organized, welcoming, and budget-friendly without requiring professional event planning.
Key Takeaways
- Visit the shelter before party day to avoid surprises.
- Use the shelter’s structure to support decorations.
- Skip expensive helium balloons and use anchored balloon clusters.
- Create self-serve food stations to save money and reduce stress.
- Keep decorations simple with a consistent color palette.
- Add lawn games to take advantage of the park setting.
- Arrive early and follow a setup plan for a smoother event.
- Focus on guest experience rather than expensive decorations.
Related article: 21 Jurassic Park Birthday Party Ideas That Feel Like the Real Park
1. Reserve the Shelter and Scout It Before Party Day
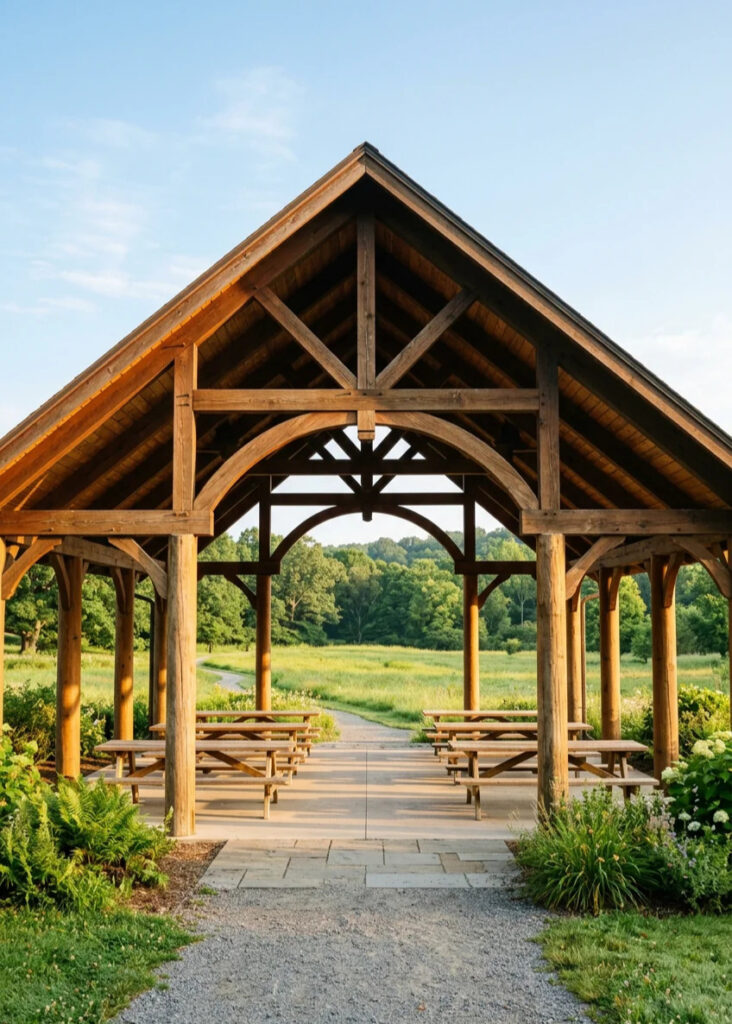
The first thing I always do is reserve the shelter as early as possible. In many cities, park shelter rentals typically range from $25 to $75, making them one of the most affordable birthday venue options available.
Before party day, I make a separate visit to the location. This small step has saved me from several headaches. I check how many picnic tables are available, where the parking lot is located, how far guests will need to walk, and whether nearby restrooms are clean and easy to access.
I also pay attention to sunlight. Afternoon sun can quickly warm drinks, melt frosting, and make guests uncomfortable. Knowing where the shade falls helps me decide where to place food tables and seating.
Taking photos during the visit helps me plan decorations later. Instead of guessing, I already know exactly what supplies I need.
Pro Tip: Bring a measuring tape when you scout the shelter. Knowing the width of beams, posts, and wall spaces makes buying banners and decorations much easier.
Another thing I always check is the park’s decoration policy. Many parks restrict nails, staples, or strong adhesives. Learning the rules ahead of time prevents last-minute surprises and helps avoid fines or cleanup issues.
2. Wrap the Pavilion Posts with Crepe Paper
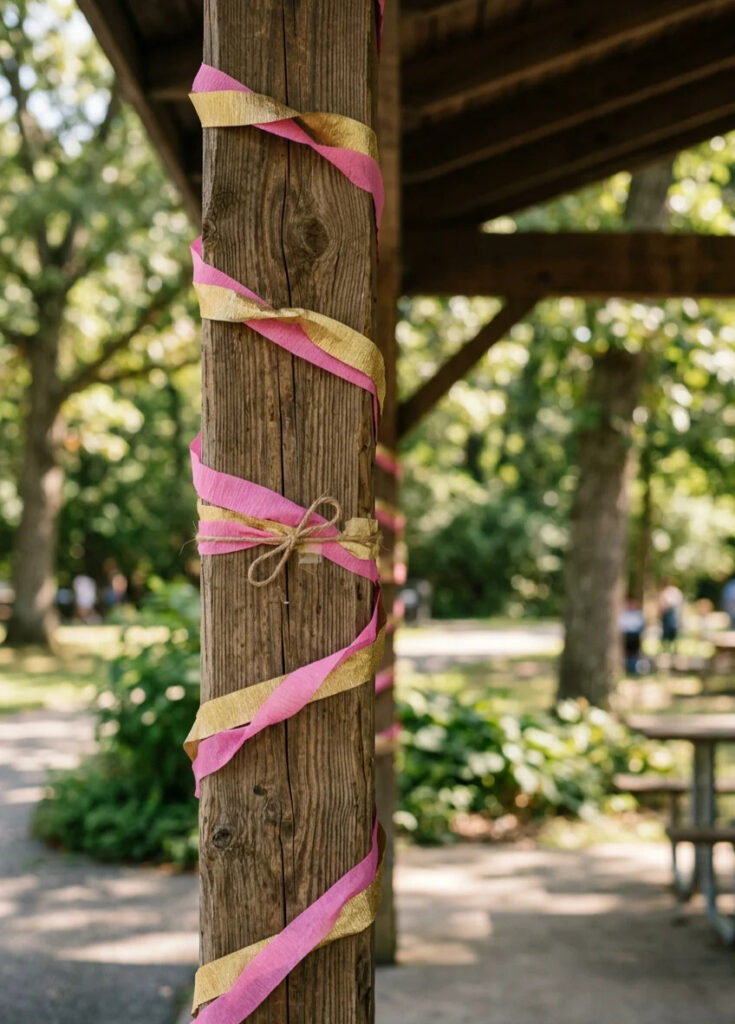
One of the quickest ways I transform a plain shelter is by decorating the support posts.
I usually buy two rolls of crepe paper in colors that match the party theme. Twisting them together creates a simple decorative effect that instantly makes the pavilion feel more festive.
Starting at the top, I loosely wrap the paper around each post and secure it with painter’s tape where allowed. Within minutes, the entire shelter looks intentional rather than plain.
The best part is the cost. For only a few dollars, the posts become colorful focal points that guests notice immediately.
Pro Tip: Choose colors that match the rest of your decorations. Consistent colors create a more polished look than using multiple random shades.
3. Anchor Balloon Clusters Without Helium
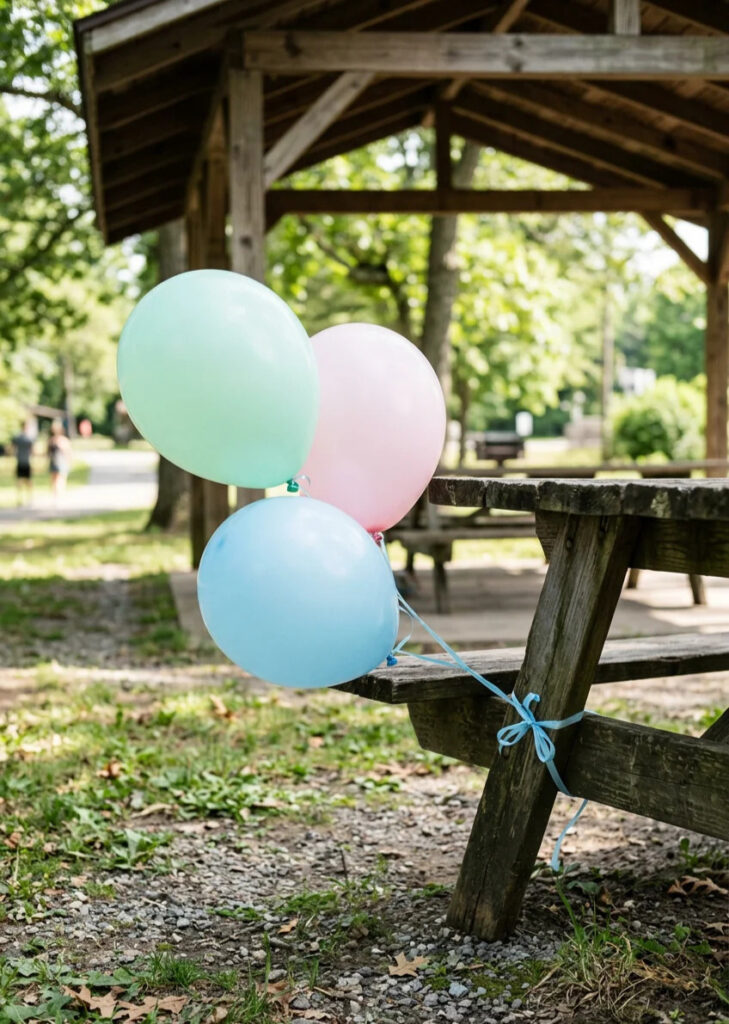
I’ve learned that helium balloons are often unnecessary for outdoor parties.
Instead, I create small balloon clusters using three balloons tied together. Then I attach each cluster to a picnic table leg, bench, or weighted object using ribbon.
This approach saves money and eliminates the frustration of balloons floating away. It also works much better on windy days.
For most park shelters, a few balloon clusters around the seating area provide plenty of visual impact without stretching the budget.
According to event industry estimates, helium costs have steadily increased in recent years, making anchored balloons one of the smartest ways to save money on party decorations.
4. Hang a Birthday Banner Across the Main Beam
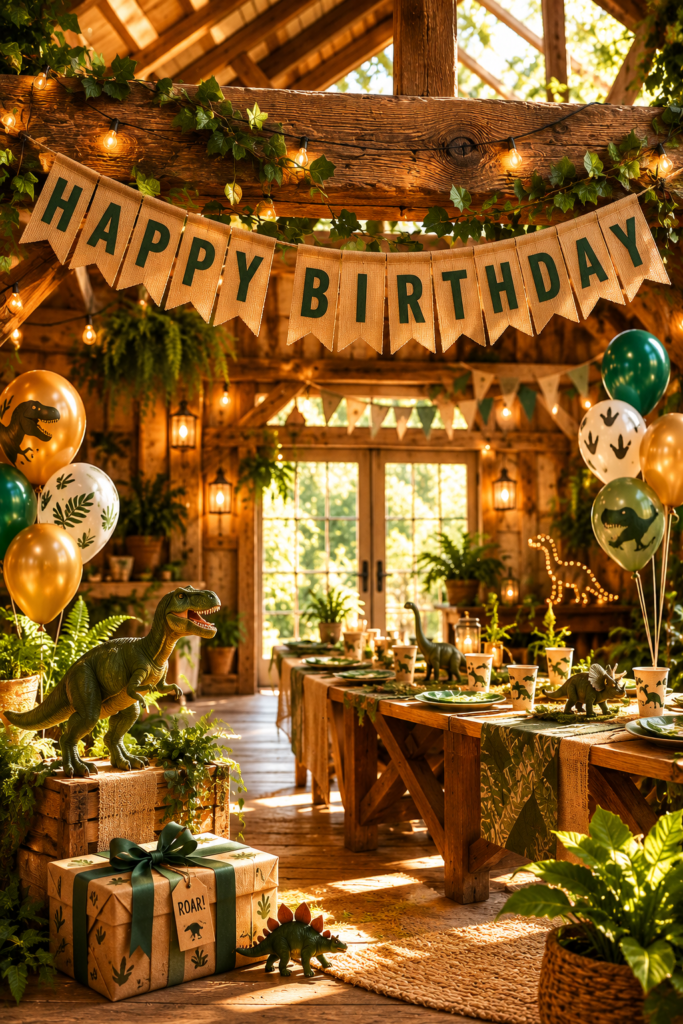
Every park shelter has a visual focal point, and in many cases it’s the main beam running across the pavilion.
I like to hang a fabric banner across this area because it’s one of the first things guests see when they arrive.
Fabric banners tend to hold up better outdoors than paper versions. They resist moisture, stay flatter in humid weather, and usually photograph better throughout the party.
A simple banner instantly defines the party space and makes the shelter feel more personalized.
Pro Tip: If you’re hosting a themed party, choose a reusable fabric banner. You can often save it for future celebrations or family events.
5. Clip Every Tablecloth Down
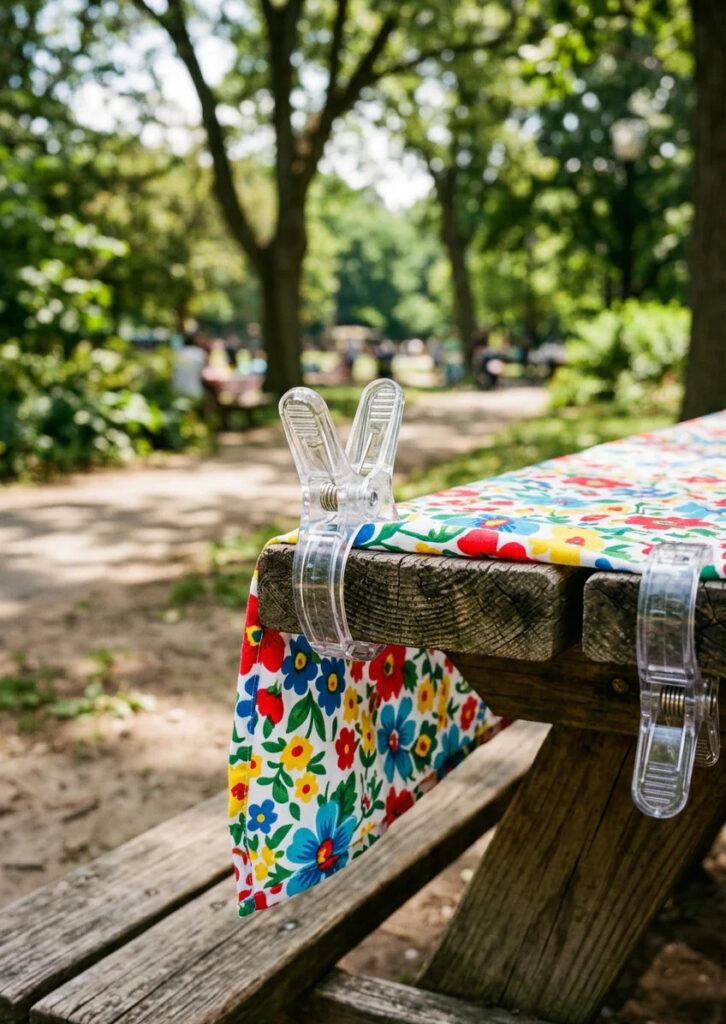
This might be the least exciting tip on the list, but it’s also one of the most important.
Outdoor air movement can turn a tablecloth into a constant annoyance. Even under a covered shelter, wind can lift corners and send decorations sliding across the table.
I always bring plastic tablecloth clips. They install in seconds and keep everything securely in place.
Reusable clips are inexpensive and can last through multiple parties, making them one of the best investments for outdoor entertaining.
Pro Tip: Pack extra clips. They can also secure lightweight decorations, signs, and party supplies if needed.
6. String Battery-Operated Lights Across the Roof Beams
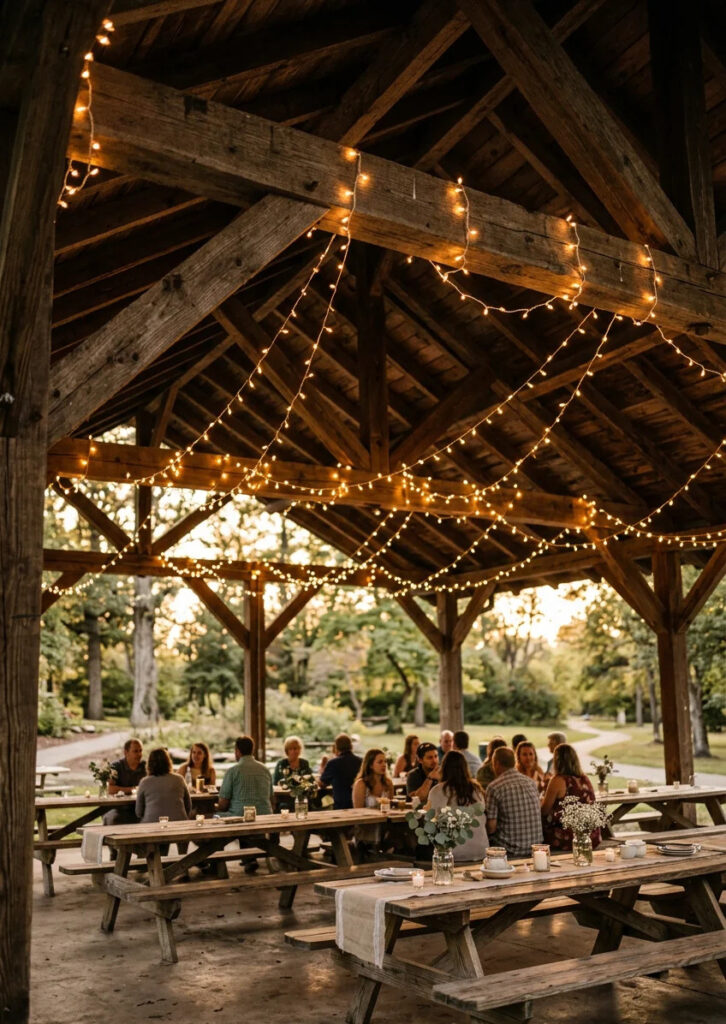
String lights add far more atmosphere than most people expect.
Even during daytime parties, shaded shelters can feel darker than the surrounding park. Soft lighting helps create a warmer and more inviting environment.
I prefer battery-operated LED string lights because they don’t require access to electrical outlets. They can be wrapped around beams, draped across the ceiling structure, or woven through decorations.
The result is a shelter that feels thoughtfully designed rather than simply decorated.
Battery-powered LED lights are also energy efficient and often provide 20 to 40 hours of runtime on a fresh set of batteries.
Pro Tip: Install fresh batteries before leaving home and bring a backup set. It’s a simple precaution that prevents disappointment later.
7. Set Up a Build-Your-Own Food Station
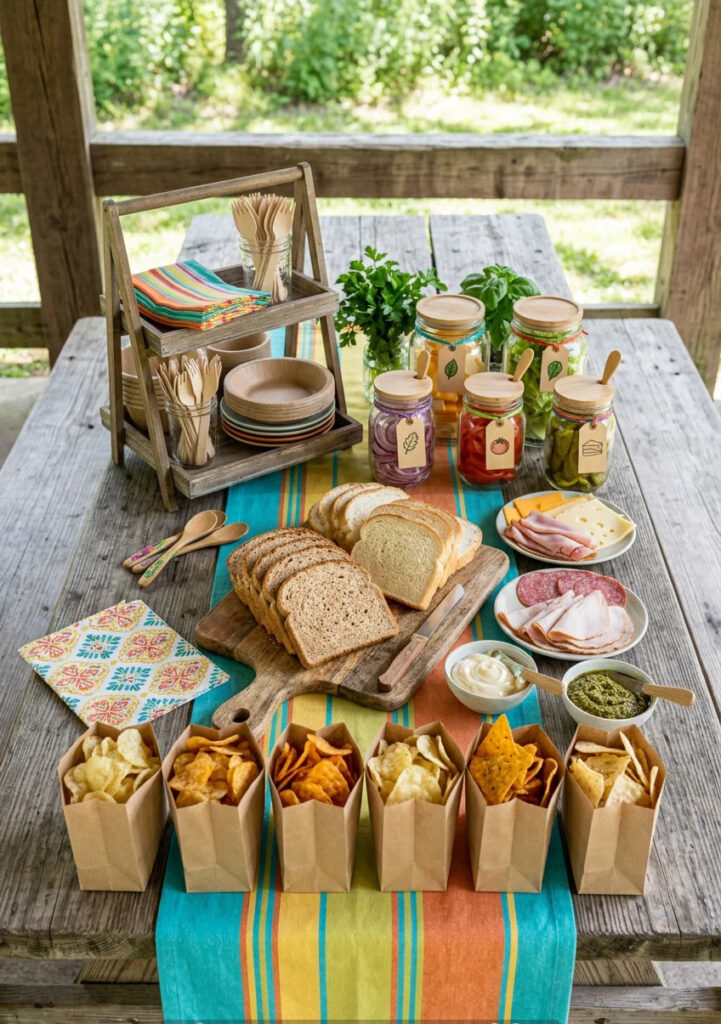
One of my favorite things about hosting a park shelter birthday party is how easy it is to create a self-serve food station. Instead of paying for catering or spending hours preparing individual meals, I let guests build their own lunch.
This setup works especially well for children’s parties because everyone gets exactly what they like. Parents appreciate having options, kids enjoy making their own food, and I spend less time managing meal requests.
I’ve found that food stations also help guests mingle naturally. Rather than everyone sitting down at once, people move through the station at their own pace, creating a more relaxed atmosphere.
For a party with around 20 guests, I can usually create a complete build-your-own meal station for far less than the cost of restaurant catering.
Pro Tip: Arrange the station in the same order people build their meal. Starting with bread, followed by proteins, toppings, and sides keeps traffic moving smoothly and prevents bottlenecks.
8. Turn the Shelter’s Back Wall Into a Photo Backdrop
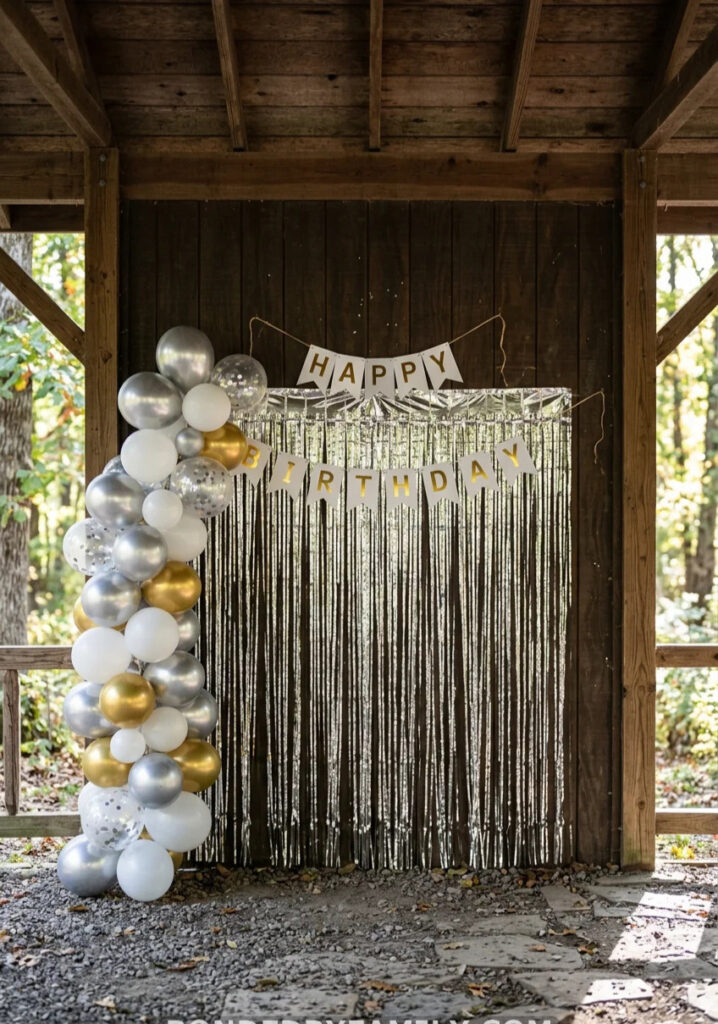
One of the easiest ways I make a park shelter look party-ready is by creating a dedicated photo area. Most pavilions already have a back wall, side wall, or solid section that works perfectly for this.
Instead of letting that space sit empty, I turn it into a simple backdrop where guests can take pictures throughout the party. It doesn’t require expensive equipment, but it creates a feature that people naturally gravitate toward.
Photos are often what people remember most after a birthday celebration. Giving guests a designated place to take them helps capture those moments without much effort.
I also love that a backdrop makes the shelter feel more personalized. Even basic decorations can look impressive when they’re grouped together in one focal area.
9. Set Up a Balloon Arch at the Shelter Entrance
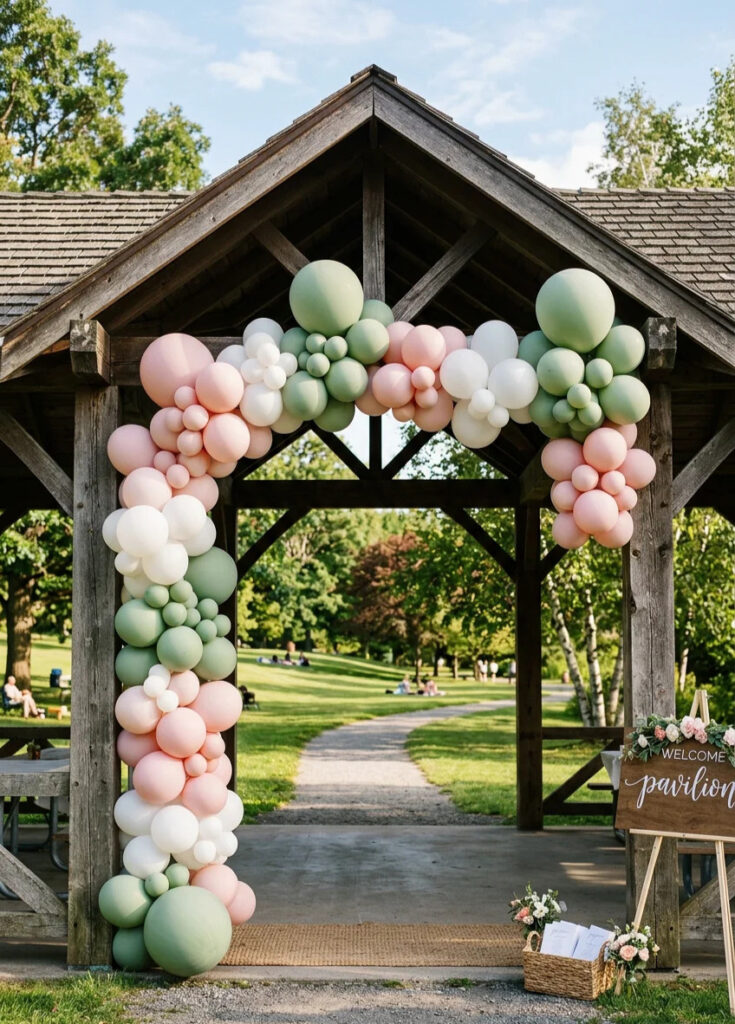
If I want guests to find the party immediately, a balloon arch is one of the best decorations I can use.
The entrance is the first thing people see when they arrive. A balloon arch creates a welcoming focal point and makes the party location obvious from a distance.
Even a simple DIY arch can dramatically change how the entire shelter looks. It creates the feeling of a special event before guests even step inside.
Why This Works
A balloon arch frames the entrance and instantly signals where the celebration is happening.
This is especially helpful in larger parks where multiple shelters may be located near one another.
I’ve noticed that guests often stop and take photos at the entrance before they even walk into the party area.
A well-placed arch also makes the event feel more organized and professionally planned.
What You’ll Need
For a standard DIY balloon arch, I typically use:
- Balloon arch strip
- Assorted balloons in multiple sizes
- Balloon pump
- Fishing line or ribbon
- Command hooks or approved hanging supplies
- Extra balloons for replacements
Using different balloon sizes creates dimension and gives the arch a fuller appearance.
Step-by-Step Setup
I usually prepare most of the arch the night before the party.
- Inflate balloons indoors.
- Attach balloons to the arch strip.
- Alternate sizes throughout the design.
- Store the completed arch carefully.
- Transport it to the shelter.
- Secure it between entrance posts.
- Fill any gaps with extra balloons.
Having most of the work done beforehand saves valuable setup time on party day.
Common Mistakes to Avoid
Mistake 1: Waiting Until Party Day
Balloon arches take longer than many people expect.
Assembling it the night before reduces stress significantly.
Mistake 2: Using Too Few Balloons
Sparse arches often look unfinished.
Adding a variety of balloon sizes helps create a fuller and more professional appearance.
Mistake 3: Ignoring Weather Conditions
Strong wind can affect large balloon decorations.
Always secure the arch carefully and bring extra supplies for adjustments.
Mistake 4: Blocking Walkways
Guests should be able to enter comfortably without squeezing around decorations.
Leave enough space for strollers, coolers, and groups of people.
Budget Tip
A DIY balloon arch often costs a fraction of what professional event decorators charge. With a little preparation, it can become one of the most impressive features of the entire party.
The best part is that guests see it immediately. Long before they notice the food or activities, they see the entrance and get their first impression of the celebration.
A simple balloon arch can make an affordable park shelter birthday party feel much more special.
10. Create a Picnic Blanket Zone Beyond the Shelter
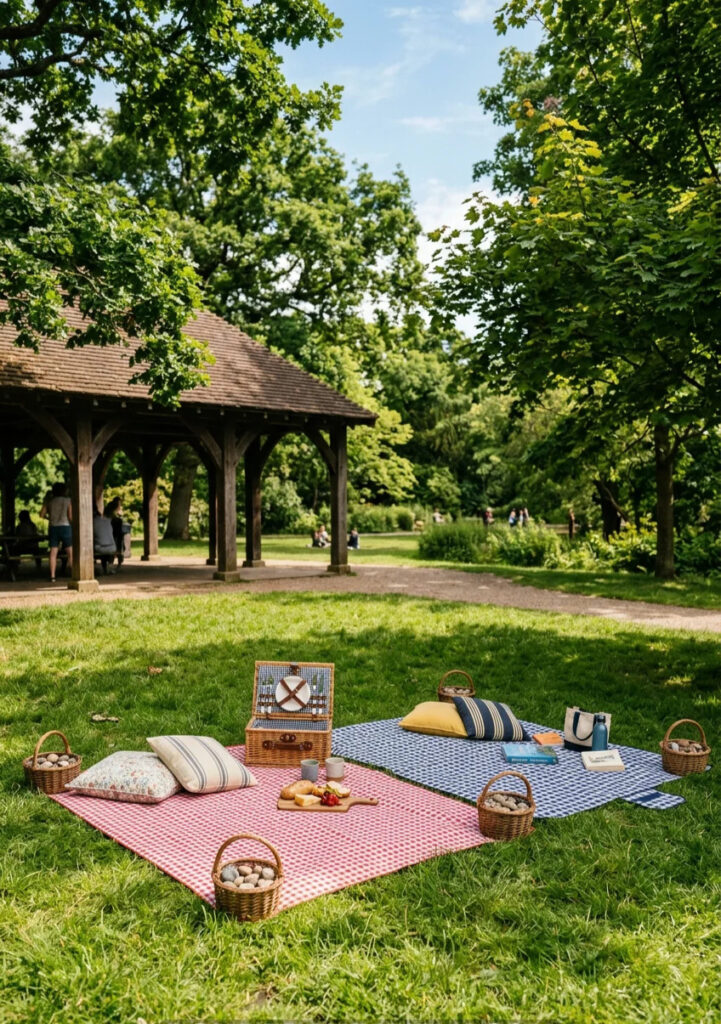
One thing I love about hosting a birthday party at a park is that the celebration doesn’t have to stay inside the shelter. The grassy area surrounding the pavilion is essentially extra party space that comes at no additional cost.
I like to spread a few picnic blankets just outside the shelter to create a casual lounge area. It gives guests another place to sit, chat, relax, and enjoy the event away from the main tables.
This setup is especially helpful when the guest list includes parents, grandparents, or family members who prefer a quieter place to sit.
11. Set Up a Lawn Game Station
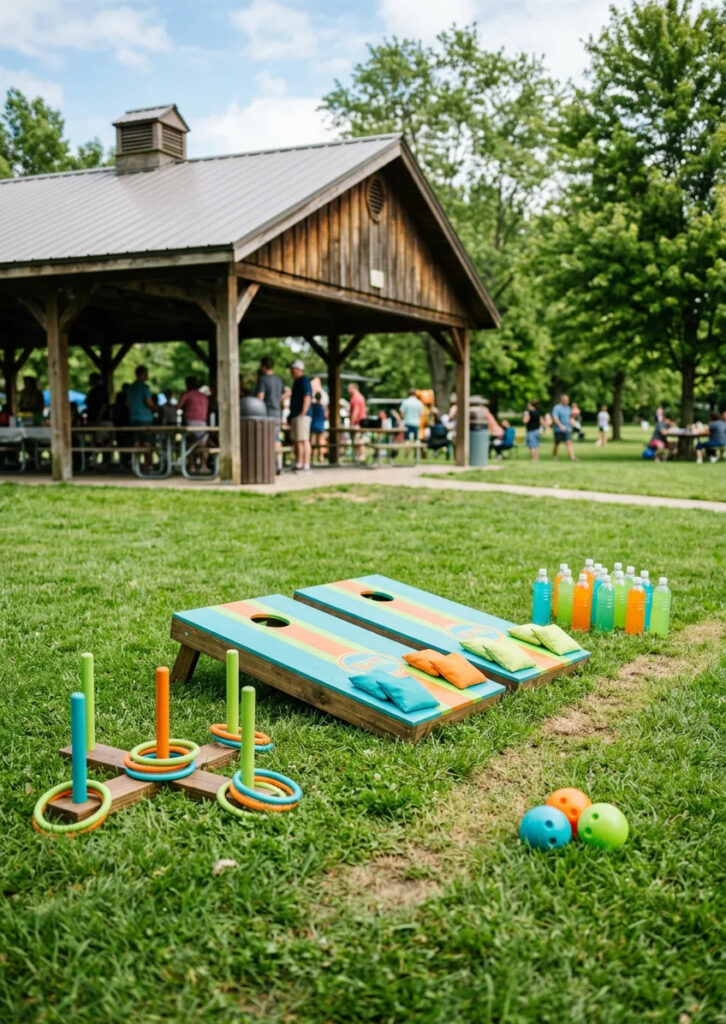
Whenever I host a park birthday party, I try to take full advantage of the open grass nearby. It’s one of the biggest benefits of choosing a park shelter over an indoor venue.
A lawn game station gives guests something to do throughout the event without requiring constant supervision. Once the games are set up, they often entertain themselves for hours.
Also read: 17 Water Park Birthday Party Ideas Kids Beg to Repeat Every Summer
12. Set Up a Sun and Bug Station
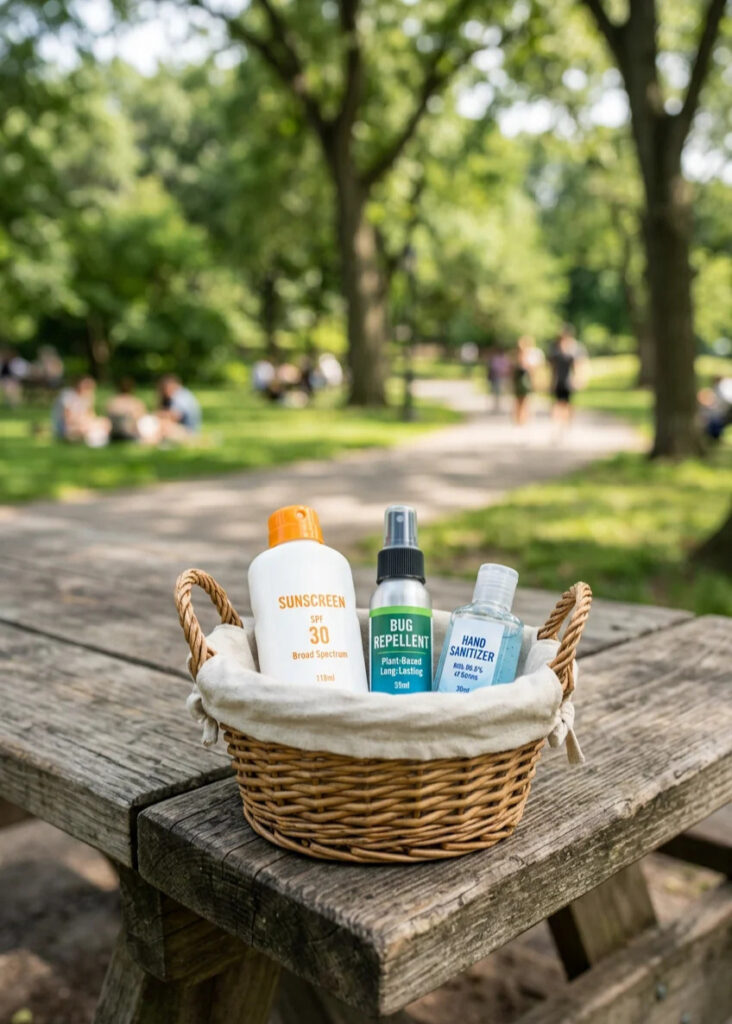
This might be one of the smallest details on the list, but it’s also one of the most appreciated.
Whenever I host an outdoor birthday party, I create a small station with sunscreen, bug spray, and hand sanitizer.
It takes less than five minutes to assemble, yet guests use it constantly throughout the event.
13. Make the Cake Table Feel Like a Moment
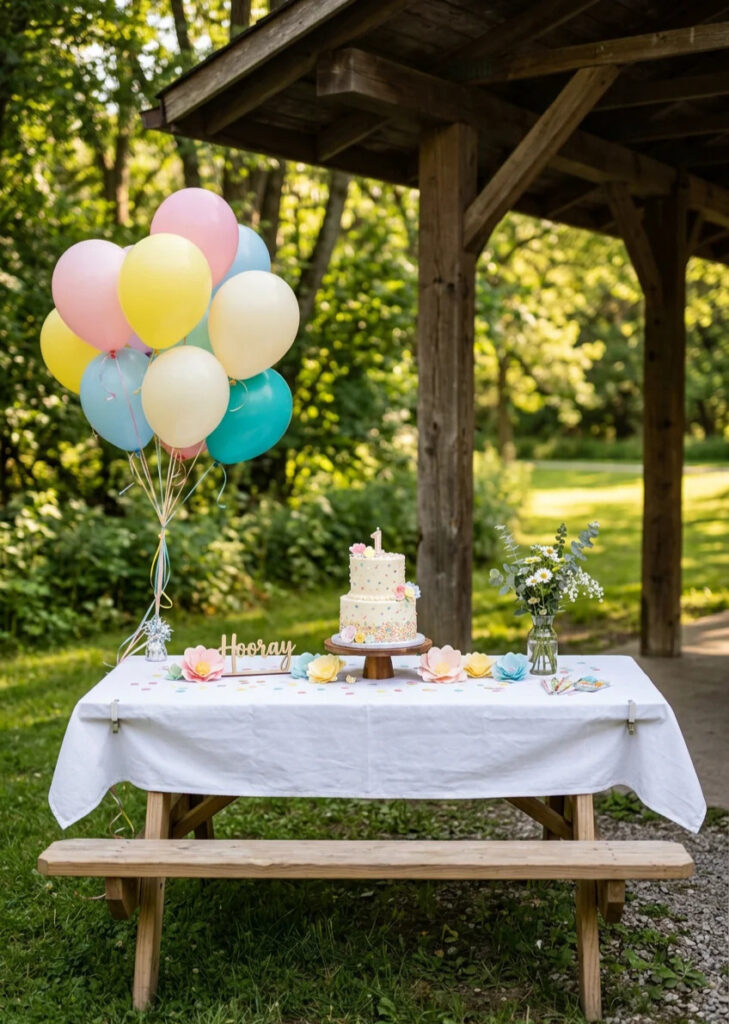
At most birthday parties, the cake becomes the center of attention for at least a few minutes. That’s why I always give it a dedicated space instead of squeezing it between drinks, snacks, and paper plates.
A separate cake table instantly makes the celebration feel more organized. It creates a focal point for photos, candle lighting, and the birthday song while helping the dessert stand out.
I’ve learned that even a simple cake can look much more impressive when it’s displayed properly.
14. Build a Favor Table
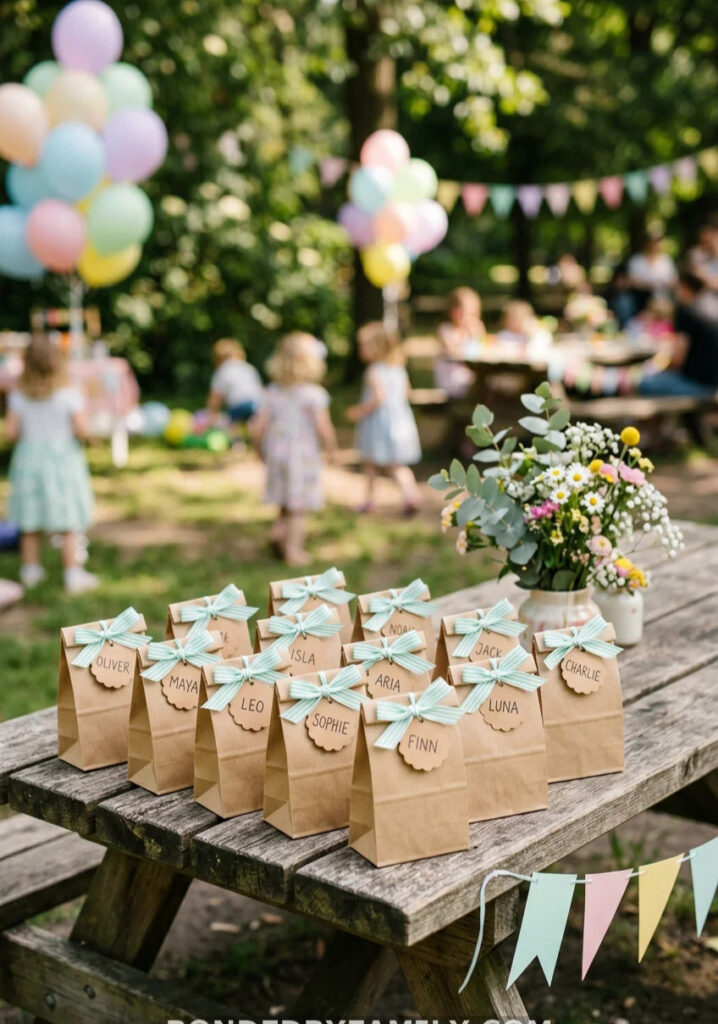
A favor table serves two purposes that I appreciate. It welcomes guests when they arrive and provides an organized way to distribute party favors when the celebration ends.
Instead of handing out favors individually, I create a dedicated station where guests can collect their items before leaving.
This keeps everything organized and helps avoid confusion at the end of the party.
Pro Tip: Create one or two extra favor bags in case unexpected guests or siblings attend.
15. The Color Palette Trap (And How Not to Fall Into It)
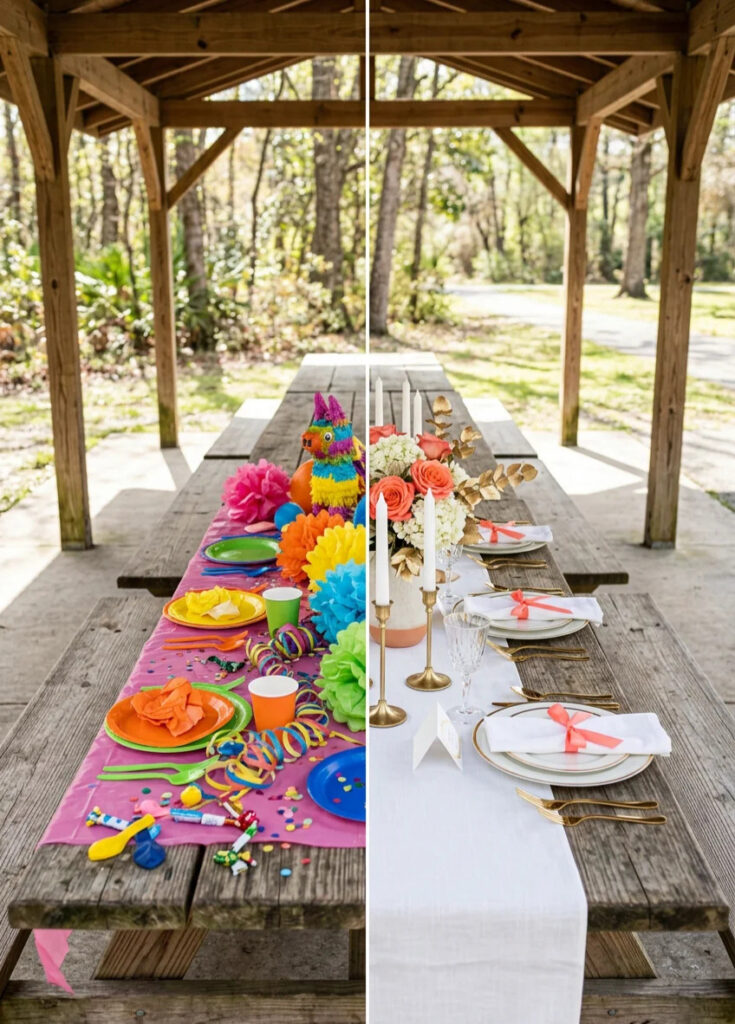
One lesson I learned the hard way is that decorations don’t have to be expensive to look good, but they do need to work together.
Many outdoor parties end up looking cluttered because too many unrelated colors compete for attention.
The issue isn’t the shelter itself. It’s usually the color choices.
Pro Tip: Before shopping, save a photo of your chosen color palette on your phone. It makes buying decorations much easier and prevents impulse purchases.
16. Bring a Bluetooth Speaker
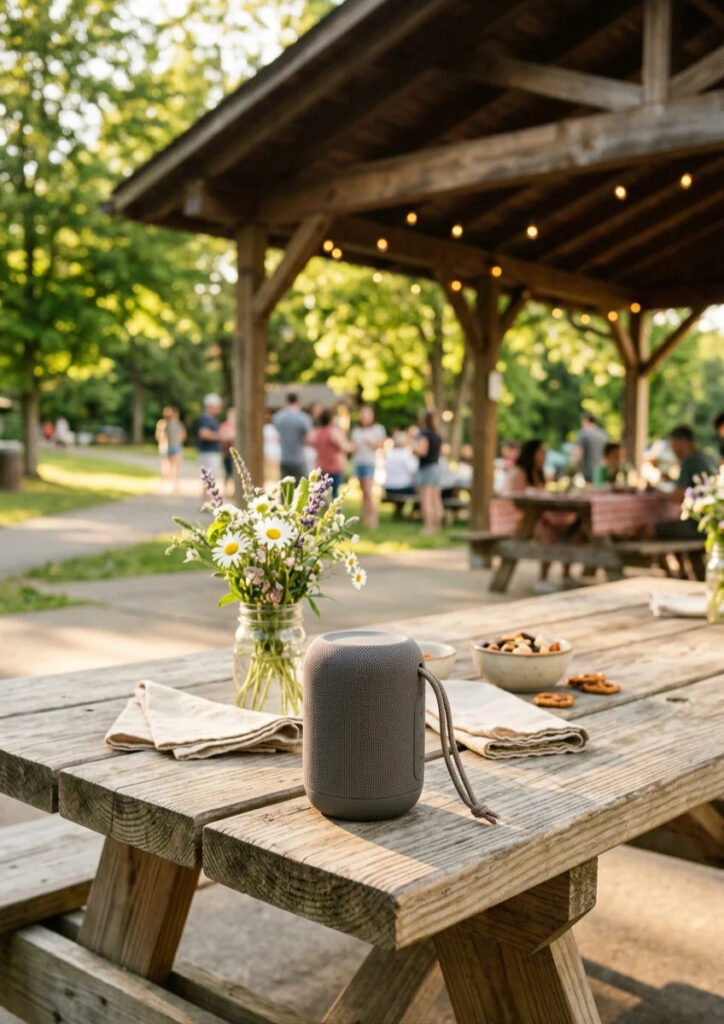
Music is one of the easiest ways to improve the atmosphere of a birthday party.
I’ve hosted gatherings with elaborate decorations but no music, and they often felt surprisingly quiet. On the other hand, even simple parties feel more energetic when a playlist is playing in the background.
Pro Tip: Keep one calm playlist for meal time and a more energetic playlist for games and activities. The shift helps guide the party’s energy naturally.
Read this next: 21 Cozy Guest Bedroom Ideas
17. Plan Your 30-Minute Setup Window
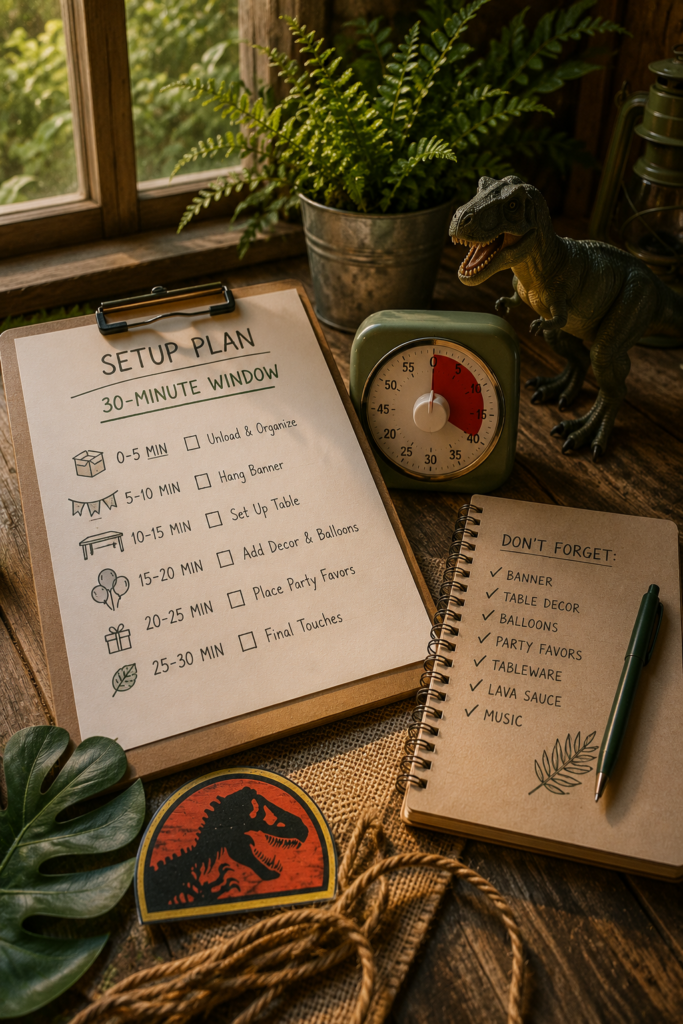
Over the years, I’ve learned that decorations rarely cause party stress. Timing does.
Many parents spend weeks planning every detail but underestimate how long setup actually takes. Before they know it, guests are arriving while they’re still unpacking supplies and hanging decorations.
Having a clear setup plan has completely changed how I approach outdoor birthday parties. Instead of rushing, I know exactly what needs to happen and when.
Pro Tip: Keep an emergency supply bag with scissors, tape, zip ties, markers, batteries, and wipes. It solves dozens of small problems throughout the day.
A well-planned setup schedule allows me to enjoy the party instead of constantly managing it. That’s ultimately the goal of every birthday celebration.
Wrapping Up
Hosting a park shelter birthday party doesn’t require a huge budget or professional event experience.
What I’ve learned is that thoughtful planning matters far more than expensive decorations. A few strategic upgrades—such as balloon displays, lawn games, food stations, and a dedicated photo area—can completely transform a basic pavilion into a memorable party space.
You don’t need to use every idea on this list. In fact, I recommend choosing the ones that fit your budget, guest list, and available time.
The real advantage of a park shelter is the relaxed atmosphere. Kids have room to play, adults can comfortably socialize, and everyone gets to enjoy being outdoors.
When I focus less on perfection and more on creating a fun experience, the party always turns out better.
FAQ’s
How much does it cost to throw a park shelter birthday party?
In my experience, most park shelter rentals range from $25 to $75 depending on the location and reservation length.
When food, decorations, and party supplies are included, many families can host a 20-person celebration for approximately $100 to $250. That’s often significantly less expensive than many indoor party venues.
What decorations work best at a park shelter?
The most reliable outdoor decorations are those that can handle light wind and changing weather conditions.
I usually recommend:
- Fabric banners
- Balloon clusters
- Balloon arches
- Tablecloth clips
- Battery-operated string lights
- Photo backdrops
These decorations provide strong visual impact while remaining practical for outdoor use.
Do I need a permit to decorate a park shelter for a birthday party?
Requirements vary by city and park system.
Most locations only require a shelter reservation for private use. However, larger additions such as bounce houses, amplified sound systems, generators, or commercial vendors may require additional permits.
I always recommend checking with the local parks department before finalizing plans.
What food is best for a park shelter birthday party?
Foods that travel well and don’t require on-site cooking are usually the easiest option.
Some of my favorites include:
- Build-your-own sandwich stations
- Wrap bars
- Fruit trays
- Individual snack bags
- Lemonade
- Bottled water
Simple foods tend to be easier to serve and create less cleanup afterward.
What should I do if someone is using the shelter I reserved?
Always bring a copy of your reservation confirmation.
Most situations are resolved quickly once the reservation is shown. In many cases, the other group simply wasn’t aware the shelter had been reserved.
Arriving early also helps avoid confusion and gives you plenty of time to prepare the space before guests arrive.
Conclusion
A park shelter birthday party can deliver everything most families want from a celebration: affordable costs, plenty of space, fresh air, and flexibility.
With a little planning, even a basic pavilion can feel welcoming, organized, and memorable. From creative decorations and food stations to lawn games and photo areas, small details often create the biggest impact.
My best advice is simple: focus on guest experience, keep the setup manageable, and leave room to enjoy the day yourself. Those are usually the parties people remember most.