20+ Creative Craft with Sticks Ideas for Your Home
I’ve always liked turning simple natural materials into something useful, and sticks are one of my favorite supplies to work with. Whether I collect fallen branches during a walk or save popsicle sticks from family treats, I find there are endless ways to transform them into creative home décor, fun kids’ projects, and handmade gifts.
In this guide, I’m sharing my favorite stick craft ideas that are easy to personalize and suitable for different skill levels. Most of these projects use affordable materials, making them a great choice if I want to create something beautiful without spending much.
Save this for later
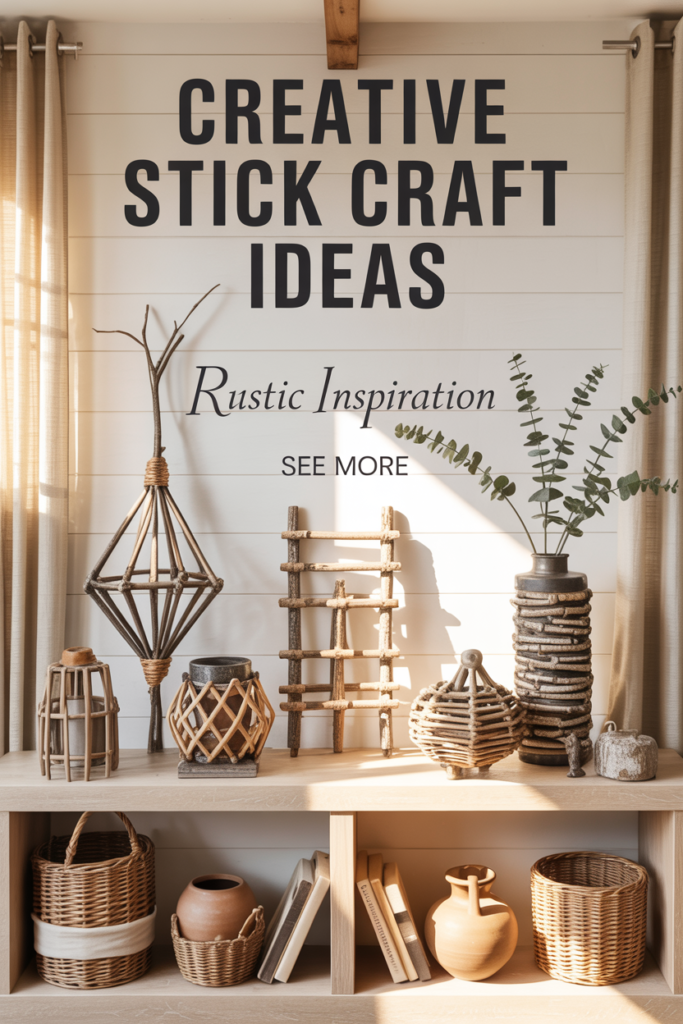
Table of Contents
If I’m looking for creative ways to use sticks, twigs, or popsicle sticks, this collection has plenty of inspiration. I’ll find decorative wall art, miniature furniture, lanterns, birdhouses, planters, coasters, games, and more. Most projects require only a few basic craft supplies and can be completed over a weekend. Along the way, I also share practical tips that help my projects last longer and look more polished.
Key Takeaways
- I can turn ordinary sticks into stylish home décor and functional crafts.
- Most projects need only basic tools like wood glue, hot glue, paint, and twine.
- Natural materials help create budget-friendly and eco-conscious DIY projects.
- Proper cleaning and drying make sticks stronger and help prevent cracking.
- Adding paint, stain, or a protective sealer improves durability for long-term use.
- These crafts work well for adults, kids, classrooms, and family weekends.
Related article: 16+ Charming Sunflower Craft Ideas to Brighten Your Home
Stick Art Sculptures
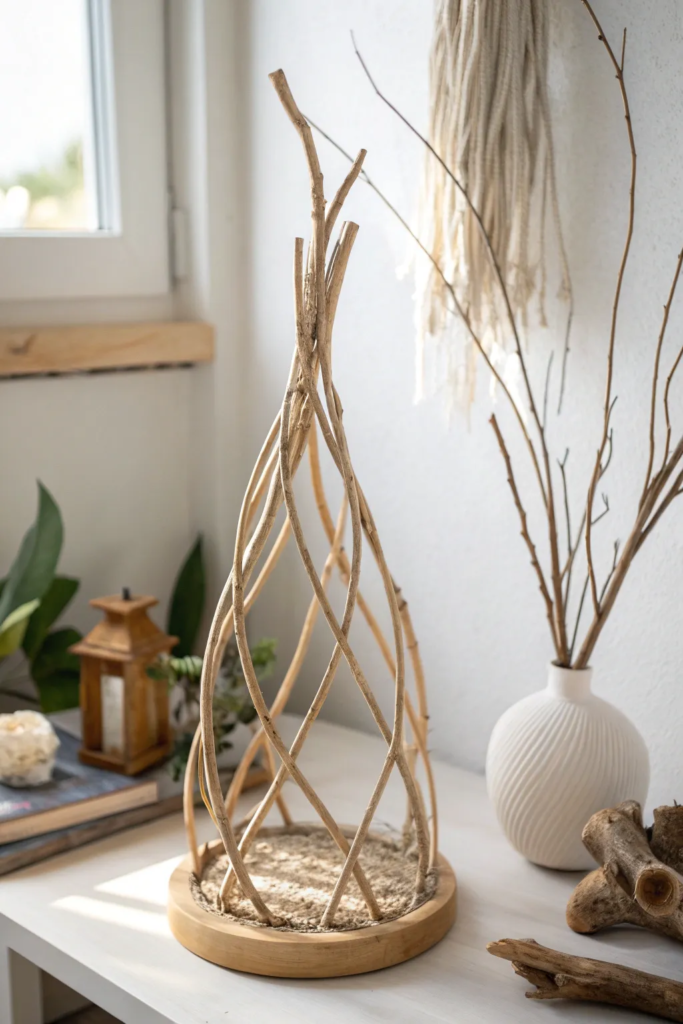
One of my favorite ways to use sticks is by creating abstract sculptures. I enjoy arranging branches in different directions until they form an eye-catching design that feels both modern and natural. Every piece turns out different, which makes each project unique.
I usually mix branches with different thicknesses because the contrast creates more depth and character. Sometimes I leave the wood natural, while other times I add a light stain or paint to match my home décor.
Before I glue everything together, I test several layouts on a flat surface. Taking a few extra minutes at this stage often makes the finished sculpture look much more balanced.
Pro Tip: I always clean and completely dry collected branches before crafting. Dry wood bonds better with glue and is less likely to develop mold or cracks after the project is finished.
Miniature Stick Furniture
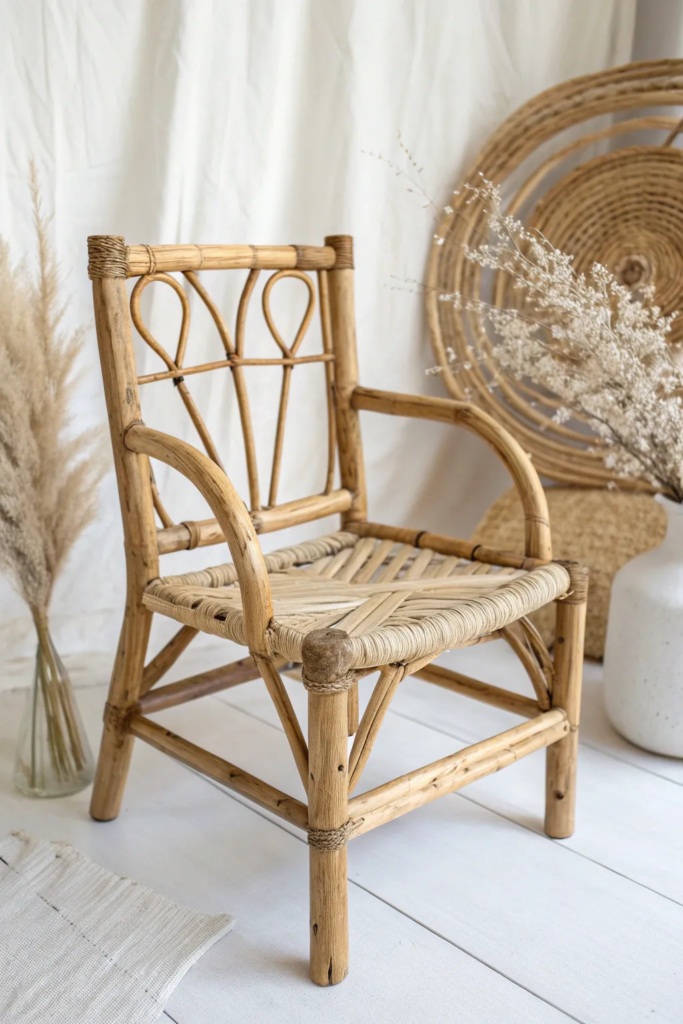
I enjoy making miniature furniture because it lets me turn a handful of sticks into tiny pieces that look surprisingly realistic. Small chairs, benches, tables, and shelves are fun to build and can decorate dollhouses, fairy gardens, or display shelves around my home.
I usually start with simple square or rectangular shapes before trying more detailed designs. Measuring each stick before cutting helps everything line up neatly and gives the finished piece a cleaner look.
Painting or staining the furniture can completely change its style. Sometimes I keep the natural wood finish, while other times I use soft colors to match a specific theme.
Pro Tip: I let every glued joint dry completely before attaching the next piece. This keeps the miniature furniture sturdy and prevents it from shifting while I build.
Popsicle Stick Airplanes
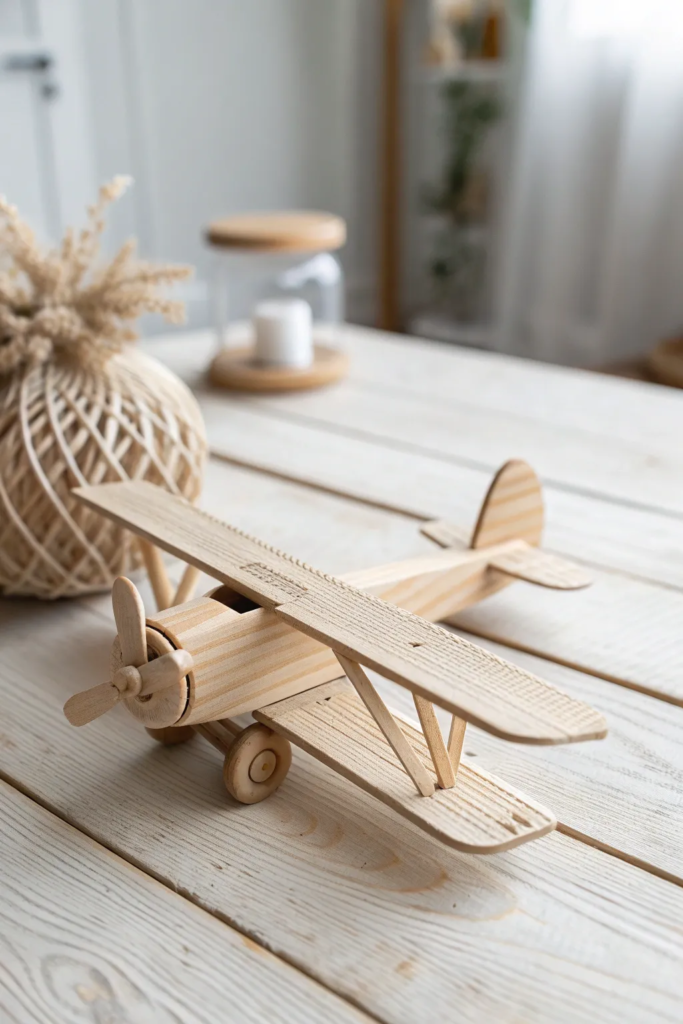
Whenever I want a quick weekend project, I like building popsicle stick airplanes. They’re simple enough for beginners but still leave plenty of room for creativity with paint, decals, and different wing designs.
I often experiment with bright colors, racing stripes, or vintage aircraft styles. Even basic materials can produce a finished model that looks impressive on a desk or bookshelf.
If I’m crafting with children, this project also opens the door to talking about how wings, balance, and lift help airplanes fly. It becomes both a creative activity and a fun learning experience.
Pro Tip: I sand the edges of each popsicle stick before assembling the airplane. Smooth edges make painting easier and create a more polished final result.
Twig and Pine Cone Animals
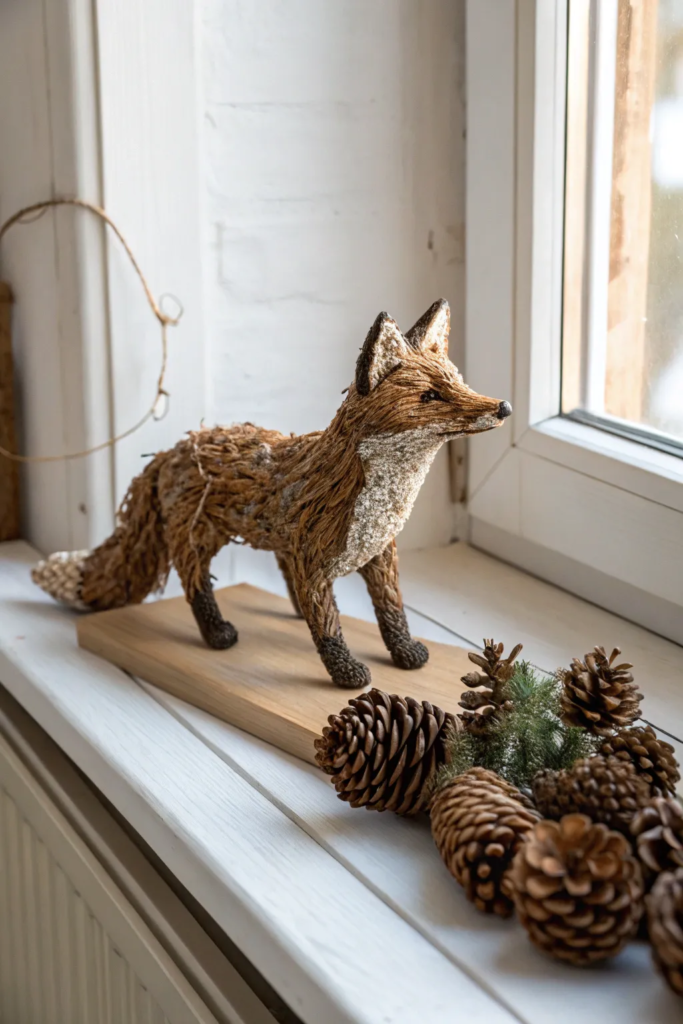
Combining twigs with pine cones is one of my favorite ways to create woodland animals. A few small branches can become legs, tails, or antlers, while pine cones naturally form the body of each animal.
I enjoy making foxes, owls, hedgehogs, deer, and little birds. Adding felt, tiny beads, or painted details gives each one its own personality without making the project difficult.
These handmade animals also make wonderful seasonal decorations during autumn and winter, especially when displayed with moss, stones, or dried leaves.
Pro Tip: I collect pine cones that are fully open and completely dry. They’re easier to glue and less likely to change shape after bringing them indoors.
Geometric Wall Art
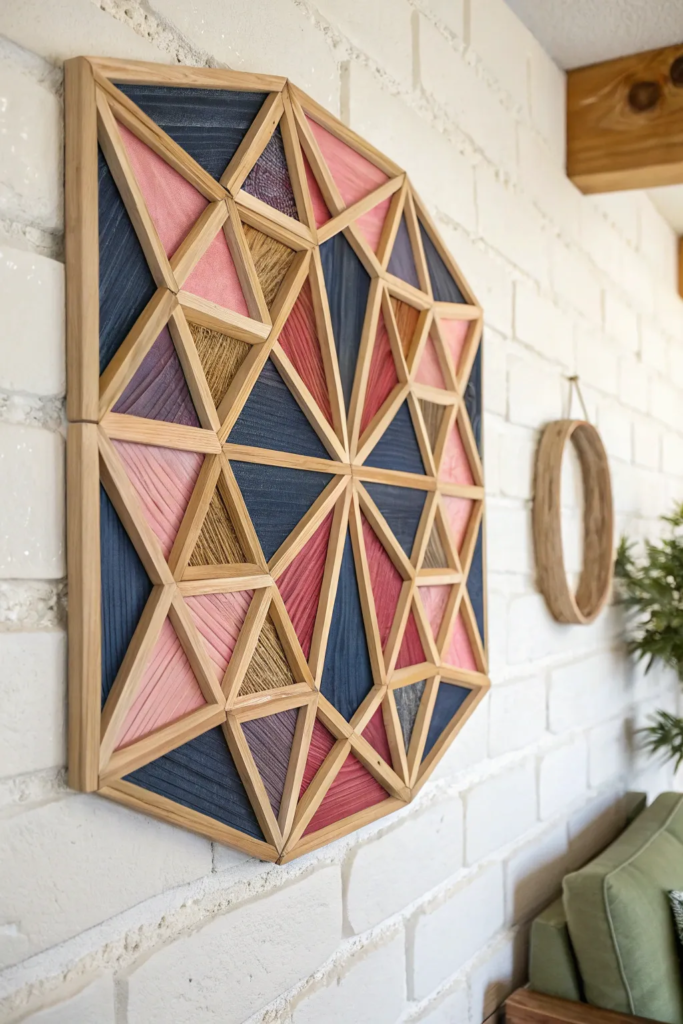
When I want handmade décor that feels modern, I arrange sticks into geometric patterns for wall art. Simple triangles, hexagons, and overlapping shapes create clean designs that fit almost any room.
Before gluing the pieces together, I lay everything out on a table and adjust the spacing until the design looks balanced. This small step saves time and helps avoid mistakes later.
Depending on the room, I may paint the finished artwork in black, white, or metallic colors. Other times I leave the wood natural so the texture becomes part of the design.
Pro Tip: A clear protective finish helps preserve the wood’s natural color while making the artwork easier to clean and more resistant to everyday dust.
DIY Stick Photo Frames
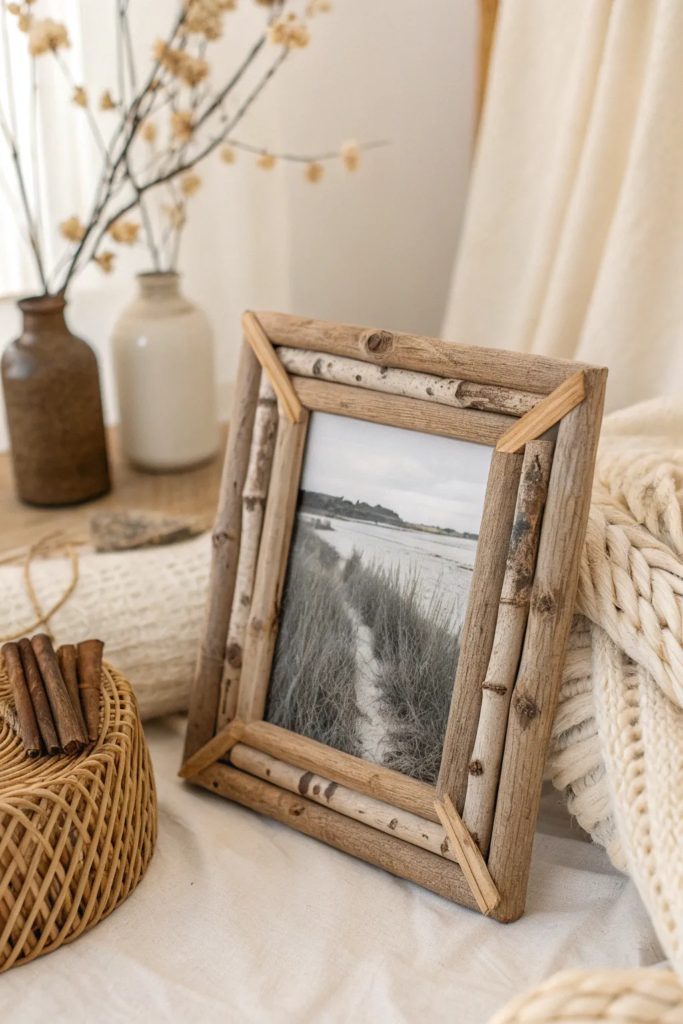
One of the easiest projects I return to is making photo frames from sticks. It gives my favorite memories a handmade touch while adding a warm, rustic look to my shelves or walls.
I usually collect sticks with similar thickness so the frame looks balanced. After trimming them to size, I glue the corners securely and let everything dry before adding decorations like twine, dried flowers, or small wooden shapes.
A clear protective finish helps preserve the natural color of the wood and keeps dust from settling into the surface over time.
Pro Tip: I always measure my photo before building the frame. It saves time and helps avoid resizing the frame later.
Nature Tic Tac Toe
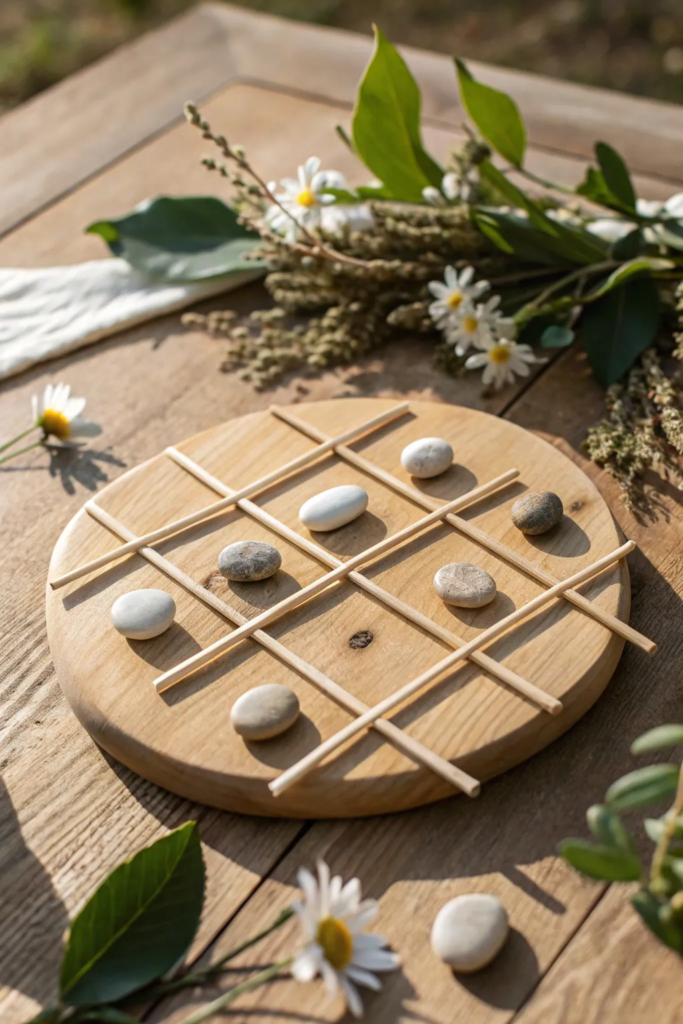
Whenever I want a simple outdoor activity, I make a nature-inspired tic tac toe set using sticks and small stones. It’s inexpensive, reusable, and a fun way to spend time with family or friends.
I arrange sticks into a grid and decorate the stones with painted Xs and Os, leaves, or simple patterns. Every game feels a little different because I can personalize the pieces however I like.
This project is also a great way to encourage children to spend more time outdoors while using their creativity.
Pro Tip: Applying a weather-resistant sealer helps protect painted stones if I plan to leave the game outside.
Stick Wind Chimes
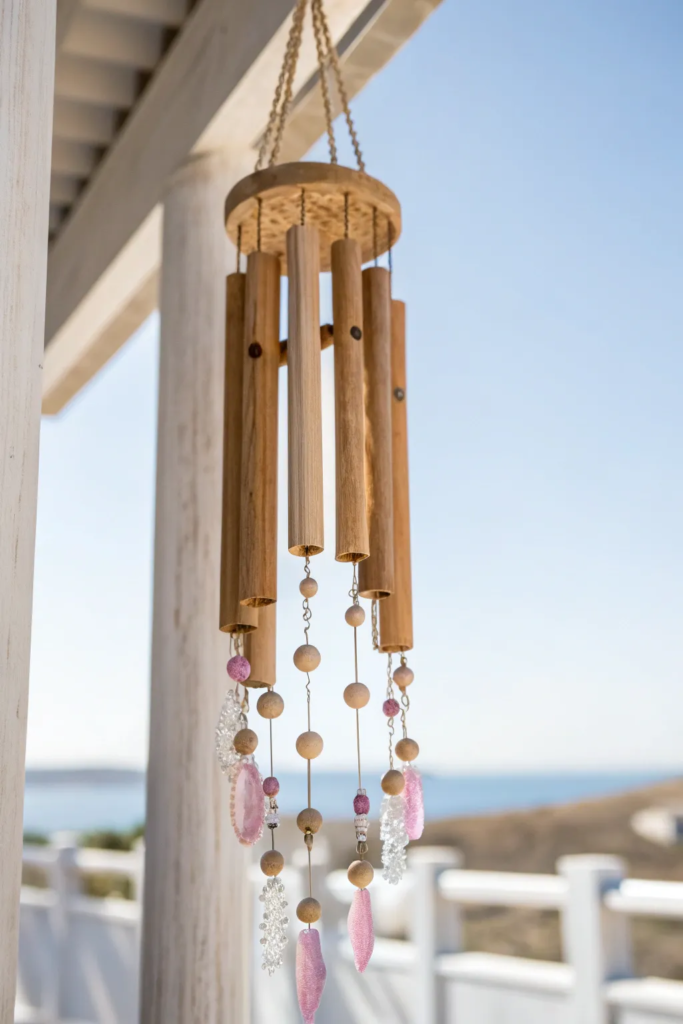
Making wind chimes is one of the most relaxing stick crafts I enjoy. I combine branches with beads, shells, or small metal pieces to create soft sounds whenever the breeze passes through.
I experiment with different lengths of string because each arrangement produces its own unique tone. Even a simple design can become an attractive decoration for a porch, balcony, or garden.
The natural appearance blends beautifully with outdoor spaces and makes the finished project feel both decorative and peaceful.
Pro Tip: I use strong outdoor cord instead of thin thread so the wind chime lasts longer in changing weather conditions.
Craft Stick Hexagon Shelves
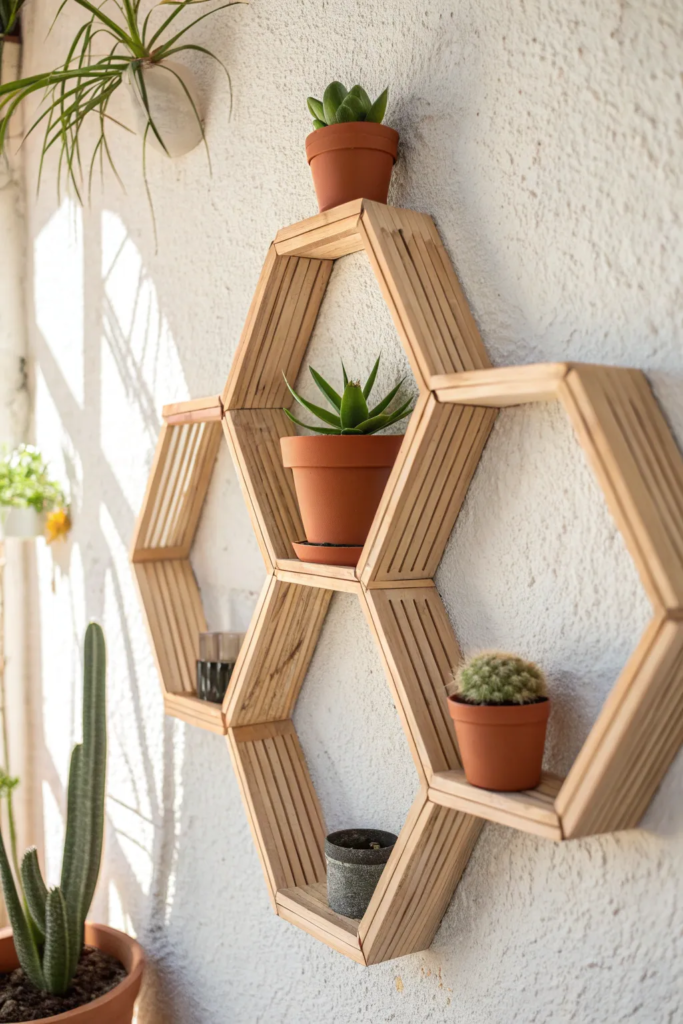
Hexagon shelves are one of my favorite decorative projects because they combine creativity with practical storage. They’re ideal for displaying succulents, candles, small plants, or collectible items.
Building the frame requires careful measuring so every side matches. Once the hexagon is secure, I reinforce the corners before attaching it to a backing or hanging hardware.
Painting or staining the shelf lets me match almost any decorating style, from modern to farmhouse.
Pro Tip: Although popsicle stick shelves work well for lightweight decorations, I avoid placing heavy objects on them to prevent bending over time.
Marble Run with Sticks
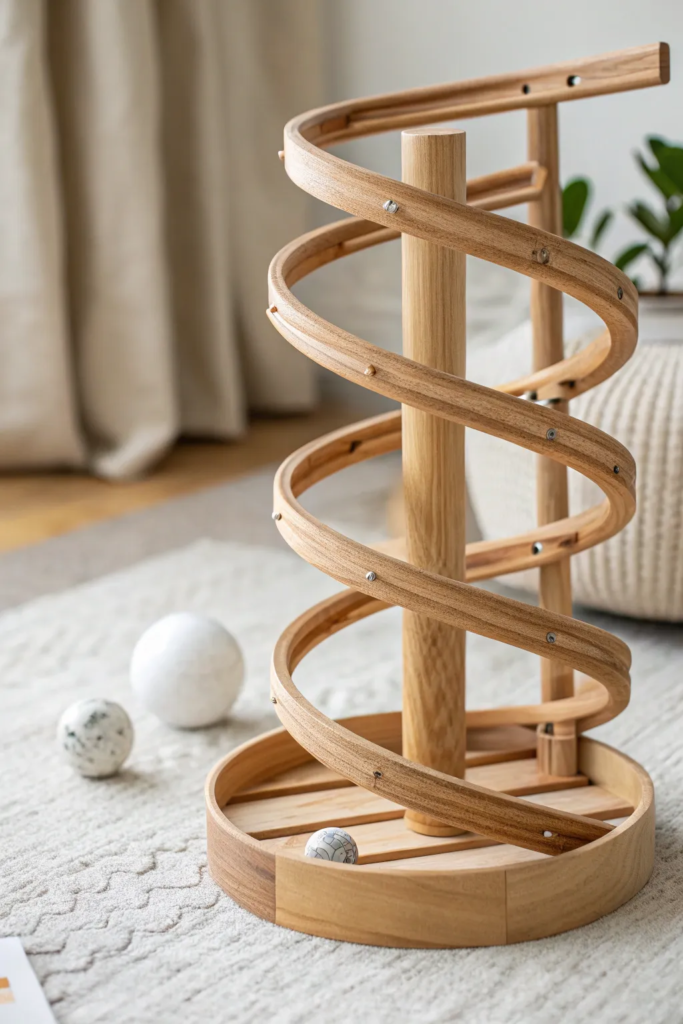
Building a marble run reminds me that crafts can also be educational. I create different tracks and slopes using sticks, then test how the marble moves through each section.
Changing the angle of each path helps me understand how speed, gravity, and momentum affect the marble. It’s a fun activity for both kids and adults who enjoy hands-on learning.
Every design teaches me something new, and improving the track becomes part of the fun.
Pro Tip: Before gluing everything permanently, I test the marble several times to make sure it rolls smoothly from start to finish.
Popsicle Stick Lanterns
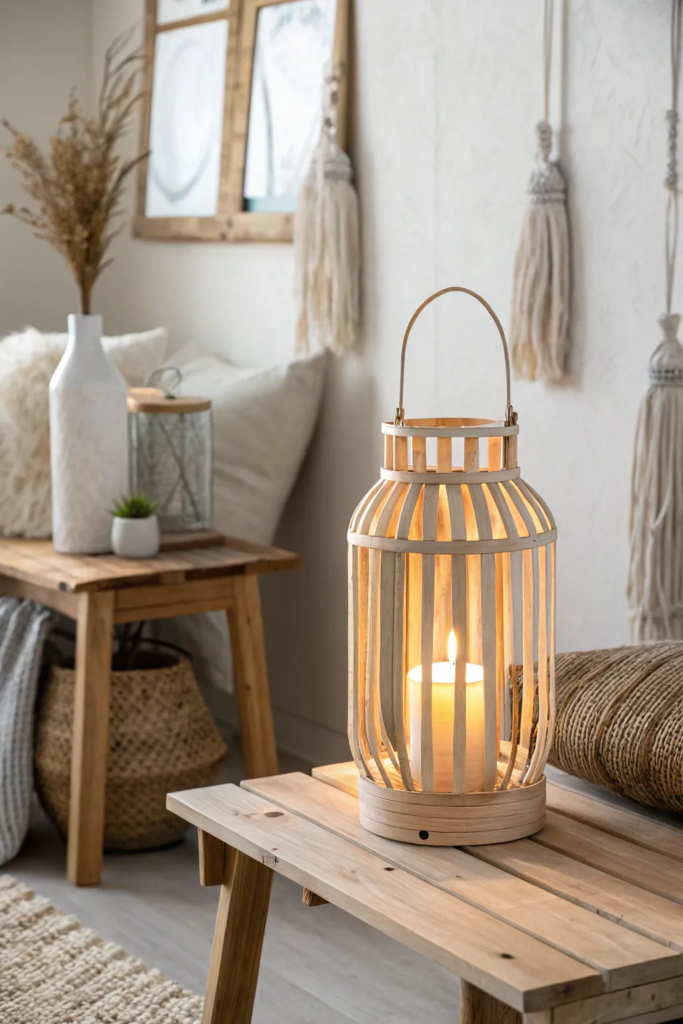
I like making popsicle stick lanterns because they instantly make a room or patio feel more welcoming. With a simple frame and a safe LED candle inside, I can create soft lighting that’s perfect for relaxing evenings or outdoor gatherings.
I often paint the lantern to match my décor or leave the wood natural for a rustic look. Small details like rope handles or decorative trim make each lantern feel one of a kind.
For safety, I always use battery-powered LED lights instead of real candles. They provide the same cozy glow without the fire risk.
Pro Tip: Apply a clear protective coat if the lantern will be displayed outdoors to help protect it from moisture and fading.
Also read: 20 Front Door Fall Decor Ideas To Spruce Up Your Entrance
Craft Stick Planters
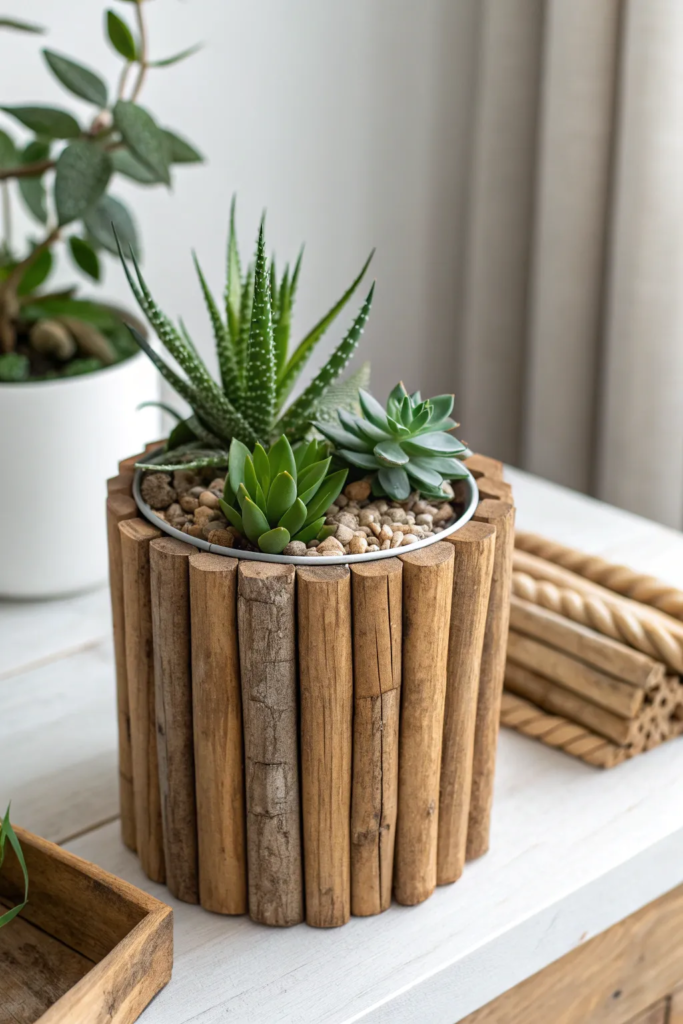
Making small planters from craft sticks is one of my favorite ways to display succulents, herbs, or tiny flowers. They add personality to windowsills, desks, and balconies while giving leftover sticks a practical purpose.
I build the planter around a small container so watering is easier and the wood stays in better condition. Decorating the outside with paint, stain, or twine helps match different decorating styles.
Adding decorative pebbles around the plant creates a cleaner finish and helps the arrangement look more polished.
Pro Tip: I avoid placing soil directly against the wooden sticks. Using a plastic liner helps the planter last much longer.
Stick and Yarn Dreamcatchers
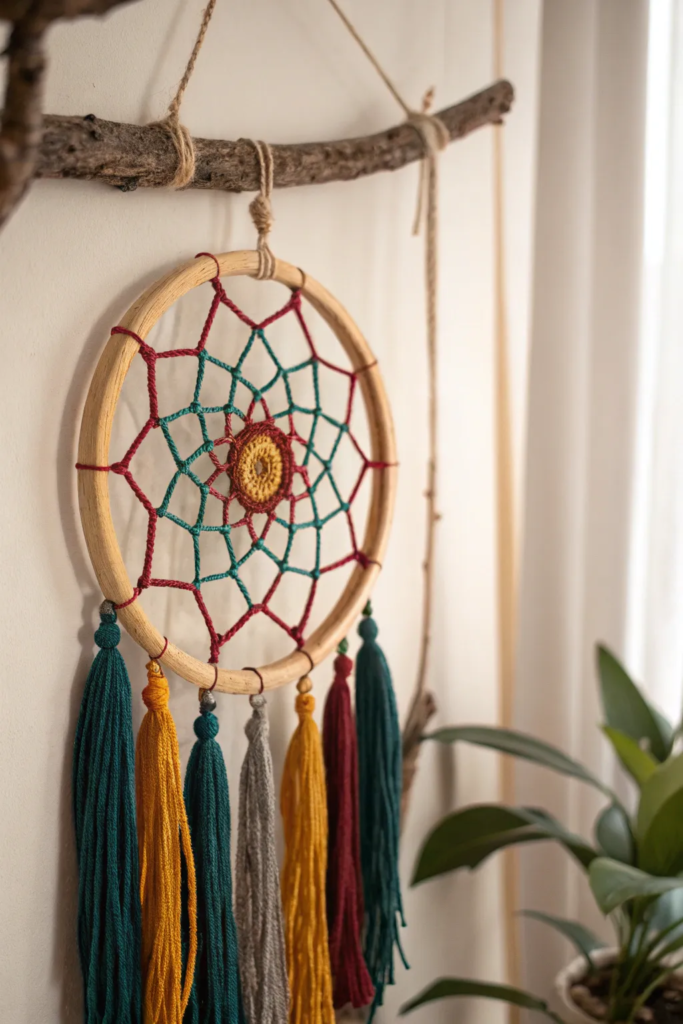
Dreamcatchers made with sticks and colorful yarn are both relaxing to create and beautiful to display. I enjoy experimenting with different weaving patterns, colors, and decorative accents until each one feels unique.
Adding feathers, wooden beads, or natural twine gives the project extra texture without making it complicated. Every finished piece becomes a meaningful decoration for a bedroom, reading corner, or craft room.
The best part is that there are no strict rules. I simply create a design that reflects my own style.
Pro Tip: Keeping even tension while wrapping the yarn helps the finished dreamcatcher stay neat and symmetrical.
Twig Candle Holders
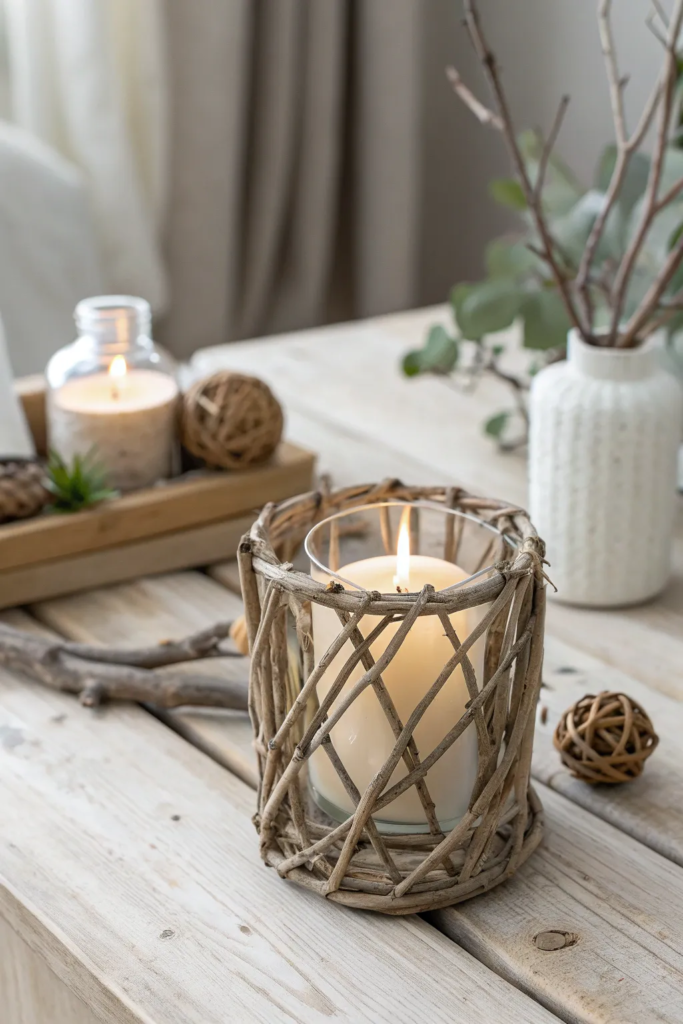
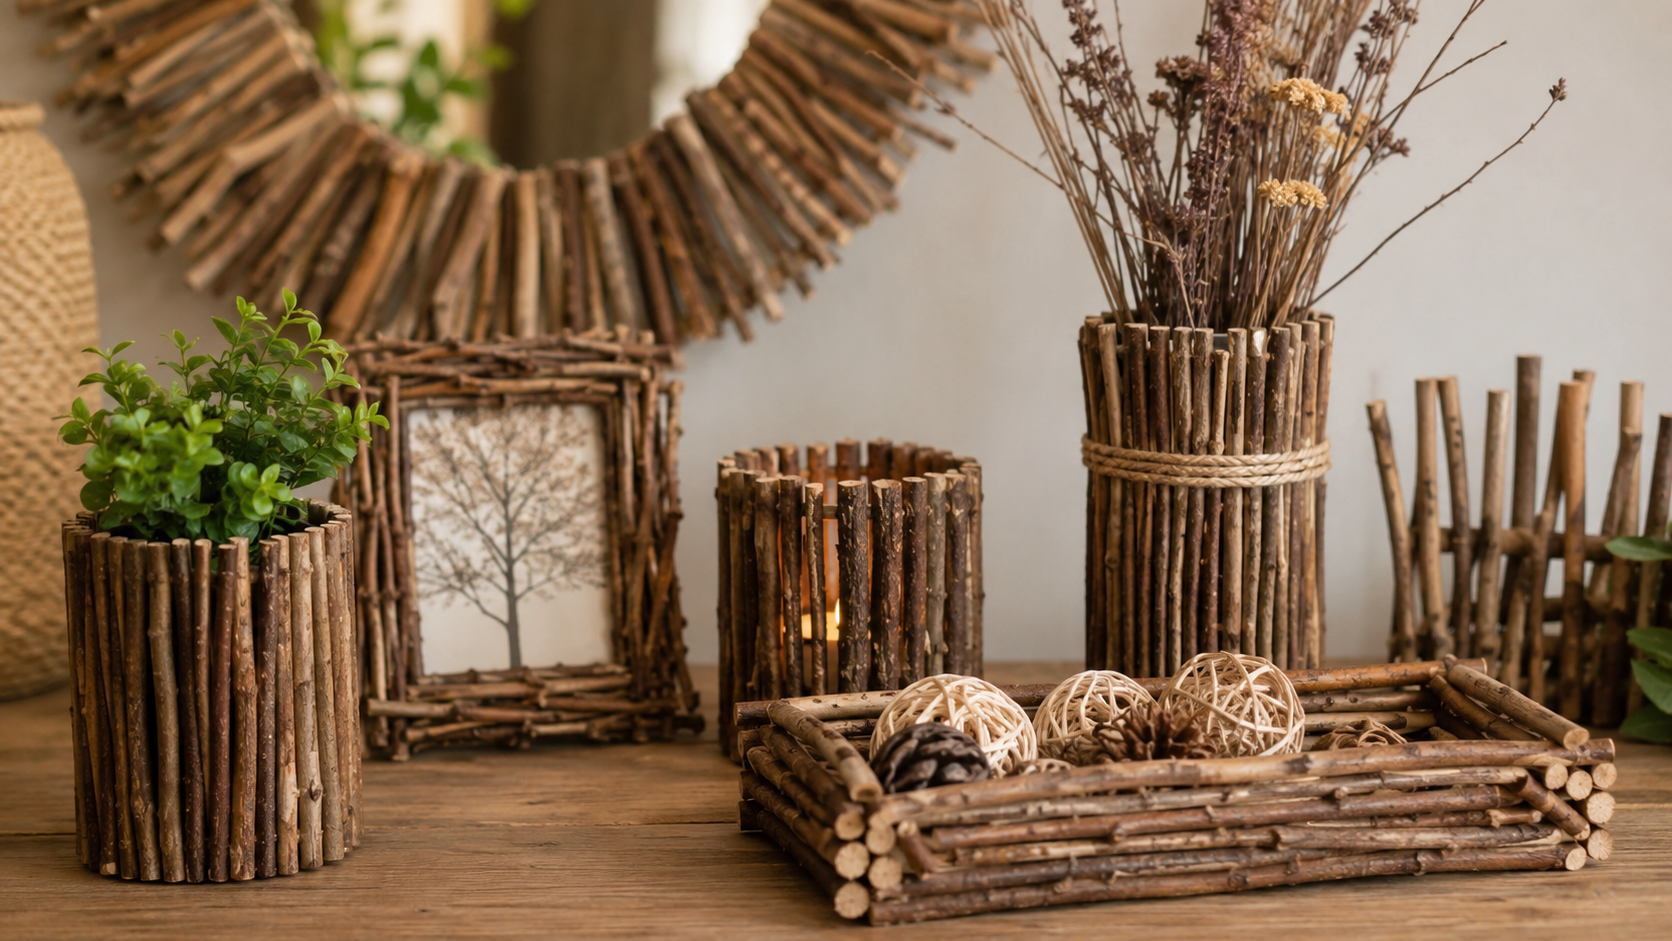
Twig candle holders are an easy way to bring natural textures into my home. I arrange small branches around a glass candle holder to create a cozy centerpiece that works throughout the year.
I sometimes leave the wood untouched for a rustic appearance or stain it for a richer finish. They’re especially beautiful during autumn and winter when paired with pinecones, greenery, or seasonal decorations.
Since the twigs surround a glass container instead of the flame itself, the design stays much safer.
Pro Tip: Always use a glass holder or LED candle rather than placing an open flame directly against natural wood.
Popsicle Stick Birdhouses
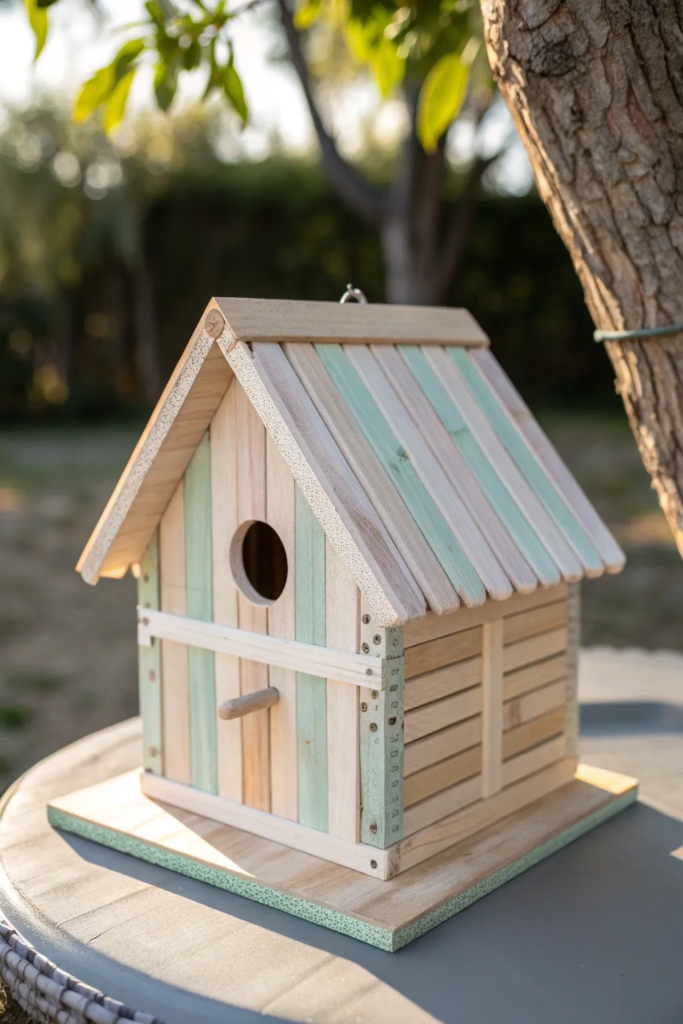
Building birdhouses from popsicle sticks gives me a project that’s both decorative and useful. Watching birds visit something I built myself makes the effort even more rewarding.
I usually paint the birdhouse in bright colors or natural shades depending on where it will hang. A weather-resistant finish helps protect the wood if it’s placed outdoors throughout the year.
Adding small details like miniature windows, flower boxes, or a tiny perch makes every birdhouse feel unique.
Pro Tip: If I plan to attract local birds, I research the recommended entrance hole size for common species in my area to create a birdhouse they’ll actually use.
DIY Stick Coasters
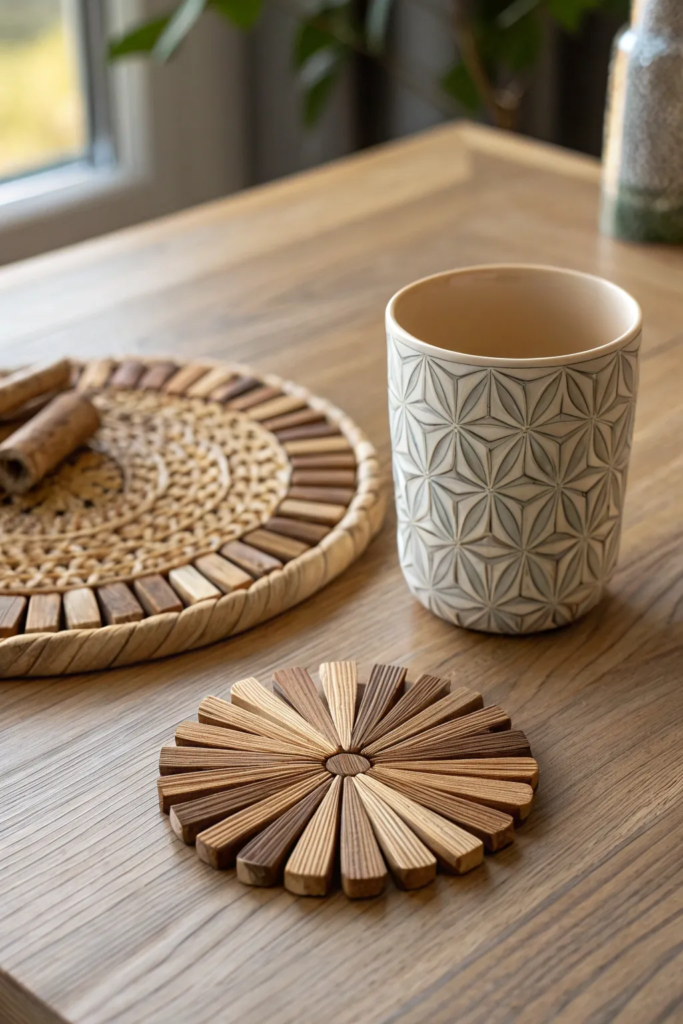
I enjoy making stick coasters because they are one of the few crafts that combine decoration with everyday use. Instead of keeping handmade pieces only for display, I can create something practical that protects my tables while adding a natural touch.
I usually arrange small sticks in a circular, square, or woven pattern and secure them with strong craft adhesive. Once the coaster is dry, I add a protective wood finish to help it handle moisture from cups and glasses.
These coasters also make thoughtful handmade gifts because I can customize the size, color, and design for different people.
Pro Tip: I lightly sand the surface after assembling the coaster. A smoother finish looks better and prevents rough edges from scratching furniture.
Twig Jewelry Hangers
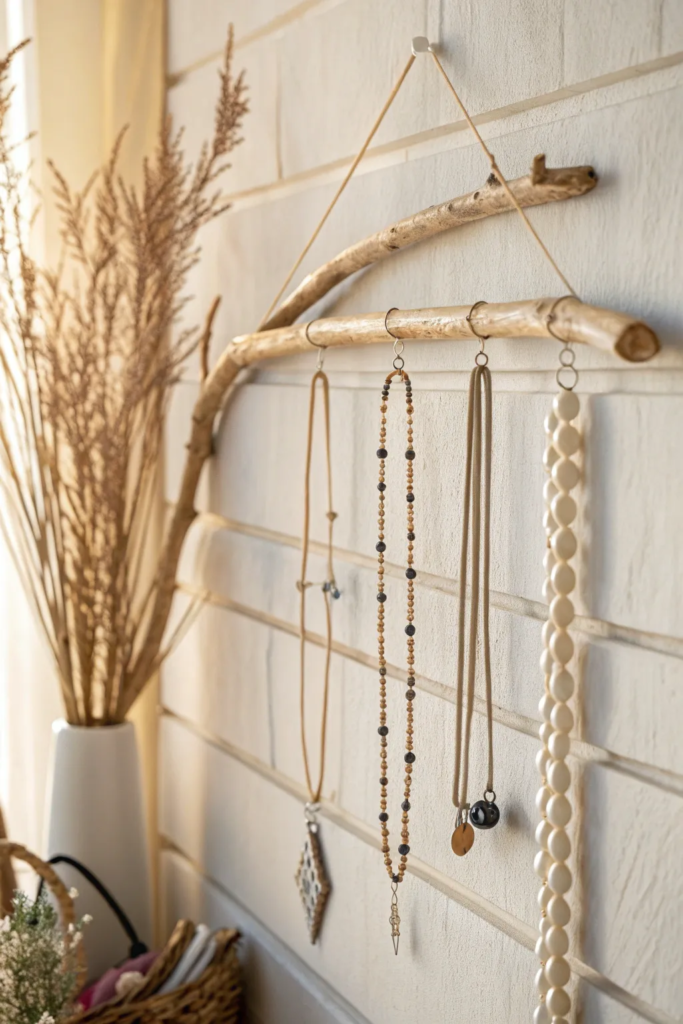
A twig jewelry hanger is a simple storage solution that adds character to my bedroom or dressing area. Instead of hiding necklaces and bracelets in a drawer, I can turn them into part of my room décor.
I select a strong branch, clean it properly, and attach small hooks or knobs where I want to hang my accessories. The natural shape of the twig often creates an artistic display without needing much decoration.
This project is also a good choice for anyone who prefers affordable and eco-friendly organization ideas.
Pro Tip: I check that the branch is strong enough before adding jewelry. A sturdy piece of wood prevents bending and keeps the hanger secure.
Popsicle Stick Bridges
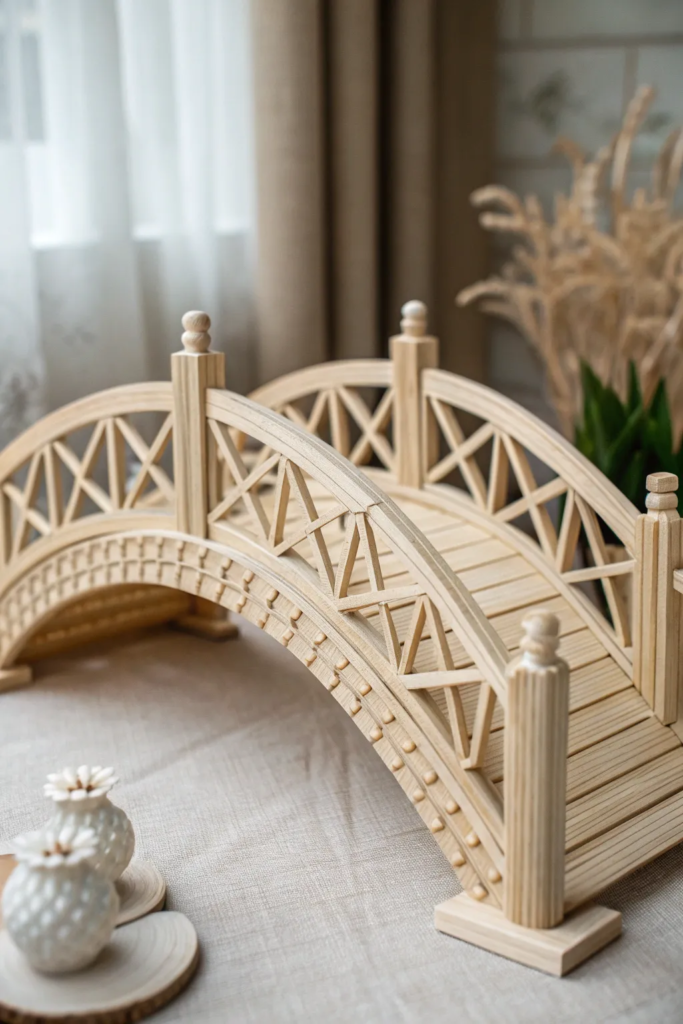
Building popsicle stick bridges is one of my favorite creative challenges because it combines crafting with basic engineering. I enjoy testing different designs to see which structures can support the most weight.
I focus on creating strong support points and using enough glue at the joints without adding unnecessary weight. The process teaches useful lessons about balance, structure, and design.
This project is especially popular for school activities because it turns a simple craft into a hands-on learning experience.
Pro Tip: I let the bridge dry for at least several hours before testing it. Strong glue joints need enough time to fully set.
Craft Stick Napkin Rings
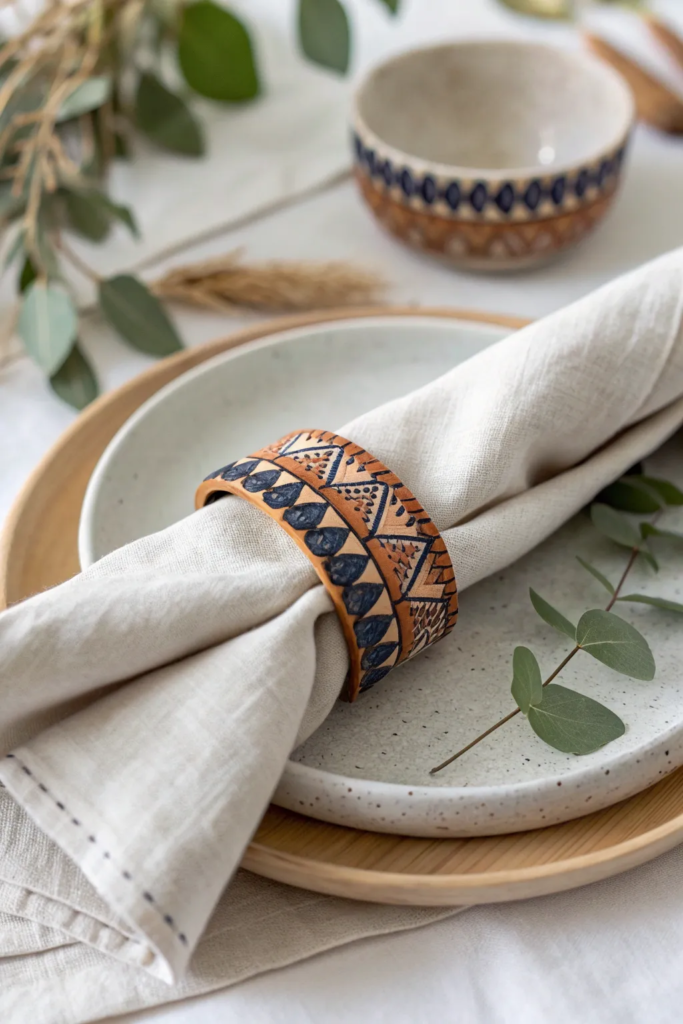
I like using handmade napkin rings when I want to add a personal touch to my dining table. Craft sticks can easily be shaped into simple holders that work for everyday meals or special occasions.
I decorate them with paint, ribbon, natural twine, or small wooden details depending on the theme. Because the design is simple, I can create several matching pieces without spending much.
These small details can make a table setting feel more thoughtful and welcoming.
Pro Tip: I measure the napkin size before building the ring so it fits comfortably without being too tight or too loose.
Stick Picture Mobile
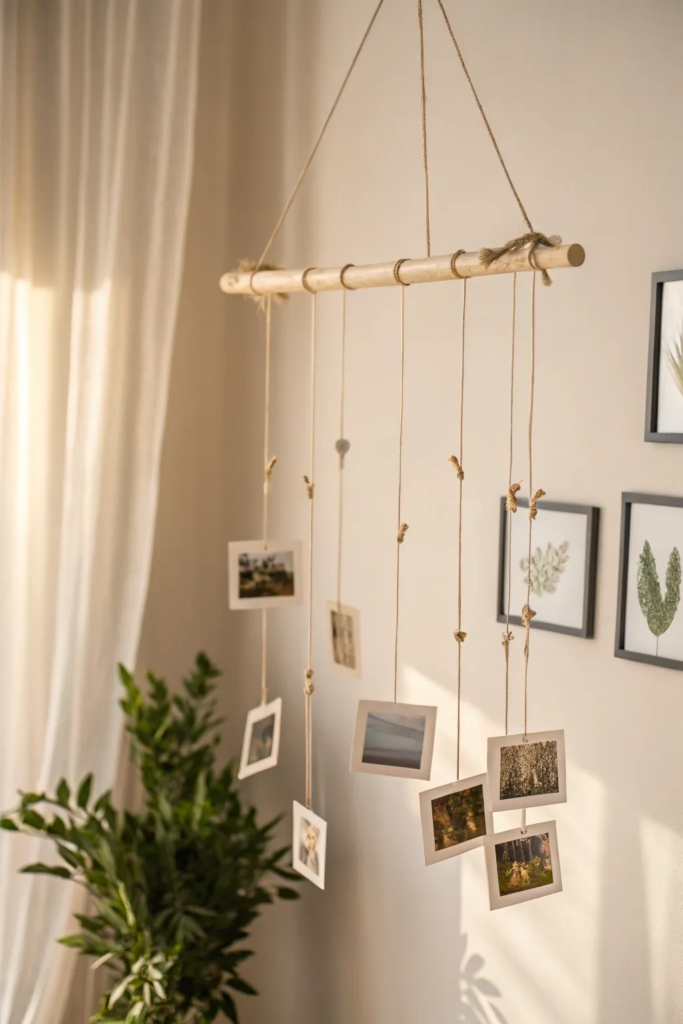
Creating a picture mobile from sticks is a beautiful way to display memories in a creative format. Instead of placing photos only in traditional frames, I can create a hanging display that adds movement and personality to a room.
I usually connect branches with twine and attach favorite photos using clips. The natural wood creates a warm background that works well with family pictures, travel memories, or artwork.
This craft is also a great option for nurseries, bedrooms, and creative spaces.
Pro Tip: I use lightweight photos and strong string to keep the mobile balanced and prevent the branches from tilting.
Read this next: 25 Fall Bedroom Decor Ideas for A Warm and Inviting Look
FAQ’s
What types of sticks can I use for DIY crafts?
I can use many types of sticks for crafting, including fallen branches, twigs, bamboo pieces, and popsicle sticks. I choose dry, clean sticks because they are easier to glue, paint, and decorate.
How do I prepare natural sticks before crafting?
I clean natural sticks by removing dirt, letting them dry completely, and checking for insects or damaged areas. Light sanding can also help create a smoother surface for painting and assembly.
Are stick crafts suitable for beginners?
Yes, many stick crafts are beginner-friendly. I can start with simple projects like photo frames, coasters, or decorative art before moving on to more detailed designs like furniture or bridges.
How can I make stick crafts last longer?
I protect my finished crafts by using strong adhesives, applying wood sealers or clear finishes, and keeping outdoor projects away from excessive moisture. Proper preparation helps handmade stick projects stay beautiful for longer.
Conclusion
After trying different stick crafts, I’ve learned that simple materials can create some of the most meaningful decorations. Sticks, branches, and popsicle sticks are affordable, easy to find, and flexible enough for beginners and experienced crafters.
Whether I’m making wall art, garden decorations, useful home items, or creative gifts, these projects give me a chance to slow down and enjoy the process of making something by hand.
The best part about stick crafts is that there is no single correct way to create them. I can adjust colors, shapes, and designs to match my own style while giving natural materials a new purpose.