Easy Bee Paper Craft for Kids with Simple Steps to Make at Home
I love simple paper crafts because they give kids something creative to do without turning the whole table into a disaster area. This easy bee paper craft is one of those projects I can pull out when I want a quick afternoon activity using supplies I already have at home.
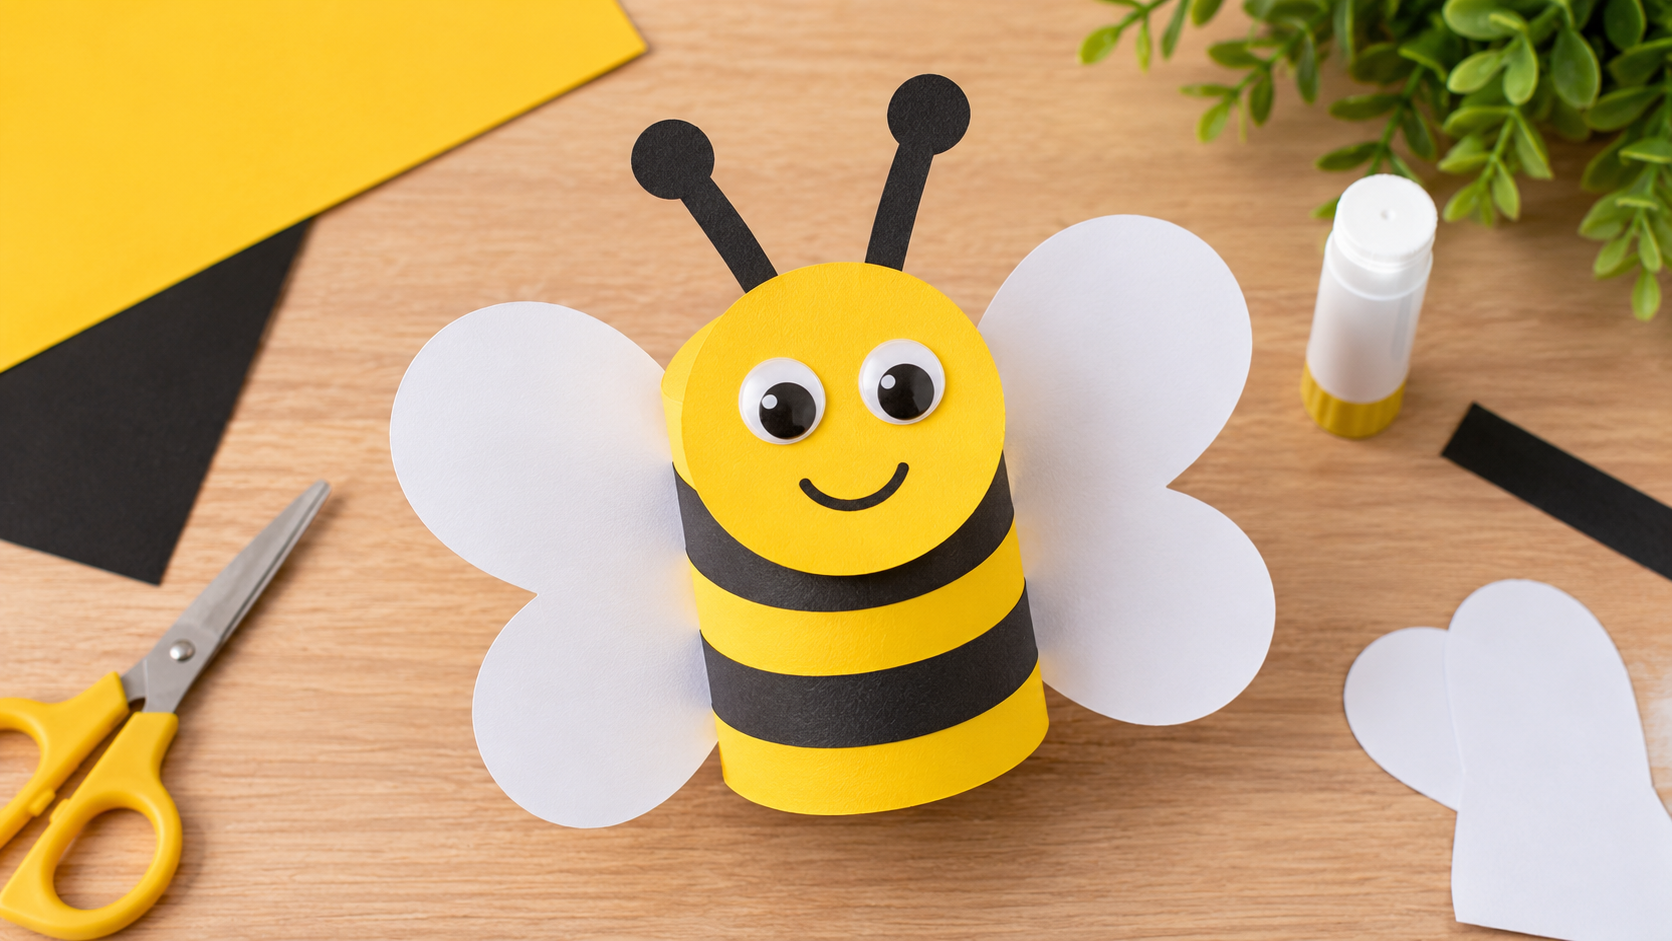
The bee is made from basic paper shapes, so children can follow along without needing advanced crafting skills. I also like that the finished bee can be used for classroom displays, spring crafts, insect-themed activities, greeting cards, or simple room decorations.
To make this paper bee, I use yellow, black, and blue paper along with scissors, glue, a pencil, and a marker. I cut two yellow circles for the body and head, add black paper strips for the stripes, and make two blue wings.
I find it easiest to prepare all the pieces before starting the assembly. That keeps the activity moving and gives children more time to focus on decorating rather than waiting for each piece to be cut.
The entire craft can be adjusted for different ages. Younger children can help with drawing, arranging, and gluing, while older kids can handle more of the cutting and add details such as eyes, antennae, and facial expressions.
Key Takeaways
- I only need a few inexpensive craft supplies.
- Simple circles and strips make the bee easy to assemble.
- I prepare the pieces first to keep the activity organized.
- A small amount of glue works better than covering the paper.
- I can use recycled paper instead of buying new supplies.
- Kids can personalize the bee with faces, stickers, patterns, and extra decorations.
Related article: 23+ Creative Bunny Craft Ideas for Your Home
What is the Easiest Way to Make a Bee Paper Craft for Beginners?
When I make paper crafts with children, I try to keep the first version as simple as possible. Too many small pieces or complicated shapes can quickly turn a fun activity into a frustrating one.
For this bee craft, I use basic circles for the main body and head. I then add thin black strips and simple wings. These shapes are easy for beginners to draw, cut, and arrange.
I also recommend letting children see the finished arrangement before they start gluing. That gives them a chance to move the pieces around and understand how the bee will come together.
Materials Needed:
- Yellow sheet of paper
- Black sheet of paper
- Blue sheet of paper
- Pencil
- Scissors
- Glue
- Marker
I can also add optional supplies such as googly eyes, crayons, stickers, or colored pencils if I want to make the activity more playful.
Pro Tip: If I am doing this craft with several children, I cut a few basic shapes in advance. This works especially well for younger kids who may not yet be comfortable using scissors.
Step-By-Step Guide
1. Gather all your supplies first
I start by placing all of the materials on my work surface before I begin. I keep the yellow, black, and blue paper together with the scissors, pencil, glue, and marker.
Having everything ready saves time and makes the craft easier to manage, especially when children are involved. It also means I am not stopping halfway through the project to look for a missing supply.
If I am working with a group, I like to give each child their own small workspace. This reduces confusion and makes it easier for everyone to follow the steps.
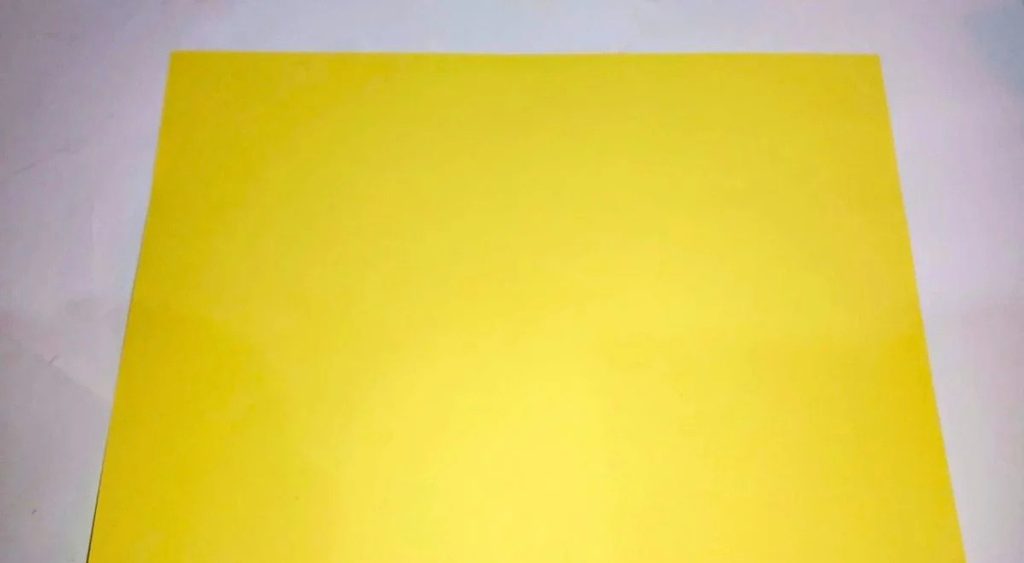
2. Draw the main bee body on yellow paper
I place the yellow paper flat and draw one large circle for the bee’s body. A cup, bowl, or lid works well as a tracing guide if I want a smoother circle.
I also draw a smaller circle for the head. The two different sizes help me create a clear separation between the bee’s head and body without using complicated shapes.
I don’t worry about making perfect circles. Handmade crafts often look more appealing when they have small differences rather than looking like every piece came from a machine.
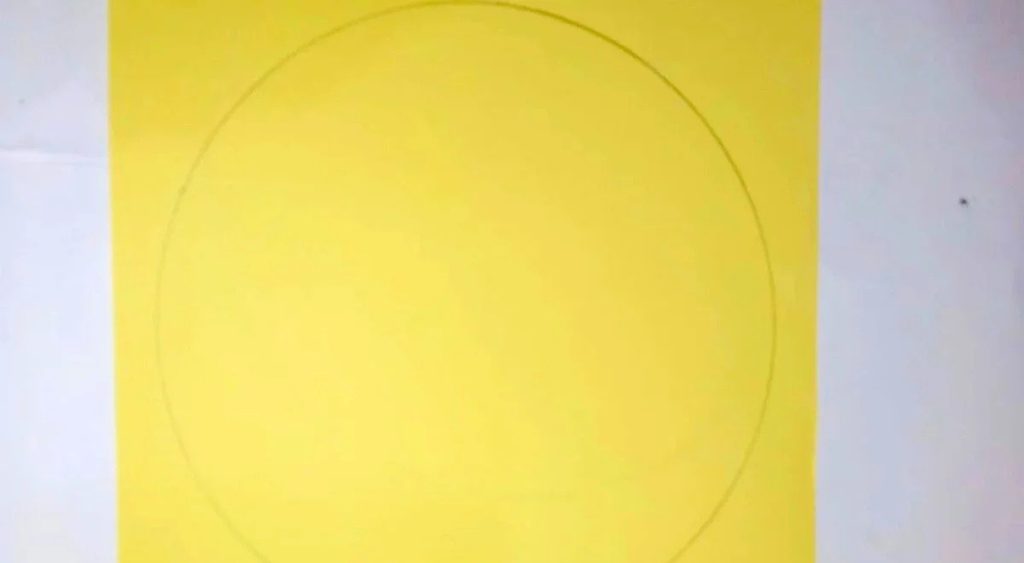
3. Carefully cut out both yellow circles
Once my circles are drawn, I carefully cut them out. I take my time around the curves because rough cutting can make the finished bee look less tidy.
When children are using scissors, I choose scissors that are suitable for their age and supervise the cutting. Younger children can also help trace the shapes while an adult handles the more difficult cuts.
One trick I use is turning the paper while keeping the scissors relatively steady. This can make curved cutting easier than constantly changing the direction of the scissors.
After cutting, I place the two circles beside each other so I can check that the larger one will work well as the body and the smaller one as the head.
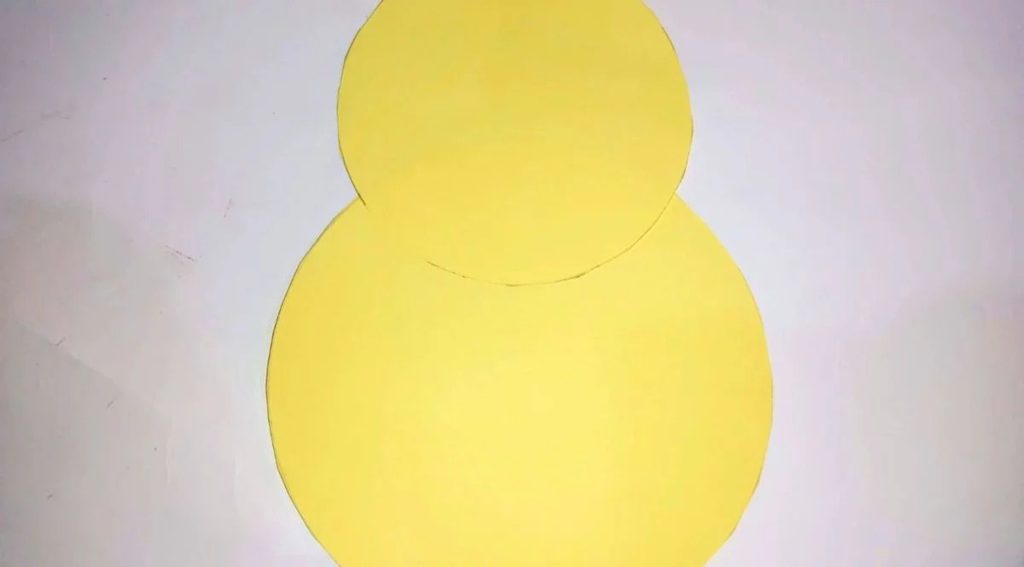
4. Cut long thin black strips for the stripes
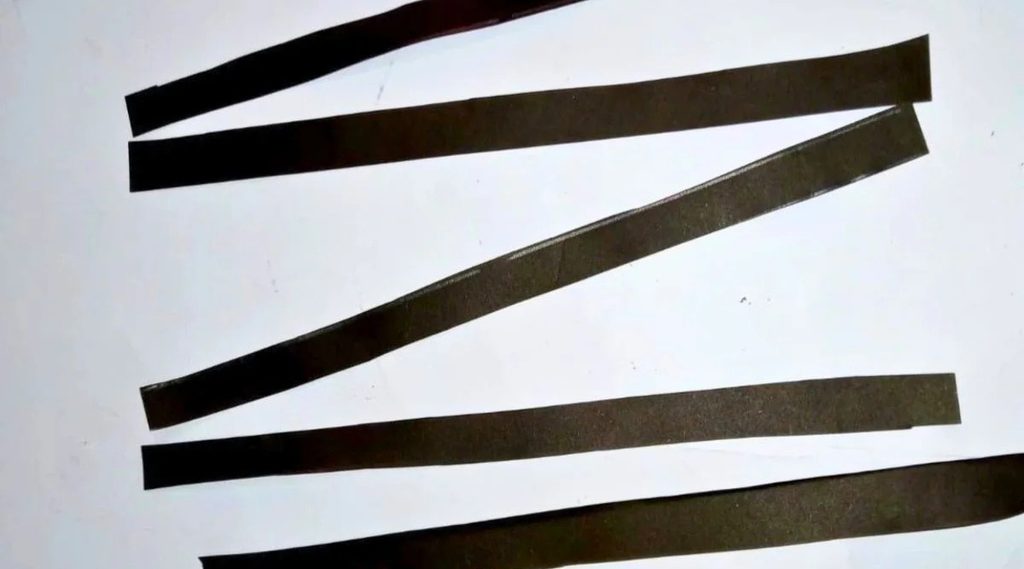
Next, I cut several black strips for the bee’s body. I try to keep them narrow enough to resemble simple bee markings without spending too much time measuring each one.
I don’t worry about making every strip identical. A handmade paper craft doesn’t need perfectly measured lines to look good.
I usually prepare a couple of extra strips. Having extras nearby is helpful because one may tear, become too short, or simply not fit where I want it.
Before using glue, I place the strips over the yellow body to see how many I need and how much space I want between them.
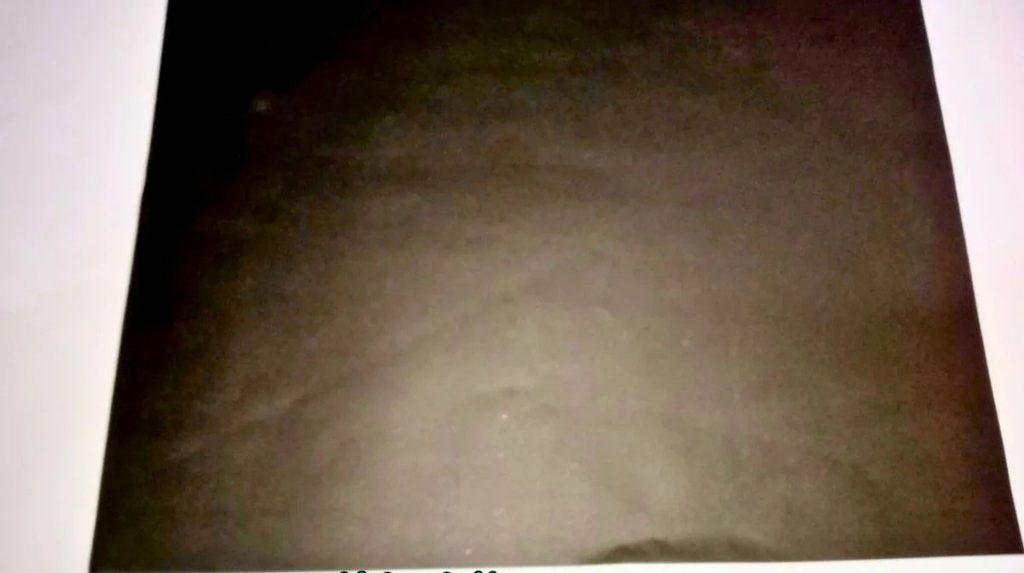
5. Glue the black strips onto the yellow body
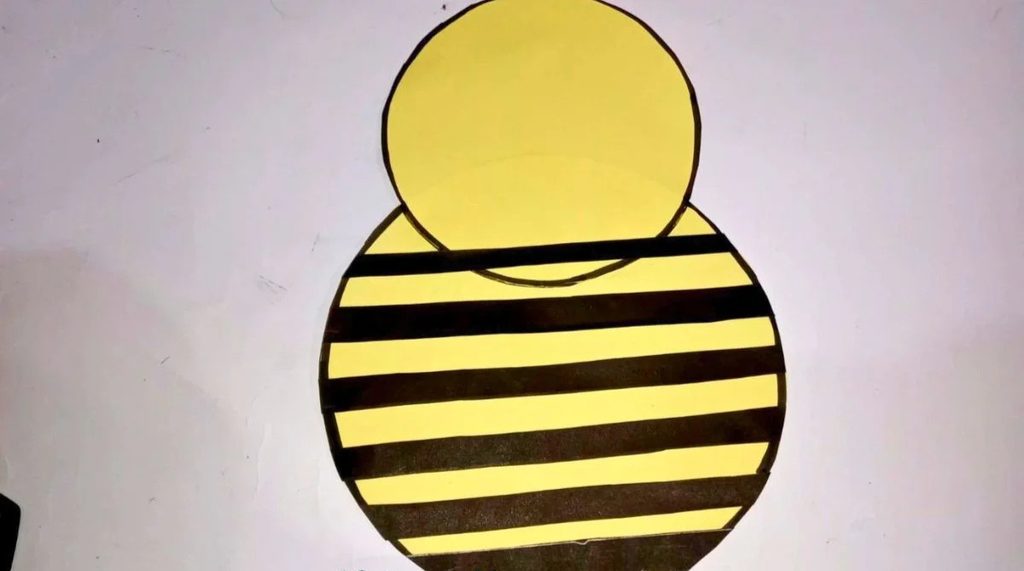
I begin attaching the black strips to the larger yellow circle. I space them across the body and press each one down gently after applying the glue.
I find that a small amount of glue is usually enough for lightweight paper. Too much liquid glue can make the paper soft, wrinkled, or difficult to handle.
If the black strips extend beyond the yellow circle, I don’t worry about it at this stage. I can trim the excess after all the stripes are attached.
I also like to check the spacing as I work. Slightly uneven stripes are perfectly fine, but keeping them generally parallel gives the bee a cleaner appearance.
6. Trim the extra paper for neat, clean edges
After the glue has had a little time to hold the strips in place, I trim the black paper that extends beyond the yellow body.
I follow the outer curve of the yellow circle as closely as I can. This small finishing step makes the body look much neater.
I then gently press the edges of each stripe to make sure they are attached. If I see a loose corner, I add a tiny amount of glue rather than covering the entire strip again.
Pro Tip: I find it easier to trim the excess after the stripes are glued down. That way, I don’t have to measure every black strip perfectly before assembling the bee.
Also read: 23+ Inspiring Chalk Powder Craft Ideas
7. Draw and cut out the wings from blue paper
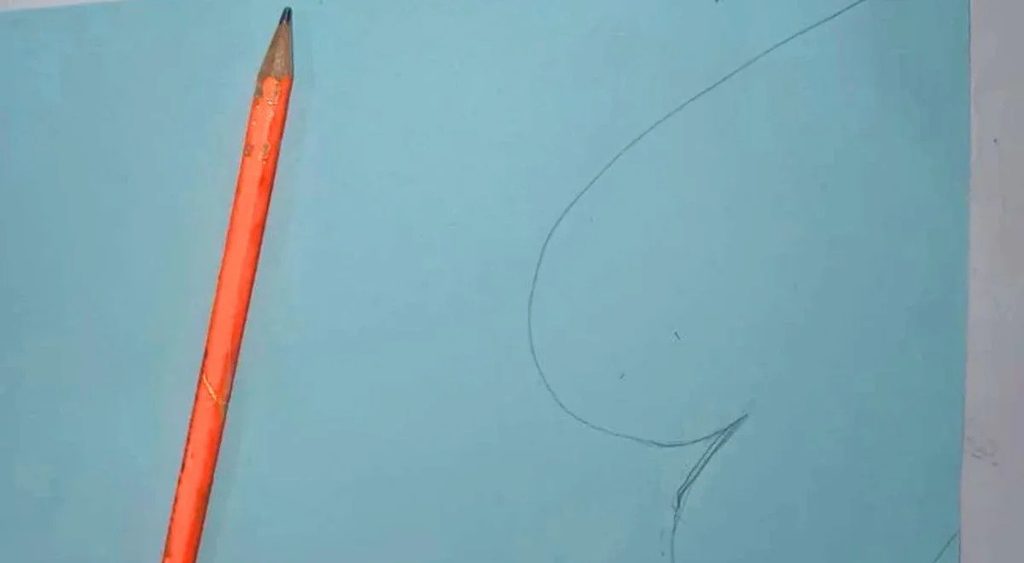
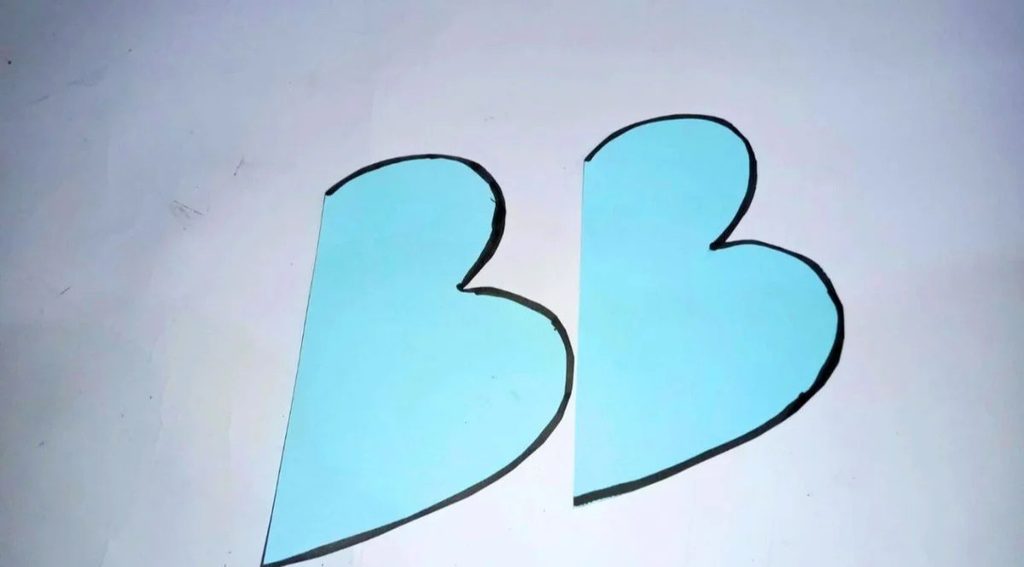
For the wings, I use blue paper and draw two matching shapes. Oval and rounded teardrop shapes are both easy choices for this project.
I try to keep the wings close in size so the finished bee looks balanced. They don’t have to be perfectly identical, though.
If I want matching wings quickly, I fold the blue paper gently, draw one wing shape, and cut through the folded section. I make sure the fold is positioned safely and that the paper is easy for me or the child to cut.
Pro tip: Before applying glue, I place both wings behind the body and move them slightly until I like their position. A small adjustment here can make a noticeable difference to the final look.
8. Make and attach the head to the bee body
I use the smaller yellow circle as the bee’s head. Before gluing it, I place it near the upper portion of the striped body to see how the proportions look.
I prefer the head to overlap or touch the body slightly. This makes the bee look like one connected character instead of two separate paper circles.
Once I am happy with the position, I apply a small amount of glue and attach the head. I let it settle before adding the facial details.
This is also where I can decide whether I want to add eyes, a smile, or antennae later.
9. Attach the wings securely behind the body
I turn the bee body over and position the blue wings behind it. I place one wing on each side so that both are visible from the front.
I don’t cover the entire wing with glue. Instead, I concentrate the adhesive near the section that will sit behind the body.
After attaching the wings, I press the glued areas gently for several seconds. I give the glue a little time to set before turning the bee over and moving it around.
If a wing feels loose, I add a tiny amount of glue at the attachment point. Using more glue than necessary can actually make lightweight paper harder to manage.
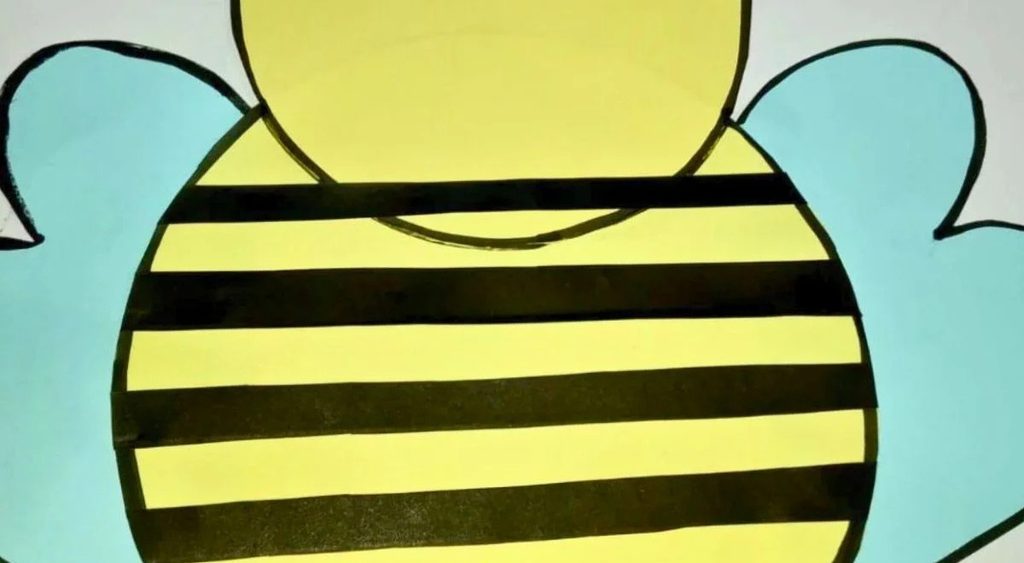
10. Arrange the final pieces and finish your cute bee
Now I give the finished bee a quick check. I look at the head, wings, stripes, and edges to see whether anything needs a small adjustment.
I can then draw simple eyes and a smile with a marker. For antennae, I can use narrow strips of black paper or simply draw them directly onto the yellow head.
This is my favorite part because every child can give the bee a different personality. Some might make a happy face, while others may add colorful decorations or a completely different expression.
I also like using the finished bees as decorations for an insect-themed classroom board or a spring craft display.
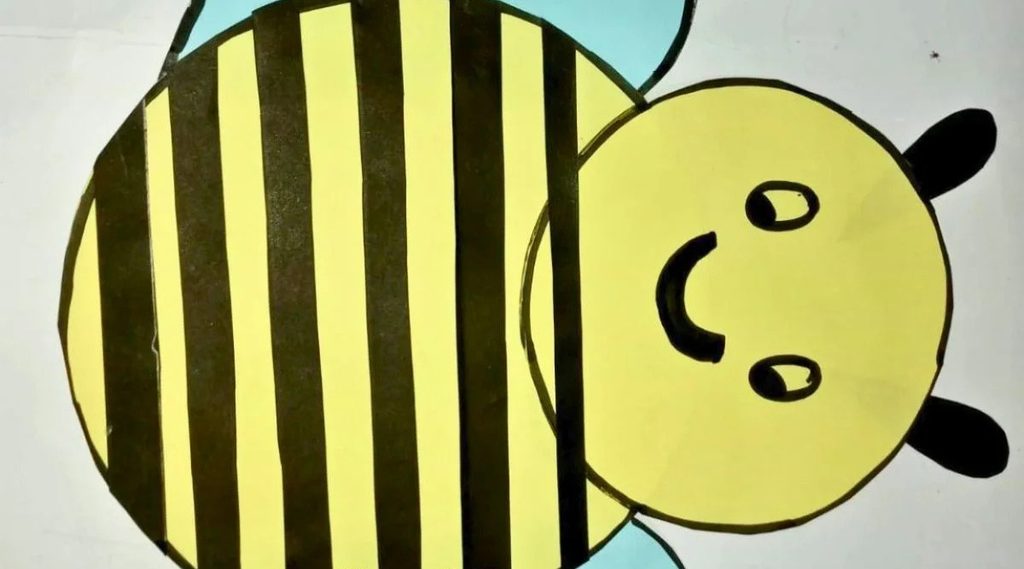
How Do You Make Neat Bee Stripes Without Messing Up?
I find that the easiest way to get tidy stripes is to arrange everything before reaching for the glue. I lay the black strips across the yellow body and adjust their spacing until the pattern looks right.
I don’t try to make the gaps mathematically exact. I simply keep the strips roughly parallel and leave enough yellow space between them so the bee pattern remains easy to see.
When I am happy with the layout, I glue one strip at a time. This gives me more control and prevents me from accidentally shifting several pieces at once.
If a strip hangs over the edge, I leave it alone until the glue has grabbed the paper. Then I trim it to match the circle.
Pro Tip: For children who are easily frustrated by uneven stripes, I lightly mark a few placement points with a pencil first. These guides can make the gluing stage much easier.
Why Do the Wings or Antennae Keep Falling Off My Bee Craft?
Paper pieces can fall off when there isn’t enough adhesive at the joining point, but too much glue can also cause problems. Excess glue can make lightweight paper slippery while it is drying.
I usually place a small dab of glue at the base of each wing or antenna. I then press the piece gently against the bee for a few seconds.
For the wings, attaching them behind the body gives the glue a larger surface to grip while keeping the front of the bee clean.
If I am adding paper antennae, I make the pieces slightly wider at the bottom. That gives me more surface area to attach to the head.
Pro Tip: I let the finished bee sit flat for a few minutes before handing it to a child to play with or move around. That extra drying time can prevent loose pieces.
Read this next: 12+ Creative Feather Craft Ideas for Your Home
FAQs
Can I make this bee paper craft with recycled materials?
Yes, and I often recommend it when I want to keep a children’s craft inexpensive. Old magazines, paper bags, leftover wrapping paper, packaging, and unused scraps can all work.
The colors don’t have to be exactly the same as my example. A yellow food package, black magazine page, or blue scrap can become part of the bee.
Using leftover materials also gives children a chance to think creatively about what can be reused instead of immediately throwing it away.
How can I make my bee paper craft more fun for kids?
I let children take over the decorating stage whenever possible. I can provide markers, stickers, googly eyes, crayons, or small paper scraps and let them decide how their bee should look.
I also encourage them not to worry about making an identical copy of mine. The goal is to enjoy the activity and create something they are proud of.
For a larger activity, I can ask children to make several bees and combine them into a simple garden, flower, or classroom display. This turns one small craft into a larger creative project.
Conclusion
I find this easy bee paper craft useful whenever I need a simple children’s activity that doesn’t require expensive supplies. The basic shapes make it approachable for beginners, while the decorating stage gives kids plenty of room to be creative.
With yellow, black, and blue paper, I can create the main bee in just a few straightforward steps. I can also swap in recycled materials or change the colors to suit a classroom theme, spring activity, or insect lesson.
Most importantly, I don’t expect perfection. A slightly crooked stripe or uneven wing can make the finished bee feel handmade, and that is often what makes these little paper crafts so much fun.