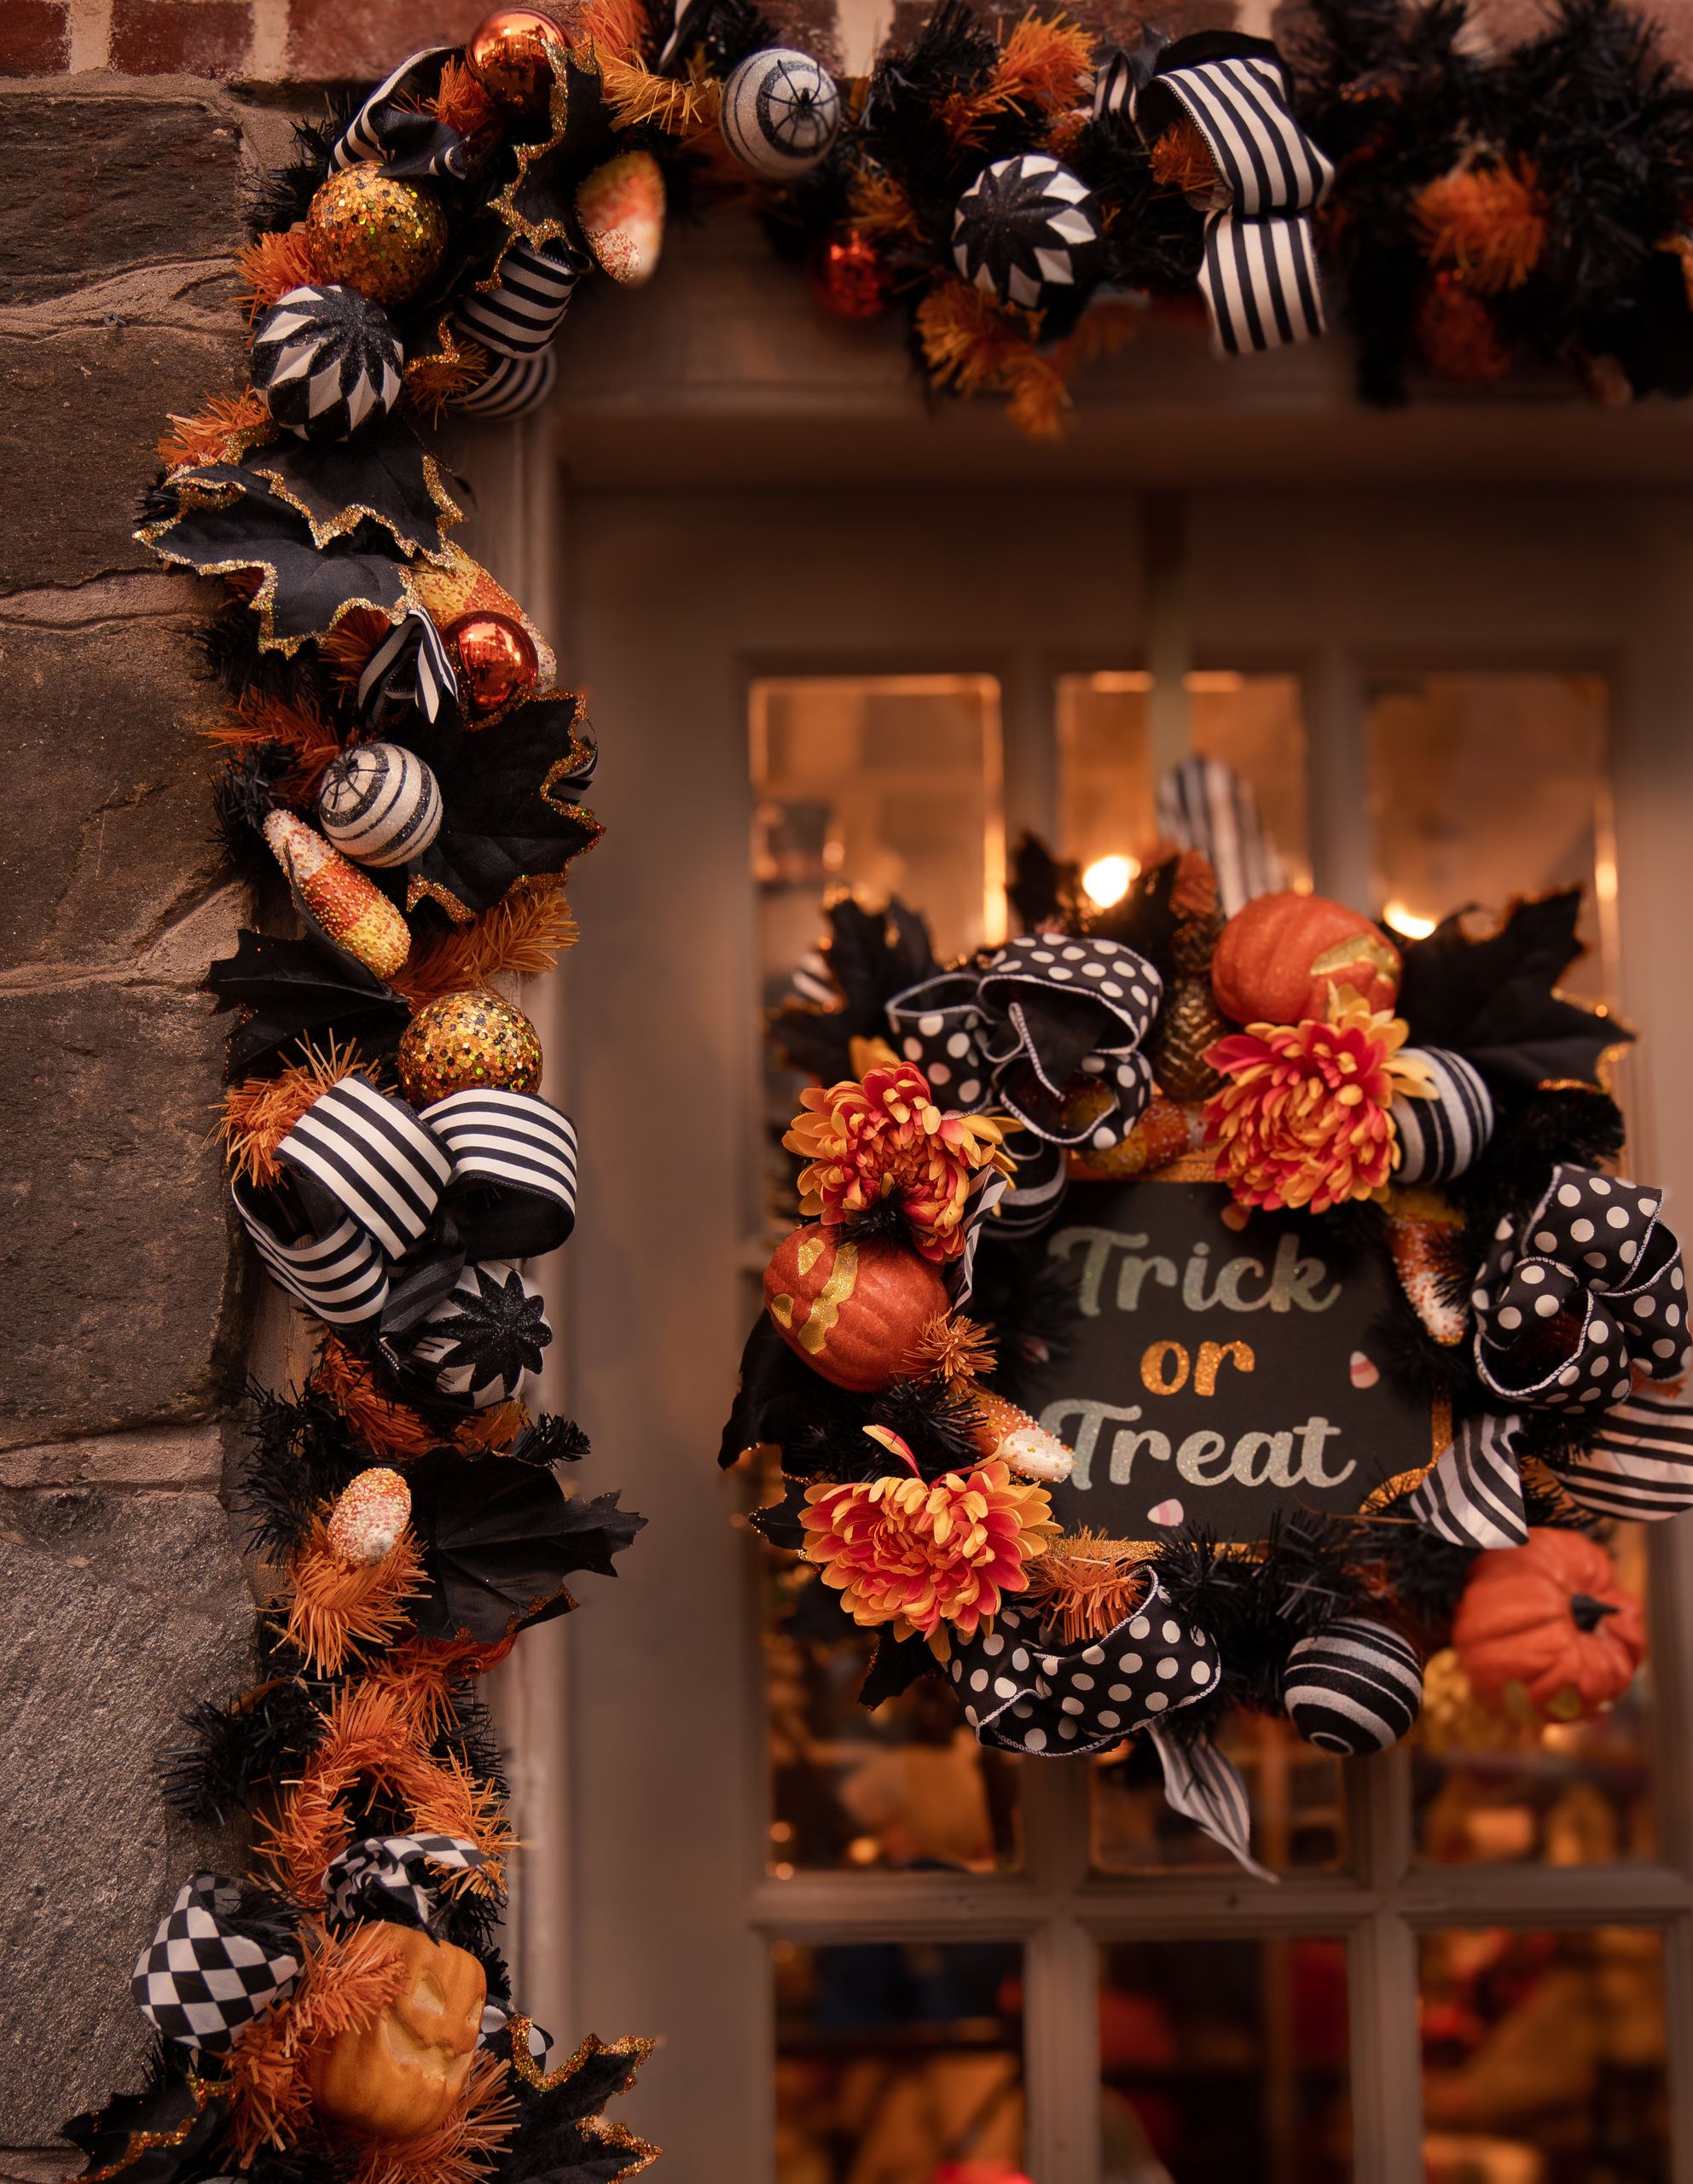
17 Halloween Wreath Ideas
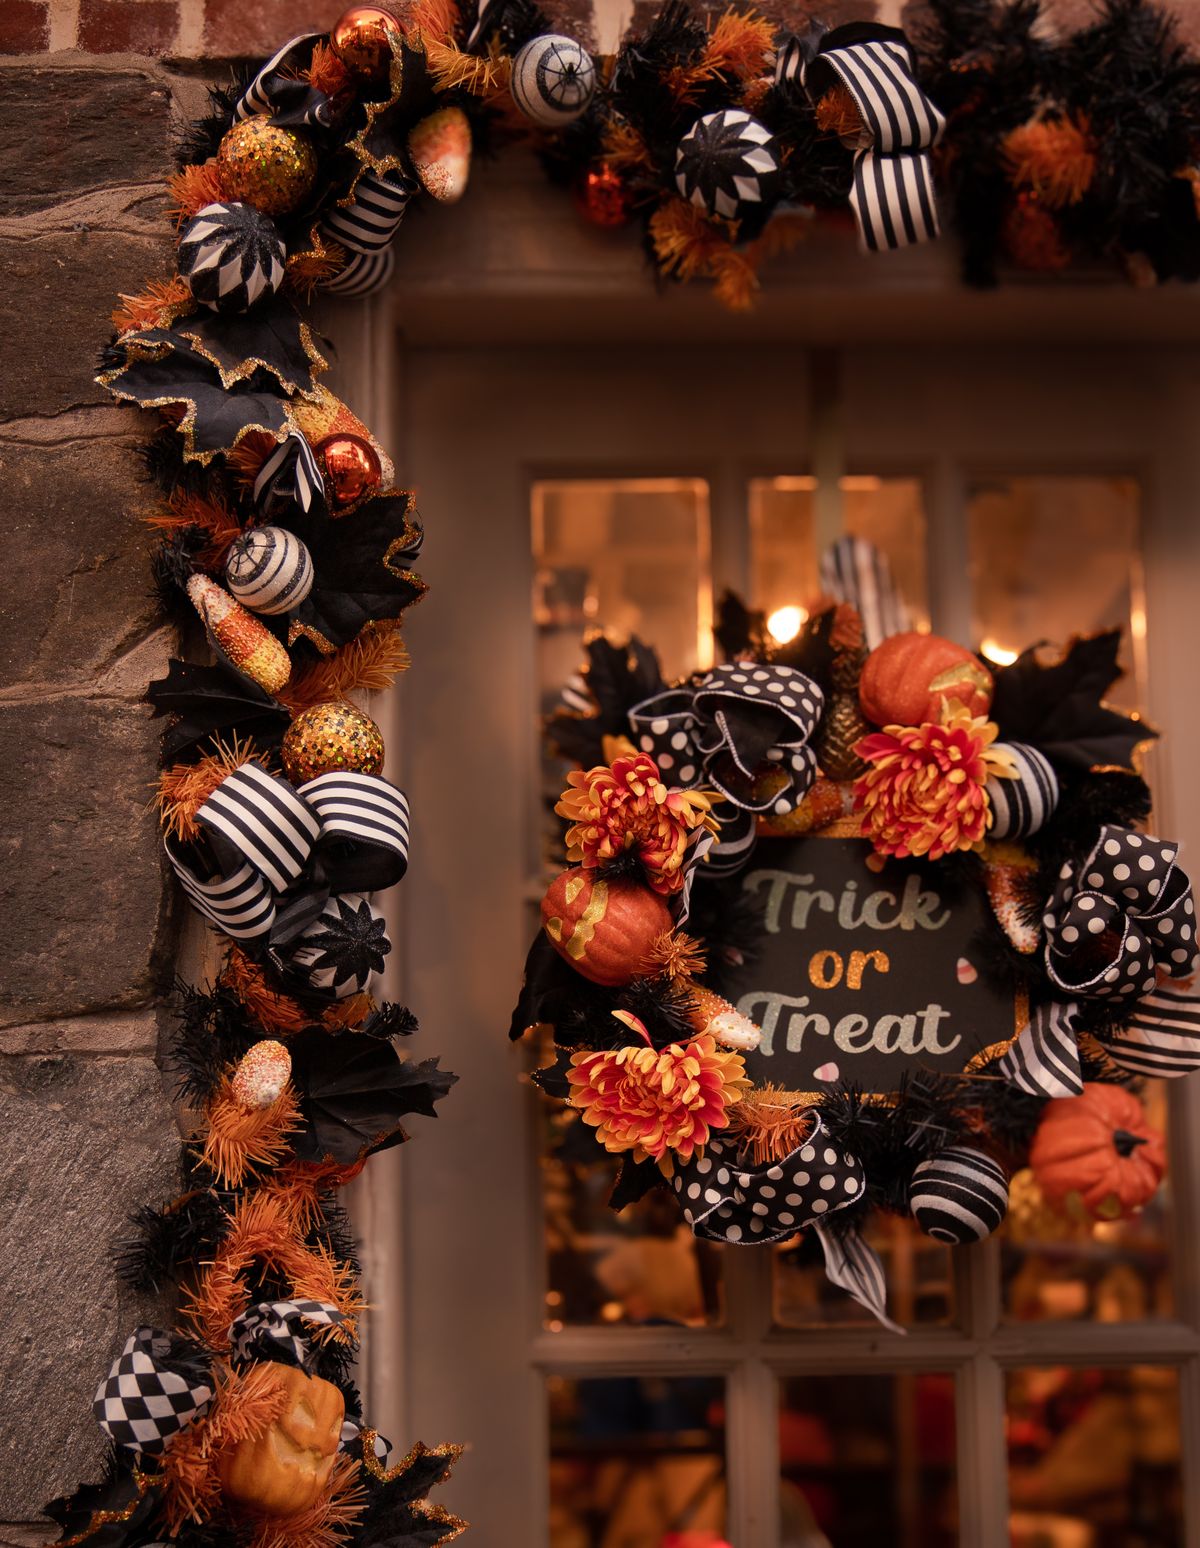
Every October my front door gets one job: tell trick-or-treaters they are welcome before anyone rings the bell. These Halloween wreath ideas are the ones I have hung on my own door over the years, and I kept only the wreaths that survived wind, rain, and a month of door-slamming without falling apart.
How I picked them: I made or bought each style, hung it on our covered front porch, and checked it weekly for fading, shedding, and sagging. Our porch is covered but not enclosed, so these notes assume some weather protection; I flag the styles that truly handle an exposed door and the ones that belong indoors or under cover.
Key Takeaways
- A grapevine base is the most forgiving starting point for beginners; it hides mistakes well.
- Hang wreaths from the door itself, not the frame, so they move with the door and do not swing.
- Weatherproof your wreath if your door faces rain or strong sun, or bring it in during storms.
- Most DIY wreaths here cost $15-$40 and take under two hours, including drying time.
- Check the wreath at night too; a design that looks great at noon can vanish in porch light.
Related article: 19 DIY Thanksgiving Wreath Ideas
17 Halloween Wreath Ideas Worth Hanging
1. Classic Grapevine With Mini Pumpkins
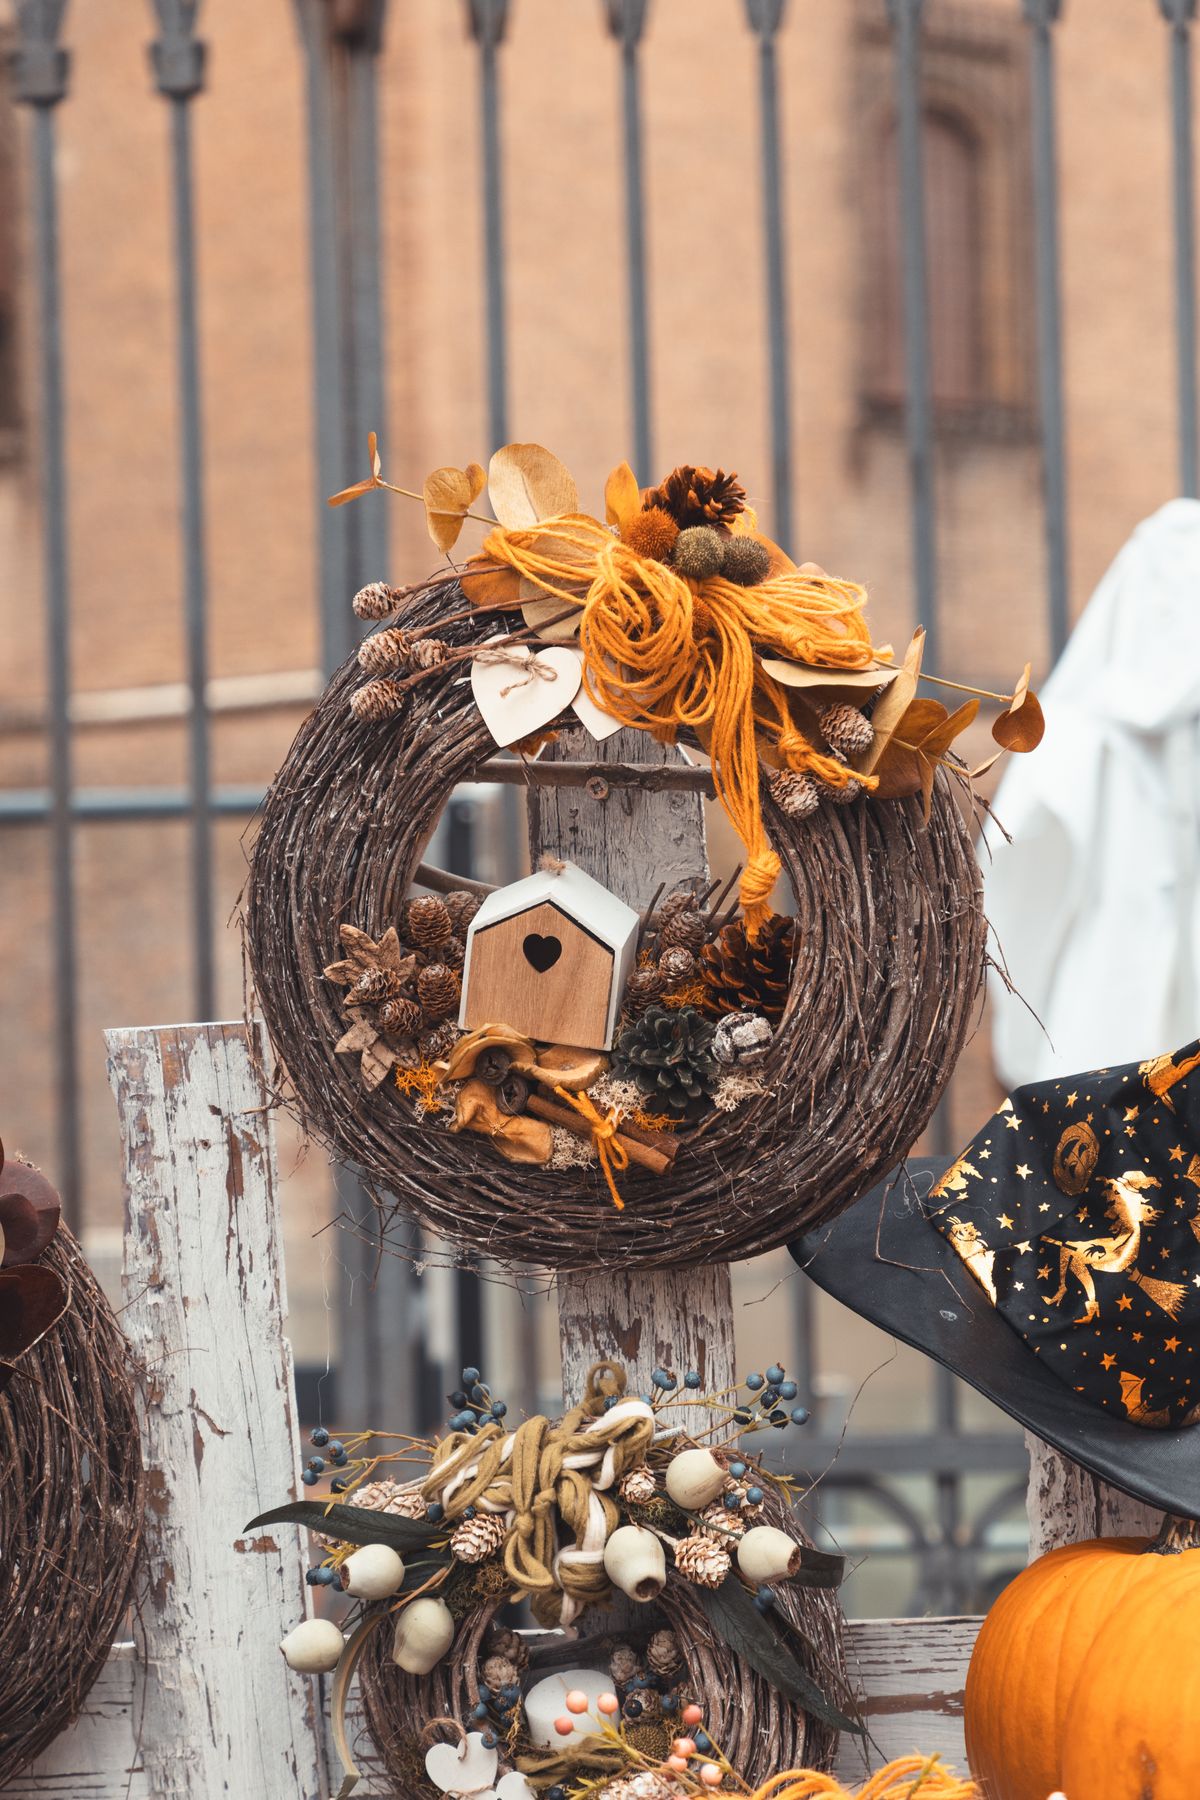
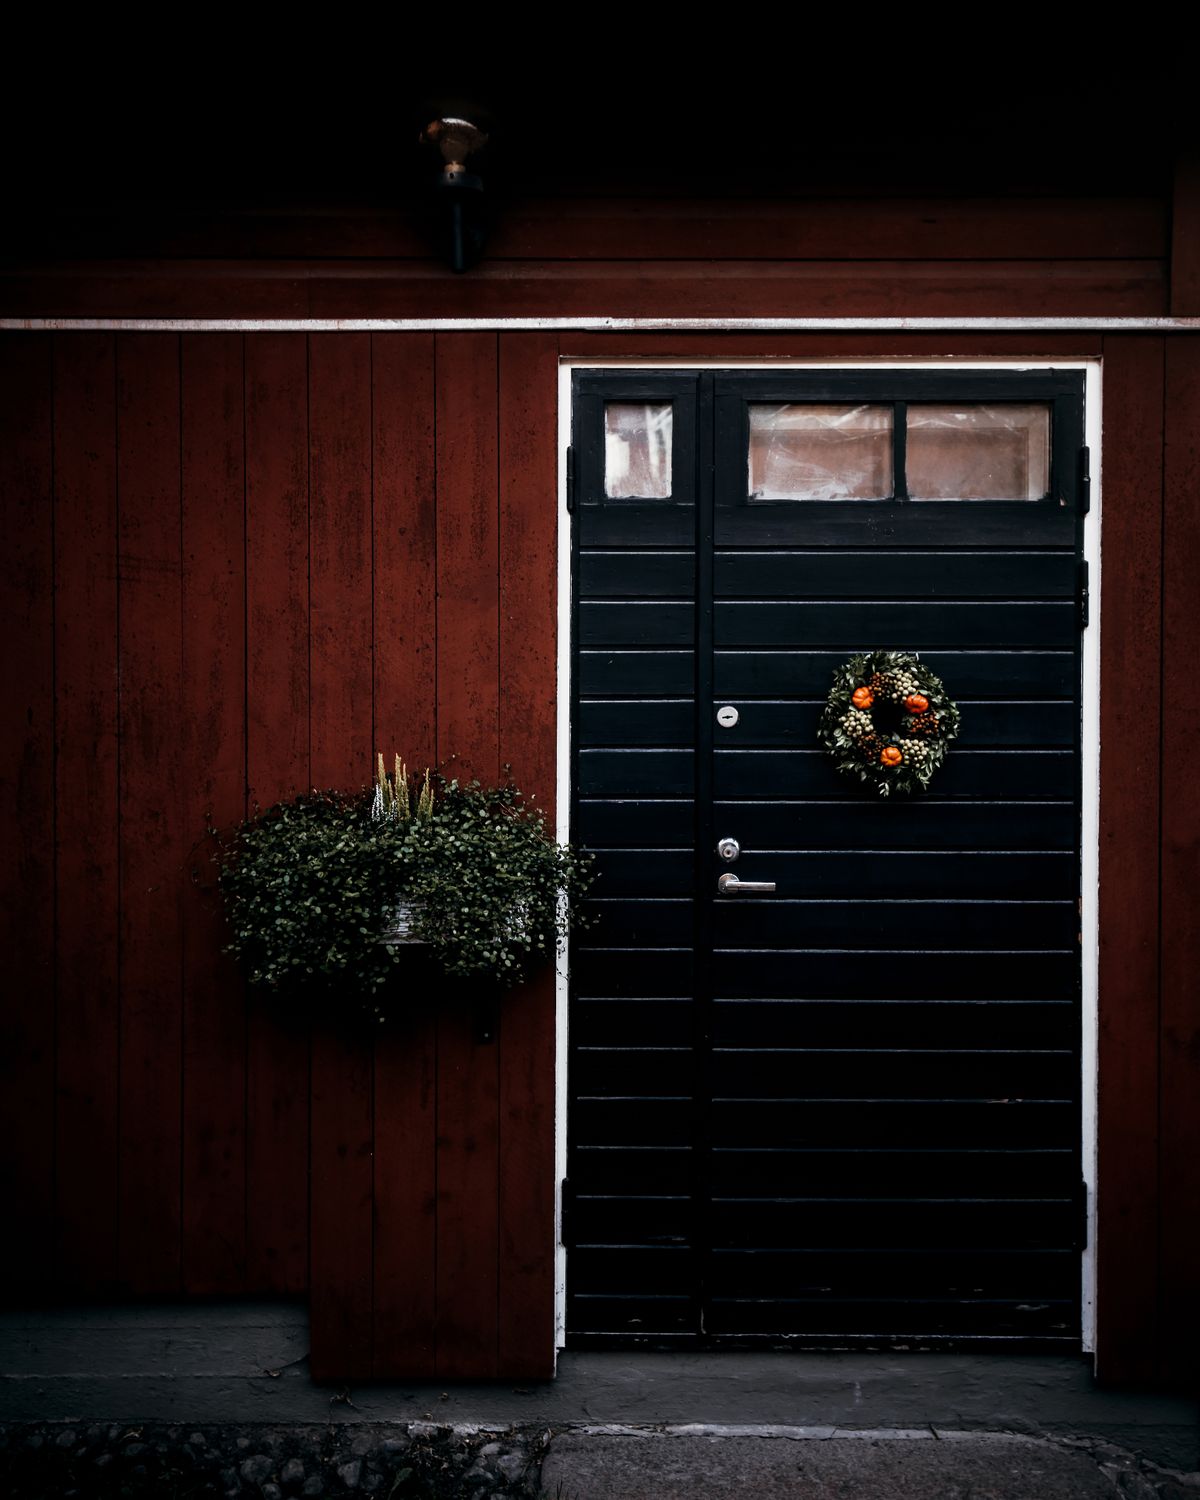
I start with a plain 18-inch grapevine wreath and hot-glue six mini pumpkins around it, alternating orange and white, then tuck in a few dried leaves. It was my first DIY wreath and it still hangs every year because it is simple and sturdy. I glued the pumpkins in clusters of two rather than spacing them evenly, which looks more natural, and I used a low-temperature glue gun so the foam pumpkins did not melt. It took me about forty minutes and survived a windy October on our porch with only one leaf lost. The downside is weight: too many pumpkins make one side heavy, so I check that the wreath hangs level before calling it done.
Pro Tip: Glue the heaviest pieces near the top of the wreath so gravity pulls evenly.
Cost / Time / Difficulty: $18-$30 / 40 minutes / Easy
2. Black Mesh Wreath With Orange Ribbon
I wrap black deco mesh around a wire wreath frame, poofing it into loops, then add orange ribbon tails and a small witch hat in the center. Mesh wreaths look impressive but they are mostly repetition, and I finished mine in about an hour while watching a show. It filled our door beautifully and looked full from the street, which matters because a skimpy wreath disappears from the sidewalk. The downside is fraying: mesh unravels at cut edges, so I seal the ends with a quick pass of clear nail polish, a trick I learned after my first mesh wreath shed black threads all over the porch for a week.
Pro Tip: Use two rolls of mesh, not one; a single roll always looks thin once it is on the door.
Cost / Time / Difficulty: $20-$35 / 1 hour / Moderate
3. Pumpkin Cluster Wreath
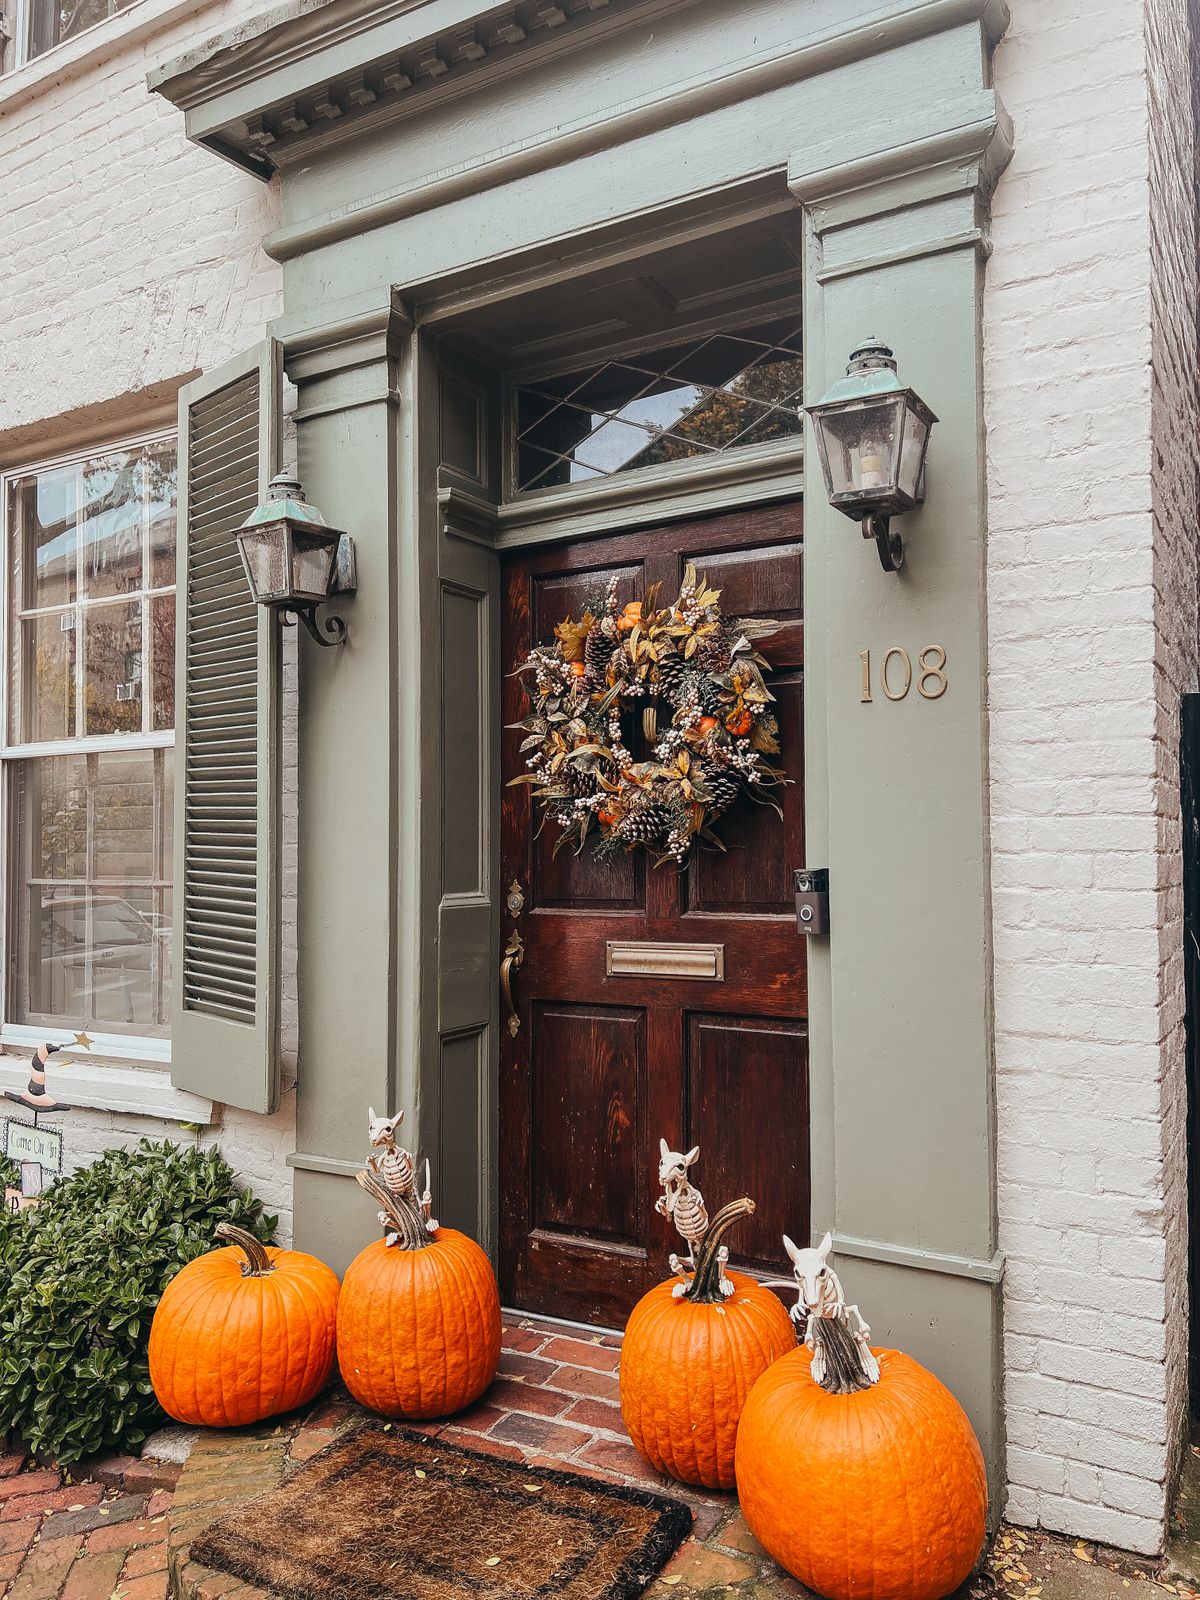
I cover most of a foam wreath form with mini pumpkins packed tightly together, leaving just a gap at the top for hanging. It is bold and unmistakably Halloween, and it got more comments from neighbors than any other wreath I have hung. I used about twenty mini pumpkins and a lot of hot glue, and the project took an evening because I kept rearranging clusters until the coverage looked even. It is heavy, though, and that is the honest catch: it needs a proper over-door hook, not a suction cup, and I would not hang it on a door that gets slammed hard. Mine lasted two seasons before a few pumpkins loosened and needed regluing.
Pro Tip: Glue pumpkins in odd clusters of three for a natural, gathered look.
Cost / Time / Difficulty: $30-$45 / 1 evening / Moderate
4. Spooky Eyeball Wreath
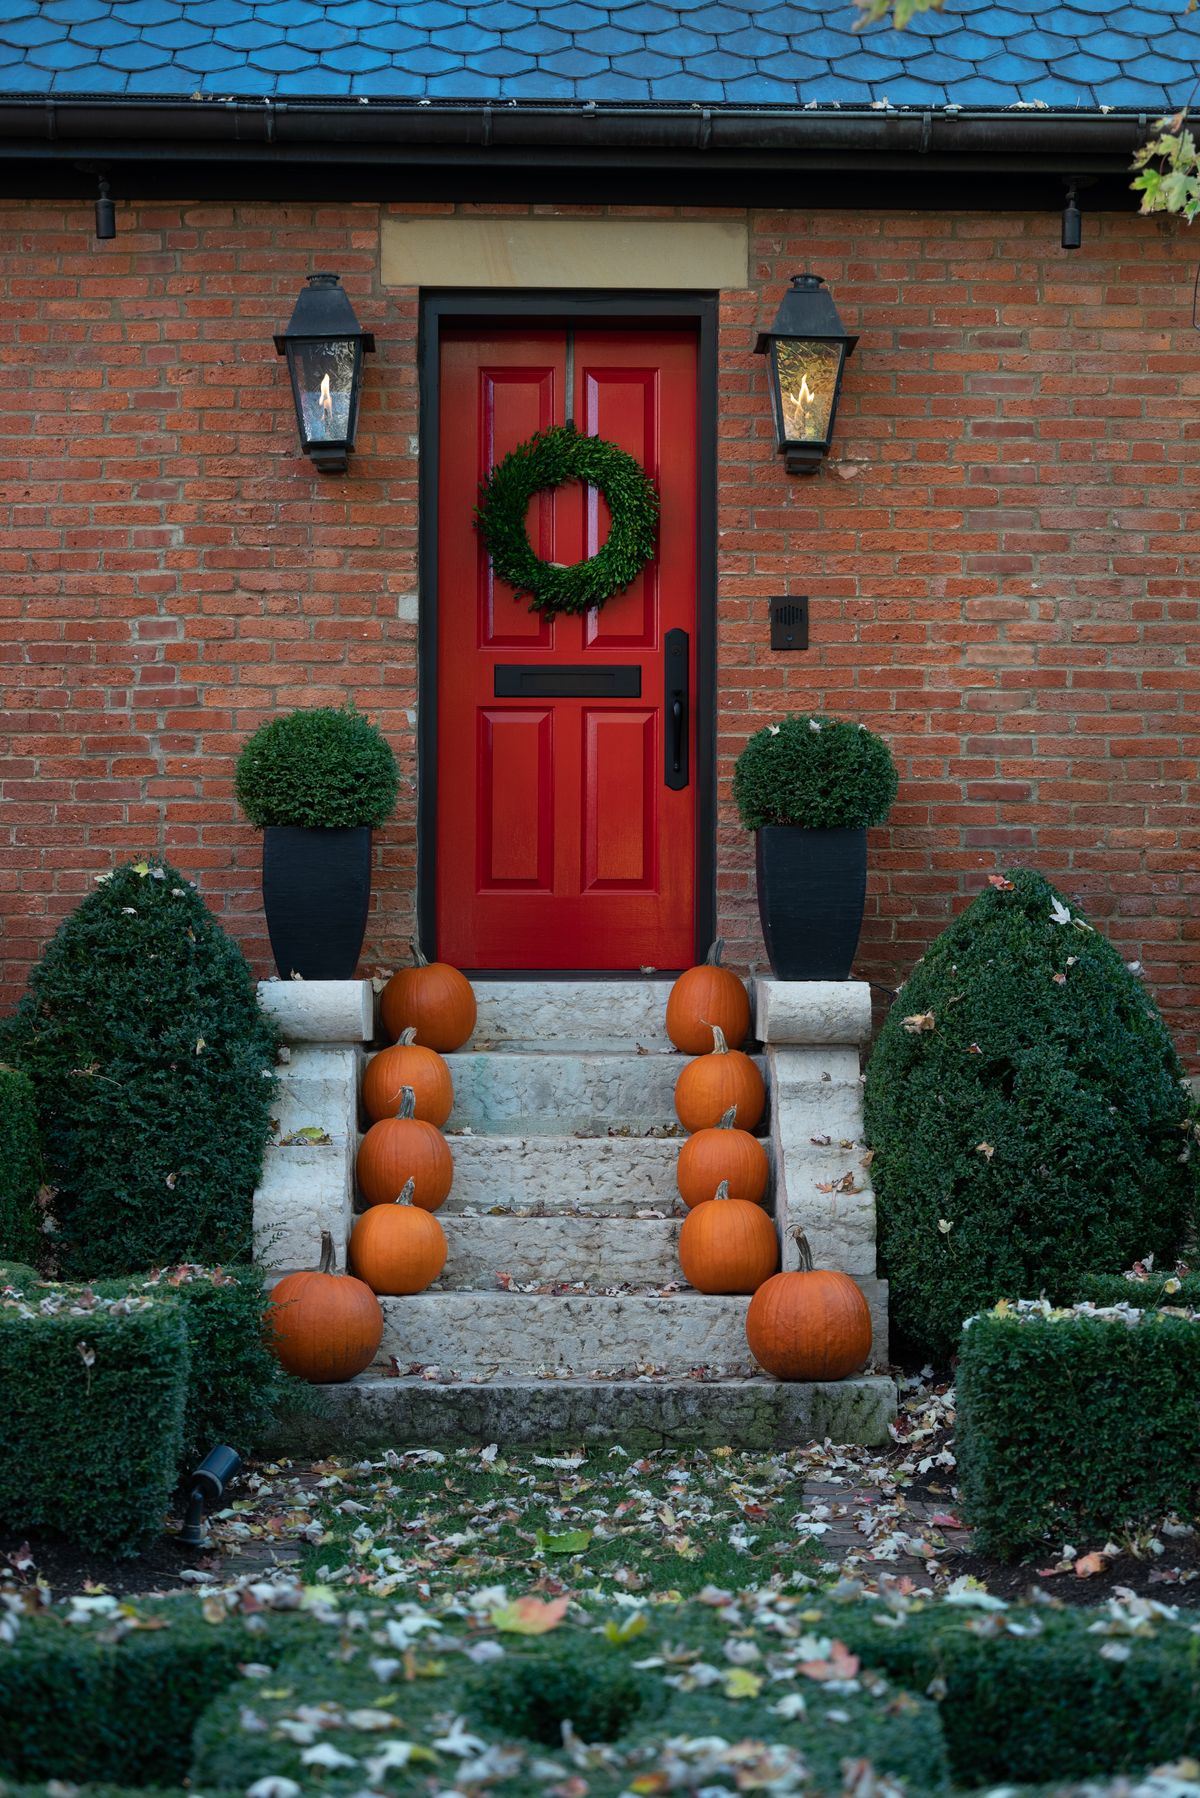
I glue large plastic eyeballs all over a black wreath form until it stares back at you, and kids absolutely love it. I made this one with my children, and they still argue over whose eyeball placement was best. It cost under $20 because the eyeballs came in bulk packs, and it took less than an hour. It lasted the full month outdoors under our covered porch, though the paint on two eyeballs faded where afternoon sun hit them directly. The downside is that it is genuinely startling for very small children, so if your street has lots of toddlers, I would save this one for a party door rather than the main entrance.
Pro Tip: Vary the eyeball sizes; identical eyes look flat, while mixed sizes look alive.
Cost / Time / Difficulty: $15-$22 / 45 minutes / Easy
5. Witch Hat Wreath
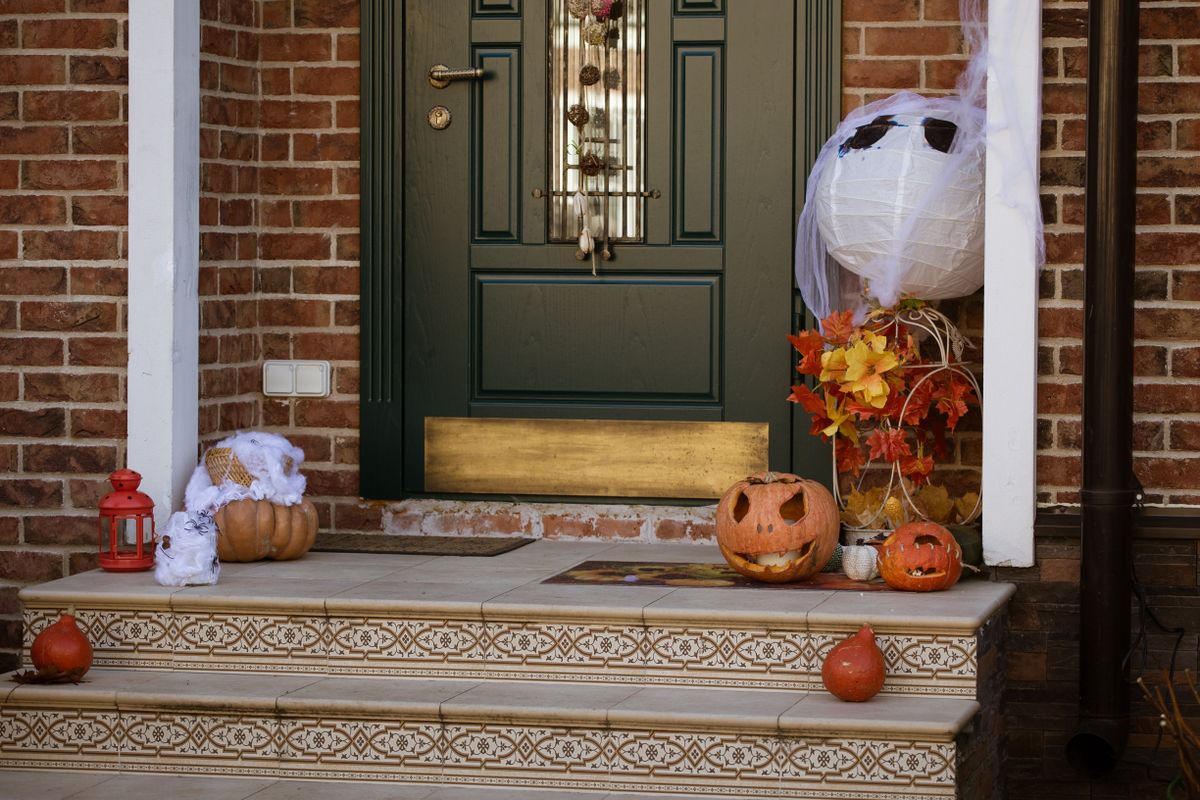
I build a wreath shaped like a witch hat by bending a wire frame into a triangle with a brim, then wrapping it in black mesh and adding a purple ribbon band. It is the most recognizable silhouette on this list; people spot it from the street before they see anything else on the porch. It took me about ninety minutes, mostly because shaping the wire took two tries. It survived the month well, though the hat tip drooped slightly by Halloween after a rainy week, so I now reinforce the tip with an extra wire. The catch is storage: it does not fit in a standard wreath box, so I hang it in the garage on a nail.
Pro Tip: Add a small buckle or ribbon band where the hat meets the brim; it sells the shape instantly.
Cost / Time / Difficulty: $20-$30 / 90 minutes / Moderate
6. Ghost Wreath From Cheesecloth
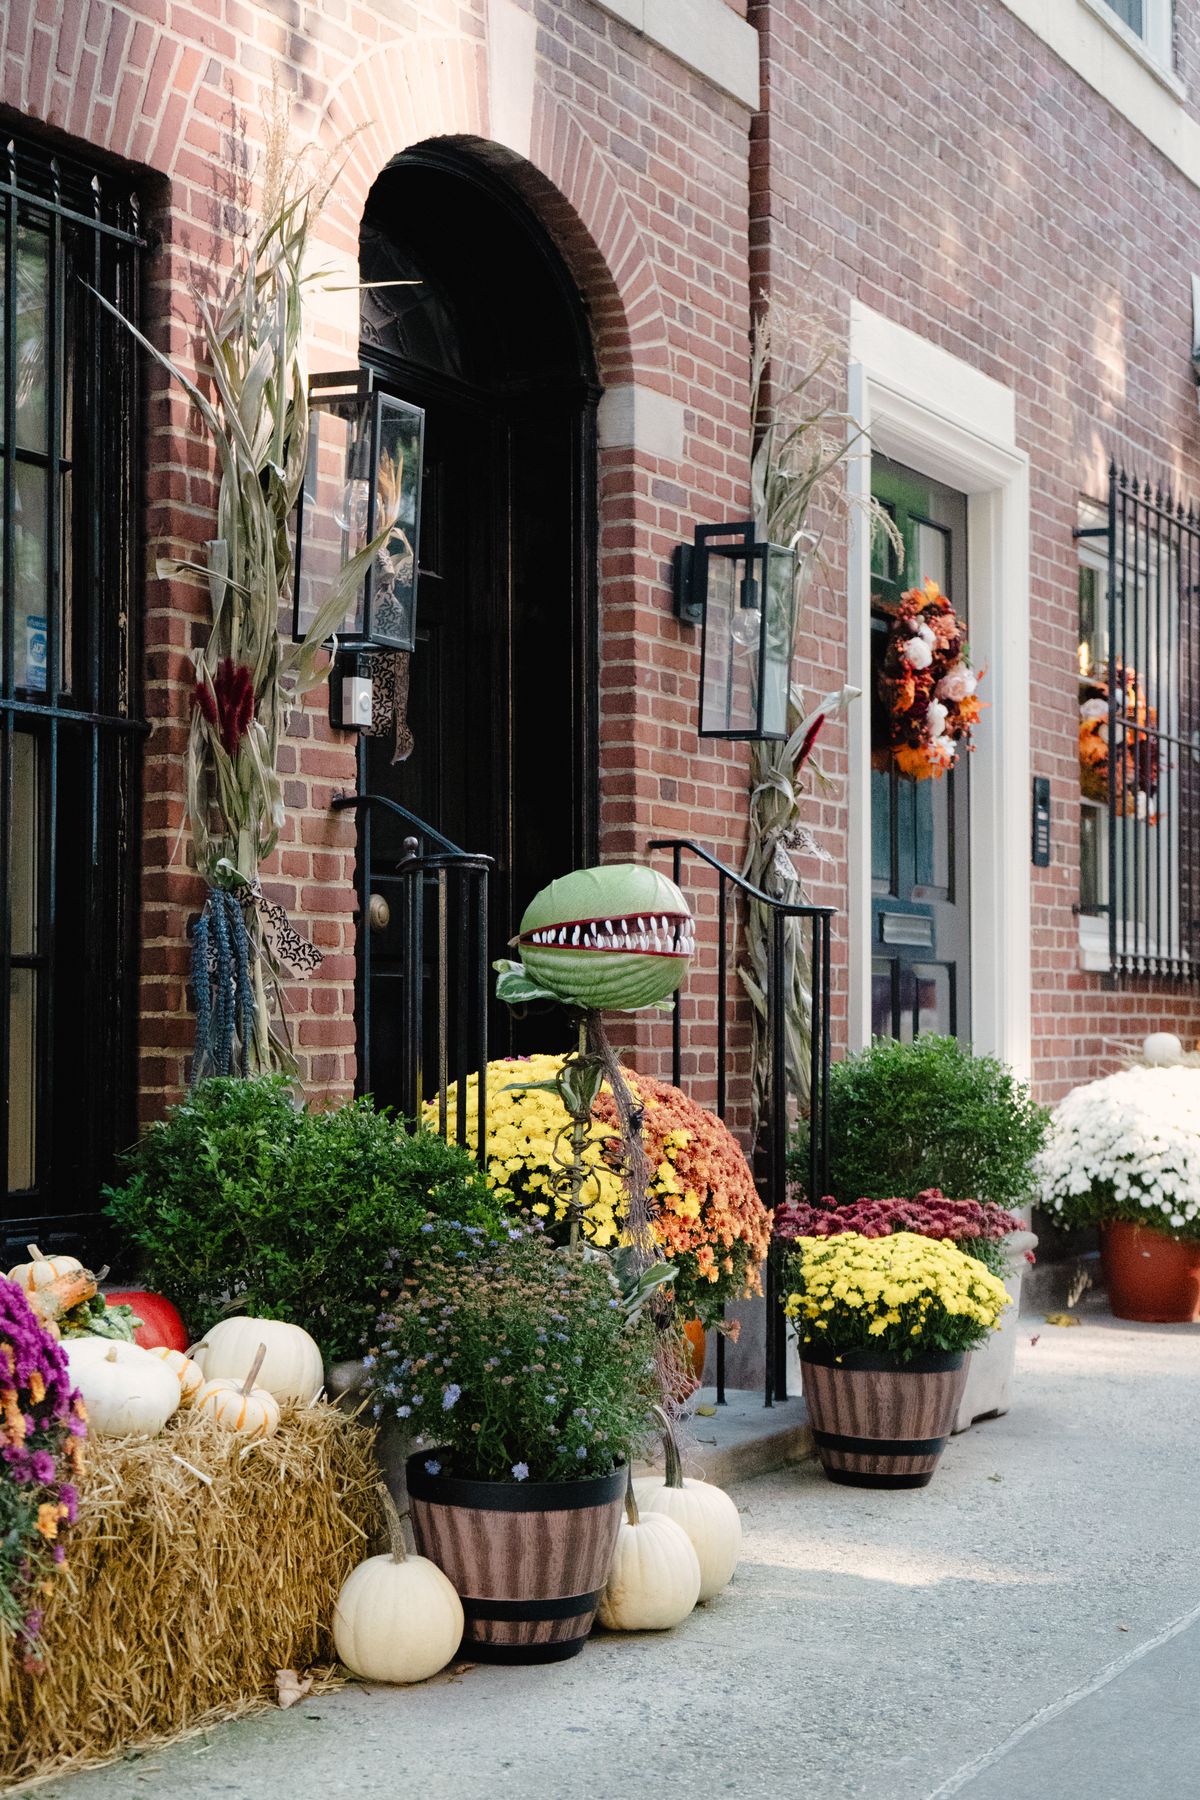
I drape layers of cheesecloth over a foam wreath form, letting the ends hang ragged, and add two black felt eyes near the top so the whole wreath reads as one big ghost. It is wonderfully simple and cost me under $12. I hung it on our front door and it fluttered gently in the breeze, which made it feel alive in a way a stiff wreath never does. It lasted about three weeks before the cheesecloth started to gray from porch dust, so I consider it a one-season wreath. The downside is rain: a soaked cheesecloth wreath sags badly, so this one stays under a covered porch or indoors only.
Pro Tip: Layer three pieces of cheesecloth, not one; a single layer looks like a bandage.
Cost / Time / Difficulty: $8-$15 / 30 minutes / Easy
7. Skeleton Hand Wreath
I arrange plastic skeleton hands around a grapevine wreath so they appear to be reaching out from it, with a few black roses tucked between them. It is creepy in the best way and took me under an hour, mostly because positioning the hands took some fiddling to look grasping rather than random. I wired each hand to the frame with florist wire instead of glue, which meant I could reposition them and reuse them the next year. It held up all October, though one hand worked loose after a particularly windy night and I found it on the doormat. The watch-out is sharp plastic edges on cheap hands, so I sanded the fingertips lightly before handling them much.
Pro Tip: Point all the fingers in roughly the same direction; hands reaching every way look chaotic.
Cost / Time / Difficulty: $18-$28 / 1 hour / Moderate
8. Candy Corn Wreath
I glue candy-corn-colored felt triangles or foam pieces around a wreath form in repeating bands of yellow, orange, and white. It is cheerful rather than scary, which makes it perfect if your house gets lots of young trick-or-treaters. I made mine in an evening and it cost about $15 in foam sheets. It lasted two seasons indoors on our back door, but the white band yellowed slightly where sunlight hit it, so I now keep it on the shaded side door. The downside is that real candy corn melts and attracts ants, so do not use actual candy outdoors, no matter how cute the idea sounds in September.

Pro Tip: Use foam or felt, never real candy, for anything that hangs outside.
Cost / Time / Difficulty: $12-$20 / 1 evening / Easy
9. Black Rose Wreath
I cover a foam wreath with black fabric roses and a few dark leaves, adding one deep-red rose as a single accent. It is elegant rather than goofy, and it suited our front door better than anything orange once our porch furniture went dark. It took me about an hour and cost around $25 in faux roses. It lasted the whole season and looked as good on Halloween night as on the first day, which is more than I can say for some of my messier crafts. The downside is dust: black fabric shows every speck, so I give it a quick shake and a lint-roll before hanging it each year.
Pro Tip: One contrasting rose, not five, keeps it classy instead of busy.
Cost / Time / Difficulty: $22-$35 / 1 hour / Easy
Also read: Best Christmas Wreaths: 13 Wreaths You Will Adore
10. Spiderweb Wreath
I wrap a grapevine wreath in black yarn in a web pattern, crossing strands from the center outward, then add a large plastic spider off-center. The web pattern takes patience; my first attempt took over an hour because I kept losing the center point. Once I marked the center with a pin, the second one took thirty minutes. It looked fantastic on our door and survived the month, though the yarn stretched slightly in rain and needed tightening once. The downside is that a real spiderweb pattern is hard to photograph, so do not judge it from a photo alone; it looks far better in person on the door.
Pro Tip: Mark the wreath center with a pin before you start wrapping the web.
Cost / Time / Difficulty: $10-$18 / 45 minutes / Moderate
11. Pumpkin and Sunflower Fall Wreath
I mix small pumpkins with faux sunflowers on a grapevine base for a wreath that works from late September through Halloween without looking too spooky. It is the wreath I hang earliest, and it bridges the gap between fall decor and Halloween decor nicely. It took me forty minutes and cost about $25. It lasted six weeks on our covered porch, which is the longest of any wreath I have tested, though the sunflower petals faded a little by the end. The downside is that it reads more fall than Halloween, so add a small black ribbon or a tiny ghost if you want it to feel like October 31 rather than October 1.
Pro Tip: Put the sunflowers on one side only; an even ring of them looks like a summer wreath.
Cost / Time / Difficulty: $20-$30 / 40 minutes / Easy

12. Haunted House Silhouette Wreath
I cut a haunted-house silhouette from black card and mount it in the center of a grapevine wreath, with a battery tea light behind it so the windows glow at night. It is the wreath guests ask about most, because the glowing windows are unexpected. It took me an evening including cutting time, and the card lasted the month under our covered porch. The honest downside is weather: card and rain do not mix, so this is a covered-porch or indoor wreath, and I bring it in during storms. I also learned to use an LED light only, since a real flame near card is obviously unsafe.
Pro Tip: Cut the windows slightly larger than you think; tiny windows do not glow visibly from the street.
Cost / Time / Difficulty: $10-$18 / 1 evening / Moderate
13. Bat Wreath
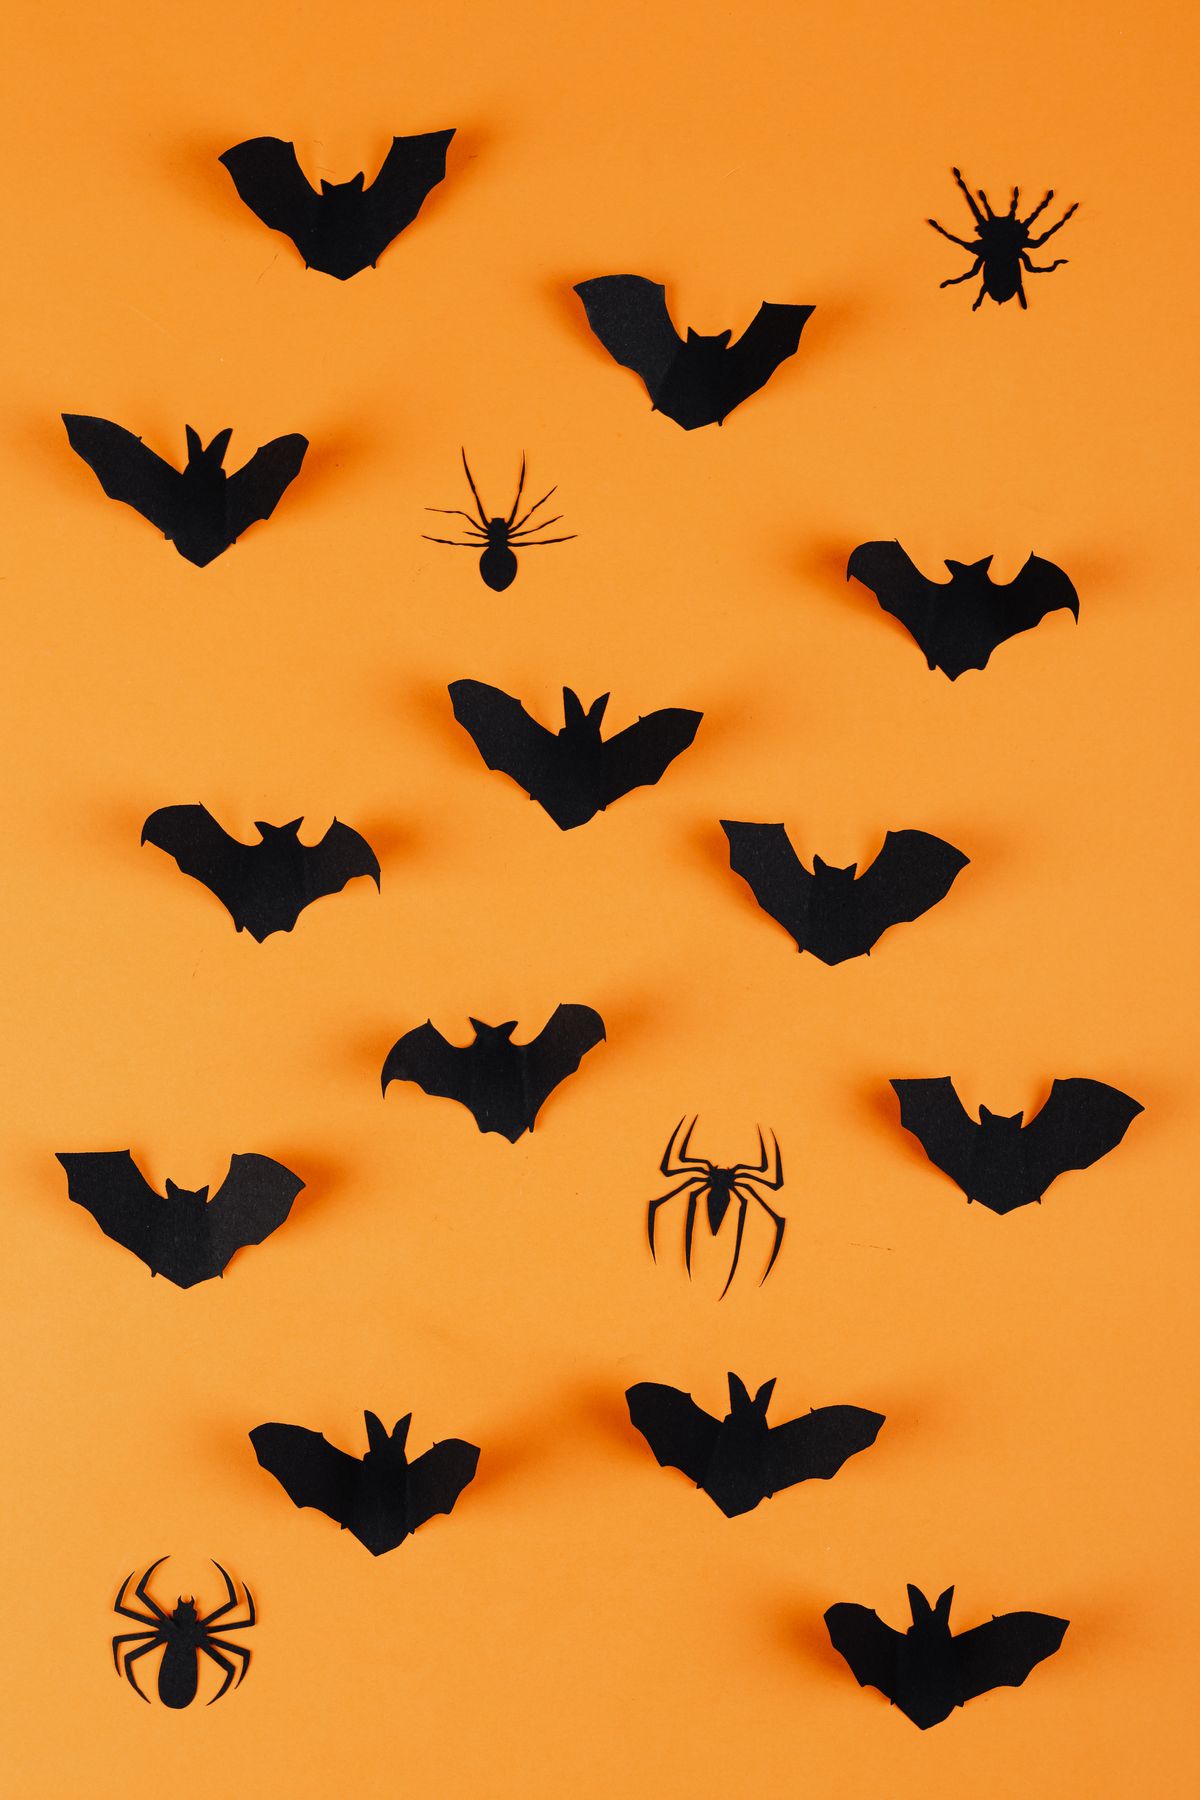
I attach a dozen black foam bats around a wreath form, all flying in the same direction, with a few perched on the outer edge. It is simple, cheap, and reads clearly from the sidewalk, which is the whole point of a door wreath. I made mine in thirty minutes for under $12 and it lasted the full season. The bats are foam, so they dent if squeezed in storage, and I now store the wreath flat in a box rather than hanging it in the garage where things bump into it. The downside is wind: foam bats catch the breeze and flutter, which looks great but can work a glued bat loose over a windy month, so I wire the largest bats on.
Pro Tip: Angle every bat the same way, like a flock in flight, for a deliberate look.
Cost / Time / Difficulty: $8-$15 / 30 minutes / Easy
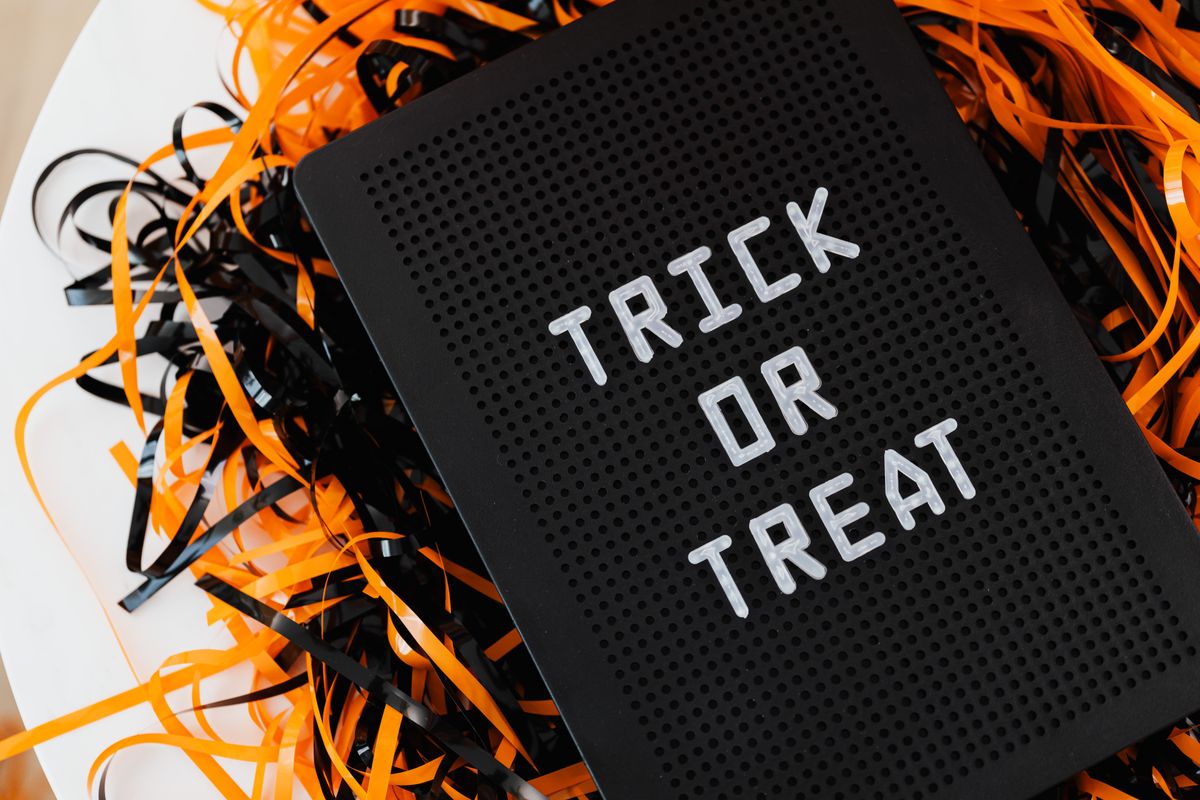
14. Trick-or-Treat Sign Wreath
I hang a small wooden Trick or Treat sign in the center of a simple leaf wreath, so the message does the talking. It is the most practical wreath here because it tells visitors exactly what to expect, and it is the one I recommend to anyone decorating for the first time. It took me twenty minutes to assemble from a store-bought wreath and a sign, and it cost about $20 total. It lasted all month without any maintenance. The downside is that the sign can spin in the wind if it hangs from a single hook, so I attach it at two points to keep it facing forward.
Pro Tip: Attach the sign at two points, top and bottom, so it never spins backward.
Cost / Time / Difficulty: $15-$25 / 20 minutes / Easy
15. Purple and Green Witchy Wreath
I build a wreath in purple and green mesh with a few potion-bottle ornaments and a striped ribbon, leaning into the witch theme rather than the pumpkin theme. It stood out on our street because almost every other door was orange, and I liked that it felt like mine rather than a copy. It took about an hour and cost around $30. It lasted the season well, though the purple mesh faded a little in direct afternoon sun. The downside is that purple and green can read as Mardi Gras if the shapes are wrong, so I keep a witch hat or a broom accent on it to anchor the Halloween theme.
Pro Tip: One witch-themed accent is enough to stop purple and green from reading as another holiday.
Cost / Time / Difficulty: $25-$35 / 1 hour / Moderate
16. Scarecrow Wreath
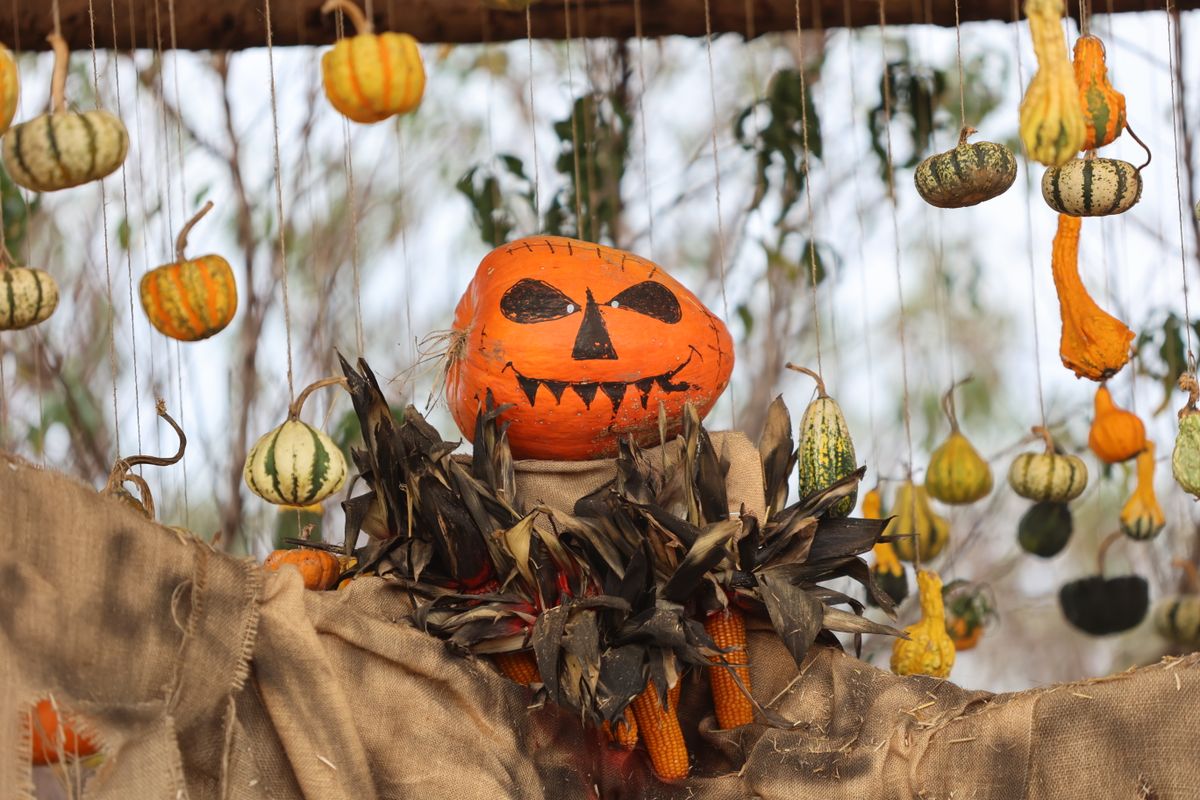
I add a small scarecrow face, a straw hat, and a few plaid ribbon tails to a grapevine wreath for a friendly, harvest-style door. It is the wreath I hang when I want Halloween without anything scary, and it works well for houses with small children. It took me under an hour and cost about $20. It lasted the month, though the straw hat frayed at the brim by the end, which honestly added to the scarecrow look. The downside is that scarecrow faces vary wildly in quality, so I check the face in person before buying rather than ordering blind, after one online face arrived looking more startled than charming.
Pro Tip: Keep the face small relative to the wreath; an oversized face looks like a mask, not a wreath.
Cost / Time / Difficulty: $15-$25 / 45 minutes / Easy
17. Minimal Black Wreath With One Pumpkin
Some years I hang a plain black twig wreath with a single small white pumpkin wired at the bottom, and nothing else. It looks intentional and modern, and it takes five minutes. I did this the year I ran out of time, and a neighbor asked where I bought such an elegant wreath, which still makes me laugh. It cost under $20 and lasted indefinitely because there is almost nothing to fall off. The downside is that it can look unfinished if the wreath itself is thin, so this only works with a full, good-quality base wreath, not a sparse one.
Pro Tip: Spend the money on the base wreath here; with only two elements, quality shows.
Cost / Time / Difficulty: $15-$25 / 5 minutes / Easy
Mistakes I Made (So You Don’t Have To)
Mistake 1: I hung a heavy pumpkin wreath on a suction cup. It fell on a windy night, so now heavy wreaths get an over-door hook rated for the weight, checked before October.
Mistake 2: I used real candy on an outdoor wreath. It melted and drew ants, so outdoor wreaths use foam or felt candy only, never the real thing.
Mistake 3: I glued everything evenly around the wreath. Even spacing looks manufactured, so now I cluster pieces and leave small gaps for a natural, gathered feel.
Mistake 4: I forgot to check the wreath at night. A design that looked great at noon vanished in porch light, so I now test every wreath after dark before the first trick-or-treater arrives.
Which Halloween Wreath Fits Your Door?
| Wreath | Best for | Cost | Effort |
| Grapevine + mini pumpkins | Beginners, covered porches | $18-$30 | Low |
| Black mesh + ribbon | Big impact from the street | $20-$35 | Medium |
| Eyeball wreath | Kids, party doors | $15-$22 | Low |
| Black rose wreath | Elegant, grown-up doors | $22-$35 | Low |
| Minimal black + one pumpkin | Busy weeks, modern homes | $15-$25 | Minimal |
Frequently Asked Questions
How long did your Halloween wreaths actually last?
Most lasted the full month on our covered porch. Cheesecloth ghosts grayed after about three weeks, and fresh elements like real leaves needed replacing, but grapevine, mesh, and foam wreaths lasted the season and several went back into storage for the next year.
What would you do differently?
I would weigh each wreath before choosing a hook. I lost one heavy pumpkin wreath to a suction cup in a windstorm, and a five-second weigh-in would have prevented it entirely.
Can a Halloween wreath survive an uncovered door?
Some can, if you choose weatherproof materials like plastic, sealed mesh, and faux pumpkins, and bring the wreath in during heavy storms. Cheesecloth, card, and paper elements belong under cover or indoors only.
How do I hang a wreath without damaging my door?
I use an over-door hook for most doors, which leaves no marks at all. For a door where a hook will not fit, I use a removable adhesive hook rated above the wreath’s weight, and I test it for a day before leaving the wreath up for the month.
Read this next: 13 Creative Halloween Door Decor Ideas For You To Recreate
Final Thoughts
If I had to pick one, I would start with the grapevine wreath and mini pumpkins: it is forgiving, affordable, and it teaches you the clustering habit that makes every later wreath look better.
Hang it, step back to the sidewalk, and check it after dark. Those two checks are what turn a nice wreath into one of those Halloween wreath ideas people actually remember.