New Years Eve Photo Booth Ideas
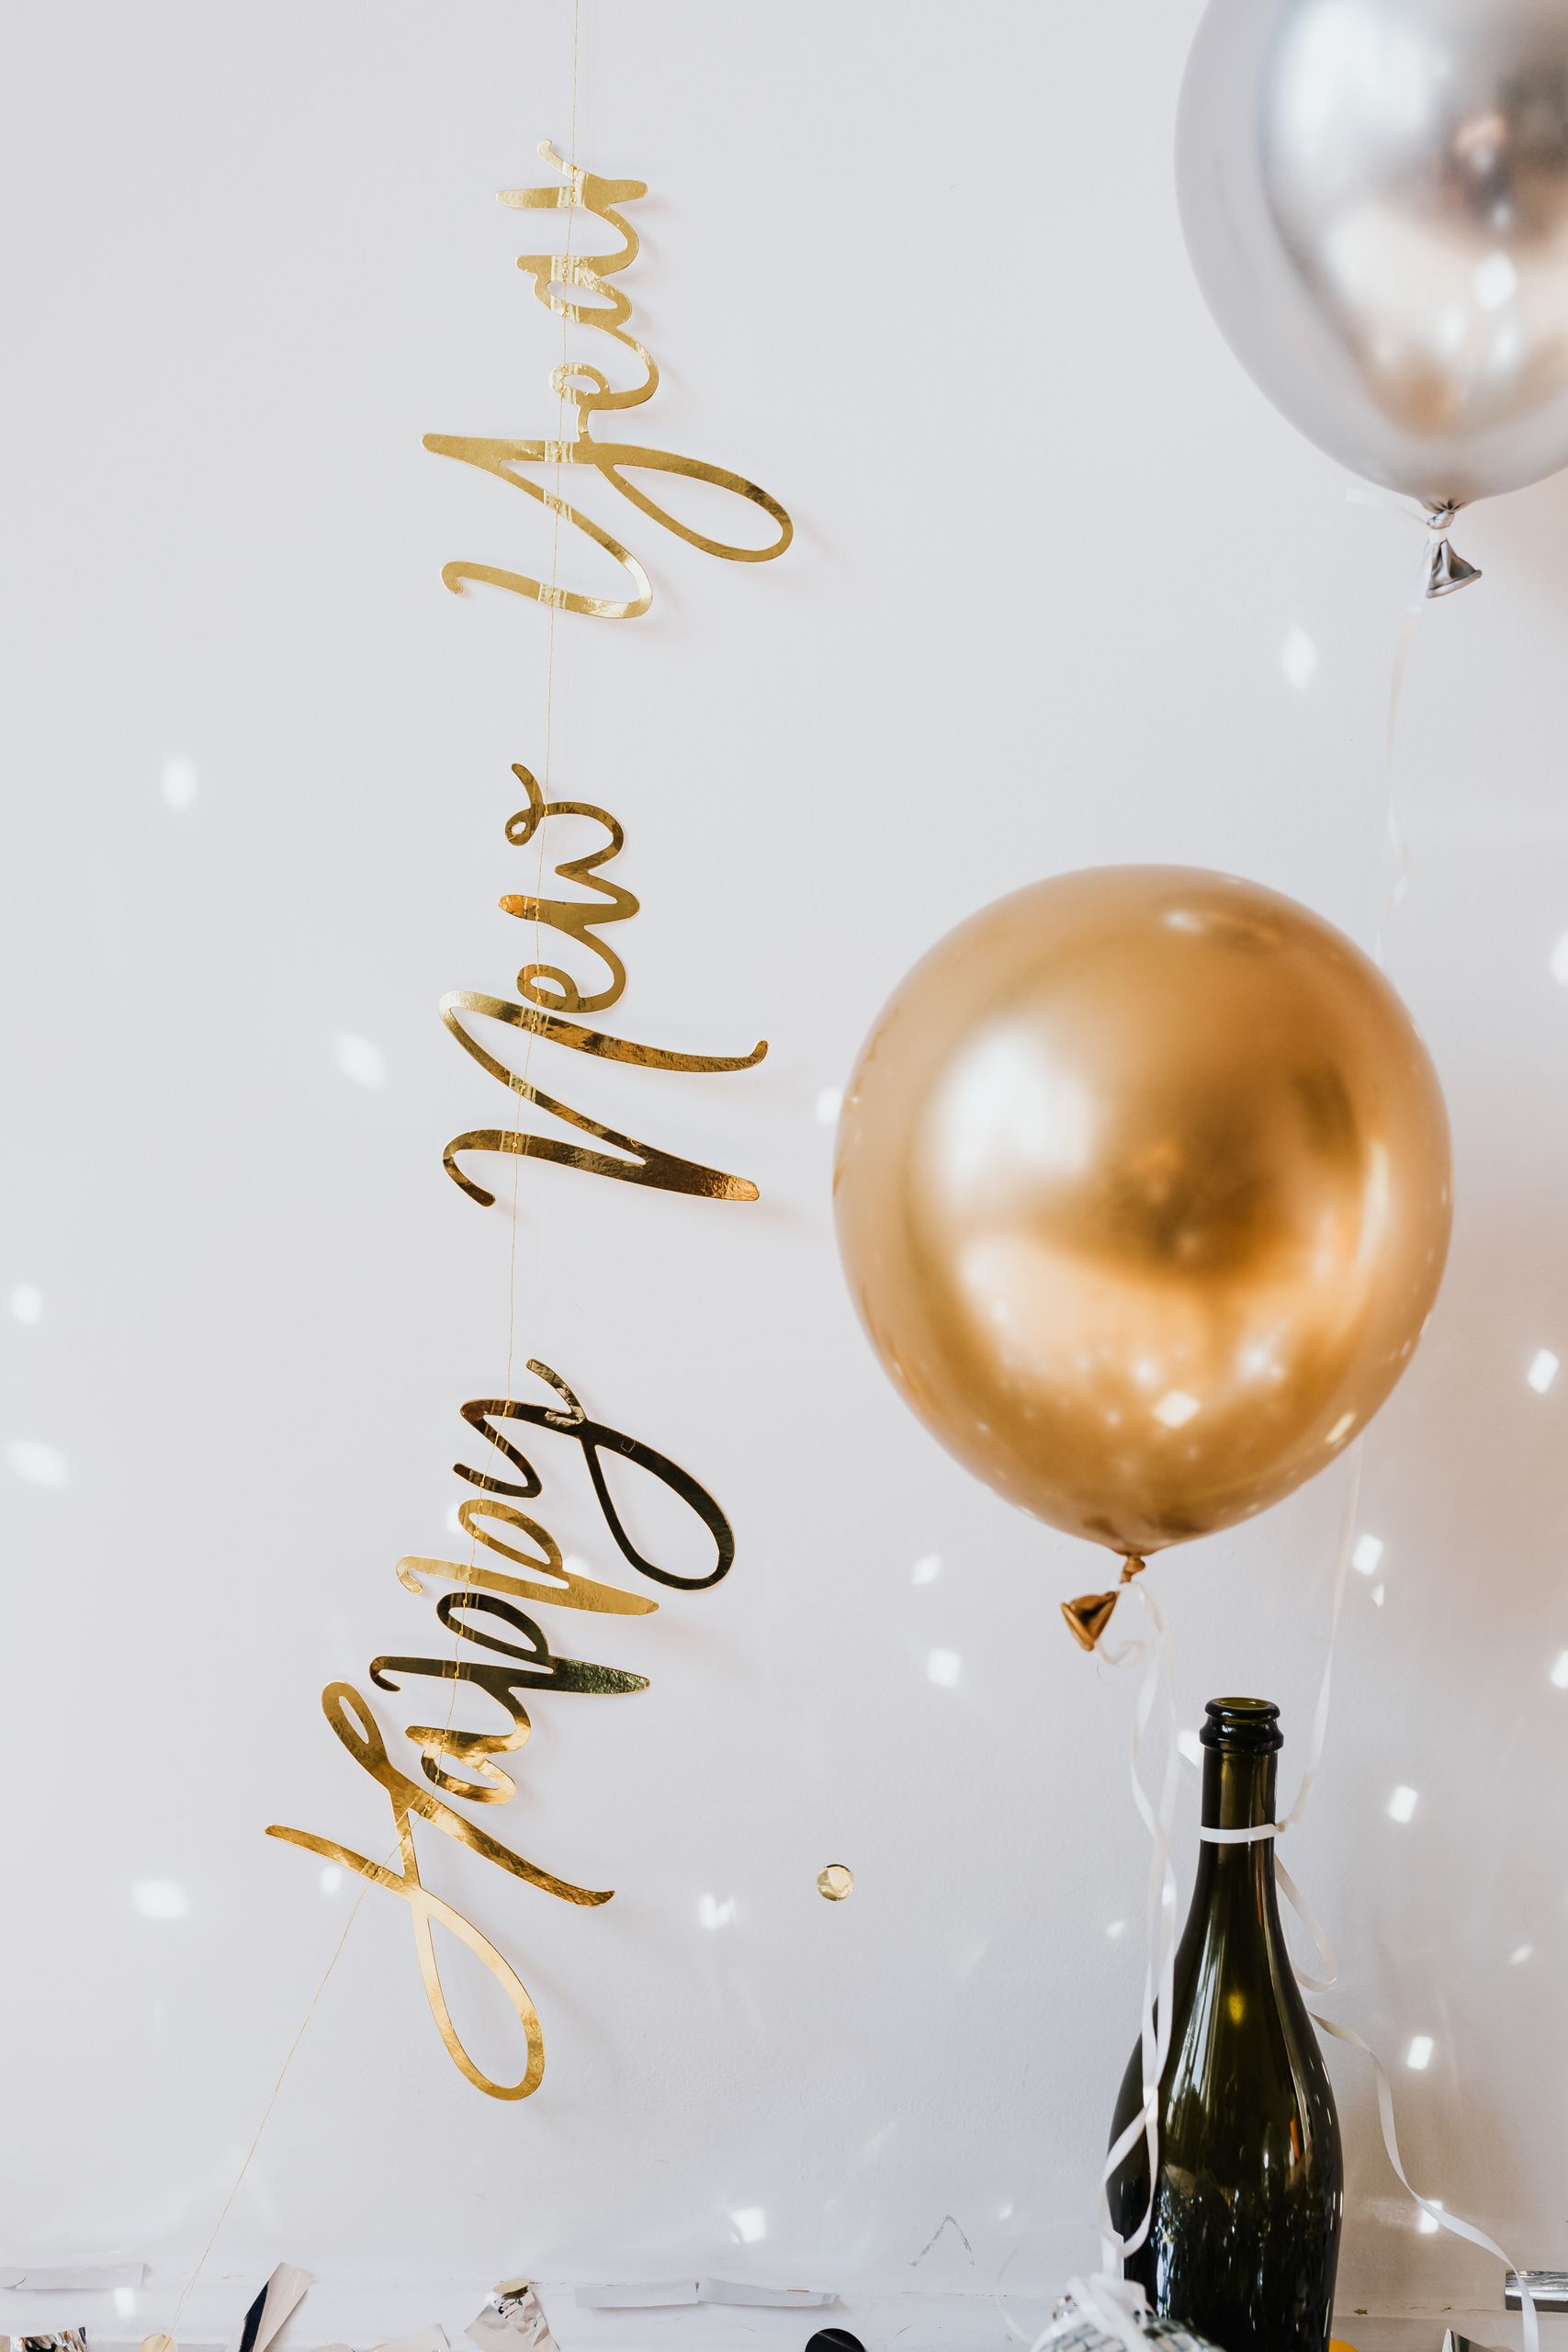
I love a photo booth at New Year, because it gives shy guests something to do and gives everyone a keepsake from the night. These new years eve photo booth ideas are the ones I actually set up at home, tested with real guests, and kept only when the photos looked good on a phone, not just in my head.
I picked and tested these by a simple rule: each setup had to cost under $40, fit in one corner, and work with phone light alone. I set each one up, took test photos, and removed anything that needed special gear or constant fixing. Related article helped me match the booth colours to the rest of the room, so the corner did not clash with the party.
Key Takeaways
- Gold, black, and silver photograph well in phone light and suit almost any party theme.
- One bold shape, like a star balloon or a disco ball, works better than ten small decorations.
- Keep the standing area clear, the light warm, and the props within easy reach.
- Test every setup with a real photo before guests arrive, especially at night.
- Plan for cleanup: confetti, balloons, and spills need a quick plan, not a panic at midnight.
1. Gold and Black Backdrop
I started with gold and black because it photographs well in almost any light, and it hides a messy living room better than a plain white sheet. I hung a black cloth, added gold fringe curtains on the sides, and taped the edges down so nobody tripped. My cousin stood in front of it in a sequin top, and the gold caught the light beautifully. The downside is that black cloth shows dust and pet hair, so lint-roll it right before guests arrive. I kept the setup up all evening, and it still looked fresh in the last photos before midnight.
Pro Tip: Put the brightest lamp slightly to one side, not straight ahead, so faces do not look washed out.

Cost: $25-$40 | Time: 45 minutes | Difficulty: Easy
2. Gold Number Balloons
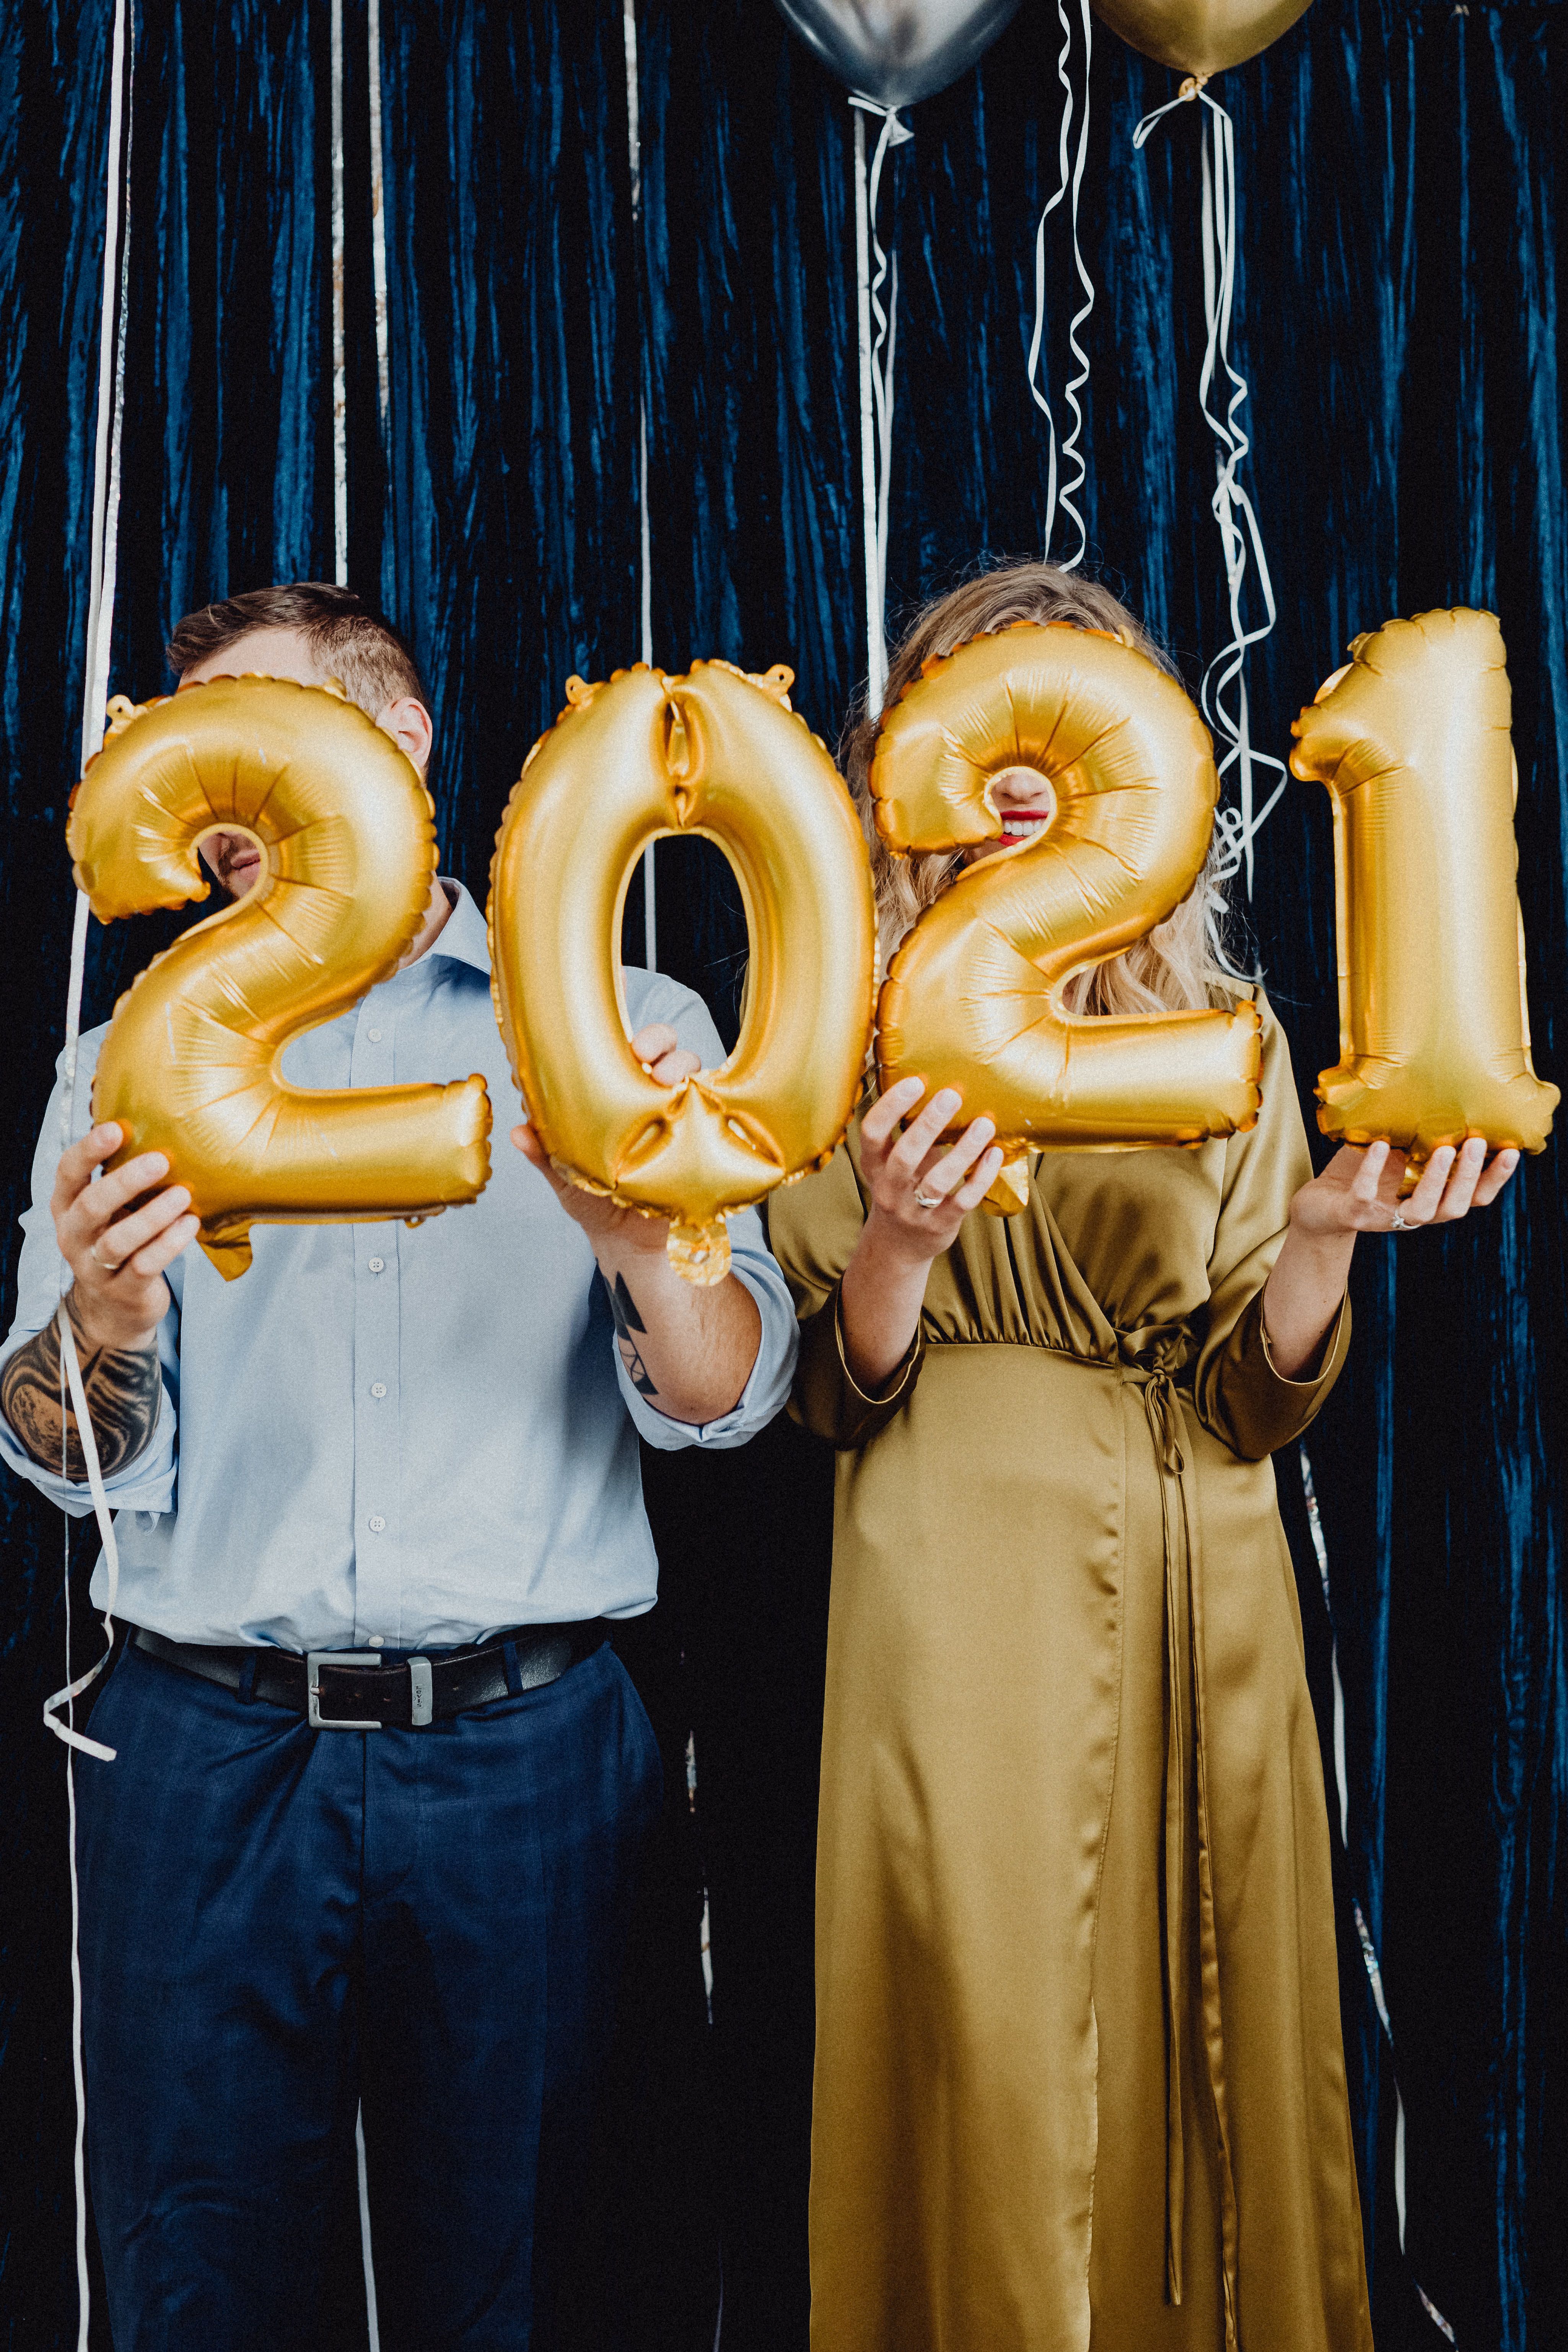
Big number balloons are the fastest way to say new year without a single word, and guests naturally walk toward them. I used two large gold numbers, filled them with helium at a party shop, and tied them to a small weight so they stayed upright. My niece kept posing beside them all night, which told me the idea worked. The watch-out is helium: numbers can sag by midnight if filled too early, so inflate them on party day. I bought a spare pack, because one popped while I was decorating, and the spare saved the display.
Pro Tip: Tie a thin gold ribbon to each number and curl it, so the balloons look finished even in close-up photos.
Cost: $15-$30 | Time: 20 minutes | Difficulty: Easy
3. Disco Ball Corner
A disco ball corner turned my plainest wall into the most popular spot at the party, and I did not need much else. I hung one medium disco ball from a secure hook, added a small spotlight, and scattered gold tinsel on a side table. The moving dots of light made even simple phone photos look exciting. The honest downside is that a cheap ball can shed tiny mirror pieces, so check it over a tray first and keep it away from small children. I checked the hook twice, because a falling ball would have ended the fun and damaged the floor.
Pro Tip: Use a slow rotating motor if you have one, because still light spots look flat in photos.

Cost: $20-$35 | Time: 30 minutes | Difficulty: Easy
4. Confetti Toss Moment
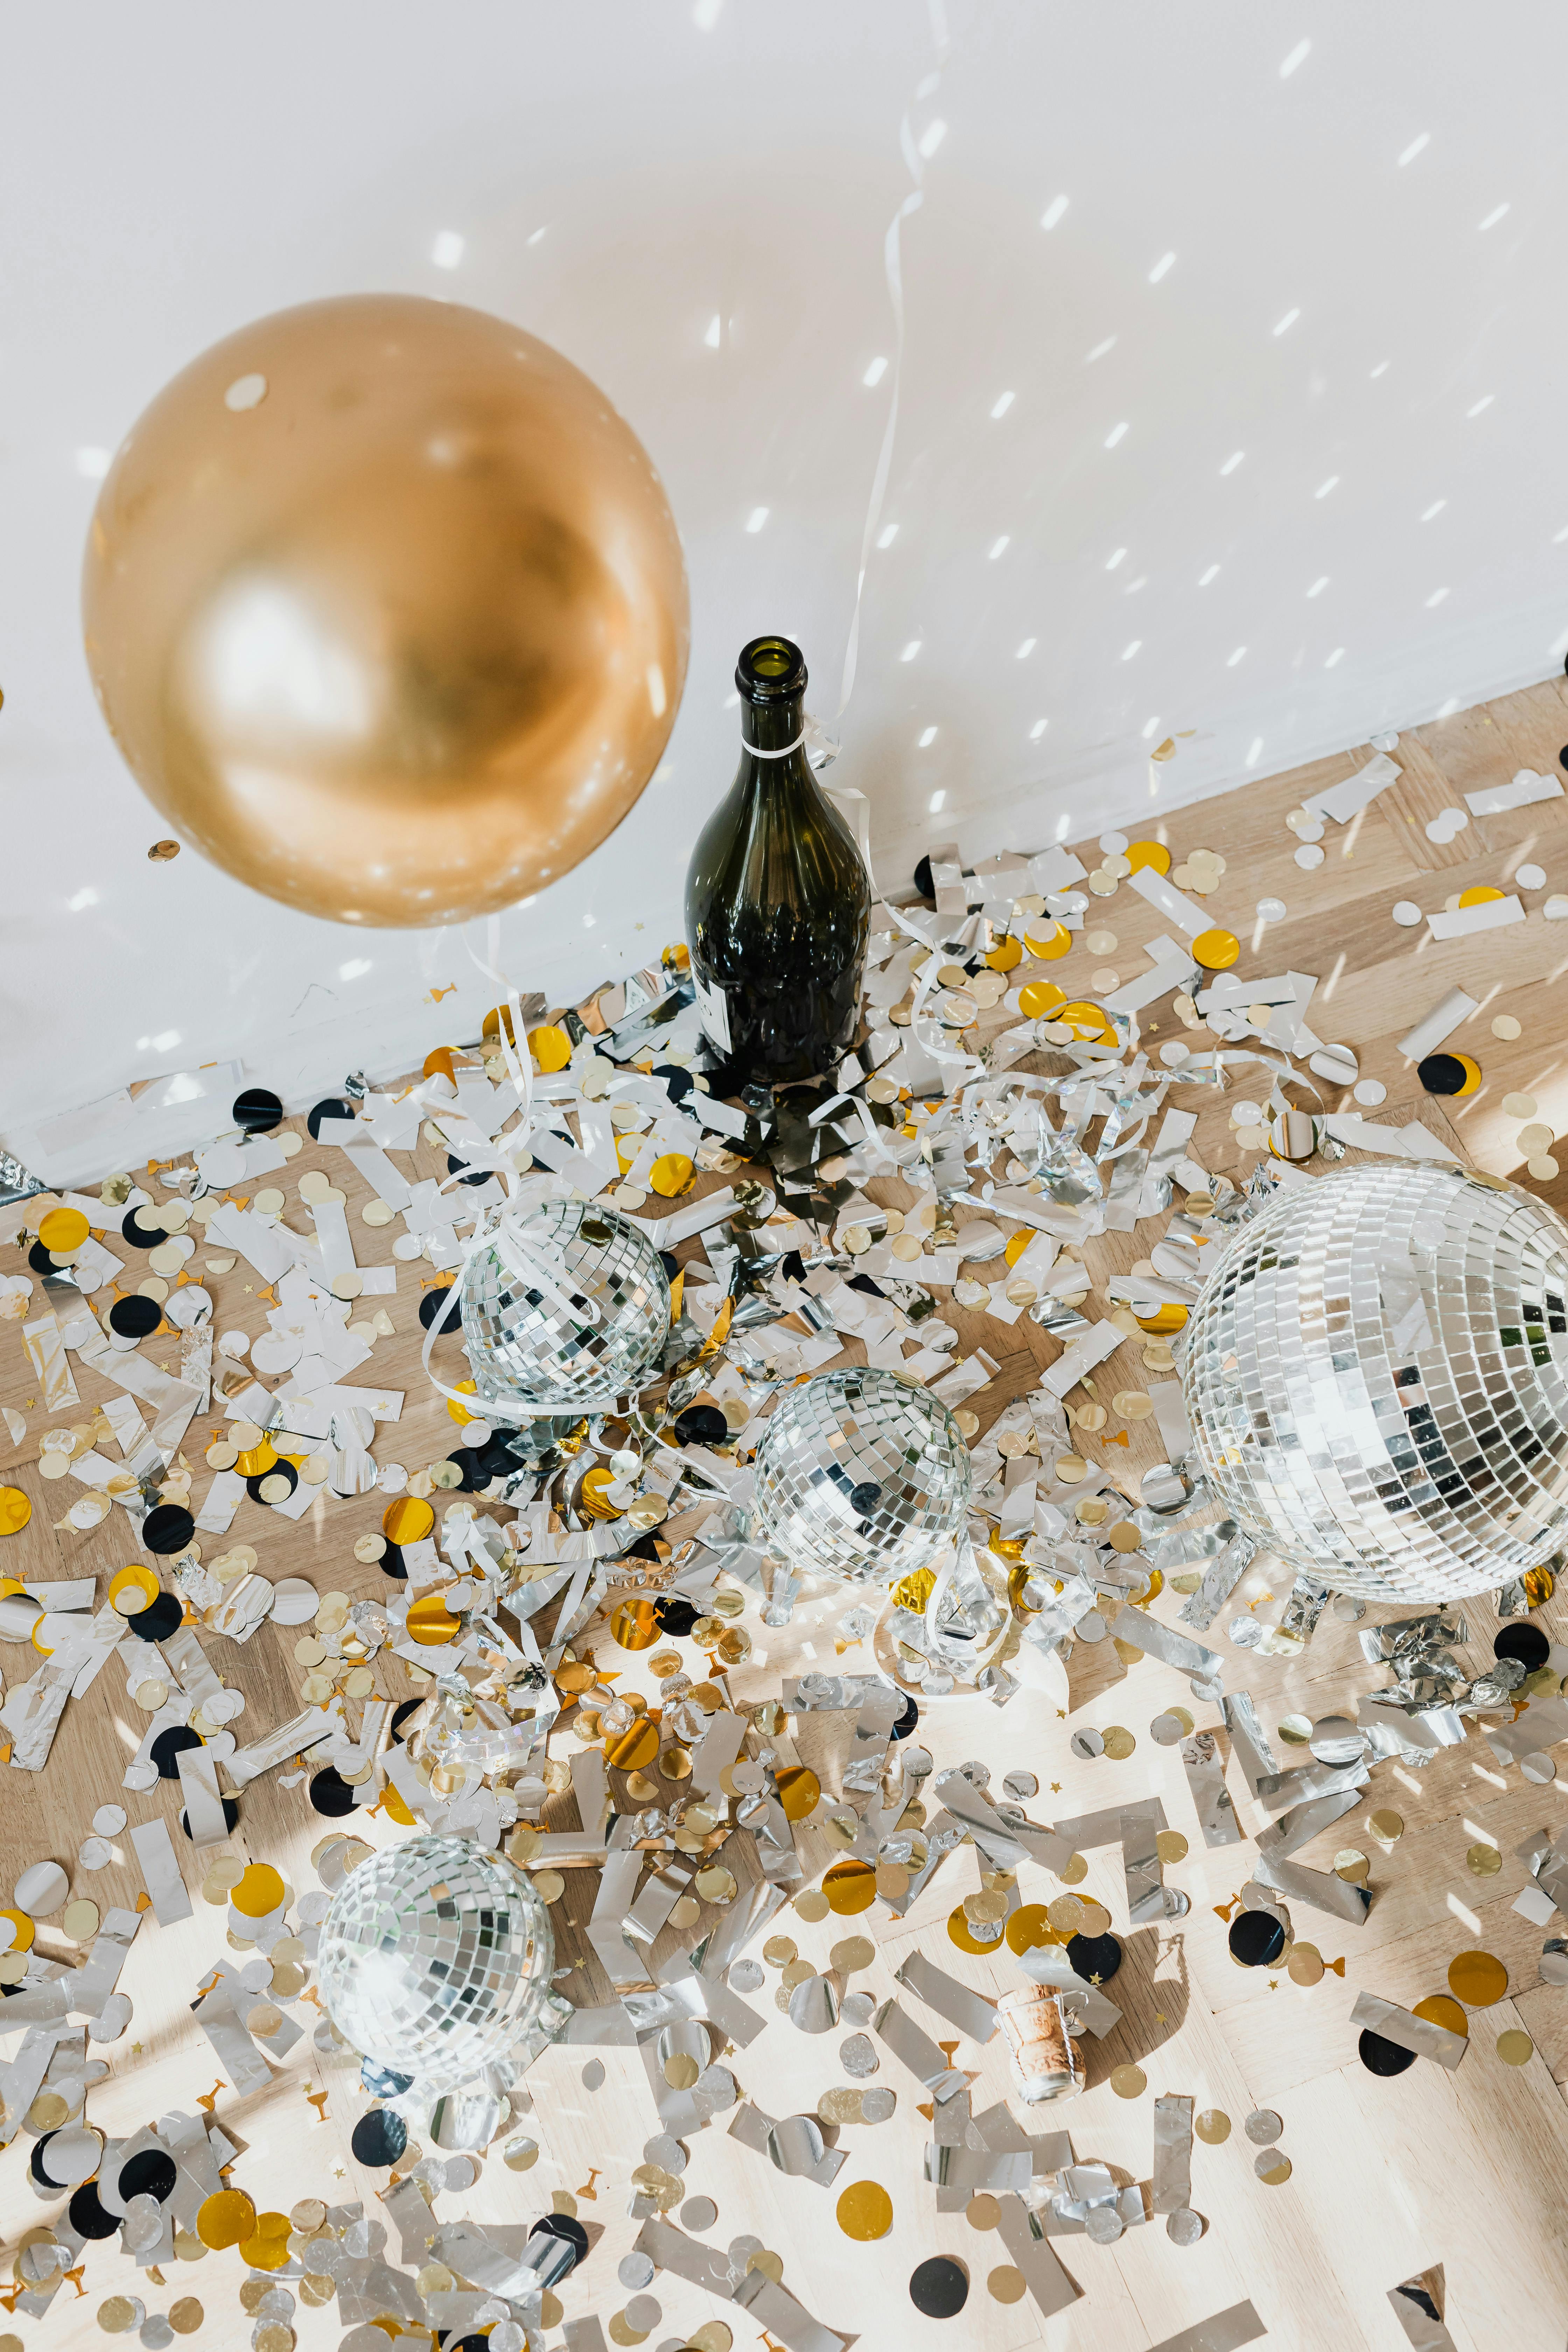
A confetti toss gives you one joyful, messy photo that everyone remembers, and it costs almost nothing. I gave each guest a small paper cup of gold and silver confetti and counted down before they tossed it above their heads. My brother laughed so hard he closed his eyes, and that imperfect photo became our favourite. The downside is cleanup, so do this near a hard floor, keep a broom nearby, and skip glitter confetti indoors. I swept the area right after, and the whole cleanup took less than five minutes with a dustpan.
Pro Tip: Toss on the count of three, not on midnight itself, so the photographer is ready.
Cost: $5-$12 | Time: 10 minutes | Difficulty: Easy
5. Champagne Toast Corner
A toast corner works because guests already hold a glass at midnight, so the photo feels natural rather than staged. I set a small gold tray with glasses, a chilled bottle, and a simple sign that said cheers, then let people gather in pairs. I learned that plastic flutes photograph almost as well as glass, and they are safer after midnight. The watch-out is spills near the camera, so keep drinks on the tray until the photo is taken. I chilled the glasses first, because cold glasses photograph with a lovely soft shine in warm light.
Pro Tip: Wipe the tray between groups, because sticky rings show up clearly in close photos.

Cost: $15-$25 | Time: 15 minutes | Difficulty: Easy
6. Friends Party Corner
Some of the best booth photos are not posed at all, and a friends corner lets that happen. I left a wide space with a gold curtain behind it, good overhead light, and no strict instructions, so groups just gathered and laughed. My friends took twice as many photos here as at the formal backdrop, which surprised me. The downside is crowding, so mark a clear standing area with tape on the floor and keep chairs out of the frame. I left the camera on a small tripod, so nobody had to hold a phone while trying to pose naturally.
Pro Tip: Ask one friend to be the unofficial photographer for ten minutes, then rotate the job.

Cost: $10-$20 | Time: 20 minutes | Difficulty: Easy
7. Indoor Celebration Backdrop
For a small home, an indoor celebration backdrop beats a huge outdoor setup, because light and weather stay under your control. I used a plain wall, added string lights in a loose zigzag, and placed a small table with hats and glasses nearby. The photos looked warm and cosy, even though the room was small. The downside is that string lights can create harsh spots if they are too close to faces, so keep guests at least a step away from the wall. I dimmed the main ceiling light, because softer room light made the string lights look far more magical.
Pro Tip: Use warm white lights, not coloured ones, if you want skin tones to look natural.

Cost: $15-$30 | Time: 35 minutes | Difficulty: Easy
8. Gold Letter Balloons on a Table
Gold letter balloons on a table make a lovely low backdrop for seated photos, especially for guests who do not want to stand for long. I spelled out a short greeting, propped the letters against a plain board, and added a small plant to soften the edges. My grandmother sat there for her photo, and it looked elegant without any fuss. The watch-out is that letter balloons slide easily, so use removable tape on the back of each one. I photographed the table from both sides, and the straight-on angle gave the clearest, tidiest result.
Pro Tip: Photograph from slightly above table height, so the letters read clearly and faces stay in frame.

Cost: $12-$25 | Time: 20 minutes | Difficulty: Easy
9. Gold Star Balloon Feature
One large gold star balloon can carry a whole corner, and I liked how simple this felt after bigger setups. I tied the star to a weight, placed it beside a gold curtain, and let it be the single bold shape in the photo. Children loved pointing at it, and adults used it as a natural prop. The downside is that foil stars can look deflated from one angle, so check the shape from the camera position before the party starts. I tied the ribbon short, so the star stayed steady even when guests brushed past it in the hallway.
Pro Tip: Keep the star slightly above head height, so it frames faces instead of covering them.

Cost: $8-$18 | Time: 10 minutes | Difficulty: Easy
10. Balloon Floor Frame
Balloons on the floor create a soft frame that guides guests to stand in the right place without a sign. I clustered gold, black, and silver balloons along the base of the wall, leaving the centre clear for feet. The photos looked festive from the waist up, and the floor balloons added depth. The honest downside is popping: one burst can startle a child, so keep spare balloons ready and avoid overfilling them near heaters. I replaced two balloons during the night, and the fresh ones kept the floor frame looking full and neat.
Pro Tip: Mix balloon sizes, because one size alone can look flat and repetitive in photos.

Cost: $12-$22 | Time: 30 minutes | Difficulty: Easy
If your booth feels plain, Also read for a simpler backdrop approach that also works well in a small room.
11. Solo Portrait with Balloons
A solo portrait spot is kind to shy guests, because they can take one quick photo without a crowd watching. I set a chair beside a cluster of metallic balloons, added a small side lamp, and told guests to sit for just a few seconds. My aunt, who usually avoids photos, actually asked for a second one. The downside is that a chair can look stiff, so angle it slightly and let guests hold a balloon for a relaxed pose. I offered the chair to older guests first, and they appreciated having a comfortable, dignified photo spot.
Pro Tip: Take the photo from a step back, so the balloons frame the person instead of crowding them.

Cost: $10-$20 | Time: 15 minutes | Difficulty: Easy
12. Champagne and Balloons Portrait
Pairing champagne glasses with balloons gives a portrait instant New Year energy, even before midnight arrives. I asked guests to hold a glass in one hand and stand beside a balloon cluster, keeping the background simple. The photos felt celebratory without needing a costume. The watch-out is glass safety with children nearby, so use plastic flutes for family photos and keep real glass for adult-only groups later. I kept spare plastic flutes on the tray, because one guest dropped a glass and we carried on without fuss.
Pro Tip: Hold the glass at waist level, not face level, so it never blocks a smile.

Cost: $12-$20 | Time: 10 minutes | Difficulty: Easy
13. Handheld Balloon Pose
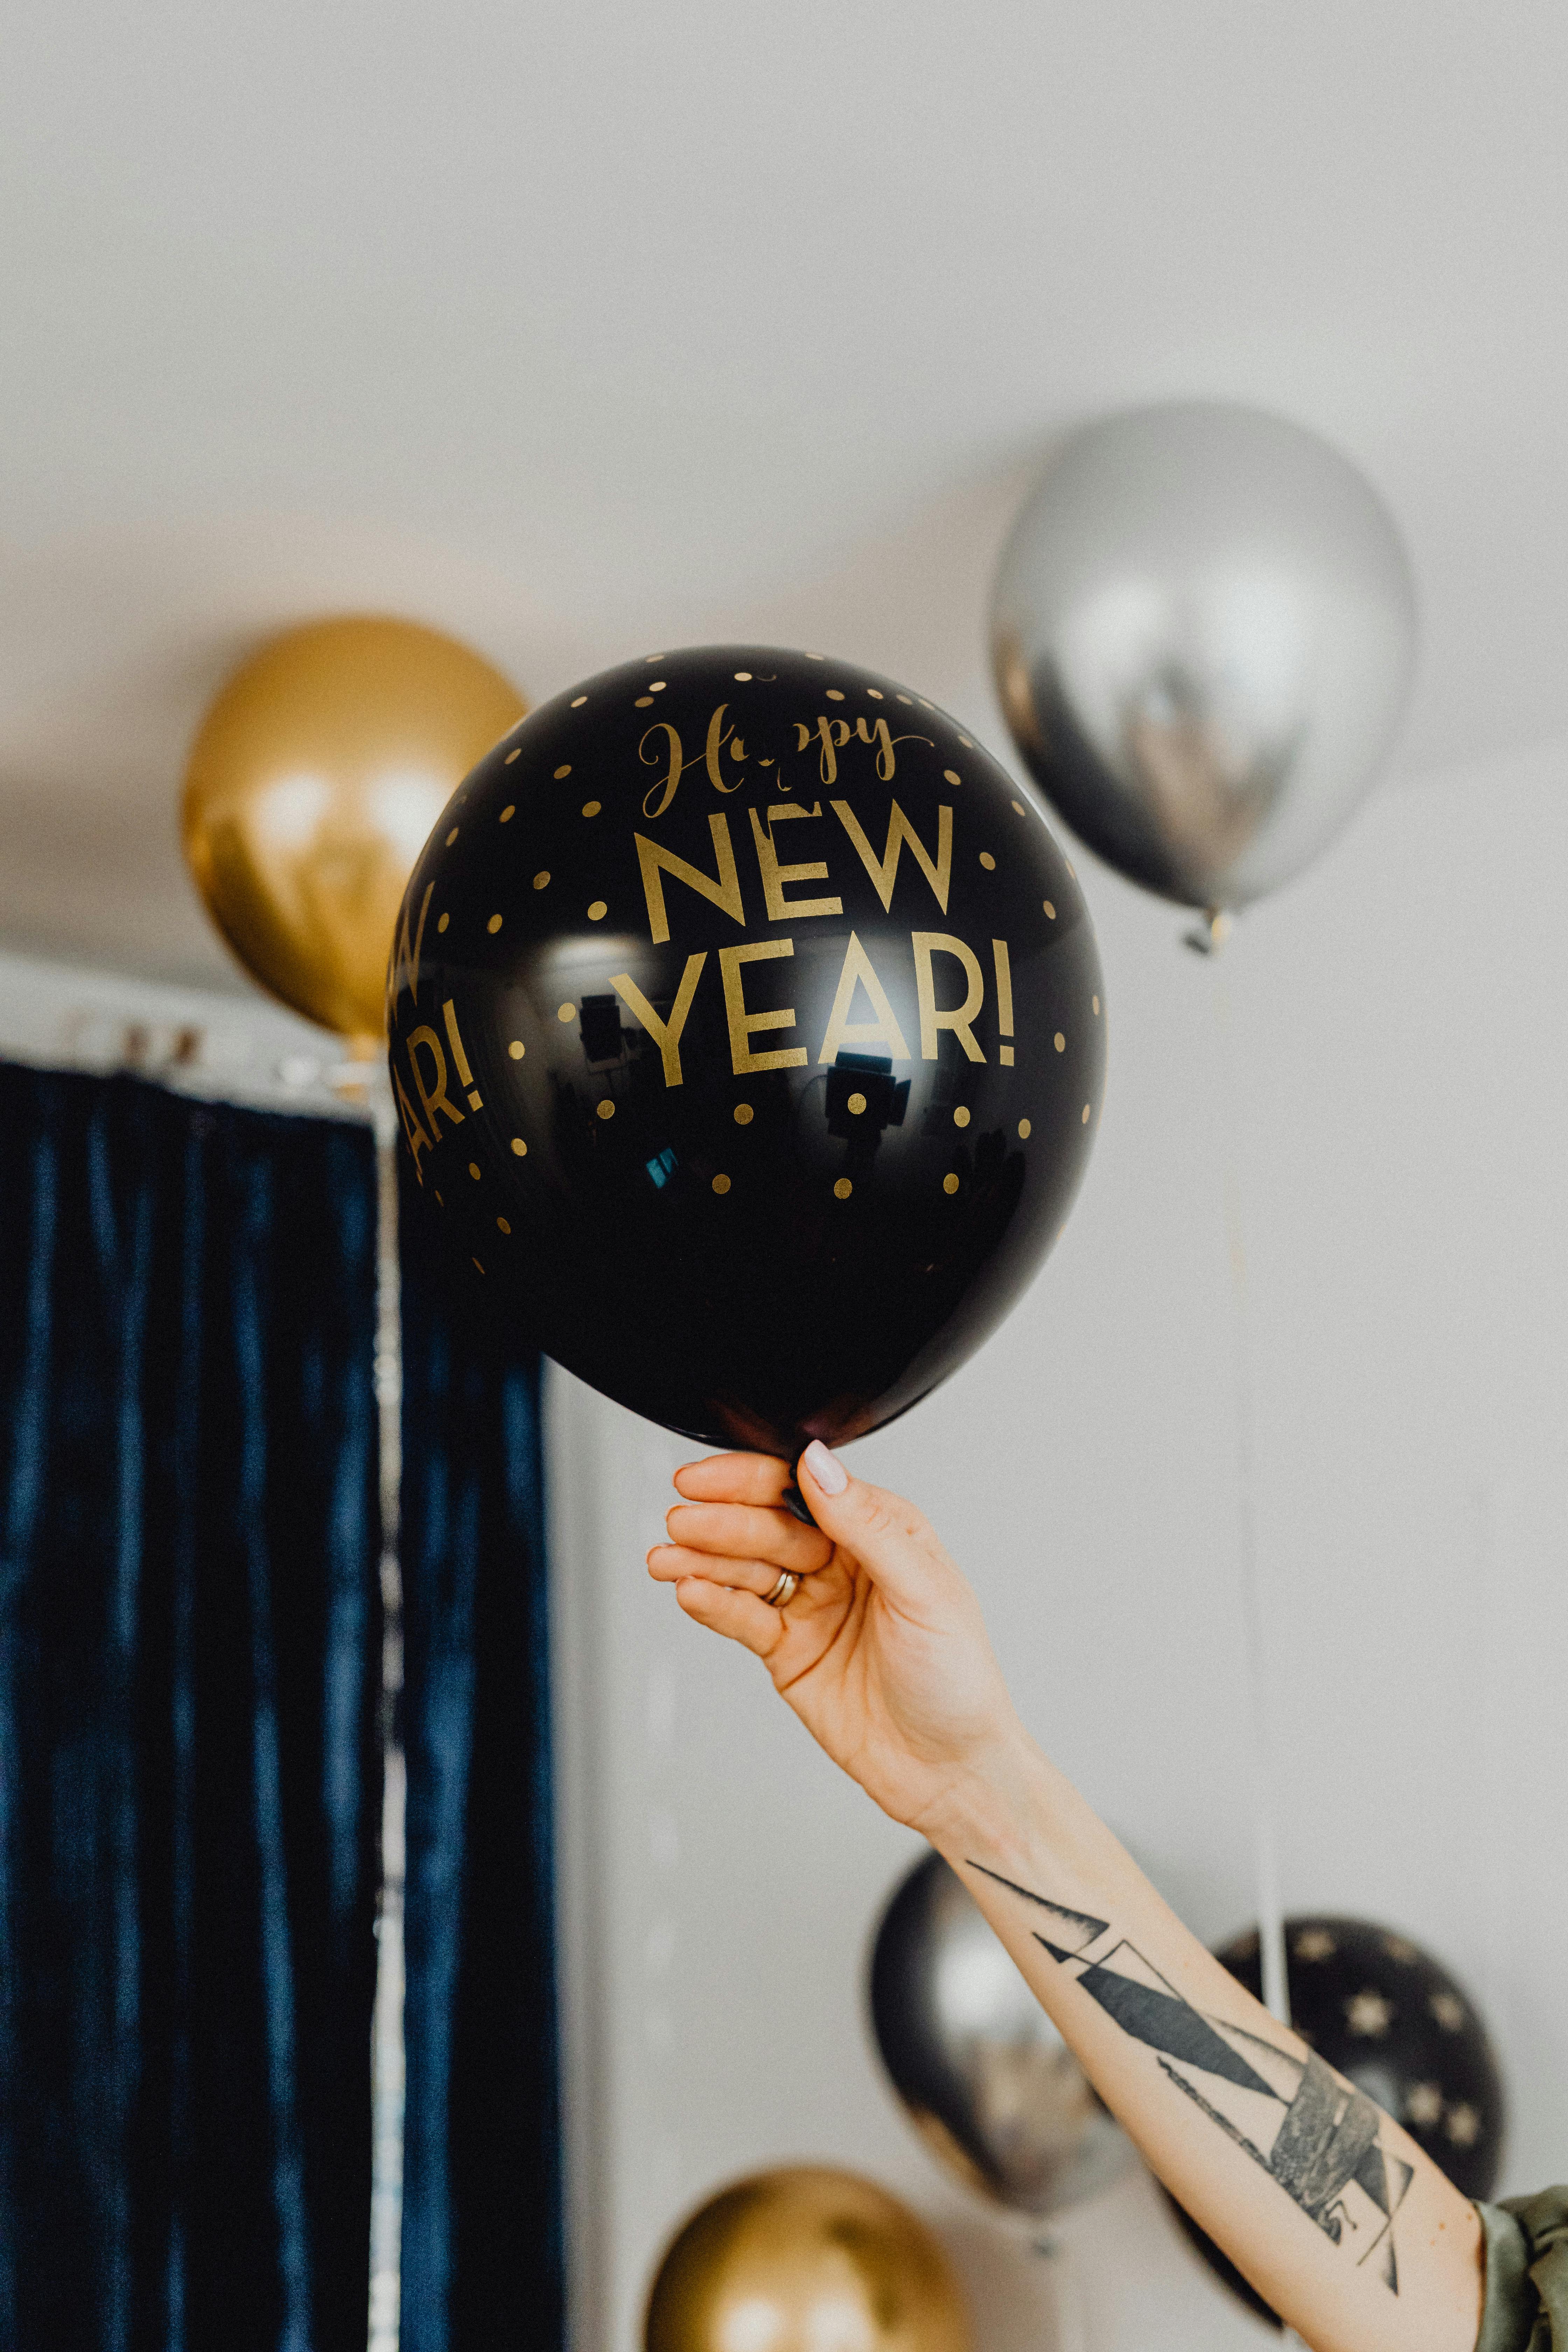
A handheld balloon pose is the easiest booth idea I tested, because it needs no backdrop at all. I handed guests one balloon each, asked them to hold it to the side, and took the photo against a plain wall with good light. The pictures looked cheerful and personal, and children loved choosing their own colour. The downside is that balloons drift upward in photos, so ask guests to hold the string low and close to their body. I let children pick first, and their excitement set a happy tone for the rest of the photo session.
Pro Tip: Choose one balloon colour per group photo, so the picture looks planned rather than random.
Cost: $5-$15 | Time: 5 minutes | Difficulty: Easy
14. Elegant Bottle and Balloons Display
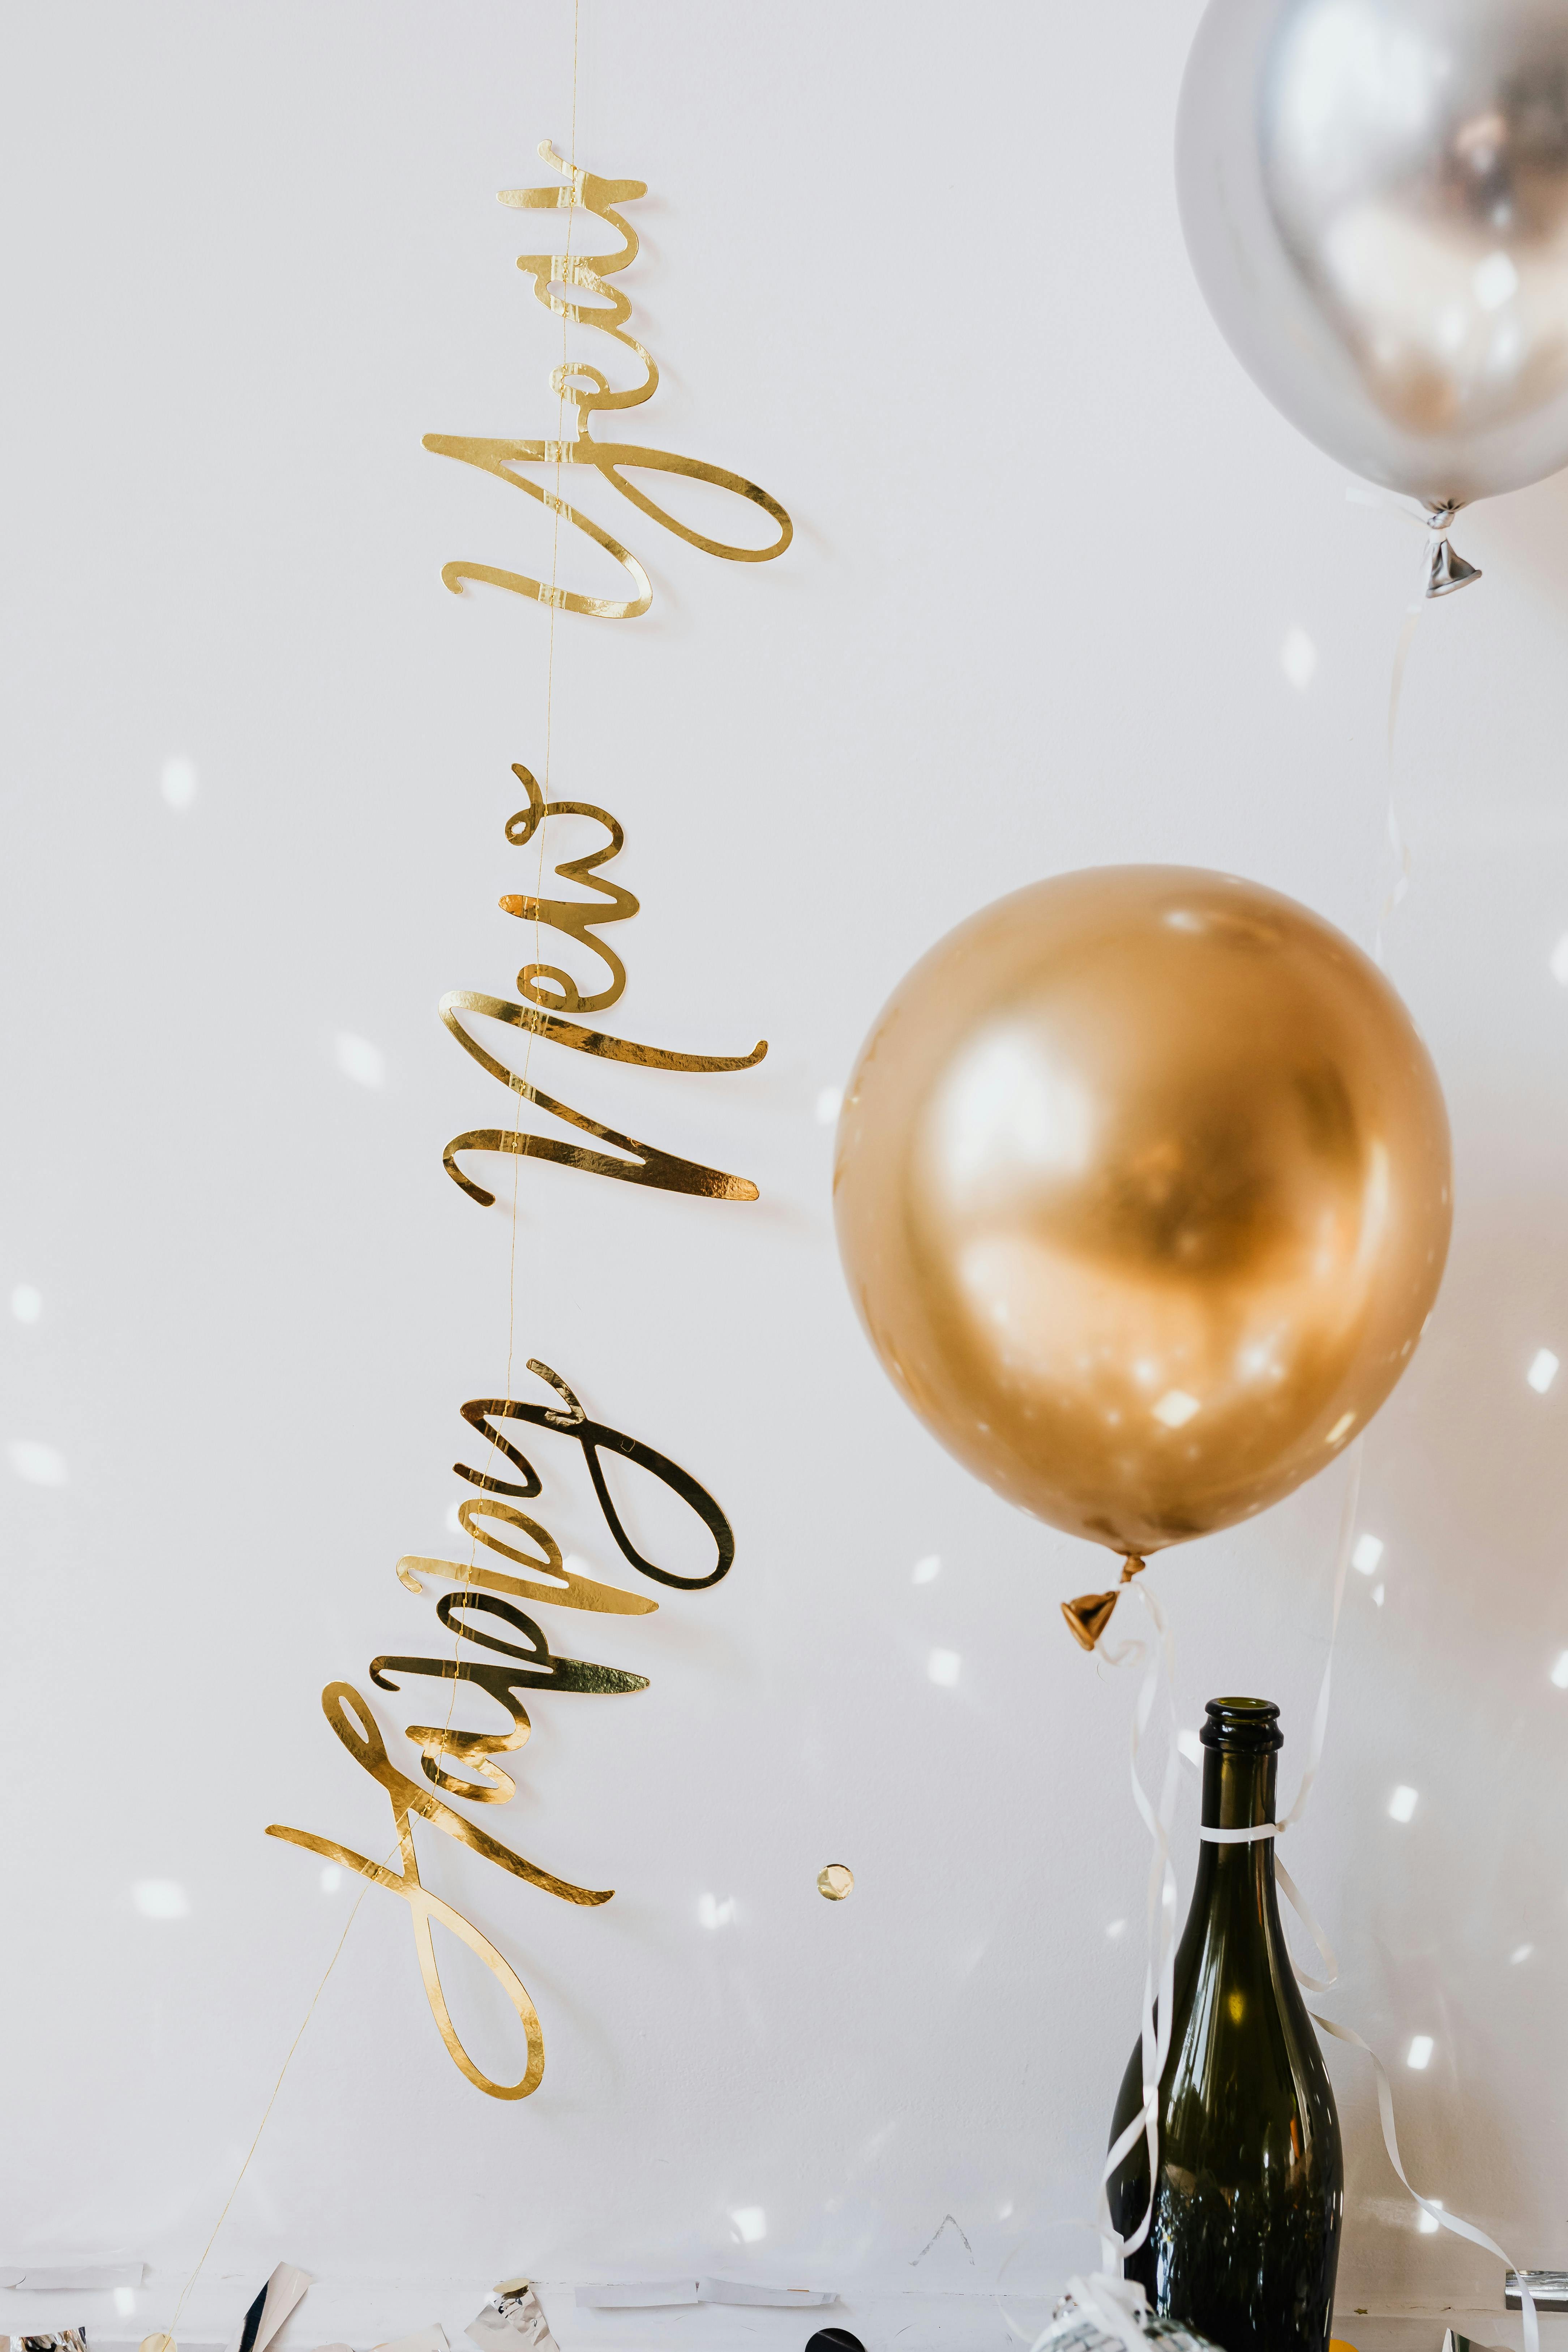
An elegant bottle and balloons display suits a quieter, grown-up corner where guests want a pretty photo without silliness. I placed a chilled bottle on a gold tray, added two balloons tied to the tray, and kept the background plain. The result looked like a magazine still life with people in it. The downside is that a bottle can dominate a small frame, so place it to the side and keep faces as the clear focus. I moved the tray closer to the wall, so guests had more room to stand without knocking anything over.
Pro Tip: Chill the bottle well in advance, because condensation drips can spot a tablecloth in photos.
Cost: $15-$28 | Time: 15 minutes | Difficulty: Easy
15. Fireworks Print Backdrop
A fireworks print backdrop lets guests pose under fireworks without going outside in the cold. I printed a large fireworks image, mounted it on foam board, and leaned it against a wall with two small lights at the sides. My neighbours loved it, because their coats stayed off for the photo. The honest downside is print quality: a blurry print ruins the effect, so use the largest, sharpest file you can find and test it from camera distance first. I printed a second copy, because the first print creased while I was carrying it upstairs to the wall.
Pro Tip: Stand guests a step in front of the print, so shadows do not fall across the fireworks.

Cost: $18-$35 | Time: 40 minutes | Difficulty: Moderate
16. Watching Fireworks Photo Moment
A watching fireworks moment captures the feeling of midnight better than a posed smile, and it works well near a window. I asked a small group to stand with their backs partly to the camera, looking toward the sky, while I took the photo from behind. The silhouettes looked dramatic and real. The downside is low light, so use a phone night mode and ask guests to stay still for two seconds longer than usual. I asked guests to stay still for a breath, and that small pause made the night photo sharp and clear.
Pro Tip: Take one test photo before midnight, because you will not have time to fix settings at midnight.

Cost: $0-$10 | Time: 15 minutes | Difficulty: Easy
17. Sparkler Toast in Black and White
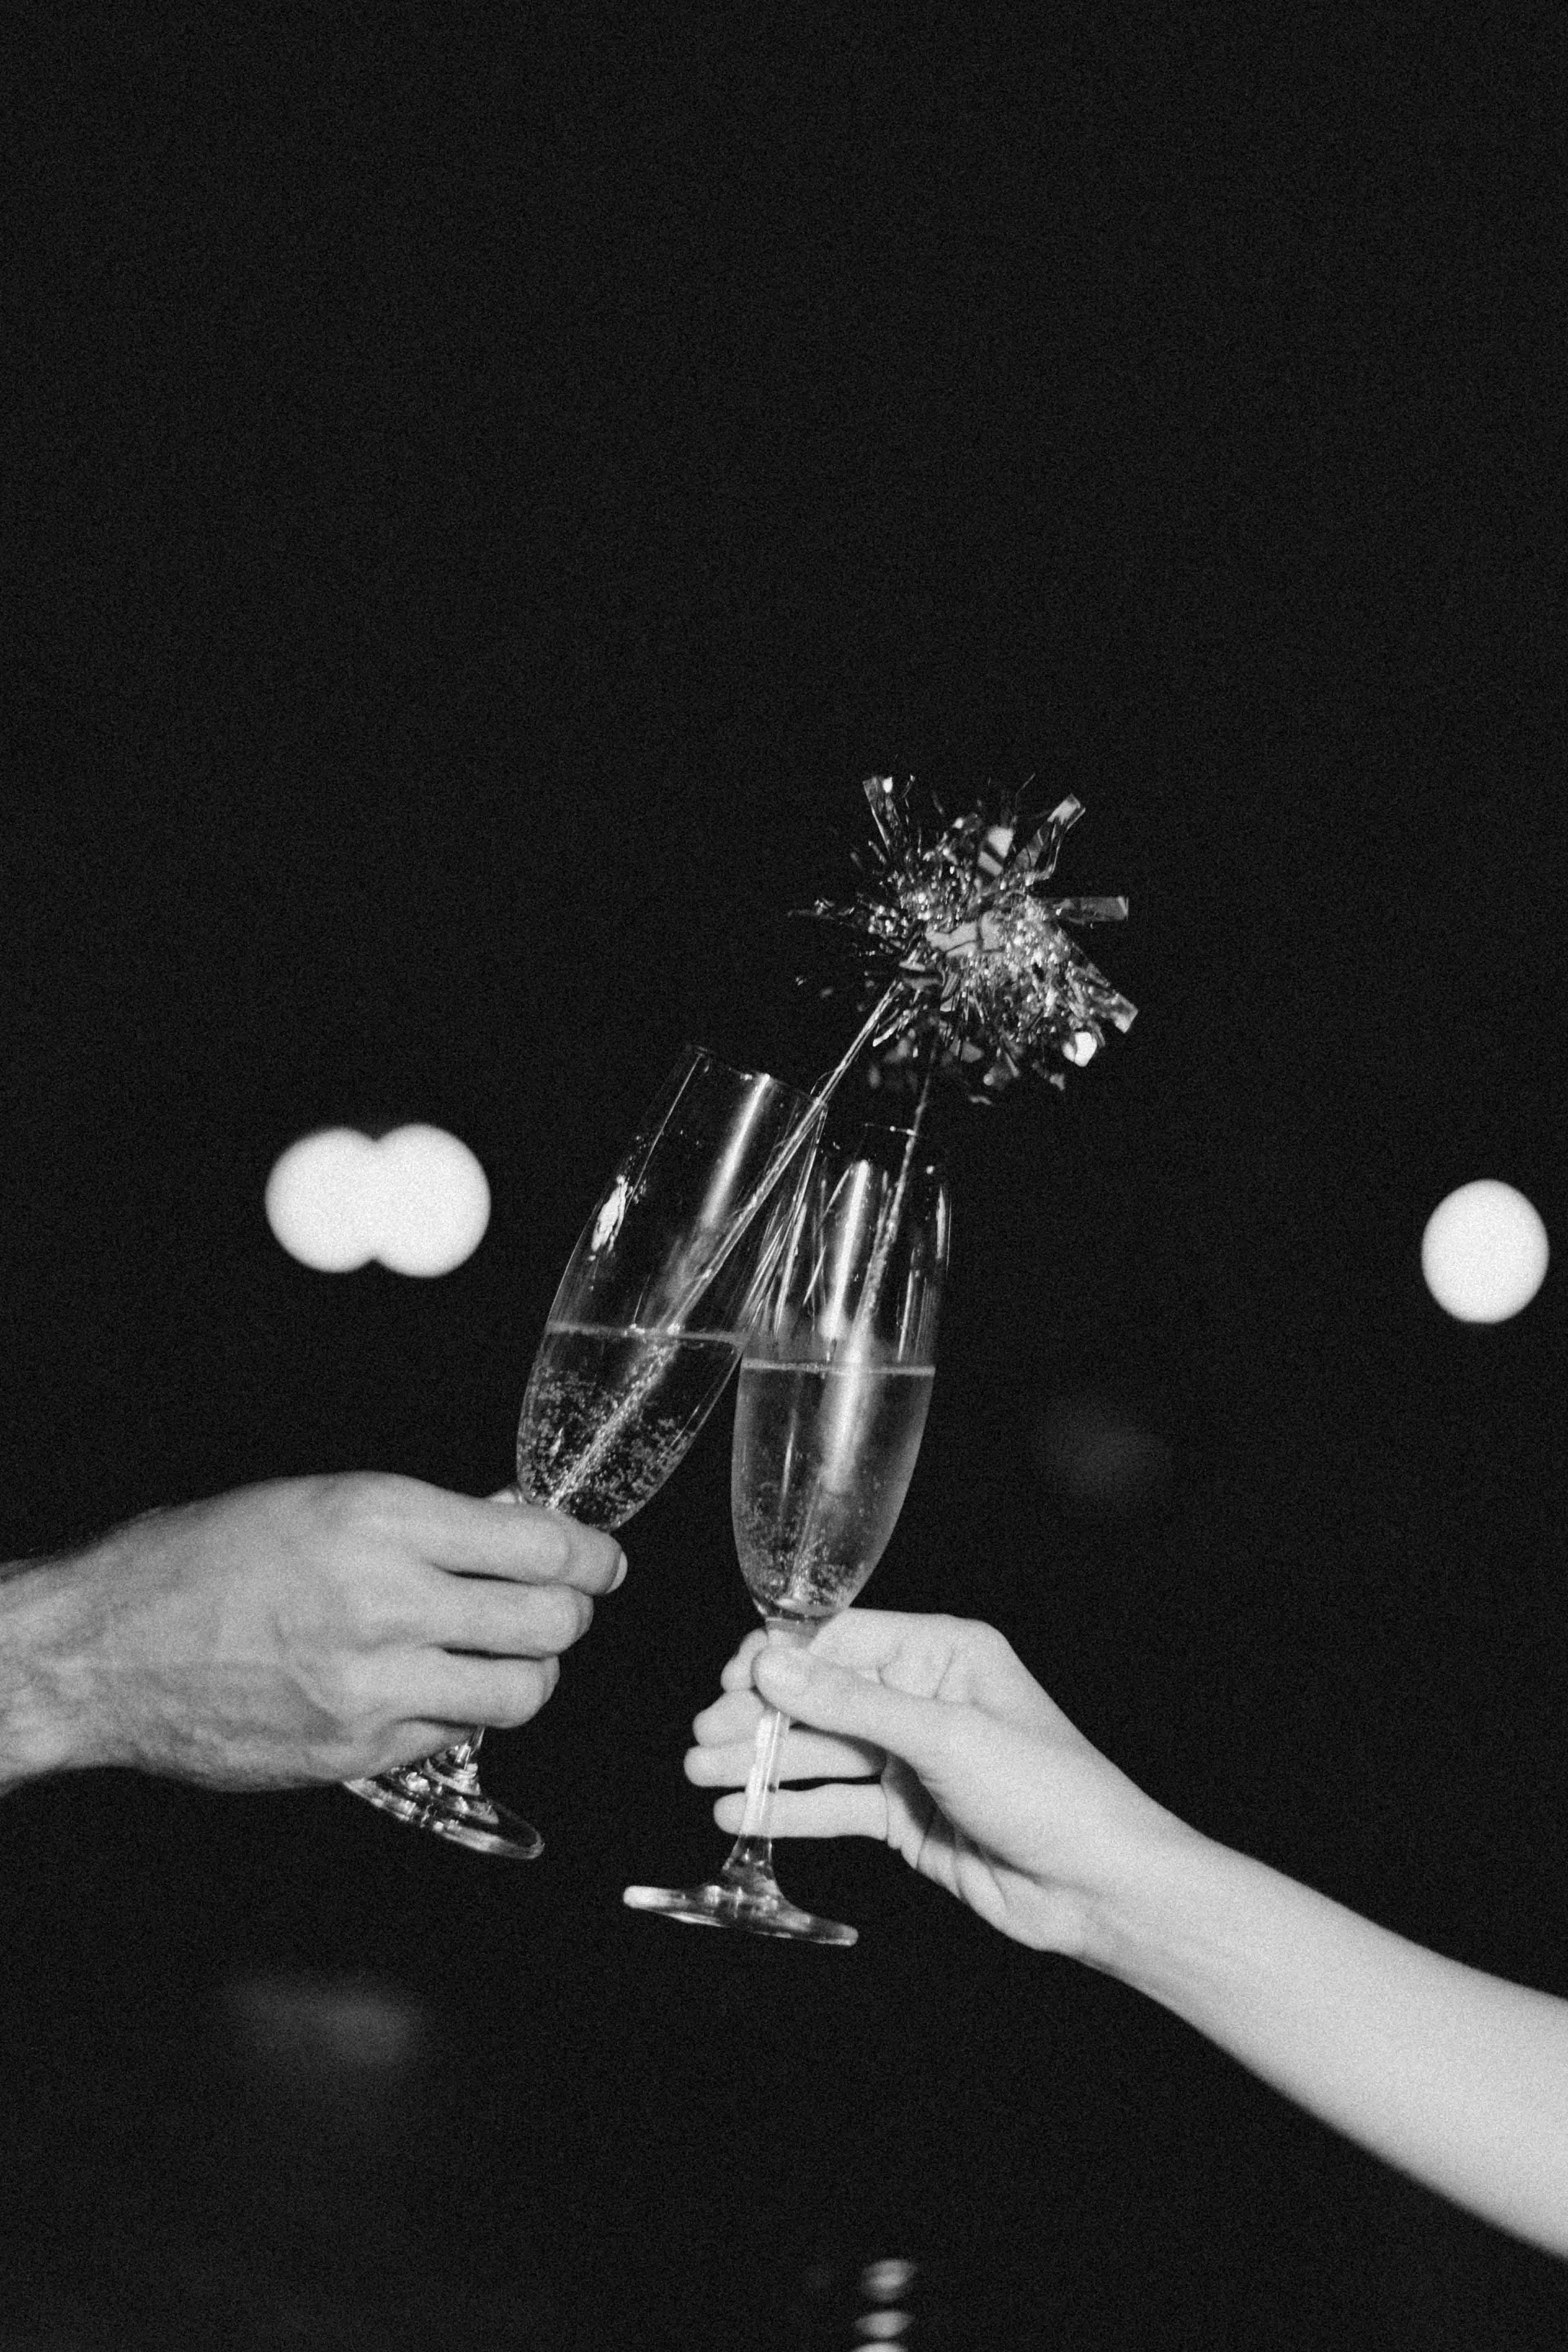
A black and white sparkler toast photo feels timeless, and it hides uneven party lighting beautifully. I asked two friends to clink glasses with a small sparkler nearby, then converted the photo to black and white on my phone. The contrast made the moment look classic. The watch-out is safety: use sparklers outdoors only, keep hair and sleeves away, and have water nearby, because a pretty photo is never worth a burn. I kept the sparkler far from curtains, and I checked the floor afterwards for any dropped hot pieces.
Pro Tip: Shoot in burst mode, because the best sparkler shape lasts only a second.
Cost: $8-$15 | Time: 10 minutes | Difficulty: Easy
18. Elegant Holiday Toast Setup
An elegant toast setup is my pick for a small dinner party, where the booth should feel calm, not loud. I arranged champagne glasses on a tray with festive greenery, kept the background light, and let couples take their own photos. The images looked refined and unforced. The downside is that greenery can shed, so shake it outdoors first and wipe the tray before the first photo, or needles will appear in every close-up. I wiped the tray once more before the last group, because small smudges had started to show in photos.
Pro Tip: Use matching glasses for this corner, because mixed shapes distract the eye in a simple setup.

Cost: $15-$30 | Time: 20 minutes | Difficulty: Easy
19. Group Toast Moment
A group toast moment is the one booth photo almost every guest wants a copy of, so I planned it deliberately. I gathered friends in two rows, asked the tallest to stand at the back, and counted down before everyone raised a glass. The first try was chaotic, and the second was perfect, which taught me to allow two attempts. The downside is timing, because glasses can block faces, so ask everyone to raise glasses just below chin height. I took a second group photo right away, and the relaxed second attempt was the one everyone wanted.
Pro Tip: Take a horizontal photo for a group, so nobody gets cropped at the edges.

Cost: $10-$20 | Time: 10 minutes | Difficulty: Easy
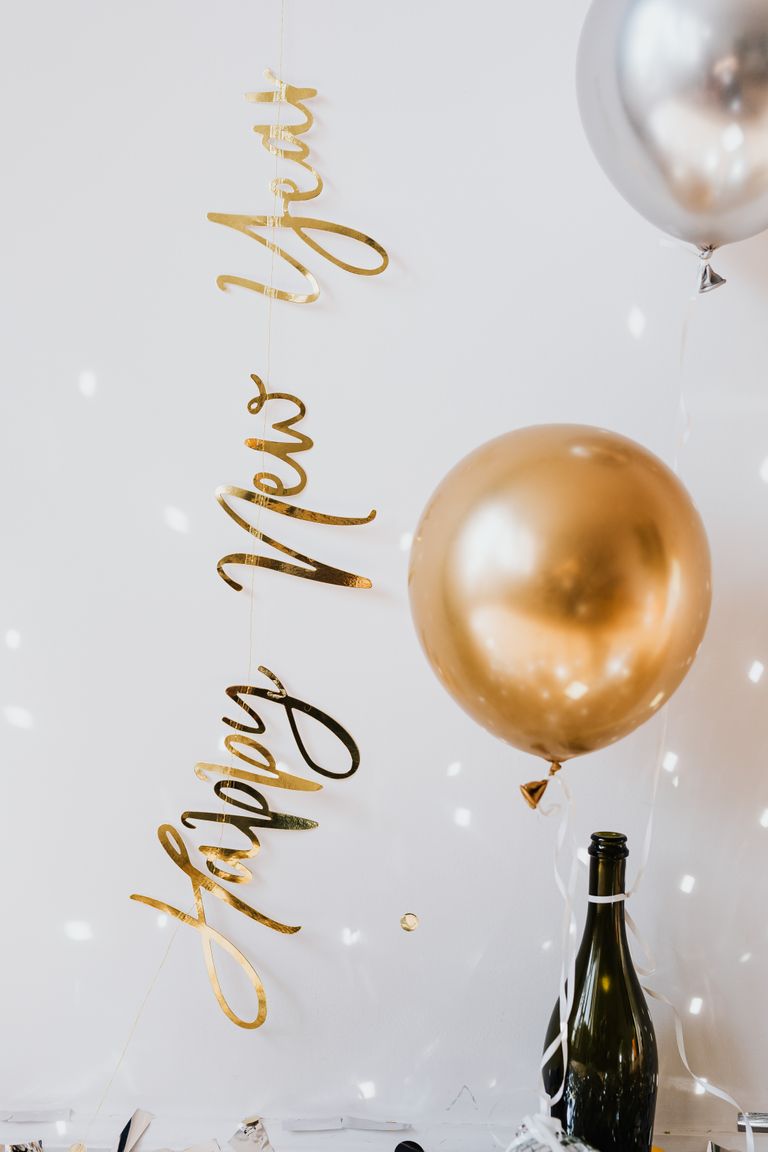
20. Happy New Year Confetti Scene
A confetti scene with balloons and champagne nearby is the fullest, happiest booth I set up, and it needed no theme beyond celebration itself. I placed balloons behind the guests, scattered confetti on a table, and kept a bottle as a prop, not for drinking in the photo. The pictures felt like midnight, even at nine in the evening. The downside is clutter, so remove cups and bags from the frame before you start, or the photo will look busy. I removed two extra items from the table, and the simpler scene instantly looked calmer and more elegant.
Pro Tip: Clear the table completely, then add back only three items, for a clean but festive look.

Cost: $12-$25 | Time: 25 minutes | Difficulty: Easy
New Years Eve Photo Booth Ideas at a Glance
| Setup | Best for | Cost | Setup time |
|---|---|---|---|
| Gold and Black Backdrop | Most homes | $25-$40 | 45 minutes |
| Disco Ball Corner | Small spaces | $20-$35 | 30 minutes |
| Gold Letter Balloons | Seated guests | $12-$25 | 20 minutes |
| Confetti Toss | Big groups | $5-$12 | 10 minutes |
| Fireworks Print | Cold nights | $18-$35 | 40 minutes |
| Sparkler Toast | Outdoors only | $8-$15 | 10 minutes |
| Group Toast | Midnight photo | $10-$20 | 10 minutes |
| Confetti Scene | Full celebration | $12-$25 | 25 minutes |
Mistakes I Made / What I Learned the Hard Way
Lesson 1: I lit faces from straight ahead. My first booth photos looked flat and tired, because a bright lamp faced guests directly. Moving the light to one side, and adding a softer second light, made faces look warm and natural at once.
Lesson 2: I used glitter confetti indoors. It looked magical for ten minutes and stayed in my carpet for weeks. Now I use paper confetti only indoors, keep a broom nearby, and save glitter for outdoor photos.
Lesson 3: I hung a backdrop with weak tape. Halfway through the night, one side fell and covered a guest mid-photo. Now I test tape on the actual wall a day early, and I use proper hooks for anything heavy, like a disco ball.
Lesson 4: I forgot a test photo. I assumed a setup would work, then found at midnight that the background was too dark. Now I take one test photo in evening light and one with party lights on, and I adjust before anyone arrives.
Frequently Asked Questions
What is the cheapest way to set up new years eve photo booth ideas at home?
Start with a plain wall, warm string lights, and one balloon cluster. That trio costs under $20 in most cases, photographs well, and leaves room to add hats or glasses later if you want them.
How much space do I need for a photo booth?
A corner about six feet wide and four feet deep is enough for two or three people. Leave a clear step-back area for the photographer, because a cramped booth makes faces look squeezed.
Can I use sparklers in a photo booth?
Use sparklers outdoors only, with water nearby and sleeves and hair kept clear. Indoors, use a sparkler-style prop or a light wand instead, because safety matters more than one photo.
What props work best for mixed ages?
Choose hats, glasses, balloons, and simple signs, and skip anything sharp, tiny, or easy to break. Keep one prop basket for adults and one for children, so everyone finds something comfortable.
Final Thoughts
If I had to choose only three setups, I would pick the gold and black backdrop, the disco ball corner, and the group toast moment, because together they cover portraits, fun, and midnight itself. These new years eve photo booth ideas worked in my small home with phone light alone, and they gave guests photos they actually shared. Set up early, take a test photo, and then enjoy the night instead of fixing the booth. Read this next if you want more adult party planning ideas for the same night.