20 Baby Shower Dessert Table Ideas That Guests Will Remember
When I planned my sister’s baby shower, the dessert table stole the show before anyone even cut the cake. Guests gathered around it, took photos, and went back for seconds, and I learned that a great spread is about balance, not extravagance. These baby shower dessert table ideas come from three showers I have actually hosted, plus two I helped friends set up, so every pick below is something I have served, tasted, or watched disappear.
I picked these ideas by testing what holds up for three hours at room temperature, what photographs well, and what real guests actually eat. I skipped anything that melted, wilted, or needed constant fussing, because the host deserves to enjoy the party too. Whether your budget is small or generous, you will find a mix here that fits your theme and your kitchen skills.
Key Takeaways
- Mix three textures on every dessert table: something creamy, something crunchy, and something fresh.
- One tall centerpiece, like a tiered cake or cupcake stand, anchors the whole table and makes everything else look intentional.
- Serve at least one no-mess finger food for guests holding a plate in one hand and a gift in the other.
- Label anything with nuts, dairy, or gluten so guests with allergies can relax and enjoy the table.
20 Baby Shower Dessert Table Ideas
1. Tiered Cupcake Stand
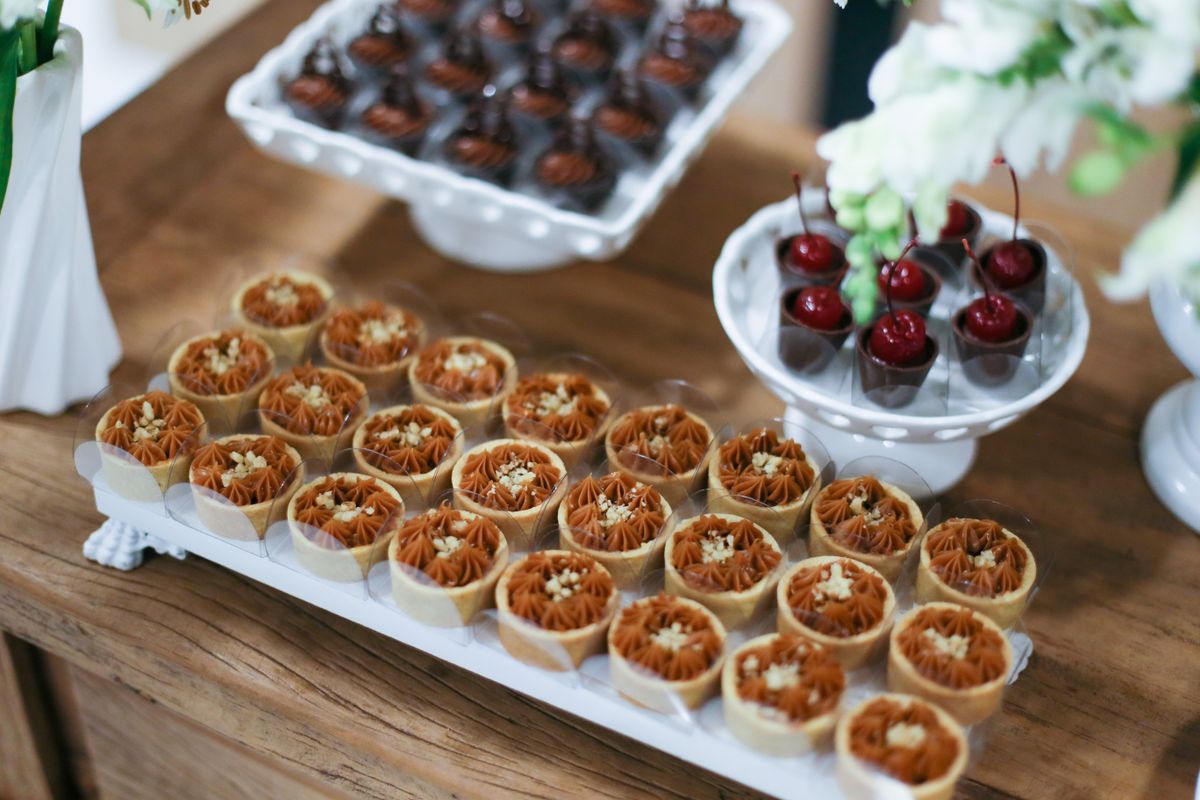
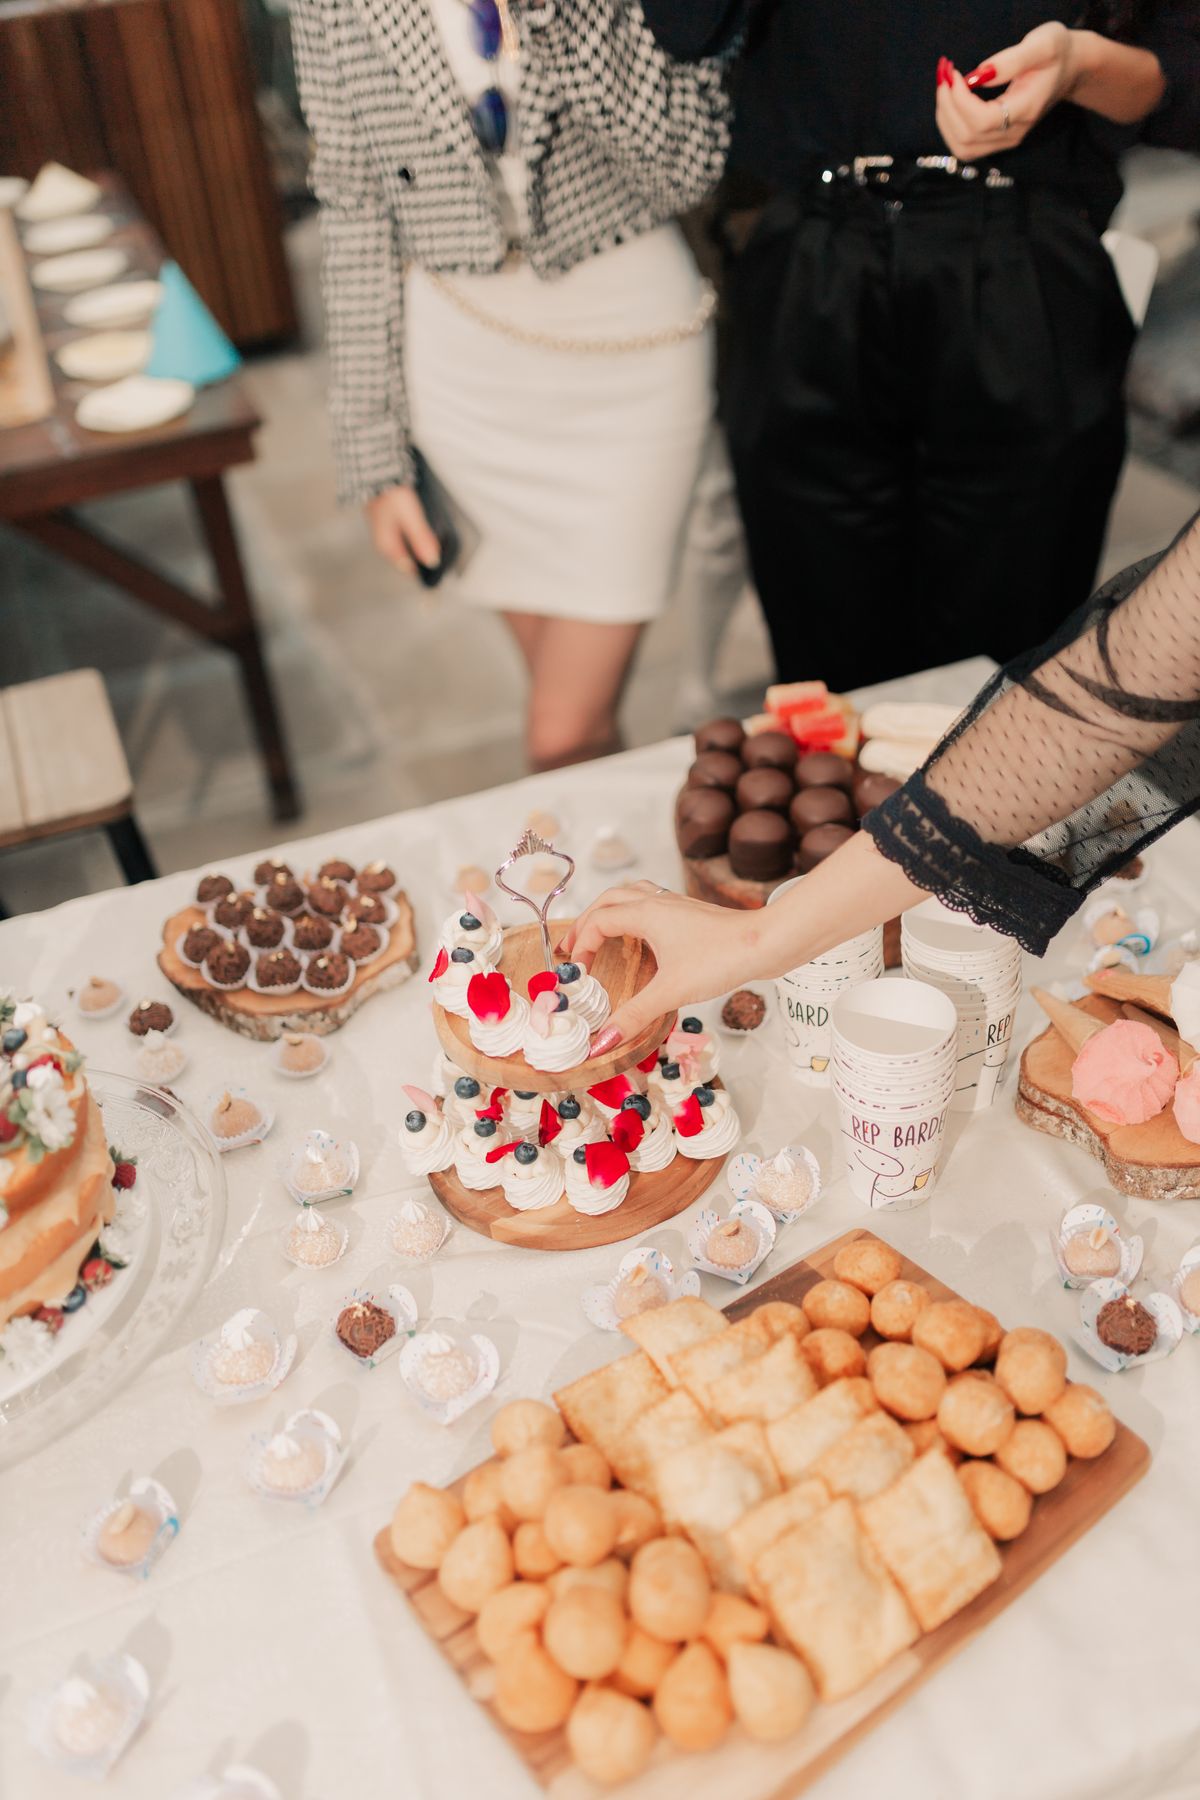
A tiered cupcake stand is the easiest way to make a dessert table look full without baking a single layer cake. I used a three-tier stand for my sister’s shower, with vanilla bean on the bottom, lemon on the middle, and chocolate on top, and guests loved choosing their own flavor. The height draws the eye upward and leaves room on the table for smaller treats around the base.
I baked the cupcakes the day before and frosted them the morning of the party, which kept the frosting fresh and my stress low. One honest downside: buttercream softens fast in a warm room, so keep the stand away from sunny windows and the kitchen oven.
Cost: $25–$45 | Time: 2 hours | Difficulty: Easy
Pro Tip: Put the prettiest frosted cupcakes on the top tier at eye level, and save the plainer ones for the bottom where hands reach first.
2. Three-Tier Cake as the Centerpiece
Nothing anchors a baby shower dessert table like a real three-tier cake. For my cousin’s shower I ordered a small three-tier cake with a different filling in each layer, and it doubled as the decoration, so I barely needed anything else on the table. Guests photographed it before anyone dared to cut it, which is exactly the reaction you want.
The trick is ordering a cake that serves about two-thirds of your guest list, since not everyone eats cake when there are other desserts. The downside is cost, because a tiered cake is the priciest item on this list, but it replaces a separate centerpiece, so the budget often balances out.
Cost: $90–$180 | Time: Order 1–2 weeks ahead | Difficulty: Easy (bakery-made)
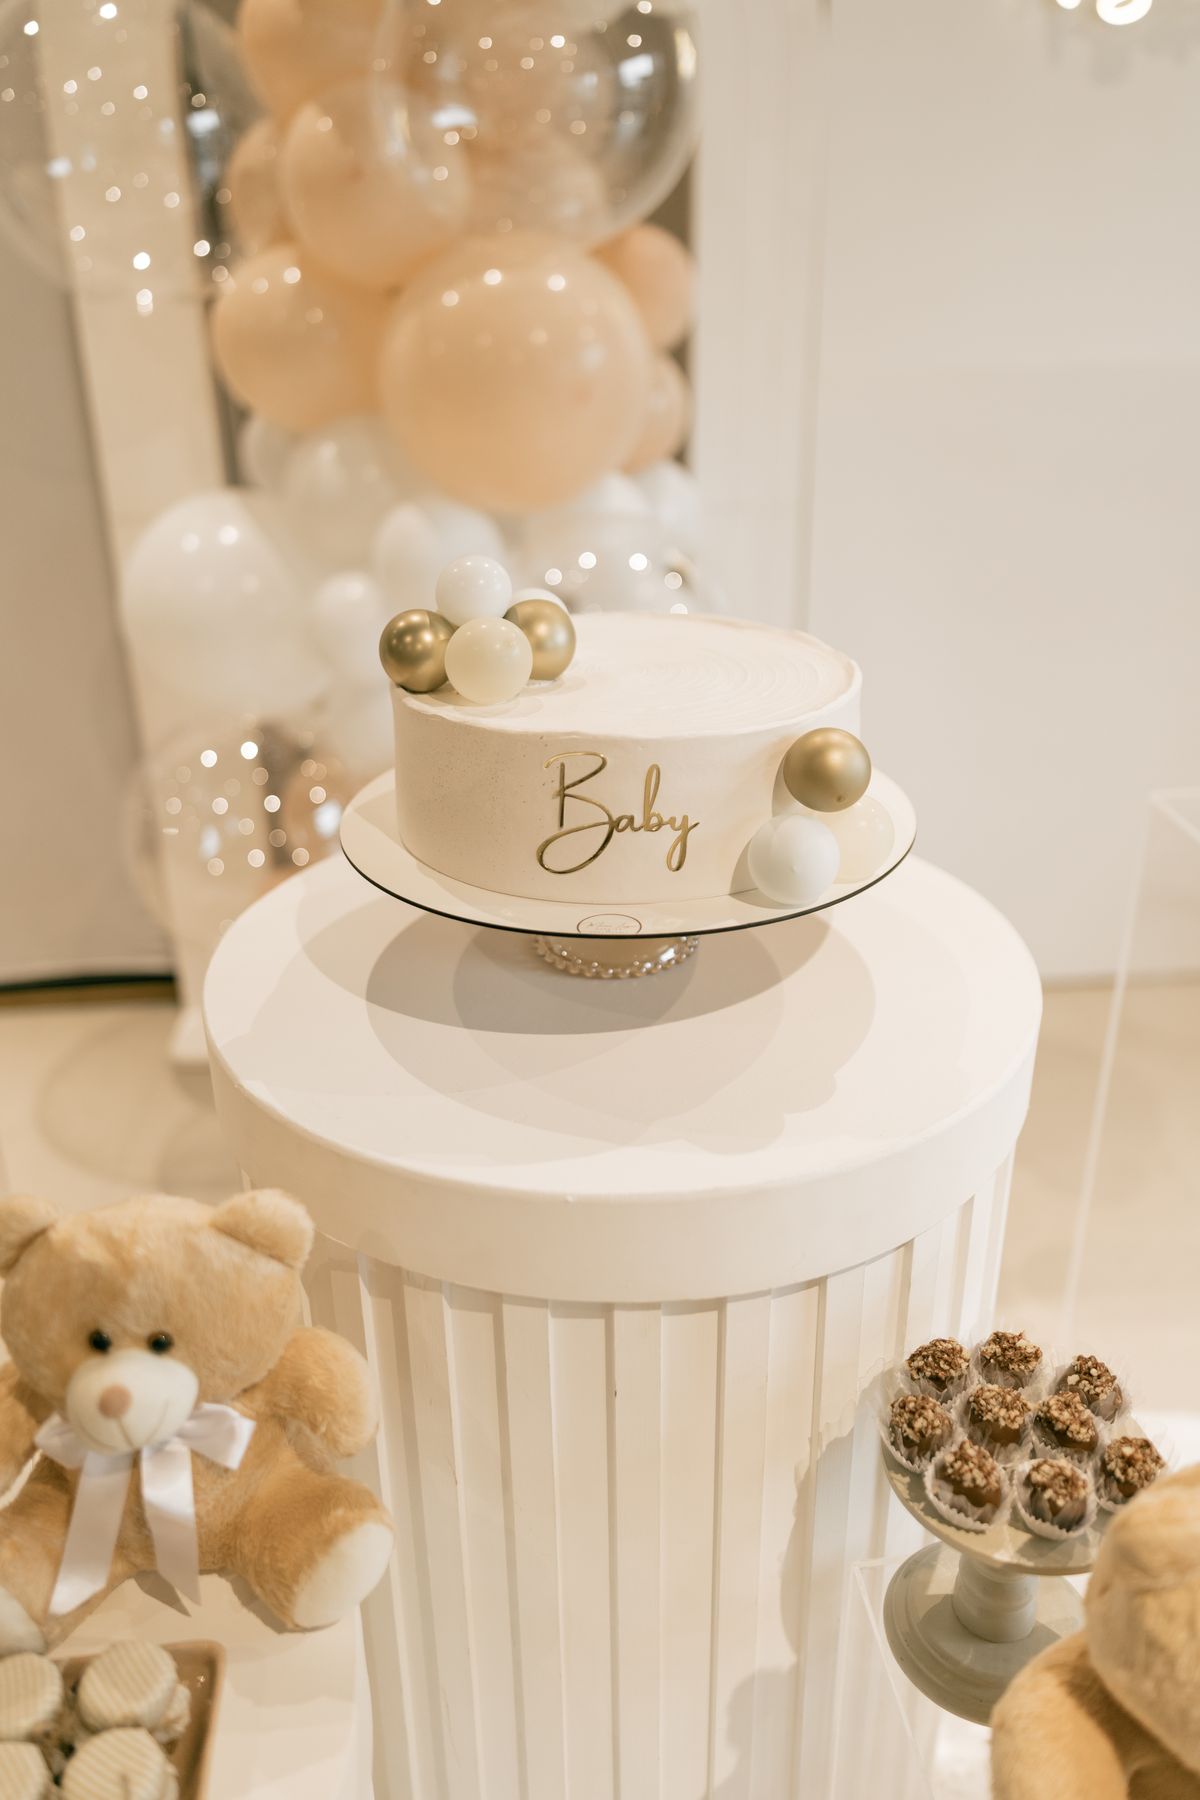
Pro Tip: Ask the bakery for a simple topper, like a small teddy or a “Baby” sign, instead of a fussy sugar sculpture that costs twice as much.
3. Pastel Macaron Tower
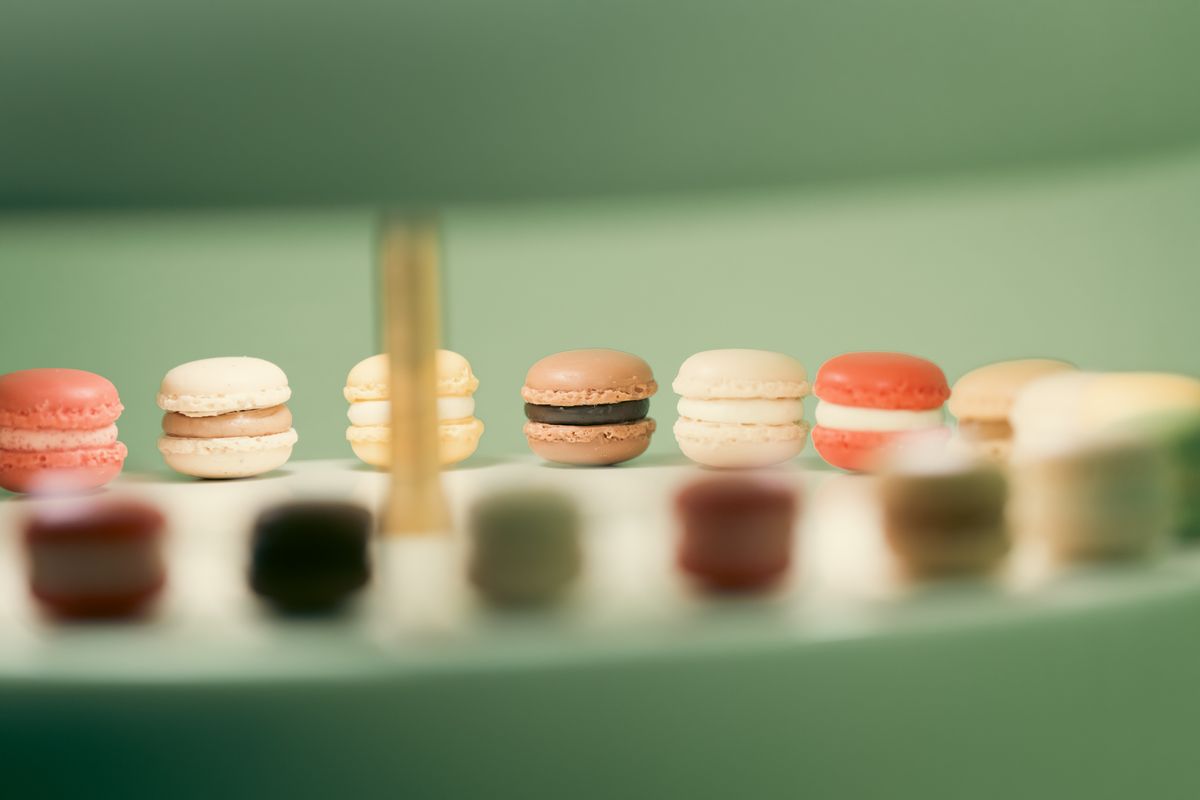
A macaron tower looks like it came from a Paris bakery, and it is much simpler than it appears. I stacked store-bought macarons in soft pink, mint, and cream on a cone stand for a spring shower, and guests treated it like a sculpture before they started picking pieces off the bottom. The pastel colors matched the balloon garland without any extra decorating effort.
Macarons are naturally gluten-free, which quietly covers one allergy group. The honest downside is that they go soft in humidity, so I keep the tower indoors and assemble it no more than an hour before guests arrive.
Cost: $40–$70 | Time: 30 minutes to assemble | Difficulty: Easy
Pro Tip: Buy two extra boxes beyond your count, because macarons crack in transport and you will want perfect ones for the visible outer layer.
4. Cake Pops Display
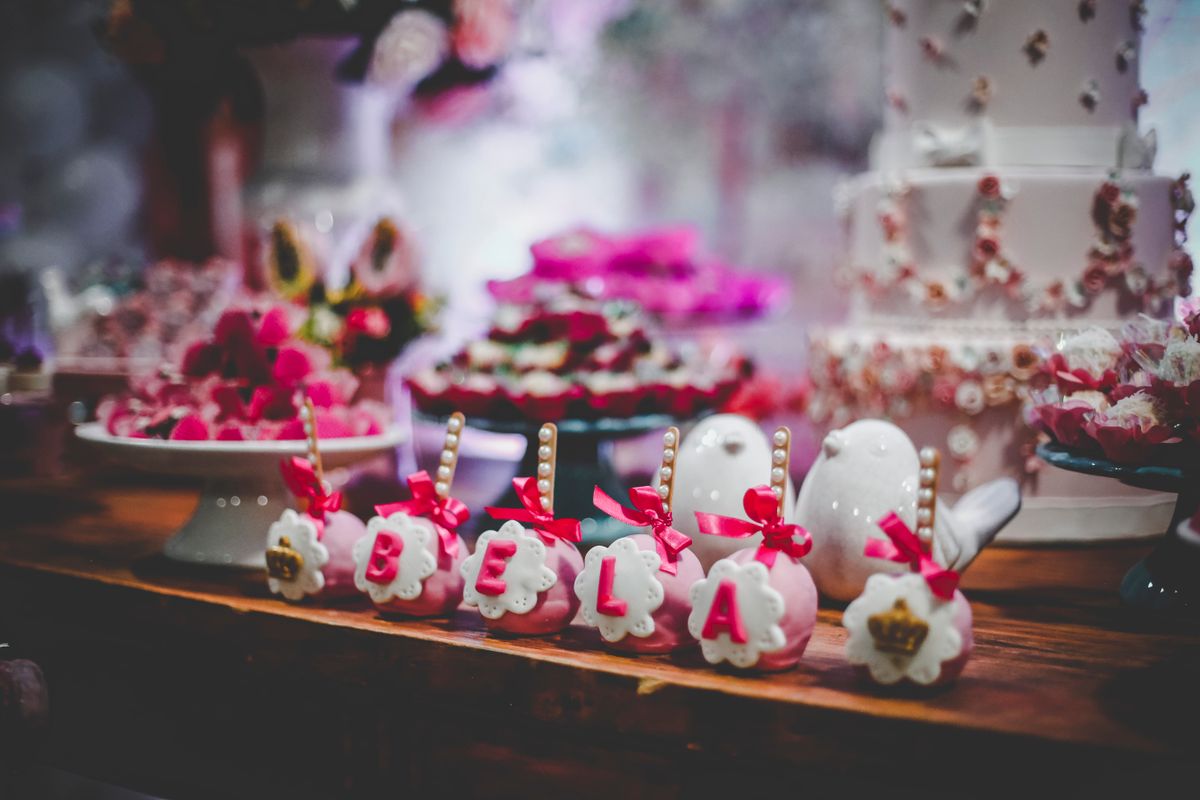
Cake pops are the ultimate one-handed shower dessert, and they look adorable standing in a decorated block or a tall jar. I made vanilla cake pops dipped in white chocolate with pastel sprinkles, and they were the first thing to vanish at my friend’s shower. Kids and adults both love them because there is no plate, no fork, and no commitment to a full slice.
Making them from scratch takes patience, since each pop needs chilling before dipping. I now use a boxed cake mix and canned frosting for the centers, and honestly nobody can tell the difference once they are dipped and sprinkled.
Cost: $20–$35 | Time: 3 hours including chilling | Difficulty: Moderate
Pro Tip: Dip the stick in melted chocolate before inserting it into the cake ball, or half your pops will slide off on the way to the table.
5. Donut Display Wall
A donut display, whether you hang them on a board or stack them on a tiered stand, brings instant fun to a dessert table. I set out glazed, strawberry-frosted, and chocolate donuts with pastel sprinkles at a brunch shower, and guests kept rearranging them into patterns before eating them. Donuts are cheap, cheerful, and need zero cooking skill.
The downside is freshness: donuts dry out after about four hours uncovered. I buy them the morning of the party and keep them covered with a clean tea towel until the table is revealed, which keeps them soft.
Cost: $20–$35 | Time: 20 minutes to arrange | Difficulty: Easy
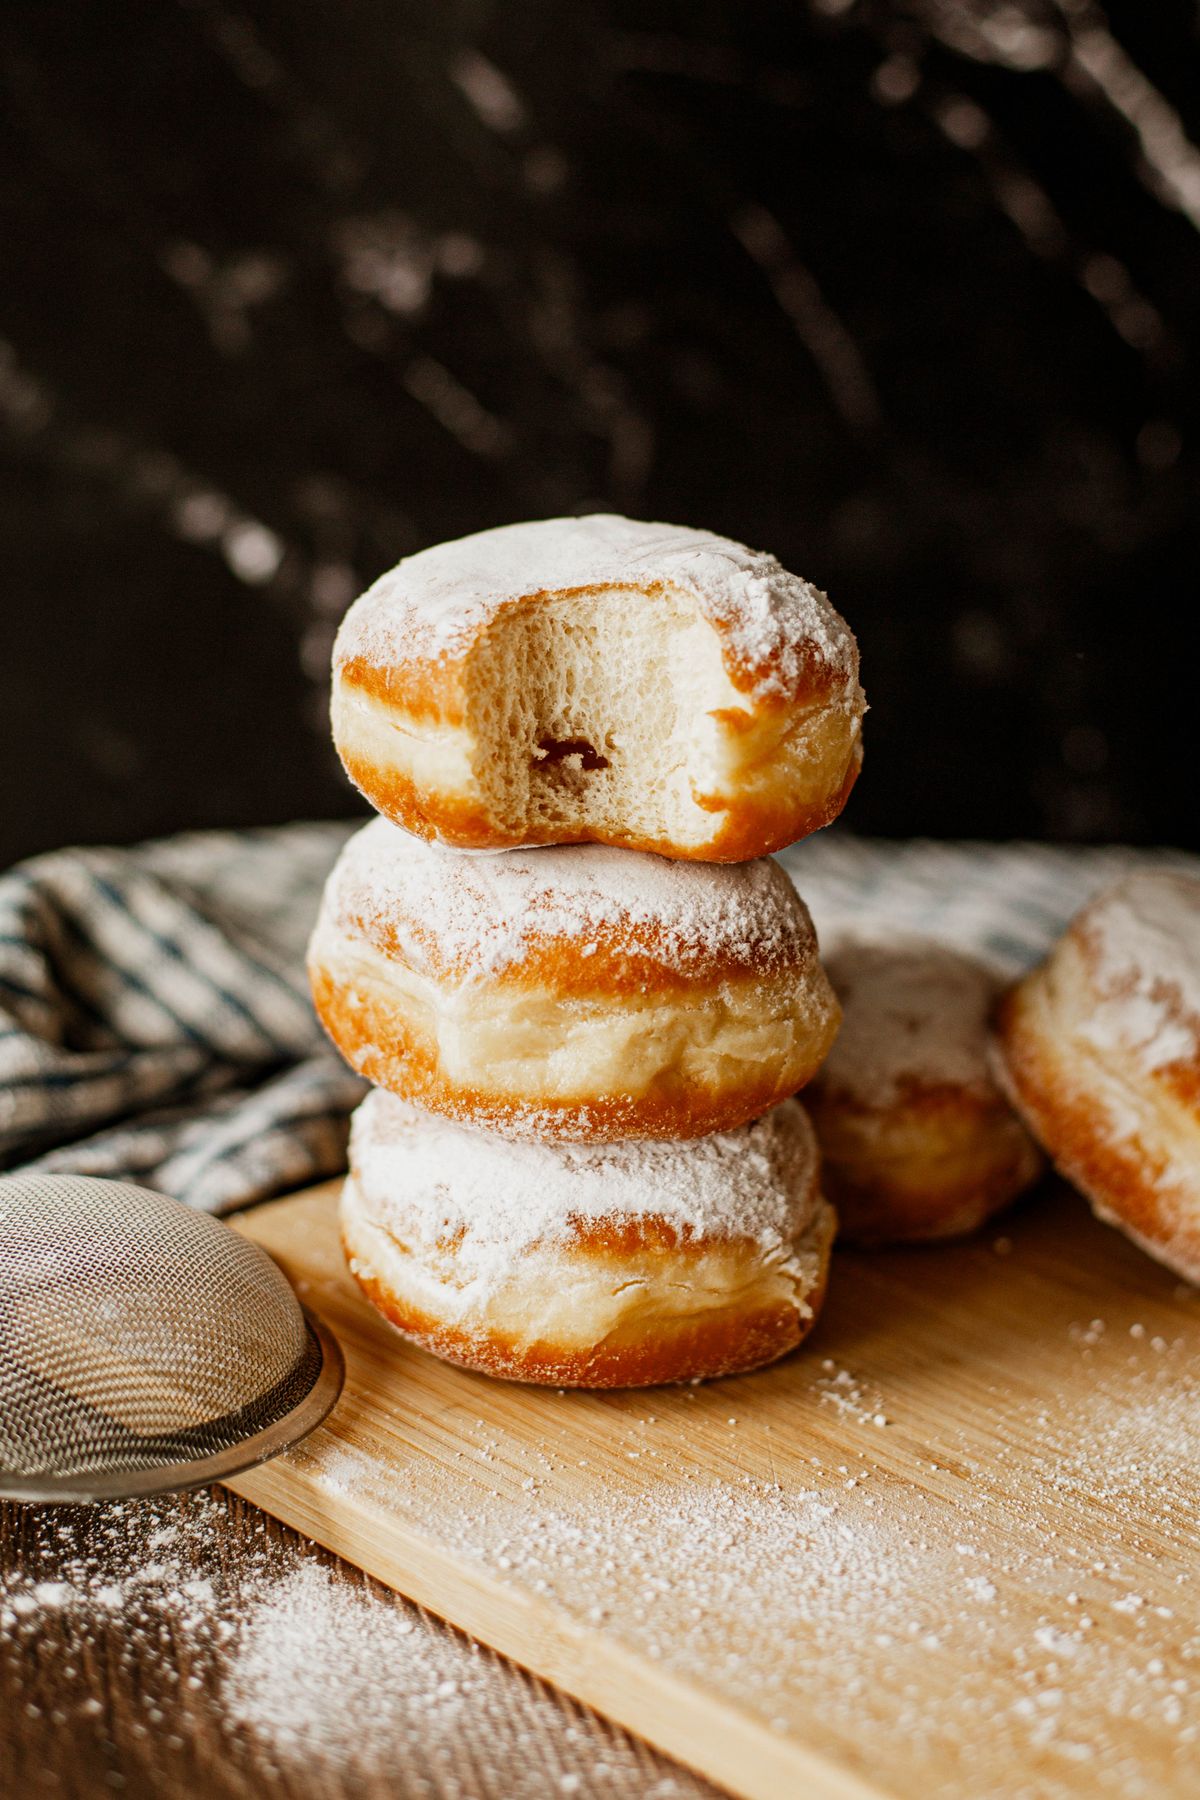
Pro Tip: Mix mini donuts with full-size ones so the display looks abundant and guests can sample more than one flavor.
6. Candy Buffet in Glass Jars
A candy buffet in glass jars is pure nostalgia and pure decoration at the same time. I filled tall jars with pink and white gumballs, rock candy sticks, and chocolate pearls for my sister’s shower, and the jars themselves became the table decor. Guests scooped their favorites into little bags, which doubled as favors and saved me from buying separate ones.
Buy candy in bulk and weigh your jars first, because glass jars look half-empty fast. The honest downside is sugar overload, so I pair the candy table with fruit and something salty to balance it.
Cost: $30–$60 | Time: 45 minutes | Difficulty: Easy
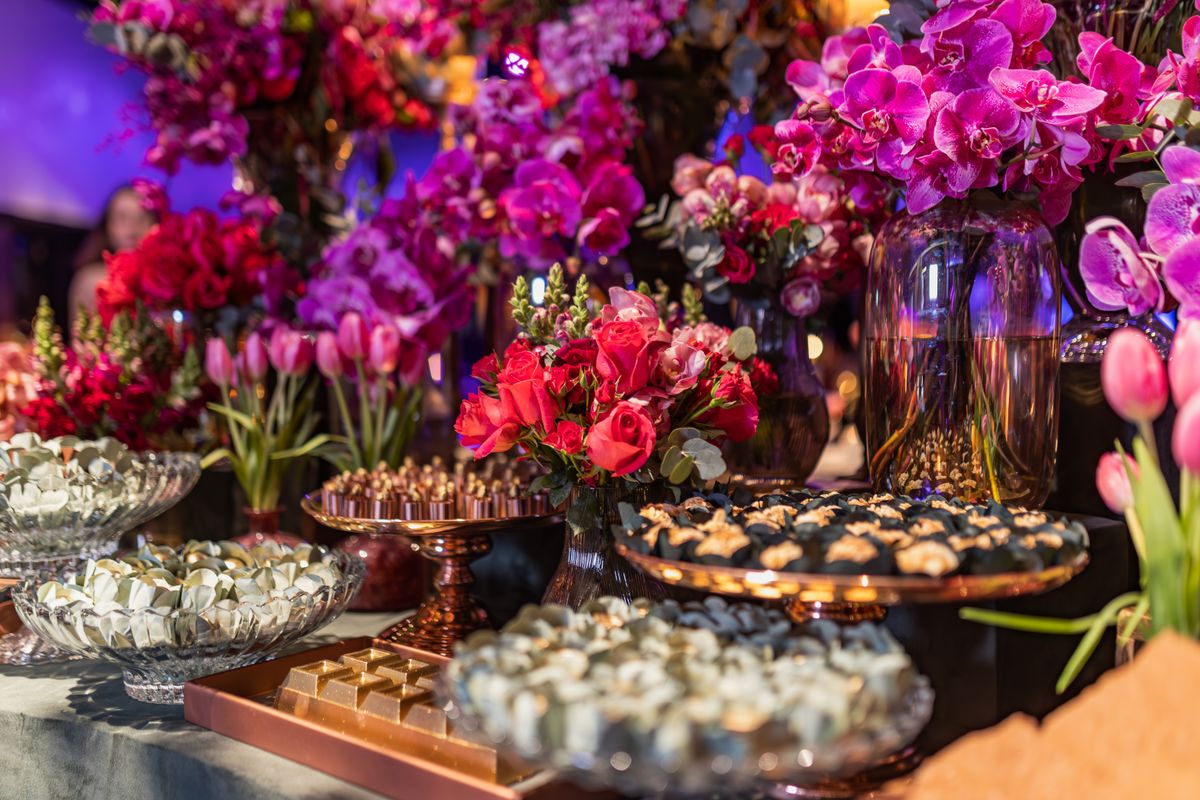
Pro Tip: Put a small scoop in every jar and a stack of mini bags beside it, or guests will pour candy with their hands.
7. Chocolate-Covered Strawberries
Chocolate-covered strawberries feel luxurious, but they cost very little and take under an hour. I dipped plump strawberries in dark and white chocolate, drizzled them with the opposite color, and arranged them on a marble board for a winter shower. They looked expensive, tasted even better, and were gone within twenty minutes.
The trick is drying the berries completely before dipping, because one drop of water seizes the chocolate. The downside is that they must be eaten the same day, so make them the morning of the party and keep them cool, not refrigerated, or the chocolate sweats.
Cost: $15–$25 | Time: 1 hour | Difficulty: Easy
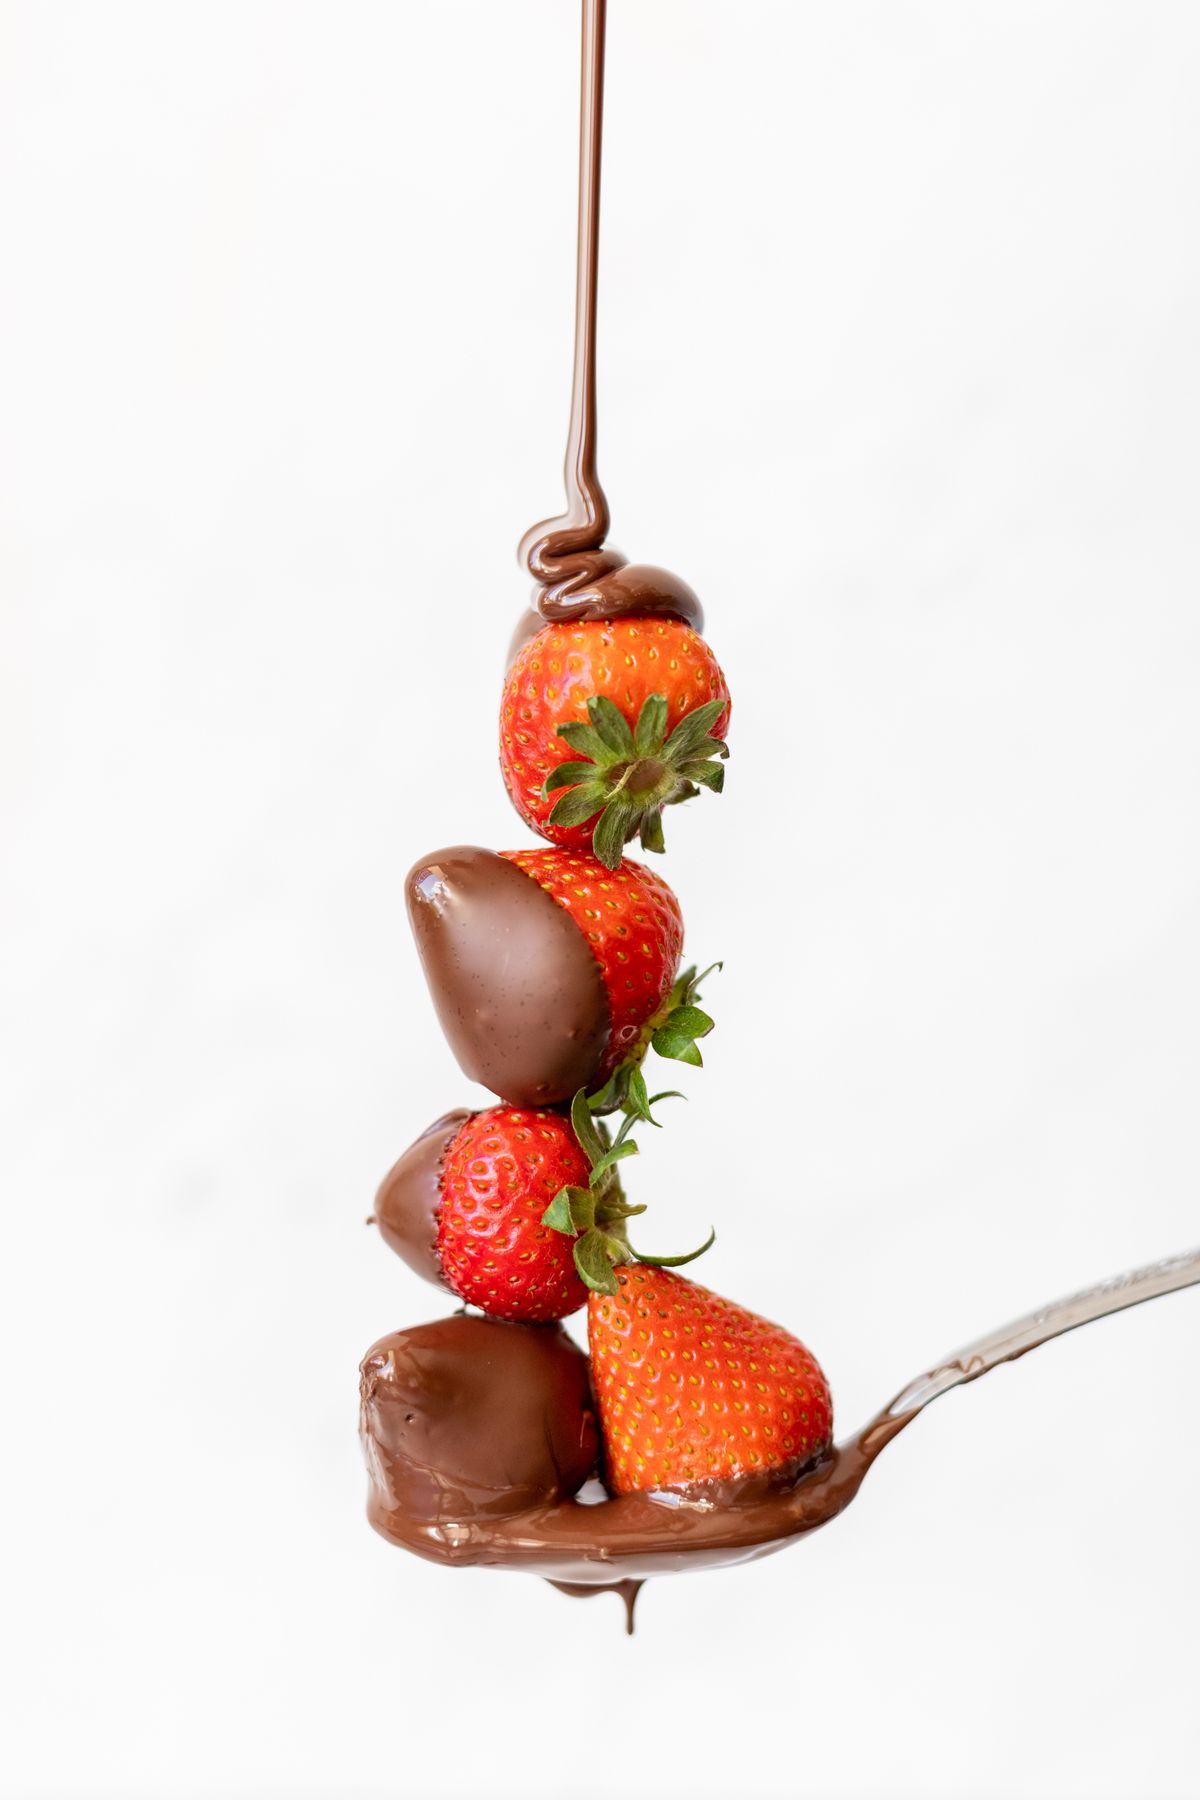
Pro Tip: Dip by the leafy stem and let the excess drip for a full ten seconds, or you will get puddles that glue the berries to the board.
8. Mini Cheesecakes in Jars
Mini cheesecakes in little jars look like they came from a catering company, and they solve the serving problem completely. I baked a simple no-bake cheesecake filling, spooned it over crushed cookies in four-ounce jars, and topped each with a berry and a mint leaf. Guests carried them around the party like drinks, which kept the table tidy.
Jars also make leftovers easy, since you just put the lids on. The downside is fridge space, because thirty jars take up a whole shelf, so I borrow a neighbor’s fridge for party weekends now.
Cost: $25–$40 | Time: 1.5 hours plus chilling | Difficulty: Easy

Pro Tip: Use clear plastic jars instead of glass if kids are attending, because dropped glass near a dessert table ruins everyone’s afternoon.
9. Fresh Fruit Skewers
Fresh fruit skewers are the light, colorful counterpoint every dessert table needs. I threaded strawberries, melon, pineapple, and grapes onto short skewers and fanned them on a white platter, and they were the only item my health-conscious aunt ate three of. They add height, color, and a fresh flavor that cuts through all the sugar.
Cut the fruit the morning of the party and keep the skewers chilled until serving, because cut fruit dries out fast. The honest downside is that fruit skewers look tired after two hours, so I make a second small batch to swap in halfway through.
Cost: $20–$35 | Time: 45 minutes | Difficulty: Easy
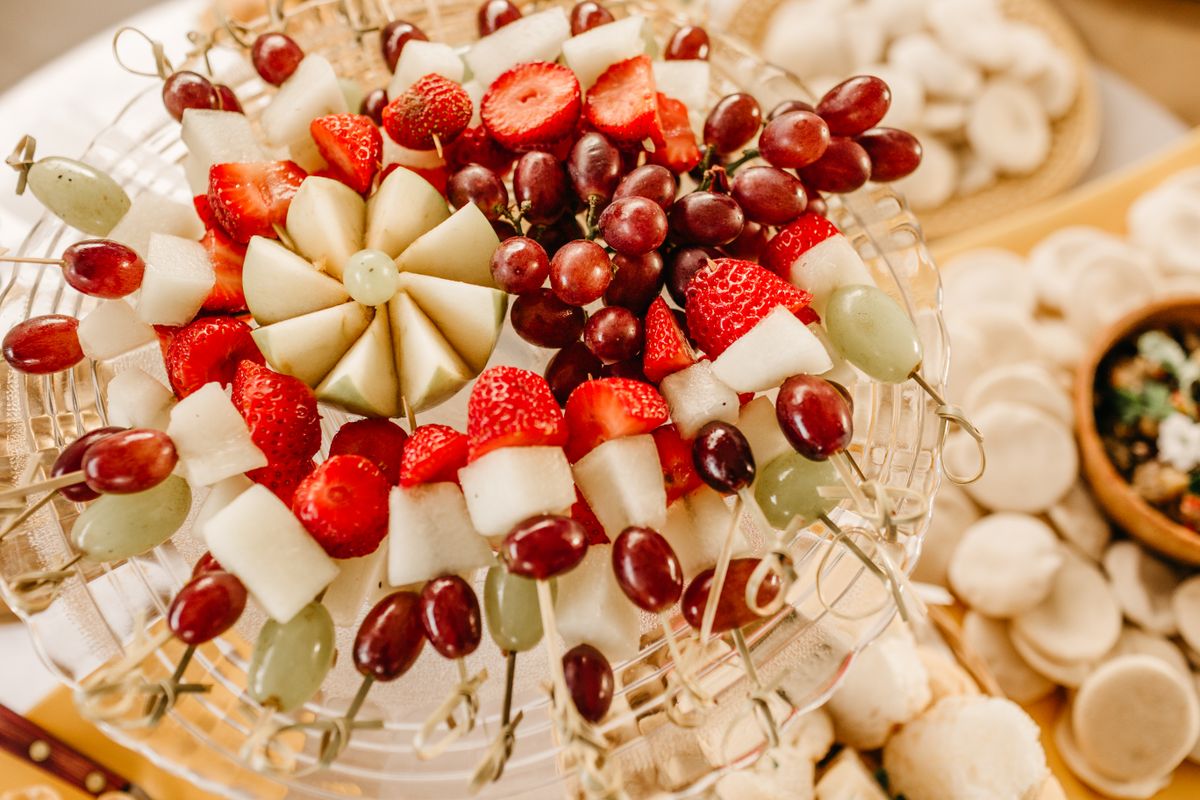
Pro Tip: Use blunt-tipped cocktail skewers instead of sharp bamboo ones when kids will be grabbing them.
10. Lemonade and Pink Drink Station
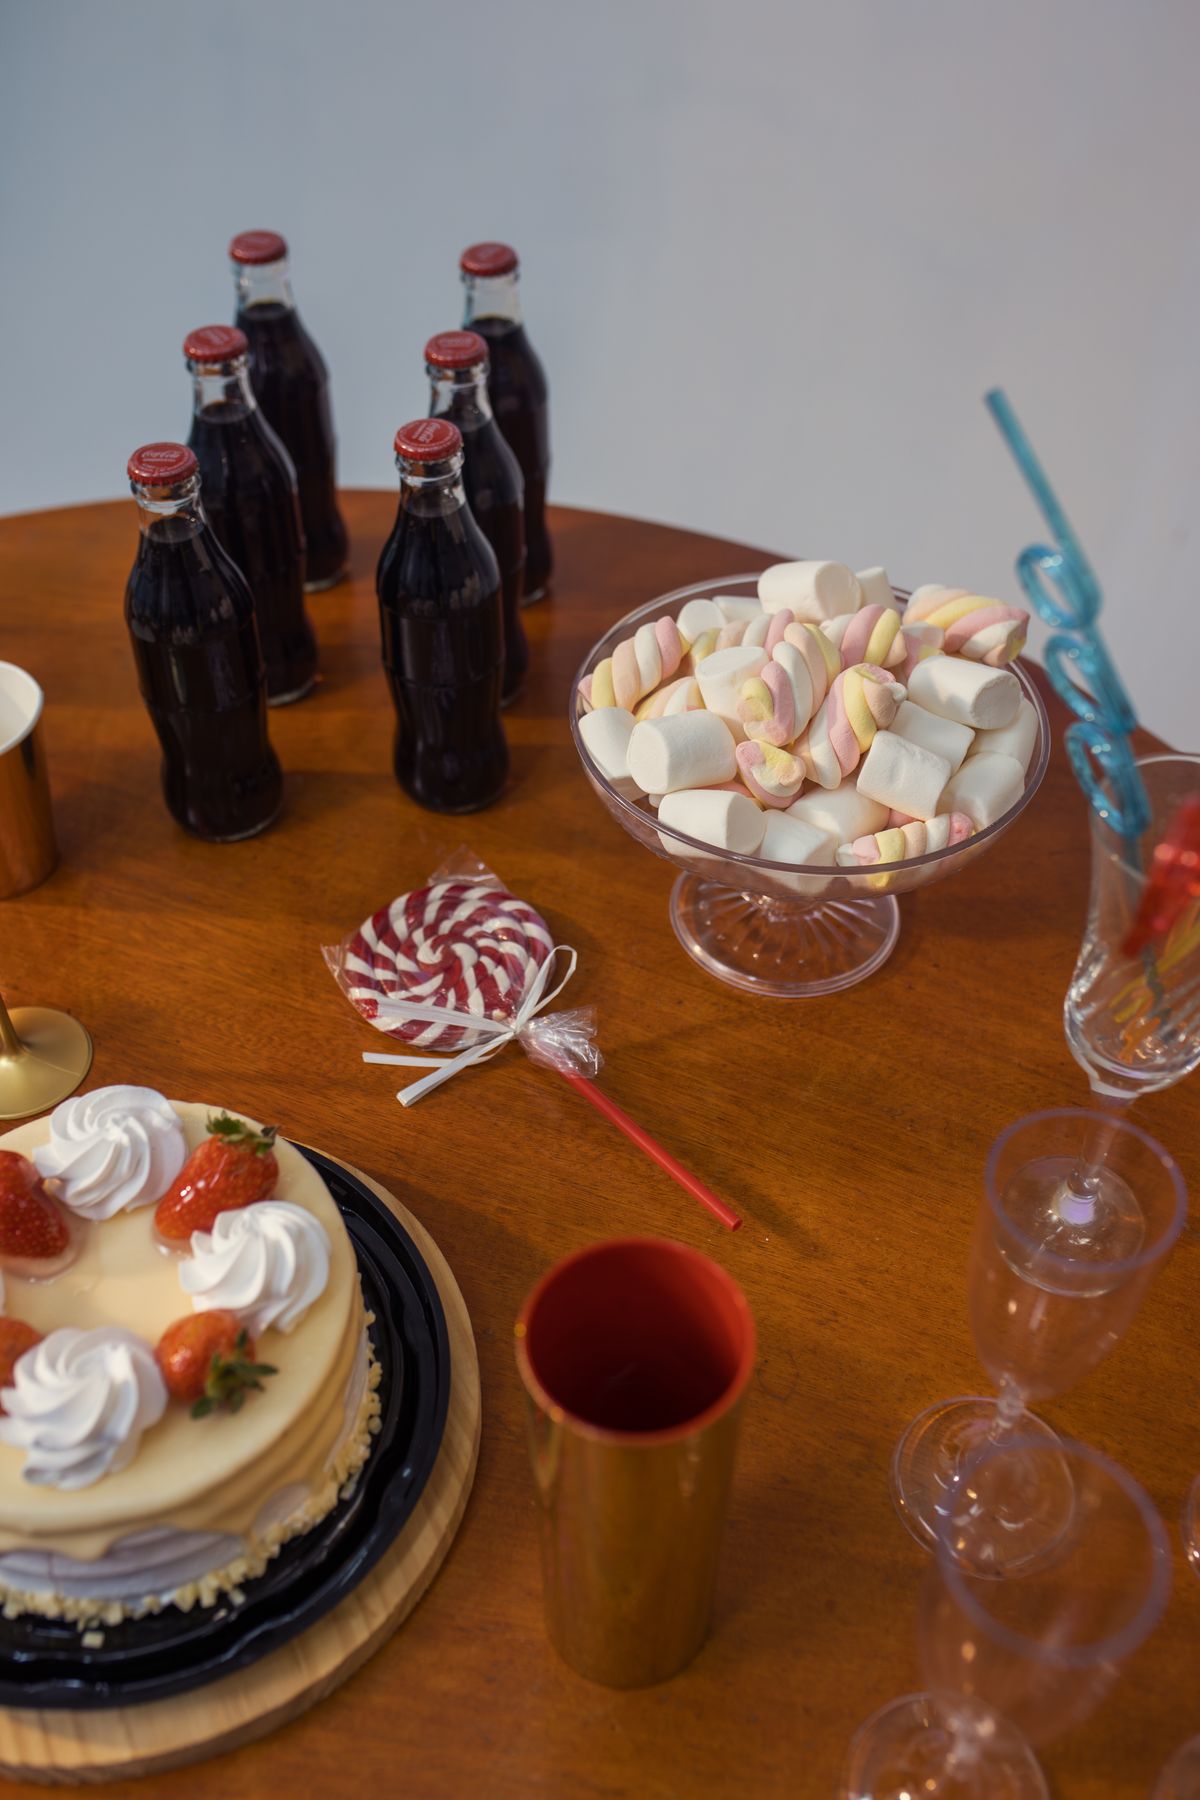
A lemonade and pink drink station turns drinks into part of the dessert table. I set out two dispensers, one classic lemonade and one pink strawberry lemonade, with striped straws and lemon wheels, and guests mixed their own. It cost almost nothing, looked gorgeous in photos, and kept people away from the kitchen fridge.
The mistake I made once was using a dispenser with a weak tap that dripped all afternoon. Now I test every dispenser with water the night before, and I keep a small towel under each one just in case.
Cost: $15–$25 | Time: 30 minutes | Difficulty: Easy
Pro Tip: Freeze some of the lemonade into ice cubes so the drinks stay cold without getting watered down.
11. Sugar Cookies with Baby Themes
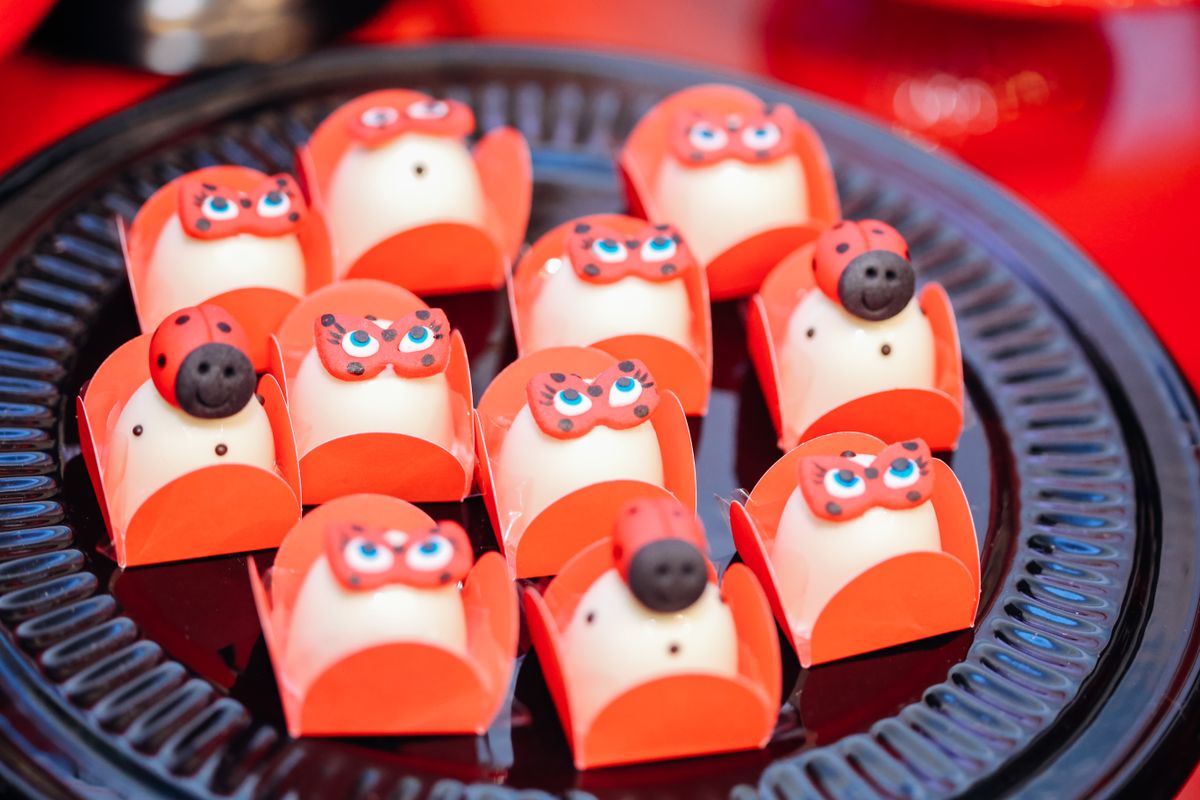
Sugar cookies cut into onesies, bottles, and rattles are the most personal item on a dessert table. I baked a big batch, iced them in pastel pink and blue, and wrote each guest’s name on one cookie as a place card. People were genuinely touched, and several took theirs home uneaten as keepsakes.
Royal icing takes practice, and my first batch looked like a toddler decorated it. I now use a simple powdered-sugar glaze with a squeeze bottle, which looks clean and tastes better than stiff royal icing anyway.
Cost: $15–$30 | Time: 3 hours including decorating | Difficulty: Moderate
Pro Tip: Bake the cookies two days ahead and decorate the day before, because iced cookies need a full night to set before stacking.
12. Brownie Bites and Blondies
Brownie bites and blondies are the comfort food of any dessert table, and they travel better than almost anything else. I baked one pan of fudgy brownies and one pan of butterscotch blondies, cut them into two-bite squares, and dusted them with powdered sugar. They were the item my brother-in-law kept sneaking back for, which is the highest praise a dessert can get.
Cut brownies with a plastic knife while they are still slightly warm for clean edges. The downside is that chocolate desserts melt into each other in heat, so I keep them on a shaded table and away from the drink station’s condensation.
Cost: $12–$20 | Time: 1 hour | Difficulty: Easy
Pro Tip: Line the pan with parchment that hangs over the sides, so you can lift the whole slab out and cut perfect squares.
13. Ice Cream Sundae Bar
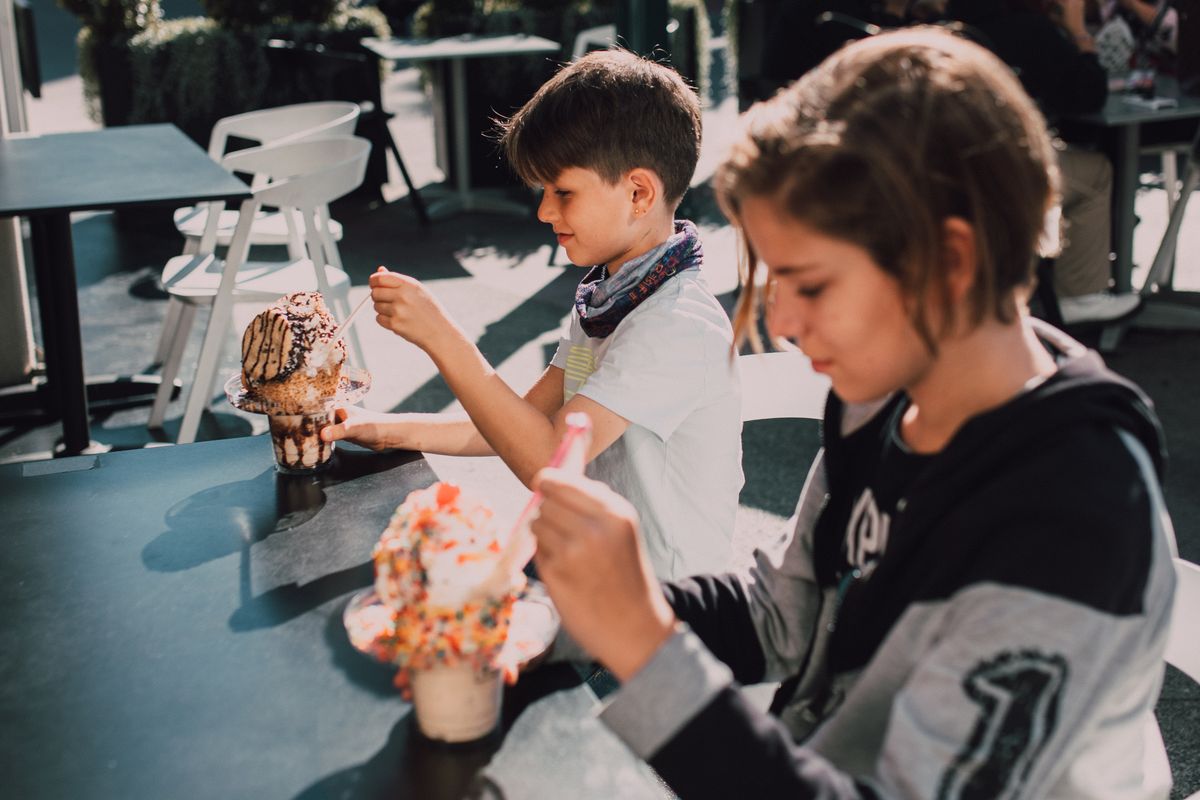
An ice cream sundae bar turns dessert into an activity, which is perfect for a shower with kids running around. I set out vanilla and strawberry ice cream in a cooler of ice, with sprinkles, crushed cookies, chocolate sauce, and cherries in small bowls. Guests built their own sundaes, and the bar kept everyone entertained for a solid half hour.
The logistics matter more than the flavors: keep the ice cream in a deep cooler, not on the table, and scoop to order. The downside is melting, so this idea works best indoors or in shade, never in direct summer sun.
Cost: $30–$50 | Time: 30 minutes to set up | Difficulty: Easy
Pro Tip: Use small paper cups instead of bowls, because guests eat less, the ice cream lasts longer, and cleanup is one trash bag.
14. Dessert Shooters
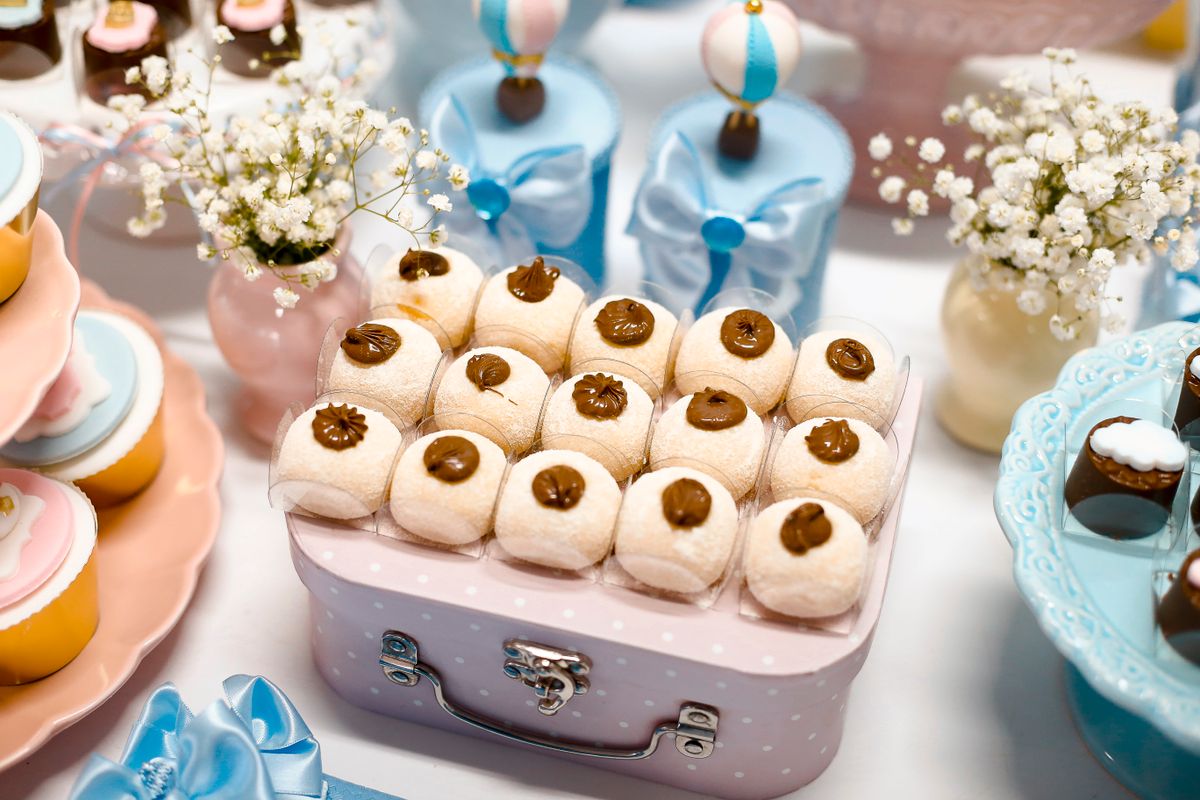
Dessert shooters are tiny layered desserts in shot glasses, and they make a table look professionally styled. I layered chocolate mousse, crushed cookies, and whipped cream in clear plastic shot glasses for a modern shower, and guests took photos before tasting them. The layers show through the glass, so they do the decorating for you.
Pipe the layers with zip-top bags with the corners snipped, which is faster and neater than spooning. The downside is that shooters are fiddly in large numbers, so I cap them at two dozen and let other desserts carry the volume.
Cost: $20–$35 | Time: 1.5 hours | Difficulty: Moderate
Pro Tip: Chill the filled shooters uncovered for an hour so the layers set, then cover them so they do not absorb fridge smells.
15. Popcorn Bar
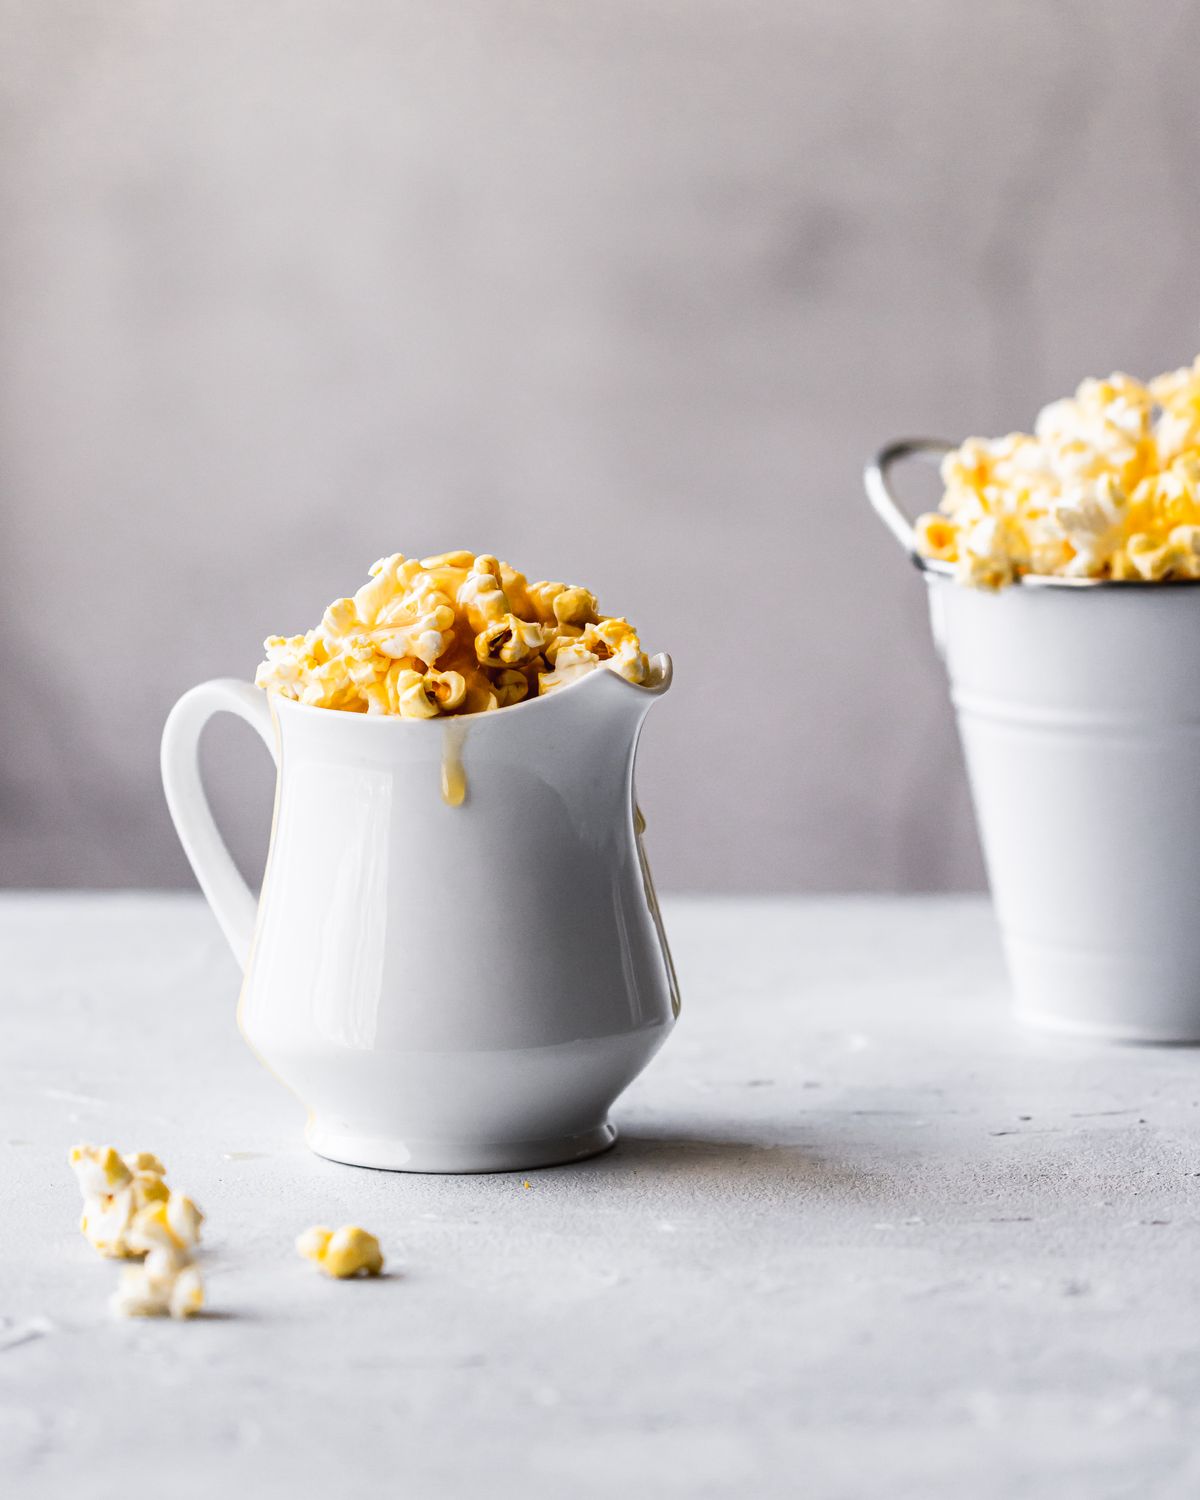
A popcorn bar is the cheapest crowd-pleaser on this list, and it adds a salty crunch that balances all the sweetness. I popped two big batches, one buttered and one cinnamon-sugar, and set them out in paper cones with shakers of cheese powder and caramel drizzle. Guests snacked on popcorn while waiting for the cake cutting, which kept everyone happy during the slow parts of the party.
Popcorn goes stale in about three hours, so I pop it the morning of the party and store it in airtight bags. The downside is crumbs everywhere, so I place the popcorn station on a tray with raised edges.
Cost: $8–$15 | Time: 30 minutes | Difficulty: Easy
Pro Tip: Pop the corn in coconut oil instead of butter for a cleaner flavor that stays crisp longer.
16. Themed Cake Table Backdrop
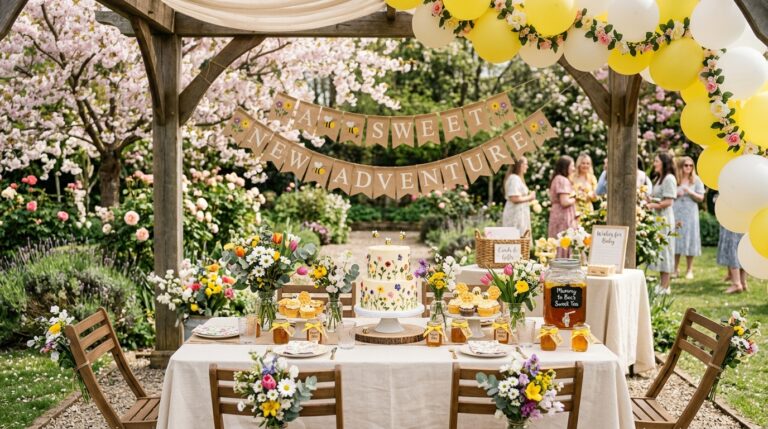
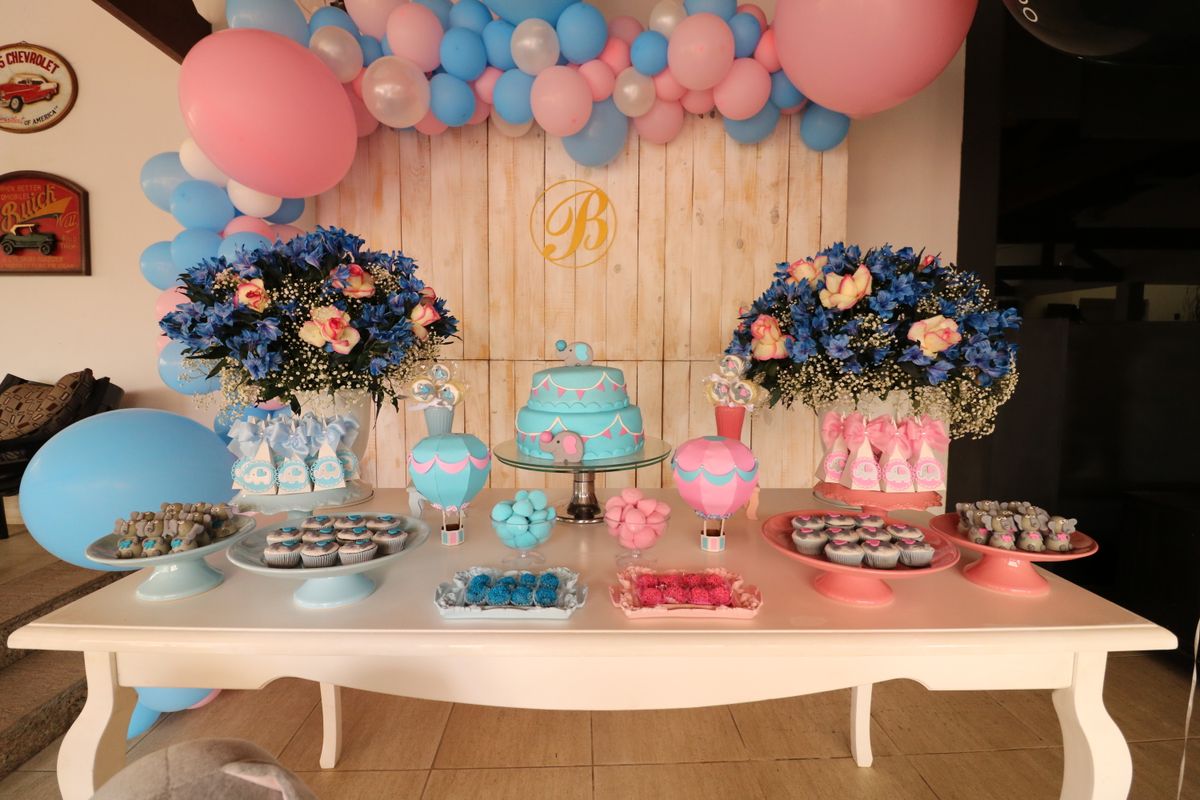
A themed backdrop behind the cake table changes the whole room for very little money. I hung a simple balloon garland and a “Oh Baby” banner behind the dessert table at my cousin’s shower, and suddenly every guest photo looked professional. The backdrop also hides a plain wall, which matters more than people admit in photos.
Keep the backdrop behind the table, not above the food, so nothing falls into the desserts. The downside is that balloon garlands take an hour to assemble, so I build mine the night before and store it in a spare room.
Cost: $20–$40 | Time: 1 hour | Difficulty: Easy
Pro Tip: Use a command-hook strip on the wall instead of tape, because tape peels paint and leaves a mark the host will notice.
17. Mini Pies and Tarts
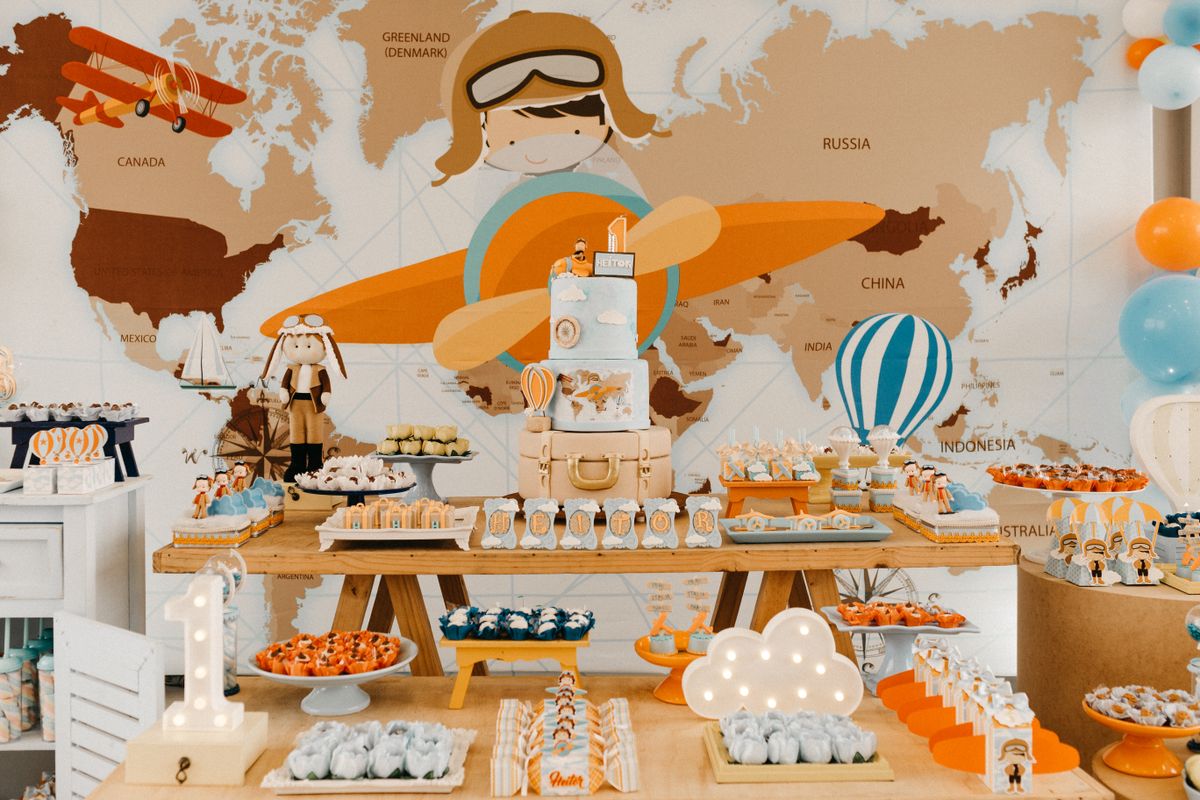
Mini pies and tarts bring a bakery-case feel to a shower without bakery prices. I bought mini lemon tarts and berry tartlets from a local bakery, arranged them on a cake stand with fresh mint, and they looked like the fanciest thing on the table. Individual portions mean no cutting, no serving utensils, and no arguments about slice sizes.
Bakery tartlets are best eaten the same day, since the pastry softens overnight. The honest downside is that they cost more per piece than brownies or cookies, so I use them as the “jewel” item and let cheaper desserts fill the rest of the table.
Cost: $30–$50 | Time: 15 minutes to arrange | Difficulty: Easy
Pro Tip: Add one fresh berry and a mint leaf to each tartlet right before serving, which makes store-bought treats look homemade.
18. Cotton Candy Station
A cotton candy station is pure theater, and it is the one dessert guests talk about for weeks. I rented a small cotton candy machine for my friend’s shower, spun pink and blue clouds to order, and watched grown adults line up like kids at a fair. It costs less than a tiered cake and creates a moment, not just a dessert.
Cotton candy dissolves in humidity, so spin it to order instead of pre-making bags. The downside is the sugar dust that settles on everything nearby, so I set the machine on its own small table away from the main spread.
Cost: $40–$70 including rental | Time: 1 hour of spinning | Difficulty: Moderate
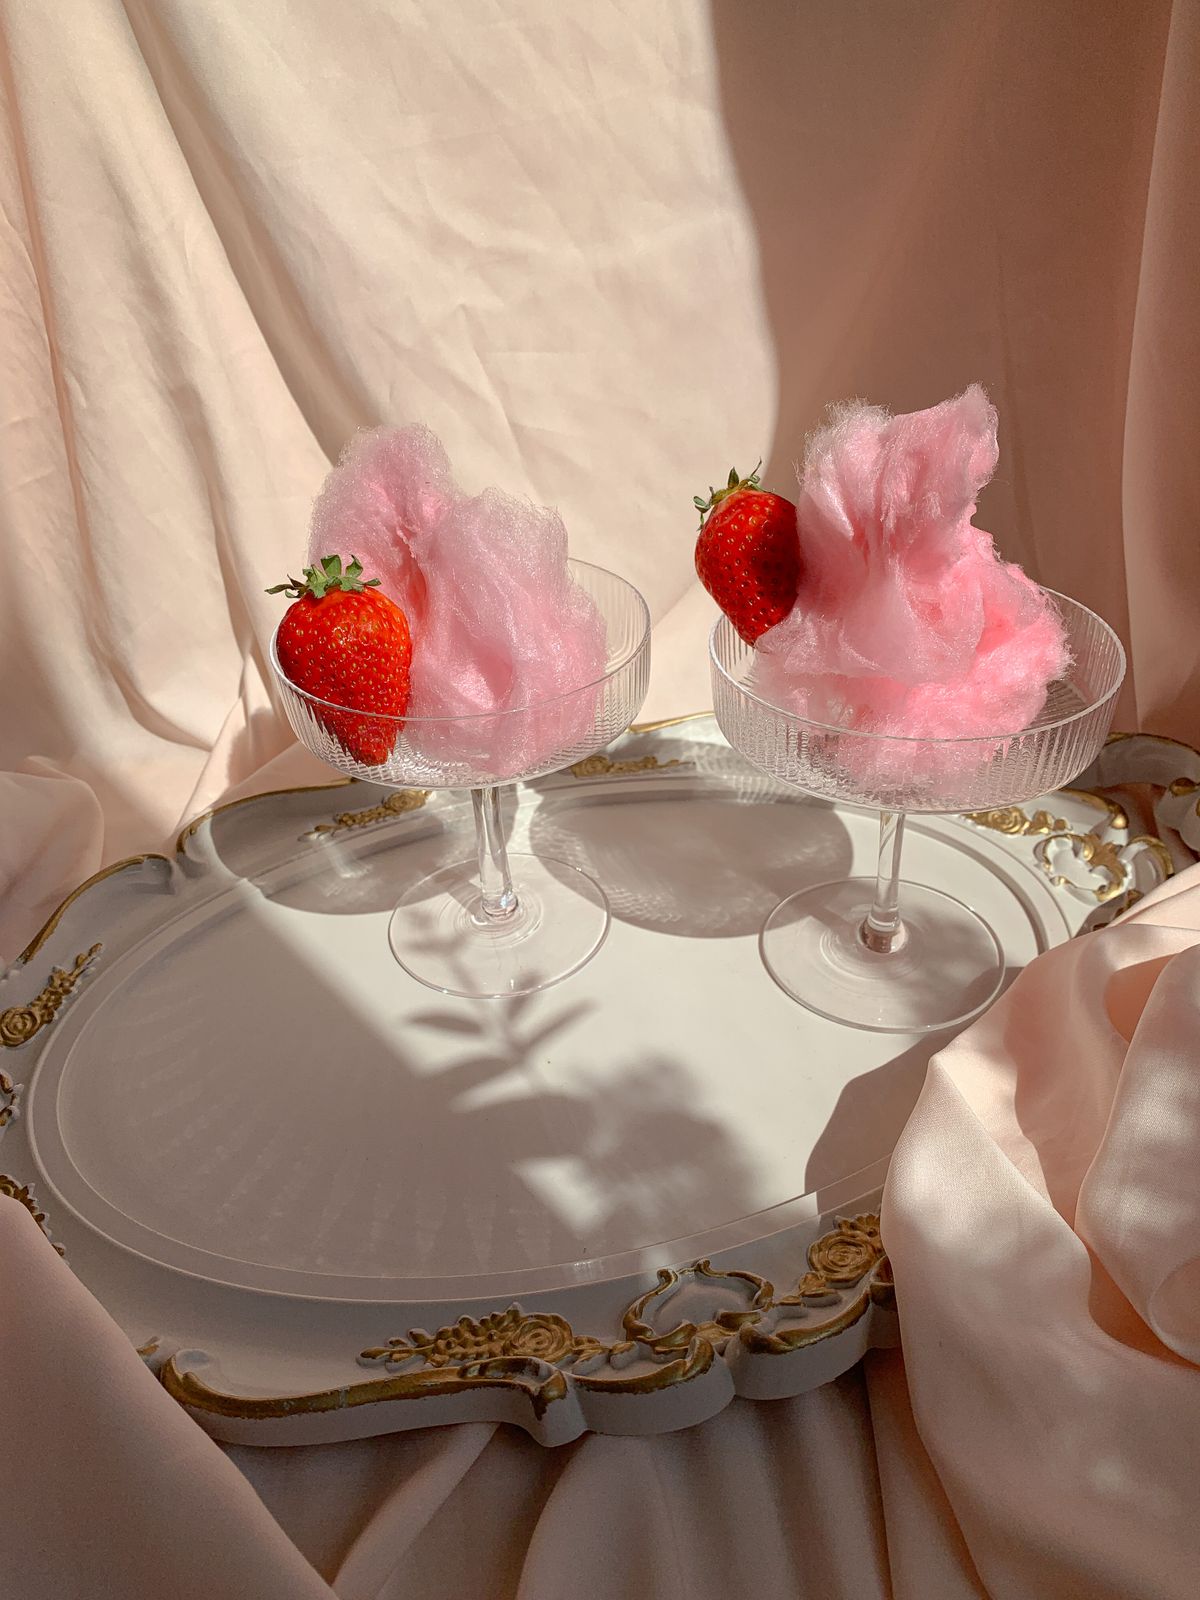
Pro Tip: Offer small paper cones instead of bags, because cones hold the cotton candy up like a bouquet and photograph beautifully.
19. Dessert Table for a Baby Boy
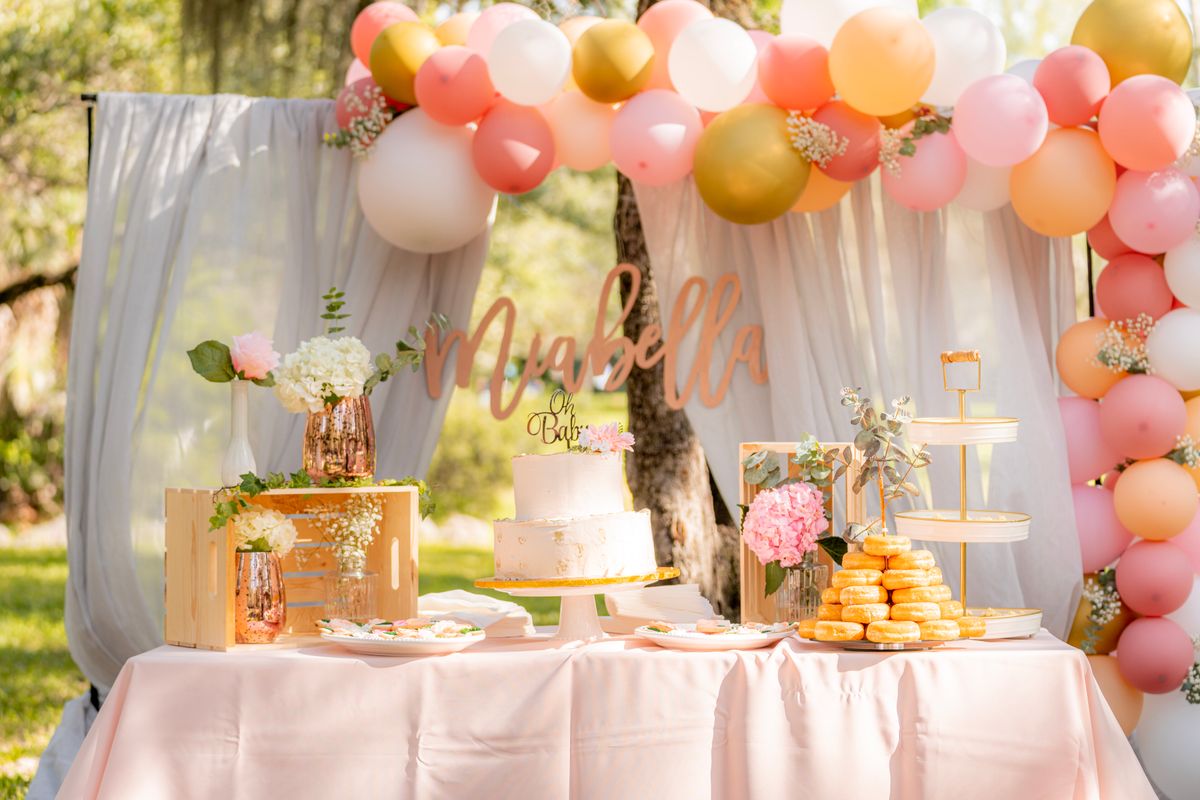
A dessert table for a baby boy does not need to be all blue trucks and sports themes. For my nephew’s shower I used soft blue, cream, and wood tones, with a simple cake, blue-frosted cupcakes, and a few plush elephants tucked between the plates. It felt calm and sweet rather than cartoonish, and the mom-to-be loved that it matched her nursery.
Pick two main colors and one accent, then repeat them in the napkins, the plates, and one dessert. The downside of a color theme is overbuying, so I shop my own kitchen first for white plates and wooden boards before buying anything new.
Cost: $40–$80 | Time: 2 hours | Difficulty: Easy
Pro Tip: If you are also planning the main menu, read this related article on baby shower food ideas to keep the sweet and savory sides balanced.
20. Dessert Table for a Baby Girl
A dessert table for a baby girl can be soft and elegant without turning into a pink explosion. For my niece’s shower I used blush, cream, and gold, with a teddy bear sitting beside the cake and tiny floral touches on every plate. Guests kept saying the table looked like a boutique window, and the mom-to-be took the teddy home for the nursery.
Fresh flowers make the biggest difference for the least money, but check that they are food-safe and keep them off the desserts themselves. The downside of a floral table is wilting, so I buy the flowers the morning of the party and mist them lightly.
Cost: $40–$80 | Time: 2 hours | Difficulty: Easy
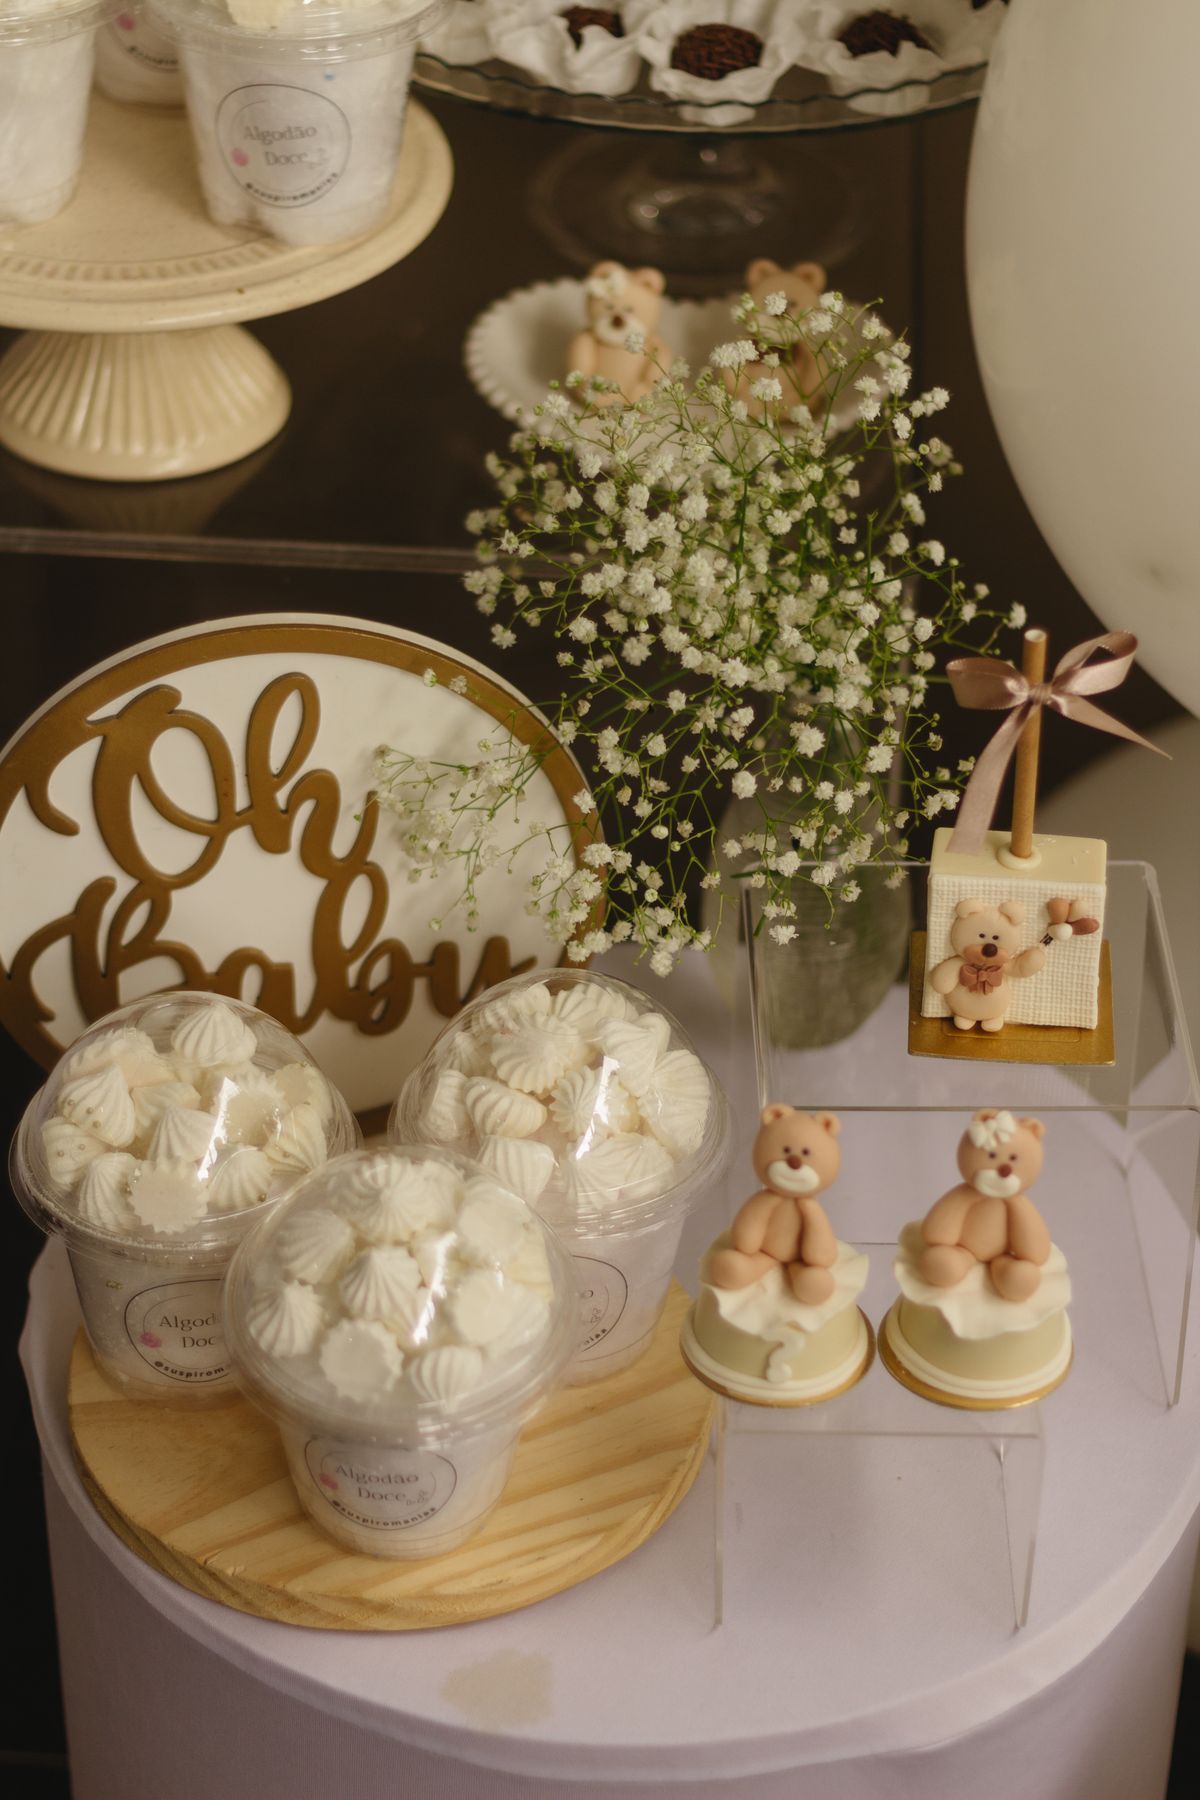
Pro Tip: Place one plush toy or keepsake on the table as a gift for the mom-to-be, which turns decoration into a present.
Which Dessert Table Style Fits Your Shower?
Use this quick comparison to pick a style that matches your guest count, budget, and energy. I have hosted all four of these setups, and the right choice depends more on your schedule than your wallet.
| Style | Best For | Budget | Effort |
|---|---|---|---|
| Bakery-centered (tiered cake + macarons) | Small elegant showers | $100–$200 | Low |
| DIY baking (cupcakes + brownies + cookies) | Hosts who love baking | $50–$90 | High |
| Interactive bars (sundae + popcorn + cotton candy) | Showers with kids | $50–$100 | Medium |
| Store-bought mix (donuts + candy + tarts) | Busy hosts, big groups | $60–$120 | Low |
Mistakes I Made (So You Don’t Have To)
I served everything at once and half of it melted. At my first shower I put chocolate desserts out three hours early in a sunny room, and the frosting slid right off the cupcakes. Now I keep heat-sensitive items in the fridge and set the table out in two waves.
I forgot labels and a guest with a nut allergy ate nothing. She was too polite to ask about every item, so she skipped dessert entirely. I now label every dish with its main allergens on a small card, which takes ten minutes and saves someone’s afternoon.
I bought too much of one thing. Forty identical cupcakes looked boring and half went home uneaten. A mix of five or six smaller items always beats a mountain of one dessert.
I skipped the savory balance. An all-sugar table left guests feeling queasy by the end. Now I always add one salty item, like popcorn or cheese straws, and the whole table gets eaten more happily.
Frequently Asked Questions
How many desserts should a baby shower dessert table have? Five to seven different items is the sweet spot for 20 to 30 guests. Fewer looks sparse, more overwhelms you and the table.
How far ahead can I prepare dessert table items? Cookies and brownies keep for two days, cupcakes for one day frosted, and chocolate strawberries must be made the same day. I do a prep schedule working backward from party time.
What if the mom-to-be has dietary restrictions? Ask her directly before planning, then build at least two items around her needs, like gluten-free macarons or dairy-free fruit skewers, so she is not stuck watching others eat.
Do I need a theme for the dessert table? Not a strict one, but two or three repeated colors make any table look intentional. Pick colors from the invitations and repeat them in napkins, plates, and one dessert.
Final Thoughts
A baby shower dessert table works best when it feels generous but not stressful, and every idea here passed my own test of tasting great, looking lovely, and surviving a real party. Pick one centerpiece, add a mix of textures, and leave room for guests to gather around the table, because that gathering is the whole point. These baby shower dessert table ideas are designed to mix and match, so take the pieces that fit your theme and leave the rest. If you want help styling the rest of the party, also read our centerpiece guide, and for take-home treats, check out these baby shower favor ideas that pair perfectly with a dessert table. Happy celebrating, and save me a macaron.