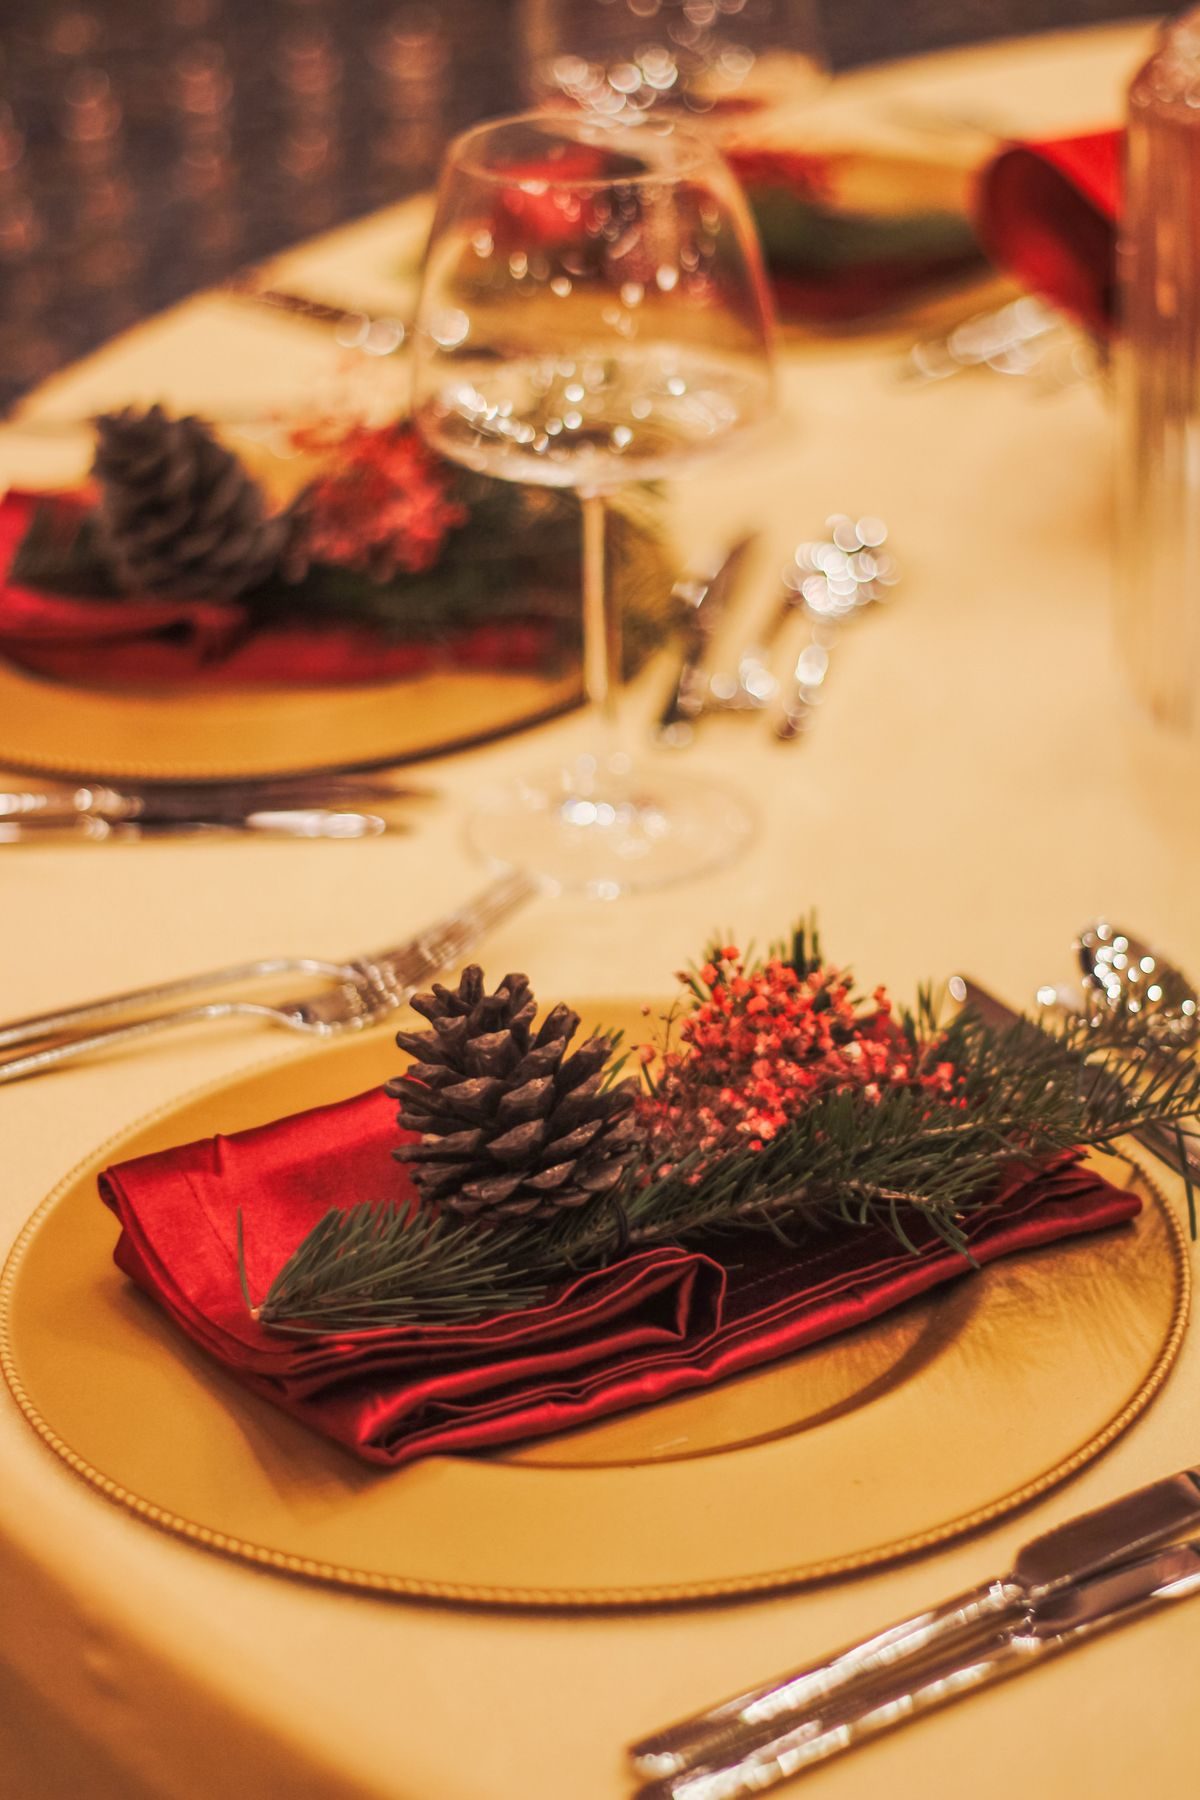
17 Christmas Napkin Folding Ideas
Last December I folded eight napkins four different ways before my coffee went cold, to see which still looked good an hour later. That test is why these Christmas napkin folding ideas are the ones I actually use — every fold here was made, squished, refolded, and left on a plate in my dining room before it earned a spot. I picked for three things: it must hold its shape through a long dinner, be learnable in under three tries, and work on the 20×20 inch cloth napkins most of us own, because those hold folds best. Paper works for a few; I will say honestly where it does not.
Key Takeaways
- Start with the Christmas tree fold — it is trending on TikTok this week, dominates Pinterest holiday-table searches, and guests always pick it up first.
- 20×20 inch cloth napkins, lightly starched or ironed, hold every fold here better than smaller or silky ones.
- Fold the day before, stack the finished napkins flat under a heavy book, and stand or place them at the last minute.
- Add the finish, not more folds: a cinnamon-stick trunk, a tiny star topper, a sprig of rosemary, or a pinecone does the decorating for you.
- Keep open flames away from standing folds — use LED candles inside any napkin display.
Before You Fold: My 10-Minute Setup
Iron every napkin flat first. A crease in the wrong place fights every fold below, and a warm iron makes cotton and linen crisp enough to hold a point. I fold on a clean counter and make one practice fold per design before committing to eight matching ones. If a fold needs holding, a glue dot or hidden pin works — just warn guests, and never pin one a child will grab.
My Favourite Christmas Napkin Folding Ideas to Start With
1. The Christmas Tree Fold
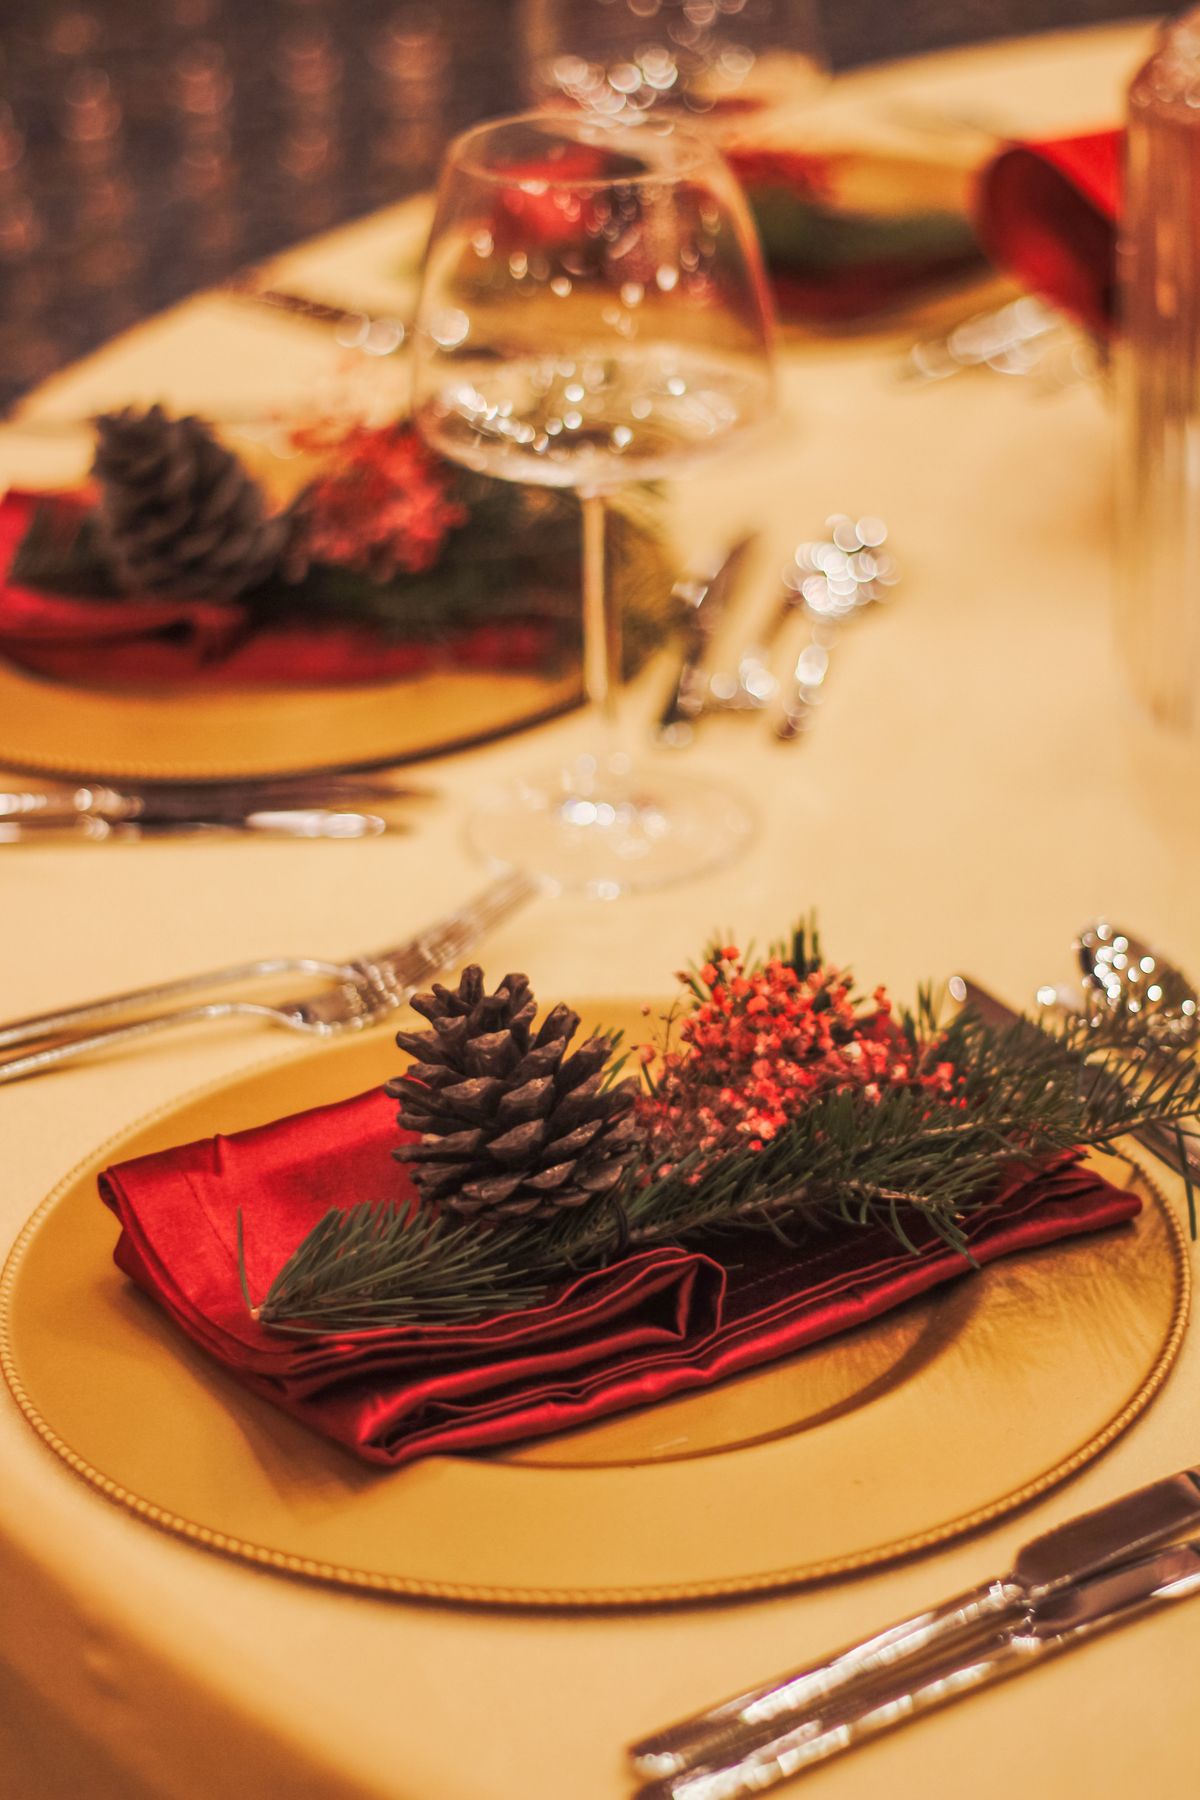
This is the hero fold for a reason. 1) Fold a square napkin in quarters. 2) Lay it diamond-style, open corners at the top, and fold each layer up, leaving about an inch between points. 3) Flip it over, fold both sides into the middle, and flip again. 4) Tuck each flap up under the one above it to make the layered branches. Finish with a cinnamon stick tucked underneath as the trunk and a tiny star on top. My first tree leaned badly because my napkin was 17 inches; the 20-inch one stood straight. Downside: it takes the longest per napkin, so fold these the night before, not at 4 p.m.
Cost: $0–6 for cinnamon sticks and stars | Time: 4 minutes each | Difficulty: Medium
Pro Tip: Green napkins read instantly as a tree, but white with a gold star looks surprisingly elegant — that is the version on my table this year.
2. The Poinsettia (Lotus) Fold
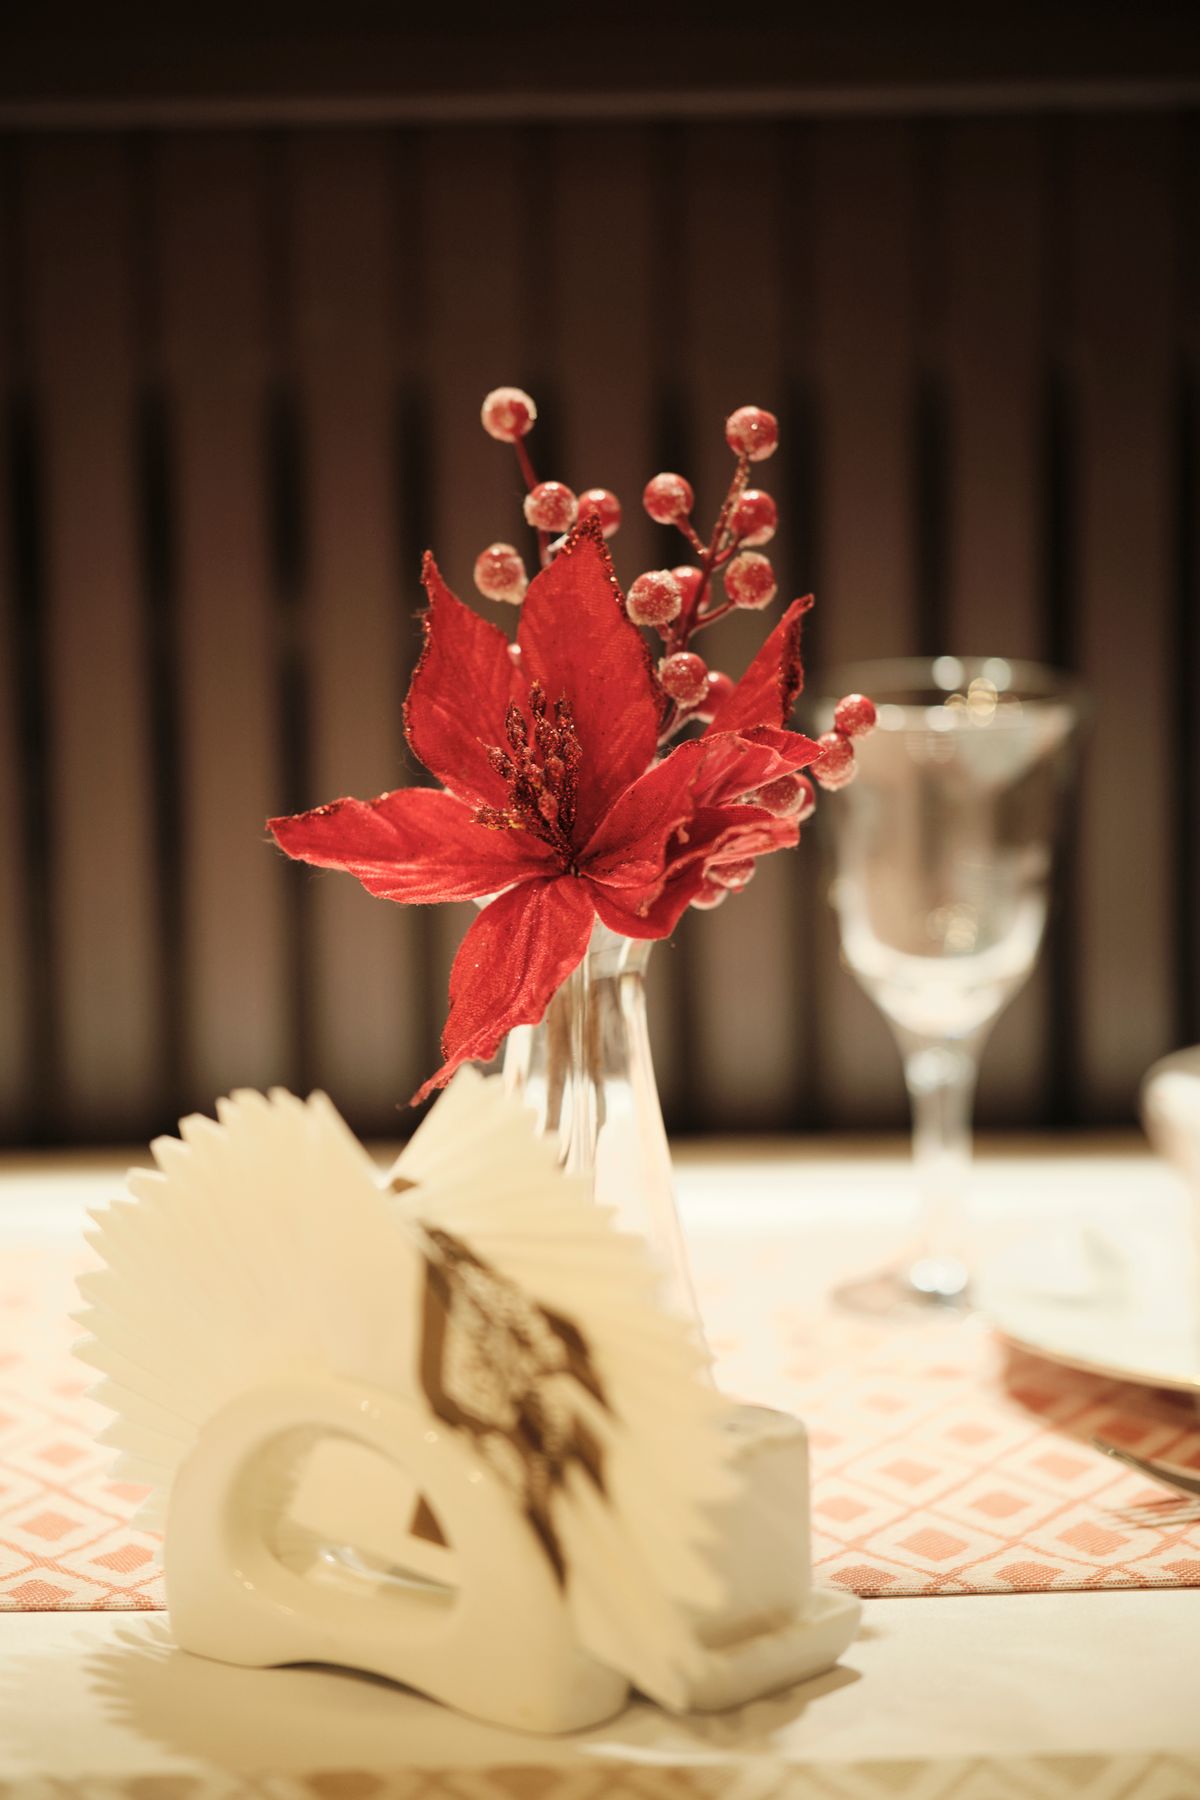
The poinsettia and lotus folds are cousins — both open into petals. 1) Fold the napkin in quarters. 2) Fold the closed corner up to meet the open corner, making a triangle of layers. 3) Roll or fold the two side corners into the centre, flip it over, and fold the new corners in again. 4) Reach underneath and pull each flap up and out into a petal. I set a gold bead in the middle of my red ones and they genuinely looked like the plant. Downside: silky napkins slide back flat, so this one wants cotton or linen with some body, and a quick press between steps helps.
Cost: $0–3 for centre beads | Time: 3 minutes each | Difficulty: Medium
Pro Tip: Make it in deep red, then set one single green napkin version at the host’s seat — a small detail guests photograph every time.
3. The Big Bow Fold
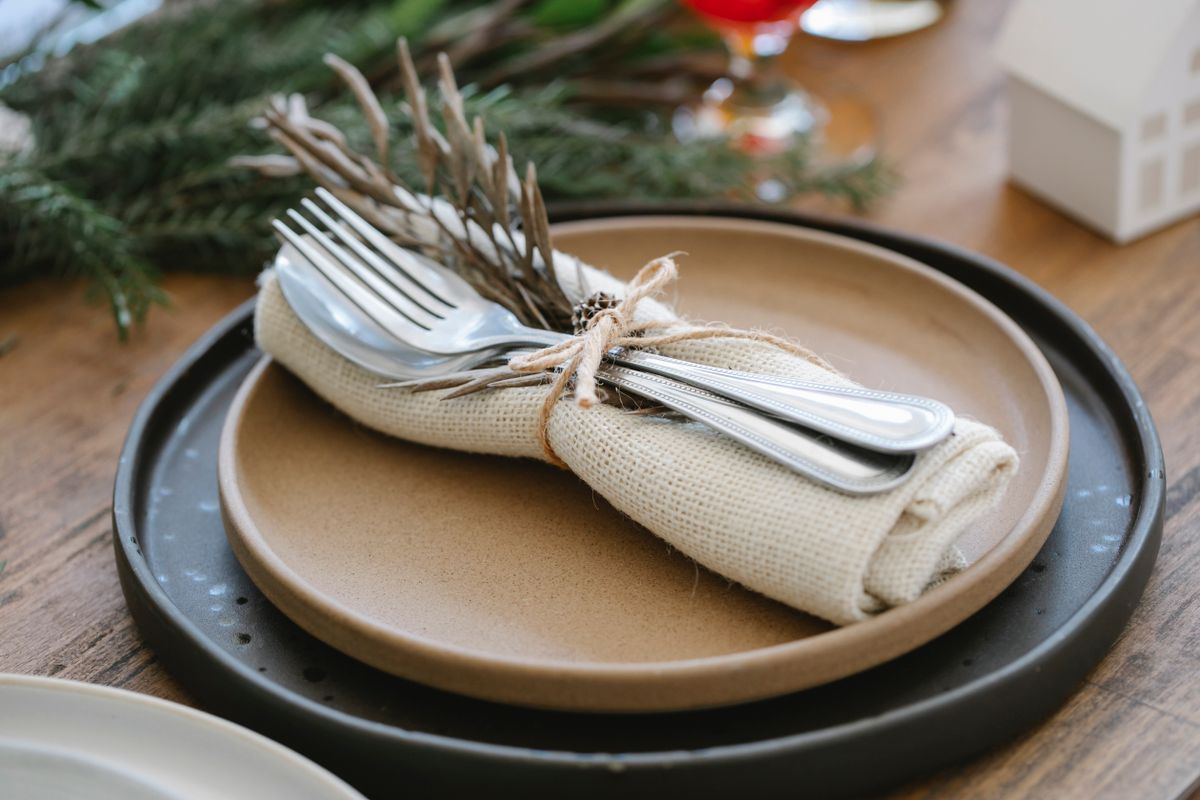
The bow is the fold I teach nervous helpers because it forgives mistakes. 1) Fold the napkin into a long rectangle in thirds. 2) Cross the two ends over each other in the centre, like the first step of tying a bow. 3) Pinch the middle and wrap a short piece of ribbon, twine, or a napkin ring tightly around the pinch. 4) Fluff the two loops and trim the tails at an angle. My daughter made all eight of ours last year in about twenty minutes. Downside: the loops go limp in soft fabric, so choose a stiffer napkin or add a light starch spray first.
Related article: my guide to Christmas gift wrapping ideas — the same ribbon scraps finish these bows beautifully.
Cost: $0–4 for ribbon | Time: 2 minutes each | Difficulty: Easy
Pro Tip: Cut ribbon tails with a small V notch instead of a straight cut — it stops fraying and looks store-bought.
4. The Pocket Fold With Cinnamon and Rosemary
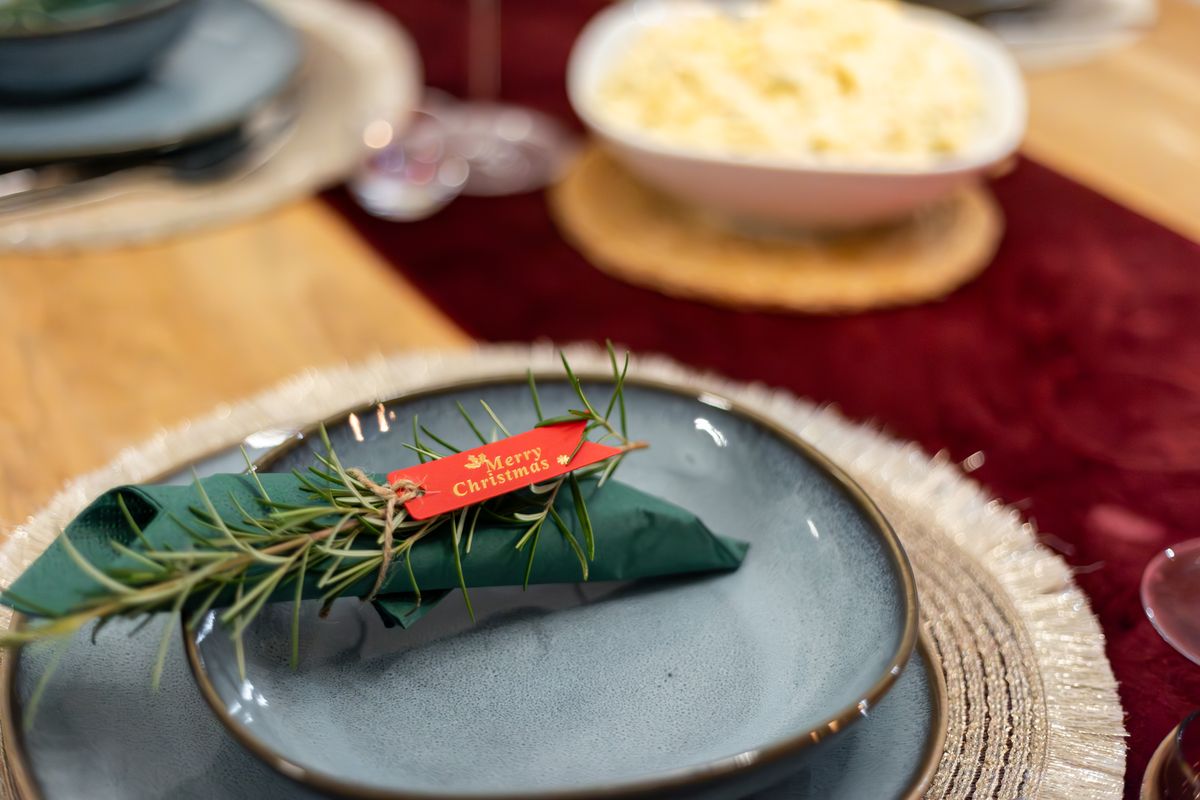
If I could only keep one everyday fold, this is it. 1) Fold the napkin in quarters, open corner facing you. 2) Roll or fold the top layer down twice to make a diagonal band. 3) Flip it over and fold both sides into the middle, tucking one corner into the other’s fold to lock it. You now have a pocket — slide in the cutlery, or my favourite, a cinnamon stick and a sprig of rosemary. It smells wonderful when guests sit down. Downside: fresh rosemary wilts after a day, so tuck the herbs in the morning of, not the night before.
Cost: $2–5 for cinnamon and rosemary | Time: 2 minutes each | Difficulty: Easy
Pro Tip: Write the guest’s name on a small tag and tuck it in the pocket — place card and napkin in one move.
5. The Santa Hat Fold
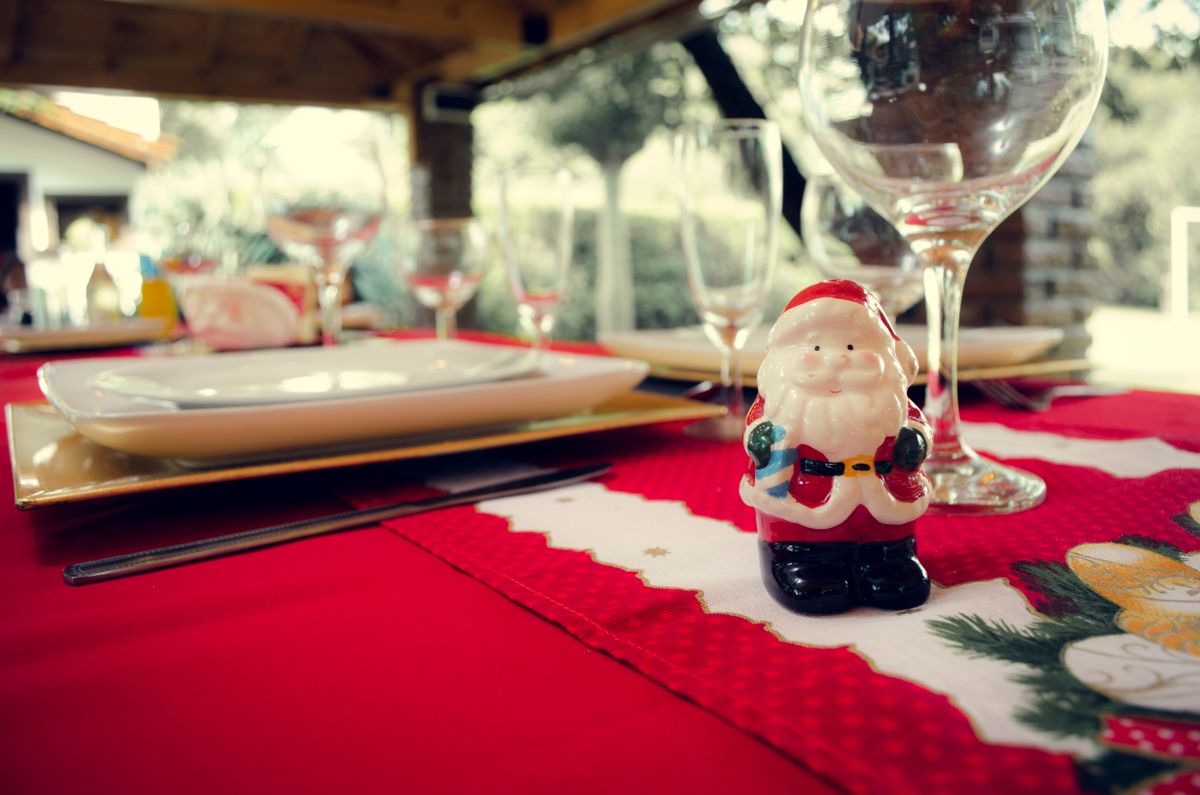
Kids at my table fight over this one. 1) Fold a red napkin into a triangle, point up. 2) Fold the two bottom corners up and in so the shape narrows. 3) Fold the bottom point up to make the hat’s brim, then flip the napkin and fold once more for a chunky white-looking band if your napkin is red on one side only — a two-tone napkin works best. 4) Stand a small white pom-pom or cotton ball at the tip. My first attempt looked like a sailboat because I skipped pressing the brim. Downside: it only reads as a hat in red — in green it is just a triangle.
Cost: $0–3 for pom-poms | Time: 3 minutes each | Difficulty: Easy
Pro Tip: Skip this for a formal adults-only dinner; it is charming and playful, and it knows it.
6. The Angel Fold
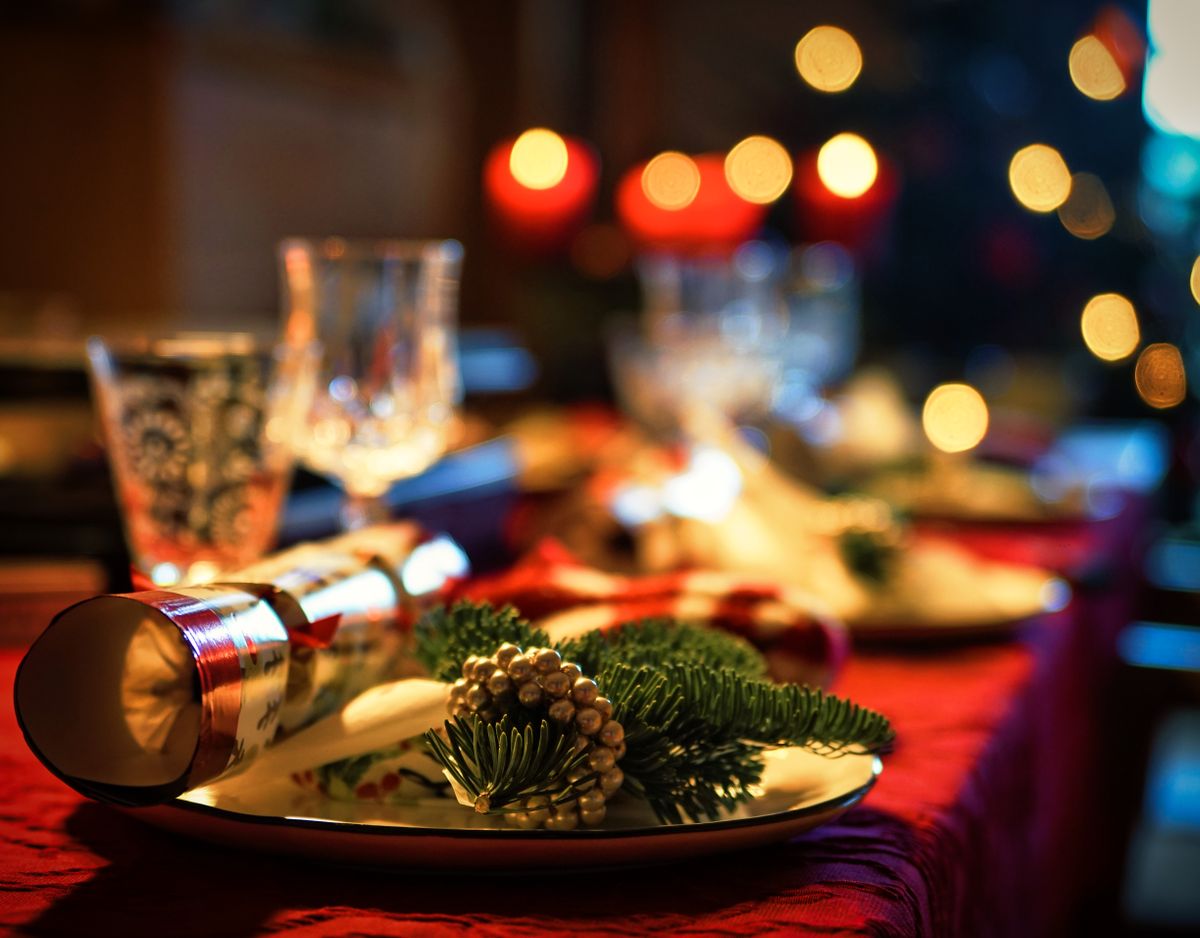
The angel is softer than it looks. 1) Fold the napkin in half into a triangle. 2) Roll the two long edges tightly toward the centre point to make a cone — that is the body. 3) Fan the remaining layered corner out behind it as wings, and pinch the top into a small round head shape, securing it with a tiny gold ring or twist of wire. I made these for our Christmas Eve dinner, all white linen, and the candlelight did the rest. Downside: the cone unrolls in slippery fabric, so this is a fold-it-and-place-it fold, never a fold-it-yesterday one.
Cost: $0–4 for gold rings | Time: 4 minutes each | Difficulty: Medium
Pro Tip: Keep real candle flames well away from standing angel wings — I use LED tealights on that table, always.
Classic Folds That Always Work
7. The Standing Star Fold
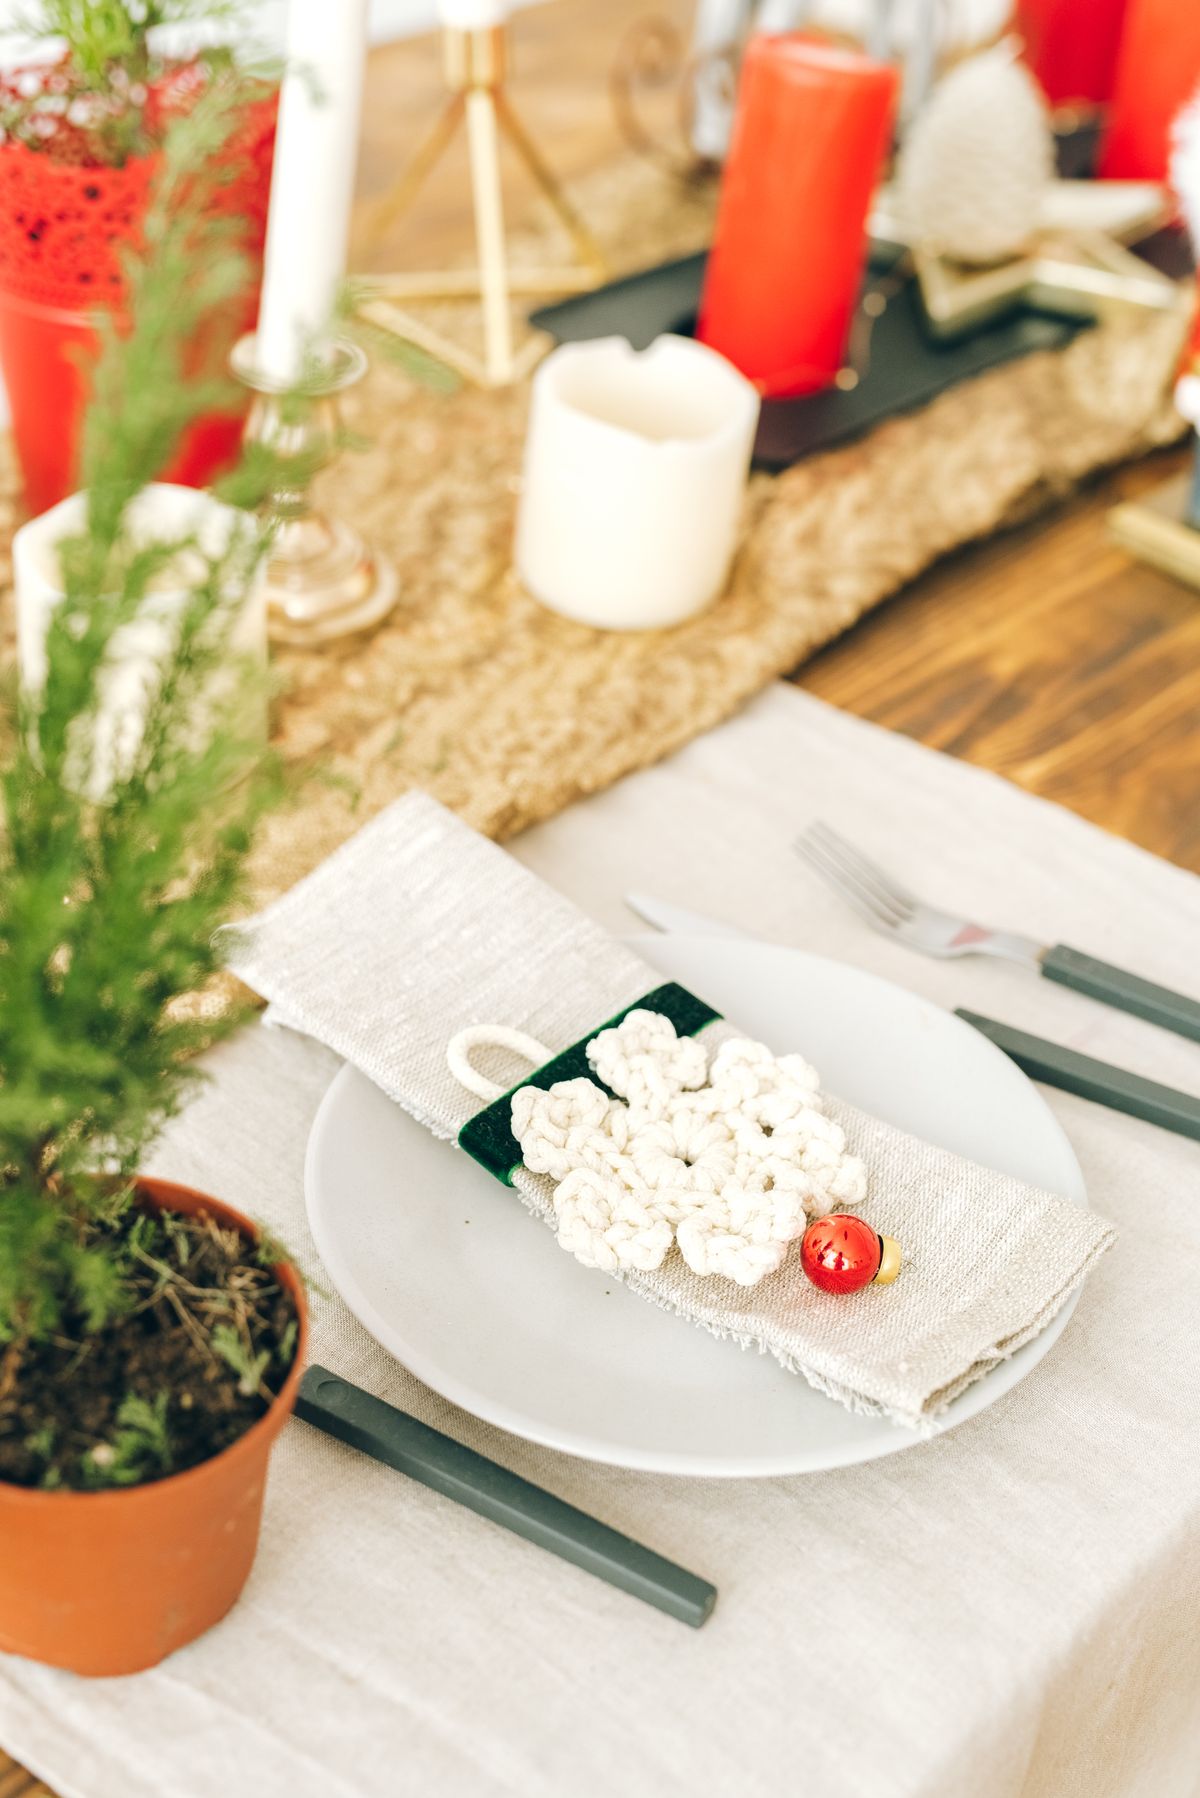
The star photographs beautifully from above, which is why it is all over holiday tables online. 1) Accordion-fold the napkin into even pleats. 2) Pinch the centre firmly and tie it with twine or a thin ring. 3) Fan both ends out and join the outermost pleats with a glue dot or small staple hidden underneath, forming points all the way around. Mine needed five even pleats — four looked like a lopsided flower. Downside: pleats must be truly even or the star lists to one side, so measure the first pleat with a ruler and match the rest to it.
Cost: $0–2 | Time: 3 minutes each | Difficulty: Medium
Pro Tip: A star in gold or plaid at each setting replaces a centrepiece on a small table where space is tight.
8. The Candle Fold
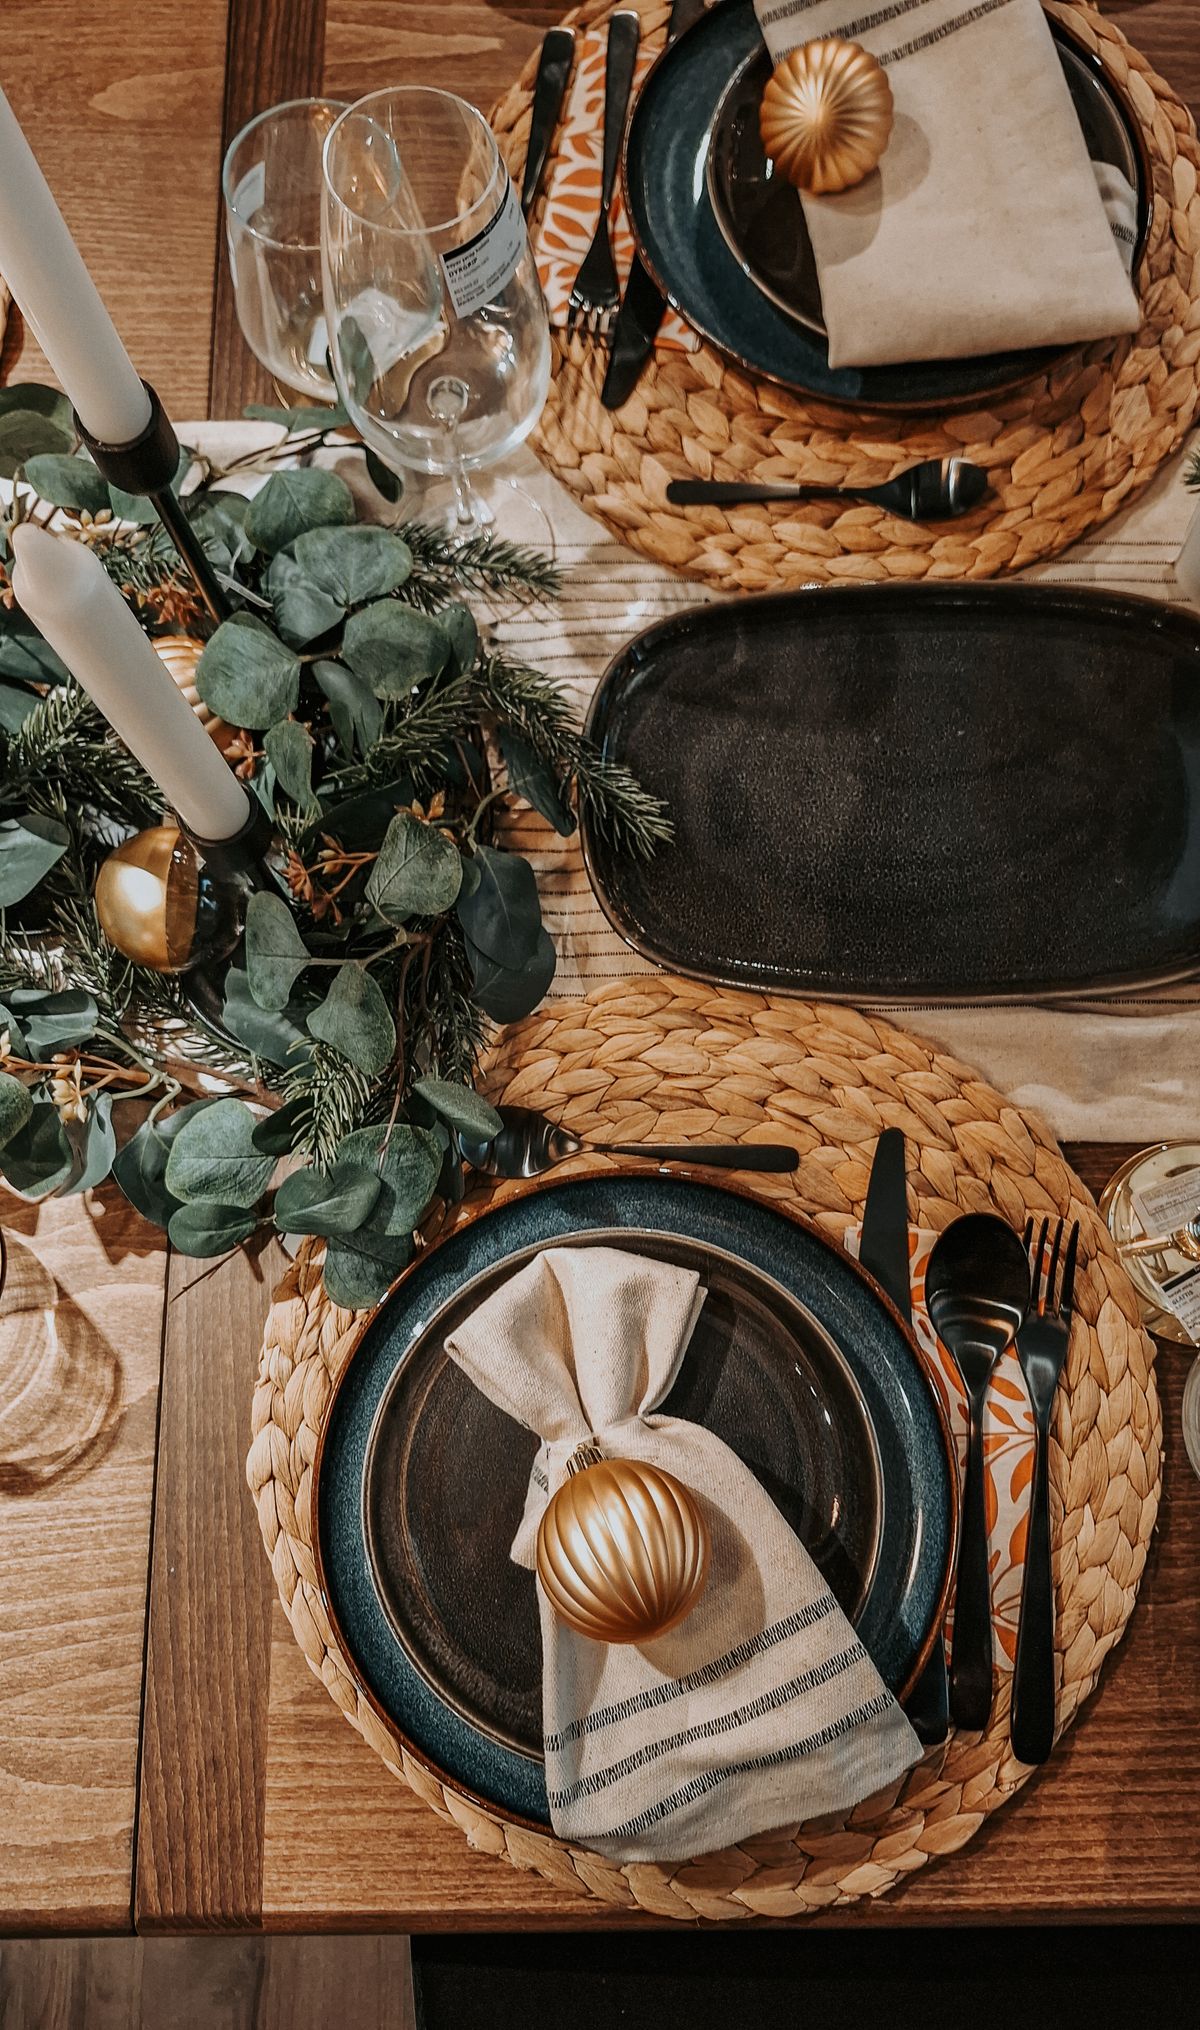
This tall, slim fold suits a crowded table because it takes almost no plate space. 1) Fold the napkin diagonally into a triangle. 2) Fold the base up about an inch. 3) Roll tightly from one corner to the other, tucking the last flap into the base fold. 4) Peel one top point down slightly to suggest a flame. I used these at a table of twelve where elbows were already negotiating. Downside: a loose roll collapses by dessert, so roll tighter than feels necessary — the fabric relaxes about ten percent once it stands.
Also read: my Christmas brunch table ideas — the candle fold is the one I use there too, in pale linen for morning light.
Cost: $0 | Time: 2 minutes each | Difficulty: Easy
Pro Tip: Never stand a real lit candle inside a napkin fold — the name is the only flame this one should have.
9. The Envelope Fold With a Place Card
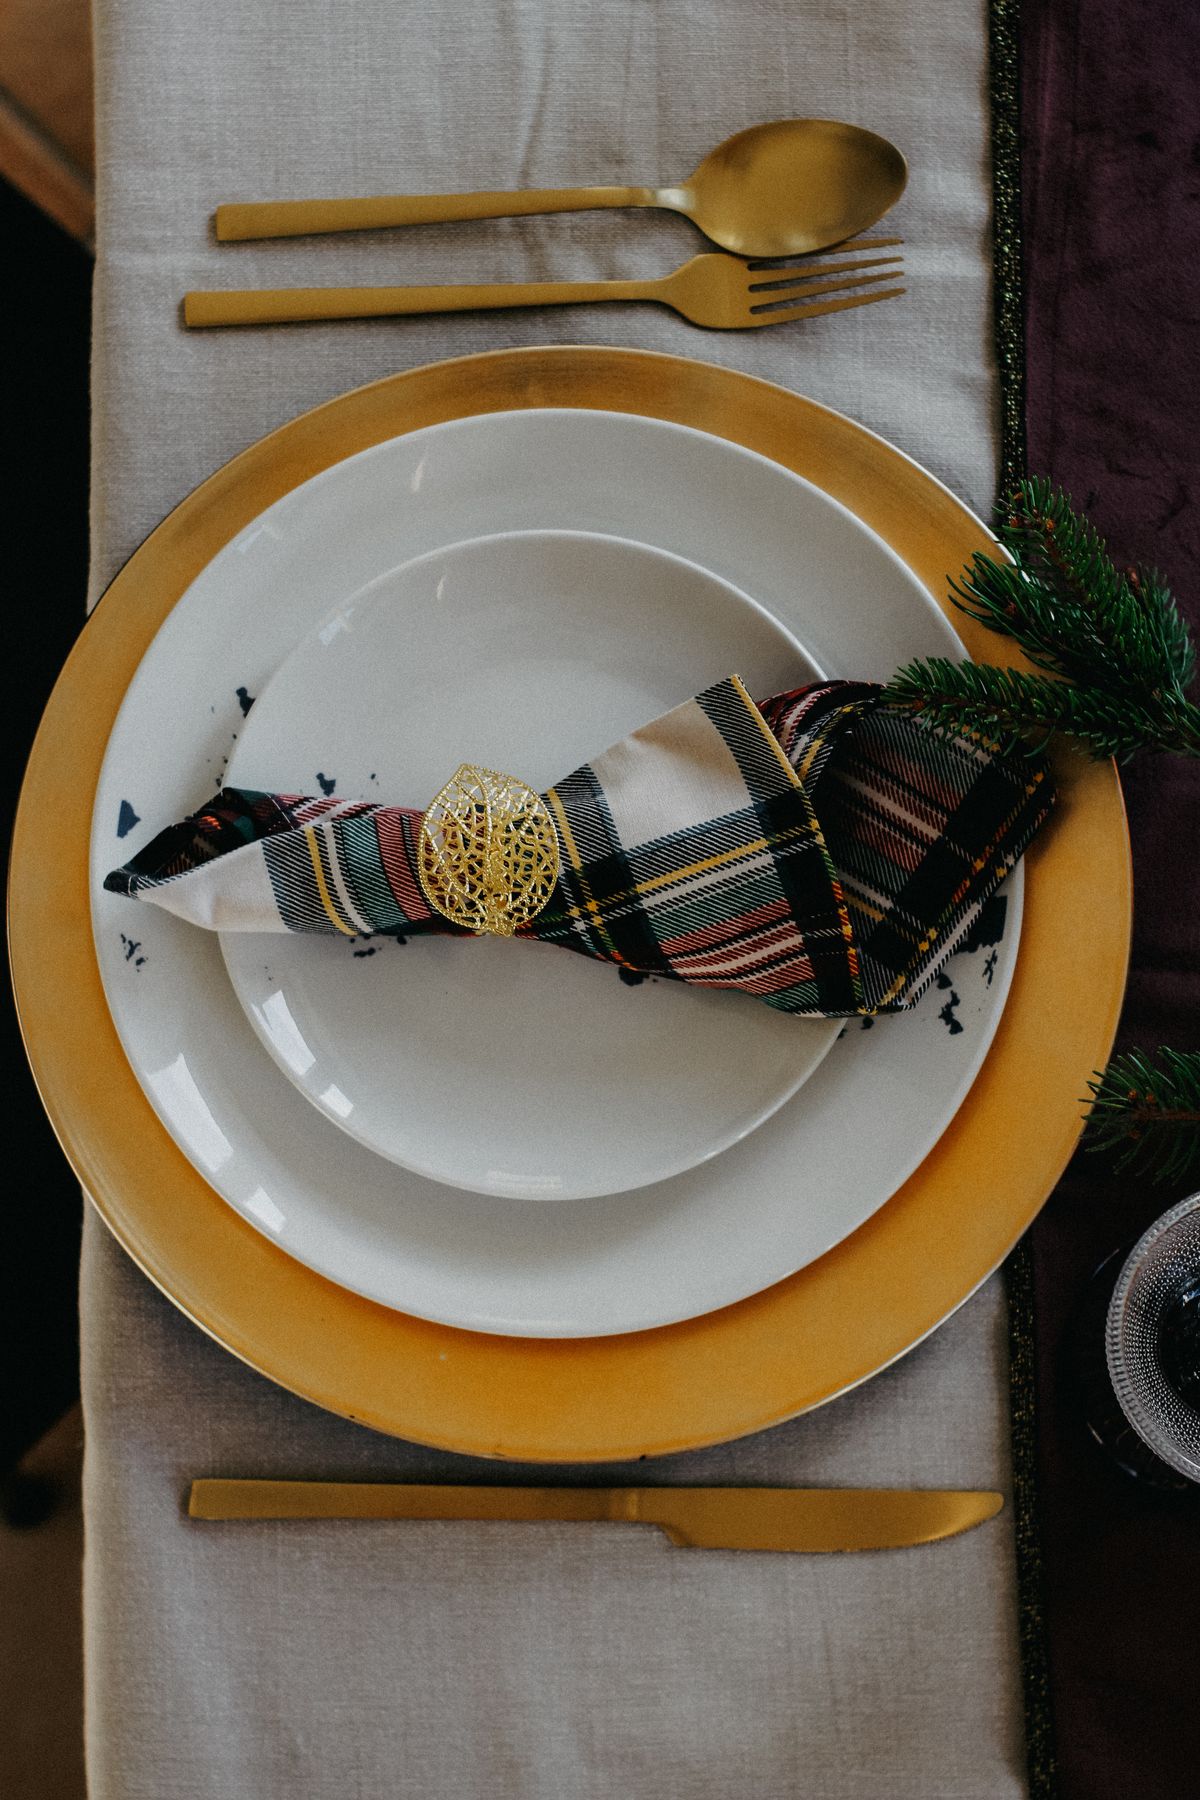
For the dinner where I am also leaving a small note or menu at each seat, I fold envelopes. 1) Lay the napkin diamond-style and fold the bottom point up to the centre. 2) Fold both side points into the centre, overlapping slightly. 3) Fold the top point down as the flap, and tuck a place card, menu, or short thank-you note under it. Last year I tucked in a printed photo from that year’s gathering and my sister kept hers in her purse. Downside: thick cardstock makes the flap bulge, so keep inserts thin and small.
Cost: $0–3 for cards | Time: 2 minutes each | Difficulty: Easy
Pro Tip: Address the envelope flap in gold pen. It takes ten seconds and makes a two-minute fold look catered.
10. The Standing Fan Fold
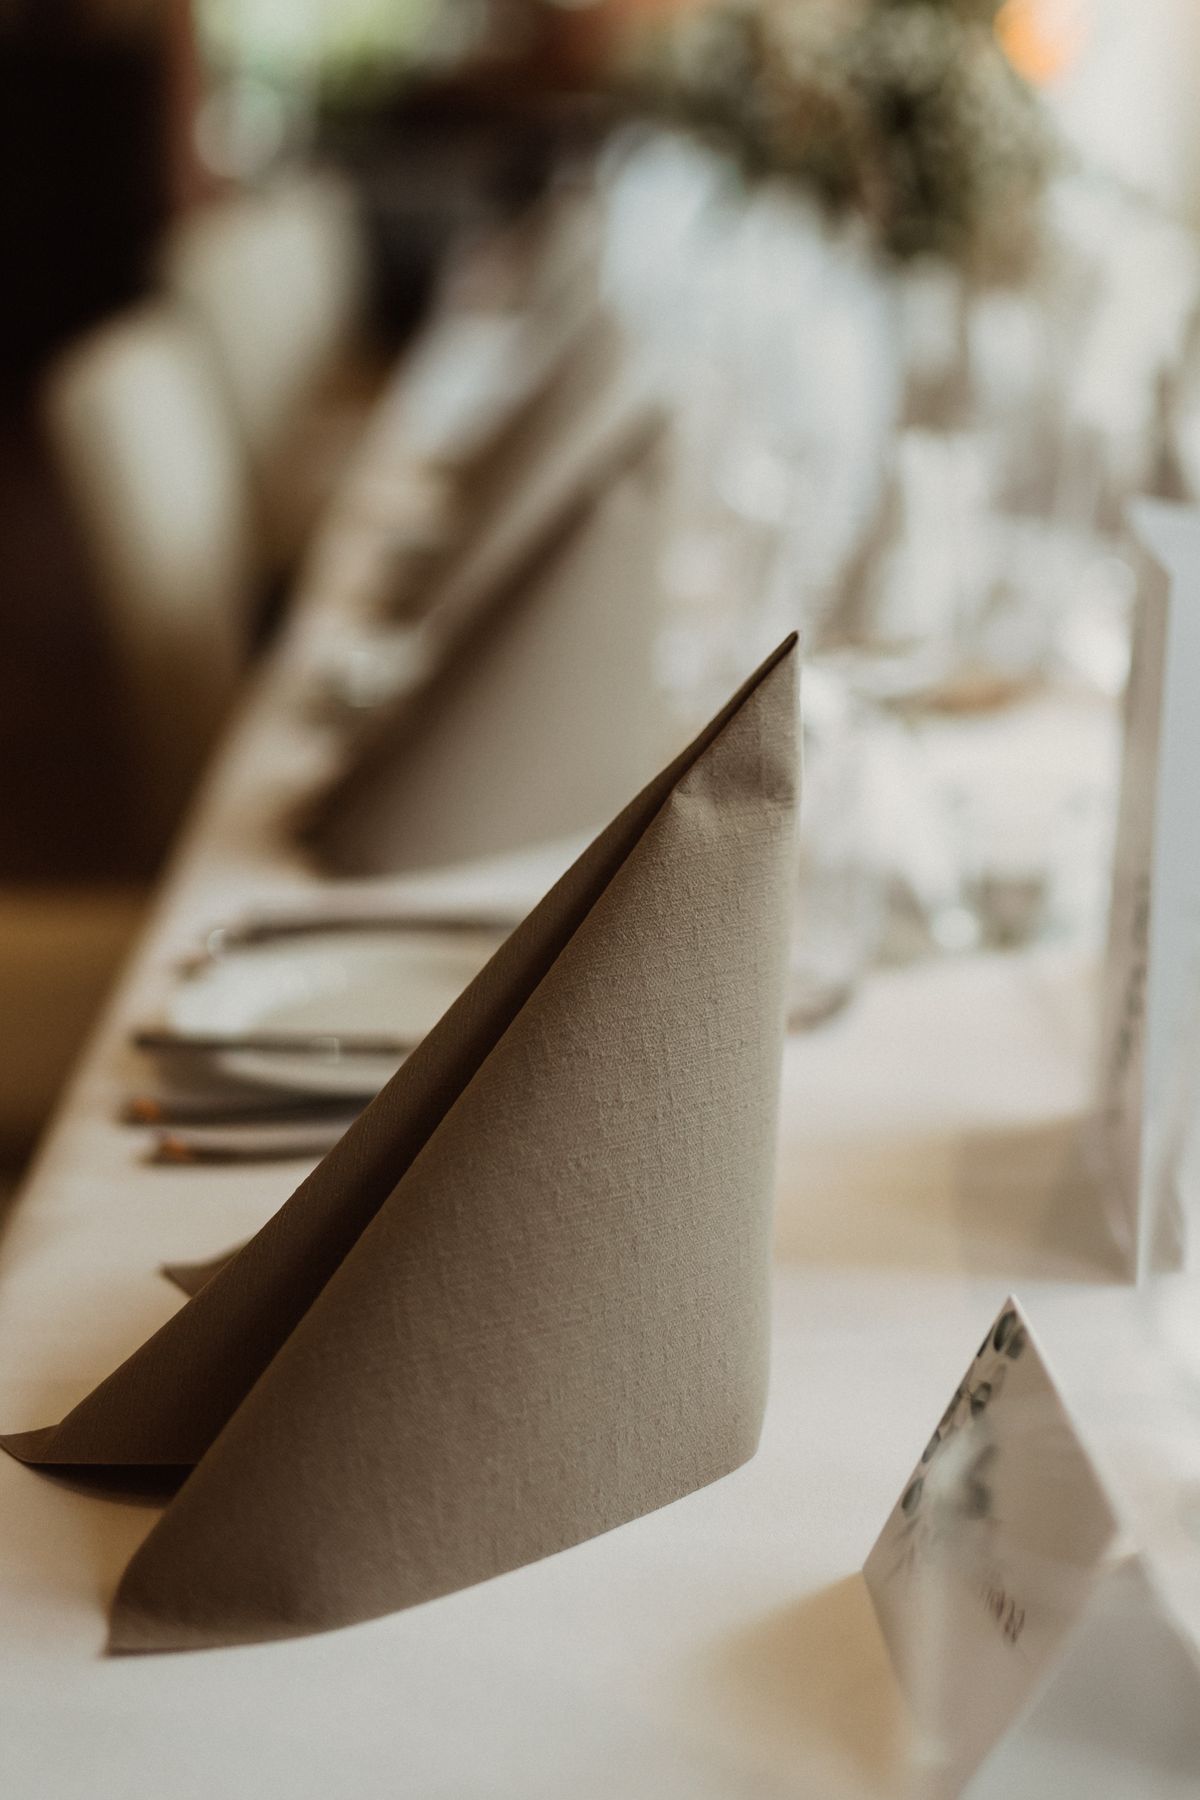
The fan is the restaurant classic, and it is mostly ironing. 1) Fold the napkin in half, then accordion-pleat two-thirds of it in even one-inch folds. 2) Fold the pleated section in half with the pleats outside. 3) Fold the smooth tail diagonally and tuck it behind as a stand, then open the fan on the plate. My pleats were uneven the first time and the fan leaned like it was tired. A ruler-fixed first pleat solved it permanently. Downside: fans wilt in humid kitchens, so fold them in the dining room if you have been steaming vegetables all afternoon.
Cost: $0 | Time: 3 minutes each | Difficulty: Easy
Pro Tip: Fans show off two-tone and bordered napkins better than any other fold — the pleats stripe the colours.
11. The Rose Fold
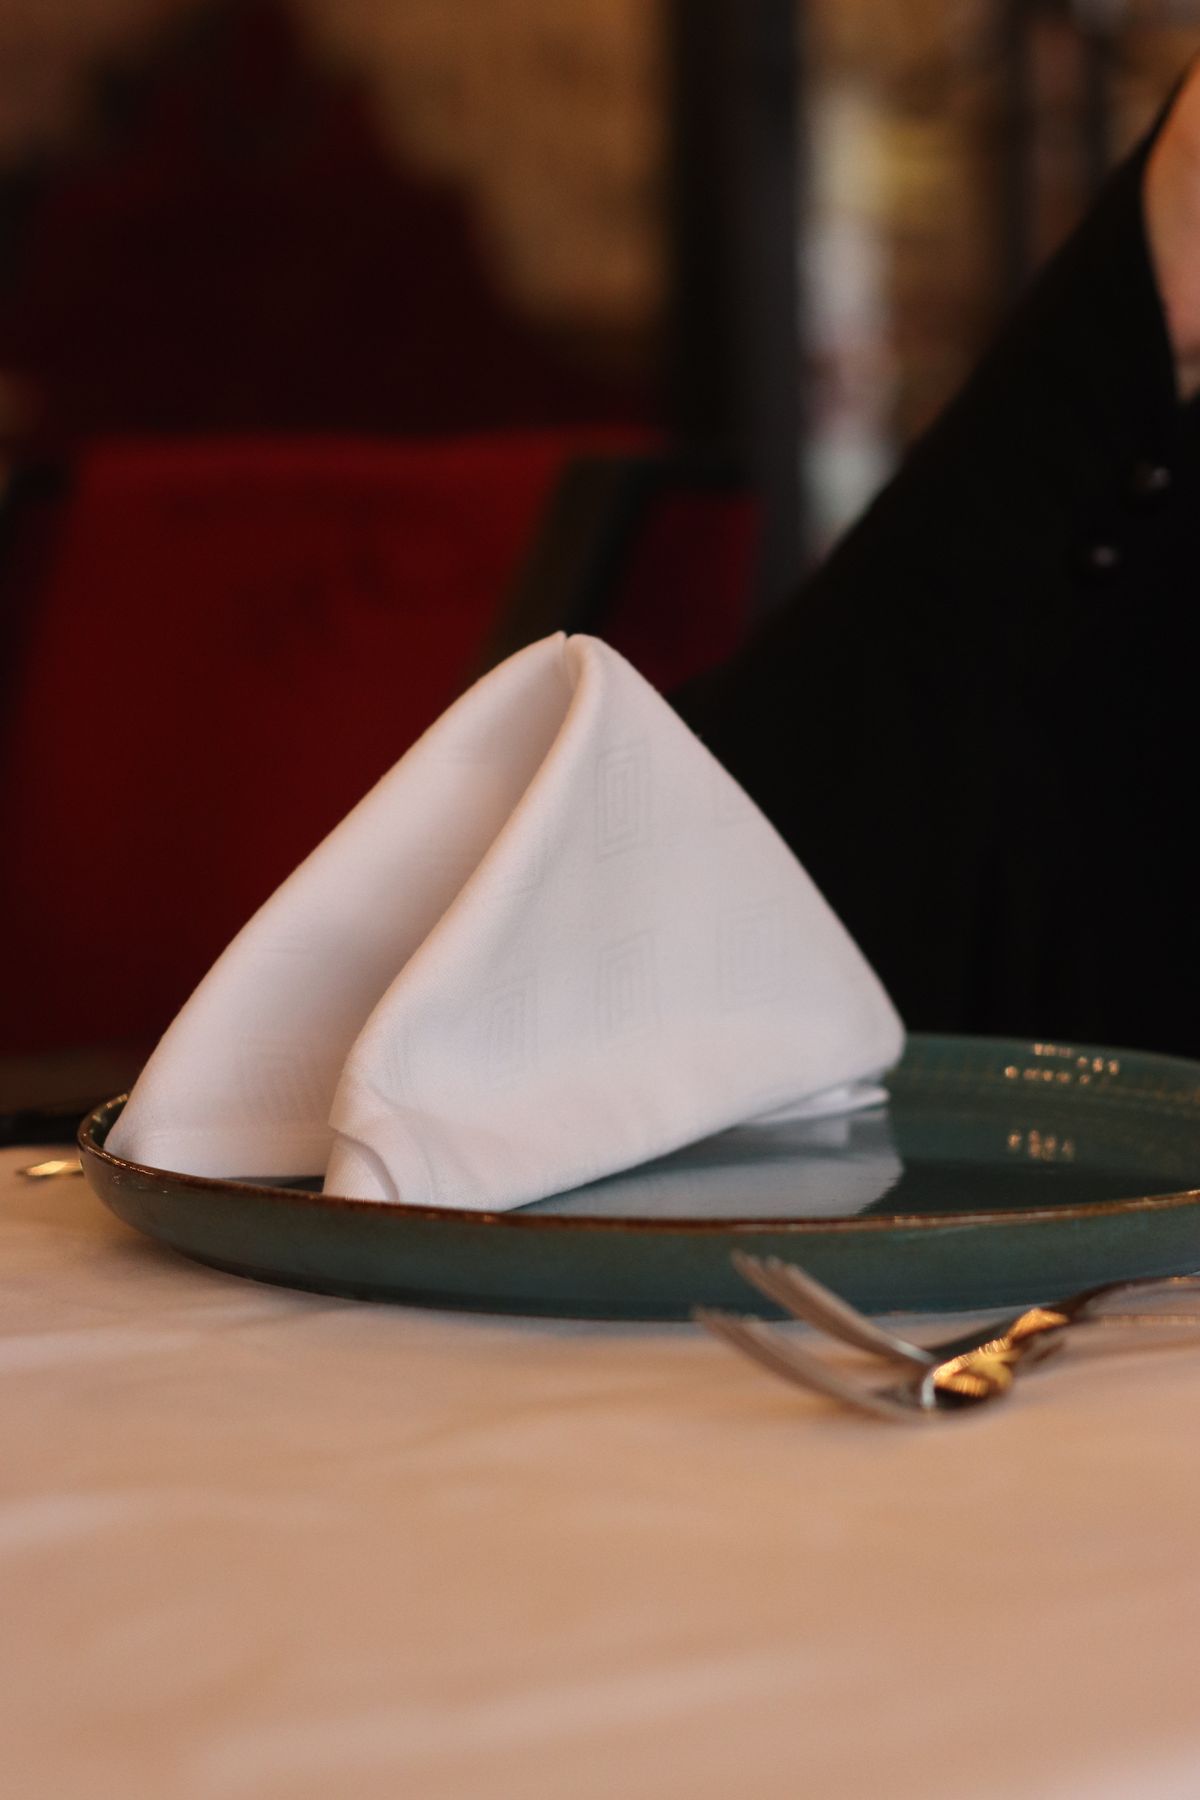
A rose sounds fussy, but it is one continuous roll. 1) Fold the napkin into a long band about three inches wide. 2) Starting two inches from one end, roll the band tightly, twisting the fabric a quarter turn every roll so petals form. 3) Pinch the base, tuck the loose end in, and pull two corners out as leaves if your napkin is green underneath. I put a single red rose napkin on a small bread plate at each setting for a ladies’ lunch and it was the whole table decor. Downside: roses unravel when picked up, so warn guests it is a look-first napkin.
Cost: $0 | Time: 3 minutes each | Difficulty: Medium
Pro Tip: Two-tone napkins — red outside, green inside — give you petals and leaves from one roll.
12. The Crown Fold
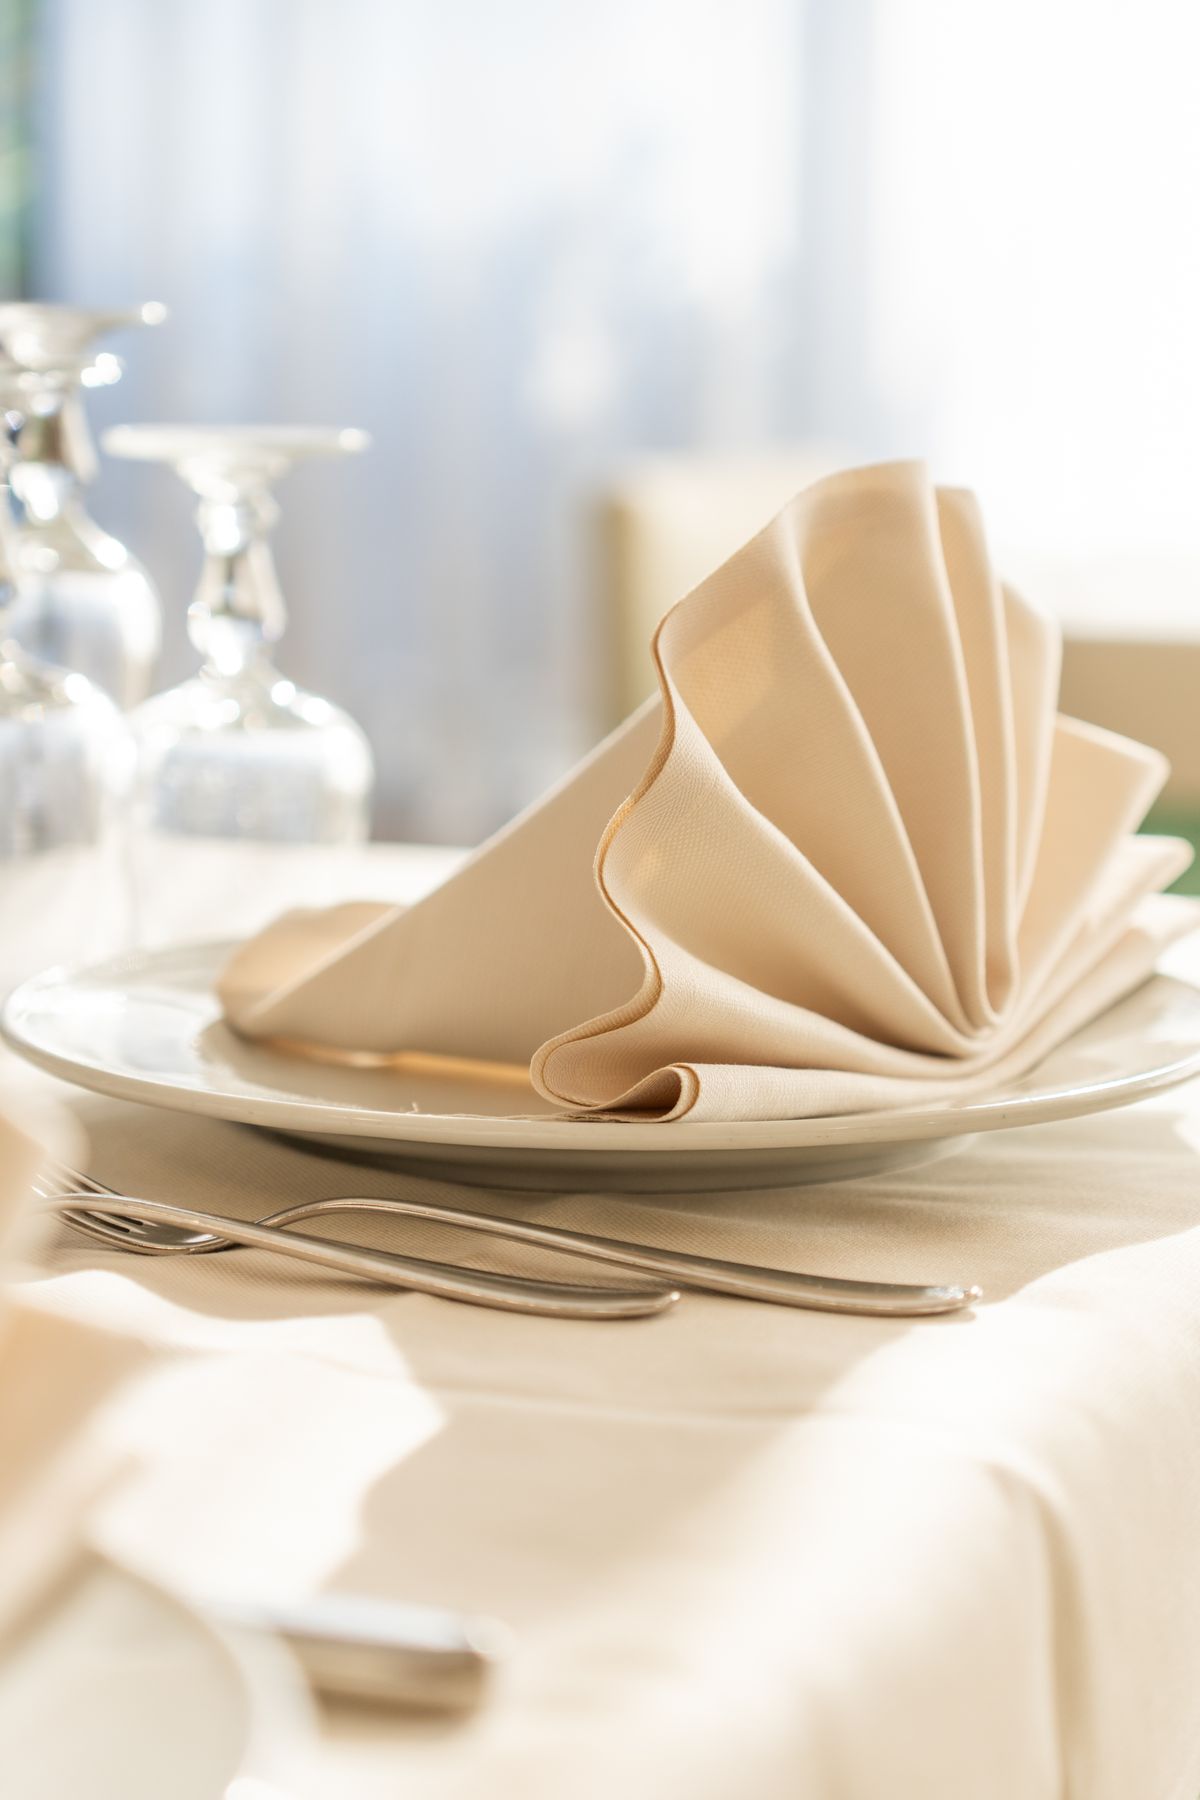
The crown is the formal one I save for Christmas Day itself. 1) Fold the napkin in quarters, open corners up. 2) Fold the two side corners into the centre, then fold the bottom point up twice. 3) Flip it, fold the sides in to meet, and tuck one end firmly into the other’s cuff. 4) Stand it up and pull the two front points down into peaks. On my white-and-gold Christmas table it looks genuinely regal. Downside: it is the least forgiving fold here — if the tuck is loose, the crown opens flat on the plate within the hour.
Cost: $0 | Time: 4 minutes each | Difficulty: Hard
Pro Tip: Make crowns first, before your hands are tired and your folds get sloppy — I learned that ordering the hard way.
Simple Finishes for Busy Hosts
13. The Diamond Pocket Fold
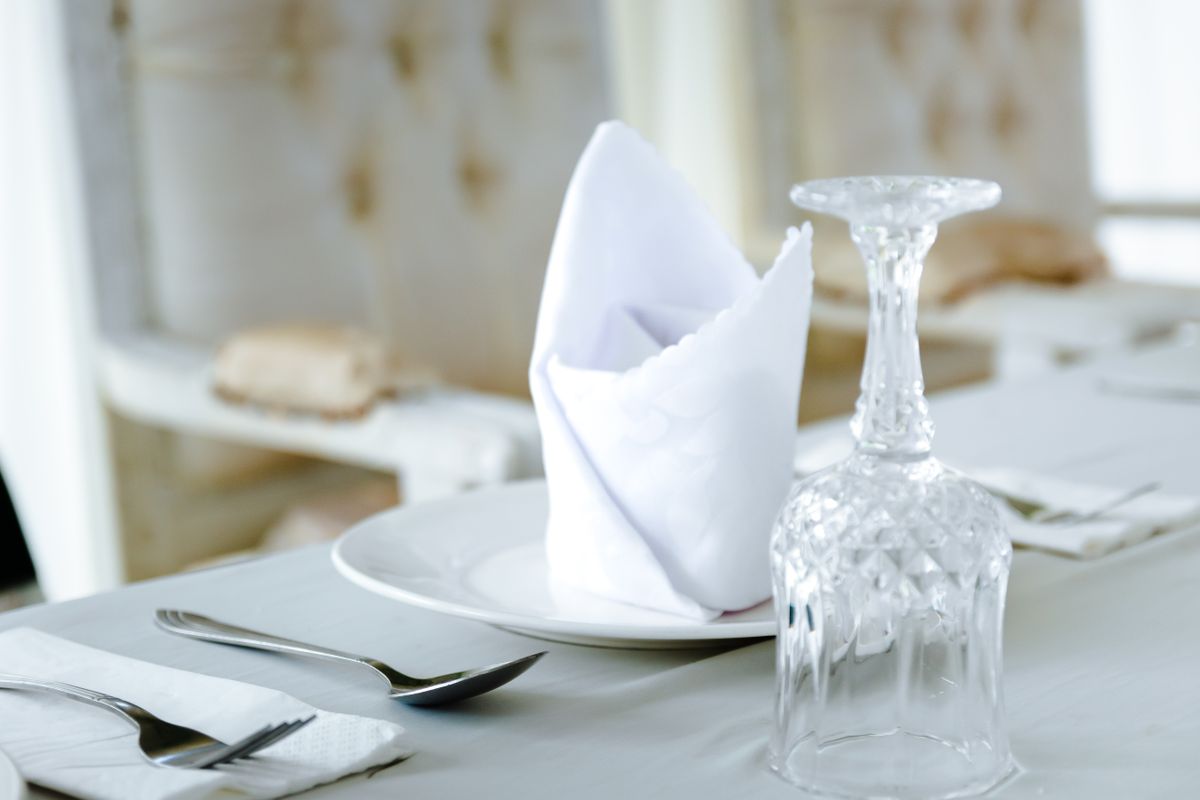
A neater cousin of the basic pocket, finished with a diamond point. 1) Fold the napkin in quarters. 2) Fold the top layer down diagonally in three small folds, each about half an inch apart, creating stepped bands. 3) Flip and fold the sides into the middle, tucking to lock. The stepped front catches light and looks tailored next to simple white plates. I use this one when the menu is rich and the table needs calm, not more pattern. Downside: the steps must be even to look intentional; uneven steps just look like a mistake, so fold slowly.
Cost: $0 | Time: 2 minutes each | Difficulty: Easy
Pro Tip: Slide only the fork into this pocket and lay the knife beside the plate — a stuffed pocket loses the diamond shape.
14. The Triangle Fold With a Bauble
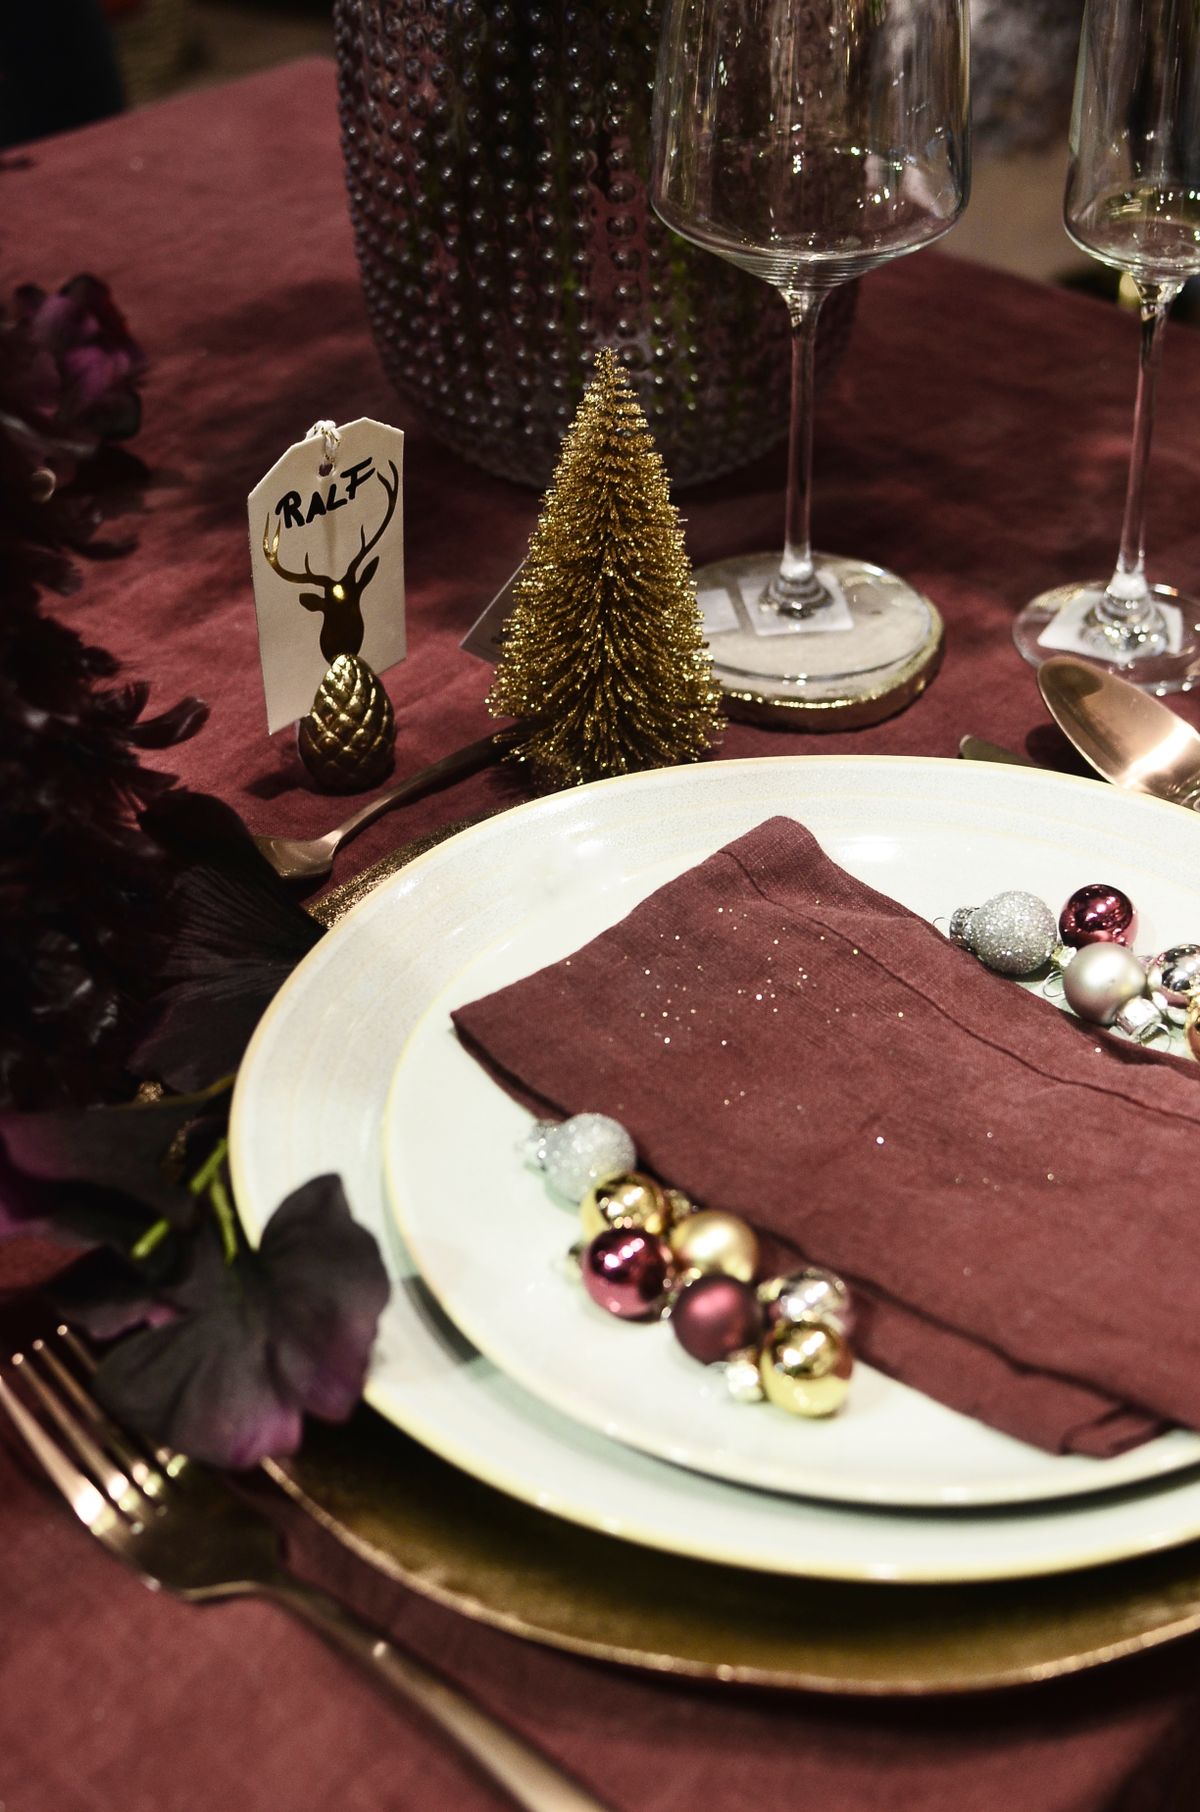
Some years the honest answer is a clean triangle and one pretty thing on top. 1) Fold the napkin in half diagonally. 2) Fold it in half again, press the edges, and lay it point-up on the plate. 3) Set a small bauble, a pinecone, or a wrapped chocolate exactly at the centre point. That is the whole design, and at a table of sixteen last Christmas it looked calm and deliberate, not lazy. Downside: with nothing holding it, the napkin slides on a charger plate — a small glue dot underneath, or a textured charger, fixes the drift.
Read this next: my Thanksgiving napkin folding ideas — several of those simpler folds carry straight over to a Christmas table in red or green.
Cost: $0–5 for baubles | Time: 1 minute each | Difficulty: Easy
Pro Tip: Use the bauble colour to tie mismatched napkins together — one gold bauble per setting unifies everything.
15. The Layered Waterfall Fold
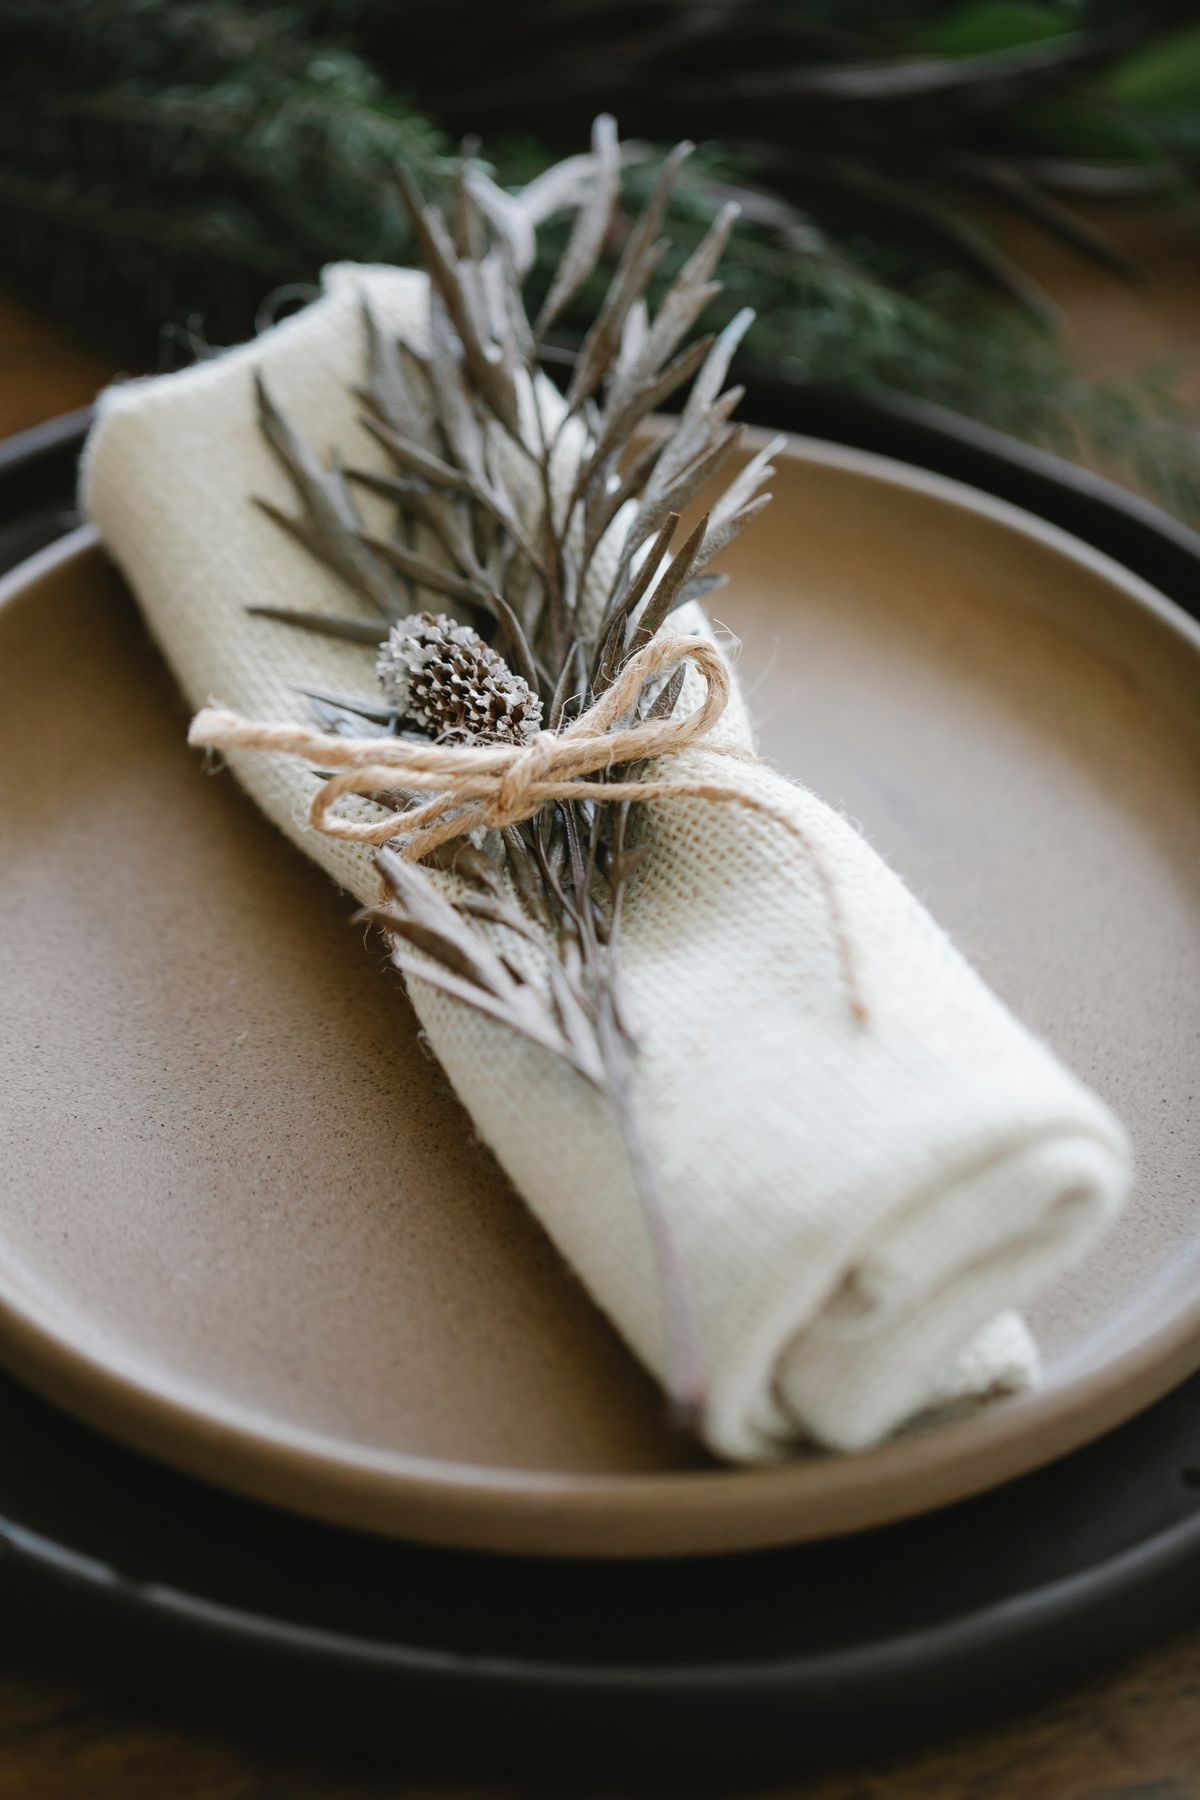
The waterfall drapes soft layers down the front of the plate, pretty with linen that will not hold a point. 1) Fold the napkin in quarters. 2) Fold each layer of the open corner down in steps, about an inch apart, like stairs. 3) Flip, fold the sides behind, and lay it so the steps cascade over the plate edge. I reach for this when I am using my softest, oldest linen — the fabric that refuses every standing fold drapes beautifully here. Downside: it needs the plate to hold it, so do not try to transport waterfall napkins across a room.
Cost: $0 | Time: 2 minutes each | Difficulty: Easy
Pro Tip: A tiny sprig tucked into the top step hides the raw corner and makes the layers look planned.
16. The Rolled Napkin With a Candy-Cane Stripe
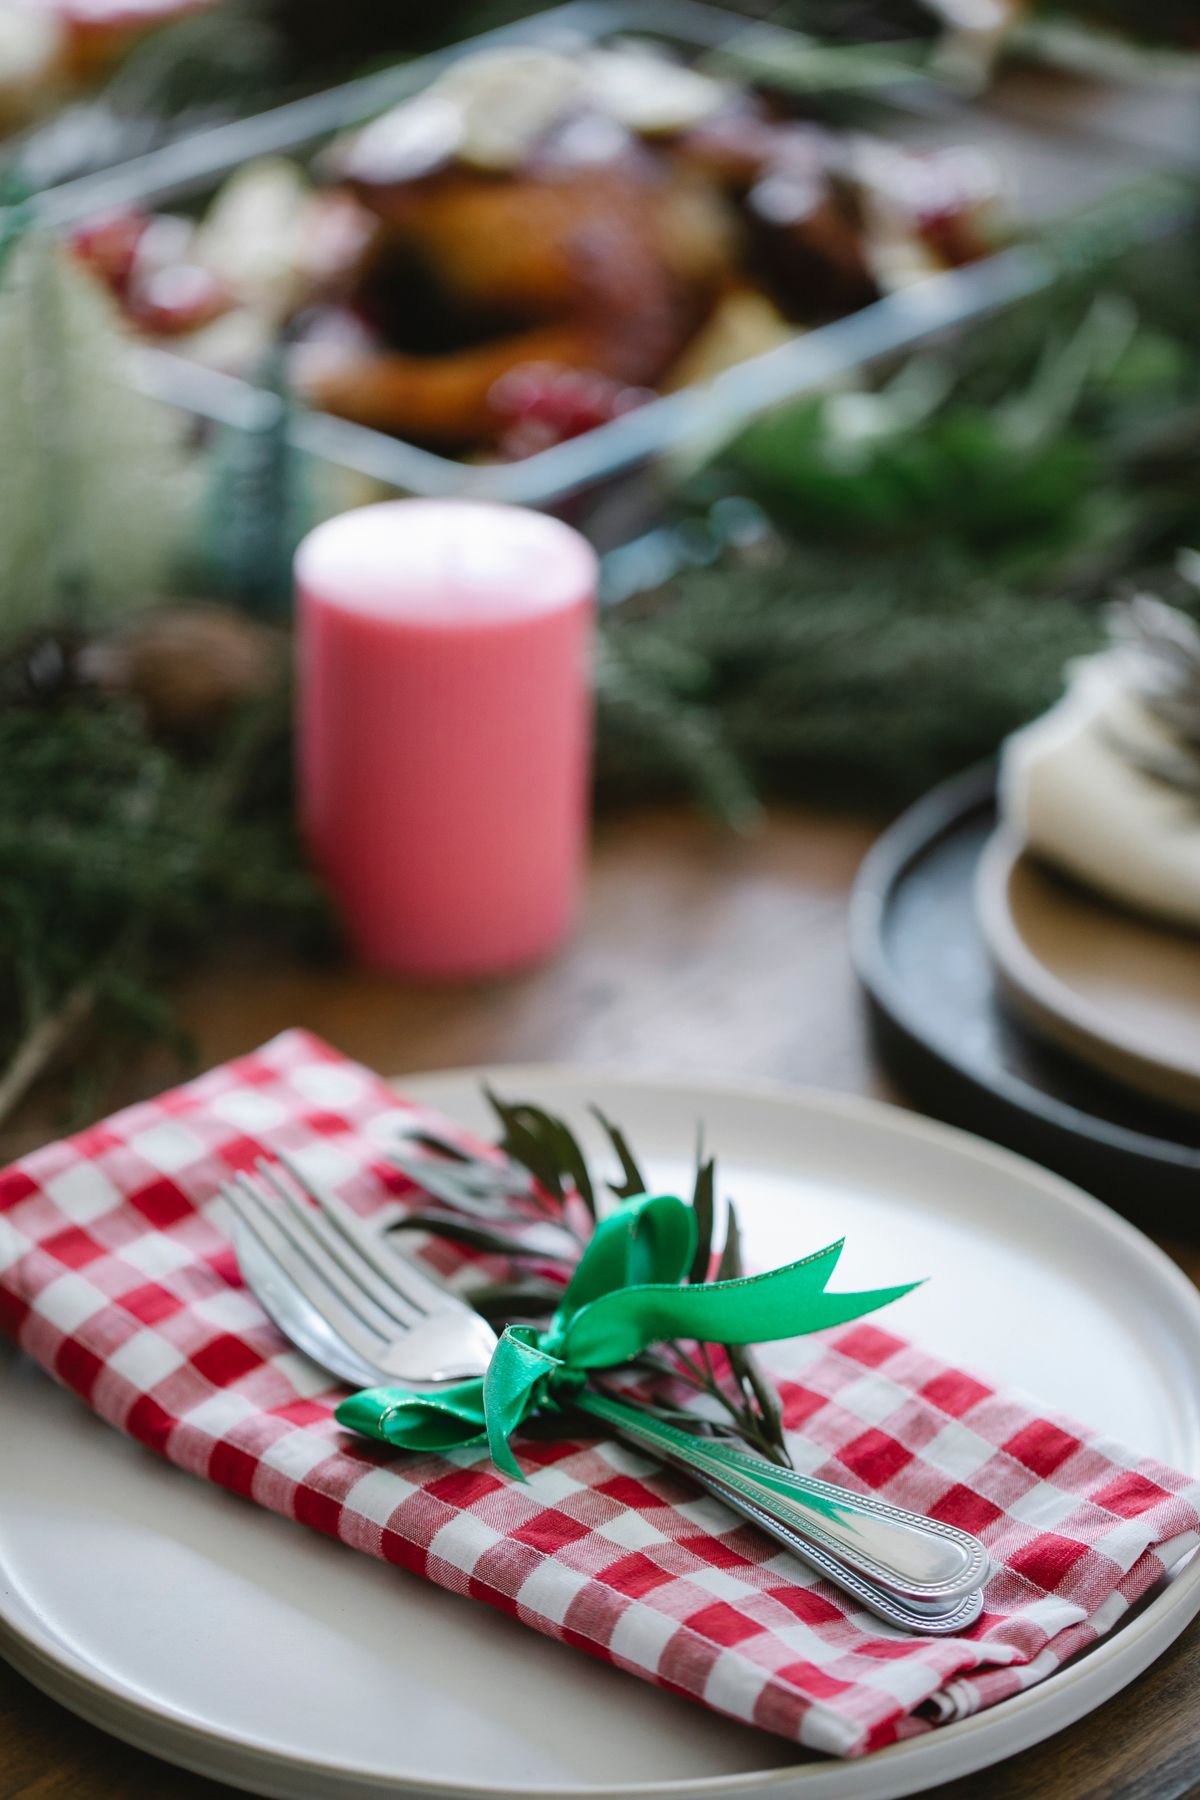
For our casual Christmas Eve buffet, I roll instead of fold. 1) Lay a red napkin flat and place a white napkin on top, offset by an inch. 2) Roll both together tightly on the diagonal so the white spirals around the red like a candy cane. 3) Secure with a ring, twine, or a real mini candy cane hooked over the roll. It takes under a minute and survives being carried to a buffet line, which no standing fold does. Downside: you use two napkins per guest, so this is a small-gathering trick unless your linen drawer is deep.
Cost: $0–4 for mini candy canes | Time: 1 minute each | Difficulty: Easy
Pro Tip: Keep the candy cane wrapped — an unwrapped one goes sticky against linen within the hour.
17. The Pinecone-Topped Flat Fold
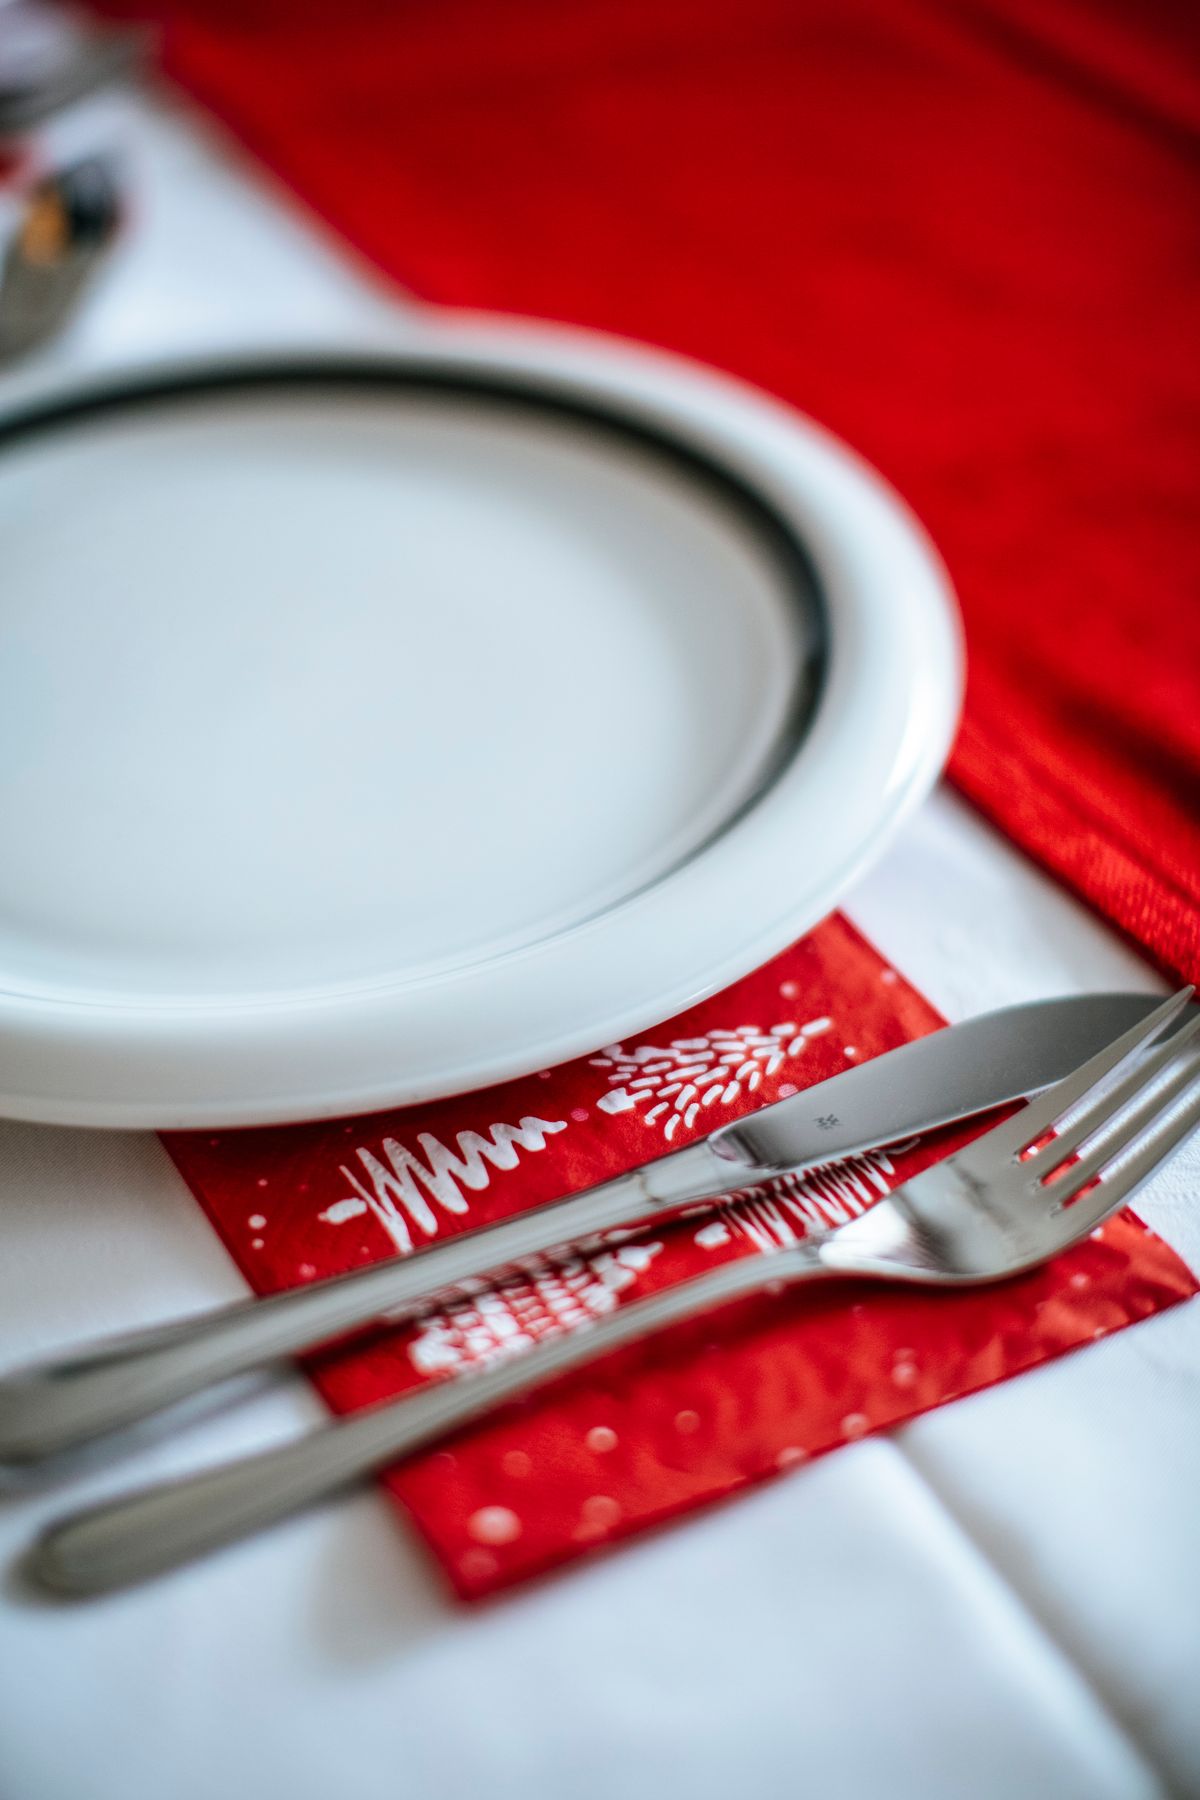
I end with the fold from the very first photo that inspired this list: dead flat, completely unfussy, finished with nature. 1) Fold the napkin into a neat rectangle in thirds and press it hard. 2) Lay it across the plate at a slight angle. 3) Set one clean pinecone in the centre — wash and fully dry cones first, and bake them at a low temperature if they came straight from the yard, to be safe with anything near food. My red napkins with a single cone are still the setting I get asked about most. Downside: none for effort, but the cone must come off before anyone can use the napkin, so expect a small pile of cones by dessert.
Cost: $0–3 | Time: 1 minute each | Difficulty: Easy
Pro Tip: Dust the cone tips with a touch of white paint the week before — a snowy cone on red linen is the whole look.
Which Fold Should You Choose?
| Idea | Best for | Cost | Effort |
|---|---|---|---|
| Christmas Tree (No. 1) | Wow factor, photos | Low | Medium |
| Pocket With Cinnamon (No. 4) | Cutlery + scent + place cards | Low | Easy |
| Bow (No. 3) | Helpers and kids pitching in | Low | Easy |
| Crown (No. 12) | Formal Christmas Day table | Free | Hard |
| Triangle + Bauble (No. 14) | Big groups, no time | Low | Easiest |
| Rolled Candy Cane (No. 16) | Buffets and casual nights | Low | Easy |
Mistakes I Made (So You Don’t Have To)
Folding on the day, with guests arriving. My first tree-fold Christmas, I was still folding at the doorbell. Anything beyond a triangle now gets folded the day before and stacked under a book — the folds actually set better overnight.
Using the pretty silky napkins. They slid out of every shaped fold by the time we sat down. Stiff cotton or linen holds; silk is for flat folds only. I wish someone had told me before I bought twelve of them.
Skipping the iron. I told myself the folds would hide the wrinkles. They do the opposite — a fold magnifies every crease next to it. Ten minutes of ironing saves every design in this list.
Practising on the good napkins at the last minute. My practice folds got handled so much they looked tired. Now I practise on a tea towel first, then fold the real set once, cleanly.
FAQ
Can I use paper napkins for these folds? For the flat and rolled ones, yes — choose the thick, cloth-like paper napkins and expect softer points. The tree, crown, and angel really need cloth; paper tears at the tucks, which I learned on two napkins before I stopped trying.
How far ahead can I fold them? In my house, 24 hours is the sweet spot. I fold the afternoon before, stack them flat with a book on top, and stand the shaped ones up as I set the table. At three days, the points had relaxed noticeably.
What size napkin works best? 20×20 inches, honestly. My 17-inch napkins could not finish the tree fold with enough fabric to tuck, and oversized 22-inch ones made floppy bows. If you are buying for folding, buy the 20-inch square.
What would you do differently next time? I would pick one fold for the whole table instead of three designs at once. Matching folds look calmer and photograph better, and I would have saved myself twenty minutes of switching instructions mid-batch.
How do I keep folds crisp without starch? Iron while the napkins are very slightly damp and fold immediately, while the fabric is warm. The creases set as it cools — that trick carried most of the folds in this list.
Are these safe around kids and candles? Keep pins and staples out of any napkin a child will handle, and never place a lit candle inside or touching a fold. I use LED candles with standing folds, and the table still glows.
Final Thoughts
Of all the Christmas napkin folding ideas I have tried, the tree is the one guests talk about on the drive home — but the pocket fold is the one I reach for when I just want a pretty, working table. Pick one, fold a practice one tonight, and let the rest of the table be simple. A folded napkin is a small kindness at each plate.