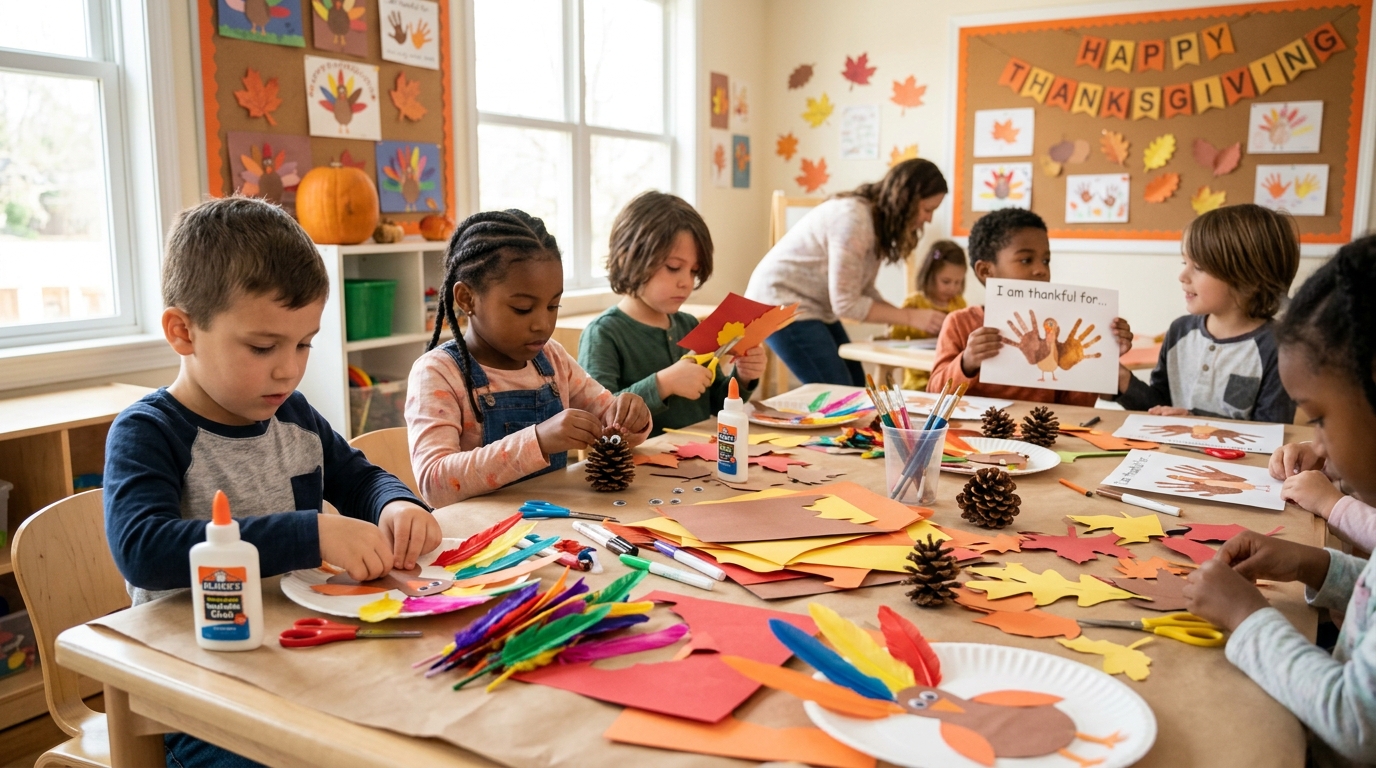
19 Thanksgiving Art Projects for Kids
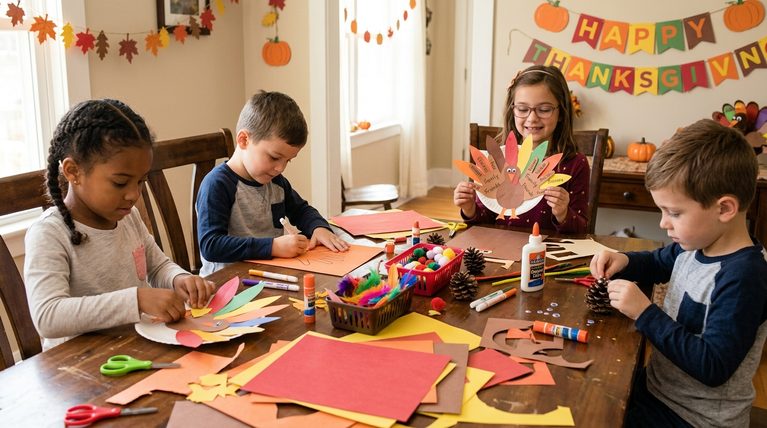
Thanksgiving is a great time to slow down, spend time together, and let kids make something with their hands. I love the idea of using simple craft supplies and materials from nature to help children create decorations that feel personal rather than store-bought. From colorful leaf prints to handmade turkey puppets, these projects can make the holiday more fun for the whole family.
In this guide, I’m sharing 19 Thanksgiving art projects for kids that combine seasonal creativity, simple materials, and family fun. You’ll find ideas for toddlers, preschoolers, and school-age children, including handprint turkey paintings, gratitude garlands, pumpkin seed mosaics, pine cone turkeys, painted rocks, and button tree art.
Save this for later

Table of Contents
Many of these crafts use supplies you may already have at home, such as paper plates, construction paper, paint, yarn, buttons, and cardboard. Others make use of fallen leaves, pine cones, acorns, and other natural materials. With a little preparation, I can turn these activities into an enjoyable afternoon of crafting and create decorations that children will be proud to display on Thanksgiving.
Key Takeaways
- Choose age-appropriate projects: Simple painting and paper crafts work well for younger children, while mosaics and story stones offer more room for older kids to experiment.
- Use affordable supplies: Recycled cardboard, paper plates, leftover yarn, and fallen leaves can keep crafting costs low.
- Make gratitude part of the fun: Thankful trees and gratitude garlands encourage children to think about the people and things they appreciate.
- Prepare a craft station: I recommend covering the table, sorting supplies into small containers, and keeping wipes nearby to make cleanup easier.
- Turn crafts into decorations: Handmade place cards, turkey wreaths, and painted pumpkins can add a personal touch to the Thanksgiving table.
- Save special creations: Adding a child’s name and the year to selected projects makes it easier to remember how their creativity develops over time.
Related article: 17 Thanksgiving Party Games to Make Your Holiday Unforgettable
1. Thanksgiving Leaf Print Art

Materials: Fallen leaves, washable paint, paper, paintbrushes, and a flat tray.
I would start with leaf print art because it gives children a chance to explore autumn colors and natural textures without needing complicated supplies. Collect a few fallen leaves with clearly visible veins, then let the kids paint one side before pressing it onto paper.
Encourage them to experiment with different leaf shapes and combinations of orange, red, yellow, brown, and green. Lifting each leaf reveals a print with its own pattern, so even a simple activity can produce a collection of unique designs.
For an extra festive finish, children can add small painted pumpkins, acorns, or handwritten Thanksgiving messages around their prints. The finished artwork can be framed, displayed on the refrigerator, or used as handmade holiday cards.
Pro Tip: Press the leaf gently from the center toward the edges to transfer more of its natural pattern. Washable paint is easier to clean up, especially when younger children are involved.
2. Handprint Turkey Paintings

Materials: Paper or canvas, washable paint, brushes, markers, and wipes.
Handprint turkey paintings are a lovely way to turn a child’s hand into a colorful Thanksgiving keepsake. Have the child spread paint across their palm and fingers, then press the hand onto paper. The palm becomes the turkey’s body, while the fingers form its feathers.
After the paint dries, children can add eyes, a beak, feet, and a small wattle with markers or paint. They can choose traditional autumn shades or make a bright, imaginative turkey with a different color for every feather.
I would write the child’s name and the year on the back or bottom of the artwork. This small detail makes the painting more meaningful and gives families something to look back on as their children grow.
Pro Tip: Keep a damp cloth nearby and complete one handprint at a time. If you are crafting with several children, write their names on the paper before painting so the finished pictures do not get mixed up.
3. Gratitude Garland

Materials: Colored paper, scissors, markers, string, and tape or clips.
A gratitude garland combines a simple art activity with a conversation about what makes Thanksgiving meaningful. I would cut paper into autumn leaves, pumpkins, circles, or small rectangles and invite each child to write or draw something they appreciate on every piece.
Younger children can draw pictures or dictate their answers to an adult, while older kids can write short messages. Their responses might include family members, favorite meals, pets, friends, or special memories from the year.
Once everyone has finished, attach the pieces to a length of string and hang the garland across a mantel, doorway, or dining area. Adding a few new messages each year can turn this decoration into a family tradition.
Pro Tip: Make the paper shapes large enough for children to write comfortably. Keep the activity positive and let each child choose what to share rather than requiring everyone to explain personal feelings.
4. Pumpkin Seed Mosaics

Materials: Clean, dried pumpkin seeds, cardboard, glue, paper, and optional washable paint.
Pumpkin seed mosaics are a useful way to turn leftover pumpkin seeds into textured artwork. After removing any remaining pulp, wash the seeds and let them dry completely. Children can arrange them on cardboard or thick paper to create pumpkins, turkeys, leaves, or other seasonal designs.
I would suggest drawing a simple outline first so younger children have a guide for placing their seeds. Older kids can create repeating patterns, experiment with different shapes, or divide their designs into sections with contrasting colors.
For a more colorful result, the seeds can be painted and allowed to dry before they are glued down. Natural seeds also work well if you prefer a neutral, rustic look.
Pro Tip: Use a shallow tray to contain loose seeds and offer a small amount of glue at a time. For children who still put small objects in their mouths, choose a larger-scale collage made with paper pieces instead.
5. DIY Thankful Tree

Materials: Construction paper, markers, scissors, glue, and optional fallen branches.
A thankful tree makes gratitude part of the holiday decorations. I would create a tree trunk and branches from brown construction paper and attach them to a larger sheet or poster board. Alternatively, a sturdy branch placed in a stable container can serve as a three-dimensional version.
Cut leaf shapes from red, orange, yellow, and green paper. Ask the children to write or draw one thing they are thankful for on each leaf before attaching it to the tree.
The display can grow throughout the week leading up to Thanksgiving. By the holiday itself, it becomes a colorful collection of family thoughts and a conversation starter for guests.
Pro Tip: Keep a bowl of blank leaves beside the tree so guests can add their own messages. If you use real branches, secure them firmly and avoid branches with sharp ends or loose bark that may bother small children.
6. Corn Husk Painting

Materials: Clean, dry corn husks, washable paint, brushes, and paper or a drying surface.
Corn husk painting offers a different surface for children who enjoy experimenting with art materials. Instead of painting on ordinary paper, they can apply colors and patterns directly to clean, dry husks.
I would let the children try stripes, dots, swirls, or small autumn pictures. Because husks have an uneven texture, the finished designs may look more rustic than a traditional painting, which makes them interesting additions to seasonal displays.
Once the paint has dried completely, the husks can be arranged in a decorative bundle or used as part of a supervised craft display. Children can also glue their painted husks onto cardboard to create a larger collage.
Pro Tip: Lay the husks flat on newspaper while painting and drying. Use washable, child-appropriate paint, and check for sharp or brittle edges before handing the husks to younger children.
7. Thanksgiving Place Cards

Materials: Cardstock, markers, crayons, scissors, and optional stickers.
Handmade place cards give children a useful role in preparing the Thanksgiving table. Cut cardstock into small rectangles, fold each piece in half, and let the kids decorate the front with turkeys, leaves, pumpkins, or other holiday drawings.
Once the decorations are complete, children can write the names of family members and guests on the cards. Younger kids can decorate the cards while an adult writes the names for them.
I like this idea because it gives every guest a small reminder that the children helped prepare the celebration. The cards can also be coordinated with the table’s colors to create a more unified holiday display.
Pro Tip: Make one extra card for each guest in case a name is spelled incorrectly or a card gets damaged. Place the finished cards on a separate tray until the table is ready to avoid smudges and spills.
8. Pine Cone Turkeys

Materials: Clean pine cones, colored paper or craft feathers, glue, googly eyes, and scissors.
Pine cone turkeys bring natural textures into Thanksgiving crafting. Collect pine cones that are dry and free from visible mold, then let children decorate them with colorful paper feathers attached to the wider end.
Add a small paper face, a beak, and eyes to complete each turkey. Children can use different feather colors and shapes to give their creations distinct personalities.
I would make several turkeys in different sizes and arrange them together on a mantel or craft table. They can also become part of a pretend Thanksgiving scene that children use for imaginative play.
Pro Tip: Check pine cones carefully for insects, loose debris, and sharp points before crafting. Use a stable cardboard base if a pine cone keeps rolling, and let an adult handle any hot glue.
Also read: 21 Thanksgiving Porch Decor Ideas (Welcoming, Weatherproof & Under $60)
9. Paper Plate Pilgrim Hats

Materials: Paper plates, black construction paper, yellow paper, child-safe scissors, and glue.
Paper plate hats provide an opportunity to combine a hands-on craft with an age-appropriate conversation about Thanksgiving history. Children can use a paper plate as a brim and attach a black paper band or crown to create a simple hat shape.
A yellow paper buckle adds a recognizable decorative detail. Kids can personalize their hats with patterns, colored borders, or their own creative designs rather than trying to make every hat look identical.
I would use this activity to explain that Thanksgiving has a complex history involving Indigenous peoples and European settlers. Keeping the discussion factual and respectful helps children learn more about the holiday beyond its familiar decorations.
Pro Tip: Prepare the larger cutout pieces ahead of time for preschoolers. This lets them focus on decorating and assembling their hats while an adult handles any cutting that requires more precision.
10. Feathered Turkey Wreath

Materials: Paper plate, colored craft feathers or paper feathers, glue, scissors, and construction paper.
A feathered turkey wreath can brighten a front door, classroom wall, or Thanksgiving display. Start by cutting out the center of a paper plate to create a ring. Children can then attach feathers or handmade paper shapes around the ring until the base is covered.
Add a turkey face to the bottom or center, using construction paper for the beak and wattle. The children can choose their own feather arrangement, making every wreath look a little different.
This project is especially useful when several children want to make decorations together. Each child can create a wreath in a different color scheme, and the finished pieces can be displayed side by side.
Pro Tip: Paper feathers are a good alternative if you do not have craft feathers available. They are easy to cut from leftover construction paper and can be decorated with crayons or markers before being attached.
11. Nature Walk Collage

Materials: Cardboard, paper, glue, fallen leaves, small twigs, and suitable natural finds.
I would combine outdoor exploration with art by taking the children on a short nature walk before starting this collage. Let them collect a few fallen leaves, small twigs, and other suitable natural materials, checking that everything is clean and safe to handle.
Back at the craft table, arrange the finds on cardboard to create an autumn tree, turkey, pumpkin, or abstract seasonal design. Children can move the pieces around before gluing them down, which gives them a chance to test different arrangements.
This project encourages observation as well as creativity. Children can compare leaf shapes, notice different shades of brown and gold, and talk about how the outdoors changes during autumn.
Pro Tip: Set a limit on how many items each child collects so the project remains manageable. Avoid unknown berries, mushrooms, sharp objects, and plant materials that may cause irritation. Paper leaves are a safe substitute when suitable natural materials are unavailable.
12. Painted Rock Pumpkins

Materials: Smooth rocks, washable paint, paintbrushes, and markers.
Painted rock pumpkins are a straightforward project for children who enjoy decorating objects rather than drawing on paper. Choose smooth, clean rocks and let the children cover them with orange paint.
Once the base coat dries, they can add pumpkin lines, smiling faces, polka dots, or other patterns. Some may prefer traditional pumpkin designs, while others might turn their rocks into colorful fantasy pumpkins.
The finished rocks can be arranged on a shelf, placed in an indoor centerpiece, or displayed in a protected garden area. If they will be used outdoors, choose suitable weather-resistant materials with adult supervision.
Pro Tip: Select larger rocks that are easy to hold and less likely to be swallowed by young children. Allow each coat of paint to dry before adding details to prevent colors from blending unintentionally.
13. Thanksgiving Story Stones

Materials: Smooth stones, washable paint or suitable markers, brushes, and a tray.
Thanksgiving story stones combine drawing with imaginative storytelling. Children can paint simple pictures on individual stones, such as a pumpkin, a turkey, a leaf, a family meal, or a basket of apples.
After the pictures dry, place the stones in a small bag or bowl. Children can select a few stones at random and use the pictures as prompts to make up a story about Thanksgiving, autumn, or a family celebration.
I would encourage children to tell their stories in their own words instead of aiming for a particular ending. This keeps the activity playful and gives them a chance to practice sequencing events and expressing ideas.
Pro Tip: Use larger, smooth stones and supervise children closely when small objects are involved. For a safer alternative with toddlers, make paper story cards that offer the same storytelling possibilities.
14. Acorn Cap Necklaces

Materials: Large acorn caps, washable paint, string, paper, and child-safe glue.
Acorn cap necklaces offer a small-scale craft for children who enjoy working with natural materials. Collect intact acorn caps, clean them gently, and let the children paint them in autumn shades or decorate them with simple patterns.
Once the paint is dry, an adult can help attach the caps to a craft base or turn them into decorative pendants. Children can also arrange painted caps on paper to create a necklace-inspired collage if wearing the finished pieces is not appropriate for their age.
These little creations can make thoughtful handmade gifts for relatives. The process also lets children explore color choices and practice careful placement of small decorative details.
Pro Tip: Acorn caps are small and may present a choking risk. Keep them away from children who still mouth objects, and use paper cutouts or larger craft shapes for younger age groups. Do not allow children to wear necklaces while sleeping or during unsupervised play.
15. Pilgrim Hat Crayon Holders

Materials: Small, clean cardboard containers, black construction paper, yellow paper, glue, and crayons.
A Pilgrim hat crayon holder turns an ordinary container into a practical addition to the Thanksgiving craft table. Wrap black construction paper around a small container, then add a paper brim and a yellow buckle to give it a hat-inspired appearance.
Children can help measure the paper, choose decorative details, and attach the pieces with glue or tape. Once everything is secure and dry, fill the container with crayons, colored pencils, or markers.
I like this project because it serves a purpose after the crafting session ends. The finished holders can keep art supplies organized during Thanksgiving activities and be reused for other creative projects later.
Pro Tip: Choose a container with a broad, stable base so it does not tip over easily. Smooth any rough cardboard edges, and avoid containers that previously held cleaning products or other potentially harmful substances.
16. Yarn-Wrapped Corn

Materials: Cardboard, yellow or orange yarn, green paper, glue, and scissors.
Yarn-wrapped corn gives children a chance to create a textured decoration while practicing controlled hand movements. Cut a simple corn shape from sturdy cardboard and let the children wrap yellow, cream, or orange yarn around it.
They can change colors to make stripes or mix shades for a multicolored harvest design. A few green paper leaves attached to the bottom complete the look.
This craft works well for a quiet afternoon activity because children can wrap the yarn at their own pace. Finished pieces can be hung on a wall, arranged on a craft display, or added to a handmade Thanksgiving banner.
Pro Tip: Cut manageable lengths of yarn rather than giving children one very long strand. This reduces tangles and makes the activity easier for younger crafters. An adult should handle the cardboard cutting.
17. Turkey Puppet

Materials: Brown paper bags, construction paper, markers, glue, and child-safe scissors.
A turkey puppet gives children something to create and play with once the art supplies are put away. Use a brown paper lunch bag as the base, with the folded bottom forming the puppet’s face.
Cut paper feathers in several colors and attach them to the back of the bag. Add eyes, a beak, a wattle, and feet to finish the turkey’s appearance.
Once the glue dries, children can use their puppets to act out a short Thanksgiving story or put on a show for the family. They can invent characters, make up dialogue, and work together to create a simple performance.
Pro Tip: Let children name their turkeys and choose one personality trait for each character. A shy turkey, a silly turkey, or a turkey who loves pumpkins can give them an easy starting point for storytelling.
18. Popsicle Stick Scarecrows

Materials: Craft sticks, construction paper, washable paint, glue, markers, and yarn or paper scraps.
Popsicle stick scarecrows are a fun way to make small autumn decorations from basic craft supplies. Arrange several craft sticks side by side to form the scarecrow’s face and secure them with glue or a crosspiece on the back.
Once the base is dry, children can paint a face, draw rosy cheeks, and add a paper hat. Small pieces of yarn or paper can become hair, while scraps of fabric or colored paper can add a scarf or collar.
Each scarecrow can have a different expression and outfit. The finished figures look charming on a windowsill, classroom display, or Thanksgiving craft table.
Pro Tip: Prepare the stick bases before younger children begin decorating. This gives them a stable surface to work on and reduces the time they need to wait for glue to dry.
19. Button Tree Art

Materials: Paper or canvas, buttons, glue suitable for crafts, markers, and optional paint.
Button tree art uses color, shape, and texture to create a seasonal picture. Draw a simple tree trunk with branching limbs on paper or canvas, then invite children to arrange buttons around the branches to represent autumn leaves.
They can group similar colors together or mix red, orange, yellow, green, and brown for a fuller effect. Older children may enjoy planning a pattern before attaching the buttons, while younger children can choose where each piece belongs with an adult’s help.
The finished artwork can be displayed as part of the Thanksgiving decorations or kept as a handmade seasonal picture. It is also a useful opportunity to talk about how different shapes and colors work together in a design.
Pro Tip: Buttons are choking hazards for young children, so use large paper circles or painted fingerprints as substitutes when crafting with toddlers. Apply glue sparingly and allow the artwork to dry flat before displaying it.
Read this next: 20 Thanksgiving Table Decoration Ideas That Guests Will Talk About All Year
Frequently Asked Questions About Thanksgiving Art Projects for Kids
1. What are the best Thanksgiving art projects for kids?
Some of the best Thanksgiving art projects for kids include handprint turkey paintings, leaf print art, gratitude garlands, thankful trees, pine cone turkeys, and paper bag turkey puppets. These activities use simple materials and allow children to create decorations while celebrating the holiday.
2. What Thanksgiving crafts can toddlers make?
Toddlers can enjoy simple activities such as handprint turkey paintings, paper leaf collages, painted pumpkin pictures, and large paper turkey crafts. I recommend using washable, child-safe supplies and preparing the materials ahead of time. Always supervise toddlers closely, especially when paint, glue, or small decorative items are involved.
3. How can I make Thanksgiving art projects on a budget?
I can keep Thanksgiving crafting affordable by using supplies already available at home. Recycled cardboard, paper plates, leftover yarn, construction paper, and fallen leaves can become beautiful seasonal decorations. Before purchasing anything, check your craft supplies for materials that can be reused.
4. How can kids make Thanksgiving crafts that show gratitude?
Children can create thankful trees, gratitude garlands, or handmade Thanksgiving cards. Ask them to draw or write about people, experiences, or things they appreciate. Younger children can dictate their thoughts to an adult or use pictures to express their ideas.
5. What Thanksgiving art projects are suitable for preschoolers?
Preschoolers can make leaf prints, handprint turkeys, paper plate crafts, yarn-wrapped corn with assistance, and simple nature collages. I recommend choosing projects with a few easy steps so children can participate without becoming frustrated. Adults should handle cutting tasks that require sharp scissors.
6. How can I display children’s Thanksgiving art projects?
I can display finished crafts on a mantel, refrigerator, classroom bulletin board, or Thanksgiving dining table. Gratitude garlands work well across doorways, while handmade place cards and small turkey decorations add personality to the holiday table. For special keepsakes, write each child’s name and the year on the back of the artwork.
7. How can I keep Thanksgiving art projects organized and mess-free?
I recommend covering the work surface, placing supplies in separate containers, and preparing paint, glue, and paper before the children begin. Choose two or three projects rather than setting up all 19 at once. Keep wipes and a wastebasket nearby, and allow painted crafts enough time to dry before displaying or storing them.
Conclusion
I find that Thanksgiving art projects are most enjoyable when the focus stays on creativity rather than making every craft look perfect. Children can experiment with colors, explore natural materials, and create decorations that reflect their own ideas. Even simple activities such as leaf printing or paper turkey puppets can become memorable parts of the holiday.
To make the day easier, I would choose two or three projects based on the children’s ages, gather the supplies beforehand, and protect the work surface before the paint and glue come out. There is no need to complete all 19 crafts in one sitting; spreading them across several days can make the experience more relaxed.
Whether the children make a thankful tree, decorate place cards, or build a collection of silly turkey puppets, the best result is a chance to spend time together. The handmade decorations are a bonus, and the memories created along the way are what make these activities worth repeating.




4 Comments