20 Thanksgiving Place Card Ideas
The first Thanksgiving I hosted, I spent hours on the turkey and completely forgot about seating, and the result was twenty minutes of awkward hovering while everyone waited for someone else to sit down first. That was the year I learned that thanksgiving place card ideas are not fussy extras, they are the thing that makes a big table feel welcoming. I have made every card on this list at least once, and I picked them because they are cheap, doable the day before, and sturdy enough to survive a real dinner.
Each idea includes the materials, the time, and the honest difficulty, because a place card that takes three hours is not a place card, it is a second job. Most of these cost under $5 for a whole table, and several use things already in your yard or pantry.
Key Takeaways
- Place cards end the awkward hovering: guests find their seat in seconds and dinner starts on time.
- Most of these cost under $5 for a full table because they use natural materials like pinecones, leaves, and rosemary.
- Make all the cards the day before; Thanksgiving Day is for the turkey, not for handwriting names.
- Write names on both sides of the card so guests can find their seat from either direction.
1. Mini Pumpkin Place Cards
A mini pumpkin with a name card tucked into the stem is the easiest place card on this list, and it doubles as a favor guests take home. I buy a bag of mini pumpkins the week before Thanksgiving, write names on small kraft tags, and tuck one tag behind each stem. The whole table takes fifteen minutes and looks like I planned for weeks.
The trick is picking pumpkins with sturdy stems, because a floppy stem will not hold a card. I learned to test each one in the store, which looks odd but saves redoing them at home. One caution: mini pumpkins roll, so I set each one on a small wreath of rosemary or a folded napkin to keep it in place. For more table ideas to go with these cards, these Thanksgiving table setting ideas pair beautifully.
Cost: About $5 | Time: 15 minutes | Difficulty: Easy

Pro Tip: Write the names with a paint pen, not a regular marker, or the ink smears on the pumpkin skin.
2. Kraft Paper Leaf Cards
A leaf shape cut from kraft paper, with the guest’s name written in white or gold pen, is the rustic card I use when the table is already busy with a big centerpiece. The brown paper looks intentional without competing, and the leaf shape ties the whole fall theme together.
I cut the leaves freehand, which means no two are identical, and I have decided that is a feature, not a flaw. The first year I tried to trace a template for each one and gave up halfway through, so now I embrace the wobbly edges. A single hole punch and a piece of twine turn each leaf into a tag that can hang on a glass or lie flat on a plate.
Cost: About $2 | Time: 30 minutes | Difficulty: Easy

Pro Tip: Use a white gel pen on kraft paper; regular pens disappear into the brown.
3. Pinecone Place Card Holders
A pinecone with a card slotted between its scales is the most forgiving place card holder I know, because pinecones are free if you have a yard and the card just wedges in. I gather pinecones in October, brush off the dirt, and let the kids pick the best ones, which makes it a family activity before it is a table decoration.
The trick is finding pinecones that sit flat, because a wobbly pinecone tips over the moment someone bumps the table. I trim the bottom scales with scissors to level them, which takes a minute per cone and saves the whole setup. One honest downside: pinecones shed a little, so I set them on a small plate or napkin rather than directly on the tablecloth.
Cost: Free to $3 | Time: 20 minutes | Difficulty: Easy

Pro Tip: Bake gathered pinecones at low heat for twenty minutes to kill any hitchhiking bugs before they reach your table.
4. Fresh Rosemary Sprig Cards
A sprig of fresh rosemary tied to a simple name card smells wonderful when guests sit down, and it doubles as a garnish they can drop into their drink or potatoes. I buy one bunch of rosemary, cut it into short sprigs, and tie each one to a card with twine. The whole table smells like a holiday kitchen before anyone eats.
Rosemary holds up well, which is why I use it instead of more delicate herbs that wilt by dinnertime. The first time I tried this with thyme, the sprigs went limp within an hour, so rosemary is now the only herb I trust for place cards. Guests always comment on the smell, which is a compliment I never get for the turkey.
Cost: About $3 | Time: 20 minutes | Difficulty: Easy
Pro Tip: Cut the sprigs the morning of the dinner so they stay fragrant; cut them the day before and they lose half their scent.
5. Acorn Place Card Holders
Acorns glued to small wood rounds with a card tucked behind them make the tiniest, cutest place card holders on this list. I use acorns from my yard and wood rounds from the craft store, and the whole project costs less than a bag of coffee. They look like something from a fancy stationery shop, which is a fun trick for a free material.
The fiddly part is gluing the acorns upright, because they roll the moment you let go. I use a dot of hot glue and hold each one for ten seconds, which is tedious but works. One caution: acorns vary in size, so I sort them first and use the biggest ones for the holders, saving the small ones for scattering on the table.
Cost: About $4 | Time: 30 minutes | Difficulty: Medium

Pro Tip: Glue the acorns the day before so the glue fully sets; same-day glue pops off when the card is inserted.
6. Dried Orange Slice Cards
A dried orange slice with a name written on it in gold pen is the prettiest card on this list, and it smells faintly of citrus all through dinner. I dry the slices in a low oven the weekend before, which takes a few hours of waiting but almost no active work, and then I write names on them with a metallic marker.
The drying step is where I messed up the first time: too high a heat and the slices browned instead of turning translucent amber. Low and slow is the rule, around 200 degrees, flipping once an hour. The slices are sturdy once dried, so they stand up against a glass or lie flat on a plate without breaking.
Cost: About $4 | Time: 3 hours mostly drying | Difficulty: Medium

Pro Tip: Use a metallic gold pen, not a regular marker, or the name disappears into the orange.
7. Hand-Lettered Calligraphy Cards
Simple calligraphy, even beginner calligraphy with a felt-tip brush pen, turns a plain white card into something guests keep. I am not a calligrapher, and that is the point: a few practice sheets and a slow hand produce cards that look far more skilled than they are, and guests always notice.
I practice each name once on scrap paper before writing the real card, because the first attempt is always shaky. The first year I skipped practice and had to redo four cards, which taught me that ten minutes of practice saves thirty minutes of redoing. A single brush pen and a pack of white cards is the entire supply list.
Cost: About $5 | Time: 45 minutes | Difficulty: Medium
Pro Tip: Write slowly and lift the pen between strokes; rushing is what makes calligraphy look messy.
8. Photo Place Cards
A small printed photo of each guest, clipped to a card with their name, is the place card that gets the biggest reaction. I print photos from my phone at the drugstore, and when guests find a picture of themselves at their seat, the table erupts. It is personal in a way no store-bought card can match.
The logistics take planning: I need a photo of every guest, which means asking for them a week ahead or pulling from social media with permission. The first time I did this, I was missing two photos and had to use silhouettes, which was awkward. Now I collect photos when I send the invitations, and the whole project runs smoothly. For more table styling to frame these cards, these Thanksgiving table decoration ideas are a good next step.
Cost: About $8 for prints | Time: 30 minutes | Difficulty: Easy

Pro Tip: Use candid photos, not posed ones; the laughter when guests recognize themselves is the whole point.
9. Wine Cork Place Card Holders
A wine cork with a slit cut in the top holds a name card upright, and it is the best use I have found for the corks I save all year. I cut the slit with a serrated knife, wedge the card in, and the holder is done. They look rustic and intentional, and they cost nothing if you already drink wine.
Cutting the slit is the only tricky part, because corks crumble if you saw too fast. I use a gentle back-and-forth motion and stop before cutting all the way through, which keeps the cork in one piece. One caution: save corks for months, because you need one per guest and a dinner for twelve needs twelve corks. I keep a jar in the kitchen just for this.
Cost: Free | Time: 20 minutes | Difficulty: Easy
Pro Tip: Soak stubborn corks in warm water for ten minutes before cutting; they slice much more cleanly.
10. Wood Slice Place Cards
A small wood slice with a name written on it in paint pen is the sturdiest card on this list, and it doubles as a coaster after dinner. I buy a bag of wood slices at the craft store, write names on them, and set one at each place. They look like they belong in a lodge, which suits a fall table perfectly.
The bark edge is the charm and the problem: it sheds a little, so I seal the slices with a quick coat of clear spray the day before. The first year I skipped the sealer and found bark flakes on the tablecloth, which was not the rustic effect I wanted. Sealed slices are clean, smooth, and reusable next year.
Cost: About $6 | Time: 30 minutes | Difficulty: Easy

Pro Tip: Sand the writing surface lightly first, or the paint pen skips on the rough grain.
11. Feather Place Cards
A single feather tucked behind a name card adds height and drama to a place setting for almost no money. I use craft feathers in fall colors, one per guest, and the feathers make the table look like it was styled by someone with a much bigger budget. The kids always steal theirs to take home, which I count as a compliment.
Feathers are light, which means they drift if the room is drafty, so I anchor each one behind the card or in a small holder rather than laying it loose. The first time I laid them flat, half of them ended up on the floor before dinner started. A cork holder or a pinecone solves the problem completely.
Cost: About $3 | Time: 15 minutes | Difficulty: Easy

Pro Tip: Use feathers in fall colors only; bright craft feathers clash with a Thanksgiving palette.
12. Mini Apple Place Card Holders
A mini apple with a card tucked into a small slit on top is the edible version of the mini pumpkin card, and it smells wonderful. I use crabapples or the smallest apples I can find, cut a shallow slit with a knife, and wedge the card in. Guests eat the apple later or take it home, so nothing is wasted.
The slit is the delicate part: too deep and the apple splits, too shallow and the card falls out. I practice on one apple first to get the depth right, which takes thirty seconds and saves the whole batch. One honest note: apples brown where cut, so I make these the morning of the dinner and brush the slit with lemon juice.
Cost: About $4 | Time: 20 minutes | Difficulty: Easy

Pro Tip: Pick apples with a flat bottom so they sit steady; round ones roll at the worst moment.
13. Mini Chalkboard Easel Cards
Tiny chalkboards on mini easels, with each guest’s name written in chalk, look like a bistro and wipe clean for next year. I bought a set of mini easels and chalkboards for one dinner and have reused them for four Thanksgivings since, which makes them the best value on this list.
Chalk smudges, which is the one flaw: I write the names, then spray them lightly with hairspray to set the chalk, and they survive the whole evening. The first year I skipped the hairspray and half the names were gone by dessert, which caused exactly the seating confusion the cards were meant to prevent. Now the hairspray step is sacred.
Cost: About $10 for a reusable set | Time: 20 minutes | Difficulty: Easy

Pro Tip: Use chalk markers, not regular chalk, for sharper names that smudge less.
14. Pressed Autumn Leaf Cards
A real pressed autumn leaf, laminated or sealed with clear spray, with a name written on it, is the most beautiful card on this list. I press leaves in a heavy book for a week in October, and the colors hold beautifully. Each card is unique, which guests notice and comment on.
Pressing takes advance planning, which is the honest catch: you need to start at least a week before Thanksgiving. The first year I tried to press leaves the day before and they curled, so now I press them in early November and store them flat. Sealing with clear spray keeps them from crumbling during dinner.
Cost: Free | Time: 15 minutes plus a week of pressing | Difficulty: Easy

Pro Tip: Press more leaves than you need, because some always tear or lose color.
15. Gold-Dipped Leaf Cards
A leaf dipped halfway in gold paint, with a name written on the unpainted half, looks like a jewelry-store version of a place card. I use artificial leaves for this one, because real leaves absorb the paint unevenly, and the gold tip catches the candlelight beautifully at dinner.
The dipping step is messy, so I do it outside or over newspaper, and I let the leaves dry overnight before writing names. The first time I rushed the drying, the gold smeared onto the names and I had to start over. Gold paint on a stick, hung over a jar to dry, is the cleanest method I have found.
Cost: About $6 | Time: 30 minutes plus drying | Difficulty: Medium

Pro Tip: Use metallic acrylic paint, not spray paint, for a smooth dip line you can control.
16. Folded Turkey Place Cards
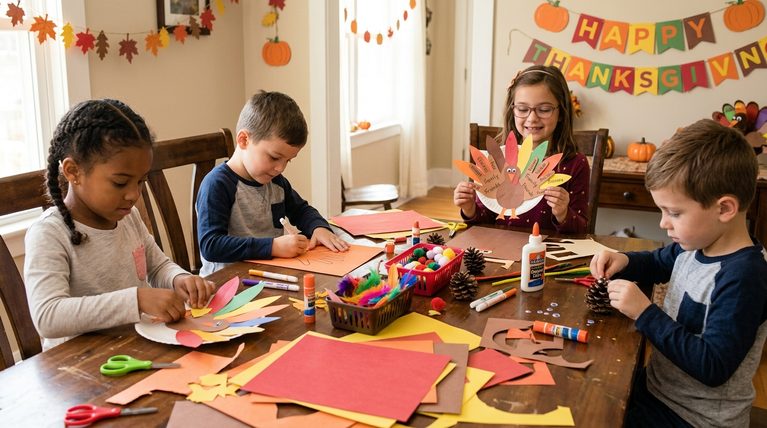
A card folded into a turkey shape, with a name on the body and a paper fan tail, is the place card kids fight over. I fold these from brown construction paper following a simple fan-fold pattern, and the turkeys stand up on their own at each place. They are the most playful cards on this list by far.
Folding twenty turkeys takes longer than I expected the first time, about an hour for a full table, so I start these two days early and recruit the kids to help. The kids’ turkeys look wonderfully lopsided, and I use those for the children’s table, which makes the whole thing feel intentional. For more napkin and folding ideas, these Thanksgiving napkin folding ideas use the same skills.
Cost: About $3 | Time: 1 hour | Difficulty: Medium
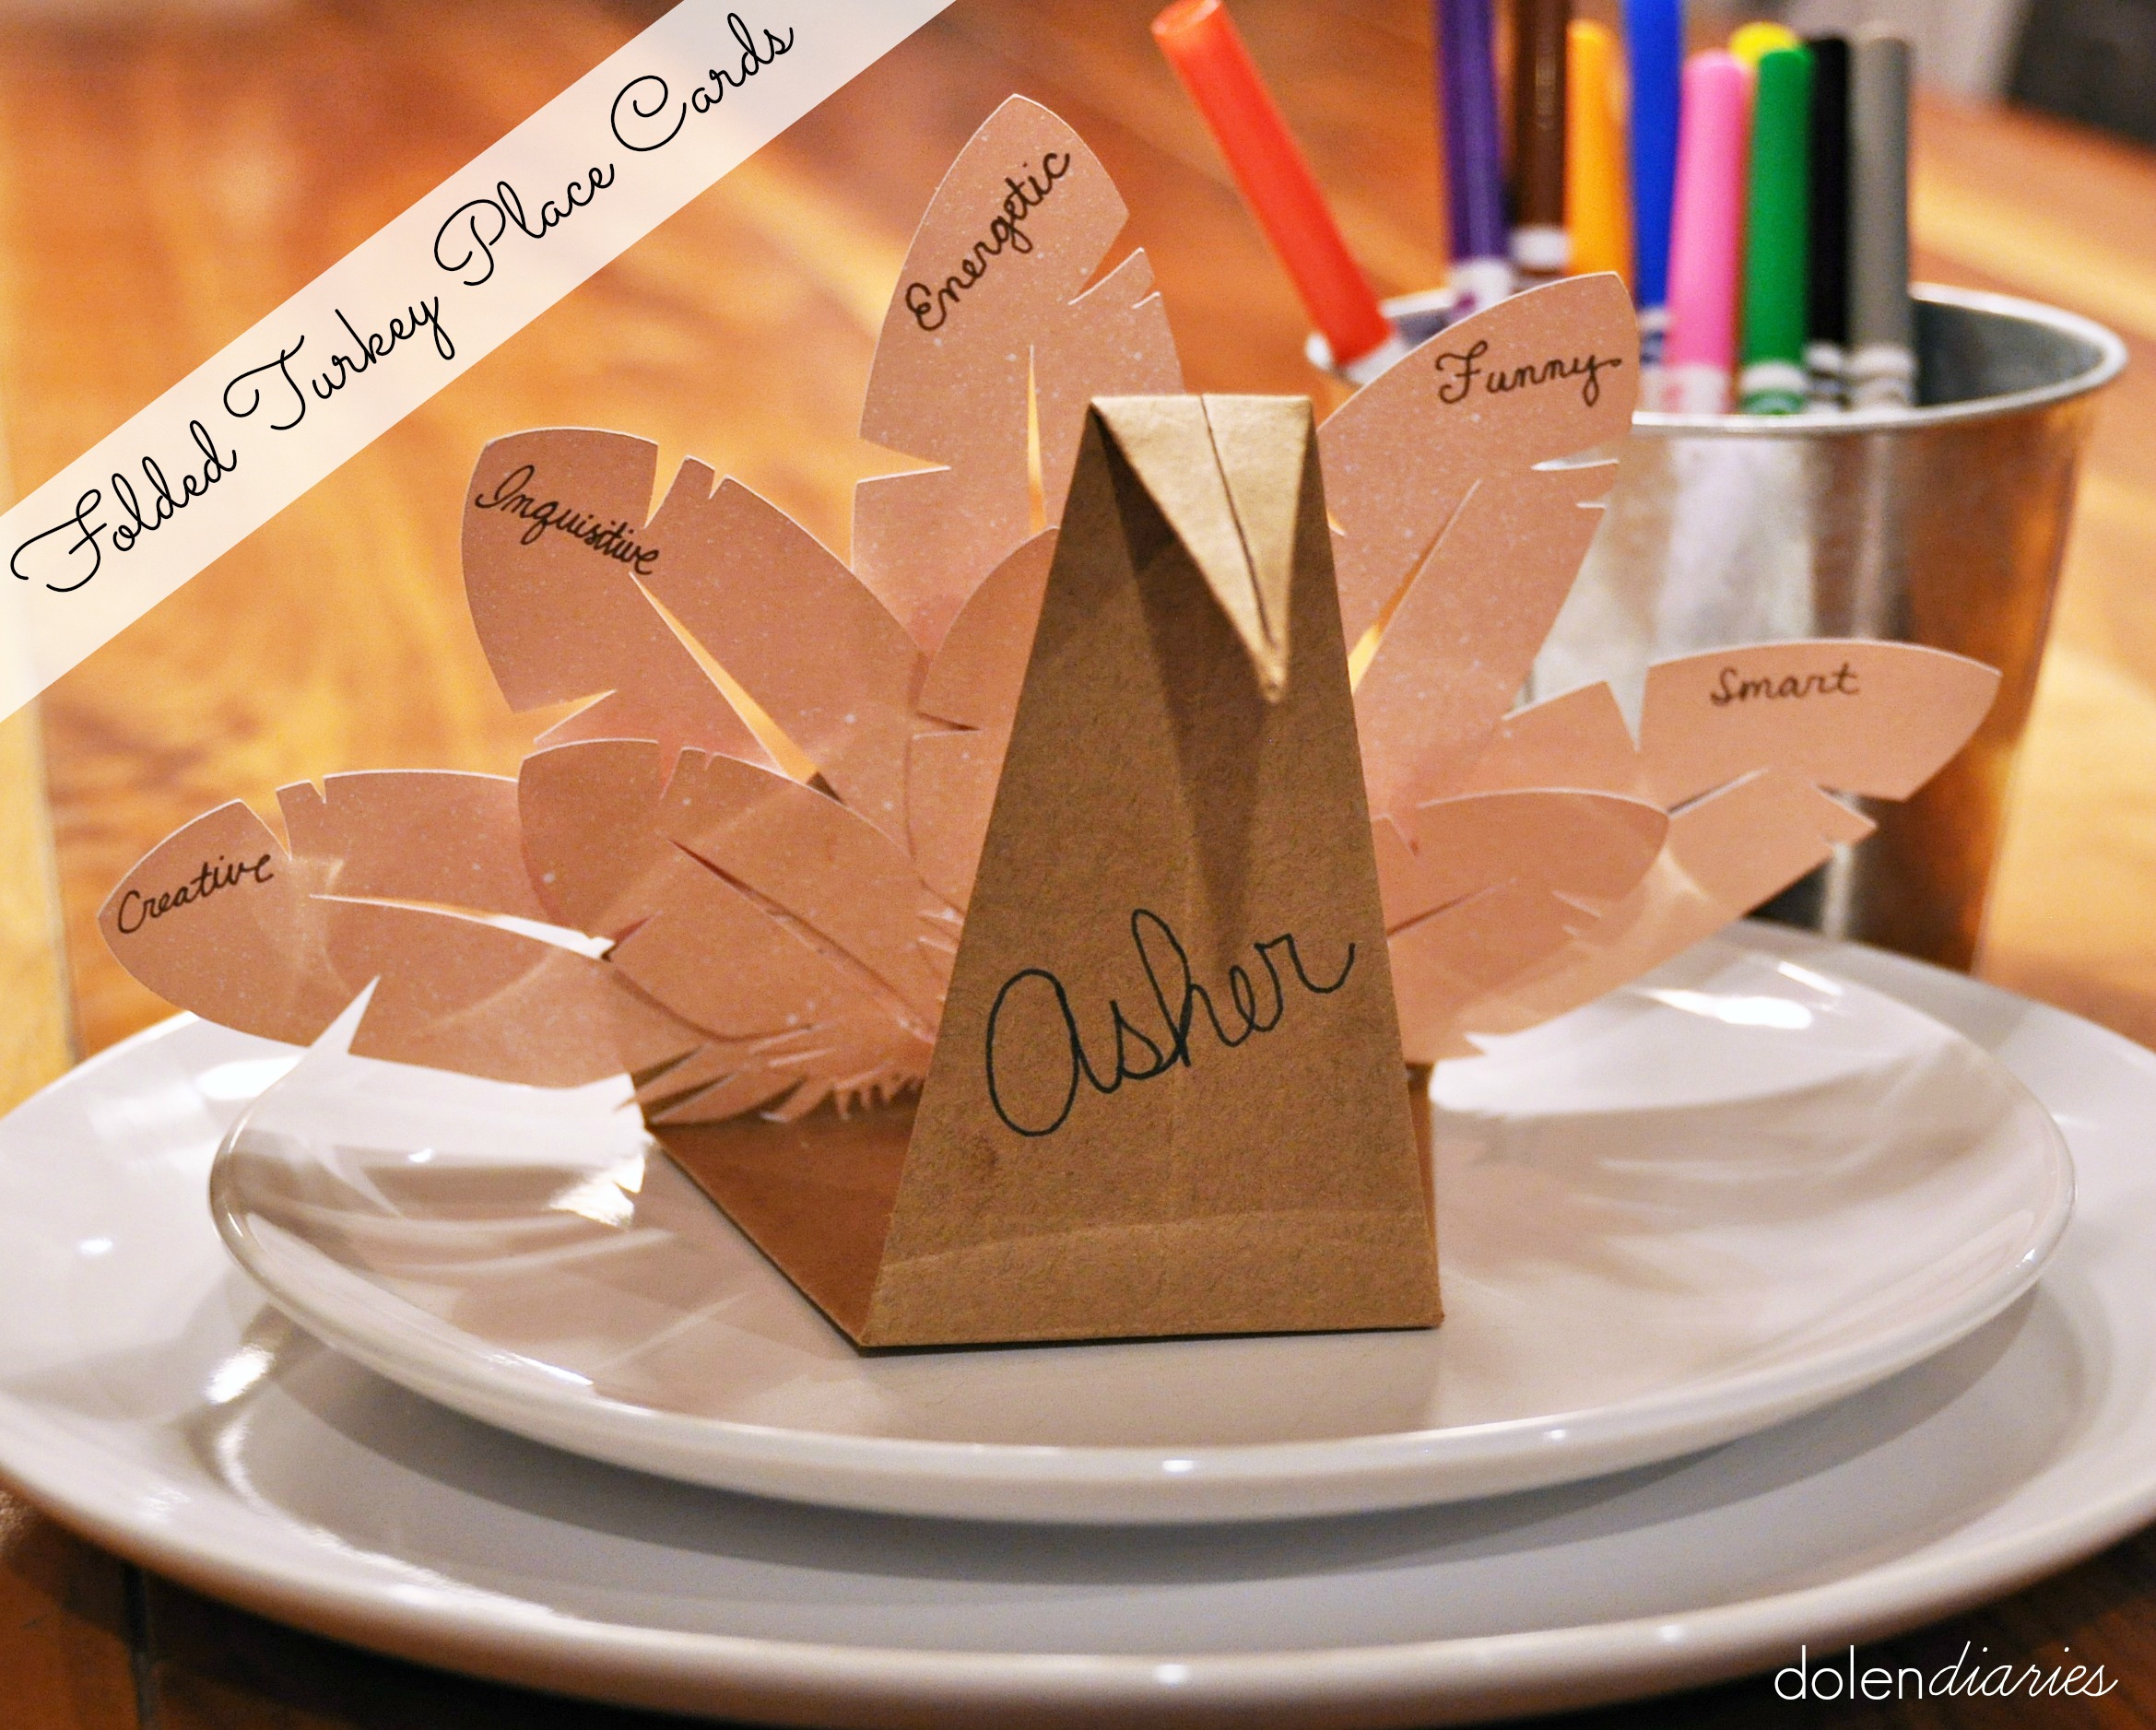
Pro Tip: Score the folds with a ruler first, or the paper cracks and the turkey will not stand.
17. Napkin Ring Name Cards
A name card threaded through a napkin ring, so the card and the ring are one piece, is the most practical card on this list because it cannot get separated from the setting. I use simple wooden rings and small kraft cards, and the whole thing takes five minutes per table once the names are written.
The trick is sizing the card to the ring: too big and it flops, too small and it disappears. I cut the cards to about two inches wide, which fits most rings and is still readable. The first year I used full-size cards and they overwhelmed the napkins, so smaller is better here. Guests keep the rings as favors, which is a nice bonus.
Cost: About $5 | Time: 20 minutes | Difficulty: Easy

Pro Tip: Write the names before threading the cards, or you will be writing at an awkward angle.
18. Wheat Bundle Place Cards
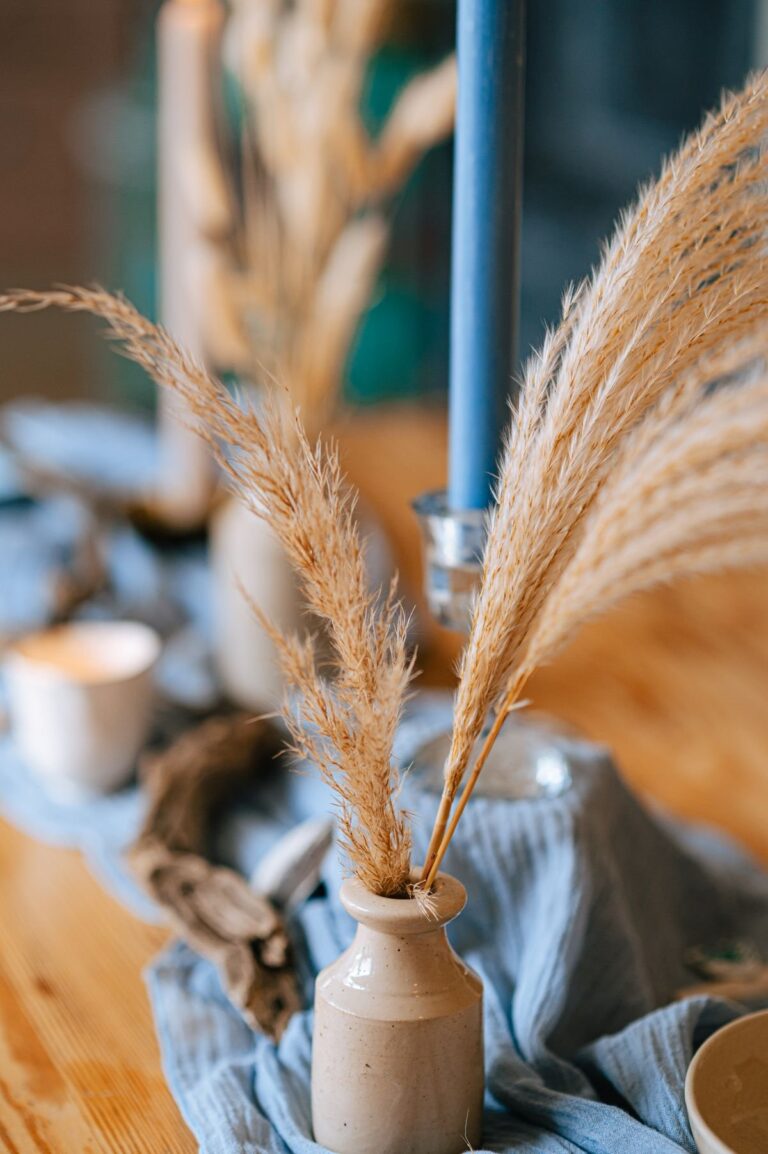
A small bundle of wheat tied with twine, with a name card tucked into the stems, brings a harvest feeling to the table that nothing else on this list matches. I buy dried wheat bundles at the craft store, cut them into short pieces, and tie each one with a card. They look like they belong on a farmhouse table, which is exactly the vibe I want.
Wheat sheds a little, so I set each bundle on a small plate or a folded napkin rather than directly on the tablecloth. The first time I skipped the plate, I found wheat bits in the gravy, which was not the harvest effect I intended. A bundle per place is plenty; a full wheat centerpiece plus wheat place cards is too much wheat.
Cost: About $5 | Time: 20 minutes | Difficulty: Easy
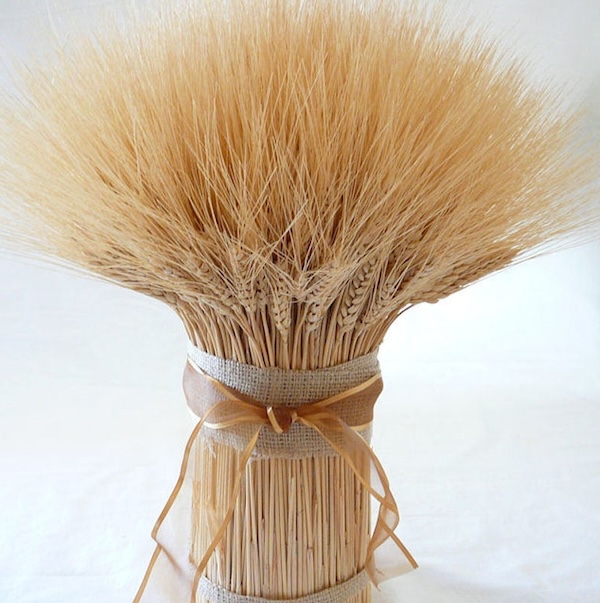
Pro Tip: Trim the wheat stems to the same length, or the bundles look ragged instead of rustic.
19. Gratitude Message Place Cards
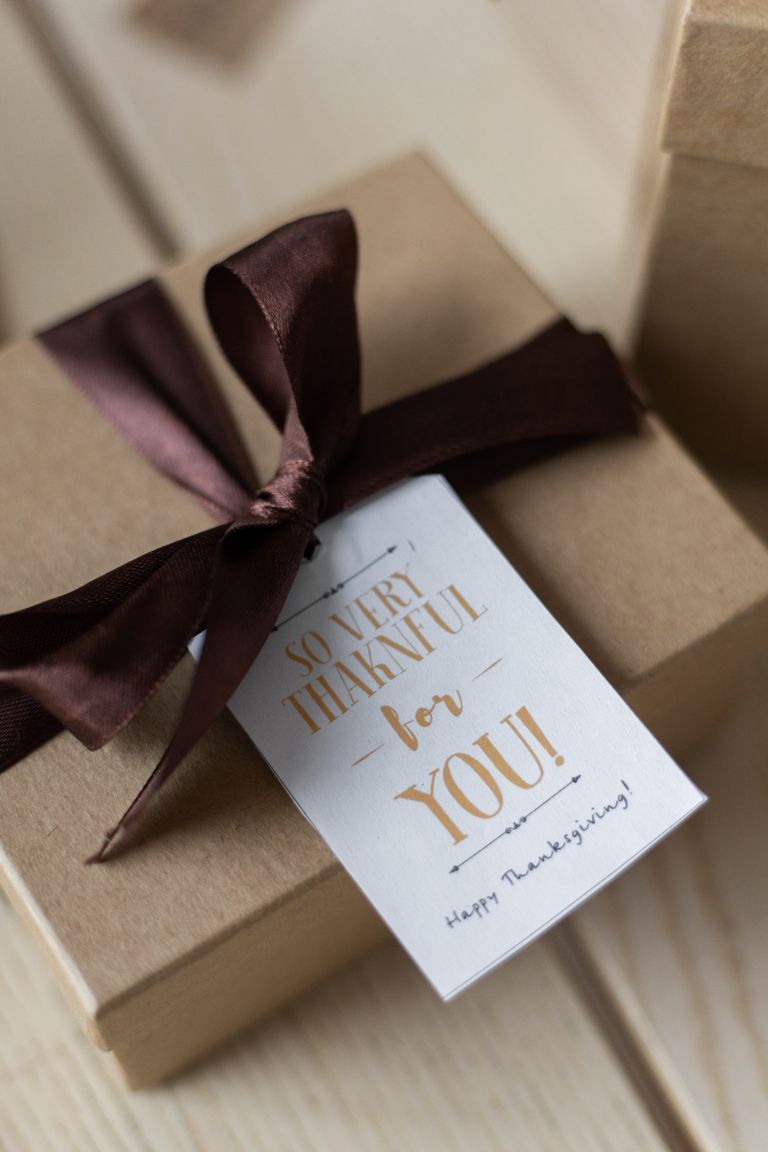
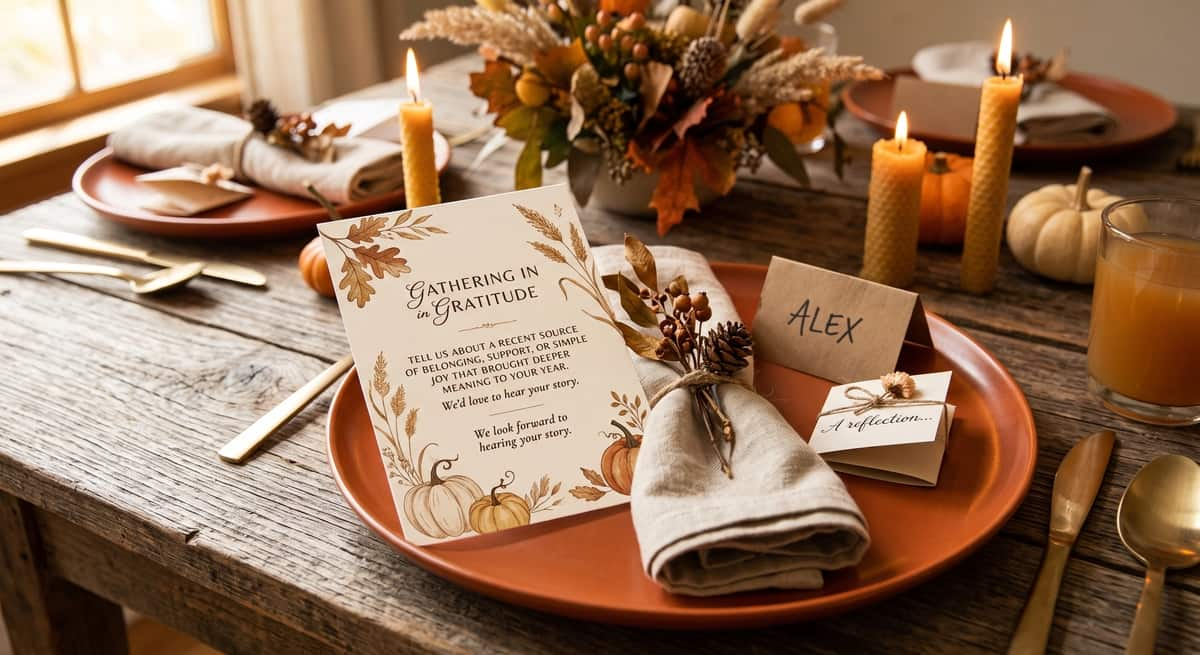
A name on the front and a short gratitude message on the back, something specific about that guest, is the card that makes people tear up. I write one sentence per person, like the year they helped me move or the joke only we share, and guests read theirs aloud at the table. It turns seating into the emotional center of the dinner.
This one takes thought, which is why I start it a week early and write one or two cards a day. The first year I tried to write them all the night before and the messages came out generic, which defeated the purpose. Specific beats poetic here: one real memory is worth more than a paragraph of pretty words.
Cost: About $2 | Time: 1 hour spread over a week | Difficulty: Easy
Pro Tip: Keep the messages short and kind; this is dinner, not a roast.
20. Gratitude Pumpkin Place Cards
A big pumpkin at the center of the table, with each guest’s place card pinned to it along with a note about what they are thankful for, turns the centerpiece into a gratitude display. Guests find their card on the pumpkin, read the notes, and take their card to their seat. It is part place card, part tradition, and my family now asks for it every year.
I use a large pumpkin and straight pins to attach the cards, and I put a small stack of blank cards beside it so guests can add their own gratitude notes during dinner. The first year I used a small pumpkin and ran out of room by the sixth card, so now the pumpkin is the biggest one I can find. By dessert, it is covered in notes, and that is the best decoration of the whole day.
Cost: About $5 | Time: 20 minutes | Difficulty: Easy

Pro Tip: Use short pins, not long ones, or they poke through the pumpkin wall and wobble.
Picking the Right Thanksgiving Place Card Ideas for Your Table
| Card type | Best for | Cost | Effort |
|---|---|---|---|
| Natural holders (pinecones, pumpkins, acorns) | Rustic tables | $0–$5 | Low |
| Paper and calligraphy cards | Elegant tables | $2–$5 | Medium |
| Photo and gratitude cards | Emotional impact | $2–$8 | Medium |
| Reusable holders (chalkboards, wood slices) | Year after year | $6–$10 | Low, after the first year |
Mistakes I Made (So You Don’t Have To)
I have made every one of these thanksgiving place card ideas at least once, and these are the lessons that stuck.
Leaving the cards until Thanksgiving Day. The first year I hosted, I wrote place cards while the turkey rested and the handwriting showed it. Now every card is done the day before, no exceptions.
Using materials that shed onto the food. Unsealed bark, loose feathers, and wheat directly on the tablecloth all ended up somewhere they should not be. A small plate or napkin under each card solves it completely.
Making cards that fall over. Round pumpkins, unwaxed chalk, and unglued acorns all taught me the same lesson: test one card the way a guest will actually use it, bump the table, and see if it survives.
Forgetting names on both sides. A card readable from only one direction means half the table cannot find their seat. I write names on both sides now, and seating takes seconds instead of minutes.
Frequently Asked Questions
Do I really need place cards for a family Thanksgiving?
Yes, especially for a family Thanksgiving. Families have seating politics, and a thoughtful card ends the hovering and the quiet negotiations about who sits where. It also lets you seat people who enjoy each other together, which makes dinner better for everyone.
How far ahead can I make Thanksgiving place cards?
Most of them a week ahead, and several a month ahead. Paper, wood, chalkboard, and calligraphy cards keep indefinitely. Natural ones like rosemary sprigs and mini apples should be made the day before or the morning of the dinner.
What if I have more guests than I planned for?
Keep blank cards and a pen at the table. The simplest designs on this list, like the kraft leaf and the pinecone holder, can be made in two minutes for a surprise guest, and nobody will know they were last-minute.
Are place cards worth it for a kids’ table?
Absolutely, and kids love them most of all. The folded turkey cards and photo cards are made for children’s tables, and a named seat makes a child feel like an honored guest instead of an afterthought.
Final Thoughts
These thanksgiving place card ideas work because they solve a real problem, the awkward ten minutes before dinner, with something small and beautiful. Pick one style that matches your table, make the cards the day before, write the names on both sides, and put a small plate under anything that sheds. Your guests will find their seats, dinner will start on time, and the table will look like you planned it for weeks, even if the cards took you twenty minutes.