17 Halloween Mantel Decor Ideas
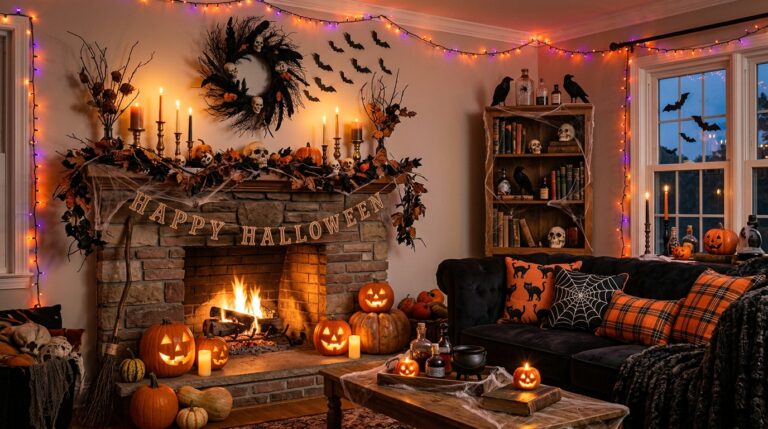
I have spent the last six Octobers restyling the same living-room mantel, and these Halloween mantel decor ideas are the ones that actually survived a whole season without looking tired. I picked them by testing each look in my own home first: I lived with it for at least a week, checked it in daylight and lamplight, and only kept the ideas that still made me smile on day seven.
My mantel is a standard 60-inch wooden shelf above a working fireplace, so everything here is sized for a real mantel, not a showroom. I favor battery candles near anything flammable, odd-numbered groupings, and one clear focal point. If your mantel is narrow, stone, or fake, I note where to shrink or swap each idea, because a look that crowds a small shelf is worse than no decor at all.
Key Takeaways
- Start with one focal point in the center, then build outward in odd-numbered groups.
- Battery candles give you the glow without the fire risk near garlands and dried leaves.
- Keep the mantel’s top edge clear of anything that can fall when the door slams.
- Most of these looks cost under $40 if you reuse pumpkins and candle holders from year to year.
- Take a photo from the sofa before you call it done; the camera catches clutter your eyes miss.
Related article: 21 Thanksgiving Mantel Decor Ideas
17 Halloween Mantel Decor Ideas I Have Actually Tried
1. Classic Pumpkin Row With Mixed Heights
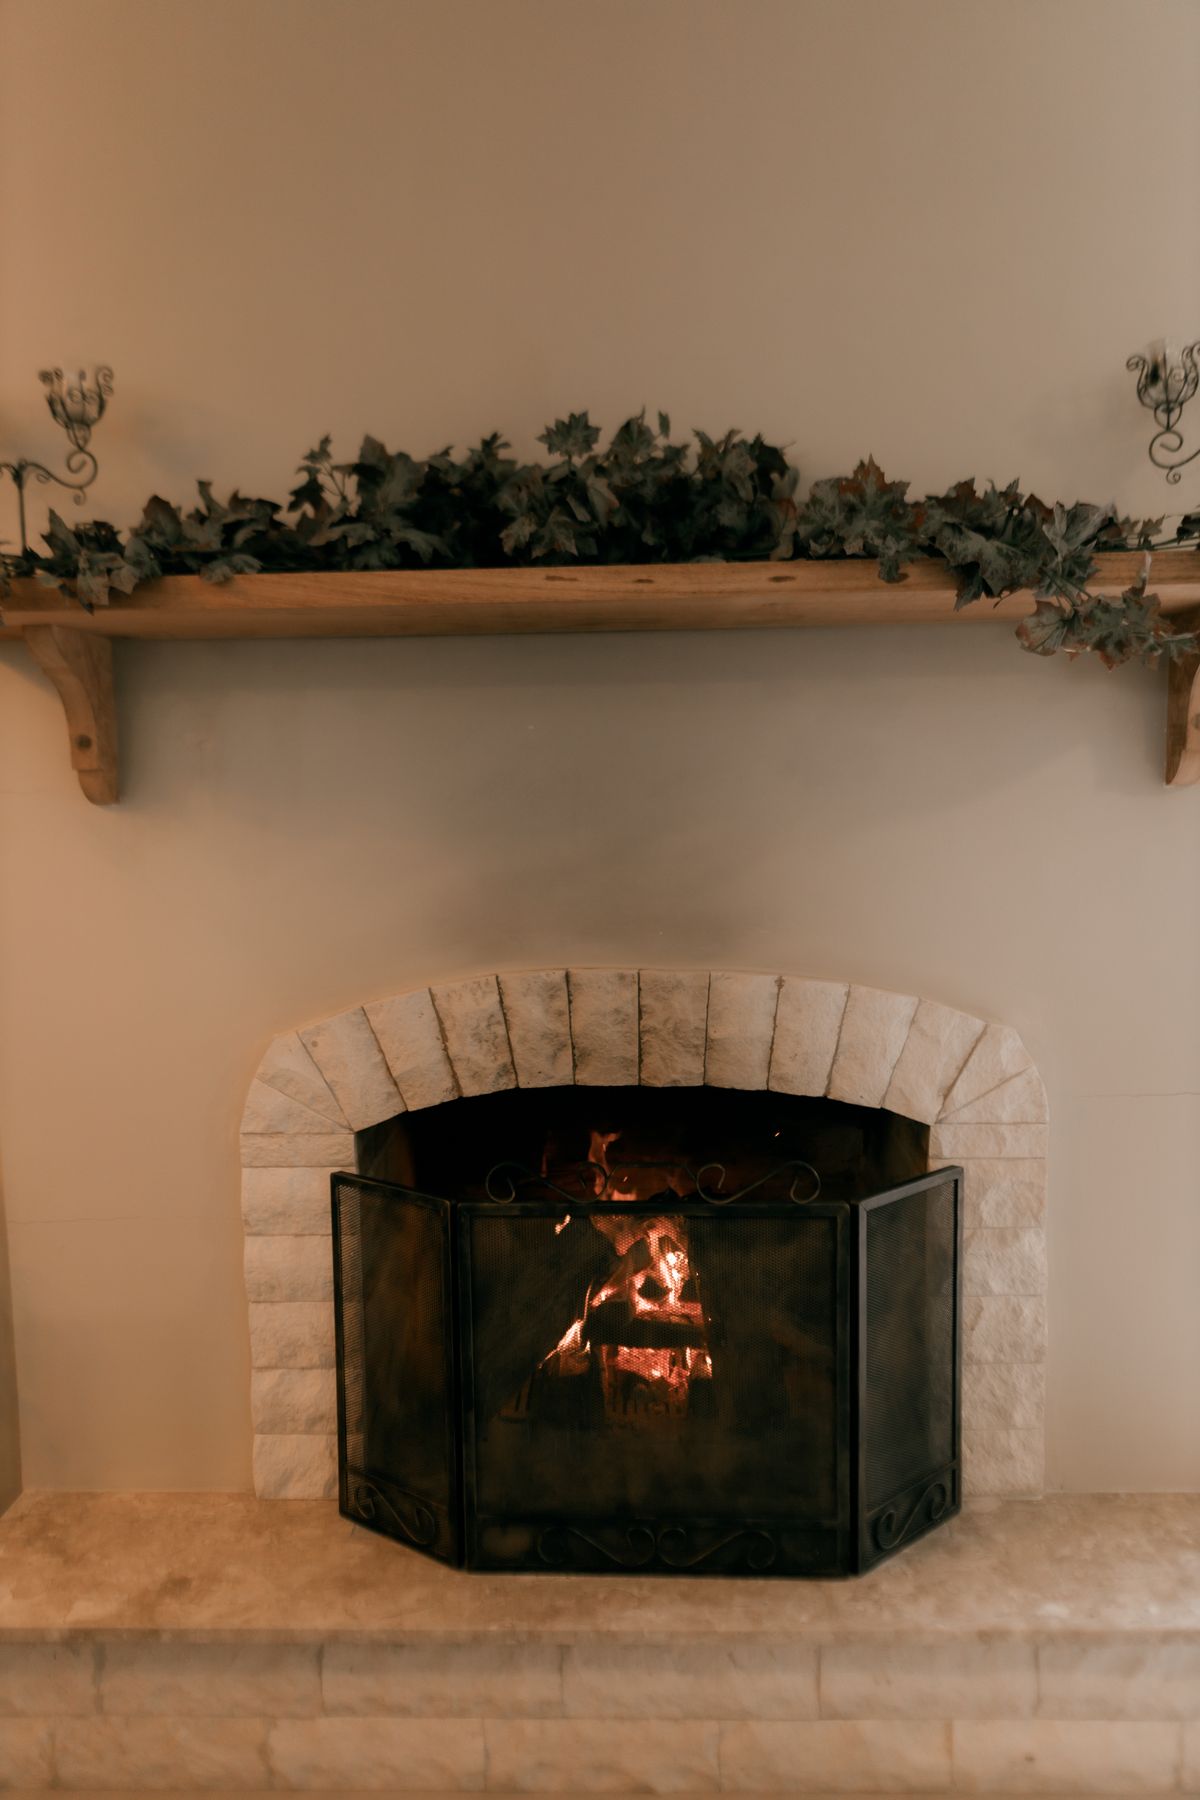
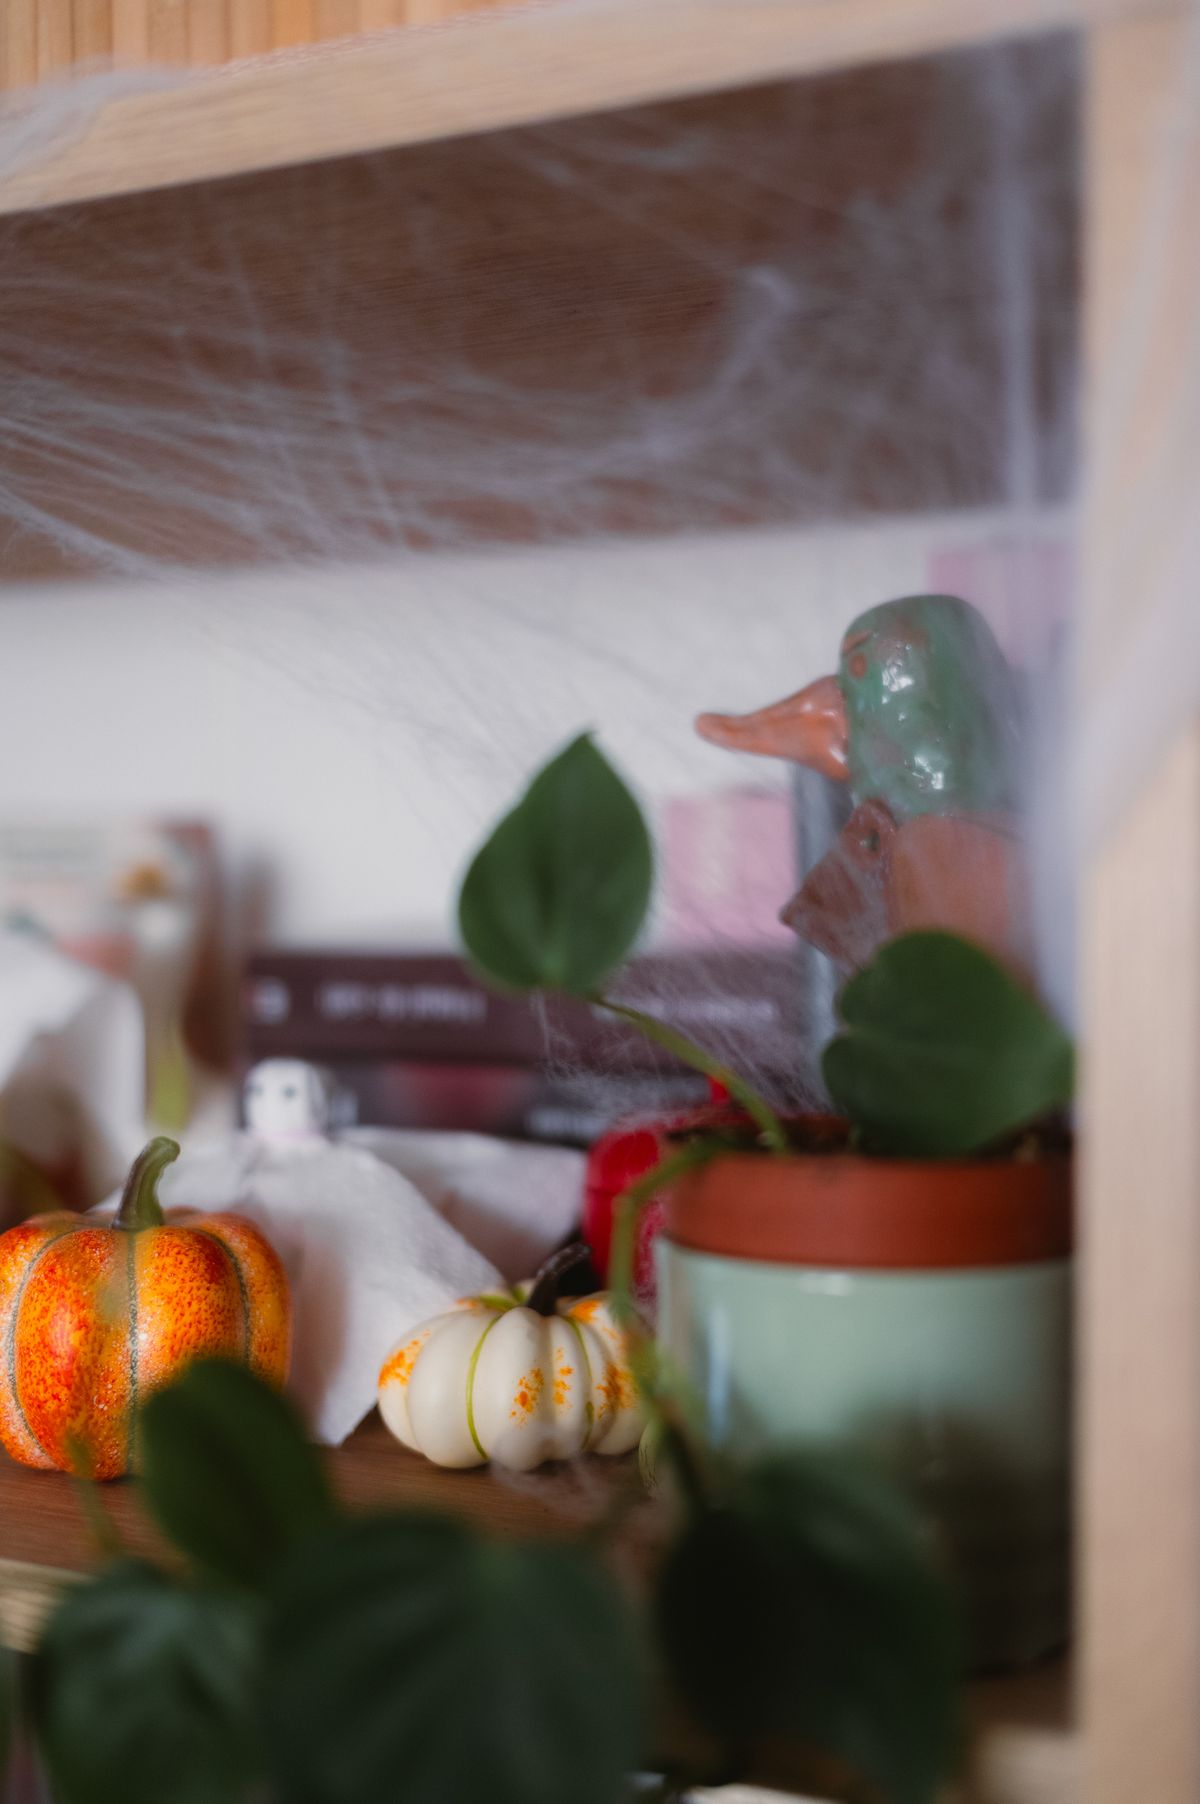
I line up five faux pumpkins across the mantel in three heights: two tall ones at the ends, a medium pair just inside them, and one small pumpkin dead center. I used to buy them all the same size and the row looked like a fence, but mixing heights instantly made it feel styled rather than stored. I set the pumpkins on a thin strip of burlap so they do not roll, and I tuck a few dried leaves between them. The whole row took me about twenty minutes, and it stayed put all October in our living room even with two kids running past daily. The downside is that cheap foam pumpkins dent if a child squeezes them, so I keep the nicest one out of reach.
Pro Tip: Turn one pumpkin slightly sideways so its stem points off-center; it breaks the soldier-row effect.
Cost / Time / Difficulty: $25-$40 / 20 minutes / Easy
2. Battery Candles in Tall Glass Hurricanes
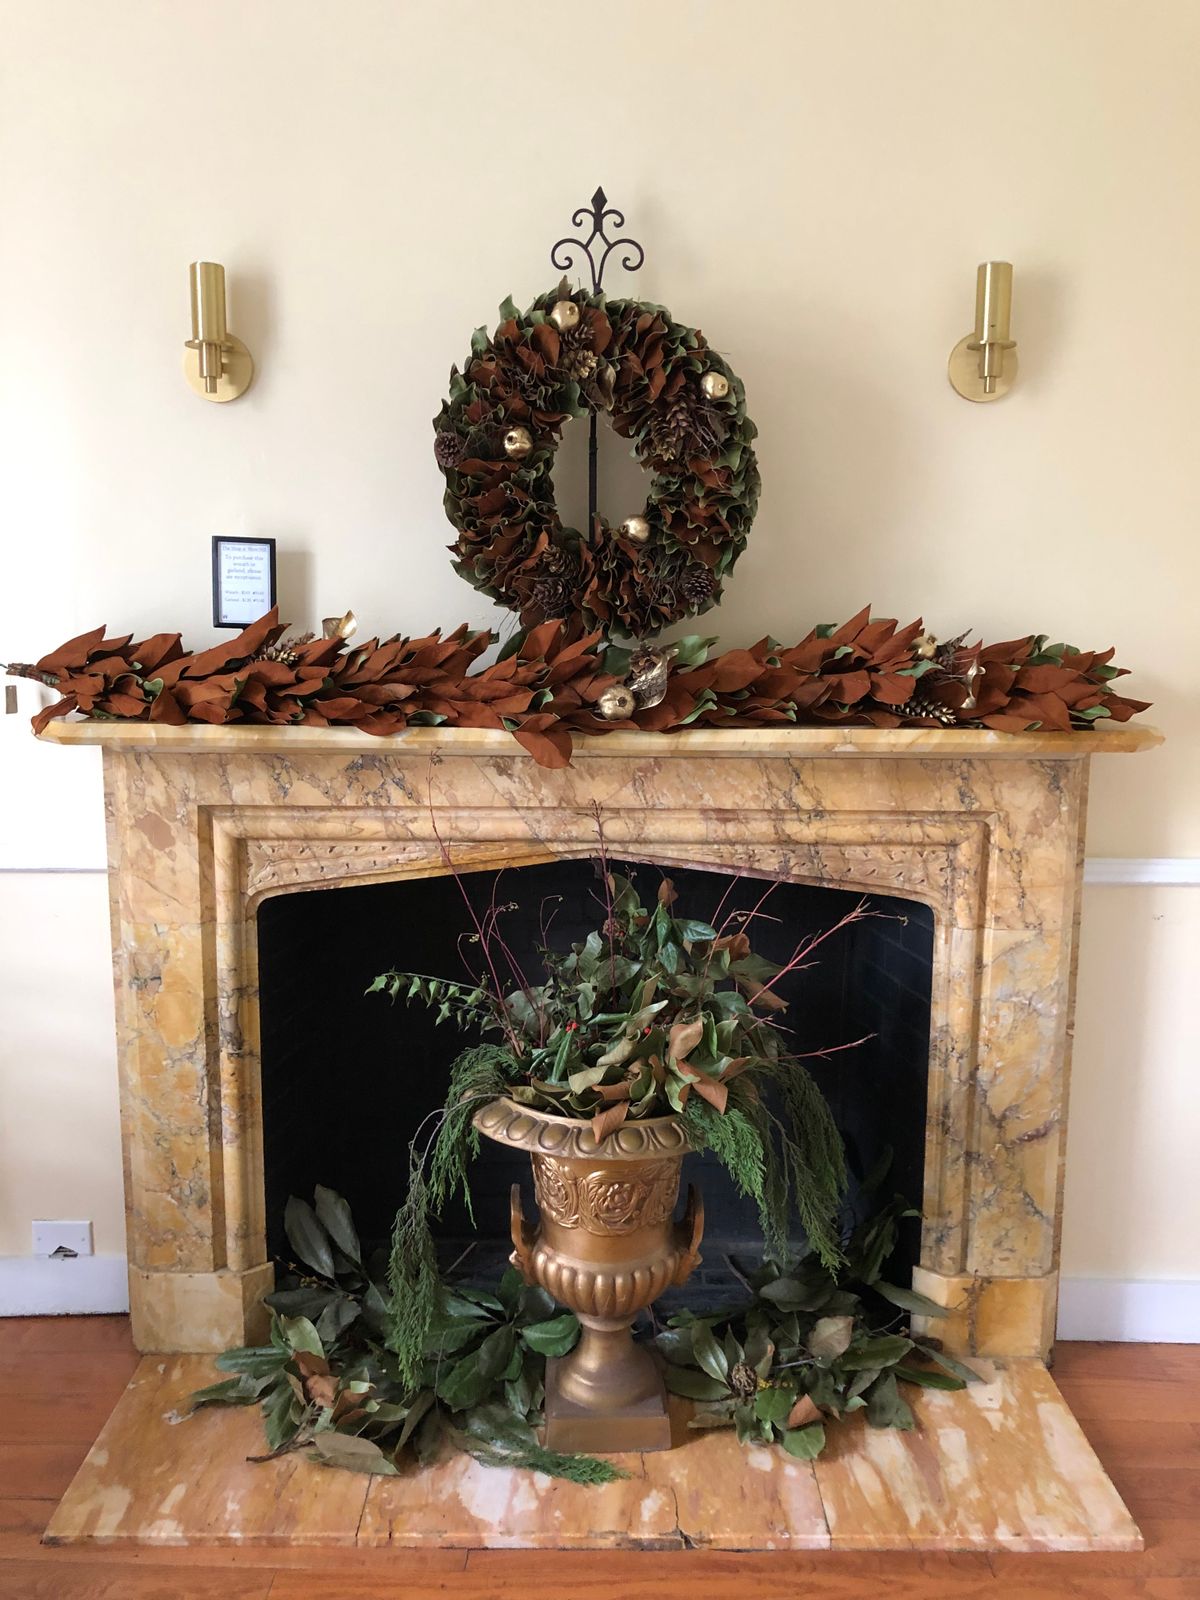
I place three glass hurricane holders of different heights on one side of the mantel and drop a battery pillar candle into each. The first year I used real candles and spent the whole evening sniffing for wax and worrying about the garland above them, so I switched and never looked back. The flickering LEDs look convincing from the sofa, and I set them on a timer for 6 p.m. to 11 p.m. so I never have to remember. They ran for three weeks on one set of batteries in my house. The watch-out is that very cheap LEDs flicker too fast and look like a faulty bulb, so test one in the dark before buying a set.
Pro Tip: Put a small mirror tile under each hurricane; it doubles the glow for almost no money.
Cost / Time / Difficulty: $20-$35 / 15 minutes / Easy
3. Black Garland With Orange Fairy Lights
I drape a plain black leaf garland along the mantel’s front edge, letting it dip about six inches in the middle, then weave a strand of orange fairy lights through it. I bought the garland on sale after Halloween one year and it has lasted four seasons now. The lights are the trick: warm orange reads as Halloween, while plain white reads as Christmas, and I learned that the hard way when guests asked why I had decorated early. It takes me roughly half an hour because I step back after every few feet to check the dips are even. The downside is shedding; I shake the garland outside before hanging it, or black flakes end up on the hearth for weeks.
Pro Tip: Hide the battery pack behind the end pumpkin so no wires show in photos.
Cost / Time / Difficulty: $15-$30 / 30 minutes / Easy
4. A Skeleton Lounging Like He Owns the Place
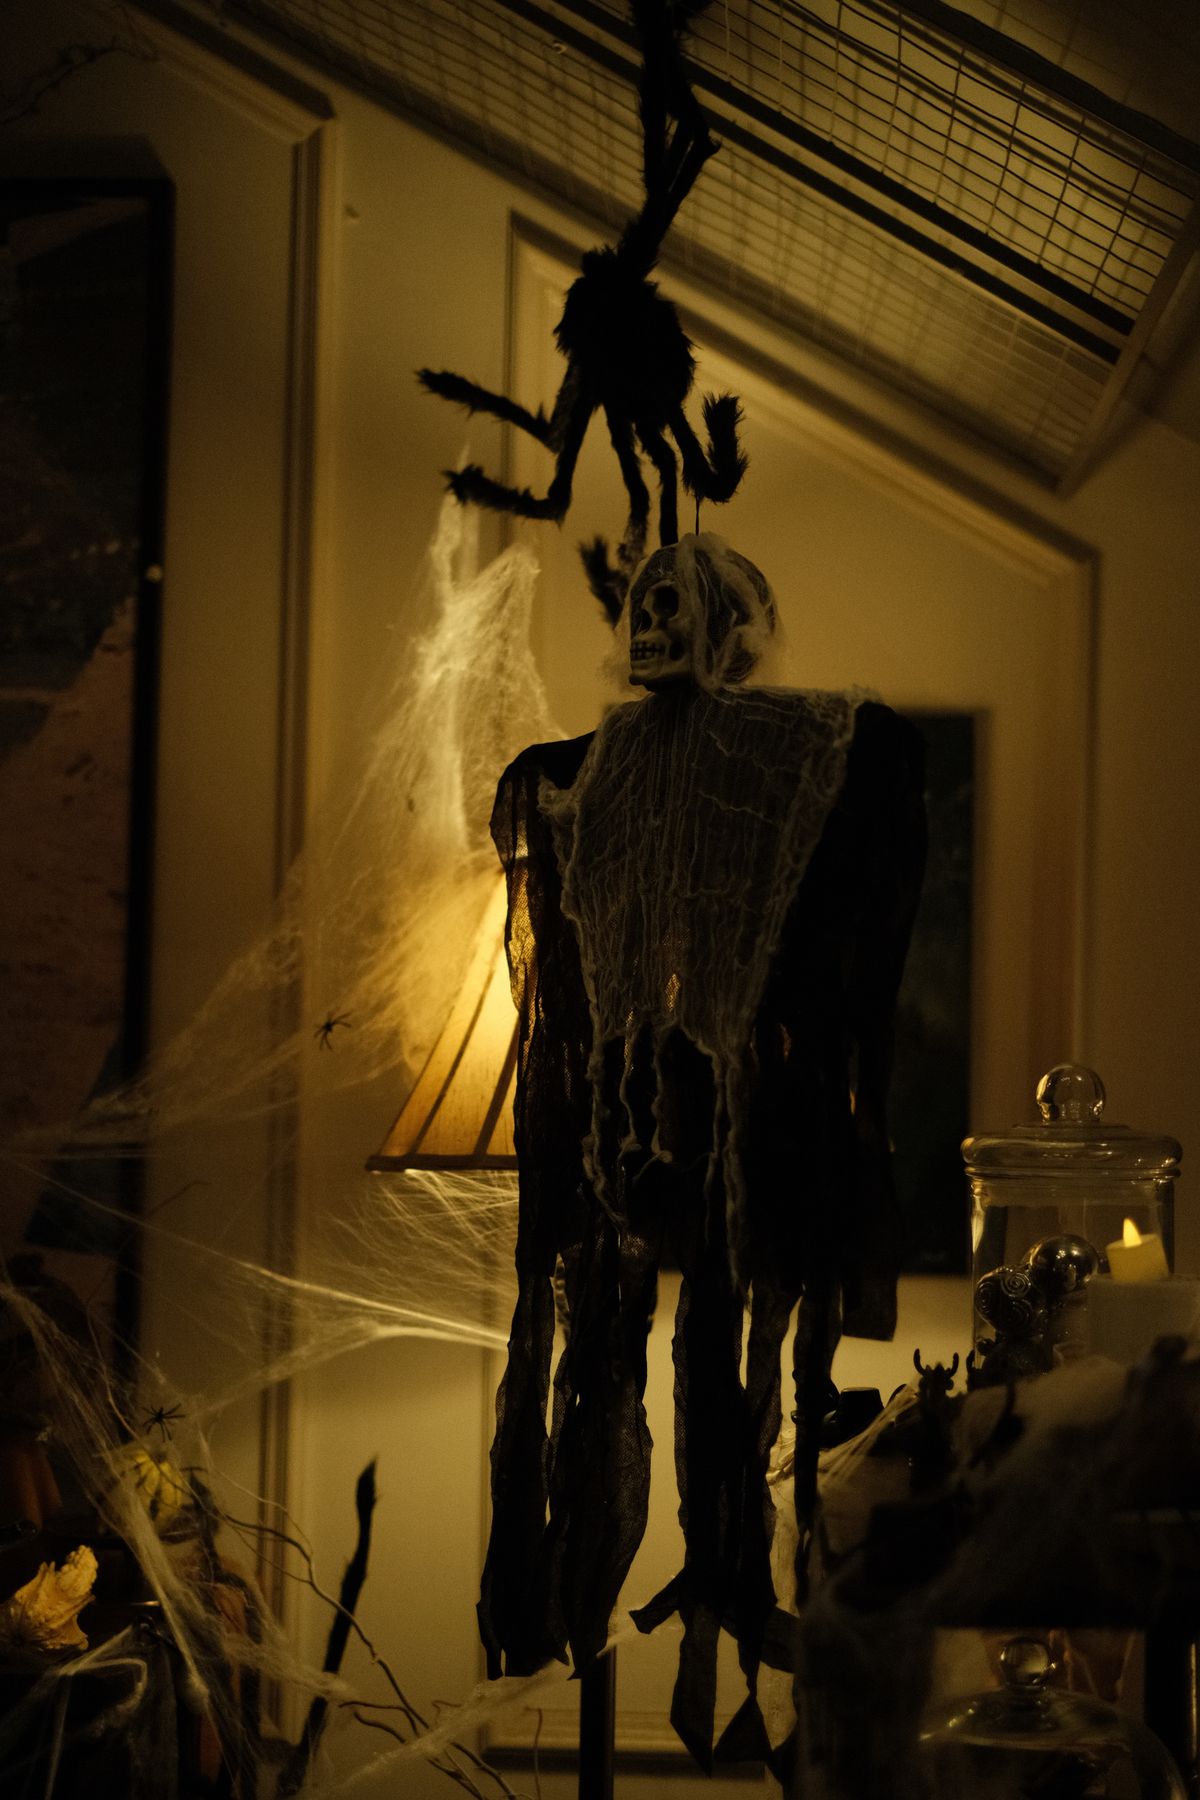
I pose a small jointed skeleton leaning against the mantel’s end, one arm draped over a stack of old books, like he is waiting for a drink. My kids named him, and honestly he is the piece guests photograph most. I wired his hands loosely with florist wire so the pose holds, because the first year he slid off mid-dinner-party and landed in someone’s soup bowl. He cost me less than a takeaway dinner and lives in a storage box the rest of the year. The honest downside is scale: a full-size skeleton overwhelms a standard mantel, so keep it under two feet tall or it crowds everything else out.
Pro Tip: Angle his skull slightly toward the room; a skeleton staring at the wall looks accidentally knocked over.
Cost / Time / Difficulty: $15-$25 / 10 minutes / Easy
5. Pumpkin Lantern Cluster at One End
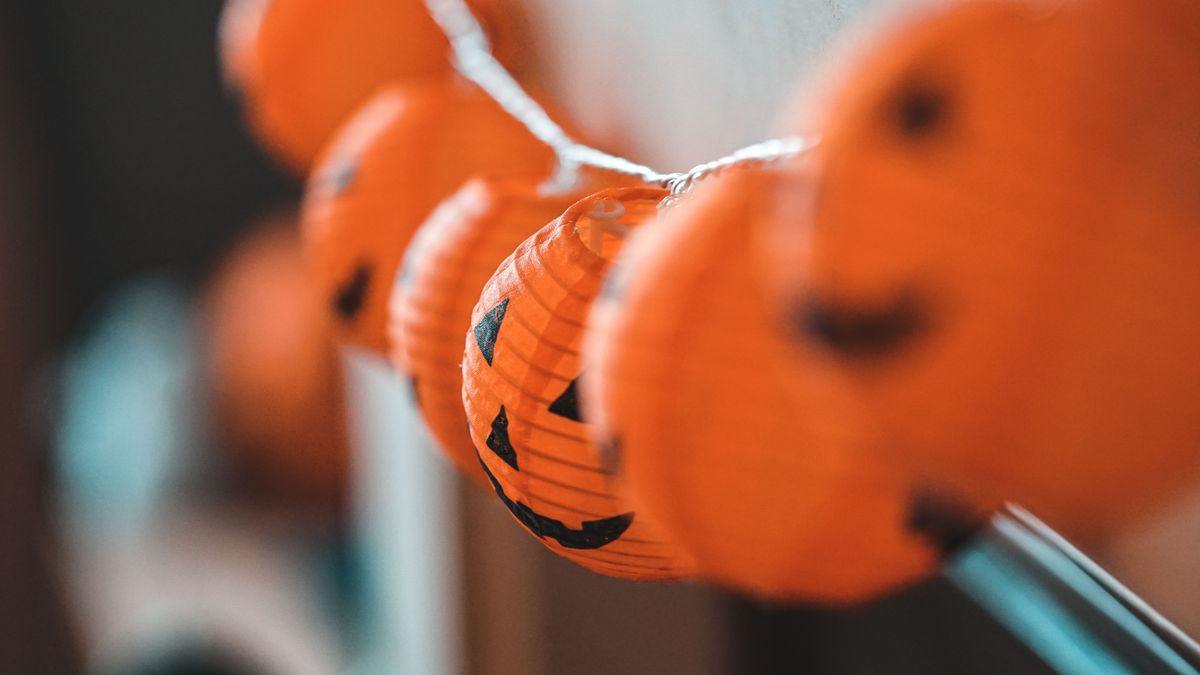
Instead of spreading lanterns everywhere, I cluster three pumpkin lanterns of different sizes at the left end of the mantel and leave the right end almost bare except for a single tall candlestick. The asymmetry sounds odd but it gives the eye somewhere to rest, and it is the arrangement I get complimented on most. I use battery tea lights inside them because real flames inside a foam pumpkin are a bad idea I will not repeat. In my living room the cluster glowed nicely from the hallway, which made the whole room feel done even though half the mantel was empty. The catch is that lanterns with painted faces chip if you stack them in storage, so I wrap each in an old tea towel.
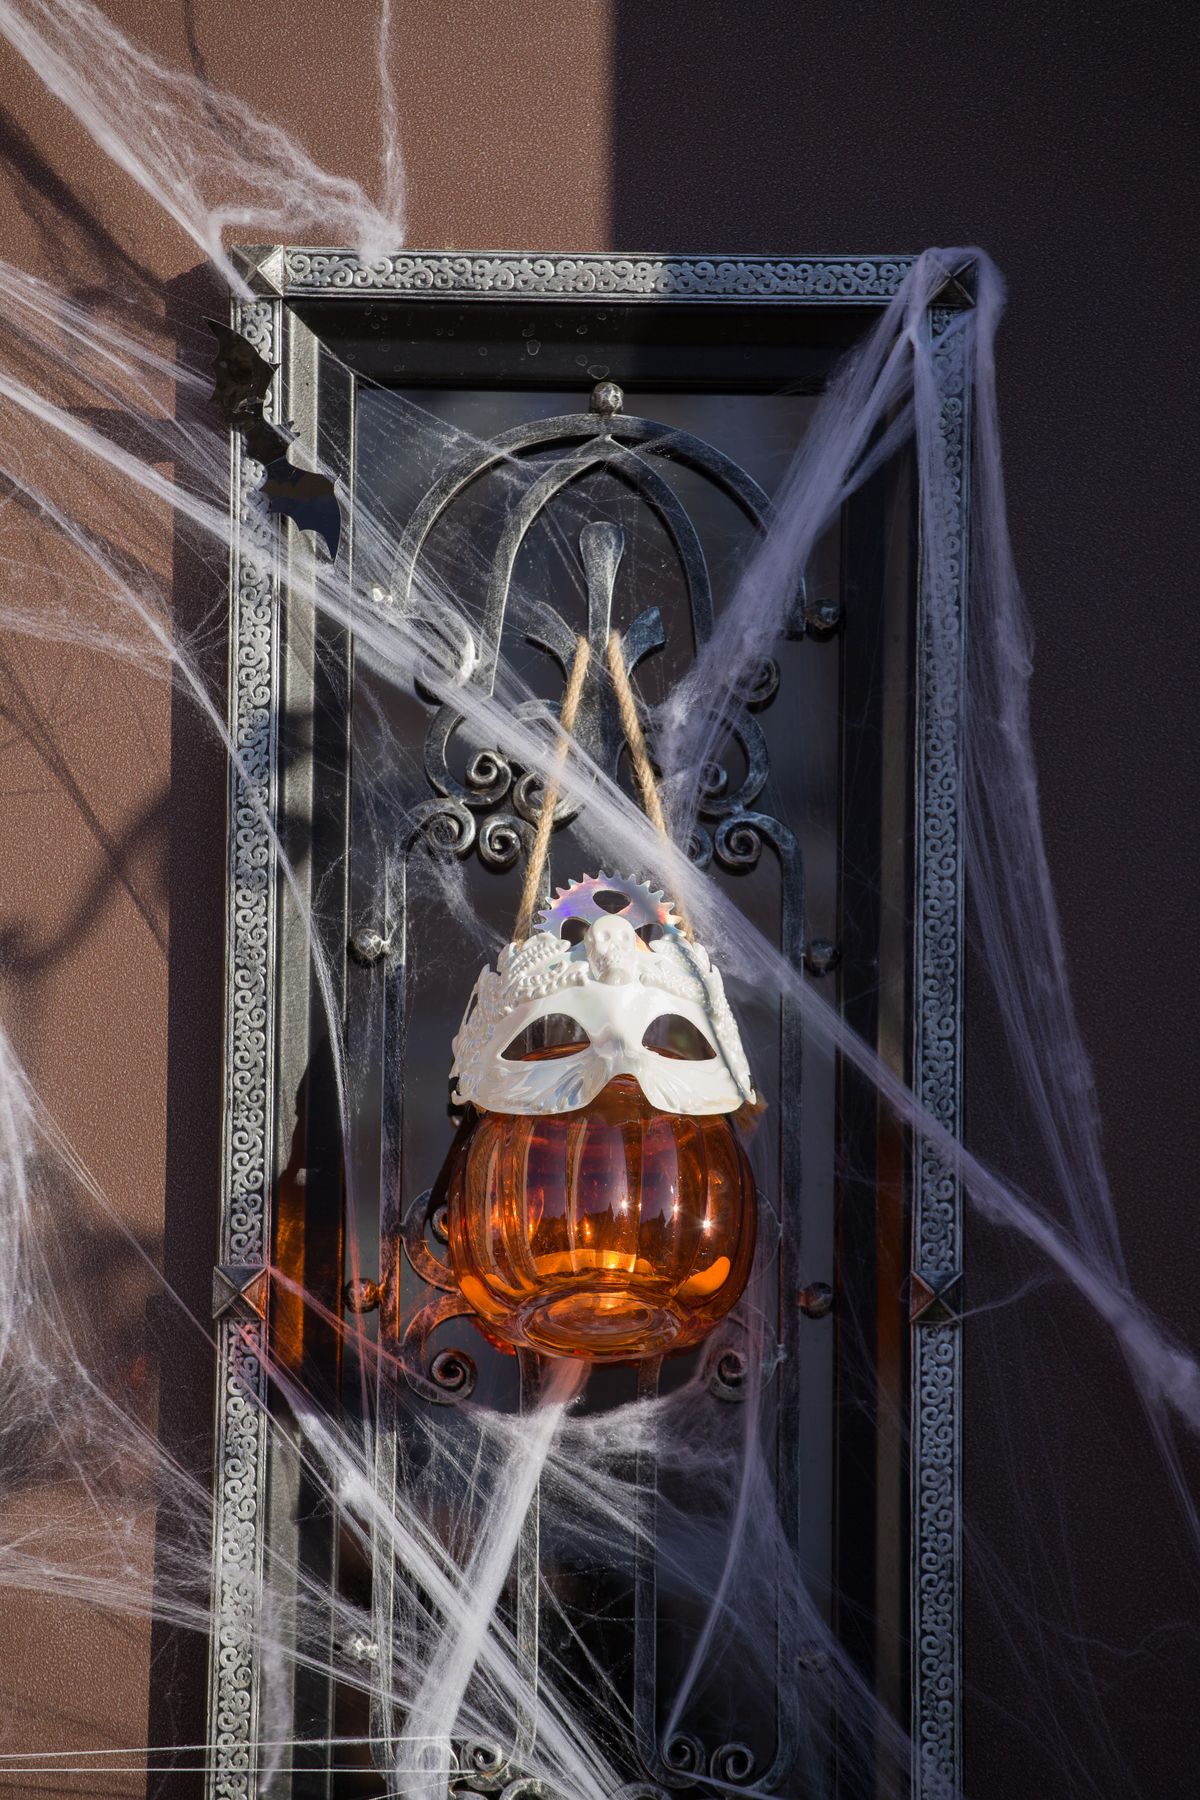
Pro Tip: Put the largest lantern at the back and the smallest in front for depth.
Cost / Time / Difficulty: $20-$35 / 15 minutes / Easy
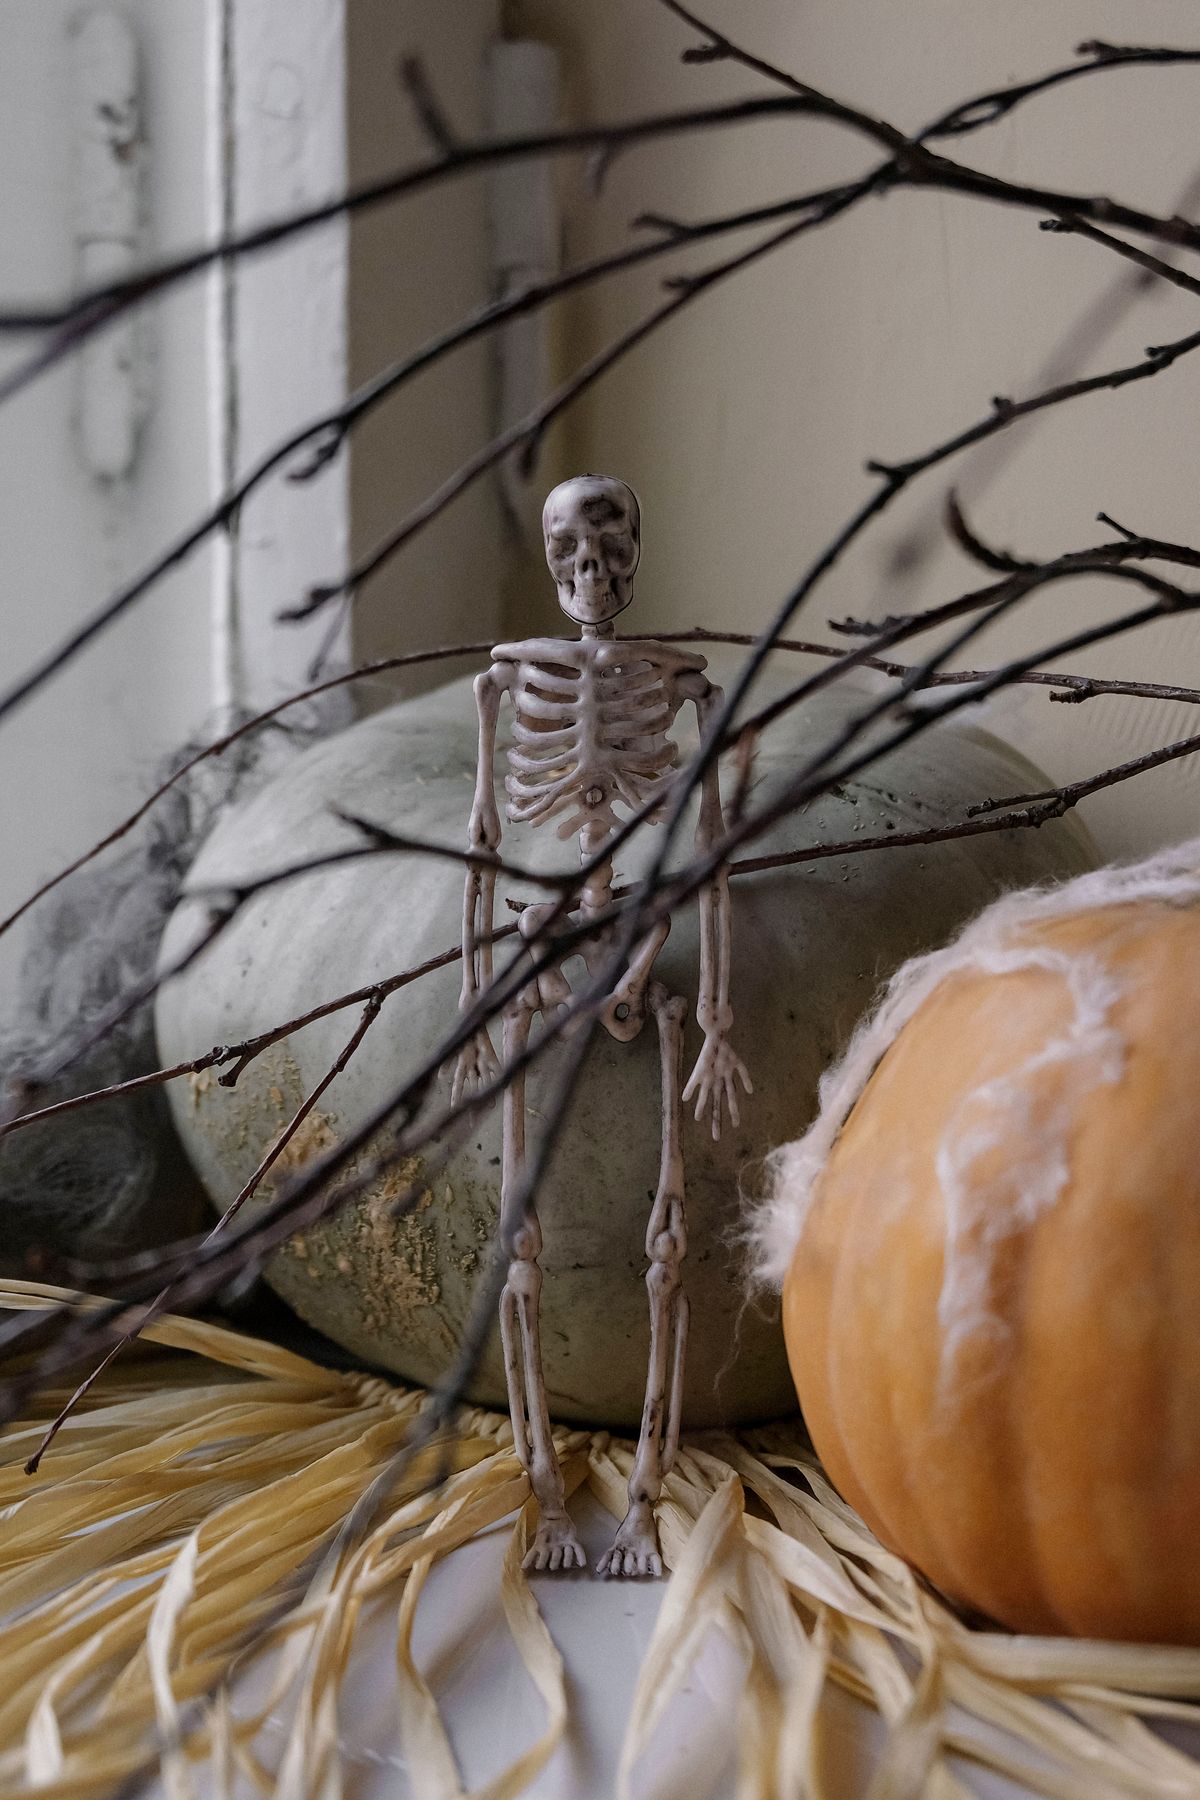
6. Witch Hats Hanging From the Mantel Edge
I hang three miniature witch hats from the mantel’s front edge on clear fishing line at staggered lengths, so they look like they are floating. I made them from black felt cones and a cardboard brim, and the whole project cost me under $10. They took an afternoon because the glue needed to dry between steps, but my daughter still talks about that craft afternoon. They lasted the full month, though one hat spun in the draft from the front door and tangled its line, so now I anchor each line with a tiny dot of tape on the mantel’s underside. The downside is they collect dust fast, so give them a shake outdoors before storing.
Pro Tip: Use black thread instead of fishing line if glare from the lights bothers you.
Cost / Time / Difficulty: $5-$12 / 1 afternoon / Easy
7. Apothecary Bottles and Potion Jars
I gather empty glass bottles in different shapes, fill them with colored water, dried moss, and a few plastic spiders, and label them with handwritten tags like frog spawn and bat wings. This is my favorite mantel idea for a party night because guests actually pick the bottles up and read them. I spent about $18 on bottles from a thrift shop and the labels were free with a marker and brown paper. The display survived two parties in our living room without a single spill, which I credit to keeping the bottles at the back of the mantel. The watch-out is real: colored water stains wood, so every bottle sits on a small cork coaster, no exceptions after the year I skipped that step.
Pro Tip: Add one drop of food coloring, not a pour; too much looks like paint, not potion.
Cost / Time / Difficulty: $15-$25 / 45 minutes / Moderate
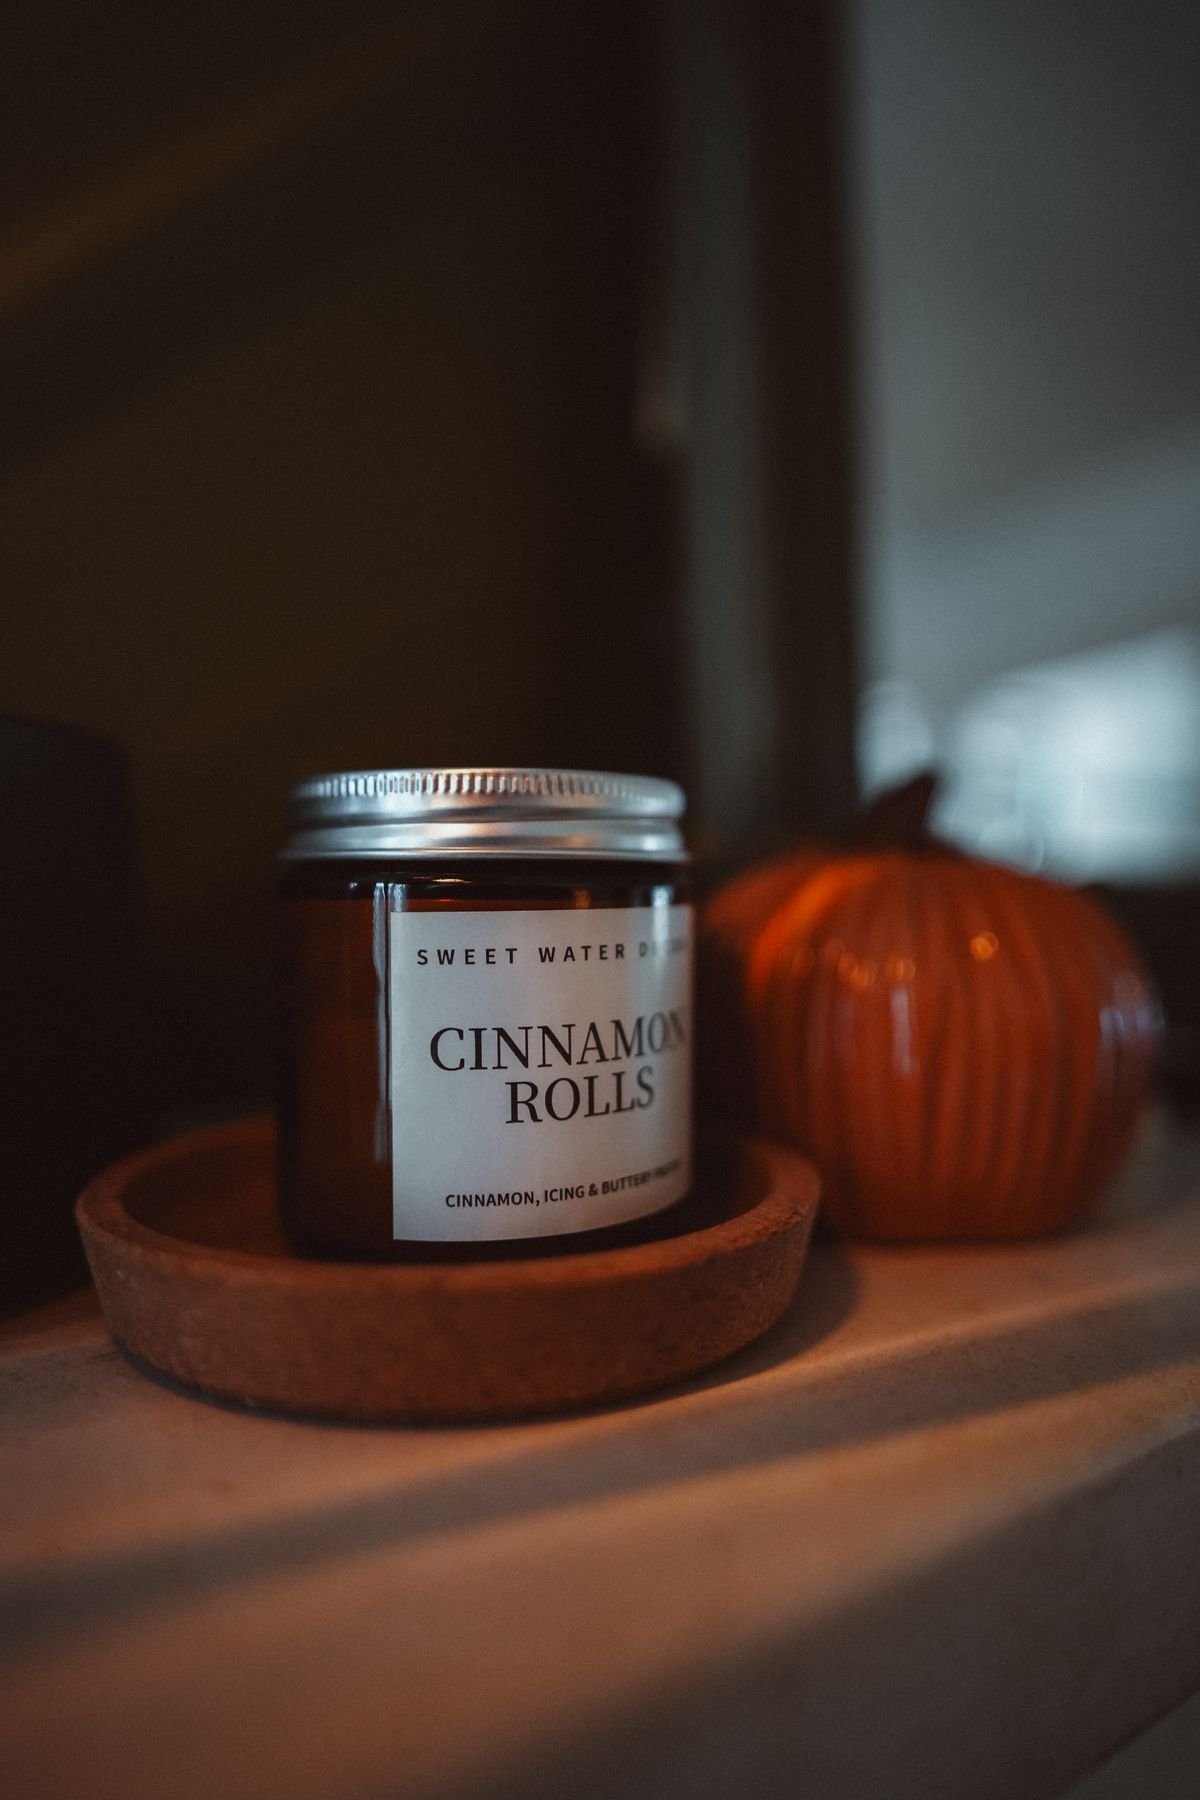
8. Cinnamon Candles and Mini Pumpkins
I scatter five mini pumpkins between two cinnamon-scented pillar candles in glass holders, with a few cinnamon sticks tied in a bundle beside them. It is the simplest idea on this list and the one I return to when October sneaks up on me. I assembled it in ten minutes the night before a dinner party, and the scent did half the decorating work before anyone even looked at the mantel. The candles burned down unevenly because one sat closer to a draft from the window, so I rotate them every few days now. The downside is scent fatigue: after two weeks I stopped noticing it, though guests still commented, so trust fresh noses over your own.
Pro Tip: Tie the cinnamon bundle with plain twine, not ribbon; ribbon melts if it slips near a flame.
Cost / Time / Difficulty: $12-$22 / 10 minutes / Easy
9. A Framed Spooky Print as the Centerpiece
I prop a large framed print of a haunted house silhouette in the center of the mantel and build everything else around it. The frame gives the display a backbone, which matters because loose objects alone tend to look like clutter by week two. I printed mine at a copy shop for a few dollars and slipped it into a frame I already owned. It stood in our living room all month and anchored every other piece, from the pumpkins to the candles. The downside is glare: glass reflects the television opposite the fireplace, so I used a matte print and tilted the frame forward a fraction, which fixed it.

Pro Tip: Choose a print with a dark background; it reads as Halloween even without orange in it.
Cost / Time / Difficulty: $5-$20 / 15 minutes / Easy
Also read: 21 Christmas Mantel Decor Ideas
10. White Pumpkins for a Calmer Mantel
I switched one year to all-white and cream pumpkins with silver candle holders, and the mantel suddenly matched the rest of our neutral living room instead of shouting over it. It felt grown-up without feeling boring, and it photographed beautifully in daylight. I kept three white pumpkins of different sizes and added eucalyptus sprigs, which lasted about ten days before drying out. The honest downside is that white foam shows every scuff and fingerprint, so I handle them with clean hands and store them separately. If your room already has a lot of orange elsewhere, this is the version that keeps the mantel from competing with it.
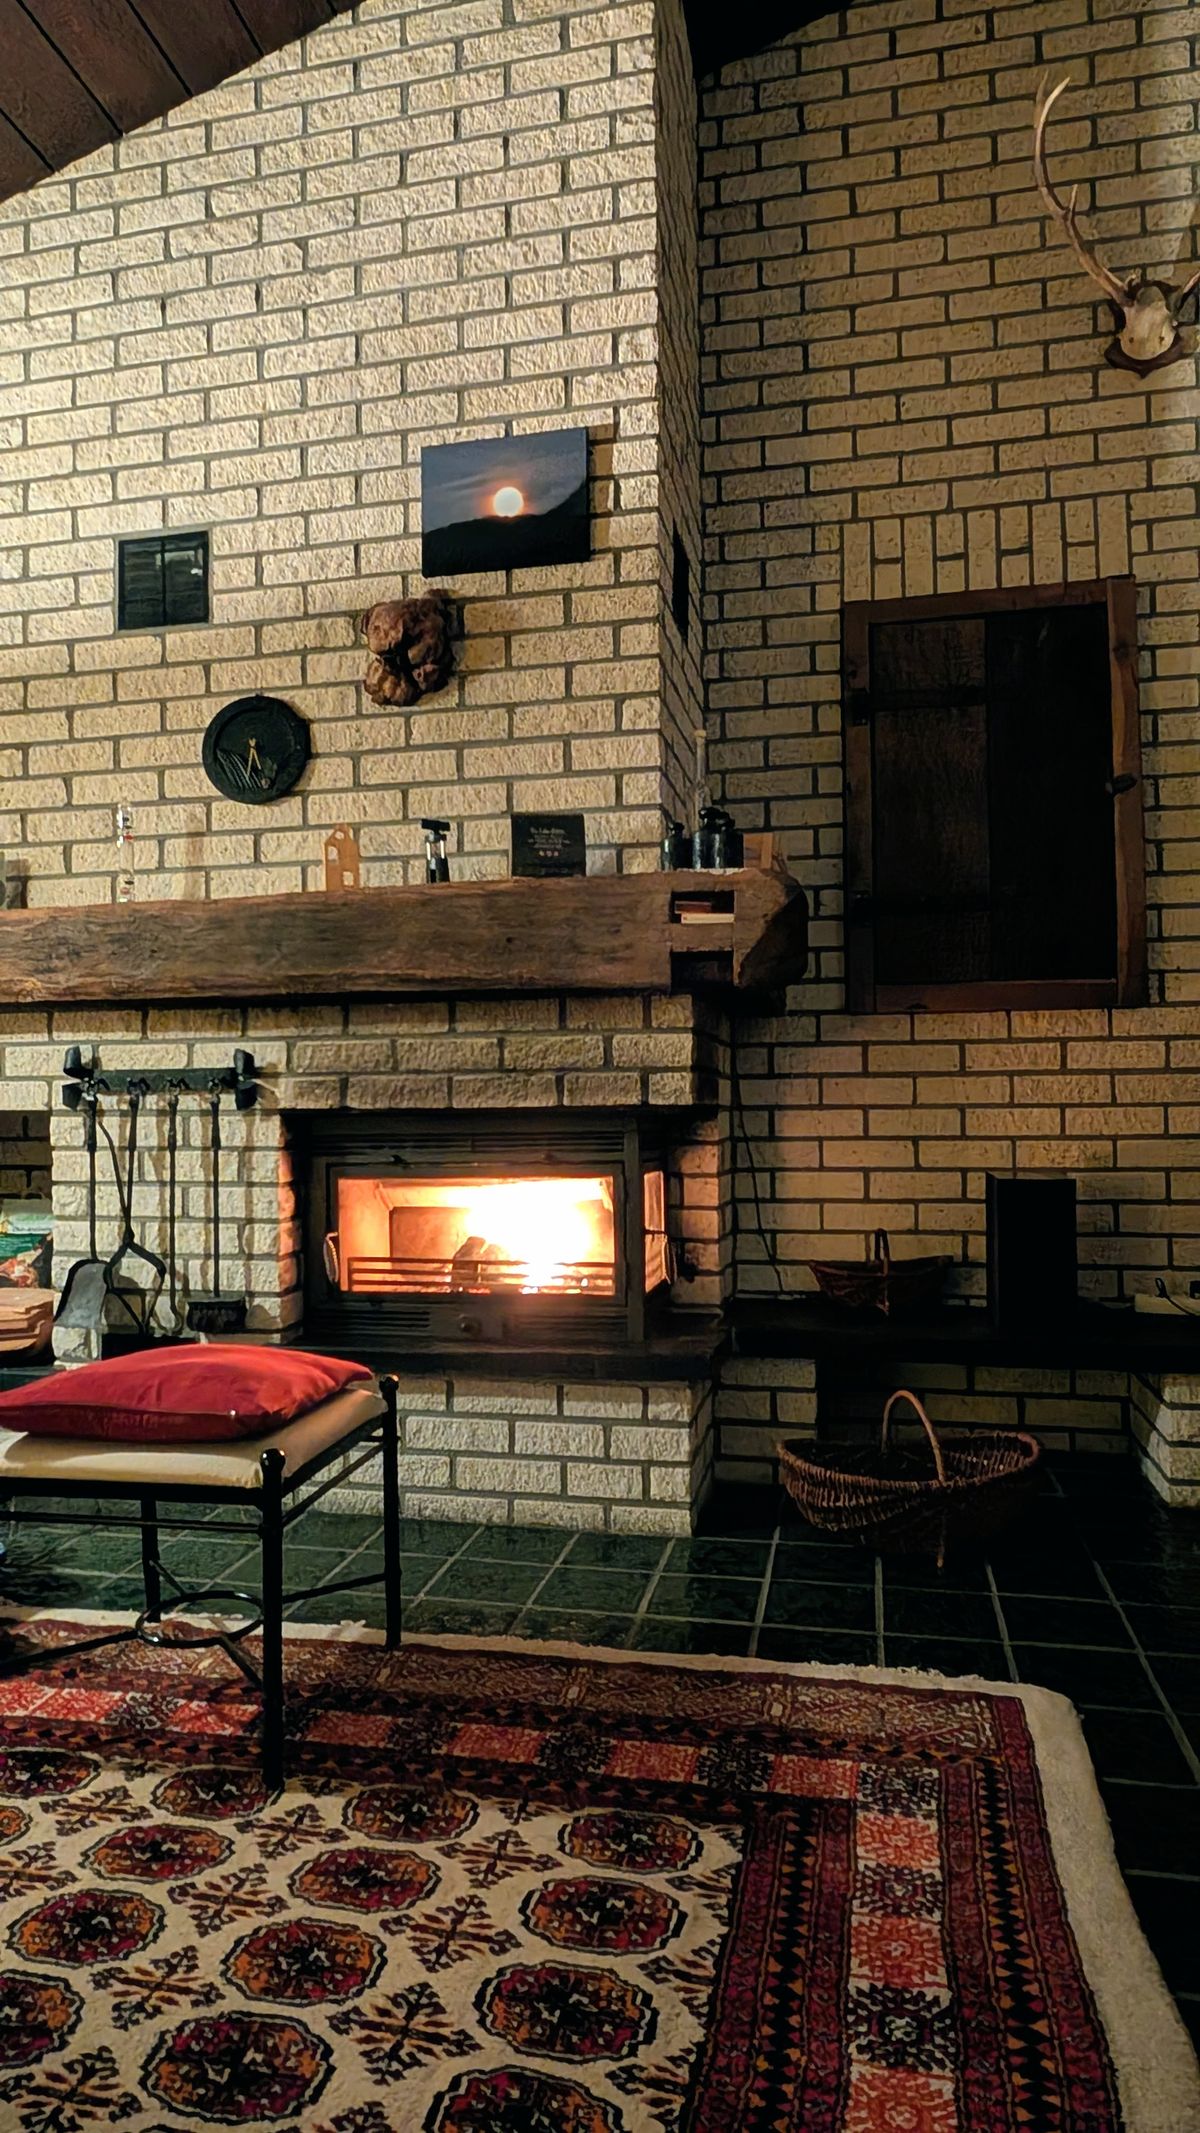
Pro Tip: Add one black accent, like a black candlestick, so the white does not wash out.
Cost / Time / Difficulty: $25-$45 / 20 minutes / Easy
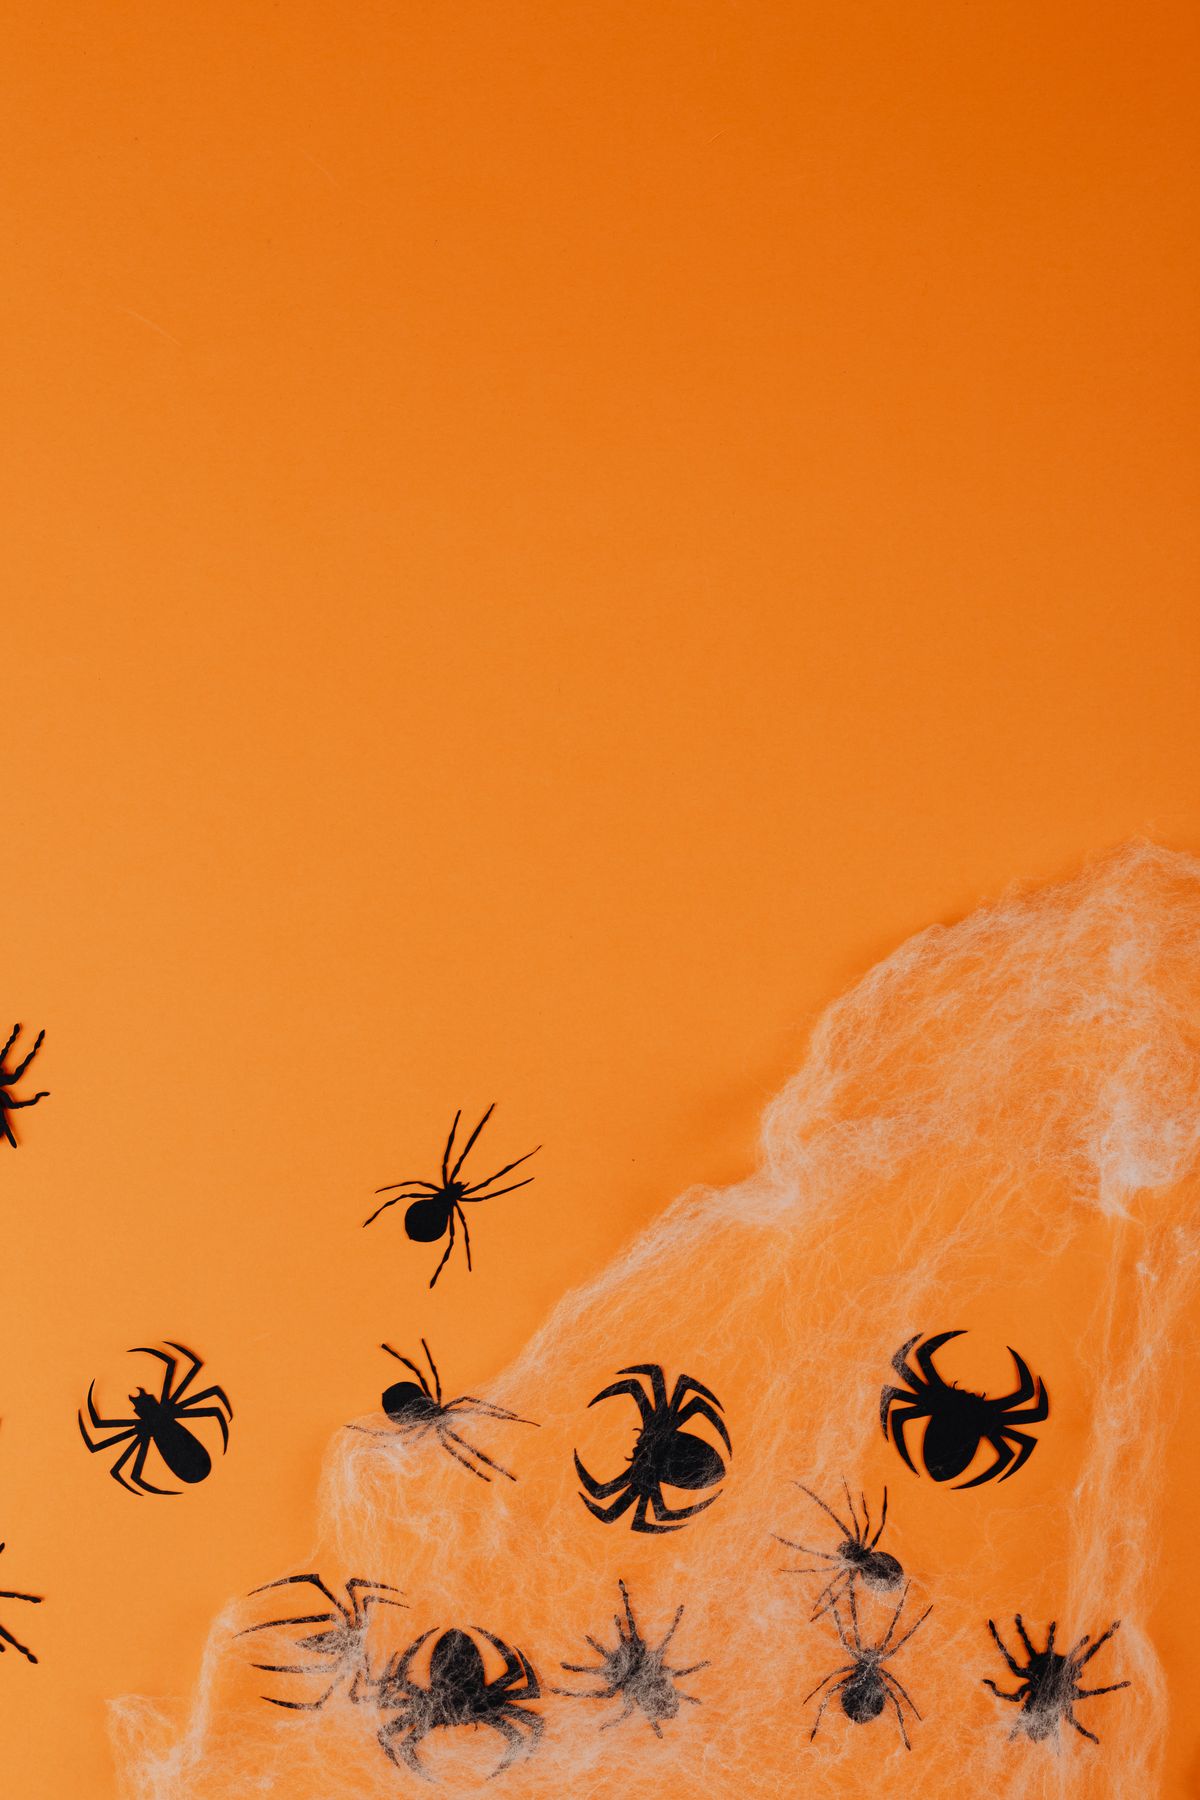
11. Spiderweb Cloth Draped, Not Dumped
I stretch a bag of spiderweb fabric thin across the mantel, pulling it until it is almost see-through, then anchor it at both ends and let one corner trail down the side. The mistake most people make, me included the first time, is dumping the whole bag on in a clump, which looks like dirty cotton wool. Stretched thin, it catches the light and looks genuinely webby. It took me twenty minutes of patient pulling, and it lasted the month without sagging because I anchored it with small adhesive hooks under the shelf. The downside is that it snags on rough wood and pumpkin stems, so stretch it before placing anything sharp on top.
Pro Tip: Add two or three plastic spiders only; a dozen looks like a joke shop exploded.
Cost / Time / Difficulty: $5-$10 / 20 minutes / Easy
12. Ghost Garland Made From Cheesecloth
I cut cheesecloth into squares, drape each over a small foam ball, tie it with twine, and dot on eyes with a marker, then string five ghosts along the mantel on twine. My kids helped make these, and they are still slightly lopsided, which is exactly why I love them. The whole garland cost under $8 and took an evening, and it has survived three Octobers in a zip bag. The cheesecloth frays a little each year, so I trim the ragged edges before hanging. The watch-out is fire: cheesecloth is flammable, so this garland never goes near a real flame, only battery lights, and I keep it well above the firebox opening.
Pro Tip: Vary the ghost sizes slightly; identical ghosts look factory-made.
Cost / Time / Difficulty: $5-$10 / 1 evening / Easy

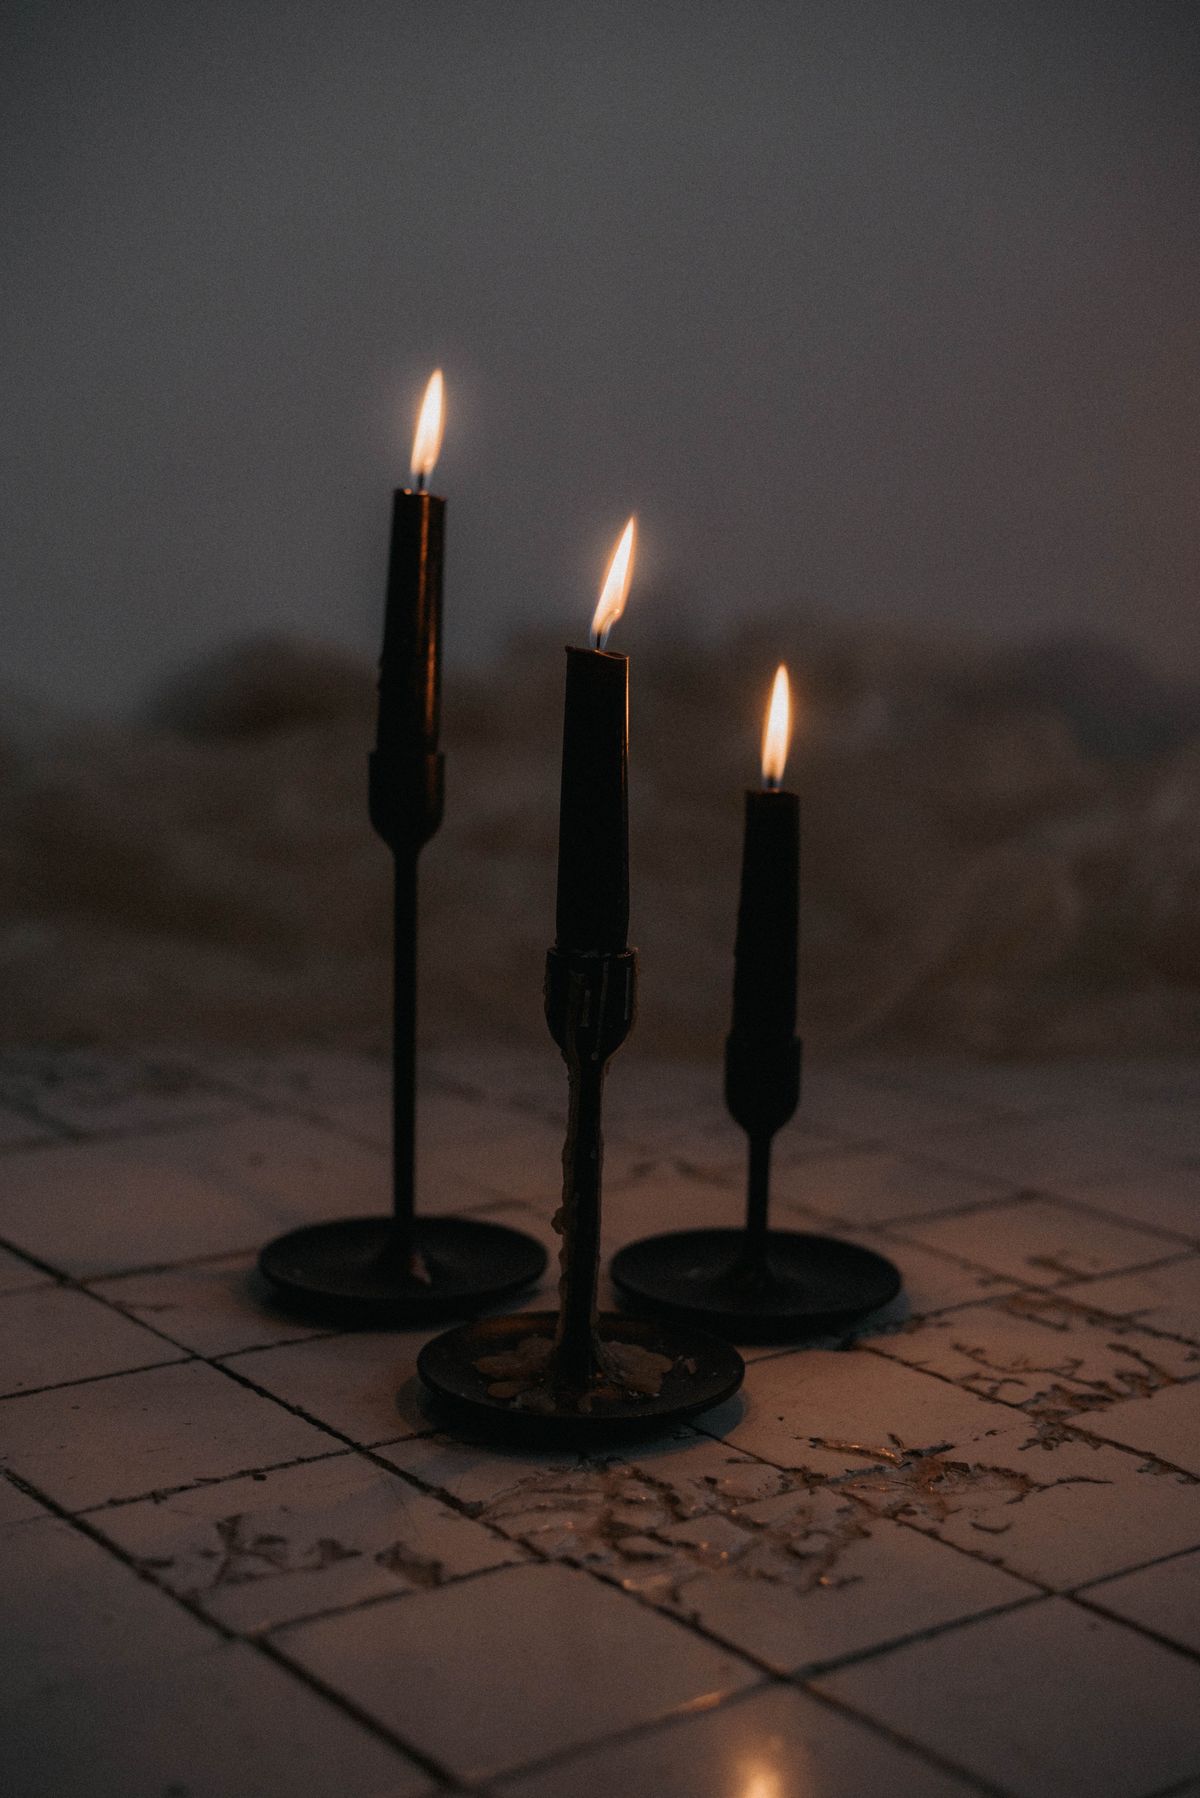
13. Black Candlesticks of Different Heights
I use five black candlesticks in a staggered row across the back of the mantel, tallest in the middle, with small pumpkins in front of them. The height variation is doing all the work here; flat rows of identical candlesticks look like a church service, while staggered ones look like a display. I spray-painted old brass candlesticks black years ago and they still look fine. They stood through the whole season in our living room, though I learned to put museum putty under each base after one toppled during a vacuuming incident. The downside is dripping wax on the mantel if you use real tapers, so I use dripless tapers or battery sticks.
Pro Tip: Odd numbers work best: three or five candlesticks, never four.
Cost / Time / Difficulty: $15-$30 / 20 minutes / Easy
14. A Cauldron as the Focal Point
I set a black plastic cauldron in the center of the mantel, fill it with fairy lights and a little dry moss, and let the lights spill over the rim like something bubbling. It is dramatic for very little money, and it was the first thing my Halloween party guests noticed. I bought the cauldron for under $10 and the lights were leftovers from another project. The light spill only works in a dim room, so this is an evening look; in bright daylight it just looks like a black pot. The downside is size: a cauldron wider than a third of your mantel swallows everything else, so measure before you buy.
Pro Tip: Put the battery pack inside the cauldron so no wires trail across the mantel.
Cost / Time / Difficulty: $12-$25 / 15 minutes / Easy

15. Dried Leaves and Corn Husks Runner
I lay a runner of dried leaves and a few corn husks along the mantel, then place pumpkins and candles on top of it. It cost me nothing because the leaves came from our garden and the husks from cooking corn, and it gave the mantel a harvest feel that bridged early October into Thanksgiving. It lasted about two weeks before the leaves went brittle and crumbled when touched, so I treat this as a short-term look and replace the leaves once mid-month. The downside is mess: brittle leaves shed onto the hearth, so I put a thin cloth under the runner to catch the crumbs for easy shaking out.
Pro Tip: Press leaves in a heavy book for two days first so they lie flat instead of curling.
Cost / Time / Difficulty: $0-$10 / 30 minutes / Easy

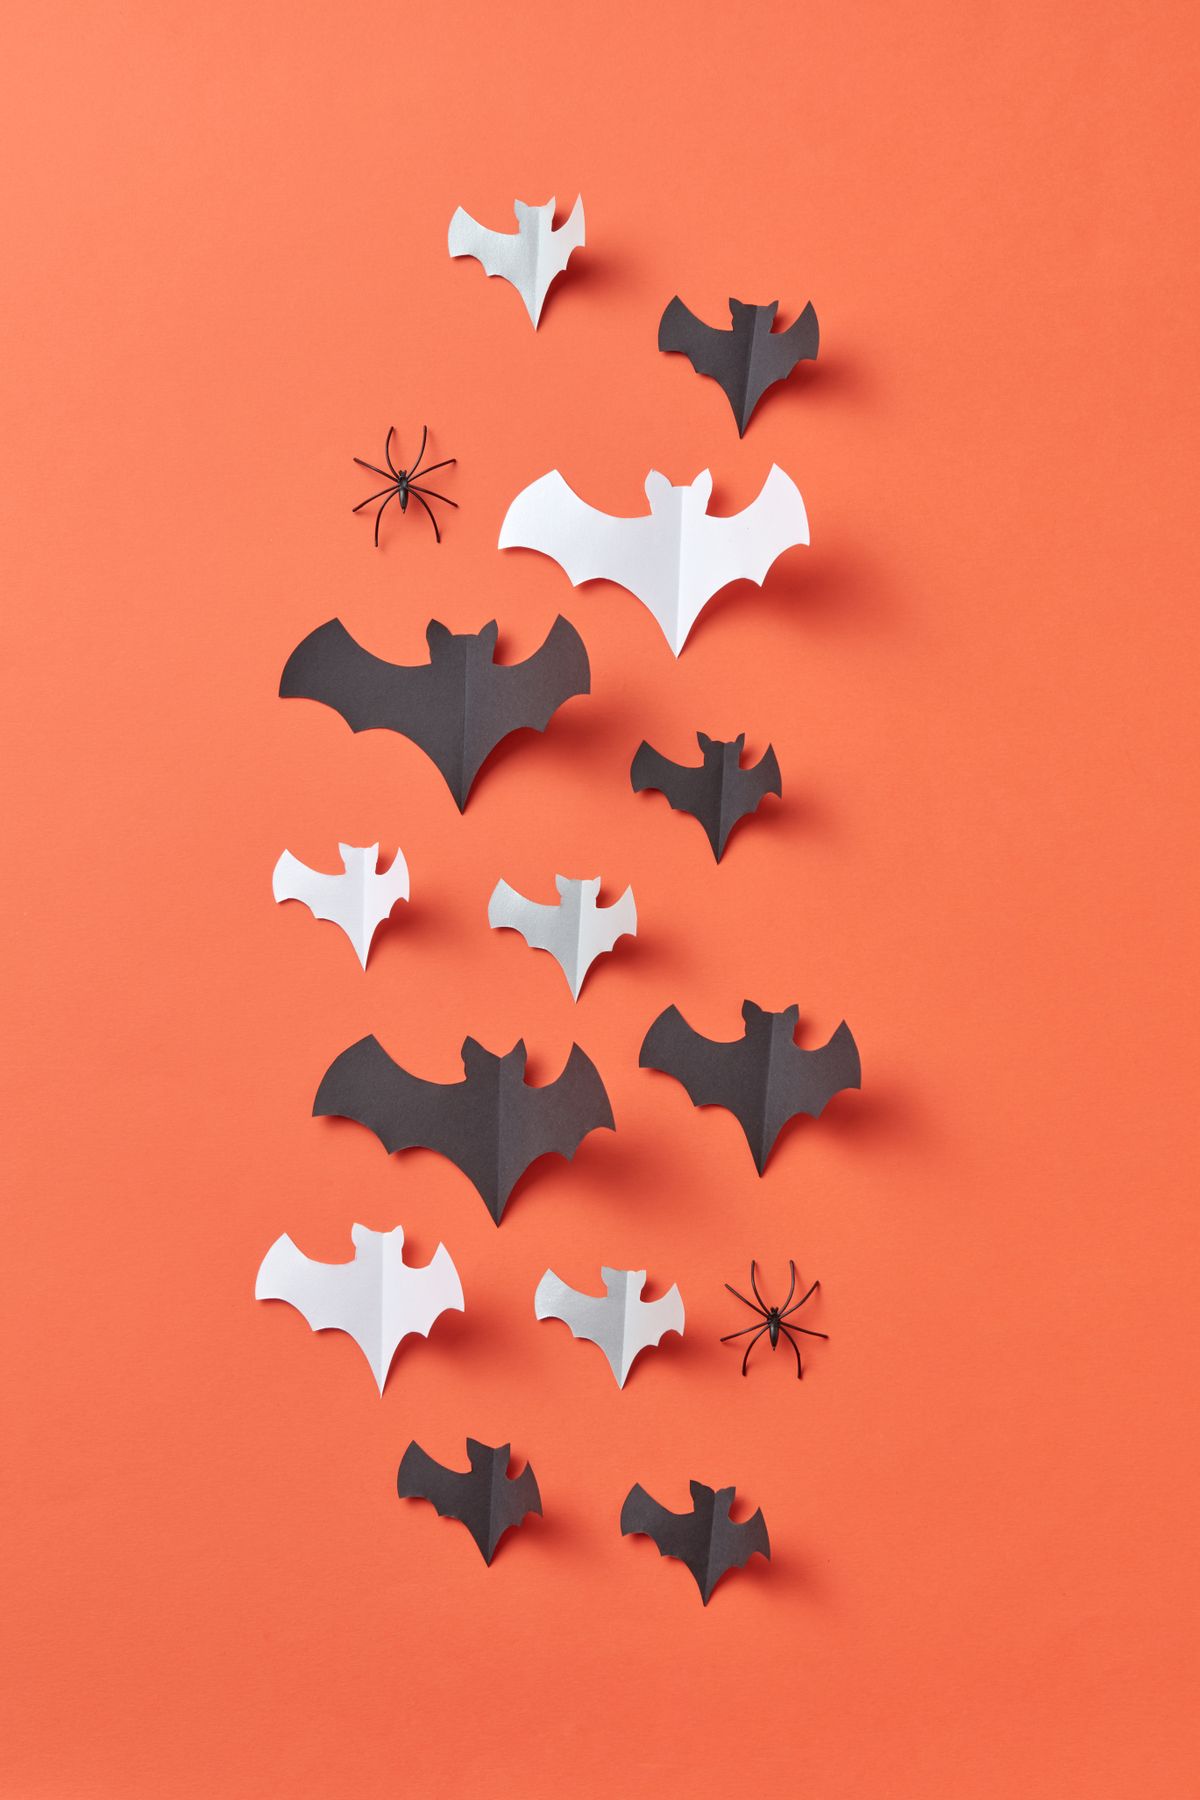
16. Bats Flying Up the Wall Above the Mantel
I stick a dozen black paper bats on the wall above the mantel in a rising swarm, smallest near the shelf and largest higher up, so the display spills beyond the mantel itself. It is the cheapest big-impact idea here: a pack of paper bats costs a few dollars and the effect makes the whole fireplace wall feel decorated. I used removable adhesive dots and they came off cleanly from our painted wall in November, though one dot left a faint mark on a spot I had not cleaned first. The downside is that bats on a textured wall do not stick well, so test one dot overnight before committing to the full swarm.
Pro Tip: Leave one bat slightly apart from the group; a lone straggler makes the swarm look natural.
Cost / Time / Difficulty: $5-$10 / 25 minutes / Easy
17. One Statement Piece and Nothing Else
Some years I put a single large haunted-house lantern or an oversized pumpkin in the center of the mantel and leave the rest bare, and it honestly looks more confident than a crowded shelf. I did this the year I was short on time, and guests assumed I had chosen minimalism on purpose. The trick is scale: the piece must be big enough to hold the mantel alone, roughly a third of the mantel’s length, or it looks like you forgot the rest. It cost me one purchase and five minutes, and cleanup was nothing. The downside is that a single piece shows every flaw, so check it from the sofa and from the doorway before settling.
Pro Tip: If the piece is dark, put a light-colored cloth or a pale pumpkin beside it so it does not vanish against a dark wall.
Cost / Time / Difficulty: $20-$40 / 5 minutes / Easy

Mistakes I Made (So You Don’t Have To)
Mistake 1: I used real candles next to dried garland. I spent the whole evening checking them, and now battery candles are non-negotiable near anything flammable on my mantel.
Mistake 2: I filled every inch of the shelf. Photos from the sofa showed clutter, not decor, so now I leave at least a hand’s width of breathing room at each end.
Mistake 3: I hung everything at the same height. A flat skyline looks dull, so I always vary heights by at least a few inches across the mantel.
Mistake 4: I skipped museum putty under tall pieces. One vacuum bump sent a candlestick over, so every tall or top-heavy item gets a pea-sized dab now.
Which Halloween Mantel Look Fits Your Home?
| Look | Best for | Cost | Effort |
| Pumpkin row | Classic, family-friendly mantels | $25-$40 | Low |
| Battery candles + hurricanes | Working fireplaces, safety first | $20-$35 | Low |
| Apothecary bottles | Party nights, conversation pieces | $15-$25 | Medium |
| White pumpkins | Neutral living rooms | $25-$45 | Low |
| Single statement piece | Busy weeks, small budgets | $20-$40 | Minimal |
Frequently Asked Questions
How long did your Halloween mantel decor actually last?
Most looks lasted the full month of October in my living room. The exceptions were fresh eucalyptus, which dried out in about ten days, and dried leaves, which went brittle after two weeks and needed replacing once. Faux pumpkins, battery candles, and garlands lasted all season and went back into storage in good shape.
What would you do differently next year?
I would photograph the mantel from the sofa before the first party, not after. Twice I only noticed a leaning candlestick or a gap in the garland when I saw party photos later, and by then it was too late to fix it gracefully.
Can I use real candles on a Halloween mantel?
You can, but I would not put them near garlands, cheesecloth, dried leaves, or webbing. I use real candles only in glass hurricanes on a bare section of mantel, and battery candles everywhere else. If you have kids or pets, battery is the simpler choice.
How do I decorate a mantel I actually use for fires?
Keep the front edge and the area directly above the firebox clear, use battery candles, and avoid anything that dangles into the opening. I check that nothing hangs below the mantel’s underside before lighting a fire, every single time.
Read this next: 23 Amazing Halloween Centerpiece Ideas For Your Home
Final Thoughts
My honest favorite remains the pumpkin row with battery candles, because it looks good on day one and day thirty, costs little, and takes twenty minutes. Start there if you are short on time, then add one playful piece like the skeleton or the cauldron for personality.
Whatever you choose, step back to the sofa, take a photo, and adjust once. That single habit improved my Halloween mantel decor ideas more than any purchase ever did, and it costs nothing at all.