21 Christmas Mantel Decor Ideas
My mantel is the first thing guests see in December, so I test my Christmas mantel decor ideas on my own 60-inch living room fireplace every year before I ever recommend them. This year I decorated, lived with each look for at least two evenings, photographed it in daylight and lamplight, and only kept the ideas that survived real life — a working fire, a curious cat, and stockings that actually had to hold gifts. I picked these 21 for three reasons: they use measurements and layers you can copy, they mix fresh 2026 trends with things you probably own, and every single one has an honest downside noted.
Expect layered garlands, velvet bows, brass bells, glowing glass houses, jewel tones, and tartan — several ideas work on a shelf too.
Key Takeaways
- Layer two or three garlands (pine, cedar, eucalyptus) instead of one thick one — it looks fuller for less money.
- Anchor first: mirror, wreath, or art in the centre, then garland, then tall pieces, then small fillers.
- Use flameless candles anywhere near greenery. Real flame and dry pine are a bad mix.
- Brass holders beat adhesive hooks for heavy, filled stockings every time.
- Pick one metal and one accent colour, repeat three times — that is what looks planned.
Greenery-First Christmas Mantel Decor Ideas
1. Layered Mixed Garland With Eucalyptus, Pine, and Cedar
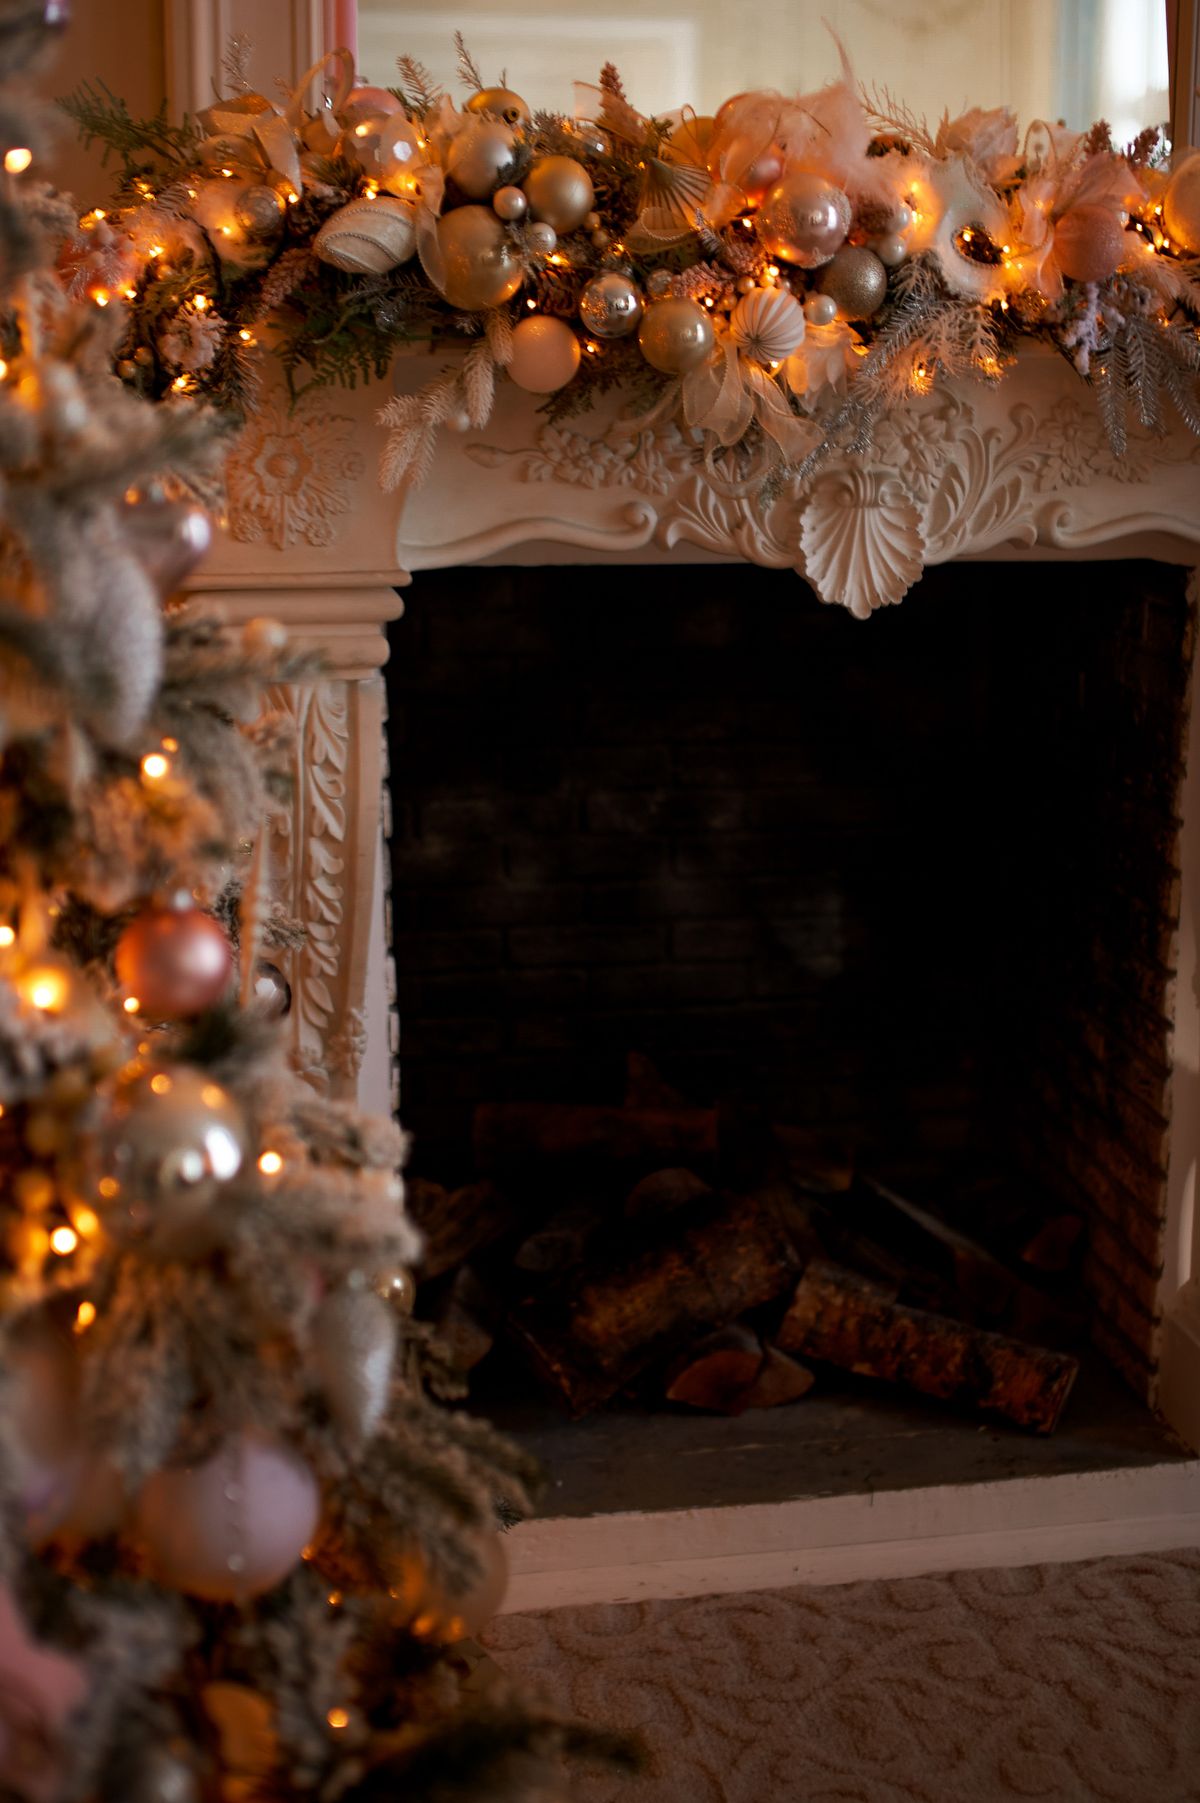
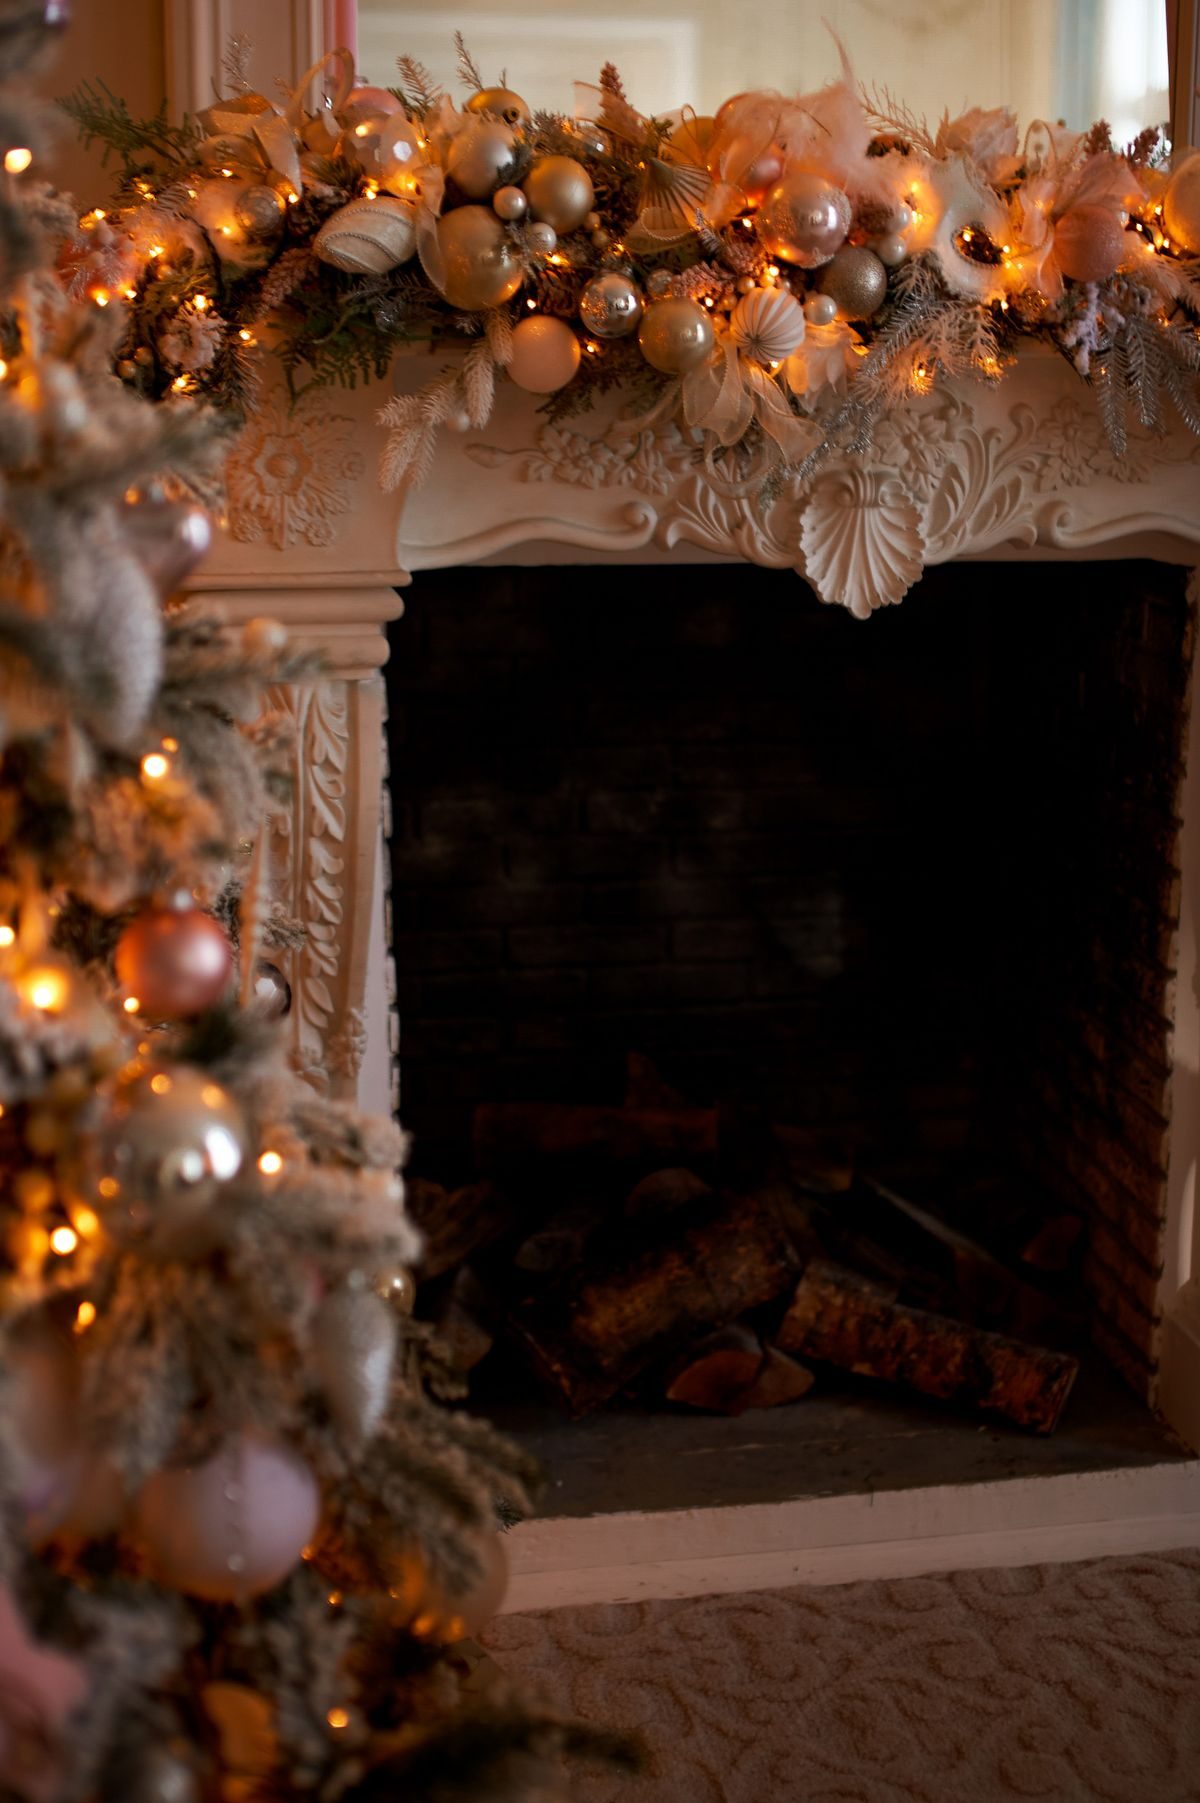
This is my base layer for almost everything else. I wired together a 9-foot pine garland, a 6-foot cedar garland, and three eucalyptus stems, laying the pine first, cedar offset 6 inches lower, then eucalyptus tucked on top. Mixing textures is why it works — cedar fills gaps, pine gives body, eucalyptus adds that soft grey-green 2026 colour. It took 25 minutes and one roll of floral wire. Downside: real garland shed needles into the firebox for a week, so I now use faux pine with real cedar tips only on the ends, away from heat.
Cost: $25–45 | Time: 25 minutes | Difficulty: Easy
Pro Tip: Secure the garland at three points with removable mantel clips, not nails, so the swag hangs evenly.
2. Asymmetrical Garland Swag, Longer on One Side
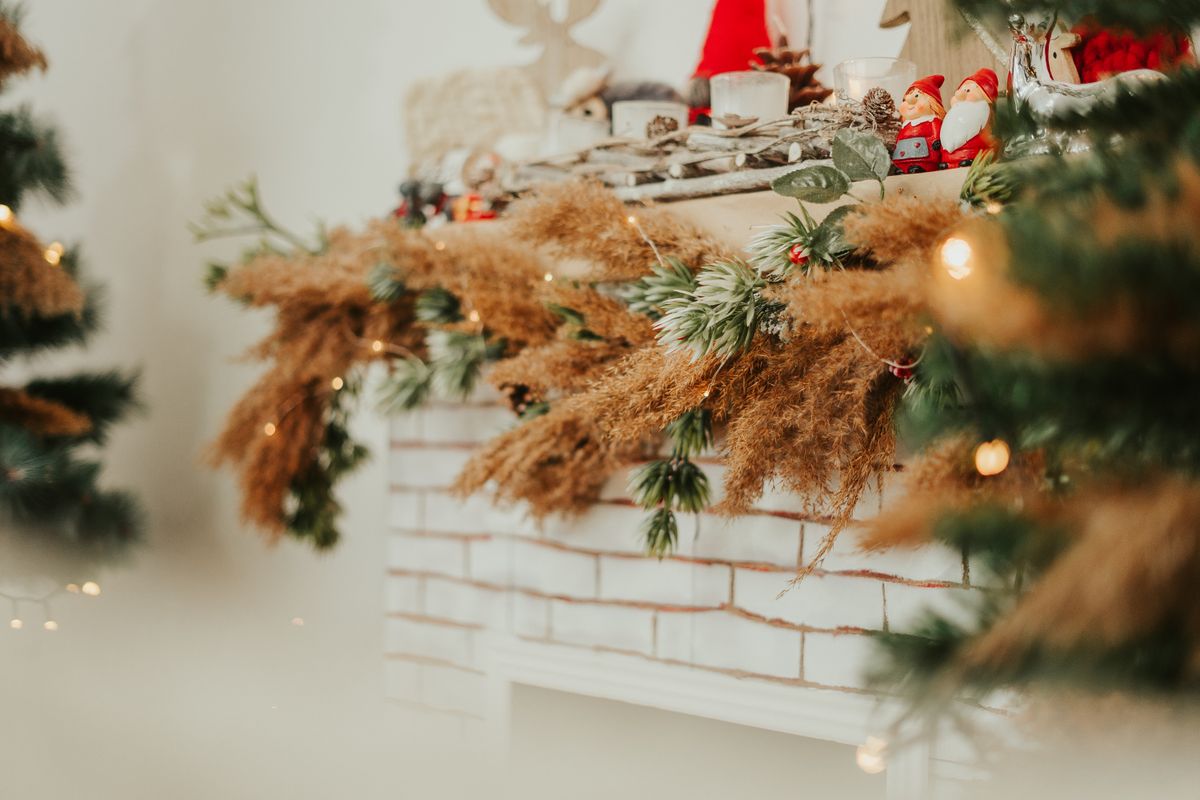
Instead of a perfect centre swag, I let my garland pool 18 inches down the left side and just 6 inches on the right, then balanced it with a tall lantern on the short side. Asymmetry works because your eye travels instead of stopping in the middle. I used one 9-foot garland, shifted off-centre before clipping. It took 15 minutes and made my traditional fireplace feel current. Downside: guests kept asking if it had slipped — if your family loves symmetry, this will bother them all season.
Cost: $15–30 | Time: 15 minutes | Difficulty: Easy
Pro Tip: Photograph it from the doorway — asymmetry reads best from where people actually enter the room.
3. Woodland Mantel With Pinecones, Branches, and No Plastic
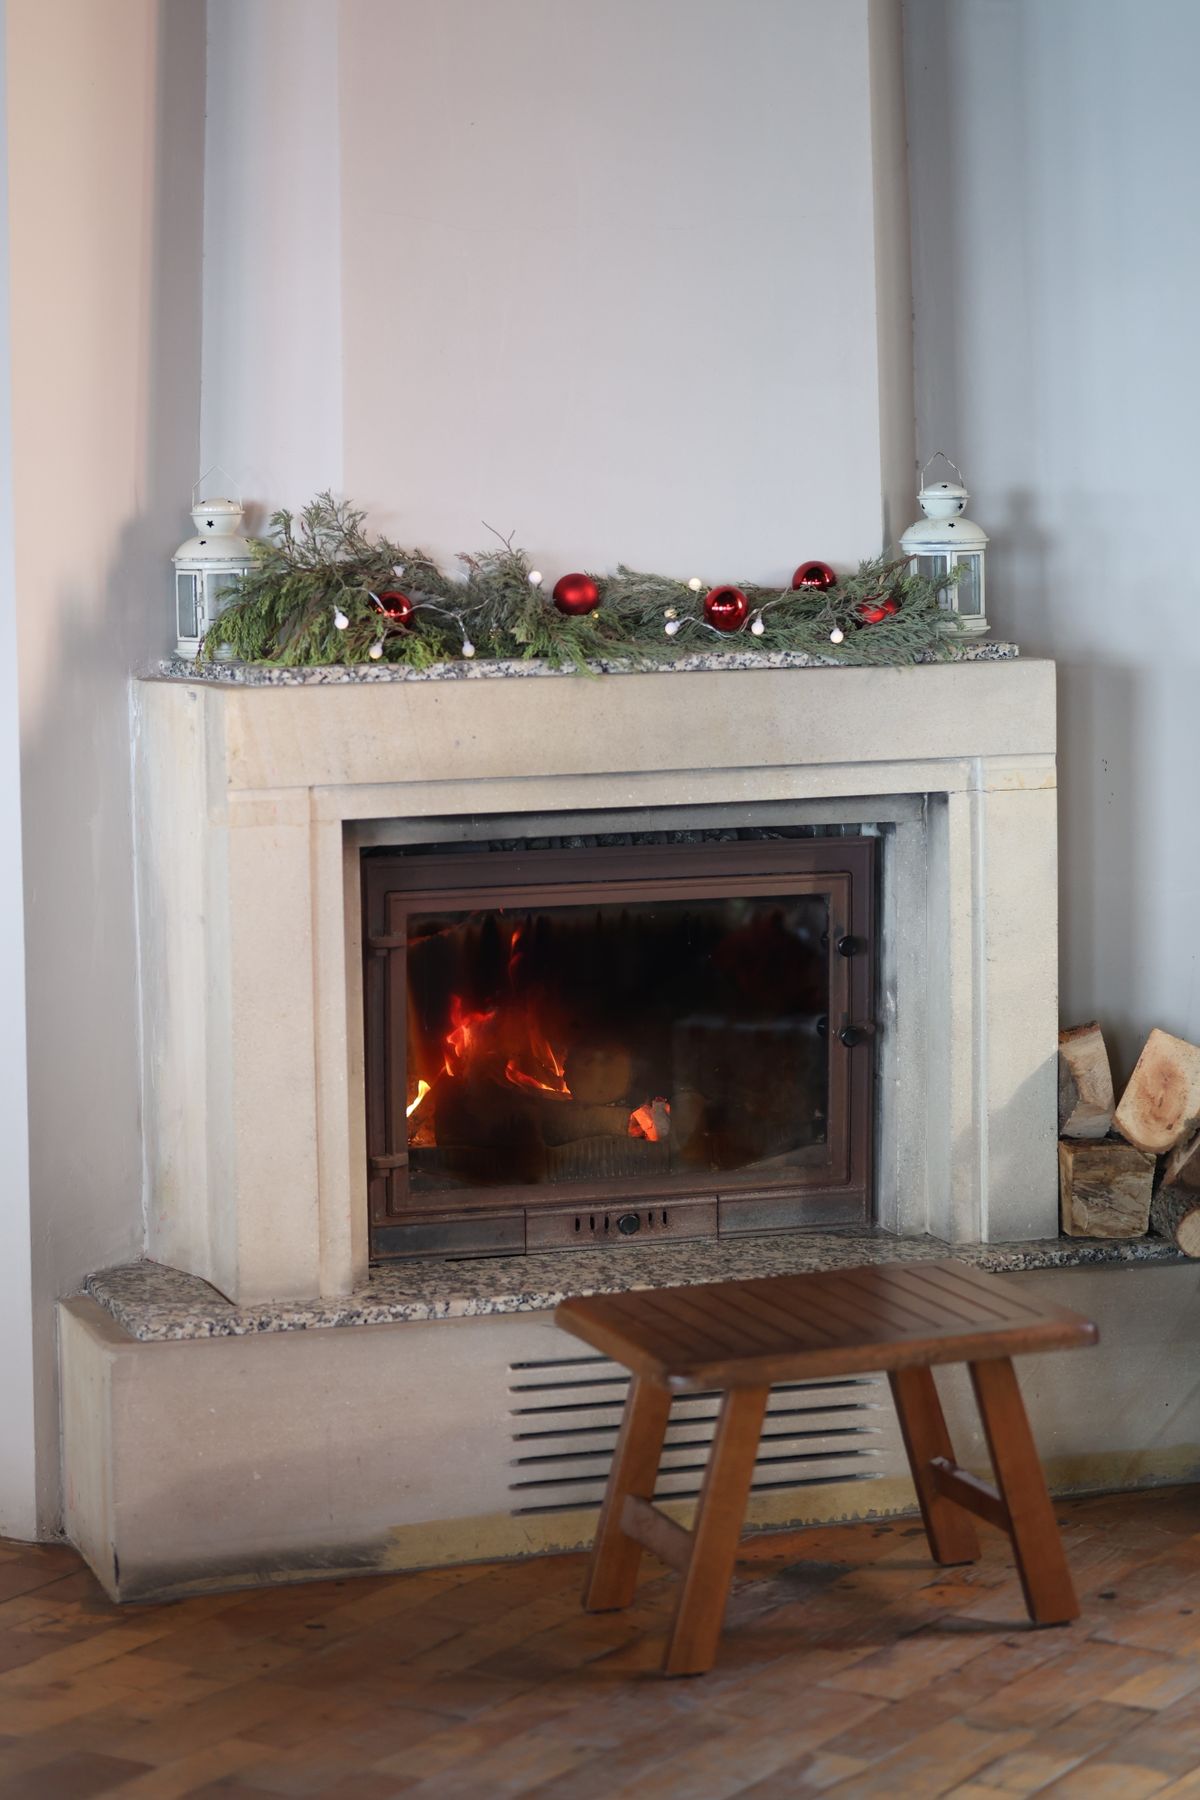
For my stone fireplace look, I skipped shiny ornaments entirely: a plain pine garland, 14 pinecones wired in clusters of three, two birch branches from my yard, and a strand of warm micro-lights. Natural materials work because the stone already has texture — adding glitter would fight it. Baking the pinecones at 200°F for 30 minutes (sap and bugs) took longer than decorating — about an hour total. Downside: it photographs flat in daylight, and it is a skip-if you want that cheerful red-and-green hit.
Cost: $5–15 | Time: 1 hour including prep | Difficulty: Easy
Pro Tip: Add one brass object — a bell or candlestick — so the natural palette still catches evening light.
Stockings, Holders, and Hanging Details
4. Heirloom-Style Stockings on Weighted Brass Holders
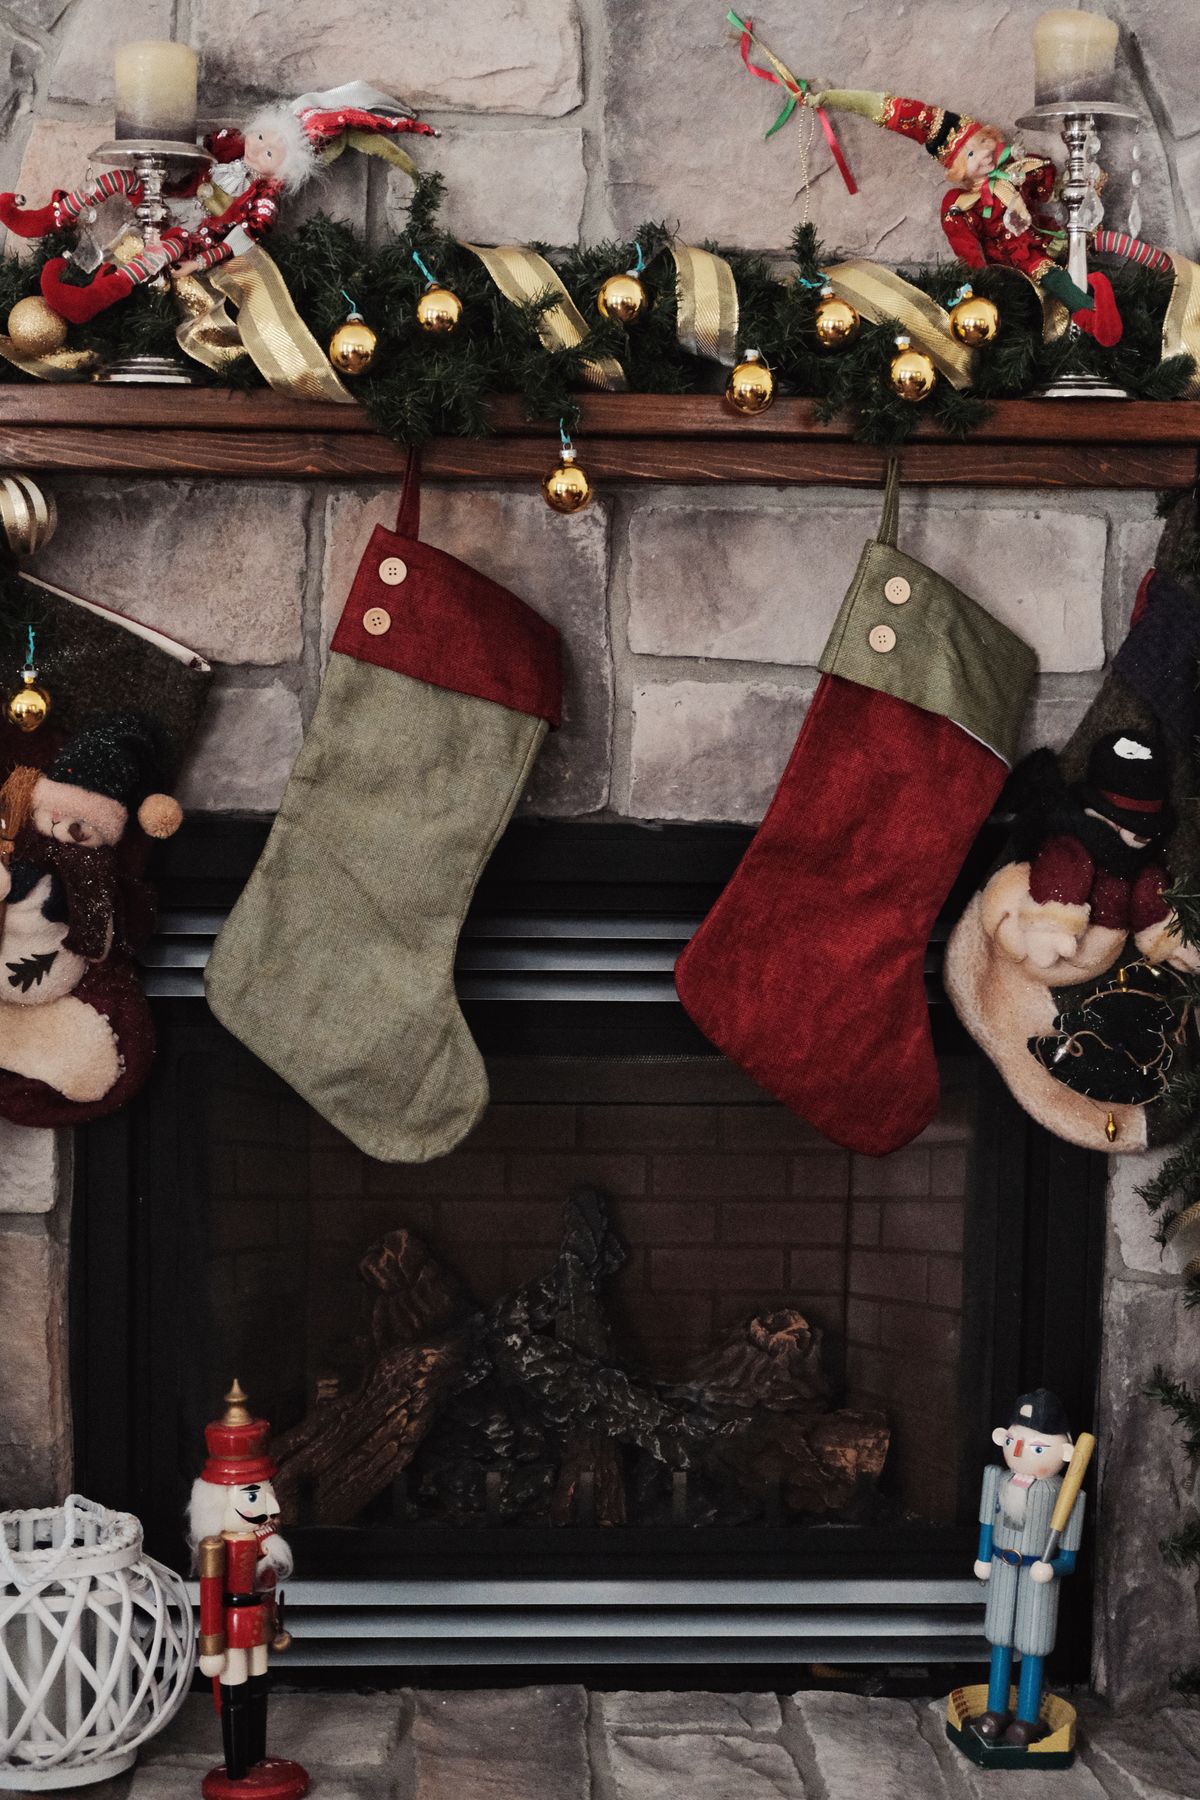
I finally retired my adhesive hooks after a filled stocking crashed down at 2 a.m. last year. This time I used four weighted brass holders — the flat kind that sit on top of the mantel — with quilted, heirloom-style stockings in cream and deep red. Weight works: mine held nearly 3 pounds of oranges and books without budging, spaced 8 inches apart. Downside: good holders cost more up front and cheap thin ones bend, so test one before buying a set.
Cost: $30–50 for holders and stockings | Time: 10 minutes | Difficulty: Easy
Pro Tip: Hang empty stockings for looks, but fill them on Christmas Eve only — fabric loops stretch out over a month of weight.
5. Colourful Stockings Mixed on Purpose

Every person in my house picked their own stocking this year — red knit, green velvet, one with reindeer — and I hung them together anyway. It works because I kept one thing consistent: all brass holders, same height, cuffs folded to the same 4-inch depth. That stops a mixed set looking like laundry. Hanging took 10 minutes. Downside: the smallest stocking limits what fits inside, which caused one negotiation I lost. Related article: my guide to creative Christmas stocking ideas has the personalised and no-sew versions my family chose from.
Cost: $10–30 | Time: 10 minutes | Difficulty: Easy
Pro Tip: Odd numbers look best — five stockings read as a display, four can read as two pairs.
6. Stockings Hung to One Side With a Sleigh Centrepiece
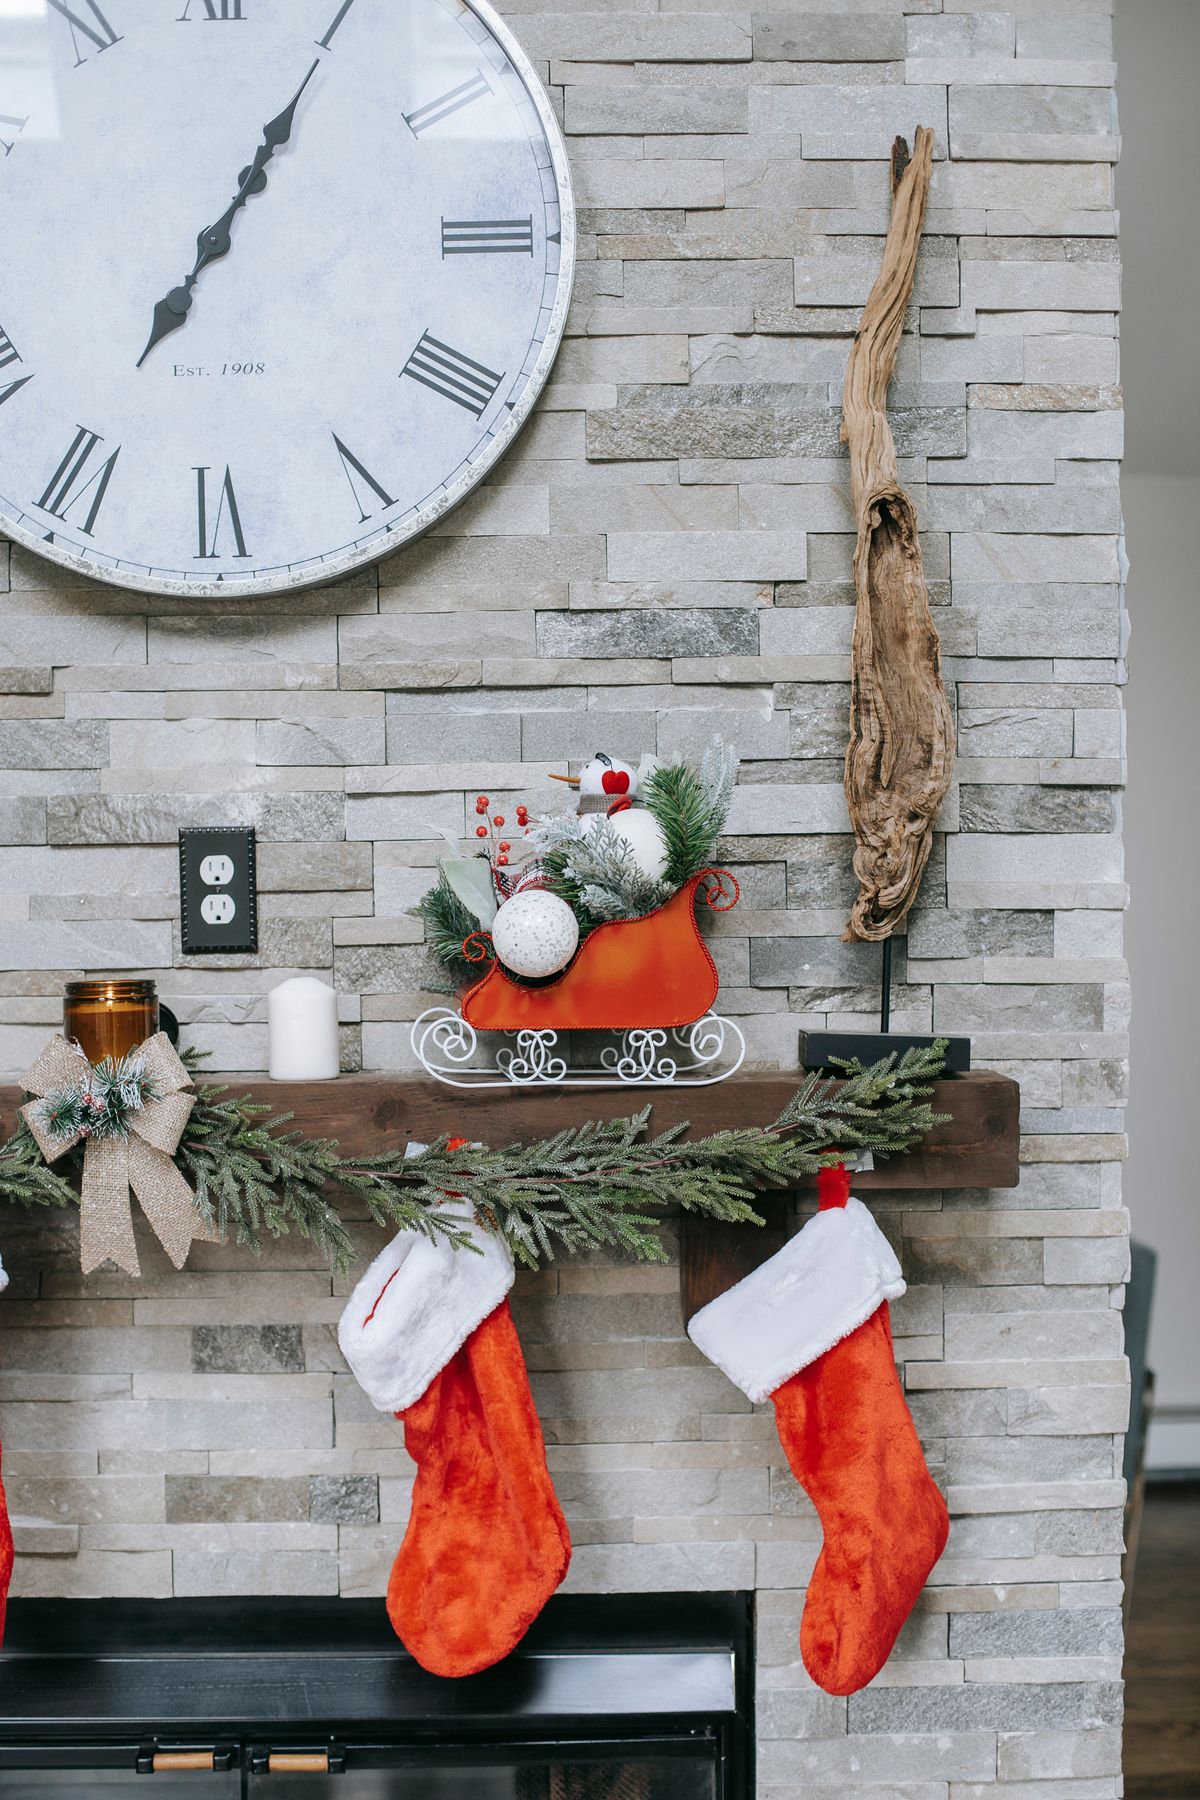
When my mantel felt crowded, I moved all four stockings to the left third and put a small red sleigh filled with wrapped empty boxes in the centre. Grouping works — one cluster plus one strong centrepiece is calmer than spreading everything evenly. The sleigh was a thrift find; the reset took 12 minutes. Downside: with a real fire, stockings bunched to one side sit closer to rising heat, so I keep that side’s stockings purely decorative until Christmas Eve and never hang them while the fire is lit.
Cost: $10–25 | Time: 12 minutes | Difficulty: Easy
Pro Tip: Fill a decorative sleigh with tissue-wrapped empty boxes — real gifts make it sag and tempt small hands.
7. Single Statement Stocking With Reindeer Embroidery
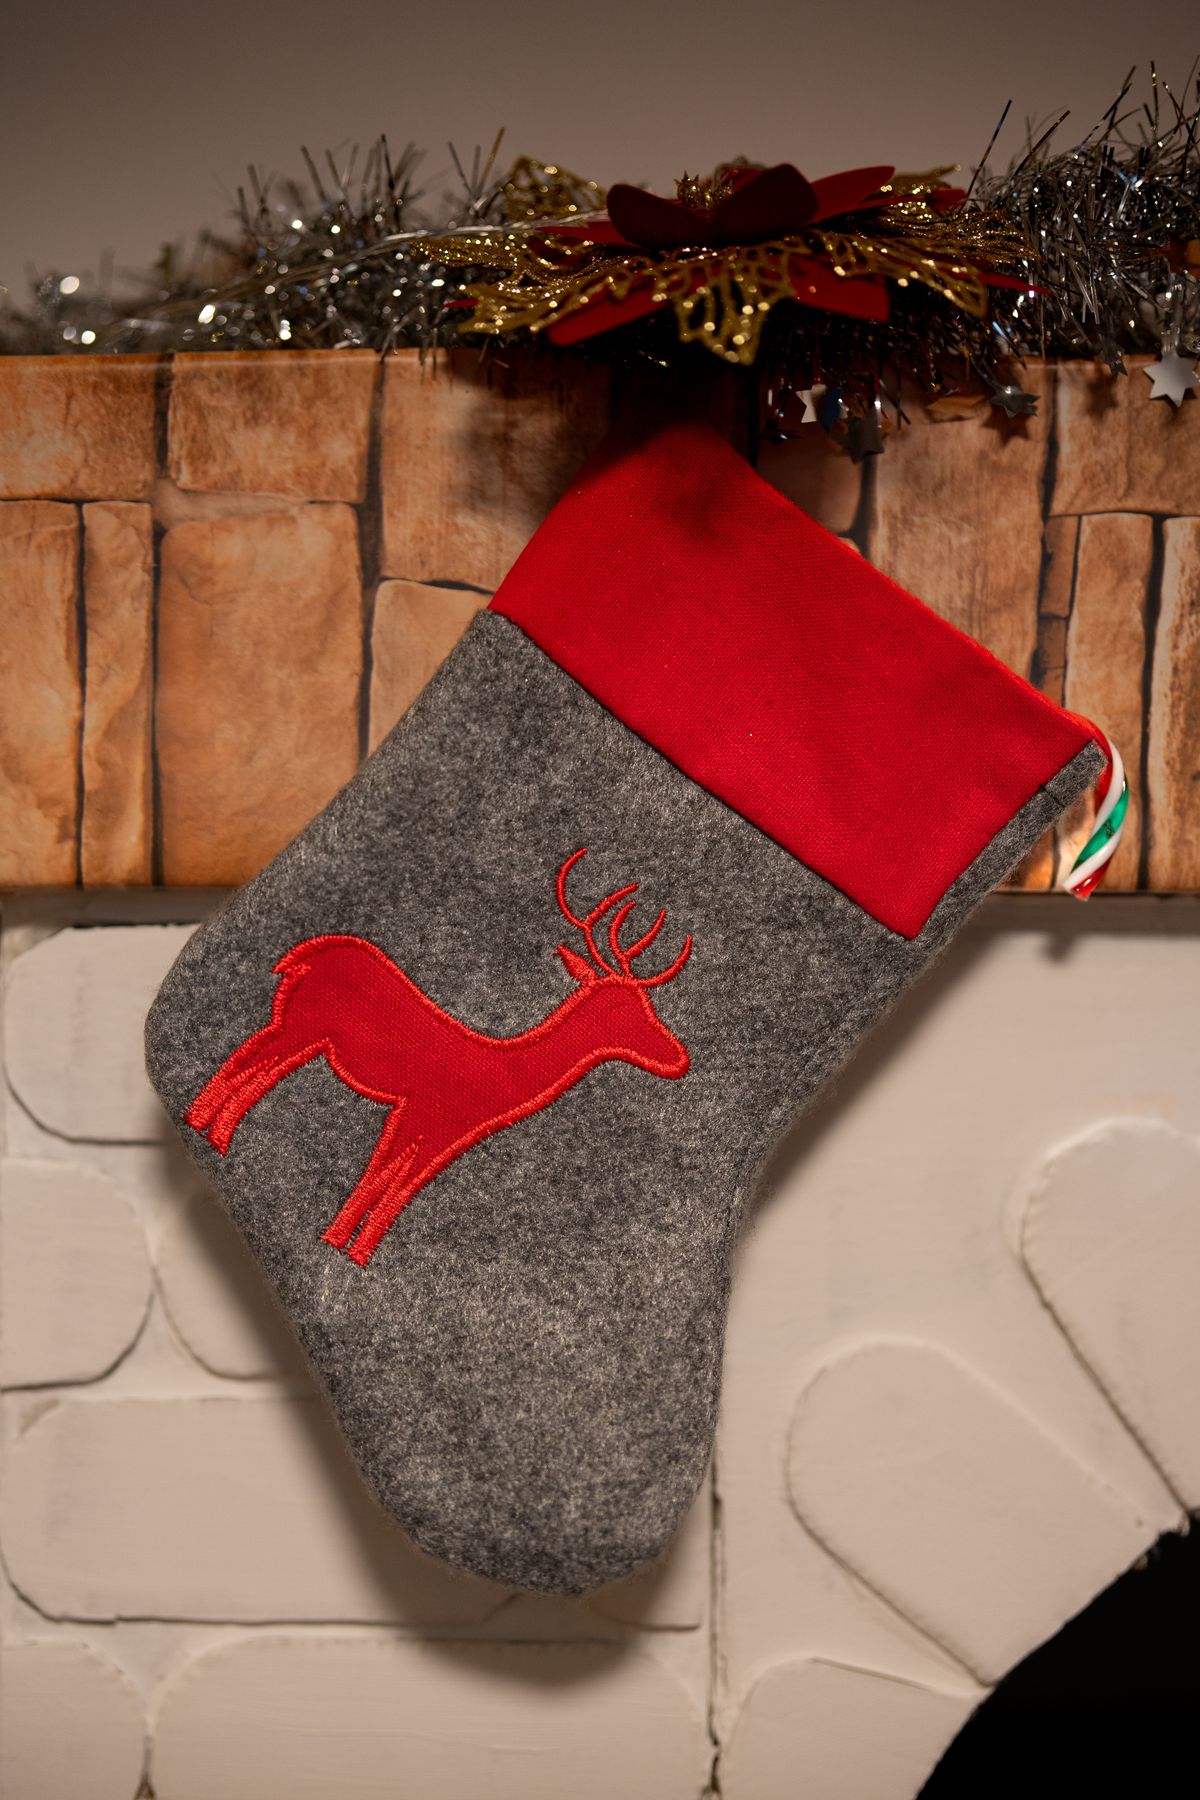
For a small mantel — mine in the den is only 36 inches — one beautiful stocking beats four cramped ones. I hung a single embroidered reindeer stocking from a brass holder, centred, with garland swagged to both sides to frame it. A lone detailed piece works like art. It took five minutes. Downside: choosing whose stocking gets displayed causes exactly the argument you are imagining — this is a guest-room idea in my house now.
Cost: $12–20 | Time: 5 minutes | Difficulty: Easy
Pro Tip: Centre the holder, but hang the stocking slightly off the holder’s hook for a relaxed, natural drape.
Light, Candles, and Glow — Safely
8. Flameless Candle Row Woven Into the Garland
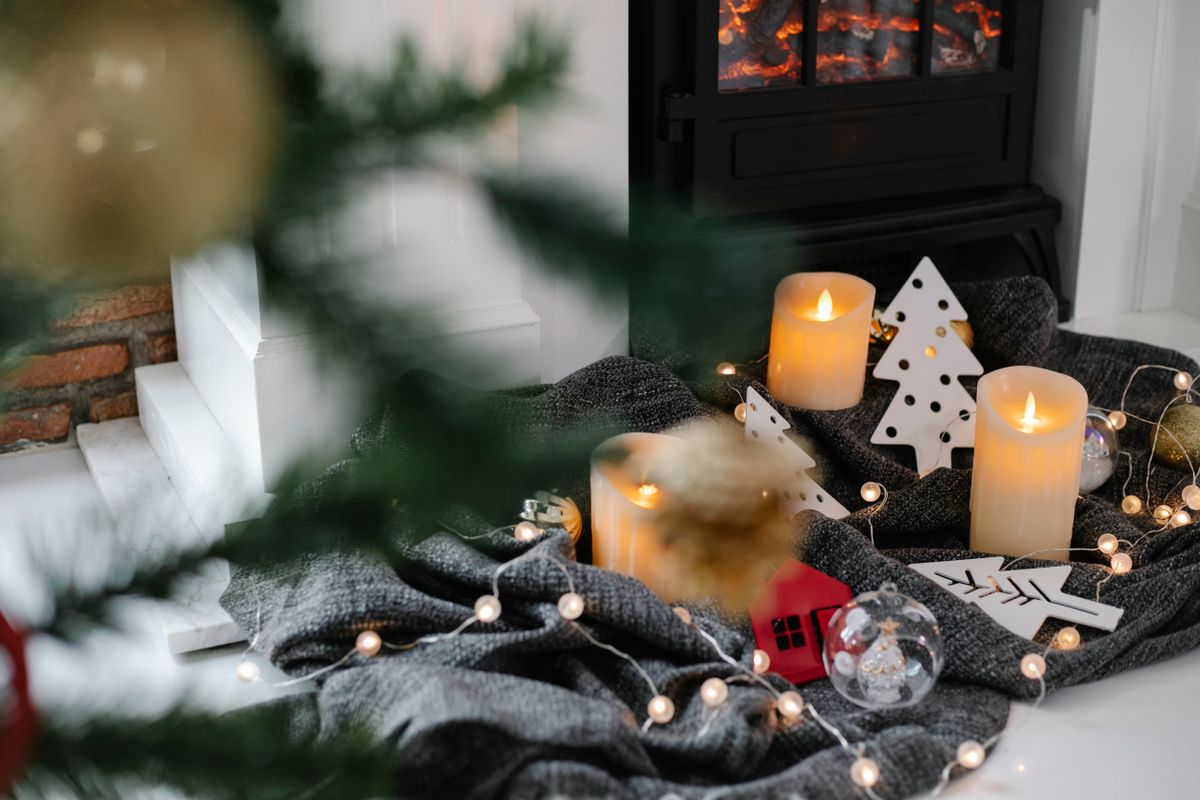
I set five flameless pillars, heights 4 to 8 inches, directly into the garland on small glass plates. This is my non-negotiable safety rule: real candles near greenery — especially real greenery that dries out by week two — is a fire risk I will not take, and modern flameless candles flicker convincingly enough that my guests leaned in to check. Battery candles also mean no wax drips on my painted mantel — a 2023 lesson that took an hour to scrape off. Downside: batteries need replacing once mid-season on nightly timers.
Cost: $15–30 | Time: 10 minutes | Difficulty: Easy
Pro Tip: Use the timer mode set for 5–10 p.m. — consistent glow, no nightly switch-hunting behind the garland.
9. Classic Red Ribbon and Candlelight Mantel
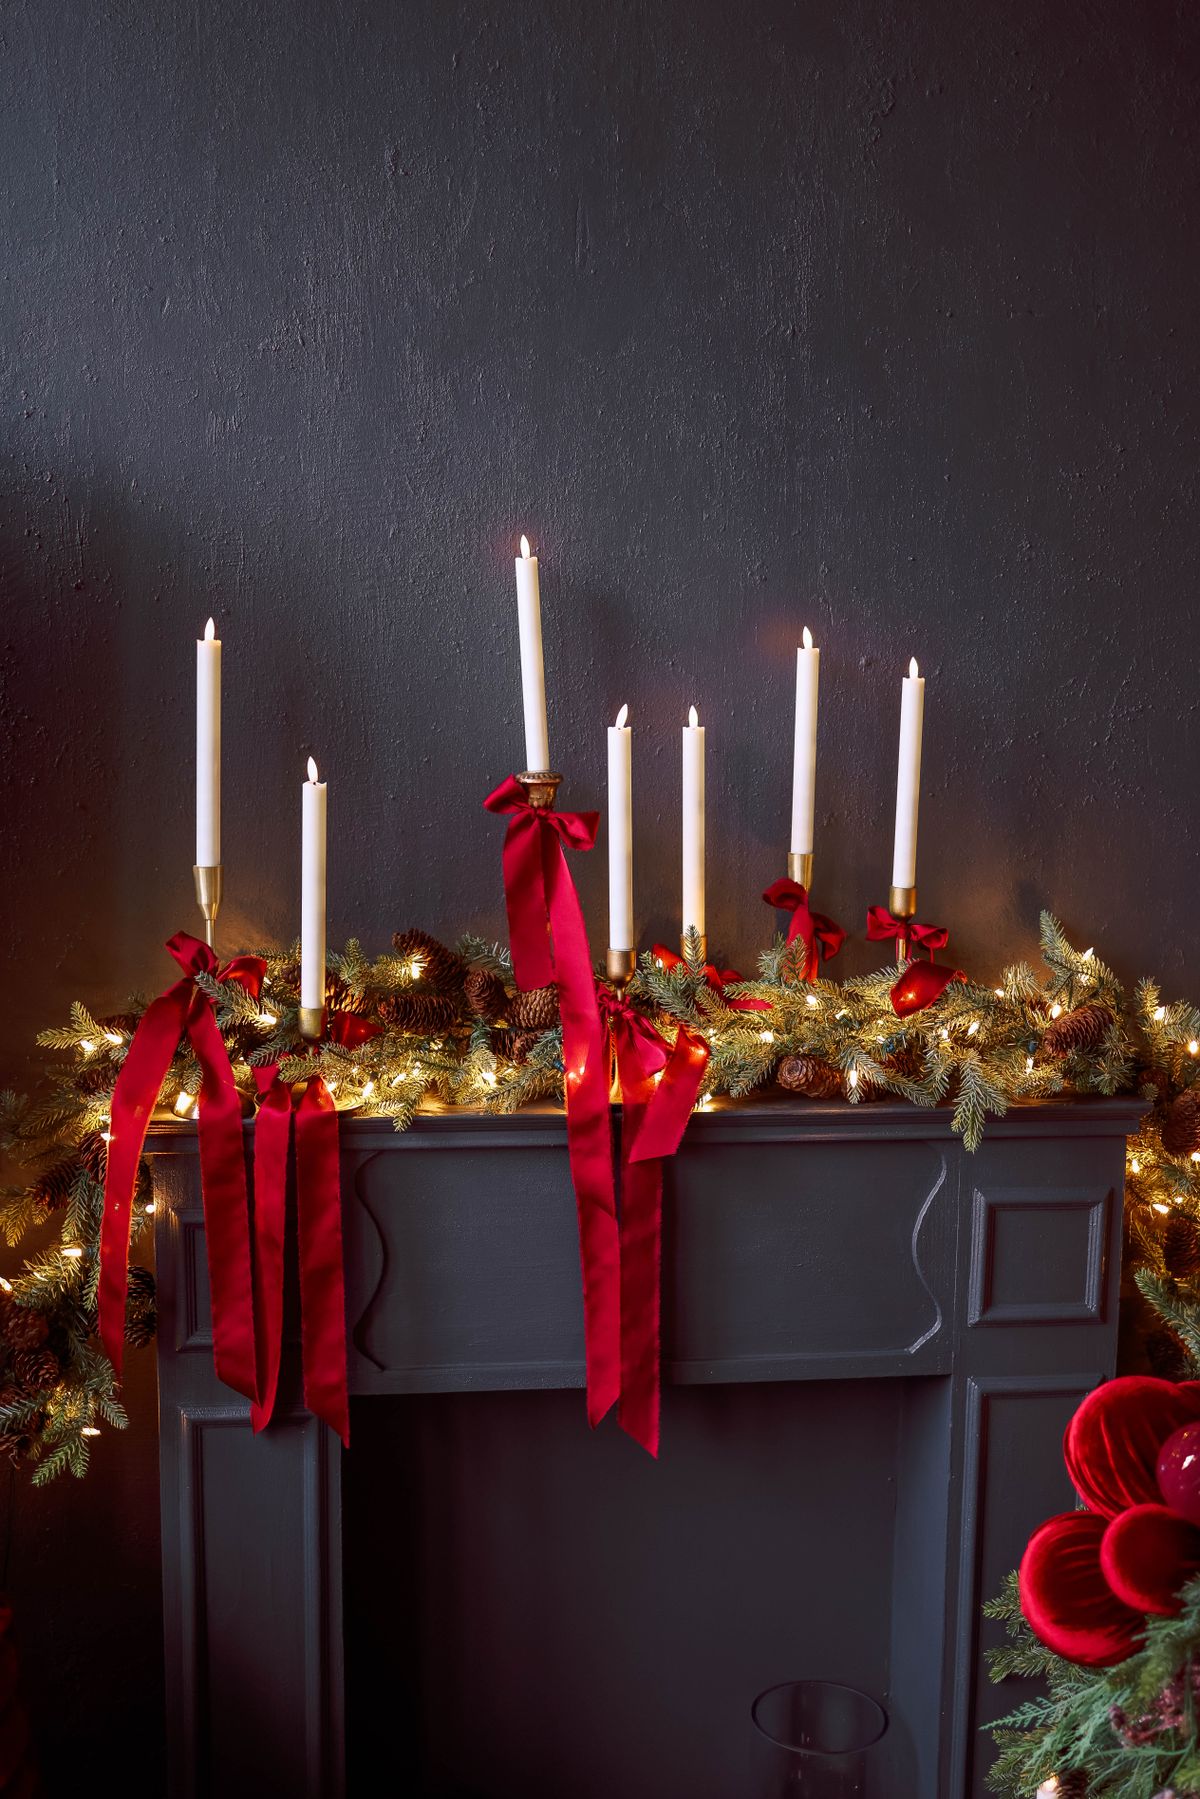
This is the timeless one: green garland, wired red ribbon woven in a loose S-curve, and candlesticks at both ends. Ribbon beats tinsel here because the wired edge holds its loops. I used 10 feet of 2.5-inch wired ribbon and flameless tapers in brass sticks — flameless, because ribbon ends hang inches from where a flame would be. It took 20 minutes. Downside: red ribbon fades near a sunny window; mine pinked slightly by New Year on the south-facing end.
Cost: $18–35 | Time: 20 minutes | Difficulty: Easy
Pro Tip: Cut ribbon ends in a V (a fishtail notch) — it stops fraying and looks finished from across the room.
10. Glowing Glass-House Vignette
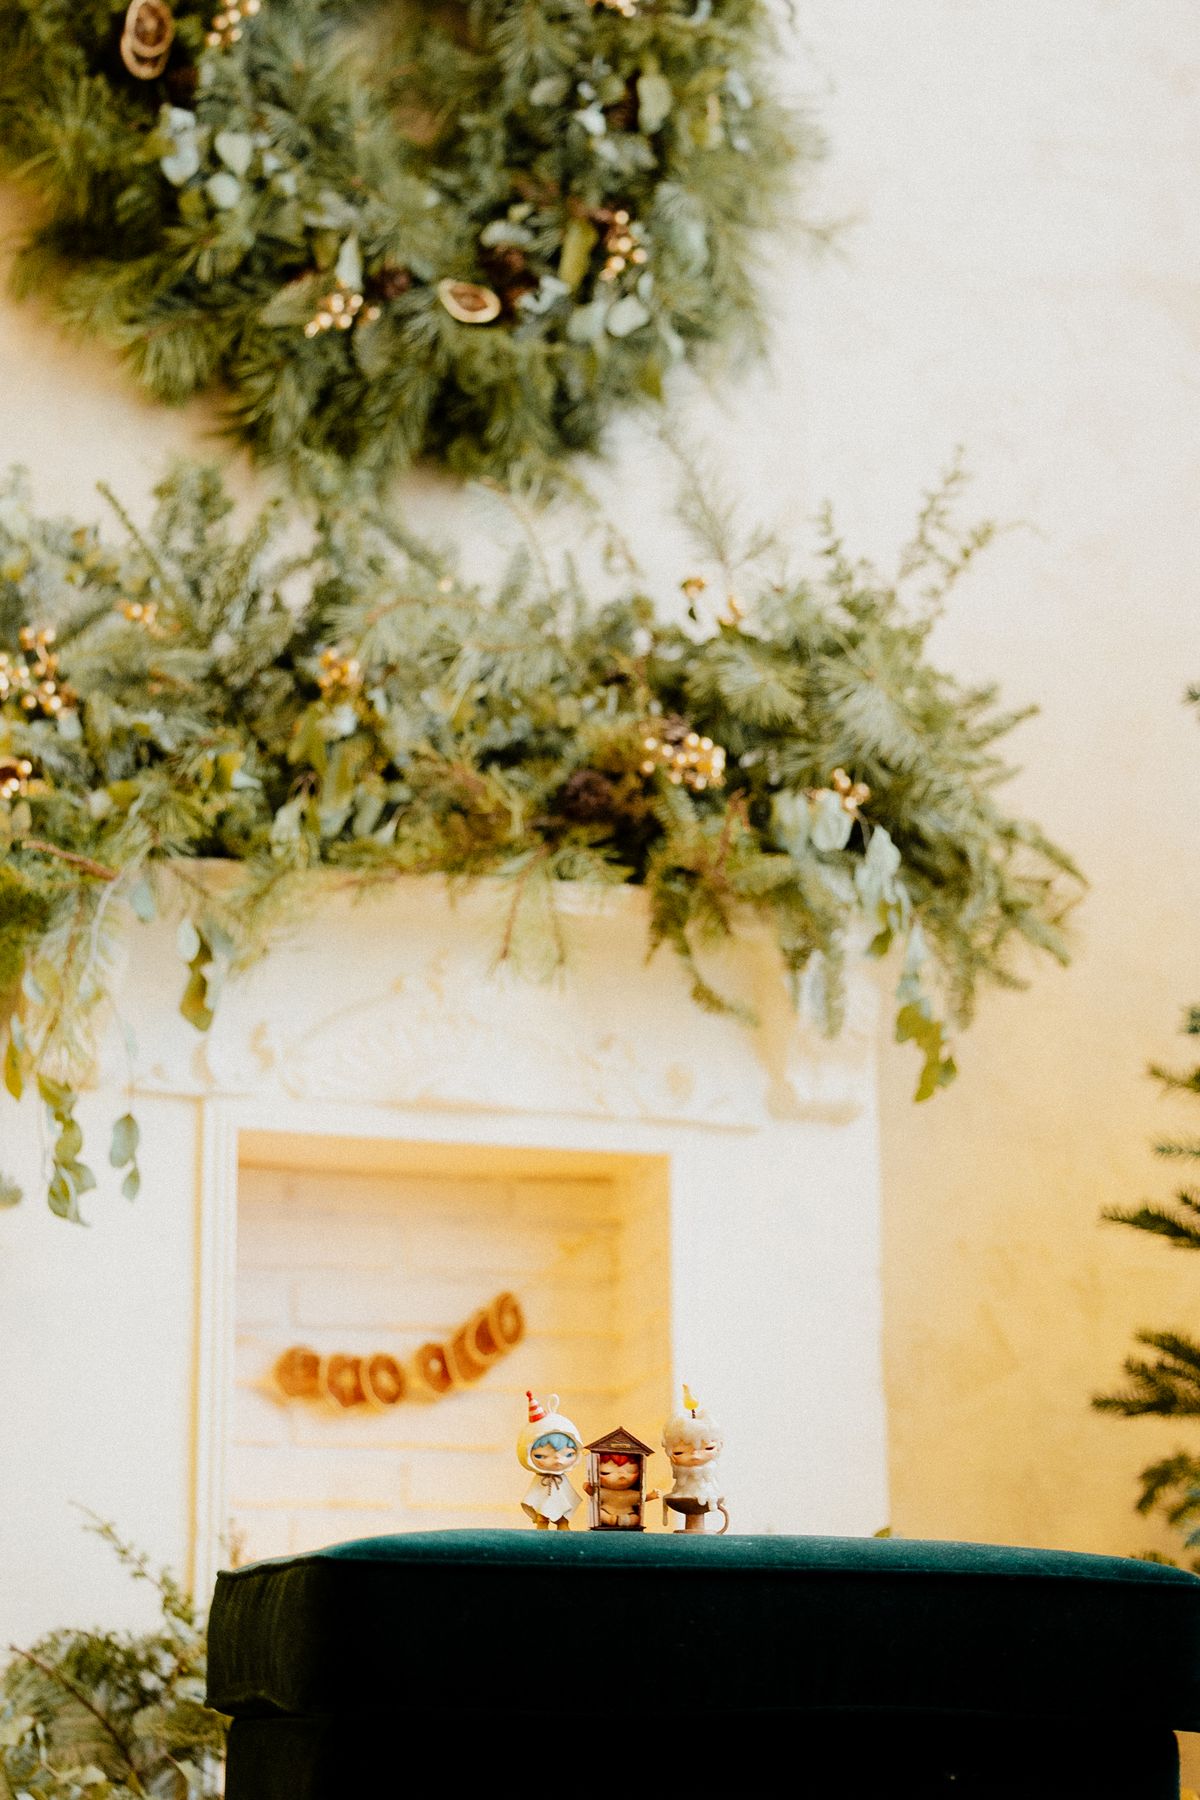
My favourite new vignette this year: three glass houses, 5 to 9 inches tall, each with a battery tea light inside, set on a strip of faux snow with two bottle-brush trees. Glass works because it throws the light outward — the whole cluster glows like a tiny street. I grouped them on the right 18 inches of my mantel so the stockings could own the left. Setup took 15 minutes. Honest note: this photo is a loose match — my houses are clear glass with white roofs, and stock photos of the exact set are scarce. Downside: glass houses are fragile with toddlers at mantel height.
Cost: $20–40 | Time: 15 minutes | Difficulty: Easy
Pro Tip: Put the tallest house in the middle of the trio and vary tree heights — flat rows look like a shop shelf.
11. Mirror-Backed Mantel That Doubles the Lights
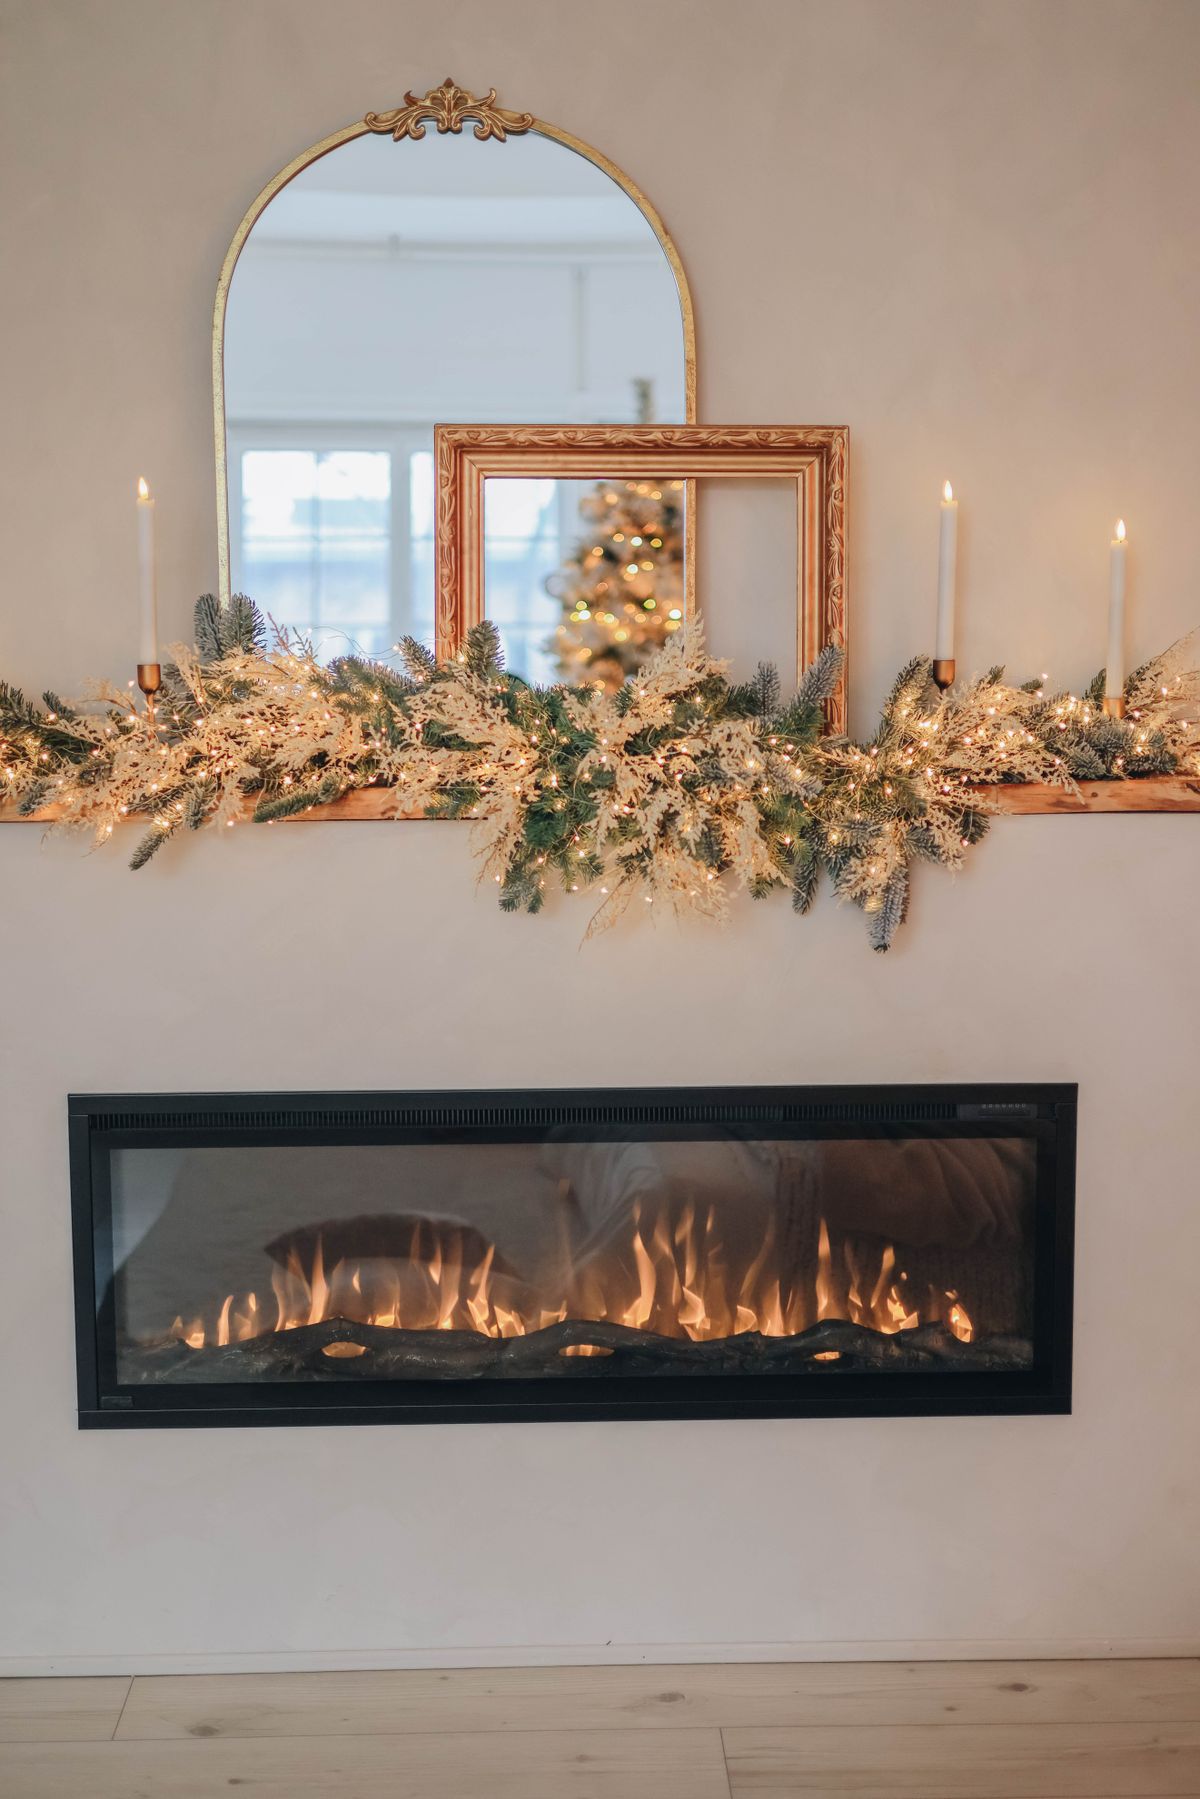
I leaned a 24-by-36-inch mirror above my mantel and let it do half the decorating. Every candle and fairy light reflects, so 50 micro-lights look like 100, and my small living room feels bigger at night. Physics does the work — the mirror bounces warm light back into the room. Anchoring matters: mine is secured with picture wire to a wall stud, because a leaning mirror plus a slammed door is a disaster. Downside: it shows dust and needles mercilessly.
Cost: $0–40 if you own a mirror | Time: 20 minutes | Difficulty: Medium
Pro Tip: Wreath over mirror is the classic pairing — Also read: my roundup of the best Christmas wreaths for sizes that layer well over glass.
Bows, Bells, Colour, and Pattern
12. Oversized Velvet Bows on the Garland Corners
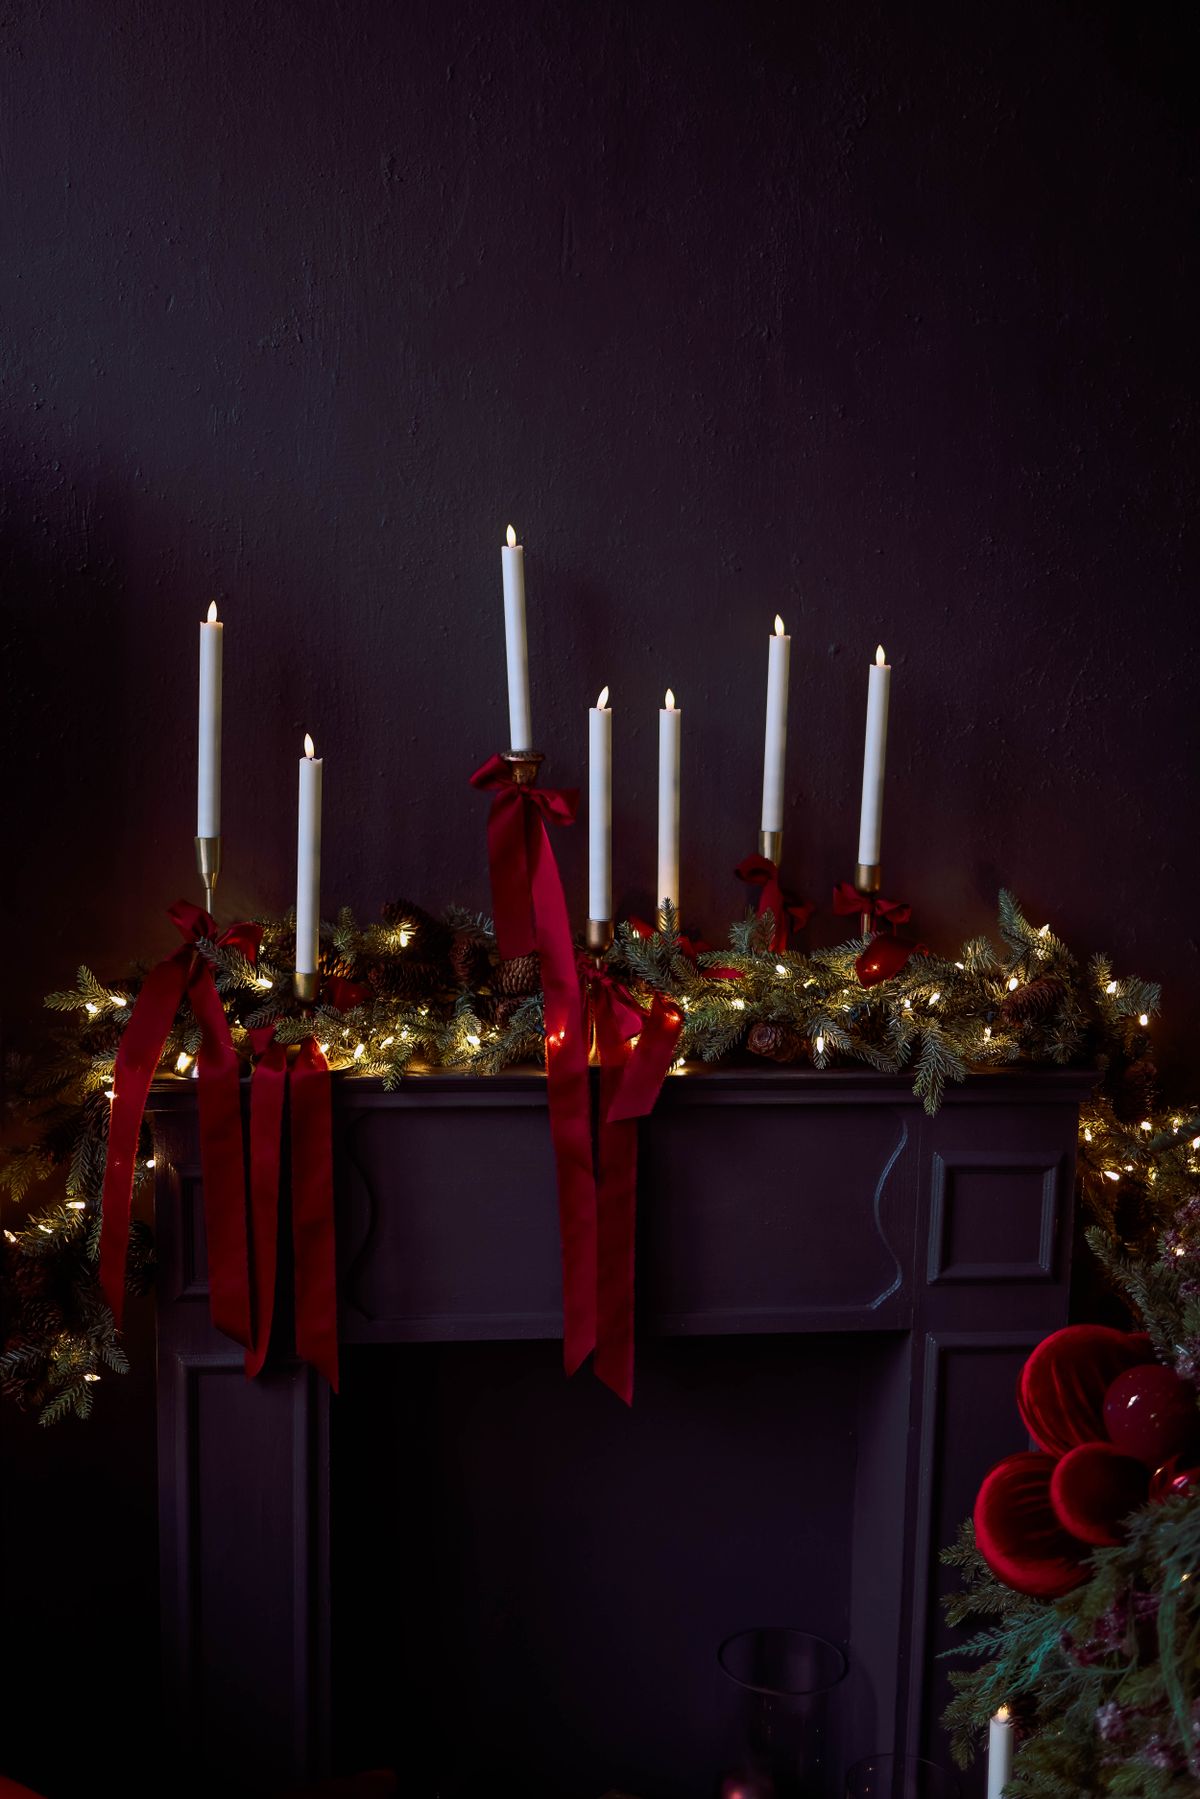
One oversized velvet bow at each garland corner is the single biggest 2026 look, and it is genuinely easy. I made two bows from 3-inch wired velvet ribbon — six loops each, tails cut at 14 inches — and wired them where the garland turns down. Scale is why it works: a big bow reads from the doorway, small bows disappear. Each took about six minutes. Downside: velvet crushes in storage, so mine live in a shirt box with tissue.
Cost: $10–20 | Time: 15 minutes | Difficulty: Easy
Pro Tip: Wire the bow to the garland, never glue it — you will want to move it when you adjust the swag.
13. Brass Bells Strung Along the Garland

I threaded nine brass bells, about 1.5 inches each, onto twine and pinned the strand along the garland’s front edge. They catch lamplight, match my brass holders, and jingle when the front door opens, which my grandkids love. Stringing took 10 minutes. Downside: the cat also finds the jingling hilarious, at 5 a.m., so the strand comes down to the lower garland edge where she cannot bat it — mostly.
Cost: $8–18 | Time: 10 minutes | Difficulty: Easy
Pro Tip: Alternate bell sizes — one large, two small — for a rhythm that looks collected rather than bought-in-a-row.
14. Jewel Tones With Gold and a Teal Accent
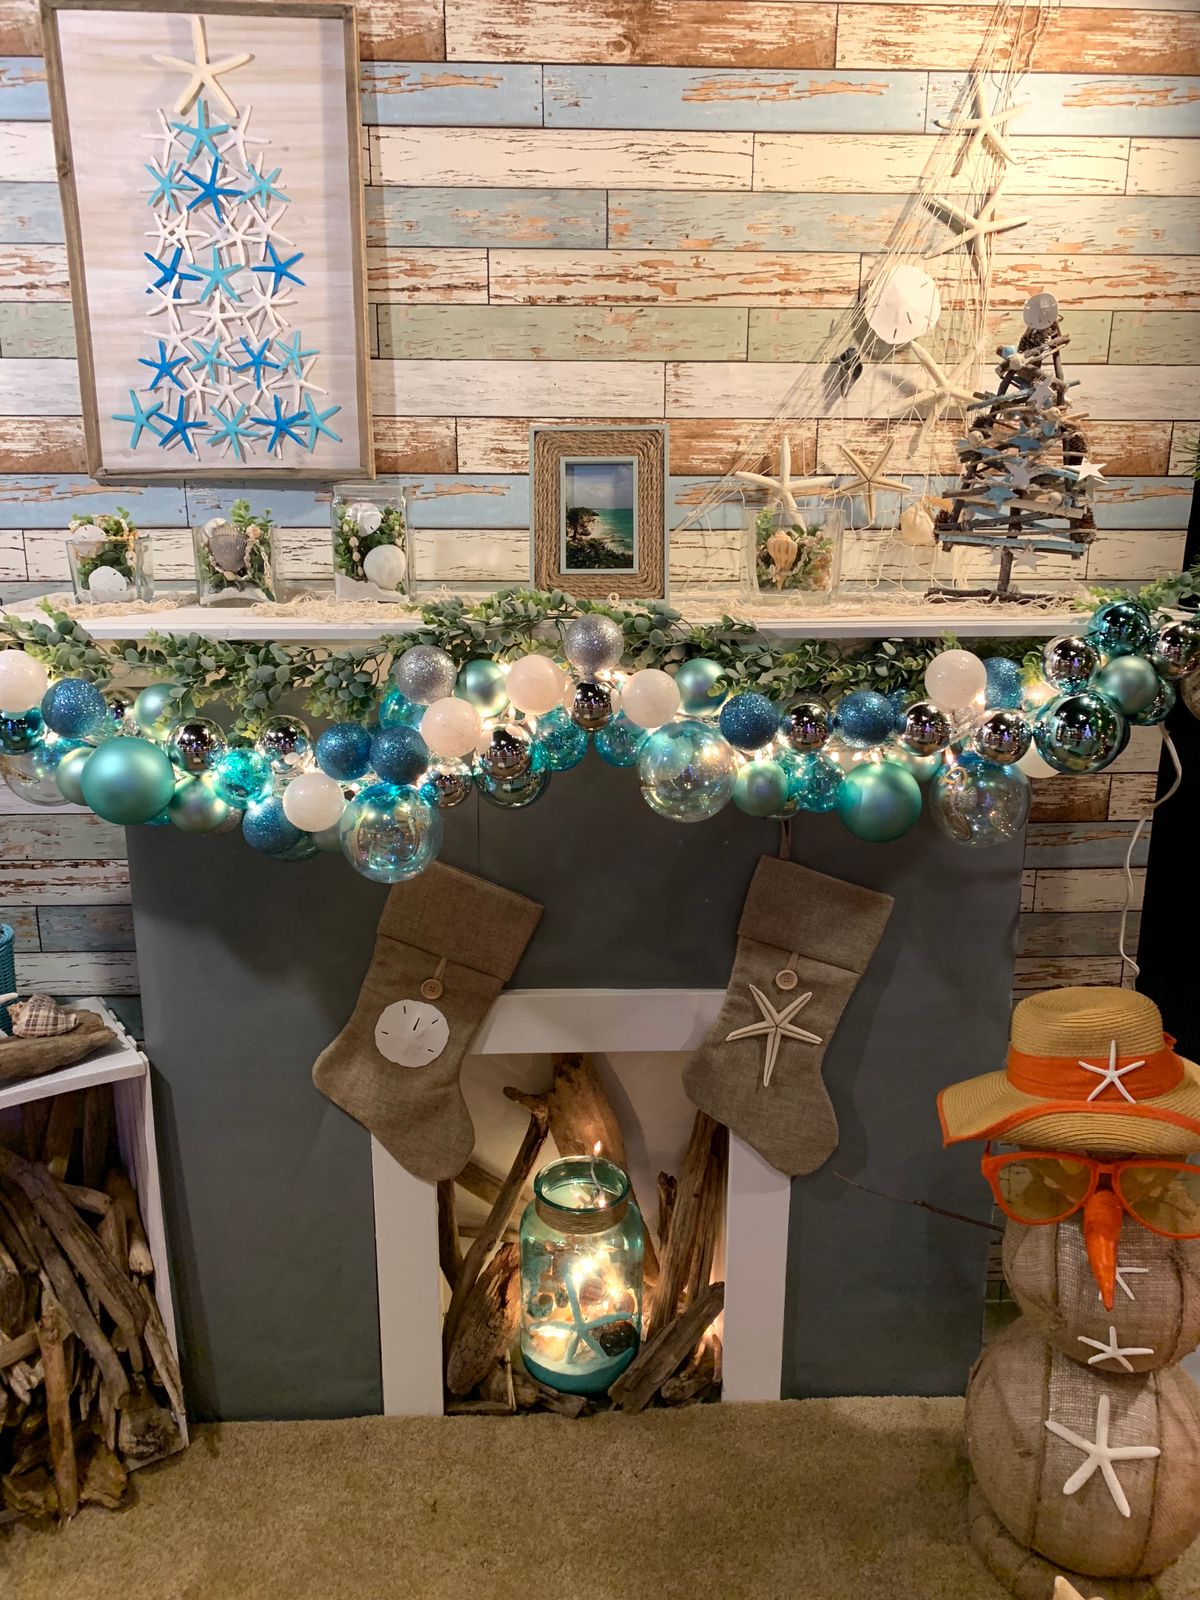
If red feels loud in your room, try what I did on my sister’s mantel: deep teal and emerald ornaments, gold ribbon, and cream stockings. Jewel tones work because they match the darkness of pine greenery, so nothing clashes — gold supplies the sparkle. We used 12 ornaments and one teal velvet bow; 20 minutes, and it looked expensive. Downside: jewel-tone pieces are harder to replace mid-season when one breaks, so buy two spare ornaments while your colour is in stock.
Cost: $20–40 | Time: 20 minutes | Difficulty: Easy
Pro Tip: Repeat the teal once more in the room — a cushion or throw — so the mantel colour feels intentional.
15. Tartan and Plaid Layered Under the Garland
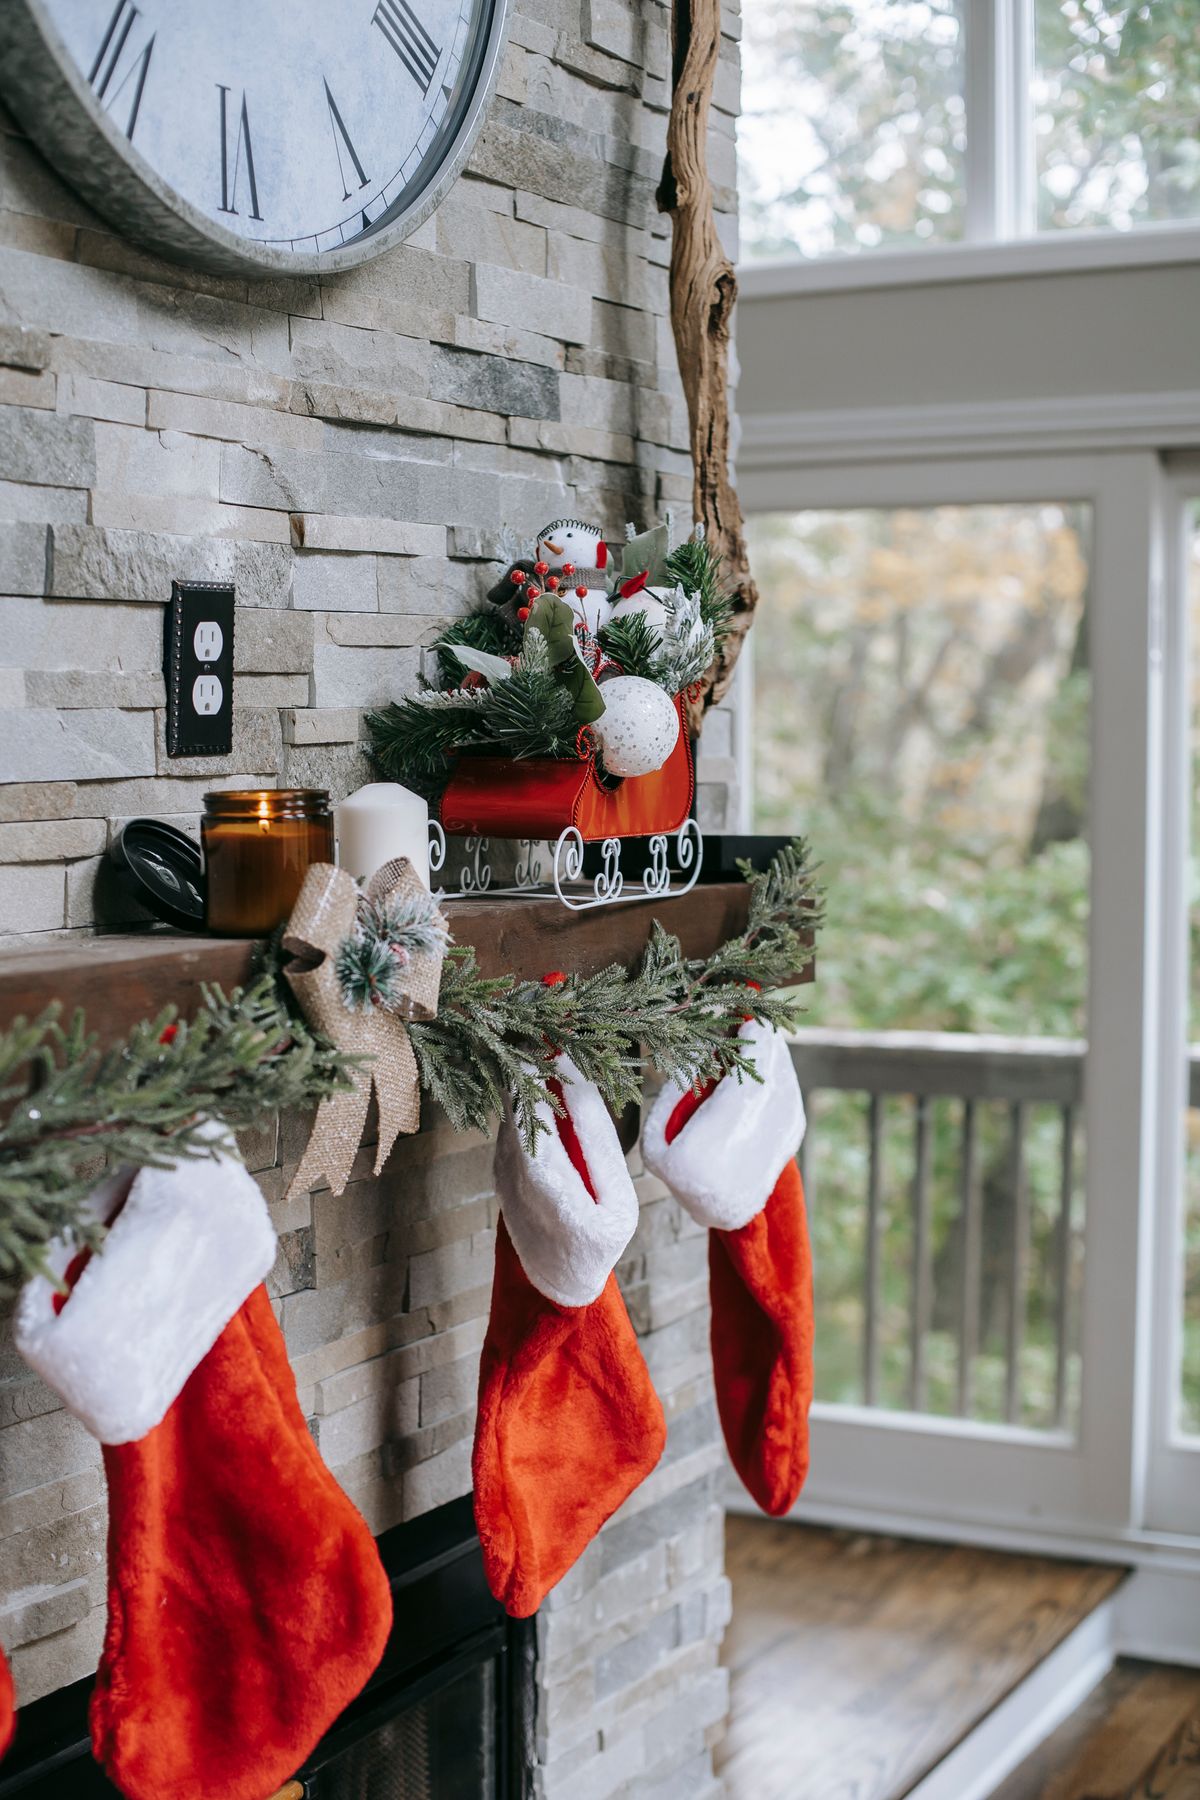
I ran a 2-yard tartan runner along the mantel top, let 8 inches hang over the front edge, then set the garland on top of it. The plaid adds pattern without another decoration, and protects my painted mantel from scratches. Tartan suits everything traditional — stockings, brass, pinecones. Total time: 8 minutes, the fastest idea here. Downside: keep fabric well away from a working firebox opening and never let the hanging edge drape near flame or a hot grate.
Cost: $8–20 | Time: 8 minutes | Difficulty: Easy
Pro Tip: A plaid scarf or table runner you already own works — check your linen drawer before buying anything.
Characters, Collections, and Full Displays
16. Nutcracker Guard With a White Lantern
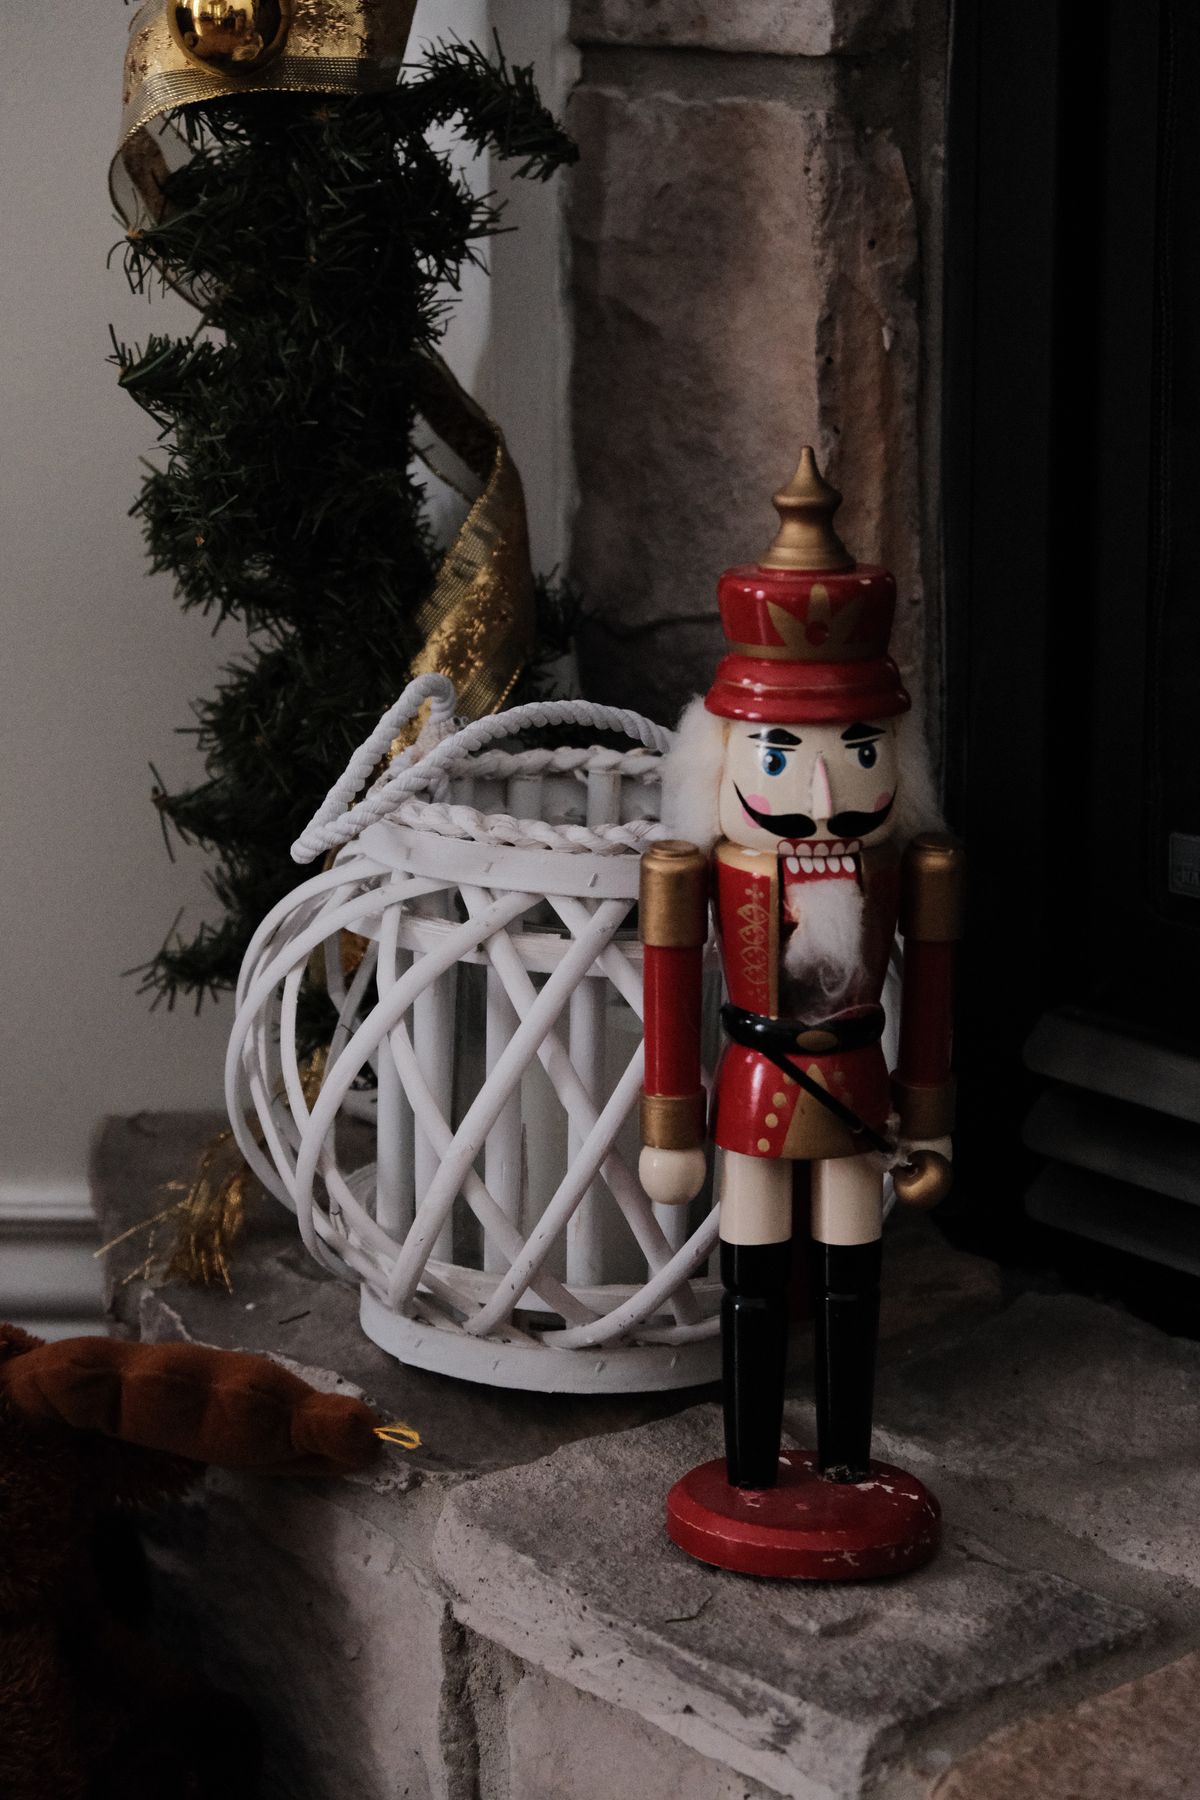
One 15-inch nutcracker standing guard at the left end, one white lantern with a flameless candle at the right — that bookend pairing framed my whole mantel. Tall pieces work because most mantel decor is horizontal; the height makes the garland between them look deliberate. My nutcracker was a $14 find I repainted two years ago. Setup: five minutes. Downside: nutcrackers are top-heavy on narrow mantels, so mine stands on a small wooden slice base to widen his footprint and stop wobbles.
Cost: $15–35 | Time: 5 minutes | Difficulty: Easy
Pro Tip: Keep the pair uneven — one tall figure, one shorter lantern — matching twins can look like a hotel lobby.
17. Vintage Santa Collection With Old Stockings
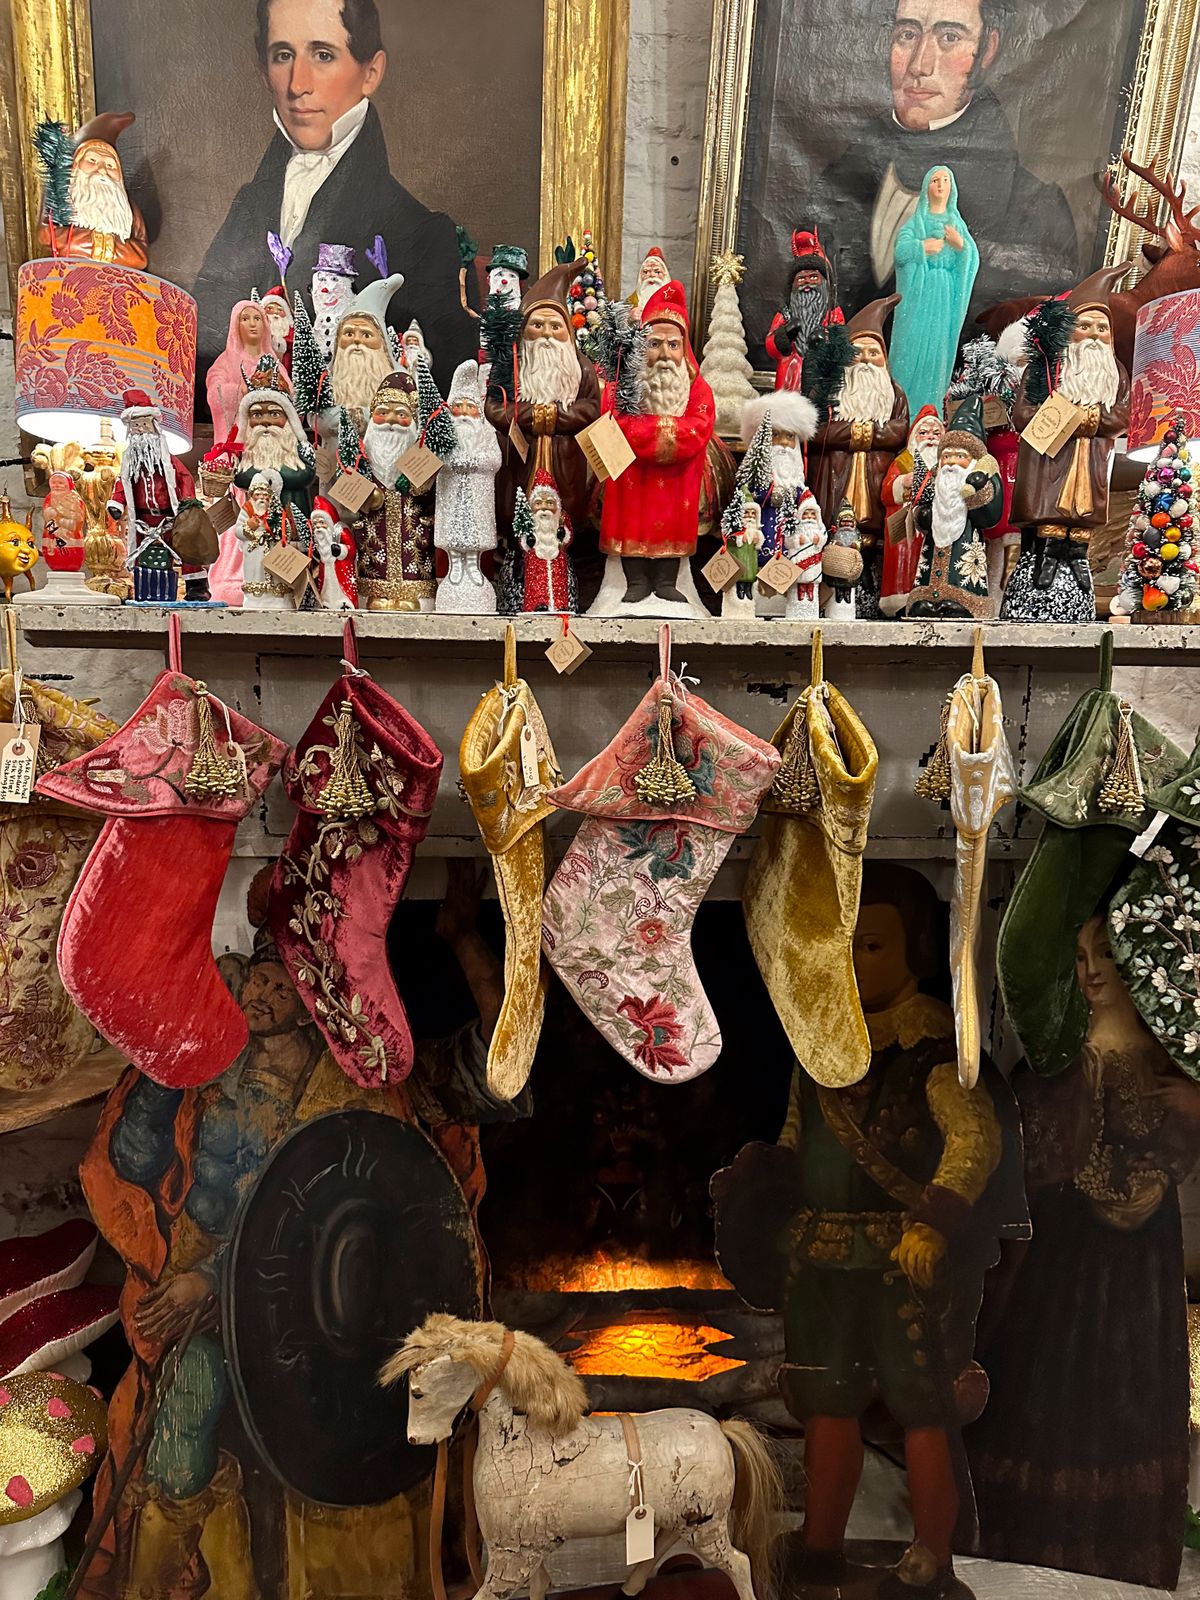
My mother’s two ceramic Santas, a thrifted third, and my childhood felt stockings make the mantel I get asked about most. Heirloom pieces work because they carry a story — guests linger, and nobody notices the plain grocery-store garland. I grouped the Santas in a tight trio, which keeps it a collection, not clutter. Arranging took 15 minutes. Downside: true vintage ceramics chip if they fall, so each Santa stands on museum putty, and this display lives on my higher mantel, out of toddler reach.
Cost: $0–25 | Time: 15 minutes | Difficulty: Easy
Pro Tip: Group collectibles in threes with one shared colour — my Santas all carry red, which ties different eras together.
18. Friendly Santa and Greenery for a Family Fireplace
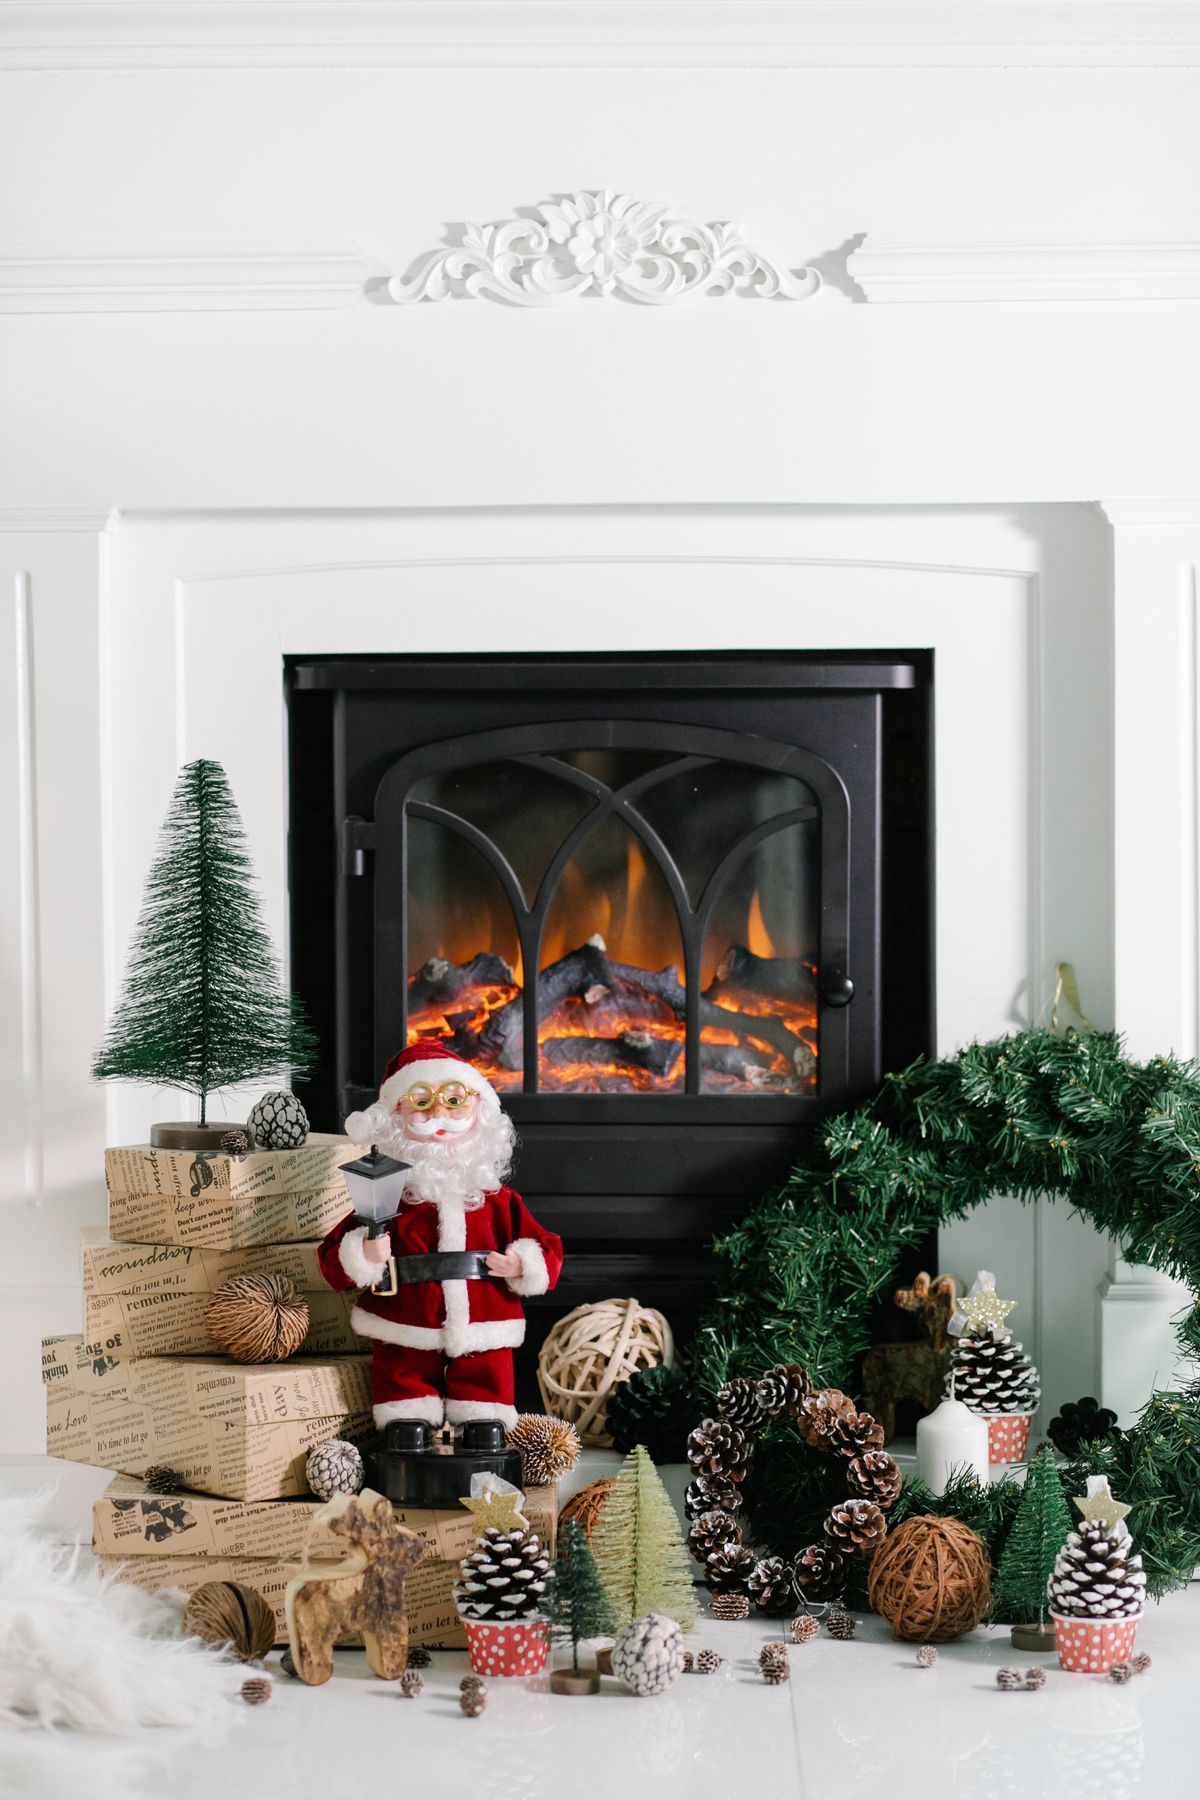
For the family-room fireplace, I went playful: a plush Santa seated on the hearth edge, a fir wreath above, and stockings hung low enough that my grandkids can reach their own on Christmas morning. Low and soft works for kids — nothing breakable within grabbing range, while the wreath carries the elegance up high. It took 20 minutes, including re-hanging the wreath on a properly rated hook. Downside: plush figures collect hearth dust fast near a working fire, so Santa gets a weekly lint-roller pass in my house.
Cost: $15–30 | Time: 20 minutes | Difficulty: Easy
Pro Tip: Read this next: my easy DIY Christmas decorations include the kid-safe felt pieces I swap in down low.
19. Mini Tree Line-Up in Odd Numbers
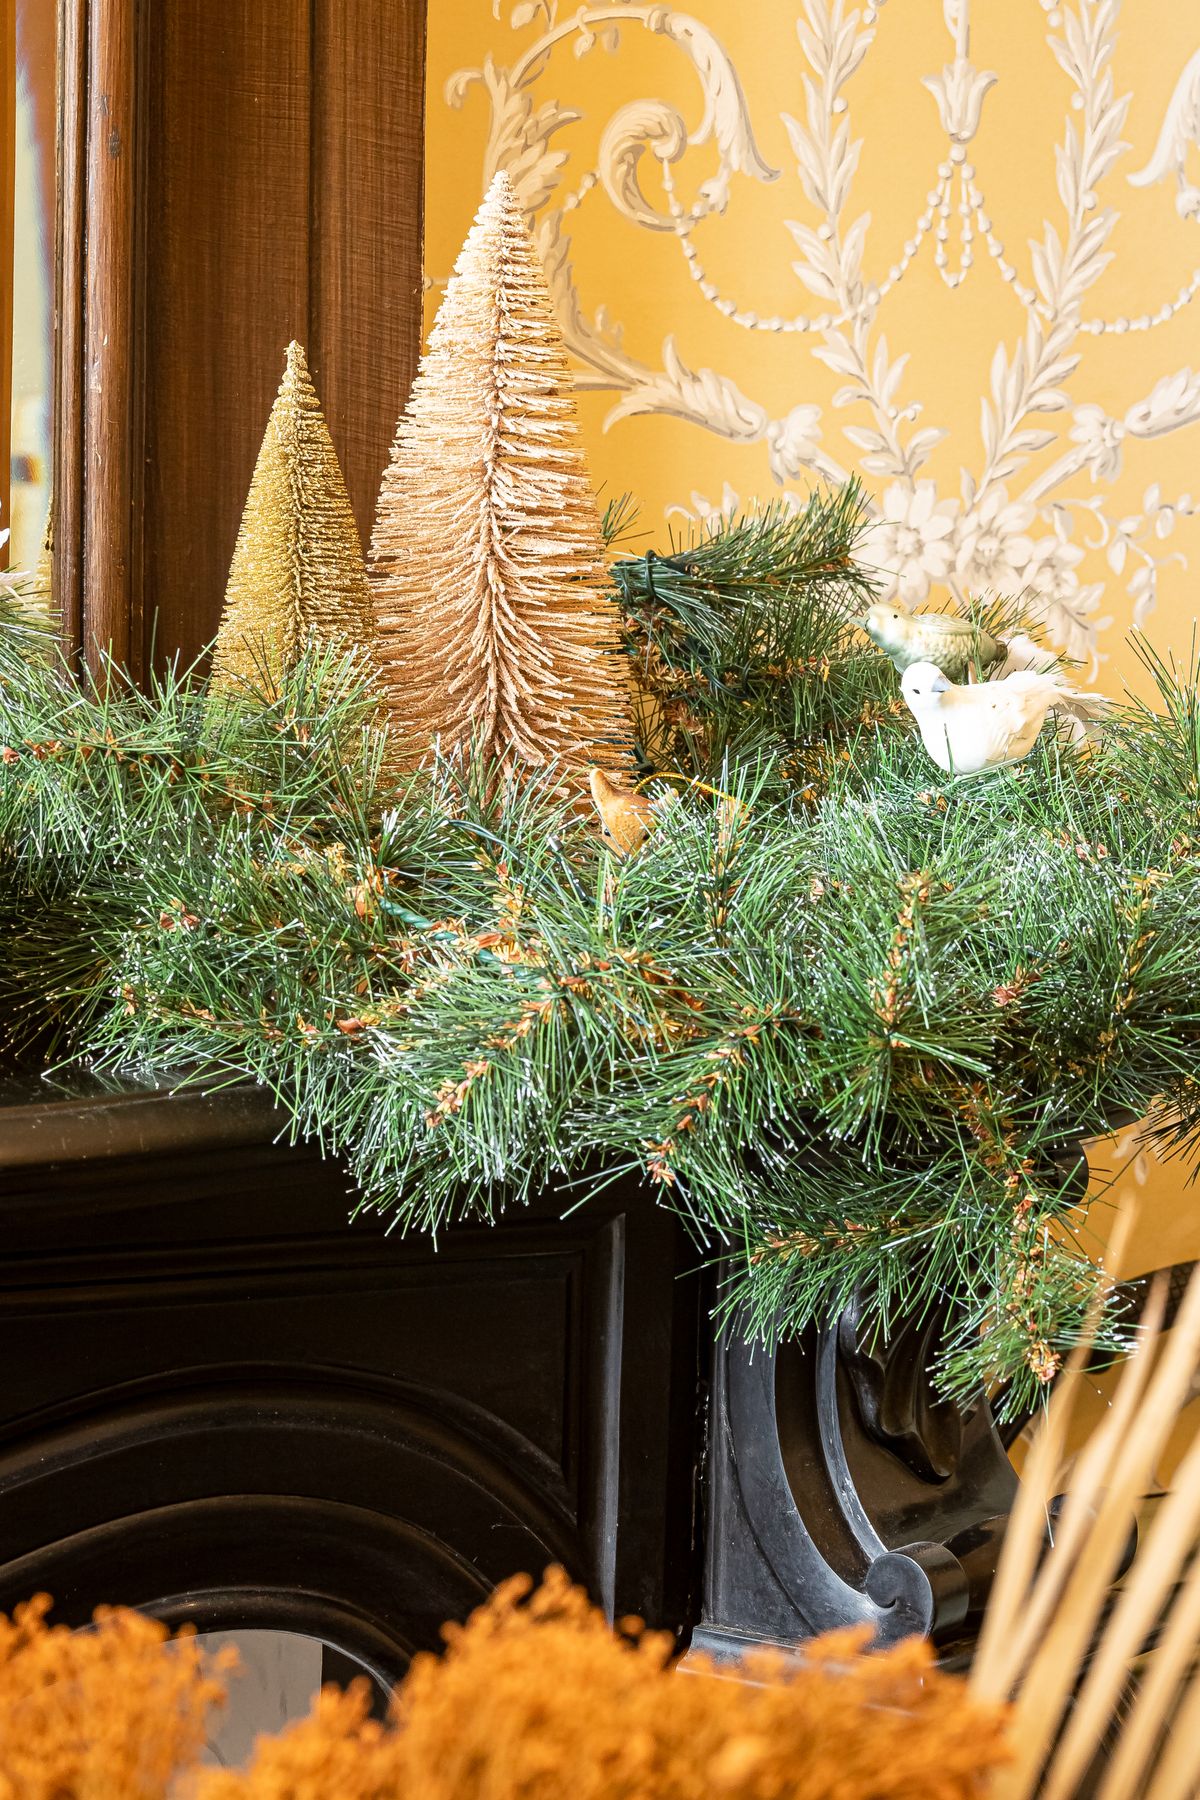
Five miniature trees — bottle-brush, ceramic, and one flocked pine, heights 4 to 11 inches — marched along my mantel with the garland pushed to the back edge. A line-up works when heights stair-step from the centre; random heights look like leftovers. I spent $12 on two new trees and used three I owned; 10 minutes total. Downside: small trees topple when bumped, so each sits on museum putty. Skip this if your mantel is under 5 inches deep.
Cost: $10–25 | Time: 10 minutes | Difficulty: Easy
Pro Tip: Mix materials but keep one colour family — all greens and creams — so five trees read as a forest, not a jumble sale.
20. The Full Classic: Wreath, Garland, Stockings, and Gifts
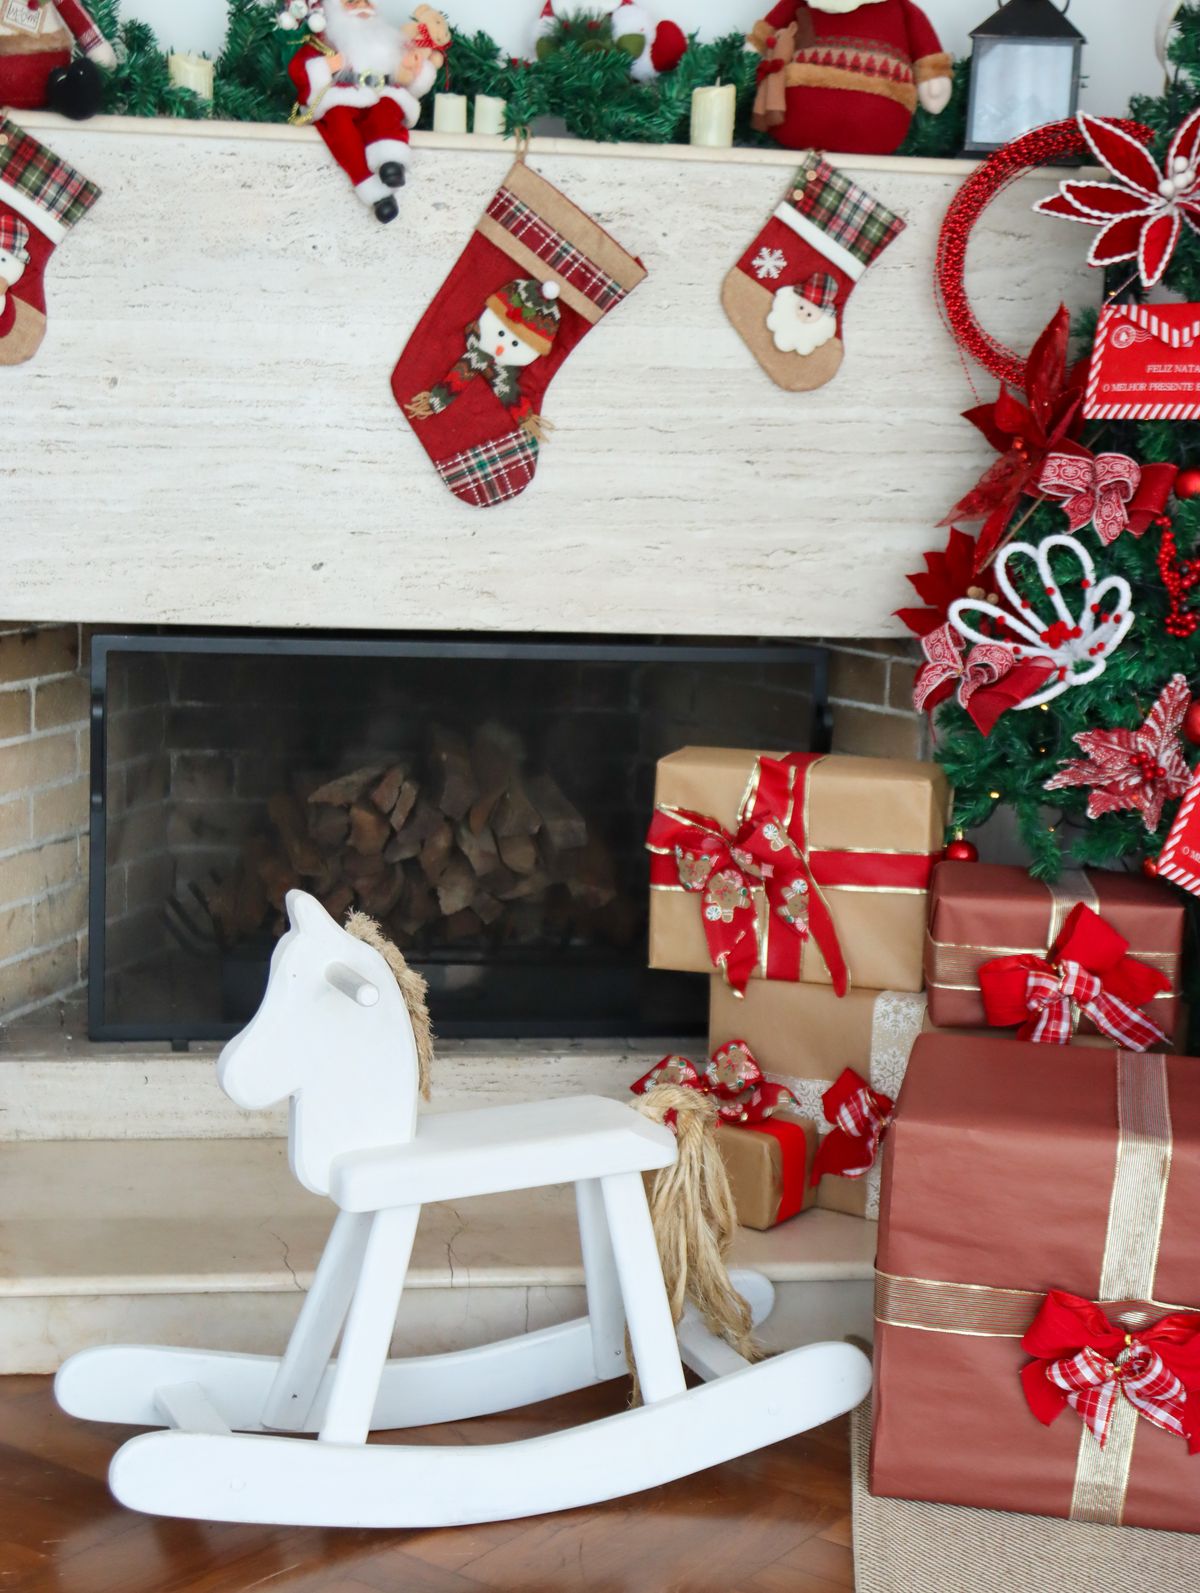
When I want the magazine shot for our Christmas Eve photos, I layer everything in order: wreath centred above, garland swagged below it, stockings on brass holders, flameless candles in the garland, and wrapped gifts stacked on the hearth. Order is why it works — each layer has its own level. Building it took 45 minutes, the longest here. Downside: it is a lot to dust and pack away, so my full version goes up December 15th, not right after Thanksgiving.
Cost: $40–80 | Time: 45 minutes | Difficulty: Medium
Pro Tip: Wrap three empty boxes in your room’s colours for the hearth — they photograph beautifully and store flat afterwards.
21. Twinkle-Light Stocking Mantel for Small Spaces
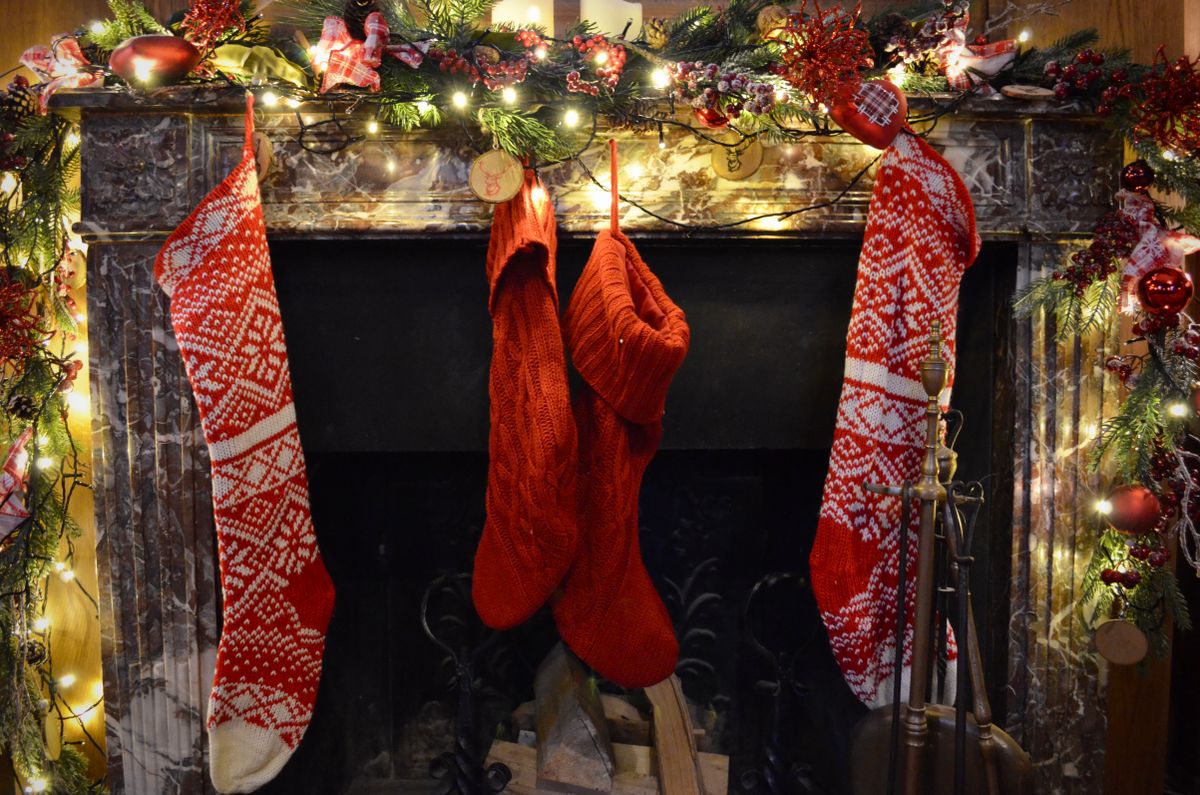
My last test was the simplest: a slim garland, one 20-foot strand of warm fairy lights woven through it, and three stockings — no ornaments, no candles, nothing else. In a small room this wins because light decorates without bulk, and the mantel still works as a shelf. Under $20 with a garland I owned, 15 minutes — and my husband voted to keep it all January. Downside: fairy-light wires tangle in storage no matter how carefully I coil them — budget five annoyed minutes next year.
Cost: $10–20 | Time: 15 minutes | Difficulty: Easy
Pro Tip: Choose warm-white lights (not bright white) — cool-toned bulbs make green garland look blue and cheap.
Quick Comparison: Picking Your Mantel Look
| Idea | Best for | Cost | Effort |
|---|---|---|---|
| 1. Layered mixed garland | A lush, full base for any style | $25–45 | Medium |
| 4. Heirloom stockings on brass holders | Heavy, truly filled stockings | $30–50 | Low |
| 8. Flameless candle row | Homes with kids, pets, real fires | $15–30 | Low |
| 10. Glass-house vignette | A cosy evening glow | $20–40 | Low |
| 12. Oversized velvet bows | Biggest trend impact, least work | $10–20 | Low |
| 14. Jewel tones with teal | Rooms where red feels too loud | $20–40 | Low |
| 20. Full classic display | Christmas Eve photos | $40–80 | High |
| 21. Twinkle-light mantel | Small rooms and tight budgets | $10–20 | Low |
Most of these Christmas mantel decor ideas combine happily — my own mantel this year is idea 1 plus ideas 4, 8, and 12 layered together.
Mistakes I Made (So You Don’t Have To)
- I hung filled stockings on adhesive hooks. One fell at 2 a.m. and smashed an ornament. Weighted holders or a screwed-in rail only, and fill stockings late.
- I lit real candles inside the garland. The greenery had dried by week three and a ribbon tail curled toward a flame. I switched to flameless everywhere near greenery and I have never gone back.
- I bought one garland that was too short. A 6-foot garland on a 60-inch mantel leaves no swag and no drape. Measure, then add at least 3 extra feet for swagging.
- I decorated before cleaning the mantel. Soot dust worked into the garland and greyed my white stockings. Now the mantel gets wiped down and the firebox checked before anything goes up.
Frequently Asked Questions
How long did your real garland actually last?
Mine looked fresh about two weeks before the cedar tips crisped; daily misting bought a few extra days. Decorating in early December? Use faux for the base and add fresh tips mid-month.
What would you do differently next year?
I would buy the brass holders first and decorate around them. I would also photograph the finished mantel — re-creating a swag I liked took longer than building it.
How do I decorate a mantel if my fireplace is not used?
The firebox itself can hold birch logs, a lantern, or wrapped gifts. Keep the flue closed so soot dust does not settle on light-coloured decor.
Are real candles ever safe on a mantel?
Only well away from greenery, ribbon, and stockings, in sturdy holders, and never left burning unattended. Honestly, after my ribbon scare, I use flameless on the mantel itself and save real candles for the dining table.
How much garland do I need for a standard mantel?
For a 60-inch mantel with one centre swag, start with 9 feet. For a fuller double swag or side drape, 12 feet. Always measure your mantel’s width and multiply by 1.5 as your minimum.
Can I copy these ideas without a fireplace?
Yes — a floating shelf, the top of a bookcase, or a console table all take the same layers. Use a wreath or mirror as the anchor above, and treat the surface exactly like a mantel top.
Final Thoughts
The mantel I kept was not the biggest one — layered garland, brass-held stockings, flameless glow, two velvet bows. Start with one idea, live with it a weekend, then add a layer.