20 DIY Christmas Garland Ideas
These diy christmas garland ideas are the ones I have actually hung in my own house, measured, hooked and lived with through December, not just admired in a shop window. A garland that looks good in a photo but sags, sheds or blocks a door is no use to anyone.
How I picked these: I chose only garlands I could hang with ordinary hooks and wire, in lengths that fit a real mantel, doorway or staircase, and I dropped anything that needed a ladder I do not own or an outlet I do not have. If a garland sagged or dried out in my house, I say so below.
Key Takeaways
- Measure first: mantel width plus drop, doorway sides plus top, staircase length plus drape.
- Hooks every 18 inches beat a garland balanced on hope.
- Wind beads after lights and before ornaments on a tree.
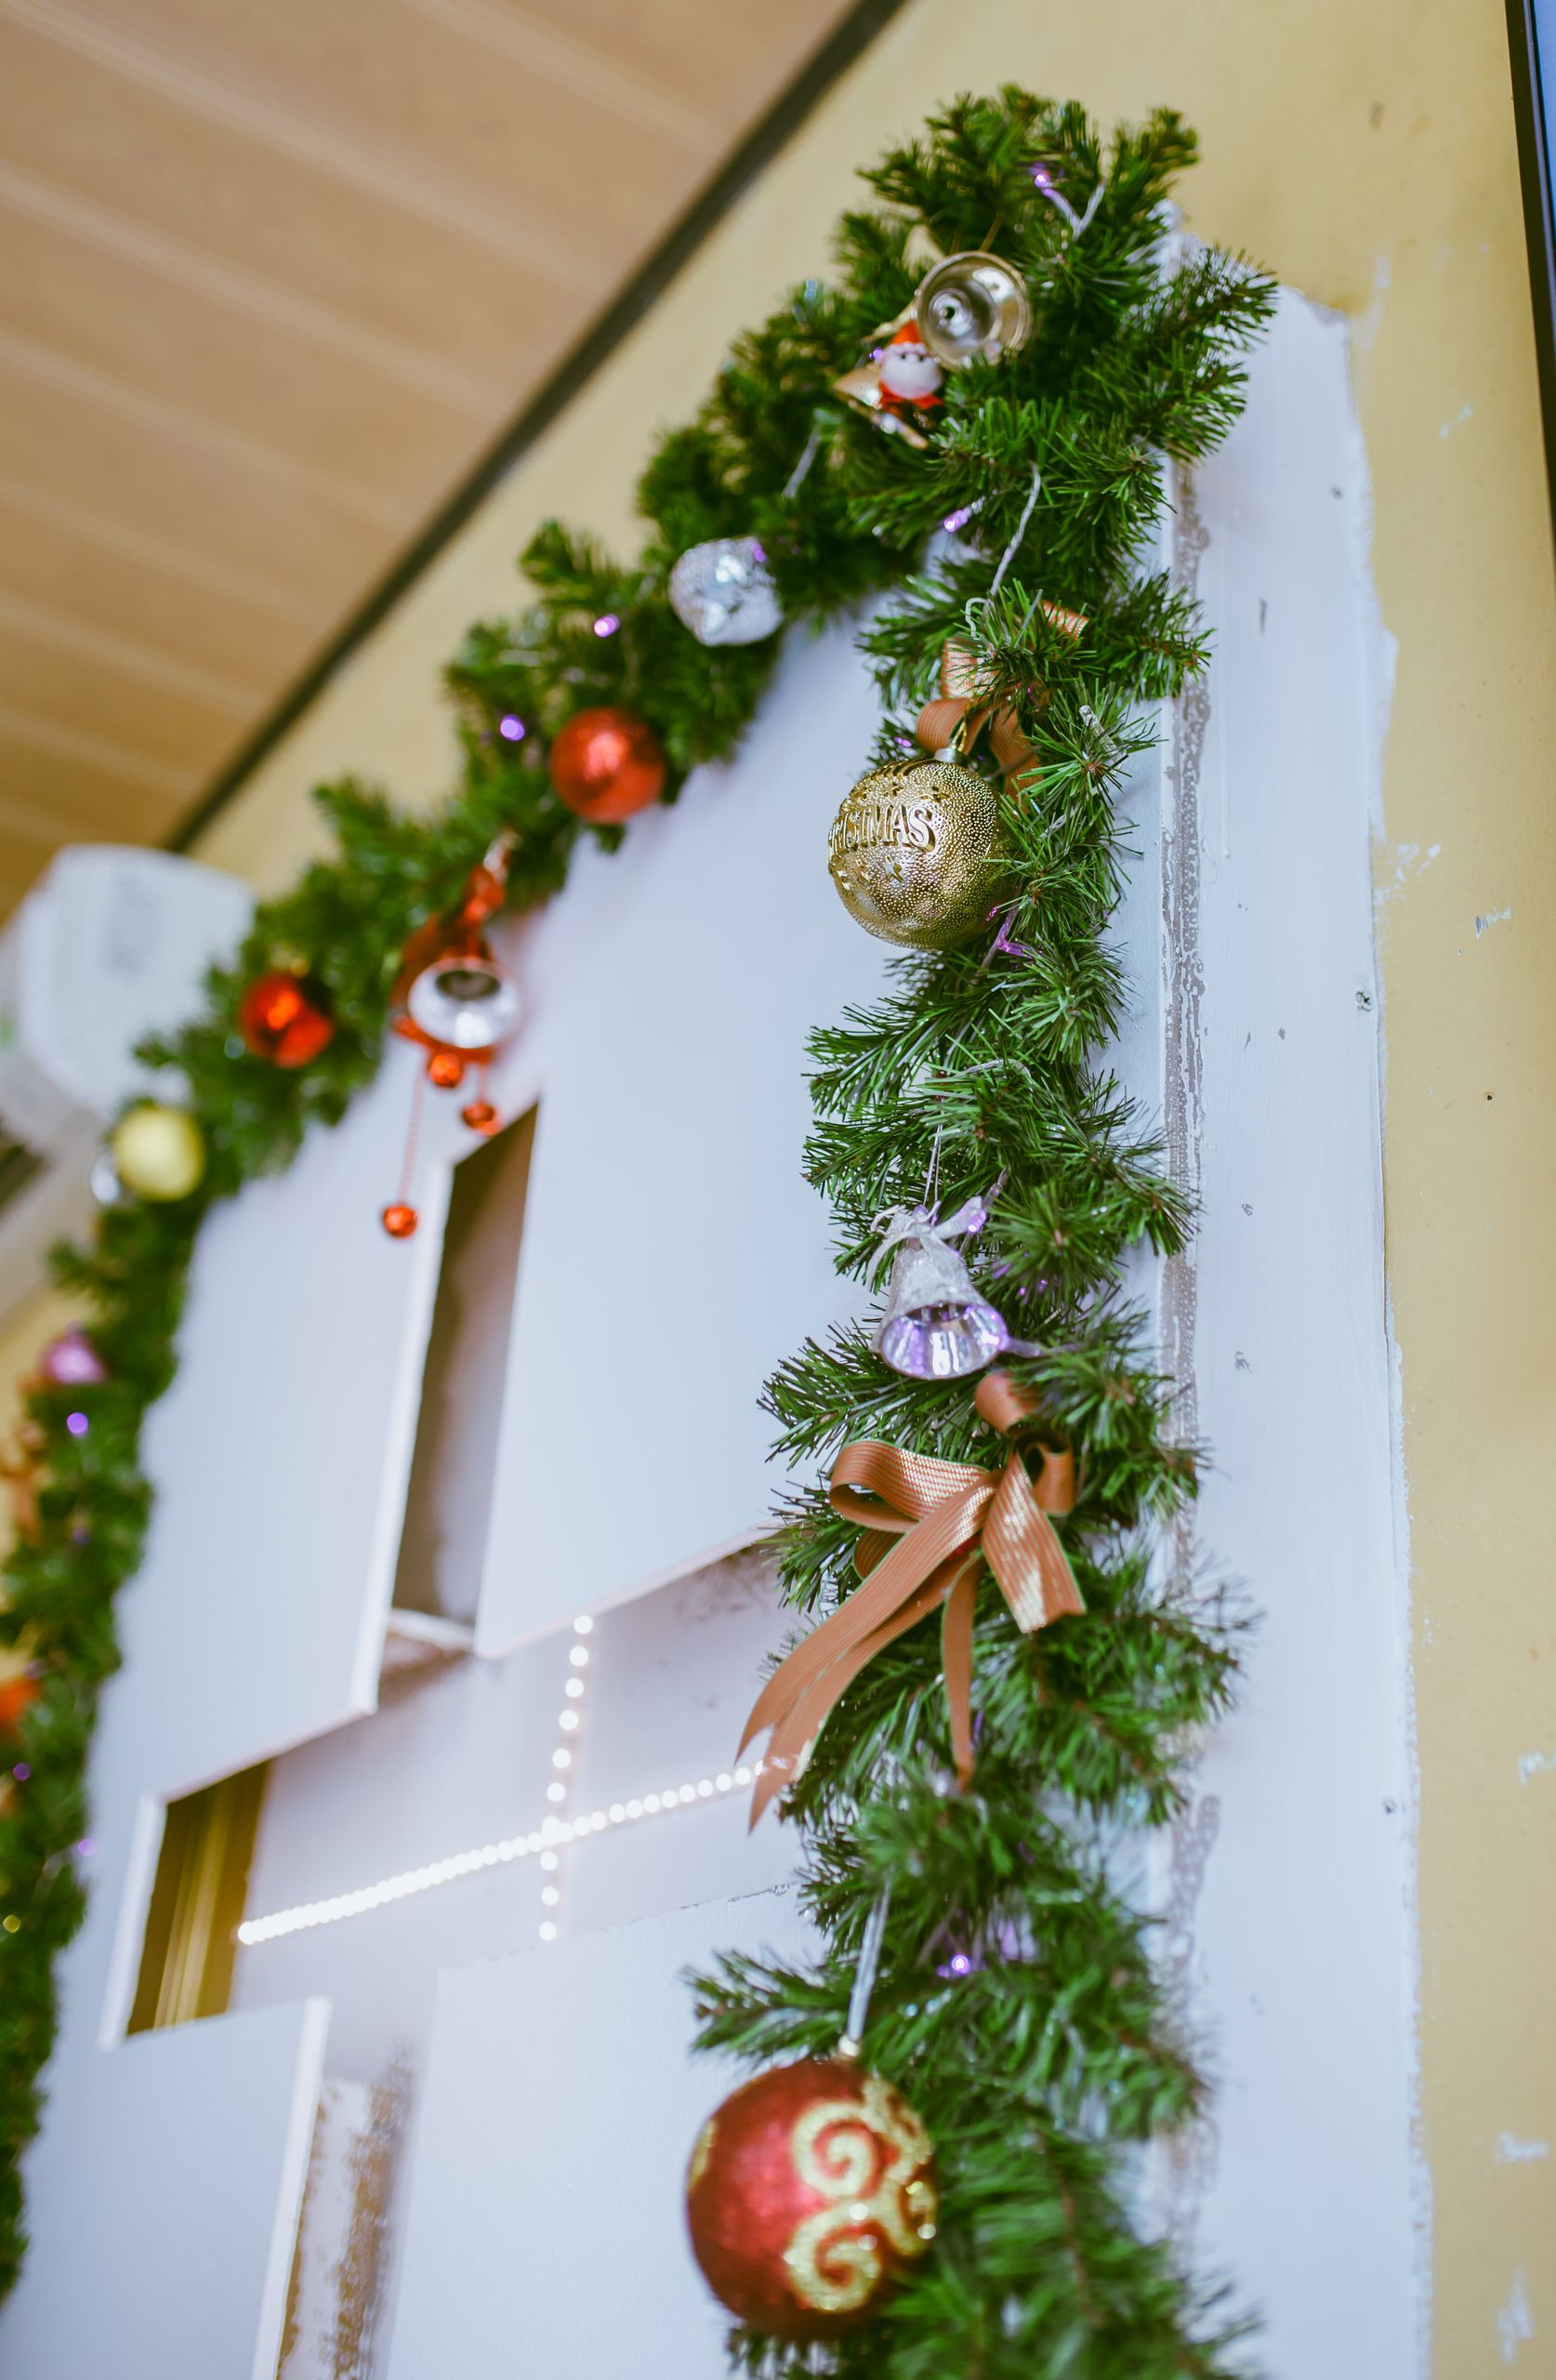
- Fresh greenery lasts about three weeks; faux lasts all season.
20 Diy Christmas Garland Ideas I Actually Hung
1. Classic Pine Mantel Garland
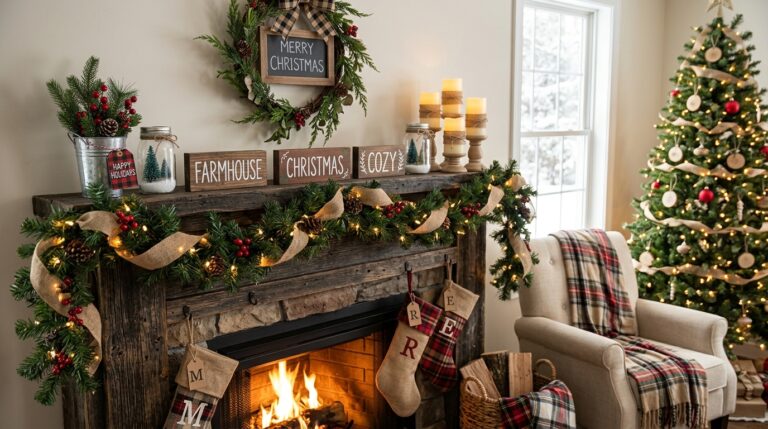
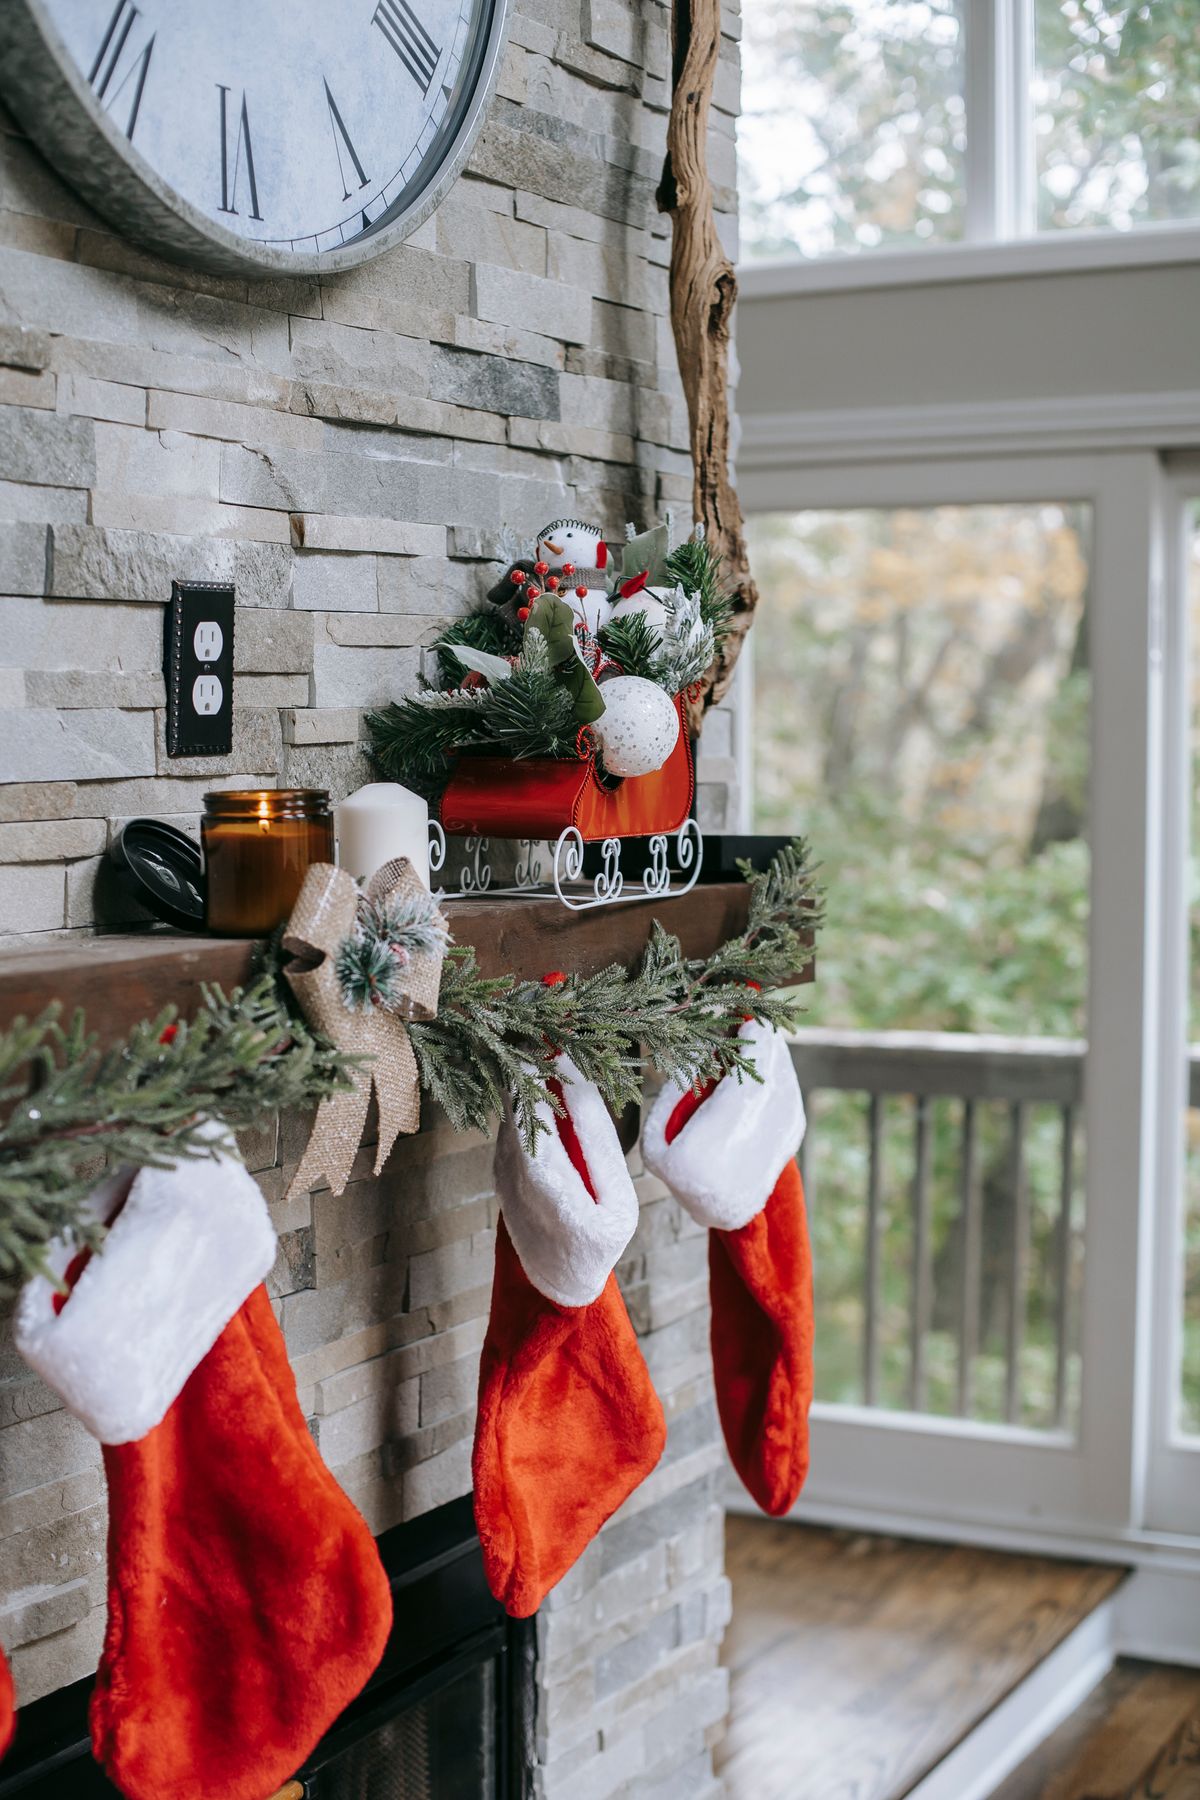
I lay a 6-foot faux pine garland along the mantel, let each end drop about 8 inches, and tuck in three red baubles and a string of warm lights. I hung mine with two small clear hooks at the ends and one in the middle, and it stayed put all December. My first mantel garland slid off because I balanced it without hooks, so hooks are now the first step, not an afterthought. Faux pine holds its shape, while a few real sprigs tucked in give the scent.
The watch-out is sag: a mantel garland that is only hooked at the ends will droop in the middle within a day, so add a middle hook too.
Pro Tip: Fluff the branches outward before hanging, or the garland looks flat from below.
Cost: $18 | Time: 45 minutes | Difficulty: Easy
2. Pre-Lit Mantel Garland
I bought a pre-lit garland with the lights already woven in, which saved me the usual twenty minutes of untangling a separate string. Mine runs on a timer, six hours on and eighteen off, and the batteries lasted the whole season. I learned to check that every bulb works before hanging, after once discovering a dark patch only after the garland was dressed. The even spacing of factory lights is hard to beat by hand.
The watch-out is battery life, because a pre-lit garland left on all day dies before Christmas Eve, so use the timer setting from the start.

Pro Tip: Buy one spare set of batteries in November, not on Christmas Eve.
Cost: $25 | Time: 20 minutes | Difficulty: Easy
3. Doorway Evergreen Arch
I fix a 9-foot garland around the living-room doorway, starting at the floor on one side, over the top, and down the other side, with a swag dip in the middle. I measured the doorway first: two 80-inch sides plus a 36-inch top means about 16 feet with the dip, so two 9-foot lengths joined at the top work best. My first arch was short, and the gap at the bottom looked unfinished. Clear hooks every 18 inches keep it from pulling away.
The watch-out is door clearance, because a thick arch garland can catch the door every time it opens, so test the swing before you fix it.

Pro Tip: Join two garlands with green floral wire, not tape, for a strong, hidden join.
Cost: $30 for 2 | Time: 1 hour | Difficulty: Medium
4. Snowy Pine Garland with Lights
I frost a plain pine garland with snow spray, let it dry outdoors for an hour, then weave in warm-white lights. Mine frames the window, and at dusk the frosted tips glow in a way plain green never does. I sprayed too heavily the first time and the branches looked grey, so now I spray from at least 12 inches away in short bursts. Frosted garlands shed, so I keep them away from the dining table.
The watch-out is snow spray flaking onto the floor, so lay newspaper down while you frost the branches and vacuum afterwards.

Pro Tip: Spray in a well-ventilated space and wear gloves, because snow spray sticks to skin.
Cost: $22 | Time: 1 hour | Difficulty: Medium
5. Red Bead Garland for the Tree
I wind a string of red wooden beads around the tree in a loose spiral, about 6 inches apart vertically, starting at the top. The beads add colour without hiding the ornaments, which is why I prefer them to tinsel on a small tree. My first bead garland was wound too tightly and looked like a striped pole, so now I step back after every second loop. Wooden beads are light, so even a slim tree holds them easily.
The watch-out is beads sliding to one end on a sloped branch, so tie a small knot in the string at each end of the run.

Pro Tip: Wind beads after lights but before ornaments, so ornaments sit on top.
Cost: $8 | Time: 20 minutes | Difficulty: Easy
6. Gold Ribbon-Wrapped Garland
I wrap a plain pine garland with 2-inch gold velvet ribbon, twisting it every 10 inches so the ribbon sits in the gaps between branches. For a 7-foot garland I used about 22 feet of ribbon, and the result looked far more expensive than the plain garland underneath. My first attempt used satin, which slipped and bunched, so velvet is my rule now because it grips the branches. Keep the ribbon taut but not tight, or it crushes the foliage.
The watch-out is ribbon fading in sunlight, so keep a gold ribbon garland off a south-facing window if you want it bright in January.

Pro Tip: Pin the ribbon at each end with a floral pin so it cannot unwind.
Cost: $15 | Time: 40 minutes | Difficulty: Easy
7. Silver and Gold Mixed Garland
I combine a silver bead garland with gold baubles on a green base, keeping silver dominant and gold as the accent. Mine hangs on the staircase, where the mixed metals catch light from two directions. I once mixed equal amounts of both and the result looked indecisive, so the two-to-one rule now guides me. This is a good use for leftover baubles that do not match a single-colour scheme.
The watch-out is mixed metals clashing, because silver and gold together can look accidental, so pick one dominant metal and use the other sparingly.

Pro Tip: Use one ribbon colour only, to stop the mix looking busy.
Cost: $20 | Time: 50 minutes | Difficulty: Medium
Related article: DIY Christmas Ornaments
8. Mini Tree Garland
I dress a 2-foot tabletop tree with a thin gold bead strand and five tiny baubles, nothing more. A mini tree is easy to overload, and mine looked best once I removed half of what I had first hung. I keep it on the piano, where a full-size tree would never fit, and it gets more comments than the big tree. The trick is restraint: if you cannot see green between decorations, take something off.
The watch-out is scale: a chunky garland swallows a mini tree, so use a thin bead strand and only three or four ornaments.

Pro Tip: Use baubles under 1 inch, or the tree tips bend.
Cost: $10 | Time: 20 minutes | Difficulty: Easy
9. Ornament Cluster Garland
I wire baubles in clusters of three onto a plain green garland, spacing the clusters about 12 inches apart along a mantel. The clusters read as deliberate decoration, whereas single baubles scattered at random looked messy on my first attempt. I use a mix of matt and shiny finishes in one colour, which gives depth without clashing. Wire, not string, holds the clusters in place when the garland is moved.
The watch-out is weight, because a cluster of glass ornaments pulls a branch down, so use plastic ornaments for the heaviest clusters.

Pro Tip: Wire each cluster to a branch, not just to the garland core.
Cost: $18 | Time: 1 hour | Difficulty: Medium
10. Colourful Bauble Garland
I thread large, multicoloured baubles onto a sturdy cord and drape it across the bookshelf in two swags. This is the garland my grandchildren notice first, because the colours read from across the room. I learned to use plastic baubles for a long drape, after a glass one fell and shattered on the wooden floor. Space the baubles unevenly, with a gap here and there, so it looks gathered rather than strung.
The watch-out is colour overload, so if the baubles are multicoloured, keep the lights warm white and the ribbon plain.

Pro Tip: Knot the cord between every third bauble to stop them sliding.
Cost: $12 | Time: 30 minutes | Difficulty: Easy
11. White Tree Garland
I use a silver-white bead garland on a white artificial tree, with deep green ribbon as the only contrast. The effect is calm and snowy, and it suits a small, bright room where a red-and-green scheme would dominate. My first white tree looked washed out because everything matched too closely, so the green ribbon is now essential. Keep lights warm white, because cool white on white can look clinical.
The watch-out is a white tree looking washed out, so add one contrasting colour, like deep green or gold, to anchor the display.

Pro Tip: Add one dark green bow at the top to anchor the look.
Cost: $14 | Time: 25 minutes | Difficulty: Easy
12. Assorted Ornament Garland
I string a mix of baubles, stars and small bells onto a green garland for the hallway mirror, using what I already own rather than buying a set. Mine changes slightly every year, which keeps it interesting, and nothing matches perfectly, which is the point. I once tried to make it symmetrical and it looked stiff, so now I hang it, step back, and only move pieces that catch my eye for the wrong reason.
The watch-out is tangling in storage, because mixed ornaments catch on each other, so wind the garland around cardboard before boxing it.

Pro Tip: Hang the heaviest ornaments nearest the hooks.
Cost: $0, from existing ornaments | Time: 40 minutes | Difficulty: Easy
13. Gold Bow Garland
I tie small gold bows every 12 inches along a pine garland for the staircase, with a larger bow at each end. The bows catch the light as you climb, and they hide the hooks underneath. My first bows were tied from narrow ribbon and disappeared against the green, so I now use ribbon at least 1.5 inches wide. Wired ribbon holds its loops far better than plain ribbon, which droops after a week.
The watch-out is bows untying, so stitch or wire each bow at the centre rather than relying on a knot alone.

Pro Tip: Use wired ribbon and fluff each loop after tying.
Cost: $12 | Time: 45 minutes | Difficulty: Easy
14. Wreath-Style Garland for the Wall
I make a long, flat garland from fresh fir branches wired to a rope core, then hang it above the sideboard like a horizontal wreath. It smells wonderful for the first fortnight, and I mist it lightly every few days. Fresh garlands dry out near radiators, so mine lives on a cool wall, and I accept that it will last about three weeks, not the whole season. The first one I made shed badly because I used dry branches, so I now buy fresh-cut stems.
The watch-out is fresh greenery drying out, so mist a wreath-style garland lightly and keep it away from radiators.

Pro Tip: Soak fresh stems in water for an hour before wiring.
Cost: $15 | Time: 1.5 hours | Difficulty: Medium
Also read: Christmas Crafts for Kids
15. Room-to-Room Garland Trail
I run a single long garland from the living room doorway, along the picture rail, to the dining room, so the house feels connected at Christmas. It took two 9-foot garlands and a lot of hooks, but the effect is worth it, because guests follow the greenery through the house. I measured the whole run first, after once running out halfway and leaving an awkward gap. Keep the decoration light along a high rail, or the garland pulls down.
The watch-out is over-decorating one room, because a garland in every doorway stops feeling festive and starts feeling cluttered.

Pro Tip: Use adhesive hooks on painted rails, and test one first.
Cost: $35 | Time: 1.5 hours | Difficulty: Medium
16. Wooden Star Garland
I thread flat wooden stars onto twine, spacing them 8 inches apart, and hang the strand across the window. The stars are light, the twine is cheap, and the whole thing stores flat in an envelope after Christmas. My first stars were hung too close together and looked like a solid band, so spacing matters more than the number of stars. I sand the edges lightly, because rough wooden stars snag on curtains.
The watch-out is star ornaments spinning to face the wall, so hang each star from two points if you want it to face forward.

Pro Tip: Vary the star sizes slightly for a handmade look.
Cost: $9 | Time: 30 minutes | Difficulty: Easy
17. Rustic Bauble Garland
I combine red and white baubles with wooden beads and a little twine on a mantel garland, for a farmhouse look that suits our wooden furniture. The mix of matt, shiny and wood stops it looking like a shop display, which is what I want in a lived-in room. I learned to keep the baubles small on a rustic garland, because large shiny ones fight the natural materials. A few pinecones tucked in finish it.
The watch-out is rustic baubles chipping, so handle wooden and painted baubles over a table, not over a hard floor.

Pro Tip: Use twine, not satin ribbon, to keep the rustic feel.
Cost: $16 | Time: 40 minutes | Difficulty: Easy
18. Table Runner Garland
I lay a slim faux garland down the centre of the dining table, with three pillar candles in glass holders on top of it. It looks generous without blocking conversation across the table, which a tall centrepiece always did in my house. I keep the garland narrow, about 4 inches wide, and I never put fresh greenery near food, because needles in the gravy ended that experiment. Battery candles are safer here than real flames near foliage.
The watch-out is a table runner garland shedding needles onto food, so use a faux base on the table and fresh sprigs only as a centrepiece away from plates.

Pro Tip: Use a table runner underneath to protect the wood from candle heat.
Cost: $20 | Time: 25 minutes | Difficulty: Easy
19. Popcorn and Cranberry Garland
I thread air-popped popcorn and fresh cranberries onto strong thread with a darning needle, alternating three popcorn pieces with one cranberry. Mine hangs on the tree for a week, and the children love making it, though it is slower than it looks. I pop the corn the day before, because fresh popcorn crumbles, and I wear a thimble, because cranberries are firm. This garland is for the tree, not for eating afterwards.
The watch-out is popcorn going stale and attracting attention from pets, so use this garland high up and take it down after a week.

Pro Tip: Use unwaxed, unflavoured popcorn and discard the garland after use.
Cost: $5 | Time: 1.5 hours | Difficulty: Medium
20. Twine and Ribbon Garland
I wrap a plain garland with natural twine and a single red ribbon, twisting both together so the red shows in a spiral. It is the simplest garland in this list, and the one I reach for when time is short, because it takes twenty minutes and uses things I already have. My first twine garland sagged, because I used a single strand, so I now double the twine for any run over 6 feet. The spiral effect depends on keeping the twist even.
The watch-out is twine stretching under weight, so use a doubled length for a long run and check the sag after a day.

Pro Tip: Twist the twine and ribbon together before wrapping, for an even spiral.
Cost: $8 | Time: 30 minutes | Difficulty: Easy
Comparison Table: Which Garland to Choose
| Garland | Best for | Cost | Effort |
|---|---|---|---|
| Pine mantel | Mantels | $18-$25 | Low |
| Doorway arch | Entrances | $30 | Medium |
| Bead and ribbon | Trees | $8-$15 | Low |
| Fresh fir | Scent and walls | $15 | Higher |
| Table runner | Dining tables | $20 | Low |
Mistakes I Made / What I Learned the Hard Way
No middle hook. My first mantel garland slid off overnight. Hooks at both ends and in the middle are now the first step.
Guessing lengths. A doorway arch that was short looked unfinished. Measure sides plus top, then add for the swag dip.
Fresh greenery near heat. A garland above a radiator dried out in a week. Cool walls and light misting last far longer.
Too many decorations. A mini tree buried under ornaments looked cluttered. If you cannot see green, take something off.
FAQs
How long did yours actually last? Faux garlands are on year four, stored wound around cardboard. Fresh fir lasts about three weeks.
What length do I need for a mantel? Mantel width, plus twice the drop you want at each end, plus a little extra for swag.
Are garlands safe around pets? Keep popcorn garlands high and out of reach, and avoid small, detachable baubles at pet height.
What would you do differently? I would buy hooks and wire in November, because December shops sell out of the clear ones first.
Final Thoughts
If you hang just one of these diy christmas garland ideas, hang the classic pine mantel garland, because it changes a whole room in under an hour. Then try the bead garland on the tree, because it adds colour without hiding a single ornament.
Read this next: New Year’s Eve Countdown Ideas