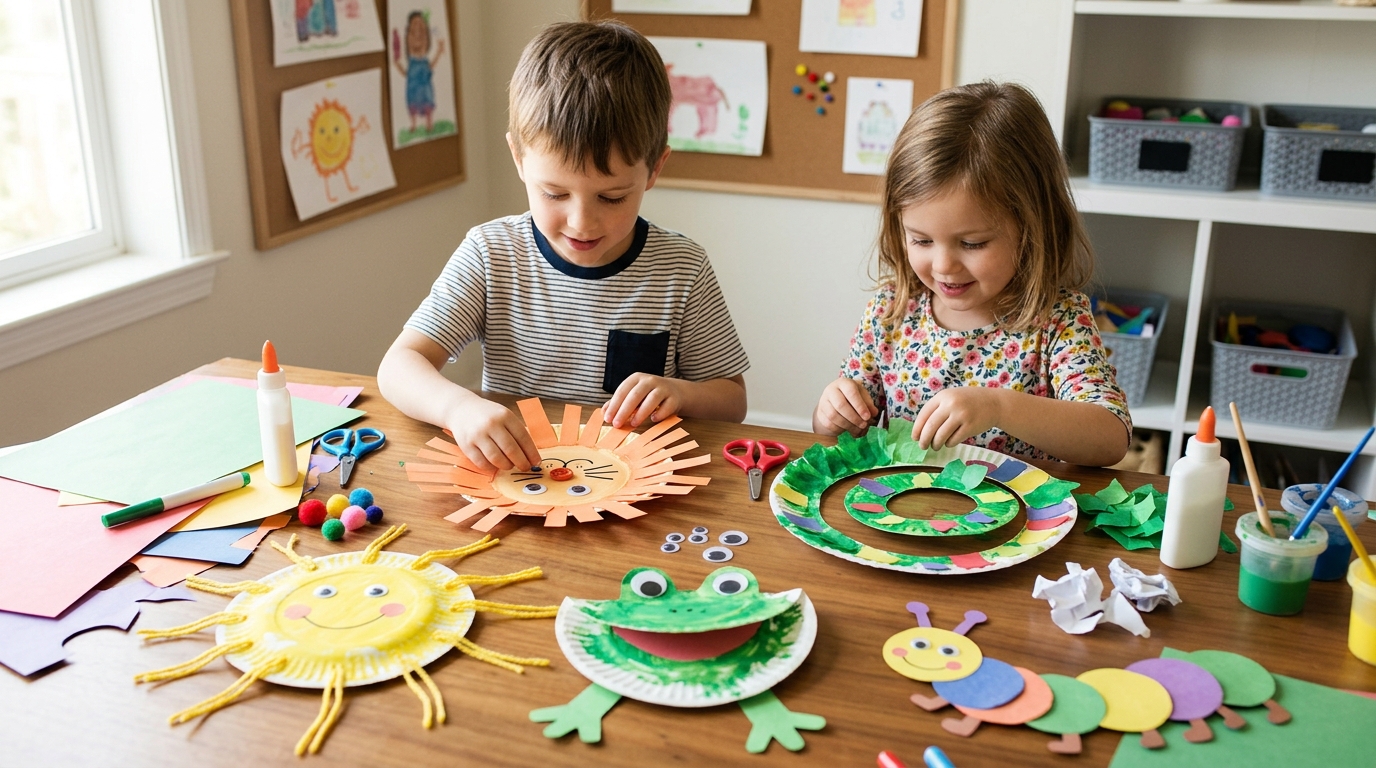
28 fun and easy crafts for kids
Kids do not need complicated supplies or a perfect craft setup to have fun making something. A few basic materials, some table space, and room to experiment are often enough to turn an ordinary afternoon into a creative one.
When I need a screen-free activity for a rainy afternoon, weekend, school break, or playdate, I look for crafts that are easy to explain and flexible for different ages. Younger children can focus on the basic steps, while older kids can choose their own colors, shapes, and finishing details.
These 28 fun and easy crafts for kids include paper projects, recycled-material crafts, sensory activities, pretend-play ideas, nature art, and simple decorations. Some are quick tabletop projects, while others can continue into storytelling, outdoor observation, or imaginative play.
I also prefer crafts that do not require a long shopping list. Many of these projects use supplies you may already have, making it easier to start crafting without turning the activity into a major project for the adults.
This collection includes exactly 28 fun and easy crafts for kids using common or inexpensive supplies. You’ll find paper crafts, recycled-material projects, sensory activities, pretend-play crafts, nature art, and simple decorations.
The ideas work across different ages and skill levels, but supervision should always match the child’s individual abilities. Younger children may need help with cutting, small pieces, adhesives, or sharp components.
Save this for later
Table of Contents
The list includes paper plate animals, slime, handprint art, several distinct puppet crafts, tissue paper flowers, bird feeders, playdough, cardboard cars, pasta jewelry, rockets, masks, marble painting, nature collages, pinwheels, glitter jars, and pretend ice cream cones.
Key Takeaways
- Simple crafts can be enough to keep children engaged without complicated preparation.
- Recycled materials such as cardboard rolls, egg cartons, paper bags, and boxes can become useful craft bases.
- Several projects naturally extend into pretend play, storytelling, sensory exploration, pattern-making, or outdoor observation.
- Scissors, hot glue, pushpins, marbles, wire, small beads, buttons, and similar materials need age-appropriate supervision or adult handling.
- I protect the work surface before messy projects and keep paper towels, wipes, or other cleanup supplies nearby.
Related article: 31 Cute Craft Ideas
1. Paper Plate Animals
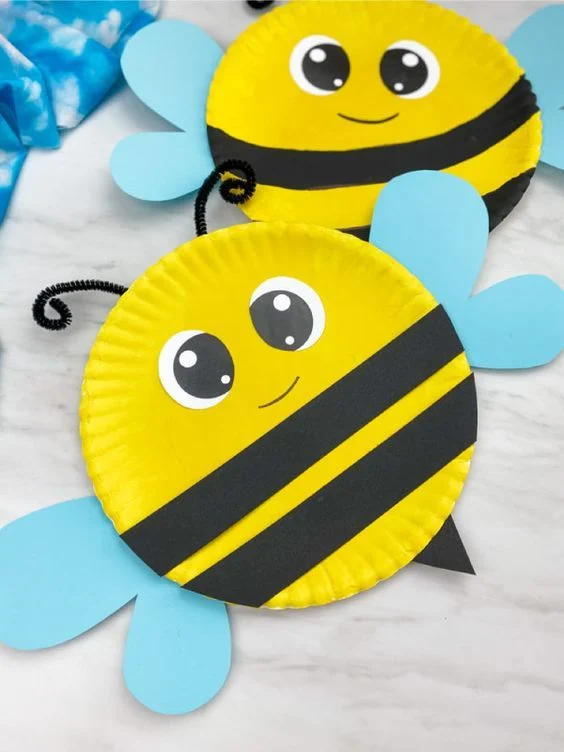
Paper plates give children a simple blank canvas for making lions, frogs, pandas, fish, cats, or almost any animal they can imagine.
For the basic setup, use a paper plate, construction paper, washable markers or paint, glue, and optional googly eyes. Children can color the plate first, then add ears, noses, whiskers, spots, or other features.
For younger children, an adult can prepare the paper shapes ahead of time. Older children can draw and cut their own pieces when they are ready to handle scissors safely.
Pro Tip: Cover the table with newspaper, kraft paper, or a washable mat before painting. It makes cleanup much easier and lets children concentrate on the craft.
2. DIY Slime
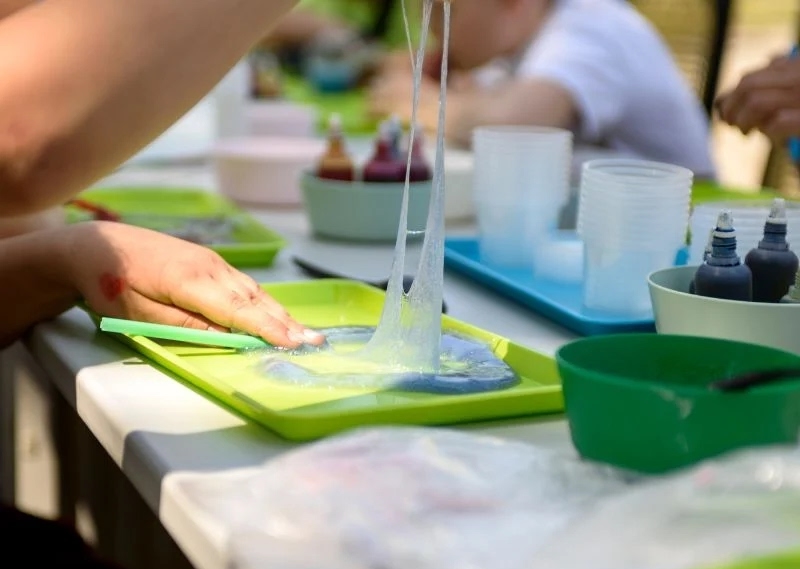
Slime combines a simple craft project with hands-on sensory play. Children can mix colors and textures and then spend additional time stretching and shaping the finished material.
Use a tested slime recipe and follow the instructions for the specific glue and activator being used. Ingredient ratios can vary between products, so I would not rely on a one-size-fits-all formula.
For younger children, skip tiny decorative pieces that could be mouthed or swallowed. Keep slime away from eyes, mouths, carpets, upholstery, and clothing that may be difficult to clean.
Safety Tip: Slime is for play, not eating. Wash hands before and after the activity, and supervise younger children throughout the project.
3. Handprint Art
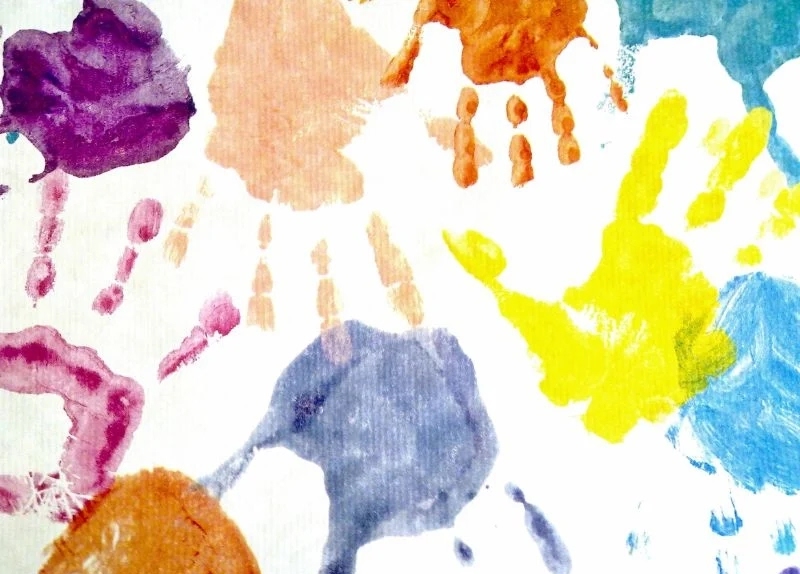
Handprint art is an easy keepsake project that can become a flower, tree, fish, bird, animal, or another picture once the print dries.
Use washable, child-appropriate paint and press the painted hand gently onto paper. After it dries, add details with markers or additional paint.
I like adding the child’s name and the date to the back because it makes the artwork easier to identify later. A quick photo of the finished piece also gives me a digital record without needing to store every sheet of paper.
4. Popsicle Stick Puppets
Popsicle stick puppets are flat character puppets that can be made quickly and then used for a simple puppet theater.
Draw characters on cardstock or construction paper, cut them out, and attach them to craft sticks. Yarn, paper scraps, fabric, markers, and other larger decorations can add hair, clothing, or facial details.
Once the characters are ready, children can make up a short story and perform it behind a cardboard box with a large opening cut into the front. Adults should handle hot glue, and scissors should be used according to the child’s age and ability.
Pro Tip: Let children create the characters before deciding on the story. The finished puppets often provide an easy starting point for pretend play.
5. Tissue Paper Flowers
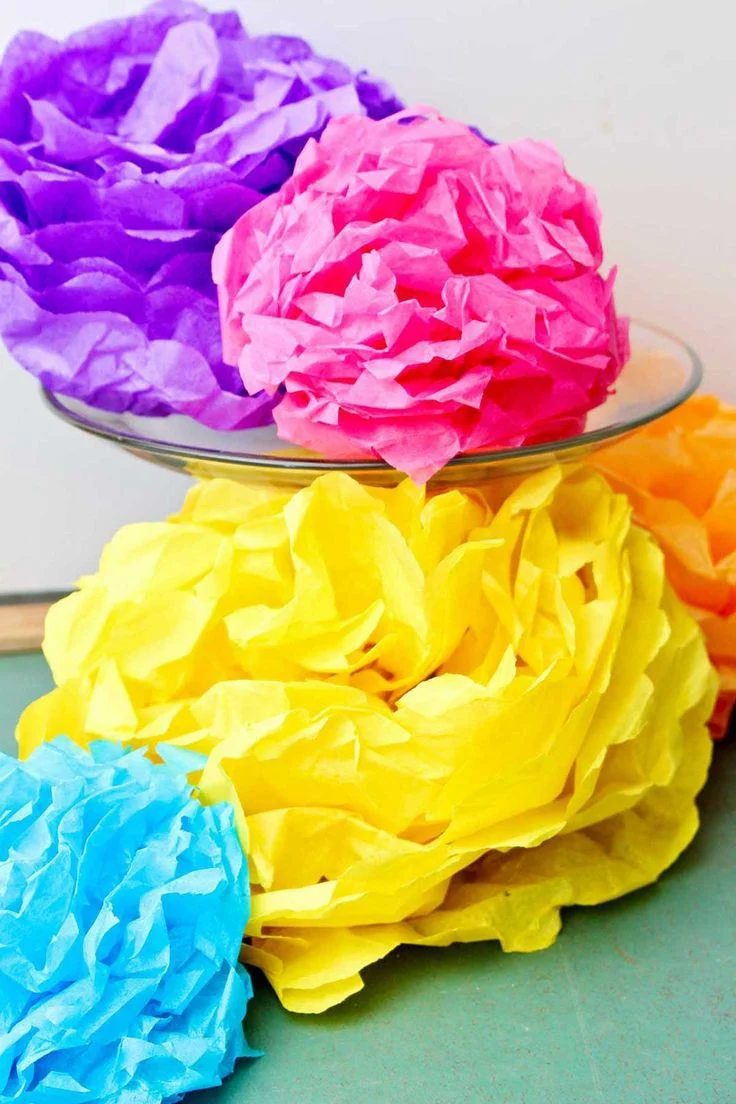
Tissue paper flowers are colorful, inexpensive, and useful for decorating a room, gift, party table, or handmade bouquet.
Stack several sheets of tissue paper, fold them back and forth, secure the center, and gently separate the layers to form the petals. Children can combine colors or make a whole collection of single-color flowers.
The final shaping can be tricky for younger children, so a little adult help may be useful. If using wire or any sharp fastener to secure the center, an adult should handle that part.
These flowers can also be attached to paper stems and arranged into a handmade bouquet.
6. DIY Bird Feeders
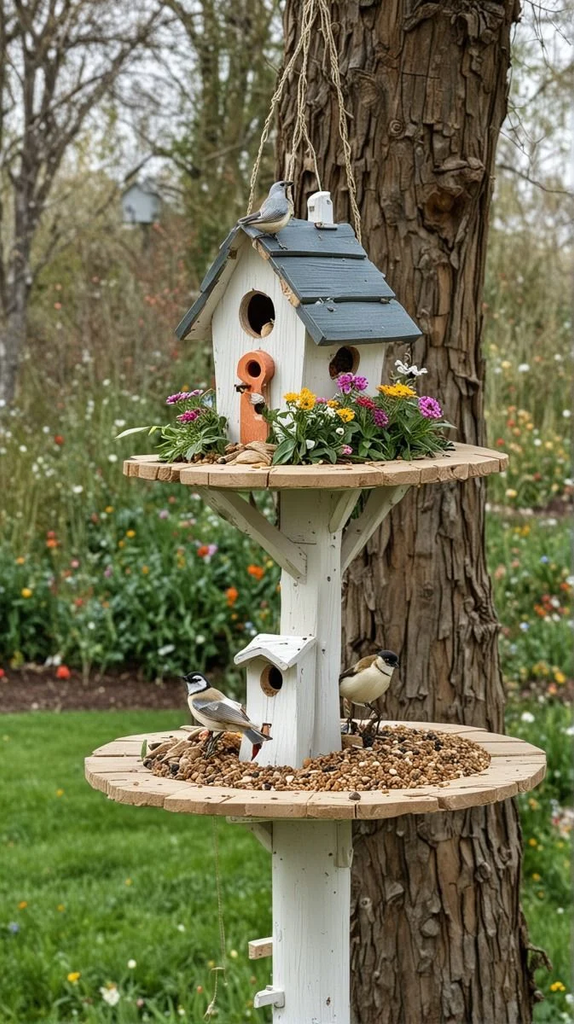
A cardboard tube can become a simple bird feeder that gives children a reason to observe birds after the craft is finished.
For the feeding material, choose a bird-safe option appropriate for the birds in your area rather than assuming every household food is suitable. Spread the selected material onto the tube, coat it with appropriate birdseed, and hang it outdoors using a suitable method.
Place the feeder away from busy walkways and areas where it could create a household hygiene or traffic problem. Children can then watch from a window and keep track of the birds they notice.
Safety Tip: Birdseed and feeder materials are not for tasting. Wash hands after handling them, and follow local wildlife guidance if bird-feeding rules or recommendations apply in your area.
7. Sock Puppets
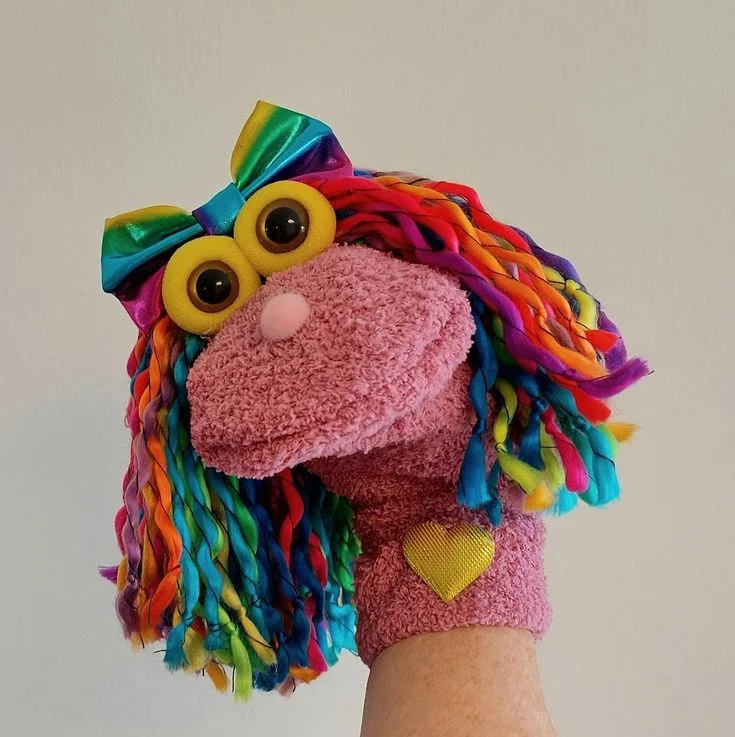
A clean old sock can become a soft, three-dimensional puppet with a little felt, fabric, yarn, and imagination.
Add eyes, ears, hair, or other features to create an animal, person, monster, or original character. Larger decorative materials are a better choice for younger children.
Loose buttons, beads, and other small pieces should be kept away from children who may put objects in their mouths. If hot glue is needed, an adult should handle it.
Once the puppet is finished, children can give it a name and create a short conversation or story around its personality.
8. Homemade Playdough
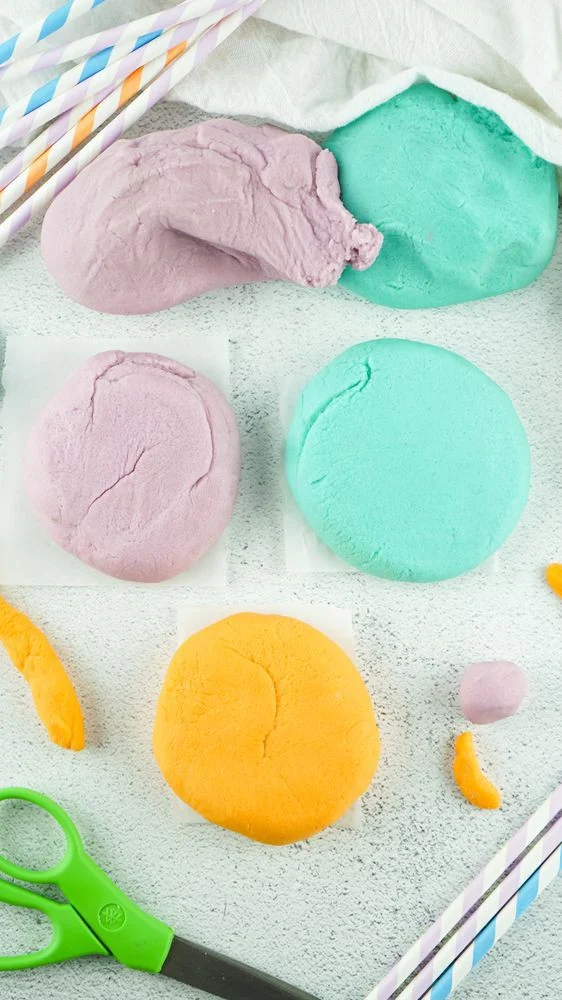
Homemade playdough is useful when I want a project that continues into play after the initial preparation. A basic recipe can use flour, salt, water, and food coloring, but the proportions should come from a tested recipe rather than being guessed.
Once the dough has the right consistency, children can shape it into letters, animals, flowers, pretend food, or simple figures.
Store finished playdough in an airtight container and discard it when it becomes dirty, contaminated, or develops an unusual smell.
Safety Tip: Homemade playdough is not intended to be eaten. Check every ingredient for suitability before preparing it, especially when a child has a known or suspected food allergy.
9. Paper Bag Puppets
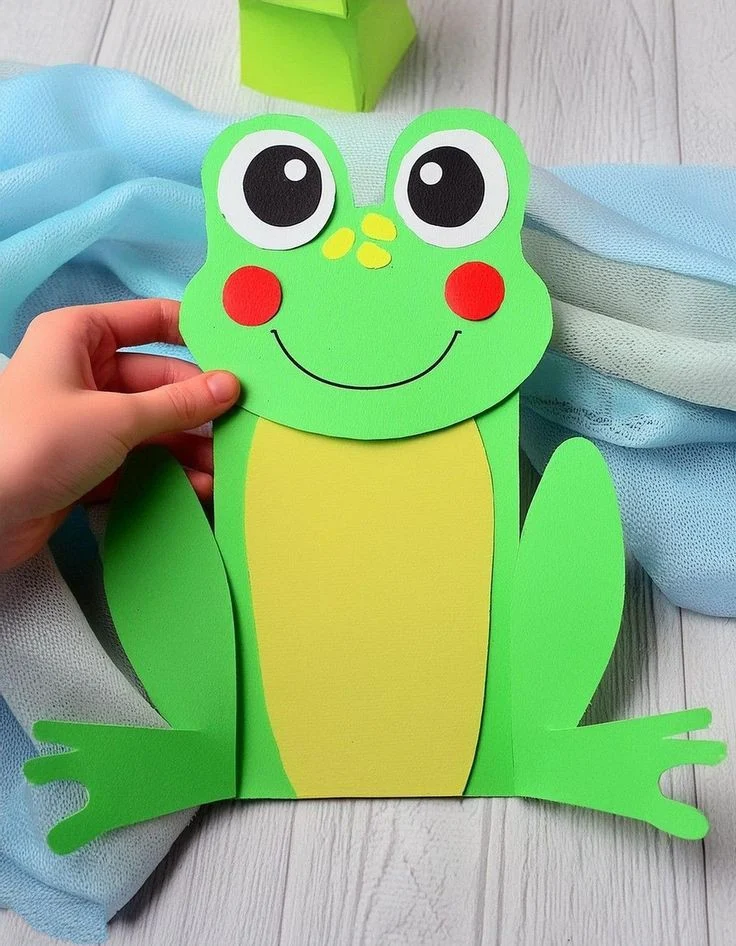
Paper bag puppets are one of the easiest low-prep puppet projects because the folded bottom of the lunch bag naturally becomes the character’s face.
Give children a paper lunch bag, markers, construction paper, glue, and larger decorative pieces. They can turn the bag into an animal, robot, person, monster, or another character.
After decorating, slip a hand inside the bag and use the moving flap as the mouth. A few finished puppets can quickly become a short pretend-play scene without needing a separate puppet theater.
10. Toilet Paper Roll Binoculars
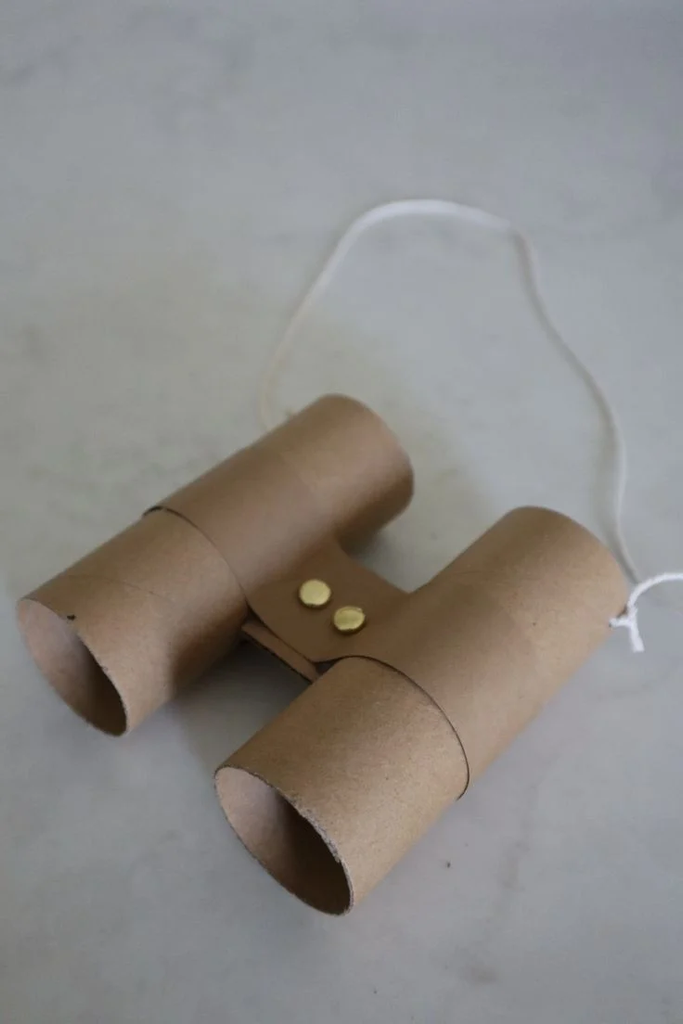
Two clean, dry cardboard rolls can be joined together to make pretend binoculars for a backyard adventure, safari game, or indoor treasure hunt.
Secure the rolls side by side before children decorate them with markers, stickers, or paper. If adding a strap, take care with cords around young children.
For younger kids, handheld binoculars are the safer option because a neck strap can create a strangulation risk. Check that all attachments are secure before use.
Pro Tip: Give children a short observation checklist with things such as a bird, something red, a leaf, or a round object. It gives the finished craft an immediate purpose.
11. Egg Carton Caterpillars
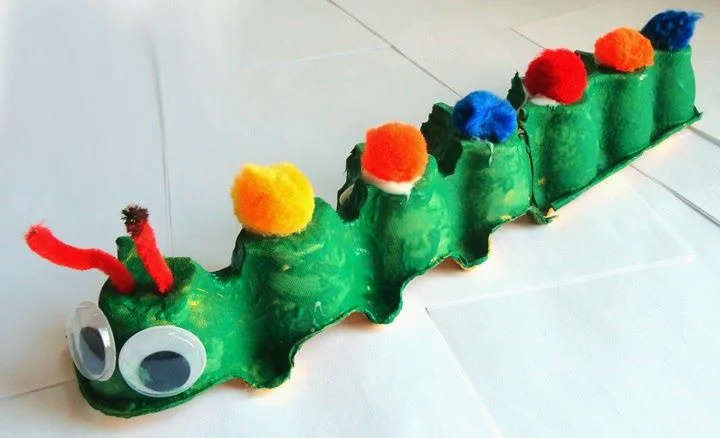
An egg carton can be reused as the body of a colorful caterpillar. Cut a clean, dry carton into a suitable strip before giving it to children, especially younger ones.
Kids can paint the sections in different colors and add larger craft materials for eyes and antennae. An adult should handle the cutting step when needed.
I like this project because the recycled material already provides the segmented shape, so children can concentrate on painting and decorating rather than building the entire form from scratch.
12. Cardboard Box Cars
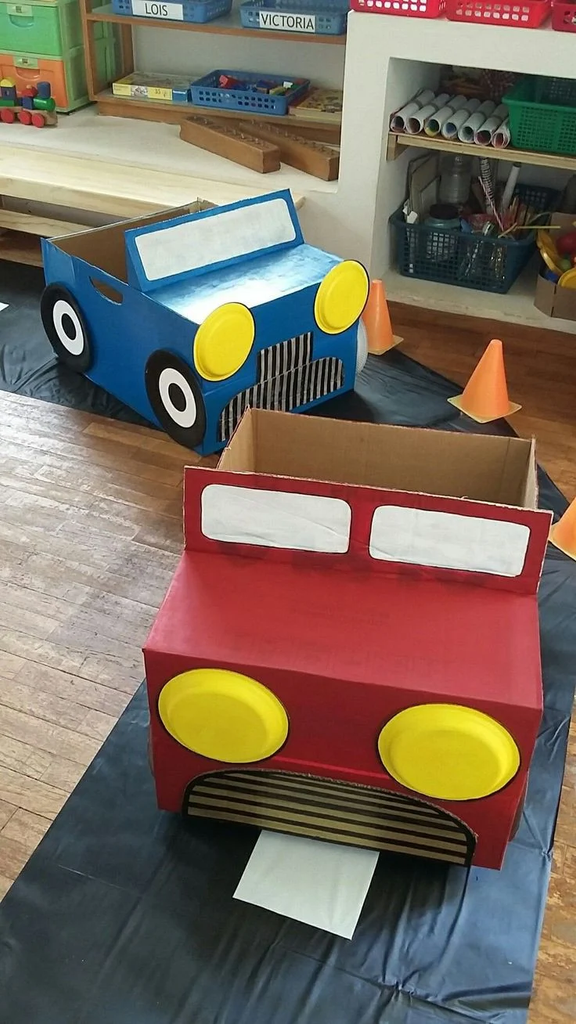
A large cardboard box can become a pretend race car, truck, bus, or another vehicle. Prepare any large openings before the child begins decorating.
Paper wheels, windows, headlights, racing numbers, and a cardboard steering wheel can turn the plain box into a personalized vehicle.
Before play, inspect the box for sharp cardboard edges, loose sections, or damage. Make sure it is stable and appropriately sized for the child, and keep it away from stairs and areas where the child could trip or collide with furniture.
Once the car is ready, children can create their own road-trip, racing, or delivery game.
13. Pasta Jewelry
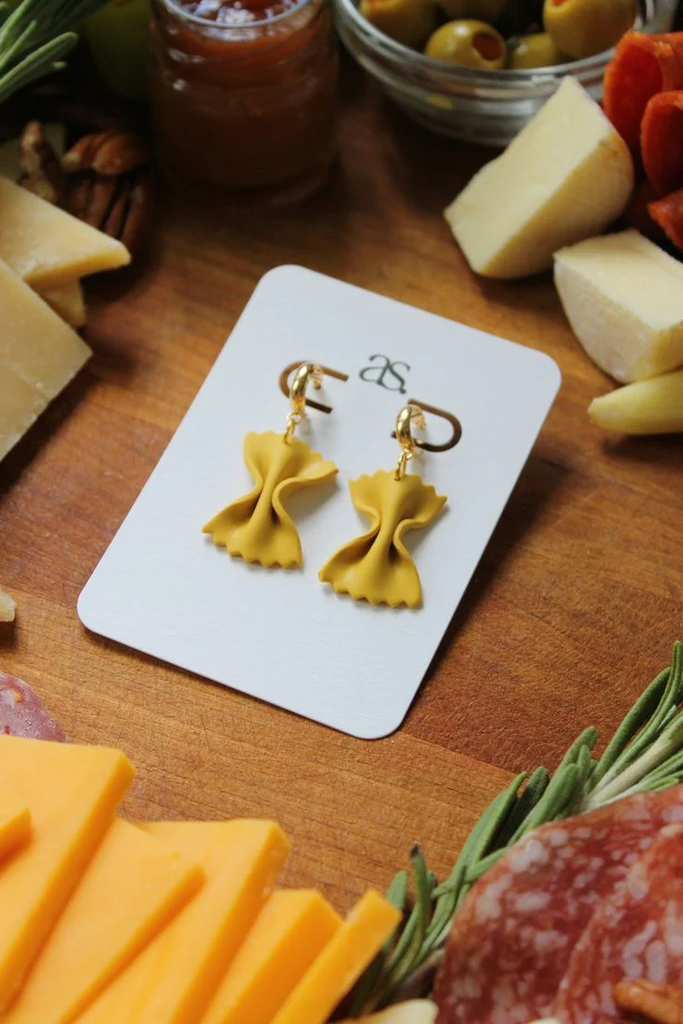
Dry pasta can be painted and turned into simple necklaces, bracelets, or decorative strands. Let the painted pieces dry completely before arranging and threading them.
Children can sort pasta by shape and color or create repeating patterns before assembling their designs.
Loose pasta pieces can be a choking concern for young children, so use appropriately large materials and supervise closely. I would also avoid necklaces around the neck for very young children and choose a different display option instead.
14. Yarn Wrapped Letters
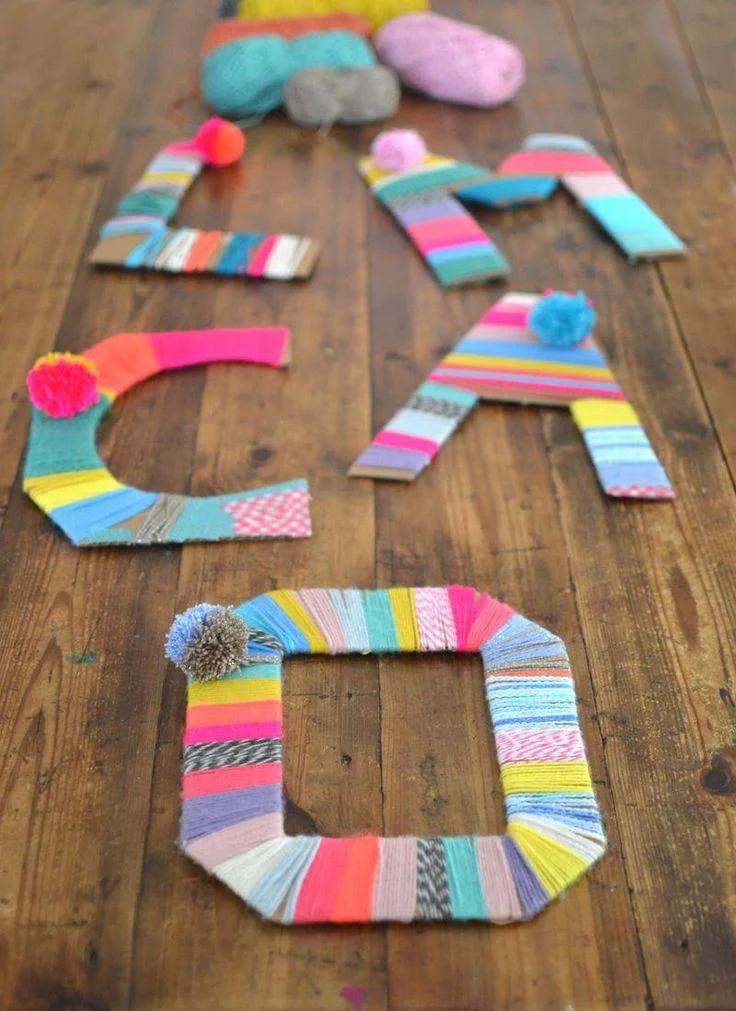
Yarn-wrapped letters are a simple way to create personalized decorations for a child’s room or craft area.
Cut a sturdy cardboard letter from an initial or another meaningful word, then wrap yarn around it until the surface is covered. Secure the yarn periodically so the strands do not loosen while the child works.
Shorter sections of yarn can be easier for younger children to manage than one long strand. If adding buttons, pom-poms, or other small decorations, match the materials to the child’s age and supervise as needed.
15. Cupcake Liner Flowers
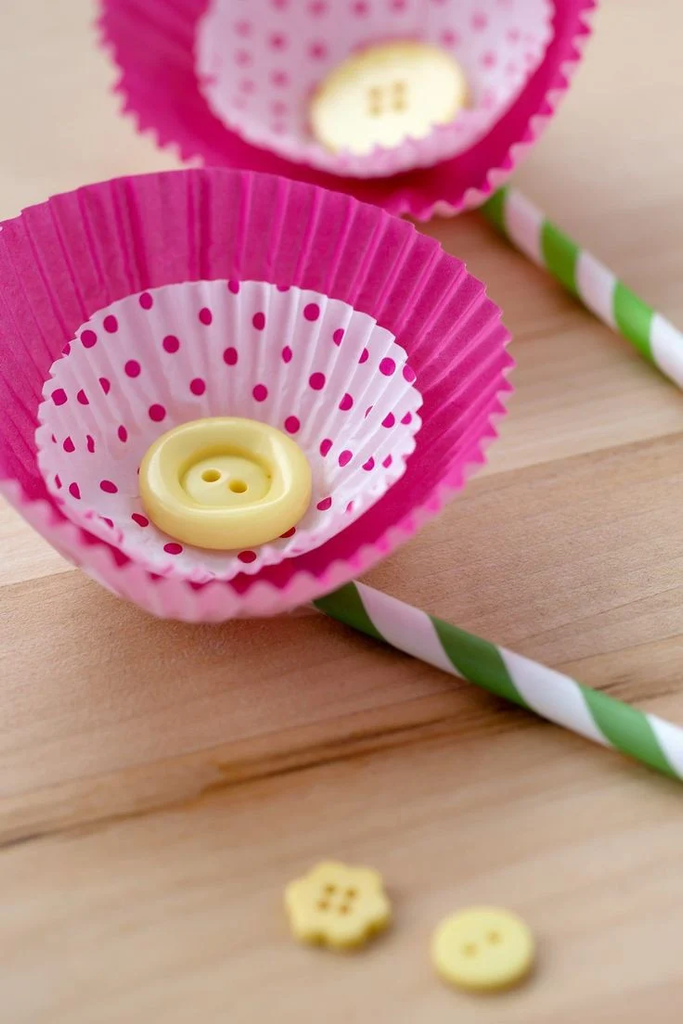
Cupcake liners can become layered paper flowers with very little preparation. Flatten several liners, stack them, and secure the centers before fluffing the edges.
Use different liner colors to create varied flowers. A paper straw or craft stick can serve as a stem, while a larger pom-pom or paper circle can become the center.
For a complete project, decorate a paper cup, small box, or homemade vase to hold the finished bouquet.
Pro Tip: Have children decorate the container while the flowers are being assembled. It gives them another simple design choice without making the project much more complicated.
Also read: 17 Pipe Cleaner Crafts for Kids That Are Fun to Twist Together
16. Bubble Wrap Stamping
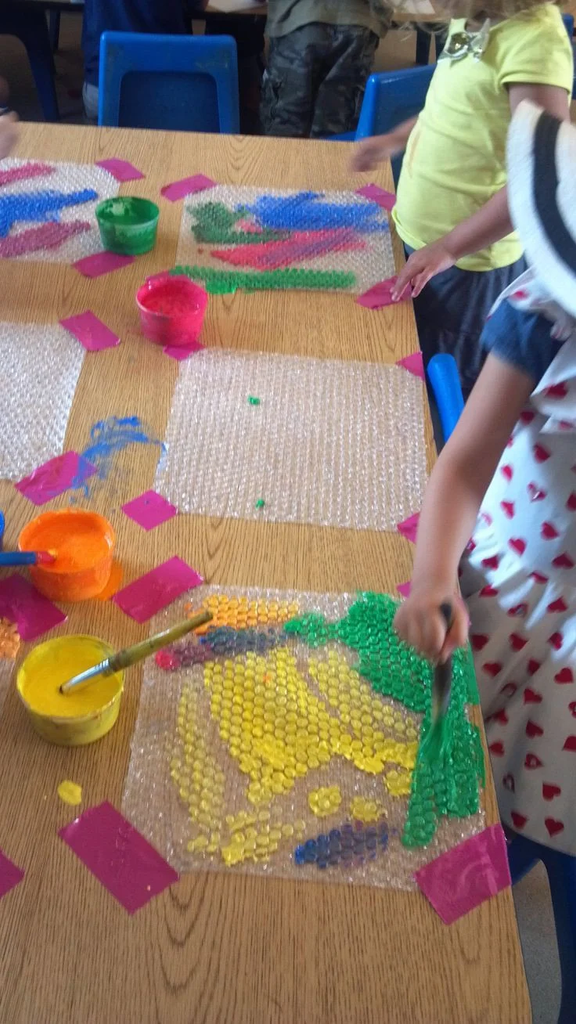
Bubble wrap makes a simple textured stamp for experimenting with paint and repeated patterns.
Cut a manageable piece of bubble wrap, apply washable paint to the bubble side, and press it onto paper. Try different colors or layer prints after the first layer has dried.
The raised texture creates a pattern without requiring detailed drawing skills. Supervise young children around bubble wrap, keep it away from mouths, and collect loose pieces when the activity is finished.
17. Paper Towel Roll Rockets
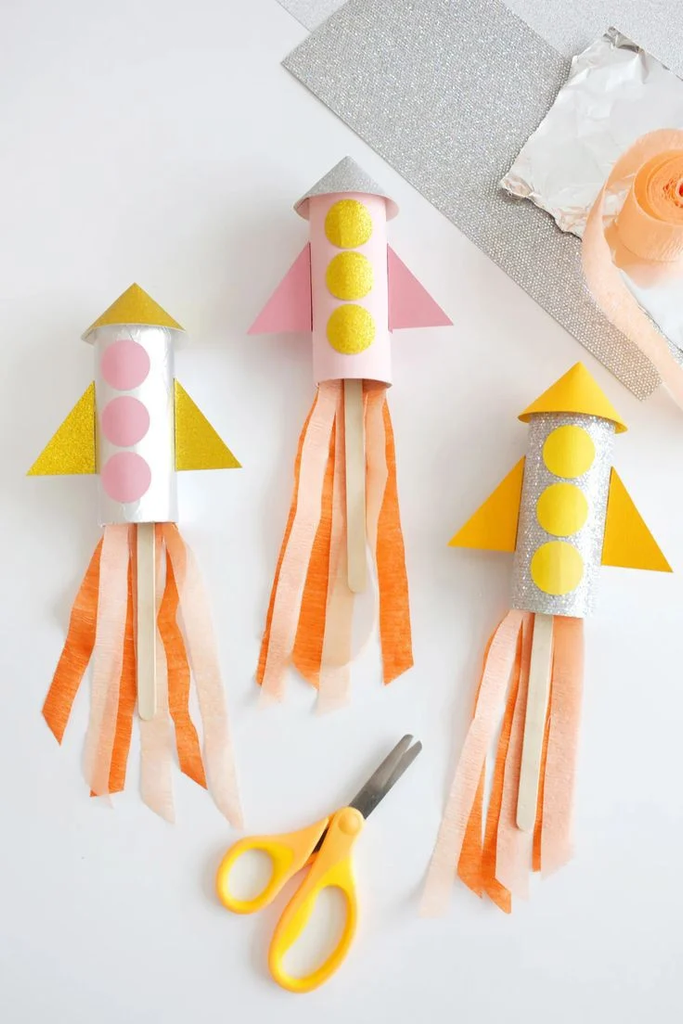
A cardboard paper towel roll can become a pretend rocket with paint, paper fins, and a cone-shaped top.
Children can decorate the rocket with windows, stars, stripes, numbers, or the name of their imaginary space mission. Once it dries, the rocket can become part of a pretend space game.
Try asking, “Where is your rocket going?” or “What will the astronauts discover?” The questions give children an easy way to turn the finished craft into a story without needing any complicated setup.
This is a pretend-play craft, so the finished rocket should not be used as a projectile or launched at people or objects.
18. Salt Dough Ornaments
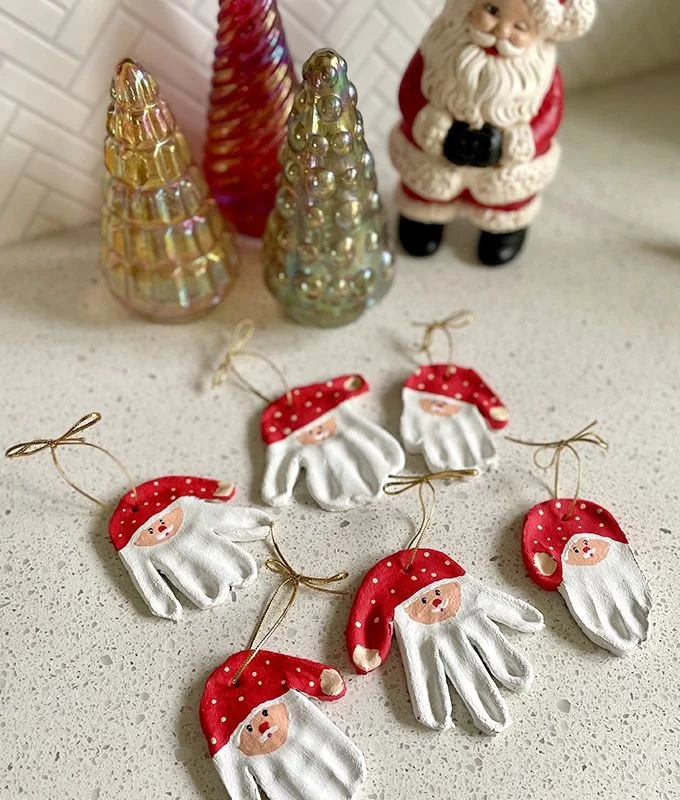
Salt dough can be rolled, cut into shapes, baked, and decorated as holiday ornaments or keepsakes.
Use a tested dough recipe, roll it to an even thickness, and let children press cookie cutters into the dough. Make a small hanging hole before baking if you want to display the finished pieces.
An adult should handle the oven and hot baking trays. Allow the ornaments to cool completely before painting or decorating them.
Safety Tip: Salt dough is decorative, not edible. Its high salt content is another reason children should not taste or eat the dough.
19. Pom-Pom Caterpillars
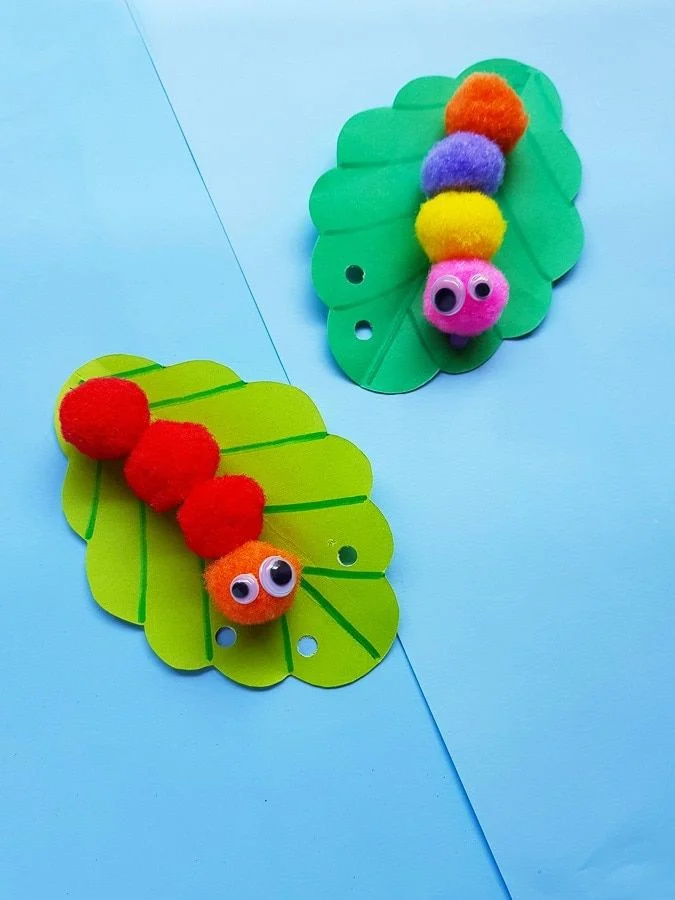
Pom-pom caterpillars are a quicker tabletop alternative to the egg-carton version. Line up several appropriately sized pom-poms and attach them to create the body, then add larger features to the front.
Children can choose different color combinations and make several caterpillars with their own patterns and names.
For young children, use larger craft materials and supervise closely because pom-poms can be a choking hazard. Once finished, the caterpillars can become characters in a simple pretend-play game.
20. Paper Plate Masks
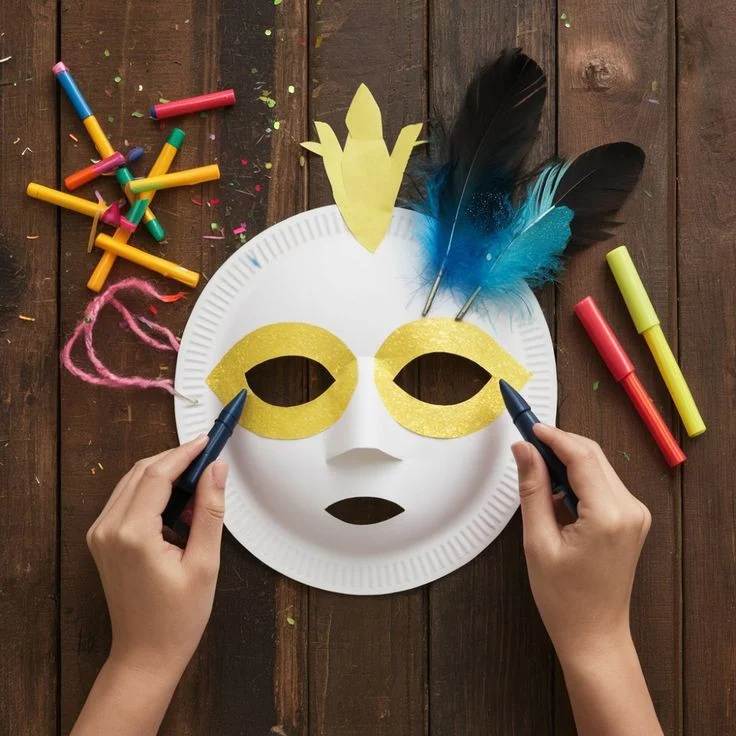
Paper plate masks let children turn a basic plate into a lion, butterfly, superhero, monster, or another imaginary character.
Prepare the eye openings carefully, then let children decorate around them with washable markers, paint, construction paper, or other suitable materials.
An adult should handle cutting when a child is not ready to use scissors safely. Make sure the finished mask does not block the child’s vision, and avoid loose small decorations near the eyes.
For younger children, a craft stick held by an adult or the child is preferable to a neck strap.
Pro Tip: Once the masks are finished, have the children introduce their characters in a short parade or create a quick group story.
21. Marble Painting
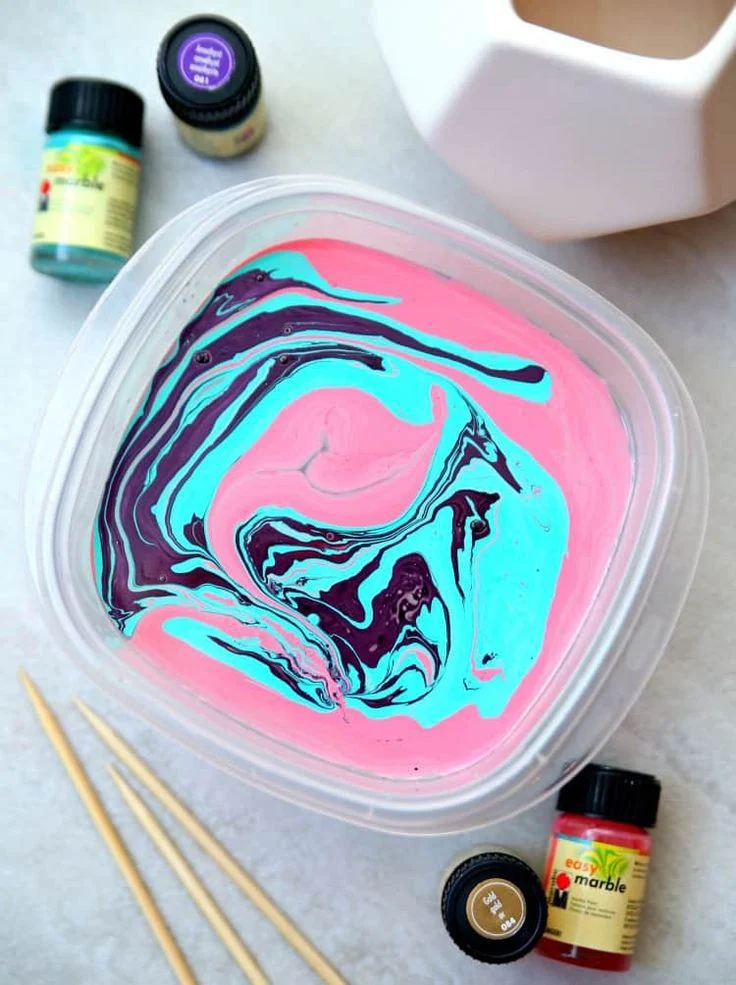
Marble painting creates abstract lines and patterns without requiring children to draw a particular picture.
Place paper inside a shallow container with raised sides. Add washable paint to marbles and carefully roll them across the paper by moving the container.
Marbles are small choking hazards, so younger children should not handle them independently. Keep loose marbles contained, collect any that fall immediately, and supervise throughout the activity.
Using different paint colors lets children compare how overlapping lines change the finished design.
22. Nature Collage
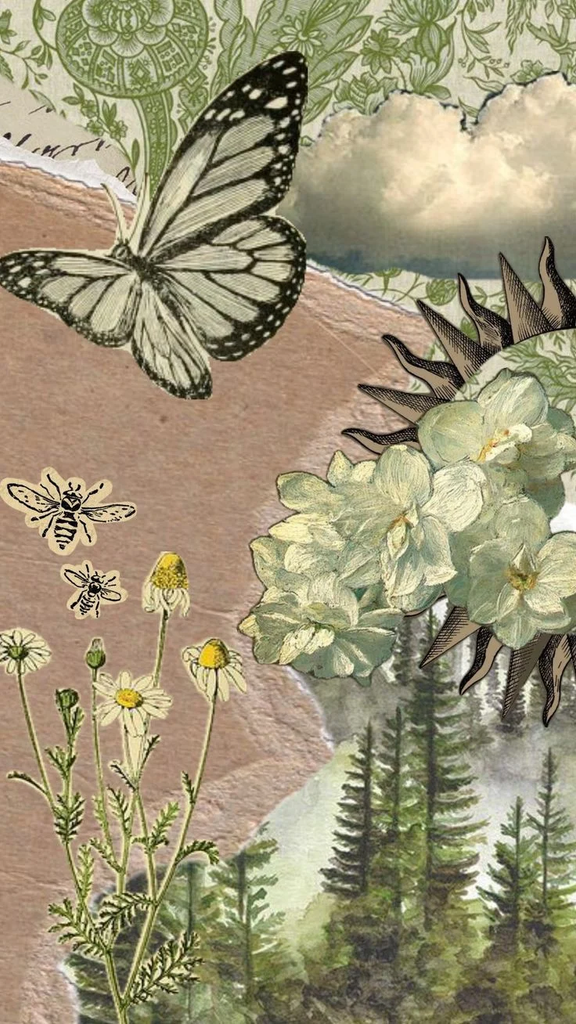
A nature collage can begin with a short outdoor walk to collect suitable fallen materials such as leaves, small twigs, petals, or grass.
I encourage children to collect items that are already on the ground rather than pulling living plants. Before bringing anything indoors, check each item for insects, moisture, mold, sharp edges, or anything that could irritate the skin.
Do not collect unknown berries, mushrooms, or other natural materials that may be unsafe to handle.
Back at the table, arrange the collection into a picture and glue suitable pieces onto sturdy paper. It is a simple way to connect outdoor observation with an art project.
23. Suncatchers
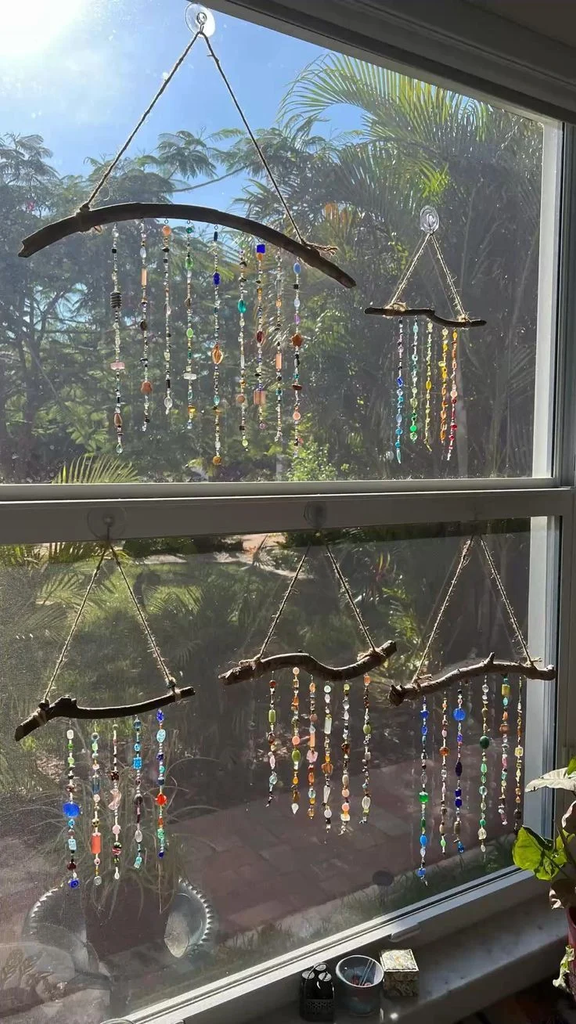
Suncatchers turn translucent craft materials into colorful window decorations. Use a suitable clear craft base and let children arrange tissue paper or other translucent pieces into patterns, shapes, or simple pictures.
Once finished, display the piece where natural light can pass through it. I like taking a photo at different times of day because the changing light can make the colors look different.
Choose the display location carefully. The finished craft should not obstruct the window, interfere with blinds or window hardware, or create another household hazard.
Pro Tip: Try a simple color theme, such as warm colors or a rainbow, if children find an open-ended design difficult to start.
24. Paper Pinwheels
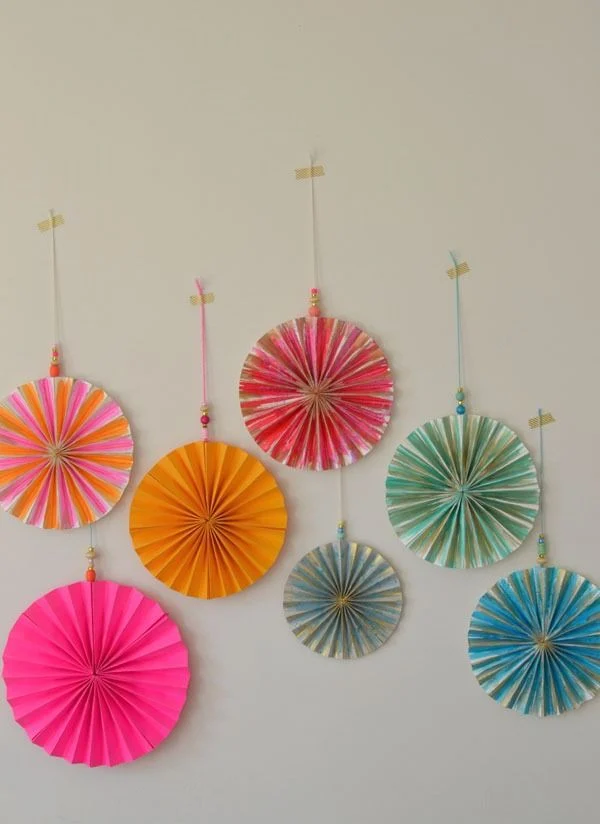
Paper pinwheels are both a craft and a simple moving toy. Children can decorate the paper before the pinwheel is assembled with markers, crayons, stickers, or patterns.
Pushpins and similar sharp fasteners should be handled by an adult. After assembly, check the center carefully for exposed sharp points before giving the pinwheel to a child.
Take the finished pinwheel outside and let children watch how it moves when the wind changes.
For younger children, an adult can complete the sharp fastening step while the child handles the decorating and observation.
25. Pipe Cleaner Crowns
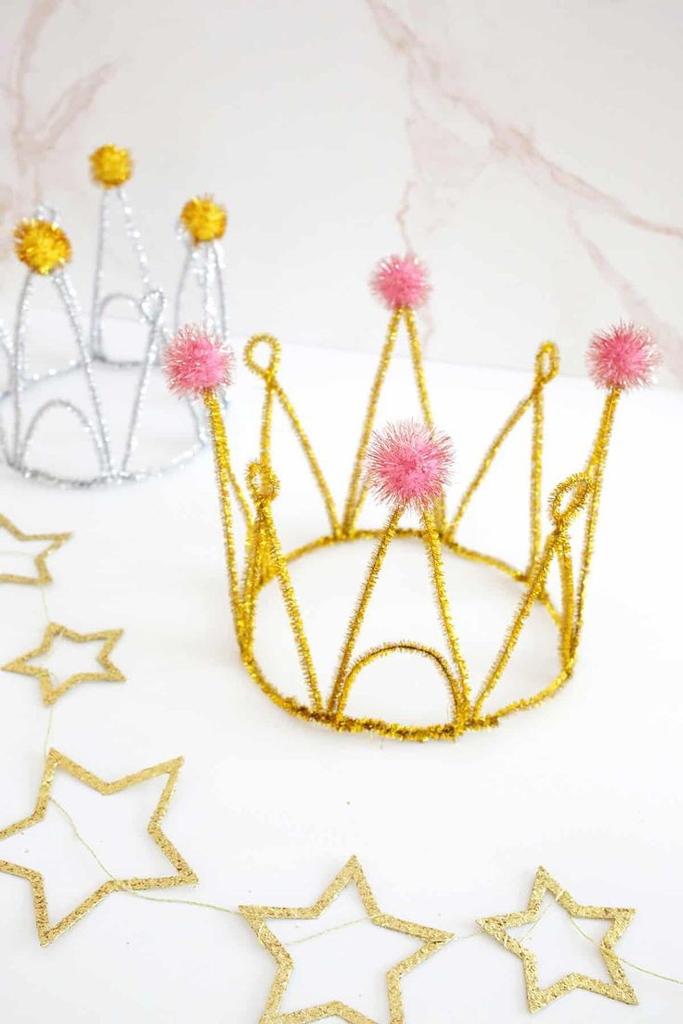
Pipe cleaners can be bent into a simple crown for pretend royal games, birthdays, dress-up, or superhero play.
Shape the basic band first, then add loops or peaks. Larger pom-poms, paper shapes, or other suitable decorations can be attached afterward.
Because pipe cleaners contain wire, bend or cover exposed ends and check carefully for sharp tips. The crown should fit comfortably without being tight.
I find this works especially well when children make their crowns first and then use them in a pretend-play game.
26. Button Tree Art
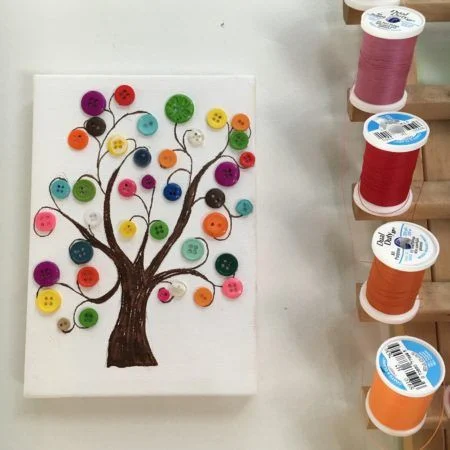
Button tree art combines a simple painted or drawn tree with colorful buttons used as leaves or flowers.
Draw the trunk and branches on paper, then let children arrange buttons in the canopy. Different sizes and colors can create seasonal designs or repeating patterns.
Buttons are small, so this version is better suited to children who can handle them safely. For toddlers and children who may mouth objects, replace them with larger paper circles, tissue-paper pieces, or stickers.
27. Glitter Jars
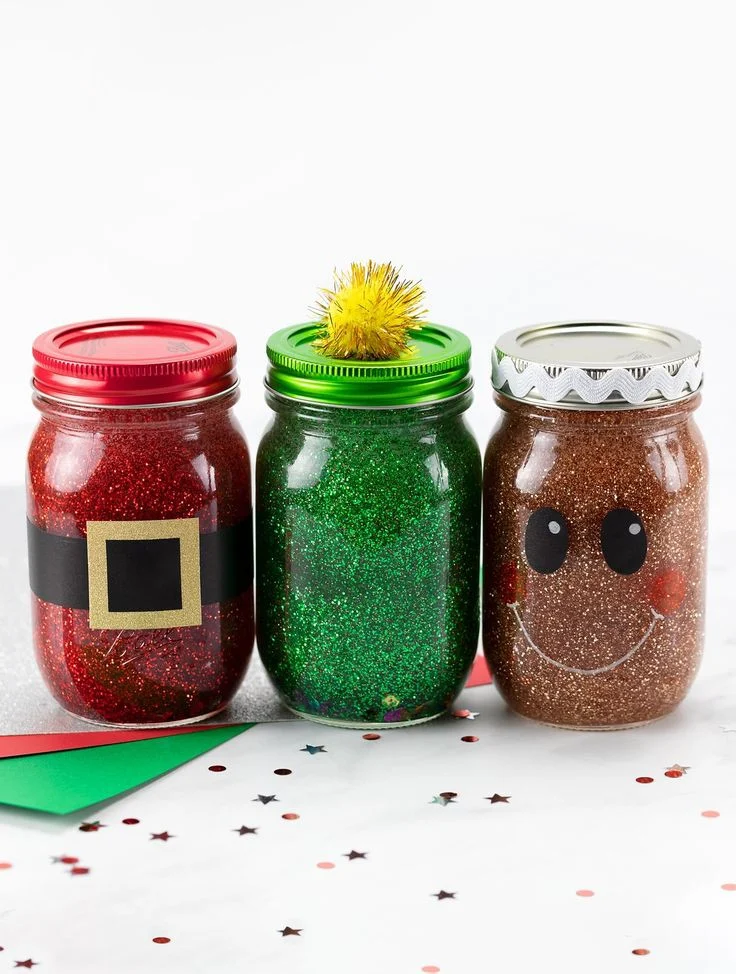
A glitter jar can be made as a visual sensory craft that children can shake and watch as the contents move and settle.
Use a sturdy transparent container, water, glitter, and a suitable thickening ingredient to slow the movement. A small amount of color can be added if desired.
An adult should secure the lid and check for leaks before the jar is given to a child. Children should not open the container or drink from it.
I treat this as a visual activity rather than a guaranteed calming or therapeutic tool. The simple appeal is watching the glitter move, settle, and change as the jar is turned.
28. Pom-Pom Ice Cream Cones

Pom-pom ice cream cones are a colorful pretend-food craft that works well for summer projects, pretend shops, or play kitchens.
Cut cone shapes from brown construction paper and form them into simple cones. Children can choose different pom-pom colors as pretend ice cream flavors and arrange them into their own combinations.
Older children can create menus, name unusual flavors, or set up an imaginary ice cream stand. Younger children can focus on color choices and arranging the pretend scoops.
The finished craft is pretend food, not something to eat. Use appropriately sized craft pieces and supervise younger children because pom-poms can be choking hazards.
Read this next: 21 Cute Summer Crafts for Preschoolers
Frequently Asked Questions
What are some easy crafts for kids to make at home?
Some of the easiest options are paper plate animals, handprint art, tissue paper flowers, paper bag puppets, bubble wrap stamping, and pom-pom ice cream cones. Most need only a few basic craft supplies.
What crafts are suitable for younger children?
Younger children can enjoy simple projects such as handprint art, paper plate animals, tissue paper flowers, and supervised painting activities. Choose larger materials when possible and provide closer supervision around small pieces, scissors, or other tools.
How can I make kids’ crafts less messy?
Protect the table with a washable mat, newspaper, or kraft paper before starting. Keep wipes, paper towels, and a small trash container nearby, and use washable paint whenever practical.
What craft supplies should young children use with adult supervision?
Scissors, hot glue, pushpins, marbles, wire, buttons, beads, and other small or sharp materials require age-appropriate supervision or adult handling. Always consider the individual child’s ability rather than relying only on age.
Conclusion
These crafts do not need to look perfect to be worthwhile. A paper plate can become an animal, a cardboard box can turn into a car, and a few simple supplies can lead to an afternoon of pretend play or storytelling.
What matters most to me is giving children room to make choices and see their own ideas take shape. I do not worry if the colors do not match or the finished project looks different from the example.
When choosing a craft, consider the child’s age, attention span, skill level, and the supplies already available. Set up the workspace first, keep cleanup materials nearby, and provide closer supervision whenever a project involves small parts, sharp tools, heat, wire, or ingredients that should not be eaten.
The best craft is often the one that feels easy enough to start but open-ended enough for a child to make it their own.



3 Comments