21 Christmas Tree Decorating Ideas
The Christmas tree decor ideas I actually use are never just a pile of pretty ornaments — they are a whole look, chosen before I open a single box. Now I pick a colour story, one ribbon or texture, and a lighting plan first. I tested these looks on my own 7-foot tree in our living room, counting what I used and timing the redo when a look failed. My rule is simple: about 10–20 ornaments per foot of tree, so 70–140 for a 7-footer, and I stop when the branches still show.
Below are 21 whole-tree looks and techniques, from this year’s velvet bows to quiet Scandinavian calm. Pick one, not five.
Key Takeaways
- Choose one look first: colour, texture, and light, in that order.
- Plan 10–20 ornaments per foot of tree; for 7 feet, 70–140 is plenty.
- Ribbon and bows do more visual work, for less money, than extra baubles.
- Put lights on in layers, deepest first, and check the tree from the doorway.
- Never climb for a topper: use a sturdy step stool, a second person, and switch the lights off first.
My Favourite Christmas tree decor ideas Start With Colour
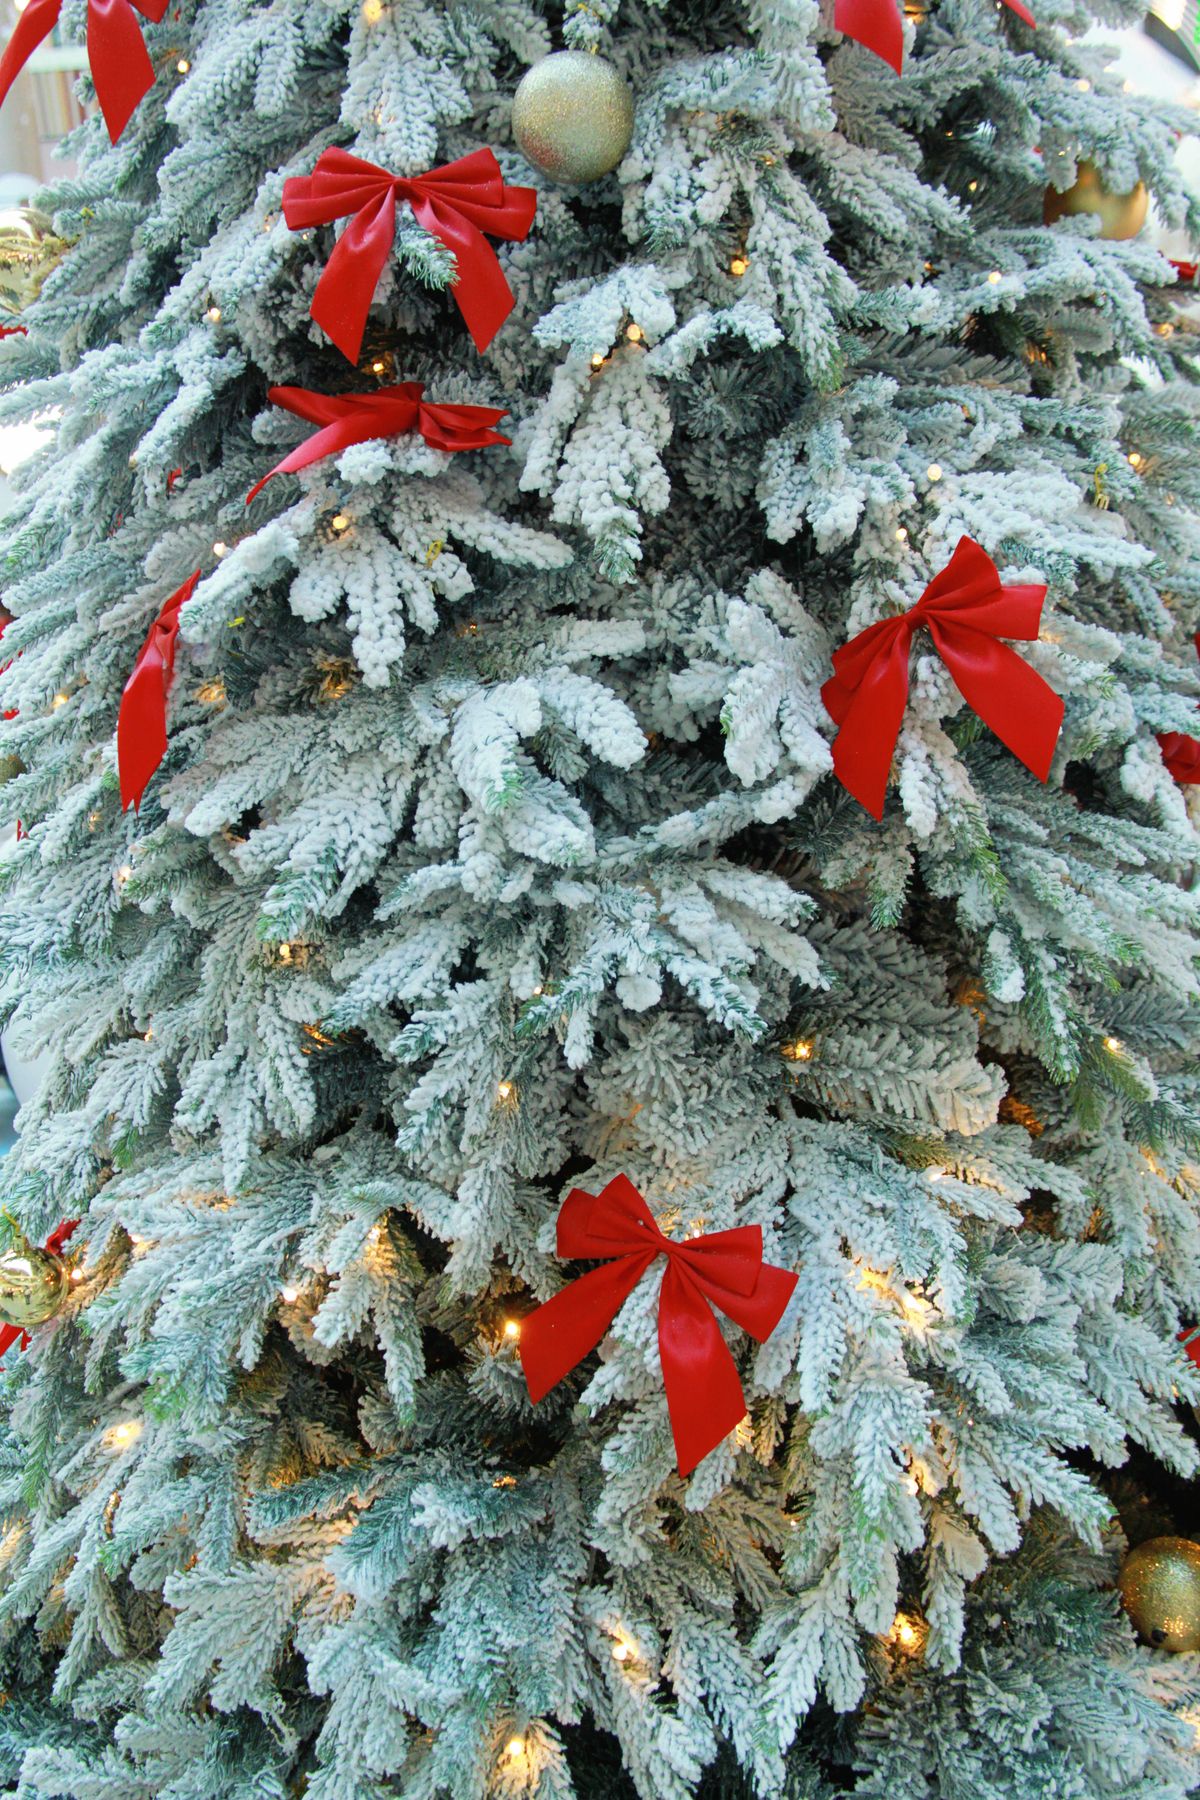
1. Oversized Velvet Bows, Clustered — With a Big Bow Topper
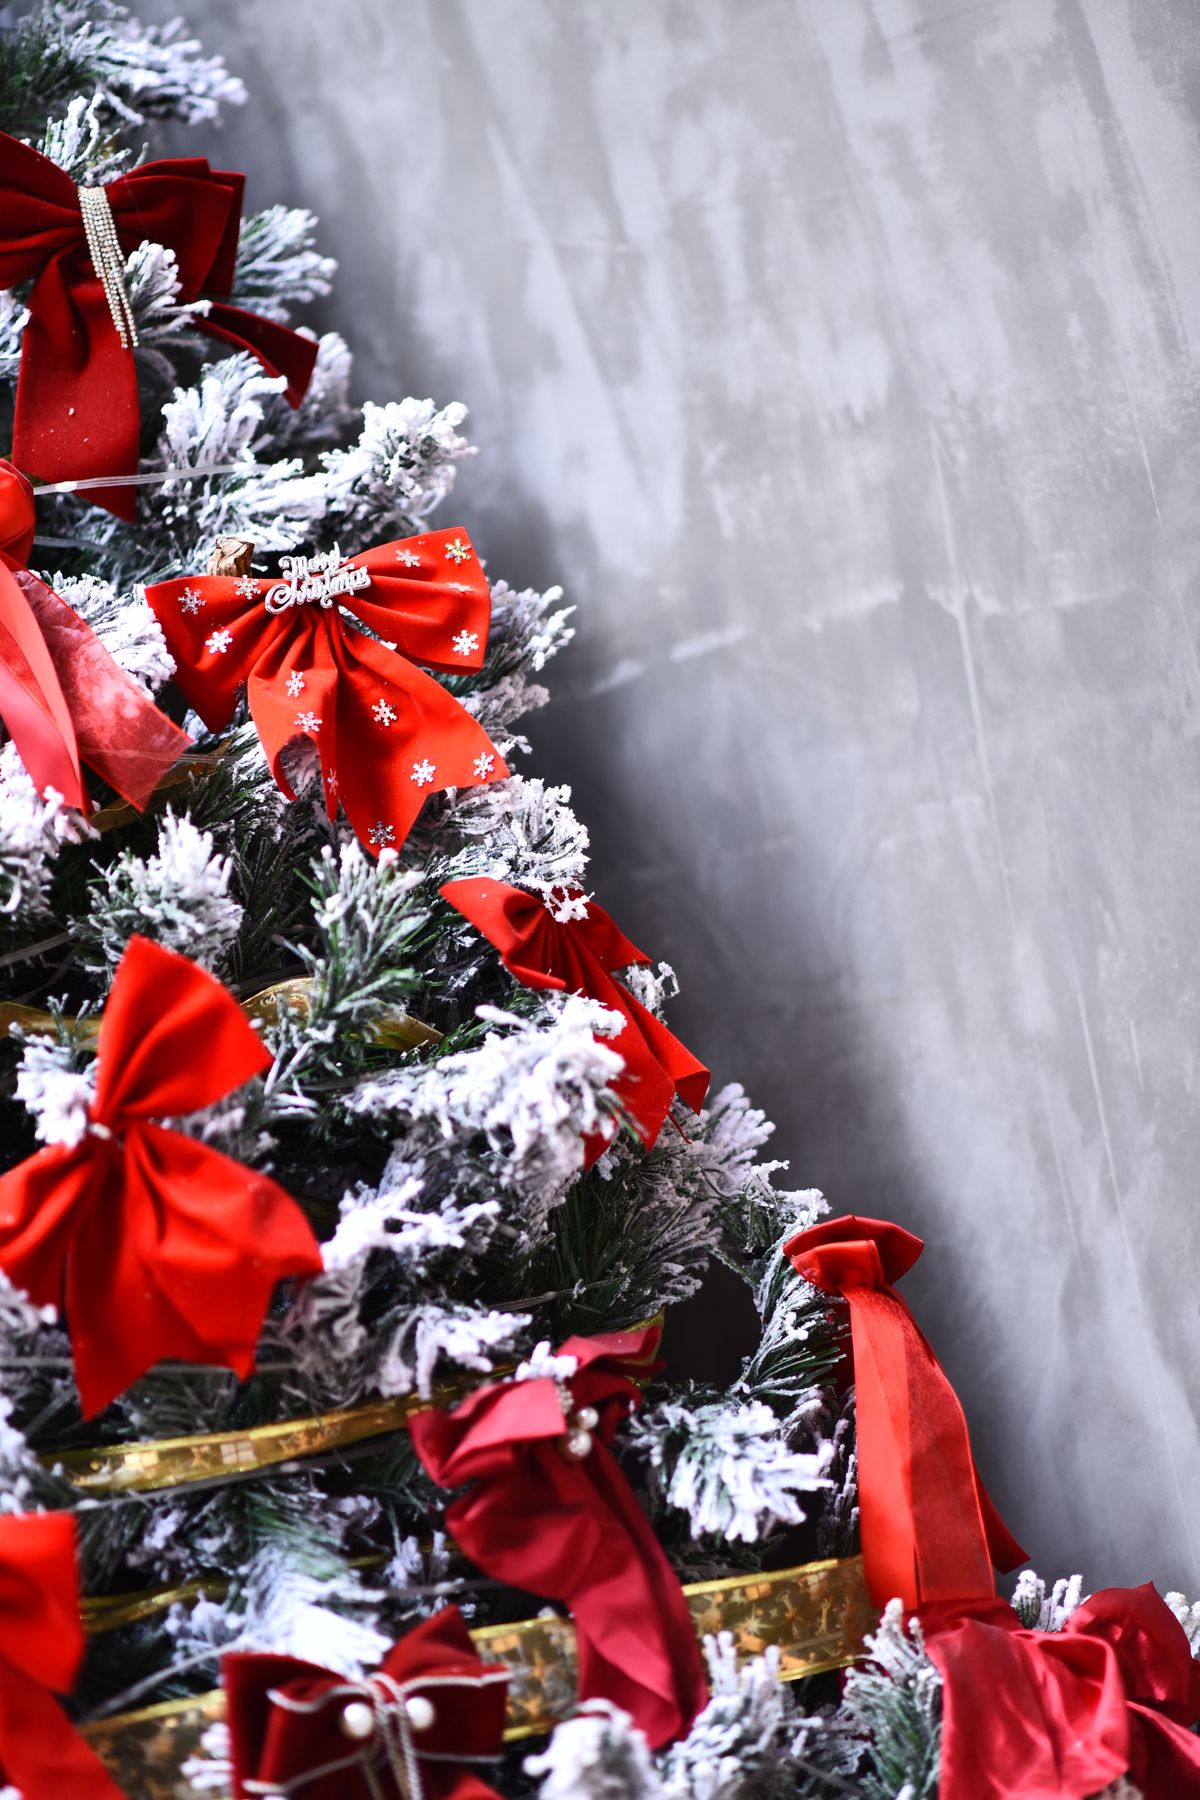
This is the 2026 look I could not resist, and it replaced my star. I tied 12 bows from 2.5-inch wired velvet ribbon, each about 6 inches wide, and wired them in clusters of three where branches looked bare, then tied one 12-inch bow at the top. Wired ribbon matters because velvet flops without it — my first bow, in unwired ribbon, drooped by morning. Downside: velvet shows flocking dust and cat hair, so I lint-roll the bows before guests arrive.
Cost: $20–35 for ribbon | Time: 1.5 hours | Difficulty: Easy
Pro Tip: Make all the bows at the table first, tails at different lengths, then place them — tying on the tree wastes ribbon and patience.
2. Rich Jewel Tones With Gold
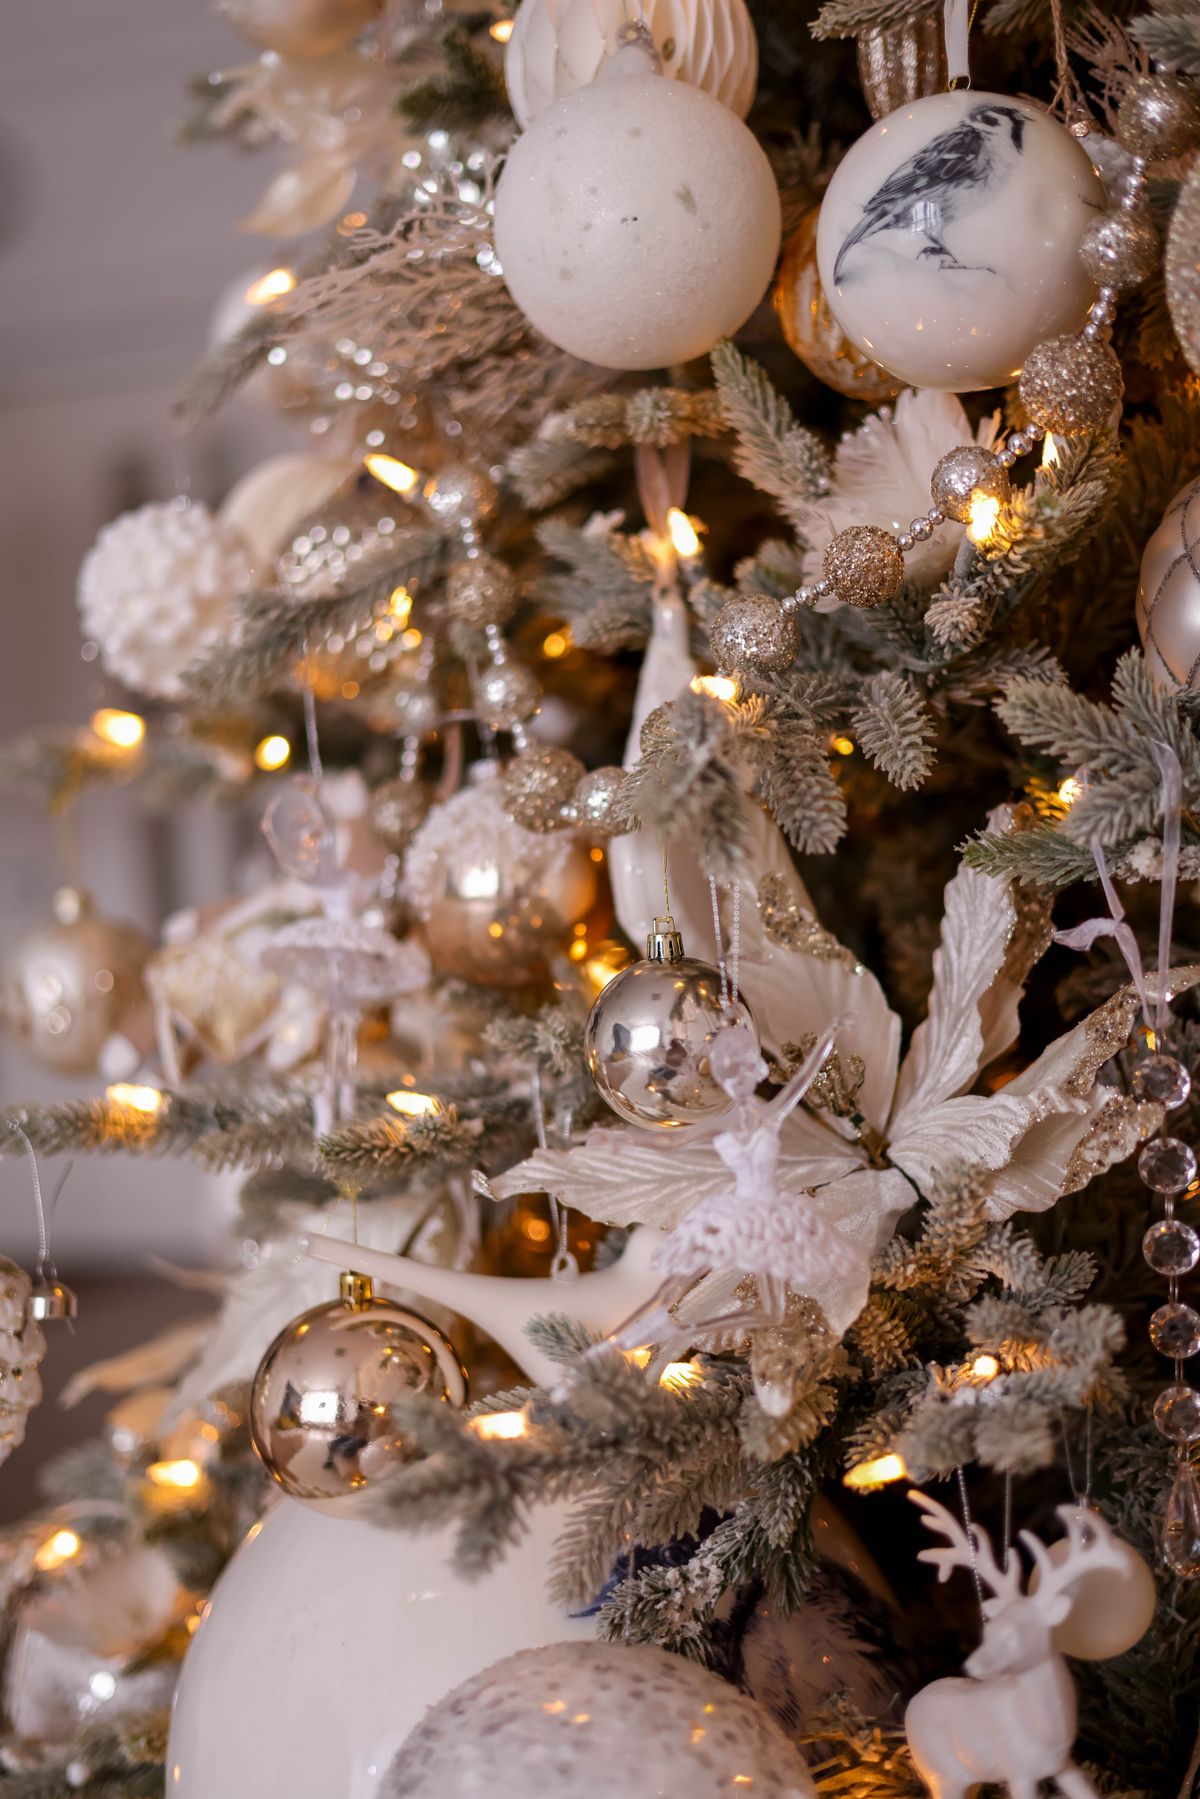
Wine, mulberry, emerald, plum, and burgundy with gold is the richest look I have done. I used roughly 90 ornaments for 7 feet: 60% deep jewel colours, 30% gold, 10% clear glass for sparkle. Keeping gold as the only metallic stops it looking like a shop display — mixed metals fight these colours. Downside: dark ornaments disappear into dark green branches, so hang the deepest plum and wine pieces toward the outer tips, with a light behind them.
Cost: $40–80 if buying new sets | Time: 2 hours | Difficulty: Easy
Pro Tip: Work in colour zones, not randomly: finish one colour over the whole tree before starting the next, so nothing clumps.
3. Classic Red and Gold, Done Properly
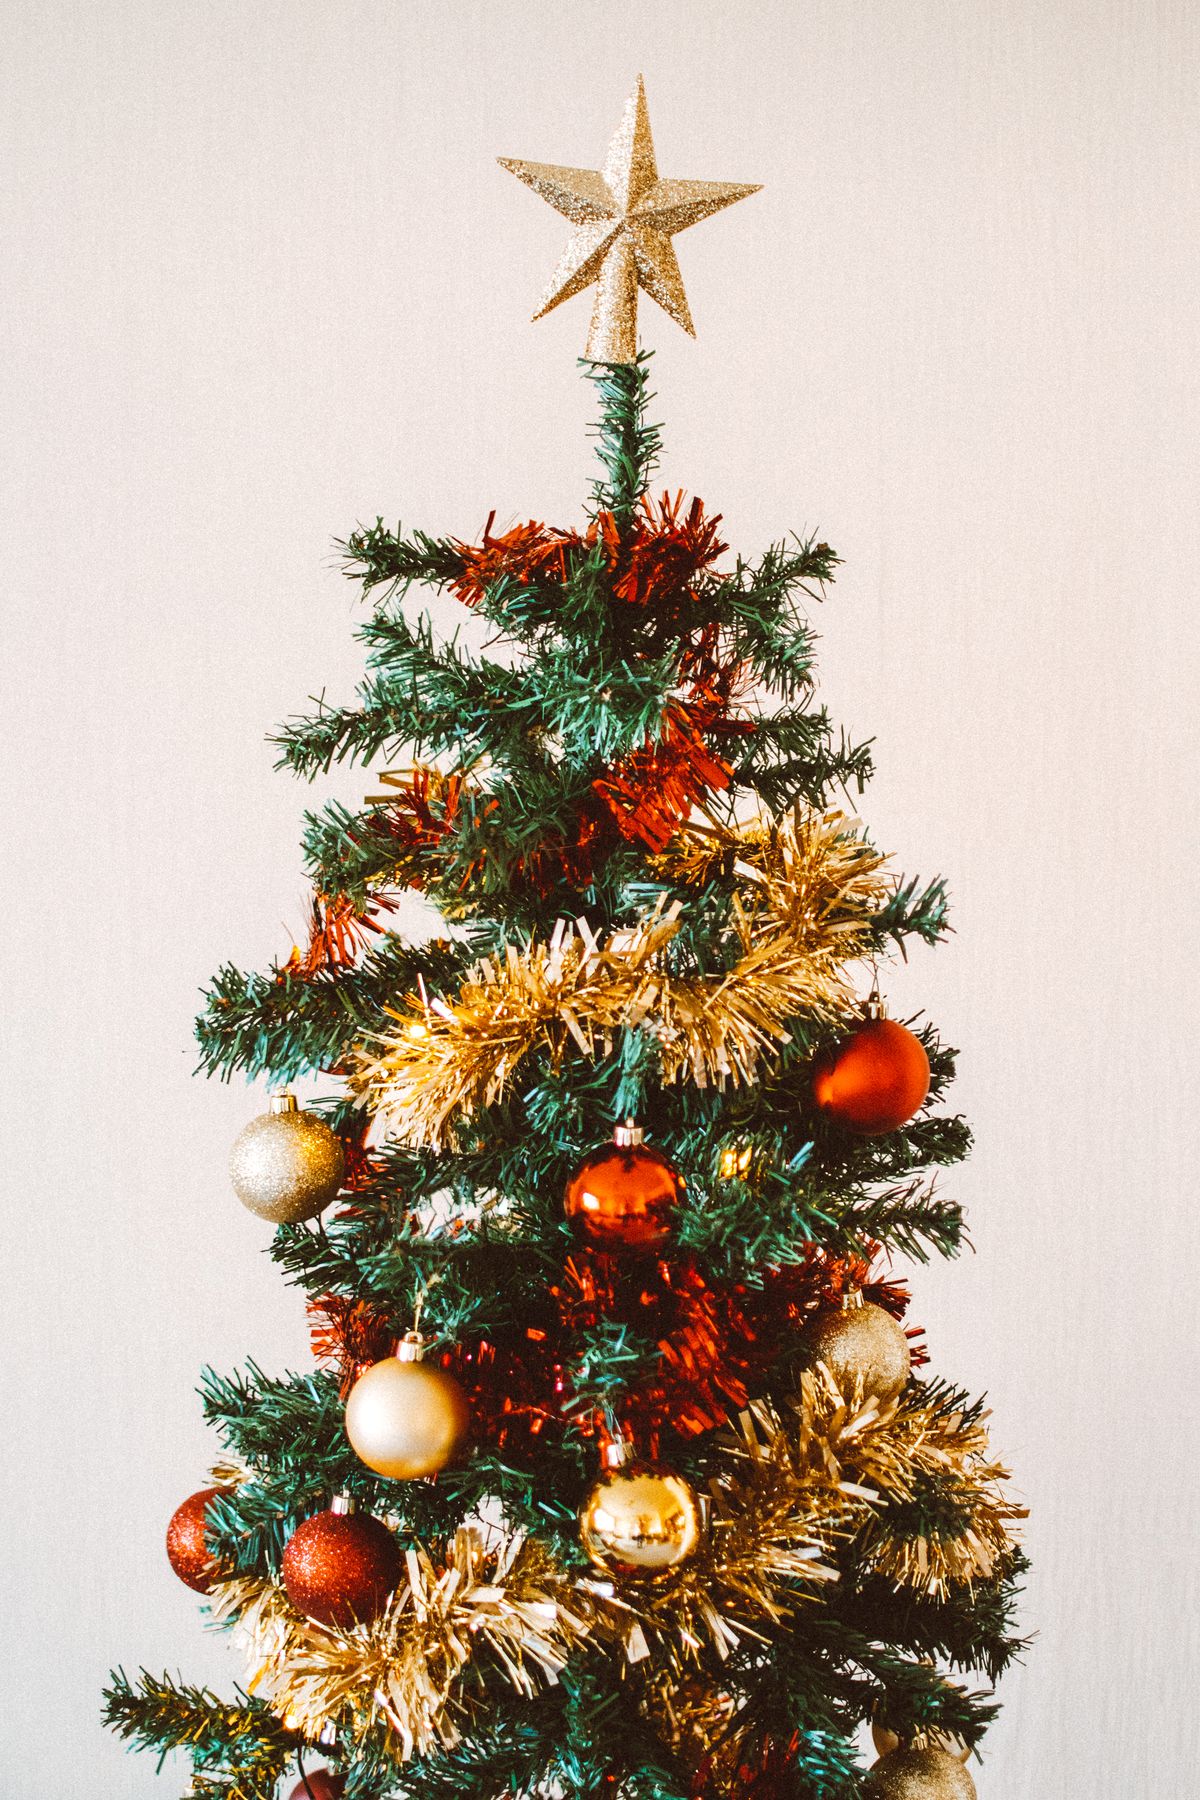
Red and gold fails when it is half-hearted. I commit: matte red, shiny red, and one gold finish, repeated in threes from top to bottom. I hung about 100 pieces on our 7-footer, larger 4-inch baubles low, 2-inch ones high, so the scale follows the branches. Why it works: red advances and gold reflects light, so the tree reads warm even with fewer lights. Downside: red fades in a sunny window — mine lost a shade on the window side one year, so I rotate the tree weekly.
Cost: $0–30 | Time: 1.5–2 hours | Difficulty: Easy
Pro Tip: Repeat each ornament shape in odd numbers and step back to the doorway after every 15 pieces to check the balance.
4. Blue and Silver Winter Night
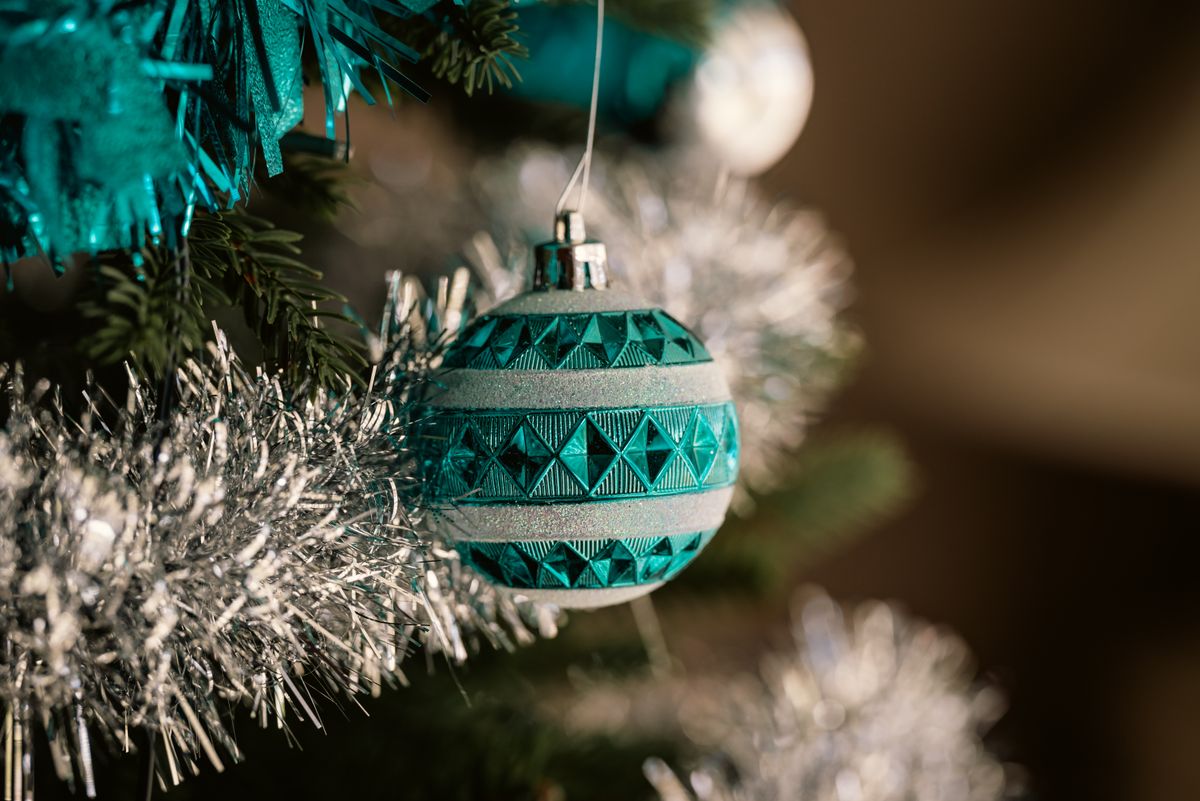
For a cooler room, blue and silver is my reset button. I use navy and mid-blue baubles, silver garland tucked — not swagged — along the branches, and cool-white lights. I tried this in our small study one year on a 5-foot tree with about 60 ornaments, and the room felt calmer instantly. Downside: cool-white lights can look blue-grey and chilly on camera; if your room has warm lamps, choose neutral-white bulbs instead, or the two light temperatures will clash all season.
Cost: $25–50 | Time: 1.5 hours | Difficulty: Easy
Pro Tip: Add 10% white ornaments. Without them, blue and silver can go flat and dark at the bottom of the tree.
5. Blush, Pink, and Floral Romantic
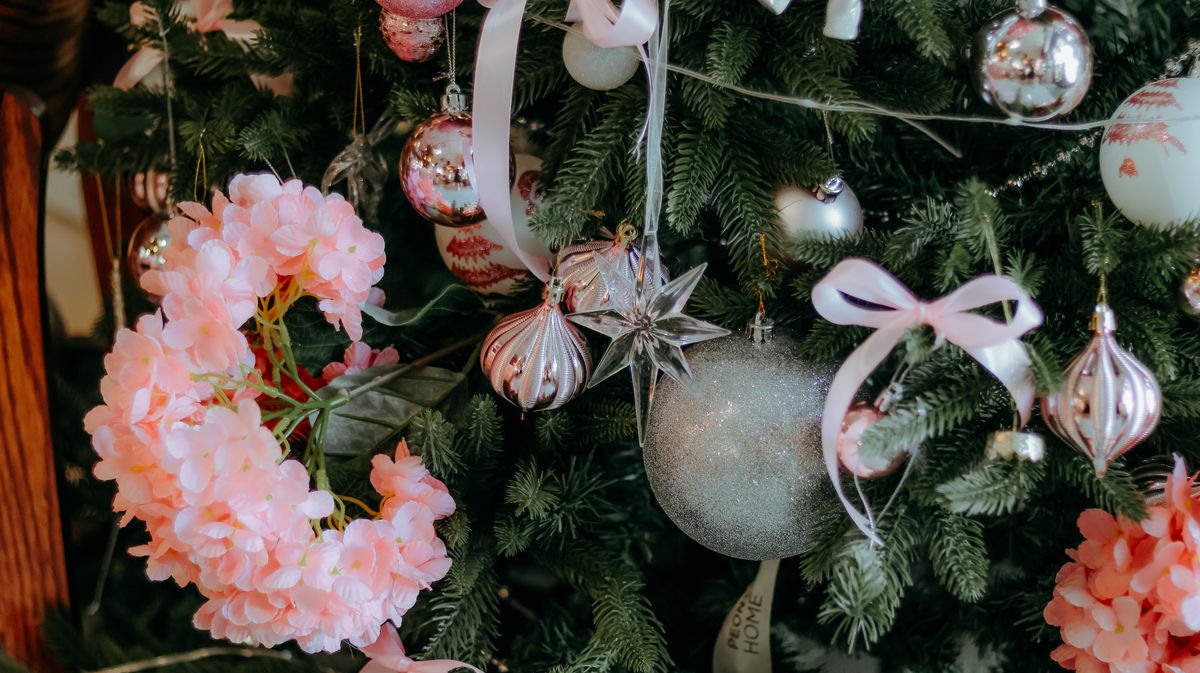
This one started as an experiment for my daughter and stayed. I tucked six faux peony and rose stems, cut to 8 inches, deep into the branches, then added blush, cream, and rose-gold baubles — about 70 on a 6-foot tree. Downside: too many flowers tip it into wedding territory fast. I keep flowers to about one per foot of height and let green branches show between them, or it stops reading as a Christmas tree.
Cost: $30–60 for stems and baubles | Time: 2 hours | Difficulty: Medium
Pro Tip: Cut flower stems at an angle and push them in pointing slightly down — flowers that point up look planted, not tucked.
6. Colourful Maximalist Family Tree
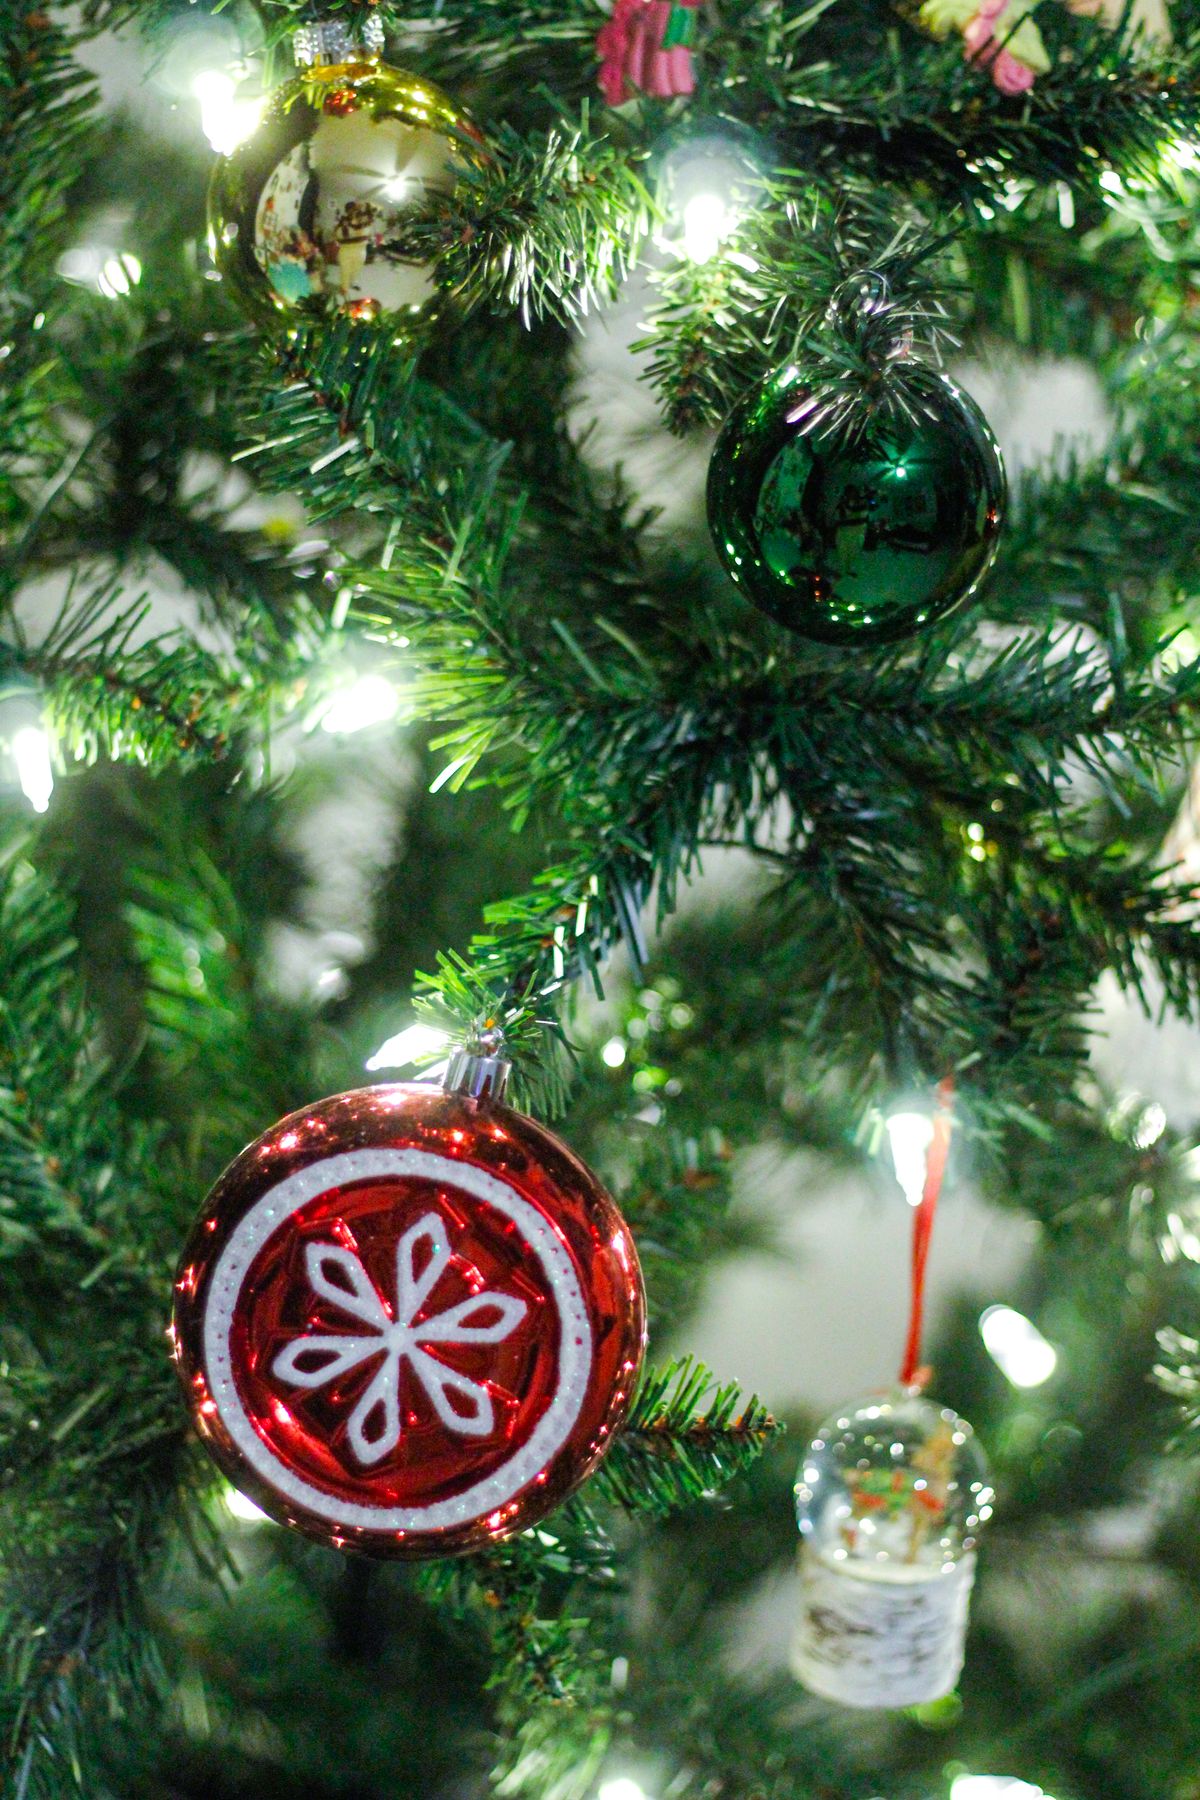
Our family tree breaks every rule above on purpose: every colour, school-made pieces, holiday souvenirs. What stops it looking messy is one trick — I hang a base of about 50 plain red and gold baubles first, evenly, then add the chaos on top. That base gives your eye a rhythm, so the special pieces stand out instead of competing. Downside: fragile keepsakes and toddlers do not mix — breakables go above waist height, always, no exceptions.
Cost: $0–20 | Time: 2 hours | Difficulty: Easy
Pro Tip: Photograph the tree before you take it down. Next year you will remember where the favourites went, and setup takes half the time.
Ribbon and Texture Techniques
7. The Vertical Ribbon Cascade
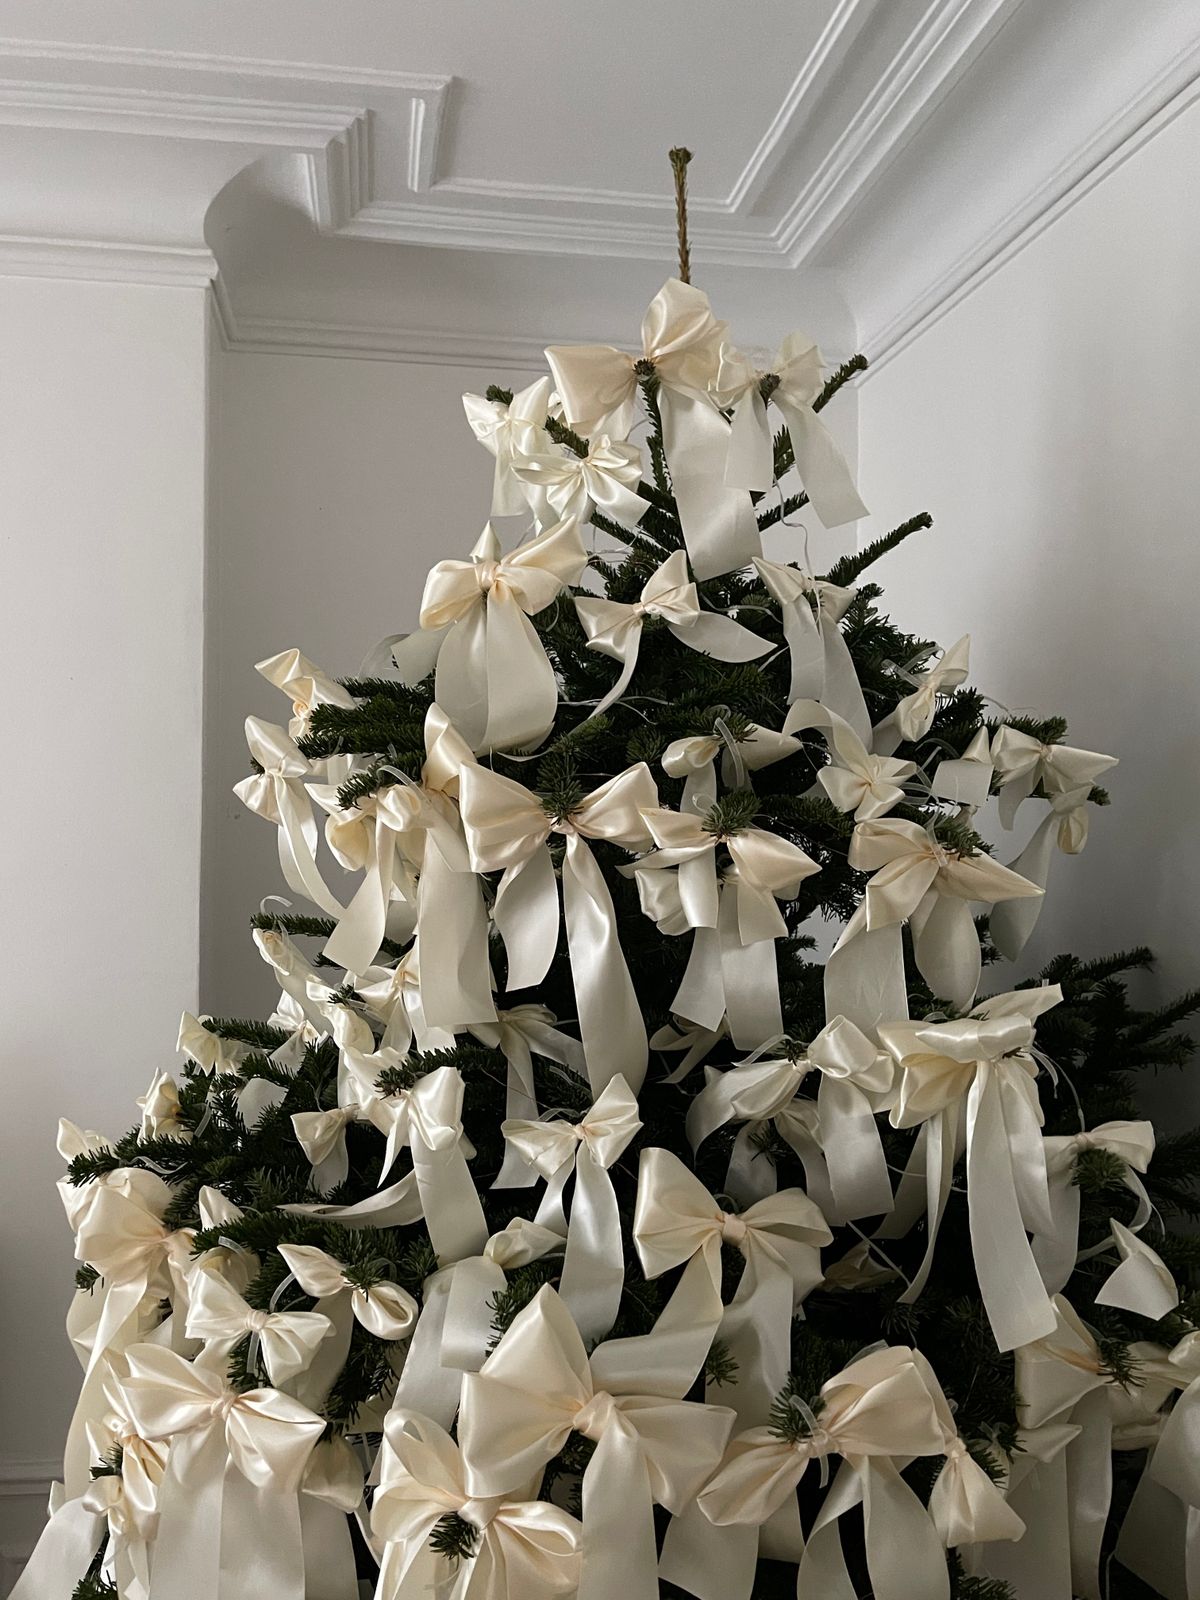
Instead of wrapping ribbon around the tree, run it top to bottom. I cut 4-foot strips of 2.5-inch wired ribbon — eight strips for a 7-foot tree — tucked the top end near the trunk, and let each strip billow out and back in, pinching it into the branches every 12 inches. Vertical lines make a short tree look taller, which is why this worked so well on my squat 6-footer in the hall. Downside: unwired ribbon will not hold the billow; it hangs like sad streamers. Wired edge is non-negotiable here.
Cost: $15–25 | Time: 1 hour | Difficulty: Medium
Pro Tip: Do ribbon before ornaments, always. Baubles hung first get knocked off every time you adjust a billow.
8. Tucked Ribbon Loops Between Branches
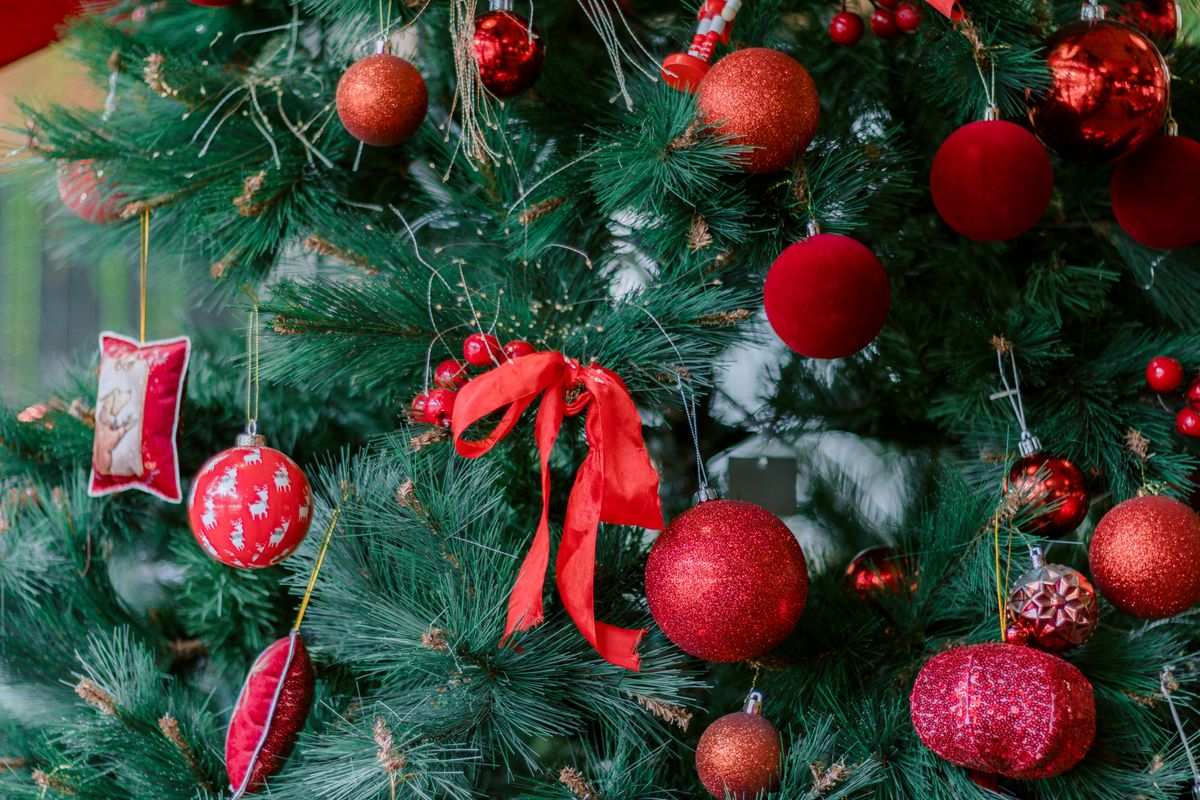
If cascades feel formal, loops are forgiving. I cut ribbon into 18-inch pieces, formed each into a soft loop, and tucked the ends into the tree so only the loop showed — about 20 loops for 7 feet, placed where gaps were. On my oldest tree, loops hid three bald patches I had apologised for for years. Downside: it eats ribbon quietly; measure and cut all your pieces before you start, or the last loops will be a different dye lot.
Cost: $12–20 | Time: 45 minutes | Difficulty: Easy
Pro Tip: Mix two ribbon widths, 2.5-inch and 1.5-inch. Same-width loops everywhere look like a pattern, not a texture.
9. Tinsel and Lametta, Used Sparingly
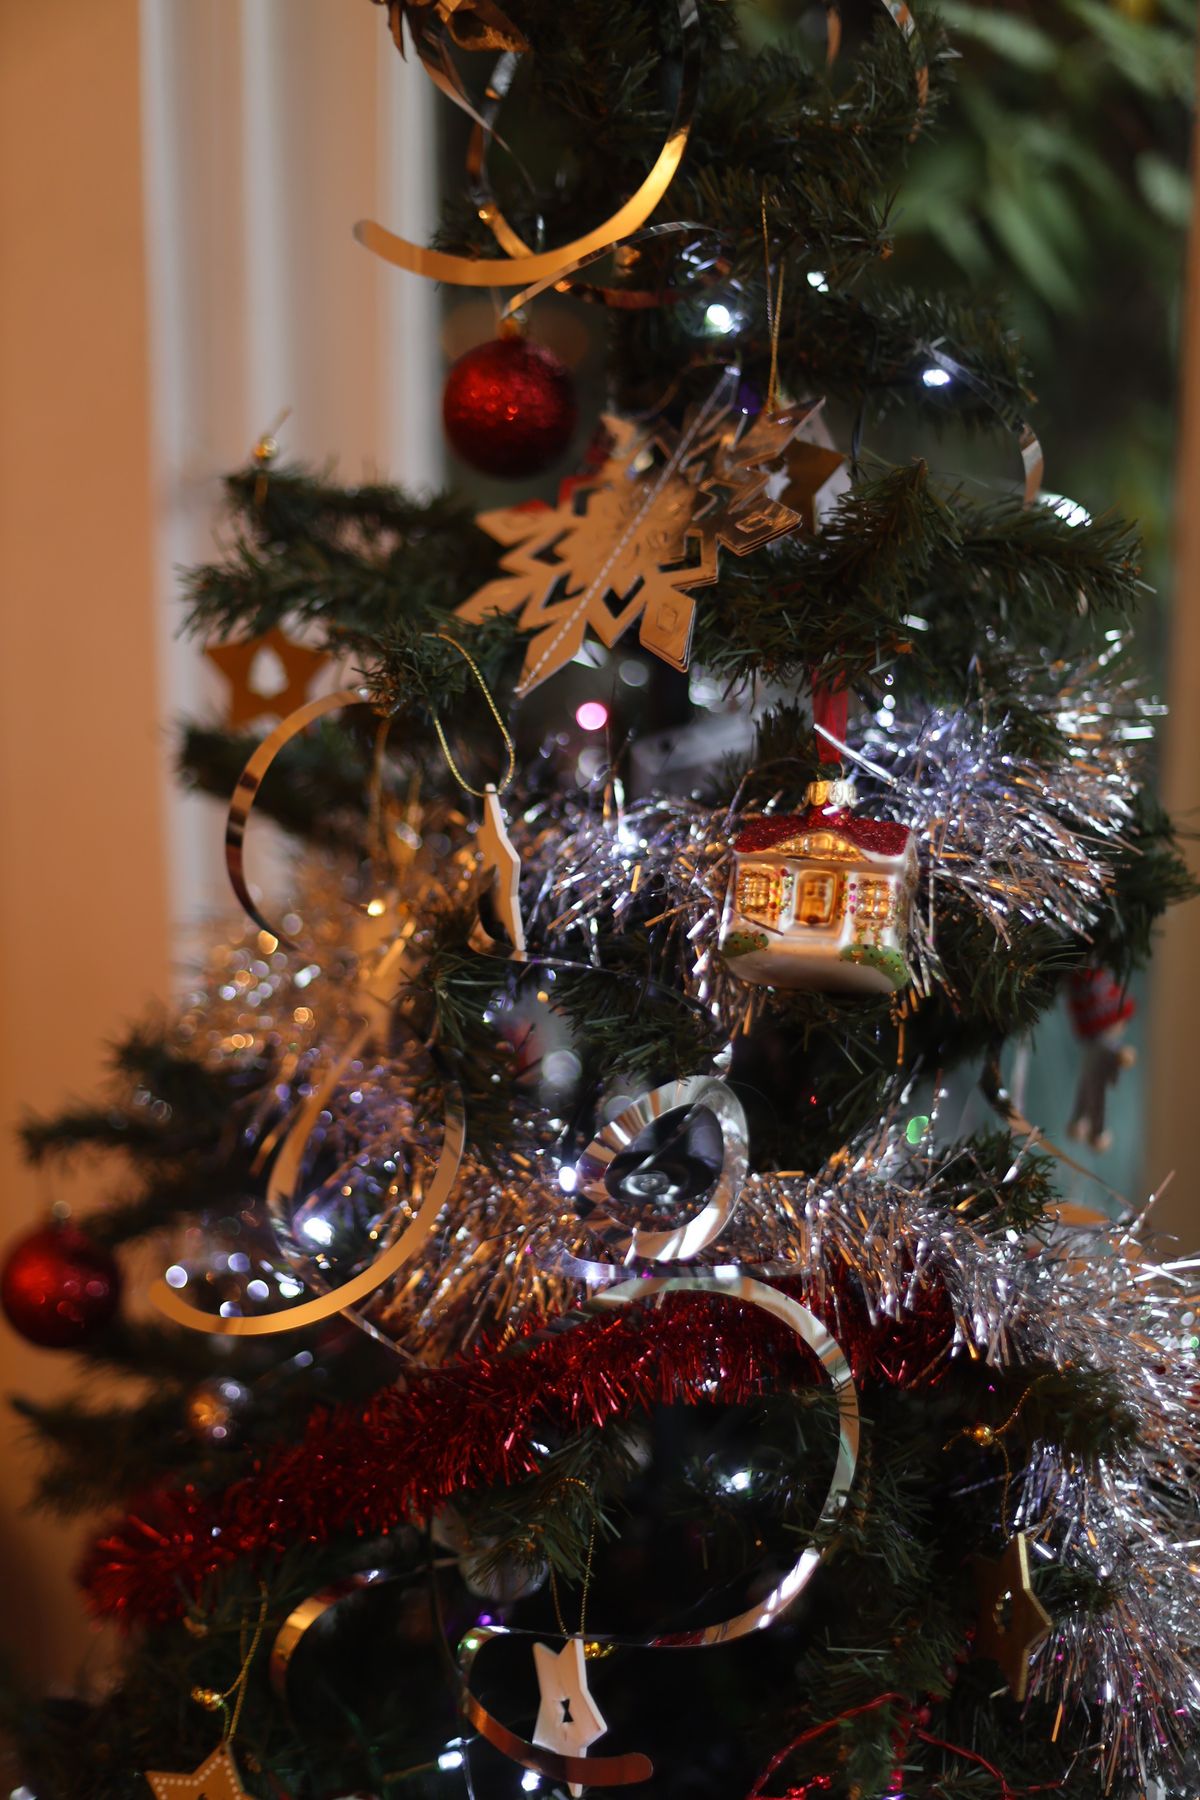
Tinsel is back, but the 2026 version is a whisper, not a waterfall. I add lametta — the fine individual strands — only to the outer third of the branches, about one small handful for a whole tree, strand by strand at the tips. It catches light and moves when the heating comes on, which no bauble does. Downside, honestly: keep it away from pets who chew, and skip it entirely if you have a cat who eats shiny things.
Cost: $5–10 | Time: 45 minutes | Difficulty: Easy
Pro Tip: Add tinsel dead last, after everything else, and take it off first in January while it is still in strands, not tangles.
10. Mixed Metallics: Gold, Silver, and Bronze Together
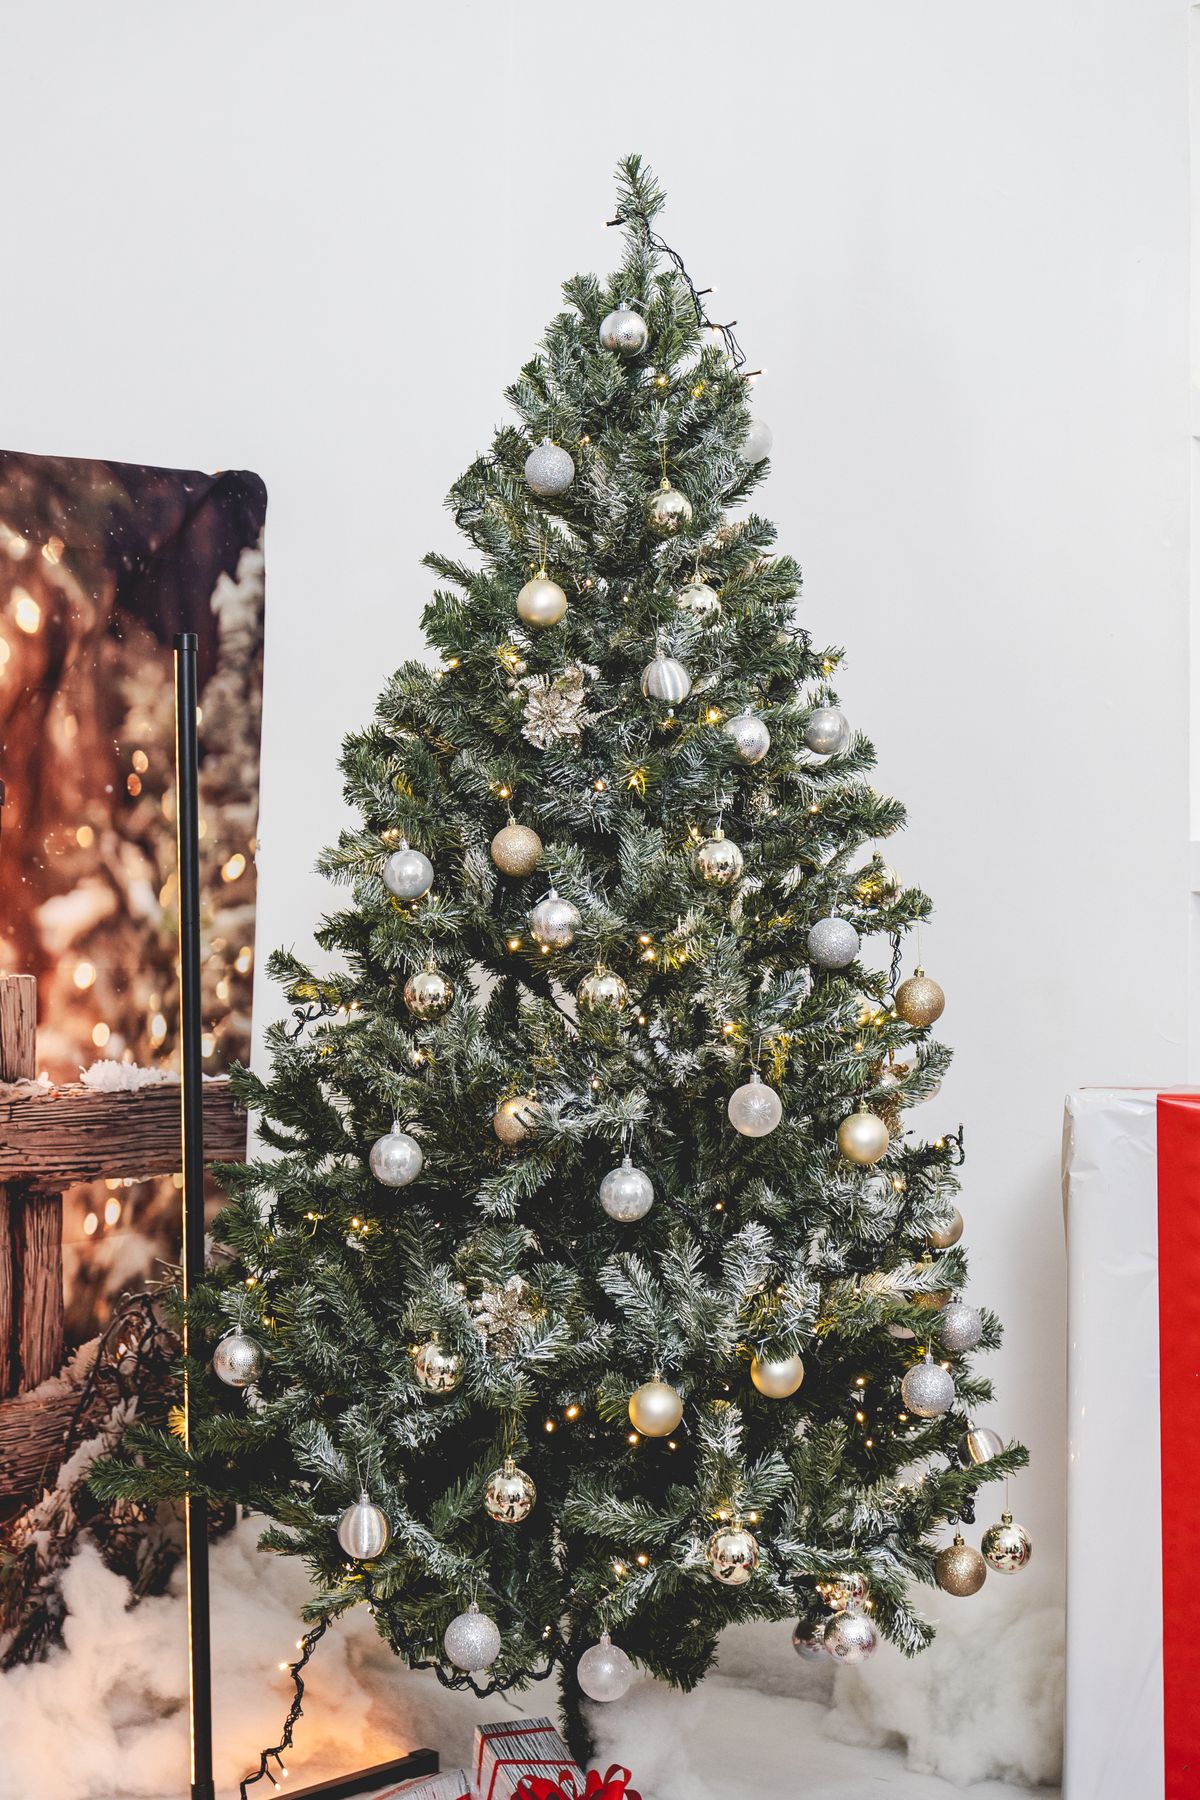
Mixed metallics work when you pick a boss. Mine is gold at 60%, then silver at 30%, then bronze or copper at 10% to warm the join. I hang by ratio across the whole tree, not metal-by-zone, or you get a gold top and a silver bottom. Downside: glitter finishes shed on everything you own. I hang glitter pieces highest, where hands and sleeves brush them least.
Cost: $35–70 | Time: 2 hours | Difficulty: Easy
Pro Tip: Hold one of each metal together under your tree lights before you buy more. Metals that clash in the shop can settle under warm light, and vice versa.
11. Cluster Ornaments in Threes Instead of Singles
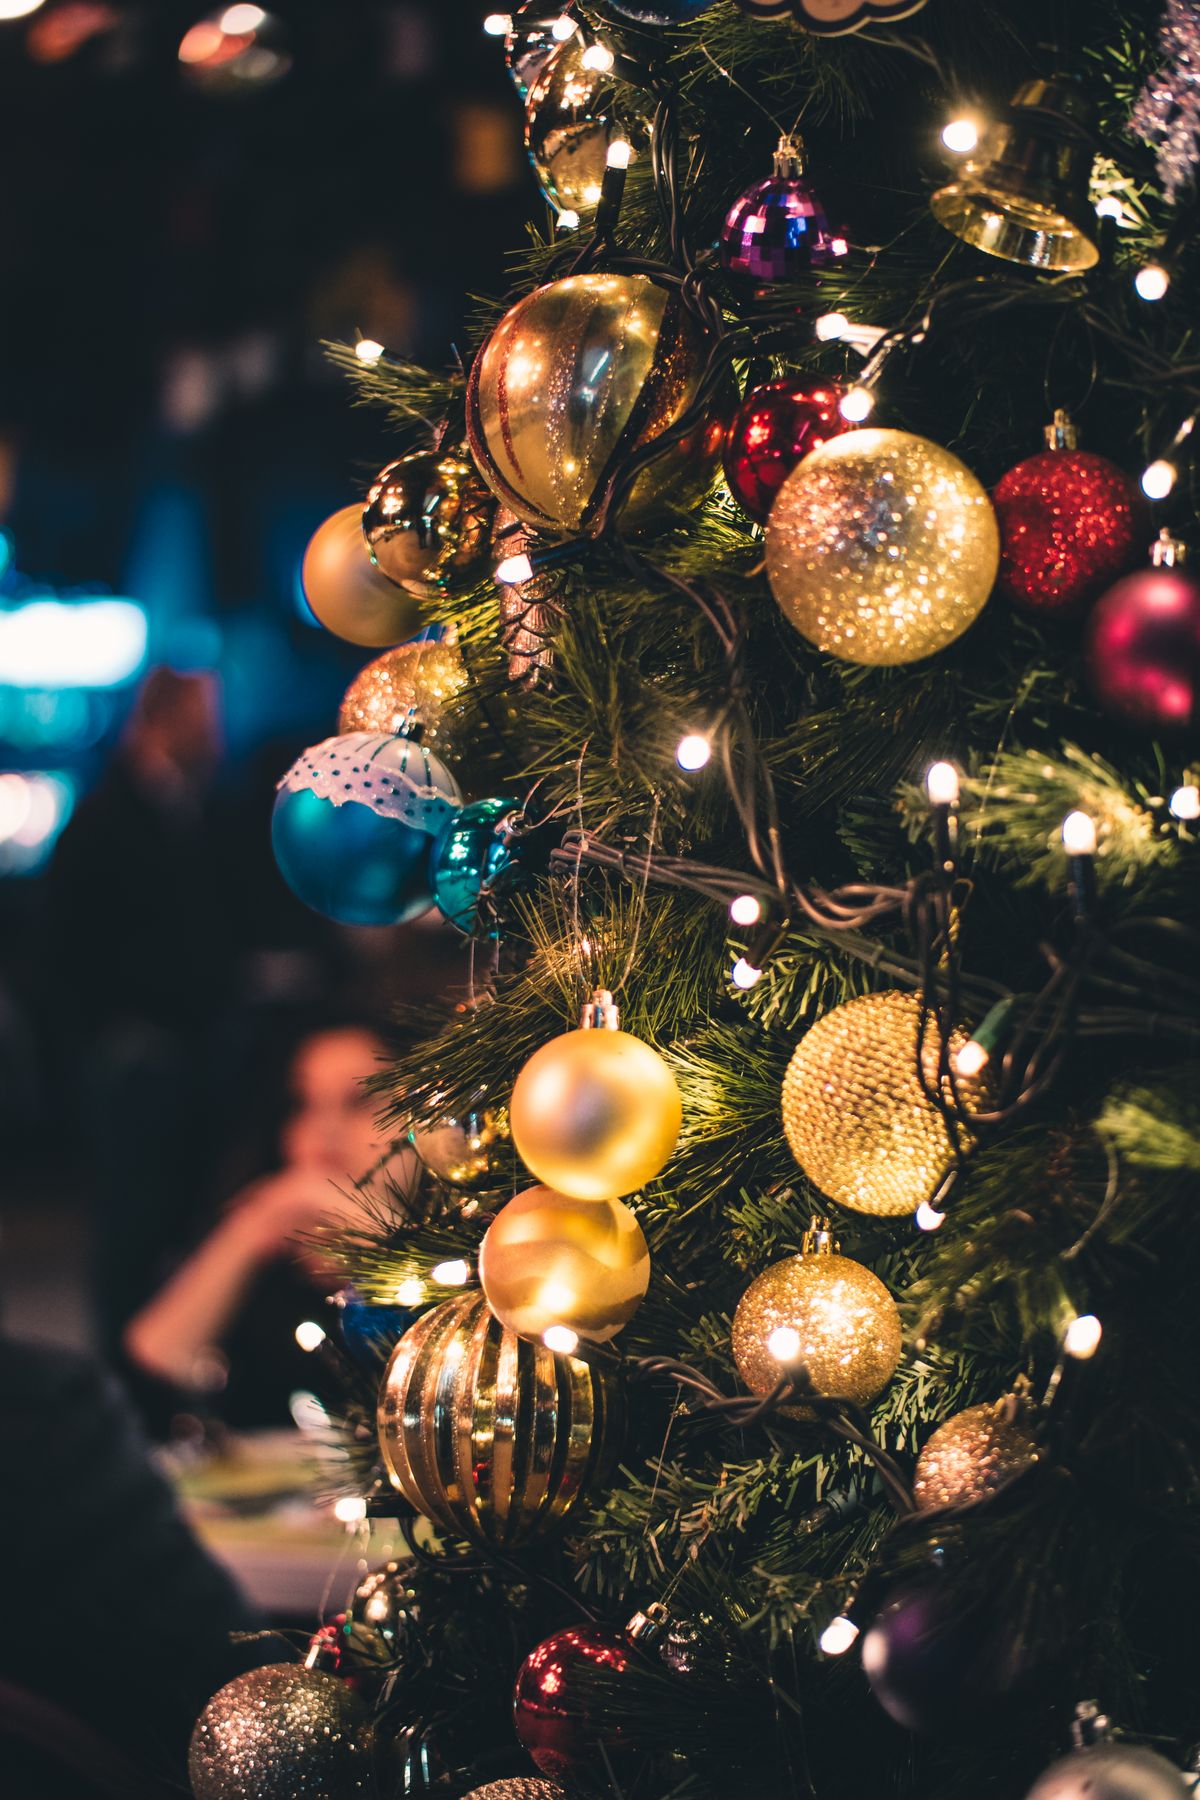
Single ornaments dotted evenly can look like polka dots. Instead, I wire or place related pieces in clusters of three — same colour family, different sizes — at about 15 spots on a 7-foot tree, then fill between clusters with plain filler baubles. If you make your own pieces, Related article: my guide to DIY Christmas ornaments has clusters that cost almost nothing. Downside: clusters are heavy; three glass pieces on one thin tip will bend it, so cluster on sturdy mid-branches.
Cost: $0–15 for wire | Time: 1.5 hours | Difficulty: Medium
Pro Tip: Step back after each cluster. Up close, everything looks balanced; from the sofa is where a lopsided tree confesses.
Natural and Calm Looks
12. Dried Citrus, Popcorn, and Pinecones
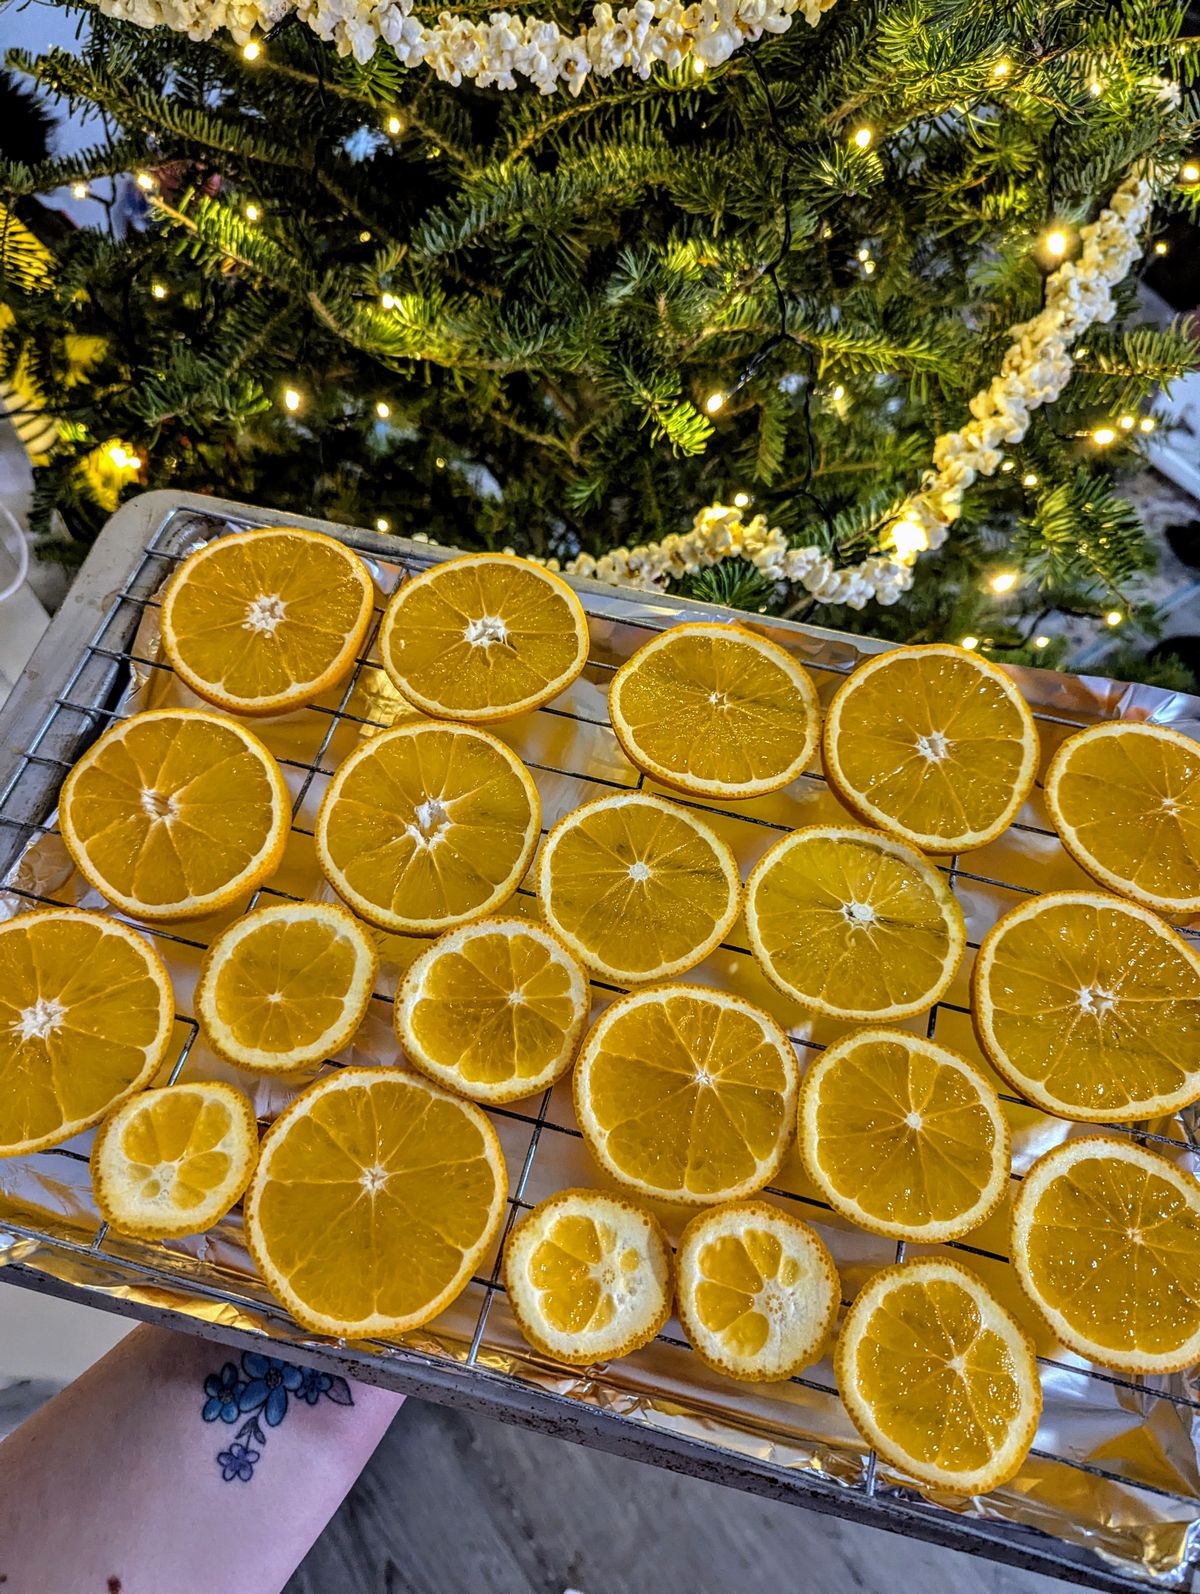
I dried four oranges, sliced 1/4-inch thick, at a low oven heat for about 3 hours, turning them once, then strung them with popcorn and cranberries and wired pinecones between. Citrus glows like stained glass when a light sits behind it — that backlight is the whole effect, so place slices near bulbs. Downside, and it is real: dried citrus lasts one season here before dulling, and popcorn garlands and dogs are a bad combination. This tree goes in a room the dog does not.
Cost: $8–15 | Time: 3 hours plus drying | Difficulty: Medium
Pro Tip: Dry citrus a week ahead. Rushed slices stay bendy, grow mould in storage, and will disappoint you by mid-December.
13. Woodland Pinecone and Burlap Tree
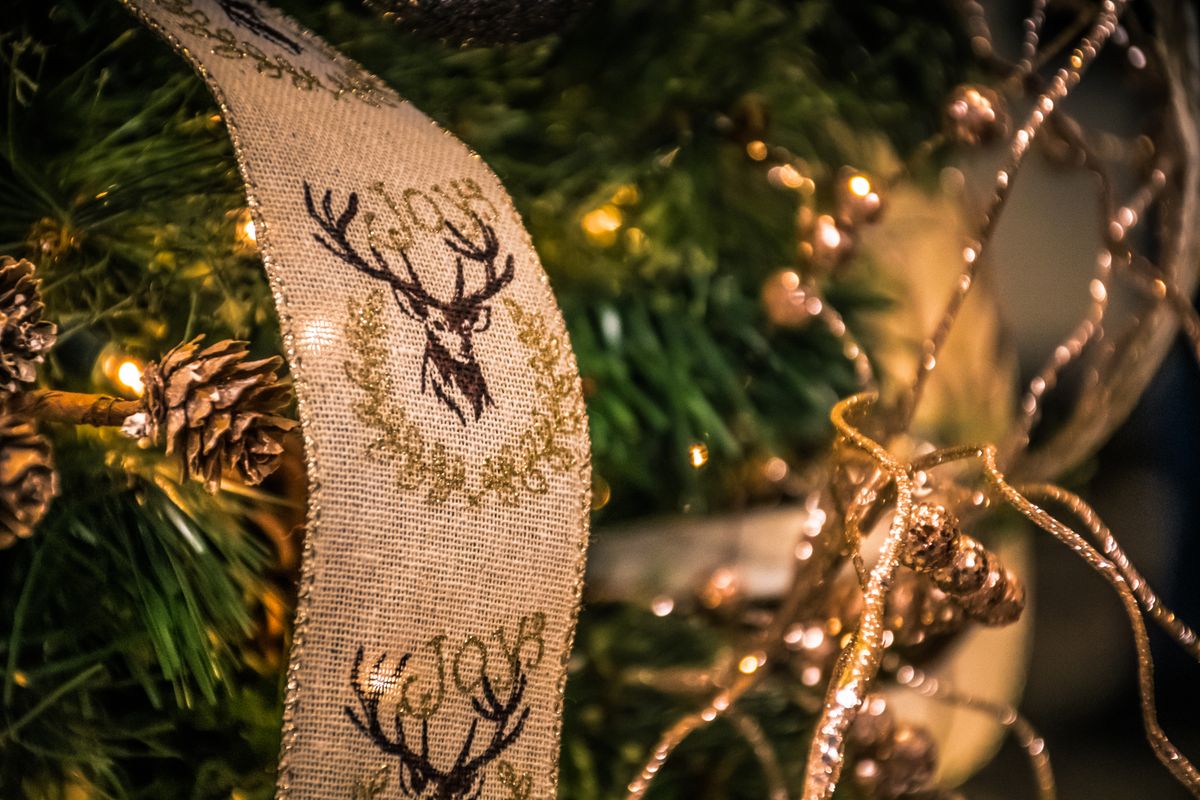
For our porch-adjacent entryway I go woodland: about 30 pinecones wired on with florist wire, burlap ribbon loops, wooden-bead garland, and warm lights, with maybe 40 plain red baubles for life. I collect cones in October and bake them briefly to clean them and open them up. Downside: real cones are heavy and sap-sticky if you skip the baking step; my first batch glued itself to a tablecloth. Learned that one the hard way, so you do not have to.
Cost: $10–20 | Time: 1.5 hours | Difficulty: Easy
Pro Tip: Wire cones through the scales near the base, not around the middle — a middle-wrapped cone hangs sideways and spins.
14. Neutral Scandinavian Calm
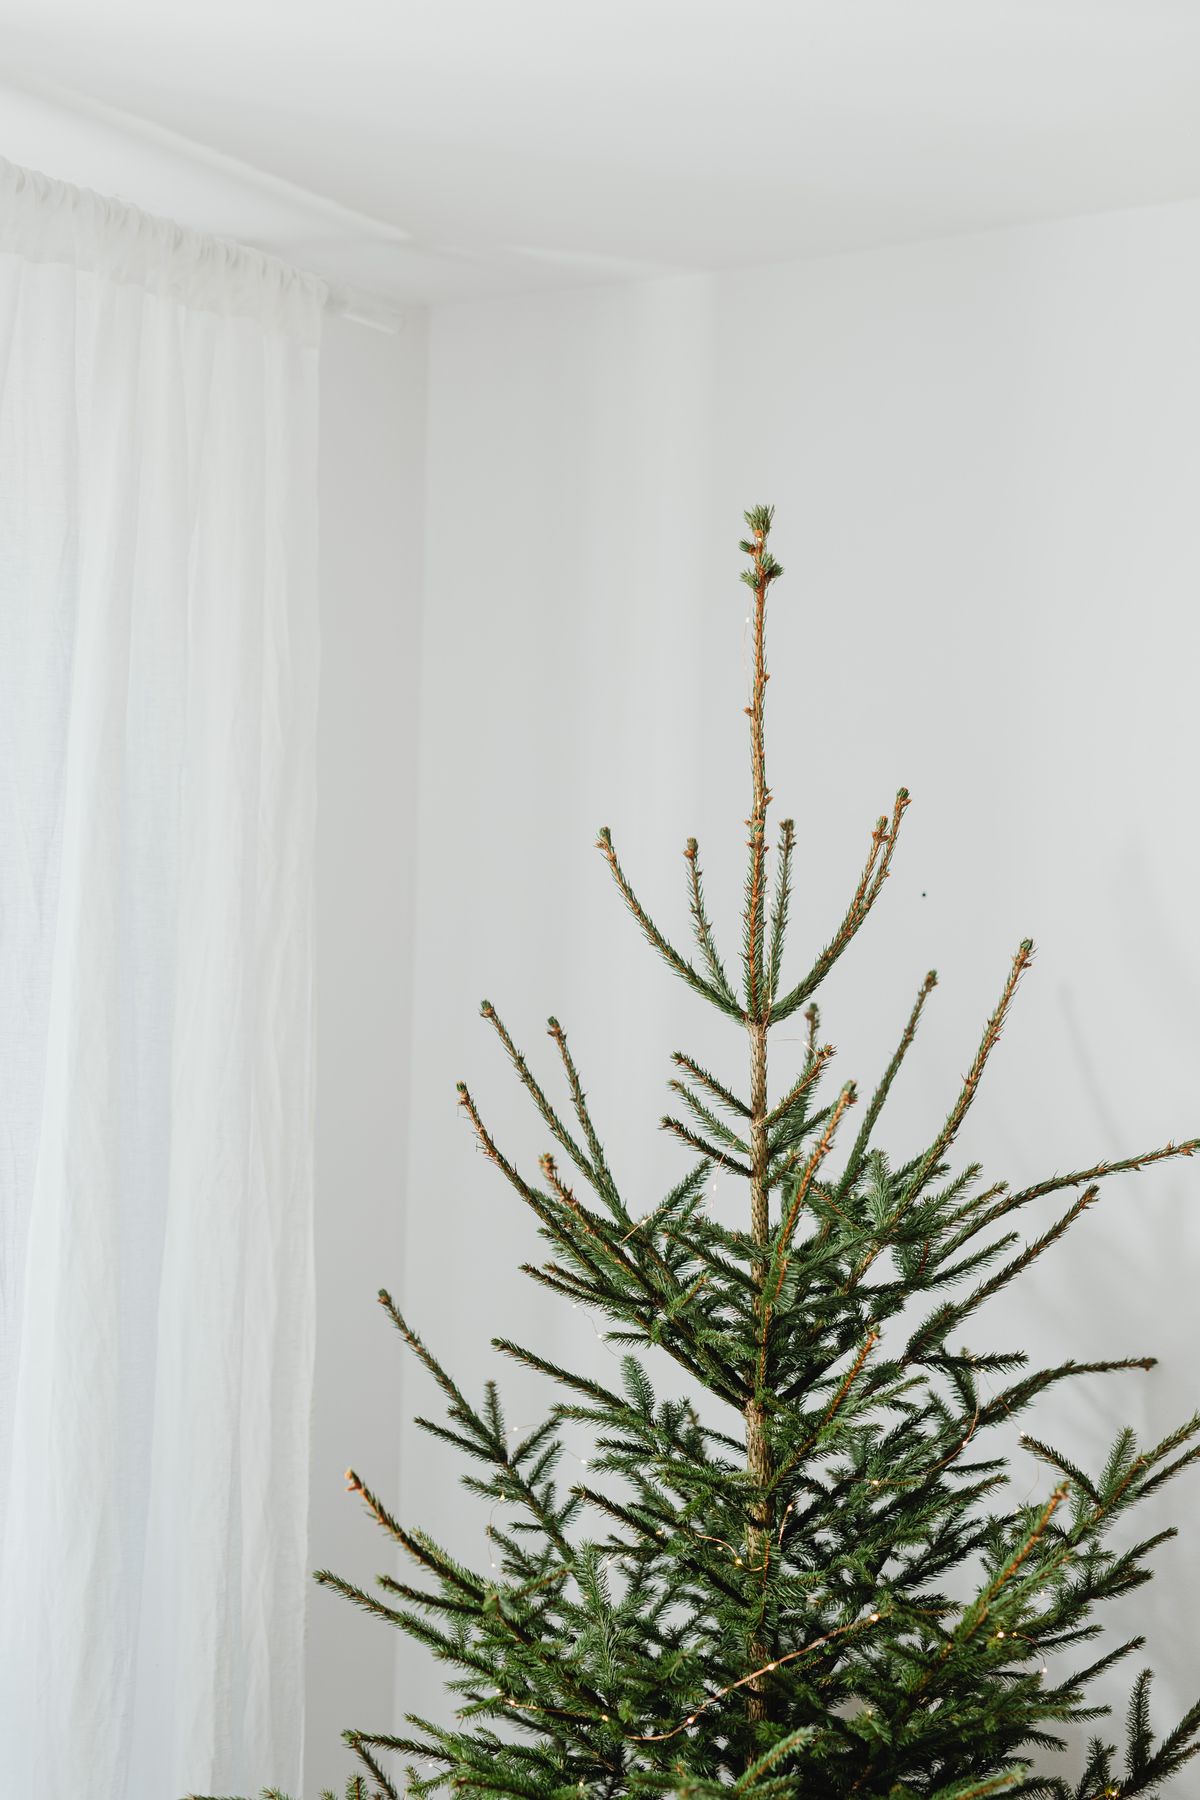
The counter-look to all this sparkle is the one I choose in busy years: a green tree, warm-white lights, and only cream, wood, white, and straw ornaments — about 50 pieces on a 7-footer. I did this the December we were renovating, and the calm corner kept me sane. Downside: calm can slide into unfinished if the tree itself is thin. This look needs a full tree or added garland, because there is no glitter to hide behind.
Cost: $20–40 | Time: 1 hour | Difficulty: Easy
Pro Tip: Keep every ornament matte. One shiny bauble in a matte tree shouts louder than ten on a maximalist tree.
15. Lights-Only Minimal Tree
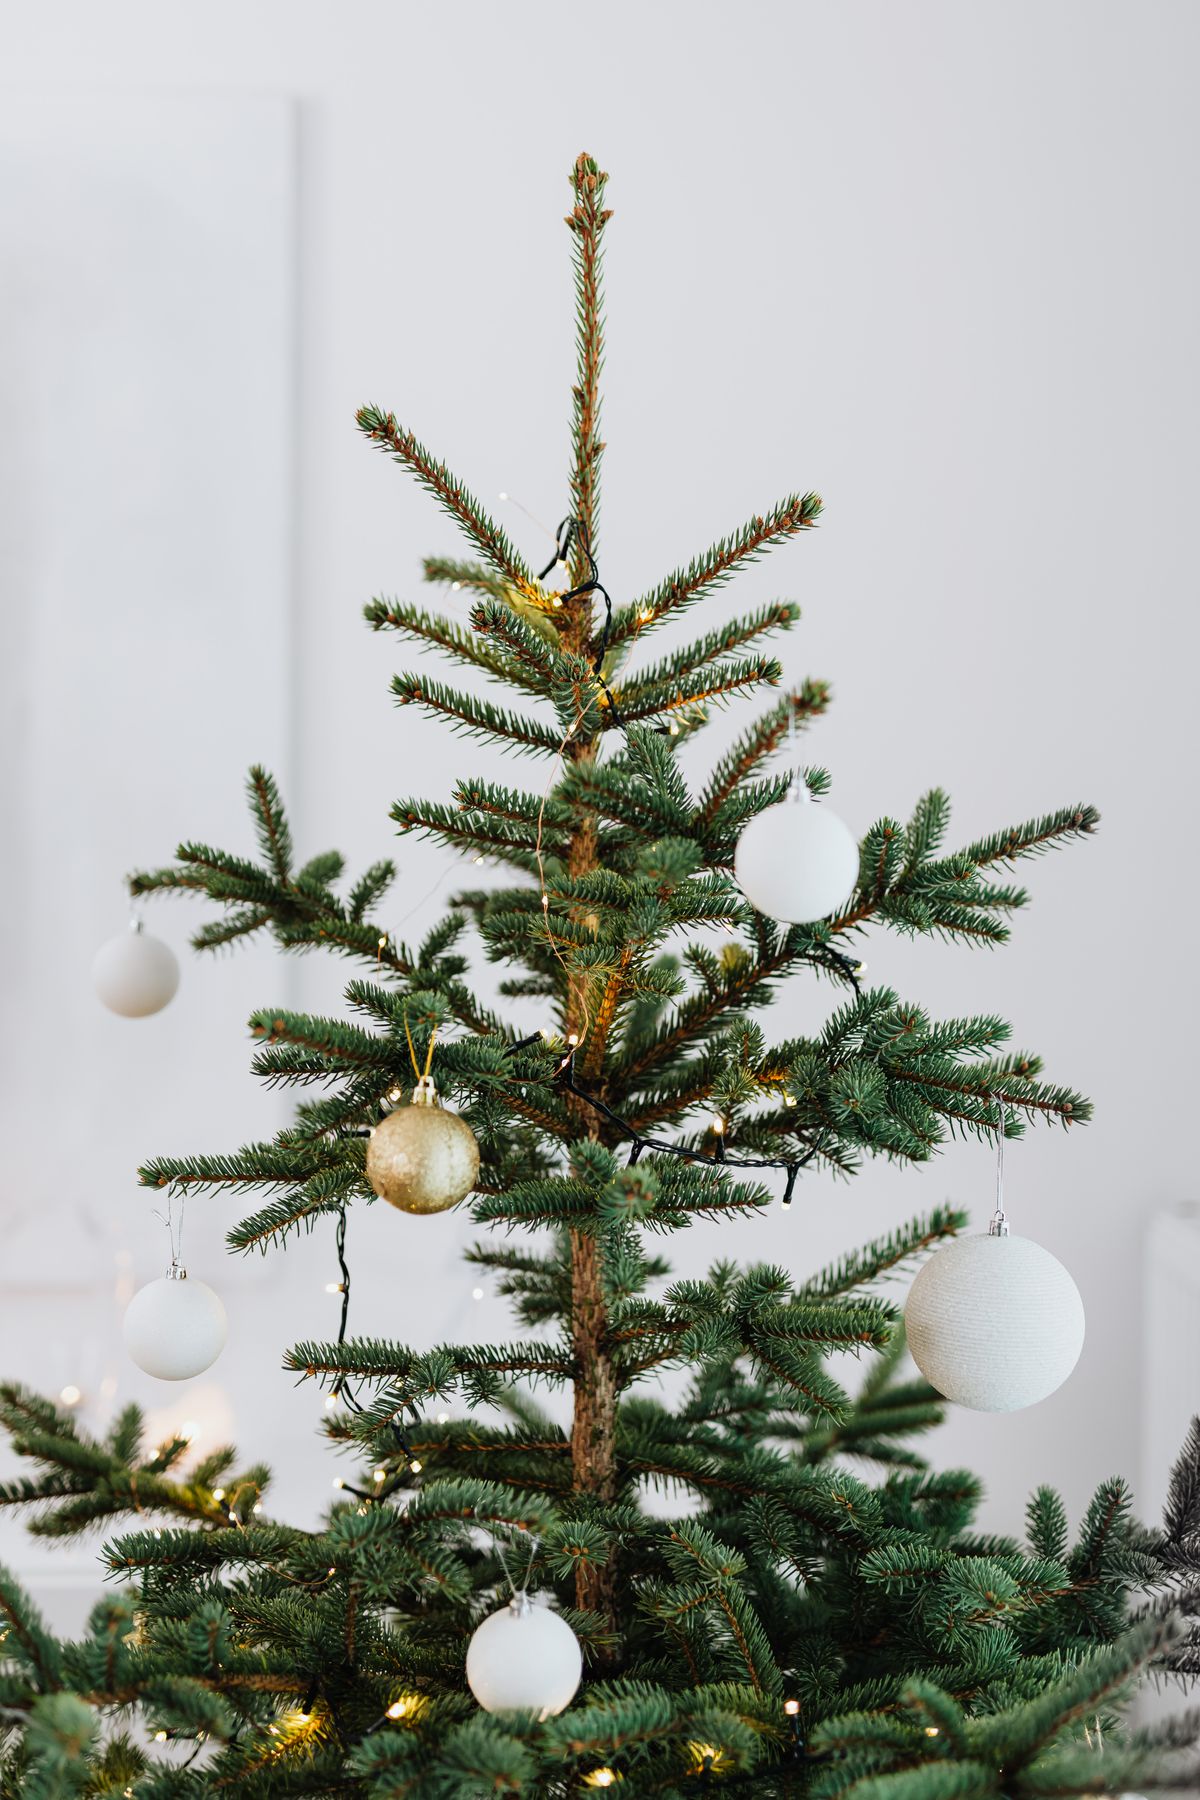
Some years I hang nothing but lights — about 800 warm-white LEDs on a 7-foot tree. I wind them around the trunk first, then out along every main branch and back, so the glow comes from inside the tree, not just its surface. Downside: with no baubles to distract, every dead bulb and thin patch shows. Test each string on the floor first — I once discovered a dead run at the top, finished, at midnight.
Cost: $15–30 for extra strings | Time: 1.5 hours | Difficulty: Easy
Pro Tip: Use two light temperatures on purpose here only if they are close — 2700K with 3000K layers softly; 2700K with daylight bulbs just looks broken.
16. Flocked Tree With Warm Amber Lights
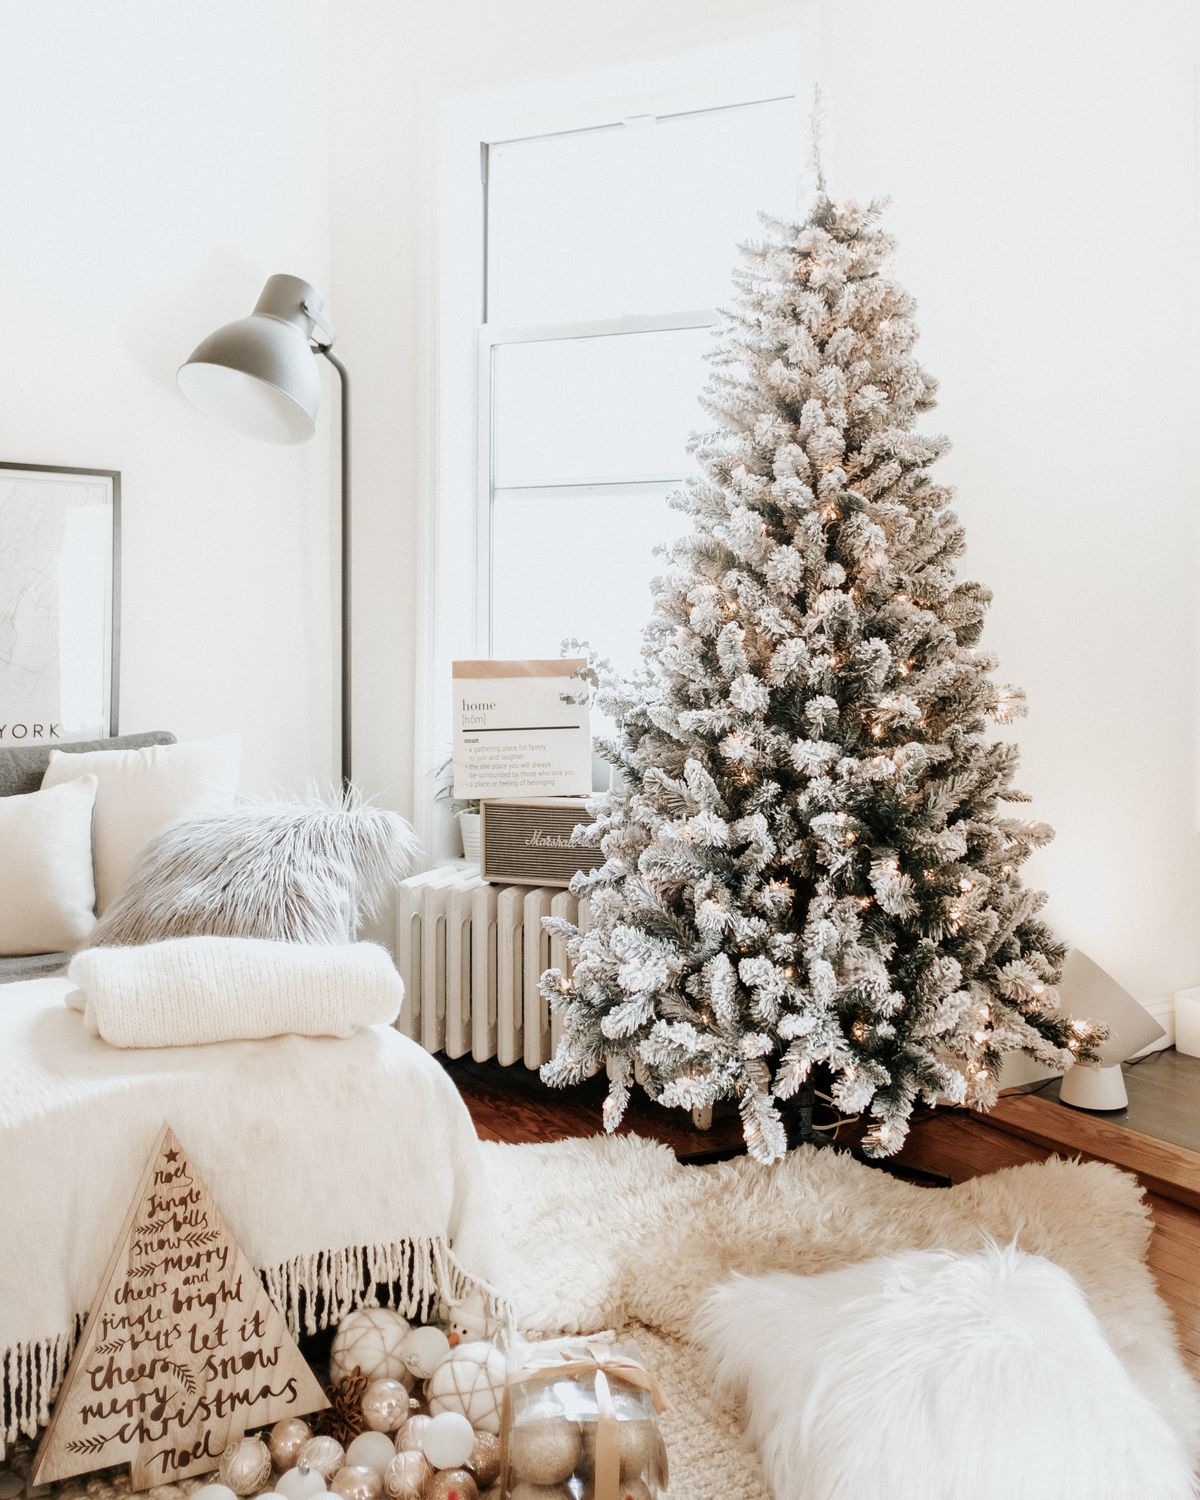
A flocked tree with cool lights looks blue and frozen; with warm amber lights it looks like snow at sunset. I keep ornaments on my flocked tree to about 60 — burgundy, cream, and antique gold — because the white branches are already half the decoration. If you love the snowy branch look outdoors too, Also read: my guide to the best Christmas wreaths for a flocked wreath to match. Downside: flocking sheds when you decorate, so dress the tree in old clothes, and expect white dust until January.
Cost: $0 extra if tree is flocked | Time: 2 hours | Difficulty: Easy
Pro Tip: Decorate a flocked tree in one session and then stop touching it. Every adjustment shakes off more flocking than the last.
Light Does the Work, and Finishing Touches
17. Layer Your Lights: Deep, Middle, and Tips
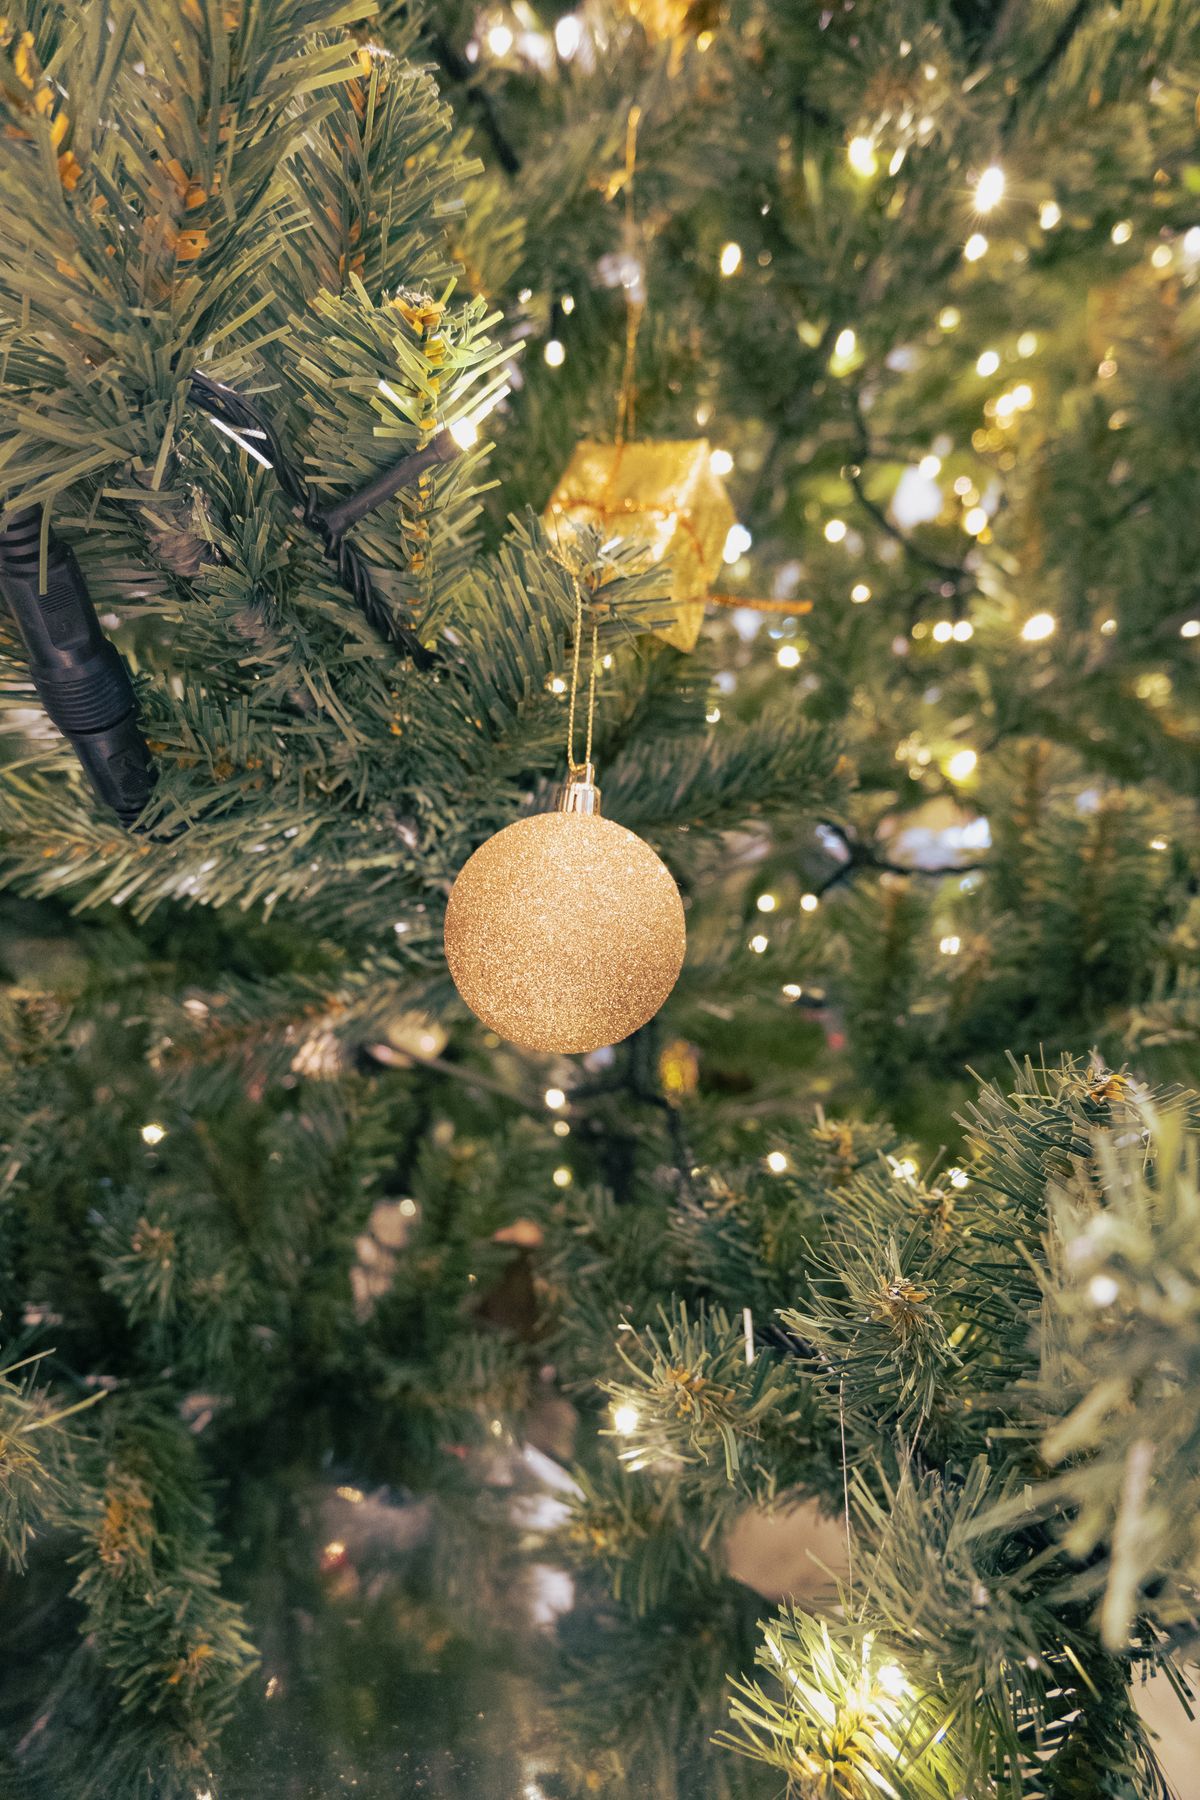
However a tree is decorated, I light it in three passes. First, a string wound tight around the trunk for depth. Second, strings along the middle of the branches. Third, a lighter pass near the tips. On my 7-footer I use roughly 100 lights per foot of height across all passes — 700 total. It took an extra 30 minutes the first year and I have never gone back. Downside: more strings means more plugs; use one rated extension and never daisy-chain beyond the label limit.
Cost: $20–35 | Time: 2 hours | Difficulty: Medium
Pro Tip: Turn the room lights off and photograph the tree after the second pass. The photo shows dark holes your eyes forgive in person.
18. Vintage Multi-Colour Lights, One Palette Only
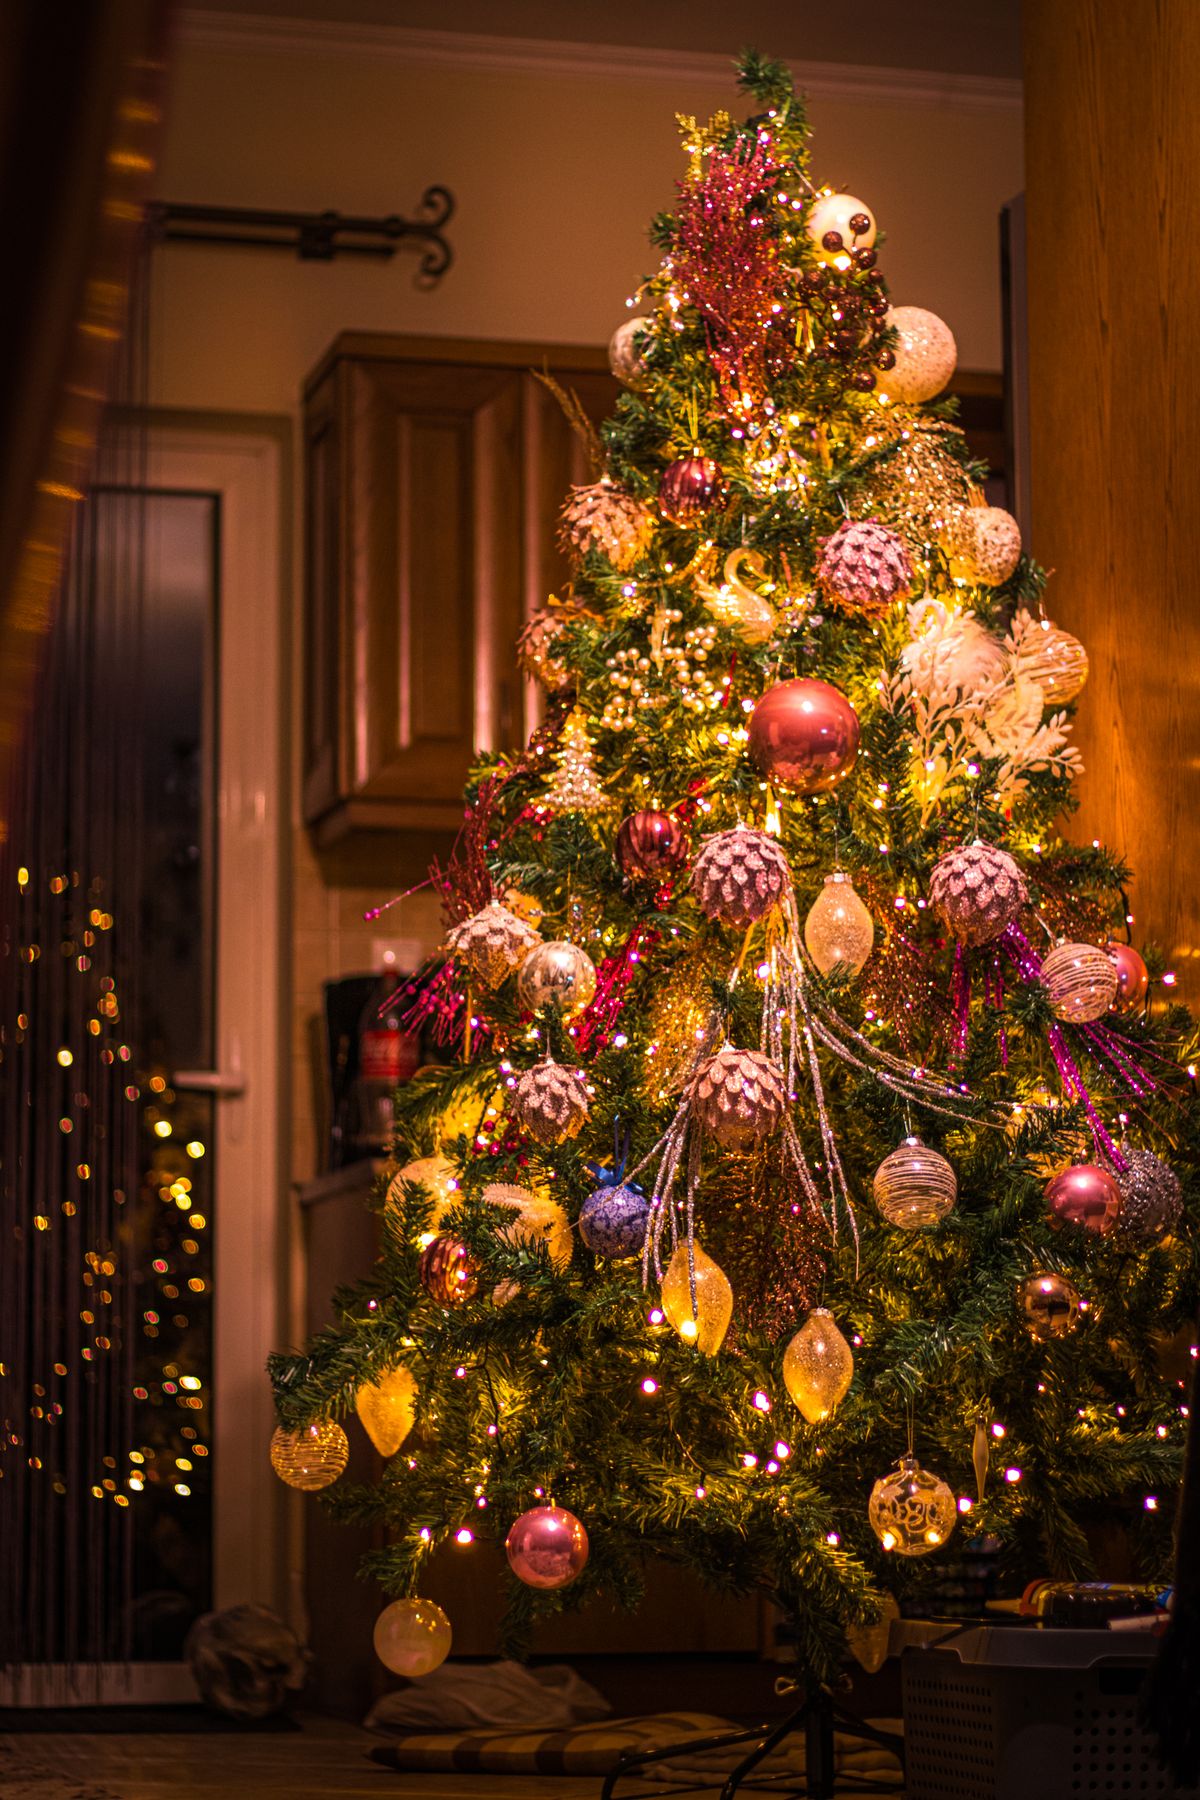
Multi-colour lights are joyful and, I will admit, my weakness. The trick that keeps them chic is limiting everything else: with rainbow lights on, my ornaments go all cream and gold, about 60 pieces, so the colour comes only from the bulbs. Mixing coloured lights with coloured baubles is where this look usually collapses into noise. Downside: multi-colour strings photograph wildly and clash with jewel-tone schemes, so this look owns the whole room — do not try to run both in one space.
Cost: $15–25 | Time: 1.5 hours | Difficulty: Easy
Pro Tip: Choose larger C7-style bulbs if you can. Tiny multi-colour LEDs read as confetti; bigger bulbs read as vintage, on purpose.
19. All-Gold Candlelight Glow
An all-gold tree is my dinner-party look: gold baubles in matte, shiny, and mercury finishes, amber lights, and nothing else except green branch. Gold reflects warm light better than any other colour, so this tree genuinely lights its corner — I use about 85 pieces on 7 feet. Downside: all-gold is unforgiving about dust and fingerprints on shiny finishes. I hang shiny pieces with the paper tag still under my fingers, or wear cotton gloves, which feels silly and works.
Cost: $30–60 | Time: 1.5 hours | Difficulty: Easy
Pro Tip: Add exactly three deep-red pieces, no more, hidden mid-tree. Guests will feel the warmth without being able to say why.
20. Frosted Branches, Berries, and Cones Close to the Trunk
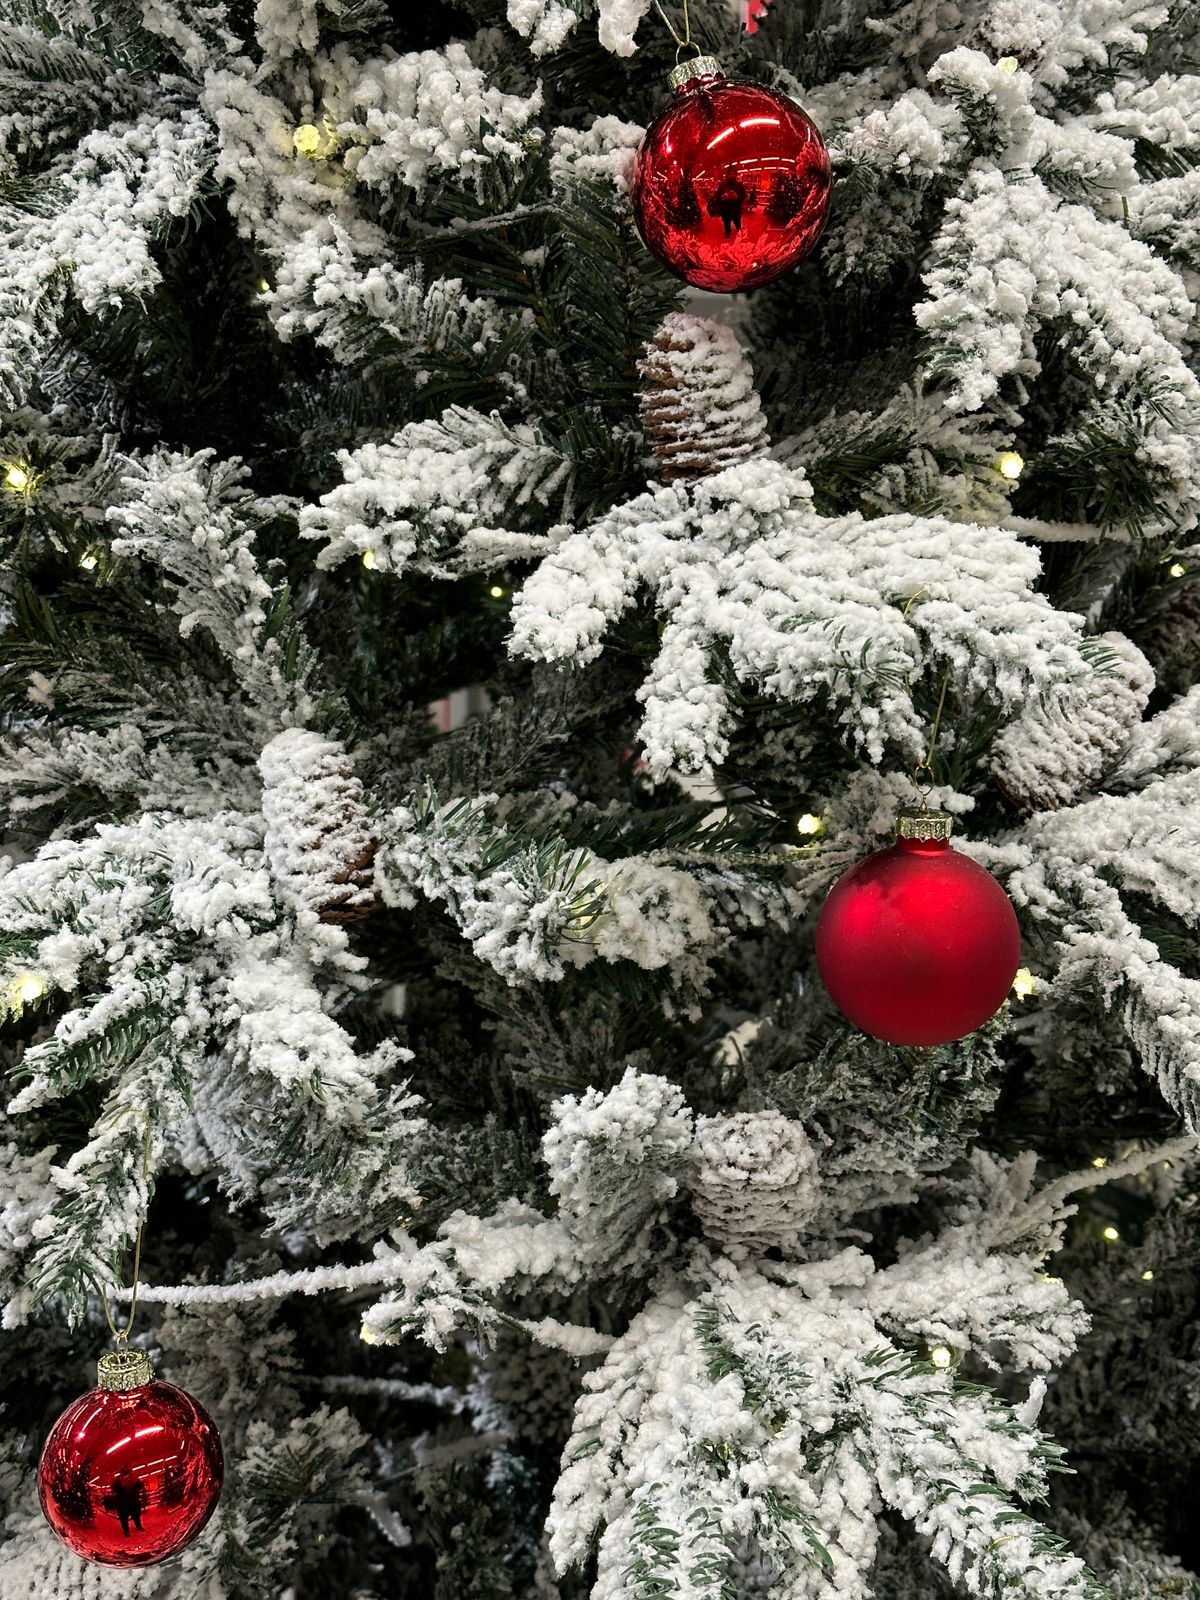
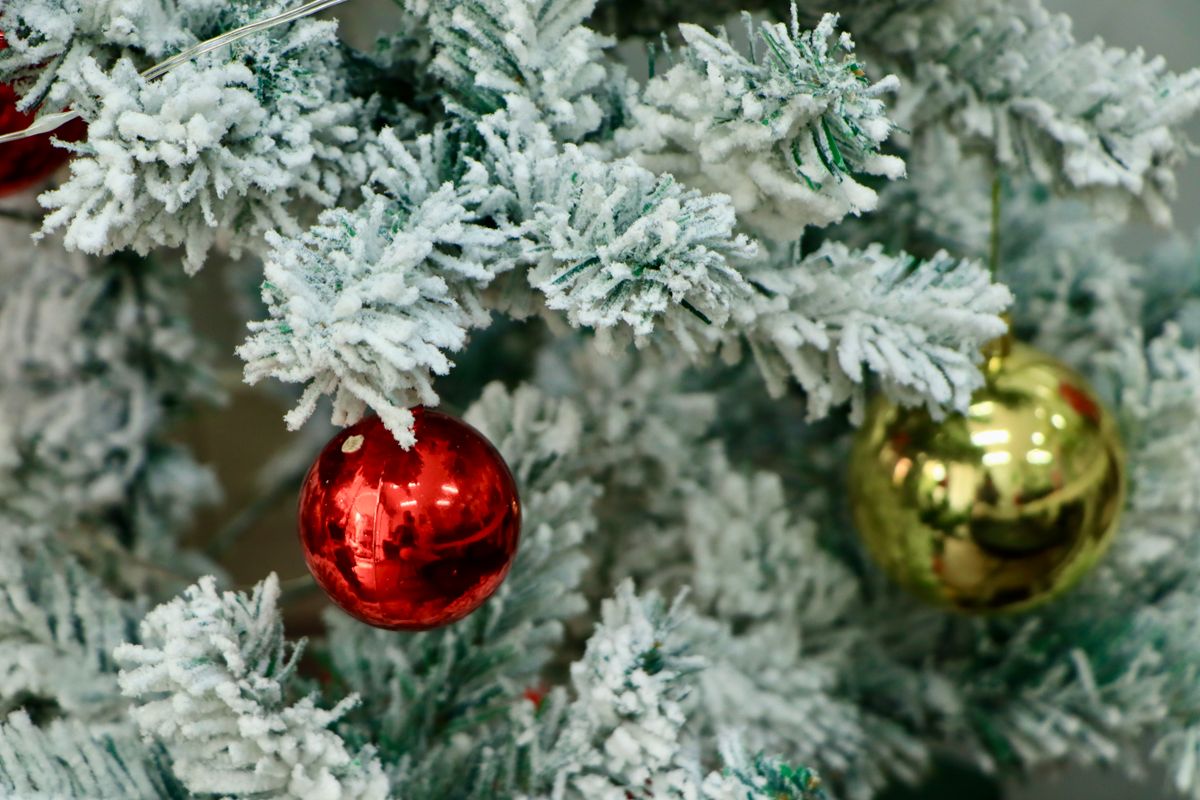
This is a placement technique more than a shopping list: on a frosted or flocked-look tree, I set red berry picks and small cones deep, close to the trunk, and keep baubles out at the tips. Depth is what makes a tree look professionally decorated — layers from trunk to tip, not everything hung on the outer inch where it is easiest to reach. Downside: deep placement is slower and scratchier work. Wear long sleeves; frosted branches are rough on forearms.
Cost: $12–22 for picks and cones | Time: 1 hour | Difficulty: Easy
Pro Tip: Work deep-to-outside in sections, top to bottom, so you are never reaching through finished layers and knocking them loose.
21. The Topper Finish — Star, Angel, or Bow, Done Safely
The topper goes on last, but I plan it first, because it decides the tree’s height and silhouette. Whatever you choose — star, angel, or the big bow from idea 1 — secure it to the top leader branch with florist wire or a zip tie, not balance. My safety rules are fixed: a sturdy step stool, never a chair; a second person footing the stool and handing pieces up; lights off while you work; and the tree checked for lean before anyone climbs. I learned the chair lesson in my twenties, fortunately onto a sofa. Downside: a heavy vintage topper can bend the leader — support it with a dowel wired alongside the branch.
Cost: $5–25 | Time: 20 minutes | Difficulty: Medium
Pro Tip: Measure your ceiling before buying the topper, not after. Tree height plus topper plus stool reach has embarrassed better decorators than me.
How These Looks Compare
| Idea | Best for | Cost | Effort |
|---|---|---|---|
| Velvet bow clusters | 2026 trend, low ornament count | $20–35 | Low |
| Jewel tones with gold | Evening, formal rooms | $40–80 | Medium |
| Dried citrus and cones | Natural, scented, handmade feel | $8–15 | High (drying time) |
| Scandinavian calm | Busy years, small calm rooms | $20–40 | Low |
| Lights-only minimal | A beautiful real tree | $15–30 | Medium |
| Colourful maximalist | Family keepsakes and kids | $0–20 | Medium |
Mistakes I Made (So You Don’t Have To)
I hung ornaments before ribbon. One year I finished 80 baubles, decided the tree needed ribbon, and knocked off a dozen pieces threading it through.
I bought ornaments with no count in mind. I once came home with 200 pieces for a 6-foot tree. Now I count first: 10–20 per foot, and I shop my own boxes before I shop a store.
I stood on a dining chair to place the star. The chair slid, I grabbed the tree, and we both nearly went. Step stool, second person, lights off — it takes two extra minutes and it is the rule in my house now, no exceptions for “just one quick adjustment.”
I mixed light temperatures. Warm-white strings from one box and daylight strings from another gave me a tree that was gold at the top and blue at the bottom.
Frequently Asked Questions
How many ornaments do I actually need for my tree?
Plan on roughly 10–20 ornaments per foot of height. That is 40–80 for a slim 4-footer, 70–140 for a full 7-foot tree, at the higher end if your ornaments are small.
What order should I decorate in?
Lights first, in layers; then ribbon, garland, and picks; then large ornaments, then medium, then small and special pieces at eye level; clusters and tinsel last; topper very last. That order is the single biggest difference between my early trees and my current ones.
How long did your favourite look actually last?
The velvet bows are on their second season and still hold their shape because the ribbon is wired. Dried citrus, honestly, lasts one season. Plan to remake citrus each year and enjoy it as a ritual, not a keepsake.
What would you do differently with a flocked tree?
I would buy fewer ornaments. My first flocked tree I decorated like a green tree and it looked stuffed — the white branches are decoration already. About 60 pieces on 7 feet, warm lights, and I would put a sheet down before starting, because flocking dust gets everywhere.
Can I mix real candles with tree greenery?
I do not, and I advise against it. Real flames near dry branches, flocking, ribbon, and tinsel are a fire risk I will not take in my own home. Battery candle clips give the same flicker, and I use those when I want the look — skip real candles on the tree itself.
Where can I find more low-cost decorating ideas?
Read this next: my easy DIY Christmas decorations — most of them pair with the tree looks above and use things already in a craft drawer.
Final Thoughts
Start with one of these Christmas tree decor ideas — forgive the repetition, it really is the decision that matters — pick your colours before your boxes, light in layers, and climb safely for that last piece. My tree this year is bows and amber light, and when I turn the lamps down, I do not miss a single ornament I left in the box.