20 Construction Birthday Party Ideas for Kids
When my nephew turned five, he did not ask for superheroes or dinosaurs. He asked for diggers, dump trucks, and a cake he could “demolish” with a spoon. That is how these construction birthday party ideas were born, and honestly, it became one of the easiest parties I have ever hosted.
I picked these ideas by testing them at home first with my own kids and neighborhood children. I kept only the activities that survived real chaos: spilled sand, dropped blocks, and one determined four-year-old in a plastic hard hat.
Kids do not need perfect decor. They need a job to do, a crew to join, and permission to get a little dusty. That is exactly what this list gives you, from check-in to the take-home tool kit.
Key Takeaways
- Construction parties work best when kids get a role.
- Keep one messy zone, one quiet building zone, and one active game.
- Hard hats, caution tape, and cardboard boxes do most decorating.
- Plan short activities; little builders switch jobs fast.
- End with a take-home favor so the fun goes home too.
Related article: Dinosaur Birthday Party Ideas for Kids — another high-energy theme if your child loves big machines and bigger adventures.
Why These Construction Birthday Party Ideas Work for Kids
I have hosted fancier parties that looked better in photos and fell apart in real life. This theme is the opposite: charmingly messy, and the mess is the point. Kids feel proud when they finish a tower or fill a truck.
It also scales well. I have run it for six kids in a living room and twenty in a backyard. The secret is the same: repeat simple stations, keep supplies in bins, and let kids rotate like a real crew.
1. Hard Hat Check-In and Name Vests

Set up a small table by the door with plastic hard hats, yellow paper vests, and name stickers. I cut vests from yellow poster board, stapled the sides loosely, and let each child write their crew name in thick marker. It takes five minutes, and suddenly shy kids walk in taller.
At my nephew’s party, one little girl named herself “Boss Maya” and wore that vest all afternoon, even during cake. The honest downside is sizing: one-size hats slide down over small foreheads, so keep a roll of masking tape inside each hat to tighten the fit.
Cost: $15–$25 | Time: 20 minutes setup | Difficulty: Easy
Pro Tip: Write names before guests arrive if you have a guest list, so check-in stays fast and nobody waits in a line.
2. Sandbox Dump Truck Dig

Fill a shallow bin or sandbox with play sand and bury small wrapped prizes, plastic cones, and toy tools. Give each child a dump truck and a scoop, and let them dig in turns of three minutes. I used a large under-bed storage bin, which kept the sand contained and made cleanup a simple lid-and-slide job.
My son found a tiny rubber duck first and acted like he had struck gold. The downside is real: sand travels everywhere, even with a sheet underneath, so run this outside or in a garage.
Cost: $10–$20 | Time: 30 minutes play | Difficulty: Easy
Pro Tip: Bury one “golden bolt” painted gold and give its finder a small extra prize, so even slow diggers stay hopeful.
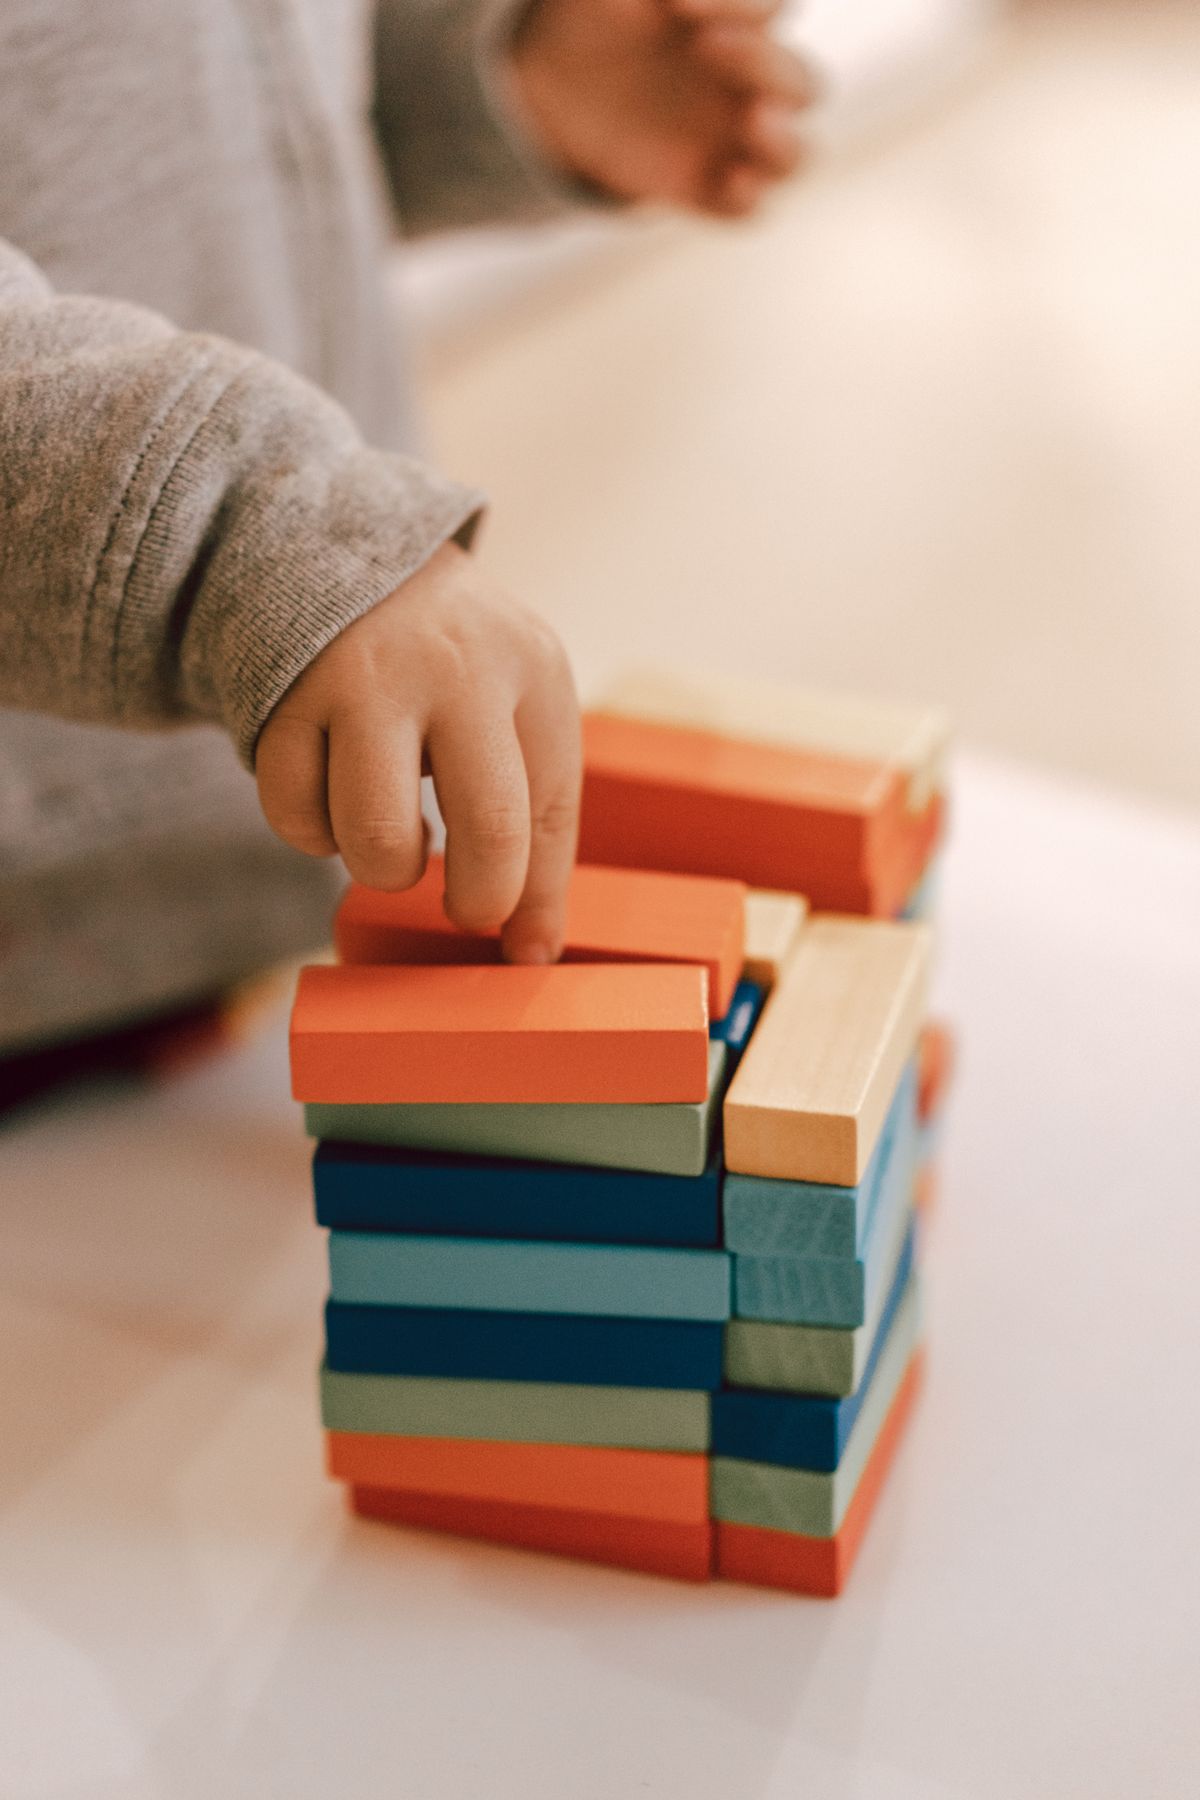
3. Block Tower Build-Off

Split kids into teams of three and give each team the same pile of wooden blocks. Set a timer for ten minutes and challenge them to build the tallest tower that stands on its own for ten seconds. I used two identical dollar-store block sets per team, which kept the contest fair.
I loved watching a quiet six-year-old become the team engineer, calmly telling everyone where the big blocks belonged. The downside is the crash: towers fall loudly, and one sensitive child cried when his team’s tower toppled, so I now award a “best crash” cheer too.
Cost: $10–$30 | Time: 15 minutes | Difficulty: Easy
Pro Tip: Photograph each tower before judging, because kids will want proof when they tell the story later.
4. Crane Hook Treasure Lift

Tie a small magnet or hook to a length of string on a toy crane, or build a simple crane from a cardboard box and a wooden dowel. Scatter paper clips, small metal cars, and prize tokens on the floor, and let kids “lift” them into a bucket. I once taped string to a ladle handle when our toy crane broke, and nobody noticed.
The kids took this game very seriously, whispering directions like real crane operators. The downside is patience: younger kids get frustrated when the hook swings, so use a short string, about 18 inches, and a wide bucket.
Cost: $5–$15 | Time: 20 minutes | Difficulty: Easy
Pro Tip: Put a soft rug under the lifting zone, so dropped treasures do not roll under furniture.
5. Tool Belt Craft Station

Cut tool belts from brown craft paper or felt, with three pockets each, and set out foam tools, stickers, and crayons. Kids decorate their belts, then “collect” foam hammers, wrenches, and screwdrivers as they finish other stations. I pre-cut the belts the night before, saving a table of frustrated scissor users.
At our party, the belts became part of the costume, not just a craft. The downside is that foam tools bend and tear, so buy a few extras and skip the thinnest foam sheets if you can.
Cost: $12–$20 | Time: 25 minutes | Difficulty: Easy
Pro Tip: Staple, do not glue, the belt pockets, because glue takes too long to dry for excited kids.
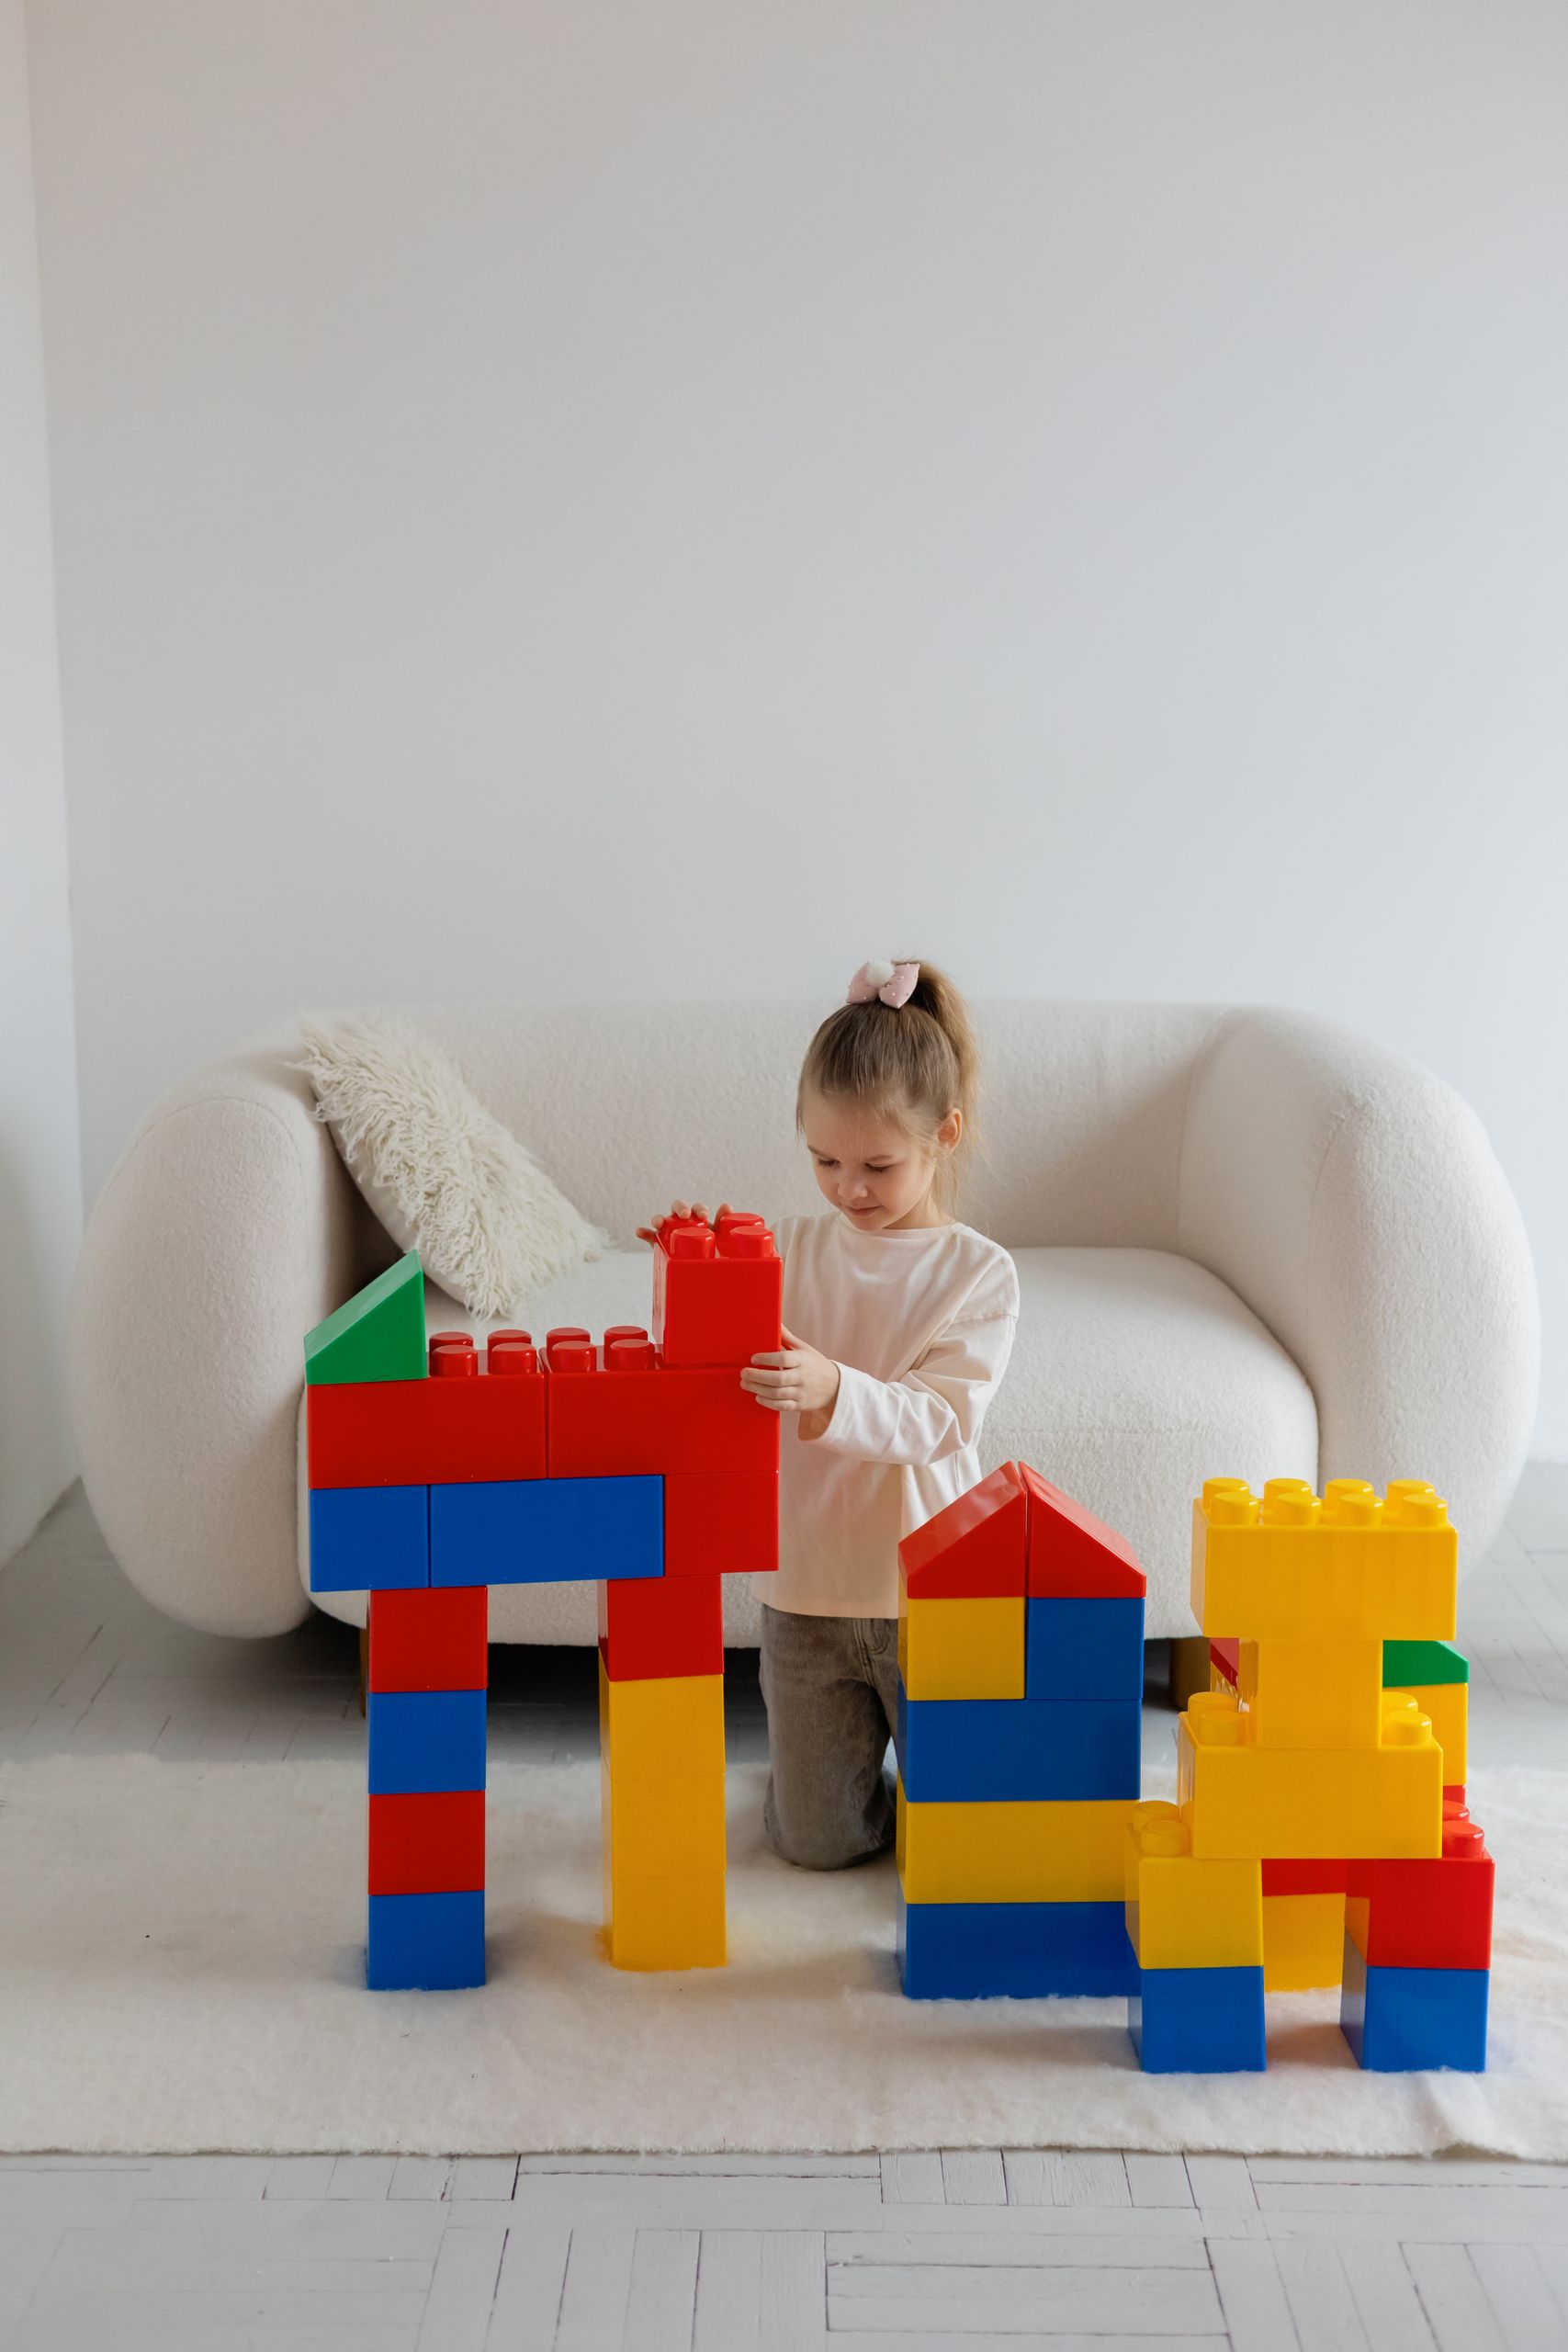
6. LEGO Free-Build City

Pour your brick collection onto a table covered with a green tablecloth, add a few toy cars and road tape, and let kids build one shared city. I drew roads on the tablecloth with black washi tape, giving the city shape. The birthday child places the “city hall” in the center.
I still remember two brothers who argued over a bridge, then built two side by side and called it the “double-decker.” The downside is cleanup: bricks hide in pockets and shoes, so do a quick brick check before kids leave.
Cost: $0–$15 | Time: 30 minutes | Difficulty: Easy
Pro Tip: Use large bricks for kids under four, and keep tiny pieces in a separate, supervised bowl.
7. Toddler Soft Block Zone

If toddlers are coming, give them their own safe corner with foam blocks, soft balls, and a low cardboard “wall” to knock down. I stacked foam bricks into a wall on a play mat, and toddlers took turns running through it like a demolition crew.
My niece, barely two, rebuilt that wall four times, each time with total seriousness. The downside is noise: foam walls make a satisfying thump, and twenty toddlers thumping at once is loud, so keep this zone away from the cake table.
Cost: $15–$30 | Time: Ongoing play | Difficulty: Easy
Pro Tip: Put a baby gate or tape line around this zone, so older kids do not crash the toddler builds.
8. Brick Stack Race

Line up two teams and give each child one brick to carry, balanced on a small tray or a piece of cardboard, to a building spot. They stack their brick, run back, and tag the next builder. I used a plastic tray for each team, making wobbly bricks feel like a real delivery job.
The race got gloriously silly when a brick slid off and a seven-year-old shouted, “Spill on site!” and everyone stopped to help. The downside is speed: competitive kids may shove, so I keep teams small and the track short, about ten feet.
Cost: $0–$10 | Time: 15 minutes | Difficulty: Easy
Pro Tip: Let the slowest builder go first, so the race stays close and nobody feels left behind.
9. Build Your Own Road Town

Roll out brown craft paper on a long table, draw roads with markers, and add toy trucks, traffic cones, and small houses made from milk cartons. Kids drive trucks along the roads, deliver “supplies” in bottle caps, and add buildings as they go. I saved clean milk cartons for a week and painted them gray and yellow.
This was the station parents kept photographing, because the town grew more detailed every hour. The downside is space: the paper town wants a whole table, so keep it away from the food table.
Cost: $5–$15 | Time: 30 minutes | Difficulty: Easy
Pro Tip: Tape the paper down at the corners, or one enthusiastic truck driver will pull the whole town onto the floor.
10. Wrecking Ball Smash

Build a tower from foam blocks or empty cereal boxes, then let kids swing a soft ball on a string, like a wrecking ball, to knock it down. I hung the ball from a broom handle held by two adults. Each child gets three swings, then helps rebuild.
I watched a shy five-year-old miss twice, then smash the whole tower on his third swing. The downside is rebuild time: kids want to smash more than rebuild, so assign two rebuild helpers per round.
Cost: $5–$10 | Time: 20 minutes | Difficulty: Easy
Pro Tip: Use a soft foam ball only, never a hard ball, and keep other kids behind a tape line.
Also read: Superhero Birthday Party Ideas — if your little builder also wants to save the city after building it.
11. Load and Dump Color Sort

Pour colored pom-poms or plastic balls into a bin and label four dump zones by color with construction paper signs. Kids scoop a load, drive their truck to the matching zone, and dump it in. I used colored buckets from the dollar store, making sorting feel like a real delivery route.
Even my most wiggly guest settled into this game, because driving and dumping is deeply satisfying. The downside is spillover: pom-poms bounce, so use a bin with high sides and keep a dustpan handy for the great pom-pom escape.
Cost: $8–$15 | Time: 20 minutes | Difficulty: Easy
Pro Tip: For older kids, add a timer and a “delivery slip” with a color order to follow.
12. Blueprint Drawing Table

Cover a table with blue paper, hand out white crayons, rulers, and stencils, and invite kids to draw blueprints for their dream house, truck, or treehouse. I printed a simple grid on the blue paper, making even scribbles look like real plans.
One eight-year-old drew a house with a slide from the bedroom to the kitchen, and honestly, I would live there. The downside is that white crayon on blue paper is faint in photos, so offer silver markers too for kids who want their plan to shine.
Cost: $5–$12 | Time: 20 minutes | Difficulty: Easy
Pro Tip: Hang finished blueprints on a “planning wall” with tape, so parents see them before they get folded into pockets.
13. Team Tower Relay

Place a pile of blocks at one end of the yard and a building base at the other. Teams race, one child at a time, to carry a block and add it to their tower, with the rule that the tower must still stand when the timer ends. I used a kitchen timer set for eight minutes.
Our relay ended in a tie, and both teams insisted the other team had cheated in the friendliest way possible. The downside is falling towers near the finish line, so I judge height only if the tower is still standing after a slow count to five.
Cost: $0–$10 | Time: 15 minutes | Difficulty: Easy
Pro Tip: Use flat, wide blocks for the base, because narrow bases tip before the race even gets fun.
14. Hammer and Wrench Pretend Tool Bench
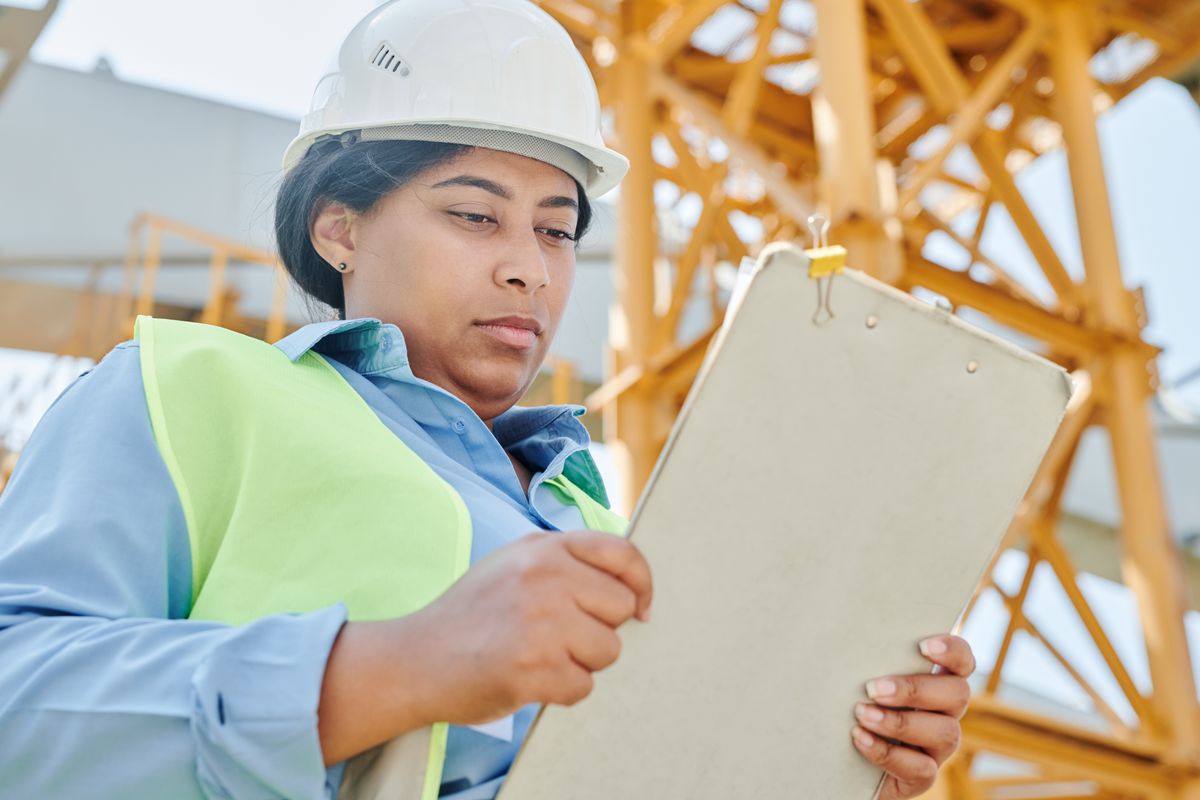
Set a low table as a workbench with plastic tools, a pegboard made from cardboard, and foam “wood” pieces with pre-punched holes. Kids hammer plastic nails, tighten chunky bolts, and fix a pretend broken chair. I once screwed a wooden board to two sturdy boxes, and the solid thump made the station feel real.
My daughter spent forty minutes at this bench, fixing everything in sight, including my shoe. The downside is tool envy: everyone wants the hammer, so buy at least three hammers and rotate them with a simple “tool checkout” list.
Cost: $15–$30 | Time: 30 minutes | Difficulty: Easy
Pro Tip: Skip real tools completely for kids under six, and keep all small bolts in a lidded jar between turns.
15. Construction Cake and Snack Table
Build the snack table like a job site: a chocolate cake with crushed cookie “dirt,” candy rocks, and a toy dump truck on top, plus pretzel “logs,” cheese cube “bricks,” and juice box “fuel.” I baked a chocolate sheet cake, frosted it brown, and let the birthday child place the truck himself.
Parents loved that the food matched the theme without costing a fortune. The downside is the truck: kids will fight over it, so buy two small trucks, one for the cake and one to keep clean.
Cost: $20–$40 | Time: 45 minutes prep | Difficulty: Medium
Pro Tip: Put the cake truck on a small plate, not directly on the frosting, so it lifts off cleanly for photos.
16. Site Manager Photo Booth

Hang a yellow and black backdrop, add a sign that says “Under Construction: Birthday Zone,” and set out hard hats, vests, and cardboard tools as props. I made the sign from a flattened cereal box and black tape. Parents can snap pictures while kids pose as crew boss.
At our party, even the grandparents put on hats for this one, which tells you everything. The downside is the backdrop: lightweight paper tears when kids lean on it, so tape it to a wall or a sturdy board, not just a string.
Cost: $10–$20 | Time: 20 minutes setup | Difficulty: Easy
Pro Tip: Add a small step stool for short kids, so their hats do not hide their faces in photos.
17. Safety Vest Obstacle Course

Set up a simple course with cones to weave through, a plank to walk across, a tunnel made from a cardboard box, and a bucket to toss a beanbag into. Kids wear their vests and “inspect” each station, earning a sticker at every stop. I used pool noodles as course borders, which bent instead of tripping.
This course burned off more energy than any other activity we ran, which parents thanked me for later. The downside is waiting: if the line gets long, kids lose interest, so run two identical courses side by side when you have more than twelve guests.
Cost: $10–$20 | Time: 25 minutes | Difficulty: Easy
Pro Tip: Time older kids, but let younger kids walk the course untimed, so everyone finishes proud.
18. Caution Tape Entrance and Backdrop

Crisscross yellow caution tape across the front door, drape it along fences, and wrap it around table legs for instant theme. Add a few cardboard “road closed” and “men at work” signs, and the whole house feels like a site before you spend another dollar. I bought two rolls for under five dollars.
Guests loved ducking under the tape to enter, which made arrival feel like part of the game. The downside is that tape sticks to hair and clothes if it hangs too low, so keep the lowest strand at adult shoulder height.
Cost: $5–$10 | Time: 15 minutes | Difficulty: Easy
Pro Tip: Use painter’s tape behind caution tape on painted walls, so nothing peels off with the decor.
19. Measure-Up Challenge
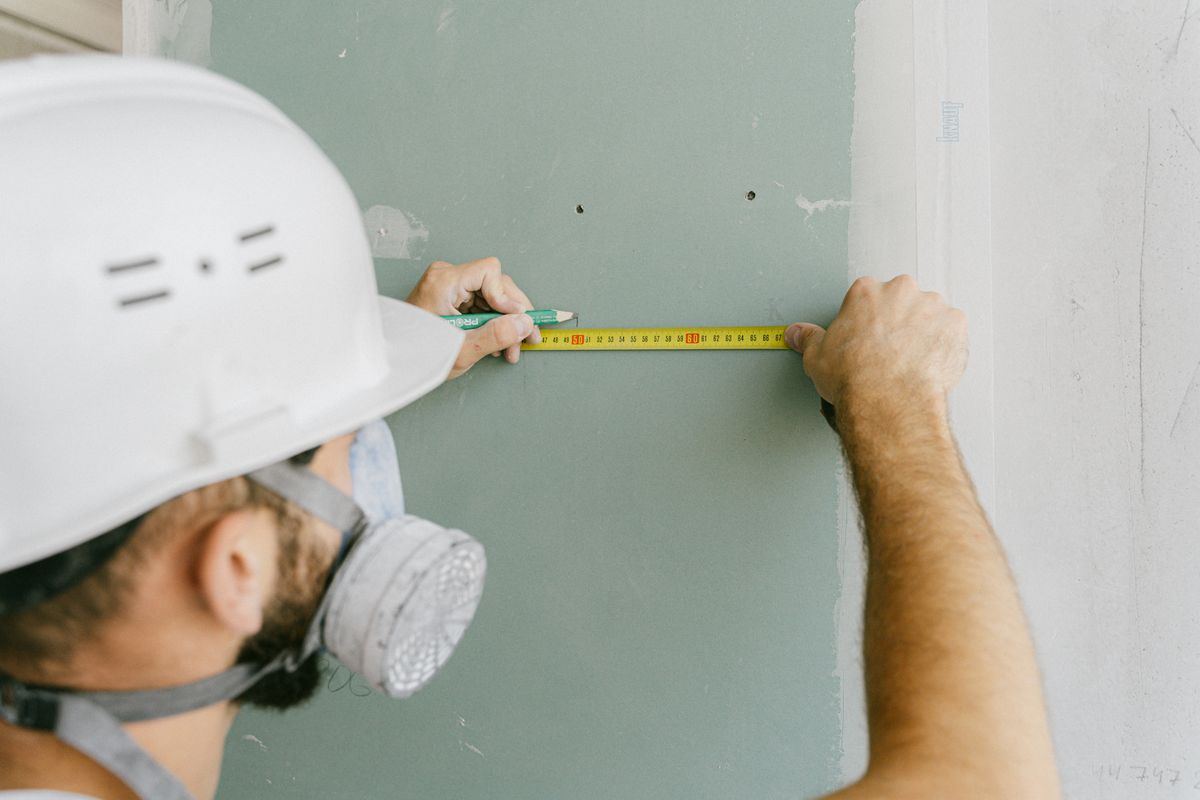
Give kids a soft tape measure and a simple checklist: measure the table, the door, and their own shoe, then write down the numbers. Offer a small prize for the closest guess before measuring, and a sticker for every finished measurement. I used fabric tape measures, safe and easy for small hands.
I was surprised how much kids loved this quiet game after all the running around. The downside is reading numbers: younger kids need a buddy to read the tape, so pair little ones with older helpers.
Cost: $5–$12 | Time: 15 minutes | Difficulty: Easy
Pro Tip: Round all answers to whole inches, so kids do not get stuck on fractions.
20. Goodie Bag Tool Kit Send-Home
Pack each favor bag like a tool kit: a small plastic tool, a mini notebook “blueprint pad,” crayons, a toy truck, and a few candy rocks. I used brown paper lunch bags, drew a tool outline on each, and let kids pack their own kits. Packing became the last activity.
One mom told me her son carried that bag everywhere for a week. The downside is cost creep: little tools add up fast, so set a firm per-bag budget and buy in bulk packs.
Cost: $3–$6 per bag | Time: 20 minutes packing | Difficulty: Easy
Pro Tip: Skip candy for kids with allergies and swap in stickers or a bouncy ball, then label bags clearly.
Quick Comparison Table
| Idea | Best Age | Cost | Mess Level |
|---|---|---|---|
| Hard Hat Check-In | 3–10 | Low | Low |
| Sandbox Dump Truck Dig | 3–8 | Low | High |
| Block Tower Build-Off | 4–10 | Low | Low |
| Crane Hook Treasure Lift | 4–9 | Low | Low |
| LEGO Free-Build City | 5–10 | Low | Medium |
| Toddler Soft Block Zone | 1–3 | Low | Medium |
| Wrecking Ball Smash | 4–9 | Low | Medium |
| Safety Vest Obstacle Course | 4–10 | Low | Medium |
| Construction Cake Table | All ages | Medium | Medium |
| Goodie Bag Tool Kit | 3–10 | Low | Low |
Mistakes I Made / What I Learned the Hard Way
1. I bought one hammer for ten kids. It became the most valuable object at the party, and I spent twenty minutes refereeing turns. Now I buy three of every popular tool.
2. I put the sand bin next to the cake table. Sand and frosting are not friends. One excited truck driver later, we had gritty cupcakes. Now the messy zone always lives far from food.
3. I planned activities that lasted too long. My first schedule gave each game thirty minutes, but most kids finished in fifteen. Now I plan short rounds, repeat favorites, and leave free-build time open.
4. I forgot a quiet corner. Not every child wants noise and racing. One overwhelmed guest hid under a table until I made a small drawing spot. Now every party has a calm zone with books and paper.
Frequently Asked Questions
What age is a construction party best for?
Ages three to eight are the sweet spot. Toddlers enjoy the soft block zone, and older kids enjoy timed build challenges, so mixed ages work well with separate stations.
How do I keep a construction party safe?
Use only plastic or foam tools, keep small pieces away from toddlers, and tape down cords. Skip real tools entirely, and keep an adult at the sandbox and obstacle course.
What if it rains on party day?
Move the dig into a large bin in the garage, run the obstacle course in a hallway, and keep building stations indoors. These construction birthday party ideas were tested in a living room too, and they still worked.
How much should I budget for this theme?
Most families can run this party for $80 to $150, not counting cake, because cardboard, tape, and dollar-store tools carry the theme. Borrow blocks and trucks first, then buy hats, vests, and favors.
Can I do this theme without buying themed plates?
Yes. Yellow and black paper plates, brown napkins, and caution tape look more like a real job site than licensed plates, and cost far less. Save your budget for activities kids will remember.
Final Thoughts
If your child lights up at a digger, trust that excitement. You do not need a perfect Pinterest party. You need a few good stations, willing builders, and a cake that survives a toy truck.
Start with hard hats, pick three or four ideas, and leave room for free play. Our best moments were unplanned: the double-decker bridge, the golden bolt, and Boss Maya running the site.
Read this next: First Birthday Party Favor Ideas — handy if you are also planning favors for younger guests.