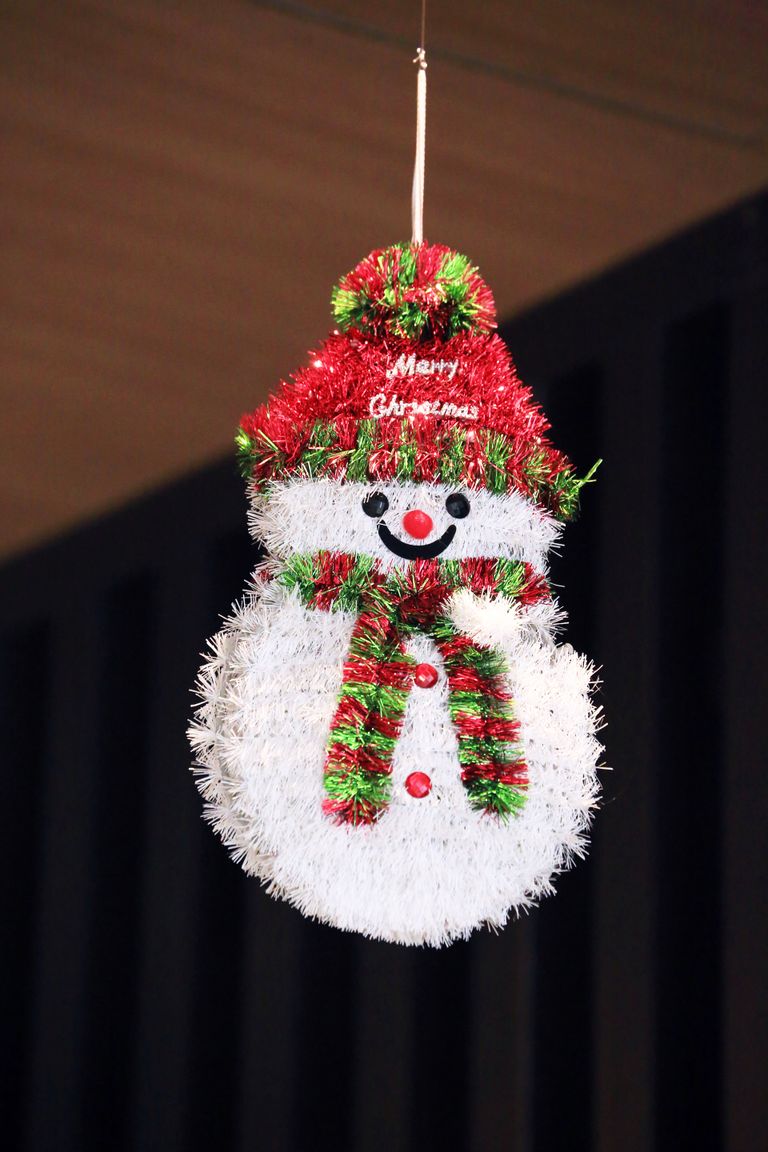
Kids Gingerbread Crafts
I still remember the first time my kids decorated gingerbread at our kitchen table, and these kids gingerbread crafts are the projects that have earned a repeat every year since. I picked and tested each idea at home with children aged 3 to 10, keeping only the ones that were fun, achievable, and safe with a little supervision. You will find decorating, house building, gifts and displays below, with honest notes on time, cost and allergies.
Before you start, cover the table, put on aprons, and set out small bowls for icing and candies. Bake biscuits or houses the day before if you can, so decorating day stays calm. If an idea looks too long for your child, split it over two days, as I often do with the village projects.
Key Takeaways
- Decorate baked biscuits for ages 3 to 5, and save house building and piping for ages 6 and up.
- Bake a day ahead, let icing dry fully, and use battery candles only near food displays.
- Check every ingredient for nut, egg, gluten and dairy allergies before you start, and label gift boxes.
- Split big projects over two days, and keep small candies away from toddlers at all times.
Kids Gingerbread Crafts by Skill and Time
This list runs from simple decorating to full house villages, so you can pick by age, patience and how much time you have today. Each idea includes what I used, what worked, and what to watch out for.
1. Classic Gingerbread Men Decorating
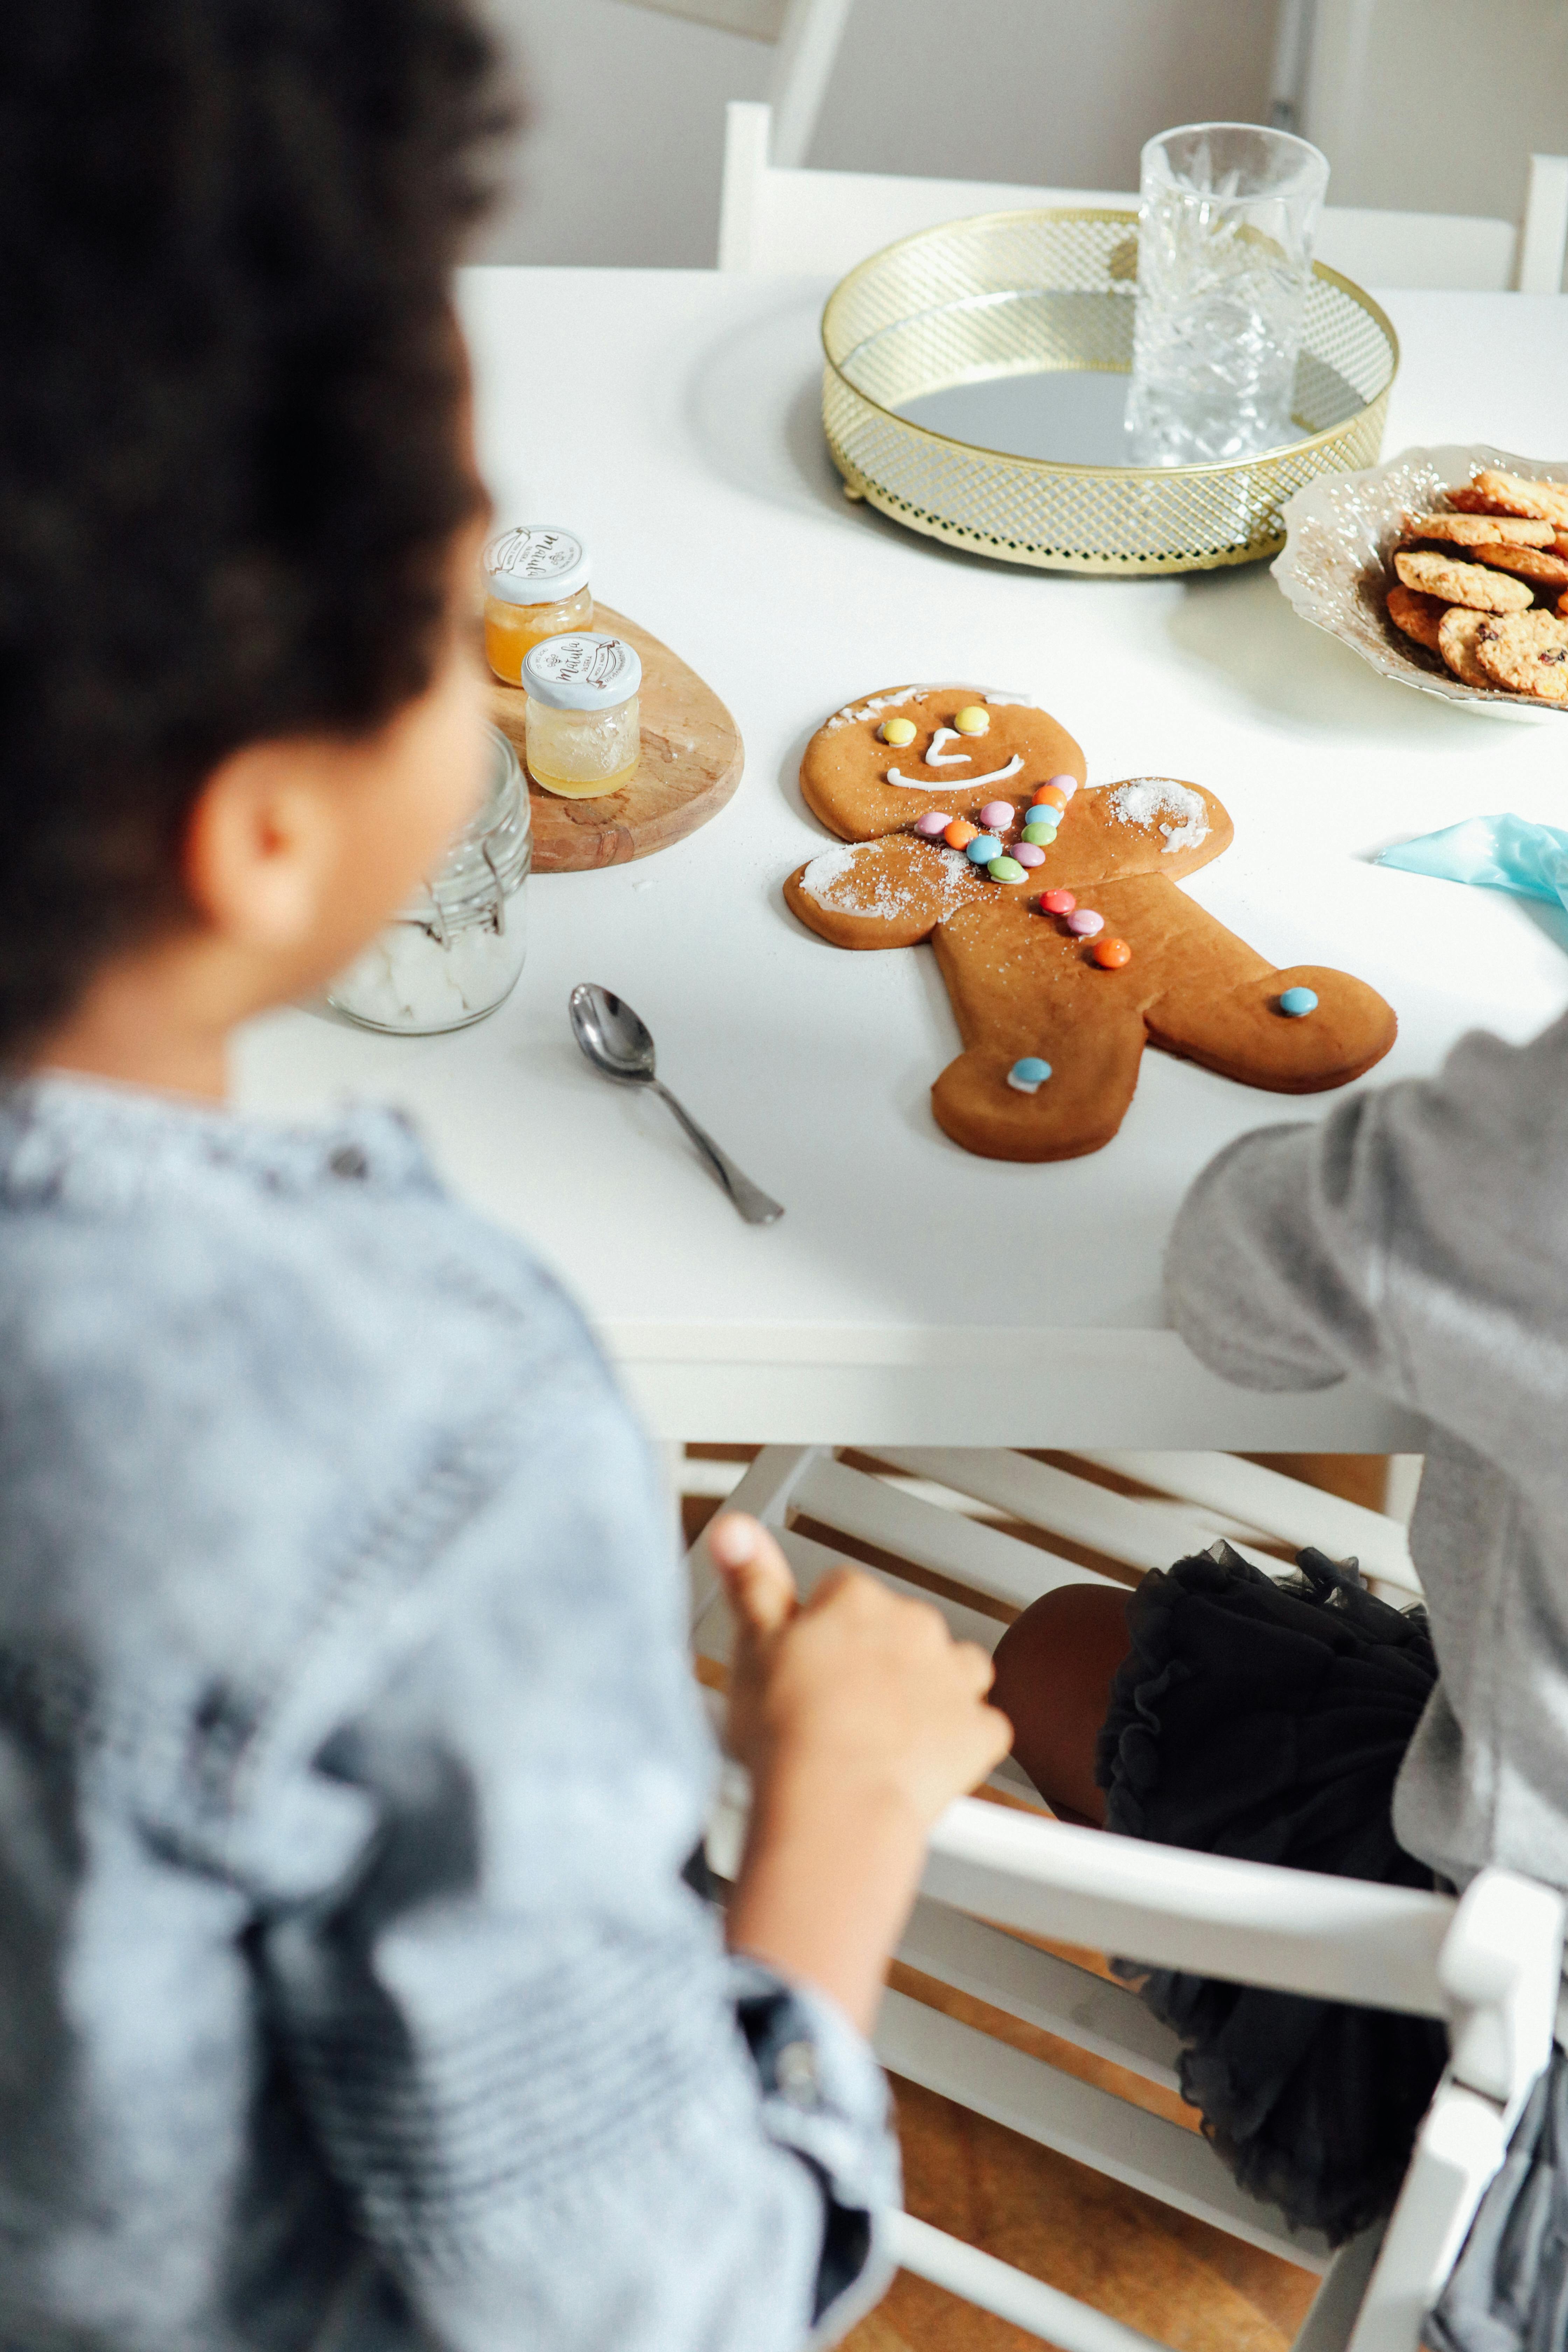
Set out baked gingerbread men, white icing in a squeeze bottle, and small bowls of sprinkles and candies, then let each child design their own person. I did this with my kids last year, and the best part was how different each one looked, from a neat smiling man to a gloriously messy one covered in sprinkles. We baked the men the day before, so decorating day felt calm rather than rushed. Let the icing set for an hour before packing or hanging them.
Pro Tip: put icing in a zip bag with a tiny corner snipped off, for easy squeezing. Cost: $4-7 | Time: 40 minutes | Difficulty: Easy. Watch out: check for nut, egg and gluten allergies before choosing candies, and keep small candies from toddlers.
2. Gingerbread Men with a Friend

Pair children up and give each pair two gingerbread men to decorate as a matching set, one for each child to take home. I tried this at a playdate, and the children loved comparing outfits and swapping sprinkle colours. My daughter made a gingerbread girl with a red dress, while her friend made a boy with a blue scarf, and they traded one each. It teaches sharing without a lecture, and everyone leaves with a decorated biscuit they are proud of.
Pro Tip: label trays with names, so decorated men do not get mixed up. Cost: $4-7 | Time: 40 minutes | Difficulty: Easy. Watch out: supervise sharing of candies, and wash hands before handling food.
3. Icing Piping Practice Sheet
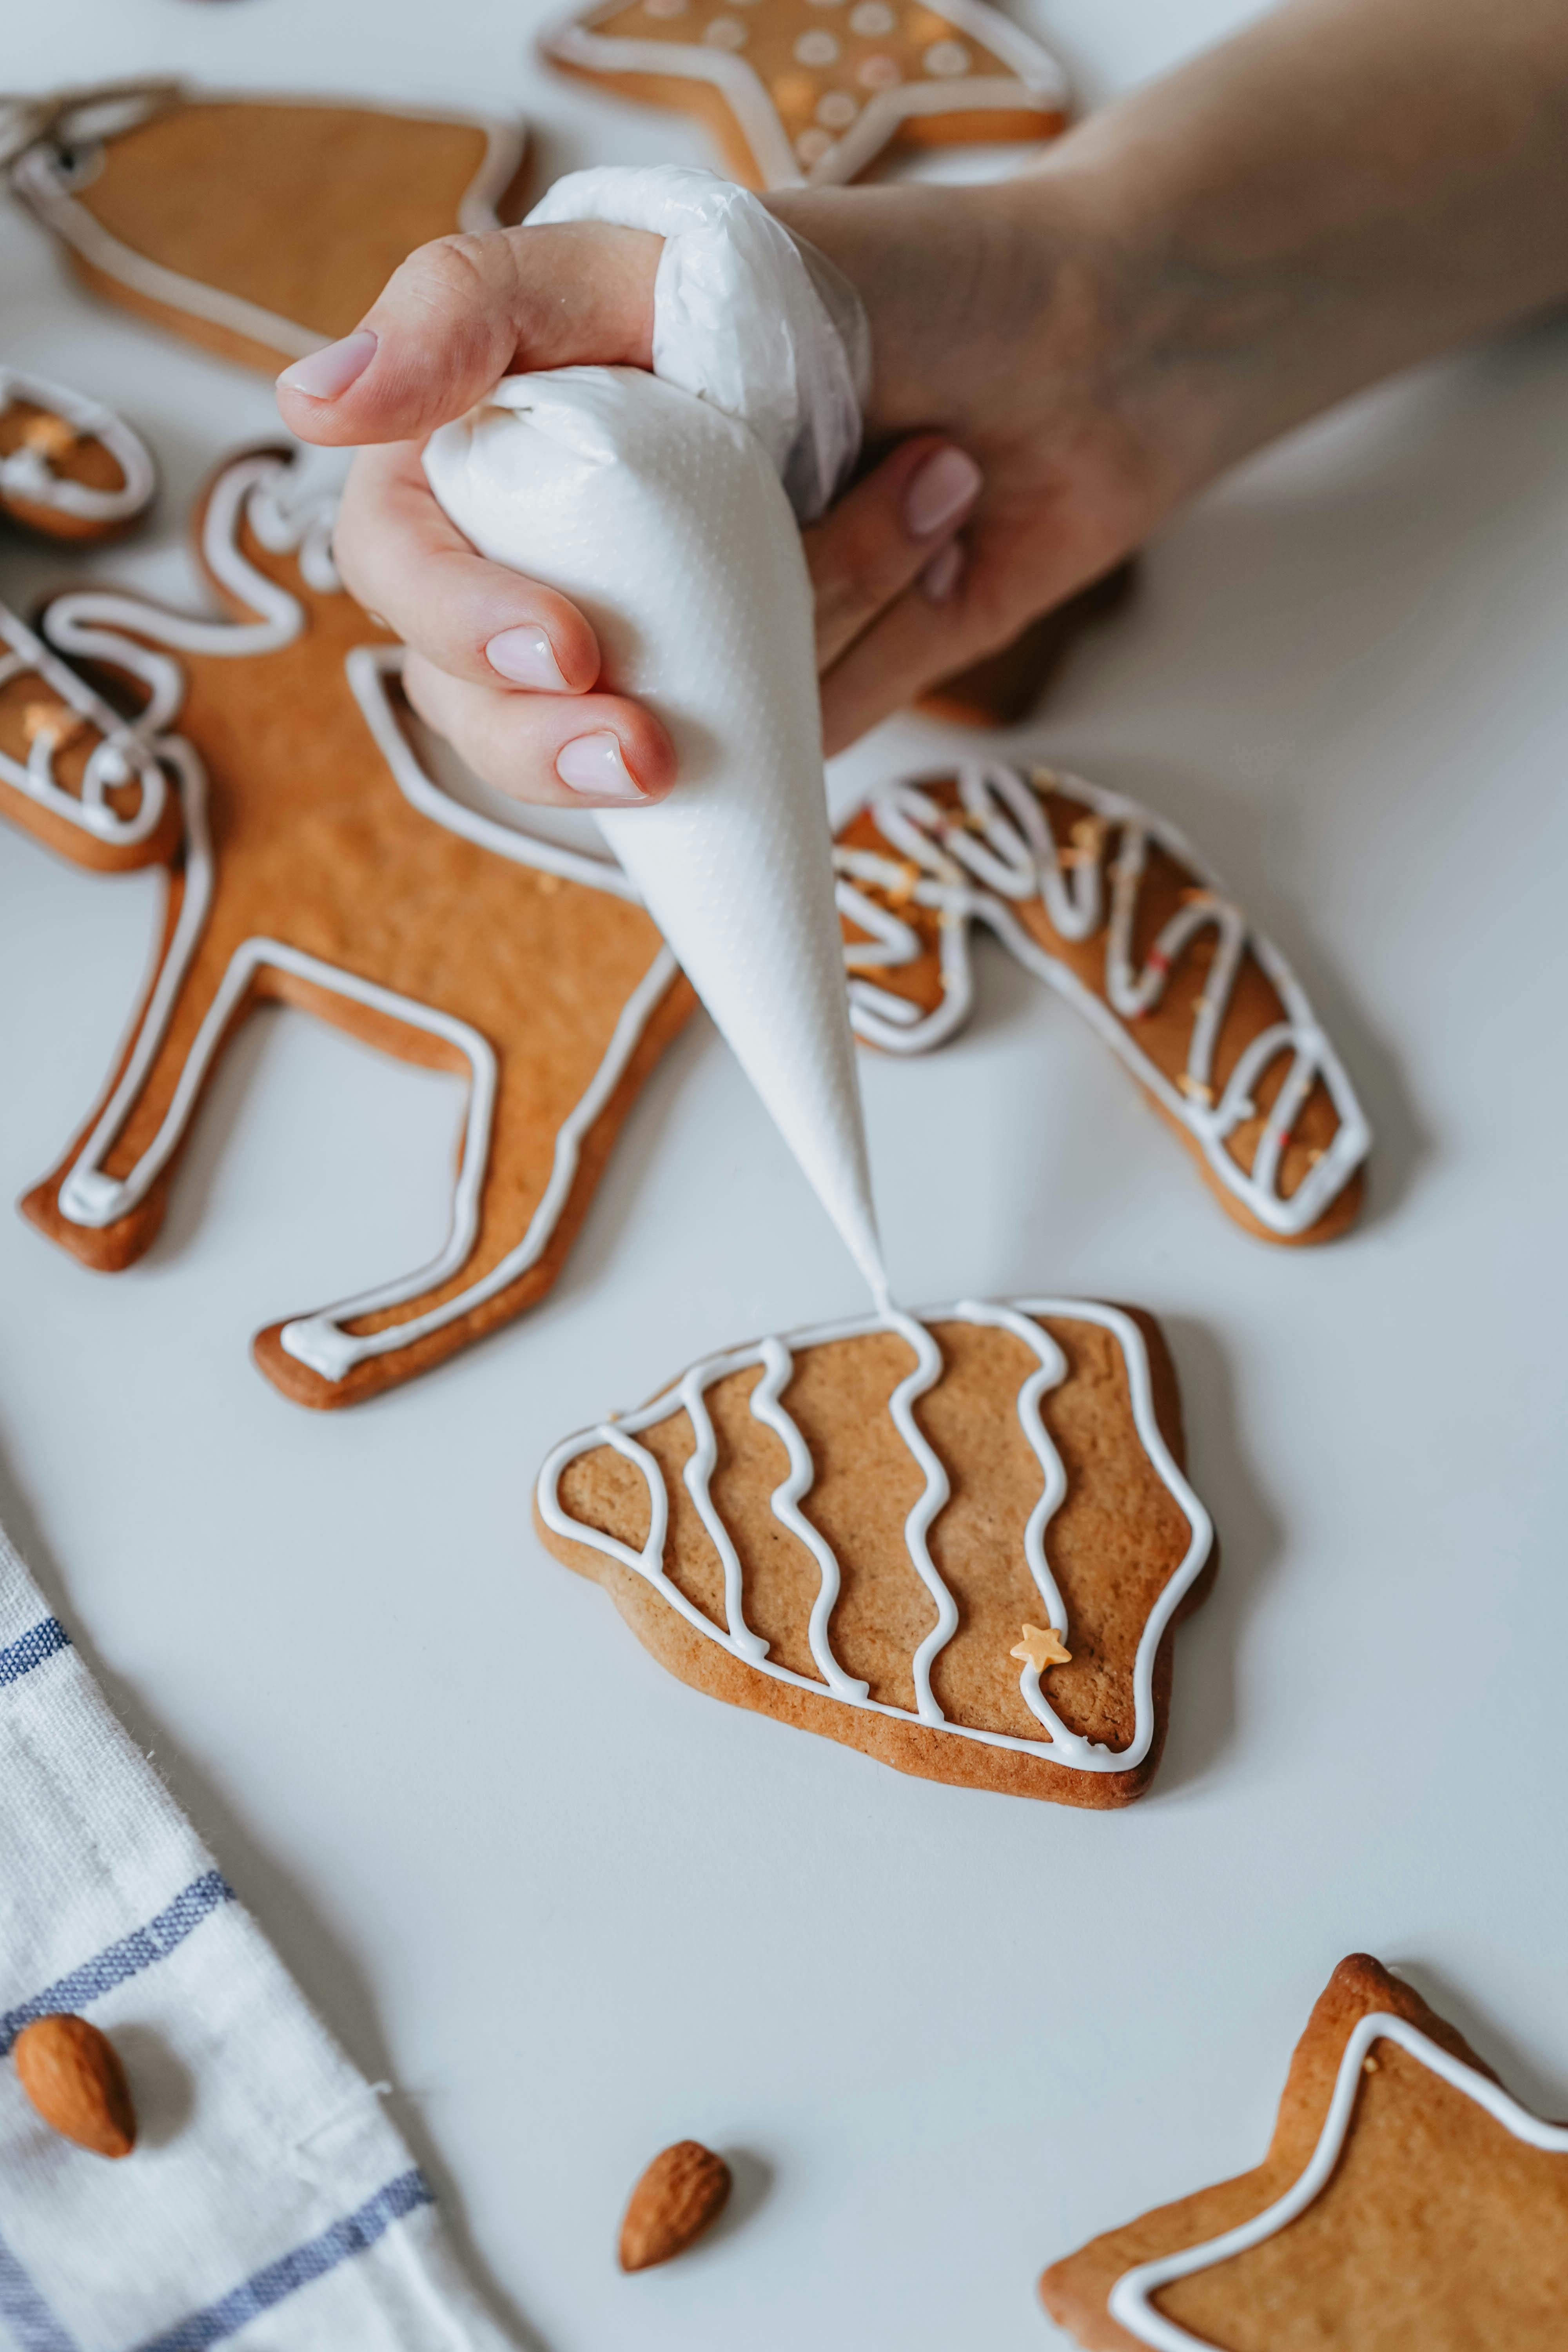
Before decorating real biscuits, let kids practise piping lines, dots and zigzags on baking paper with white icing. I learned this trick after my youngest squeezed icing everywhere on her first gingerbread man, and a practice sheet changed everything. Ten minutes of dots and squiggles gave her control, and her next biscuit looked genuinely neat. It also uses up leftover icing, and children enjoy eating their practice sheet afterwards if you use a clean surface.
Pro Tip: use a thicker icing for practice, so lines hold their shape. Cost: $2-3 | Time: 20 minutes | Difficulty: Easy. Watch out: keep icing off clothes, and do not let children pipe near their faces.
4. Gingerbread Cookie Gift Box

Decorate a batch of gingerbread cookies, then pack four or five into a small box lined with tissue paper for a teacher or grandparent. I helped my son pack a box for his teacher, and he chose his neatest cookies, wrapped them carefully, and wrote a card to go with them. The gift felt personal in a way a shop gift never does, and it cost very little. Add a ribbon and a handwritten label, and it looks ready for giving.
Pro Tip: let icing dry fully overnight before packing, or designs will smudge. Cost: $3-6 | Time: 45 minutes | Difficulty: Easy. Watch out: note ingredients on the box for anyone with allergies.
5. Gingerbread in a Bowl Display

Pile decorated gingerbread men, stars and trees into a pretty bowl as a table centrepiece, with a few pine sprigs tucked around the edges. I did this for our Christmas table, and guests kept picking up a biscuit between courses, which was exactly the point. My kids chose which shapes went on top, and the bowl looked festive without any extra decoration. It is the easiest display in this list, and it doubles as dessert.
Pro Tip: put plain biscuits at the bottom and decorated ones on top. Cost: $3-5 | Time: 15 minutes | Difficulty: Easy. Watch out: keep the bowl out of reach of pets, and check for allergies before guests help themselves.
Related article: for more Christmas projects to pair with a gingerbread afternoon, that list has plenty of simple seasonal ideas.
6. Mini Gingerbread House Build

Build a small gingerbread house from four walls and two roof pieces, sticking them together with thick royal icing and letting it set before decorating. I built my first house with my kids using a kit, and we learned to hold the walls for a full minute while the icing grabbed. Our roof slid off twice before we got it right, but that became part of the story. Once set, children can add candy roof tiles, a biscuit door and icing snow.
Pro Tip: build the house the day before decorating, so the icing is rock solid. Cost: $8-15 for a kit | Time: 60 minutes | Difficulty: Medium. Watch out: an adult should handle any hot sugar or oven steps, and keep small candies from toddlers.
7. Gingerbread House with Lights

Place a small battery fairy light inside a gingerbread house, so it glows through the windows and door at night. I tried this with a house my daughter decorated, and the warm glow on a dark evening made it look like a real cottage. We used a short battery string, tucked the battery pack behind the house, and switched it on at dinner. It turns a craft into a night light for a few days, and children love showing it off after dark.
Pro Tip: use battery lights only, never mains lights near food. Cost: $10-18 including lights | Time: 60 minutes | Difficulty: Medium. Watch out: keep the battery pack dry, and do not leave lights on overnight.
8. Gingerbread Village Display
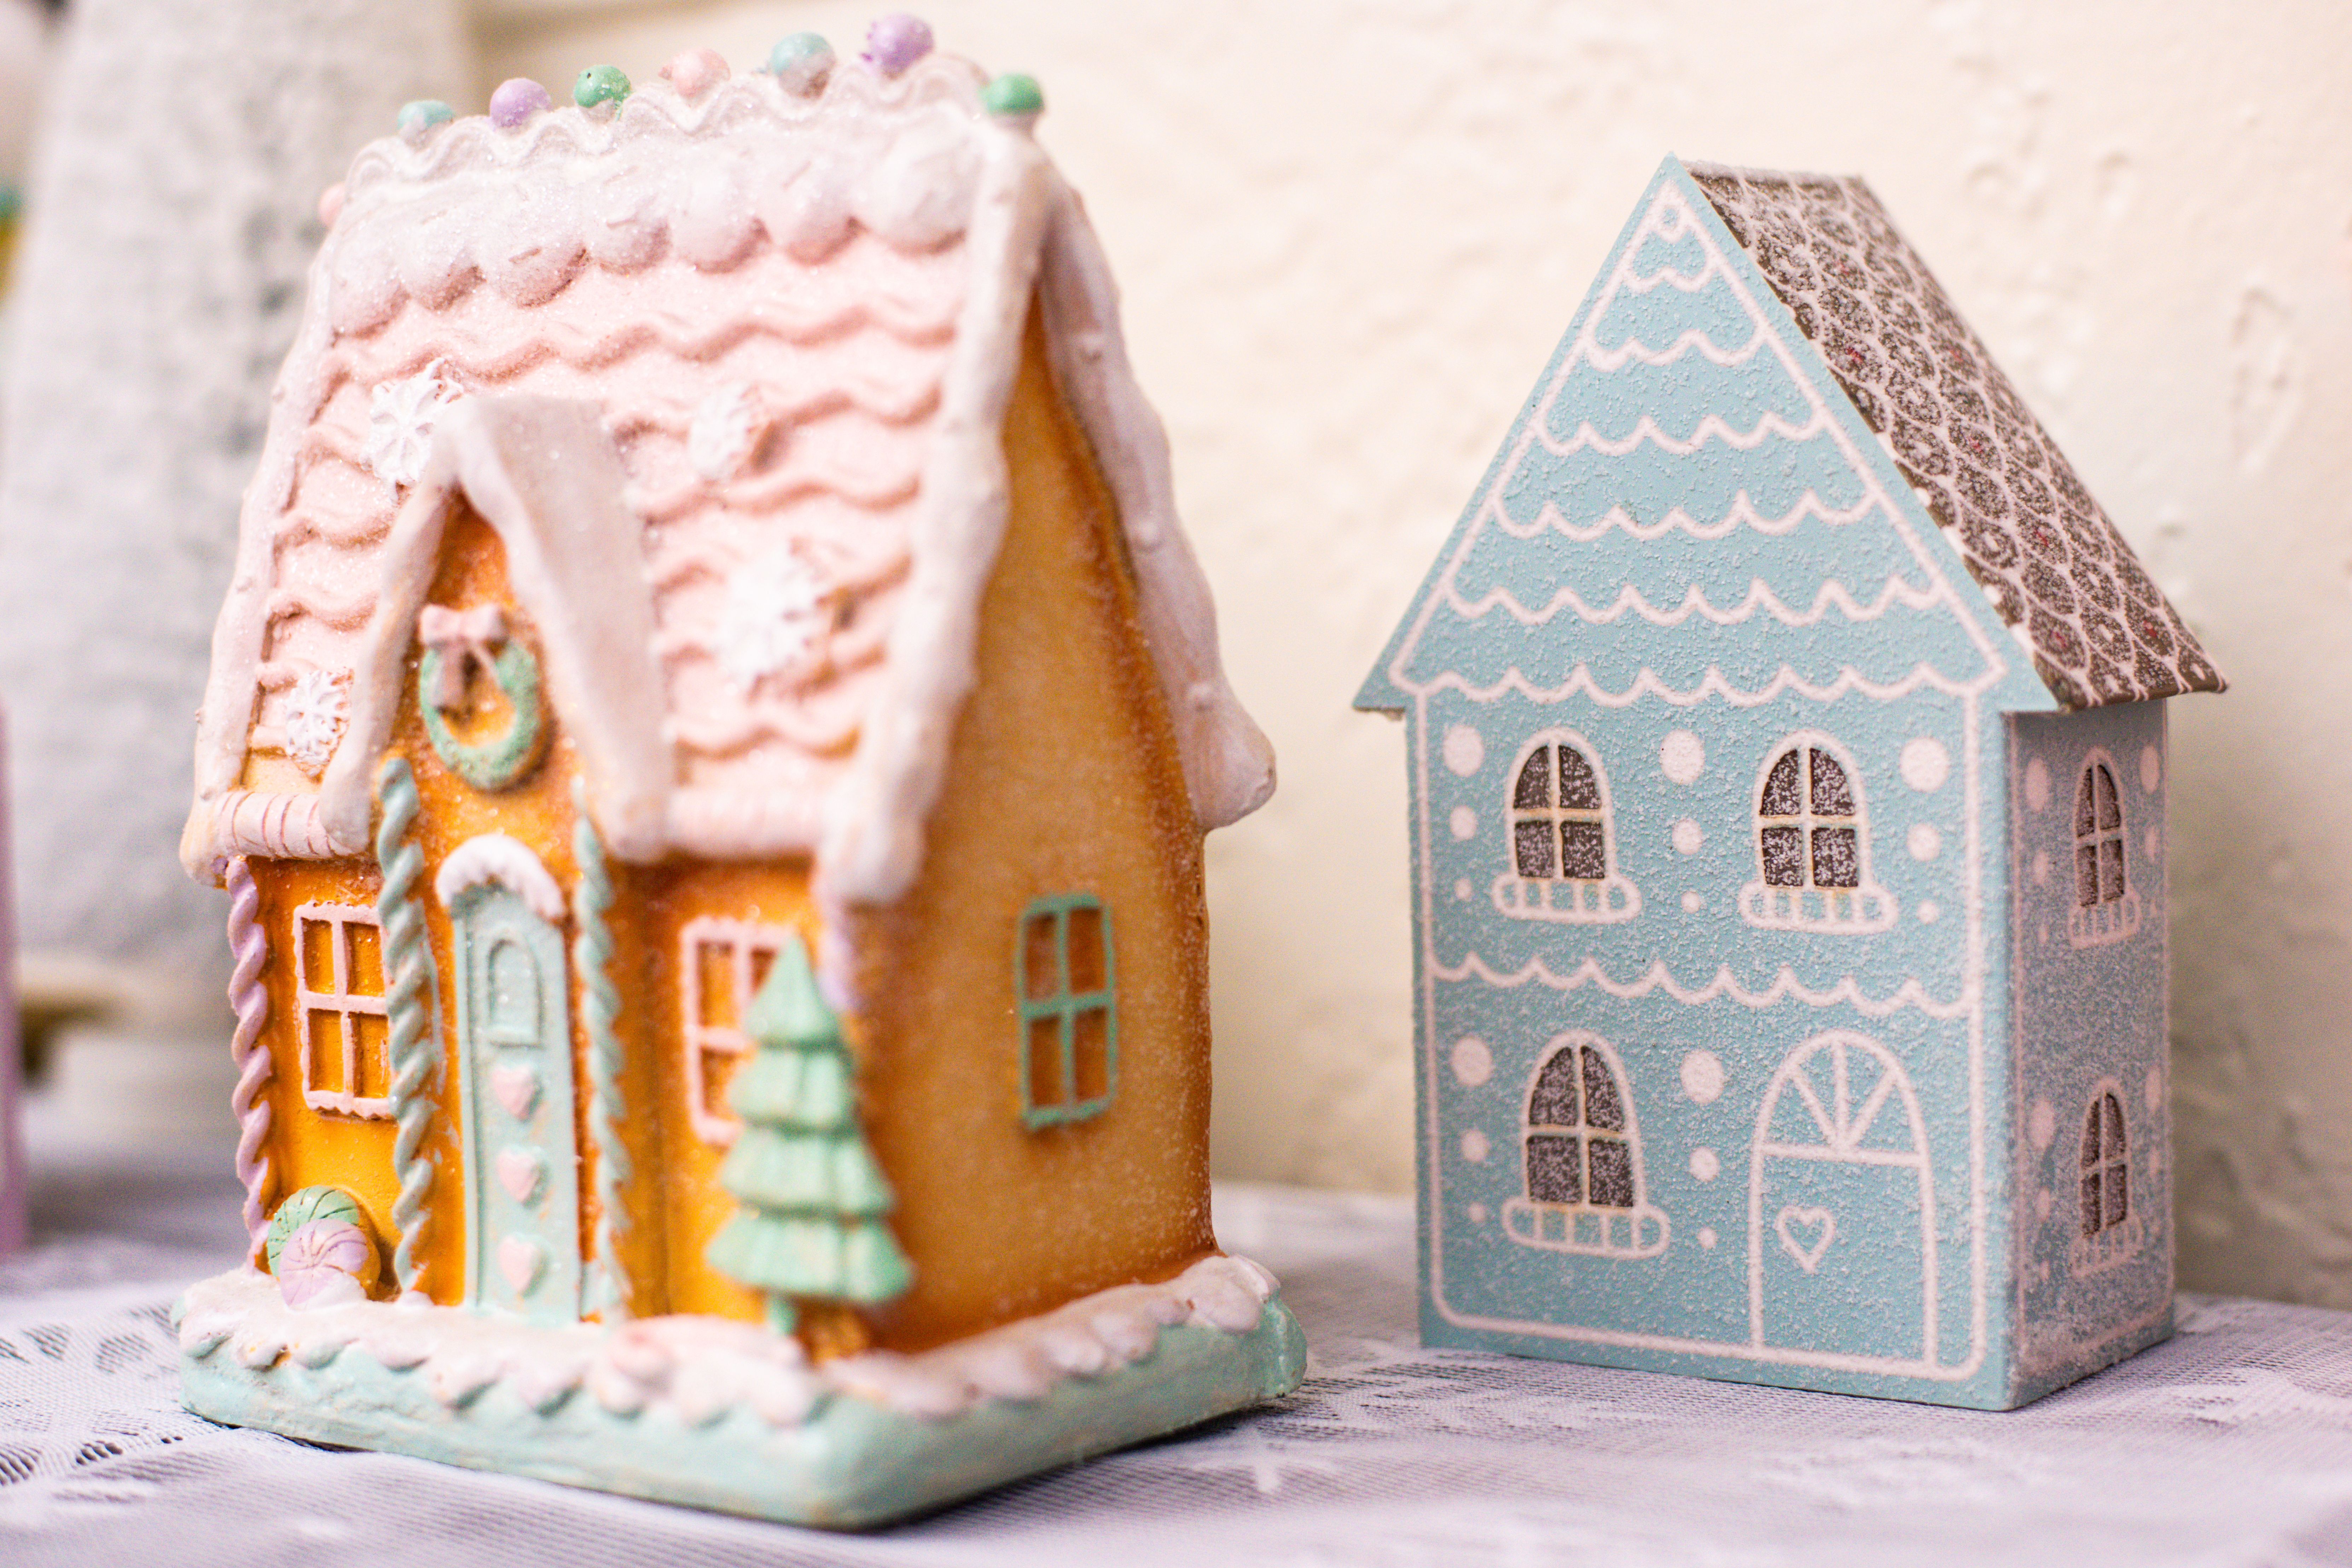
Make three tiny houses in different colours and sizes, then arrange them on a tray with icing snow and candy trees to make a village. I made a village with my children one snowy weekend, and each child owned one house, which stopped arguments over whose was best. My son’s house was tall and crooked, my daughter’s was neat and pink, and together they looked charming. A tray keeps the village together and makes it easy to move.
Pro Tip: use a foil-covered board as the base, so icing snow sticks well. Cost: $12-20 | Time: 90 minutes | Difficulty: Medium. Watch out: this is a longer project, so split it over two days for younger kids.
9. Boy-Approved Gingerbread House Kit

Choose a ready-made kit with pre-baked walls, icing and candies, and let your child assemble and decorate it with minimal adult help. I bought a kit when I was short on time, and my son assembled most of it himself, which gave him a real sense of ownership. The pieces fit together better than my homemade walls did, and the included candies saved a separate shop trip. It is not cheating to use a kit, it is choosing a calm afternoon over a stressful one.
Pro Tip: read the kit instructions together first, so there are no surprises halfway. Cost: $8-15 | Time: 60 minutes | Difficulty: Easy. Watch out: check kit ingredients for allergies, and supervise small candy pieces.
10. Gingerbread House Cupcake Toppers

Bake simple cupcakes, frost them white, and top each one with a tiny gingerbread house biscuit for a party table. I made these for a school Christmas fair, and they sold out before the larger cakes, because children loved the tiny house on top. My daughter helped place the houses carefully, and we added a sprinkle of icing sugar snow. They look impressive, but each cupcake takes only a minute once the houses are baked.
Pro Tip: bake mini houses a day ahead, so they are firm enough to stand. Cost: $6-10 | Time: 50 minutes | Difficulty: Medium. Watch out: an adult must handle the oven, and note cupcake ingredients for allergies.
11. Frosted Gingerbread House Collection

Decorate several small houses with white frosting snow on the roofs, then dust with icing sugar for a frosted village look. I tried this after seeing frosted houses in a shop window, and the white-on-brown look was simpler and prettier than a rainbow of candies. My kids used a spoon to drip frosting down the roof edges like icicles, which looked wonderfully wintry. Keep the palette simple, and the houses look like they belong in a snow scene.
Pro Tip: let one side dry before turning the house to frost the next. Cost: $8-15 | Time: 60 minutes | Difficulty: Medium. Watch out: icing sugar gets everywhere, so work on a tray and wear aprons.
12. Gingerbread House Cookie Ornament

Bake a thick gingerbread house cookie, make a hole at the top before baking, and hang it on the tree with ribbon once decorated. I made one of these as a tree ornament, and it lasted the whole season hanging among the baubles, though we did not eat it afterwards. My daughter decorated hers with a heart on the door, and it became her special ornament for the year. It is a sweet bridge between baking and tree decorating.
Pro Tip: bake ornaments thicker than eating biscuits, so they do not snap. Cost: $3-5 | Time: 45 minutes plus baking | Difficulty: Easy. Watch out: do not eat ornaments after hanging, and keep ribbon out of reach of toddlers.
Also read: cookie decorating ideas in general pair beautifully with gingerbread, especially for a party table.
13. Gingerbread House Biscuit Card

Attach a small decorated gingerbread house biscuit to the front of a folded card with a ribbon loop, and write a message inside. I sent one of these to my mother, and she told me she kept the biscuit on her mantel for a week before eating it. My son loved that his card was also a treat, and he wrote a longer message than usual because the card felt special. It is a lovely handmade gift for someone who appreciates food and craft together.
Pro Tip: use a sturdy card, so the biscuit weight does not bend it. Cost: $3-5 | Time: 40 minutes | Difficulty: Easy. Watch out: post cards with biscuits early, and wrap the biscuit in tissue first.
14. Gingerbread Tree Cookies

Cut gingerbread dough into tree shapes, bake, then decorate with green icing, sprinkles and a star on top. I made tree cookies with my kids when we had leftover dough after gingerbread men, and they became a favourite in their own right. My daughter piped wavy garlands across hers, while my son covered his in sprinkles and called it a party tree. Stack them in a tin, and they make a lovely gift or a tree-shaped display on a plate.
Pro Tip: chill the dough before cutting, so tree points stay sharp. Cost: $4-6 | Time: 50 minutes | Difficulty: Easy. Watch out: an adult handles the oven, and check sprinkles for allergens.
15. Pastel Gingerbread Cookie Set

Decorate gingerbread cookies in soft pastel icing shades, pink, mint and pale yellow, for a pretty set that looks different from the usual red and green. I tried pastels one year for a baby shower table, and the cookies looked delicate and modern. My daughter mixed food colouring carefully to get the shades right, which taught her a little about colour mixing. They photograph beautifully, and they suit a spring-style Christmas table or a gift box.
Pro Tip: add colour a drop at a time, as pastel shades darken quickly. Cost: $4-7 | Time: 45 minutes | Difficulty: Easy. Watch out: food colouring stains clothes and hands, so wear aprons and wash hands after.
16. Gingerbread Garland Cookies

Thread decorated gingerbread stars and trees onto ribbon or string to make an edible garland for the mantel or tree. I made a garland with my kids using stars with holes baked in, and it looked wonderful draped along the mantel for a week. We used thick ribbon rather than thin thread, so the biscuits hung safely. It is festive, fun, and it slowly disappears as family members sneak a biscuit, which is part of the charm.
Pro Tip: bake stars thick and cool them fully before threading. Cost: $4-6 | Time: 50 minutes | Difficulty: Medium. Watch out: hang garlands out of reach of toddlers, and do not eat biscuits after a week on display.
17. Merry Christmas Gingerbread Plaque

Roll gingerbread dough into a large round or rectangle, bake it, then pipe ‘Merry Christmas’ in icing for a plaque to display or give. I made one as a centrepiece for our table, and it drew more comments than the cake. My son piped the letters with help, and the slightly wobbly writing made it feel handmade rather than perfect. It is a good project for an older child who wants a showpiece, and it keeps well in a tin.
Pro Tip: pipe letters on baking paper first to plan spacing. Cost: $3-5 | Time: 50 minutes | Difficulty: Medium. Watch out: an adult handles the oven, and let the plaque cool fully before piping.
18. Gingerbread and Candle Table Display

Arrange gingerbread cookies on a wooden board with a battery candle, pine sprigs and orange slices for a festive table display. I set this out for Christmas Eve, and the board became the centre of the table, with everyone reaching for a biscuit. My kids arranged the cookies in a pattern, and the battery candle gave a warm glow without any flame near food. It is simple, it looks generous, and it takes five minutes once the biscuits are baked.
Pro Tip: use a battery candle only, never a real flame near biscuits or greenery. Cost: $4-8 | Time: 15 minutes | Difficulty: Easy. Watch out: keep real candles away from food displays, and check for allergies.
Read this next: snowman crafts make a sweet winter companion to gingerbread houses on a display tray.
19. Family Gingerbread Man Decorating
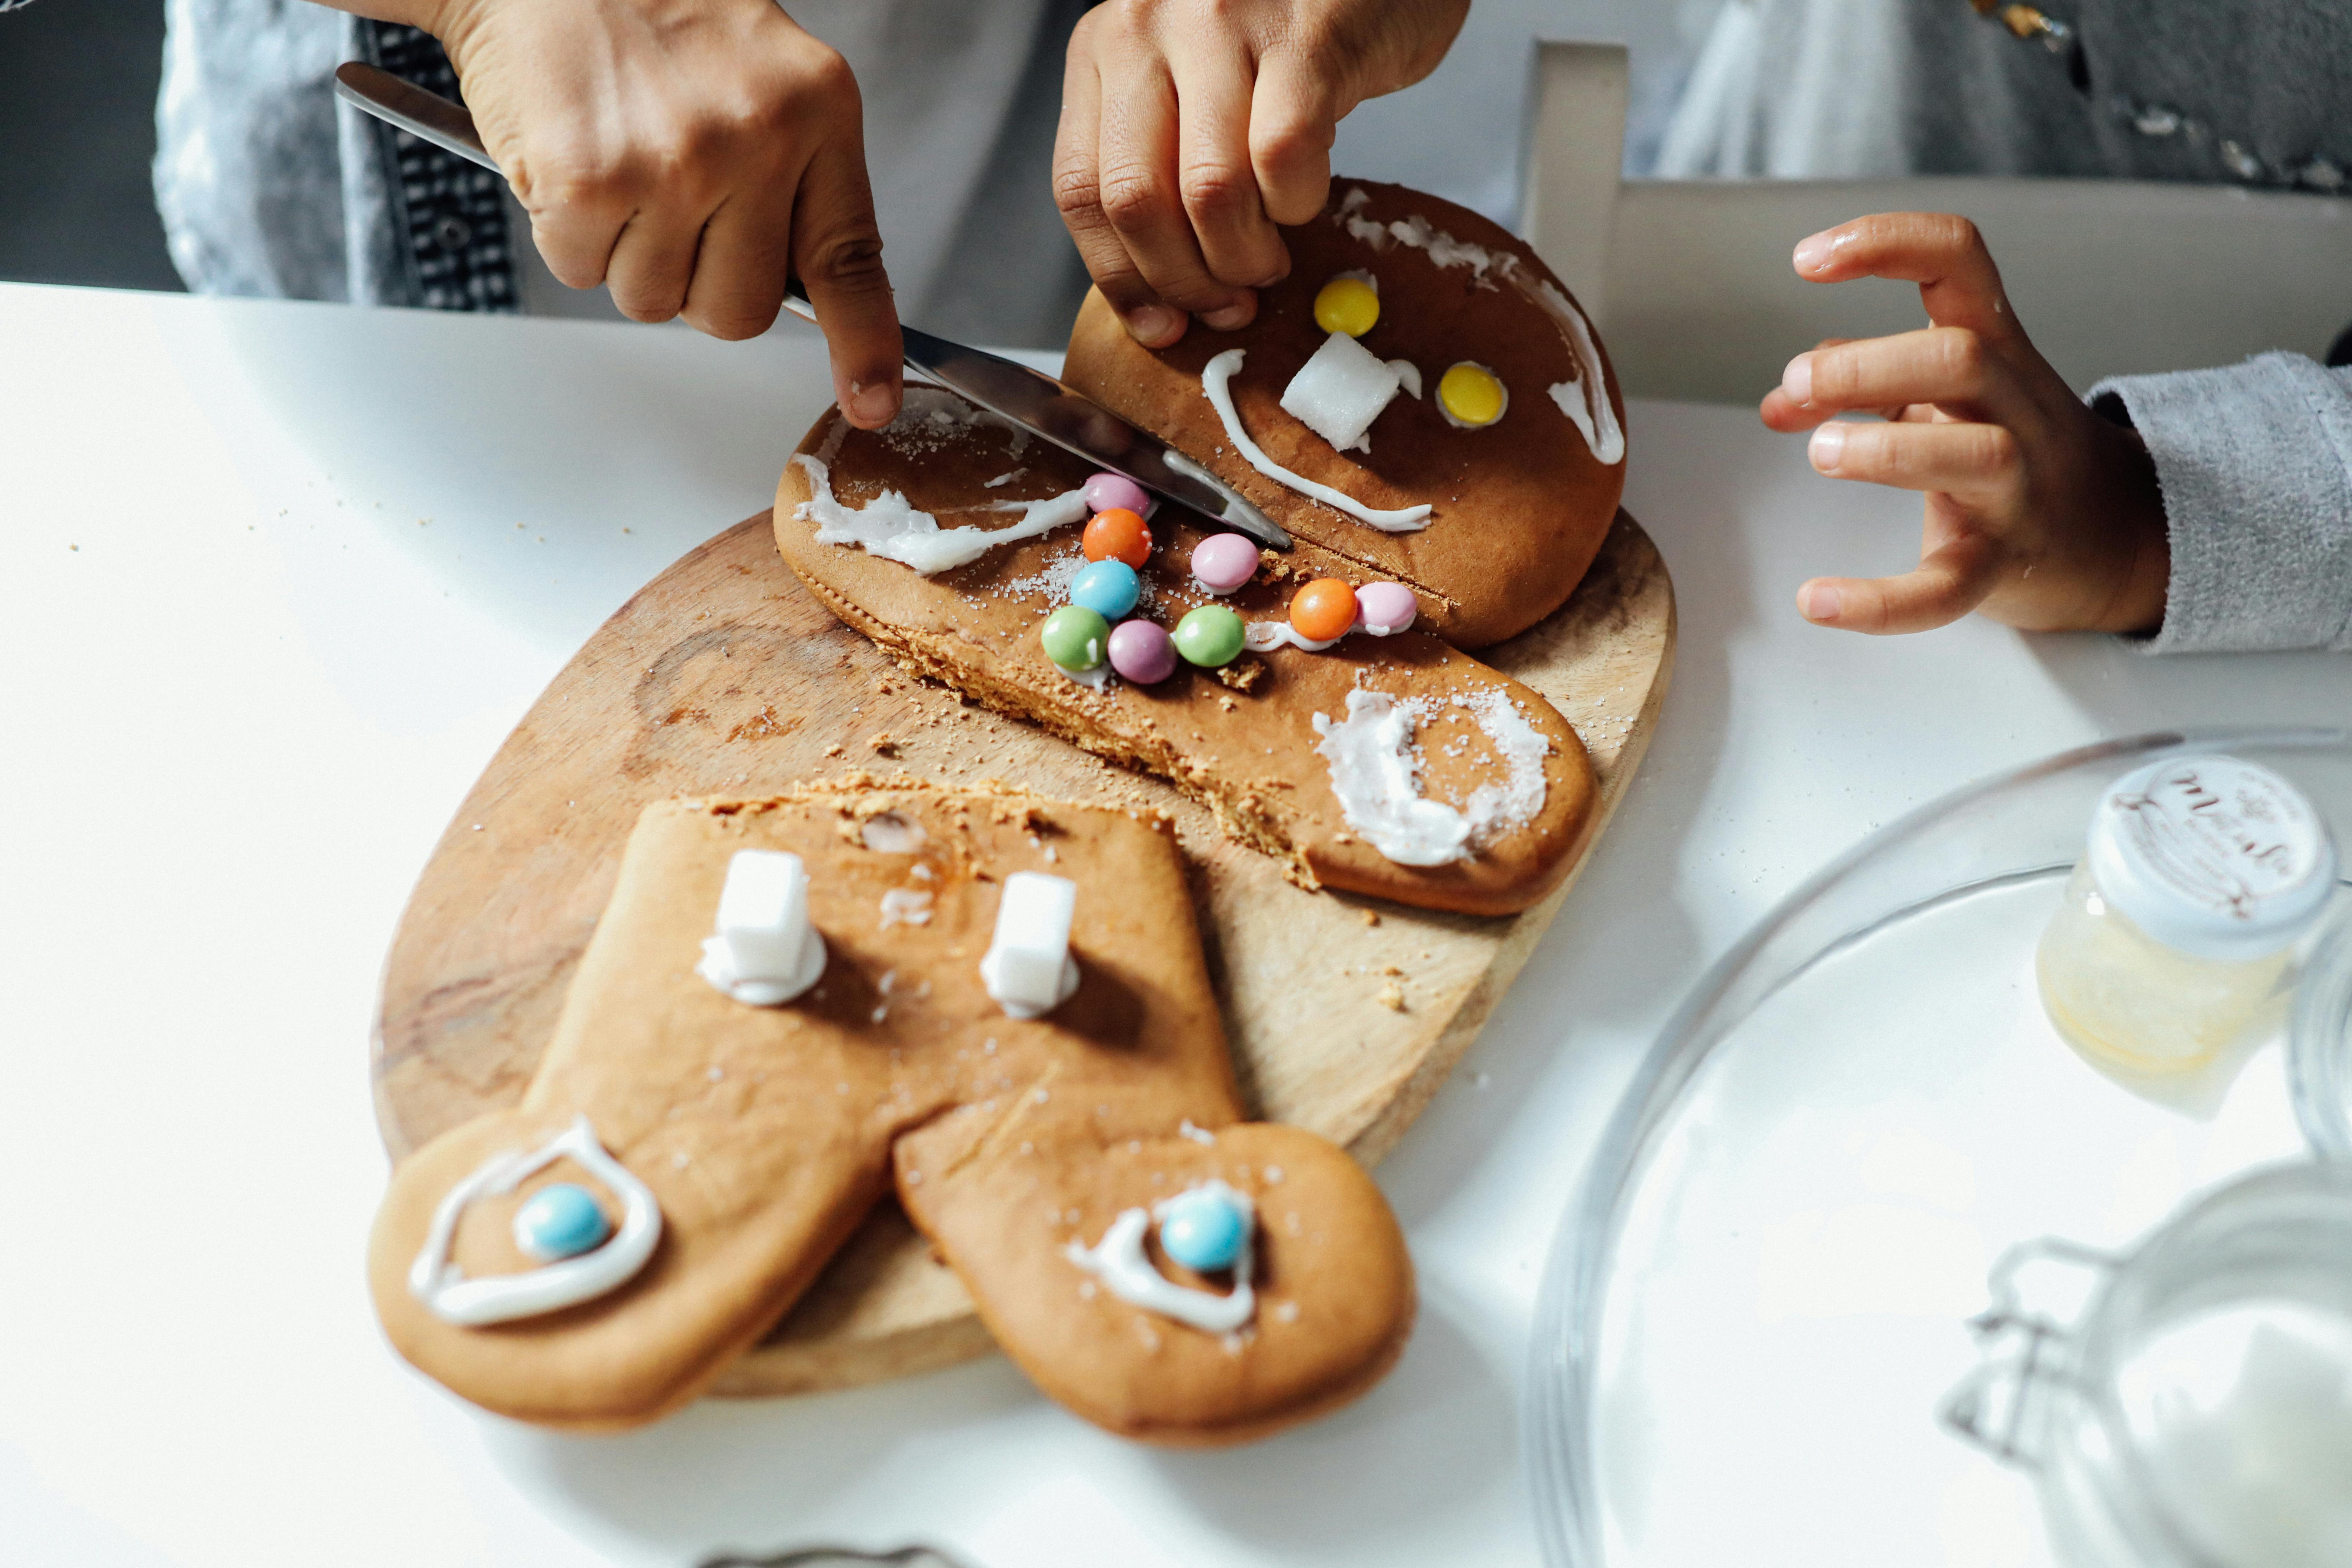
Give the whole family one giant gingerbread man to decorate together, with each person in charge of one part, face, buttons, or outfit. I baked a giant man one year, and my children argued happily over who got the face, then worked together on the rest. The giant size makes it easier for small hands to add details, and the finished man is a real showpiece. Photograph it before cutting, because it will not last long once everyone tastes it.
Pro Tip: bake the giant man on a large tray and cool it on the tray, so it does not break. Cost: $5-8 | Time: 60 minutes | Difficulty: Medium. Watch out: an adult handles the oven and the large tray, and check candies for allergies.
20. Gingerbread Baking Day with Kids

Turn baking day into the craft itself: let kids measure, stir, roll and cut the dough, then decorate the cooled biscuits together. I ran a full baking day with my children last December, and the measuring and stirring were as much fun as the decorating. My son loved rolling the dough, my daughter loved cutting shapes, and both were proud of the tray they carried to the oven. It is messy, joyful, and it teaches real kitchen skills along the way.
Pro Tip: measure ingredients into small bowls first, so kids can pour without spills. Cost: $5-8 | Time: 90 minutes | Difficulty: Medium. Watch out: an adult must handle the oven and hot trays, wash hands often, and keep raw dough tasting to a minimum.
Comparison Table: Which Gingerbread Craft Should You Pick?
| Craft | Best For | Cost | Time | Skill Level |
|---|---|---|---|---|
| Gingerbread men decorating | Ages 3-5, first project | $4-7 | 40 min | Easy |
| Mini house build | Ages 6+, weekend project | $8-15 | 60 min | Medium |
| Gingerbread village | Family display | $12-20 | 90 min | Medium |
| Cookie gift box | Teacher gifts | $3-6 | 45 min | Easy |
| House cupcake toppers | Party table | $6-10 | 50 min | Medium |
| Garland cookies | Mantel display | $4-6 | 50 min | Medium |
| Baking day with kids | Kitchen skills | $5-8 | 90 min | Medium |
| Table display board | Quick centrepiece | $4-8 | 15 min | Easy |
Mistakes I Made / What I Learned the Hard Way
First, I once decorated biscuits before they were fully cool, and the icing melted into a puddle. Cool biscuits completely, even if children are impatient, or the whole design slides off. Second, I used thin icing for a house build, and the walls collapsed twice. Thick royal icing, held for a full minute, is the only way I trust now.
Third, I packed a gift box before the icing dried, and every design smudged in transit. Dry overnight for gifts, no shortcuts. Fourth, I forgot to check a candy ingredient list for a playdate, and one child could not eat the decorations. I now check allergies first, before any shopping, and I label every gift box with its ingredients.
Frequently Asked Questions
What age are gingerbread crafts best for?
Simple decorating suits ages 3 to 5 with help, while house building and detailed piping suit ages 6 and up. I let younger kids decorate with squeeze bottles and sprinkles, and I save structural building for older children with more patience.
How long did your gingerbread houses actually last?
A decorated house kept dry lasts about a week on display, though ours rarely survived that long before someone nibbled a roof tile. Biscuits in a tin last a week too, but ornaments and garlands hung on display should not be eaten after a week.
What would you do differently next time?
I would bake a day ahead and decorate the next day, every time. Splitting the project made it calmer, and the children enjoyed decorating more when they were not tired from baking. I would also photograph each house before anyone tasted it.
Are gingerbread crafts safe for children with allergies?
They can be, if you check every ingredient first, including icing, sprinkles and kit contents. Use allergy-safe recipes and candies where needed, label gift boxes clearly, and keep nut-containing candies separate from other decorating bowls.
Final Thoughts
The best gingerbread project is the one your child finishes with pride, even if the roof is crooked and the icing is everywhere. These kids gingerbread crafts work best when you keep the session relaxed, celebrate the wonky bits, and display the result before anyone eats it. Start with one simple decorating afternoon, and save the village for a snowy weekend when you have time to enjoy it.