18 First Birthday Balloon Decor Ideas That Look Magical Without Stressing You Out
A first birthday happens once, and balloons are the fastest way to make a plain room look like a party. These first birthday balloon decor ideas are the ones I have actually built, hung, tied, and watched sag, pop, or shine at real first birthdays in my own home and at friends’ houses.
How I picked and tested these: I kept only ideas a tired parent can finish in an evening or less, that survived a two-hour party, and that photographed well without a professional setup. I tested each with real balloons and real toddlers nearby, and I will tell you what it cost, how long it took, and where it went wrong.
A short safety note first, because it matters more than any photo. Balloons are a choking hazard for babies and toddlers, so keep uninflated balloons and popped pieces away from little ones, pick up every scrap straight away, and never let a baby play unsupervised with a balloon. If anyone has a latex allergy, use foil balloons instead.
Key Takeaways
- Start with one big focal piece, like a garland, and keep the rest simple.
- Air-filled balloons last longer and cost less than helium, but only helium floats.
- Build garlands the night before; save helium for party morning.
- Keep balloons out of the baby’s reach unless an adult is beside them.
18 First Birthday Balloon Decor Ideas
1. The Pastel Garland Photo Backdrop
A pastel garland is my go-to backdrop because it fills a whole wall with colour for very little money. I built mine with about 60 latex balloons in blush pink, cream, and soft sage, inflated in mixed sizes from 5 inches to 12 inches, and threaded onto a strip of balloon garland tape.
I hung it across our living room wall the night before my niece’s party, using two small adhesive hooks and a few extra balloons tucked into the gaps.
The honest downside is that a garland eats wall space and time. My first attempt sagged because I skipped the middle hook, so hang a centre support and step back often to check the shape.
Pro Tip: Mix balloon sizes. Small 5-inch balloons fill gaps and make a garland look full.
Cost / Time / Difficulty: $25–$40 for balloons and tape | 2 hours | Easy to Medium
2. The Big “One” Sign Balloon Display
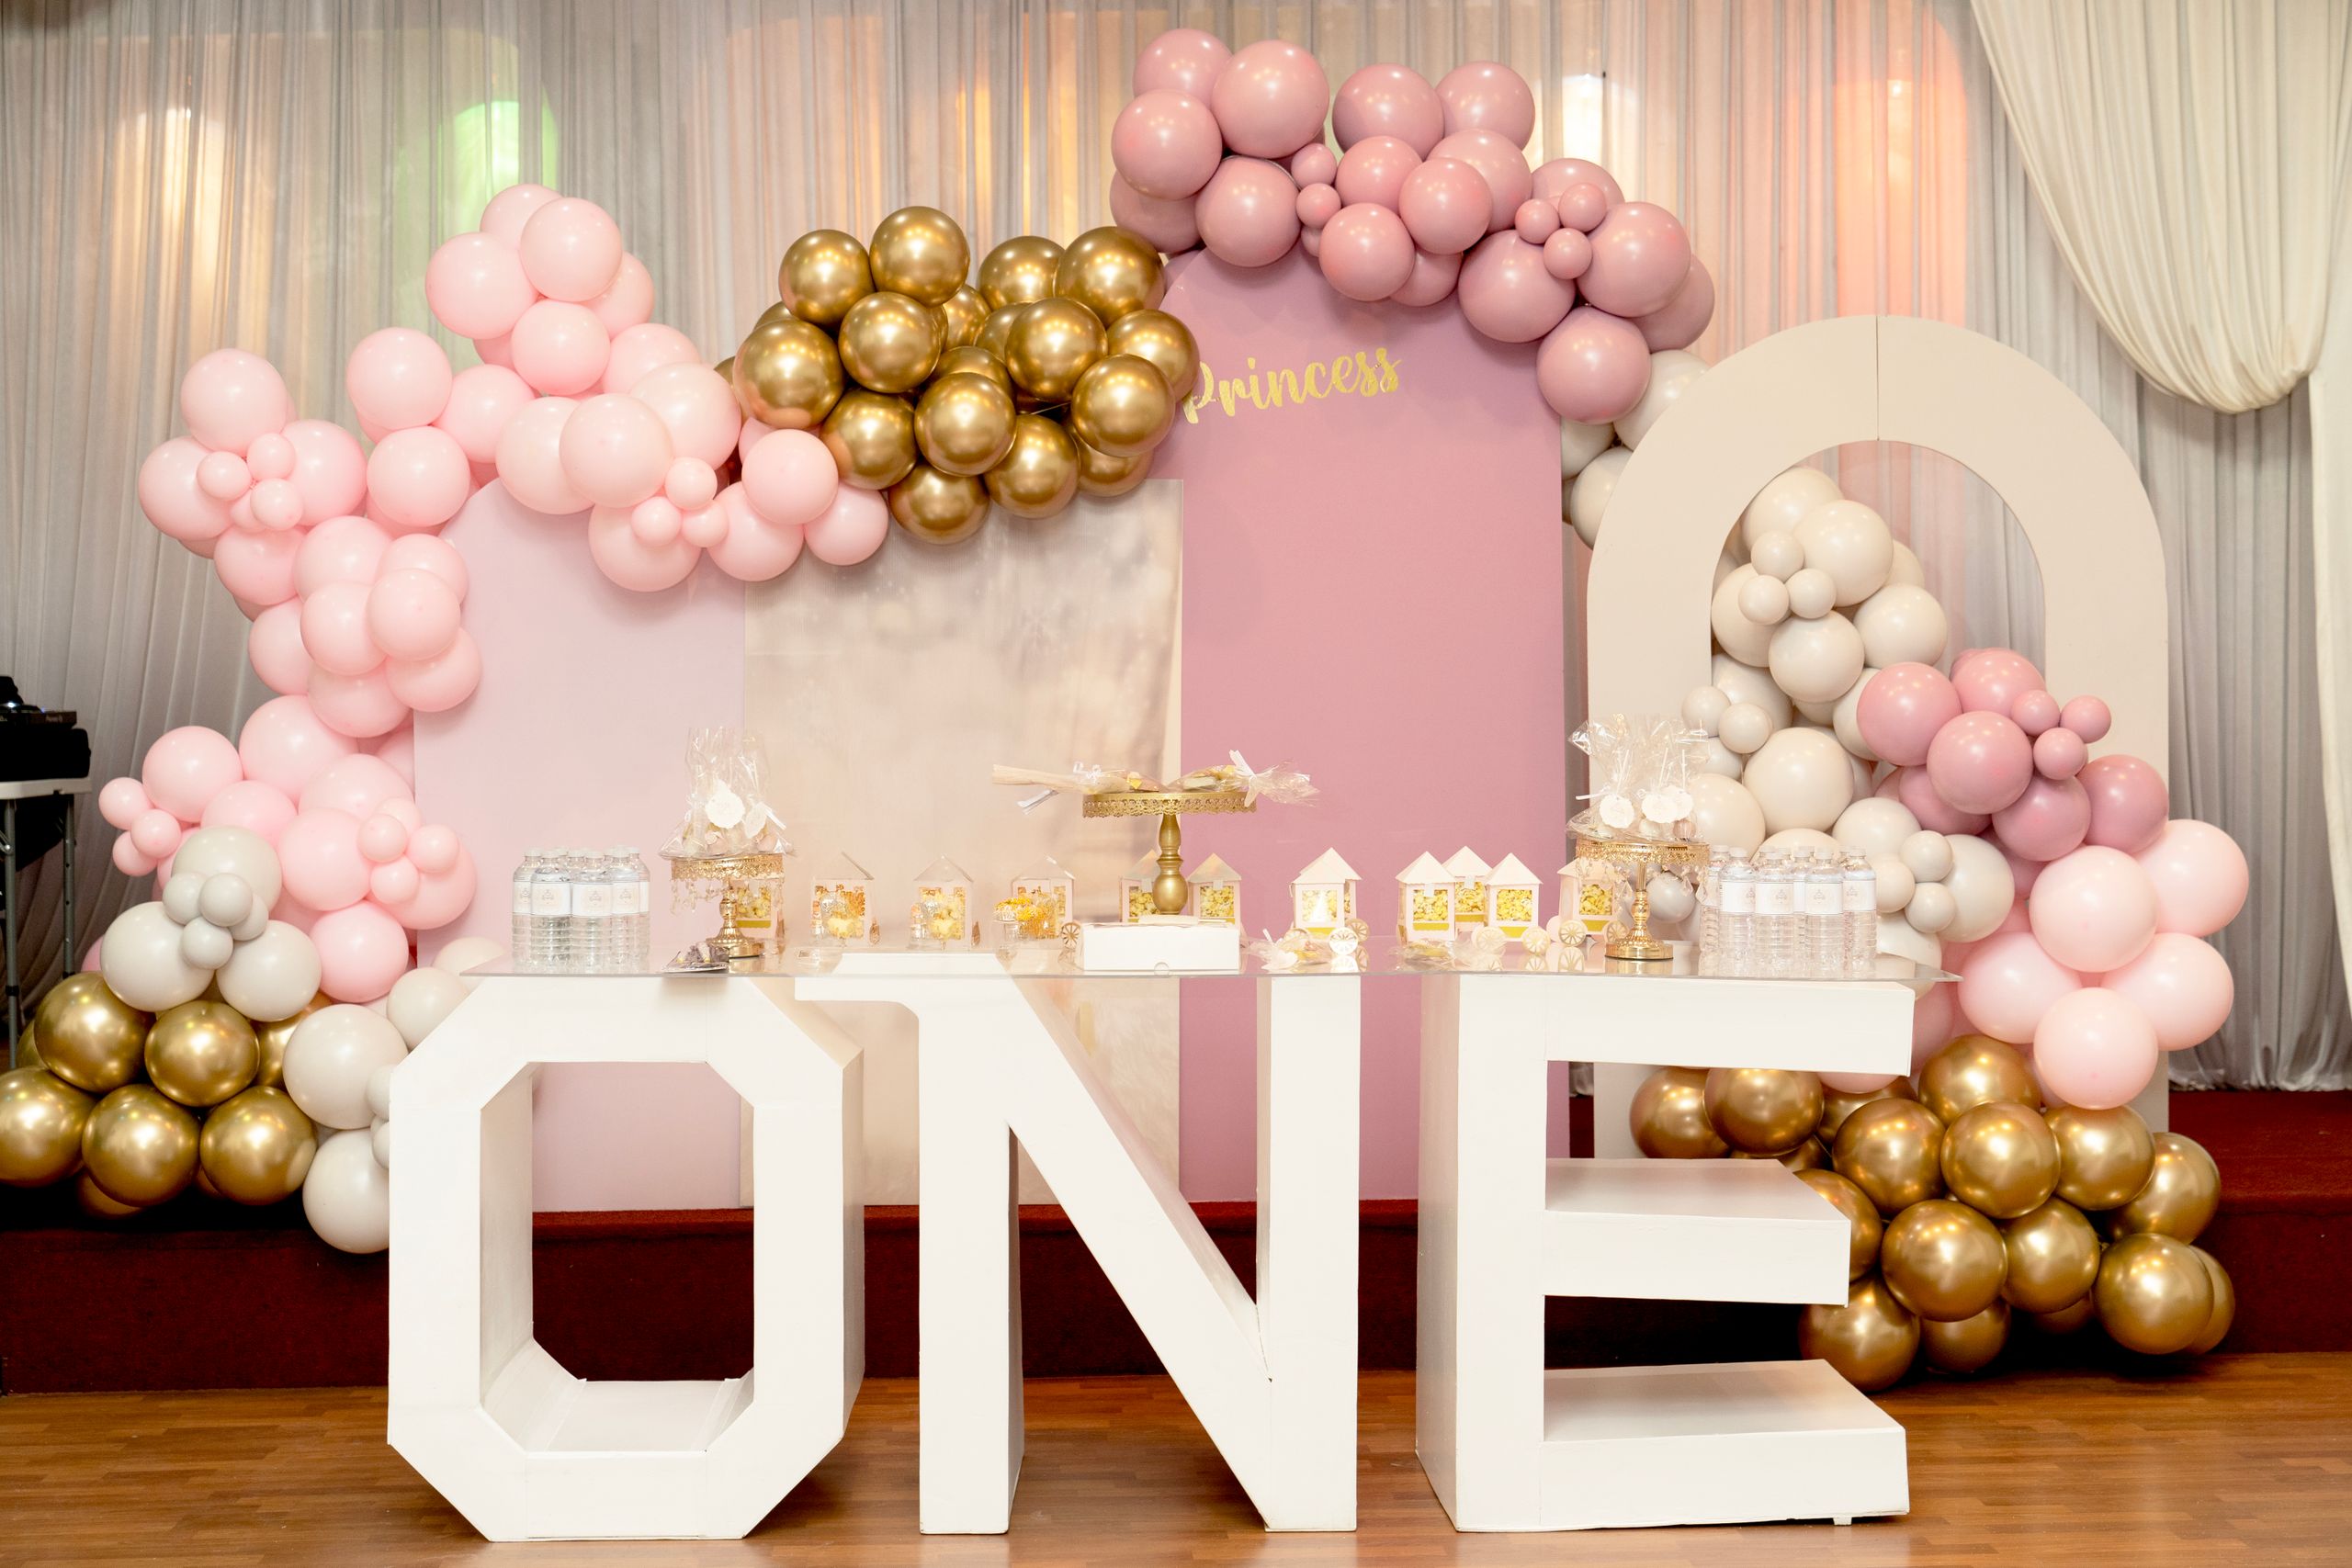
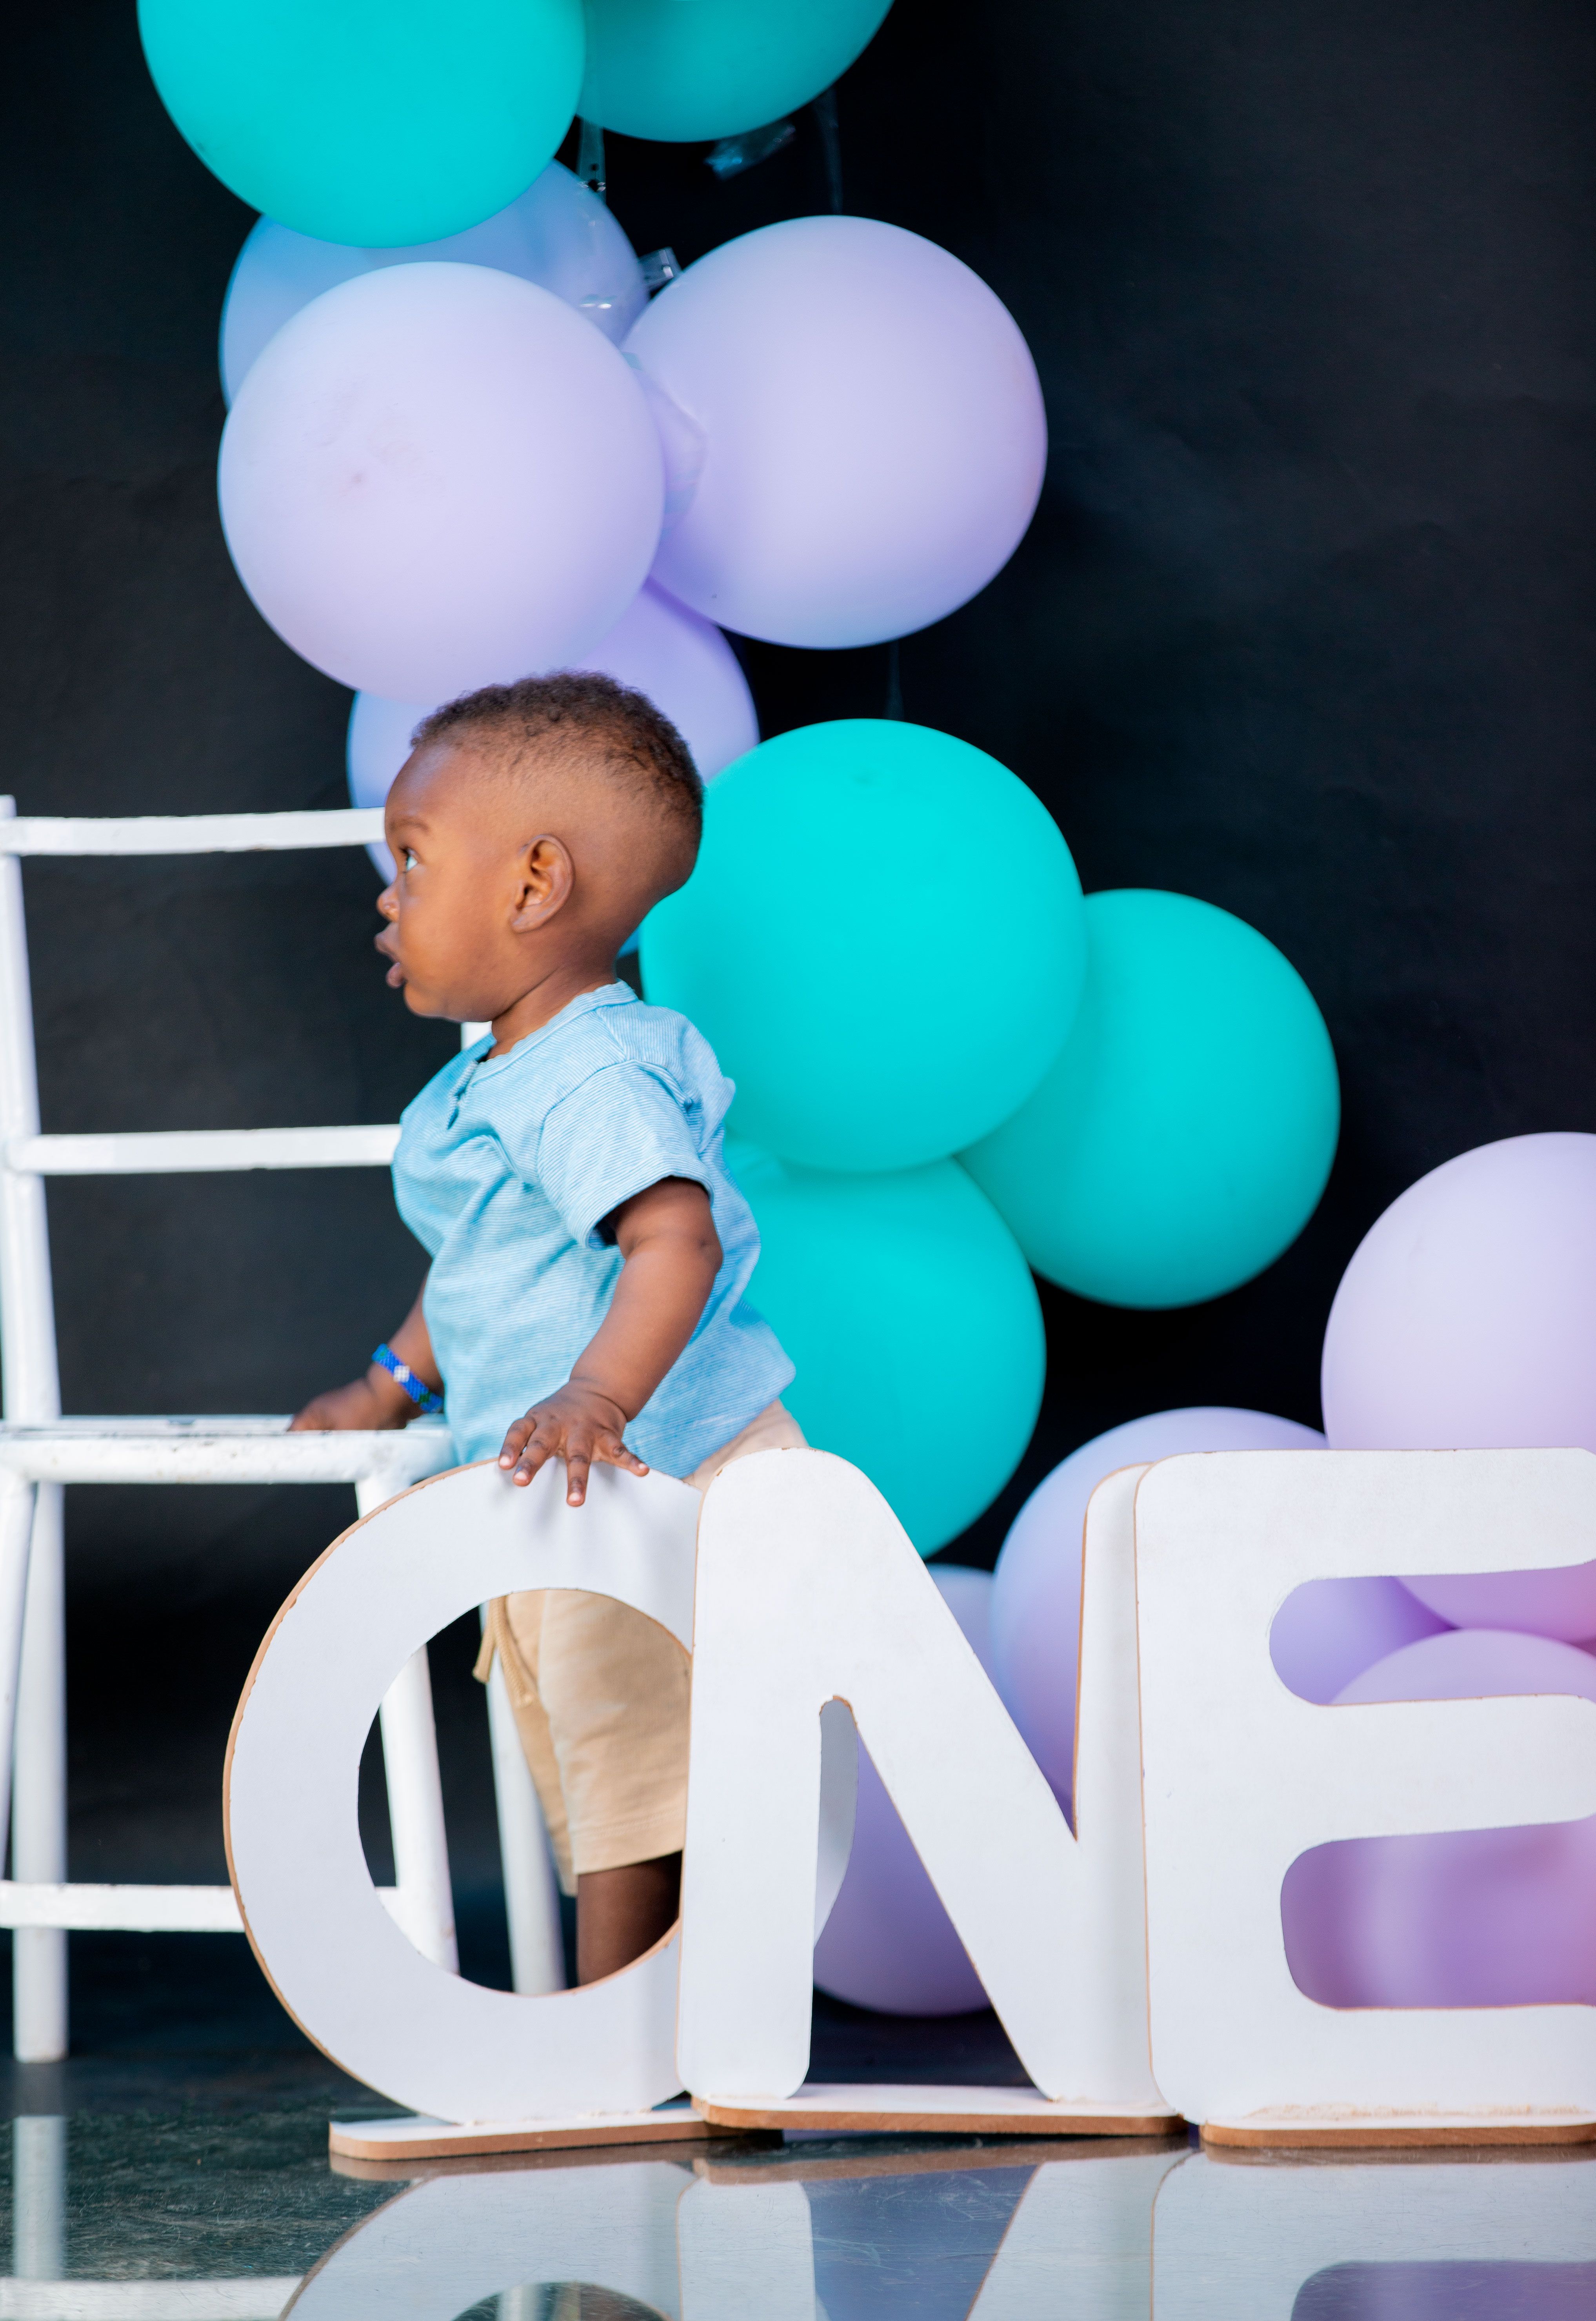
Nothing says first birthday faster than a big number one surrounded by balloons. I bought a wooden number one sign, stood it on our sideboard, and clustered about 20 balloons in white, gold, and dusty blue around its base, tied in small bunches of three.
I set this up in my hallway, and every guest stopped to photograph it.
The downside is that a freestanding sign tips easily. Mine fell over twice before I weighted the base with a bag of rice hidden behind it, so keep it on a low, stable surface away from where toddlers run.
Pro Tip: Tie balloons in bunches of three or five. Odd bunches look fuller than even pairs.
Cost / Time / Difficulty: $20–$35 | 45 minutes
3. The Balloon Arch Over the Entrance
A balloon arch over the front door tells guests they are in the right place before they even knock. I built mine on a simple arch frame, using about 80 balloons in rainbow pastels, clustered in groups of four and twisted onto the frame from the bottom up.
I made this for a garden party, and it survived a breeze because I weighted both feet with bricks.
The watch-out is wind and doorways. My first arch blocked the door from opening fully, and I had to rebuild it half an hour before guests arrived. Measure your doorway first, and leave at least a foot of clearance on each side.
Pro Tip: Build an air-filled arch a day ahead, but add top clusters on the day.
Cost / Time / Difficulty: $35–$60 | 2–3 hours | Medium
4. The Highchair Balloon Surround
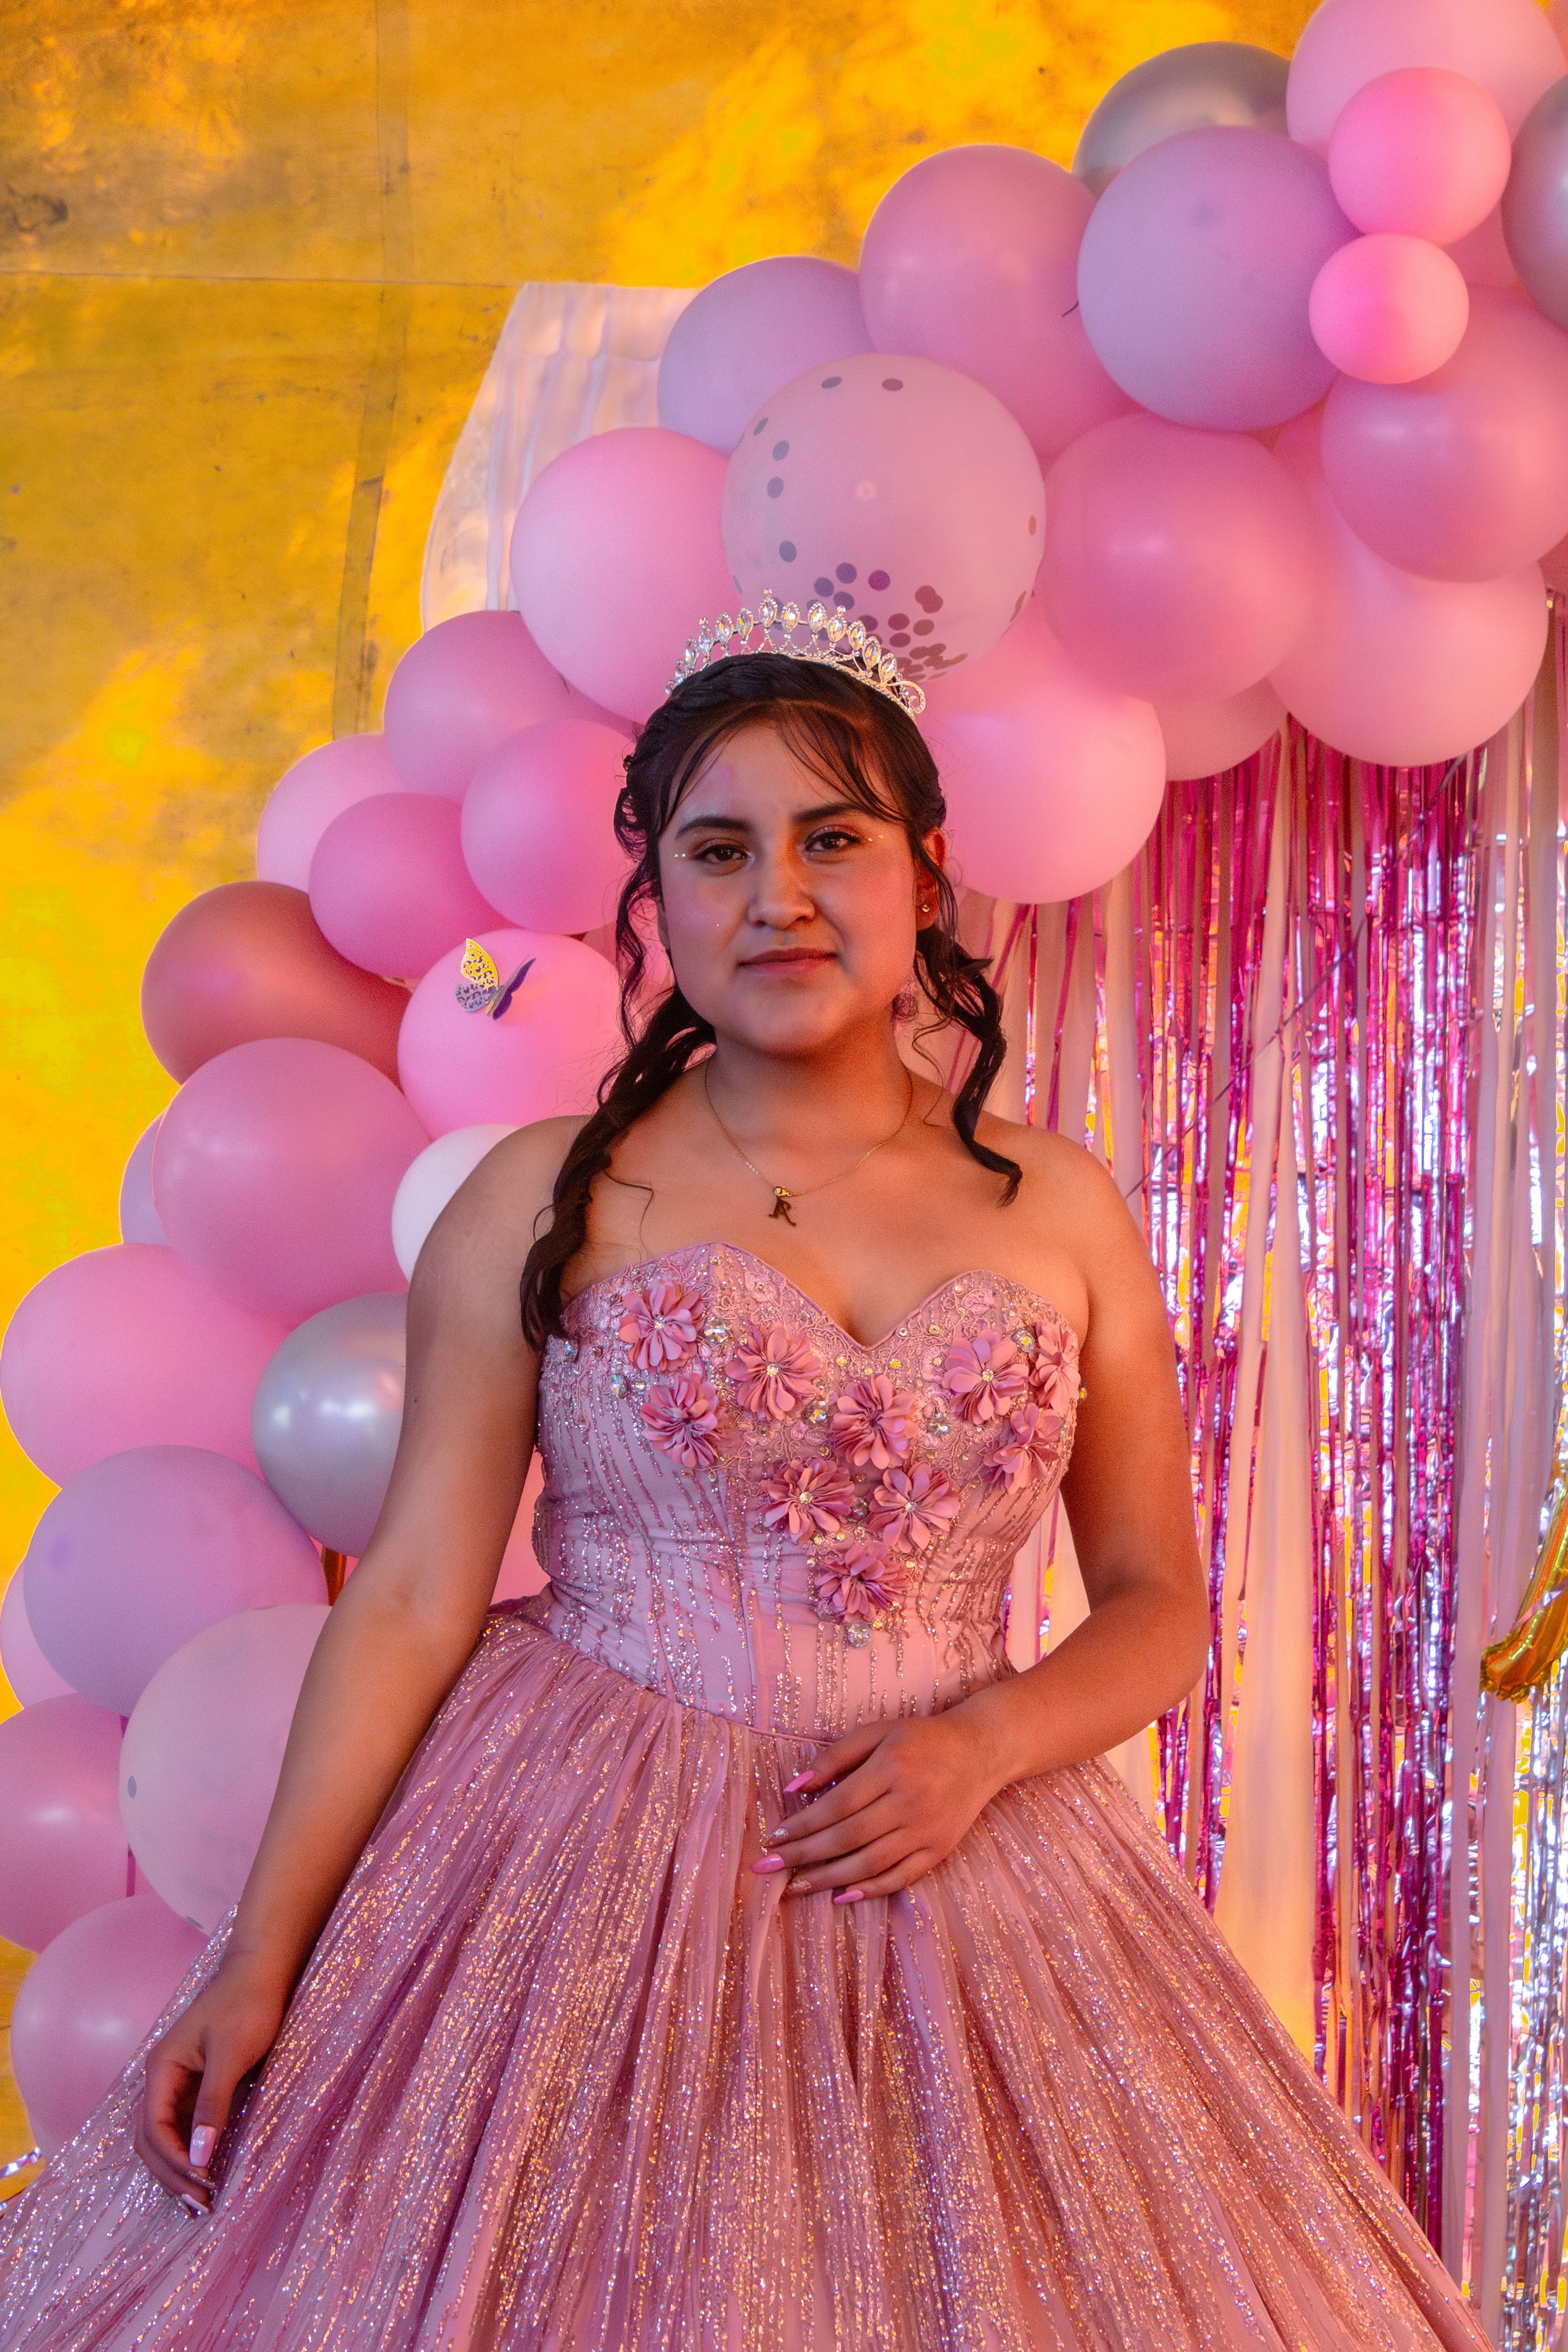
The highchair is where the best photos happen, so I always dress it up. I tied six helium balloons in the party colours to the back of the highchair, added a small balloon garland across the tray edge, and kept the strings short so nothing dangled near the baby’s face.
I did this for my daughter, and the cake-smash photos are still my favourites.
The downside is safety and distraction. My daughter grabbed a string within seconds, so an adult sat beside her for the whole cake moment. Never tie balloons to a highchair and walk away, and cut strings short enough that they cannot wrap around little hands.
Pro Tip: Use helium here, so balloons float up and away from the baby.
Cost / Time / Difficulty: $15–$25 | 30 minutes

5. The Pastel Balloon Cluster Wall
If a full garland feels like too much, a cluster wall is the gentler version. I stuck clusters of four balloons to the wall with removable adhesive dots, building a loose cloud about six feet wide behind the cake table.
I tried this in a rented hall where I could not use hooks or nails, and the adhesive dots held all afternoon and peeled off cleanly afterwards.
The honest downside is that adhesive dots fail on textured or damp walls. One cluster slid down my kitchen’s painted brick halfway through setup. Test one dot on your wall the day before, and keep spare dots in your pocket on party day.
Pro Tip: Start from the centre and work outward, so the cloud stays balanced.
Cost / Time / Difficulty: $20–$30 | 1 hour | Easy

6. The Floating Balloon Ceiling
A ceiling full of floating balloons turns a plain room into a party in minutes. I inflated about 40 helium balloons in mixed pastels, tied them with ribbon, and let them float to our ceiling on party morning.
It needs almost no skill, which is exactly what I want on a busy party morning.
The downside is cost and float time. Helium is the expensive part, and standard latex balloons start drooping after about eight hours. Fill them as late as you can, and keep a few spares for any that sink early.
Pro Tip: Trim ribbons to different lengths so balloons sit at different heights.
Cost / Time / Difficulty: $40–$70 with helium | 1 hour
7. The Table Balloon Bouquets
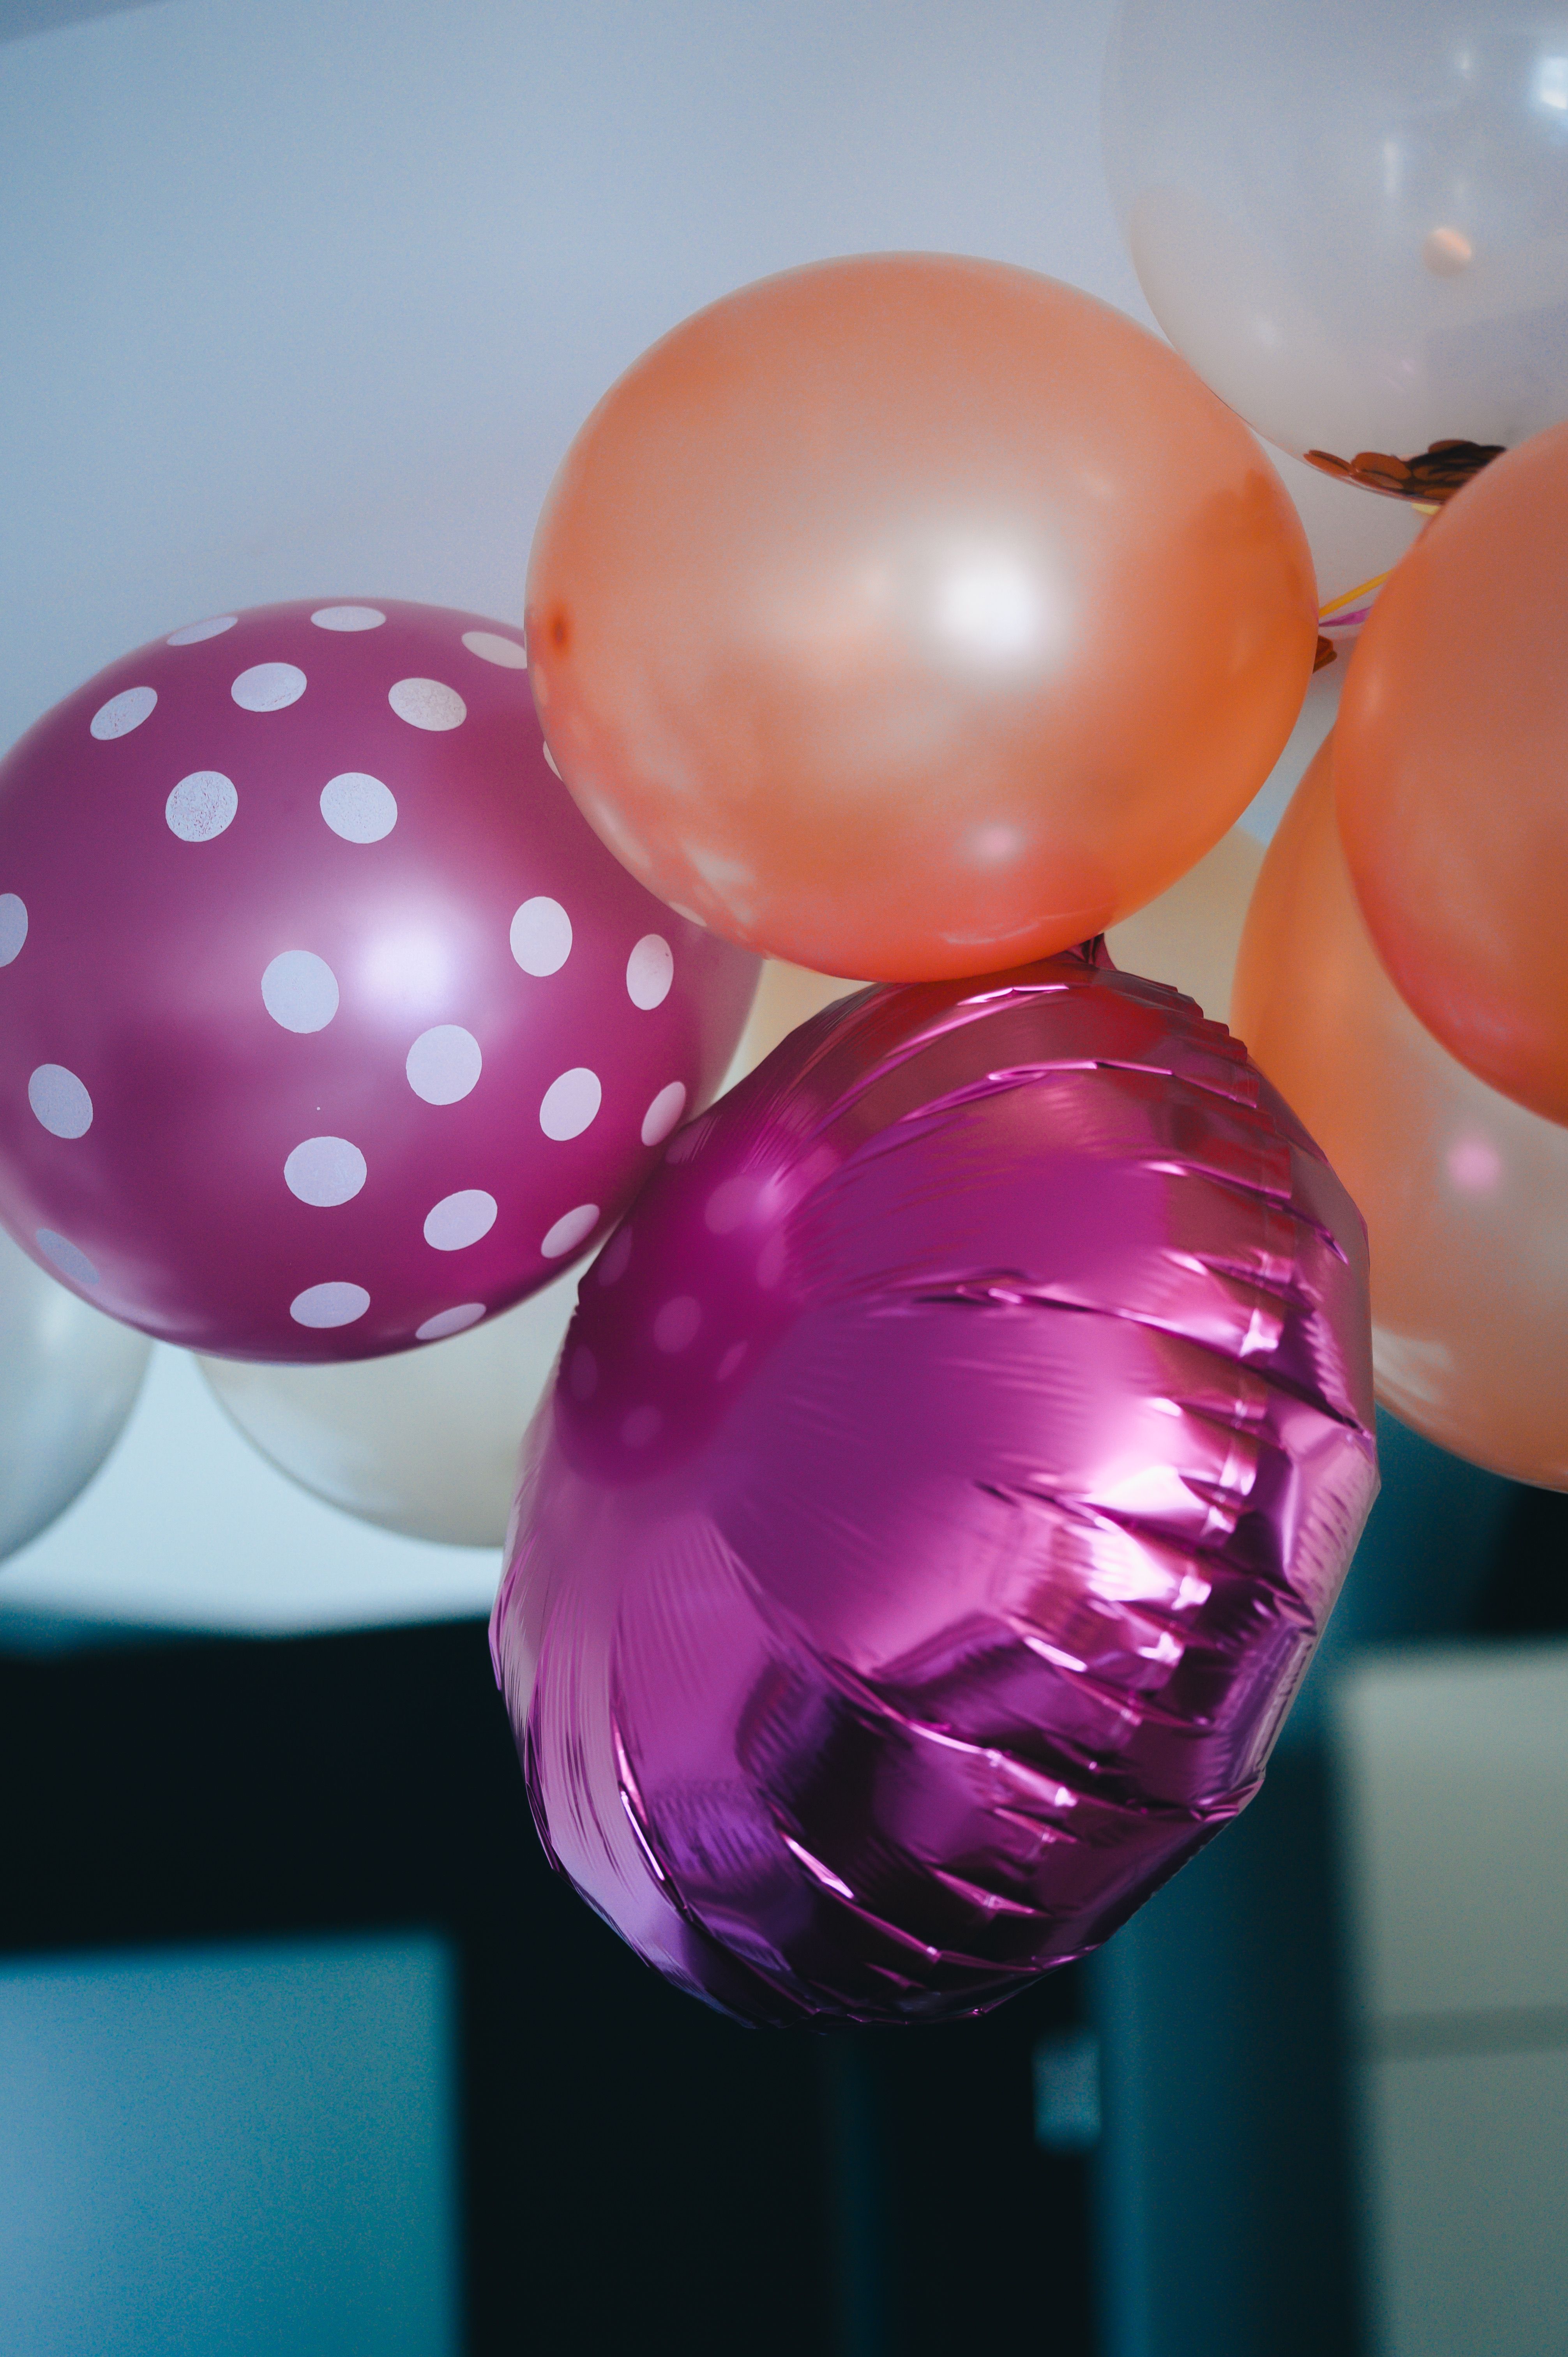
Small balloon bouquets on each table are the easiest way to make a big room feel decorated. I made five bouquets, each with five balloons in the party colours tied to a small weight, and set one on each guest table and one on the gift table.
I used these at a community hall party where wall decorations were not allowed, and the tables still looked festive in every photo.
The watch-out is table space. My first bouquets were so tall that guests could not see each other across the table. Keep stems short, about 18 inches above the table, so conversation still works.
Pro Tip: Hide the weight inside a small gift box or wrapped jar.
Cost / Time / Difficulty: $5–$8 per bouquet | 20 minutes for five | Easy

8. The Rainbow Balloon Garland
A rainbow garland is louder than pastels, and perfect when the party theme is bright and bold. I used six colours, red through purple, in 10-inch balloons, threaded onto garland tape in colour order so the rainbow read clearly.
I built this one for my nephew, who loves bright colours, and it photographed beautifully against a white wall.
The downside is that rainbow order is unforgiving. When I ran short of orange balloons, I swapped in yellow and the whole sequence looked wrong. Count each colour before you start, and buy ten percent extra of every shade.
Pro Tip: Add a white cloud cluster at each end of the rainbow.
Cost / Time / Difficulty: $30–$45 | 2 hours
9. The White Balloon Cloud
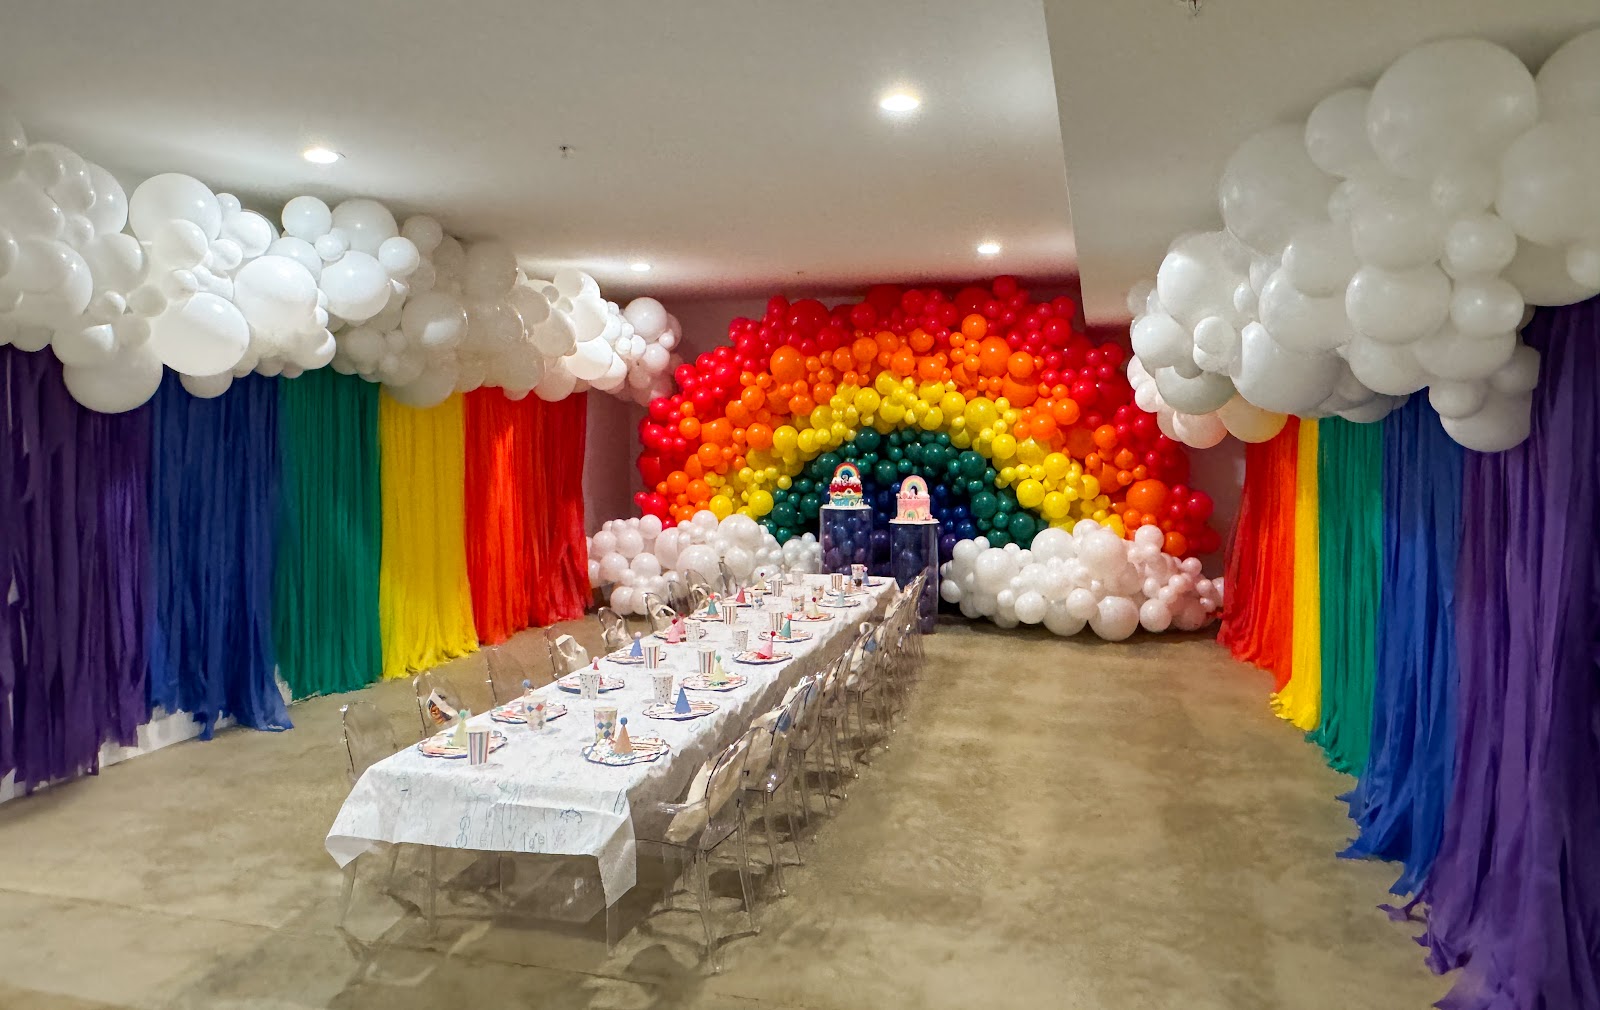
A white balloon cloud is my choice when the party already has a strong theme and the balloons just need to support it. I clustered about 50 white balloons in mixed sizes above the dessert table, hanging at different heights like a soft cloud.
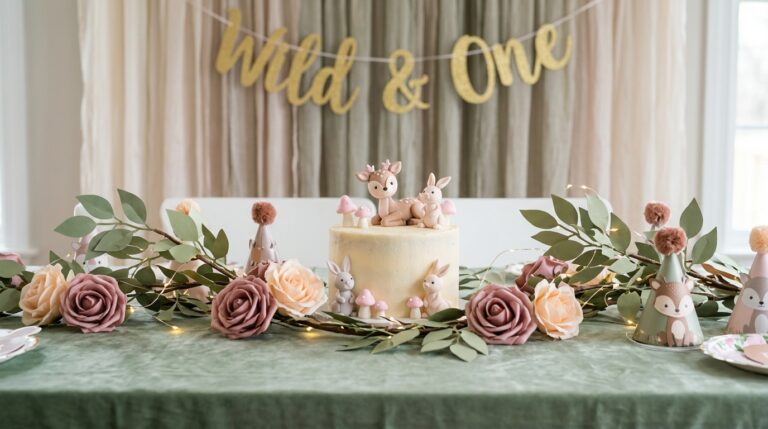
I used this for a woodland-themed first birthday, where white balloons read as clouds above the green and brown table.
The honest downside is that white shows every scuff and mark. Two of my balloons had grey smudges from the floor, and they stood out in close-up photos. Keep white balloons in their bag until inflation, and handle them with clean, dry hands.
Pro Tip: Mix in a few clear balloons. They catch light and stop the cloud looking flat.
Cost / Time / Difficulty: $25–$35 | 1.5 hours | Easy
10. The Garden Balloon Bunches
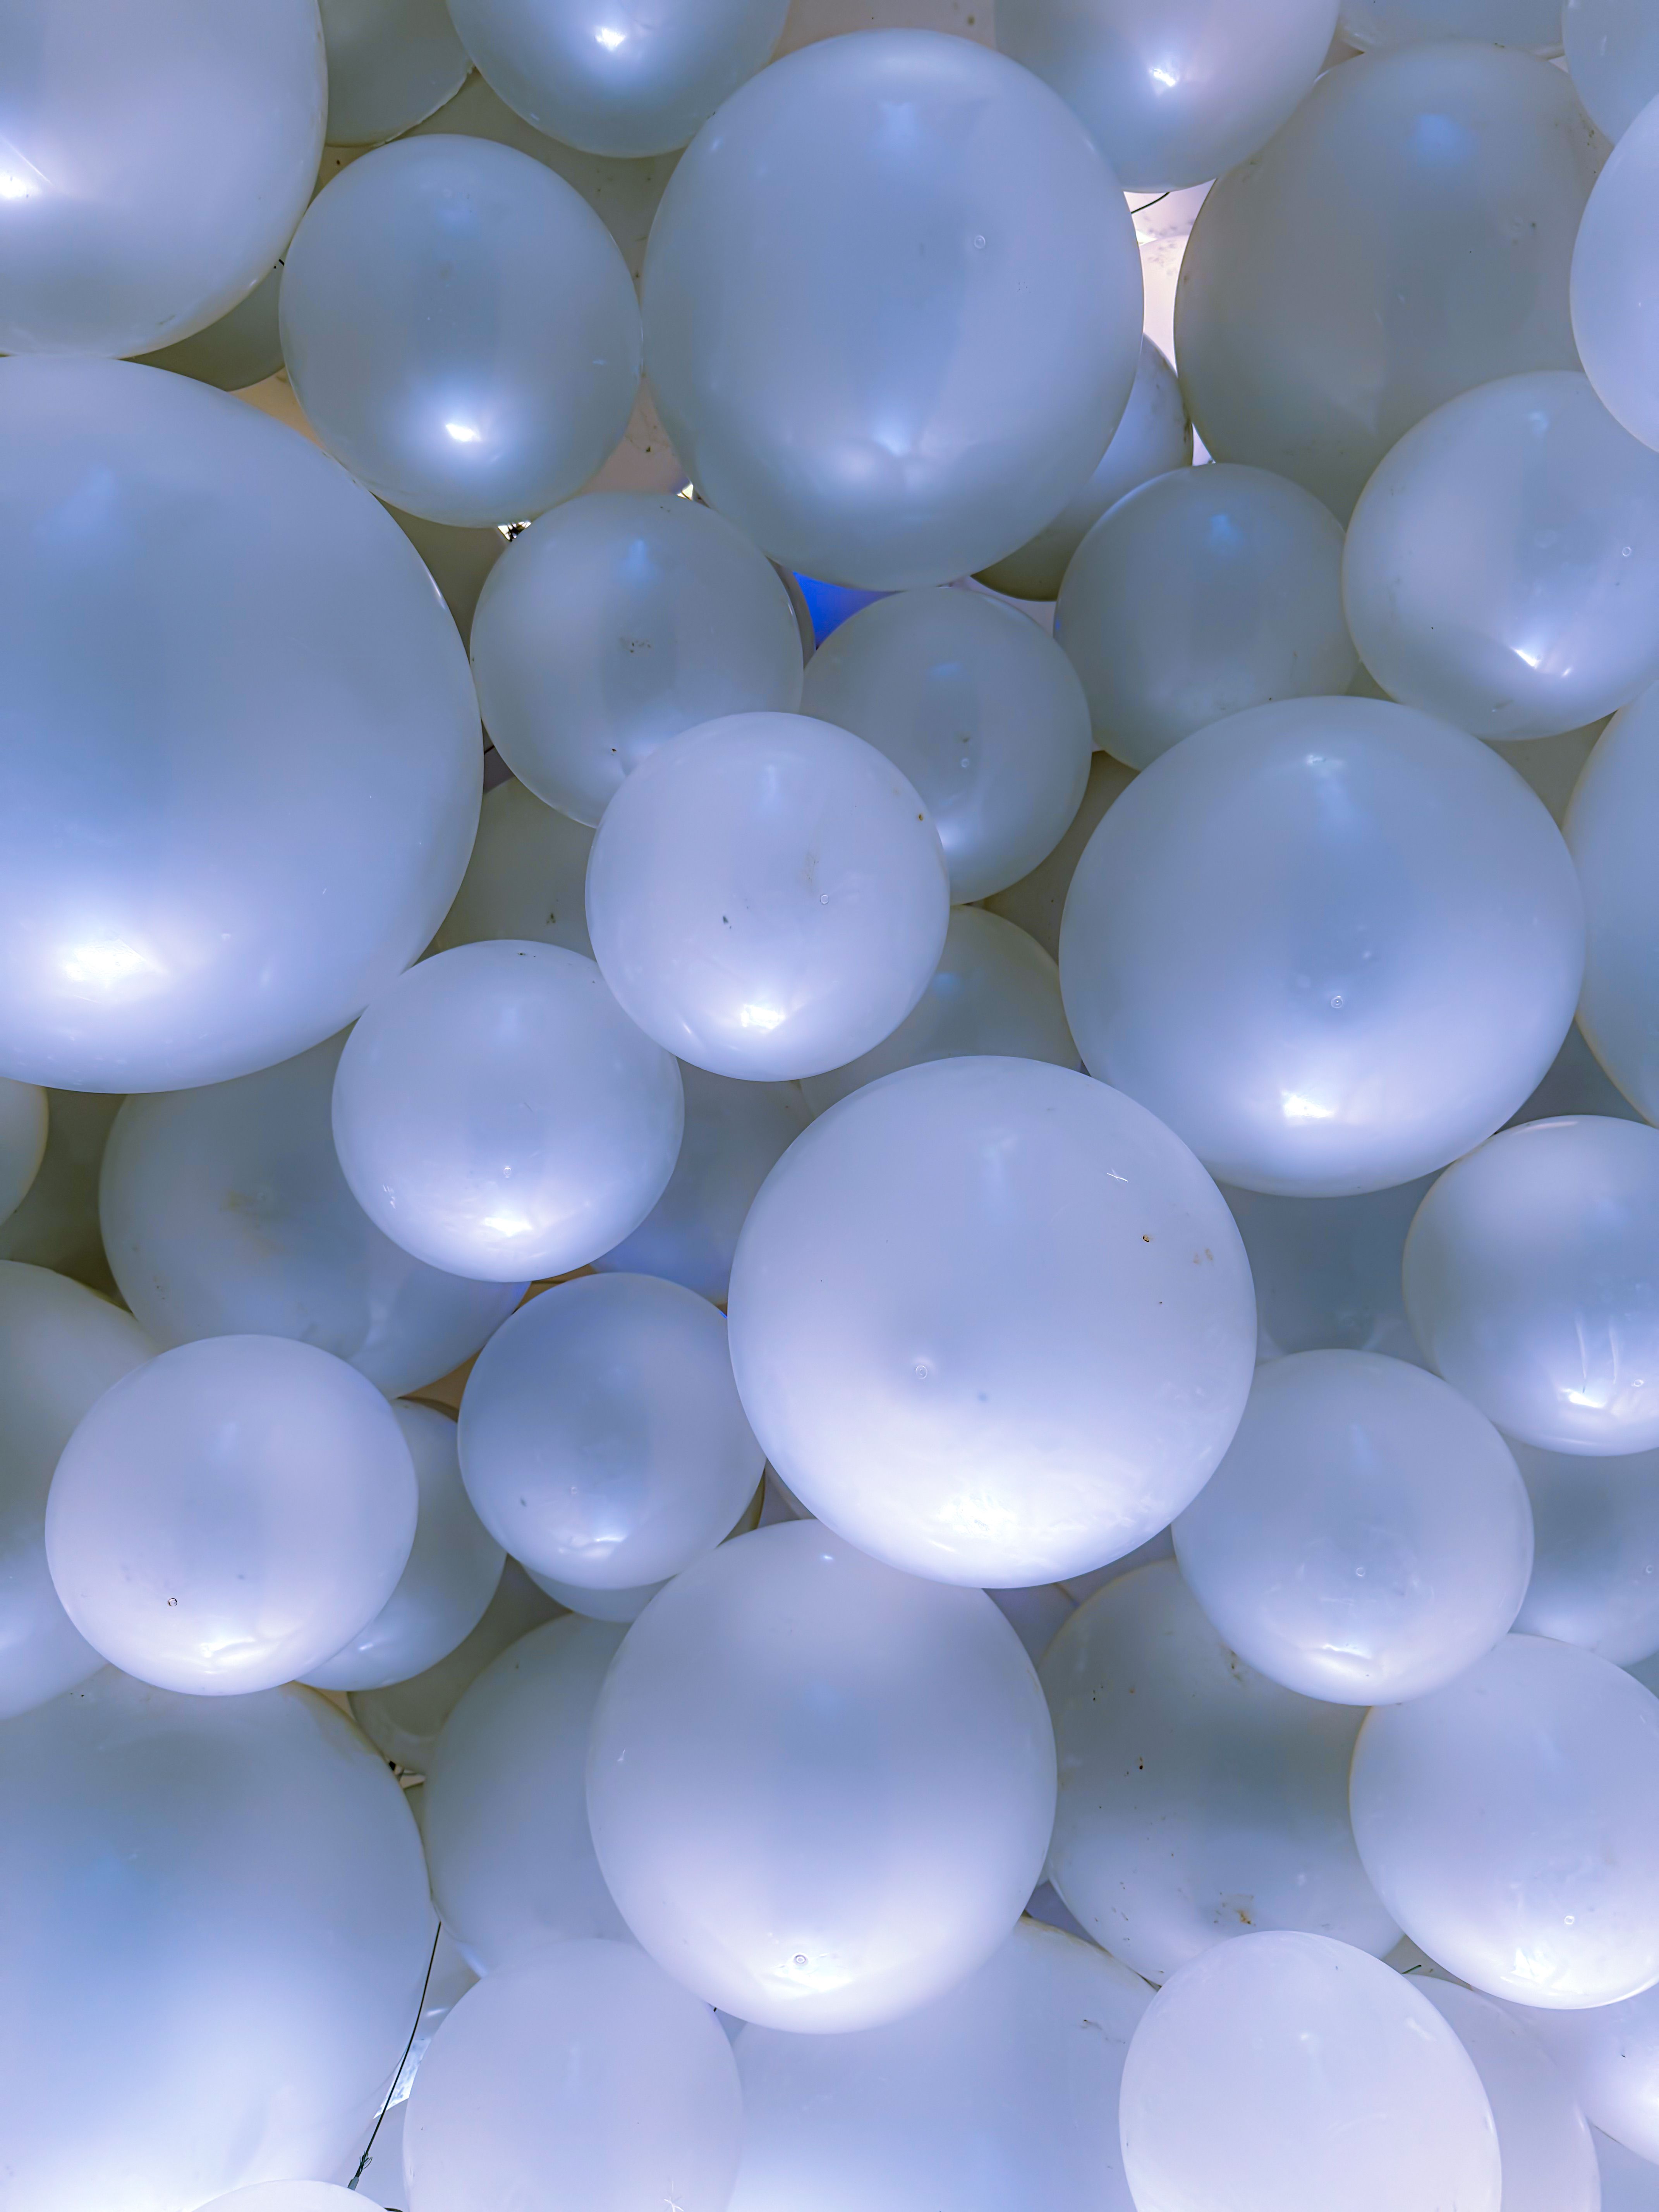
For an outdoor party, bunches tied to garden stakes beat anything stuck to a wall. I tied bunches of five balloons to bamboo stakes pushed into the ground along the garden path, so guests followed a trail of colour to the party area.
I did this for a summer garden birthday, and the bunches bobbed gently all afternoon without a single one escaping.
The watch-out is weather. One gust snapped a ribbon and sent a bunch over the fence into the neighbour’s garden. Use sturdy ribbon, double-knot every bunch, and bring the bunches inside if the wind picks up.
Pro Tip: Use foil balloons outdoors. They handle wind and sun better than latex.
Cost / Time / Difficulty: $20–$35 | 45 minutes
11. The Clear Confetti Balloon Table Display
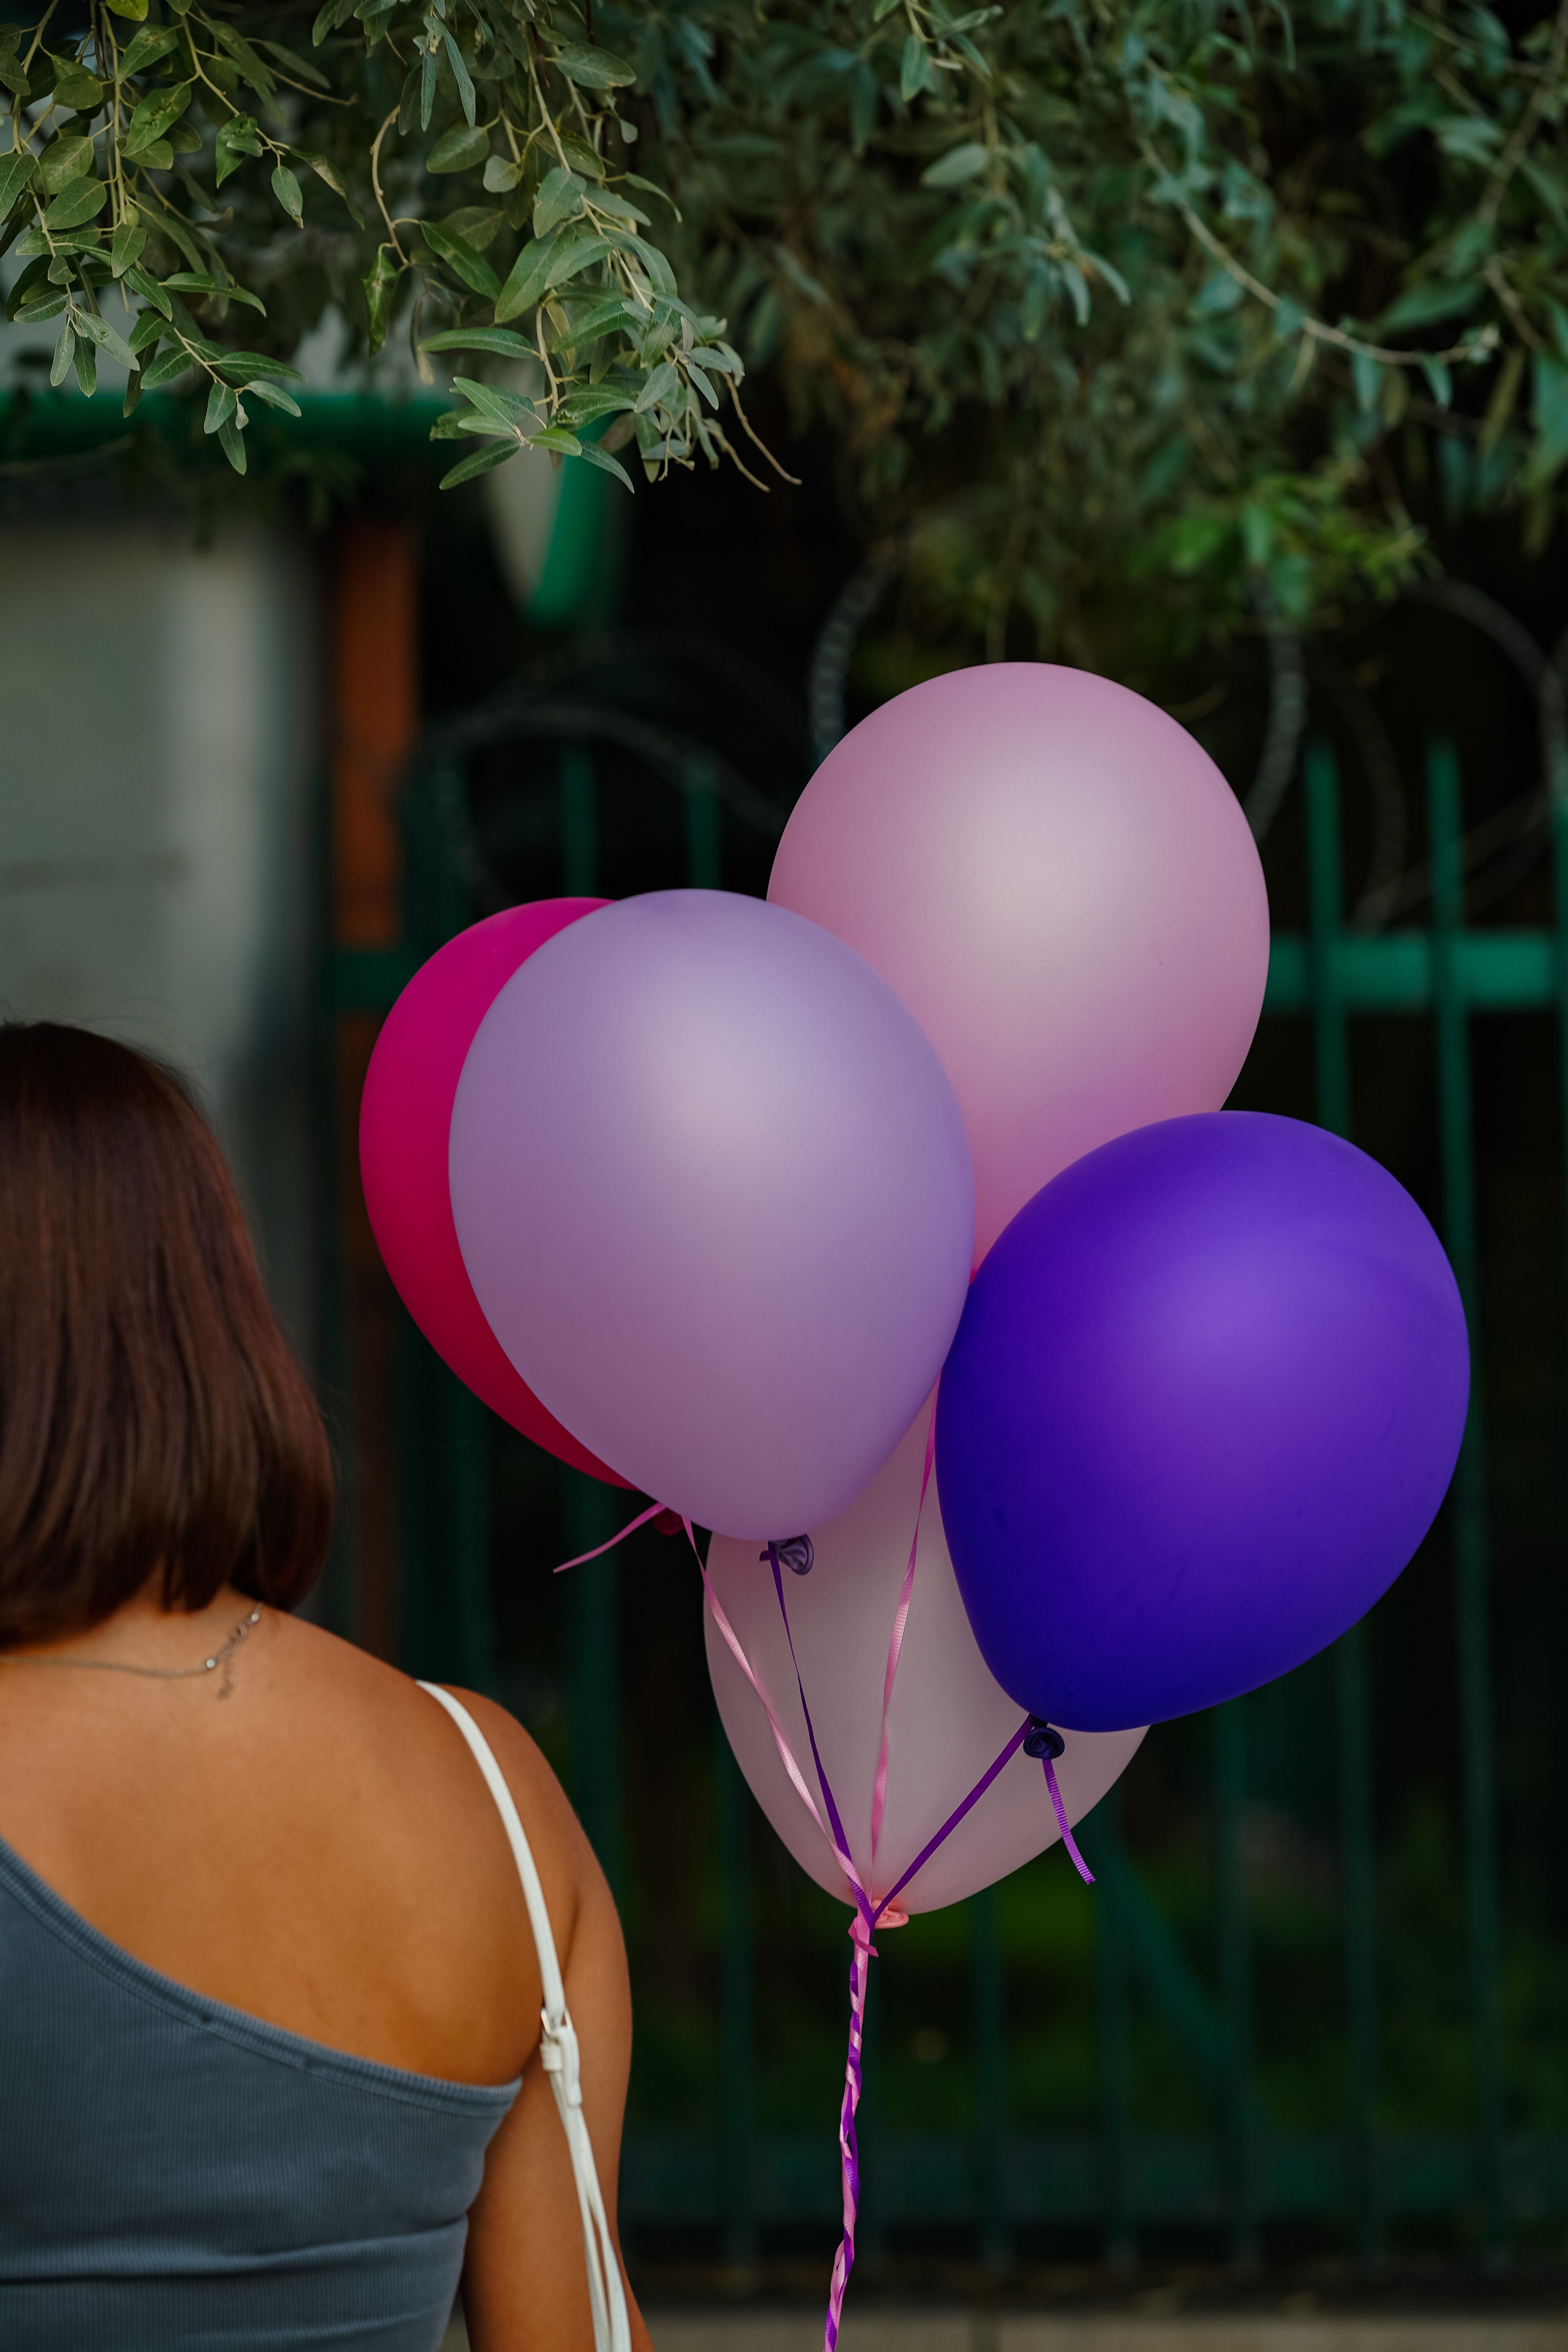
Clear balloons filled with confetti look far fancier than their price suggests. I filled ten clear 12-inch balloons with tissue confetti, inflated them with helium, and grouped them in threes on the dessert and gift tables.
I tried these for a friend’s daughter, and guests kept asking where I had bought them, even though each one cost under two dollars to make.
The downside is static and mess. Confetti clung to the inside of my first batch instead of floating, and one popped balloon scattered confetti across the cake table. Rub the balloon gently before inflating to reduce static, and keep confetti balloons away from the food.
Pro Tip: Use tissue confetti, not metallic. It is lighter and easier to clean up.
Cost / Time / Difficulty: $15–$25 for ten | 30 minutes | Easy

12. The First Birthday Party Room Display
Sometimes the best decoration is simply a room full of balloons in the party colours, with no single structure at all. I filled my living room with about 60 balloons in blush, cream, and gold, some floating, some in floor bunches, and let the room itself be the decoration.
I did this when I was short on time, and it worked because the sheer number of balloons made the room feel full.
The honest downside is that a scattered room can look messy rather than styled. My first attempt had balloons drifting into the kitchen and hallway. Keep the balloons in one room, and group them in corners and clusters instead of letting them wander.
Pro Tip: Stick to three colours maximum. More colours turn a full room into noise.
Cost / Time / Difficulty: $30–$50 | 1 hour
13. The Cake Table Balloon Frame
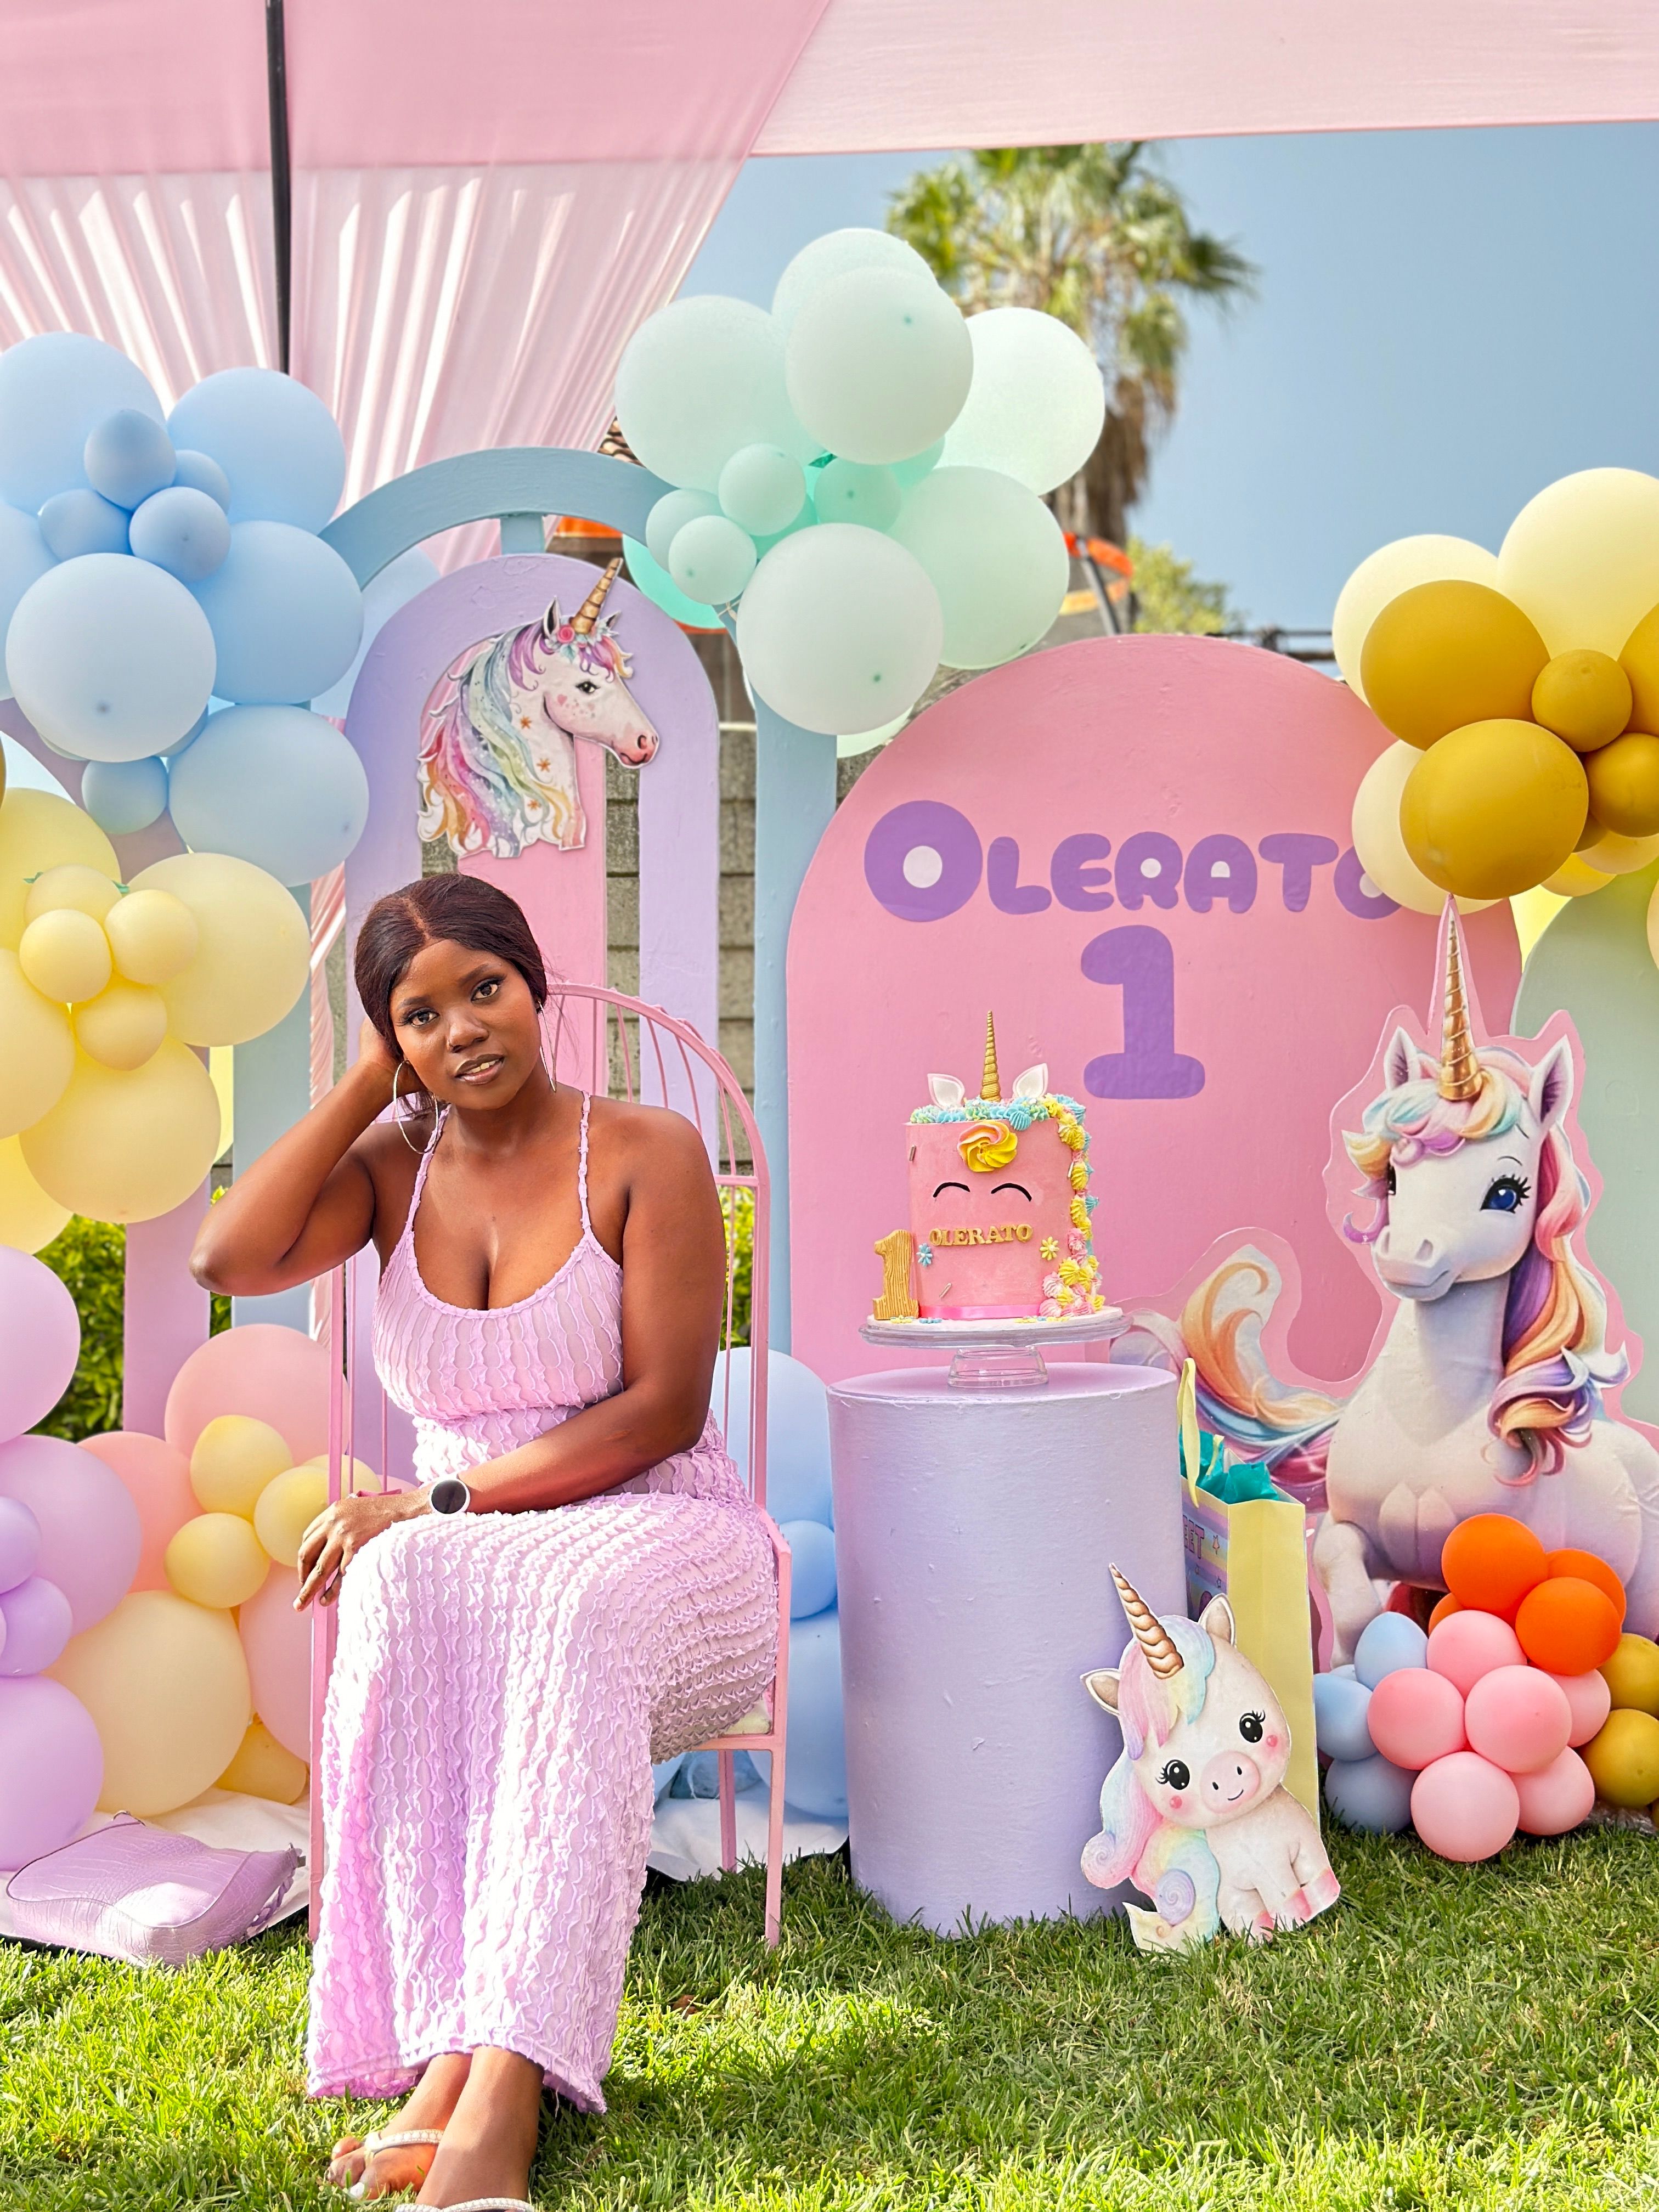
Framing the cake table with balloons makes the cake photos ten times better. I built a half-garland along the top and sides of our cake table backdrop, using about 40 balloons in the party colours, and left the centre clear so the cake stayed visible.
I used this setup for my daughter’s smash cake, and every cake photo had a soft balloon frame around it without hiding her face.
The watch-out is that a frame can creep into the cake’s space. Mine sagged onto the cake stand during the party, and I had to re-pin it mid-celebration. Anchor the garland well above the table, and check it again just before cake time.
Pro Tip: Leave a gap at cake height, so the camera sees the baby and cake.
Cost / Time / Difficulty: $25–$40 | 1 hour | Easy to Medium

Related article: If you are still planning the paper side of the party, read First Birthday Invitation Ideas for invitation styles that match these balloon colours.
14. The Bright Rainbow Party Balloons
Bright, mixed-colour balloons are the classic first birthday look, and sometimes classic is exactly right. I filled our party room with red, yellow, blue, and green balloons, tied in bunches, for a friend who wanted a cheerful, no-theme party.
The room looked joyful, and older children loved choosing a balloon to take home.
The downside is that bright colours can clash with a themed cake or outfit. My bright bunches fought with a pastel cake in photos, and the cake looked washed out. If your cake is pastel, keep the balloons pastel too, or keep bright balloons in a separate room.
Pro Tip: Put bright balloons in the play area and softer colours near the cake table.
Cost / Time / Difficulty: $20–$30 | 45 minutes
15. The Warm Orange Accent Balloons
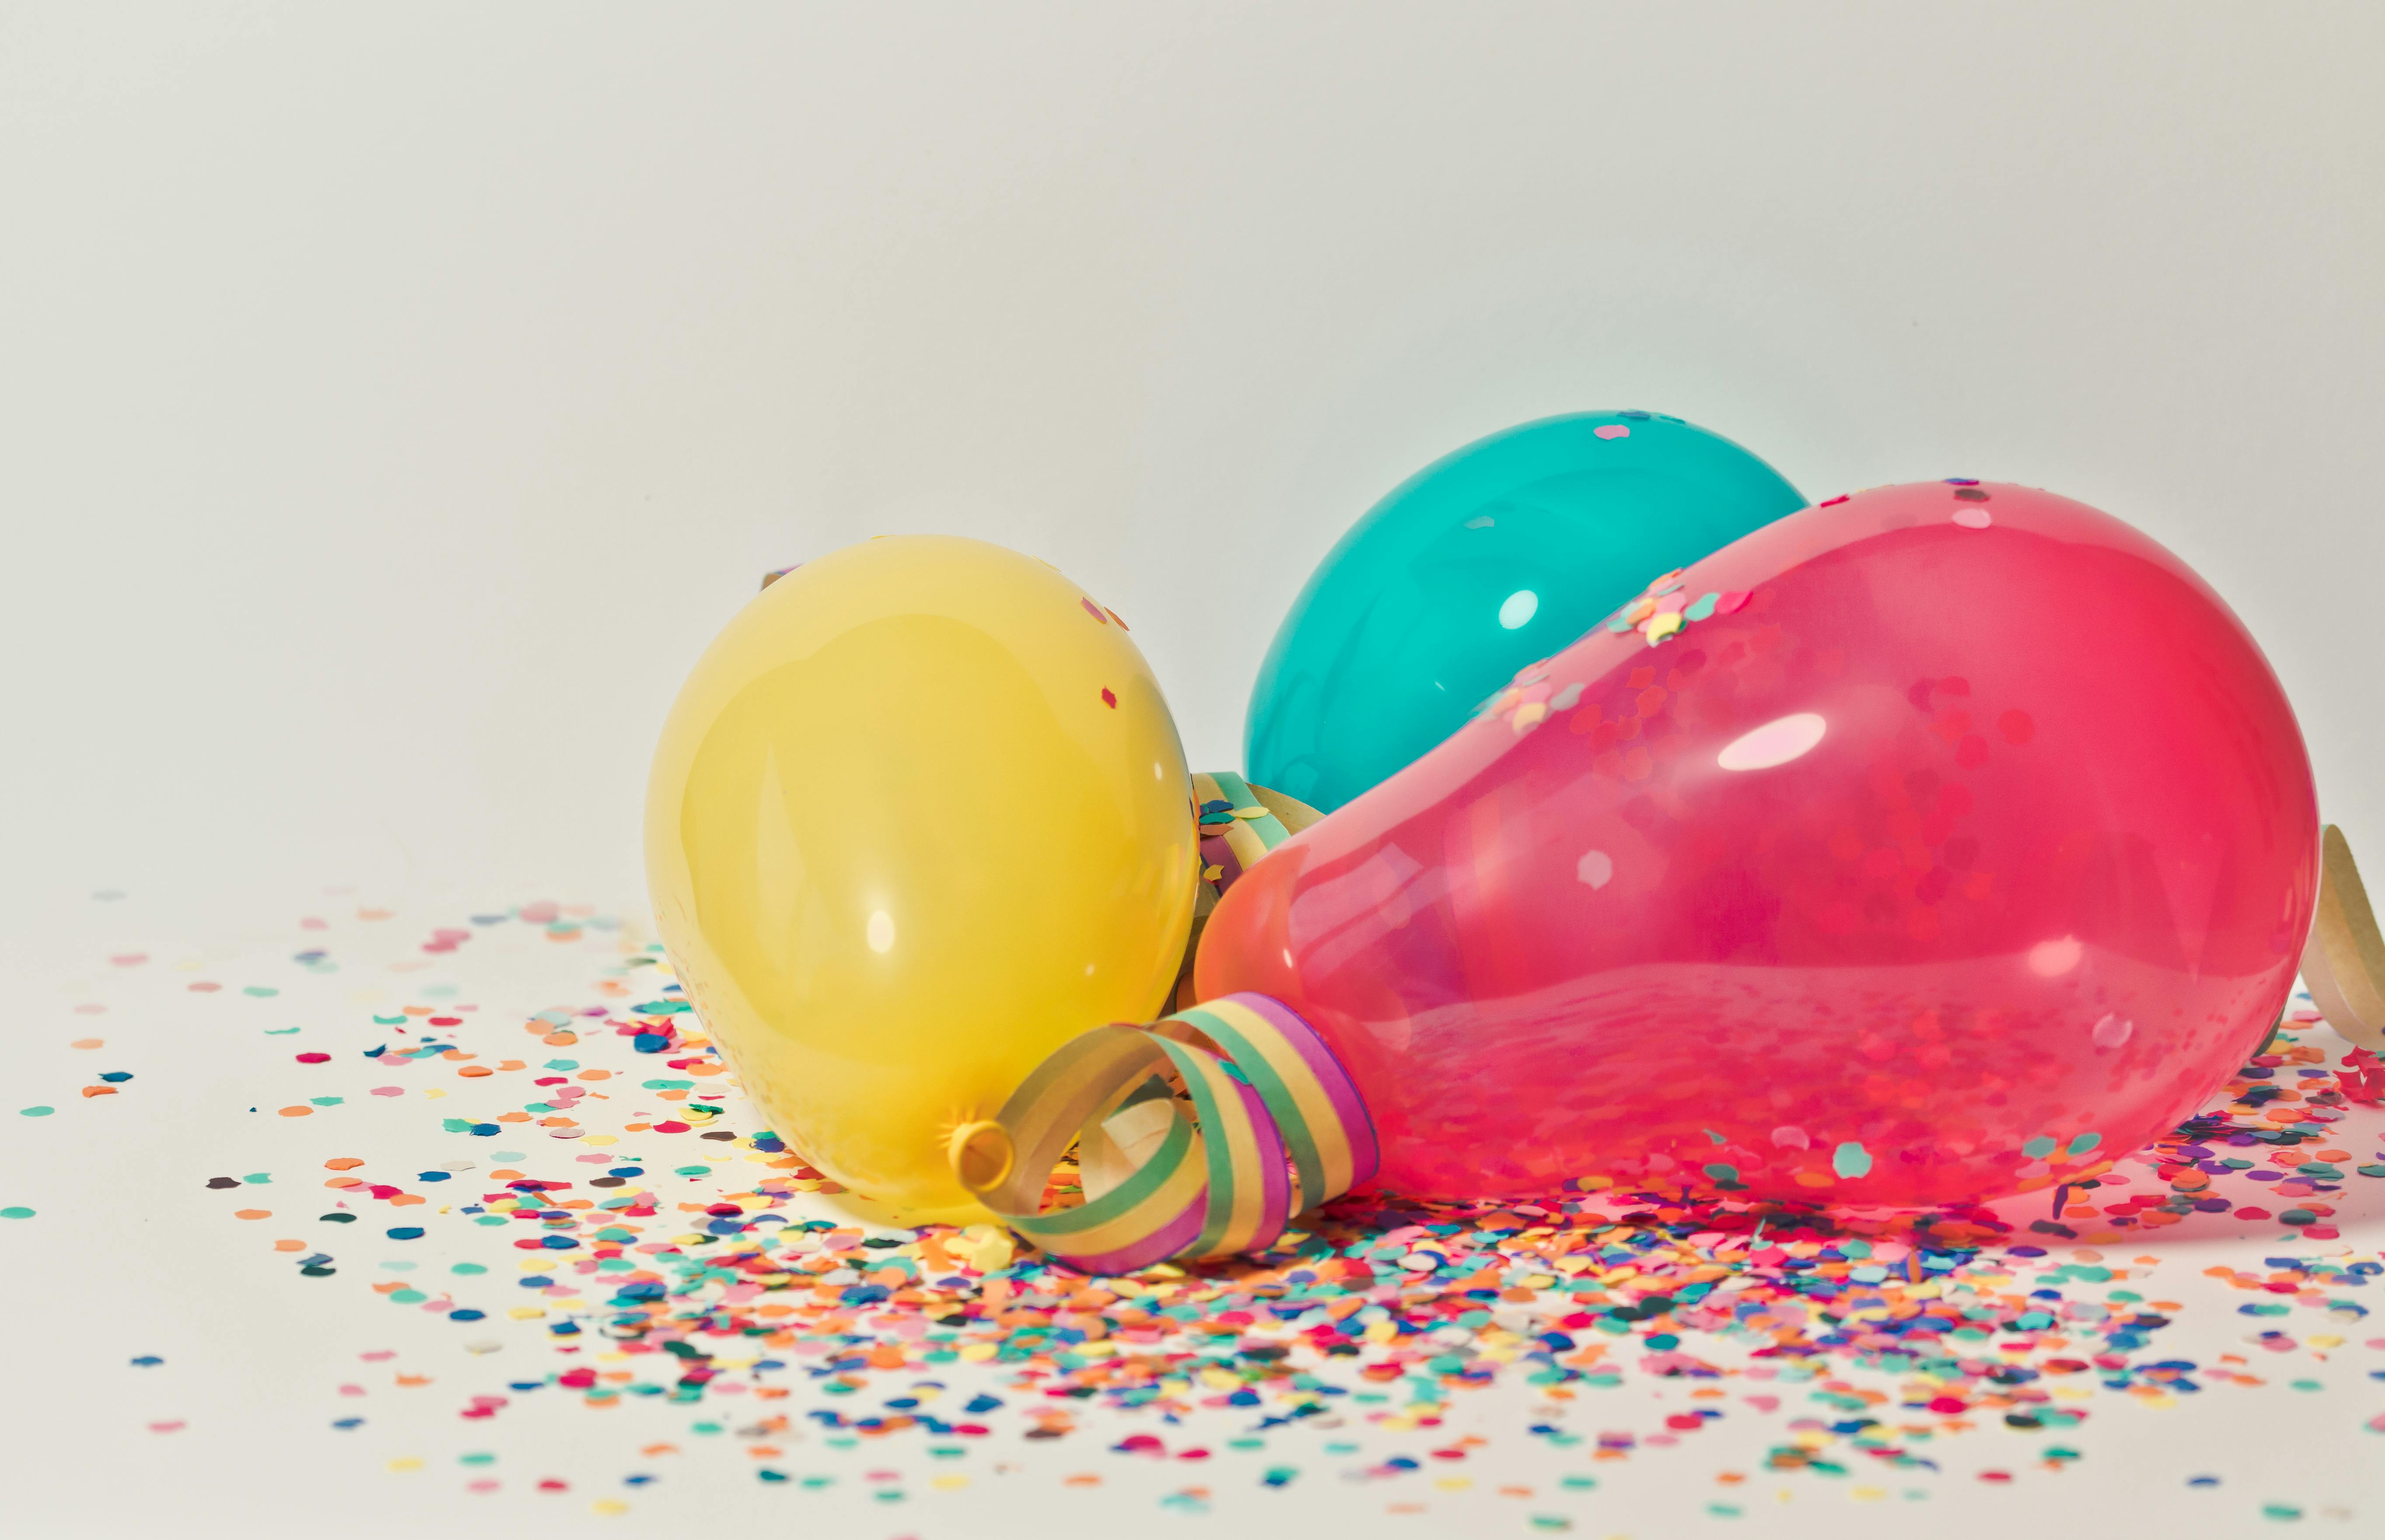
Orange balloons sound unusual for a first birthday, but they are wonderful for an autumn party or a citrus theme. I paired orange balloons with cream and soft green, using orange as the accent colour in about one third of the display, for an October birthday.
The result was warm and seasonal without looking like Halloween, and the orange popped beautifully in photos against white walls.
The honest downside is that orange dominates fast. When I used equal orange and cream, the room looked orange, not accented. Keep orange to about one balloon in three, and let cream or white carry the rest.
Pro Tip: Pair orange with cream, not bright yellow, or they blur in photos.
Cost / Time / Difficulty: $20–$30 | 1 hour | Easy
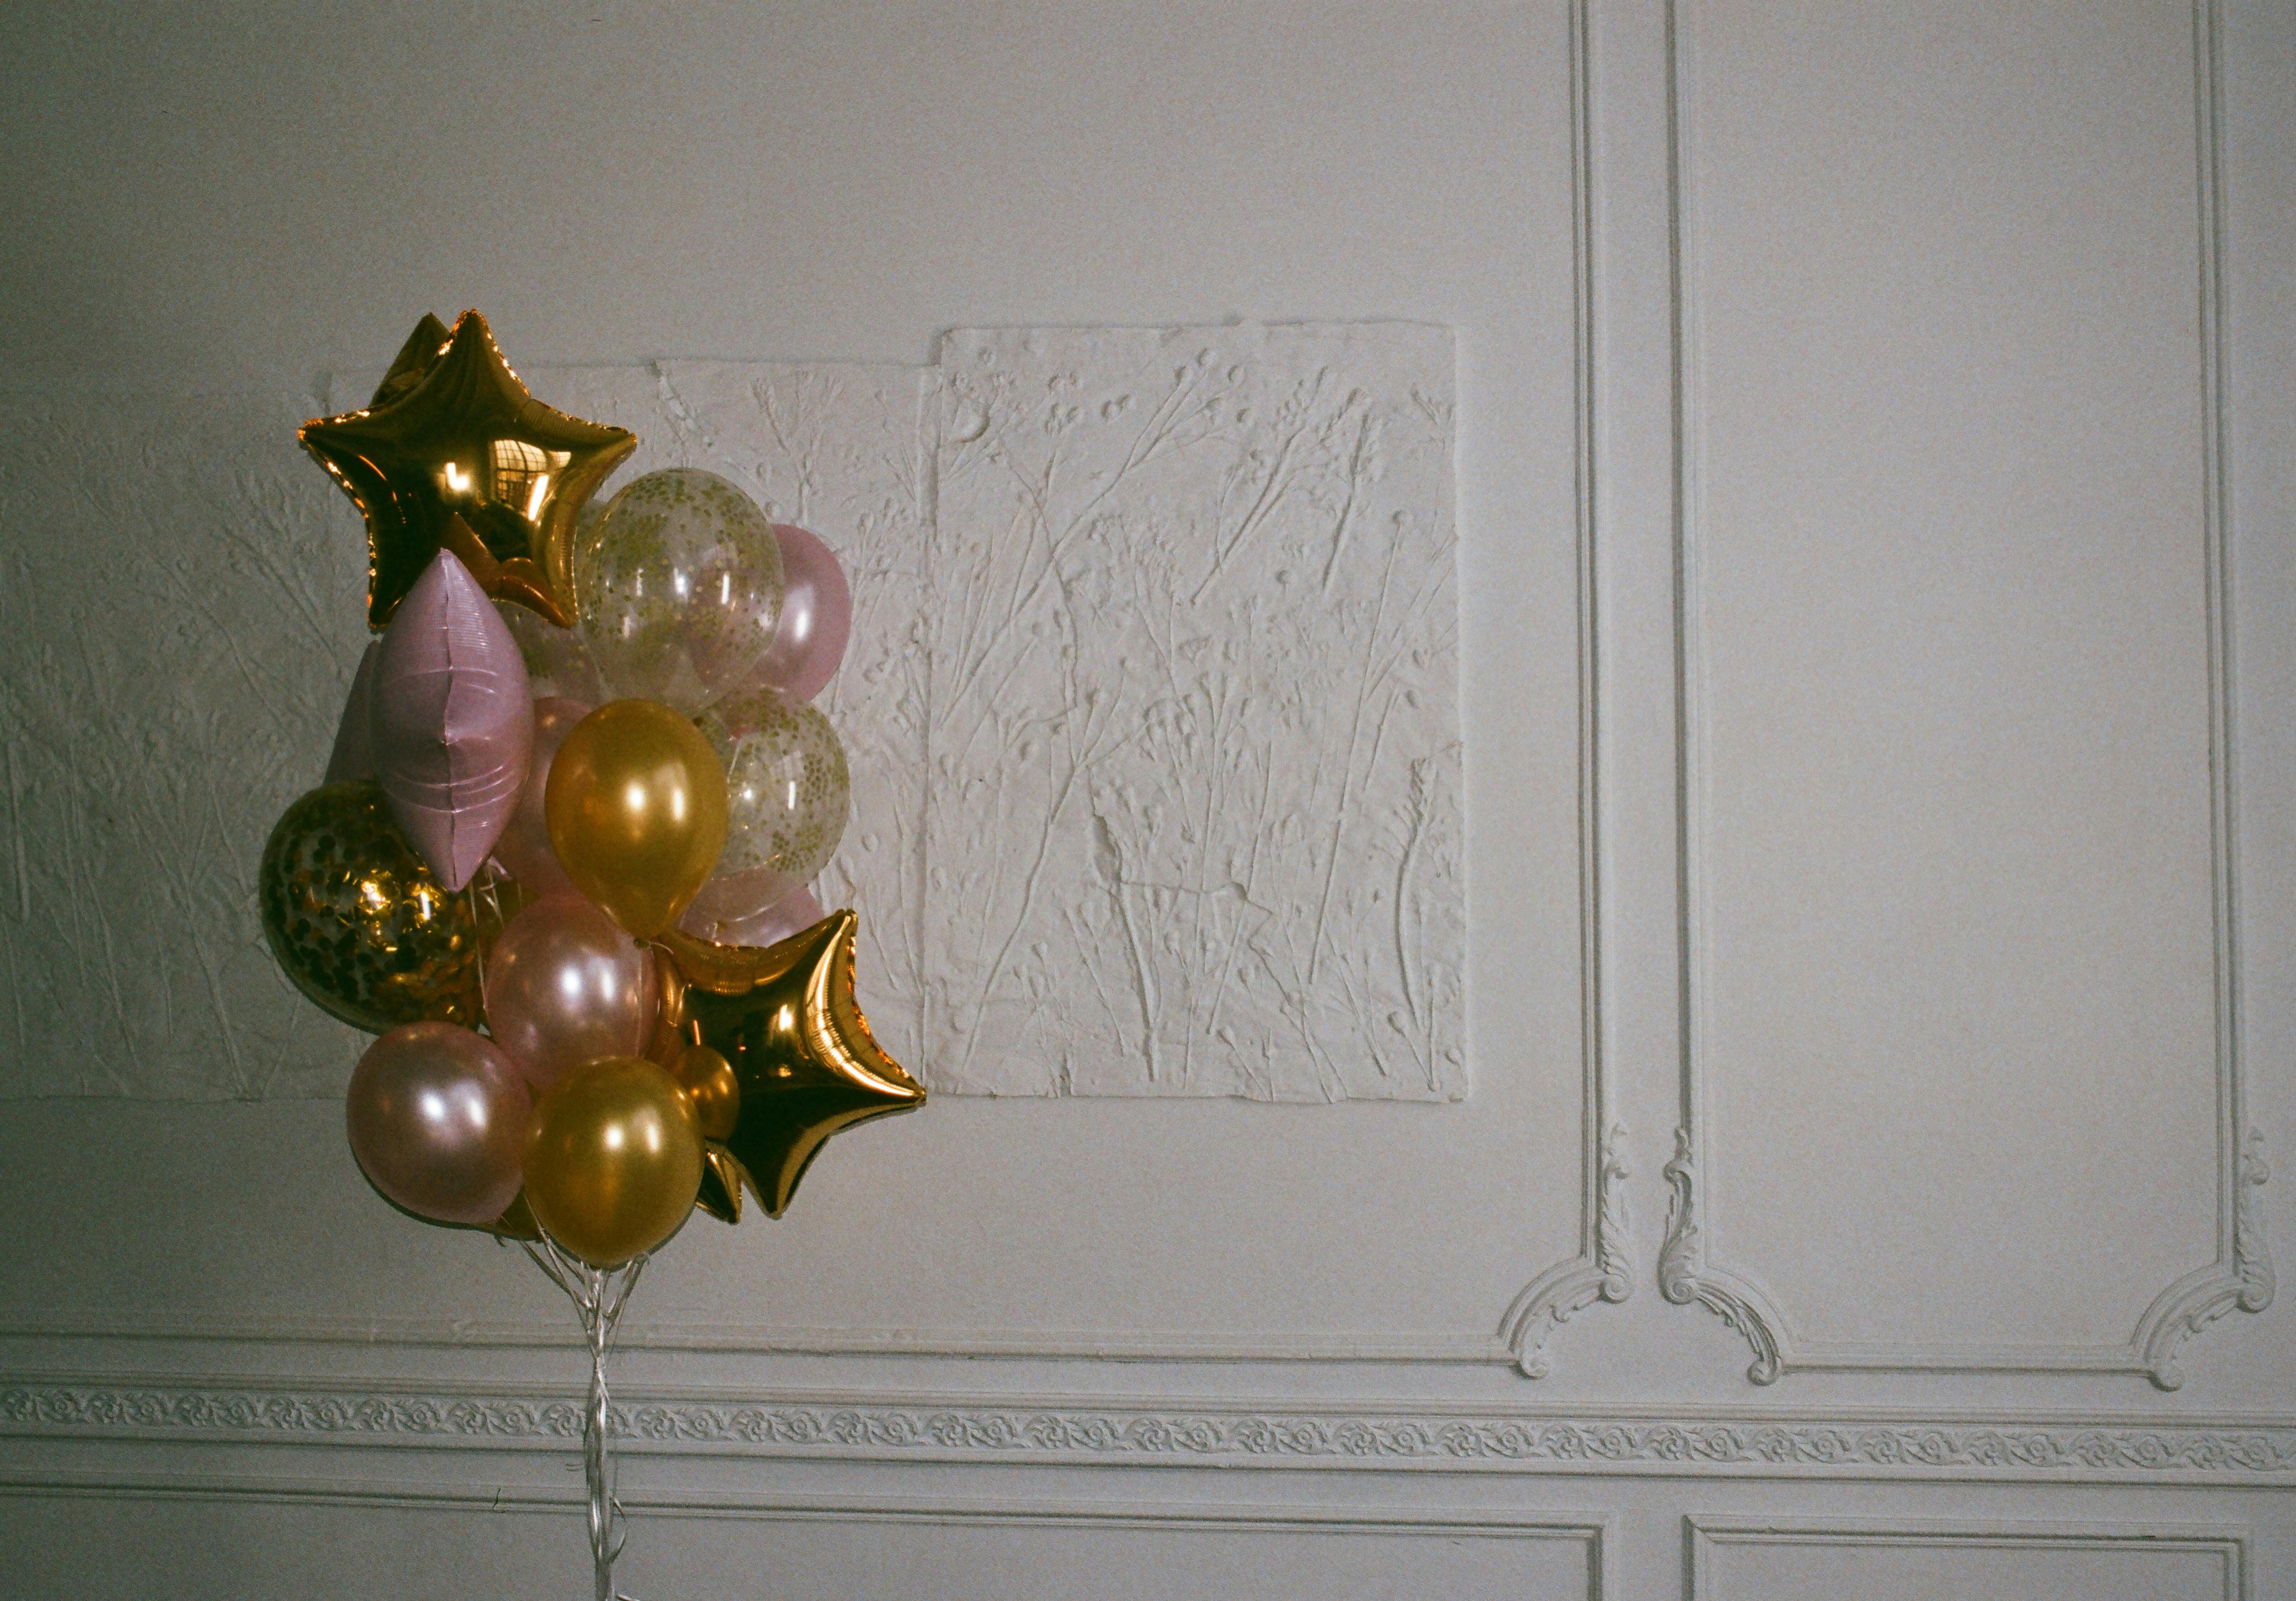
16. The Gold Accent Balloon Display
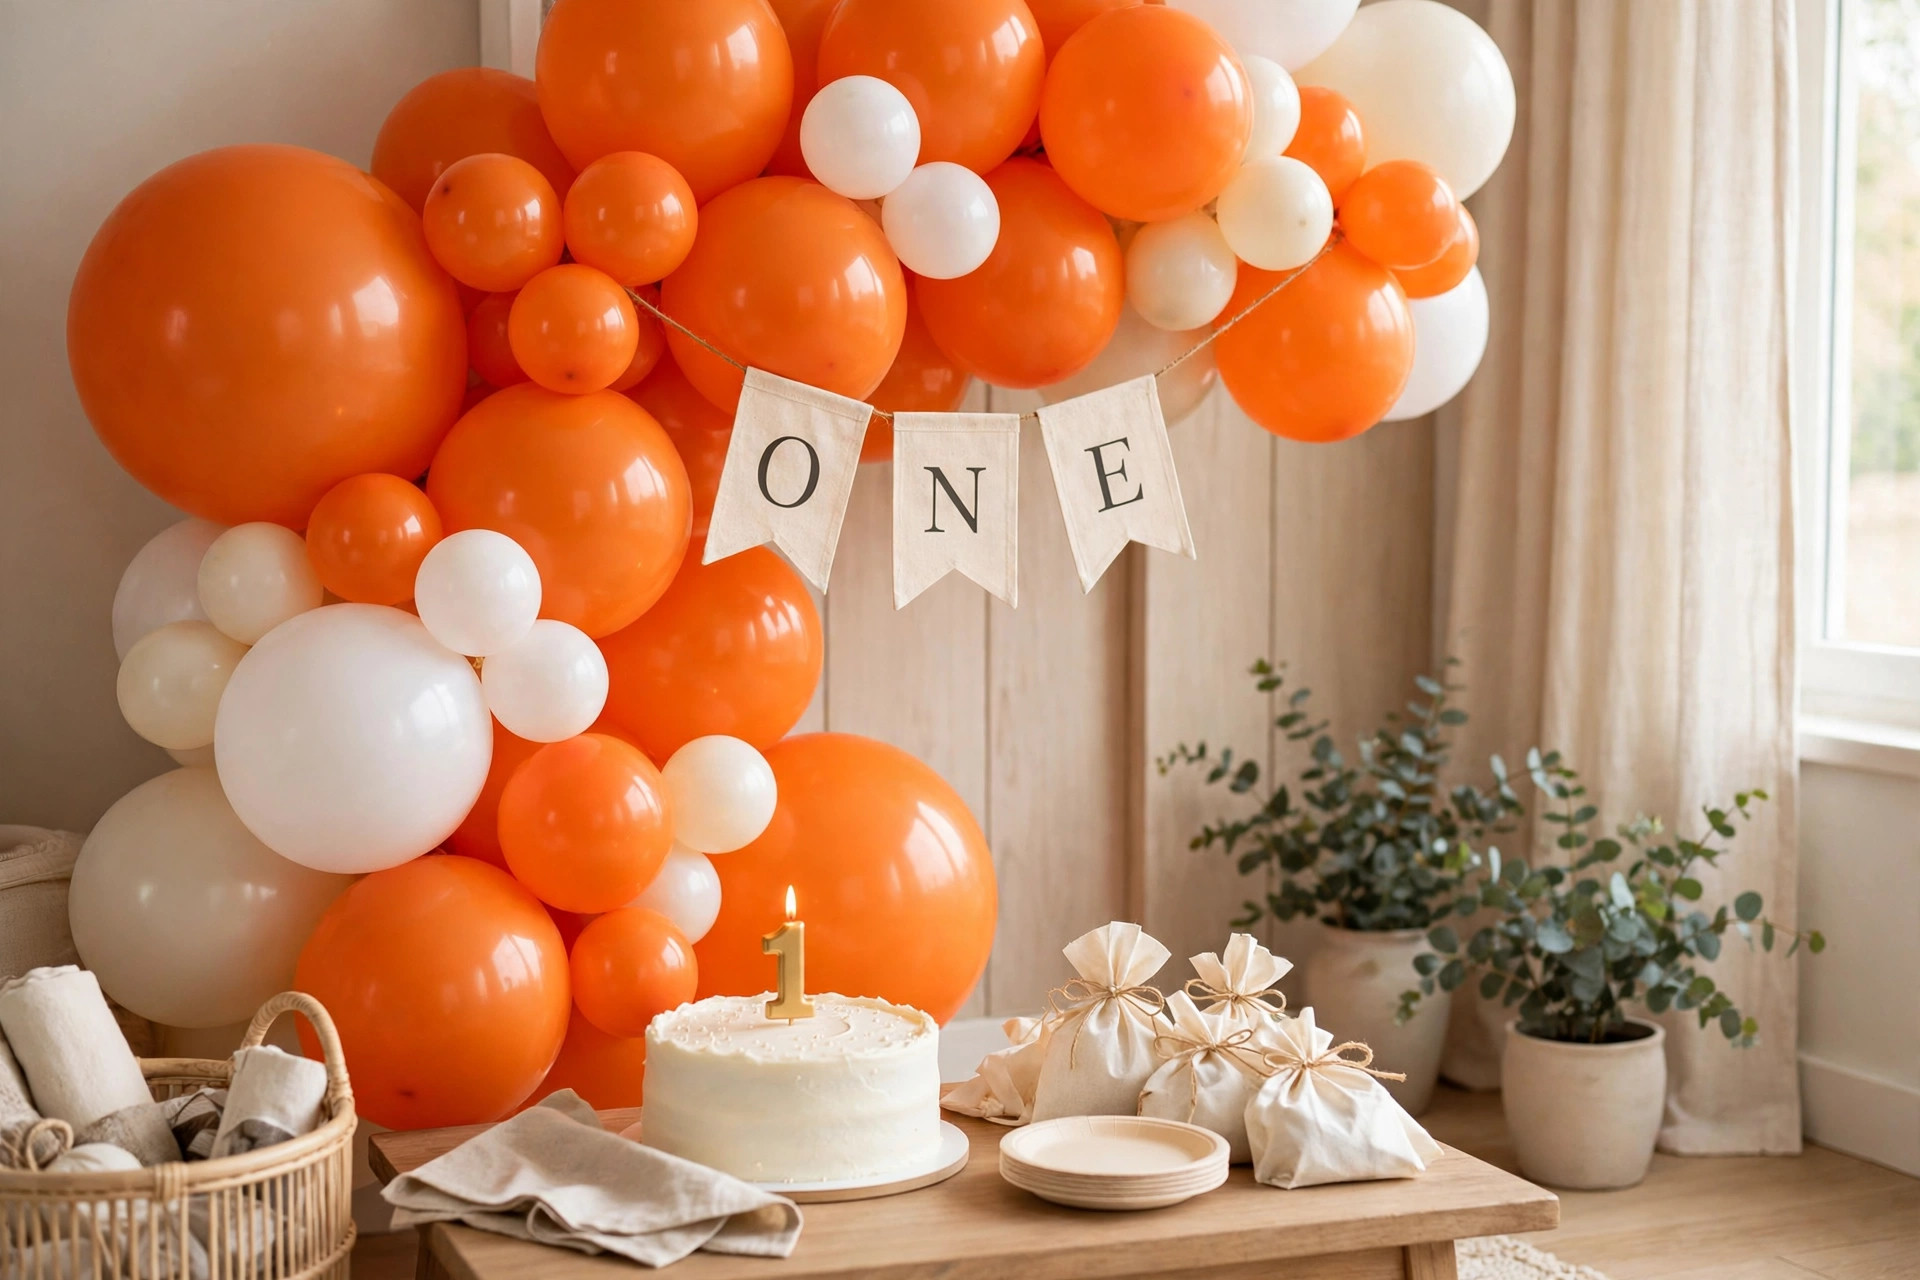
Gold balloons add a touch of celebration without a full metallic theme. I mixed gold foil balloons with cream latex balloons, using gold for about one in four balloons in the main garland, for a first birthday that also celebrated the parents’ anniversary.
The gold caught the light in the evening photos and made the whole room look more polished.
The downside is that foil balloons conduct and pop loudly, and they cost more per balloon than latex. One gold balloon popped right beside the baby and made her cry, so I now keep foil balloons high and away from the birthday chair.
Pro Tip: Use foil balloons as accents only, so a pop does not ruin the display.
Cost / Time / Difficulty: $25–$40 | 1 hour
Also read: For the cake moment that goes with this display, see First Birthday Smash Cake Ideas.
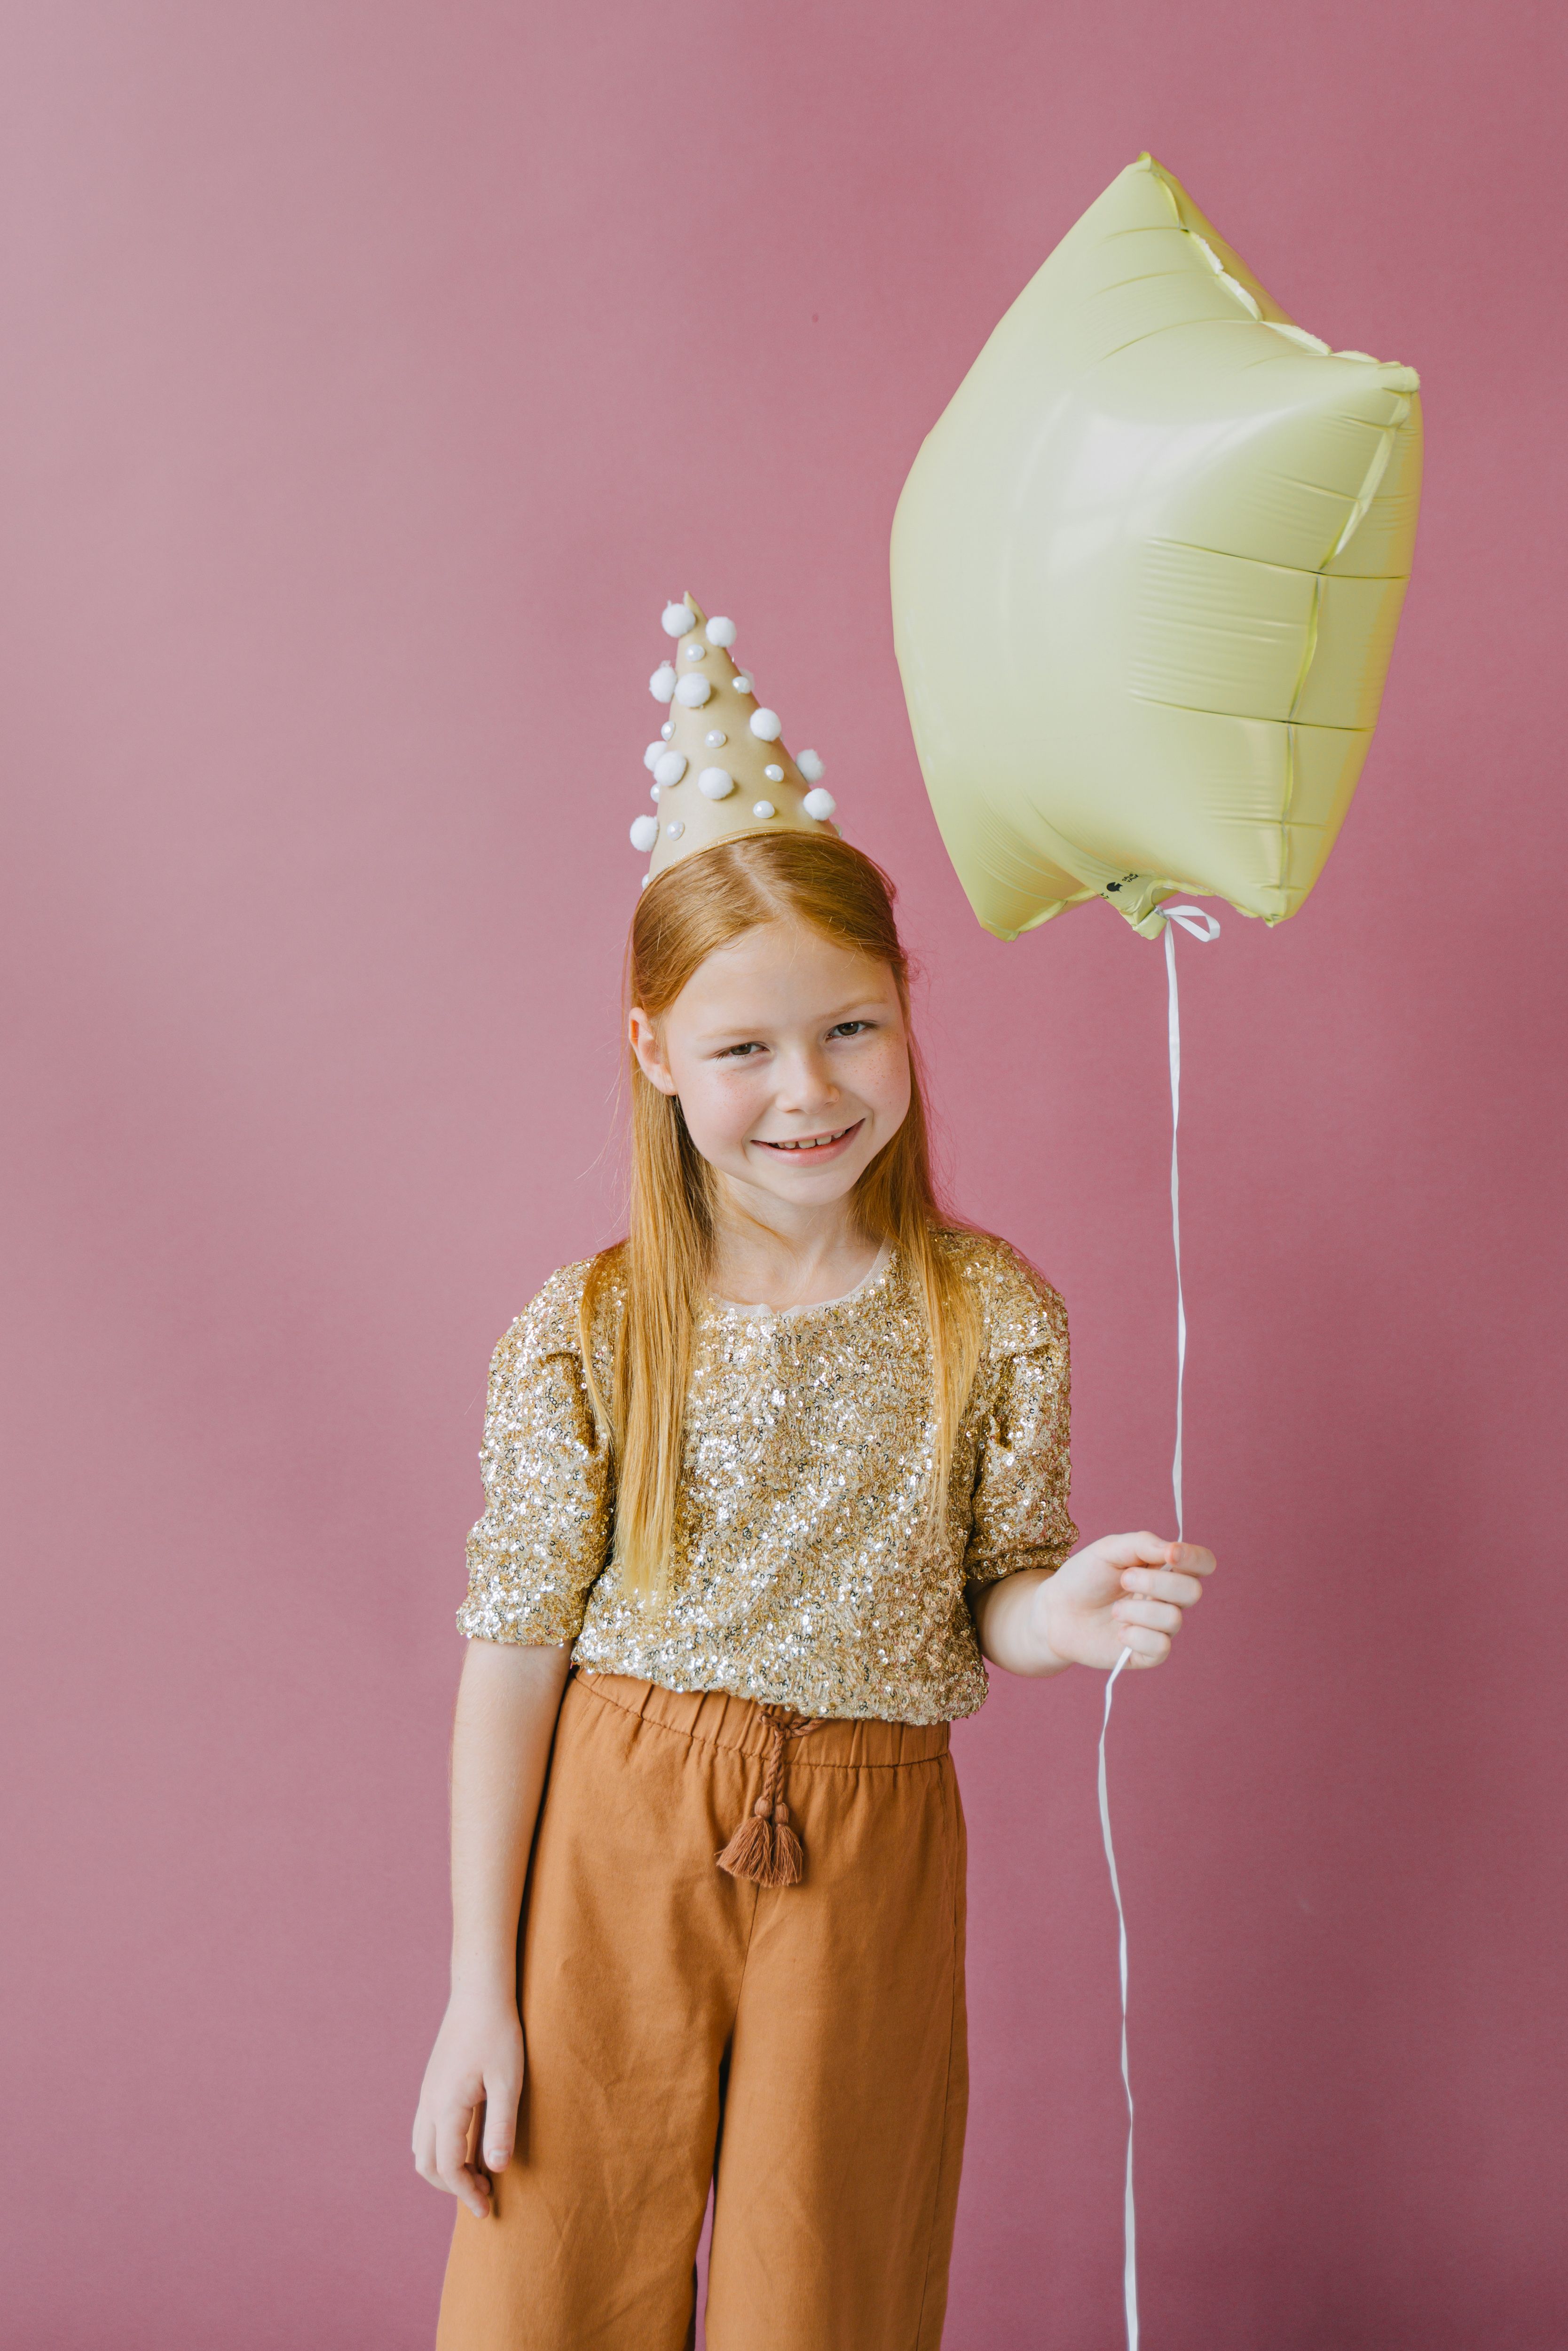
17. The Birthday Girl Balloon Photo Moment
One balloon, one child, one good photo is sometimes all you need. I gave my niece a single large pink balloon on a long ribbon for a quiet photo moment before the party started, while the room was still tidy and the light was good.
That photo, just her holding the balloon and smiling, is the one her parents framed.
The downside is that a single balloon is also a single point of failure. Hers popped five minutes later when it brushed a door frame, and the photo moment was over. Take the photo first, before the party chaos, and keep a spare balloon ready.
Pro Tip: Photograph the moment against a plain wall, so the balloon fills the frame.
Cost / Time / Difficulty: $2–$5 | 5 minutes | Easy
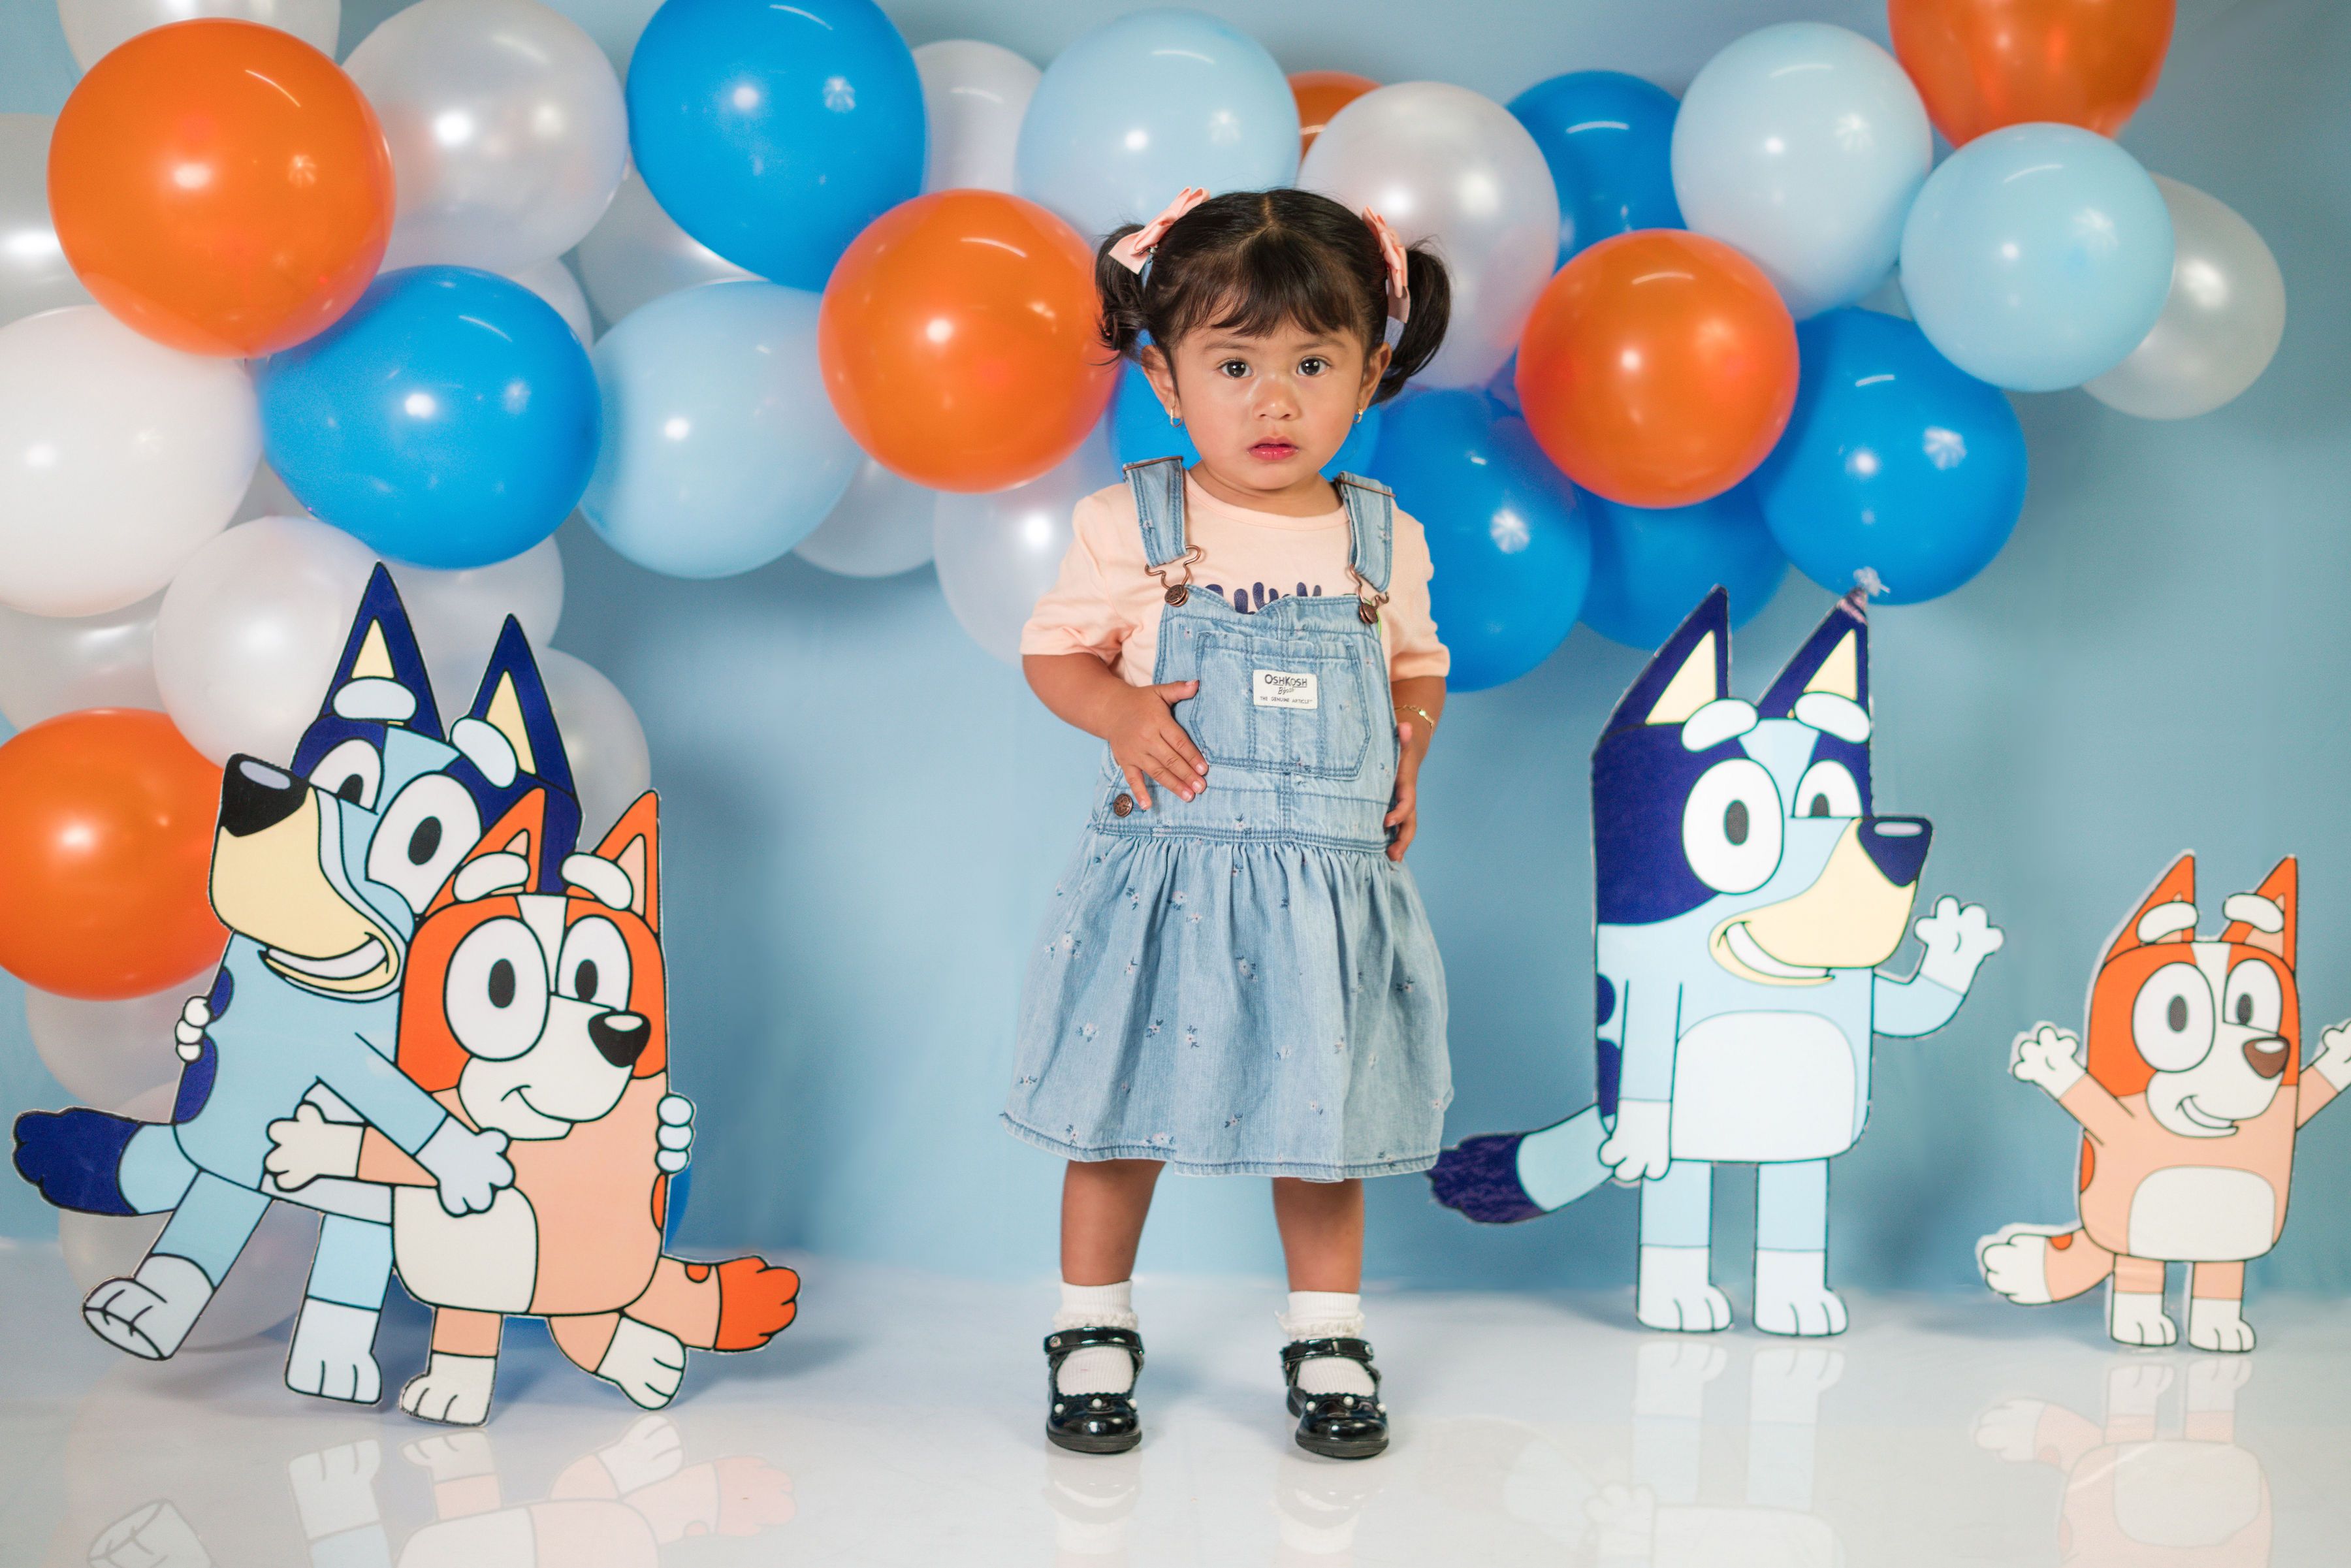
18. The Character Balloon Decor Corner
A character-themed balloon corner is perfect when your baby already has a favourite show or animal. I built a small corner with balloons in the character’s colours, plus cardboard cutouts, for a friend’s daughter who loves cartoons.
The corner became the photo spot for every family, and the older children played there all afternoon.
The honest downside is that character balloons date fast and cost more than plain ones. I bought licensed balloons that were twice the price of plain latex, and the baby herself barely noticed the characters. Use the character’s colours, not expensive licensed balloons, and save the money for the cake.
Pro Tip: Put the character corner away from the food table, so play does not bump drinks.
Cost / Time / Difficulty: $25–$45 | 1 hour
First Birthday Balloon Decor Ideas Comparison Table
| Idea | Best For | Cost | Effort |
|---|---|---|---|
| Pastel Garland | Photo backdrop | $25–$40 | |
| “One” Sign Display | Entrance wow factor | $20–$35 | Easy |
| Balloon Arch | Outdoor or hall parties | $35–$60 | |
| Highchair Surround | Cake-smash photos | $15–$25 | Easy |
| Balloon Cluster Wall | Rental-friendly rooms | $20–$30 | |
| Balloon Ceiling | Instant party feel | $40–$70 | Easy |
| Table Bouquets | Large rooms | $5–$8 each | |
| Rainbow Garland | Bright themes | $30–$45 | Medium |
| White Cloud | Themed parties | $25–$35 | |
| Garden Bunches | Outdoor parties | $20–$35 | Easy |
| Confetti Balloons | Dessert tables | $15–$25 | |
| Room Display | Last-minute parties | $30–$50 | Easy |
| Cake Table Frame | Cake photos | $25–$40 | |
| Bright Balloons | No-theme parties | $20–$30 | Easy |
| Orange Accents | Autumn parties | $20–$30 | |
| Gold Accents | Evening parties | $25–$40 | Easy |
| Balloon Photo Moment | One framed photo | $2–$5 | |
| Character Corner | Themed parties | $25–$45 | Easy |
Mistakes I Made (So You Don’t Have To)
I inflated helium balloons too early. For my first party, I filled them the night before, and by party time half were drooping. Now helium goes in on the morning, and air-filled garlands are built the night before.
I skipped the wall test. I once stuck a garland to freshly painted wall with strong tape, and it peeled paint off. Now I test one dot in a hidden spot and use removable dots or hooks.
I forgot the clean-up plan. After one party, popped pieces were under the sofa and in the garden for days, which is unsafe with a crawling baby around. Now a bin bag and quick sweep are part of the routine before guests leave.
I bought too few balloons. My first garland looked thin because I bought exactly what I thought I needed, then popped six during inflation. Now I always buy ten to fifteen percent extra.
Balloon Safety at a First Birthday
Keep balloons out of reach of babies and toddlers unless an adult is supervising closely, pick up popped pieces immediately, and never let a child play with uninflated balloons. If your child has a latex allergy, choose foil balloons, keep strings short, and never tie a balloon around a child’s wrist or neck.
Frequently Asked Questions
How long do first birthday balloons last?
Air-filled garlands look good for two to three days indoors, helium latex balloons float for about eight to twelve hours, and foil balloons often last several days.
How many balloons do I need for a garland?
For a six-foot garland, I use about 60 balloons in mixed sizes, and for a doorway arch, 80 to 100. Buying ten percent extra covers pops during inflation.
Can I build a balloon garland the night before?
Yes, if it is air-filled. Air-filled garlands hold their shape overnight indoors. Helium balloons should wait until the morning of the party.
What would you do differently next time?
I would pick three colours, build the garland the night before, and fill helium last.
Read this next: For more first birthday planning beyond balloons, see Perfect First Birthday Ideas for Girls.
Final Thoughts
A first birthday does not need a professional decorator or a hundred balloons. It needs one good focal piece, a few clusters where the photos happen, and a clean-up plan afterwards. Pick the idea that fits your room and budget, and let the baby be the star.