First Birthday Smash Cake Ideas
Watching a one-year-old meet their first cake is pure joy, and these first birthday smash cake ideas come from my own family’s first birthdays, plus the parties I have helped friends plan. I tested the practical side of each idea, from baking to cleanup, and I kept only the ones that made the day easier and the photos better. Here is how I picked them: every idea had to be safe for a one-year-old, simple enough for a tired parent to pull off, and photogenic without a professional setup. If it looked cute online but stressed the baby or the parents out, it did not make the list.
I am Tabitha, and I have planned first birthdays where the cake was the star and others where the cake was an afterthought, and I can tell you the star version is more fun for everyone. A smash cake is a small cake made just for the birthday baby to dig into, squish, and taste, while guests eat a separate, neater cake. That separation is the secret: the baby gets the mess, and nobody has to eat cake with tiny fingerprints in it.
Key Takeaways
- A smash cake should be small, soft, and lightly frosted so little hands can actually break into it.
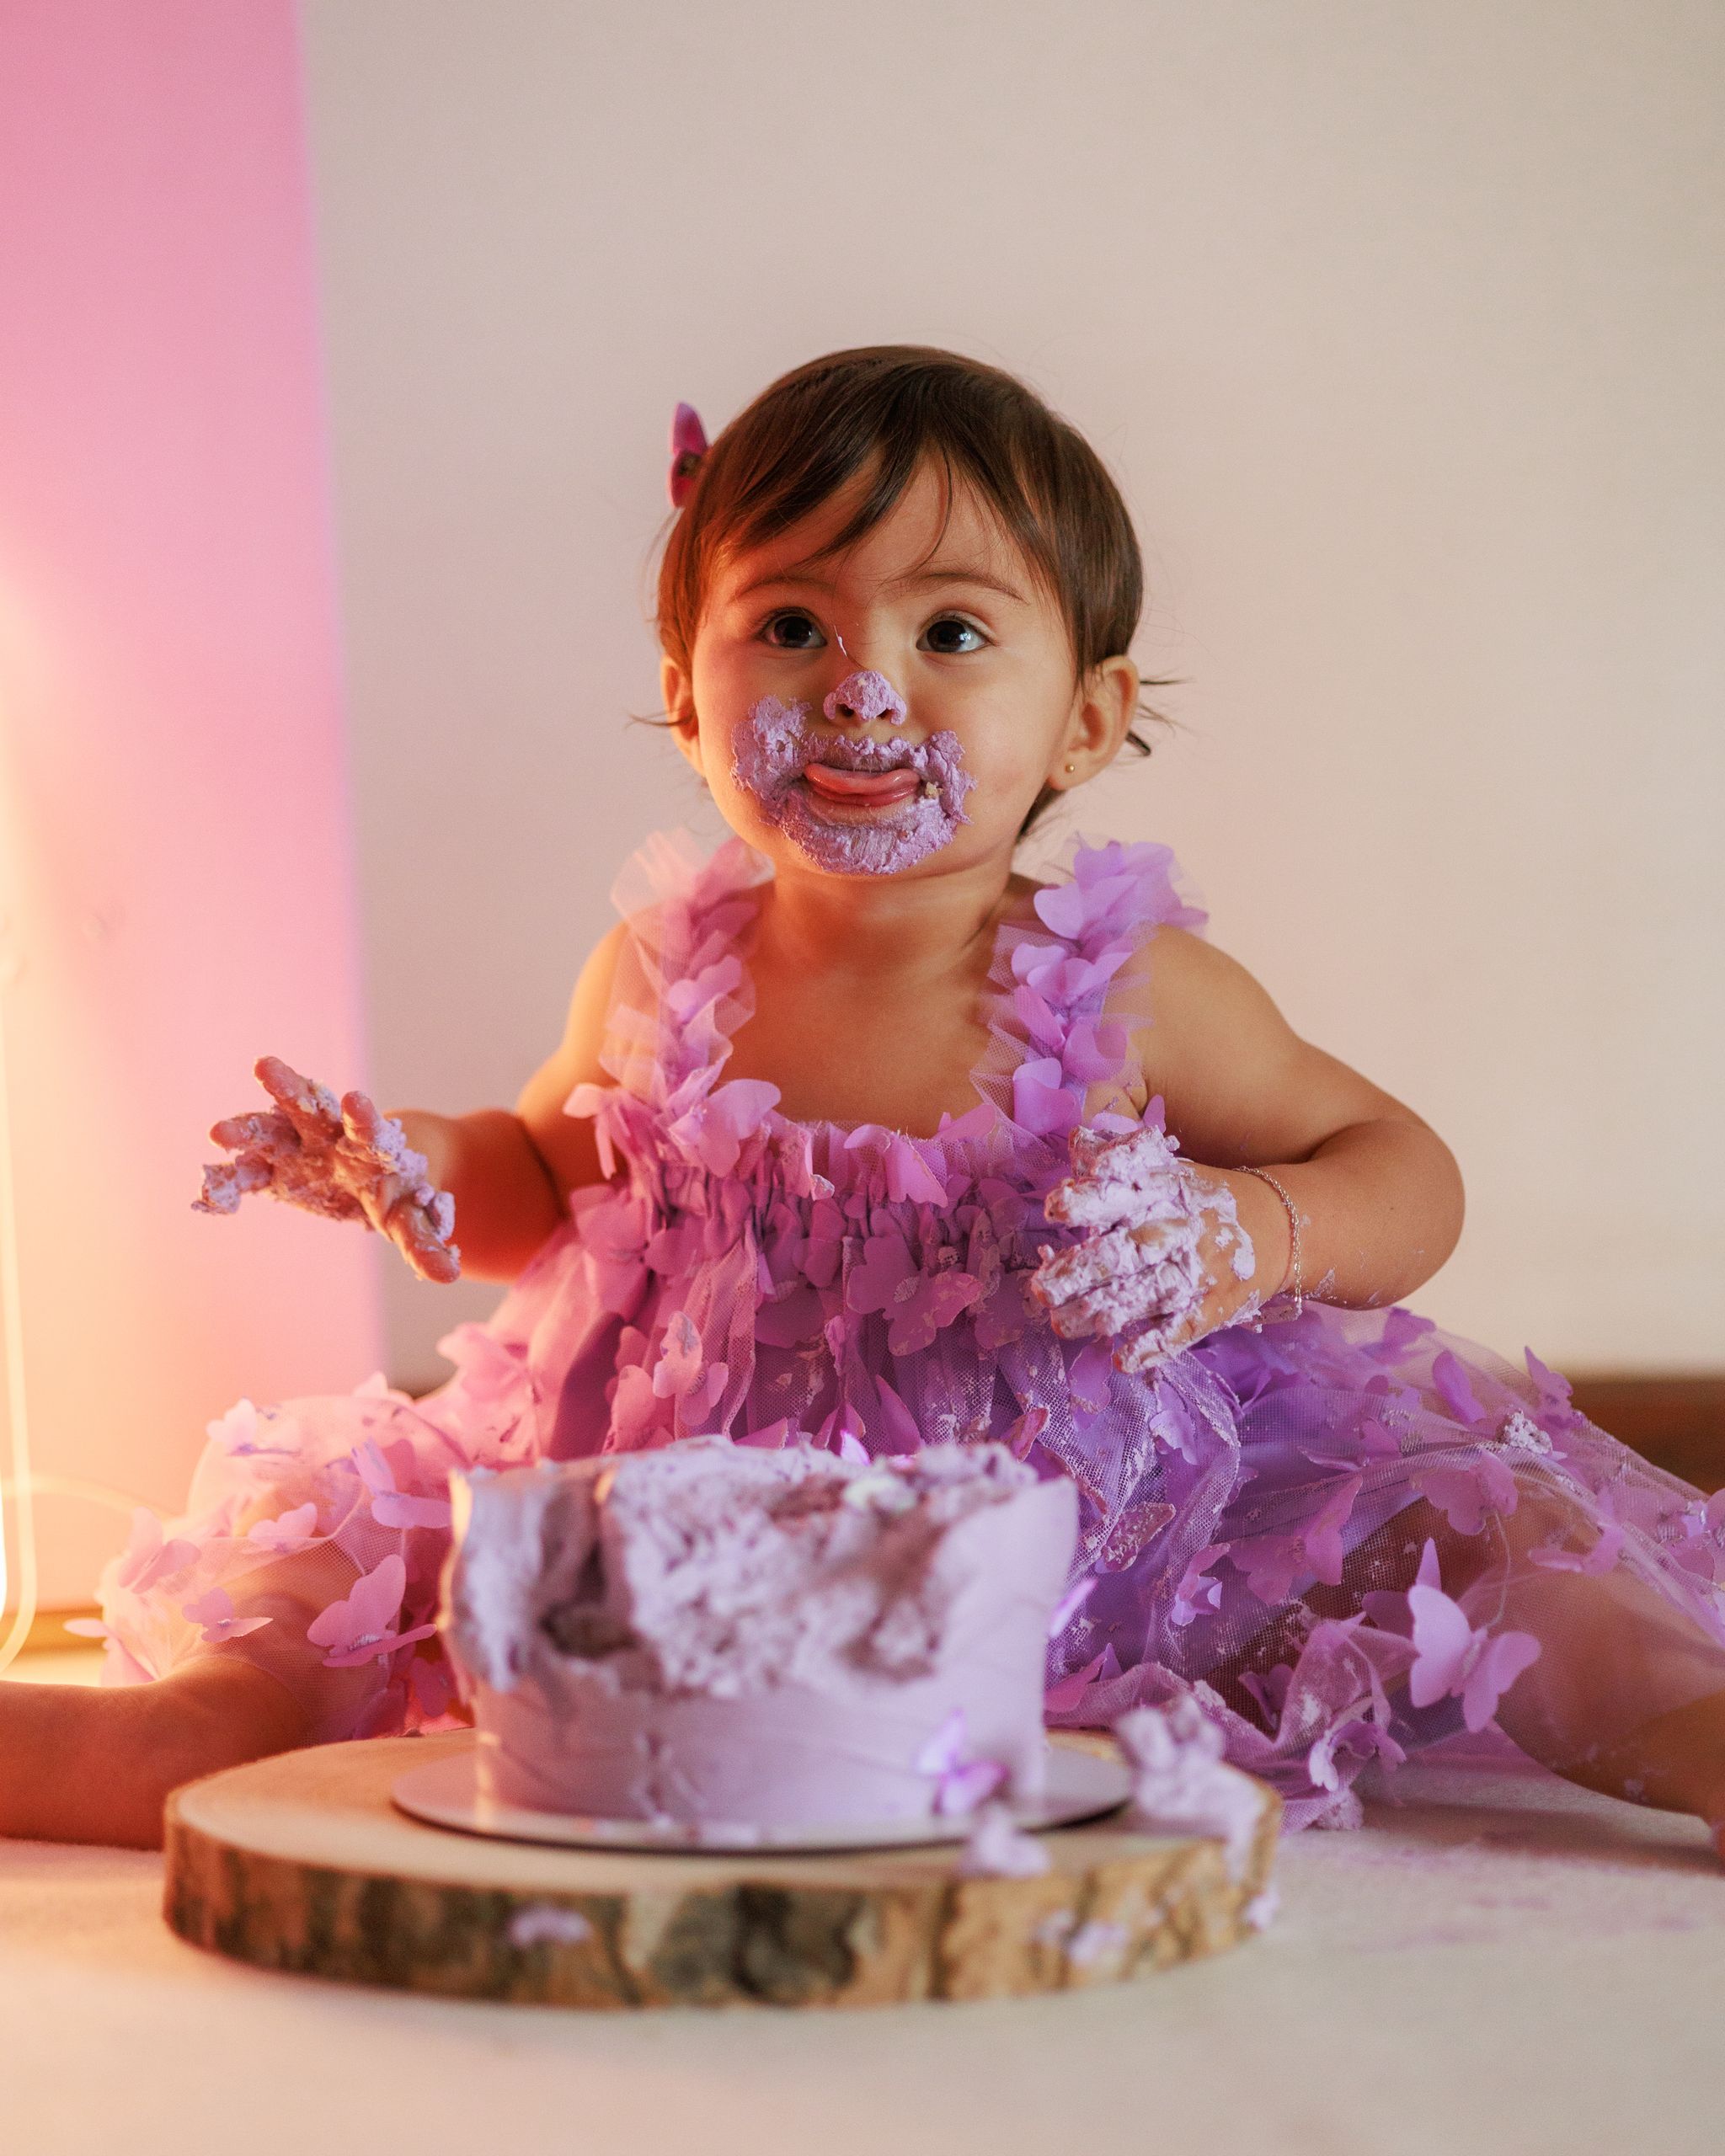
- Keep the smash cake separate from the guests’ cake, so the baby’s mess never becomes everyone’s dessert.
- Skip hard decorations, fondant figures, and anything small enough to choke on.
- Plan cleanup before the cake comes out: a washable mat, a change of clothes, and a warm bath ready.
- Schedule the smash when the baby is rested and fed, not at the end of a long party.
18 First Birthday Smash Cake Ideas
1. The Classic Vanilla Buttercream Smash Cake
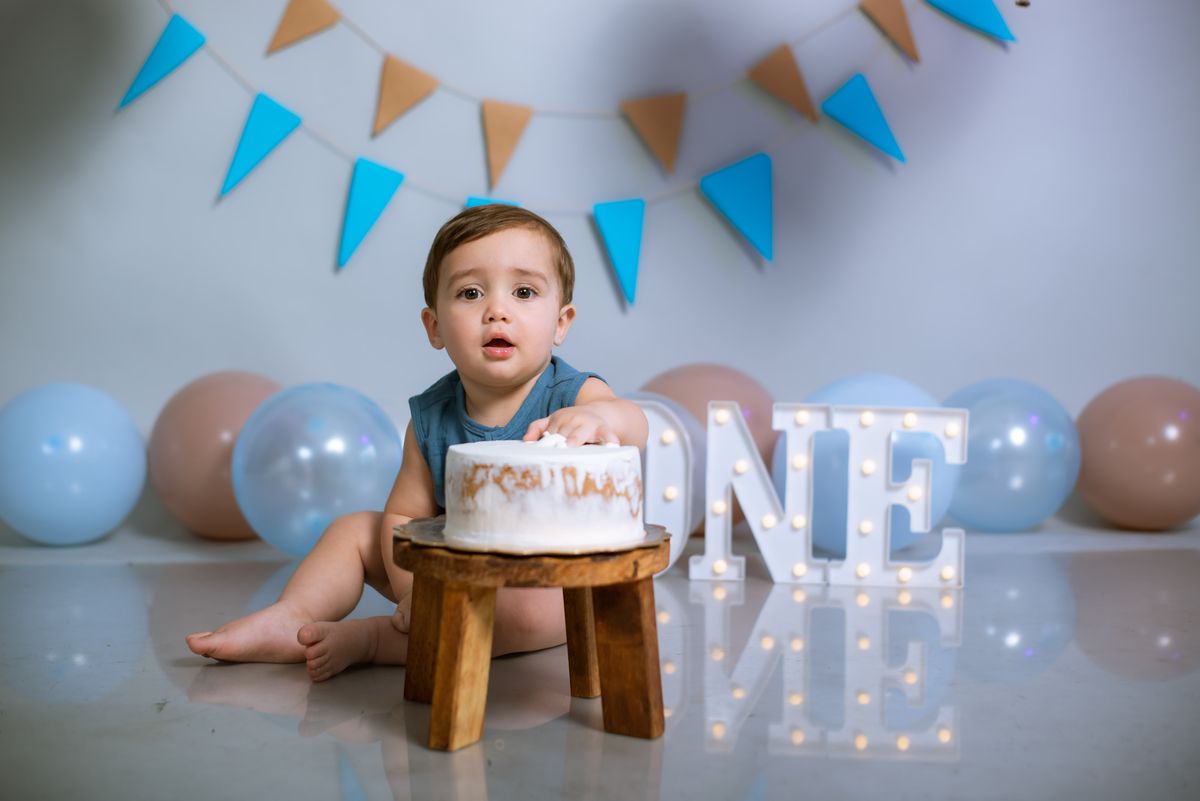
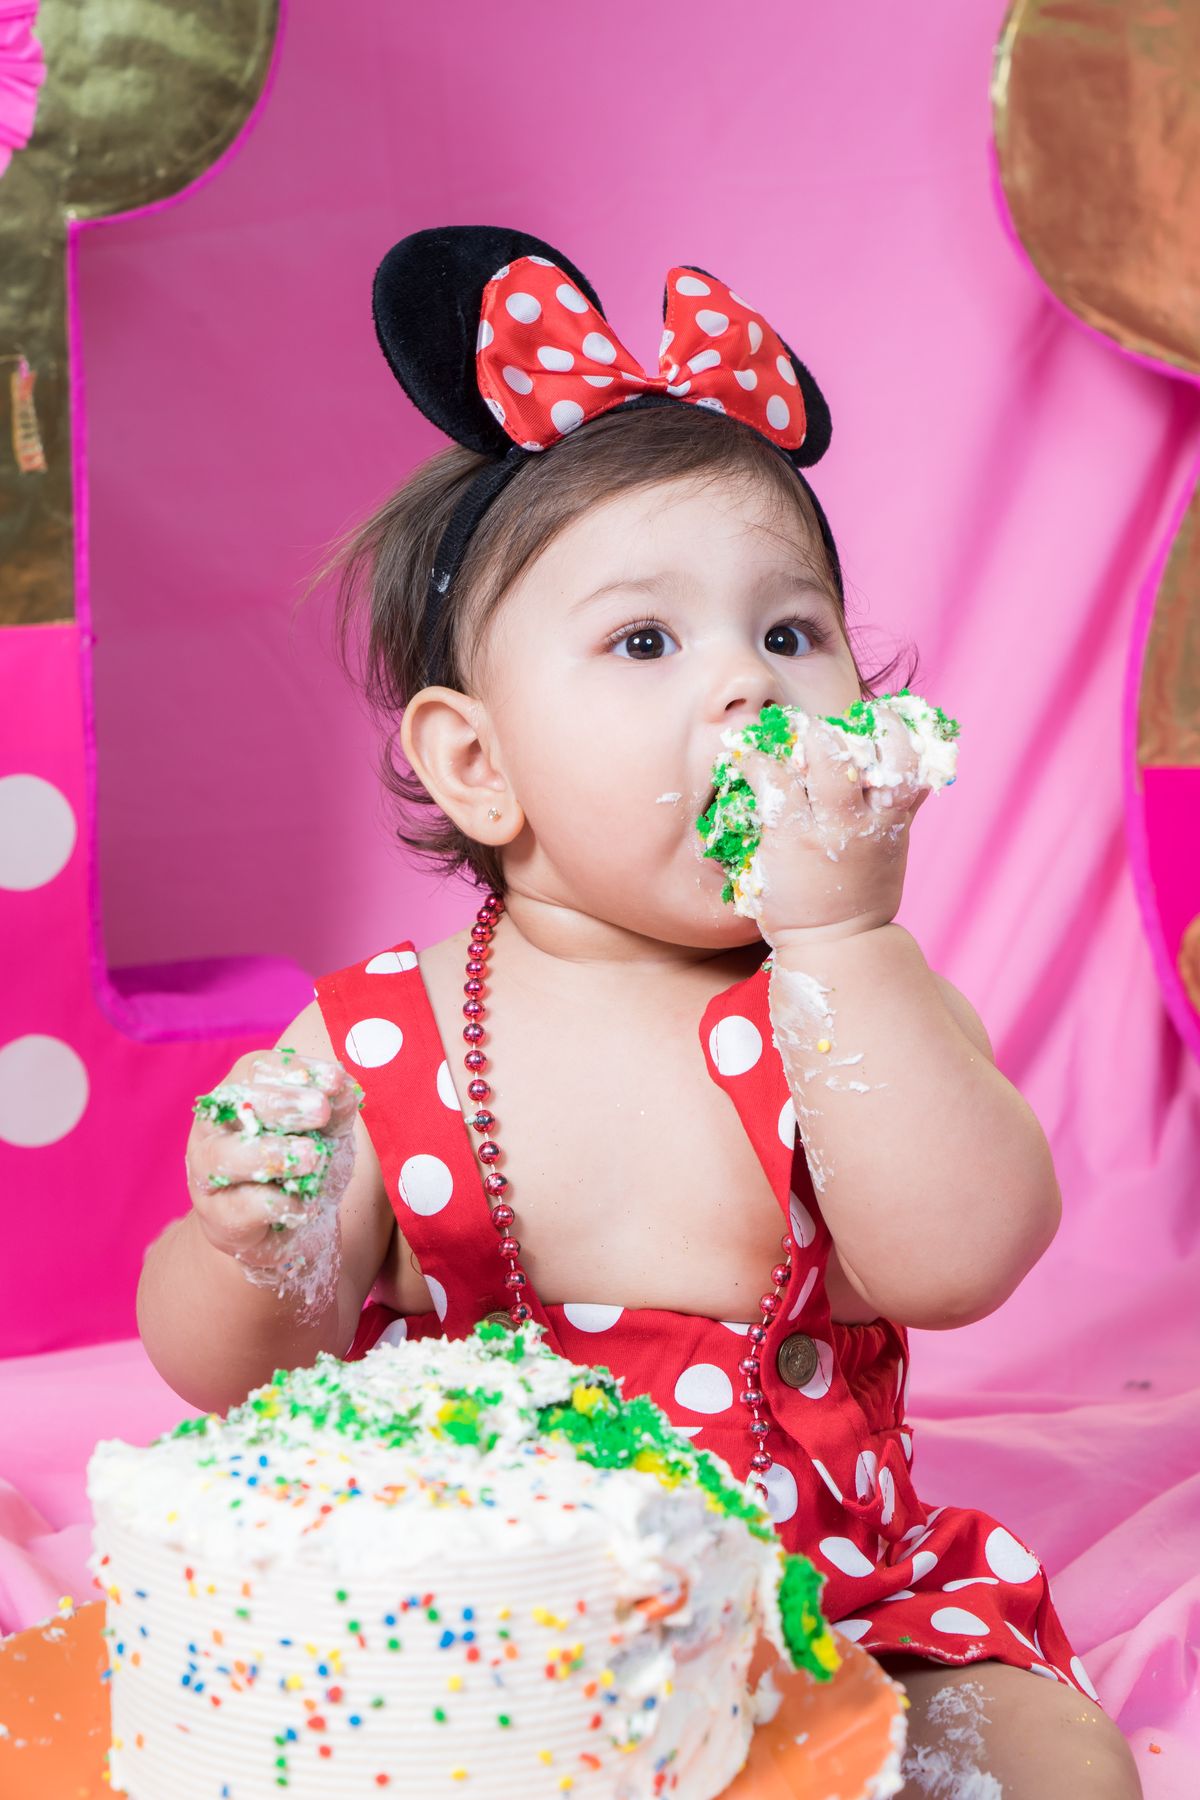
You cannot go wrong with a small vanilla cake and soft buttercream, and it is the cake I recommend to every first-time smash cake parent. Vanilla is gentle on a one-year-old’s stomach, buttercream is easy to squish, and the pale color photographs beautifully against any backdrop. I made one for a family birthday with a simple swirl on top and a few soft sprinkles, and the baby dug in within seconds, which is not guaranteed with a firmer or stranger-tasting cake. The downside is that buttercream melts in warm rooms, so keep the cake cool until the last moment and skip this for a hot outdoor party.
Pro Tip: Whip the buttercream a little softer than usual so tiny hands can break through the frosting without frustration.
Cost: $15–$30 homemade | Time: 2–3 hours including baking | Difficulty: Easy
2. The Right Size: A Small Four-Inch Cake
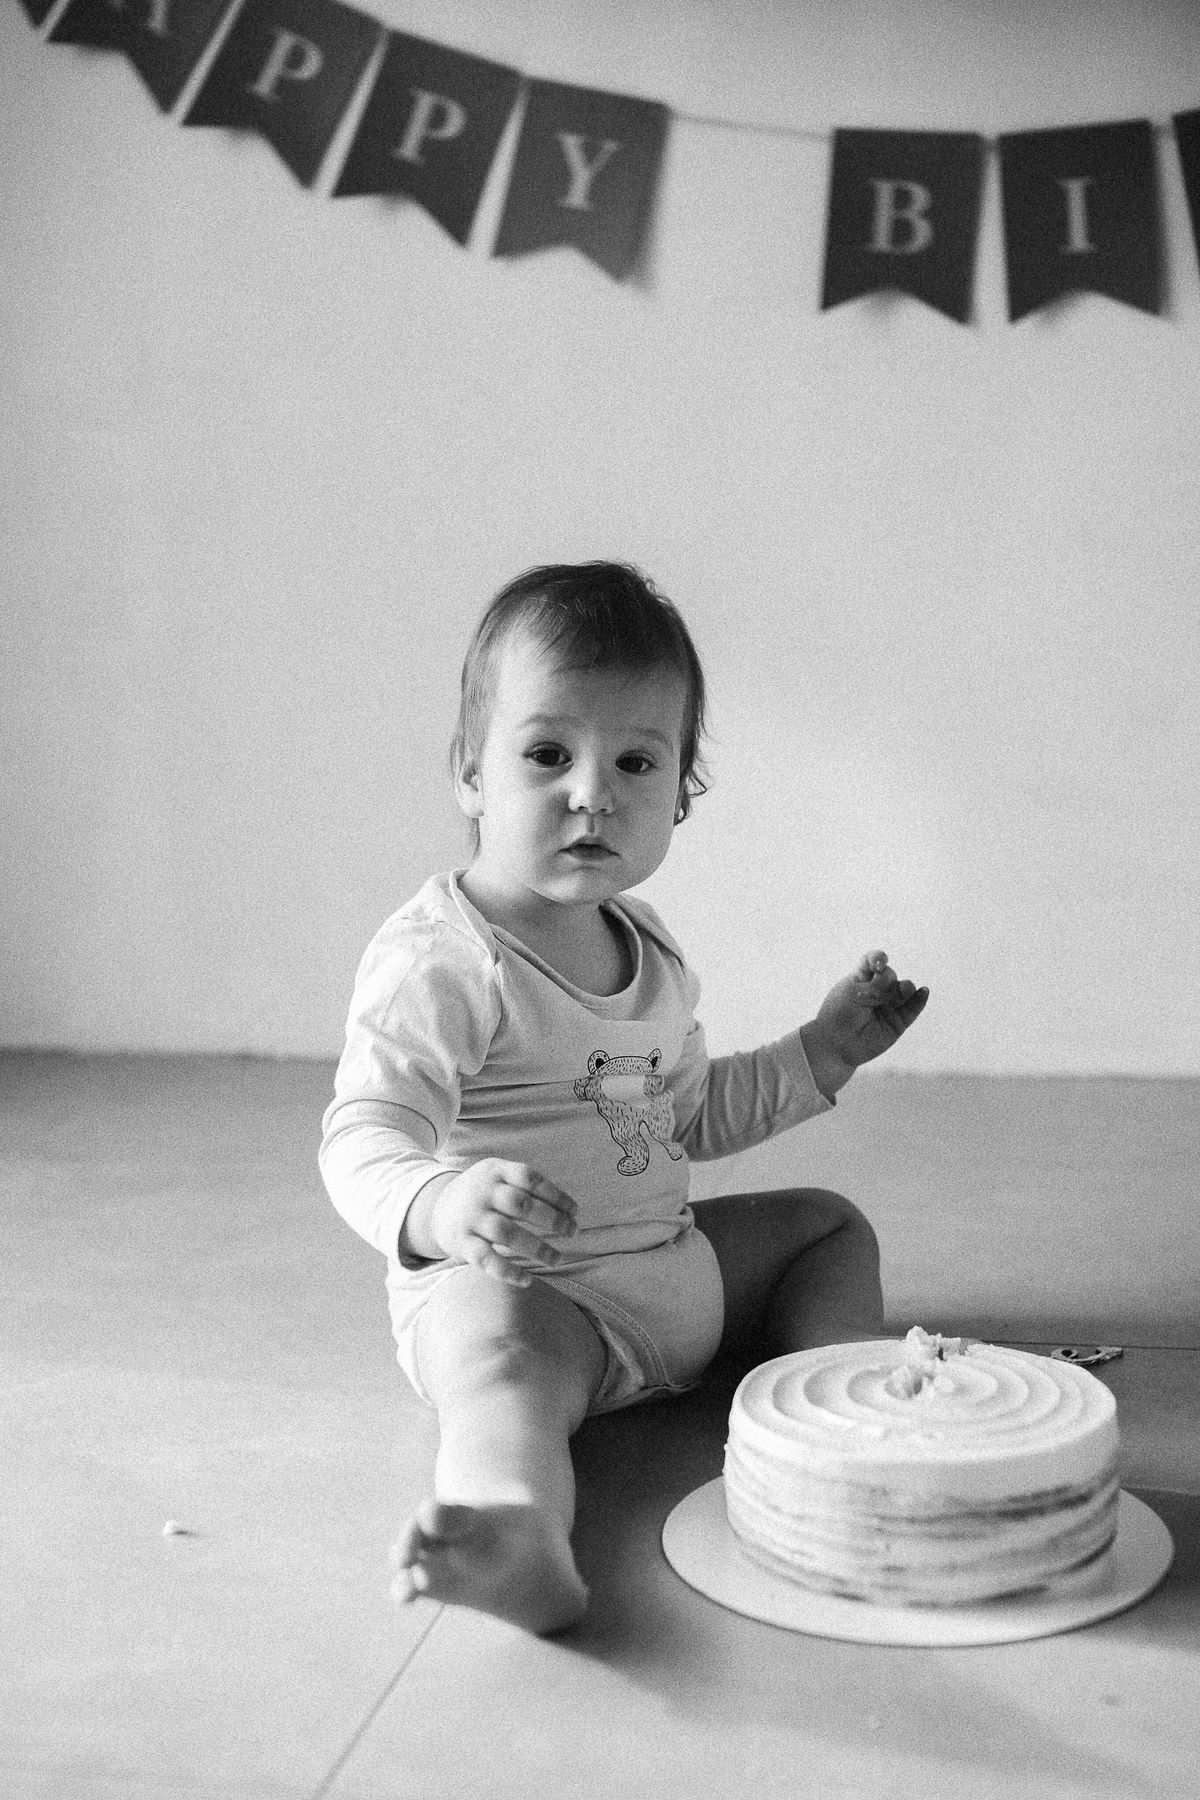
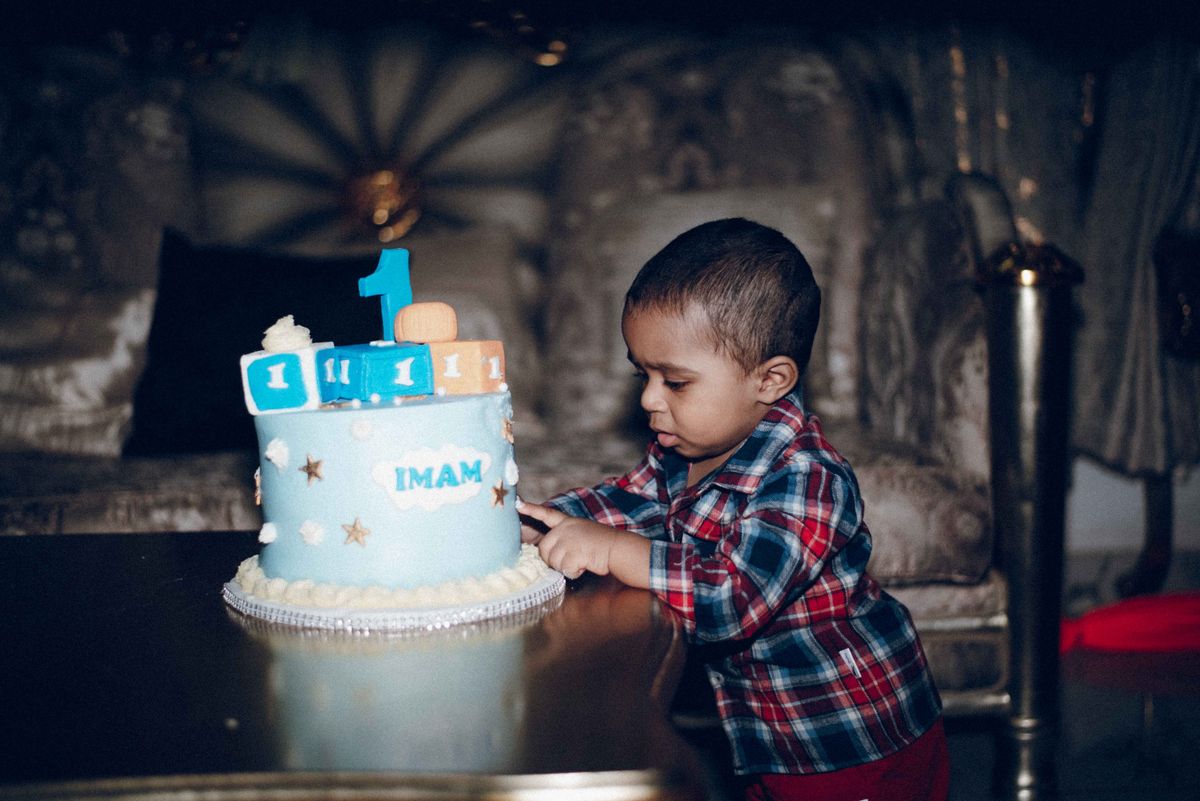
Size matters more than flavor for a smash cake, because a big cake overwhelms a small baby and wastes most of the cake. A four-inch cake, about two layers tall, is big enough to look like a real cake in photos and small enough for a one-year-old to reach around. I baked one in a small round pan I already owned, and it took less batter, less time in the oven, and less frosting than a standard cake. The baby could grab it, tip it, and taste it without help, which is the whole point. If you order from a bakery, ask specifically for a four-inch smash cake, or you may get a full-size cake by mistake.
Pro Tip: Put the small cake on a sturdy cake board, not a plate, so it does not slide when the baby grabs it.
Cost: $10–$25 | Time: 1–2 hours | Difficulty: Easy
3. A Naked Cake With Fresh Berries
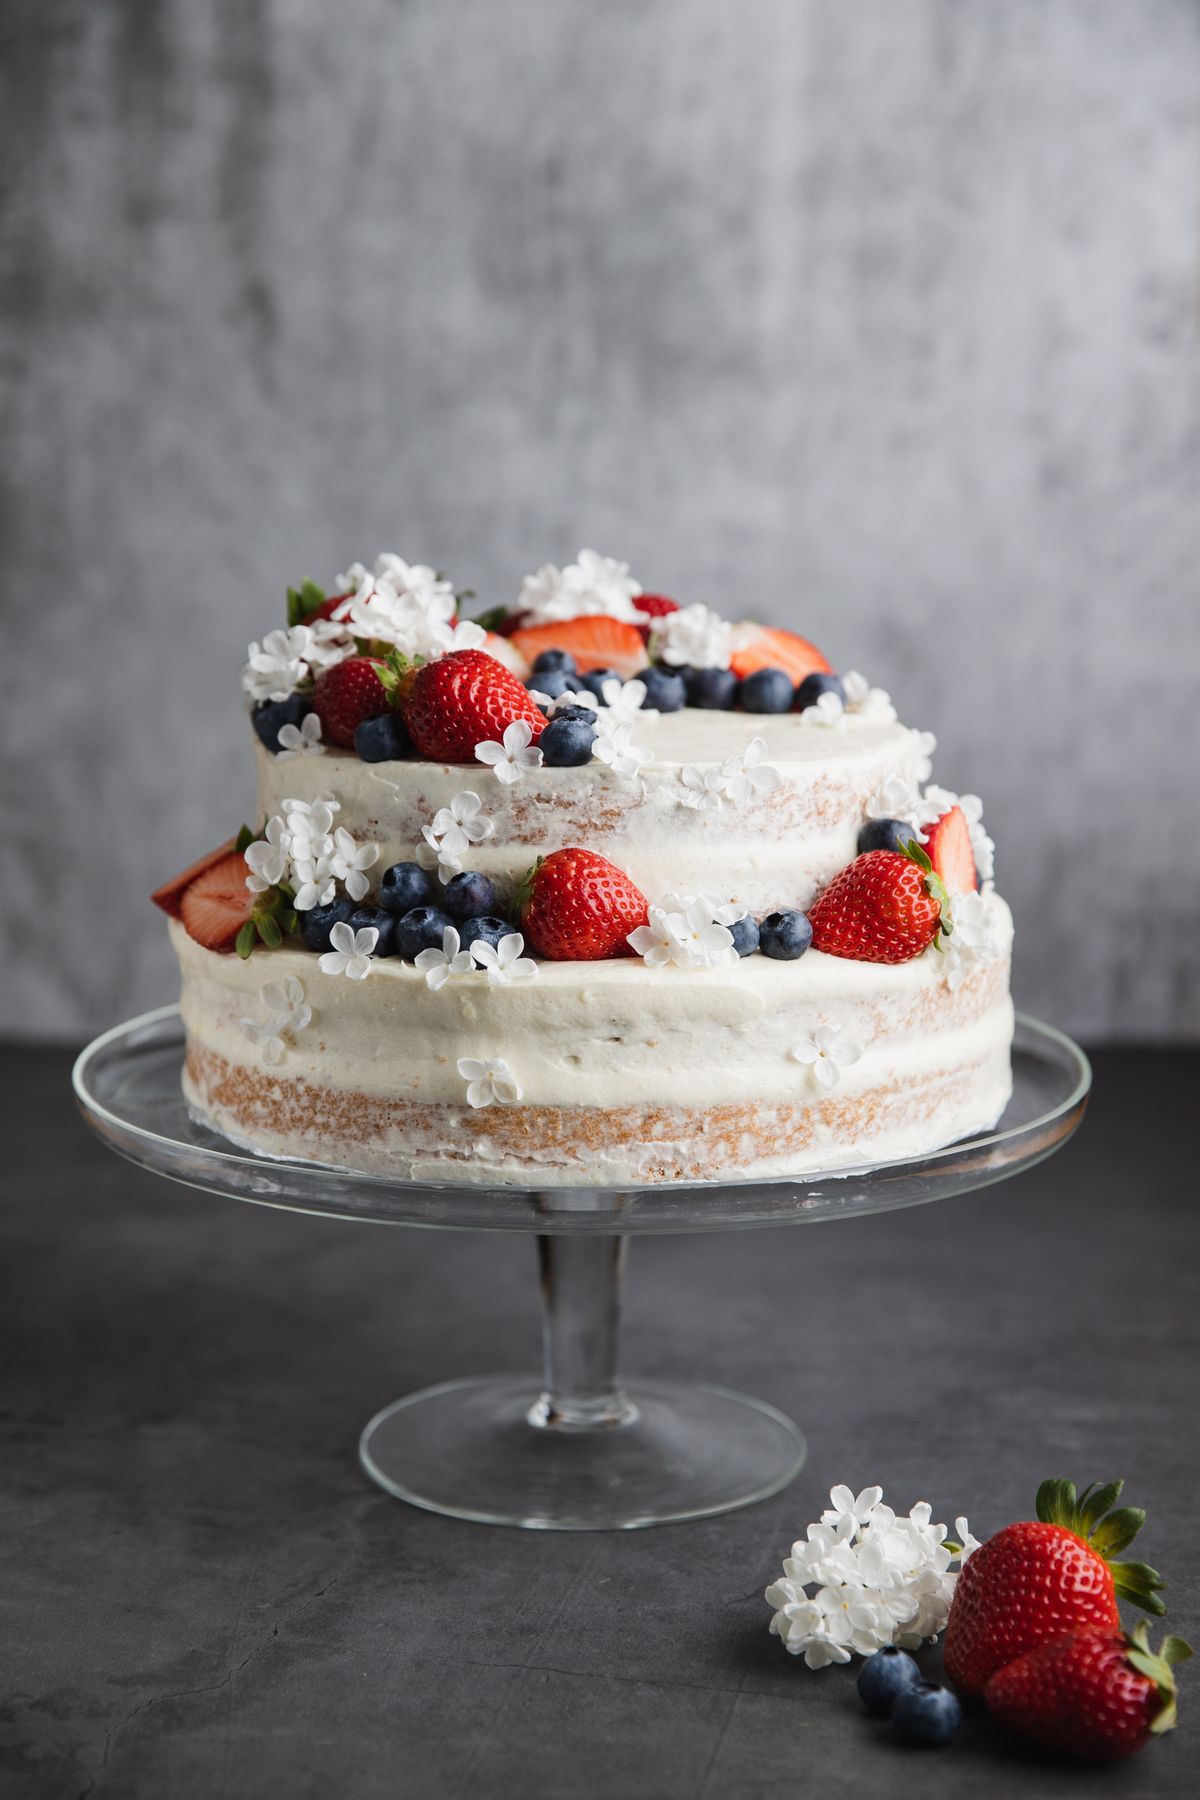
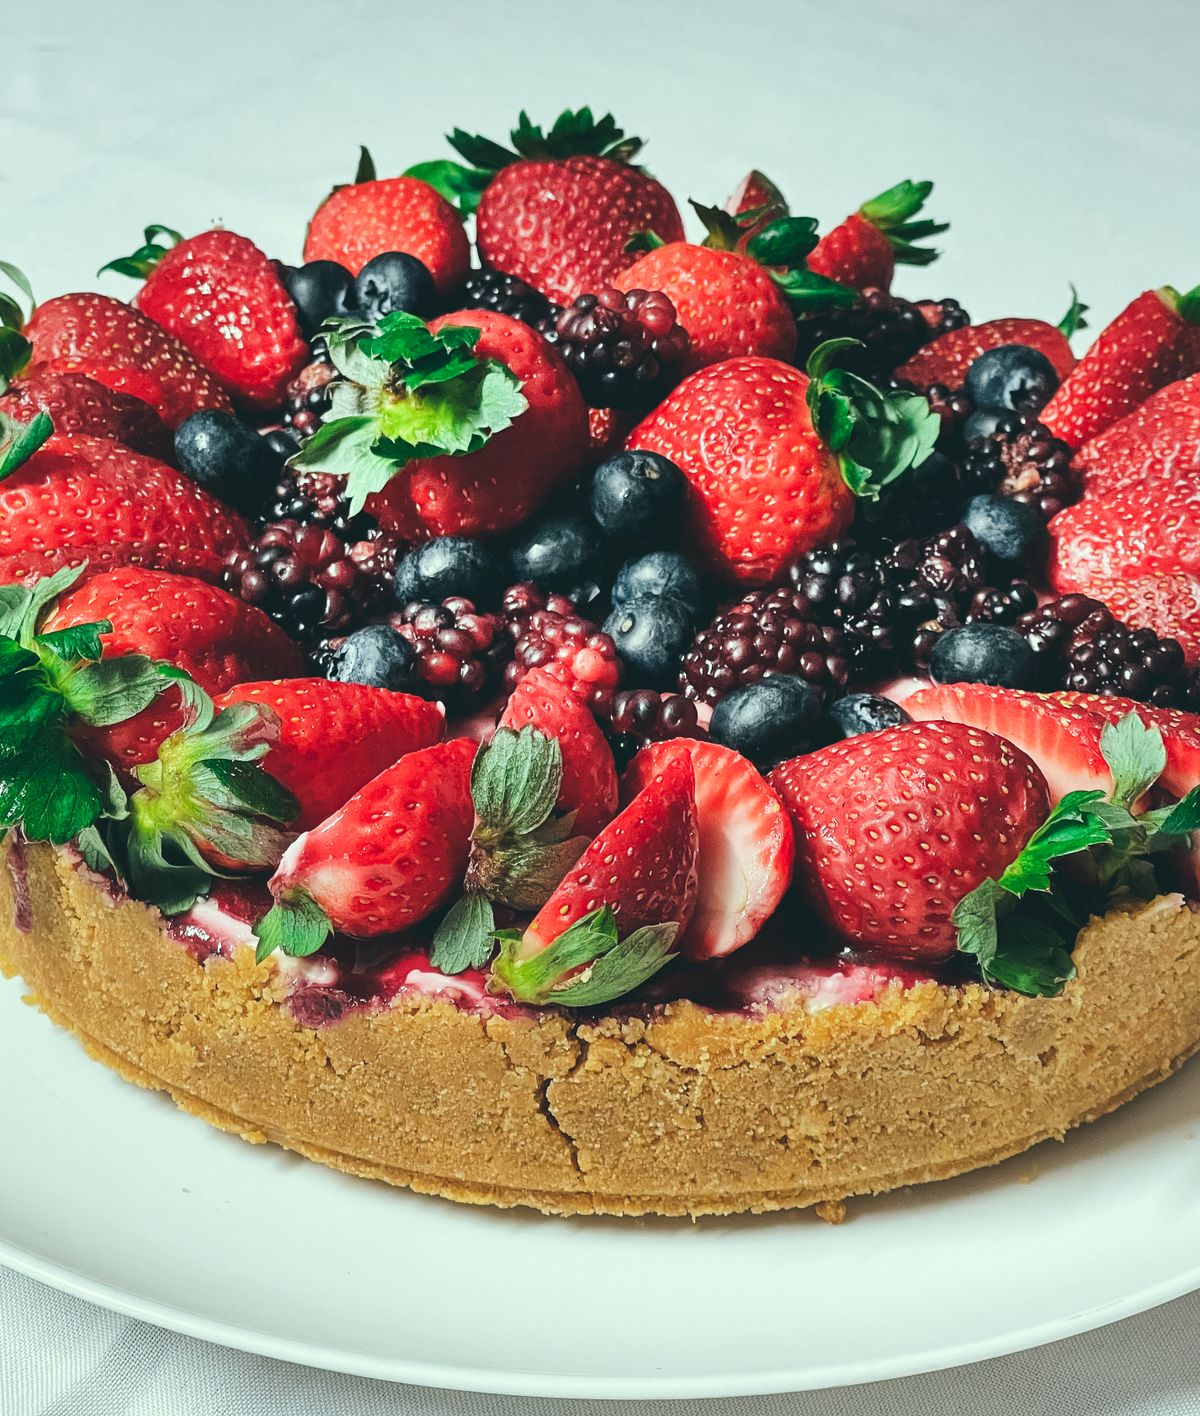
A naked cake, with little or no frosting on the sides and a few soft berries on top, looks beautiful and is easier for a baby to break into than a heavily frosted cake. I made one with vanilla sponge, a thin layer of whipped cream between layers, and strawberries cut soft on top, and the baby went straight for the berries first, which made for wonderful photos. The watch-out is berry size: cut berries small and soft, and skip whole grapes or hard fruit entirely for a one-year-old. Naked cakes also dry out faster, so assemble this one the morning of the party, not the night before.
Pro Tip: Brush the sponge lightly with a little milk or fruit juice to keep it moist until cake time.
Cost: $15–$30 | Time: 2 hours | Difficulty: Easy to moderate
4. A Chocolate Smash Cake for Chocolate-Loving Families
If your family loves chocolate, a small chocolate smash cake makes for gloriously messy photos, and the baby usually loves the taste. I made one with a soft chocolate sponge and a light chocolate buttercream, and the photos were the messiest and funniest of the day. The honest downside is cleanup: chocolate gets everywhere, including hair, clothes, and the highchair straps, so this cake needs the full cleanup plan, with a change of clothes and a bath ready. Skip dark chocolate, which is stronger and more bitter, and use a mild milk-chocolate style sponge instead.
Pro Tip: Put a dark-colored bib or an old shirt on the baby for a chocolate smash, since white outfits will not survive it.
Cost: $15–$30 | Time: 2–3 hours | Difficulty: Easy
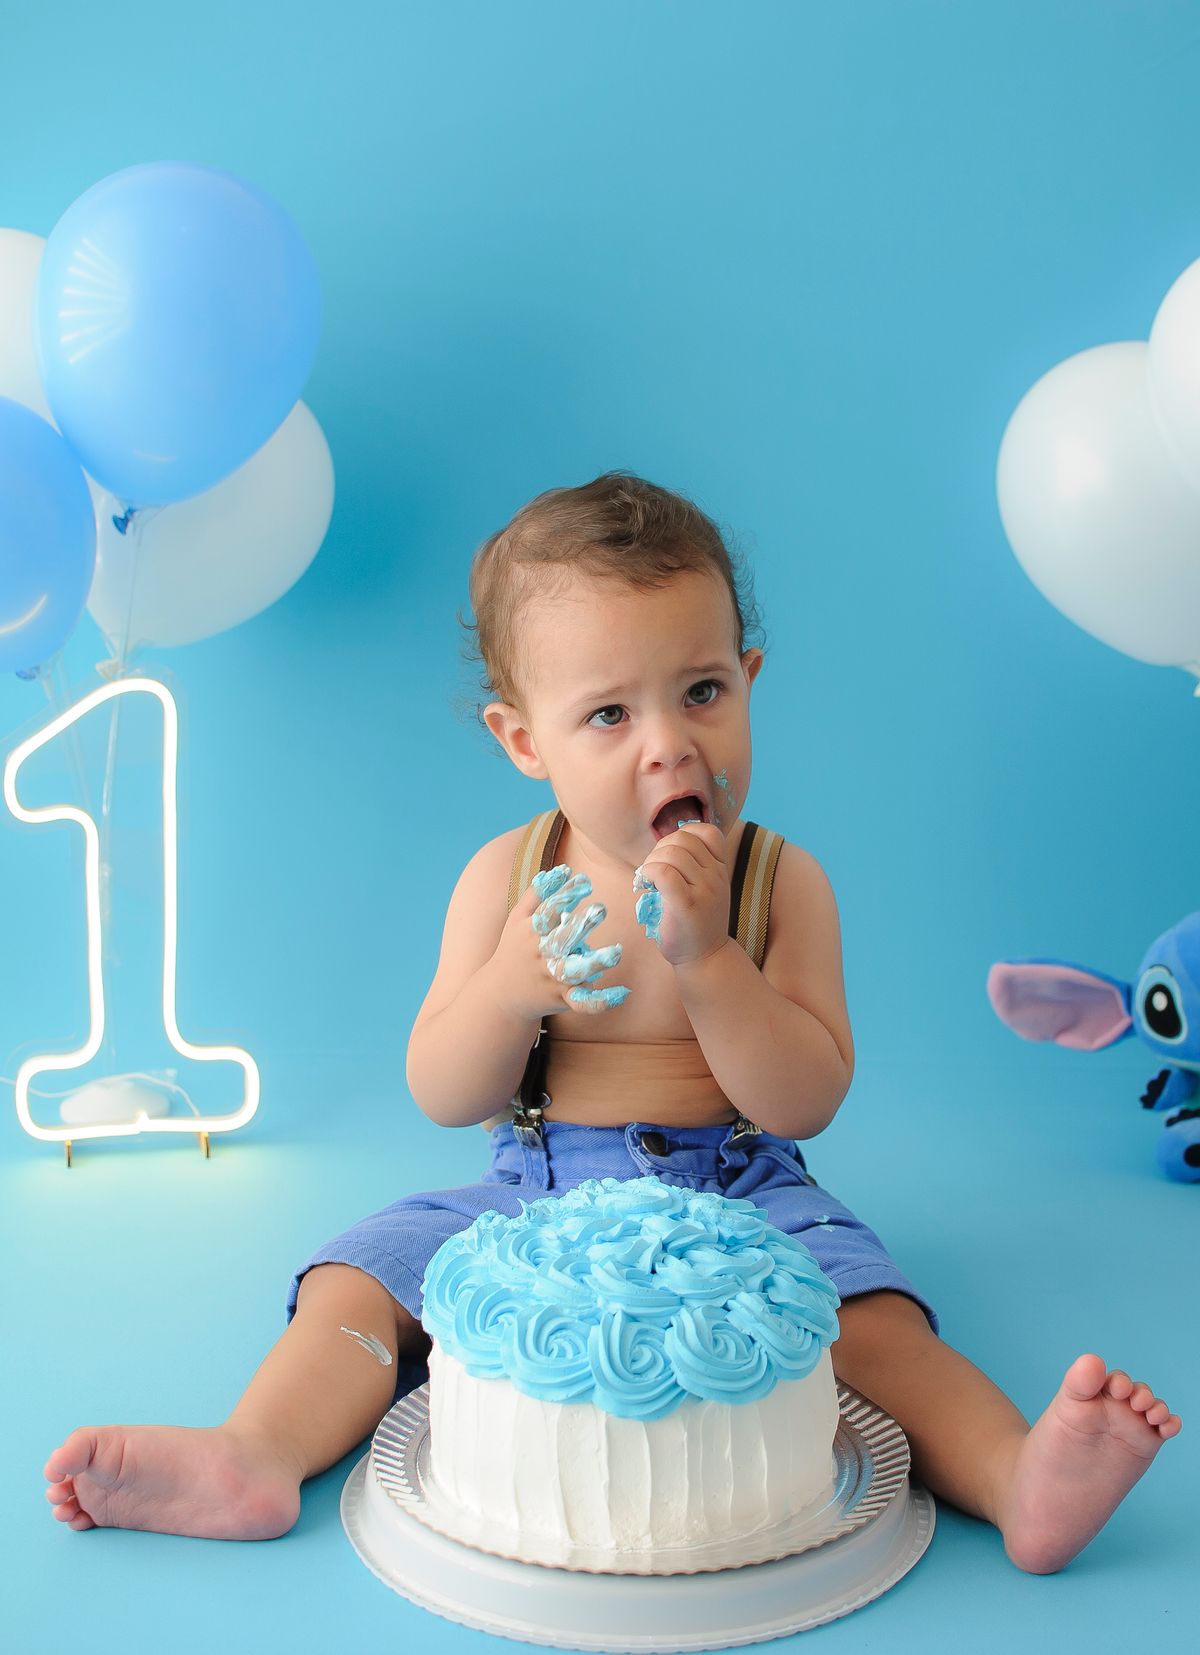
5. A Pastel Ombre Smash Cake
An ombre cake, with frosting that fades from deep color at the bottom to pale at the top, photographs beautifully and is simpler than it looks. I made one in soft pink for a little girl’s first birthday, mixing three shades of the same frosting and smoothing them with a spatula, and guests assumed it came from a bakery. It took about thirty minutes longer than a plain frosted cake, mostly for mixing shades, and the effect was worth it. Use gel food coloring sparingly, because a little goes a long way and too much can stain little hands for days.
Pro Tip: Frost the cake the night before and add the ombre blend in the morning, so the base is firm and easy to work with.
Cost: $20–$35 | Time: 2–3 hours | Difficulty: Moderate
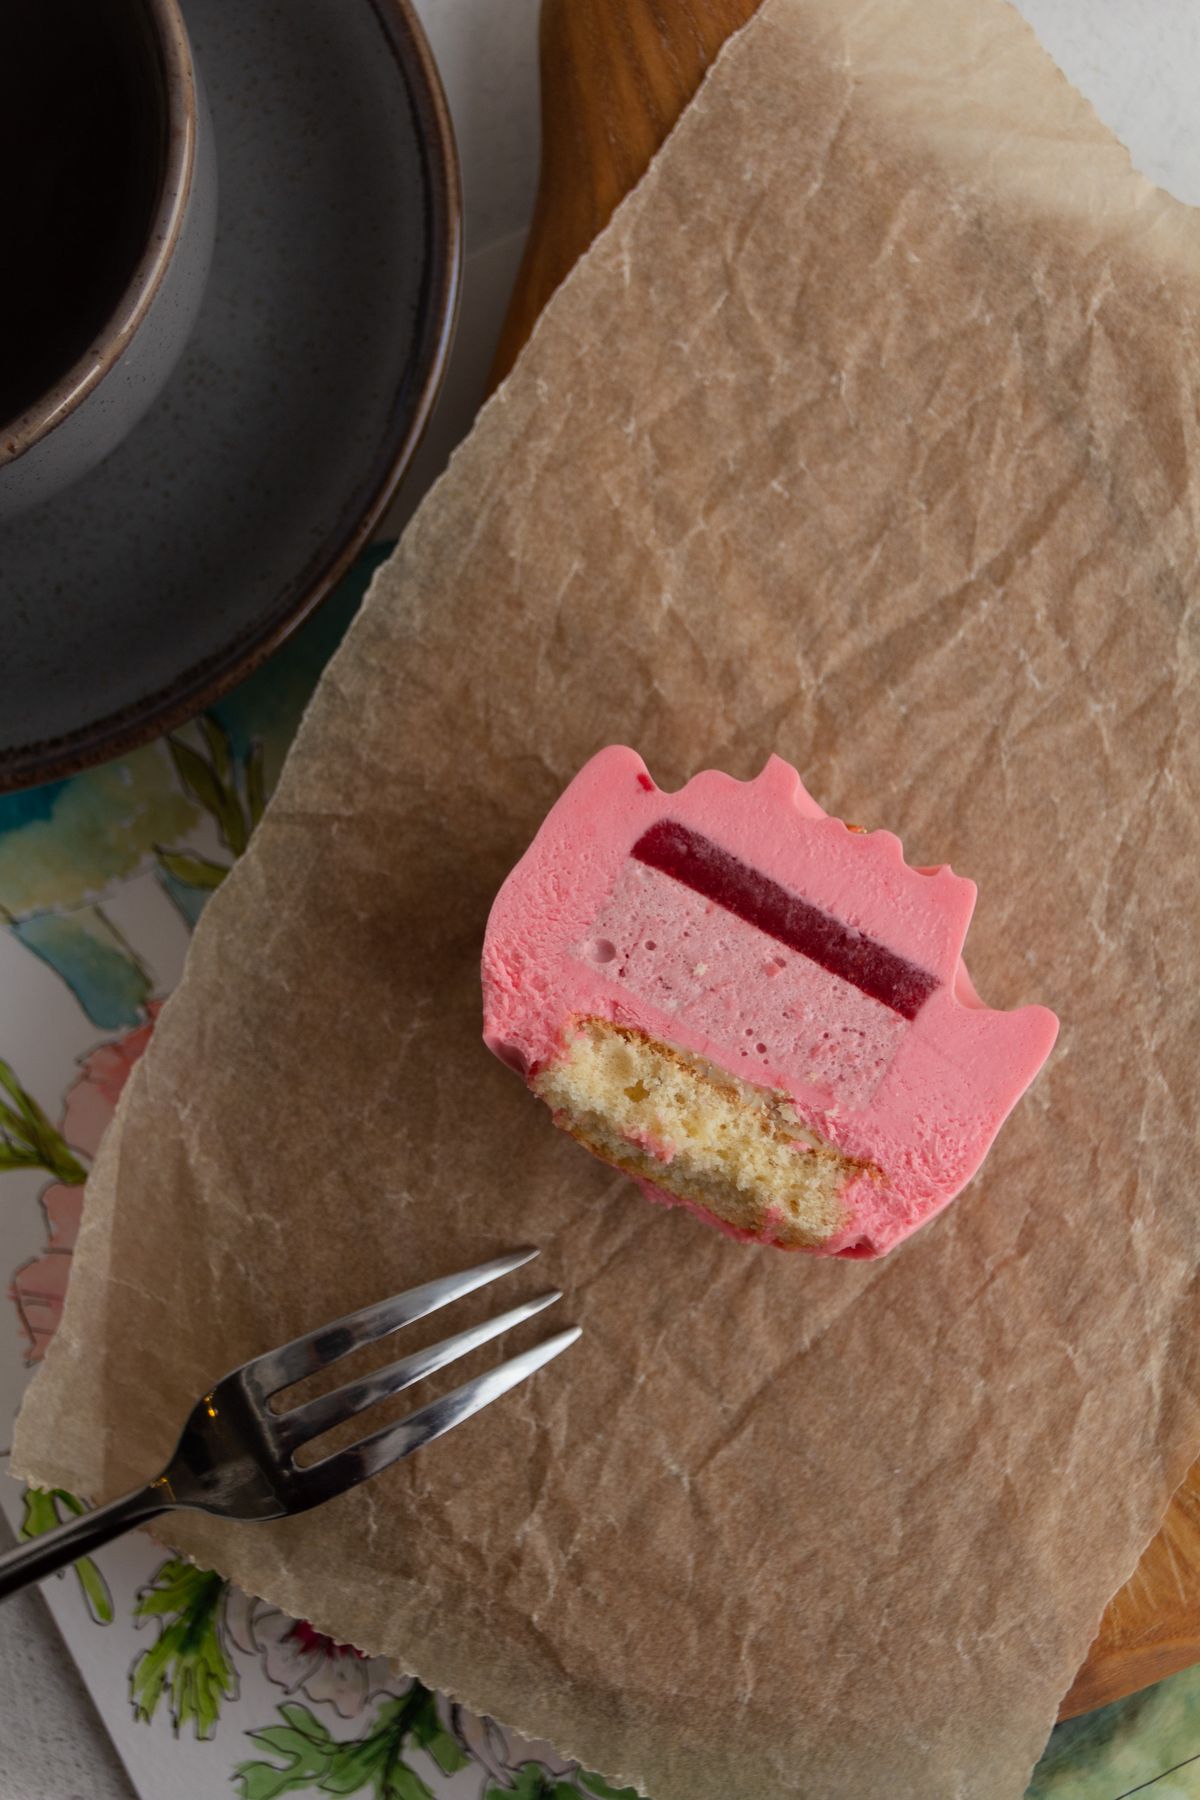
6. A Rainbow Sprinkle Smash Cake
Sprinkles are the fastest way to make a simple cake look like a party, and a one-year-old loves picking them off one by one. I pressed soft sprinkles gently into the sides of a white buttercream cake for a friend’s baby, and the cake looked festive without any piping skill at all. The watch-out is sprinkle hardness: use soft, small sprinkles, not hard candy pearls or long crunchy sticks, which are a choking risk and too hard for little mouths. Keep the sprinkle layer light on top, where the baby will grab first, and heavier on the sides for the photos.
Pro Tip: Chill the frosted cake for twenty minutes before pressing sprinkles on, so they stick instead of sliding off.
Cost: $15–$30 | Time: 2 hours | Difficulty: Easy
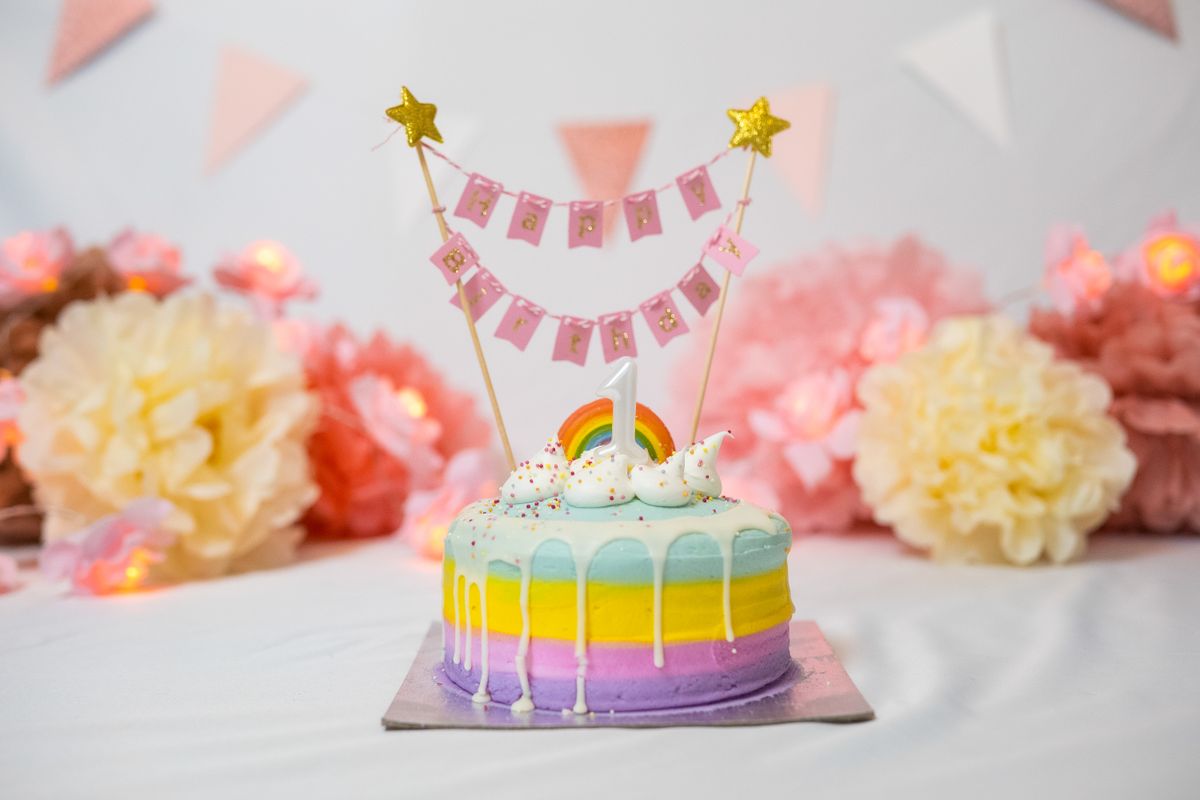
7. A Banana Smash Cake With Less Sugar
For parents who want a gentler first taste of cake, a banana cake sweetened mostly by ripe bananas and a little maple-free frosting is a lovely option. I baked one for a baby who had not had much sugar yet, using very ripe bananas for sweetness and a thin layer of whipped cream instead of heavy buttercream. The baby ate it happily, and the parents felt good about it, which matters on a day full of opinions. The cake is denser and moister than a sponge, so it squishes beautifully, but it also goes stale faster, so bake it the day of the party if you can.
Pro Tip: Use bananas with plenty of brown spots, because underripe bananas will not sweeten the cake enough on their own.
Cost: $12–$25 | Time: 2 hours | Difficulty: Easy
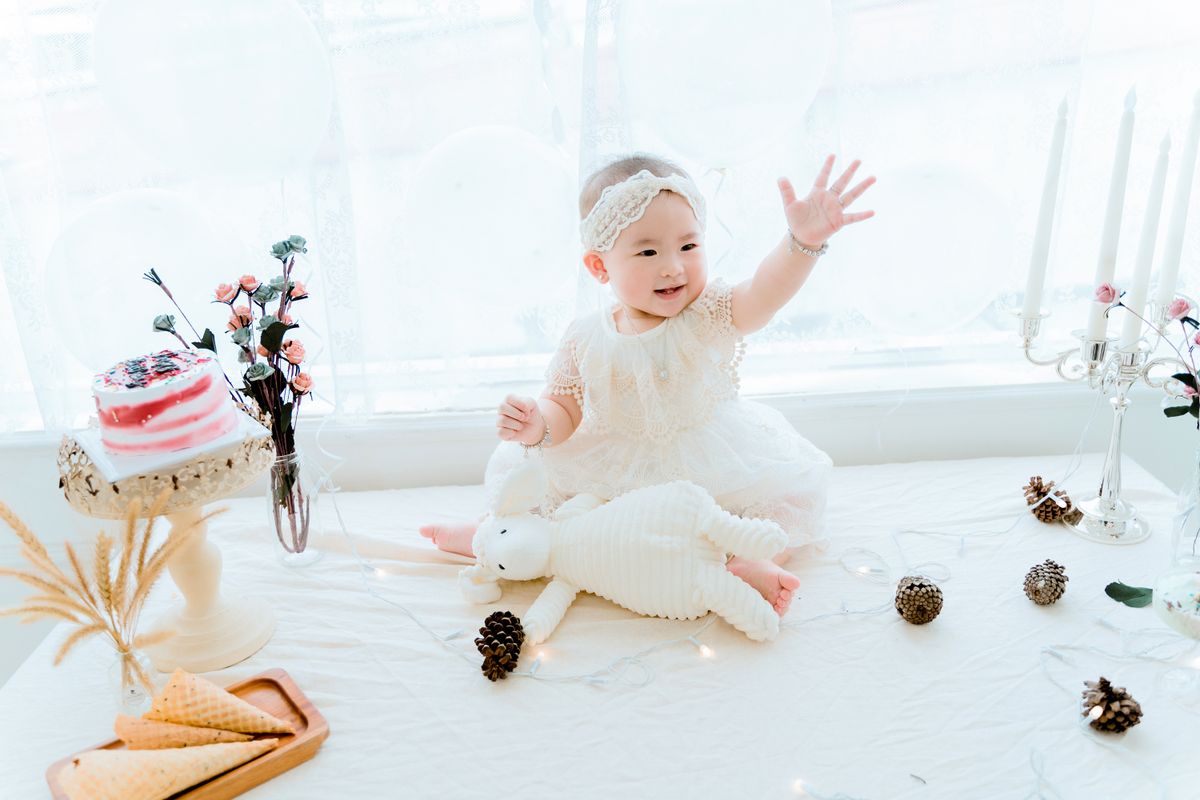
8. A Dairy-Free and Allergy-Friendly Smash Cake
If your baby has a dairy or egg allergy, the smash cake needs extra care, and it is absolutely still doable. I helped a friend make a dairy-free cake with oat milk and a plant-based buttercream, and the birthday girl enjoyed it just as much as any other cake. The key is testing the recipe once before the party, because allergy-friendly baking behaves differently, and a dry or crumbly cake disappoints everyone. Tell your bakery about every allergy in writing if you order, and ask them to confirm the cake is made separately from other cakes. For more first birthday planning, related article: perfect first birthday ideas for girls.
Pro Tip: Do a small taste test a week before the party so the baby meets the flavor before the cameras come out.
Cost: $20–$40 | Time: 2–3 hours | Difficulty: Moderate
9. A Woodland Animal Smash Cake
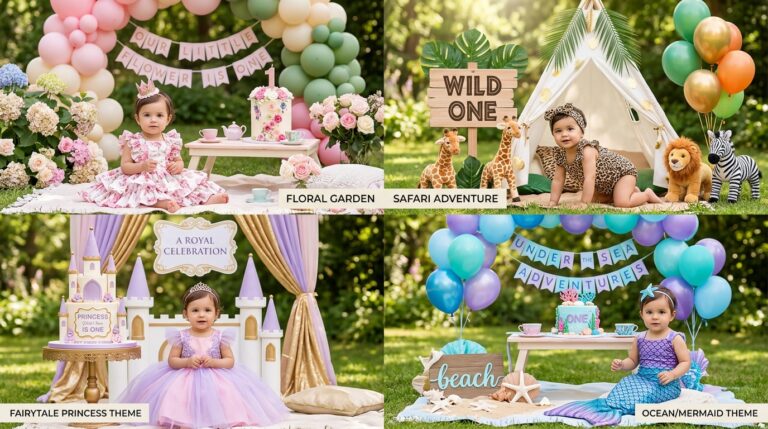
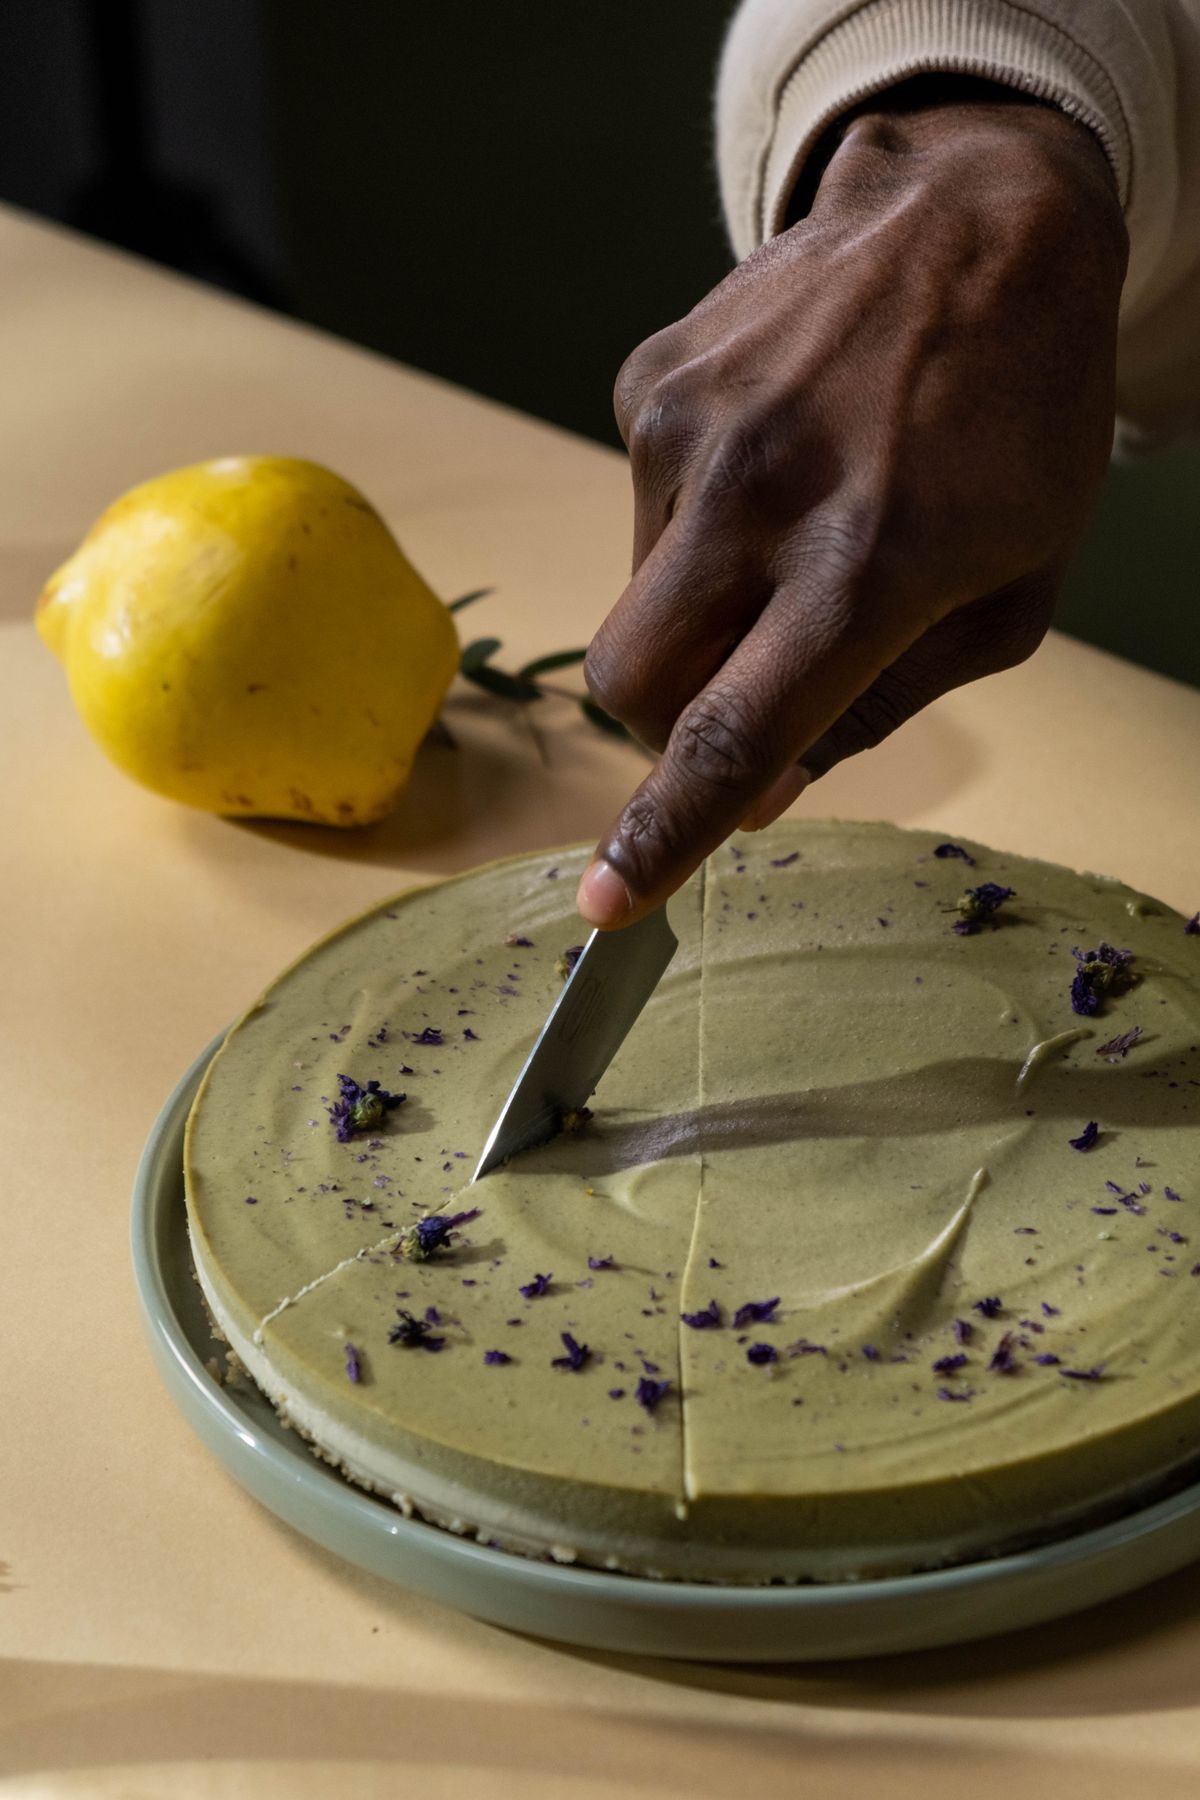
A woodland theme, with soft green frosting and a few plush or fabric animal decorations placed beside, not on, the cake, is adorable and safe. I set one up with a simple green buttercream cake, a fabric fox and owl beside the highchair, and leaves scattered on the mat, and the photos looked like a storybook. The important rule is that decorations stay off the cake itself if they are small or hard, because anything on the cake ends up in the baby’s hands and possibly mouth. Keep the cake simple and let the table and backdrop carry the theme.
Pro Tip: Use large, soft decorations only, and remove anything small from the table before the cake comes out.
Cost: $20–$40 including decor | Time: 2–3 hours | Difficulty: Easy
10. Smash Cake Plus Matching Cupcakes for Guests
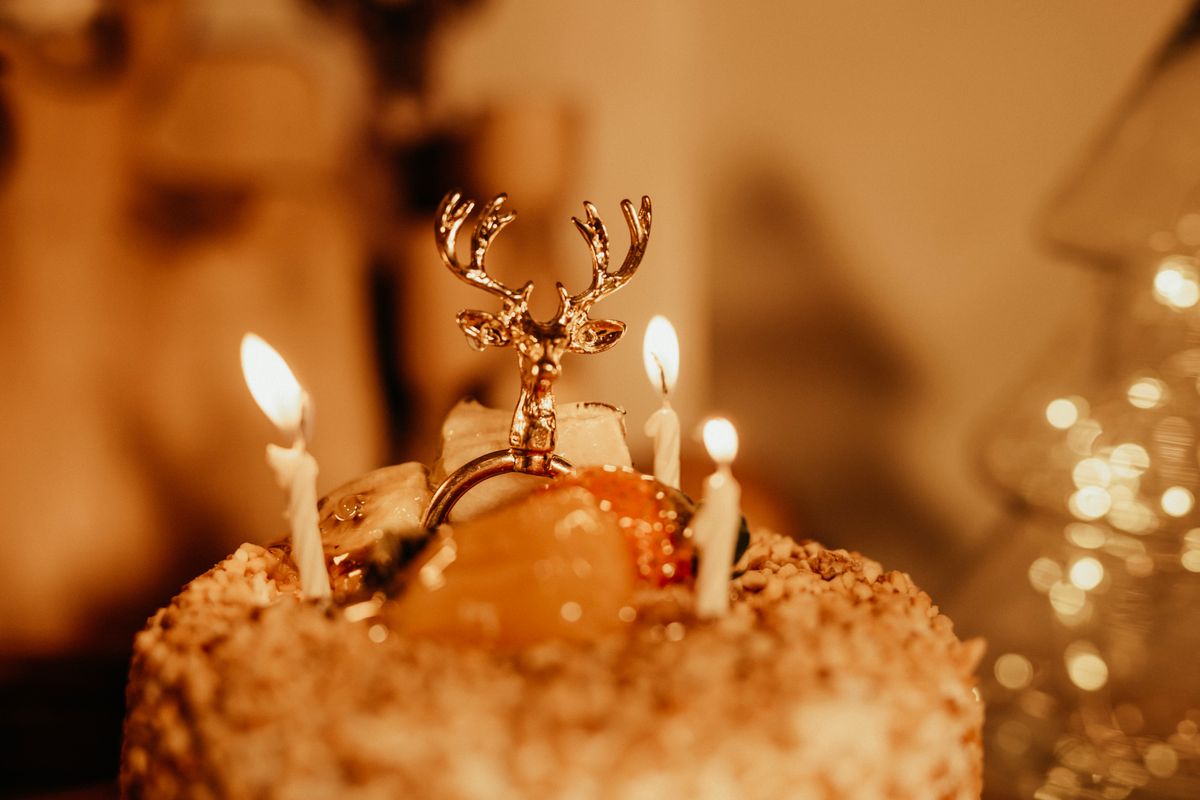
The smartest party setup I have used is a small smash cake for the baby and matching cupcakes for guests, all in the same frosting and theme. Guests get a neat, easy dessert, the baby gets the messy fun, and the table looks coordinated in photos.
Pro Tip: Frost the cupcakes the day before and the smash cake the morning of the party, so neither job feels rushed.
Cost: $25–$45 total | Time: 3 hours | Difficulty: Easy
11. A Highchair Setup That Photographs Beautifully
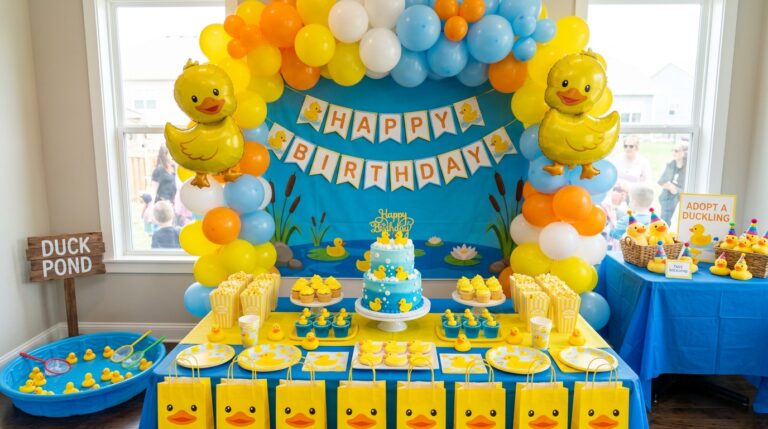
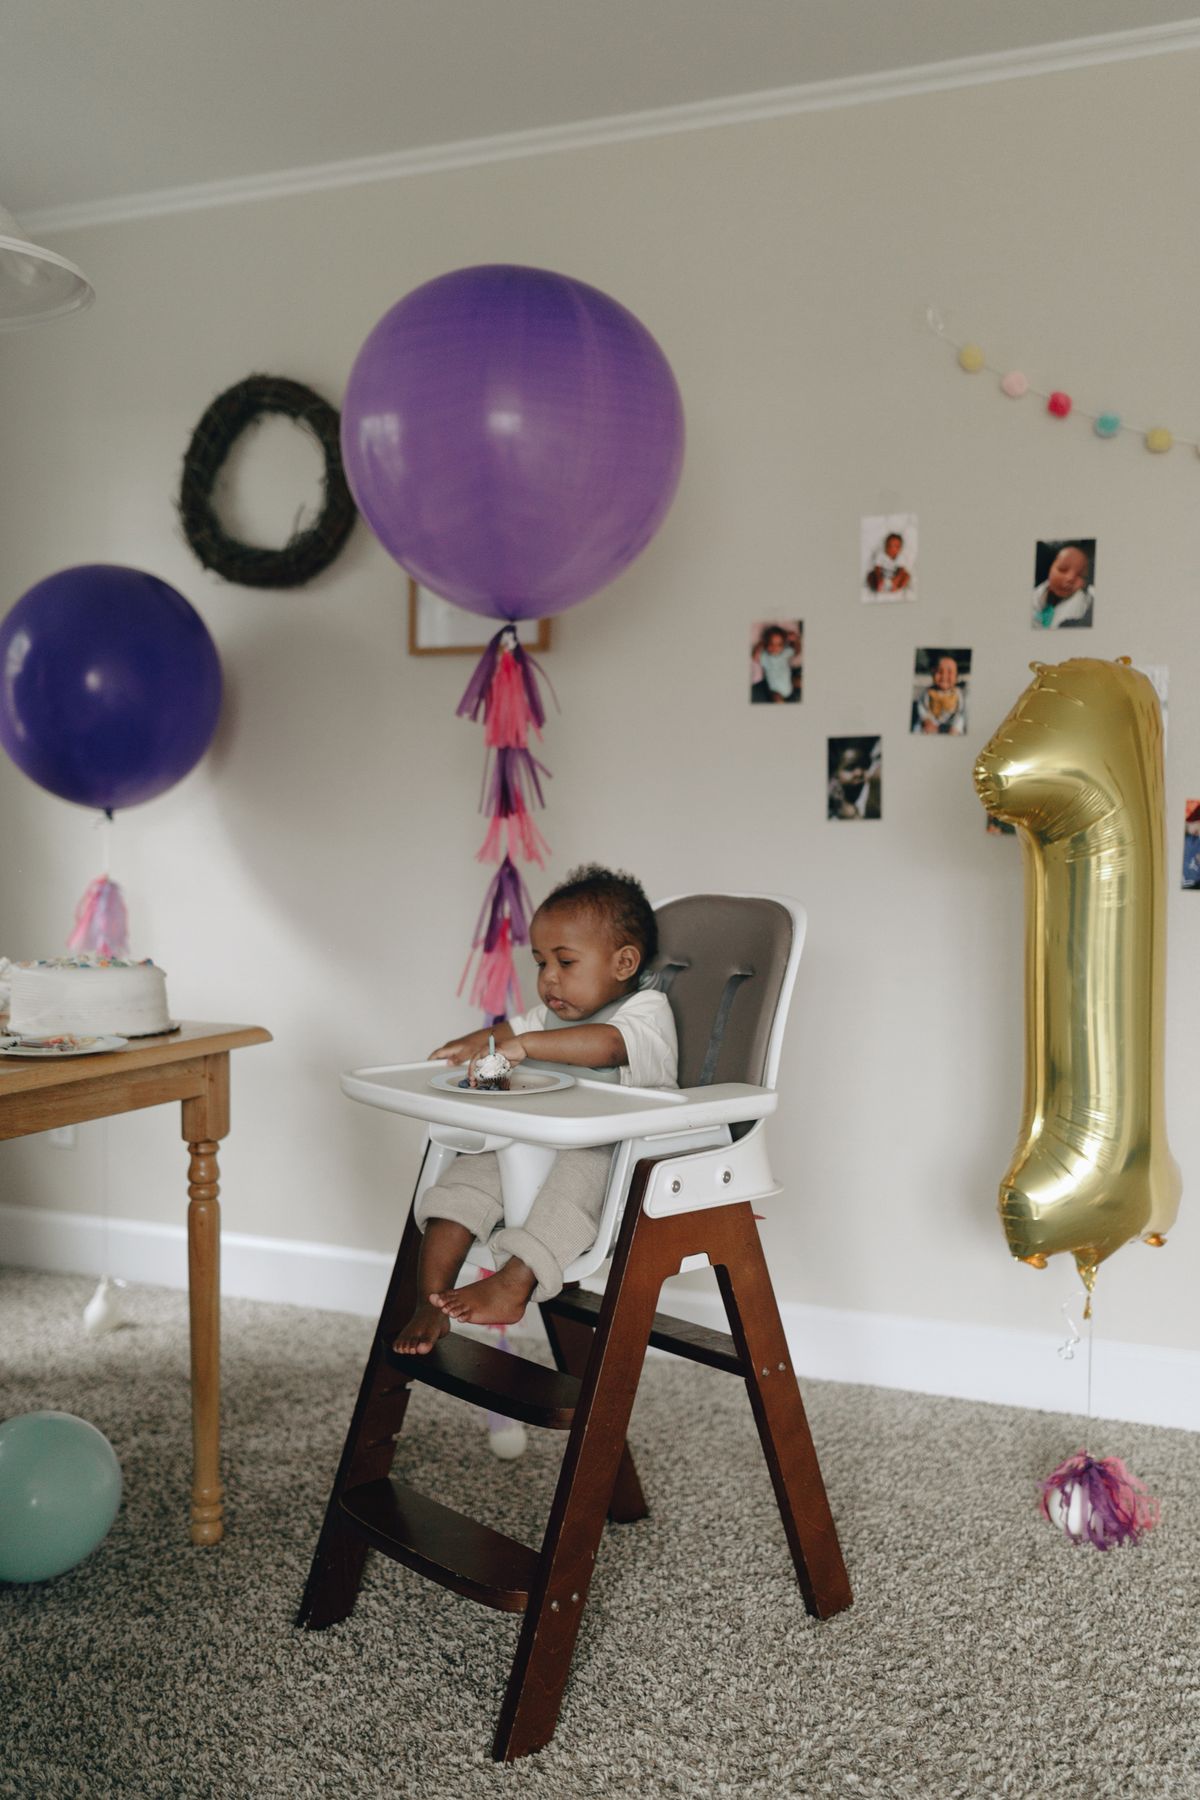
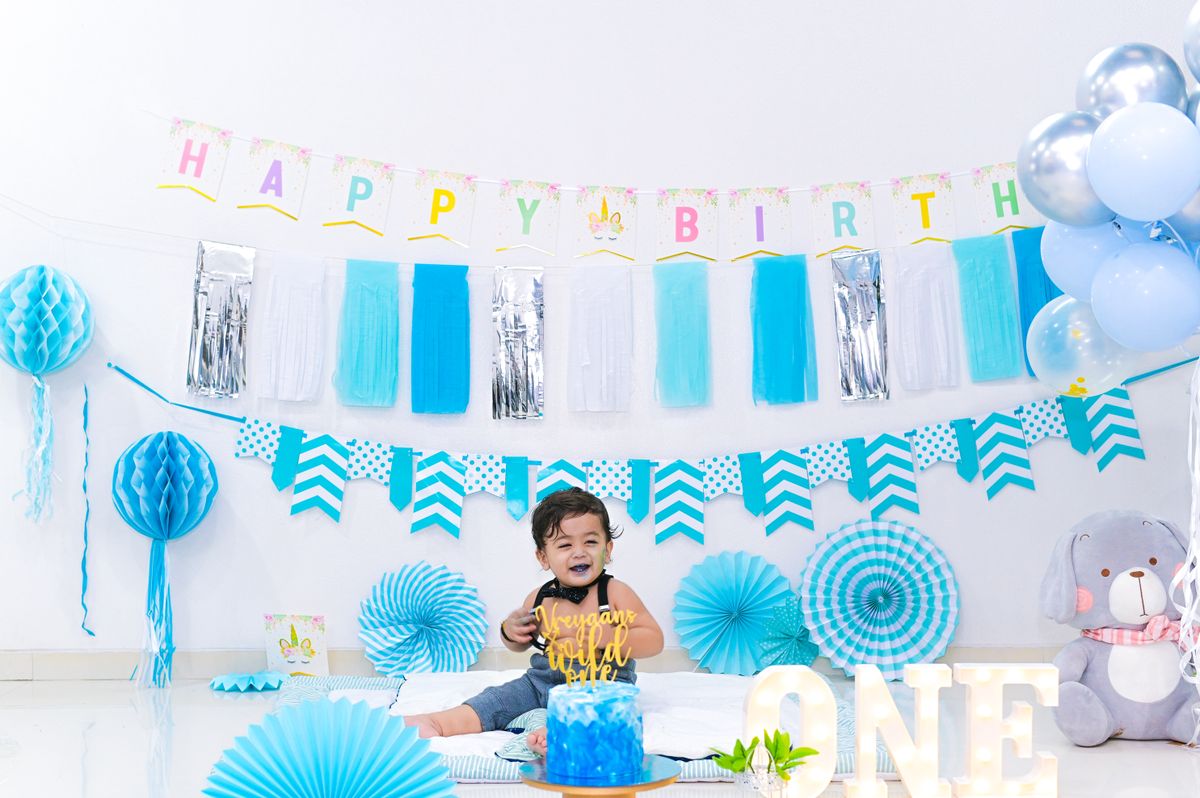
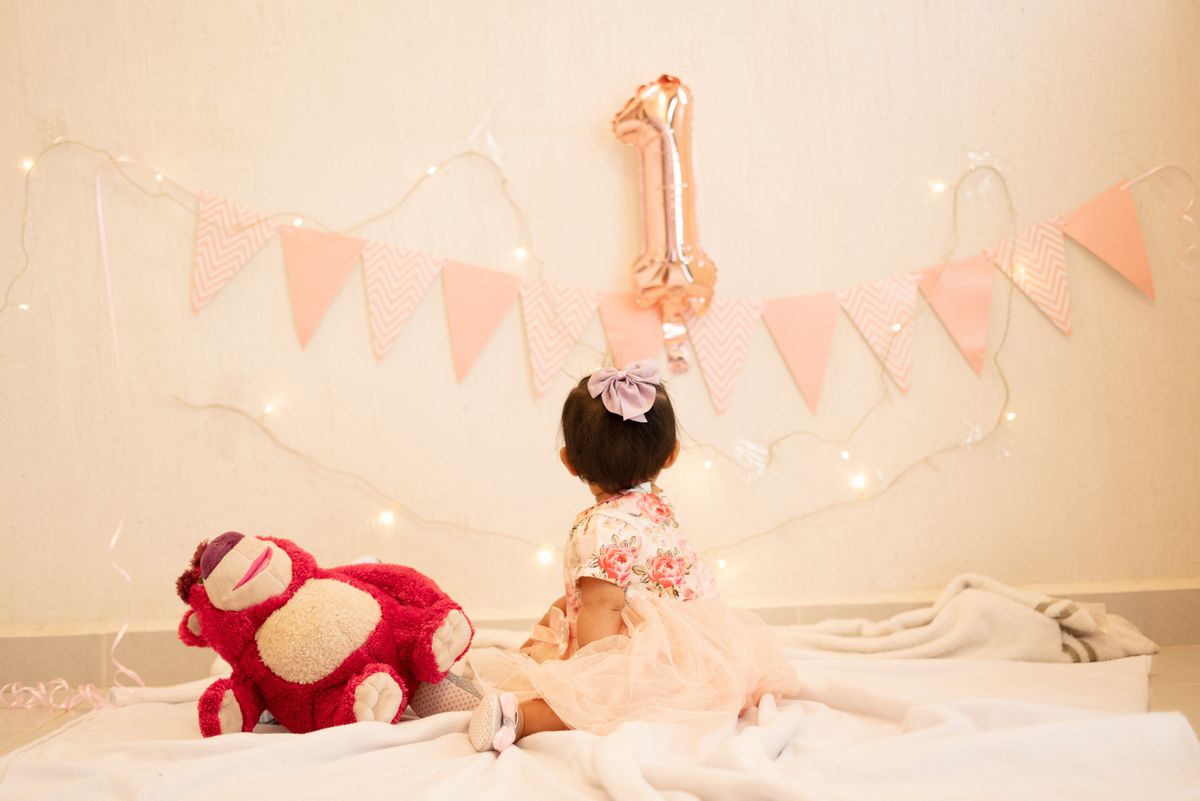
The highchair setup matters as much as the cake, because it is the frame for every photo. I cover the highchair tray with a washable cloth, hang a simple banner behind it, and put a wipeable mat underneath to catch the mess. For one party, I added a balloon garland on one side and kept the other side clear for the photographer, and the photos came out clean and bright. Keep the setup simple and safe: no strings or balloons within the baby’s reach, and nothing dangling that could fall onto the cake. A plain background photographs better than a busy one every time.
Pro Tip: Do a test photo with the highchair and backdrop before the party, so you can fix lighting and clutter in advance.
Cost: $15–$40 for banner and mat | Time: 30 minutes | Difficulty: Easy
12. An Outdoor Smash Cake Session
An outdoor smash cake session, in a garden or park with a blanket and a simple backdrop, makes cleanup almost effortless and photos full of natural light. I helped set one up on a warm afternoon with a white sheet on the grass, a small cake on a board, and a few balloons tied to a chair well away from the baby. The baby loved the open air, and the mess stayed on the sheet, which went straight into the wash. The watch-outs are weather and insects: pick a shaded spot, keep the cake covered until the moment, and have a backup indoor plan if rain threatens.
Pro Tip: Bring a second outfit and a pack of wipes outdoors, because grass and cake together are messier than either alone.
Cost: $10–$30 for setup | Time: 30 minutes | Difficulty: Easy

13. A Fruit-Topped Cake Instead of Fondant
Fondant looks smooth in photos but babies often hate the texture and cannot chew it well, so I prefer soft fruit on top. Sliced strawberries, blueberries cut in half, and soft mango pieces make a cake look fresh and give the baby something easy to pick up first. I topped a vanilla cake with halved berries for one birthday, and the baby ate the fruit before touching the frosting, which made the parents laugh and the photos even better. Cut all fruit small and soft, skip whole grapes and hard pieces, and add the fruit just before serving so it does not weep into the frosting.
Pro Tip: Pat fruit dry with a paper towel before placing it, so juice does not stain the frosting.
Cost: $15–$30 | Time: 2 hours | Difficulty: Easy
14. A Smash Cake Followed by a Bubble Bath
Plan the bath as part of the party, not an afterthought, and the mess becomes part of the fun. I set up a warm bubble bath before the cake came out at one party, and the baby went from highchair to bathtub in two minutes, giggling the whole way. Guests loved the photos of the bath almost as much as the cake photos. Keep a towel and a clean outfit by the bathroom door, and have someone ready to carry the baby, because a frosting-covered baby is slippery. This works best at home, where the bath is familiar, rather than at a venue.
Pro Tip: Skip bath toys with small parts during the post-cake bath, since the baby will be tired and less supervised for a moment.
Cost: $0 | Time: 10 minutes to prepare | Difficulty: Easy
15. A DIY Smash Cake Baked the Night Before
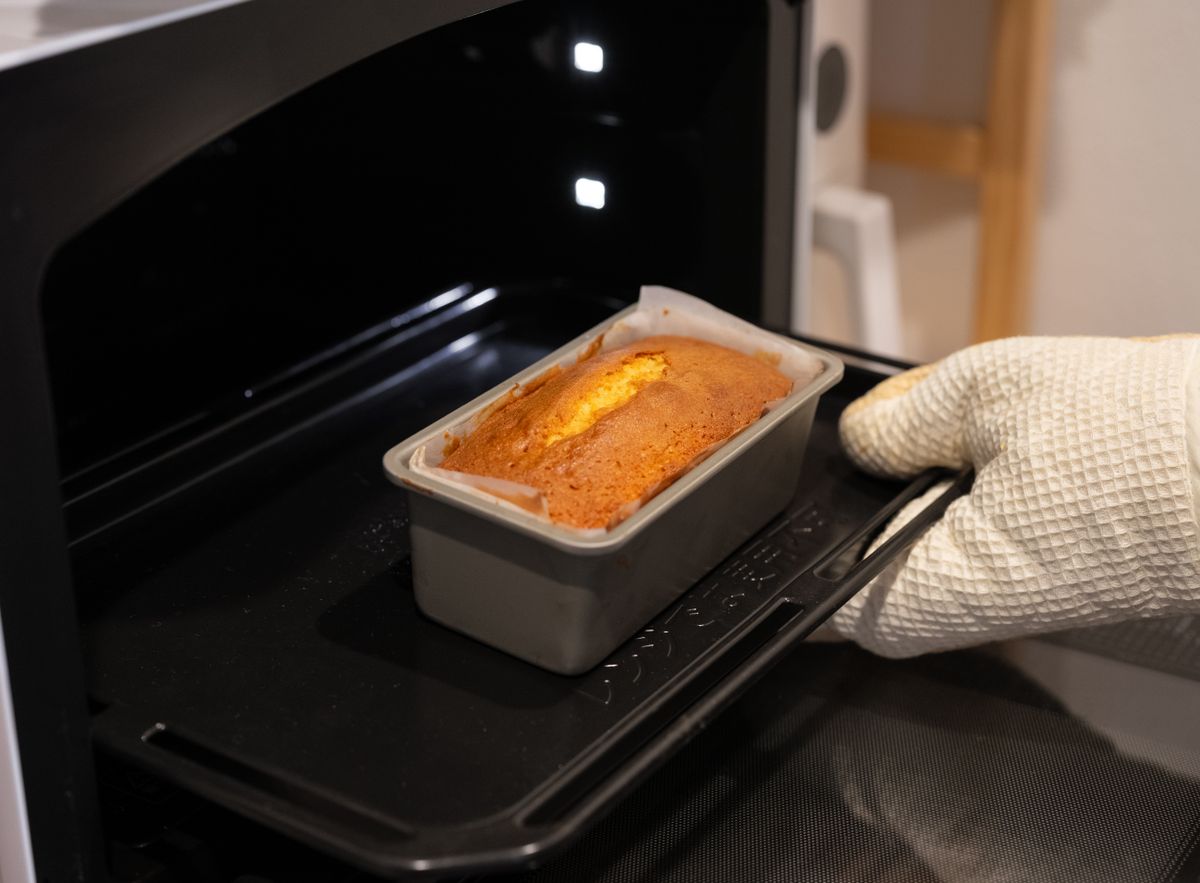
Baking the smash cake yourself the night before saves money and lets you control every ingredient, and it is easier than most parents expect. I baked the sponge layers in the evening, wrapped them well, and frosted the cake in the morning, which split the work into two calm sessions instead of one frantic one. A simple vanilla or banana sponge, a basic buttercream, and no piping skills are all you need. The downside is oven stress if the layers sink, so bake a test cake a week earlier if you have never made one, and keep a bakery as a backup plan, not a failure.
Pro Tip: Freeze the sponge layers for thirty minutes before frosting, so crumbs do not mix into the buttercream.
Cost: $12–$25 | Time: 2 hours split over two days | Difficulty: Easy to moderate
16. A Bakery Smash Cake and What to Ask For
Ordering from a bakery is the lowest-stress option, as long as you ask for the right thing. I tell parents to ask for a four-inch cake, soft sponge, light buttercream, no fondant figures, no hard decorations, and a note about any allergies. Bring a photo of the theme if you have one, and ask the bakery to keep the design simple. Order at least a week ahead, and pick the cake up the morning of the party so it is fresh and cool.
Pro Tip: Ask the bakery to box the smash cake separately from the guests’ cake so they do not get mixed up at pickup.
Cost: $30–$60 | Time: 15 minutes to order | Difficulty: Easy
17. A Balloon Backdrop, Kept Safely Away
Balloons make a first birthday look like a party instantly, and a simple balloon backdrop behind the highchair is my favorite low-effort decoration. I use a small arch or a cluster tied to a heavy weight on the floor, placed behind and to the side of the baby, never within grabbing reach. Popped balloon pieces are a serious choking risk for a one-year-old, so an adult watches the balloons the whole time and any popped piece is picked up immediately. The backdrop photographs beautifully and costs little, but safety comes first: if a balloon looks weak or the baby can reach it, move it further back.
Pro Tip: Inflate balloons the morning of the party so they look full in photos, not droopy from the night before.
Cost: $10–$25 | Time: 30 minutes | Difficulty: Easy

18. Keep the Big Cake Separate for Guests
The rule that saves every first birthday is simple: the baby gets a small smash cake, and guests get a separate, bigger cake that stays clean. I have seen parties where the only cake was the smash cake, and guests stood around awkwardly while the baby destroyed dessert. A separate cake means the baby’s fun does not cost anyone else a slice, and the photos of the smash stay joyful instead of stressful. It also means you can choose a fancier flavor for guests and a simpler, gentler cake for the baby. For games to play while guests wait for cake, also read these first birthday games everyone will enjoy.
Pro Tip: Cut and serve the guests’ cake while the baby is in the bath, so dessert feels like its own moment, not an afterthought.
Cost: Included in party cake budget | Time: 0 minutes | Difficulty: Easy
Mistakes I Made (So You Don’t Have To)
First, I once used a cake with a hard fondant topper, and I spent the whole smash watching the baby’s hands instead of enjoying the moment. Keep decorations soft and off the cake. Second, I scheduled a smash at the end of a long party when the baby was tired, and the baby cried instead of smashing. Do the cake when the baby is rested, even if that means earlier than guests expect. Third, I forgot the cleanup plan once and spent an hour scrubbing a highchair while guests waited. Set out the mat, towels, and bath before the cake appears. Fourth, I bought a full-size cake for a smash and watched most of it go to waste. Small is better, every time.
Which First Birthday Smash Cake Idea Fits You?
| Idea | Best for | Cost | Effort |
|---|---|---|---|
| Classic vanilla | First-time smash cake parents | Low | Low |
| Banana cake | Lower-sugar first taste | Low | Low |
| Dairy-free cake | Allergy-aware families | Medium | Medium |
| Bakery cake | Low-stress parties | Medium | Low |
| Outdoor session | Easy cleanup | Low | Low |
| Cake plus cupcakes | Parties with many guests | Medium | Medium |
Frequently Asked Questions
When should the smash cake happen during the party?
Do it when the baby is rested, fed, and happy, usually earlier in the party rather than at the very end. At one party I helped with, we did the smash thirty minutes in, right after guests arrived, and the baby was delighted. At another, we waited until the end and the baby was too tired to enjoy it. Earlier is almost always better.
How long did your smash cake setup actually last?
The cake itself lasts about ten to fifteen minutes of happy smashing before the baby loses interest or gets fussy, and that is plenty for photos. The setup, banner and mat included, took me about thirty minutes, and cleanup with a bath took another twenty. Plan for an hour total and you will not feel rushed.
What would you do differently if you planned another smash cake?
I would do the smash earlier in the party, keep decorations off the cake entirely, and have the bath ready before the cake comes out. I would also order a smaller cake than I think I need, because small cakes photograph better and waste less.
What if my baby refuses to touch the cake?
It happens more than people admit, and it is completely fine. Offer a taste on your finger, let the baby watch you touch the frosting, and give them time without pressure. Some babies need a few minutes, and some prefer to poke rather than smash. The photos of a cautious first taste are just as sweet as the messy ones, so do not force it.
Final Thoughts
A first birthday smash cake is not about a perfect cake; it is about a happy baby, a few wonderful photos, and a mess you planned for. Keep the cake small and soft, keep hard decorations away, do it while the baby is rested, and have the bath ready. For food ideas for the rest of the table, also read these birthday party food ideas.