Thanksgiving Charcuterie Board Ideas
The first Thanksgiving I made a charcuterie board, I overbought, overfilled, and watched half of it go back into the fridge untouched. These thanksgiving charcuterie board ideas come from the years since, when I learned that a good board is not about having everything, but about having the right few things, arranged so guests can actually reach them. I picked and tested each board below by the same rules: I built it, timed it, left it out for two hours as it would be at a real gathering, and noted what dried out, what ran out first, and what nobody touched. If a board failed that test, it did not make the list.
Key Takeaways
- Plan roughly 2–3 ounces of cheese and 2 ounces of meat per guest for an appetizer board.
- Place cheeses first, then meats, then fill gaps with fruit, nuts, and crackers.
- Keep cold items chilled until 30 minutes before serving, and do not leave a board out for more than two hours.
- Give every cheese its own knife, and label anything unusual so guests are not guessing.
- Refill in small batches rather than building one enormous board that wilts.
17 Thanksgiving Charcuterie Board Ideas I Have Actually Built
1. The Classic Thanksgiving Charcuterie Board
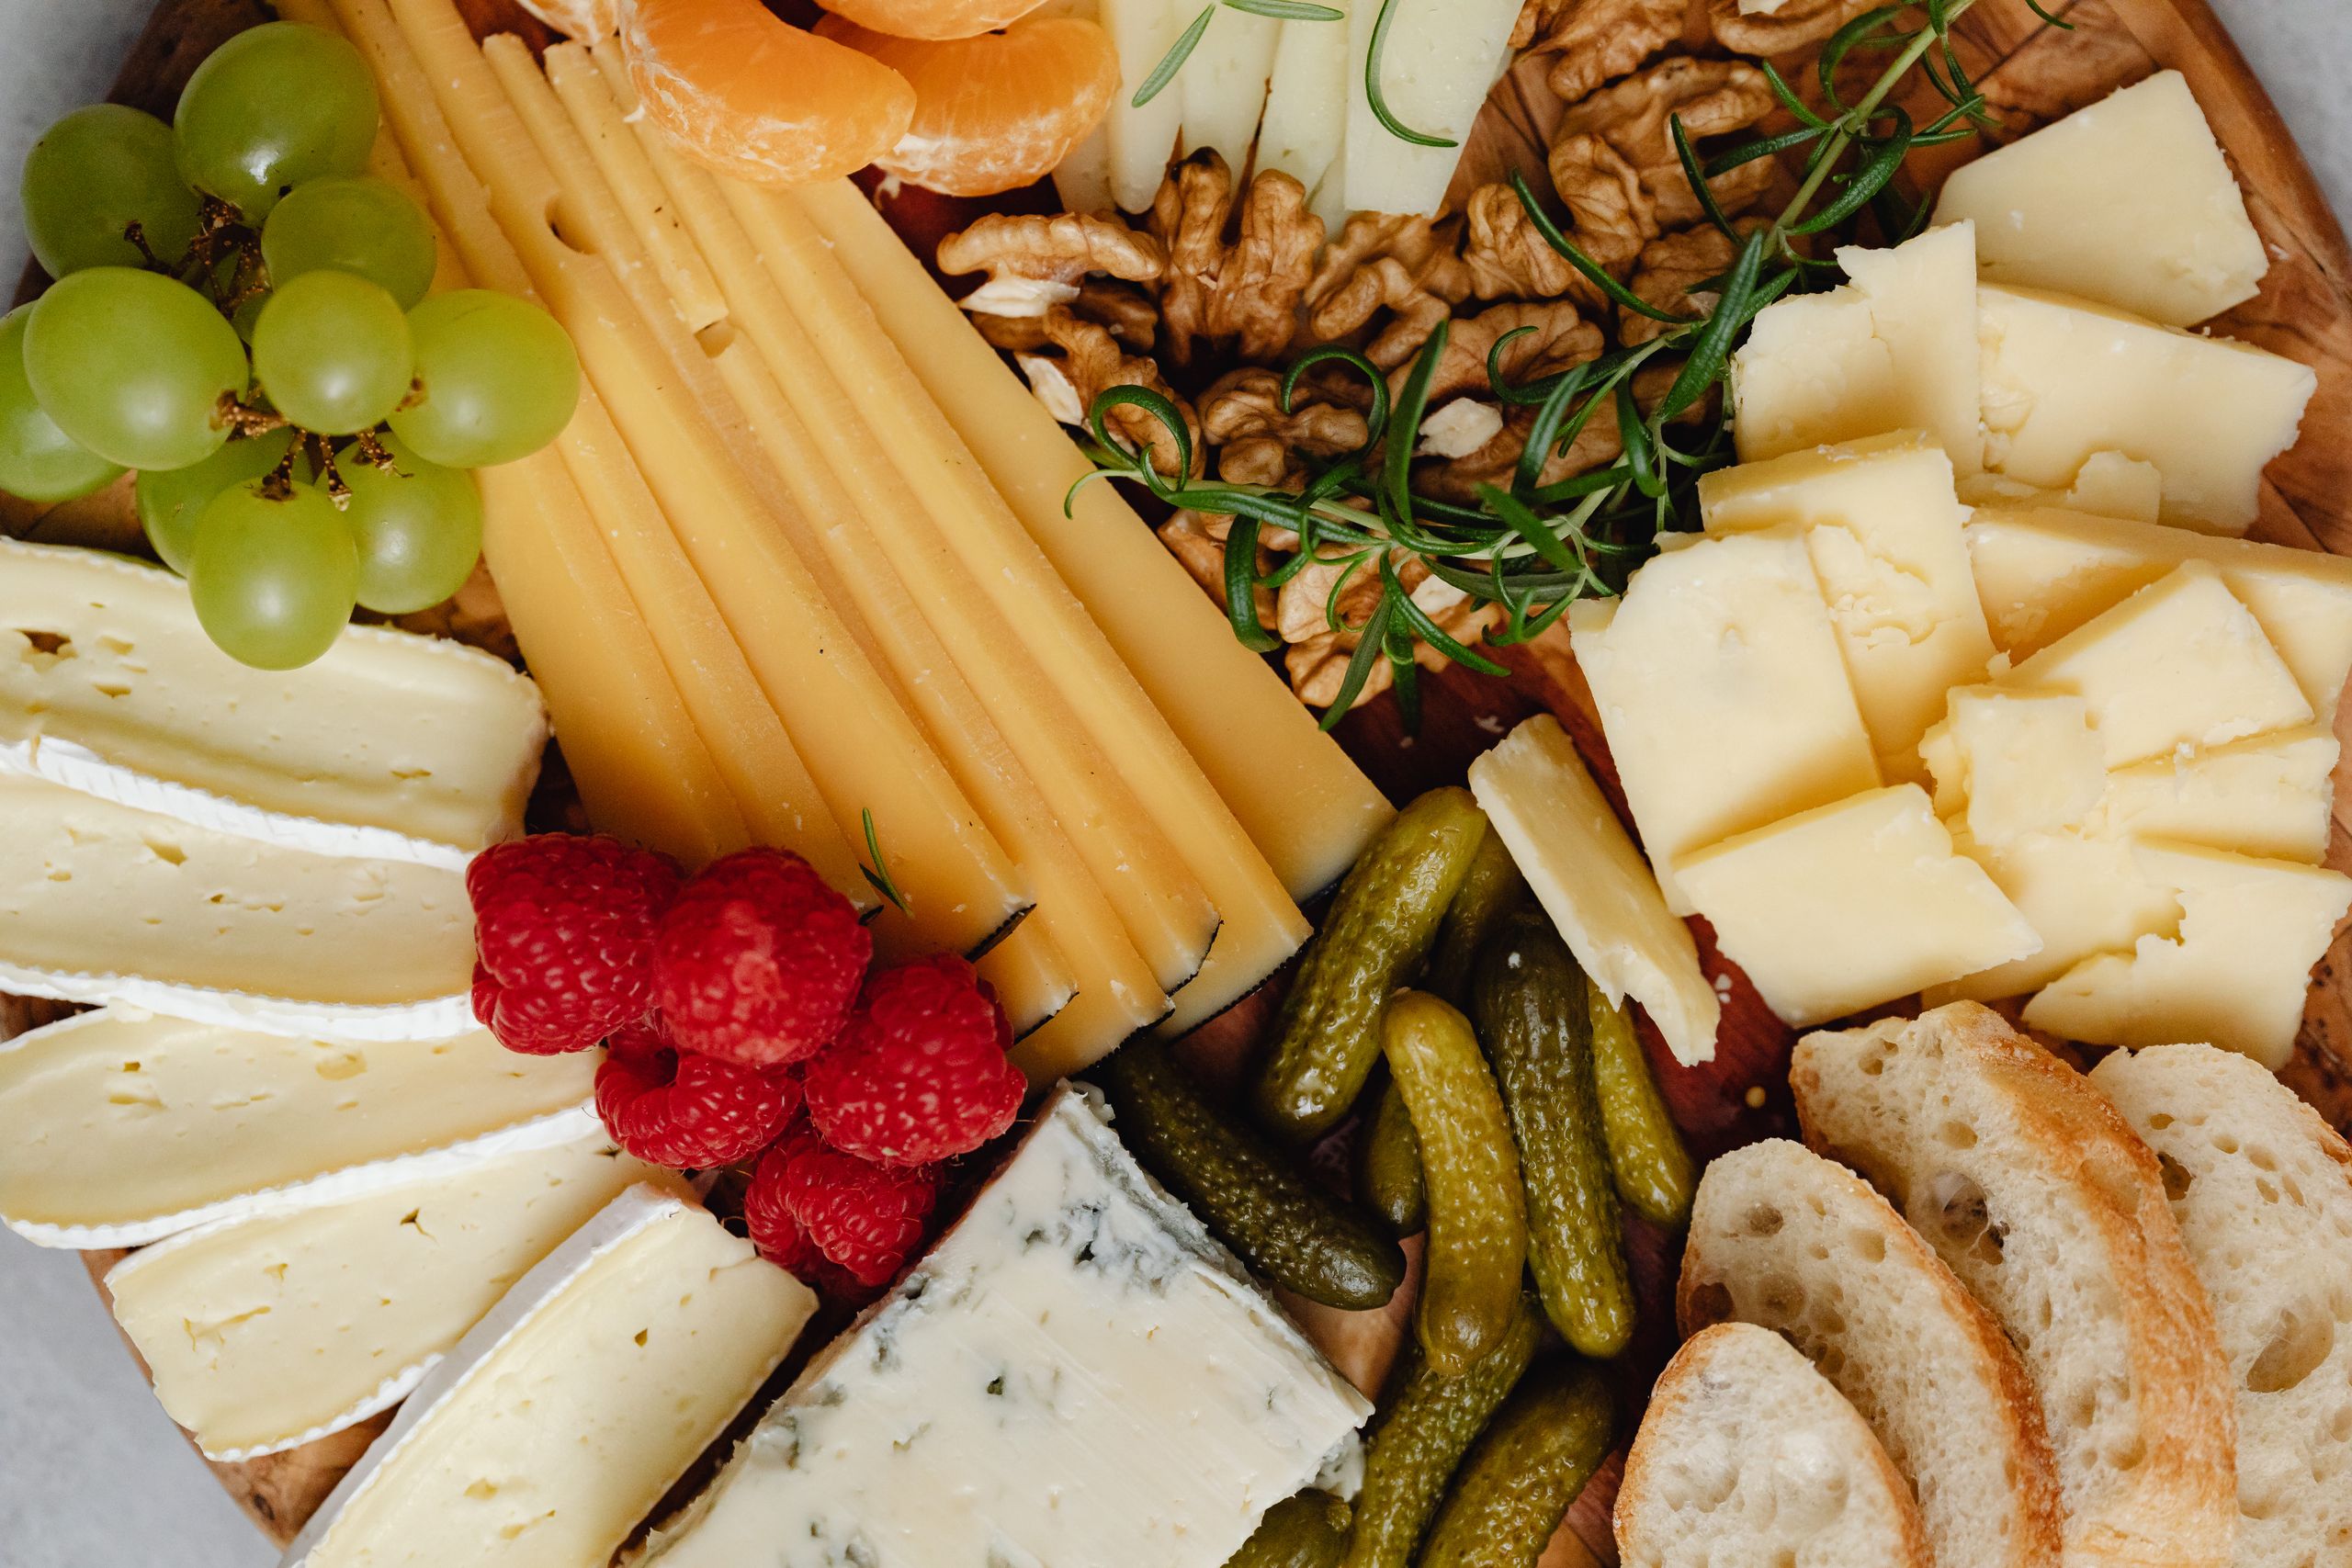
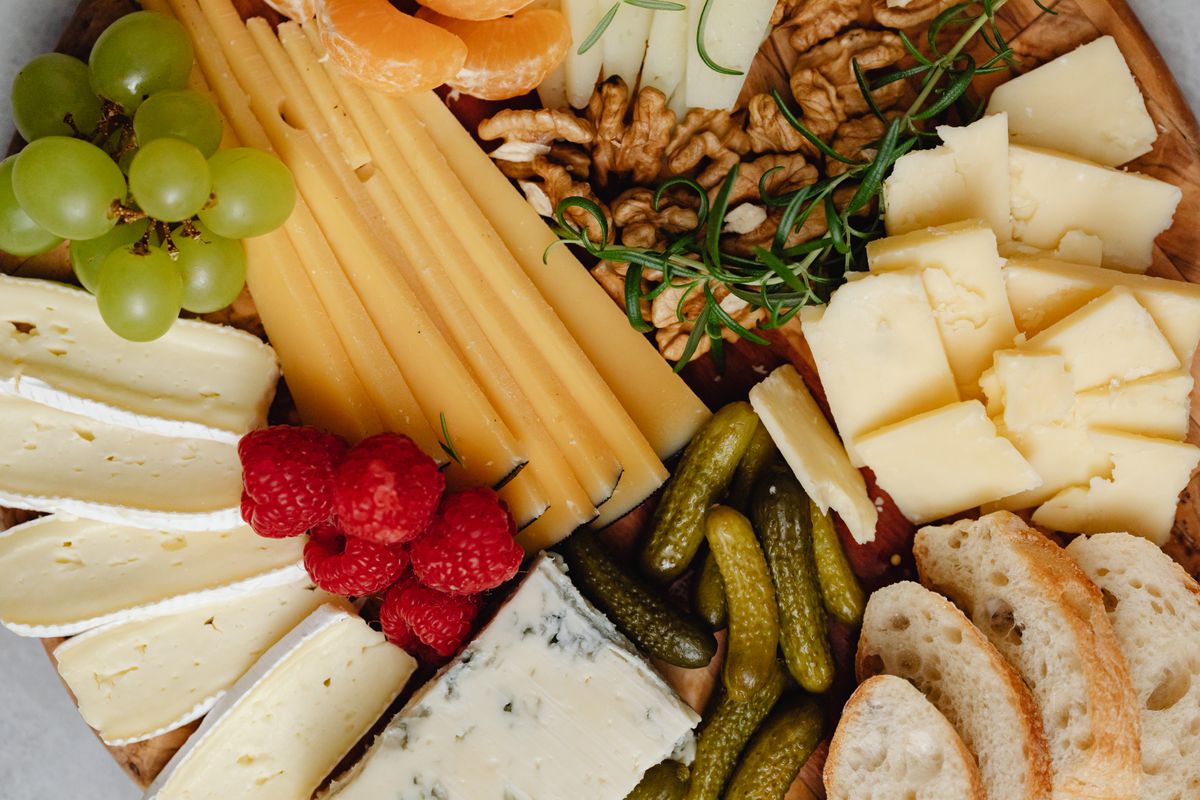
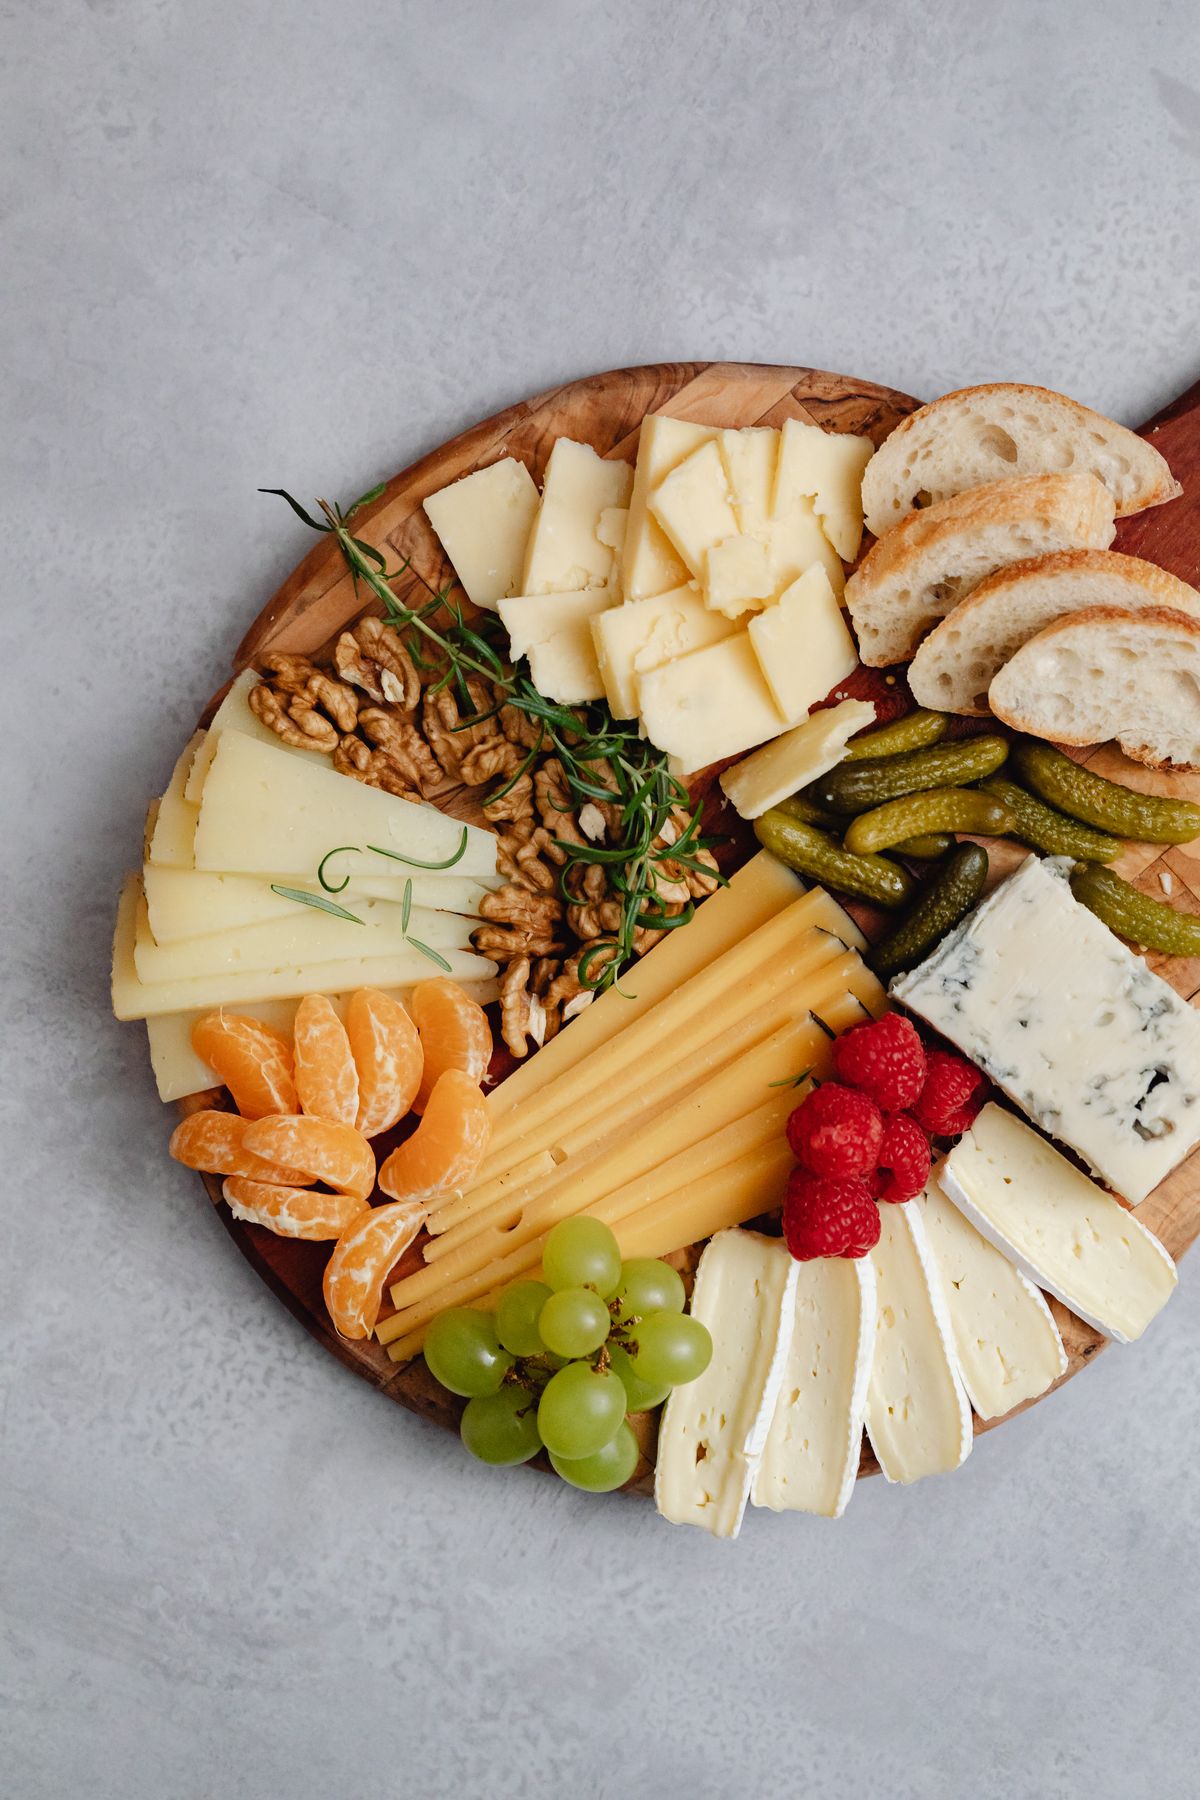
This is my default board, and the one I make when I do not want to think too hard: a firm cheddar, a creamy brie, a sharp salami, a smoked turkey slice rolled into rosettes, grapes, apple slices, mixed nuts, and two kinds of crackers. I arrange the cheeses in a triangle first, because it gives the eye somewhere to land, then I fold the meats and tuck fruit into the gaps. The first time I built it for twelve people, it took me forty minutes and I was still arranging grapes when the doorbell rang. Now I build it in thirty minutes flat. The downside is that brie softens fast at room temperature, so I keep it in the fridge until the last ten minutes and let it soften just enough to spread.
Cost: $35–$60 for 10–12 guests | Time: 30 minutes | Difficulty: Easy
Pro Tip: Cut only half the cheese in advance and leave the rest in a block; cut pieces dry out, while a block stays fresh for refills.
2. A Turkey-Shaped Board for Kids (and Adults Who Act Like Kids)
I once arranged crackers and cheese in a fan shape like turkey feathers, with a small bowl of dip as the body and pretzel sticks for legs, and the children absolutely lost it. I used round crackers for feathers, alternating colours, and a pear half for the body, which sounds silly but looked charming. It took me fifty minutes because I kept stepping back to check the shape, and I would allow a full hour if you are a perfectionist. The honest downside is that a shaped board is harder to eat from without ruining the picture, so I now build the turkey shape on one half of the board and keep a normal grazing section on the other half.
Cost: $30–$50 | Time: 50 minutes | Difficulty: Medium
Pro Tip: Photograph the board before anyone touches it, then tell guests to dig in; a board that nobody eats is just decoration.
3. Cranberry and Brie Focus Board
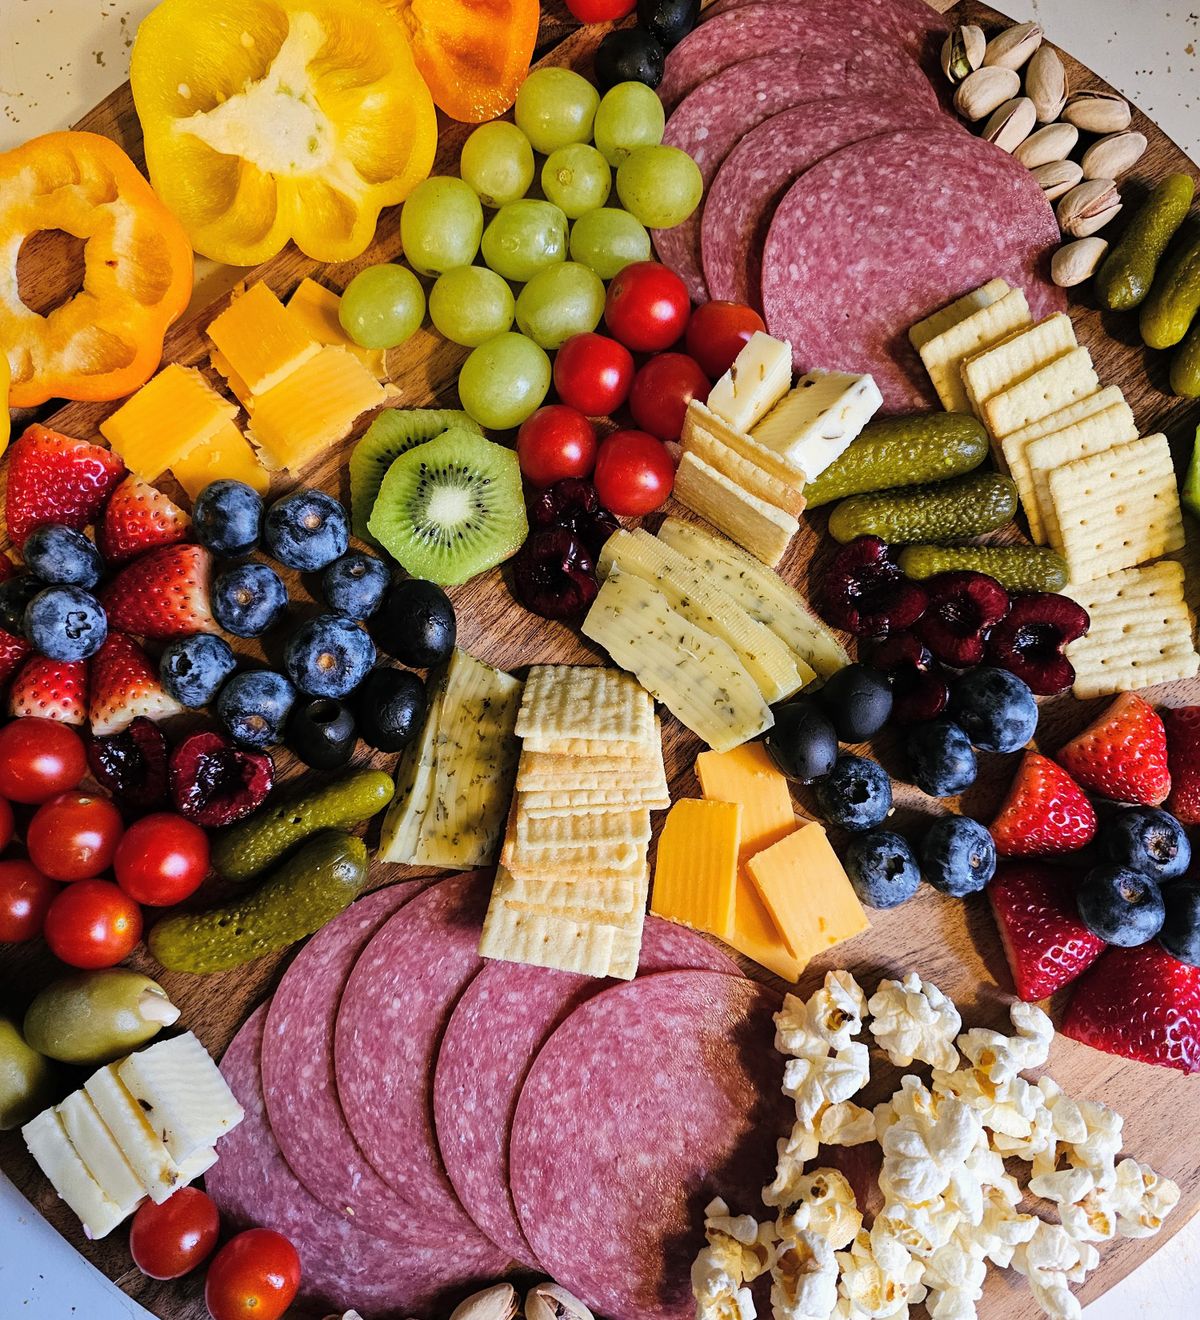
When I want something seasonal without a dozen ingredients, I centre the board on a whole wheel of brie topped with cranberry sauce and a few sprigs of rosemary, surrounded by plain crackers and sliced baguette. I warm the brie in the oven for about ten minutes until it just starts to slump, then spoon over cranberry sauce I made the day before. Guests scooped it up so fast the first time that I now make two wheels for a crowd. The watch-out is timing: baked brie firms up again within half an hour, so I bake the second wheel only when the first is nearly gone, and I never bake it more than once.
Cost: $20–$35 | Time: 25 minutes | Difficulty: Easy
Pro Tip: Score the top rind of the brie in a crosshatch before baking so it opens beautifully and scoops easily.
4. Harvest Board With Roasted Pumpkin Seeds
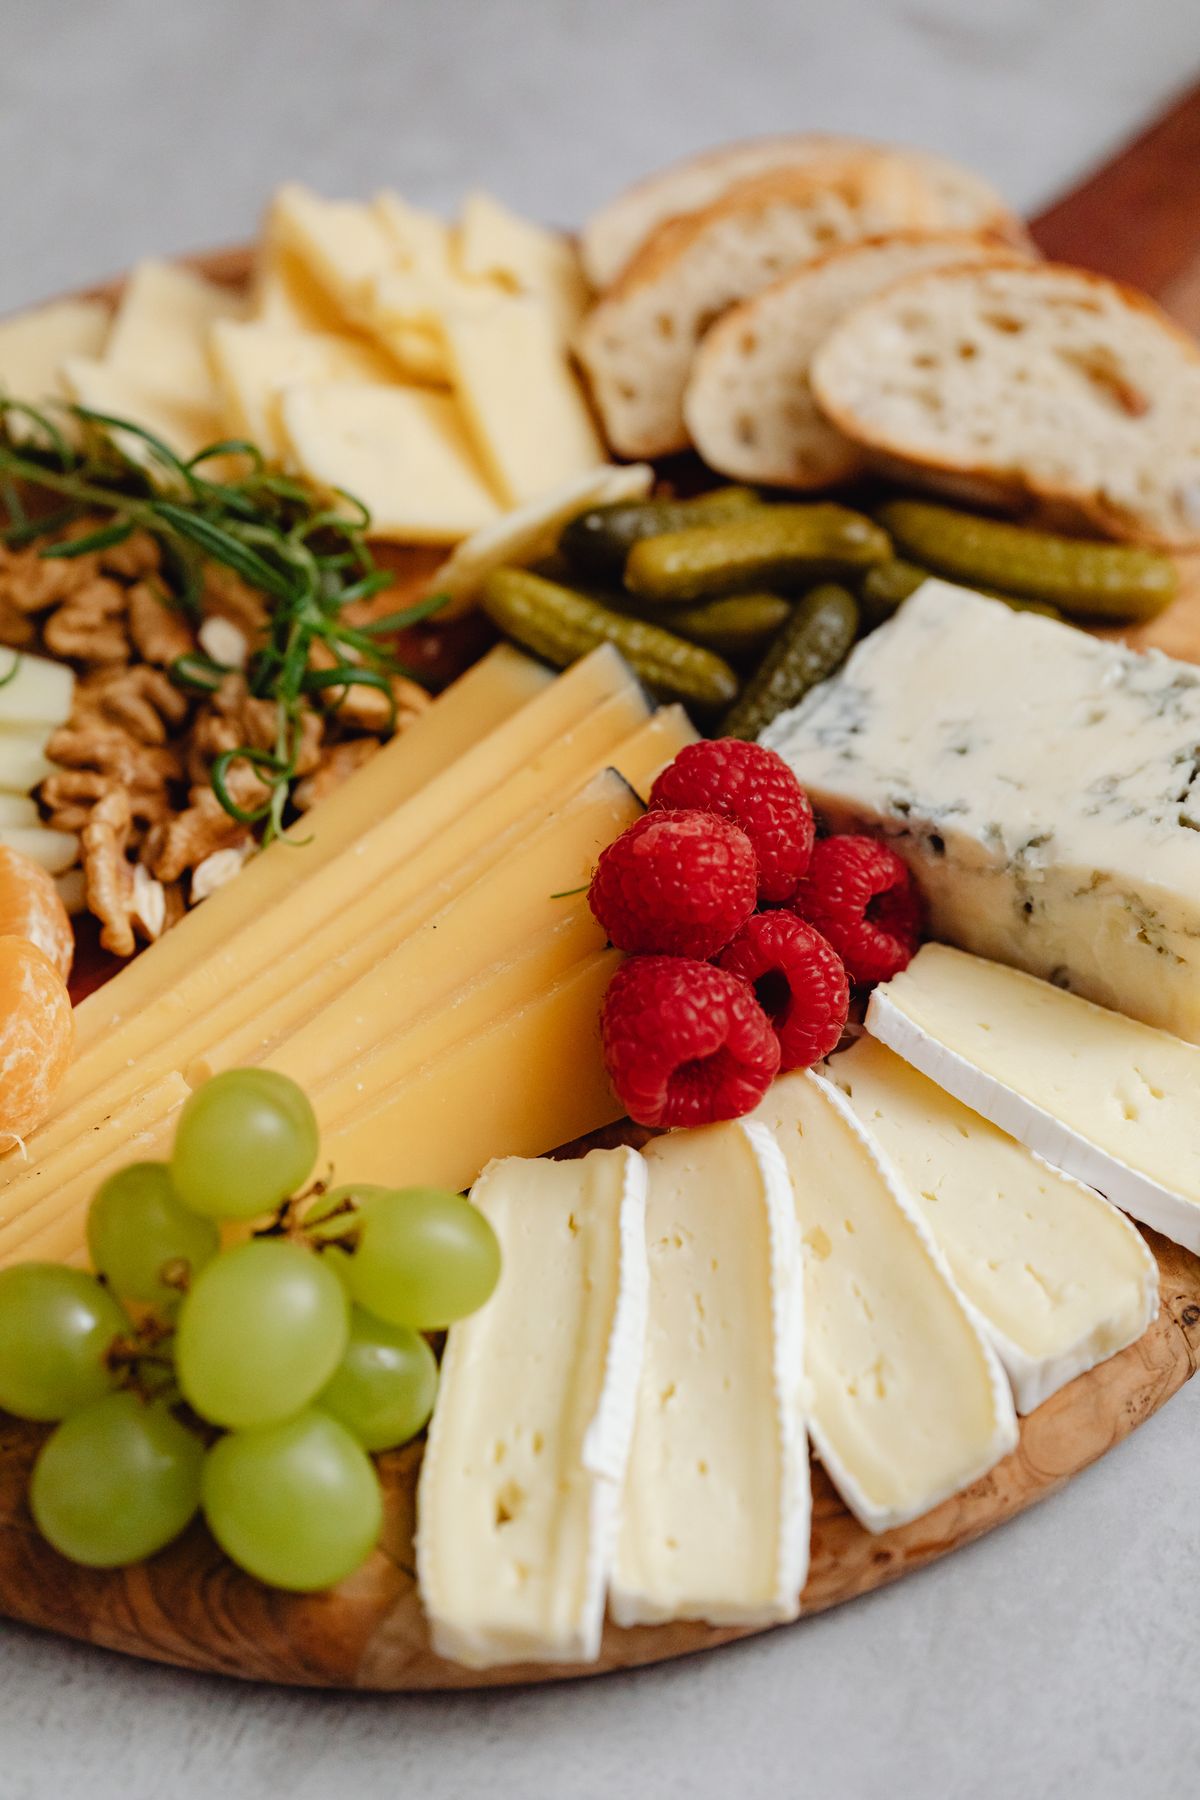
This board leans into autumn flavours: aged gouda, smoked cheddar, roasted pumpkin seeds I seasoned with a little salt and paprika, dried apricots, apple butter, and seeded crackers. I roasted the seeds myself from a carving pumpkin, which took twenty minutes in the oven and made the house smell wonderful, though I will admit I burned the first batch by walking away. It is a forgiving board because everything keeps well at room temperature, which matters when the turkey is running late. The downside is that dried fruit is sticky and guests’ fingers get messy, so I add small spoons for the apple butter and tongs for the seeds.
Cost: $25–$45 | Time: 40 minutes | Difficulty: Easy
Pro Tip: Roast pumpkin seeds at 300°F, stirring every five minutes, and pull them out when they are just golden; they keep cooking on the tray.
5. Budget Board That Still Looks Generous
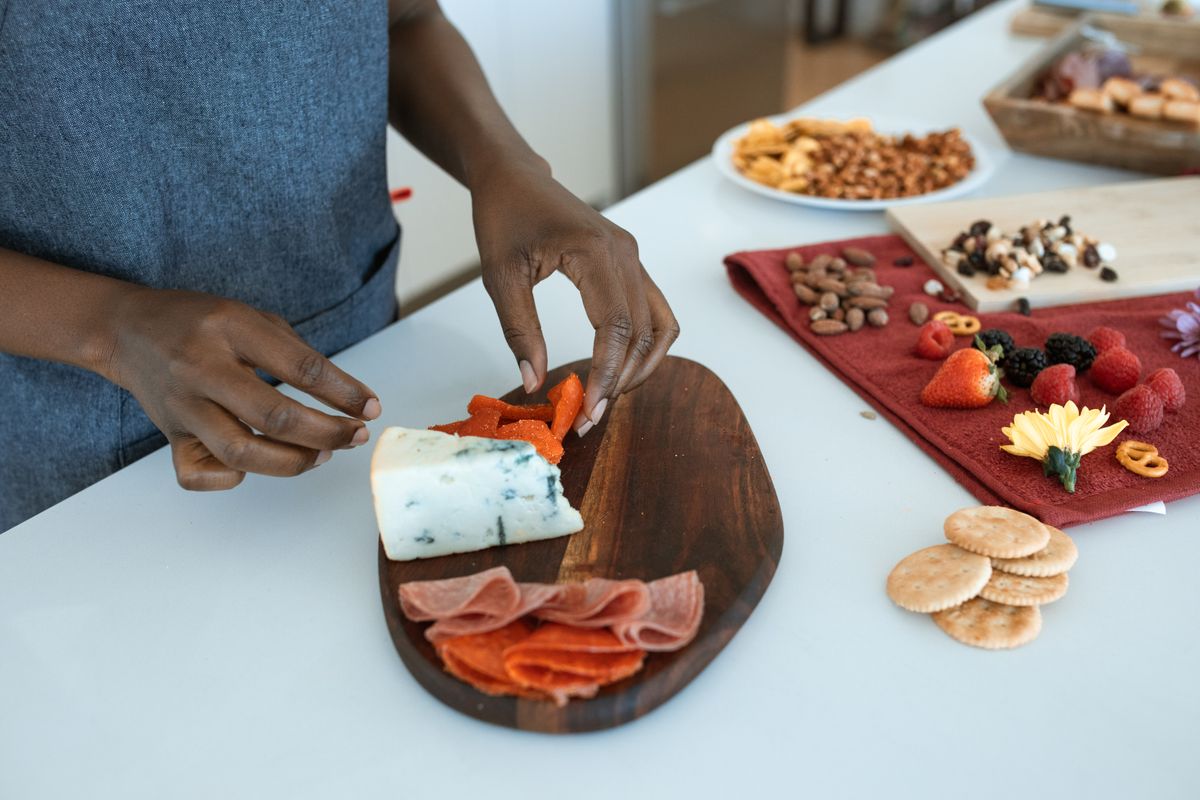
One Thanksgiving, money was tight and I built a board for under twenty-five dollars that nobody guessed was a budget board. The trick was one good cheese instead of three average ones, a single salami, lots of seasonal fruit, popcorn, pretzels, and a homemade mustard dip. I filled every gap with grapes and apple slices, which are cheap in November and look abundant. It took me twenty-five minutes, and guests ate just as happily as they had the expensive version the year before. The honest downside is that a budget board empties faster, because there is less variety to slow people down, so I kept a backup bag of crackers and extra apples in the kitchen for refills.
Cost: $20–$30 | Time: 25 minutes | Difficulty: Easy
Pro Tip: Spend on one standout cheese and save on fillers; guests remember the best bite, not the fifth cracker.
6. Sweet and Savoury Board With Honey and Figs
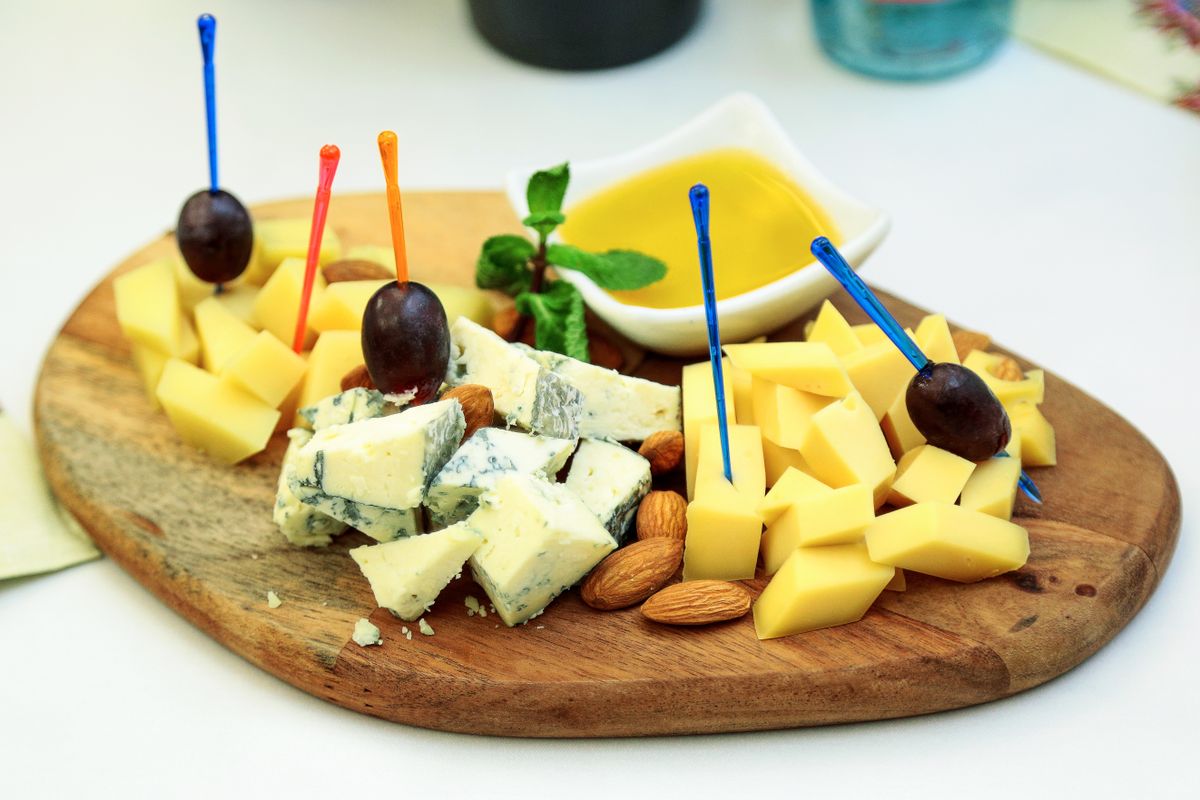
I love a board where guests can build sweet-savoury bites: blue cheese, honey in a small jar with a dipper, fresh figs when I can find them, toasted walnuts, and dark chocolate squares at one corner. The first time I tried it, I was nervous about blue cheese, but it was the first thing to disappear, especially paired with honey. It took thirty minutes, and it lasted well because none of the items wilt quickly. The watch-out is the honey: it drips everywhere if the jar is too full, so I fill it only halfway and set it on a small plate. Fresh figs are also fragile, so I buy them the day before at most and handle them as little as possible.
Cost: $30–$50 | Time: 30 minutes | Difficulty: Easy
Pro Tip: Put strong cheeses at one end and mild ones at the other, so guests who dislike blue cheese never have to hunt for the safe end.
7. Vegetarian Board (No Meat, No Complaints)
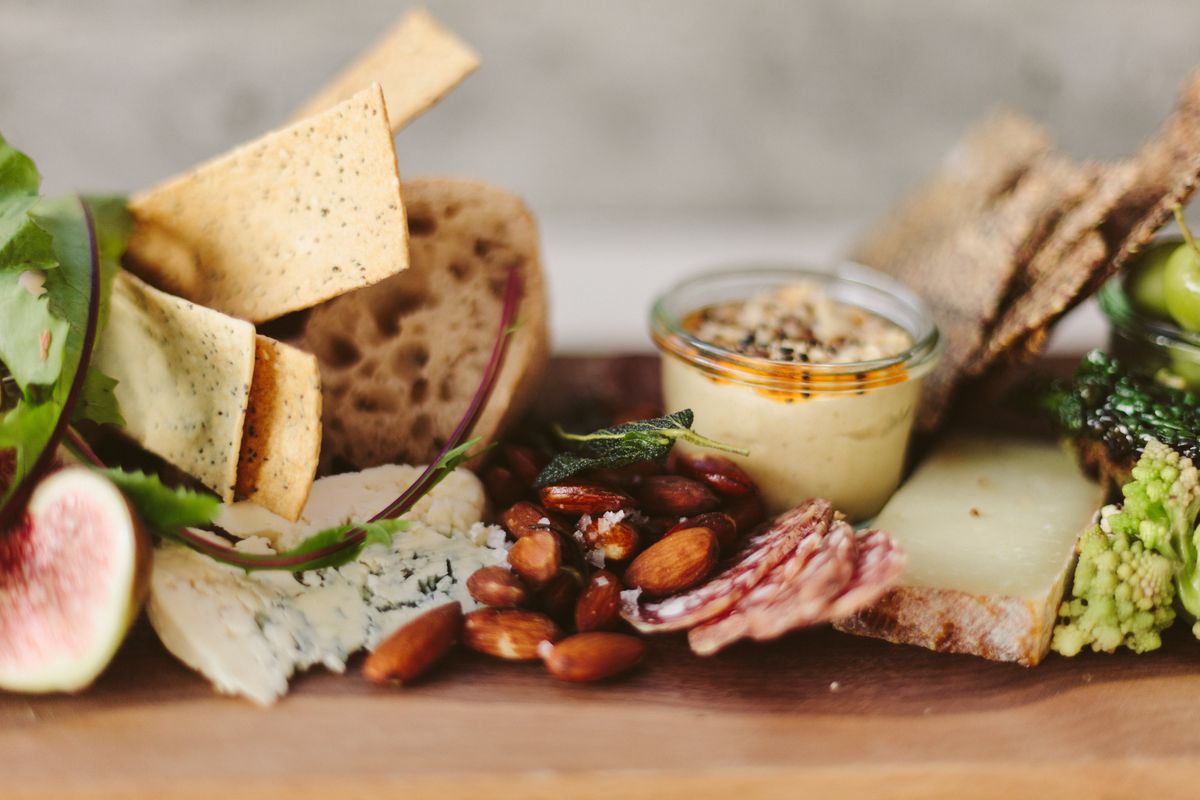
For my vegetarian niece, I built a board with three cheeses, marinated artichokes, roasted red peppers, olives, hummus, cucumber slices, and seeded crackers, and it turned out to be everyone’s favourite that year. I drained the marinated items well, because a puddle on a board makes crackers soggy within minutes, a mistake I made the first time and have not repeated. It took thirty-five minutes, and it held up beautifully for two hours. The downside is that hummus dries out at the edges if left uncovered, so I cover it with cling film until serving and stir it once before guests arrive.
Cost: $25–$45 | Time: 35 minutes | Difficulty: Easy
Pro Tip: Use small bowls for anything wet or oily; they keep the board tidy and stop flavours from running into each other.
8. Dessert Charcuterie Board
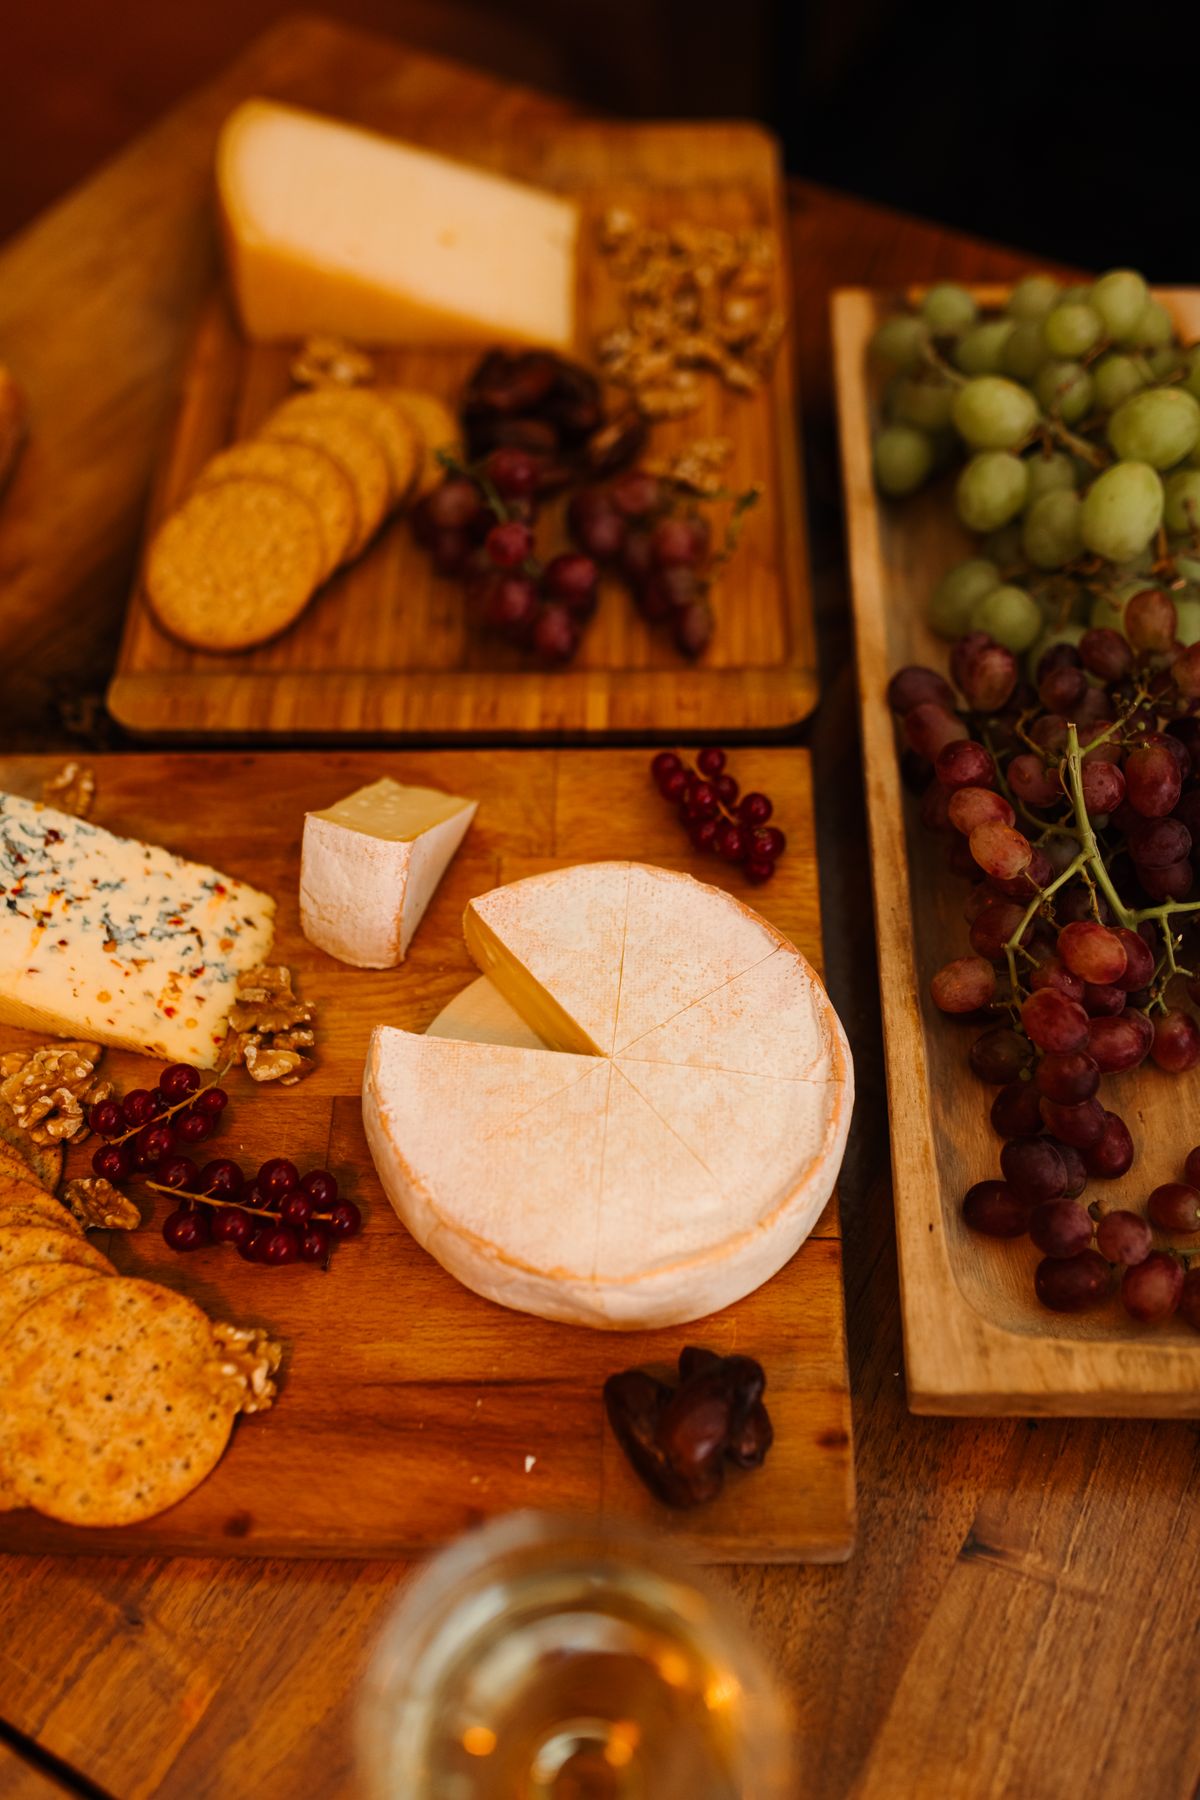
After the turkey, I sometimes set out a second, smaller board of desserts: mini cookies, chocolate squares, candied pecans, apple slices with caramel dip, and a few pumpkin-spice truffles. I built it one year when I was too tired to plate desserts properly, and it became a tradition because guests could pick exactly what they wanted. It took twenty minutes, mostly unwrapping and arranging. The downside is sugar overload after a huge meal, so I keep portions tiny and include plain apple slices and nuts to balance it. It also melts if left near a warm oven, so I set it in the coolest part of the room.
Cost: $20–$35 | Time: 20 minutes | Difficulty: Easy
Pro Tip: Build a dessert board only after the main board is cleared; two boards at once overwhelm the table and the guests.
Also read: 21 Thanksgiving Appetizers Guests Will Love for more ideas to serve alongside your board.
9. Make-Ahead Board (Assemble the Night Before)
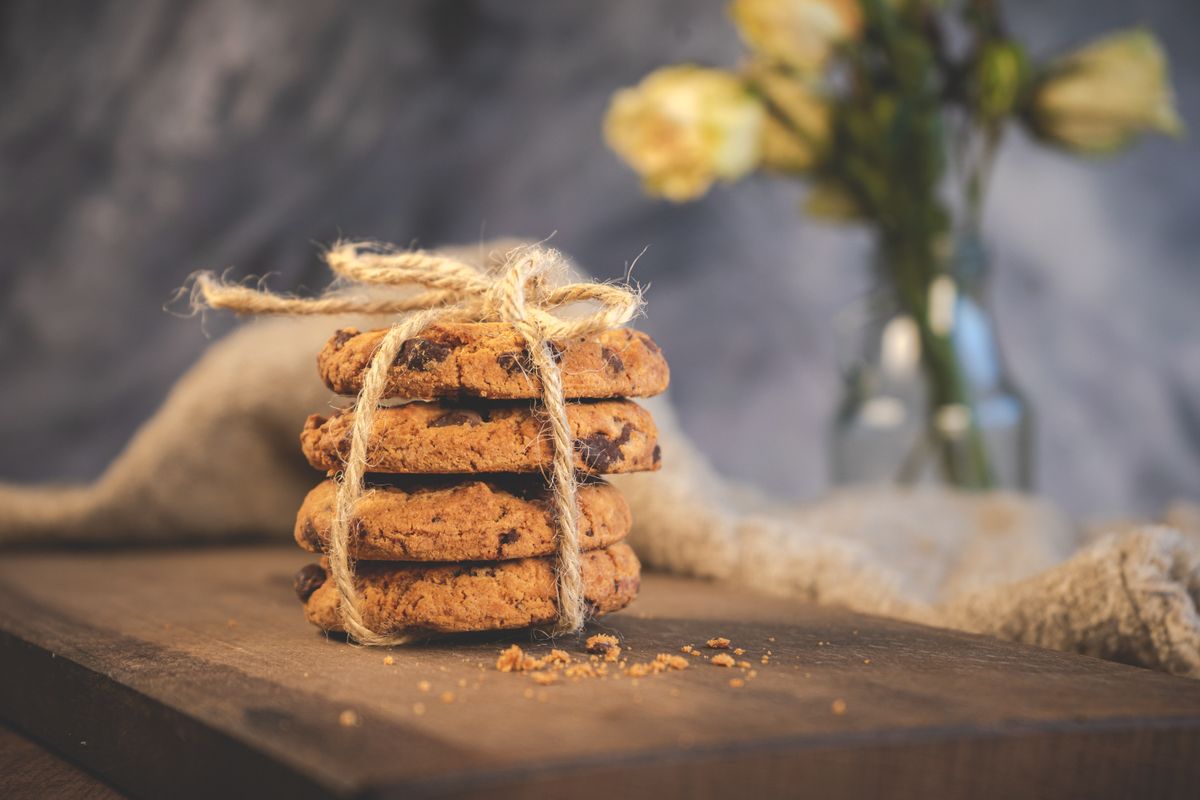
On a year when I was also cooking the whole dinner, I assembled the board the night before, covered it tightly, and refrigerated it, adding only crackers and fresh apple slices on the day. I placed cheeses and meats on the board, tucked grapes and nuts around them, and wrapped the whole thing in two layers of cling film. It saved me half an hour on Thanksgiving morning, which felt like a gift. The watch-out is condensation: crackers left on overnight go soft, and cut apple slices brown, so those two things must wait until serving day, no matter how tempting it is to finish everything at night.
Cost: $30–$55 | Time: 30 minutes the night before, 10 on the day | Difficulty: Easy
Pro Tip: Take the board out of the fridge 30 minutes before serving so the cheese is not ice-cold and flavourless.
10. Small Board for Two to Four People
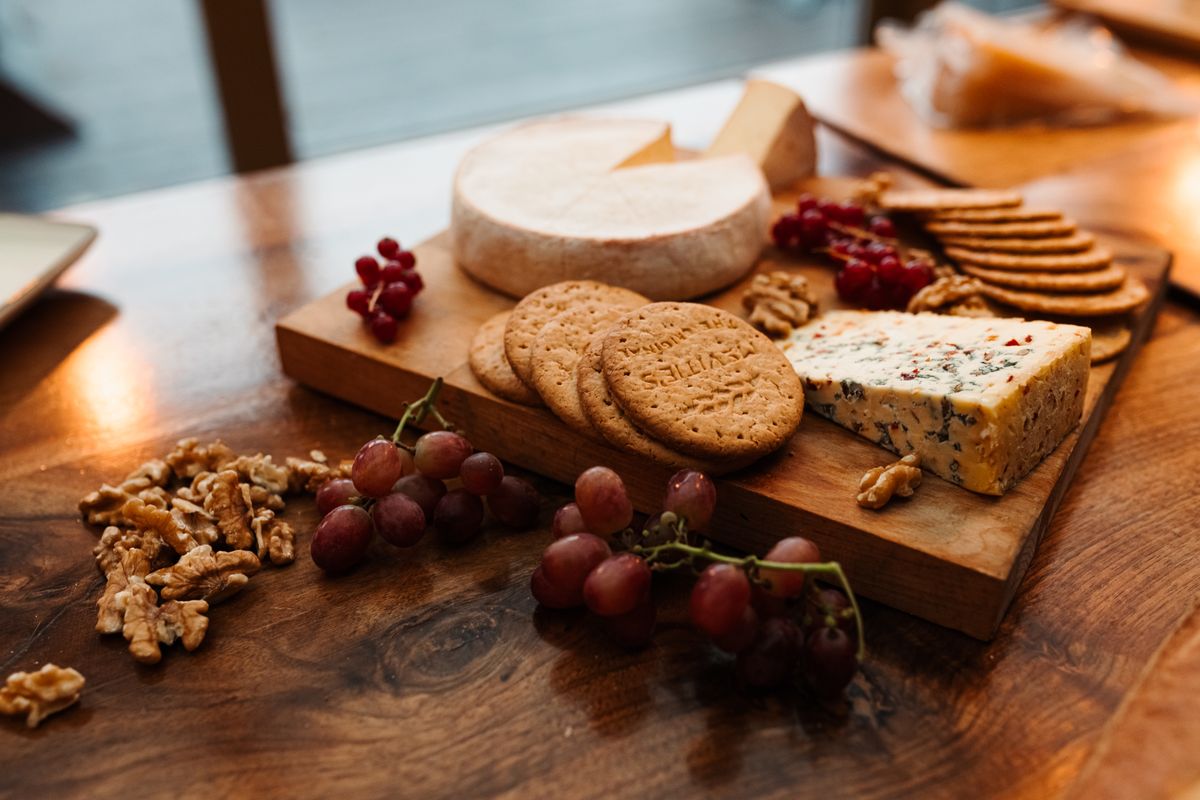
Not every Thanksgiving is a crowd, and a small board for a quiet dinner is one of my favourite things to make. I use a single small wooden board, one cheese, one meat, a handful of grapes, a few nuts, and one cracker type, and it feels special without producing days of leftovers. It took me fifteen minutes, and it cost about twelve dollars. The downside of a small board is that it looks empty fast once people start eating, so I arrange it tightly and refill from a small stash rather than starting with a sparse layout. It is proof that a thanksgiving charcuterie board does not need to feed twenty people to be worth making.
Cost: $10–$18 | Time: 15 minutes | Difficulty: Easy
Pro Tip: On a small board, cut cheese into small cubes rather than slices; cubes look generous and are easier to eat standing up.
11. Spicy Board With Pepper Jelly and Chorizo
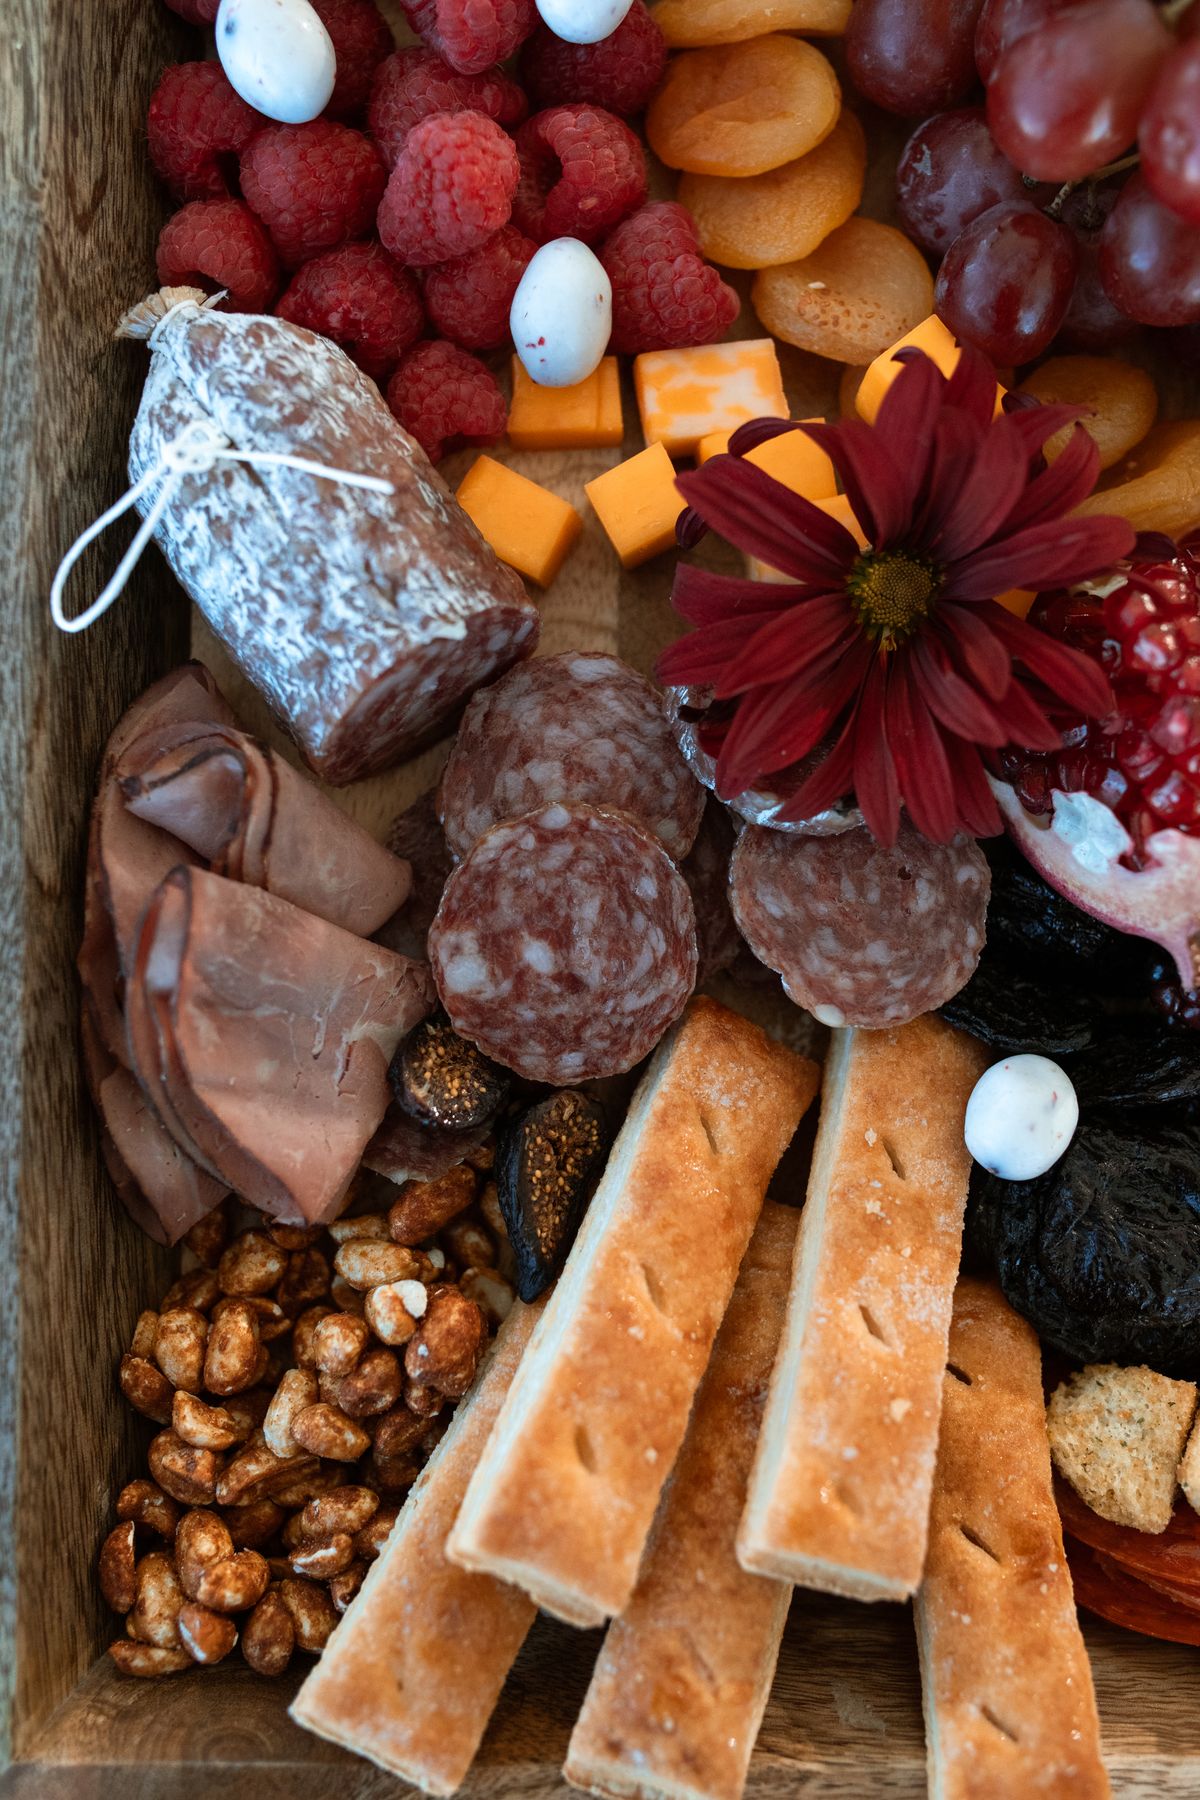
For guests who find traditional boards a little dull, I add chorizo, pepper jack, pepper jelly, pickled jalapeños, and spicy mustard. I set this board out at a Friendsgiving, and it was gone before the turkey was carved, which tells you everything. It took thirty minutes, and the pepper jelly paired with cream cheese was the surprise hit. The honest downside is heat levels: one guest found the jalapeños too hot, so I now label spicy items clearly and keep a mild cheese and plain crackers at the far end for anyone who prefers gentle flavours. Spicy boards also make people thirsty, so put drinks nearby.
Cost: $30–$50 | Time: 30 minutes | Difficulty: Easy
Pro Tip: Put pepper jelly in its own small bowl with a spoon; poured directly onto cheese, it slides off and makes a sticky mess.
12. Leftover Turkey Board for the Day After
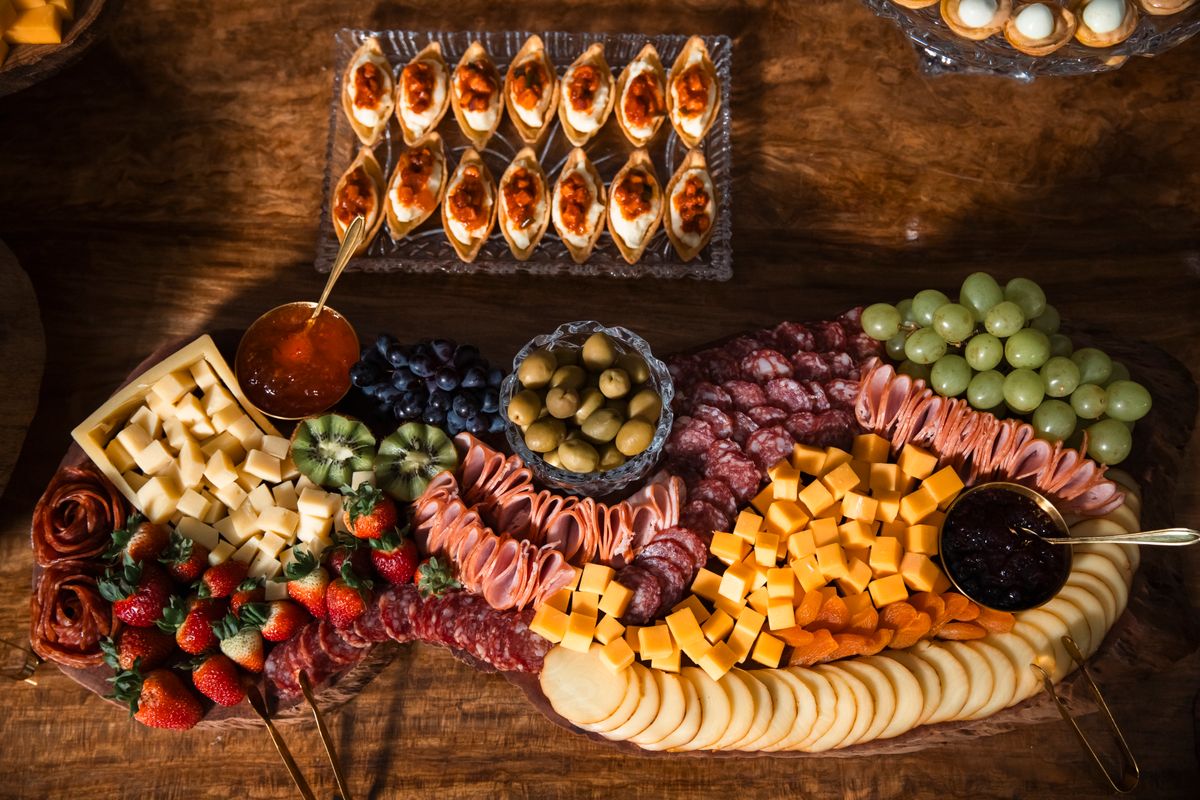
The day after Thanksgiving, I build a board from leftovers: sliced turkey, leftover cranberry sauce in a bowl, cheese ends, pickles, and rolls cut into small pieces, so everyone can make mini sandwiches. It cost me nothing extra, it took ten minutes, and it turned the dreaded leftover mountain into something people actually wanted. The watch-out is food safety: leftovers must have been refrigerated promptly and used within a few days, and I never put anything back on a board that has already sat out for two hours. When in doubt, I throw it out, and I would rather waste a little food than risk a sick guest.
Cost: $0–$10 | Time: 10 minutes | Difficulty: Easy
Pro Tip: Warm the leftover turkey briefly before serving; cold turkey straight from the fridge tastes dry and uninviting.
13. Gluten-Free Board Done Properly
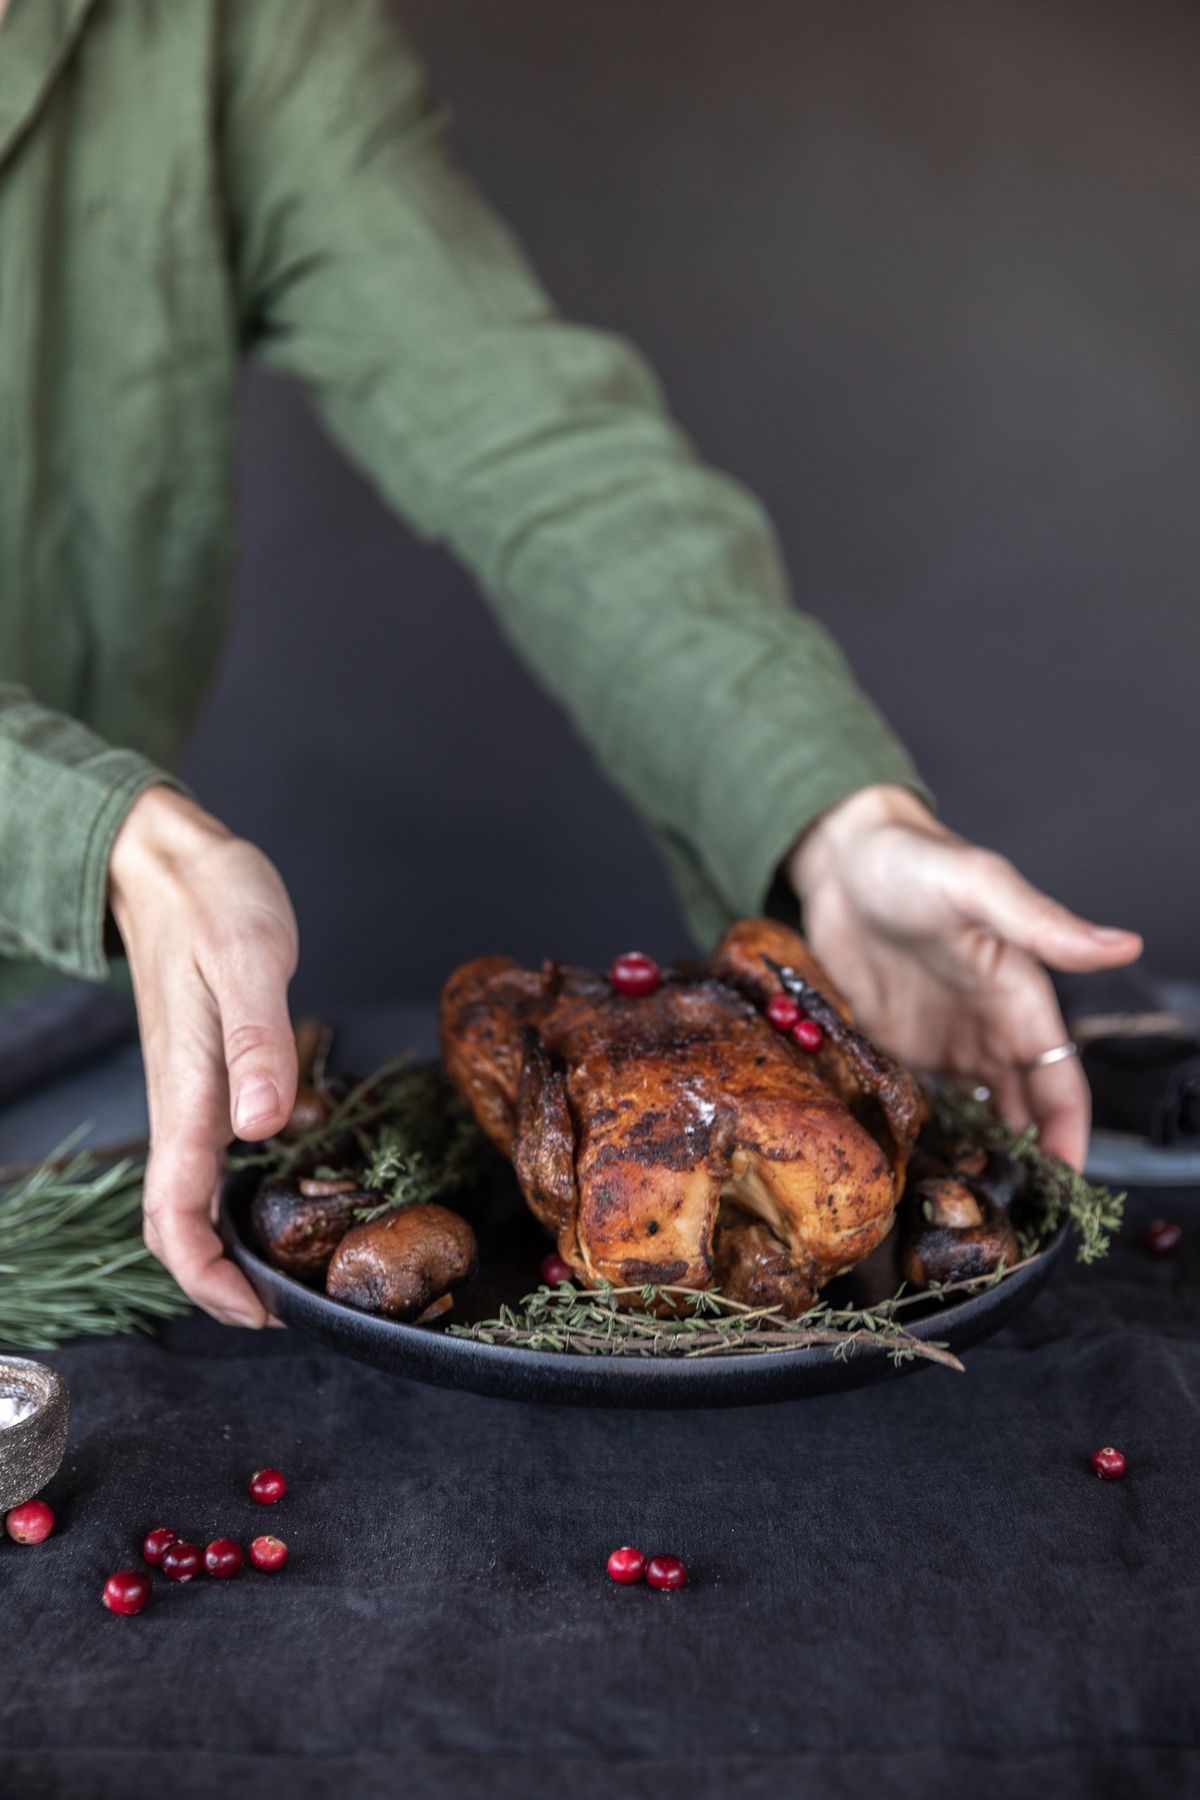
When a guest needed gluten-free options, I learned that a few crackers on the side are not enough: crumbs travel. I built a separate small board with gluten-free crackers, rice crackers, and naturally gluten-free items like cheese, fruit, and nuts, using separate knives and a separate board. It took twenty minutes extra, and my guest told me it was the first time she had not had to ask what was safe. The downside is cost, because gluten-free crackers are pricier, and the board is smaller, so I refill it more often. It is worth every penny, though, and I now do it automatically whenever I know someone needs it.
Cost: $25–$40 | Time: 20 minutes | Difficulty: Easy
Pro Tip: Label the gluten-free board clearly and keep it at a different end of the table from the main board to avoid cross-contact.
14. Board With Warm Baked Brie and Jam
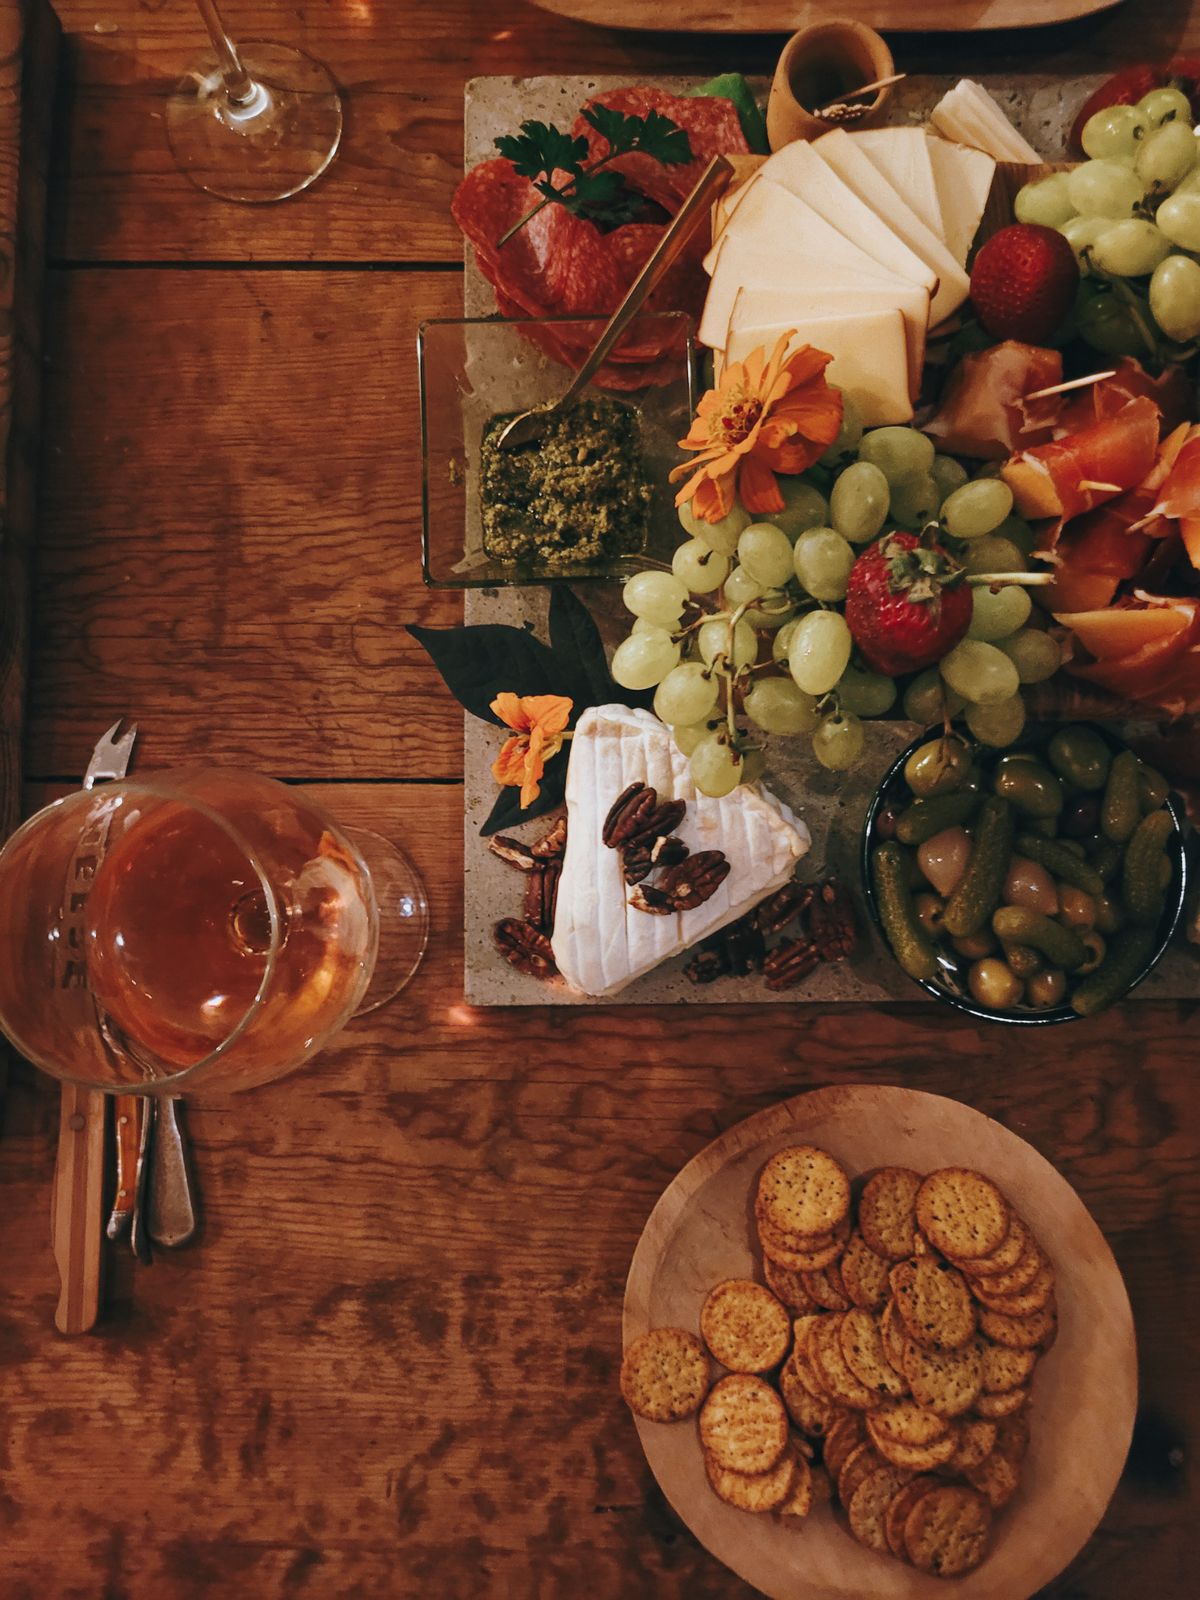
Similar to the cranberry brie, but with a twist: I bake a brie wheel with fig jam and chopped pecans on top, then set it on the board surrounded by sliced baguette and apple slices. The warm, gooey centre is the first thing guests go for, and I have learned to bake it only when people are actually ready to eat, because it cools fast. It took twenty-five minutes including baking, and the jam and pecans cost very little. The downside is the mess: melted brie runs everywhere if you cut into it too eagerly, so I set it on a small plate with a rim and warn the first guest to scoop gently.
Cost: $18–$30 | Time: 25 minutes | Difficulty: Easy
Pro Tip: Bake brie at 350°F for 12–15 minutes, and let it rest for five minutes before serving so it holds its shape when cut.

15. Autumn Fruit-Forward Board
When I want the board to look like November, I lean heavily on fruit: apple slices, pear slices, grapes, dried apricots, and a small bunch of grapes still on the stem as a centrepiece. I pair them with a mild cheddar and a creamy goat cheese, plus honey for drizzling. It took twenty-five minutes, and it was lighter than a meat-heavy board, which guests appreciated before a big dinner. The downside is browning: apple and pear slices brown within an hour, so I toss them in a little lemon juice and add them last. It also runs out of fruit fast, because everyone picks at it, so I keep extra fruit washed and ready in the fridge.
Cost: $25–$40 | Time: 25 minutes | Difficulty: Easy
Pro Tip: A squeeze of lemon juice on cut fruit buys you about an extra hour of fresh looks; do not skip it.
16. Two-Board Strategy for a Big Crowd
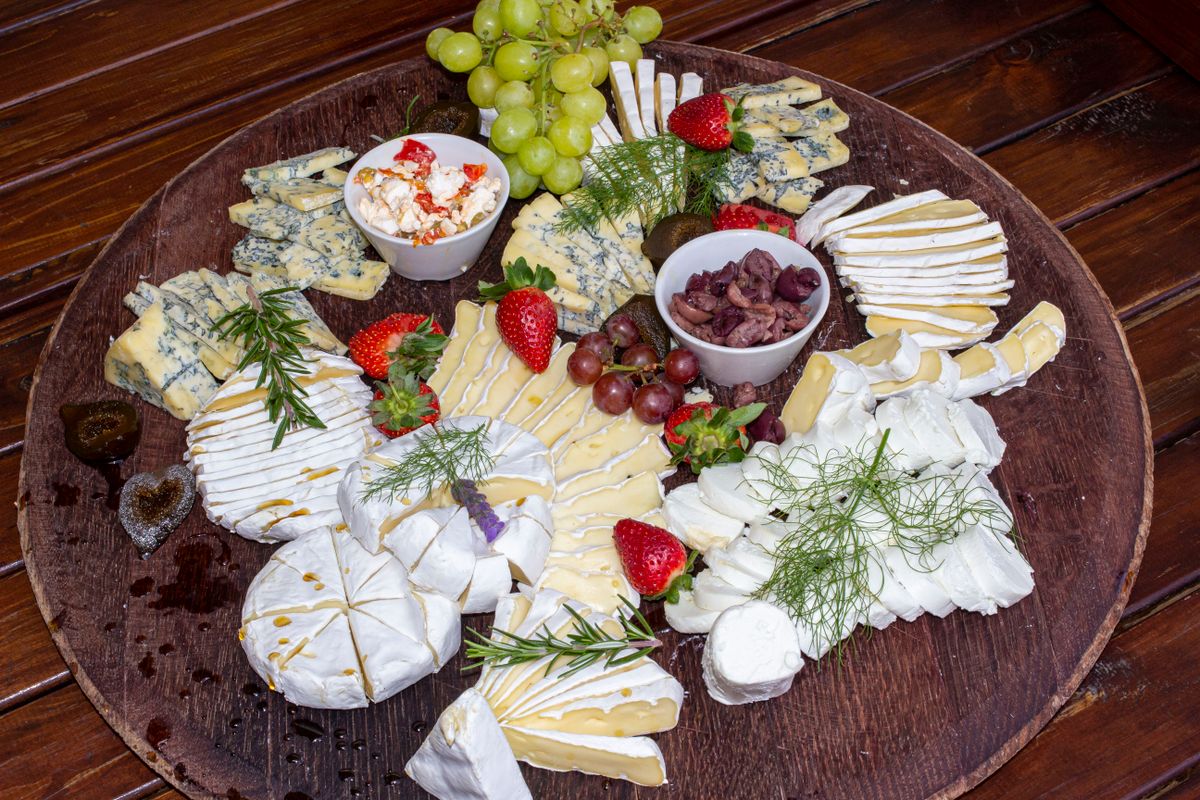
For twenty or more guests, I stopped building one giant board and started building two identical smaller boards at opposite ends of the room. It took the same total time, about fifty minutes, but it stopped the bottleneck around a single table and meant nobody had to wait for the brie. The first year I tried one huge board, guests queued and the far end never got touched. The downside is that you need two boards and double the small bowls, which not everyone owns, so I borrowed a second board from a neighbour. If you only have one board, use a large baking tray lined with parchment as the second.
Cost: $60–$90 for 20 guests | Time: 50 minutes | Difficulty: Medium
Pro Tip: Make the two boards identical so guests do not crowd around the one with the better cheese.
Related article: 17 Thanksgiving Hosting Tips for timing your board around the rest of the day.
17. The Thanksgiving Table Board (A Full Thanksgiving Charcuterie Board Spread)
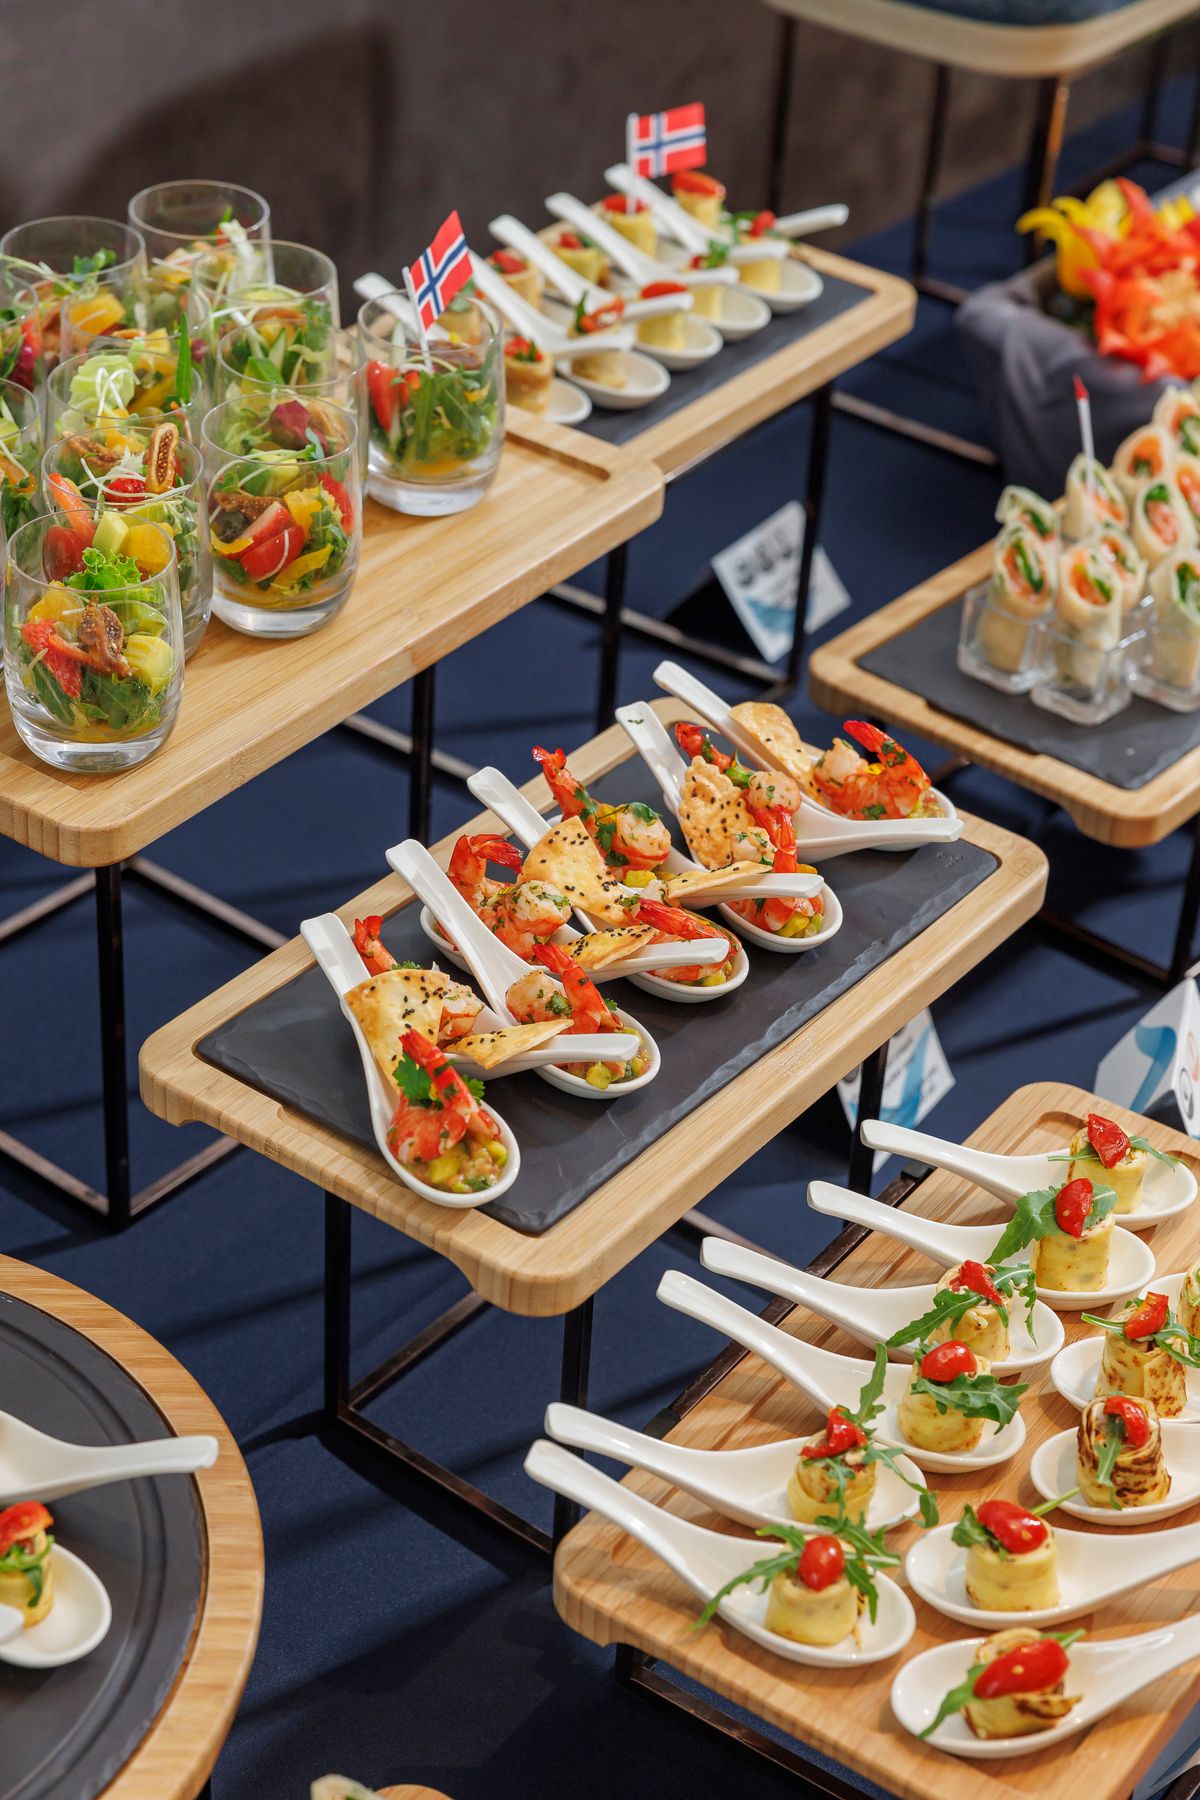
My final board is the one I set as the table centrepiece itself, running down the middle of the dining table with small bowls of cranberry sauce, mustard, and honey tucked between the cheeses. I built it for a Thanksgiving where the table was too long for a single centrepiece, and it solved two problems at once: decoration and appetizer. It took an hour, and it looked spectacular, but I will be honest about the trade-off: once dinner was served, I had to clear the whole thing to make room for plates, which took ten frantic minutes. Now I only do this version when appetizers are served in a separate room before dinner, and it works beautifully that way.
Cost: $50–$80 | Time: 60 minutes | Difficulty: Medium
Pro Tip: Lay parchment under a table-length board so you can lift the whole spread away in one piece when dinner is ready.
Mistakes I Made (So You Don’t Have To)
1. Leaving the board out too long. I once left a board out for four hours, and the cheese sweated, the meat dried, and I had to throw half of it away. Two hours is my hard limit now, and I refrigerate leftovers promptly.
2. Buying too many cheeses. Five cheeses sounded impressive, but guests tried a bite of each and the rest went to waste. Three cheeses, well chosen, always beat five average ones.
3. No labels, no knives. Guests stood awkwardly, afraid to cut the wrong cheese with the wrong knife. A few small labels and one knife per cheese fixed it instantly.
4. Putting crackers on the board too early. Crackers next to juicy fruit went soft within an hour. Now crackers go on last, in a separate pile, and I refill them as needed.
Which Board Should You Build?
| Board | Best For | Cost | Effort |
|---|---|---|---|
| Classic board | Most gatherings | $35–$60 | Low |
| Cranberry brie focus | Seasonal flavour, small groups | $20–$35 | Low |
| Budget board | Tight budgets | $20–$30 | Low |
| Vegetarian board | Mixed diets | $25–$45 | Low |
| Two-board strategy | 20+ guests | $60–$90 | Medium |
| Dessert board | After dinner | $20–$35 | Low |
| Leftover turkey board | Day after | $0–$10 | Low |
Frequently Asked Questions
How much charcuterie do I need per person?
For an appetizer board before a big dinner, plan about 2–3 ounces of cheese and 2 ounces of meat per person, plus crackers, fruit, and nuts to fill it out. If the board is the main event, double those amounts.
How long can a charcuterie board sit out?
No more than two hours at room temperature, and less if the room is warm. I set a timer when the board goes out, and anything left after two hours goes back in the fridge or gets thrown away.
How long did yours actually last at a real party?
My classic board for twelve was picked clean in about ninety minutes, with the brie gone first and the nuts last. The board itself looked good for the full two hours, but after that the cheese started to sweat and I cleared it.
What would you do differently next time?
I would buy less and refill more. A smaller, fresher board that gets topped up twice looks better and wastes less than one enormous board that wilts.
Read this next: 23 Thanksgiving Drink Ideas: Cocktails, Mocktails & Punch to pair drinks with your board.
Final Thoughts
A Thanksgiving charcuterie board is really just a way to say welcome before the big meal, and it does not need to be perfect to do that job. Choose three cheeses you love, add something sweet, something salty, and something crunchy, and leave room for guests to actually eat. Build it, photograph it quickly, and then let people enjoy it. That is the whole point, and it is why I keep making one every single year.