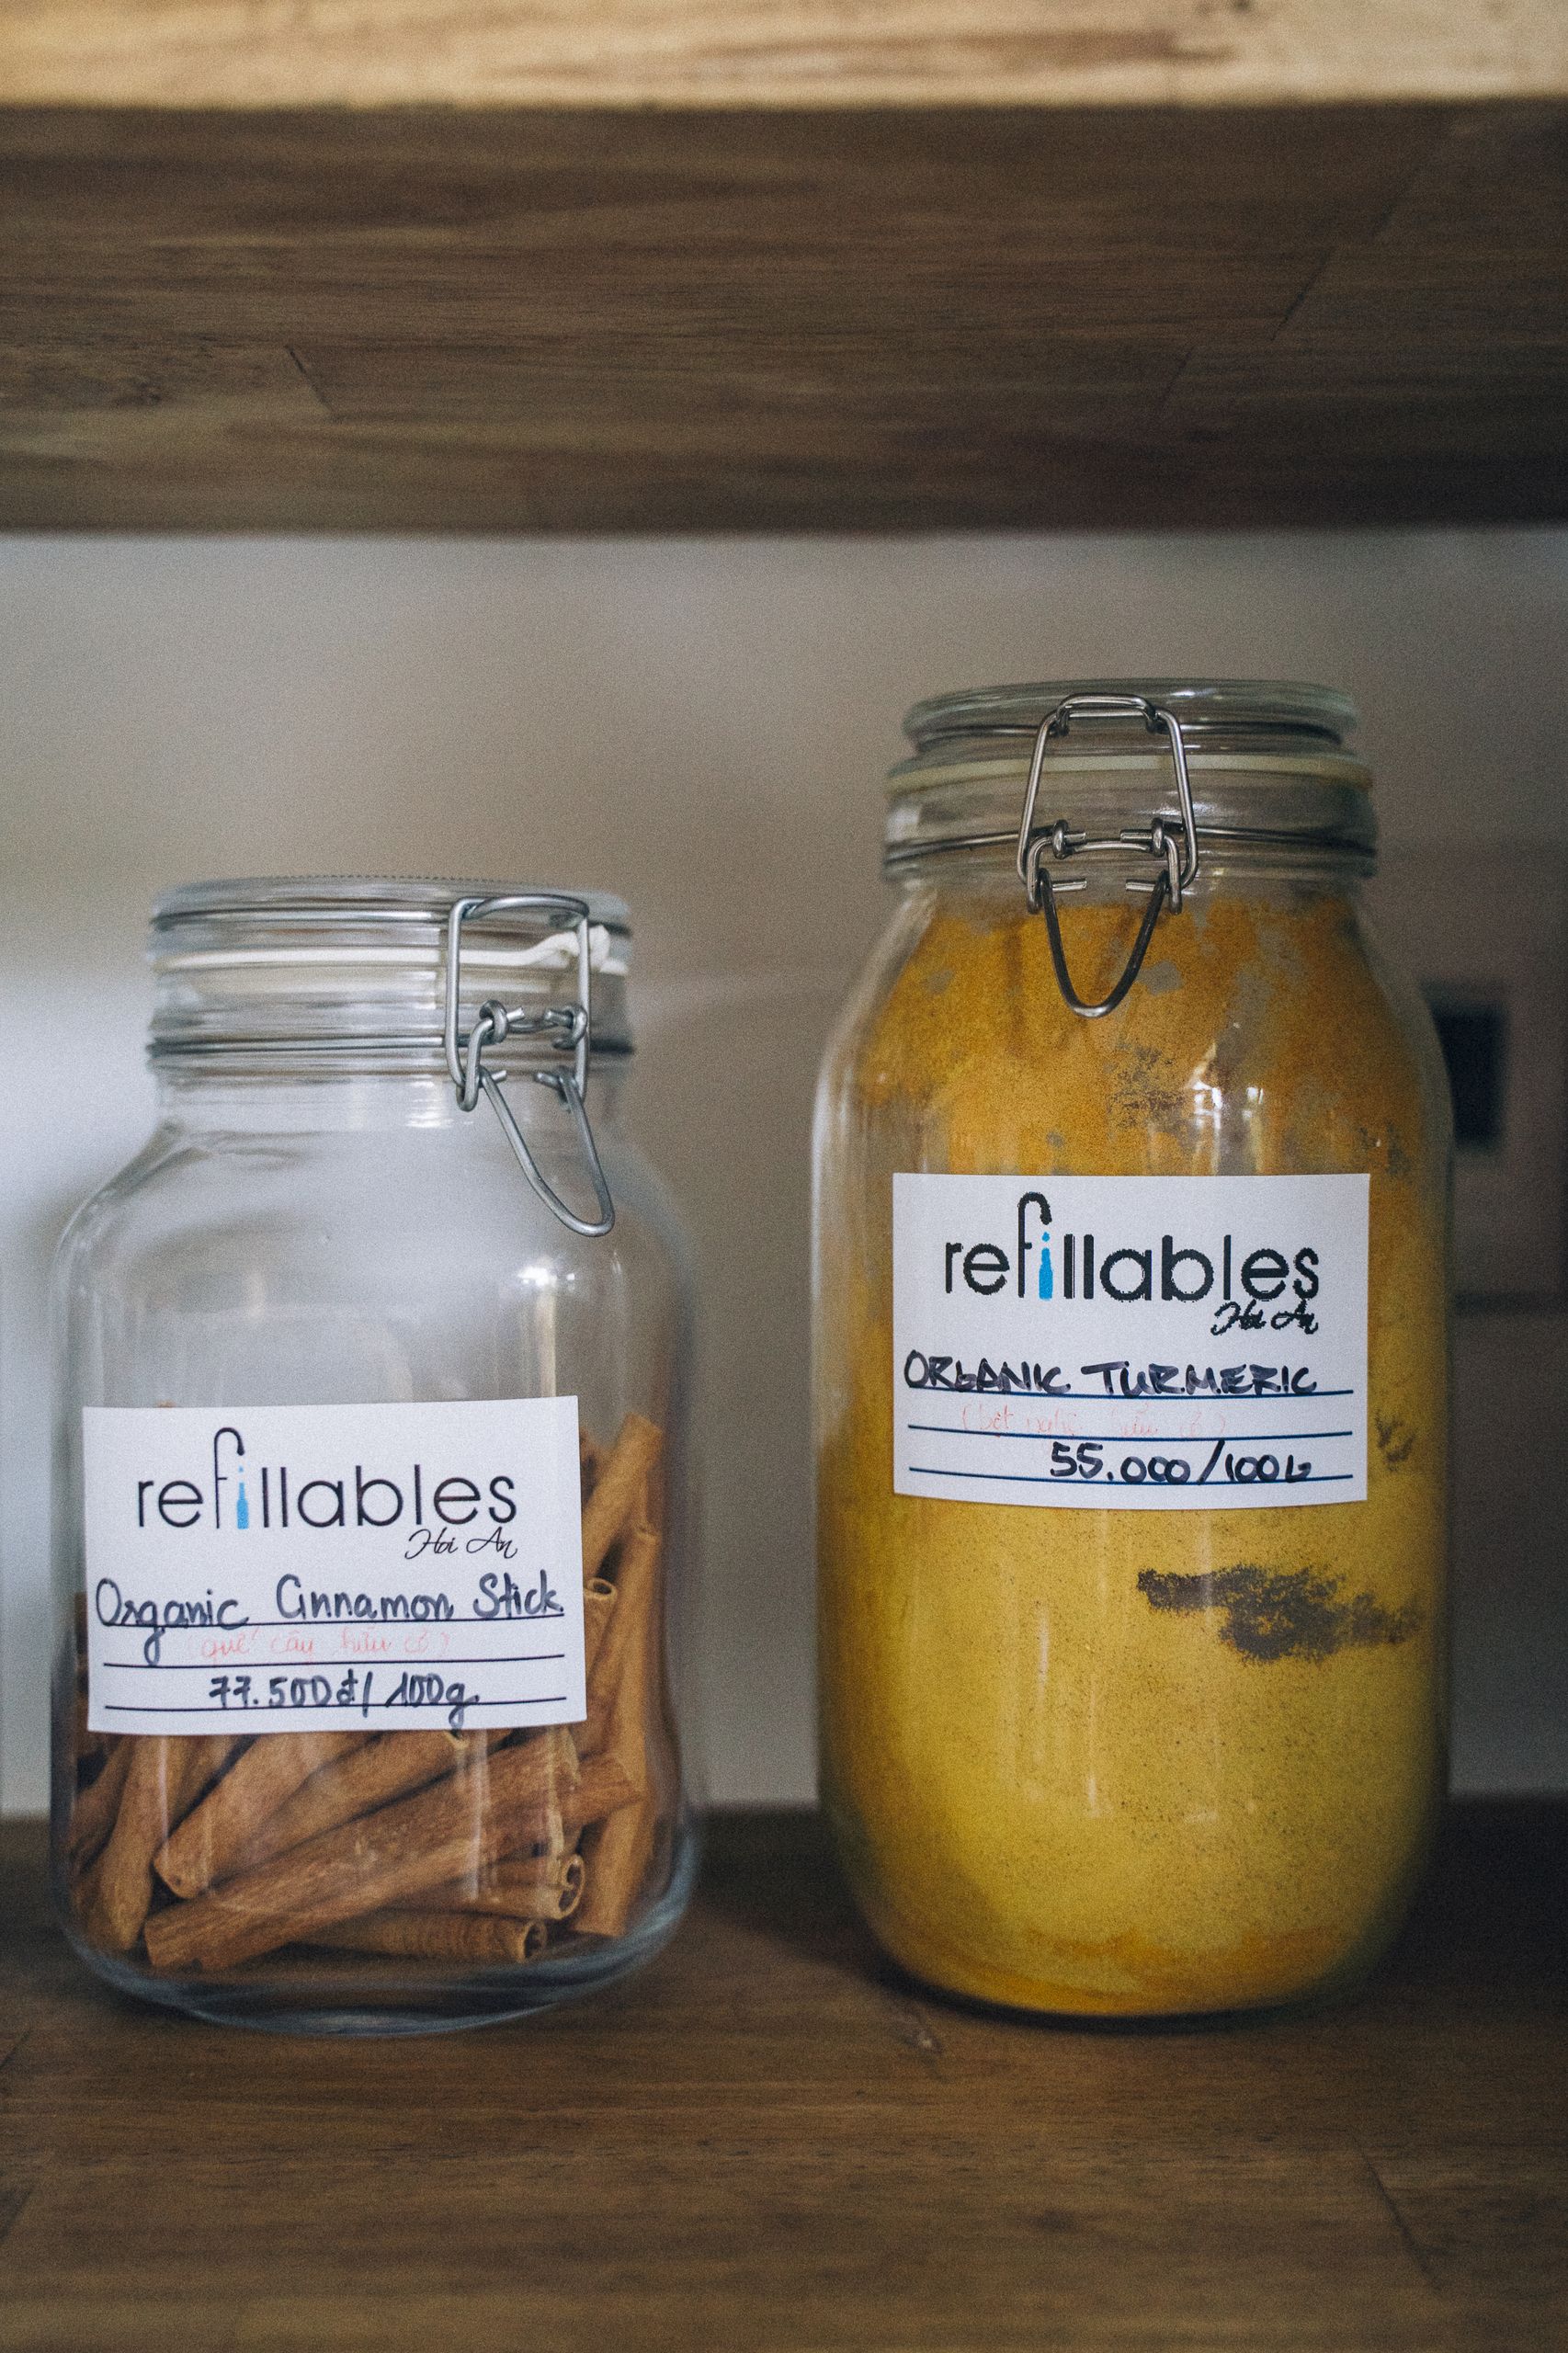
Spice Storage Ideas
For years I cooked from a cabinet of mismatched spice jars, and these spice storage ideas are the ones that finally ended the dig-through-three-rows-to-find-the-cumin routine. I tested them in my own small kitchen over two months, cooking most nights, and I kept only the setups that still worked when I was in a hurry. Here is how I picked them: every idea had to let me find a spice in under ten seconds, fit a standard kitchen cabinet or drawer, and survive daily use without a weekly reset. If it looked lovely but slowed me down, it did not make the list.
I am Tabitha, and I cook a lot of everyday food: weeknight pasta, roast vegetables, curries, and weekend baking. My spice collection grew one jar at a time until I owned more than forty, and that is when the cabinet stopped working. The ideas below treat spices the way they actually behave: they fade with heat, light, and time, they come in awkward sizes, and you only cook well with the ones you can find.
Key Takeaways
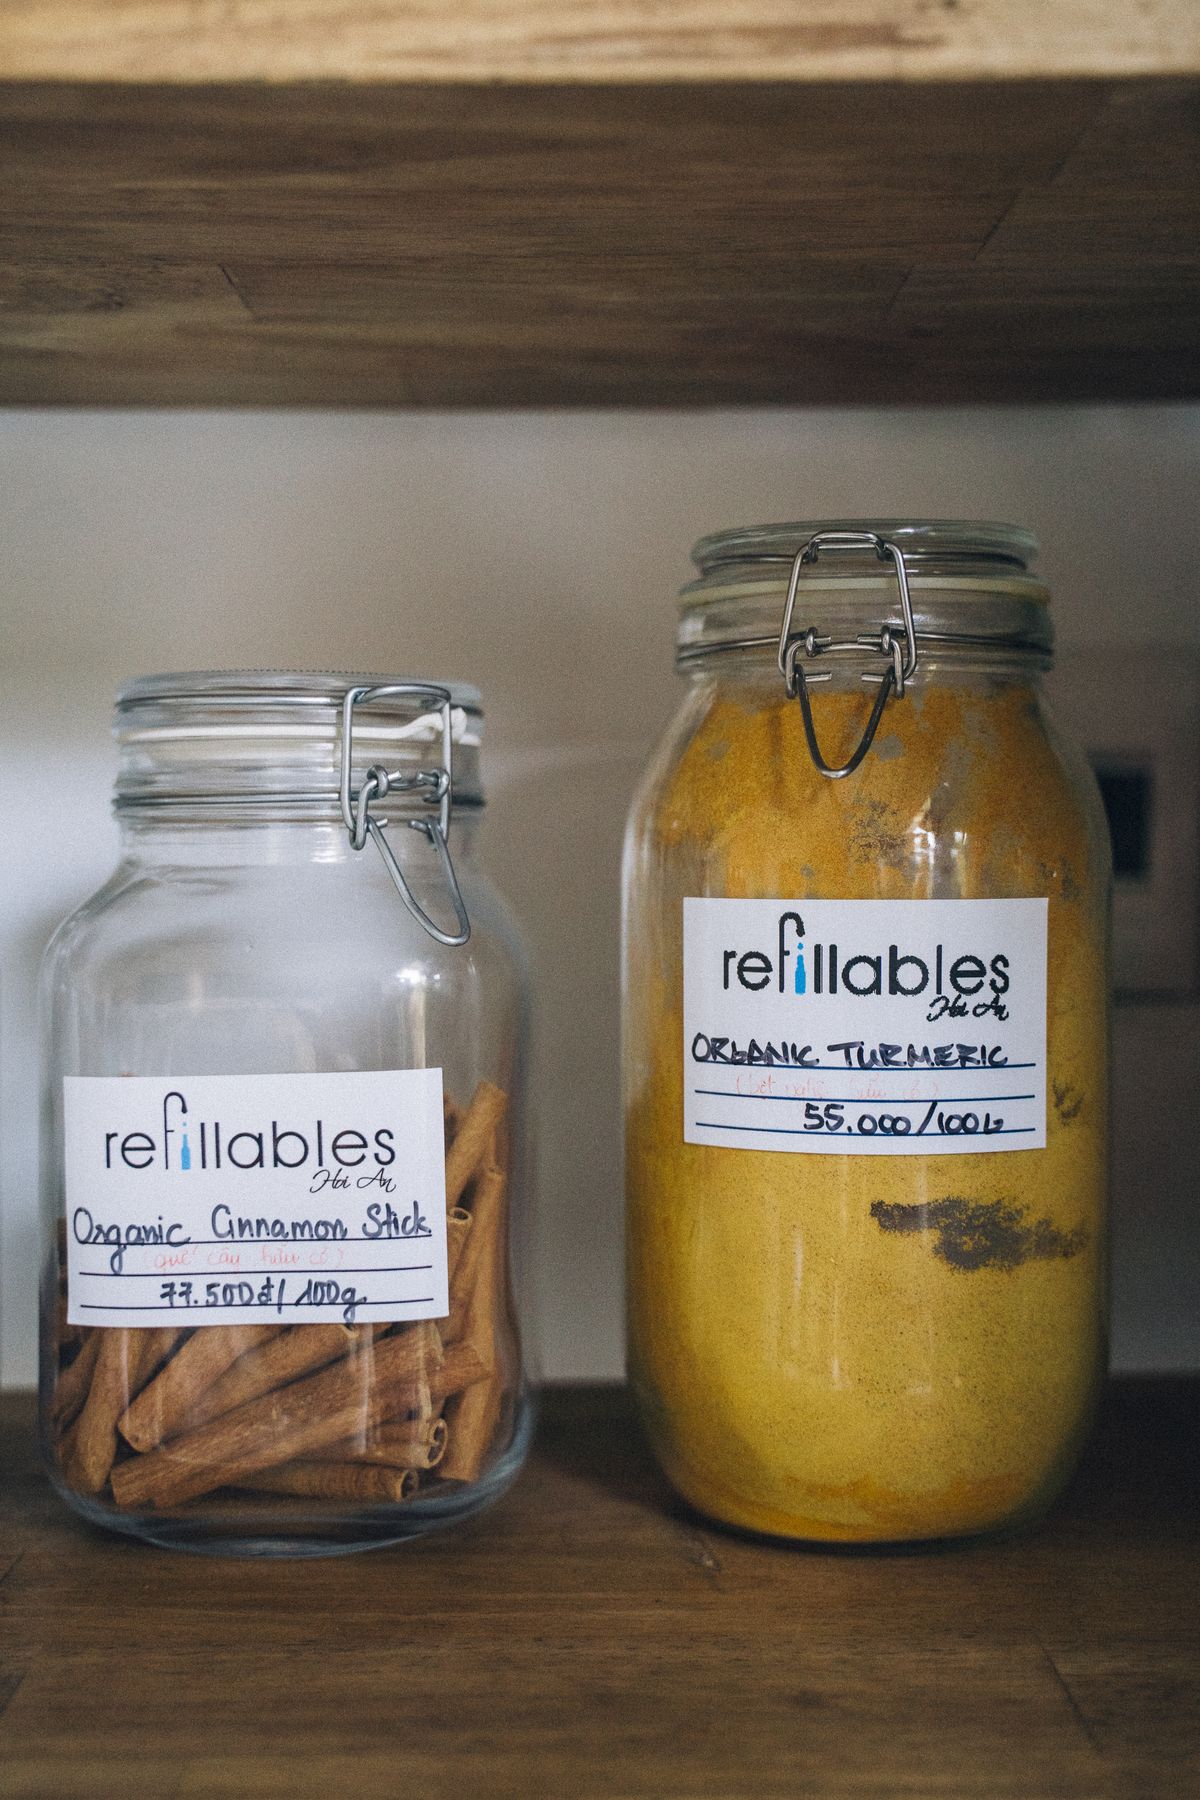
- Decant spices into matching jars so every jar fits the same shelf, drawer, or rack.
- Store spices away from the stove, oven, and sunny windowsills, because heat and light fade flavor fast.
- Label jars with the spice name and the month you filled them, so old spices get replaced, not hoarded.
- Keep daily spices within arm’s reach of your prep area and move rarely used ones higher up.
- One system, used consistently, beats three half-finished systems in different cupboards.
18 Spice Storage Ideas for a Kitchen That Works
1. Matching Glass Jars With Clear Labels
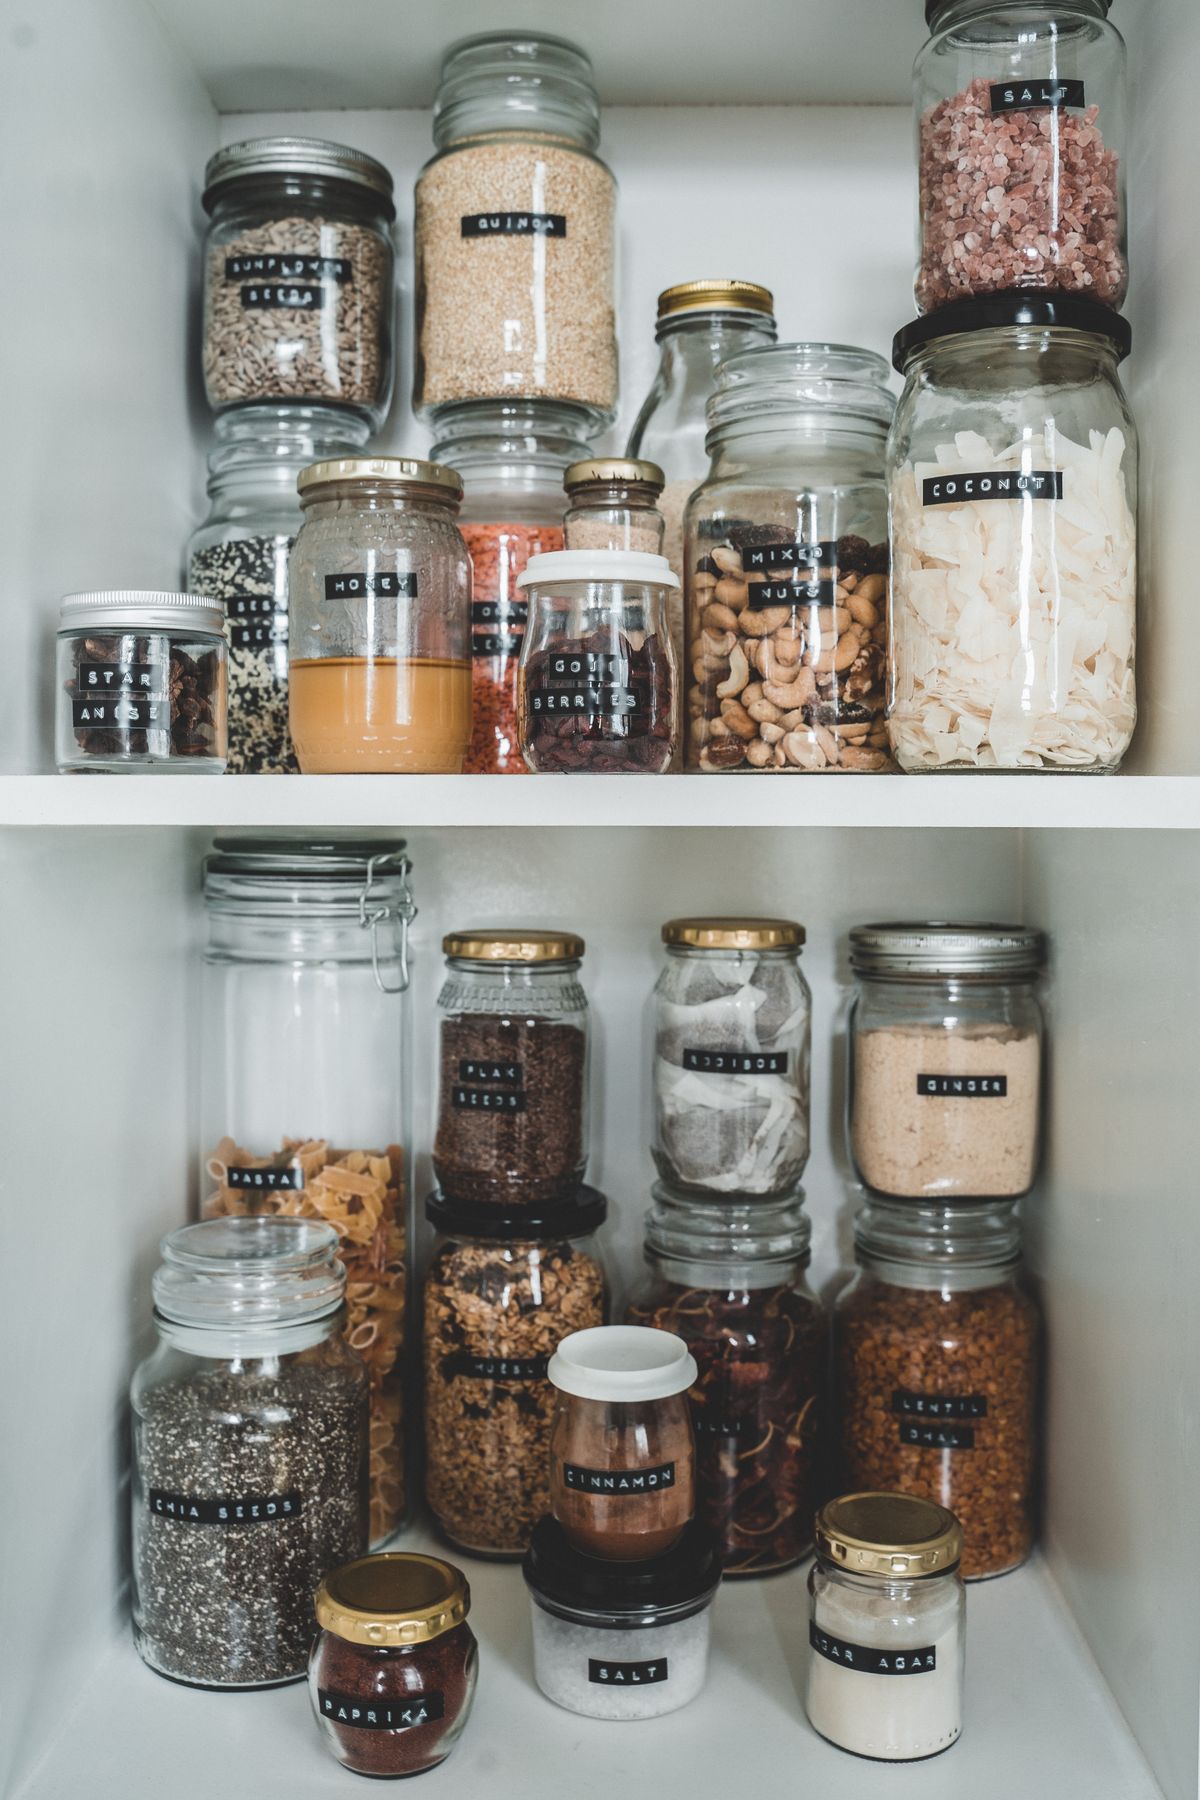
I started by moving every spice into identical small glass jars with airtight lids and a simple label on each one. Uniform jars stack and line up neatly, and I can see at a glance how much is left instead of shaking a mystery tin. It took me one Sunday afternoon to decant about thirty spices, and I have refilled the same jars for over a year since. The honest downside is the upfront cost and the washing, but the jars pay for themselves because I stopped buying duplicates of spices I already owned. Keep the original labels or a note of the brand somewhere, in case you want to buy the same one again.
Pro Tip: Label the lid as well as the jar, so you can identify spices when looking down into a drawer or from above.
Cost: $20–$40 for jars and labels | Time: 2 hours | Difficulty: Easy

2. A Spice Drawer With Angled Inserts
My favorite change was moving spices into a shallow kitchen drawer with angled inserts that tilt each jar so its label faces up. I open the drawer and see all twenty-four jars at once, like a shop display, and grabbing one takes seconds. Before this, my spices lived on two cabinet shelves where the back row was invisible and the front row fell over weekly. The inserts cost little and took ten minutes to arrange, though I did have to measure the drawer depth first, because tall jars do not fit under a standard drawer. This only works with short jars, so check your drawer height before you commit.
Pro Tip: Put the drawer closest to your prep counter, not the stove, so you are not reaching over heat to grab a spice.
Cost: $15–$30 | Time: 30 minutes | Difficulty: Easy

3. A Wall-Mounted Rack Near the Prep Area
When cabinet space ran out, I mounted a small rack on the kitchen wall beside my prep counter, holding twelve jars at eye level. It freed an entire cabinet shelf and made cooking faster, because I reach for salt, pepper, paprika, and cumin without opening anything. I mounted it into studs after a lighter rack pulled out of drywall once, and I keep it away from the stove so steam and heat do not reach the jars. The downside is dust and cooking grease in the air, so I wipe the jars every couple of weeks, which takes five minutes.
Pro Tip: Keep only your ten most-used spices on the wall rack and the rest in a cabinet, or the rack becomes clutter.
Cost: $20–$45 | Time: 1 hour | Difficulty: Moderate

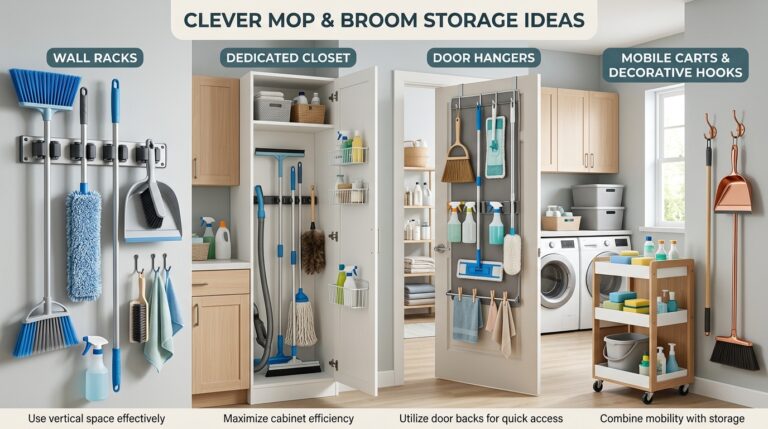
4. A Rack on the Inside of the Pantry Door
The inside of my pantry door was wasted space until I hung a narrow rack there, and it now holds eighteen small jars without taking a single shelf. It is the best no-renovation option I have found, because it uses space that was already there and costs very little. I used a rack designed for doors, with a lip on each shelf so jars do not fall when the door swings, and I check the screws every few months because a loaded door rack is heavy. Tall bottles do not fit, so this is for standard small spice jars only.
Pro Tip: Put the spices you use least at the top of the door rack, since high shelves on a door are the hardest to reach.
Cost: $15–$30 | Time: 20 minutes | Difficulty: Easy
5. Tiered Shelf Risers Inside a Cabinet
If you rent or do not want to drill, tiered risers are the simplest fix for a deep cabinet. I put a two-step riser inside my spice cabinet, and suddenly the back row sits higher than the front row, so every label is visible. It cost little, needed no tools, and took five minutes to set up. Before the riser, I owned three jars of smoked paprika because I kept buying one when I could not see the ones at the back. The riser only works if your cabinet is tall enough for two steps plus jar height, so measure before ordering, and keep the tallest jars on the top step.
Pro Tip: Arrange risers so the most-used spices sit on the front step, even if that breaks alphabetical order.
Cost: $12–$25 | Time: 10 minutes | Difficulty: Easy

6. A Turntable in a Deep Cabinet
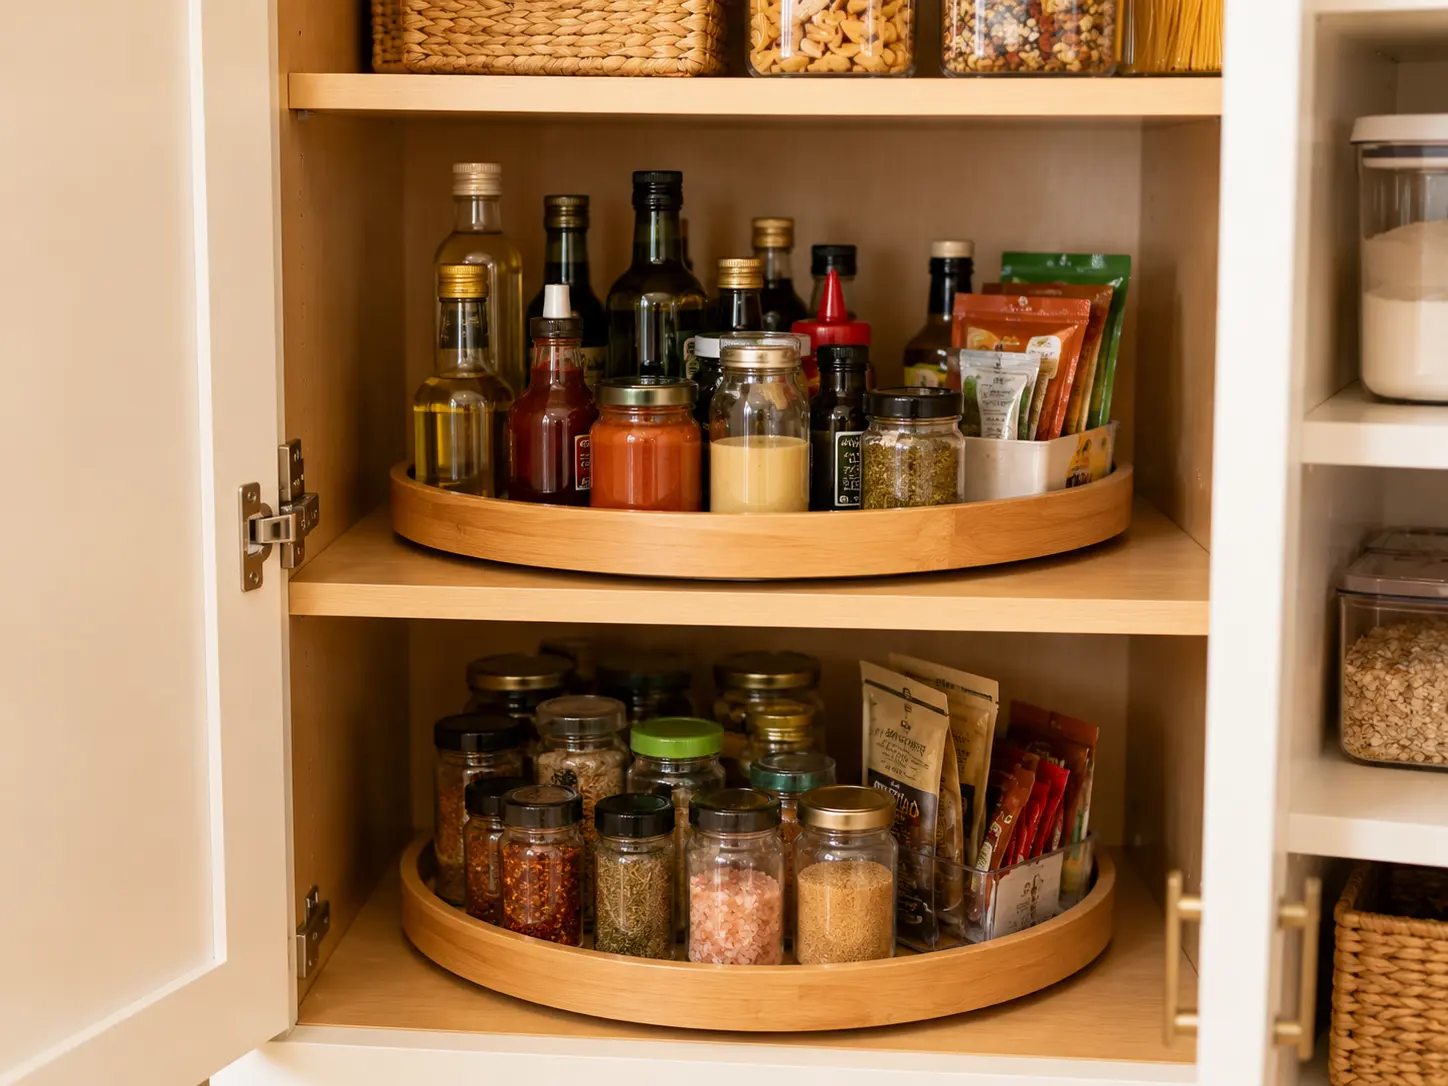
Deep corner cabinets eat spices, so I put a turntable inside mine and spin to the jar I need instead of pulling everything out. It holds about twelve jars on one level, and I keep a second smaller turntable for oils and vinegars beside it. The spin mechanism has lasted two years of daily use, though I did learn to keep jars under a certain height, or they topple when the turntable turns fast. Kids love spinning it, which is fun until a jar of turmeric goes flying, so the turntable now lives in a cabinet the kids do not open unsupervised. For more pantry organization, related article: small kitchen pantry ideas.
Pro Tip: Put a non-slip liner under the turntable so it does not slide when you spin it with one hand.
Cost: $10–$20 | Time: 5 minutes | Difficulty: Easy
7. Magnetic Jars on the Fridge or a Metal Board
Magnetic spice jars stuck to the side of my fridge freed a whole shelf and look surprisingly tidy. Each small tin has a magnet on the back and a clear lid, so I see the spice and grab it in one motion. I keep twelve everyday spices there and the rest in a drawer, because the fridge side only fits so many. The magnets are strong enough for small tins but not for glass jars, so this system needs the right containers. One honest warning: the fridge side gets warm near the top, so I keep heat-sensitive spices like paprika in the drawer instead.
Pro Tip: Stick a small label on the clear lid, not the side, since you see the lids first when jars are on a fridge.
Cost: $20–$35 for a set | Time: 30 minutes to fill | Difficulty: Easy
8. Alphabetical Order, Honestly Kept
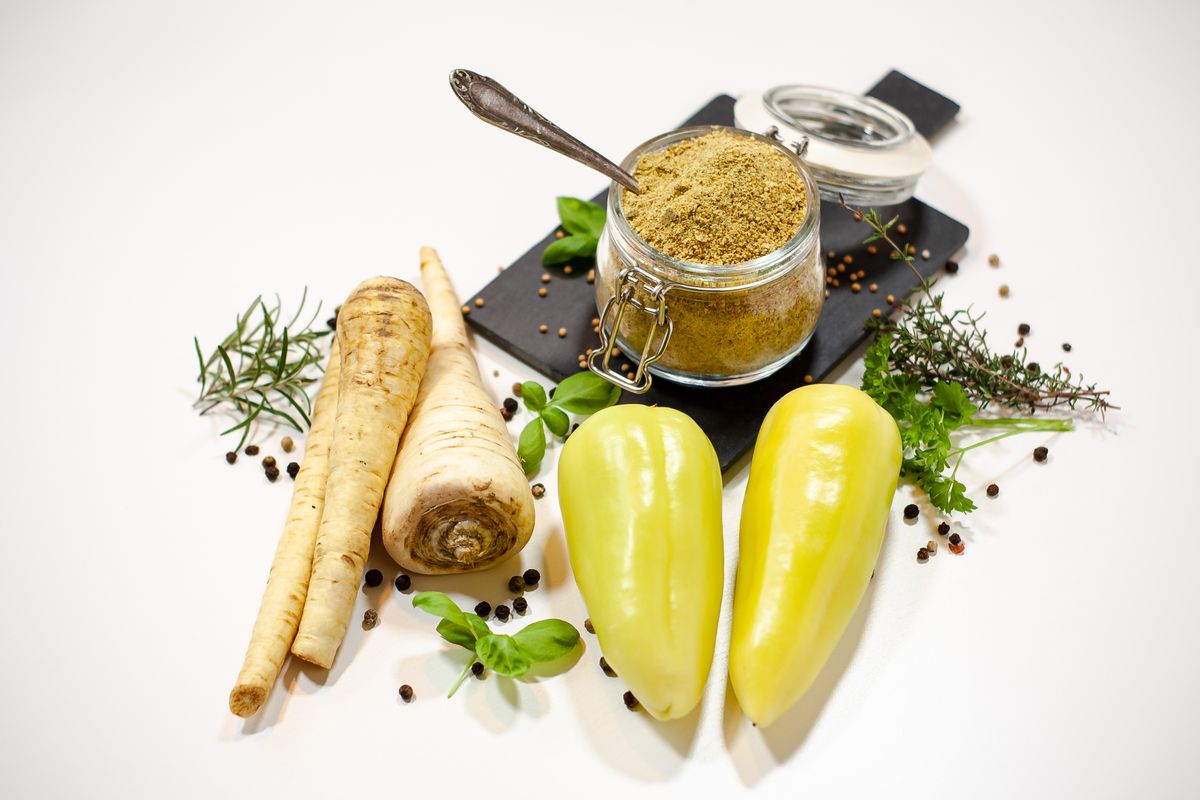
Alphabetical order sounds fussy until you own forty spices, and then it is the only system that lets anyone else find anything. I arranged my drawer alphabetically, from allspice to turmeric, and my family can now find a spice without asking me. The trick is leaving two empty slots in the drawer for new spices, because a full alphabetical system breaks the moment you buy something new and have to shift everything. I re-alphabetize twice a year when I check dates, which takes about twenty minutes. It is not exciting, but it is the backbone that makes every other idea on this list work.
Pro Tip: Group by first name, not by type, so “chili powder” sits under C and you never debate where it belongs.
Cost: $0 | Time: 30 minutes | Difficulty: Easy
9. A Cooking-Zone Caddy for Daily Spices
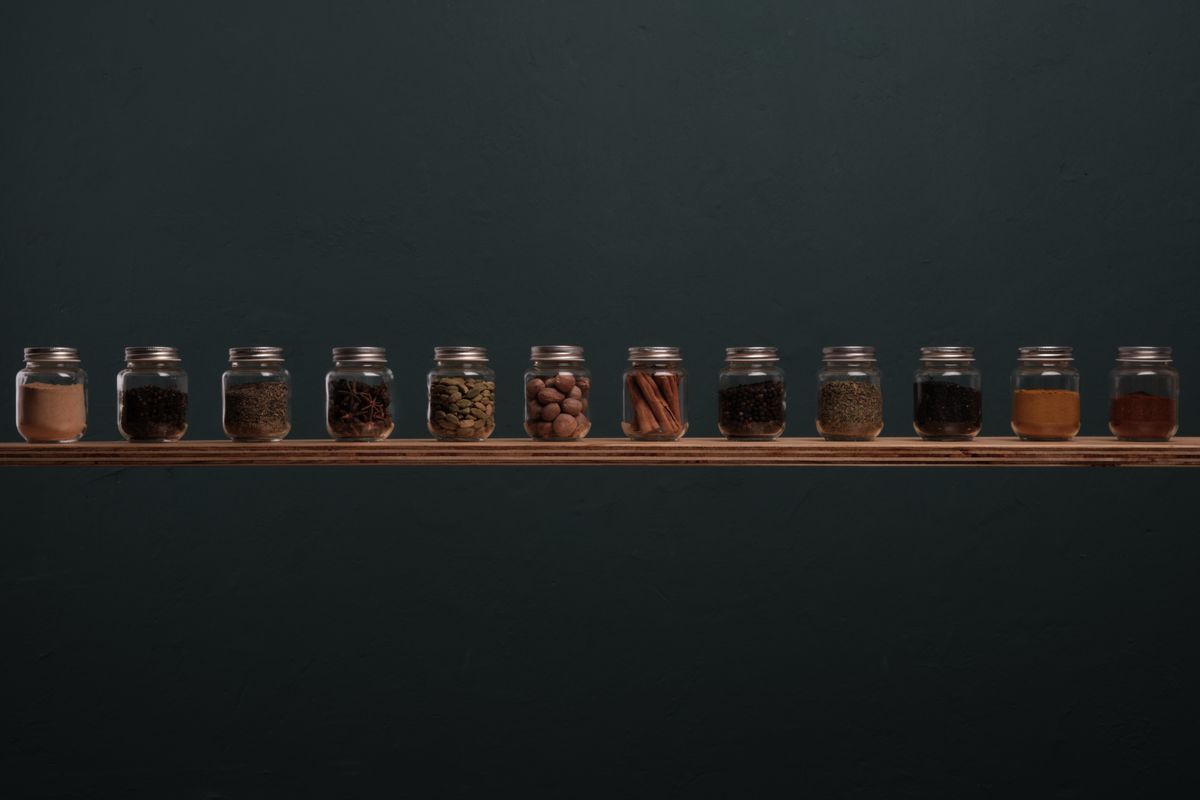
Instead of storing every spice together, I keep a small caddy with just my eight daily spices on the counter near my prep area: salt, pepper, garlic powder, onion powder, paprika, cumin, oregano, and chili flakes. The caddy moves to the stove when I cook and back to its corner when I am done, and it cut my cooking prep time noticeably. The rest of the collection stays in the drawer, so the counter never looks like a spice shop. The watch-out is heat: the caddy lives away from the stove between uses, because spices stored permanently beside a hot stove lose flavor fast.
Pro Tip: Refill the caddy every Sunday evening so Monday cooking starts with full jars, not surprises.
Cost: $10–$20 | Time: 20 minutes | Difficulty: Easy
10. Small Jars for Small Kitchens
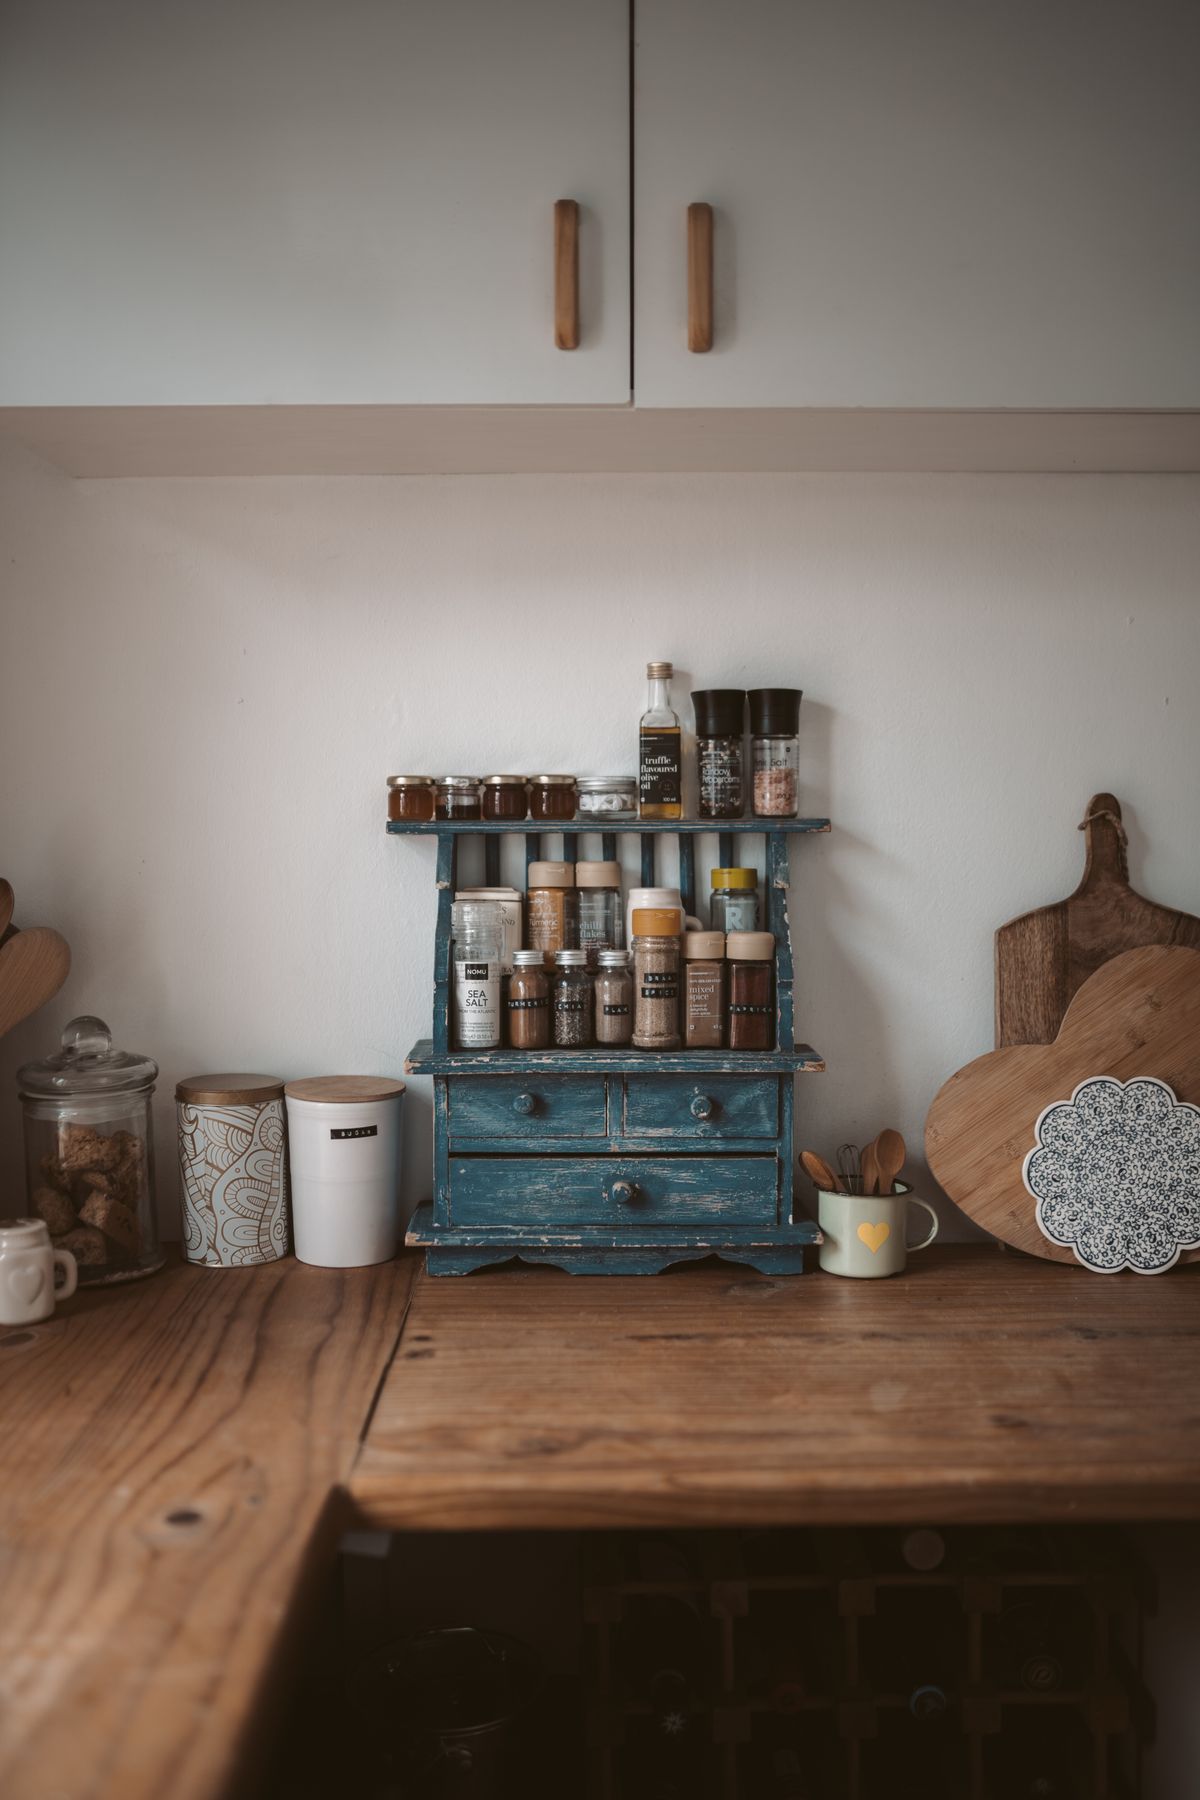
In a small kitchen, the size of the jar matters as much as the system. I switched from large jars to two-ounce jars for spices I use slowly, like cloves and cardamom, and suddenly everything fit in one drawer instead of two shelves. Small jars mean I buy less at once and replace spices more often, which is better for flavor anyway, since ground spices fade within months. The tradeoff is refilling more often for everyday spices, so salt, pepper, and paprika still live in larger jars. I keep a small funnel with the jars, because decanting without one spreads spice across the counter every time.
Pro Tip: Buy spices in small amounts from a bulk section when you can, so a slow-use spice never sits for two years.
Cost: $15–$30 | Time: 1 hour | Difficulty: Easy
11. A Bulk Refill Station in Matching Jars
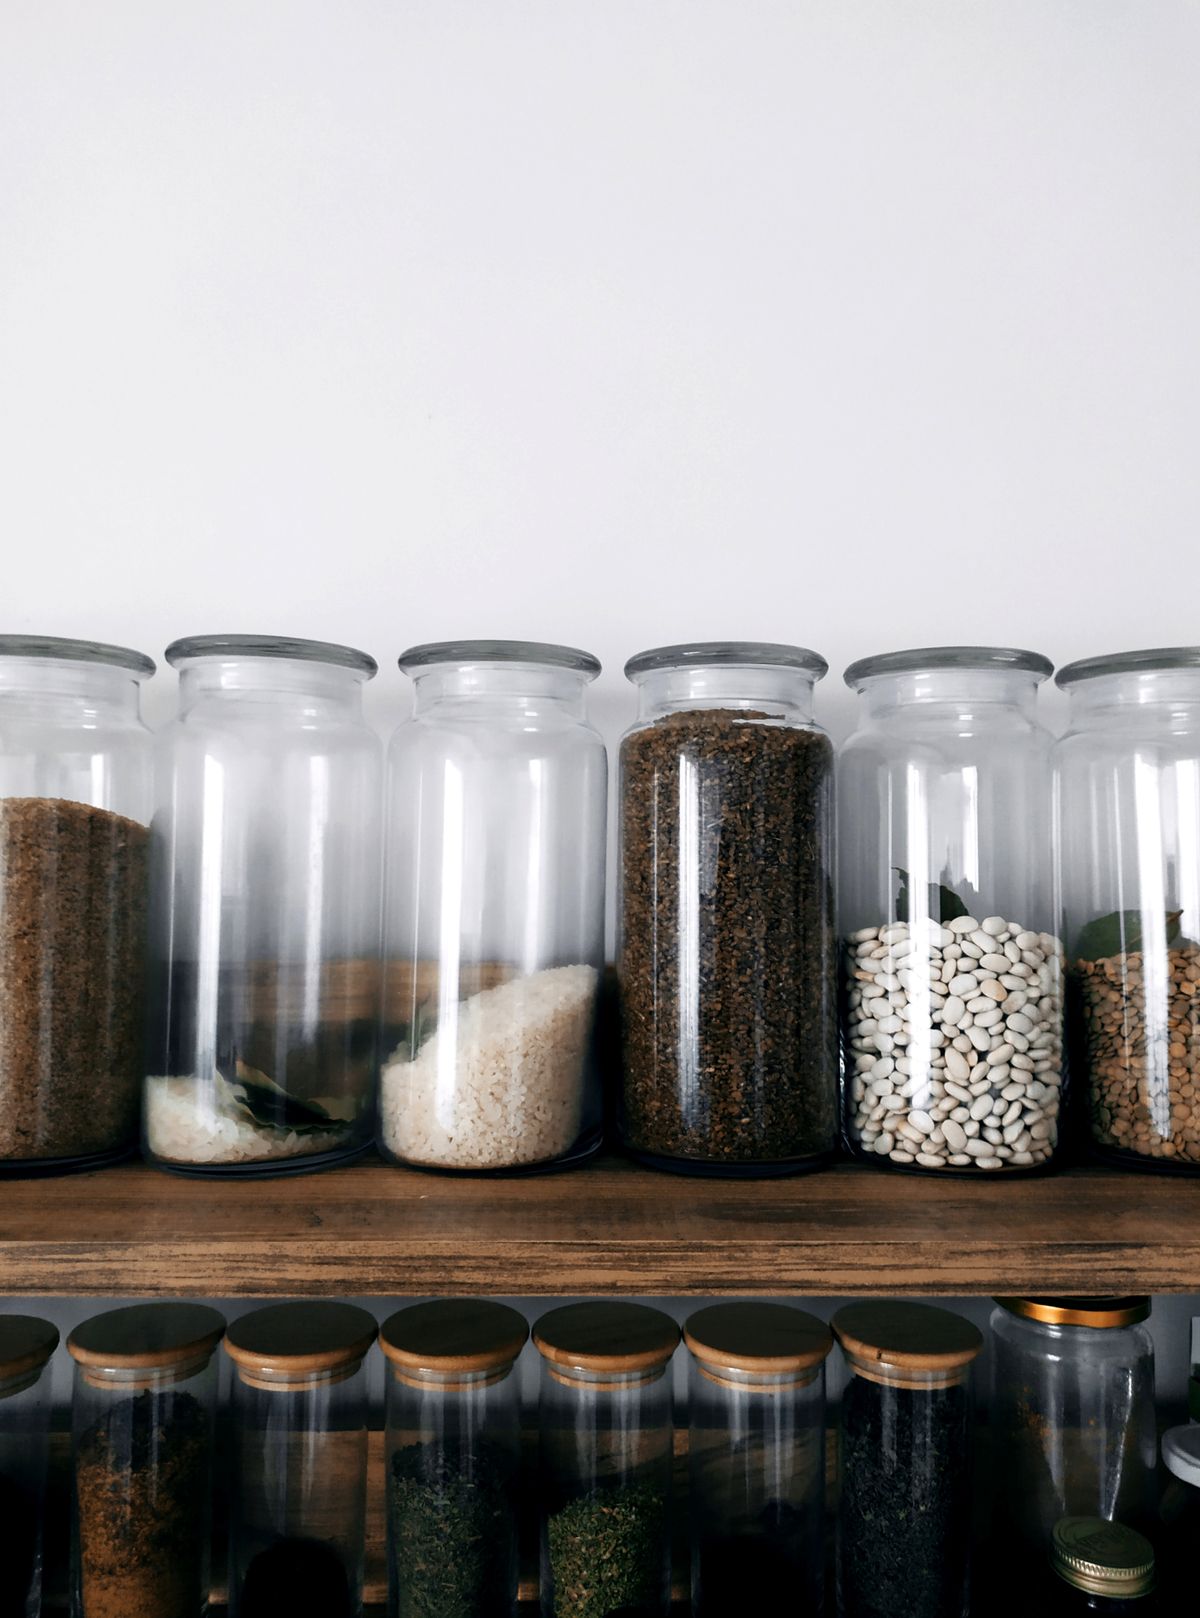
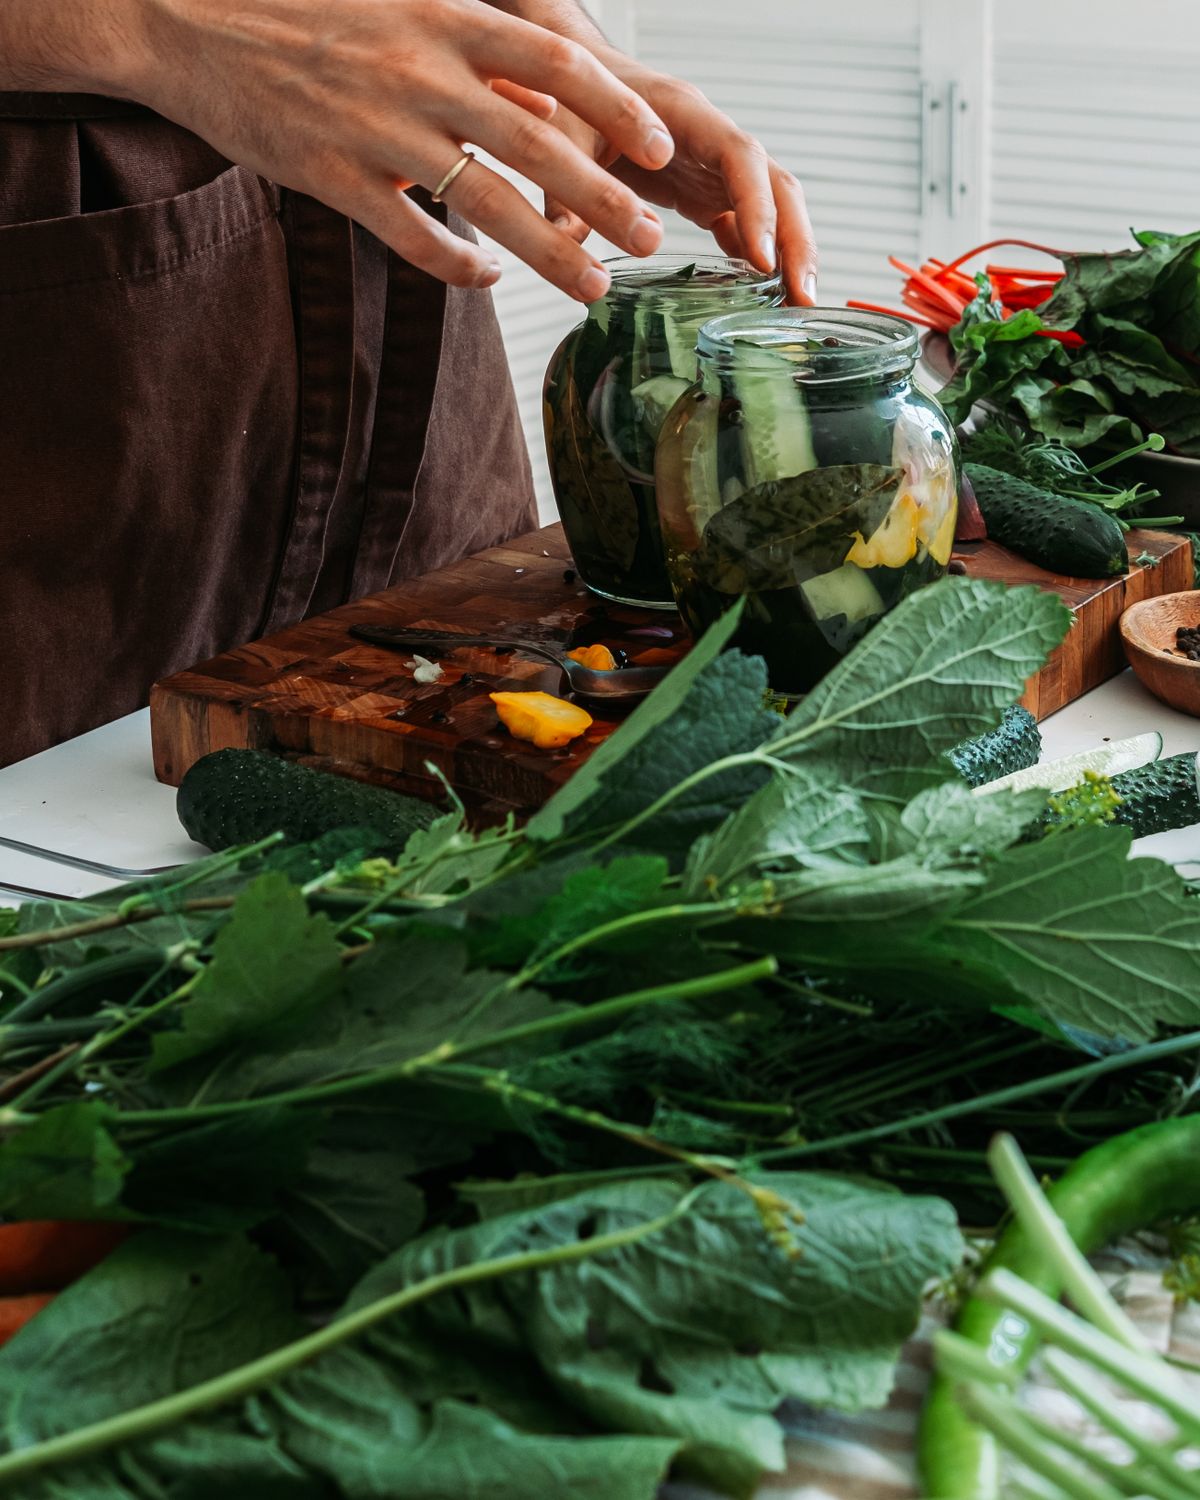
For the pantry staples I buy in bulk, like rice, lentils, and larger spice quantities, I keep a row of bigger matching jars on one pantry shelf with a scoop in each. It is not strictly spice storage, but it changed how my pantry works, because I can see what is running low and refill from bulk bags kept in a lower cupboard. The jars seal well, which keeps pantry moths out, a problem I had once and never want again. The downside is shelf weight, so I keep the big jars low and never above head height. If you want broader pantry ideas, also read these food storage ideas.
Pro Tip: Keep bulk bags labeled with the purchase date in the lower cupboard, so you refill the oldest stock first.
Cost: $20–$40 | Time: 1 hour | Difficulty: Easy
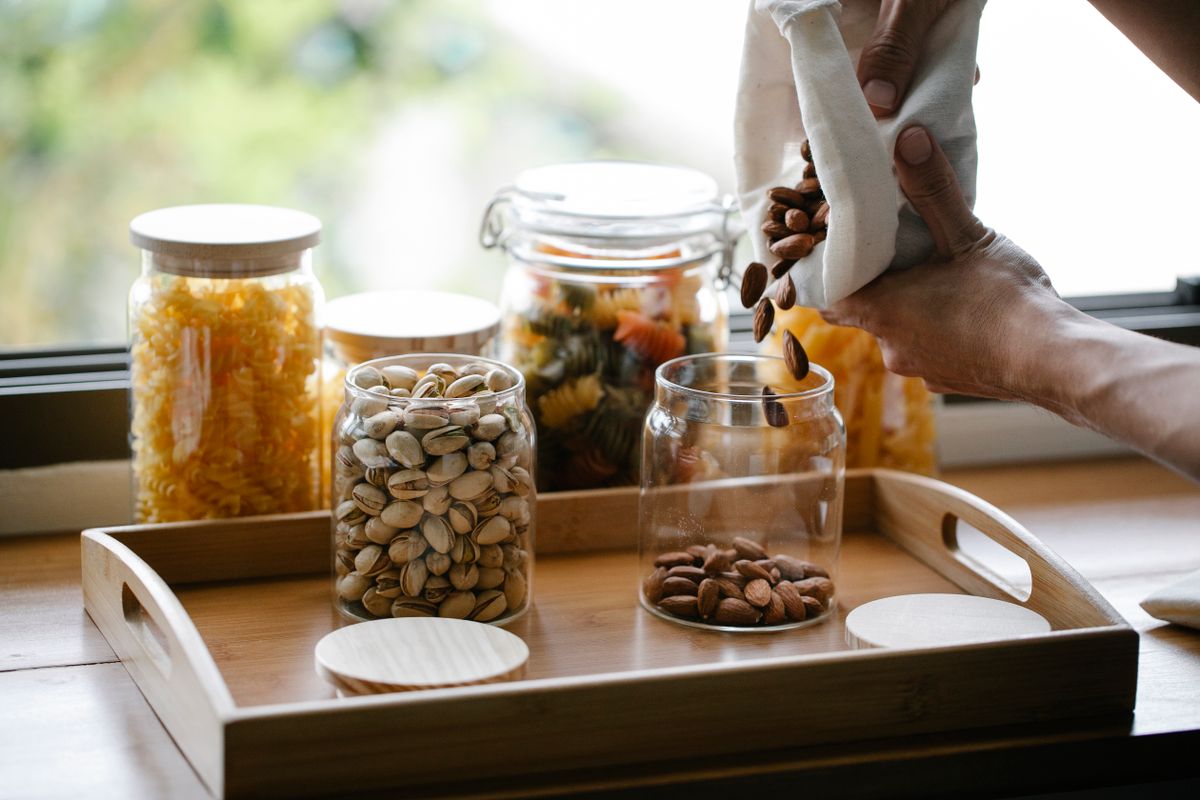
12. A Baking Spice Kit in One Box
Baking spices live together in one box in my kitchen: cinnamon, nutmeg, ginger, cloves, allspice, and vanilla sugar. When I bake, I lift out one box instead of hunting through the main collection, and when I am done, the whole box goes back. It has made weekend baking feel easier, because the setup time dropped from ten minutes to one. I refresh the box each autumn before baking season, checking dates and replacing anything faded. The only rule is that baking spices never migrate to the daily caddy, or the box slowly empties and the system breaks.
Pro Tip: Tape your most-used baking spice blend recipe to the inside of the box lid for quick reference.
Cost: $5–$12 for a box | Time: 20 minutes | Difficulty: Easy

13. An International Spice Box
Curry pastes, garam masala, za’atar, gochugaru, and five-spice powder live in their own box, because they belong to specific cuisines and I reach for them together. When I cook a curry, I pull one box and have everything I need, instead of opening the main drawer five times. I started this after a Thai curry night where I forgot the galangal powder entirely because it was hidden behind everyday spices. The box is labeled by cuisine on the outside, and inside, jars are arranged by how often I cook that cuisine. It is a small change that made adventurous cooking feel less like a chore.
Pro Tip: Keep a small card in the box listing which dishes use which spice, so a new recipe never stalls on an unfamiliar jar.
Cost: $5–$12 | Time: 20 minutes | Difficulty: Easy
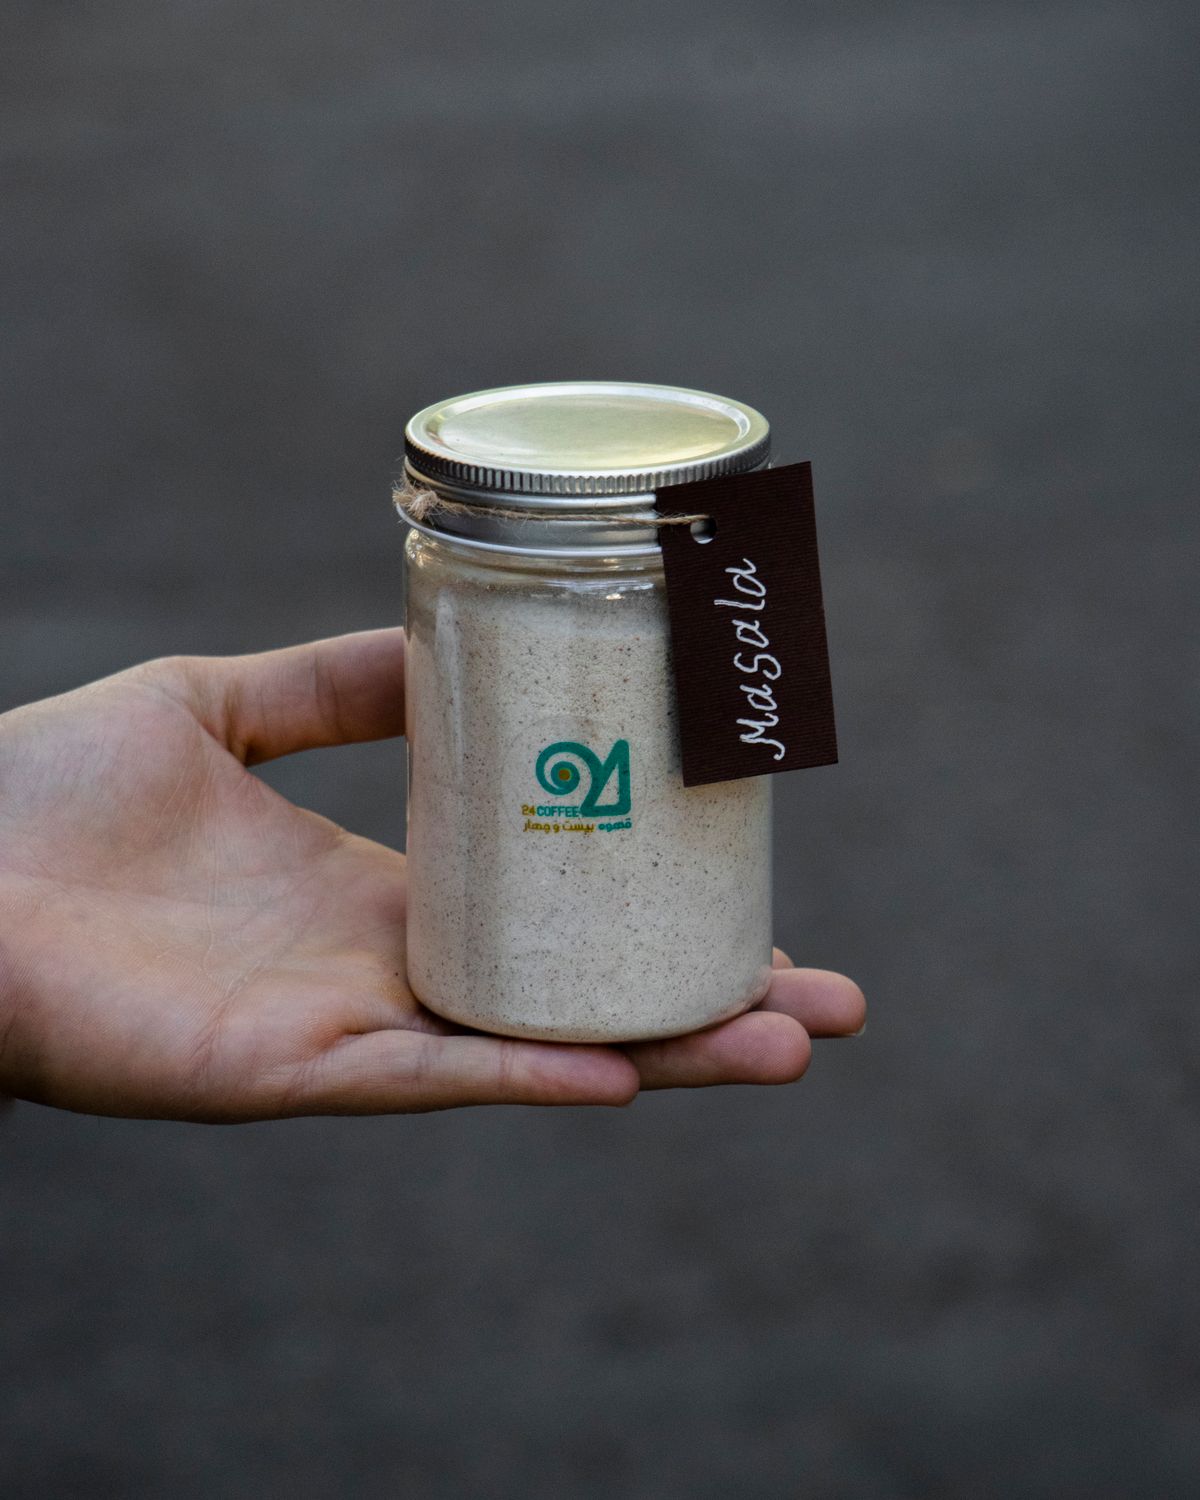
14. Date Labels and a Twice-Yearly Toss
Spices do not spoil dangerously, but they do go flat, and flat spices ruin good food quietly. I write the month and year on every jar when I fill it, and twice a year I sniff-test the whole collection, tossing anything that smells like dust instead of spice. The first time I did this, I threw away eleven jars, some over three years old, and my cooking improved immediately because I was finally tasting the spices I meant to use. Ground spices get about six to twelve months in my kitchen, whole spices last longer, and I replace the faded ones in small amounts rather than buying big jars again.
Pro Tip: Do the sniff test before a big cooking season, like autumn baking or summer grilling, not in the middle of it.
Cost: $0 | Time: 30 minutes twice a year | Difficulty: Easy
15. Spice Packets in a Single Bin
Loose packets, taco seasoning, gravy mixes, and single-use spice sachets used to float around my pantry and expire unnoticed. Now they all live in one small bin, sorted with the soonest-to-expire at the front, and I check the bin when I plan meals. It is the least pretty system in my kitchen and one of the most useful, because packets are easy to forget and expensive to rebuy. I keep the bin on a low shelf where I can see into it, and anything past its date goes straight out during the twice-yearly check.
Pro Tip: Clip packets together by meal type with a binder clip so taco night never requires a hunt.
Cost: $3–$8 | Time: 15 minutes | Difficulty: Easy
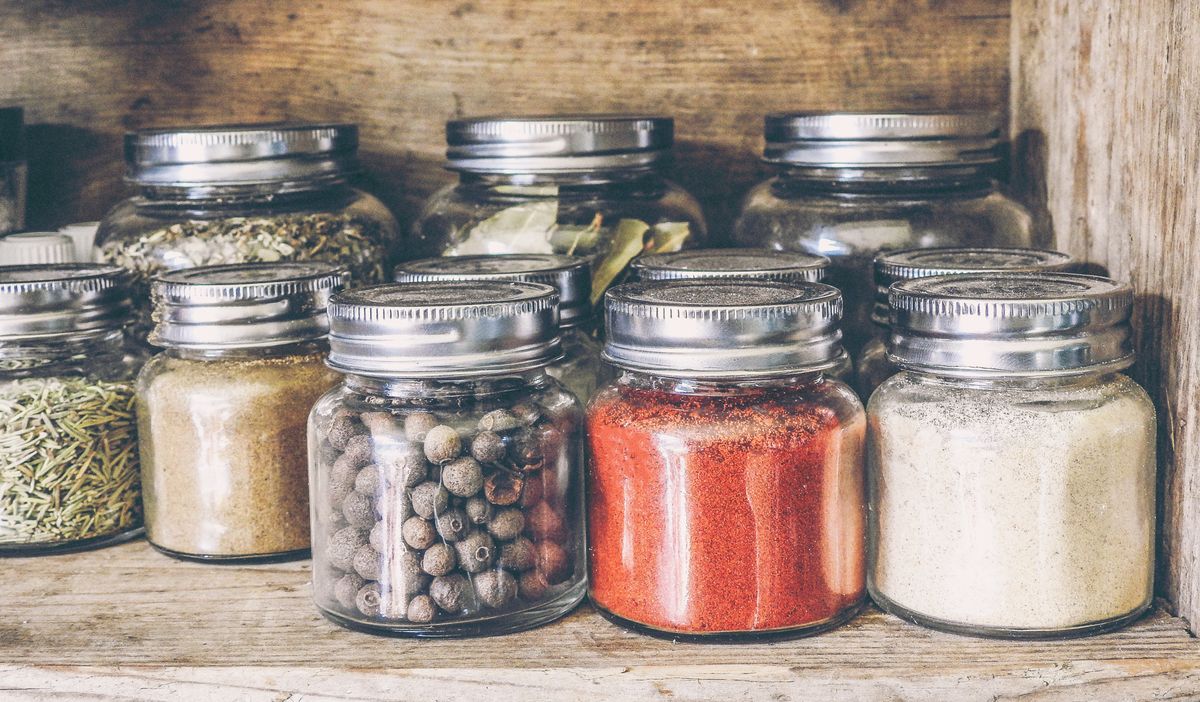
16. Herbs and Spices Kept Apart
Dried herbs and ground spices behave differently, so I store them in separate sections of the drawer: herbs on the left, spices on the right. Herbs fade faster and I replace them more often, while whole spices last longer and need less attention. Separating them means my twice-yearly check is faster, because I can sniff-test all the herbs in one pass. Fresh herbs, by contrast, live in the fridge in a damp cloth inside a bag, never in the spice drawer, because they need cold and moisture while dried spices need the opposite. Mixing the two systems up is how herbs go limp and spices go stale at the same time.
Pro Tip: Crush dried herbs between your fingers before adding them to food; if there is no scent, the herb is done.
Cost: $0 | Time: 10 minutes | Difficulty: Easy
17. A Pantry Door Inventory List
I keep a simple list on the inside of the pantry door of every spice I own, with a tick column for “need to buy.” When I use the last of something, I tick the box, and the shopping list writes itself. It sounds old-fashioned, but it stopped the duplicate buying that used to plague my pantry, and it helps anyone else in the house shop for me without calling to ask. I update the list when I add a new spice, which takes ten seconds, and I rewrite it cleanly twice a year during the date check. A whiteboard works too, but paper survives kitchen steam better.
Pro Tip: Put the list at eye level on the door, not on a high shelf, or nobody will remember to use it.
Cost: $0–$5 | Time: 20 minutes | Difficulty: Easy

18. Preserves and Jars on the Same Pantry Shelf
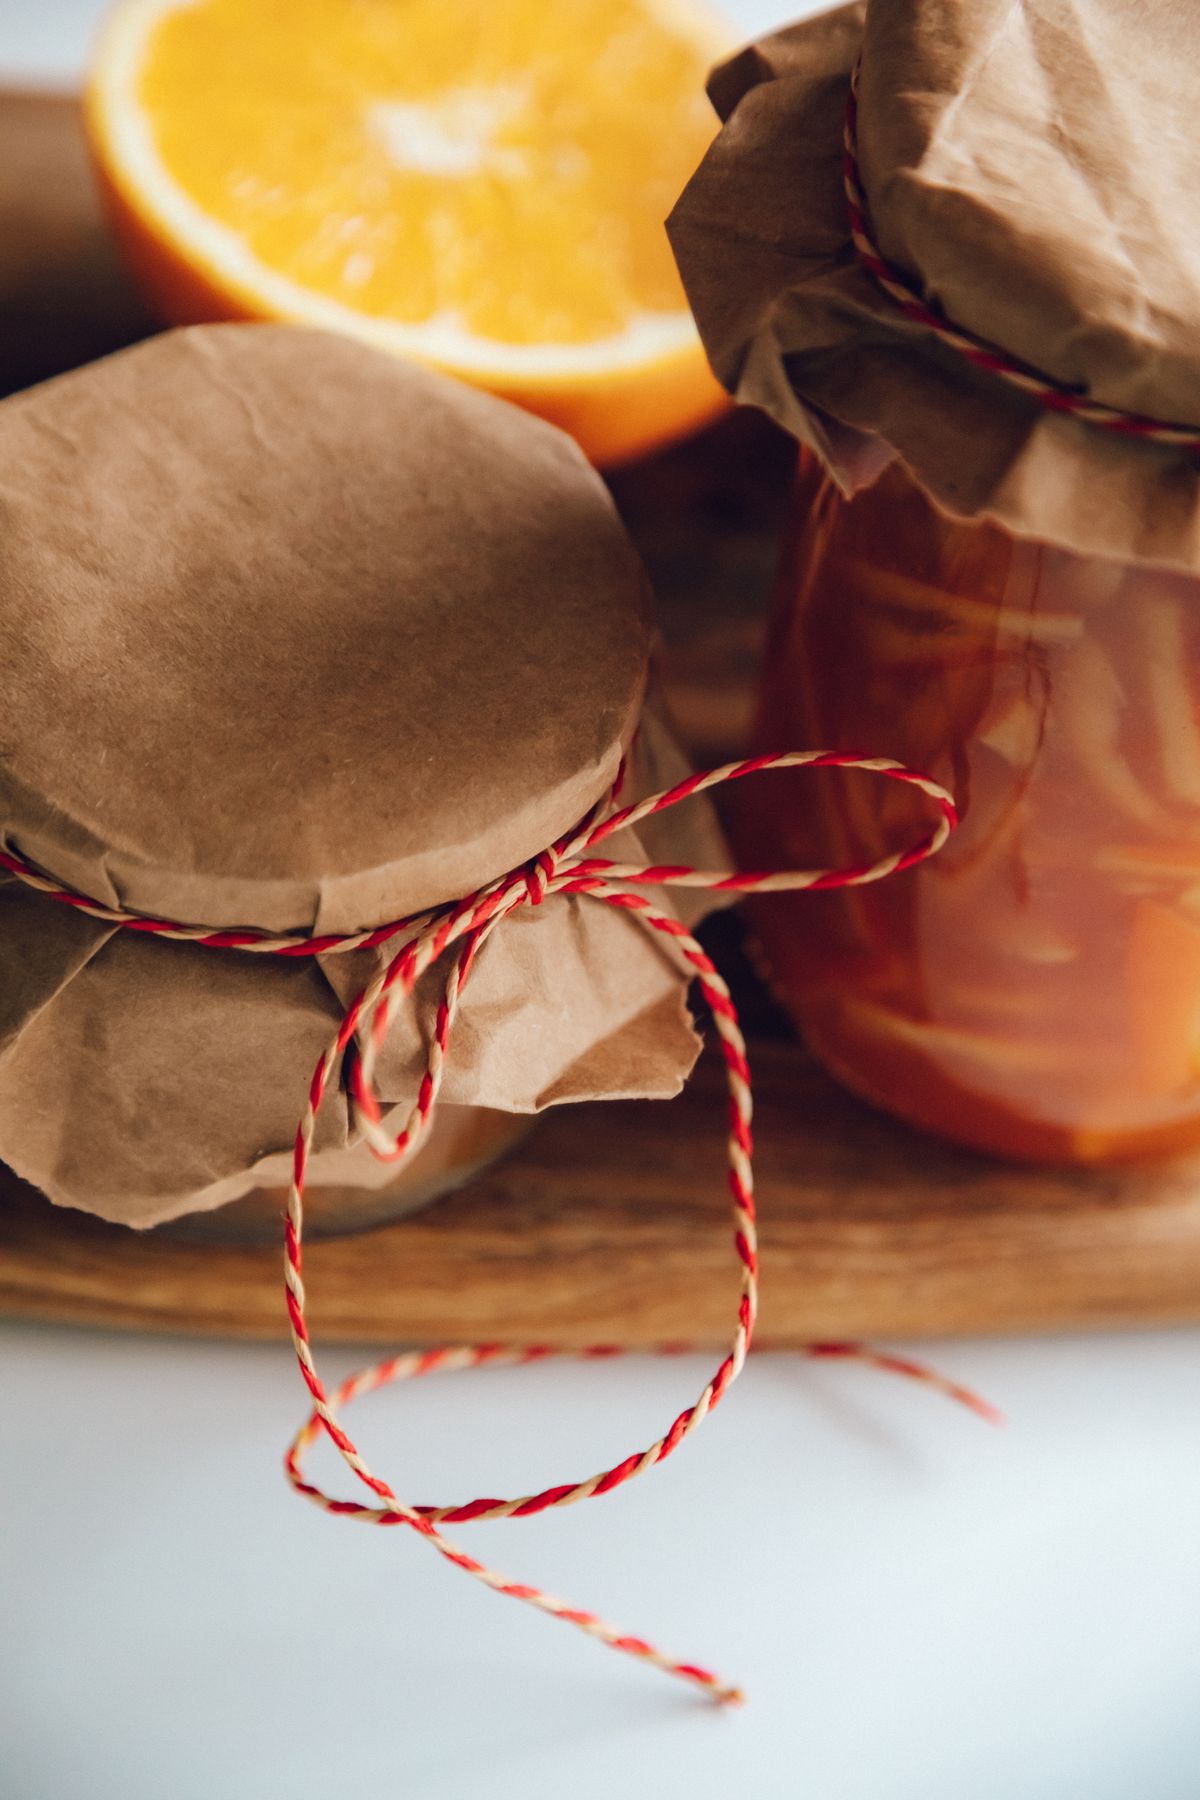
My pantry shelf for jars pulls double duty: homemade preserves, jams, and larger spice jars share one shelf, arranged with preserves at the back and spices at the front where I reach daily. Keeping jars together means I always know what the pantry holds, and the preserves remind me to use seasonal fruit when it is cheap. I label preserves with the contents and the month they were made, just like spices, and I check both during the twice-yearly pantry review. The downside is weight, so this shelf is low and sturdy, never high. For cabinet organization beyond spices, read this next: how to organize kitchen cabinets.
Pro Tip: Keep one empty jar space on the shelf so new preserves or spices always have a home without a reshuffle.
Cost: $0 | Time: 20 minutes | Difficulty: Easy
Mistakes I Made (So You Don’t Have To)
First, I stored spices right above the stove because it felt convenient, and they faded within months from heat and steam. Convenience that ruins the product is not convenient. Second, I kept spices in their original mismatched tins and bags, which meant I could never see what I owned and bought duplicates constantly. Third, I skipped date labels for years and cooked with spices older than some of my kitchen tools. Fourth, I bought a beautiful wall rack that held jars too big for my collection, so half the rack sat empty while jars piled in a drawer. Measure your jars before you buy the rack, not after.
Which Spice Storage Idea Fits You?
| Idea | Best for | Cost | Effort |
|---|---|---|---|
| Spice drawer | Seeing everything at once | Low | Low |
| Matching jars | Mismatched collections | Medium | Medium |
| Door rack | Renters and small kitchens | Low | Low |
| Wall rack | Daily cooks | Medium | Medium |
| Turntable | Deep cabinets | Low | Low |
| Magnetic jars | Tiny kitchens | Medium | Low |
Frequently Asked Questions
Where should spices never be stored?
Never store spices directly above or beside the stove, on a sunny windowsill, or in the fridge, where moisture gets in every time you open the jar. In my kitchen, the spice drawer by the prep counter beat every other spot, because it is cool, dark, and dry, which is exactly what spices need.
How long did your spice storage system actually last?
The drawer system and matching jars have lasted over a year without a major reset, and the door rack is on its second year. What failed was the wall rack placement near the stove, which I moved after three months, and any system that required me to remember dates without labels. Labeled jars and a twice-yearly check are what keep it working.
What would you do differently if you started over?
I would start with the drawer and matching jars, skip the wall rack near the stove entirely, and label dates from day one. I would also buy smaller jars for slow-use spices instead of decanting everything into the same size.
How can I tell if a spice is too old to use?
Crush a little between your fingers or sniff the open jar: a good spice smells strong and distinct, while an old one smells like dust or almost nothing. If you have to use twice as much to taste anything, it is time to replace it, and I replace in small amounts so the new jar stays fresh.
Final Thoughts
Good spice storage is not about a perfect pantry photo; it is about finding cumin in ten seconds on a busy weeknight and tasting it when you cook. Start with matching jars and date labels, pick one home for your spices, whether that is a drawer, a door rack, or a turntable, and do the twice-yearly sniff test. Your cooking will taste better for it, and your shopping list will finally stop duplicating paprika.