17 Christmas Centerpiece Ideas
My dining table has hosted Christmas dinner for years, and the centerpiece is the first thing guests see when they sit down. These Christmas centerpiece ideas are the ones I have actually built on my own table, and I kept only the arrangements that survived a full dinner: serving dishes, elbows, wine glasses, and all.
How I picked them: I built each centerpiece, left it through a real family meal, and noted what got in the way, what shed needles onto the plates, and what still looked good when dessert arrived. My table seats eight and measures about six feet long, so I note where to shrink each idea for a smaller table.
Key Takeaways
- Keep the centerpiece low enough that guests can see each other across the table.
- Put anything that sheds, like loose greenery, on a tray or cloth for easy cleanup.
- Battery candles beat real flames on a table crowded with food and glasses.
- Most centerpieces here cost $15-$45 and take under an hour to build.
- Build the centerpiece a day early so Christmas morning is not a craft project.
Related article: 15 DIY Thanksgiving Centerpiece Ideas That Look Expensive (And Cost Under $25)
17 Christmas Centerpiece Ideas I Have Built
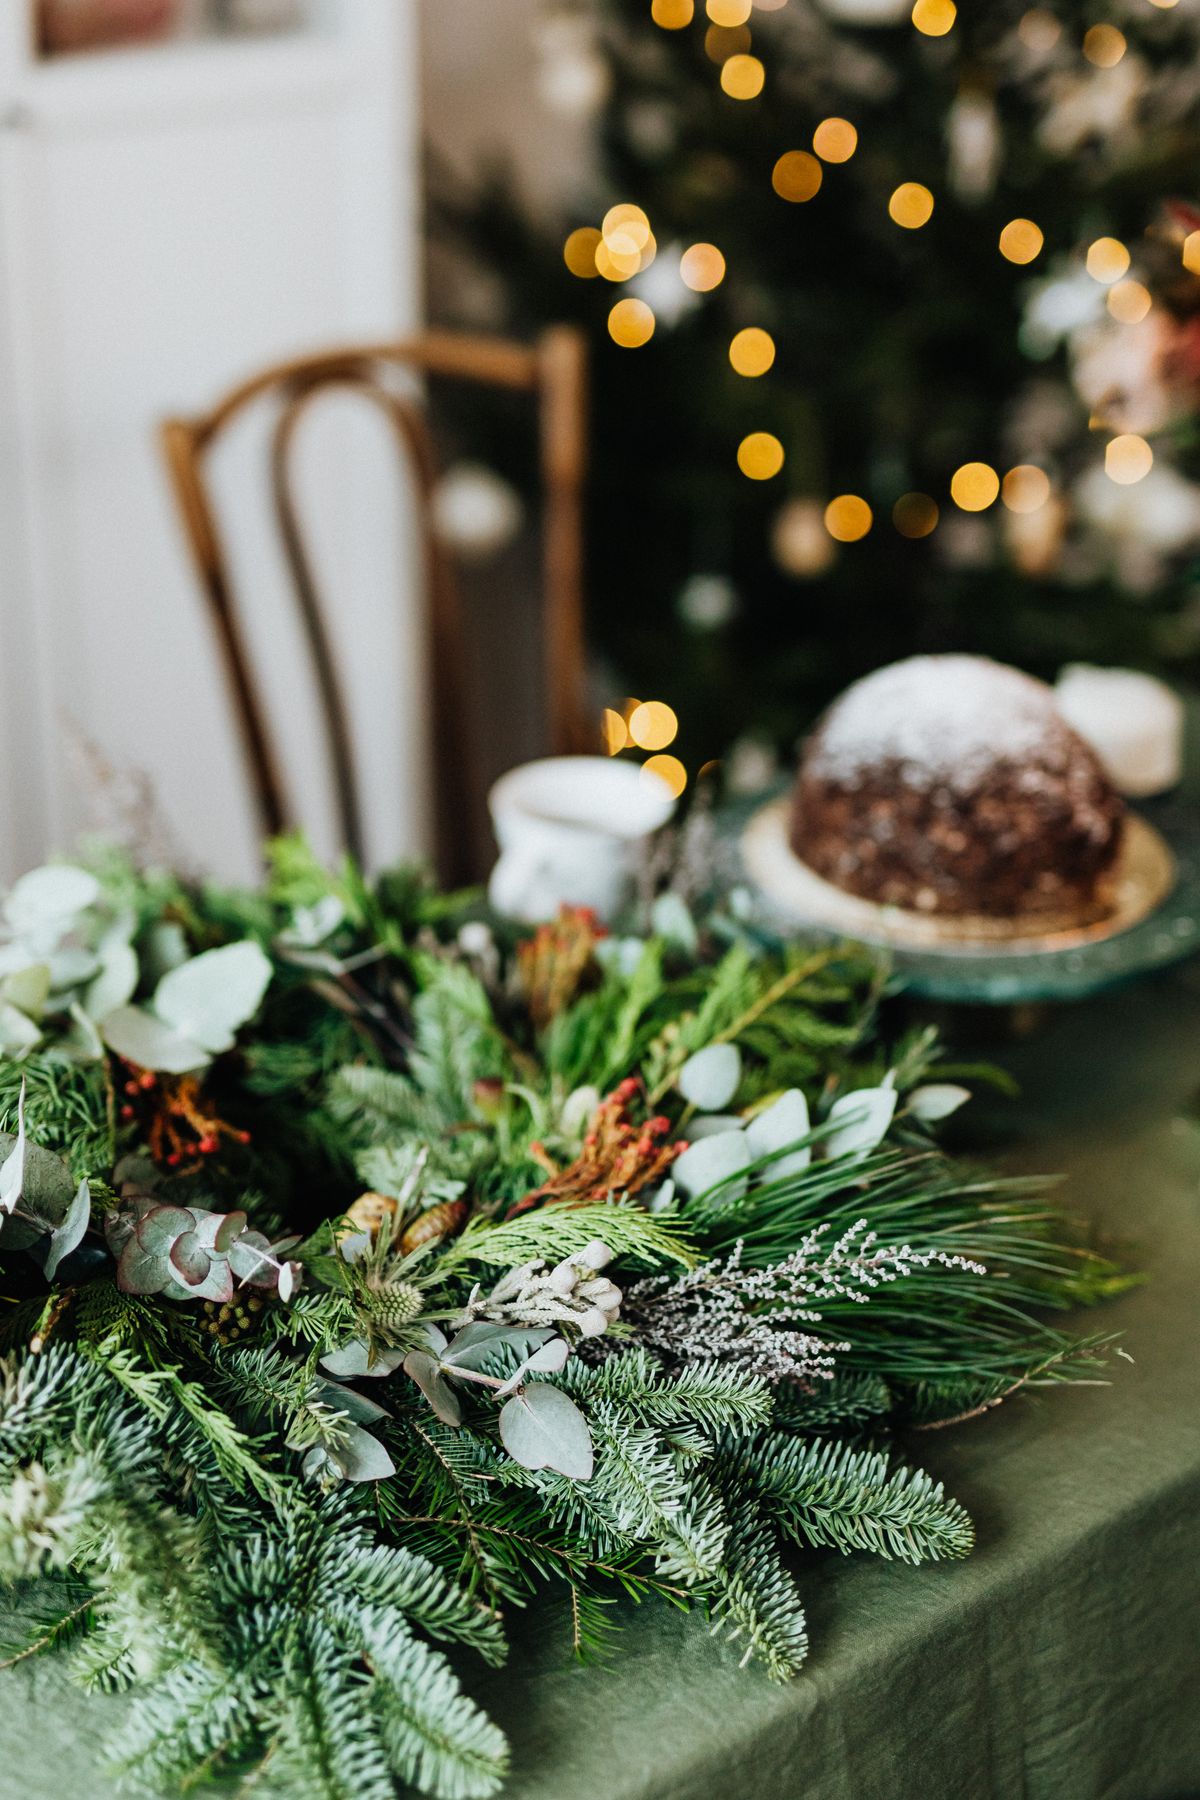
1. Greenery Runner Down the Middle
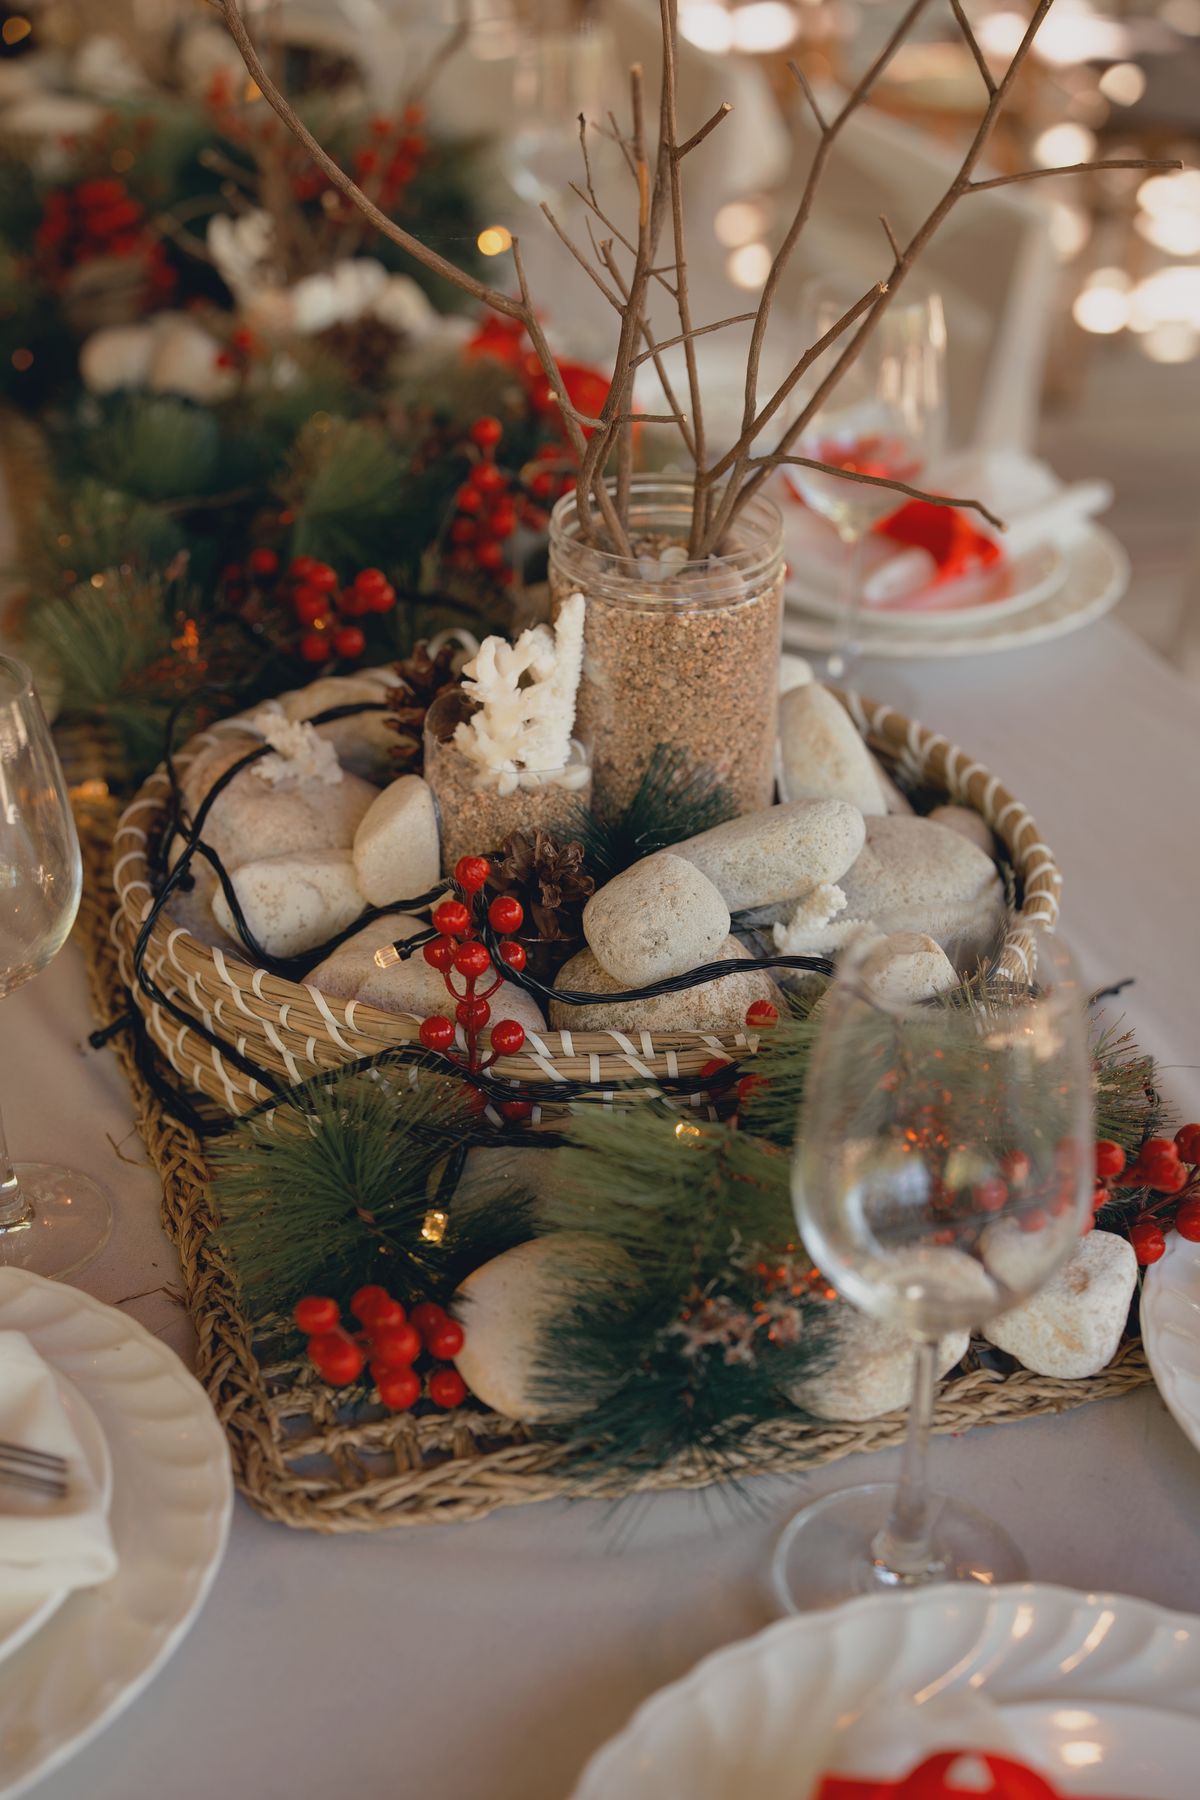
I lay fresh fir branches down the center of the table, overlapping them like shingles, then add pinecones and a few red berries. It is the most natural-looking centerpiece I make and it smells wonderful when guests walk in. I bought the branches from a tree lot for a few dollars, since they sell trimmings cheaply, and the runner took about thirty minutes. It lasted about ten days before the branches dried and started dropping needles, so I build it close to Christmas. The downside is needle drop onto plates, so I lay a thin cloth under the branches and shake the runner outside before placing it.
Pro Tip: Overlap branches in one direction only; branches pointing both ways look like a pile, not a runner.
Cost / Time / Difficulty: $10-$20 / 30 minutes / Easy
2. Candle Trio on a Wooden Board
I set three pillar candles of different heights on a long wooden board, with small pinecones and sprigs of greenery around their bases. It is simple, elegant, and it leaves plenty of room for serving dishes on either side, which matters at a crowded table. I already owned the board and candles, so it cost me under $15 in greenery and pinecones, and it took fifteen minutes. It lasted through Christmas dinner and beyond, though one candle burned unevenly because it sat near a draft from the door. The downside is wax: pillar candles drip if they are not dripless, so I check the label before buying.
Pro Tip: Use dripless pillars or put a small glass plate under each candle.
Cost / Time / Difficulty: $12-$25 / 15 minutes / Easy
3. Red Roses and Pinecones
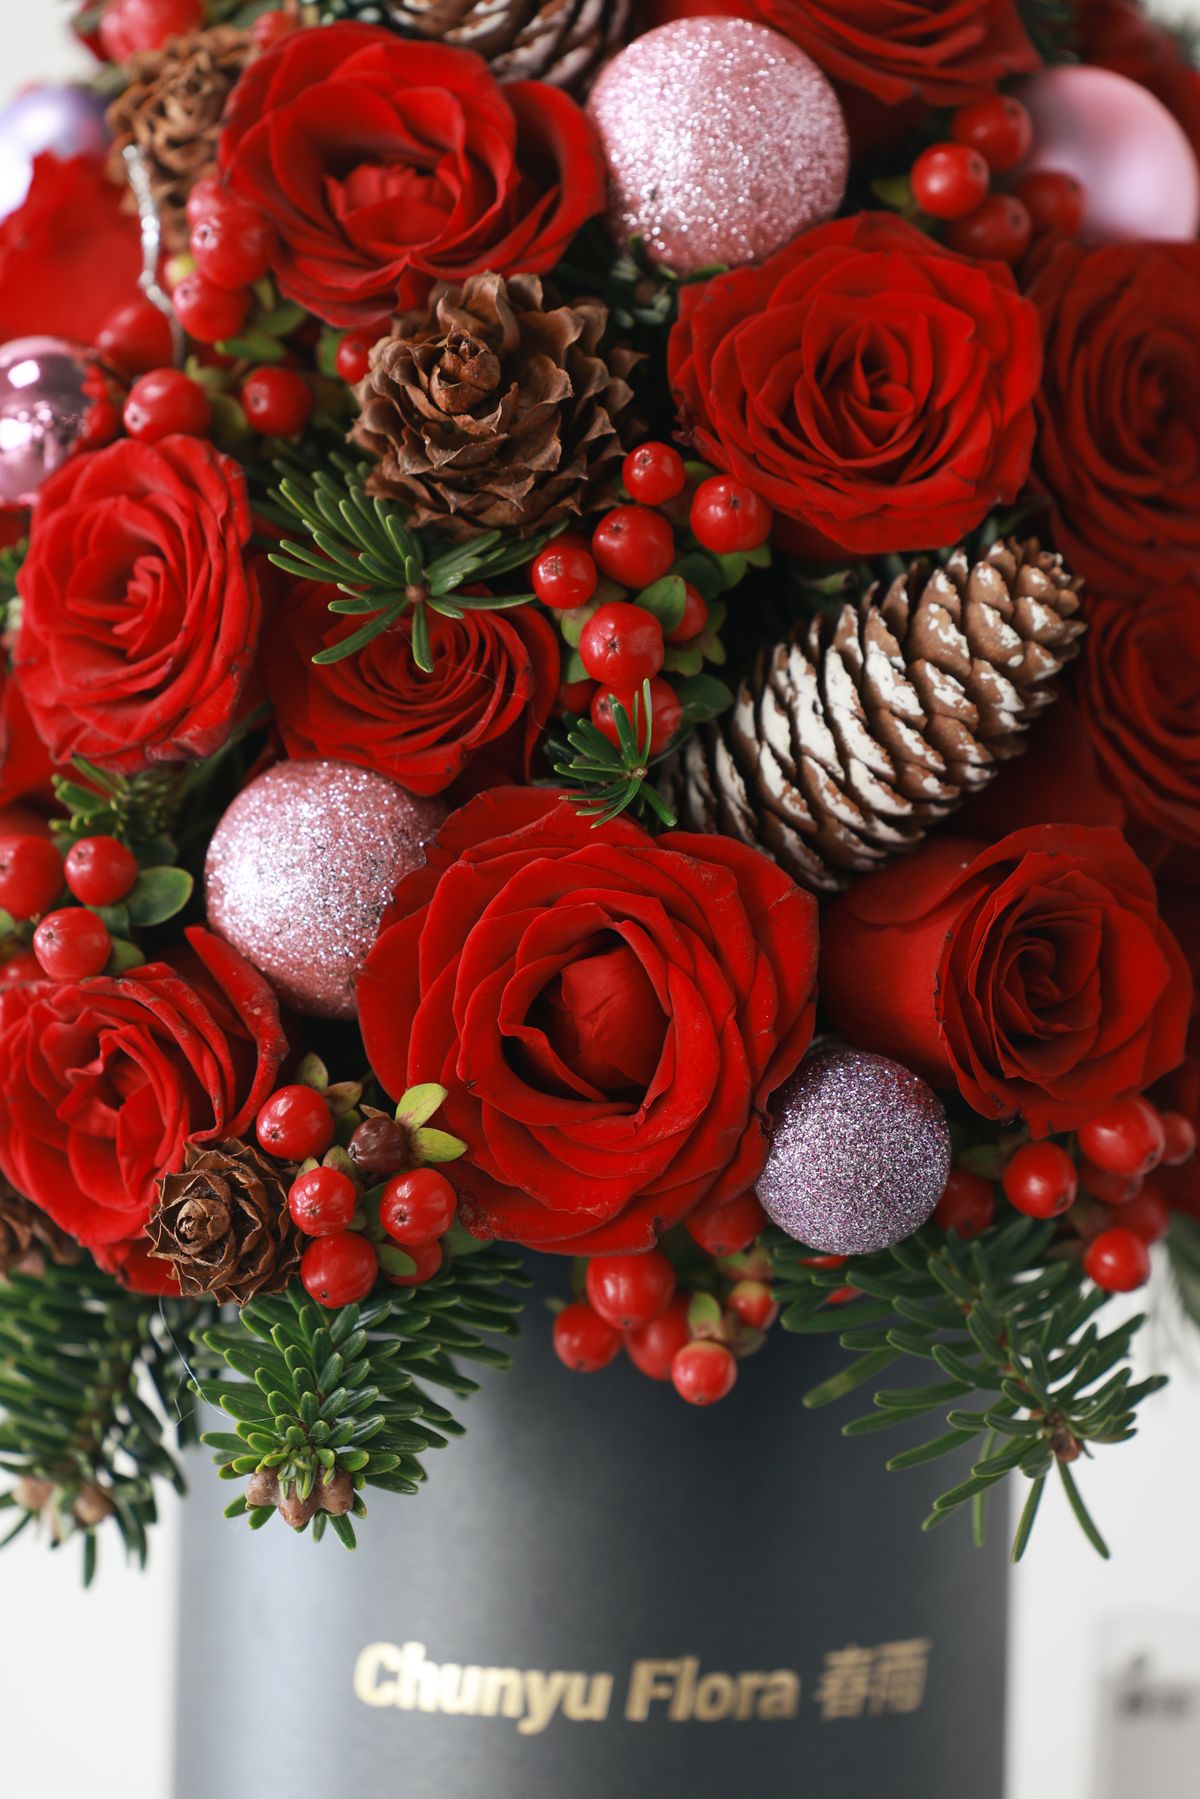
I arrange red roses with pinecones and fir sprigs in a low, wide bowl for a centerpiece that looks like a florist made it. I bought the roses a day before dinner and they lasted about five days, which covered the holiday perfectly. It cost me around $30 including the bowl, which I reuse every year, and it took twenty minutes to arrange. It looked stunning on the table and guests commented on it before they commented on the food. The downside is water: roses need it, so I check the bowl daily and top it up, and I put a coaster under the bowl because condensation marked my table once.
Pro Tip: Cut rose stems at an angle and change the water daily for the longest life.
Cost / Time / Difficulty: $25-$40 / 20 minutes / Easy
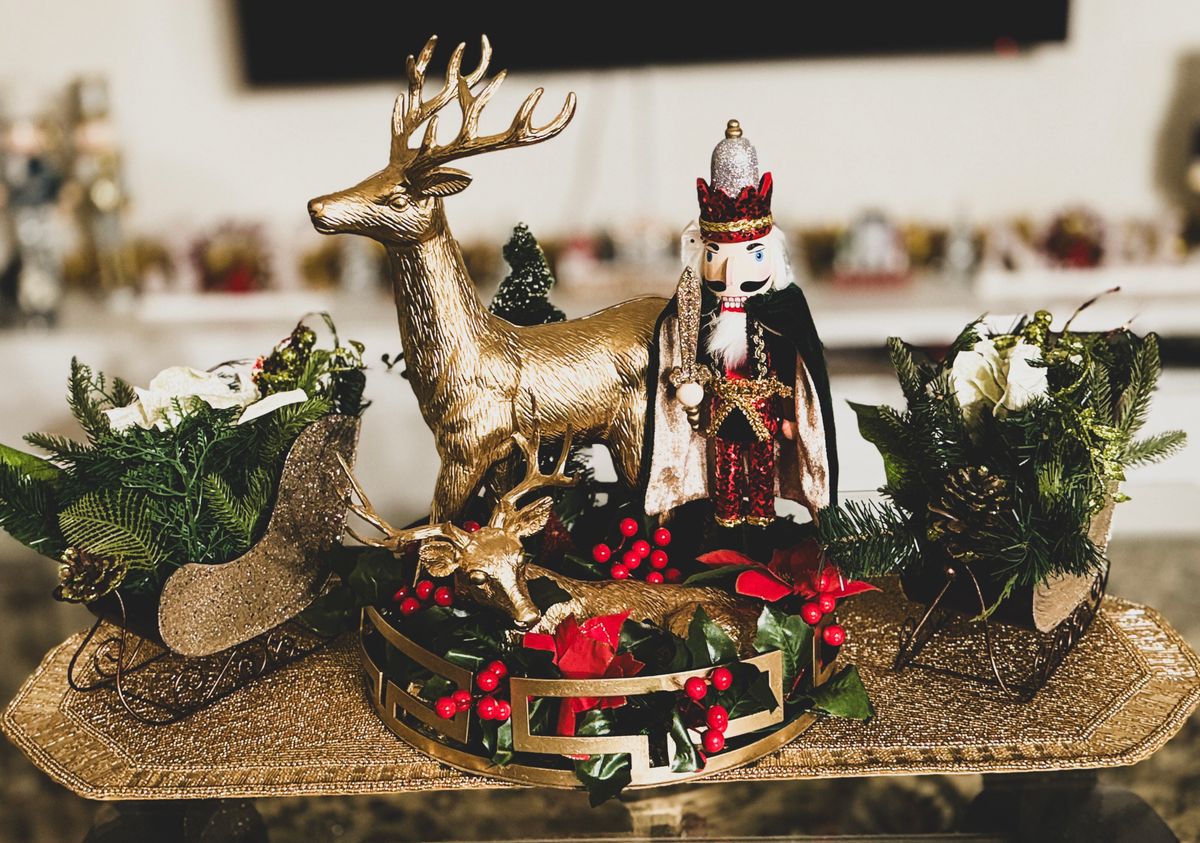
4. Nutcracker Guard Centerpiece
I stand two nutcrackers at either end of a low tray, with greenery, ornaments, and a candle between them, like they are guarding the table. It is festive without being fussy, and it is the centerpiece my kids love most. The nutcrackers cost about $20 as a pair and the tray arrangement took twenty minutes. It lasted all December in our dining room, though one nutcracker toppled when someone reached across the table for bread. The downside is height: tall nutcrackers block sightlines, so I keep them under twelve inches or place them at the ends where they block no one’s view.
Pro Tip: Keep nutcrackers at the ends of the table, never in the middle of a sightline.
Cost / Time / Difficulty: $20-$35 / 20 minutes / Easy
5. Dried Citrus and Cinnamon
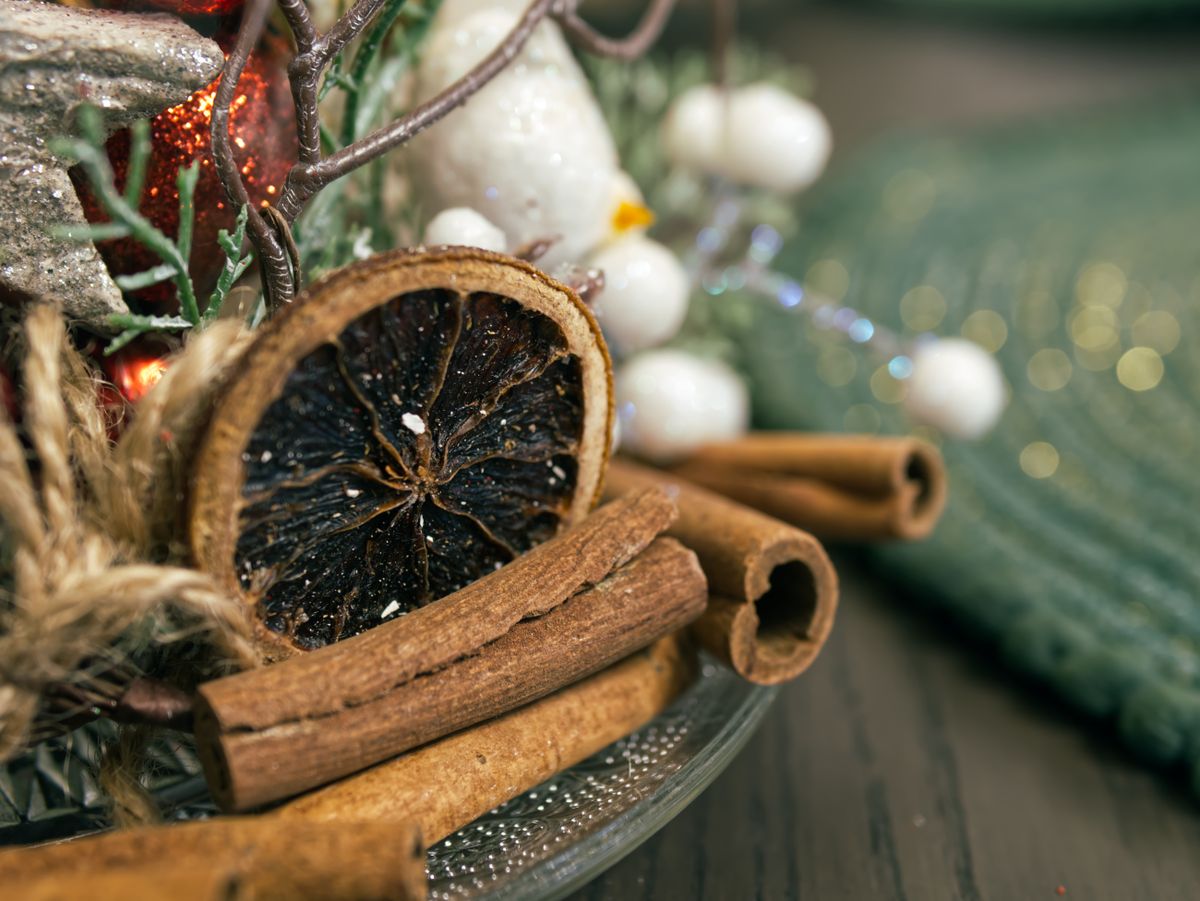
I scatter dried orange slices, cinnamon sticks, and star anise on a tray with greenery and a few candles for a centerpiece that smells like Christmas itself. I dried the oranges myself in the oven on low heat, which took an afternoon but cost almost nothing. The tray took twenty minutes to arrange and lasted three weeks without fading. It is my favorite low-cost centerpiece, and the scent lasted longer than any candle I have bought. The downside is that dried citrus absorbs kitchen moisture and can go soft near a steamy kitchen, so I keep this tray in the dining room, not beside the stove.
Pro Tip: Dry oranges at the lowest oven setting until they feel like cardboard, not leather.
Cost / Time / Difficulty: $8-$18 / 20 minutes plus drying / Easy
6. Lantern With Greenery Inside
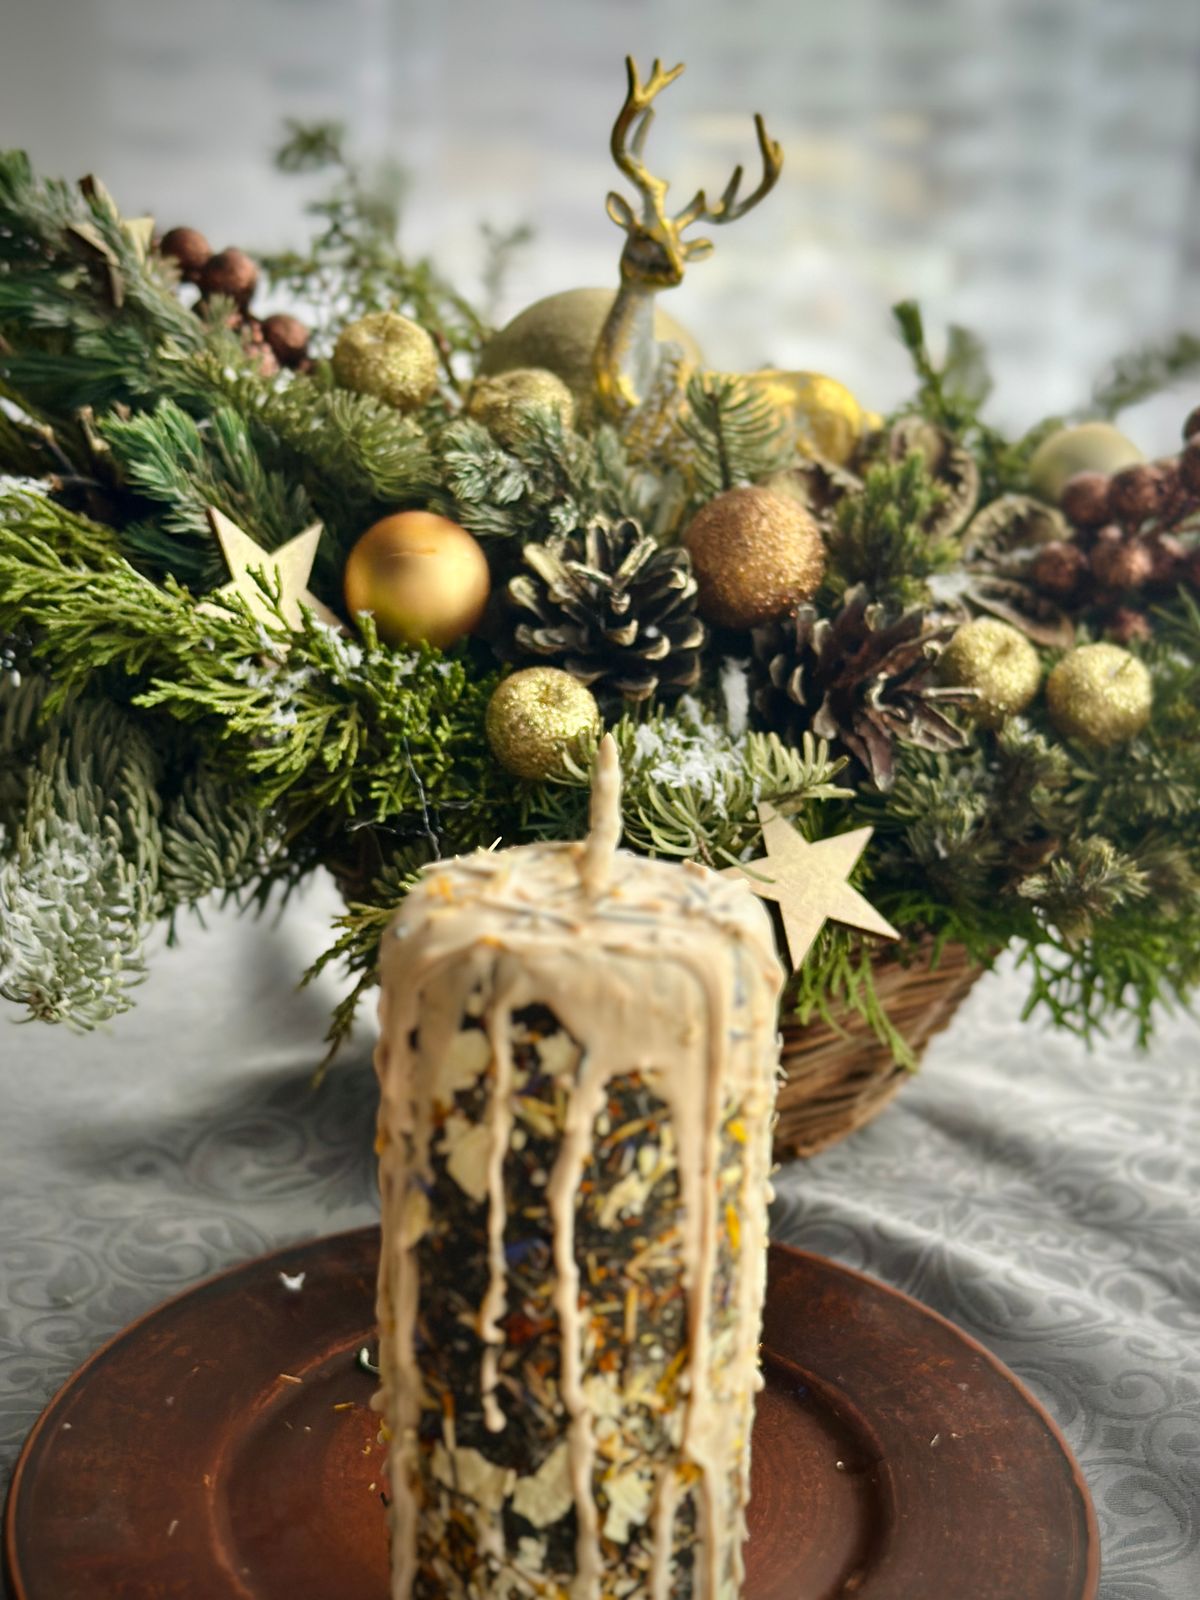
I place a large lantern in the center of the table, fill it with a battery candle and small greenery sprigs, and surround the base with pinecones. It glows beautifully in the evening and it is completely safe around children because the flame is enclosed and battery-powered. The lantern cost about $20 and the arrangement took ten minutes. It lasted all December and I reuse it every year. The downside is that a lantern takes up a lot of table width, so on a narrow table I use a smaller lantern or place it at one end rather than the center.
Pro Tip: Use a battery candle with a timer so the lantern glows at dinner without you remembering.
Cost / Time / Difficulty: $20-$35 / 10 minutes / Easy
7. Ornament Bowl
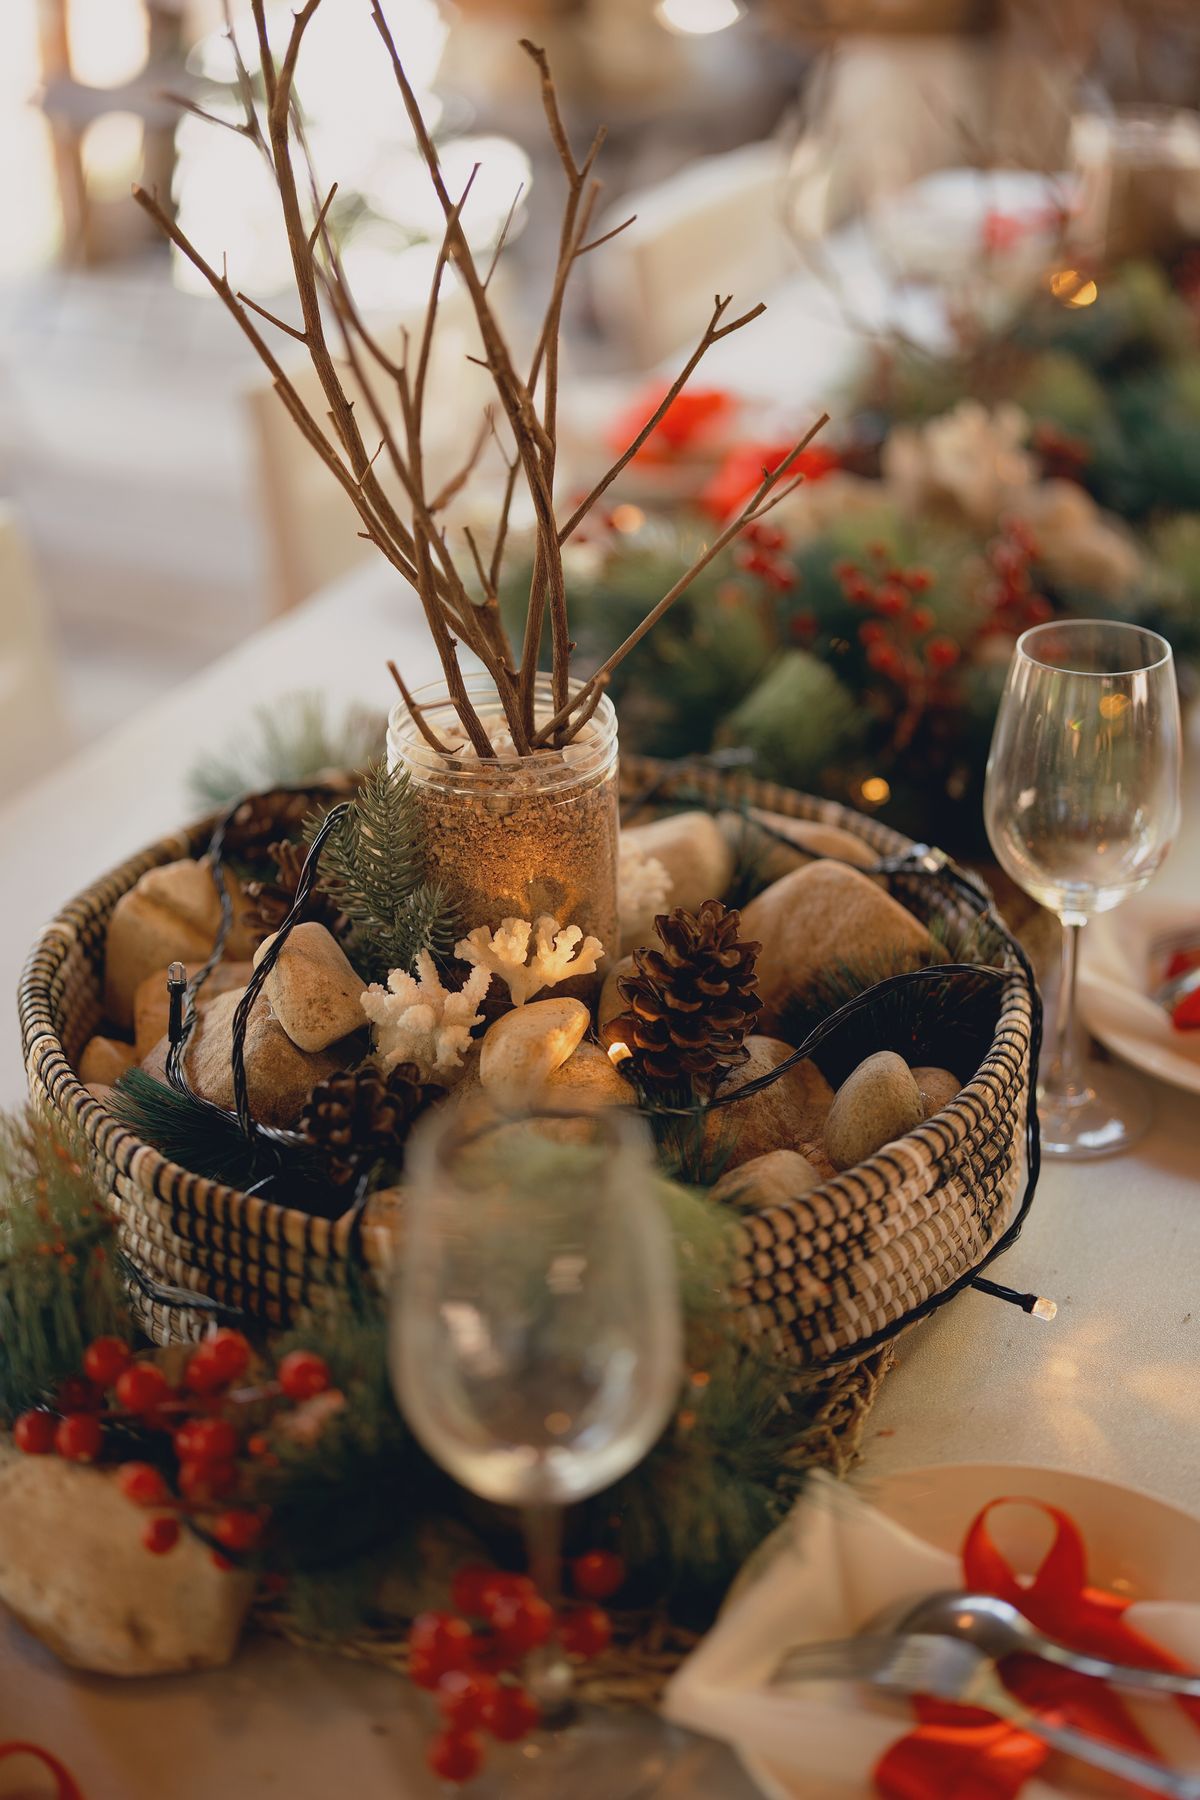
I fill a large glass bowl with shatterproof ornaments in red, gold, and green, and set it on a small wreath of greenery. It is the fastest centerpiece on this list, taking five minutes, and it looks far more expensive than it is. I used ornaments left over from the tree, so it cost me nothing extra, and it lasted all season. The downside is rolling ornaments: a bumped table sends them everywhere, so I put a small piece of museum putty under the bowl and choose a bowl with a flat, heavy base. Glass ornaments look better but break, so I use shatterproof ones on a dining table, always.
Pro Tip: Mix matte and shiny ornaments; all shiny looks flat under dining-room light.
Cost / Time / Difficulty: $0-$20 / 5 minutes / Easy
8. Rustic Log Slice and Candles
I set a thick log slice in the center of the table, place three small candles on it, and surround them with pinecones and berries. It feels woodsy and warm, and it cost me under $15 because the log slice came from a craft store sale. It took fifteen minutes and lasted all December. The downside is that log slices are rarely perfectly flat, so candles can wobble; I test each candle’s stability before the meal and use a dab of putty under any that rock. I also learned to seal the log slice, because an unsealed slice left a faint ring on the table after a damp evening.
Pro Tip: Seal the log slice with a clear coat before its first use on a dining table.
Cost / Time / Difficulty: $10-$20 / 15 minutes / Easy
9. White and Gold Elegant Centerpiece
I arrange white candles, gold ornaments, and white roses or faux flowers in a low gold tray for a centerpiece that feels formal without feeling stiff. I used this for a sit-down dinner with friends and it made the table feel special before anyone sat down. It cost about $40, mostly for the tray and candles, and took thirty minutes. It lasted the evening perfectly, though white flowers show every mark, so I handled them carefully. The downside is cost: white and gold looks cheap if the materials are thin, so I would rather use fewer, better pieces than fill the tray with flimsy gold plastic.
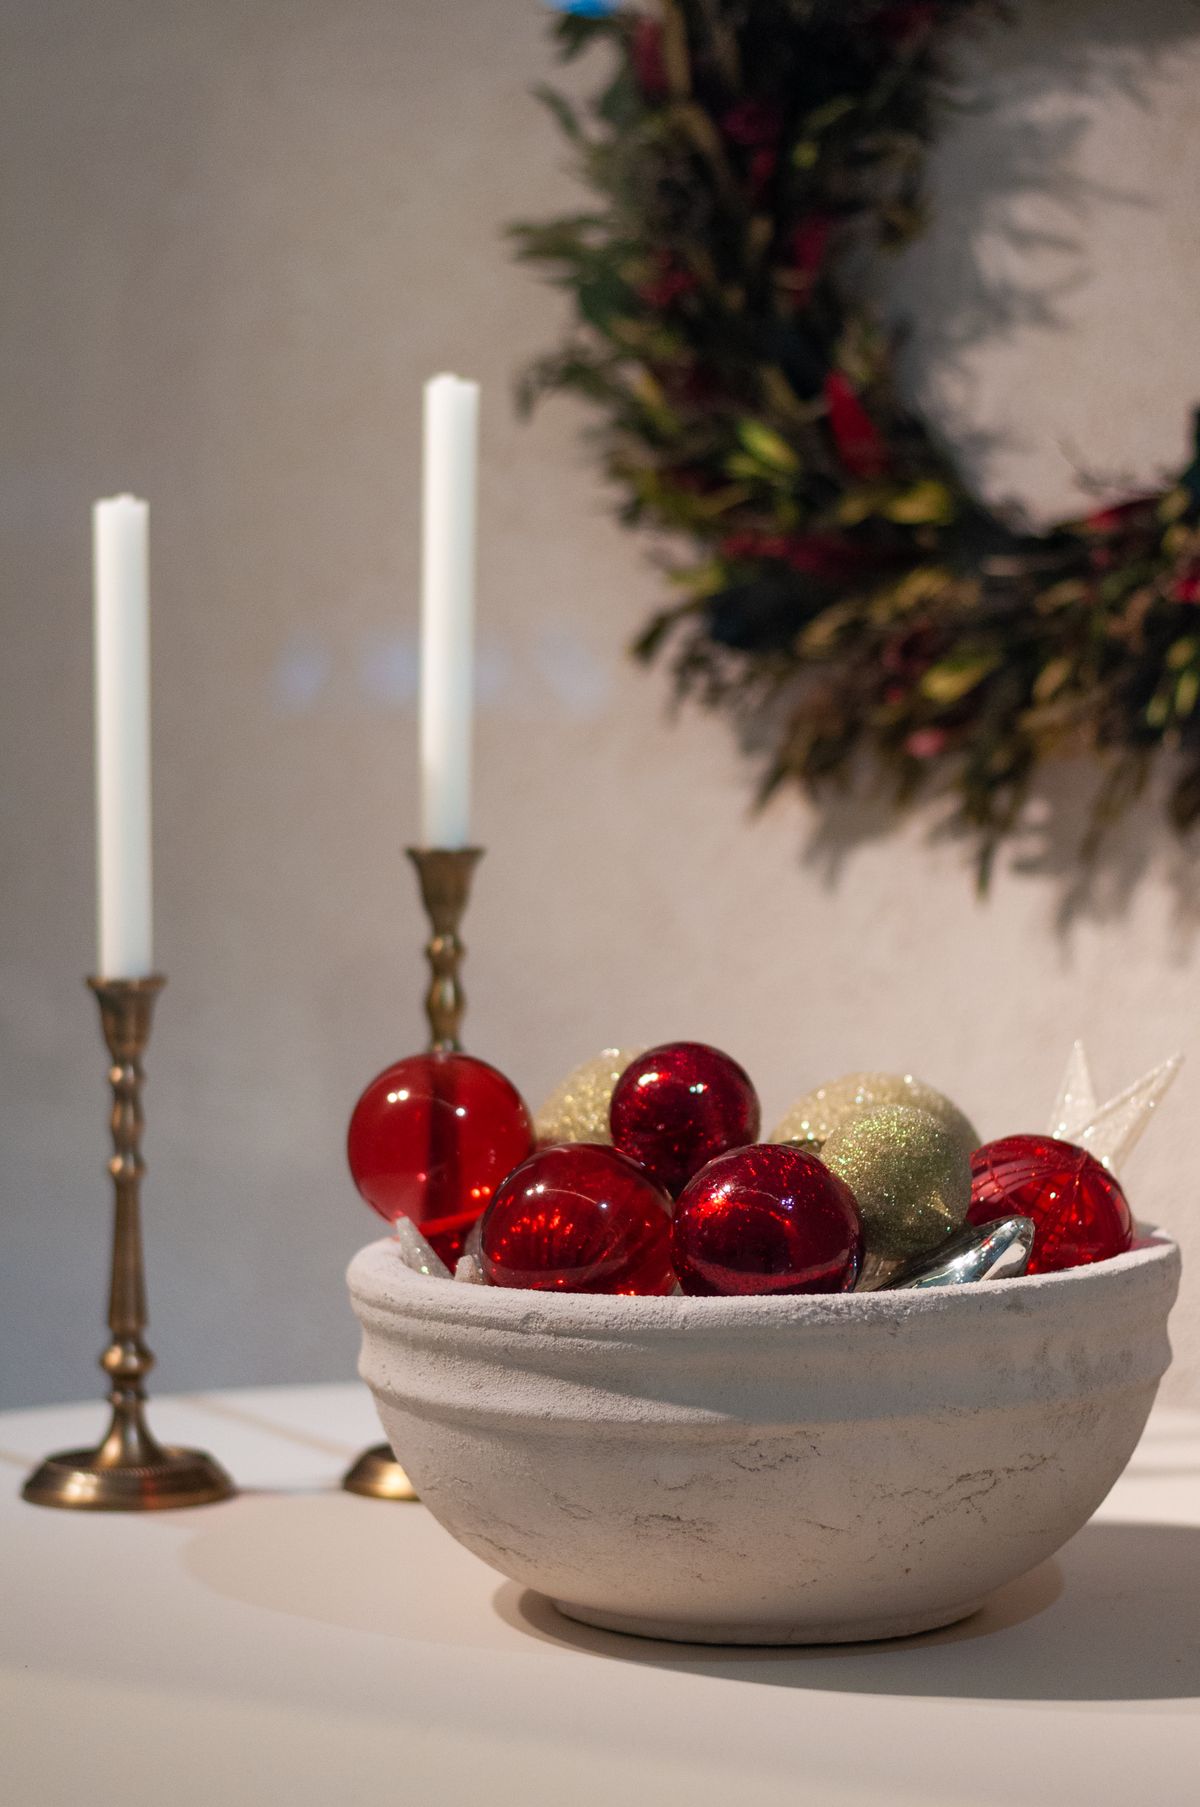
Pro Tip: Fewer, better pieces beat a full tray of thin gold plastic every time.
Cost / Time / Difficulty: $30-$45 / 30 minutes / Moderate
Also read: 21 Christmas Tree Decorating Ideas
10. Red Candle and Berry Arrangement
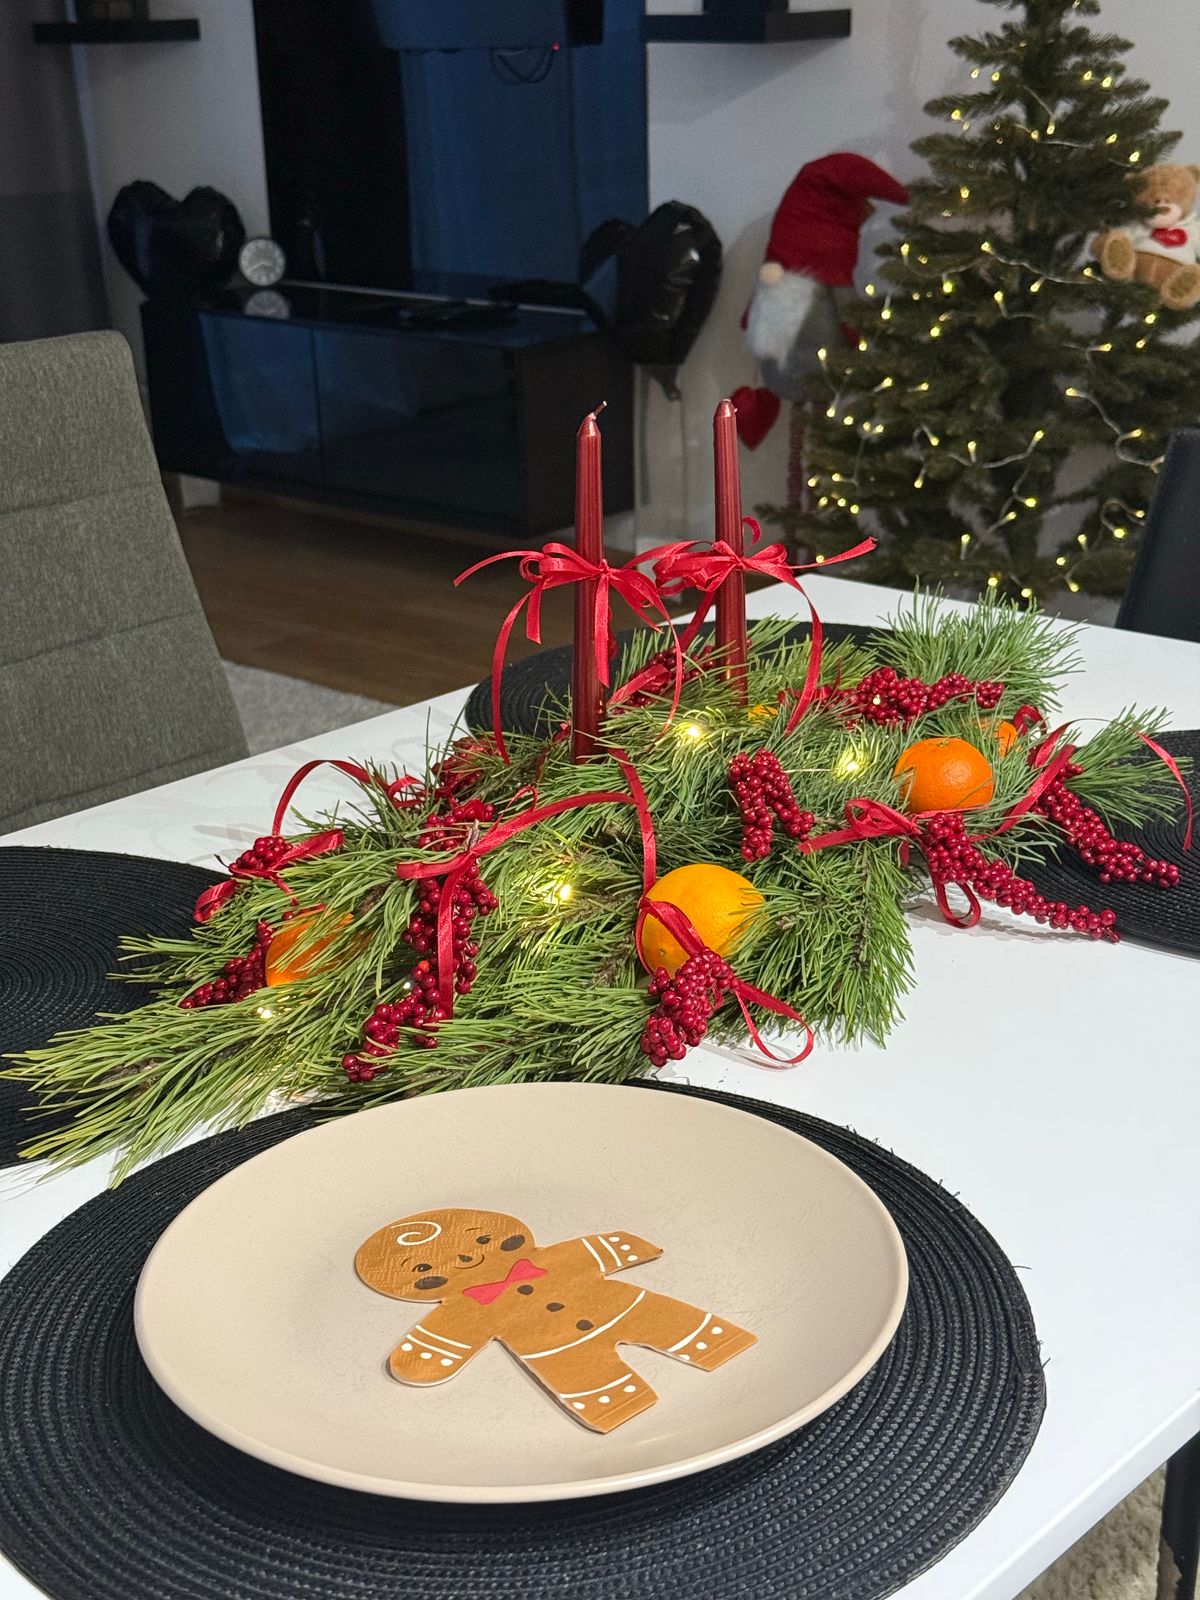
I group red taper candles with berry picks and greenery in a low arrangement that reads classic Christmas from across the room. It is bold, simple, and it photographs beautifully in evening light. I spent about $25 on candles and picks, and it took twenty minutes. It lasted through dinner and the berries stayed bright for a week. The downside is that red taper candles drip colored wax, which stains a tablecloth, so I use drip guards or battery tapers now after one memorable red wax stain on a white cloth.
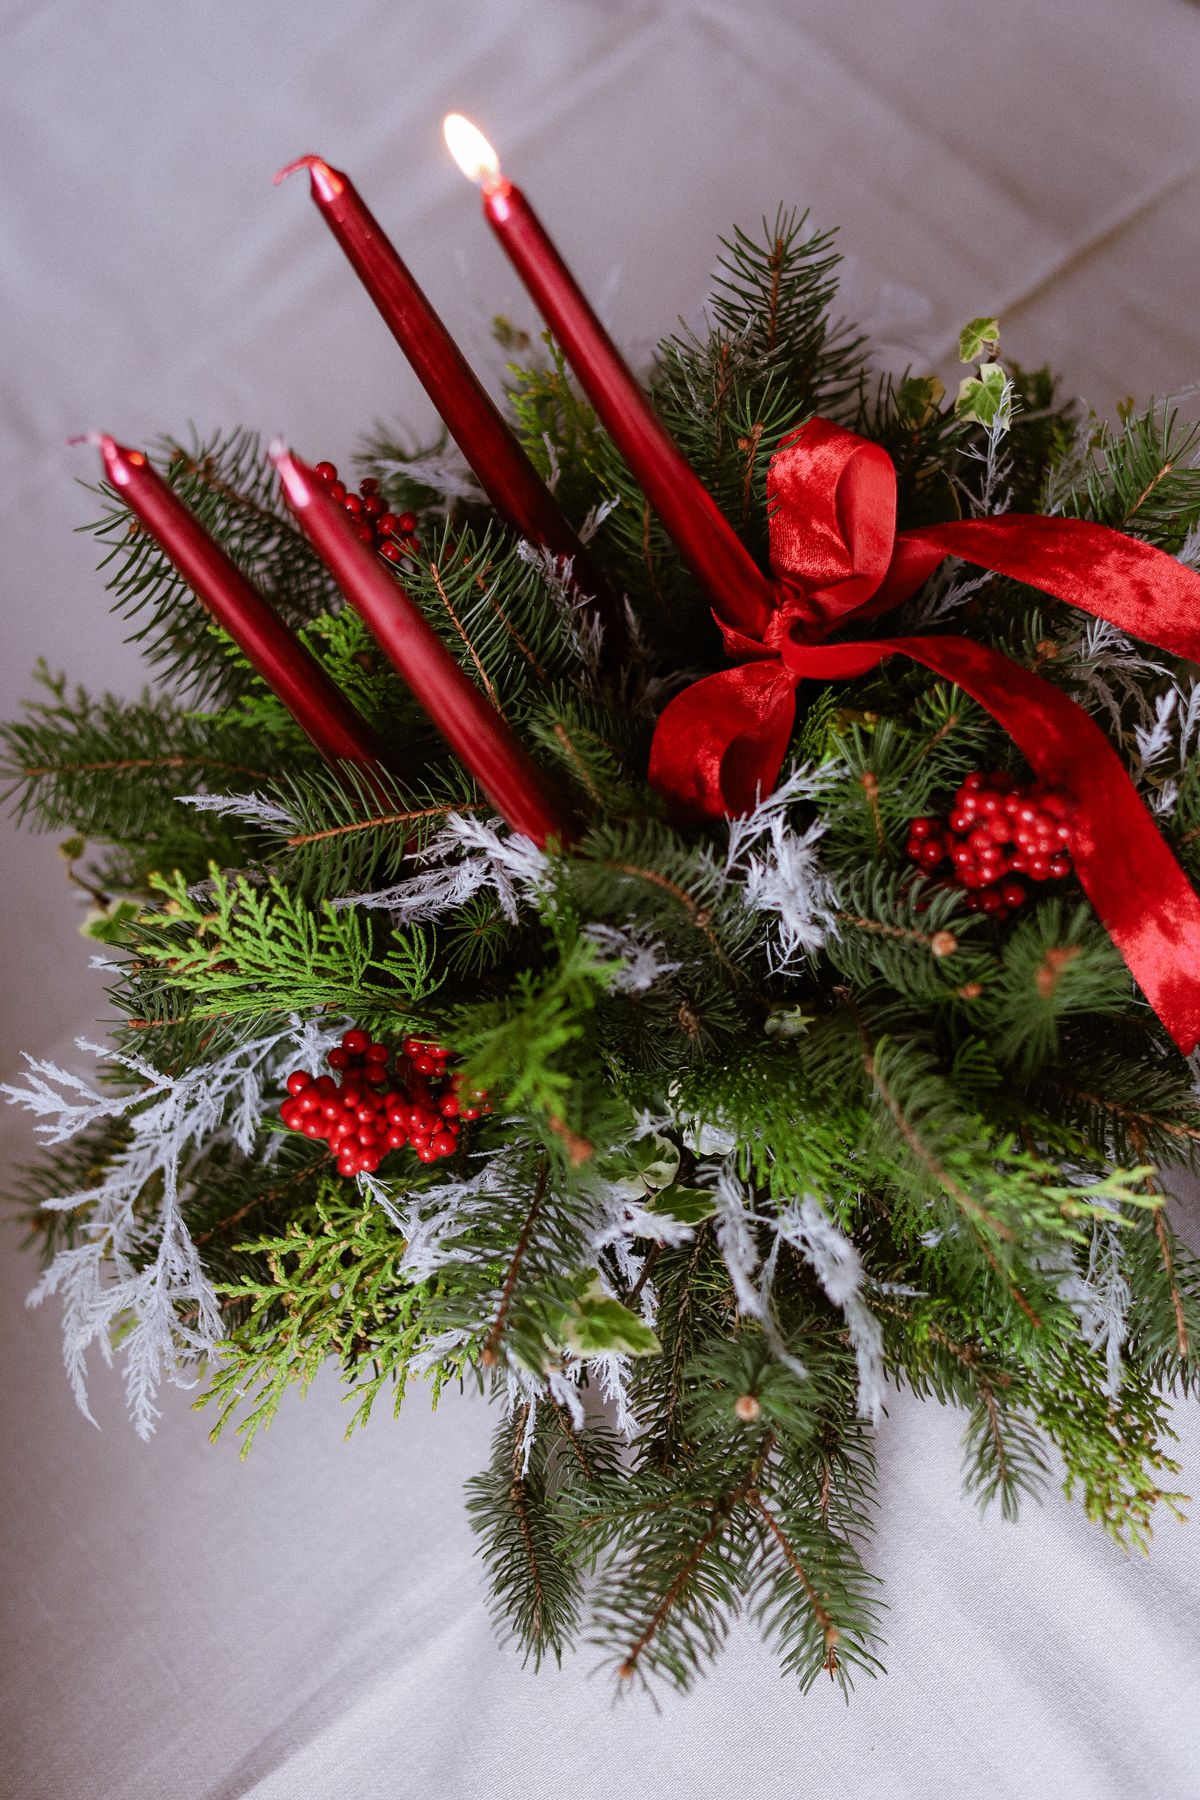
Pro Tip: Use drip guards on every taper, or switch to battery tapers for a white tablecloth.
Cost / Time / Difficulty: $20-$30 / 20 minutes / Easy
11. Berry Vase Centerpiece
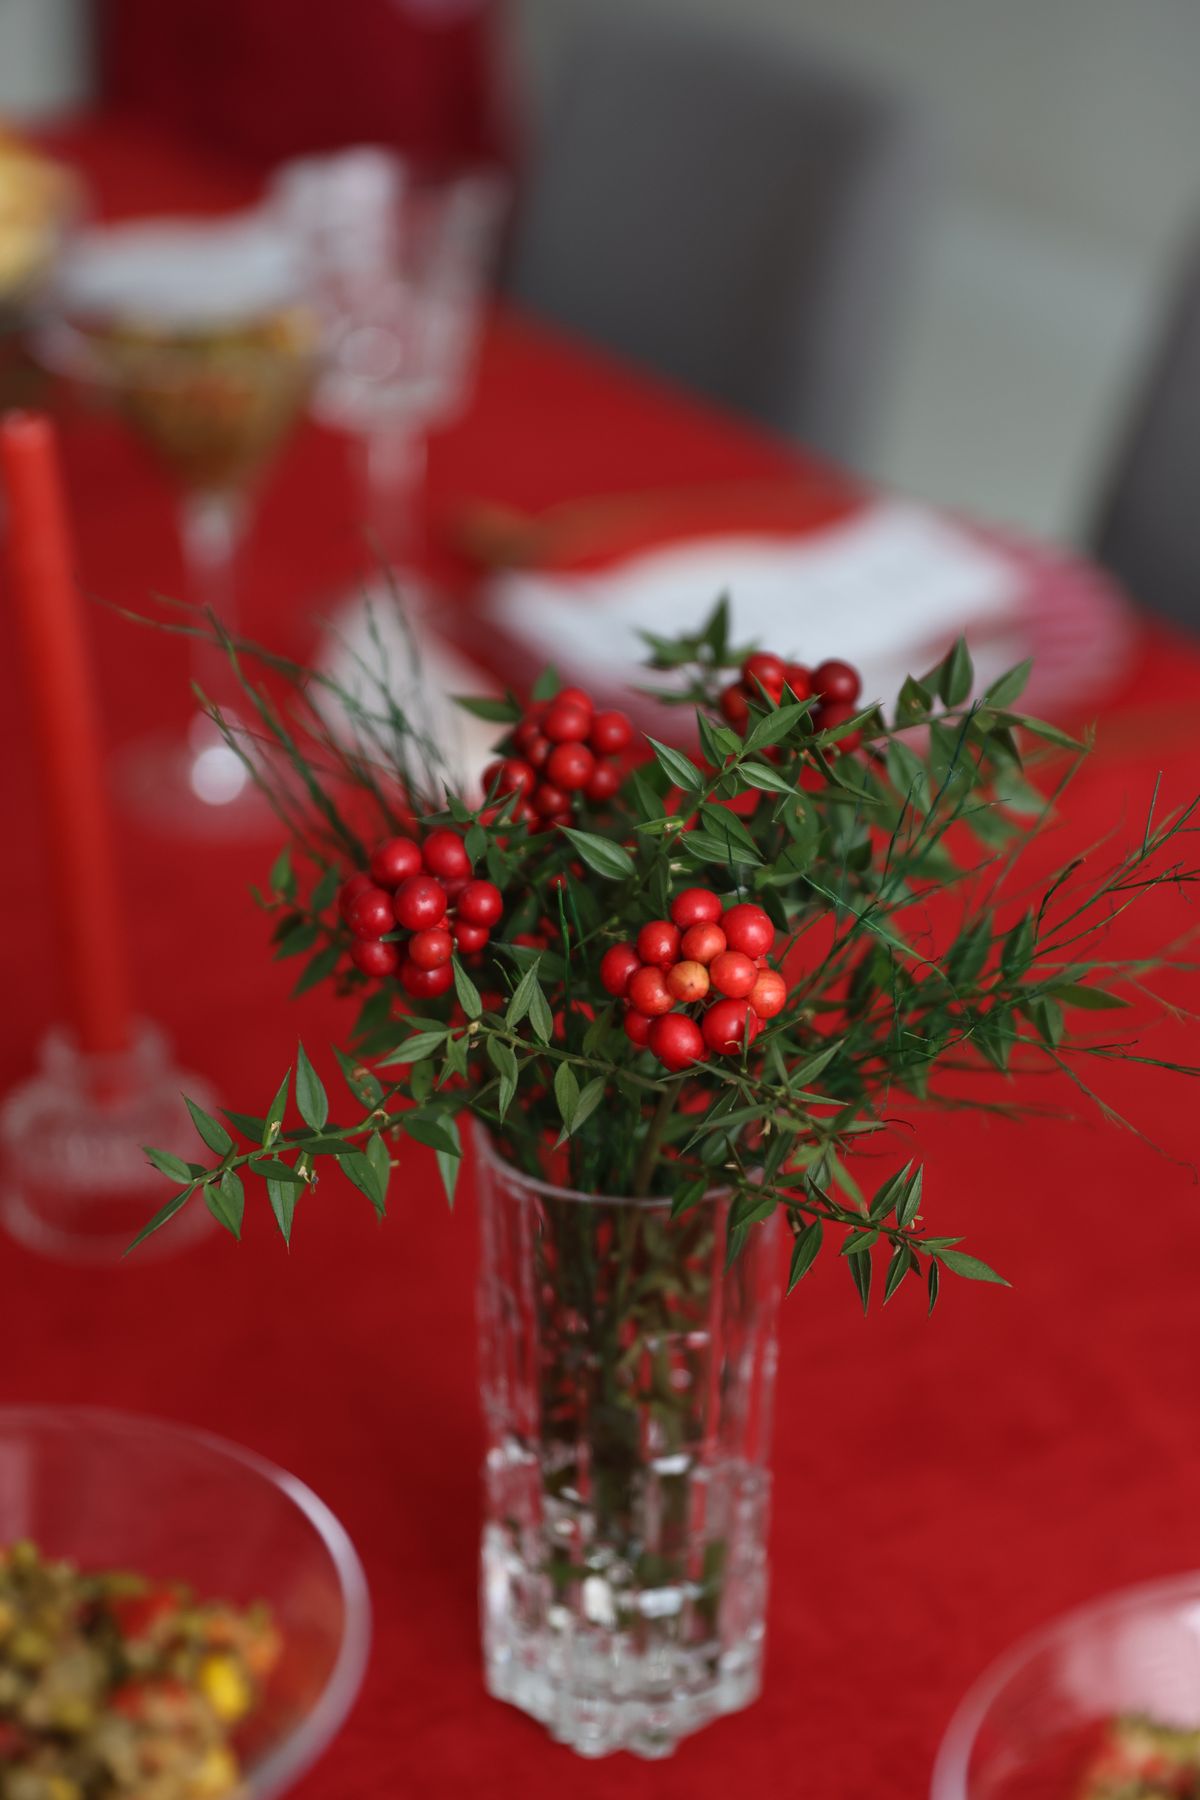
I fill a tall, narrow vase with red berry branches and set it on a small tray with candles around the base. It adds height without blocking faces, because the branches are thin and you can see through them. It cost about $20 and took ten minutes, and it lasted two weeks before the berries started to drop. The downside is dropping berries onto the table, so I place the vase on a tray that catches them, and I check the branches before dinner for any loose berries that could land in food.
Pro Tip: Keep the vase narrow; a wide vase of berries blocks the view across the table.
Cost / Time / Difficulty: $15-$25 / 10 minutes / Easy
12. Gingerbread House Centerpiece
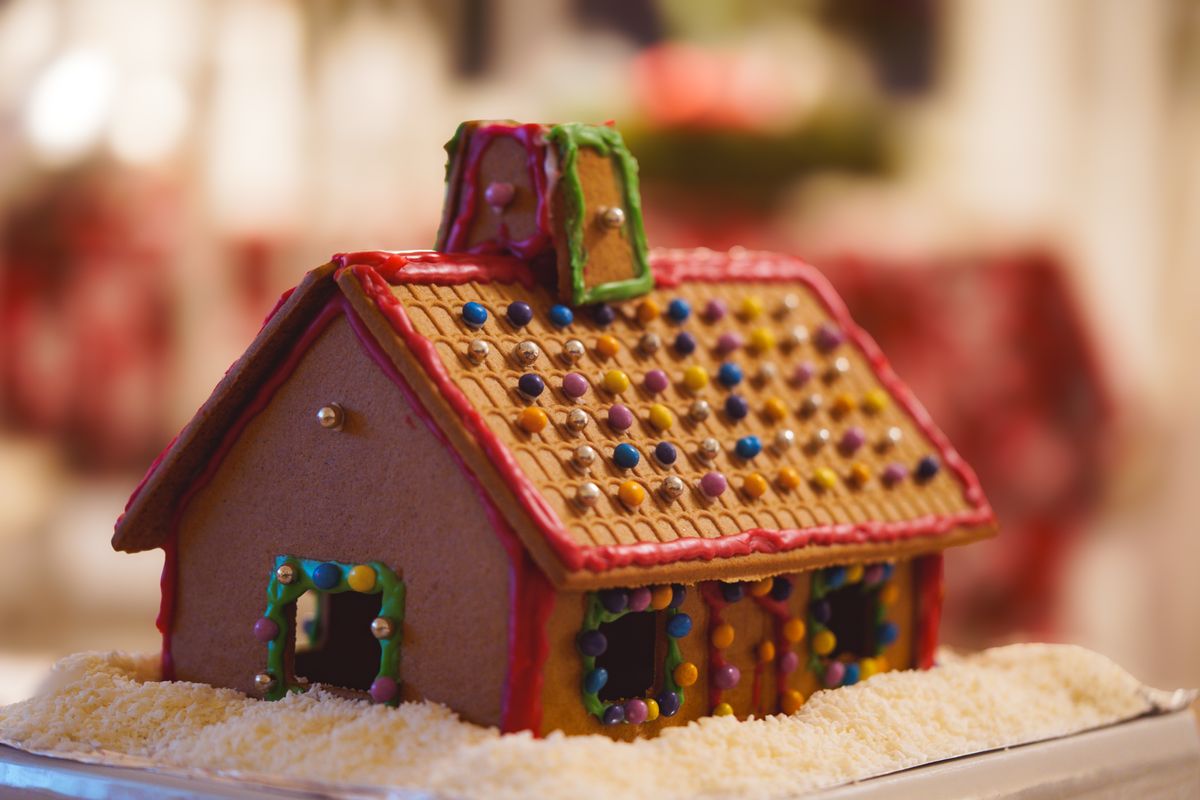
I place a small gingerbread house in the center of the table on a cake stand, surrounded by fake snow and tiny trees. It is the centerpiece kids remember, and it doubles as dessert conversation. I baked and built the house over a weekend, which is the honest time cost, and it cost about $15 in ingredients. It lasted about a week before the icing softened in kitchen humidity. The downside is that a gingerbread house near a hot meal softens faster, so I bring it out for dessert rather than leaving it through a long, steamy dinner.
Pro Tip: Bring the gingerbread house out for dessert, not for the whole meal.
Cost / Time / Difficulty: $12-$20 / 1 weekend / Moderate
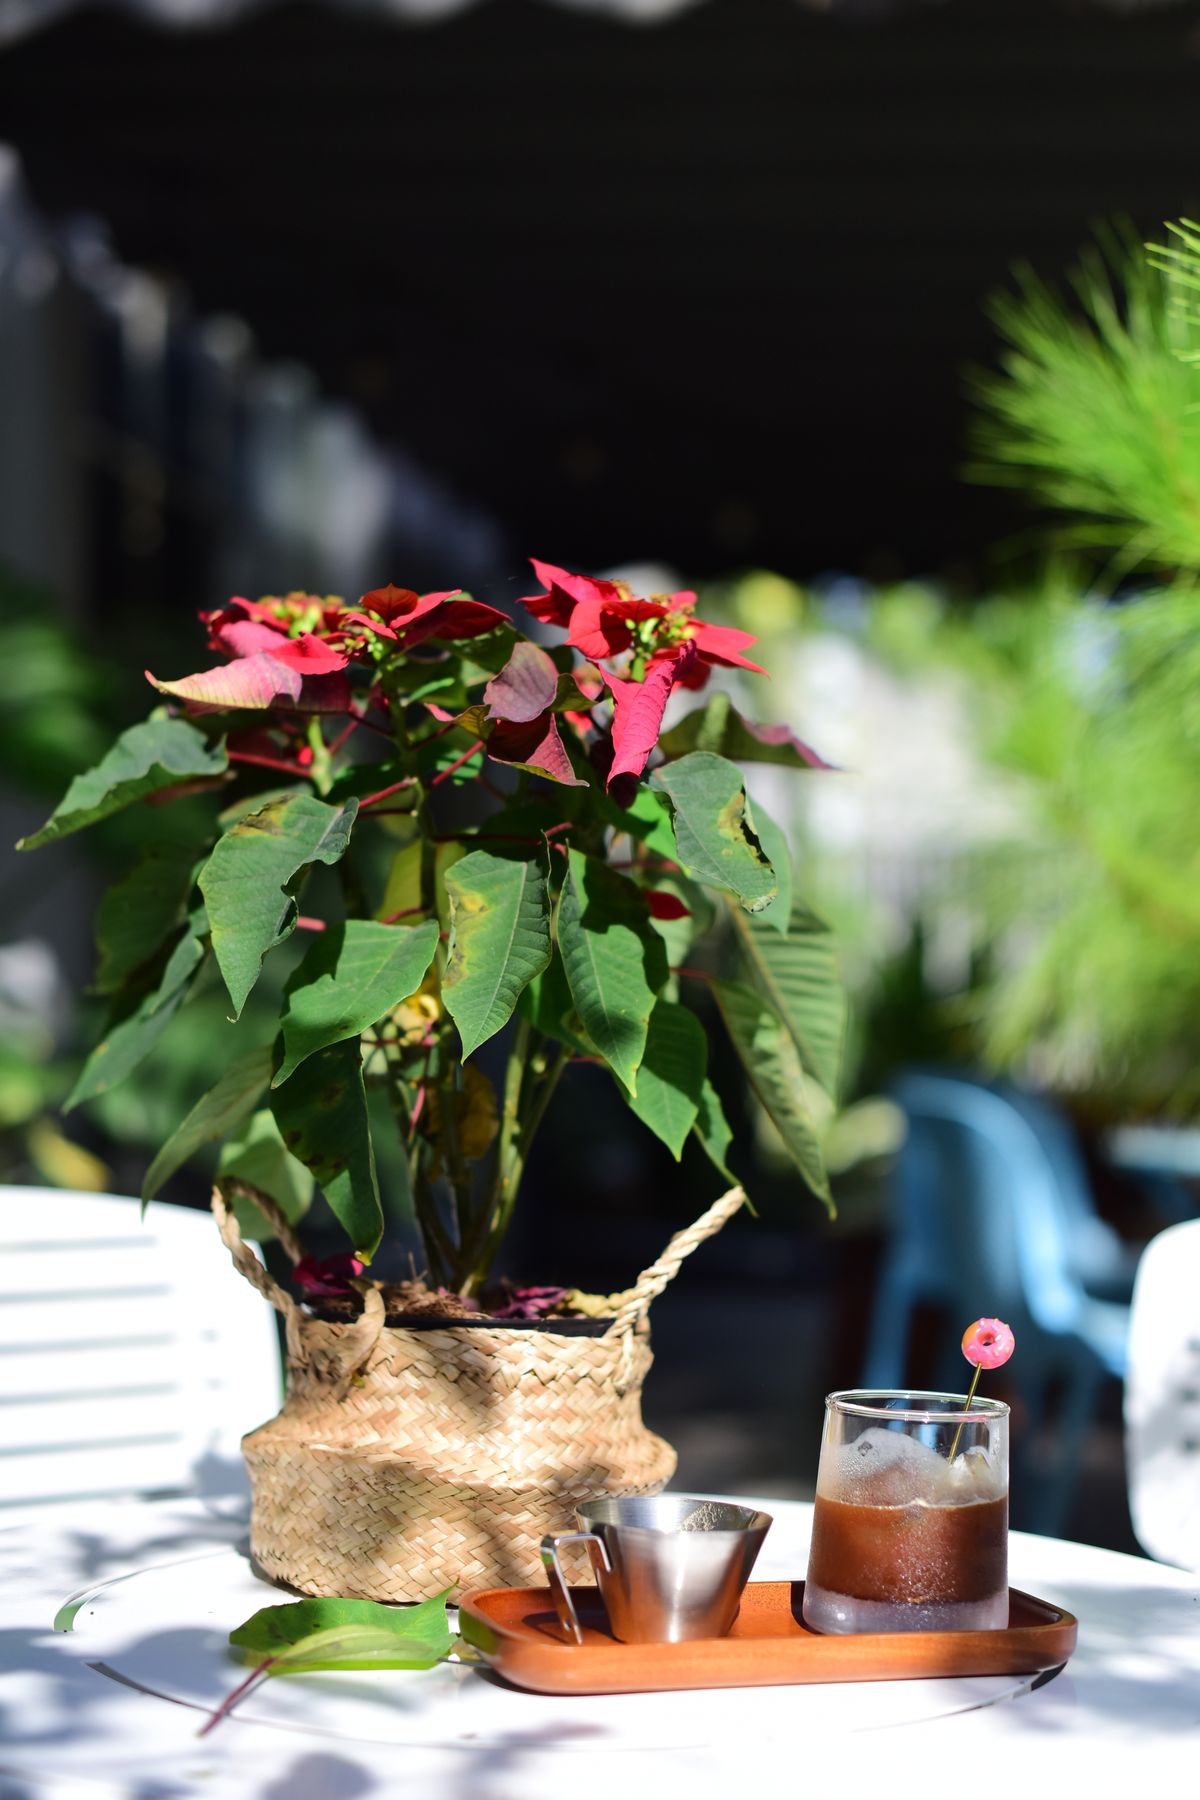
13. Poinsettia in a Basket
I set a potted poinsettia in a woven basket, wrap the pot in burlap, and surround it with pinecones for a living centerpiece. It is simple and it lasts longer than cut flowers if you water it. I bought the poinsettia for about $12 and the basket for $8, and it took five minutes. It lasted three weeks in our dining room with weekly watering. The downside is that poinsettias drop leaves if they get cold drafts, so I keep this centerpiece away from the front door and any window that gets opened for airing the room.
Pro Tip: Water sparingly; poinsettias rot faster from overwatering than from drying out.
Cost / Time / Difficulty: $15-$25 / 5 minutes / Easy
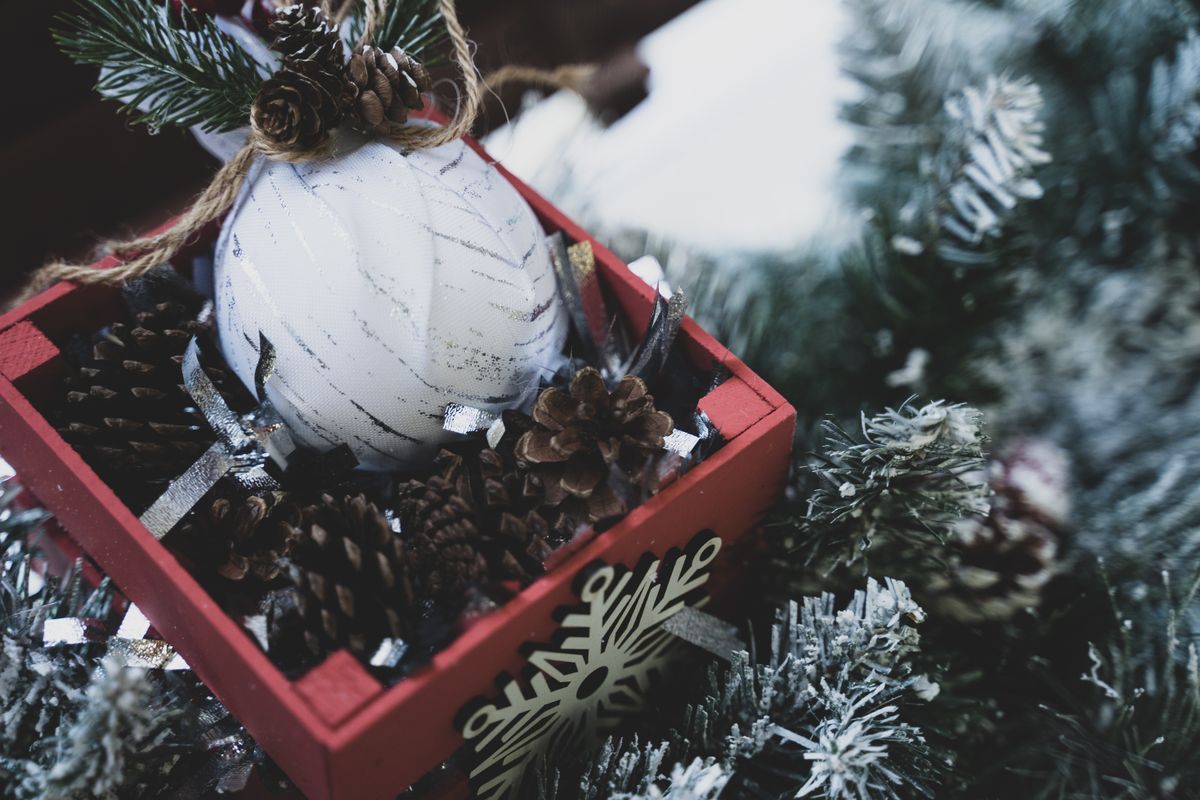
14. Snowy Pinecone Centerpiece
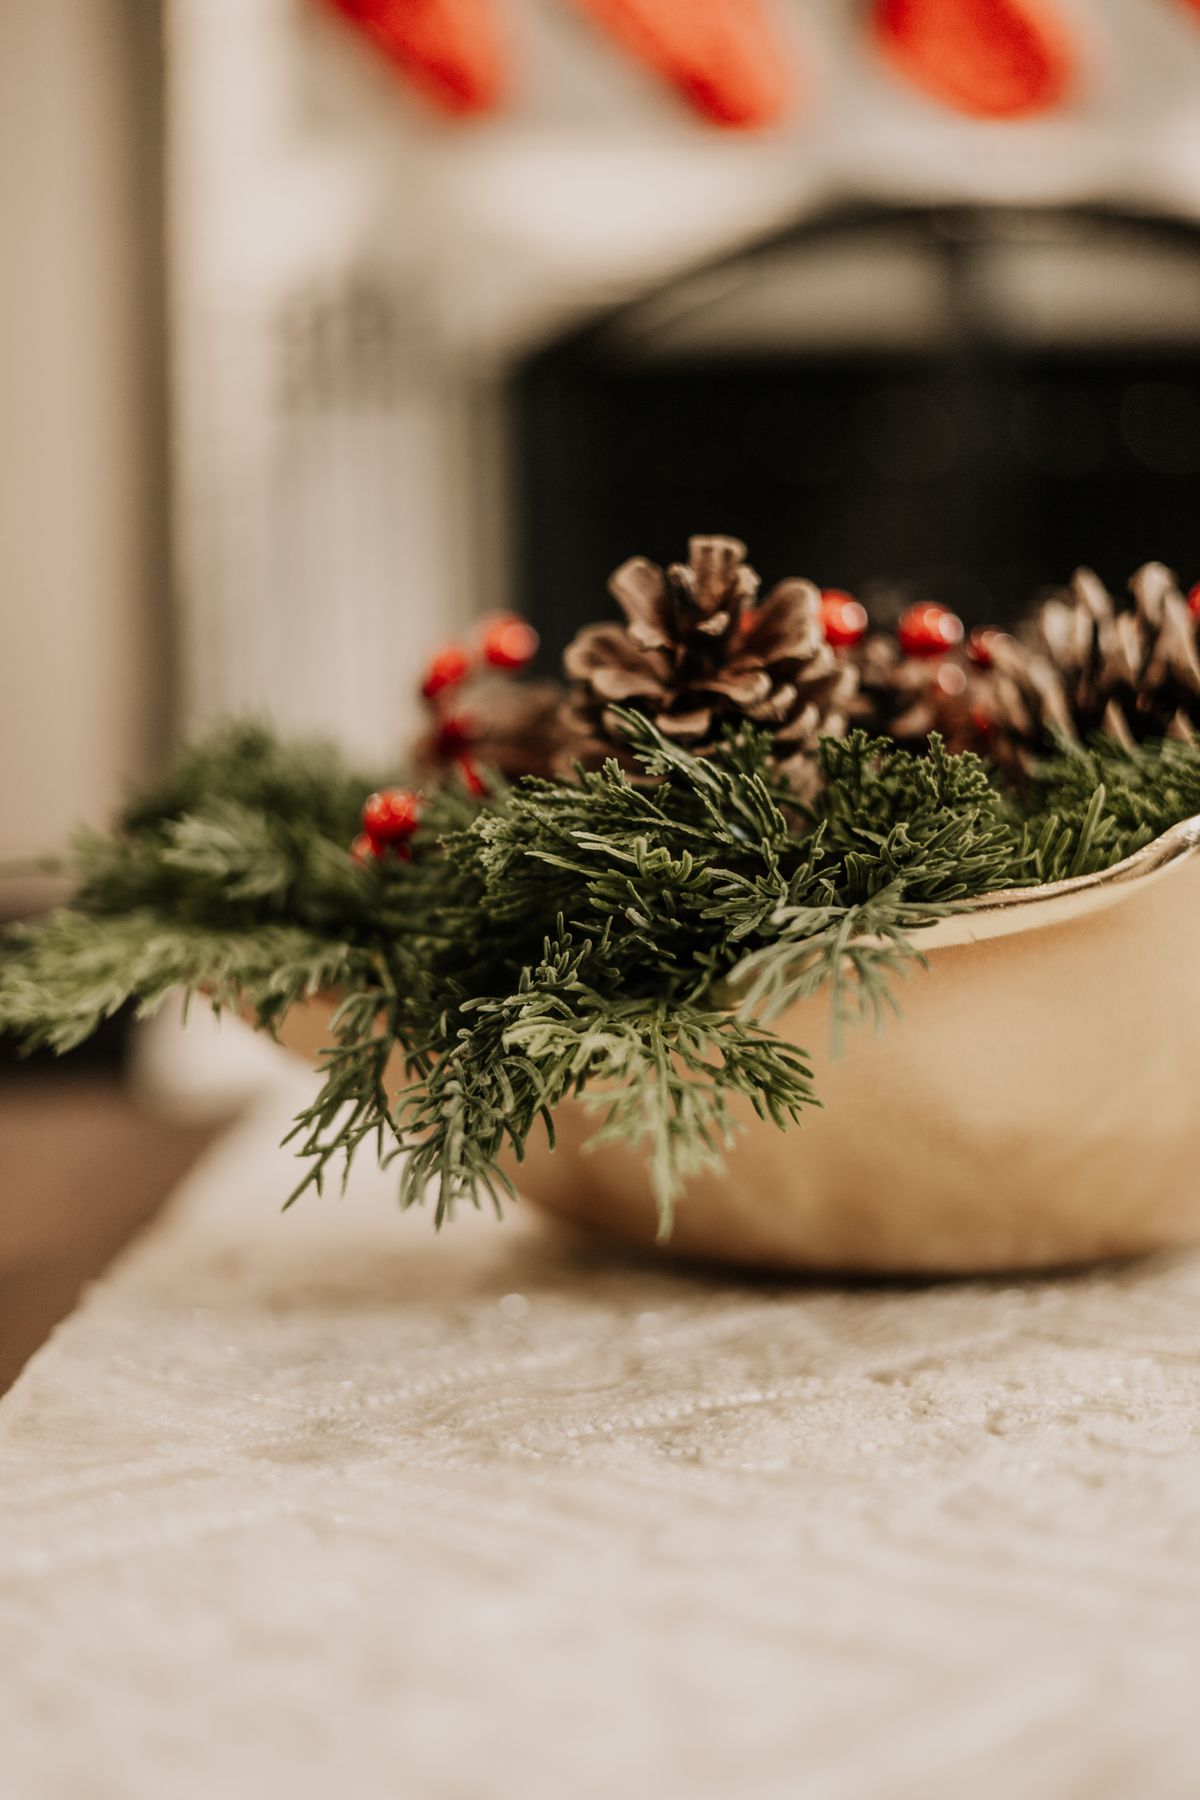
I spray pinecones lightly with fake snow, pile them in a low bowl with greenery, and add a battery candle beside the bowl. It looks like a winter walk brought indoors, and it cost under $15. It took twenty minutes including drying time for the spray. It lasted all December, though the fake snow shed a little white dust onto the table, so I put the bowl on a tray. The downside is that heavily sprayed pinecones look frosted rather than snowy, so I spray lightly from a distance and let some brown show through.
Pro Tip: Spray lightly from arm’s length; heavy fake snow looks like paint.
Cost / Time / Difficulty: $10-$18 / 20 minutes / Easy
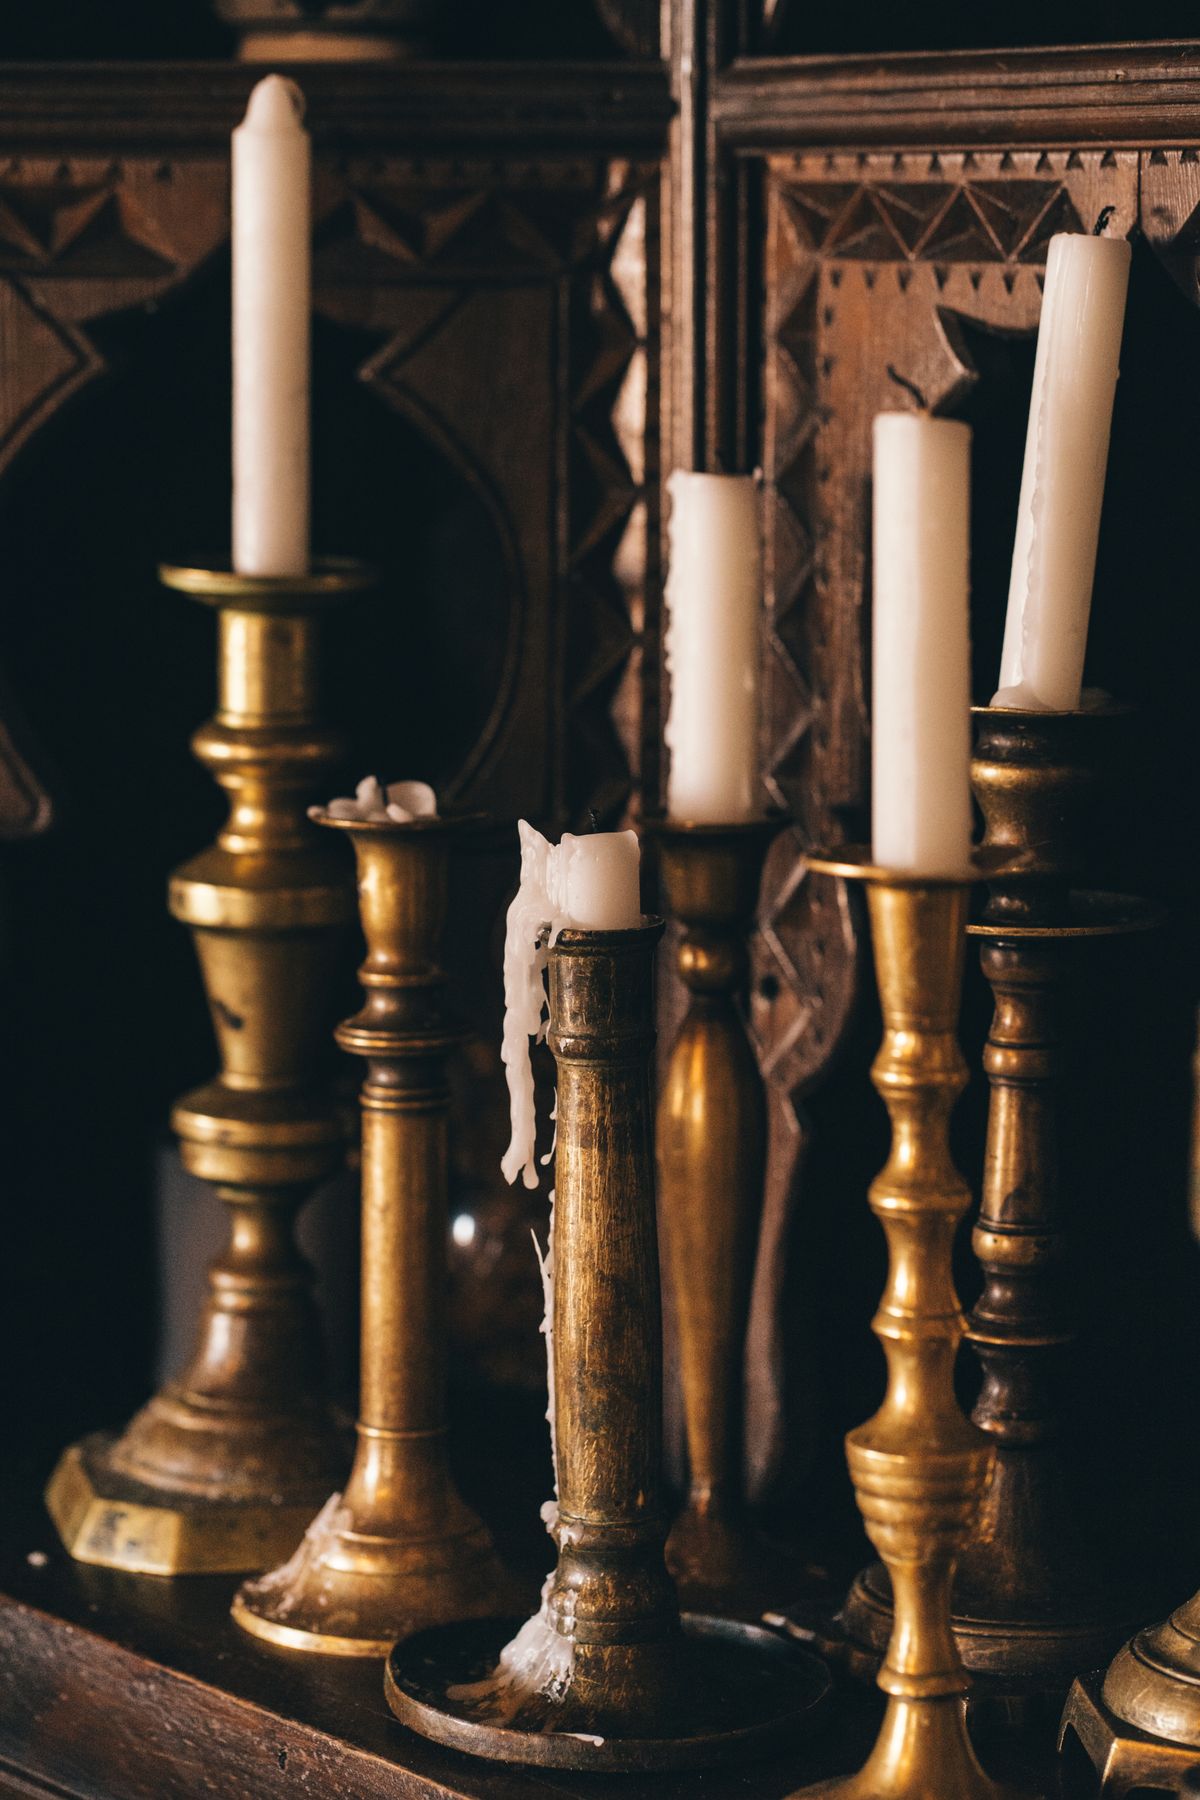
15. Vintage Brass Candlesticks
I use old brass candlesticks I found at a thrift shop, with white tapers and greenery at their bases, for a centerpiece that feels inherited rather than bought. It cost about $20 for the set and took fifteen minutes. It lasted the evening beautifully, though brass tarnishes and needs polishing before the holiday, which I now do in November. The downside is that brass candlesticks vary in height wildly, so I group them in threes with the tallest in the middle and check sightlines from every seat before dinner.
Pro Tip: Polish brass in November, not on Christmas Eve, when you have no time for it.
Cost / Time / Difficulty: $15-$30 / 15 minutes / Easy
16. Children’s Craft Centerpiece
I let my kids make the centerpiece one year: paper trees, cotton snow, and painted pinecones on a tray, and it was the most complimented centerpiece I have ever had. It cost almost nothing and took an afternoon of crafting, which was the point. It lasted the season, though the cotton yellowed slightly by New Year. The downside is durability: paper trees bend if they get wet, so this centerpiece stays away from drinks and I put it on a tray that catches spills before they reach it.
Pro Tip: Let kids make one element, like the trees, and you handle the tray and candles.
Cost / Time / Difficulty: $5-$12 / 1 afternoon / Easy

17. One Low Bowl, Nothing Else
Some years I put a single low bowl of greenery, pinecones, and one candle in the center and leave the rest of the table bare. It looks calm and confident, and it leaves maximum room for food, which is what Christmas dinner is actually about. It cost under $20 and took ten minutes, and it lasted all week. The downside is that a single bowl must be good: a thin, sparse bowl looks like you forgot the centerpiece, so I fill it generously and choose a bowl wide enough to hold the table’s center visually.
Pro Tip: Fill the bowl generously; a sparse single bowl looks unfinished, not minimal.
Cost / Time / Difficulty: $12-$22 / 10 minutes / Easy
Mistakes I Made (So You Don’t Have To)
Mistake 1: I built a centerpiece too tall to see over. Guests leaned around it all dinner, so now every centerpiece stays below eye level when seated, checked from an actual chair.
Mistake 2: I used real candles beside loose greenery. I spent dinner watching them, so battery candles are now my default on a crowded table.
Mistake 3: I skipped a tray under shedding greenery. Needles landed in the gravy, so anything that sheds now sits on a tray or cloth.
Mistake 4: I built the centerpiece on Christmas morning. I was rushed and it showed, so I now build it a day early and only light or refresh it on the day.
Which Christmas Centerpiece Fits Your Table?
| Centerpiece | Best for | Cost | Effort |
| Greenery runner | Long tables, natural look | $10-$20 | Low |
| Candle trio on board | Crowded tables, serving space | $12-$25 | Low |
| Red roses + pinecones | Formal dinners | $25-$40 | Low |
| Ornament bowl | Busy weeks, tight budgets | $0-$20 | Minimal |
| One low bowl | Small tables, food-first dinners | $12-$22 | Low |
Frequently Asked Questions
How long did your Christmas centerpieces actually last?
Greenery runners lasted about ten days before needle drop, roses about five days, and dried citrus, lanterns, and ornament bowls lasted all December. I build fresh-flower centerpieces a day before the meal and dried or faux ones as early as I like.
What would you do differently?
I would check sightlines from a seated position, not standing. A centerpiece that looks low when you stand over it can still block the person opposite you once everyone sits down.
Can a centerpiece survive a table full of serving dishes?
Yes, if you keep it narrow and low and put it on a tray. A tray lets you lift the whole centerpiece off in seconds when you need space, and it catches needles, berries, and wax before they reach the tablecloth.
Are real candles safe on a Christmas table?
They can be, in stable holders away from greenery, paper, and children’s reach, but on a crowded table I prefer battery candles. They give the same glow, they cannot drip wax into food, and no one has to watch them during dinner.
Read this next: 21 Christmas Mantel Decor Ideas
Final Thoughts
If I had to choose one, I would start with the candle trio on a wooden board: it is cheap, fast, safe, and it leaves room for the food that actually matters.
Build it a day early, sit in every chair, and check you can see the person opposite you. That check is what separates a beautiful Christmas centerpiece idea from one that gets moved to the sideboard before the first course.