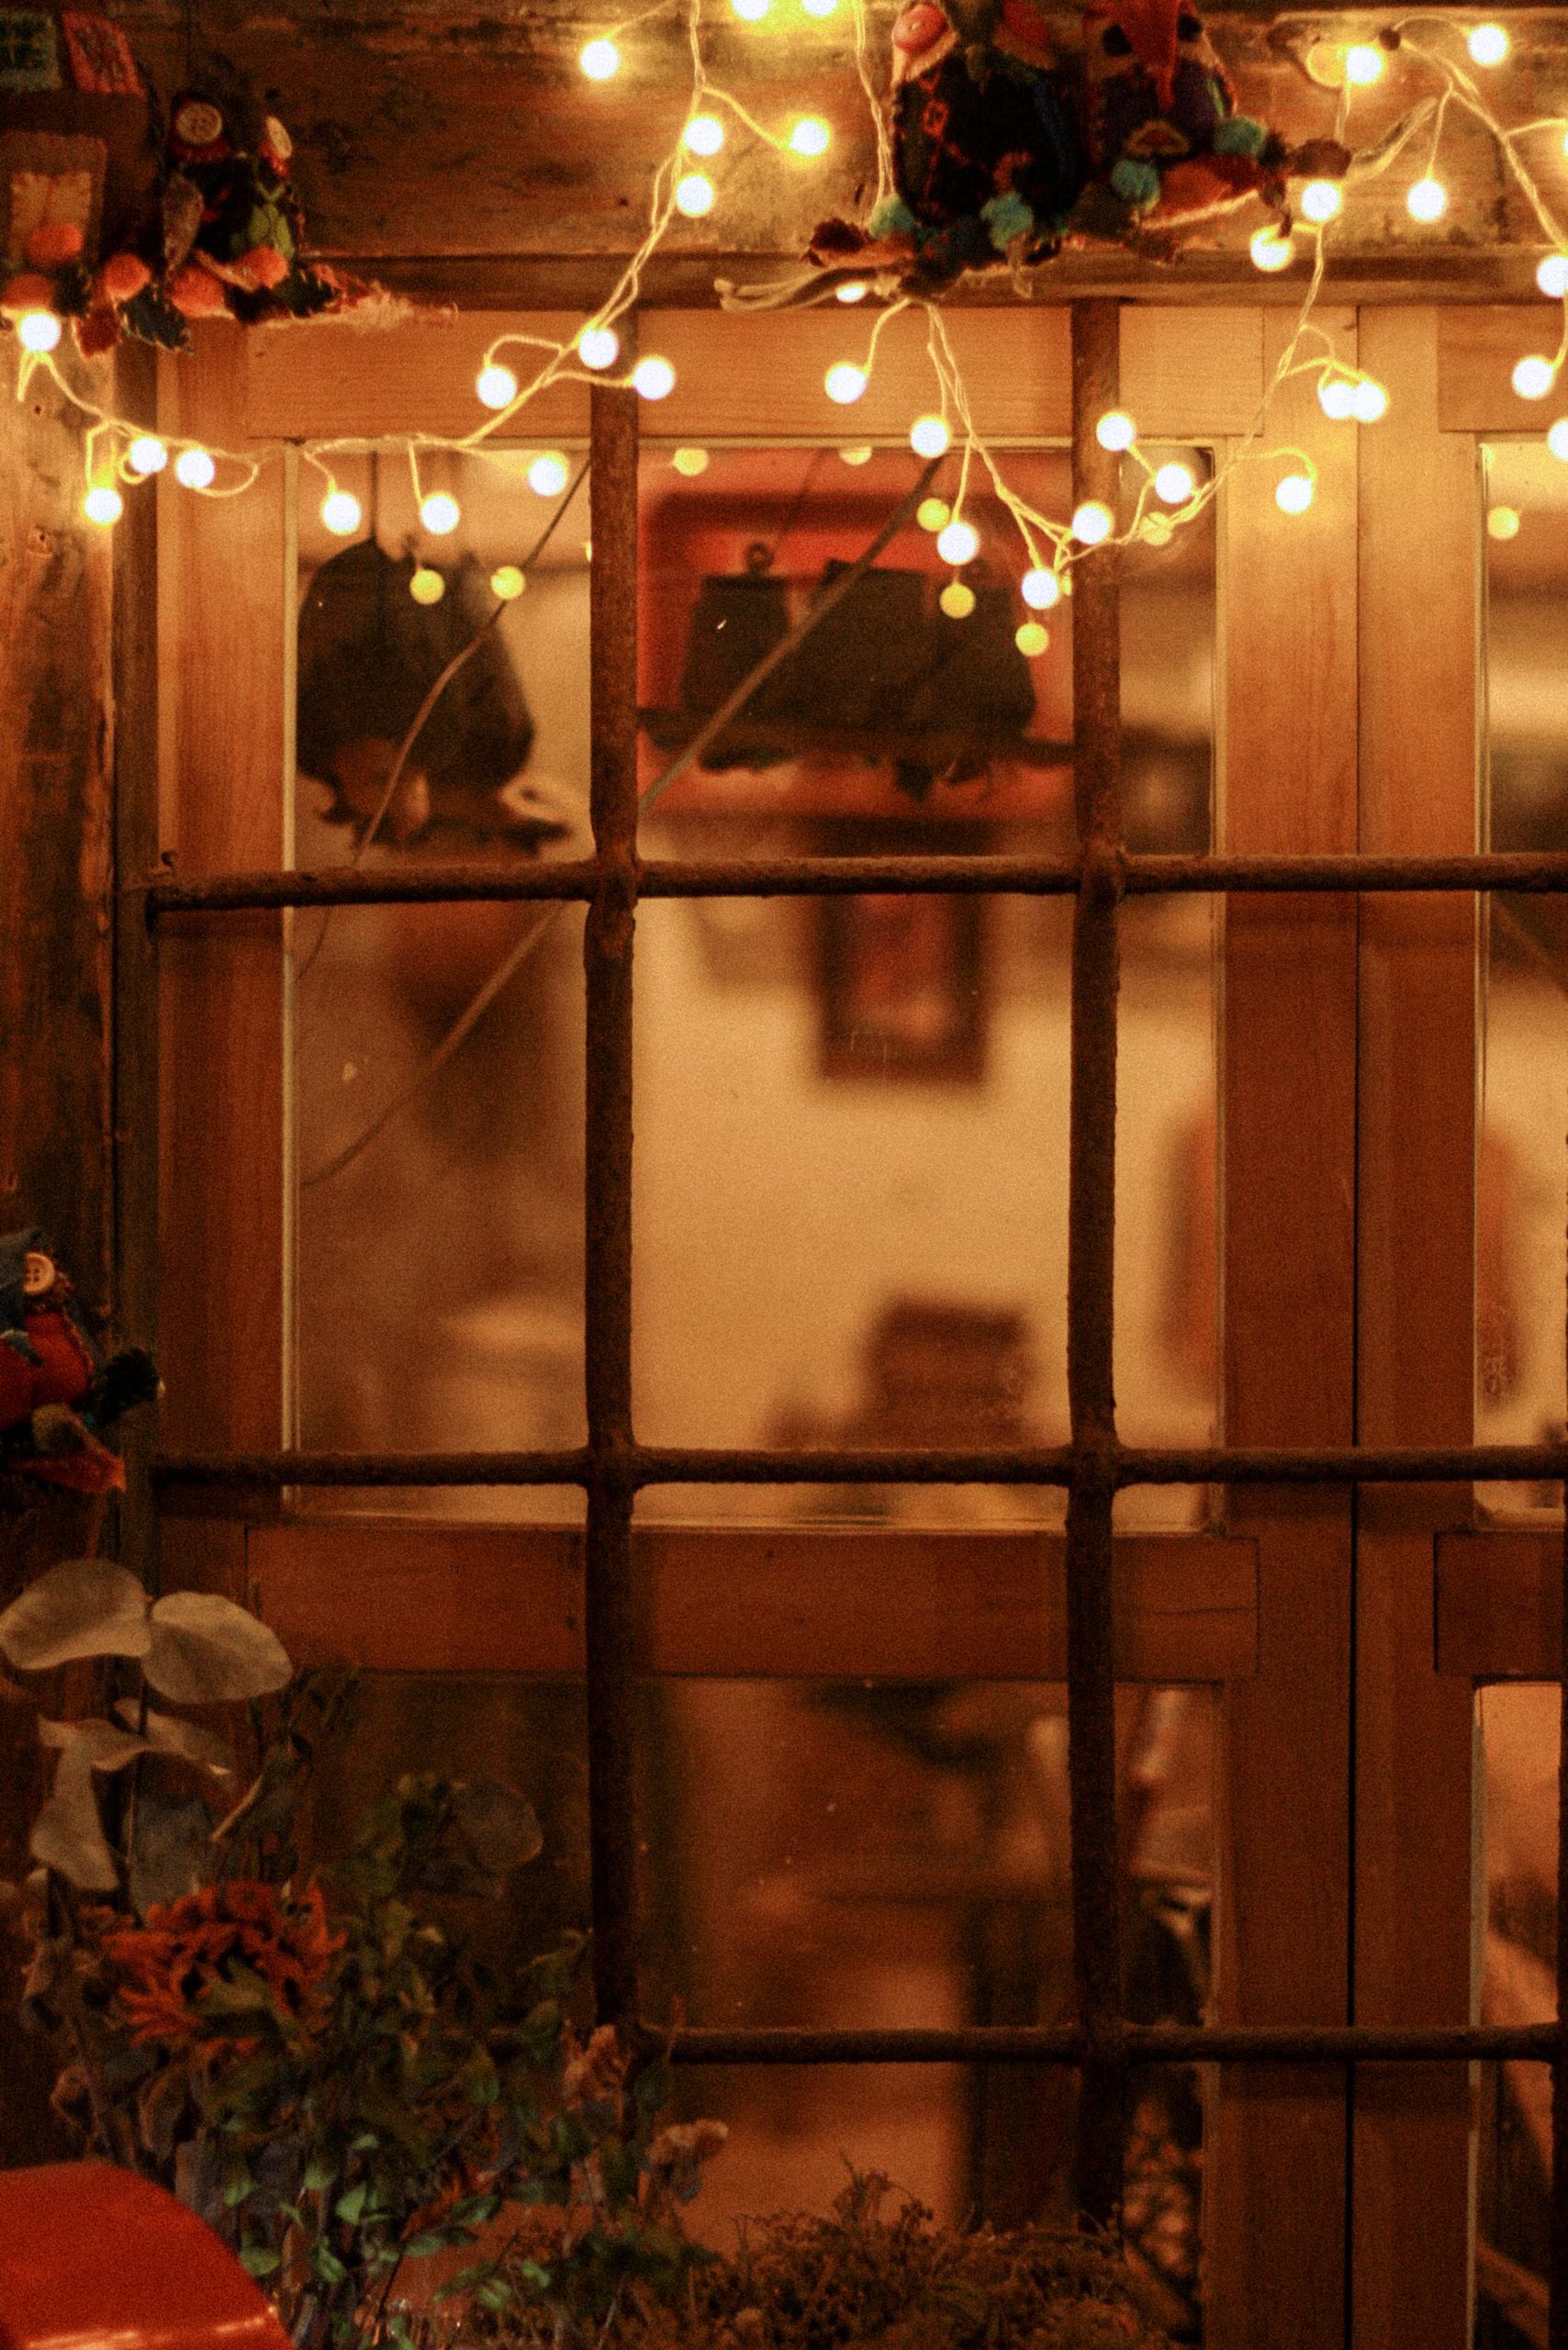
18 Christmas Light Decor Ideas for Small Homes That Still Feel Magical
A small home does not need fewer Christmas lights, it needs smarter ones, and I learned that the year I draped three long strings across our flat and spent Christmas tripping over extension cords. These christmas light decor ideas are the ones I have actually used in our small home, with one living room, one narrow hallway, and very few spare sockets.
How I picked these: I tried each idea in our home, counted the sockets it needed, and lived with it for at least a week. I kept an idea only if it made the room feel festive without clutter, heat, or a tangle of wires, and if I could take it down in under an hour in January. Every idea below tells you what it cost, how long it took, and where it went wrong.
Key Takeaways
- Battery lights beat plug-in lights in small homes, because sockets are scarce and wires are a trip hazard.
- Warm white lights make a small room feel cosy, while cool white lights can make it feel cold and clinical.
- One strong light feature beats five small, scattered strings every time.
- Always check for heat, especially with fabric, paper, and dried greenery near lights.
- Use timers, so lights turn off at night without you having to crawl behind furniture.
18 Christmas Light Decor Ideas for Small Homes
1. The Fairy Light Curtain
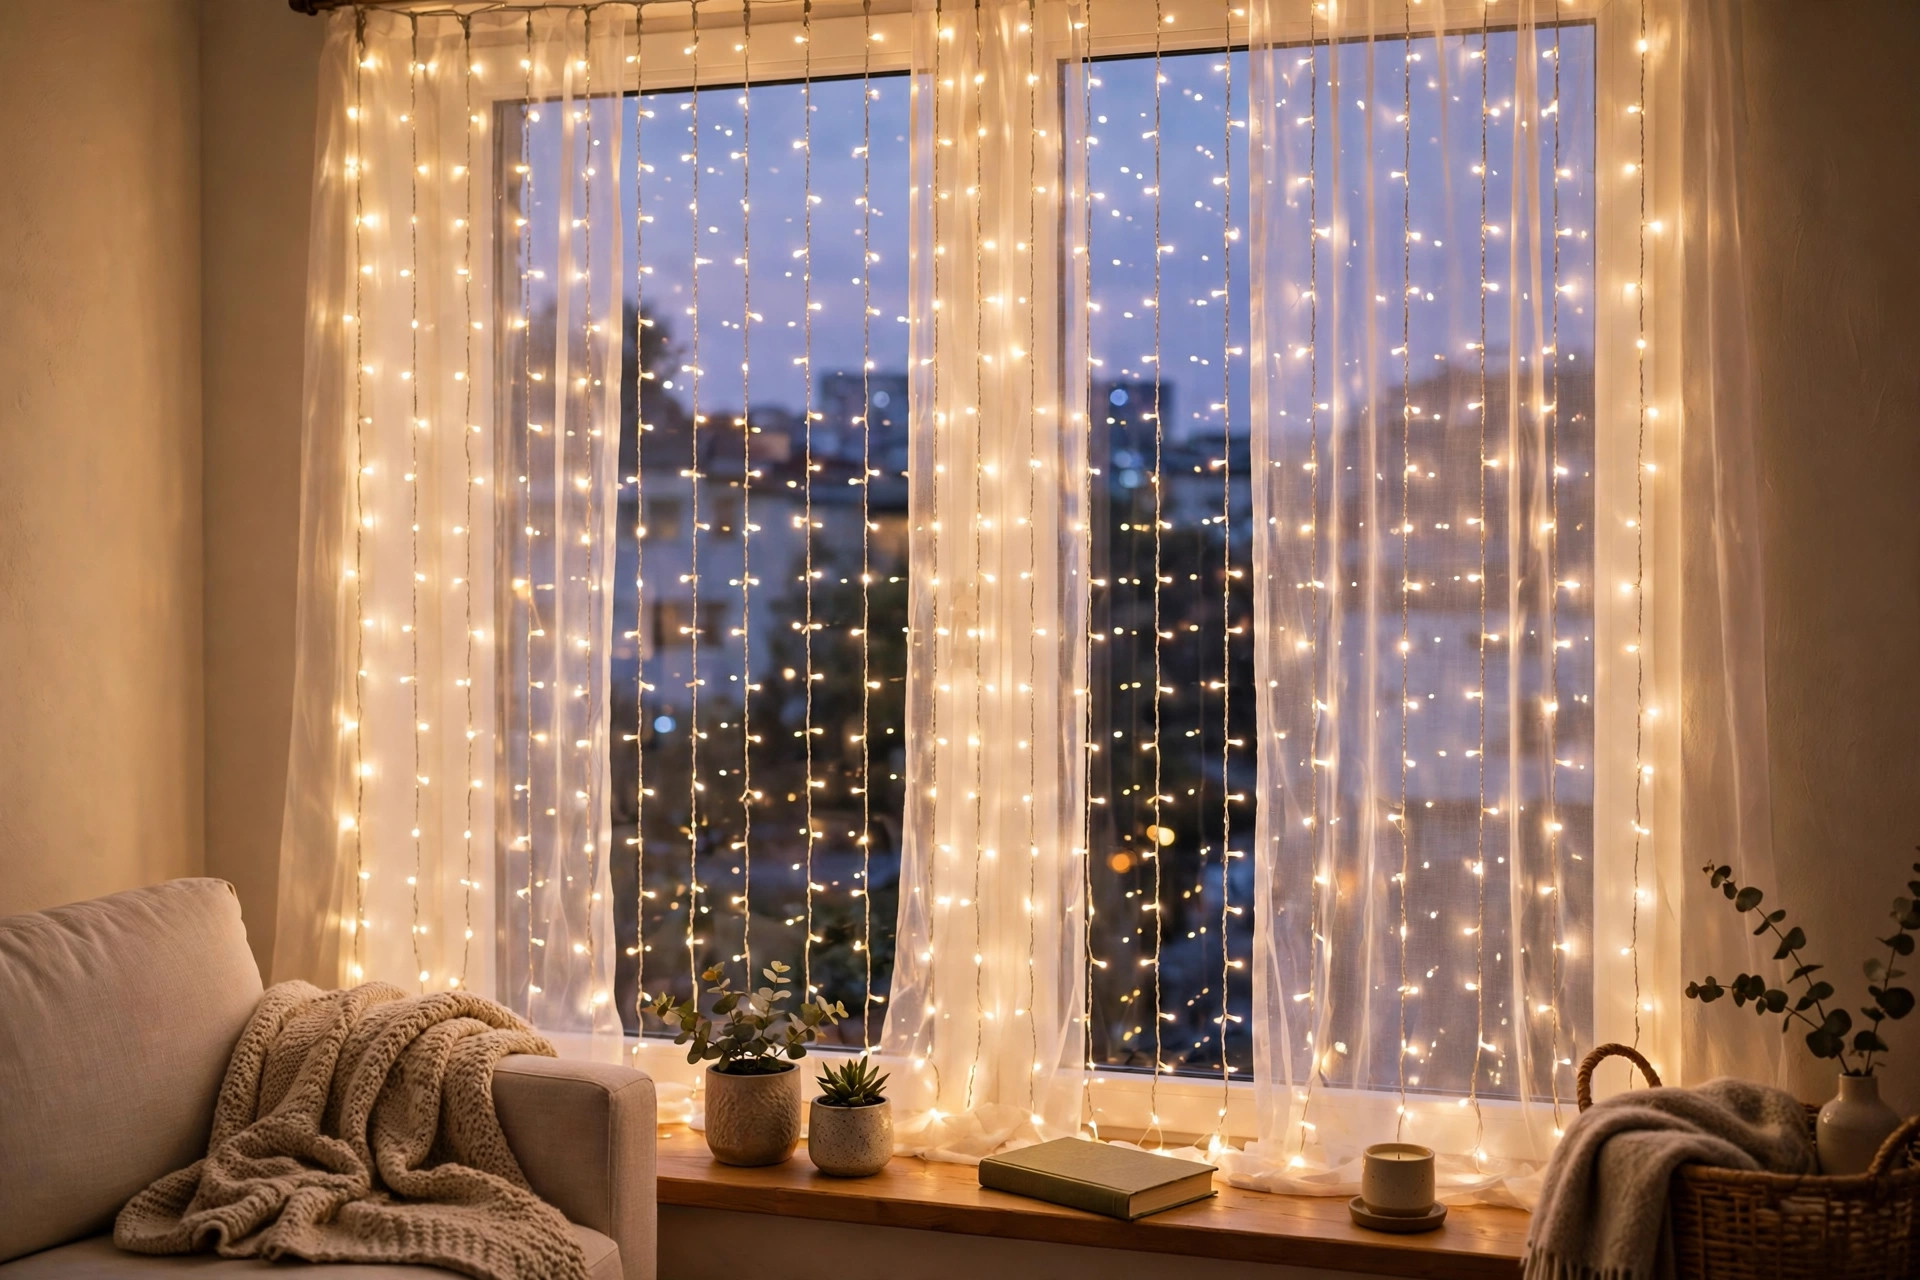
I hung a curtain of warm white fairy lights across our living room window, using small adhesive hooks at the top. The whole wall glowed in the evening, and our flat felt twice as festive without losing any floor space.
I chose warm white over cool white after testing both, because the cool set made our small living room feel like an office, while the warm set felt like Christmas.
The downside is tangling. My first curtain arrived in a knot, and untangling it took an hour. I now store it wrapped around a piece of cardboard, and I hang it from the centre outwards.
Pro Tip: Store fairy curtains wrapped around cardboard, and hang from the centre outwards to avoid tangles.
Cost / Time / Difficulty: $10 to $18 | 30 minutes | Easy
2. The Window Star Light
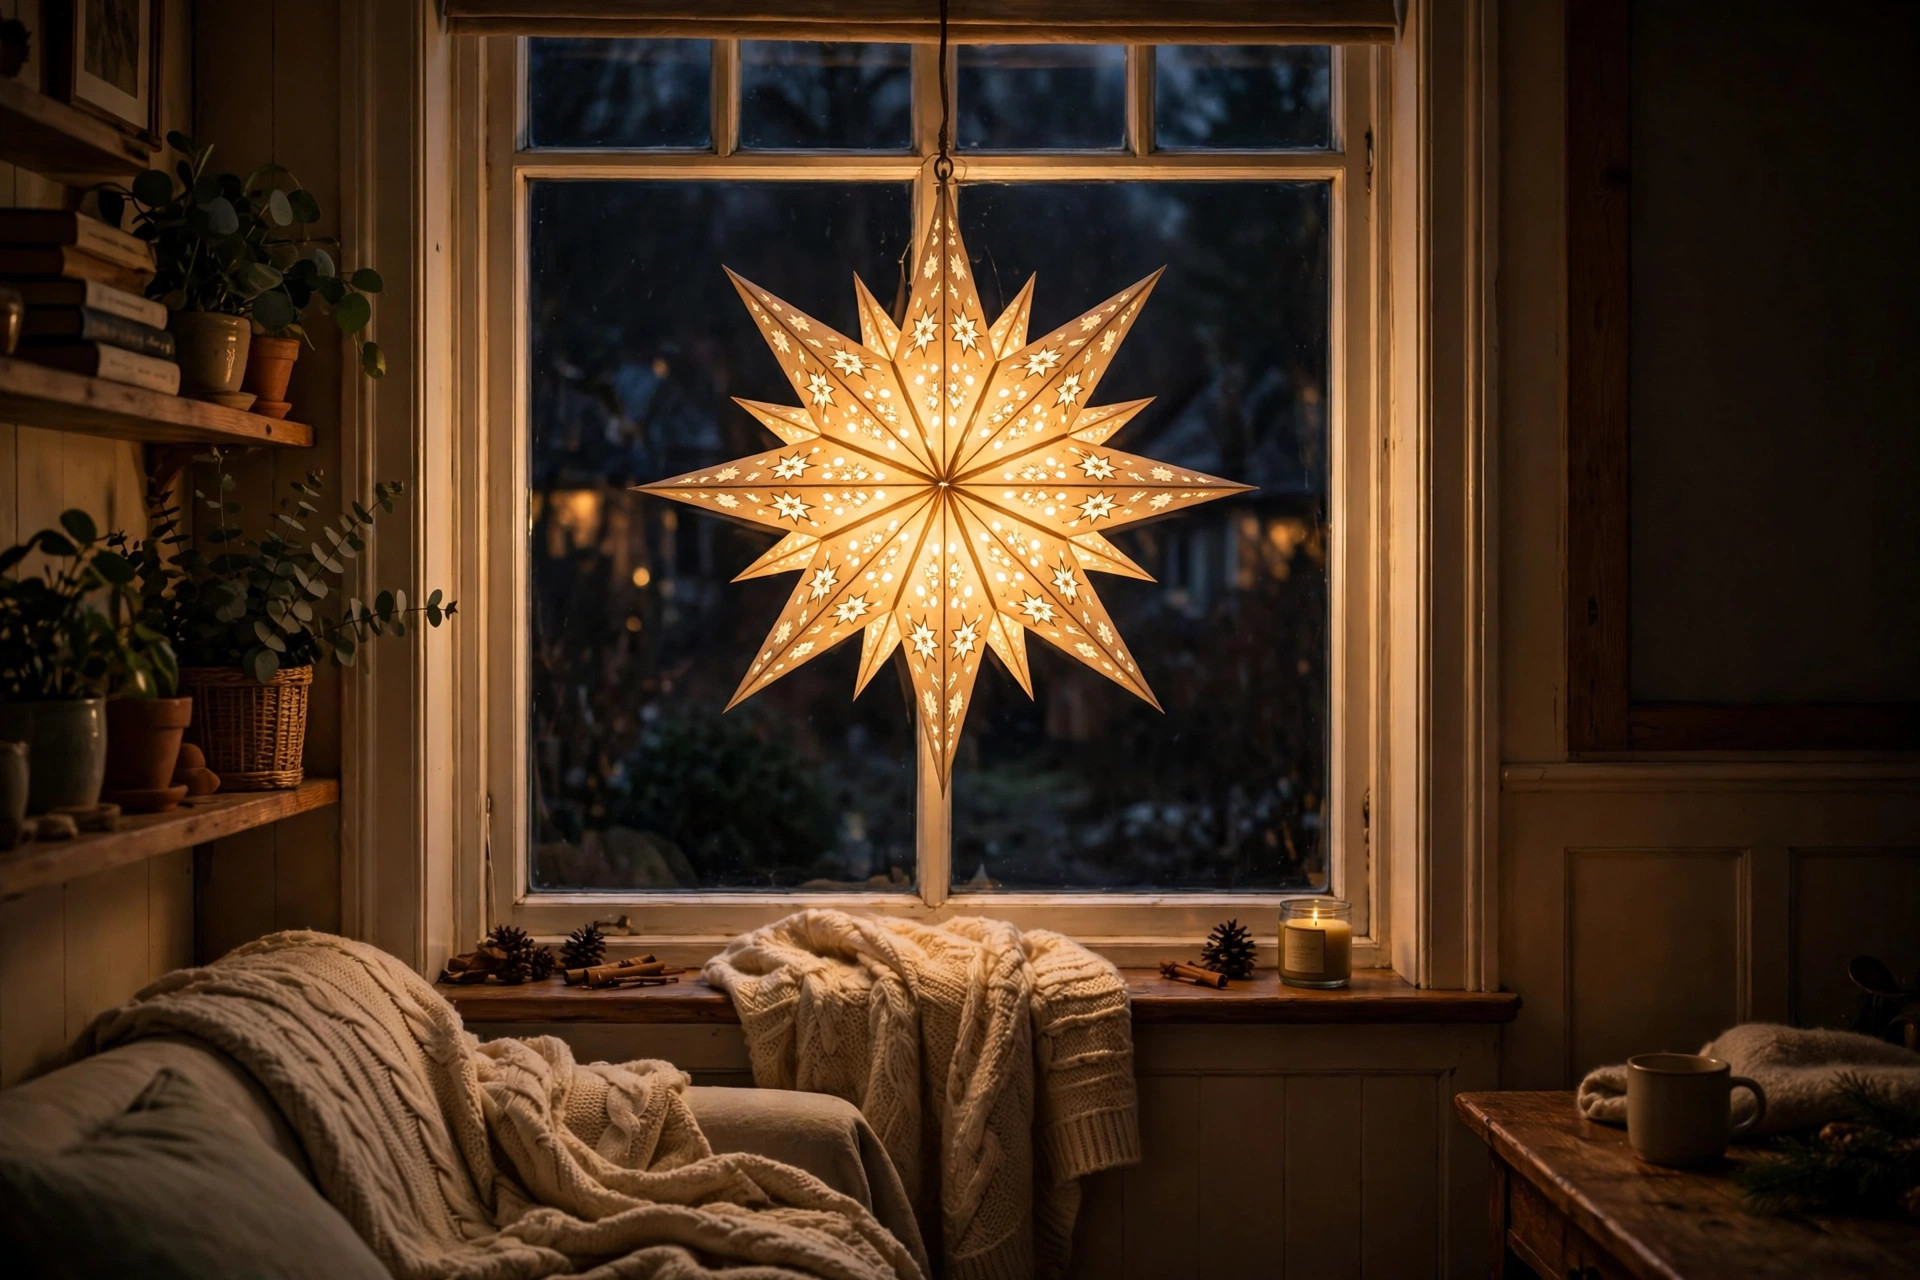
I hung a single large star light in our front window, on a battery pack, so it glowed for passers-by without any wires across the room. It was the simplest decoration we owned, and neighbours commented on it most.
I hung the star with a removable hook, not a nail, so it came down in January without a mark on the window frame, which mattered in our rented flat.
The downside is battery life. My first star dimmed after four nights because I left it on all day. I switched to a timer, six hours each evening, and the batteries lasted three weeks.
Pro Tip: Use a timer for battery stars, or the batteries will die in days, not weeks.
Cost / Time / Difficulty: $8 to $15 | 10 minutes | Easy
3. The Ceiling String Light
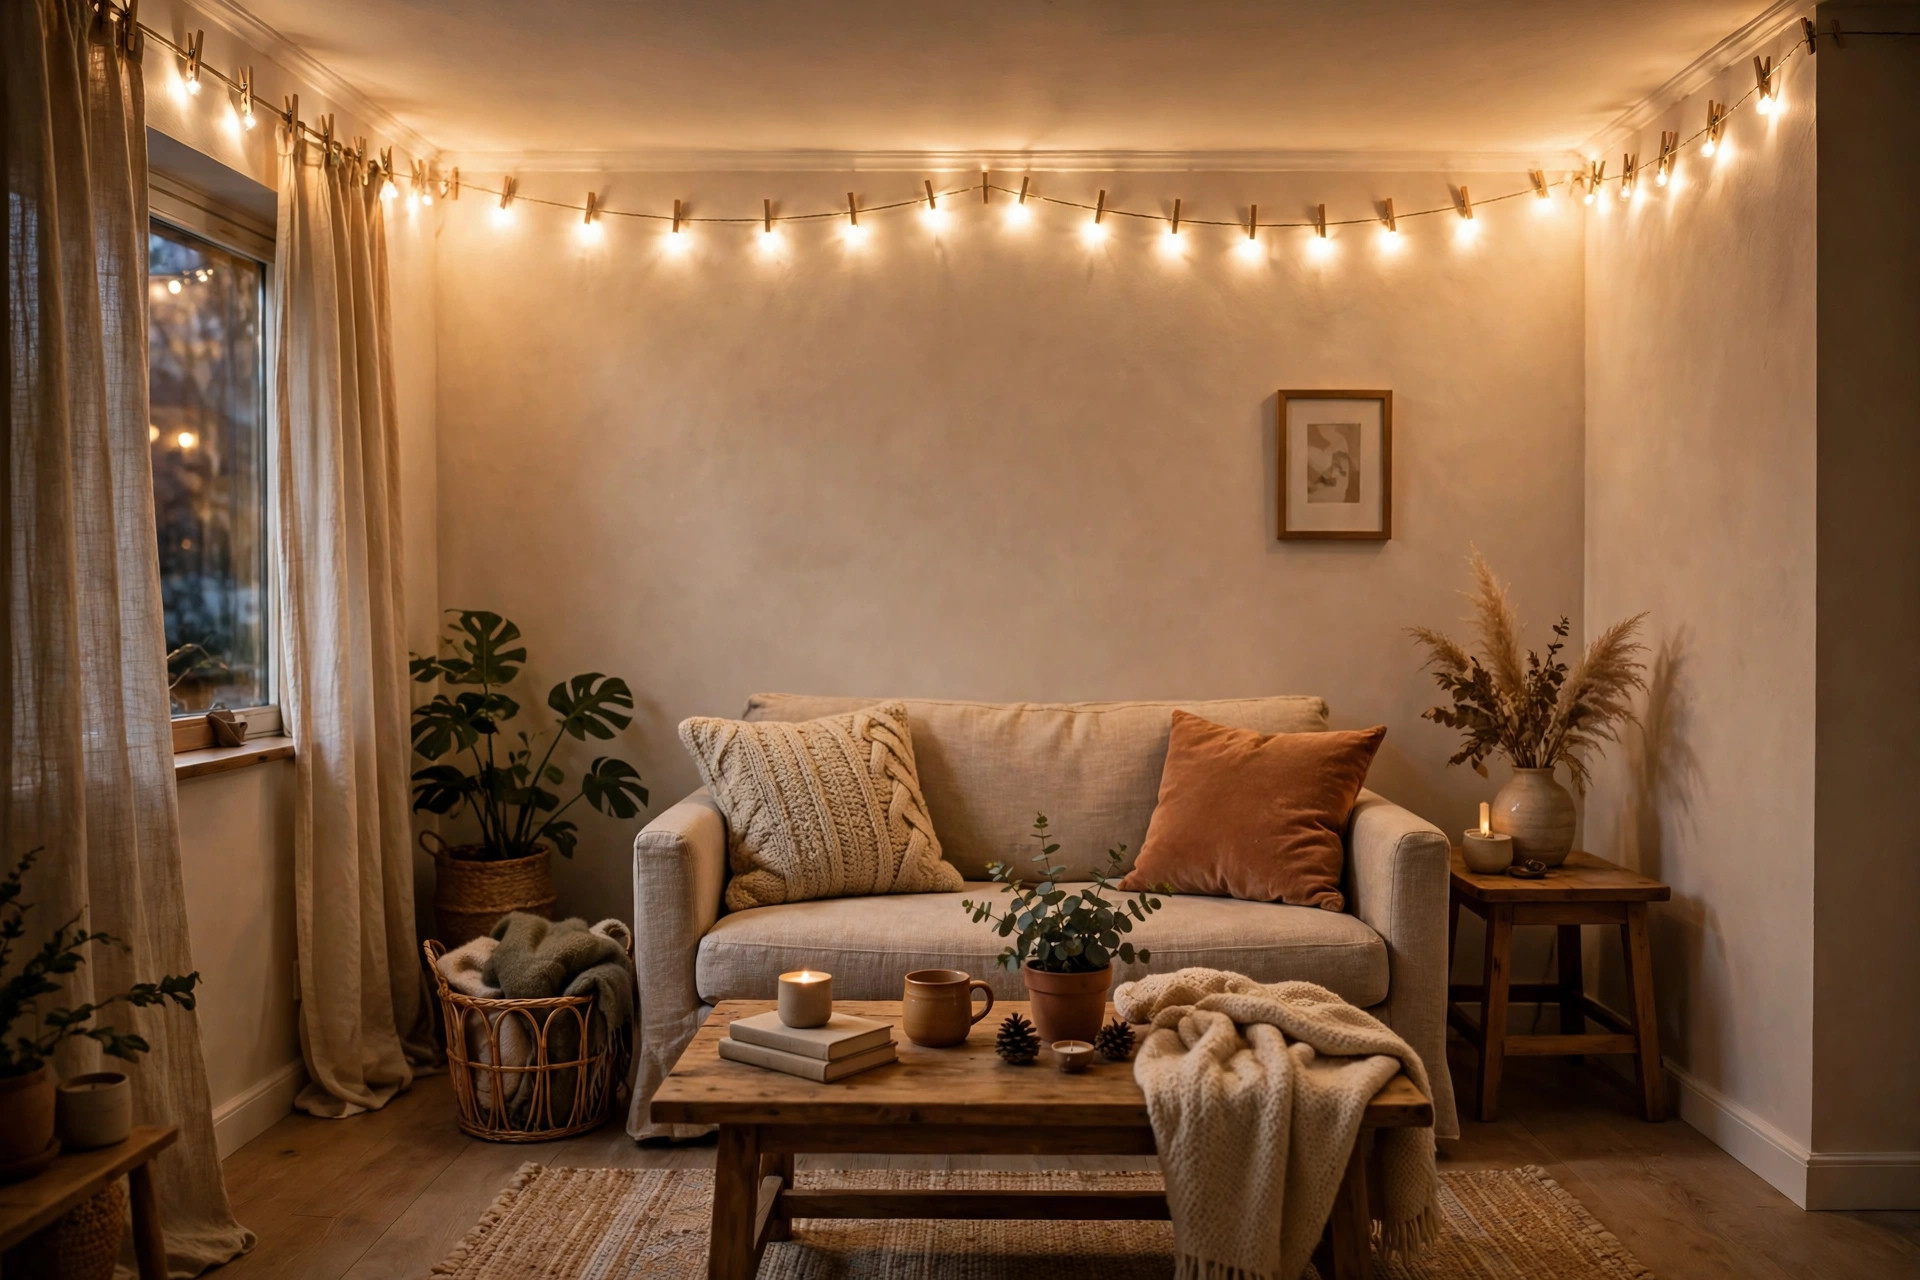
I ran one string of warm white lights along the ceiling edge of our living room, using small clear clips. The room felt taller and warmer, and the lights did not take up any shelf or floor space at all.
I clipped the string every forty centimetres, because the first time I spaced the clips too far apart the wire sagged in the middle and looked untidy.
The downside is reaching the ceiling. My first attempt involved standing on a wobbly chair, which was unsafe. I now use a stable step ladder and ask someone to hold it, and I clip the lights before I plug them in.
Pro Tip: Use a stable step ladder with someone holding it, and never stand on a chair to hang lights.
Cost / Time / Difficulty: $8 to $14 | 30 minutes | Easy, with care
4. The Mason Jar Light
I put battery fairy lights inside three mason jars on our windowsill, with a little greenery around the base. They glowed softly like candles, but with no flame, and they were safe near curtains.
I used jars of different heights, which looked far better than three identical jars, and the tallest jar went at the back so the glow layered nicely.
The downside is that jars get hot if you use the wrong lights. My first jars used old plug-in lights that warmed the glass, so I switched to cool LED battery lights only.
Pro Tip: Use cool LED battery lights in jars, never old plug-in lights that warm the glass.
Cost / Time / Difficulty: $6 to $12 | 20 minutes | Easy

5. The Battery Garland Light
I wrapped battery fairy lights around a faux greenery garland along our mantelpiece. The garland looked lush, the lights were hidden in the leaves, and there was no wire trailing to a socket.
I chose a faux garland over a real one, because real needles dropped onto the mantel all December, while the faux garland still looks fresh in January.
The downside is that battery packs are ugly. My first pack dangled visibly at the end of the garland, so I hid it behind a candle and taped the wire flat.
Pro Tip: Hide battery packs behind a candle or book, and tape wires flat so they do not dangle.
Cost / Time / Difficulty: $10 to $18 | 30 minutes | Easy
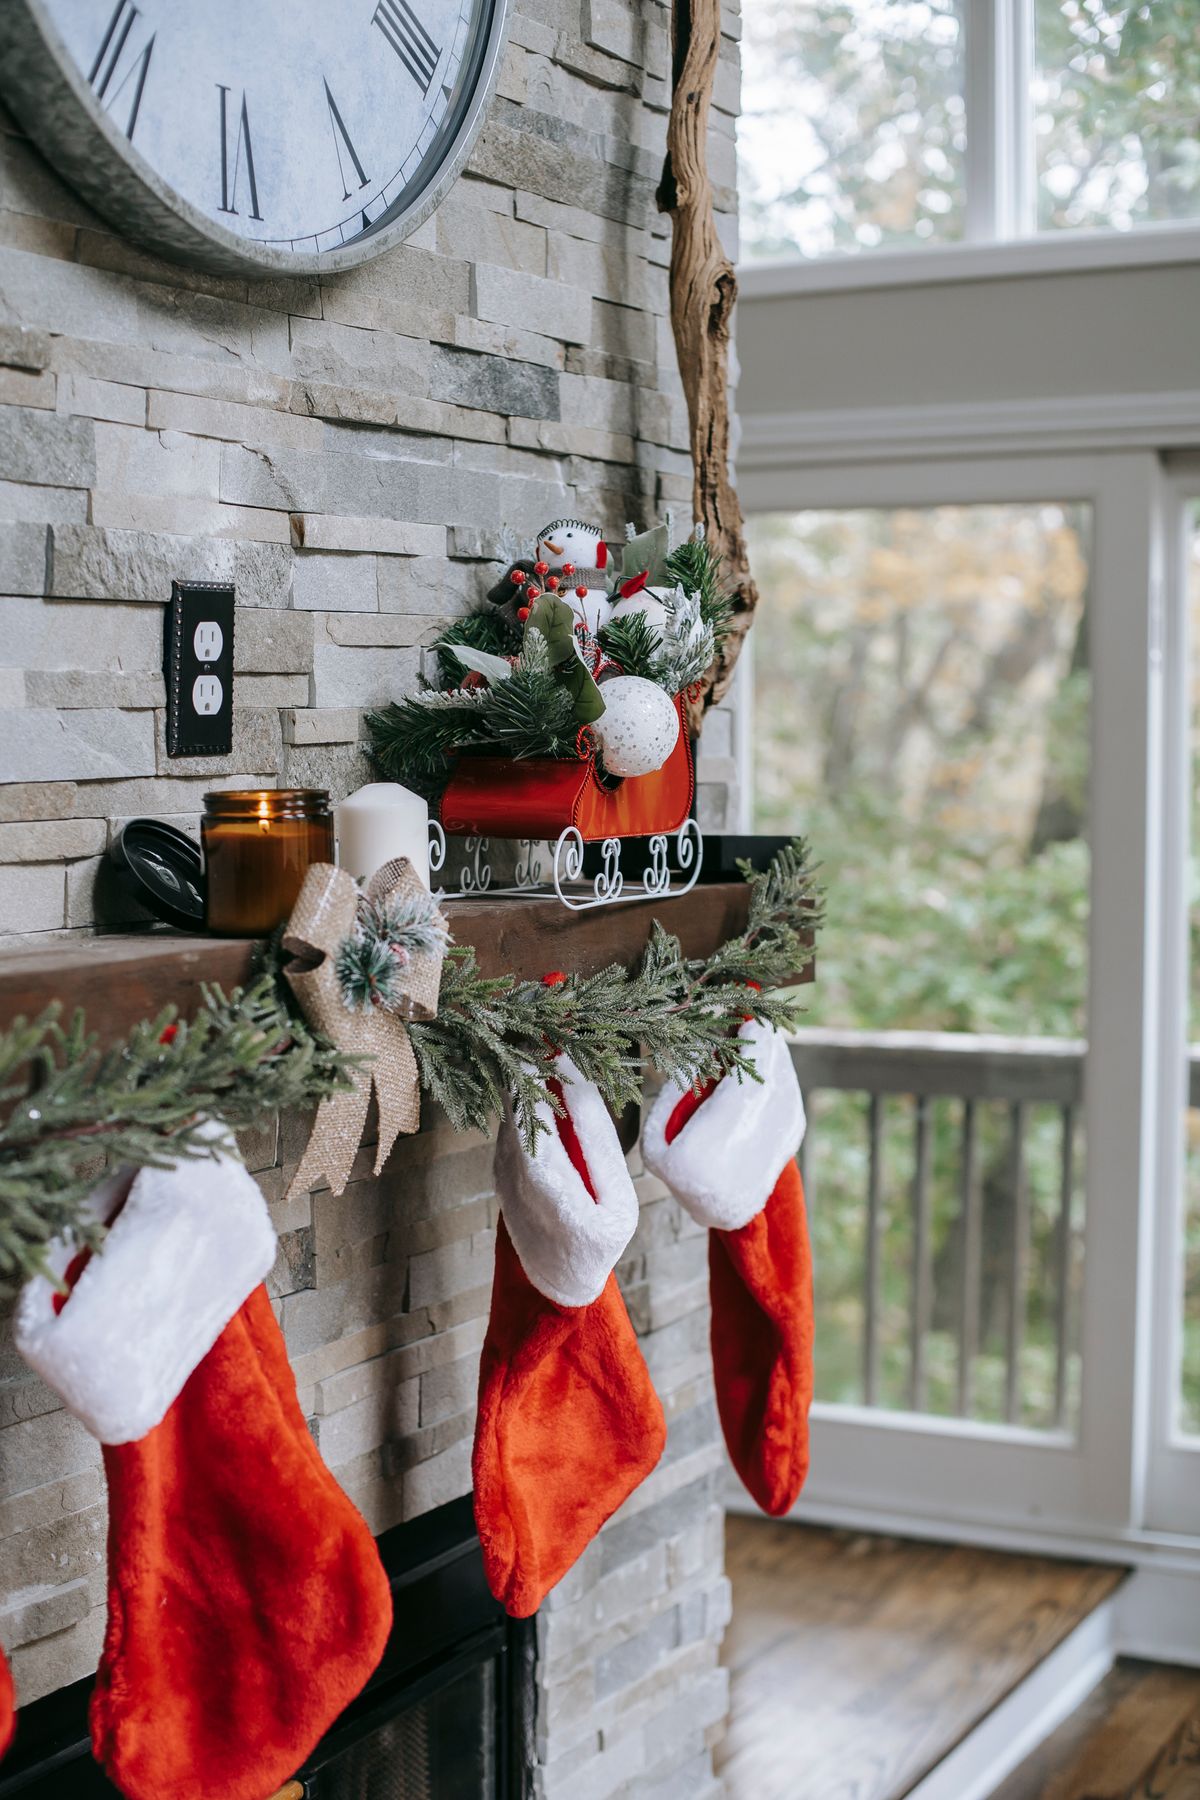
6. The Porch String Light
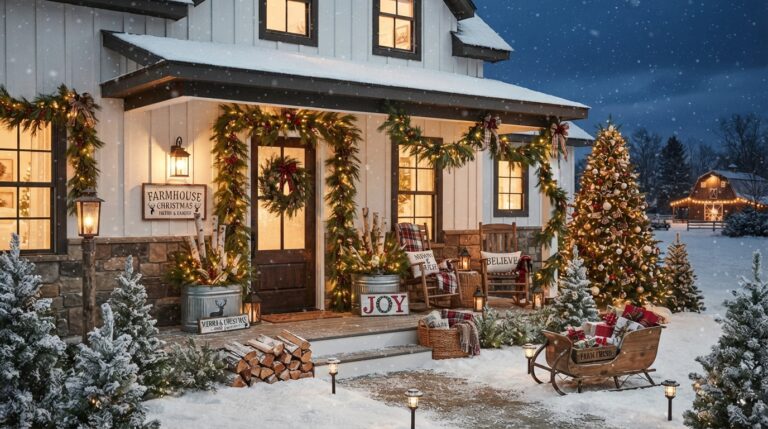
I hung one short string of outdoor lights across our small porch, using adhesive clips, so the entrance felt welcoming without a huge display. It used one outdoor socket and took ten minutes.
I set the porch timer to switch on at dusk, so I never had to remember in the dark, and our entrance glowed welcomingly just as neighbours came home.
The downside is weather. My first indoor lights outside failed after one rainy night, so I now buy lights clearly marked for outdoor use, and I check the plug cover.
Pro Tip: Buy lights marked for outdoor use for any porch, and check the plug cover after rain.
Cost / Time / Difficulty: $12 to $20 | 20 minutes | Easy

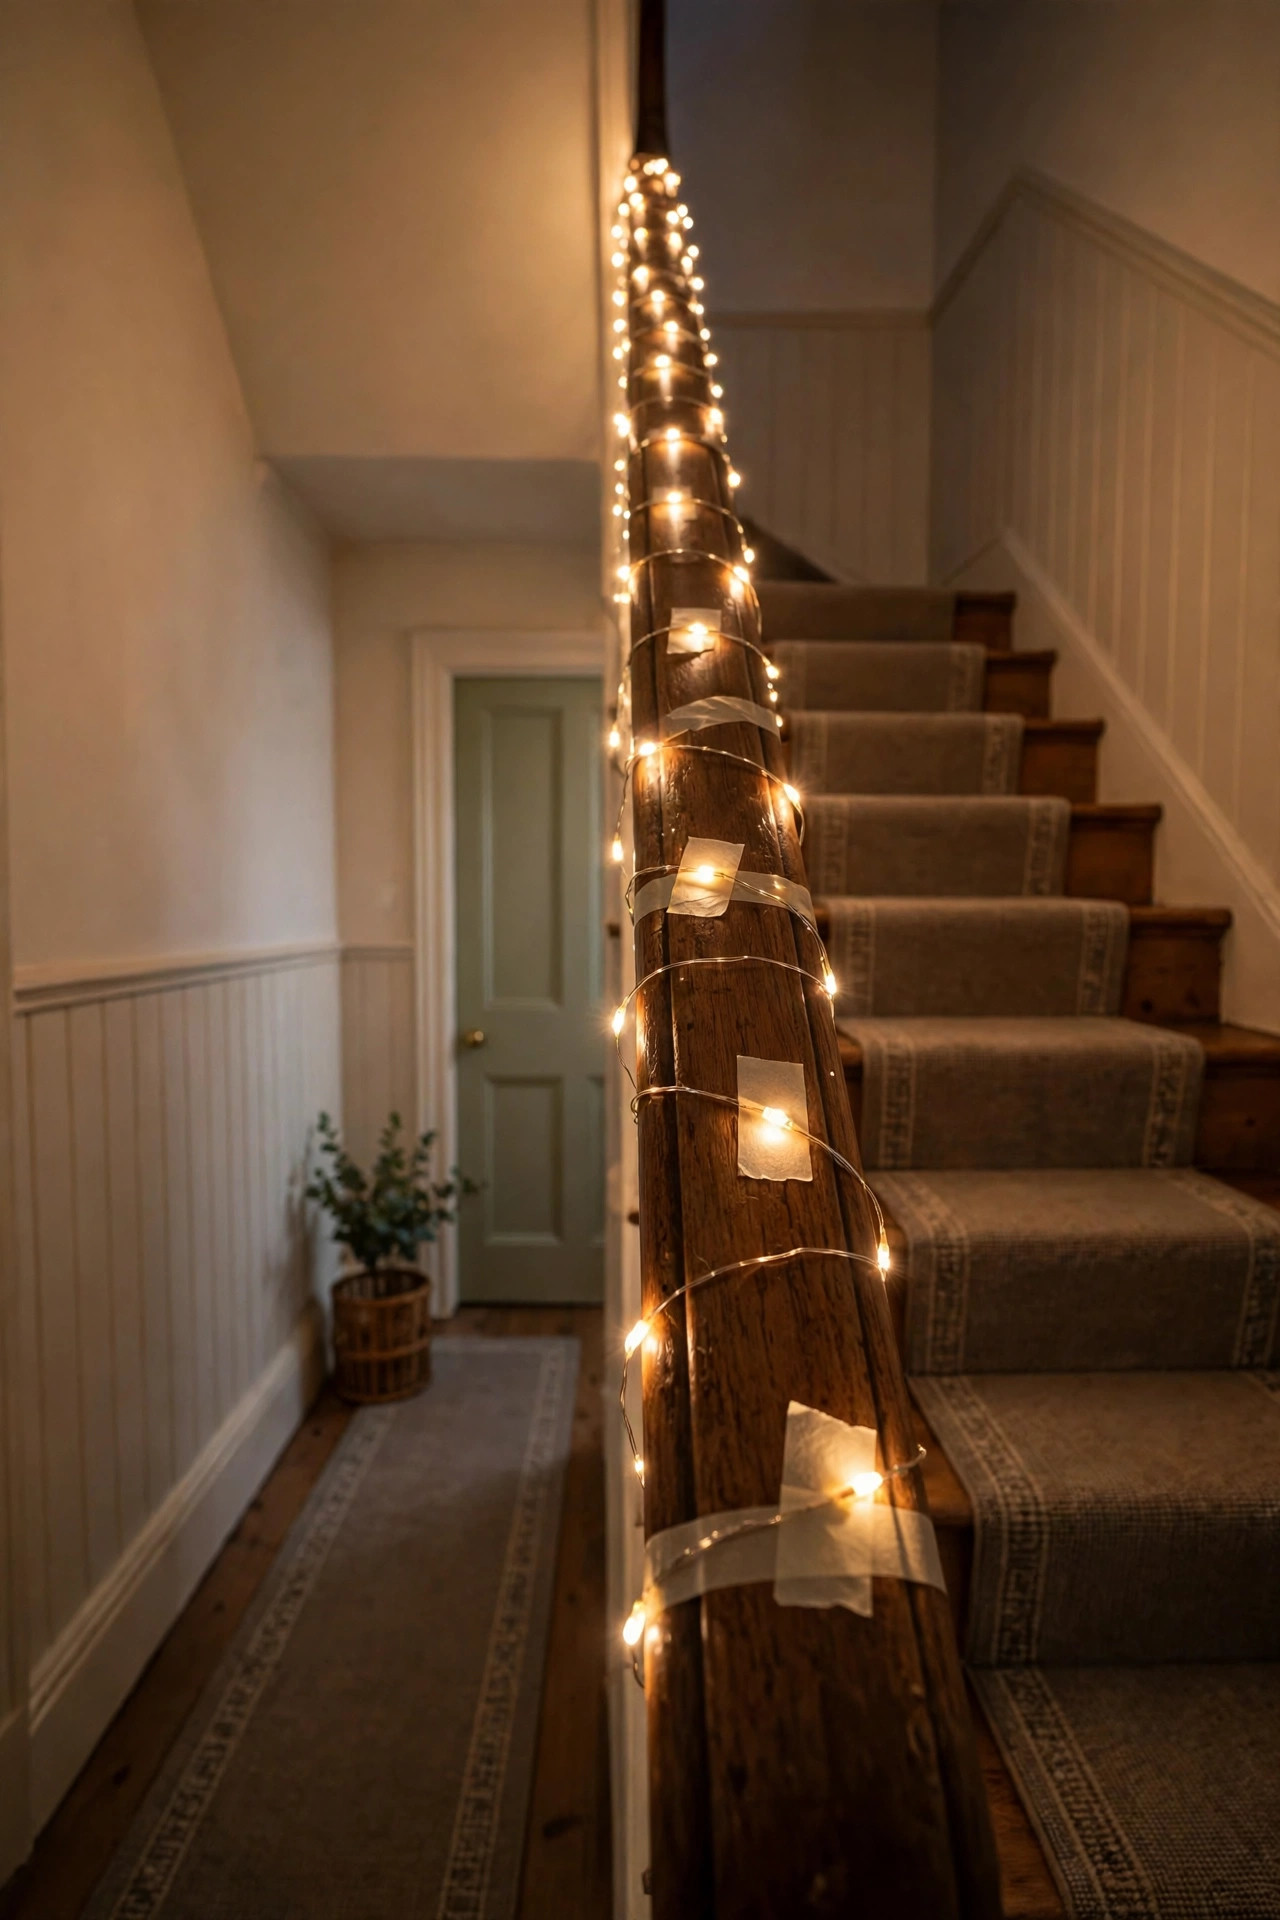
7. The Stair Rail Light
I wrapped a short string of lights around our stair rail, securing it with twist ties, so the hallway glowed without any floor lamps. It was the cheapest way to make our narrow hall feel festive.
I chose warm white for the stairs, because cool white made the narrow hallway feel cold, and the warm glow made the climb upstairs feel inviting at night.
The downside is that loose lights snag on coats and bags. My first rail lights kept catching on sleeves, so I taped the wire flat to the rail every 30 centimetres.
Pro Tip: Tape stair rail wires flat every 30 centimetres, or coats will snag them daily.
Cost / Time / Difficulty: $8 to $14 | 20 minutes | Easy
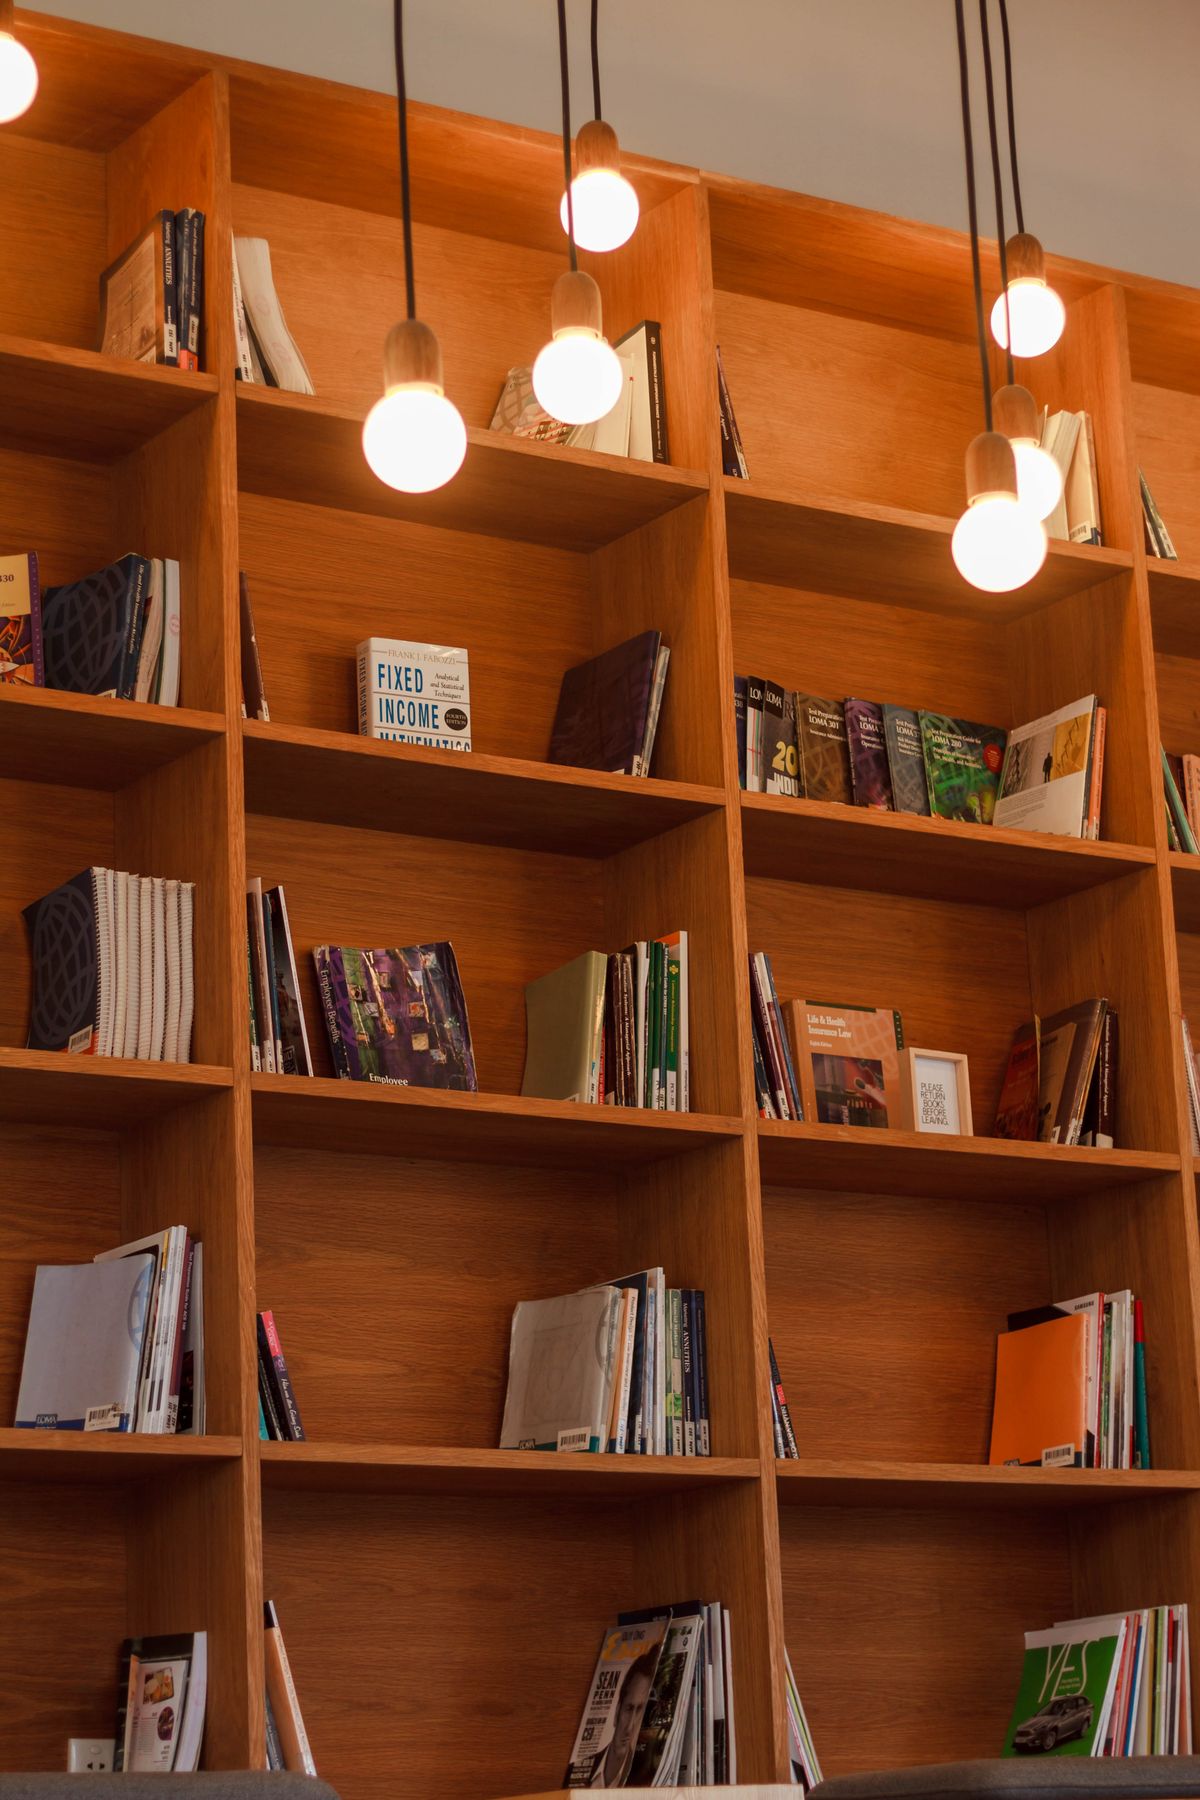
8. The Bookshelf Light
I tucked a short string of fairy lights along the back of our bookshelf, behind the books, so the shelf glowed softly in the evening. It made our living room feel like a library at Christmas, with no extra furniture.
I placed the lights behind cookbooks and photo frames, not just novels, so the glow peeked through gaps and looked layered rather than like a single bright line.
The downside is heat near paper. My first lights were old and warm, and I worried about the books, so I switched to cool LEDs and kept the lights off during the day.
Pro Tip: Use cool LEDs near books and paper, and switch shelf lights off during the day.
Cost / Time / Difficulty: $6 to $12 | 20 minutes | Easy
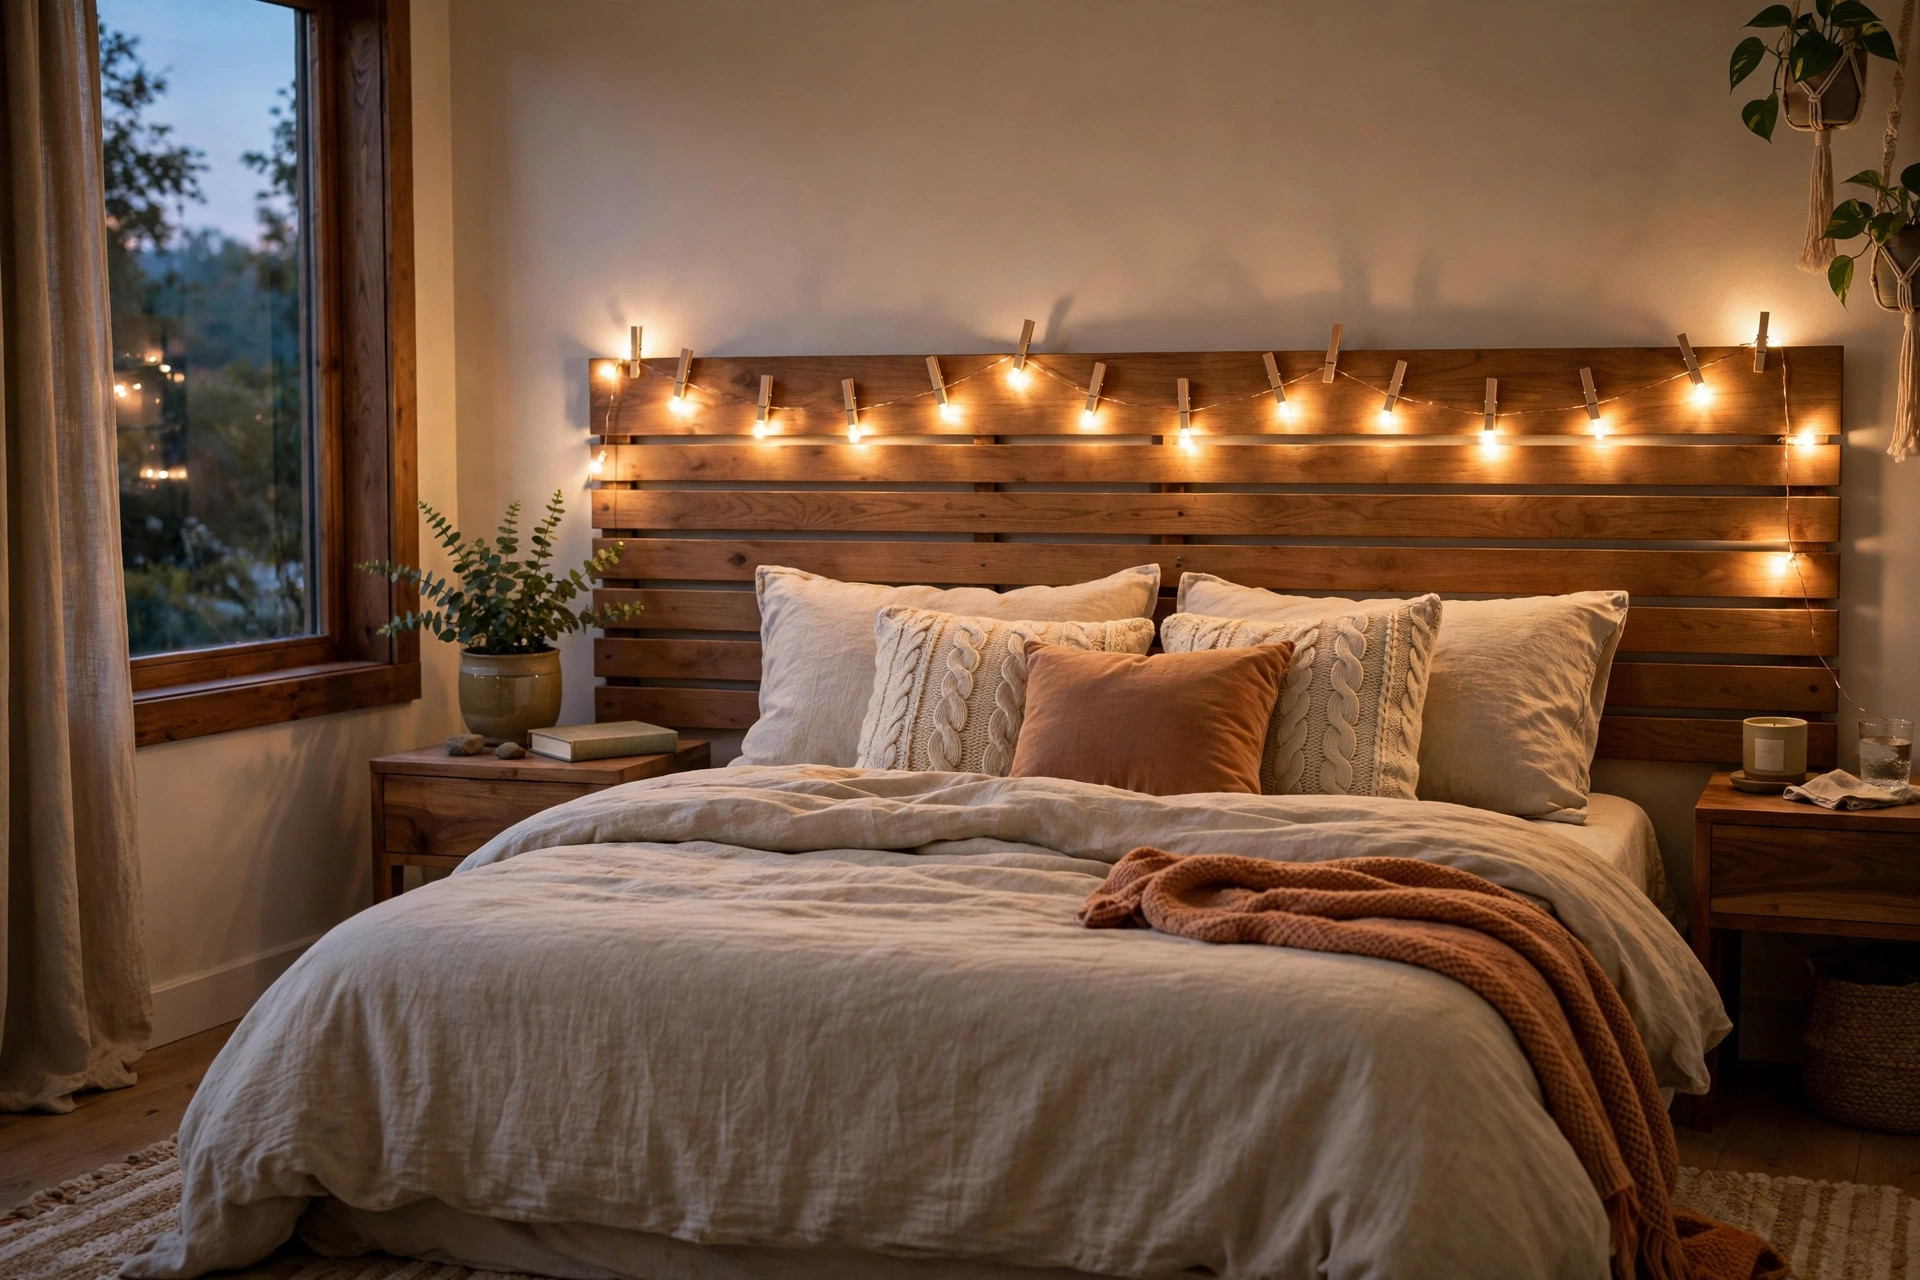
9. The Headboard Light
I draped fairy lights across our bedroom headboard, using small clips, so the bedroom felt festive without a tree or extra decoration. It was the cosiest light in our whole flat.
I used a remote control for the headboard lights, so I could switch them off from bed without getting up, which is a small luxury I now refuse to give up.
The downside is sleeping with lights on. My first headboard lights stayed on too late and disturbed my sleep, so I put them on a timer that switches off at 10 pm.
Pro Tip: Put bedroom lights on a timer that switches off at bedtime, or sleep will suffer.
Cost / Time / Difficulty: $8 to $14 | 20 minutes | Easy
10. The Kitchen Cabinet Light
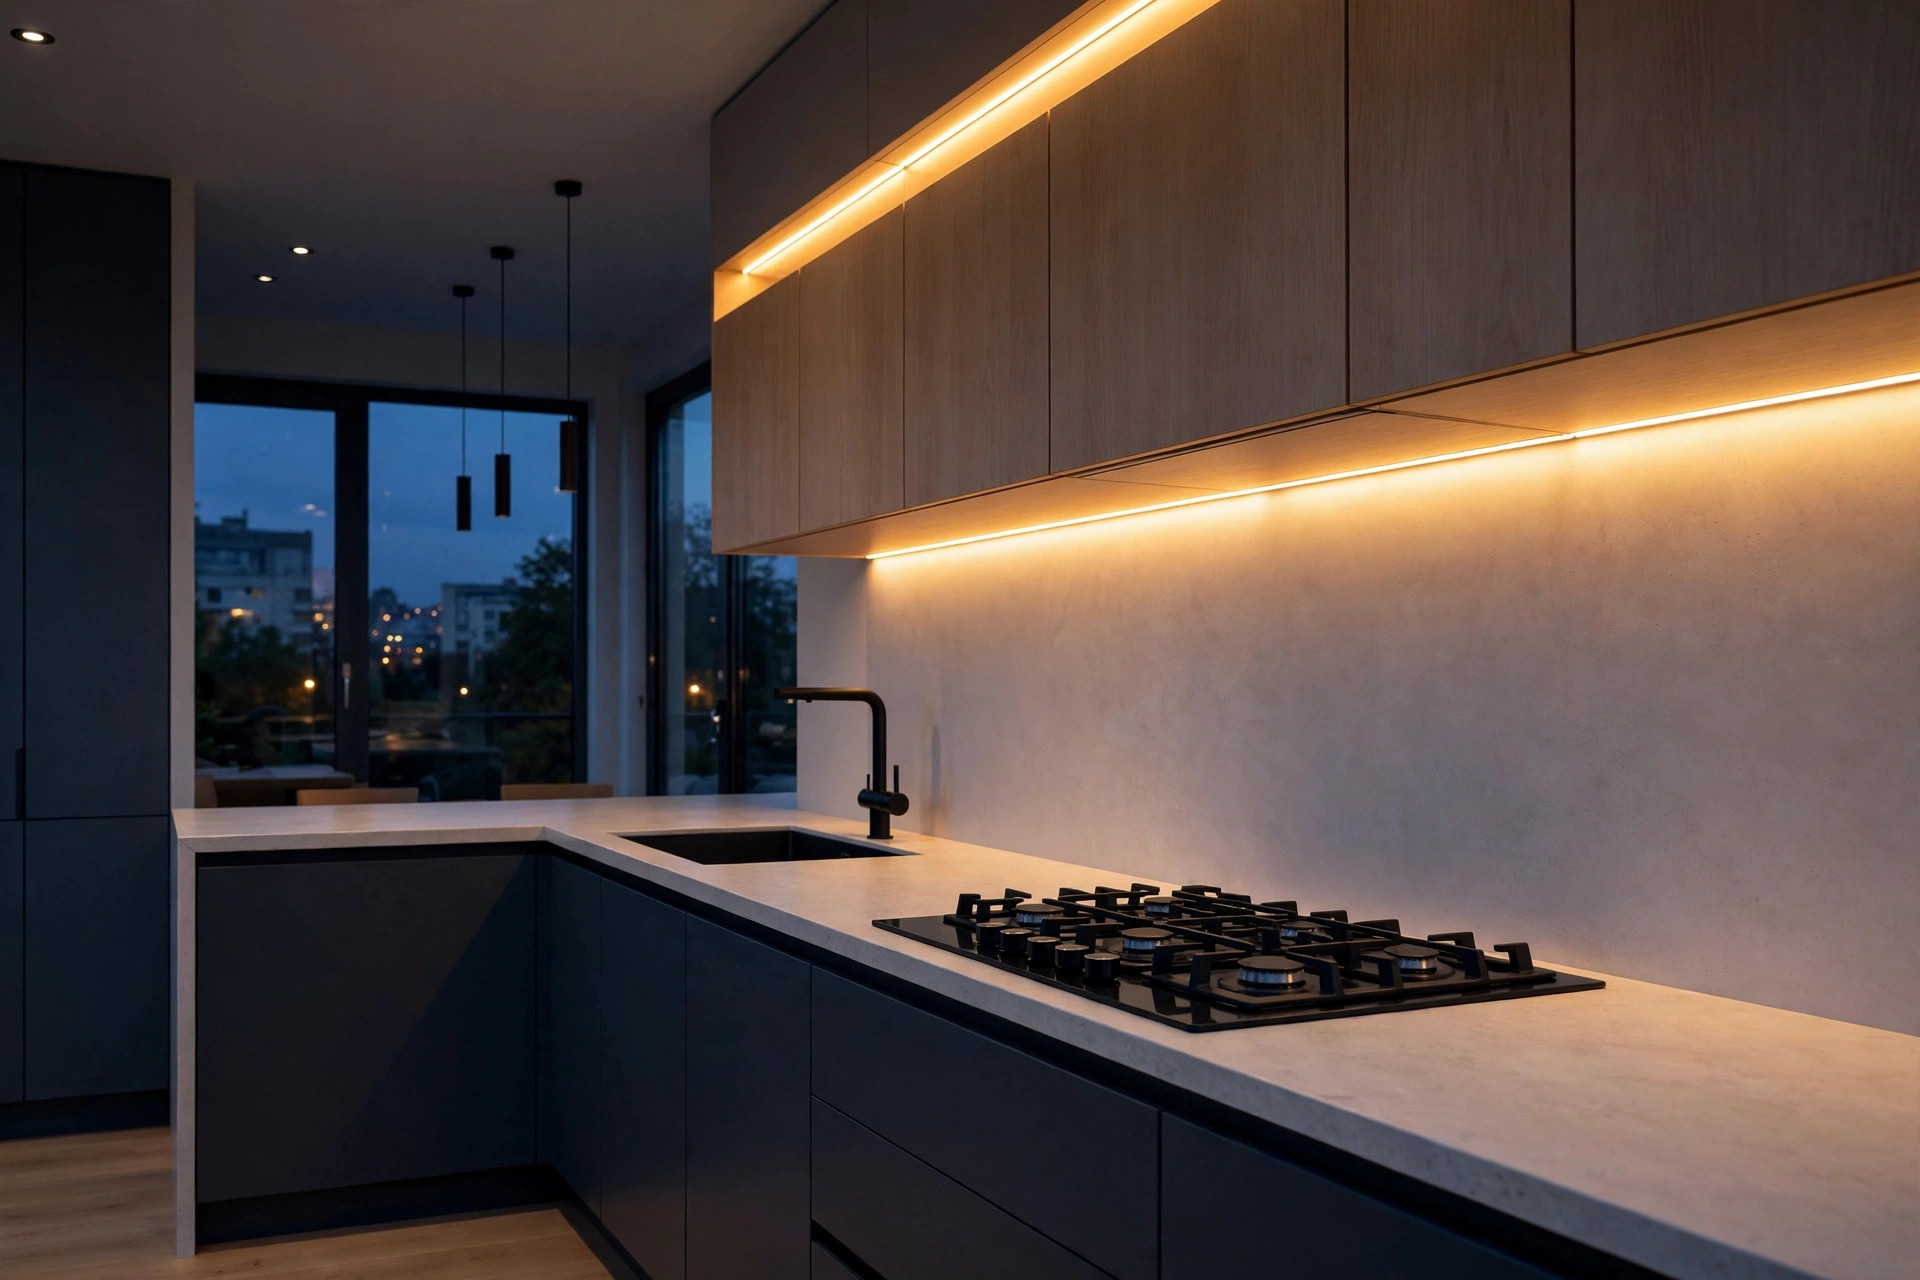
I stuck battery strip lights under our kitchen cabinets, so the worktop glowed warmly in December evenings. It made cooking feel festive, and the strips came off cleanly in January.
I wiped the underside of the cabinets before sticking the strips, because dust was why the first strip fell off, and a clean surface held all December.
The downside is steam. My first strips peeled off above the kettle, so I moved them away from steam and used stronger adhesive clips.
Pro Tip: Keep cabinet lights away from kettles and steam, or the adhesive will fail.
Cost / Time / Difficulty: $10 to $16 | 30 minutes | Easy
11. The Bathroom Mirror Light
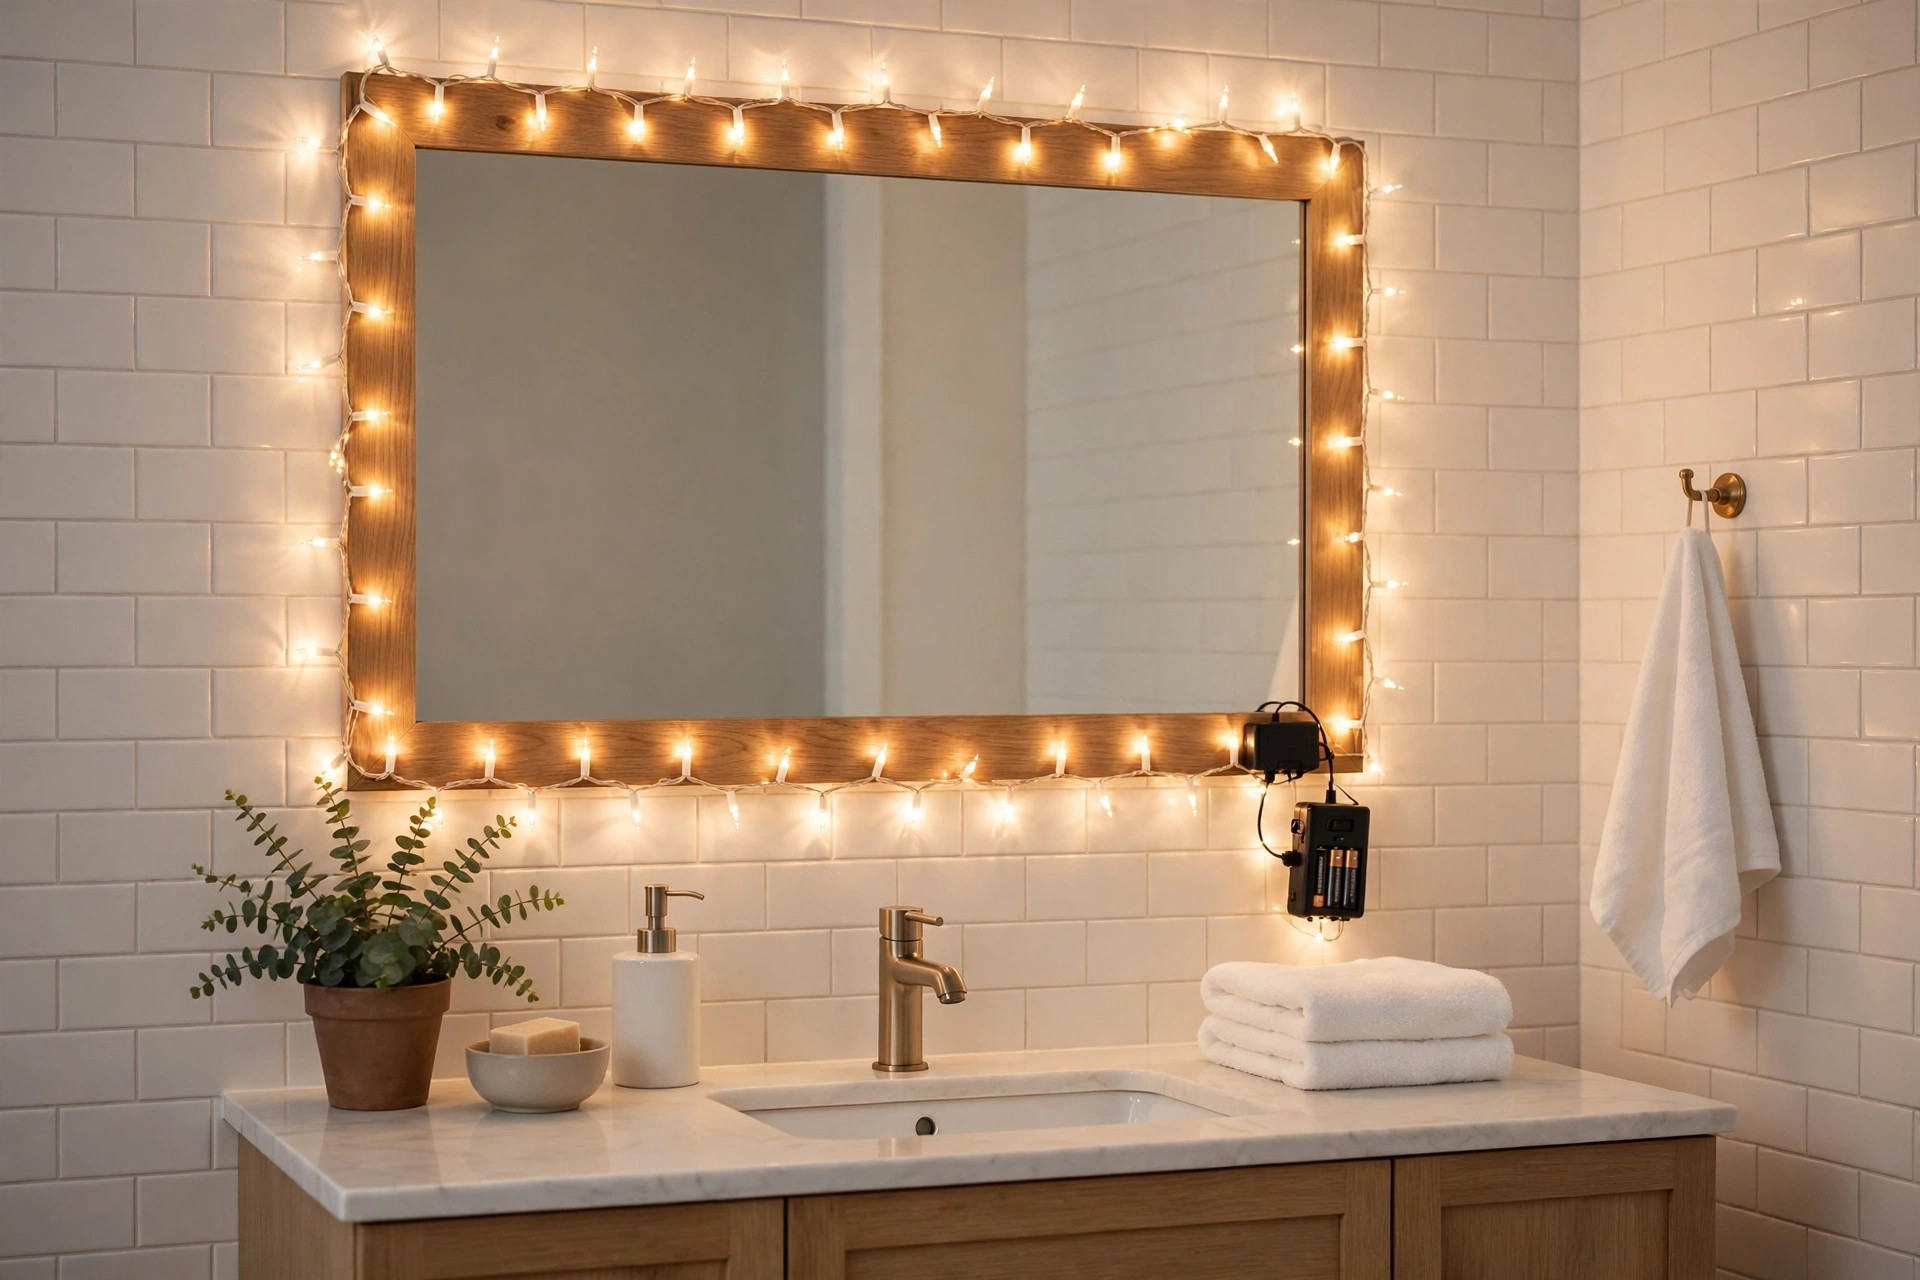
I wrapped battery fairy lights around our bathroom mirror, using suction clips, for a festive glow that did not need a socket near water. It looked lovely, but safety came first.
I chose a mirror with a wide frame, which gave the suction clips something solid to grip, after the first clips slipped off our frameless mirror twice.
The downside is water. My first battery pack sat on the sink edge and got splashed, so I moved it to a high, dry shelf and used only battery lights, never plug-in lights, in the bathroom.
Pro Tip: Never use plug-in lights in a bathroom. Use battery lights only, with the pack high and dry.
Cost / Time / Difficulty: $8 to $14 | 20 minutes | Easy, with care
12. The Small Balcony Light
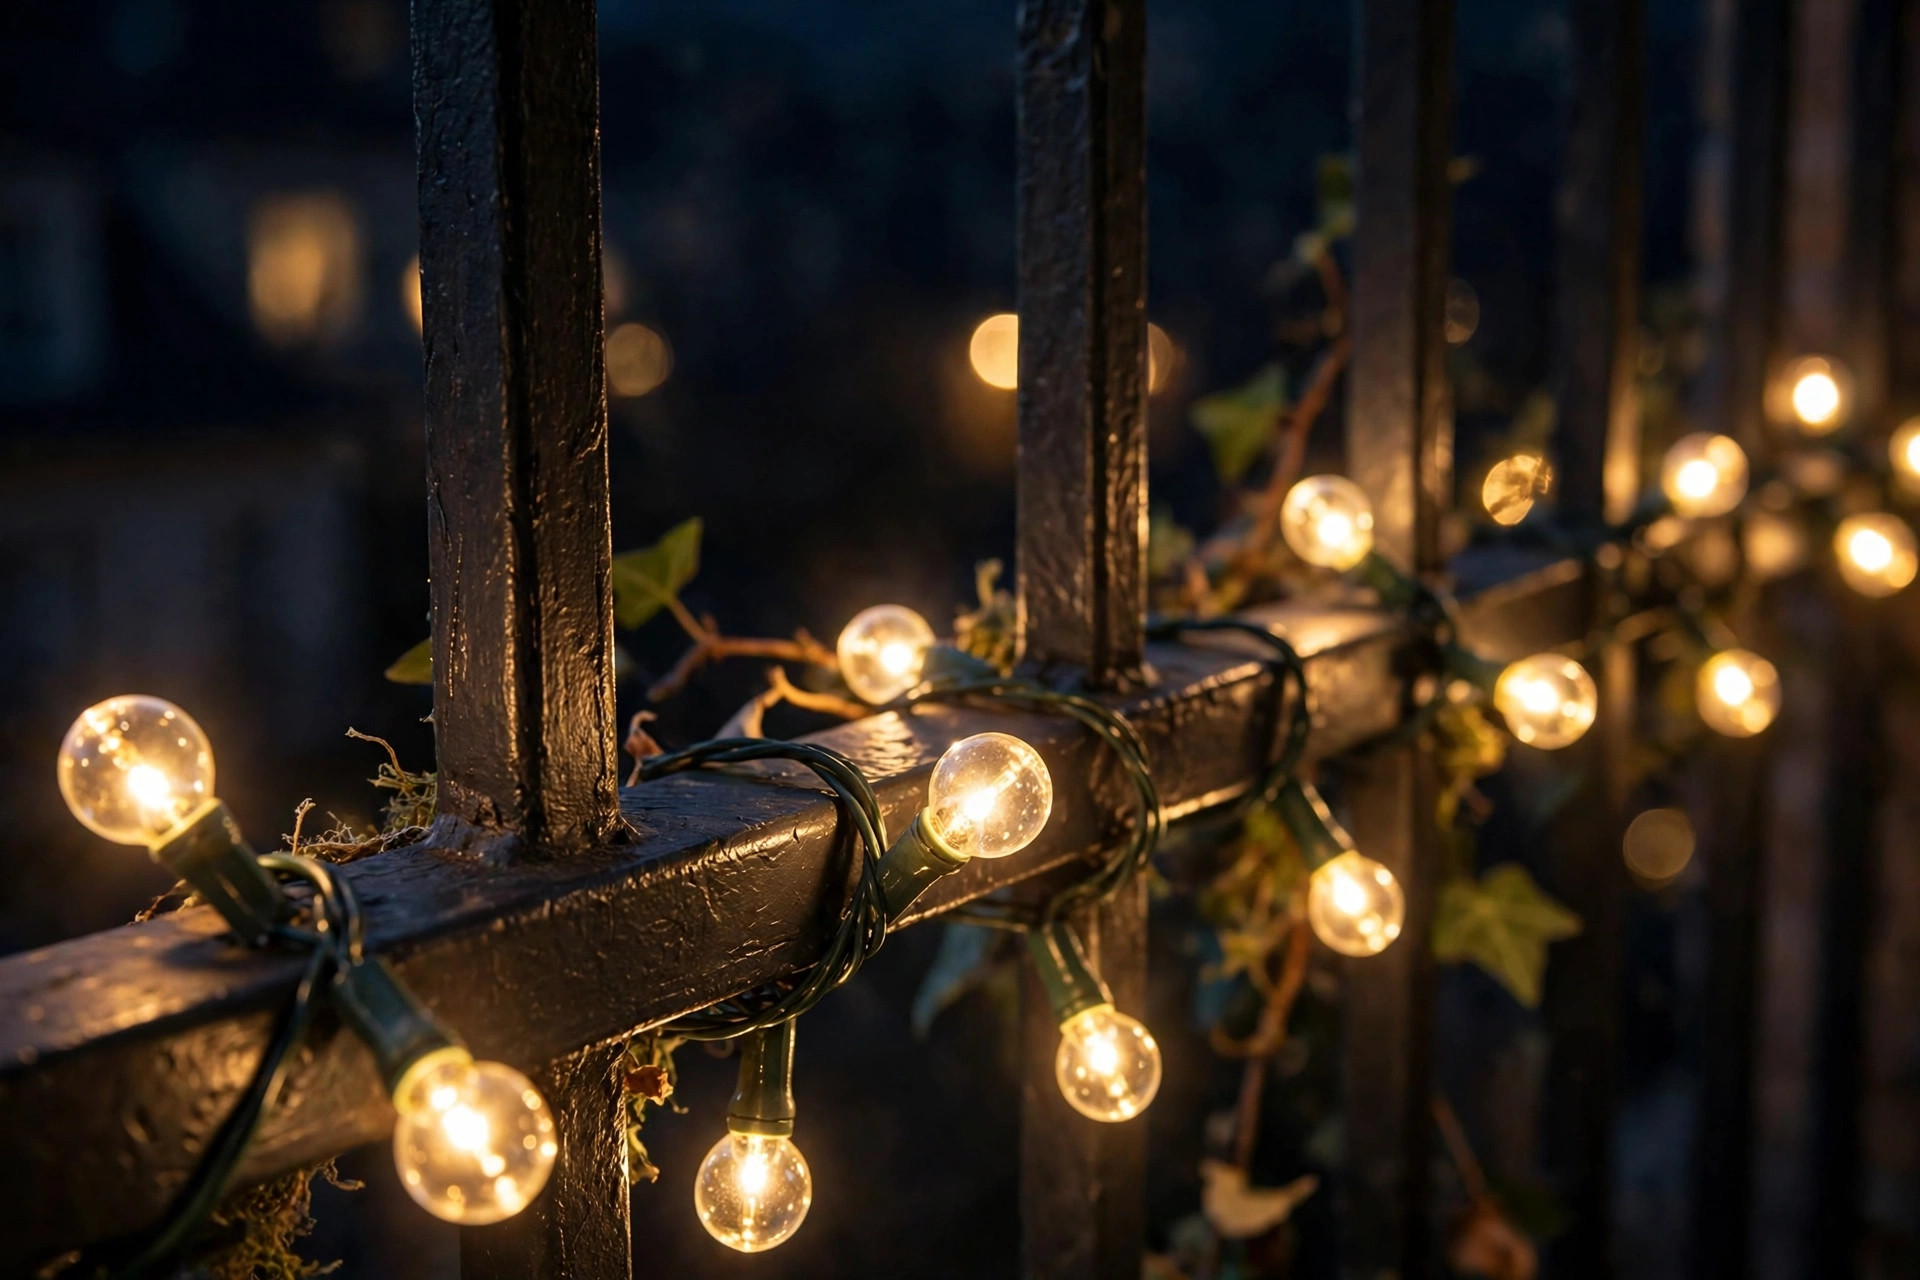
I hung a short string of outdoor lights around our tiny balcony rail, with a timer, so our flat glowed from outside without a big display. It used one socket and took fifteen minutes.
I used a weatherproof timer box for the balcony socket, because rain on an exposed timer had tripped our power once, and I did not want a repeat.
The downside is wind. My first balcony lights blew loose in a storm, so I secured them with cable ties every 20 centimetres and checked them after strong wind.
Pro Tip: Secure balcony lights with cable ties every 20 centimetres, and check them after storms.
Cost / Time / Difficulty: $12 to $20 | 20 minutes | Easy
13. The Corner Tree Light
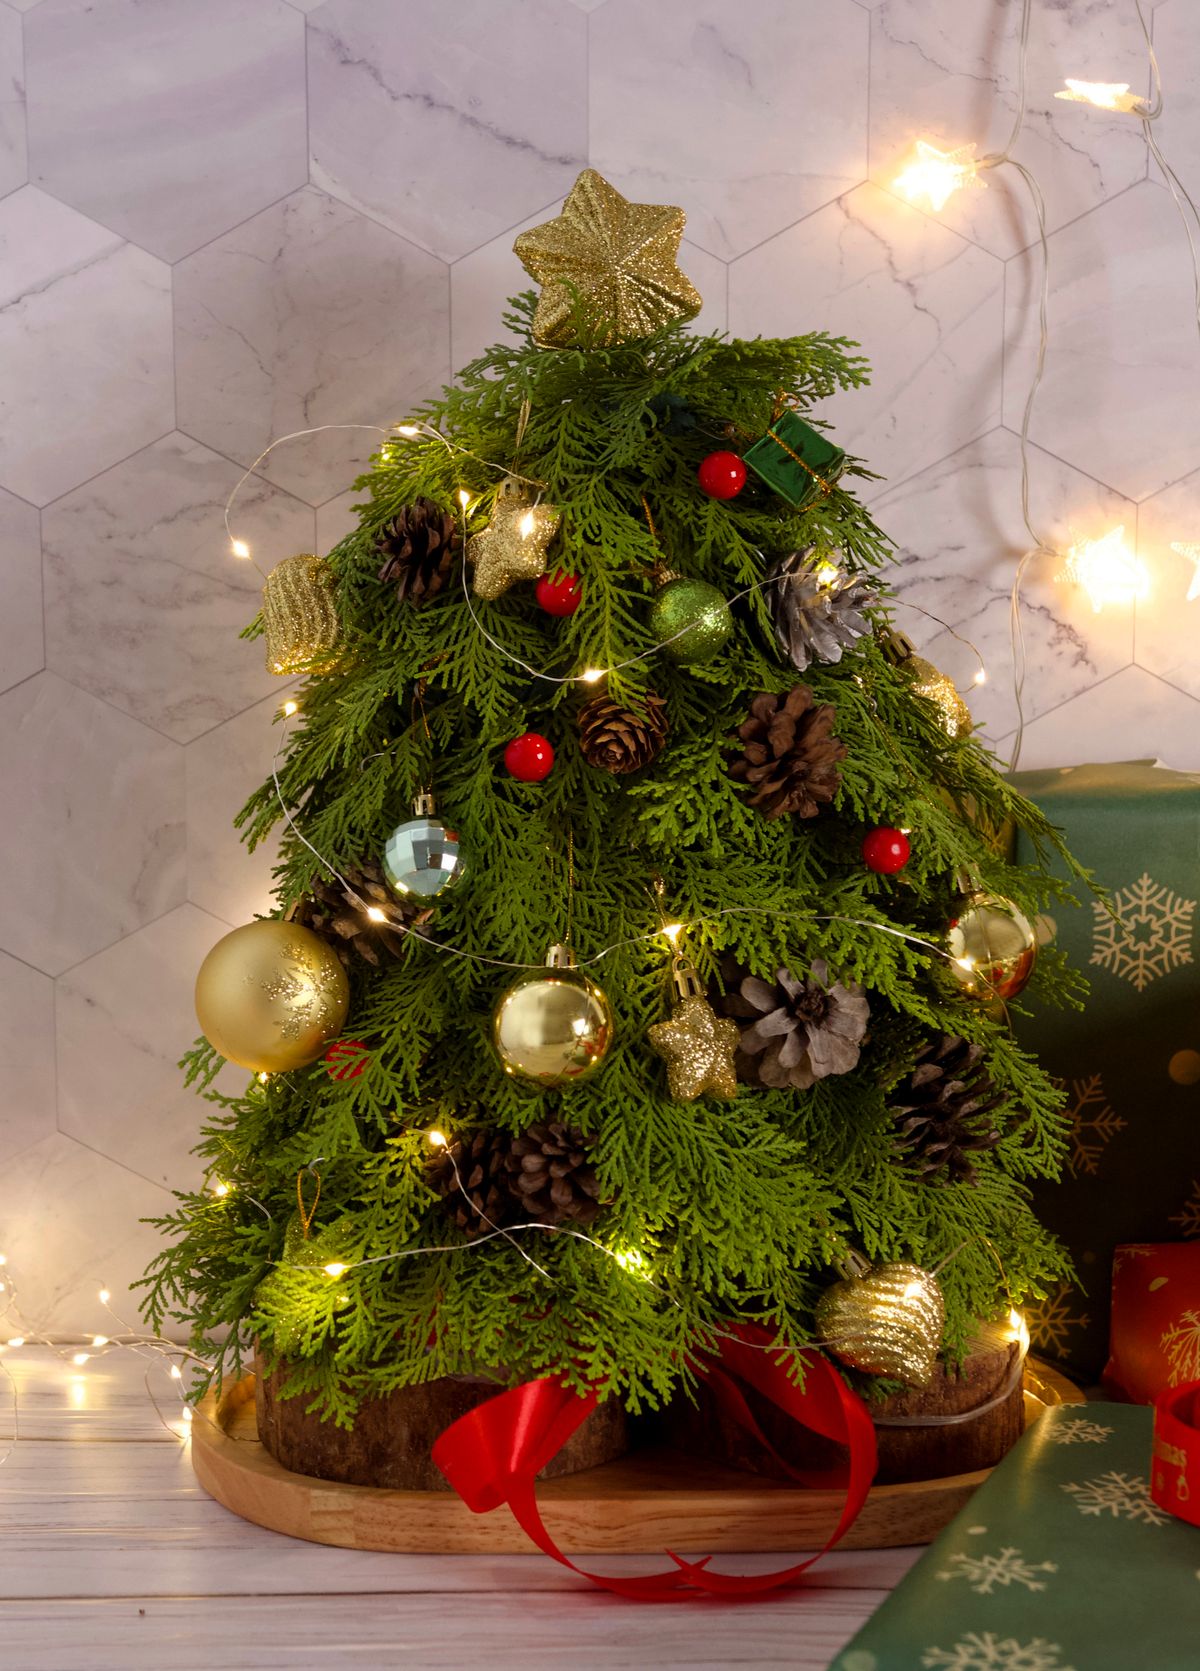
I put a small tabletop tree in the corner of our living room and wrapped it with one short string of warm lights. It gave us a real tree feeling in a flat too small for a full-size tree.
I placed the corner tree on a low stool, not the floor, so its lights were at eye level from the sofa, and the whole corner glowed instead of hiding behind furniture.
The downside is over-decorating a small tree. My first corner tree had too many ornaments and looked cluttered, so I limited it to lights and ten ornaments.
Pro Tip: Keep a small tree simple: lights plus ten ornaments, no more.
Cost / Time / Difficulty: $10 to $18 | 30 minutes | Easy
14. The Candle-Style LED Light
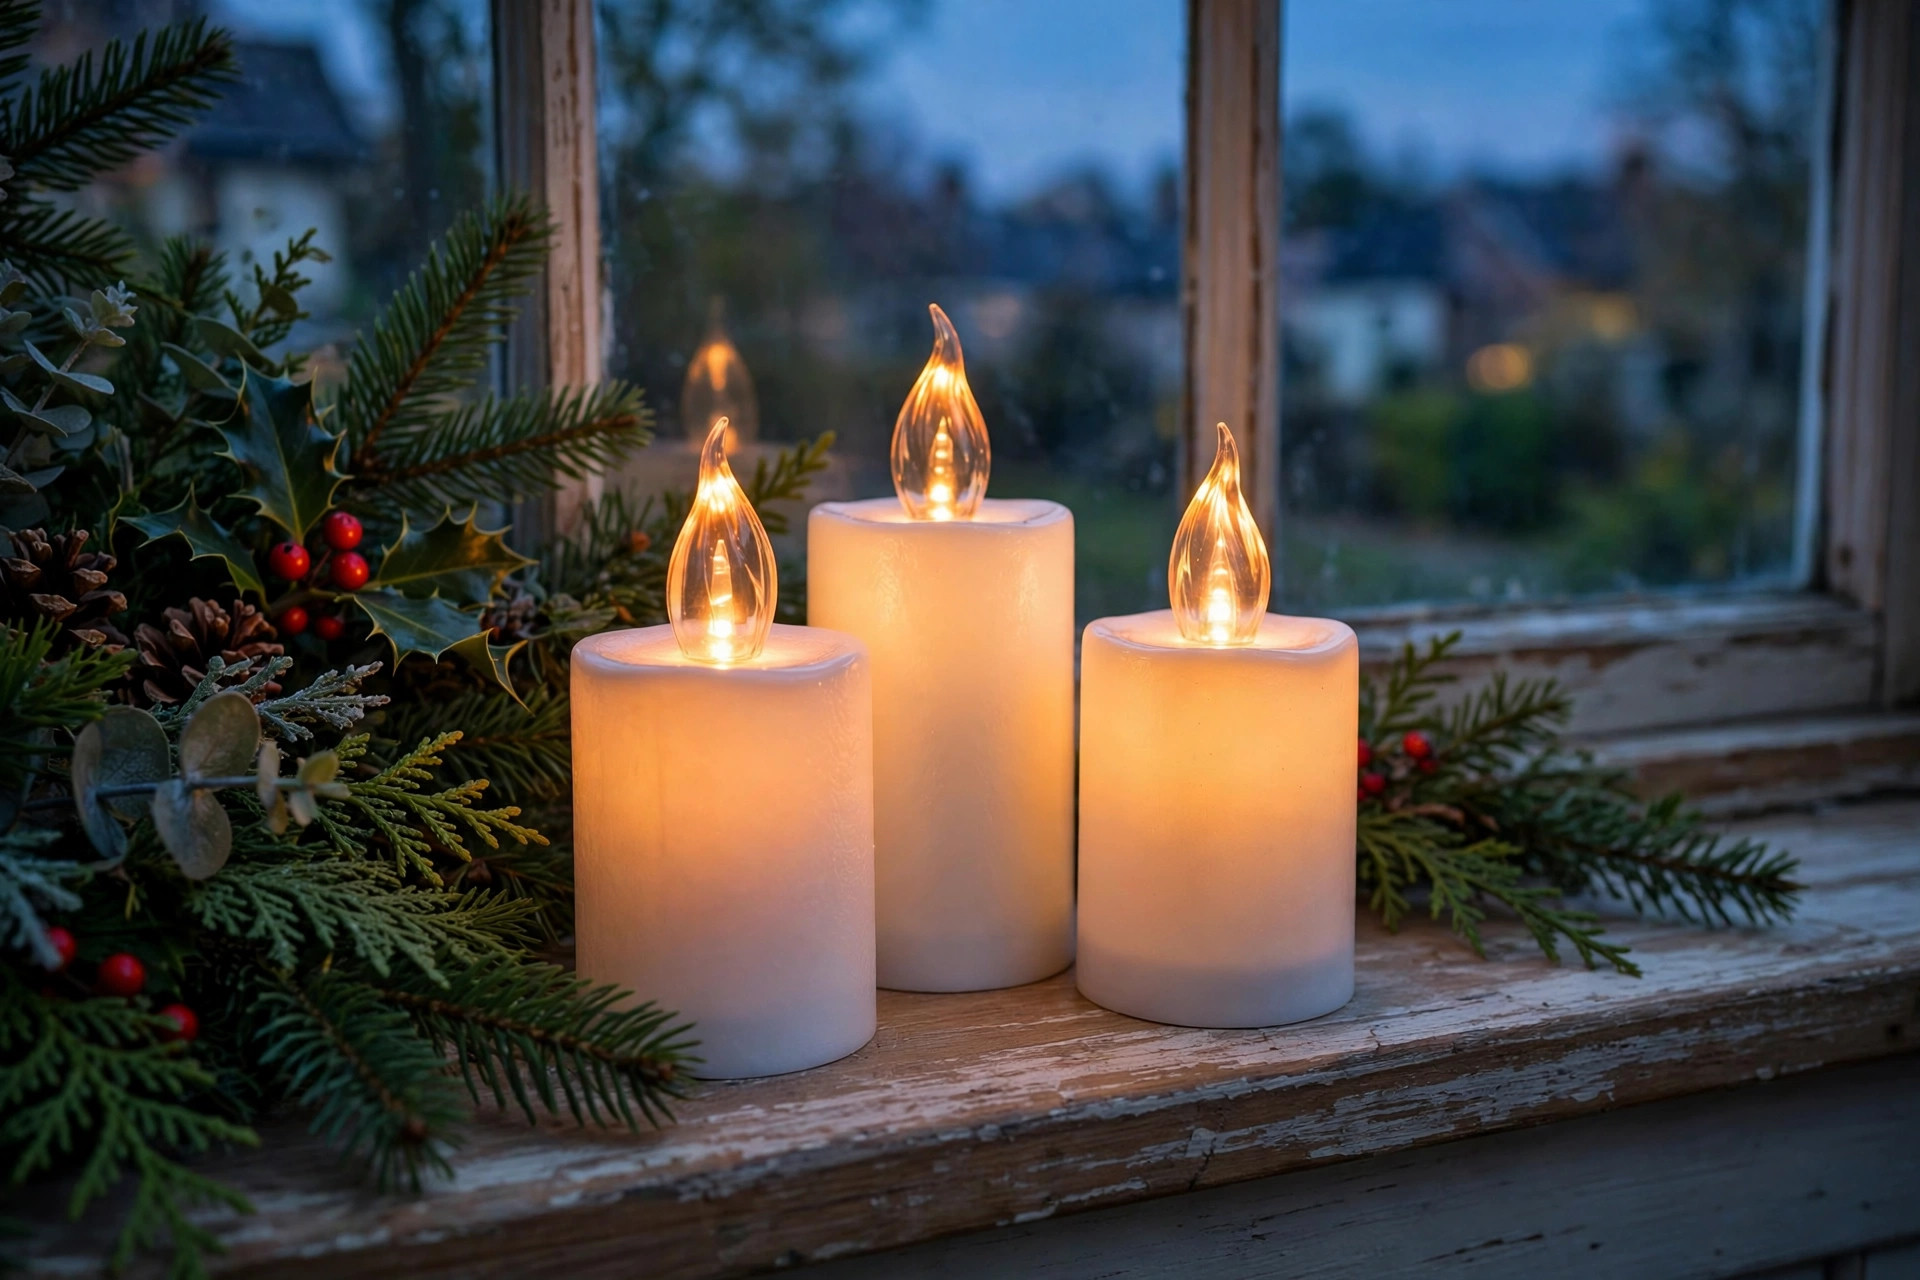
I placed candle-style LED lights on our windowsills and mantelpiece, with timers, so they flickered like real candles with no flame. They were safe with children and pets, and they looked warm in the evening.
I grouped the LED candles in threes on the mantel, because a single candle looked lost, while a trio looked deliberate and gave a proper flickering glow.
The downside is that cheap LED candles flicker too fast and look fake. My first set flickered like a strobe, so I bought warm white candles with a slow, gentle flicker and tested one before buying a set.
Pro Tip: Test one LED candle before buying a set, because cheap flicker looks fake.
Cost / Time / Difficulty: $10 to $20 for a set | 10 minutes | Easy
15. The Light Projector
I used a small outdoor light projector to cast snowflakes onto our living room wall, instead of hanging strings everywhere. It took five minutes to set up and made a big impact in a small room.
I tested the projector on a plain wall first, not a patterned one, because the pattern broke up the snowflakes, and a plain wall made them crisp and magical.
The downside is that projectors can look cheap if the image is blurry. My first projector was too close to the wall, so the snowflakes were small and fuzzy. I moved it back two metres, and the image sharpened.
Pro Tip: Place a projector at least two metres from the wall, or the image will look blurry.
Cost / Time / Difficulty: $15 to $30 | 10 minutes | Easy

16. The Hallway Corridor Light
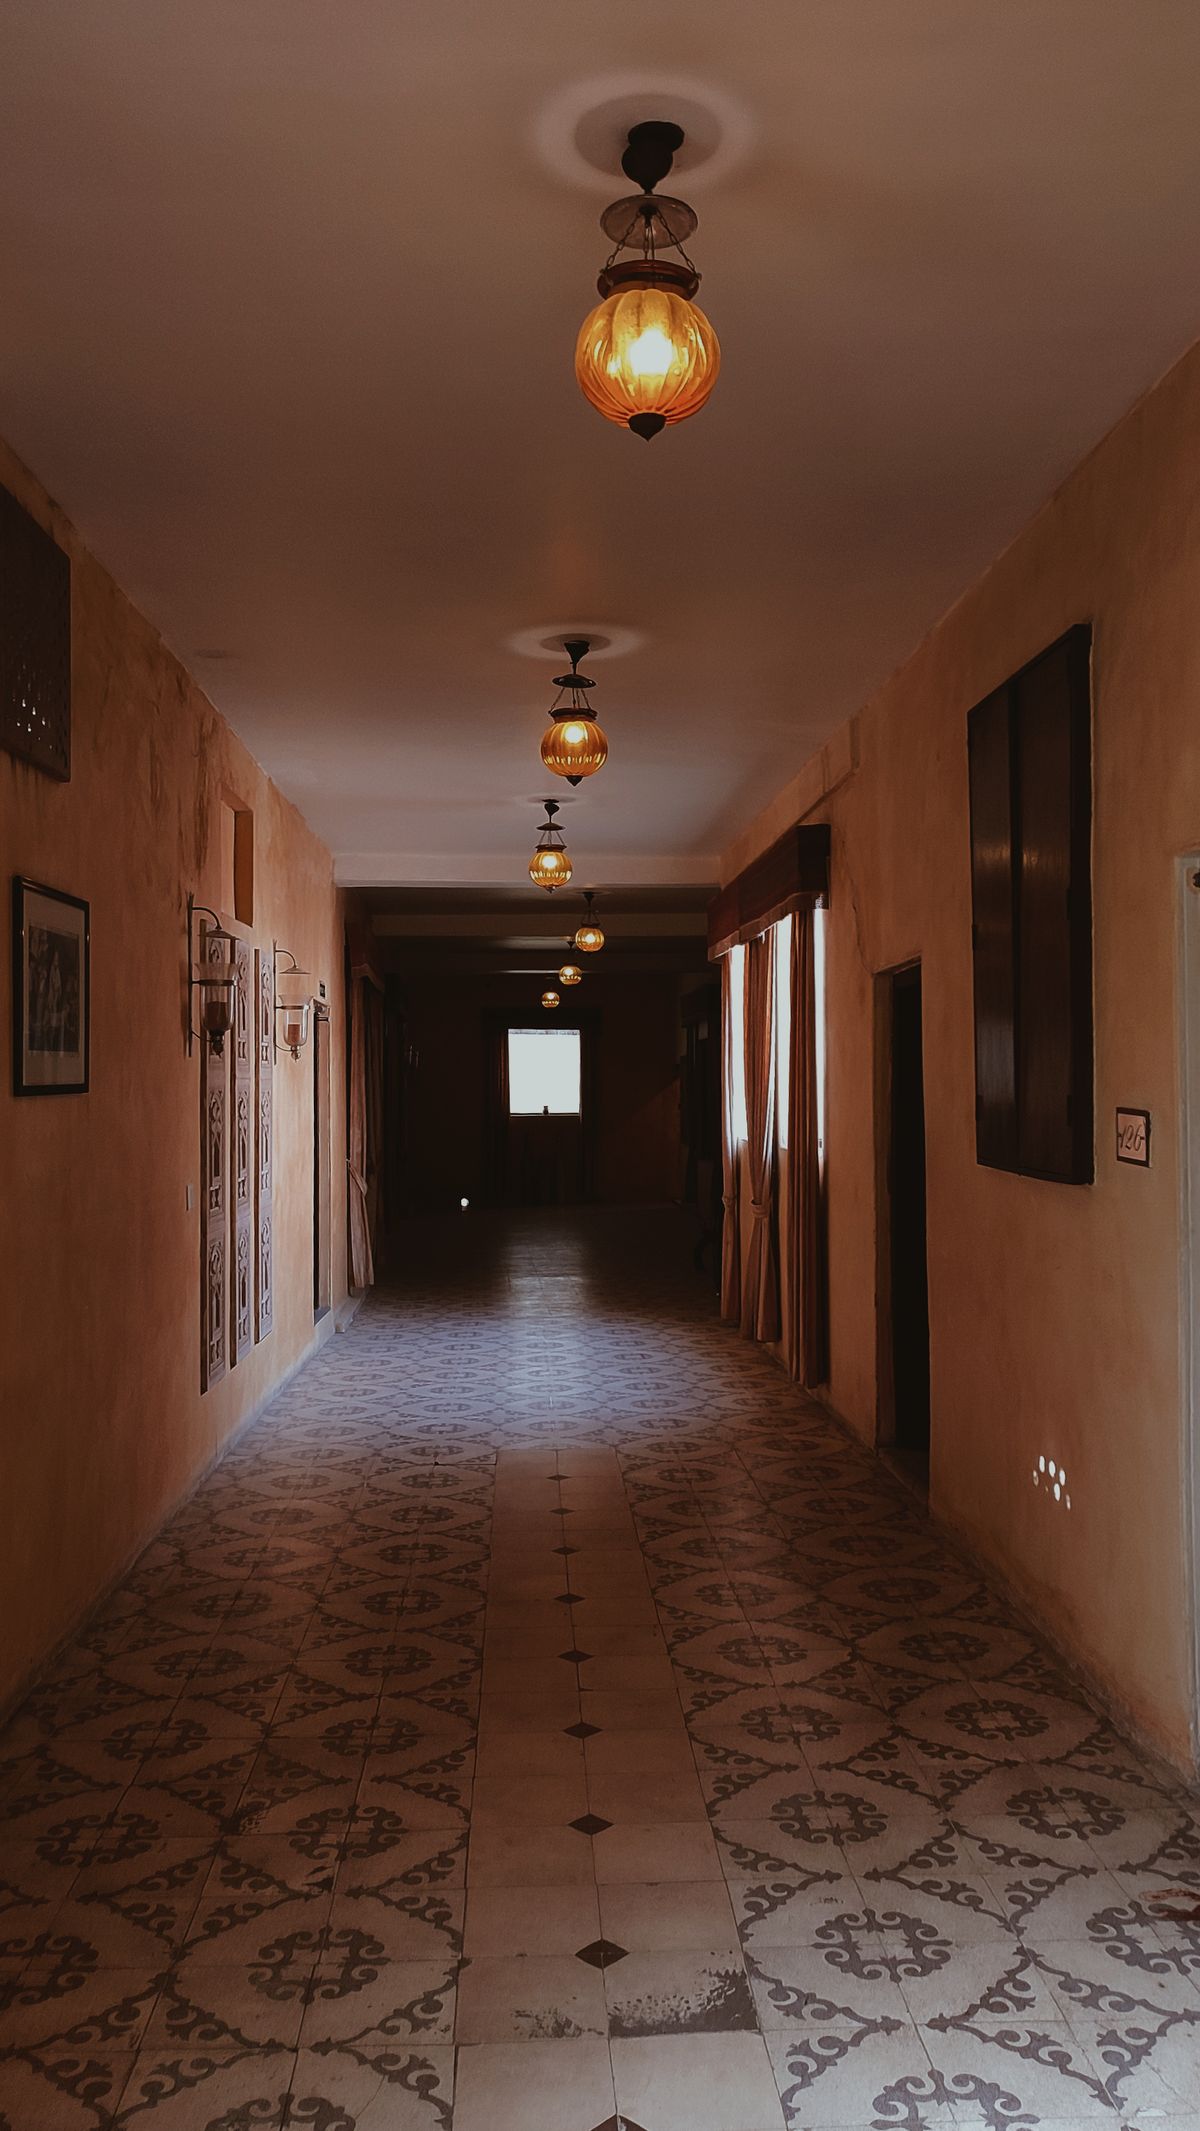
I ran a single string of lights along our narrow hallway ceiling, with a timer, so the hallway felt welcoming instead of dark and cramped. It was the best ten pounds I spent that December.
I ran the hallway string along the side away from the door frames, so doors never caught the wire, and the lights stayed neat all month.
The downside is that hallway lights get knocked. My first string hung too low and brushed tall guests, so I raised it to ceiling height and clipped it flat.
Pro Tip: Hang hallway lights at ceiling height and clip them flat, or tall guests will brush them.
Cost / Time / Difficulty: $8 to $14 | 20 minutes | Easy
17. The Bedroom Canopy Light
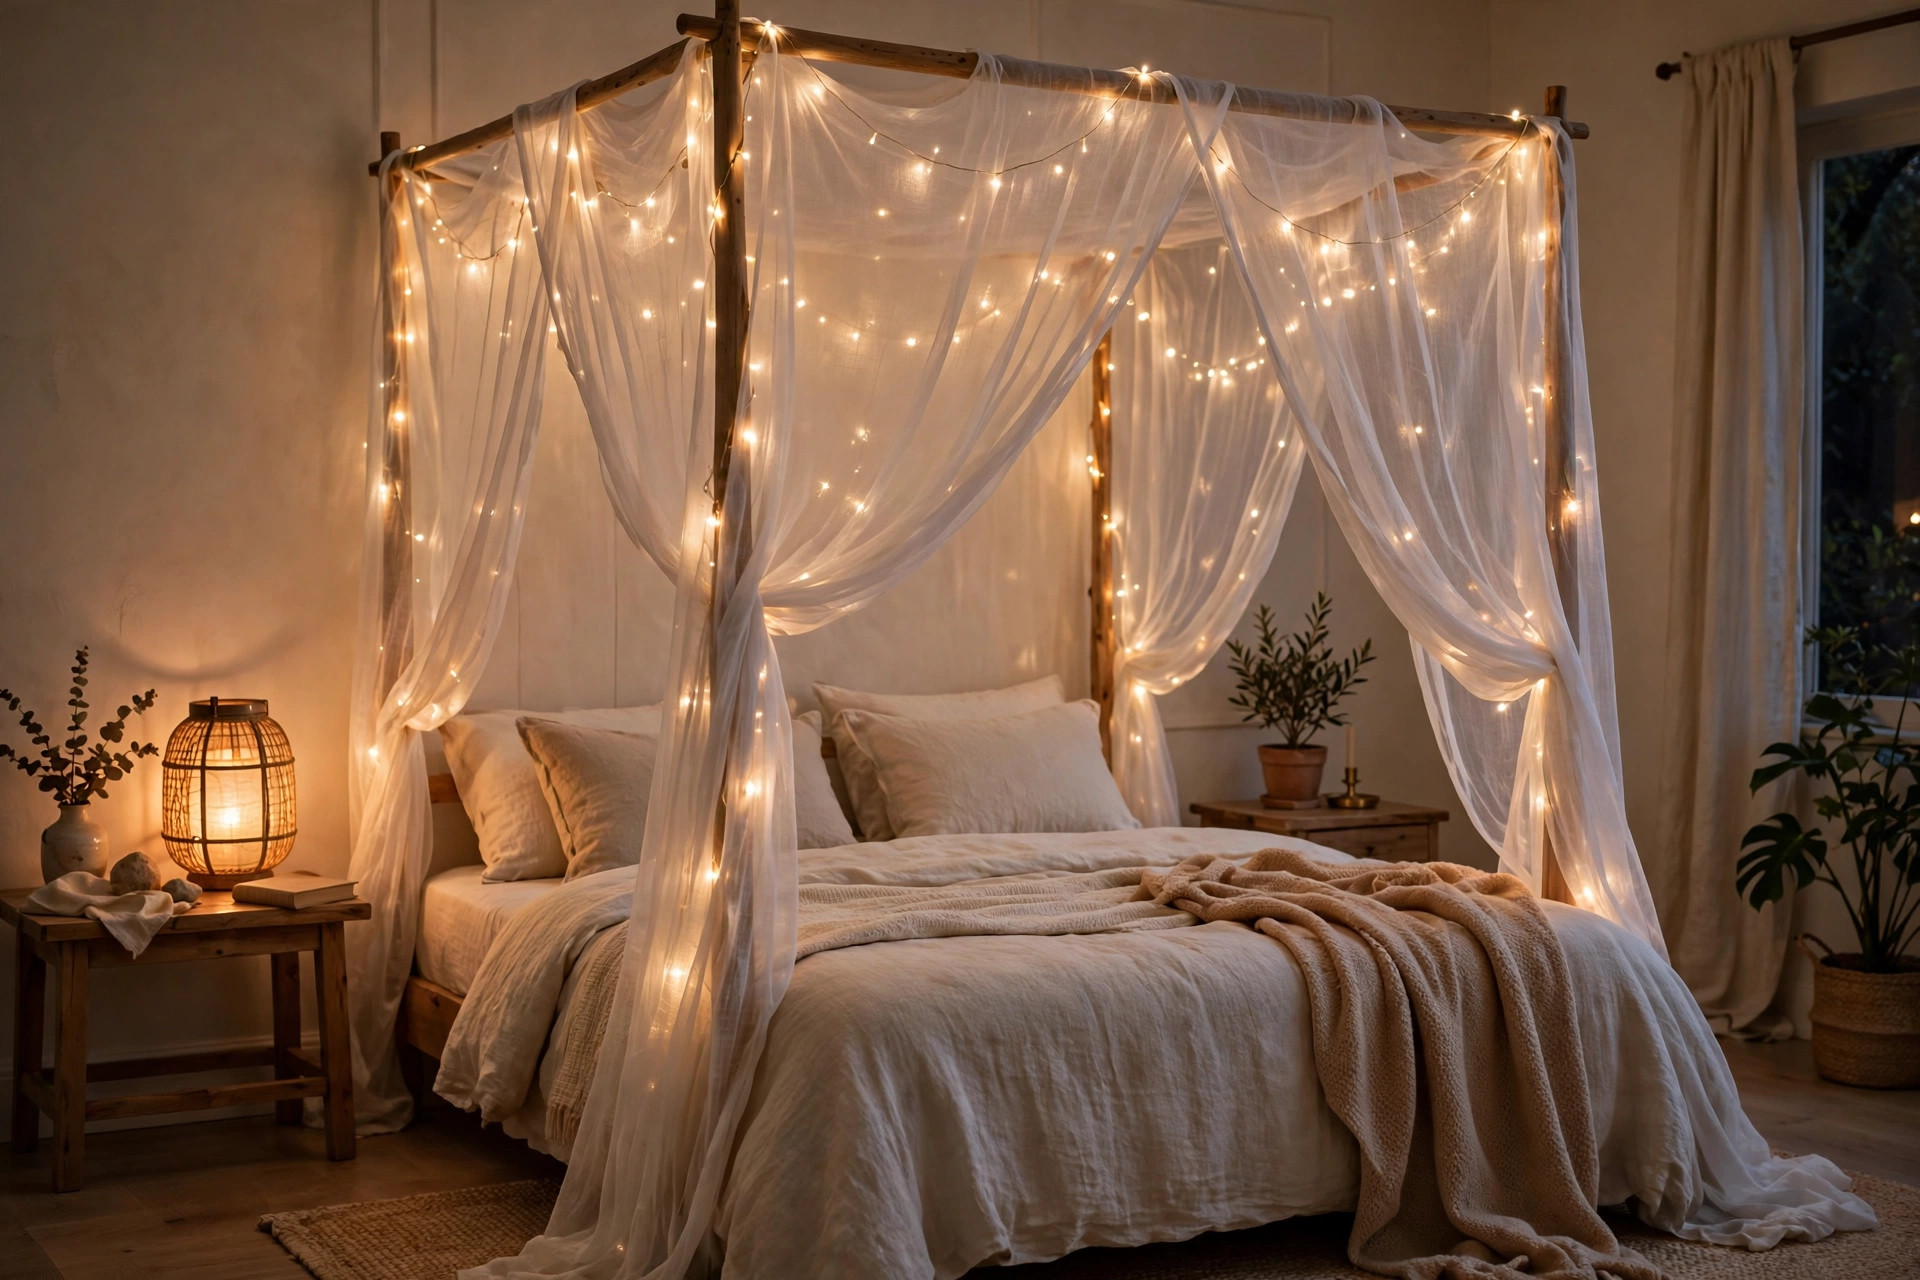
I draped fairy lights over a simple canopy above our bed, using a lightweight frame, so the bedroom felt like a winter grotto. It was romantic, cheap, and easy to take down.
I used a sheer fabric canopy, not a heavy one, so the fairy lights shone through softly, and the bedroom glowed like a lantern rather than looking dark and heavy.
The downside is weight. My first canopy sagged because the frame was too weak, so I used a stronger frame and lighter lights.
Pro Tip: Use a strong frame and light fairy lights for canopies, or the canopy will sag.
Cost / Time / Difficulty: $12 to $20 | 30 minutes | Easy
18. The Small Patio Light
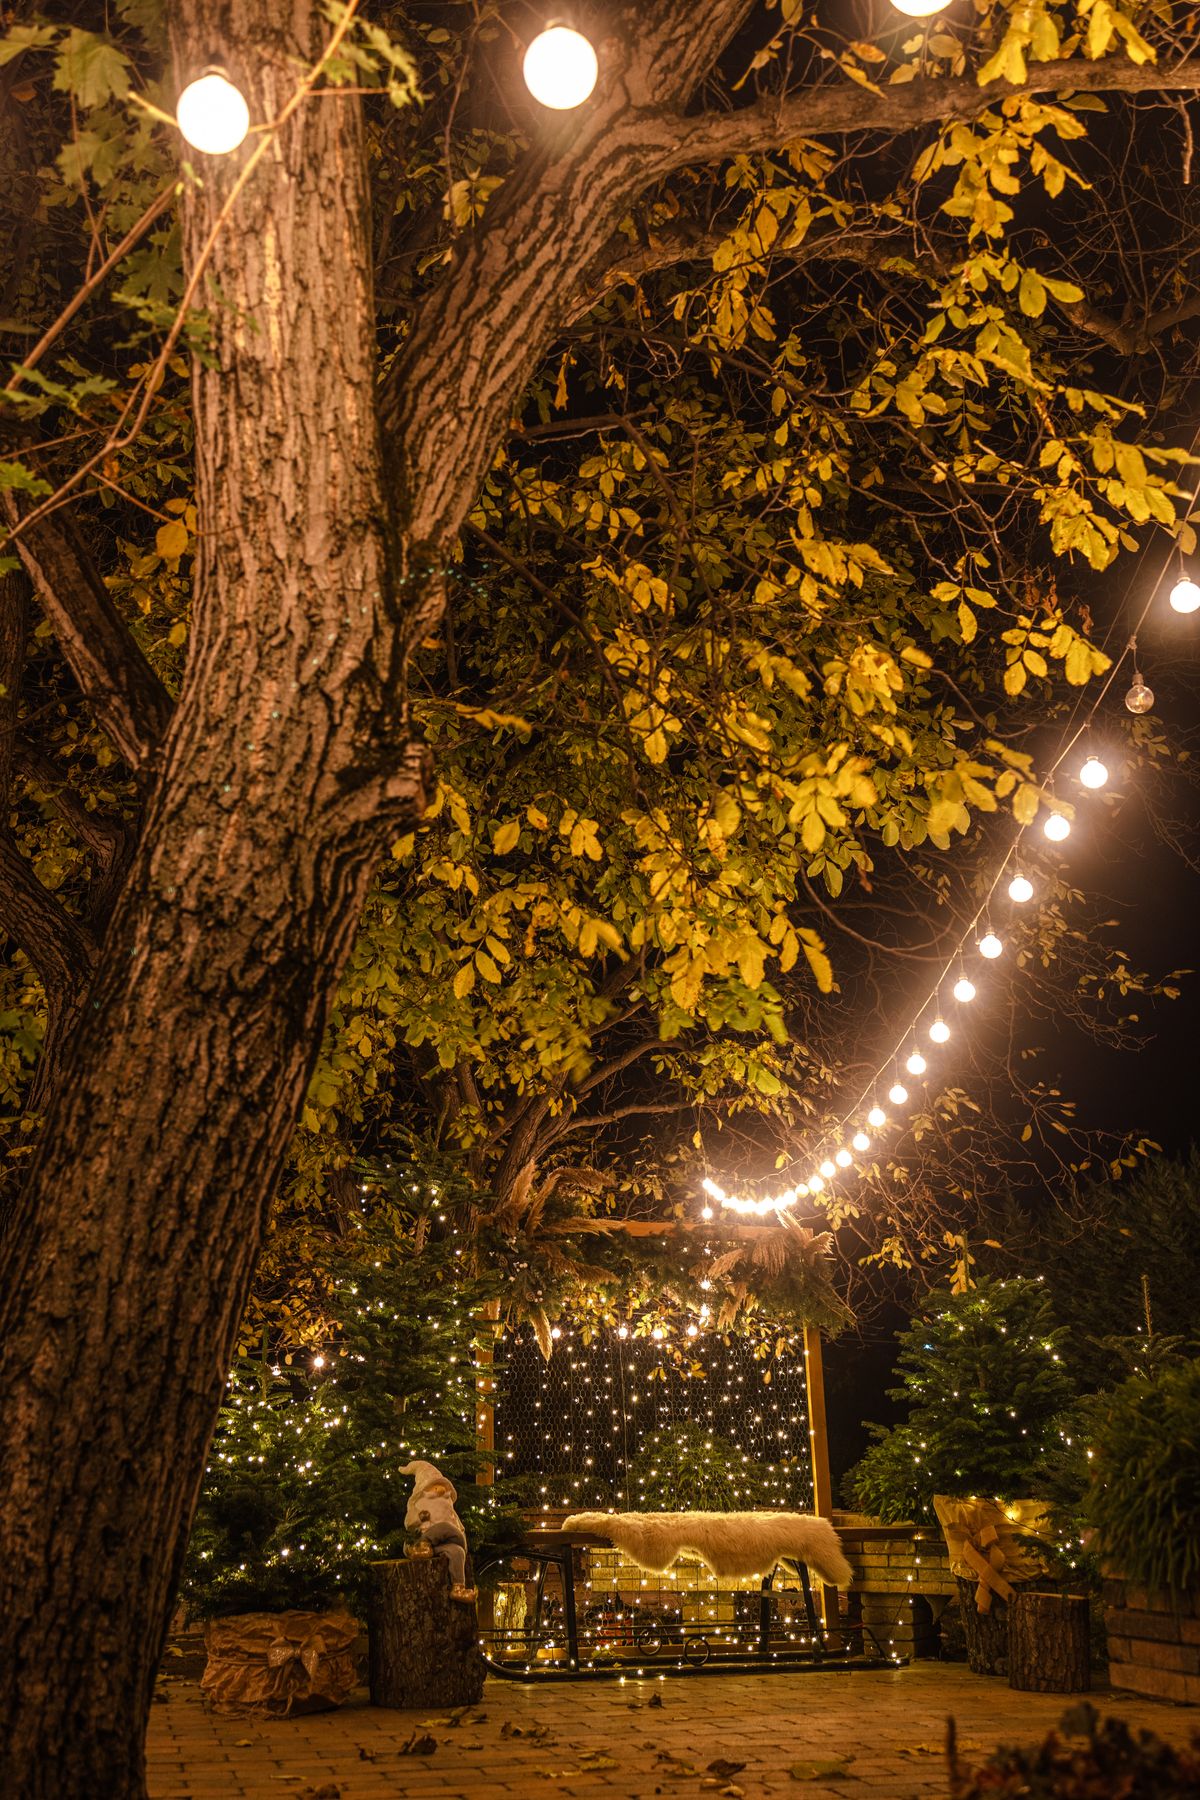
I wrapped a short string of outdoor lights around our small patio fence, with a solar pack, so the patio glowed without using a house socket at all. It was perfect for a small outdoor space.
I coiled the spare wire neatly behind a plant pot, because loose wire on a small patio is a trip hazard, and tucking it away kept the space safe and tidy.
The downside is winter sun. My first solar pack barely charged in December, because our patio gets little sun, so I switched to a battery pack with a timer for reliable light.
Pro Tip: In winter, battery packs beat solar packs for small patios with little sun.
Cost / Time / Difficulty: $12 to $20 | 20 minutes | Easy
Comparison Table
Style | Best for | Cost | Effort
Fairy light curtain | Big impact, no floor space | Medium | Low
Battery garland | Mantels, no sockets | Medium | Low
Window star | Simple, neighbours see it | Low | Very low
Headboard lights | Bedrooms, cosy evenings | Low | Low
Light projector | Instant impact, no hanging | Medium | Very low
Solar patio lights | Small outdoor spaces | Medium | Low, if sunny
Mistakes I Made (So You Don’t Have To)
- I draped three long strings across our flat and tripped over cords all December. Now I use battery lights and one strong feature per room.
- I used indoor lights outside, and they failed after one rainy night. Now I check for outdoor rating before any porch or balcony light.
- I left lights on all day, and batteries died in days. Now every battery light has a timer.
- I hung lights too low in the hallway, and tall guests brushed them constantly. Now hallway lights go at ceiling height, clipped flat.
Frequently Asked Questions
How many lights do I need for a small home?
In my flat, one 10-metre warm white string per room is enough, plus one feature like a curtain or star. More than that feels cluttered, not festive.
Are battery Christmas lights safe to leave on overnight?
I never leave any lights on overnight, battery or plug-in. I use timers that switch off by 11 pm, and I check wires for damage before I hang them each year.
How do I store Christmas lights without tangles?
I wrap each string around a piece of cardboard, label it by room, and store it in a box, not a bag. That one habit saved me an hour every December.
Will warm white or cool white lights suit a small home better?
Warm white, in my experience. Cool white made our small living room feel cold and clinical, while warm white made the same room feel cosy and inviting.
Final Thoughts
Small homes do not need fewer Christmas lights, they need smarter christmas light decor ideas: battery power, warm white colour, one strong feature per room, and timers everywhere. Pick one idea from this list, try it this weekend, and see how much festive feeling you get without losing floor space or tripping over cords. If it works, add a second idea next year, not five at once.
Related article: Christmas Entryway Decor Ideas
Also read: Christmas Tree Decor Ideas
Read this next: Christmas Mantel Decor Ideas





One Comment