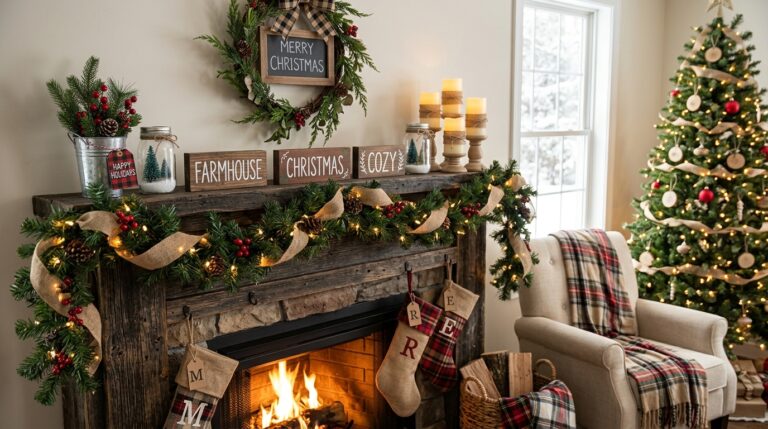
18 Wood Slice Craft Ideas That Bring the Outdoors Inside
A wood slice is just a cross-section of a branch, but it carries the whole tree in it, rings and bark included. These wood slice craft ideas are the ones I made from fallen branches and bought slices, and I kept only the ones that did not crack, warp, or shed bark all over my house.
How I picked these: I made each project myself, sealed it, and lived with it for at least two weeks. I kept a project only if it stayed flat, stayed sealed, and still looked like wood, not like a craft-store imitation. Every idea below tells you what it cost, how long it took, and where it went wrong.
Related article: Macrame Craft Ideas for Beginners
Key Takeaways
- Seal both sides of a wood slice, or it will warp as it dries.
- Sand in stages, from coarse to fine, or the surface will stay rough under paint.
- Use slices at least half an inch thick for anything that will be handled often.
- Keep wood slice crafts dry indoors, and seal outdoor ones twice.
- Buy pre-cut slices if you do not own a saw, it is safer and cheaper than a new tool.
18 Wood Slice Craft Ideas
1. The Classic Wood Slice Coaster
I sanded a 4-inch wood slice smooth, sealed it with clear varnish, and added felt pads on the back. I sanded with 80-grit, then 120, then 220, wiping dust off between stages, and I sealed both sides so moisture could not warp it.
The downside is rings. My first coaster absorbed a wet glass ring because I sealed only the top, so I resealed it on both sides and the back. It now handles coffee mugs daily without a mark, though I still would not leave a boiling mug on it.
Pro Tip: Seal both sides of a coaster, and add felt pads, or moisture will warp it from below.
Cost / Time / Difficulty: $2 to $4 per coaster | 1 hour plus drying | Easy

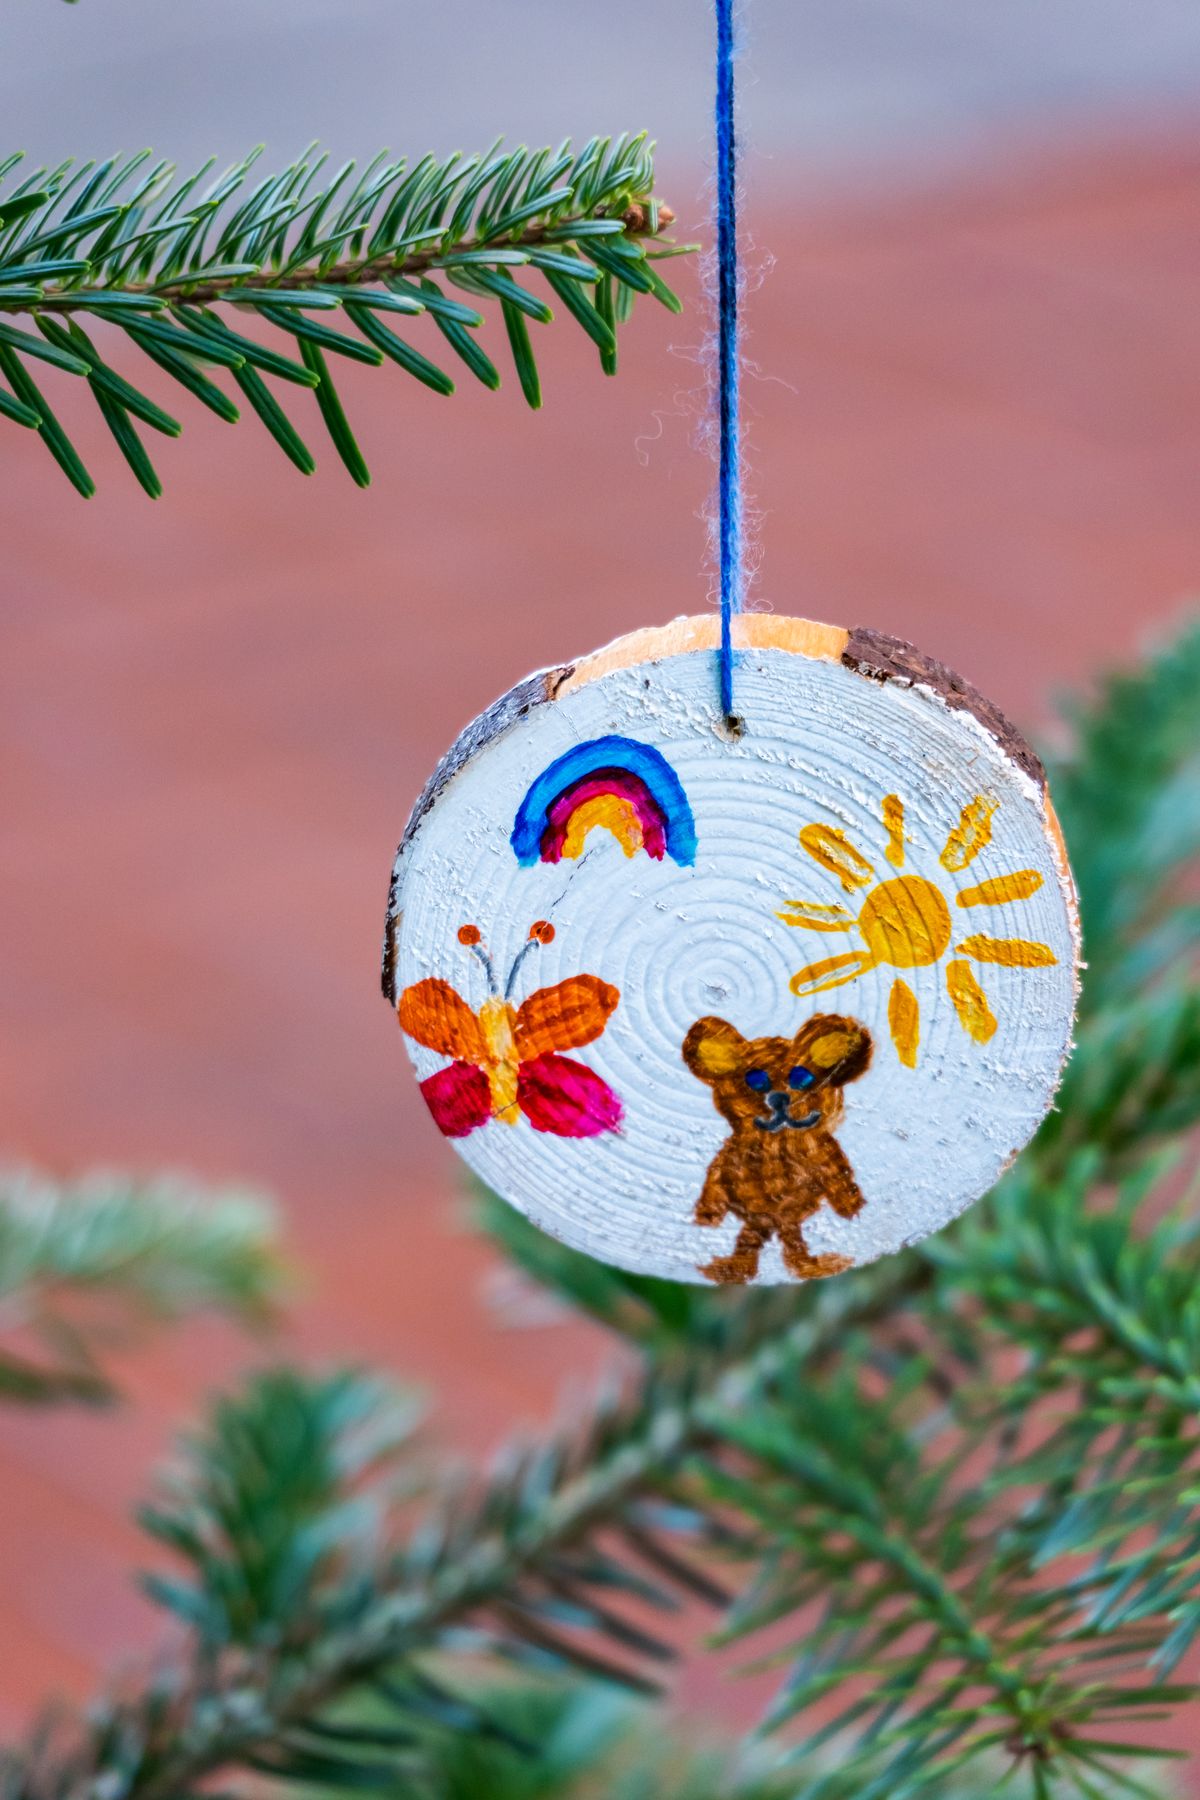
2. The Wood Slice Ornament
I drilled a small hole near the edge of a thin wood slice, painted a simple star on it, sealed it, and threaded twine through the hole. I used slices about 3 inches across and a quarter inch thick, painted with acrylic, and sealed with clear spray.
The downside is cracking. My first ornaments cracked because the slices were too thin and dried too fast near a heater, so I moved drying to a cool room and used thicker slices. The second batch has survived two Christmases without a crack.
Pro Tip: Dry painted wood slices in a cool room, never near a heater, or thin slices will crack.
Cost / Time / Difficulty: $1 to $3 per ornament | 1 hour plus drying | Easy
3. The Wood Slice Serving Board
I sanded a large, thick wood slice, sealed it with food-safe mineral oil, and added a small handle hole for carrying. I used a slice about 12 inches across and 1 inch thick, sanded it until it felt like glass, and oiled it three times.
The downside is food safety. My first board used regular varnish, which is not food-safe, so I sanded it back and re-oiled it with mineral oil only. Now it holds cheese and bread, and I re-oil it once a month.
Pro Tip: Use food-safe mineral oil only on any wood slice that will touch food, never varnish.
Cost / Time / Difficulty: $10 to $18 per board | 2 hours plus oiling | Medium

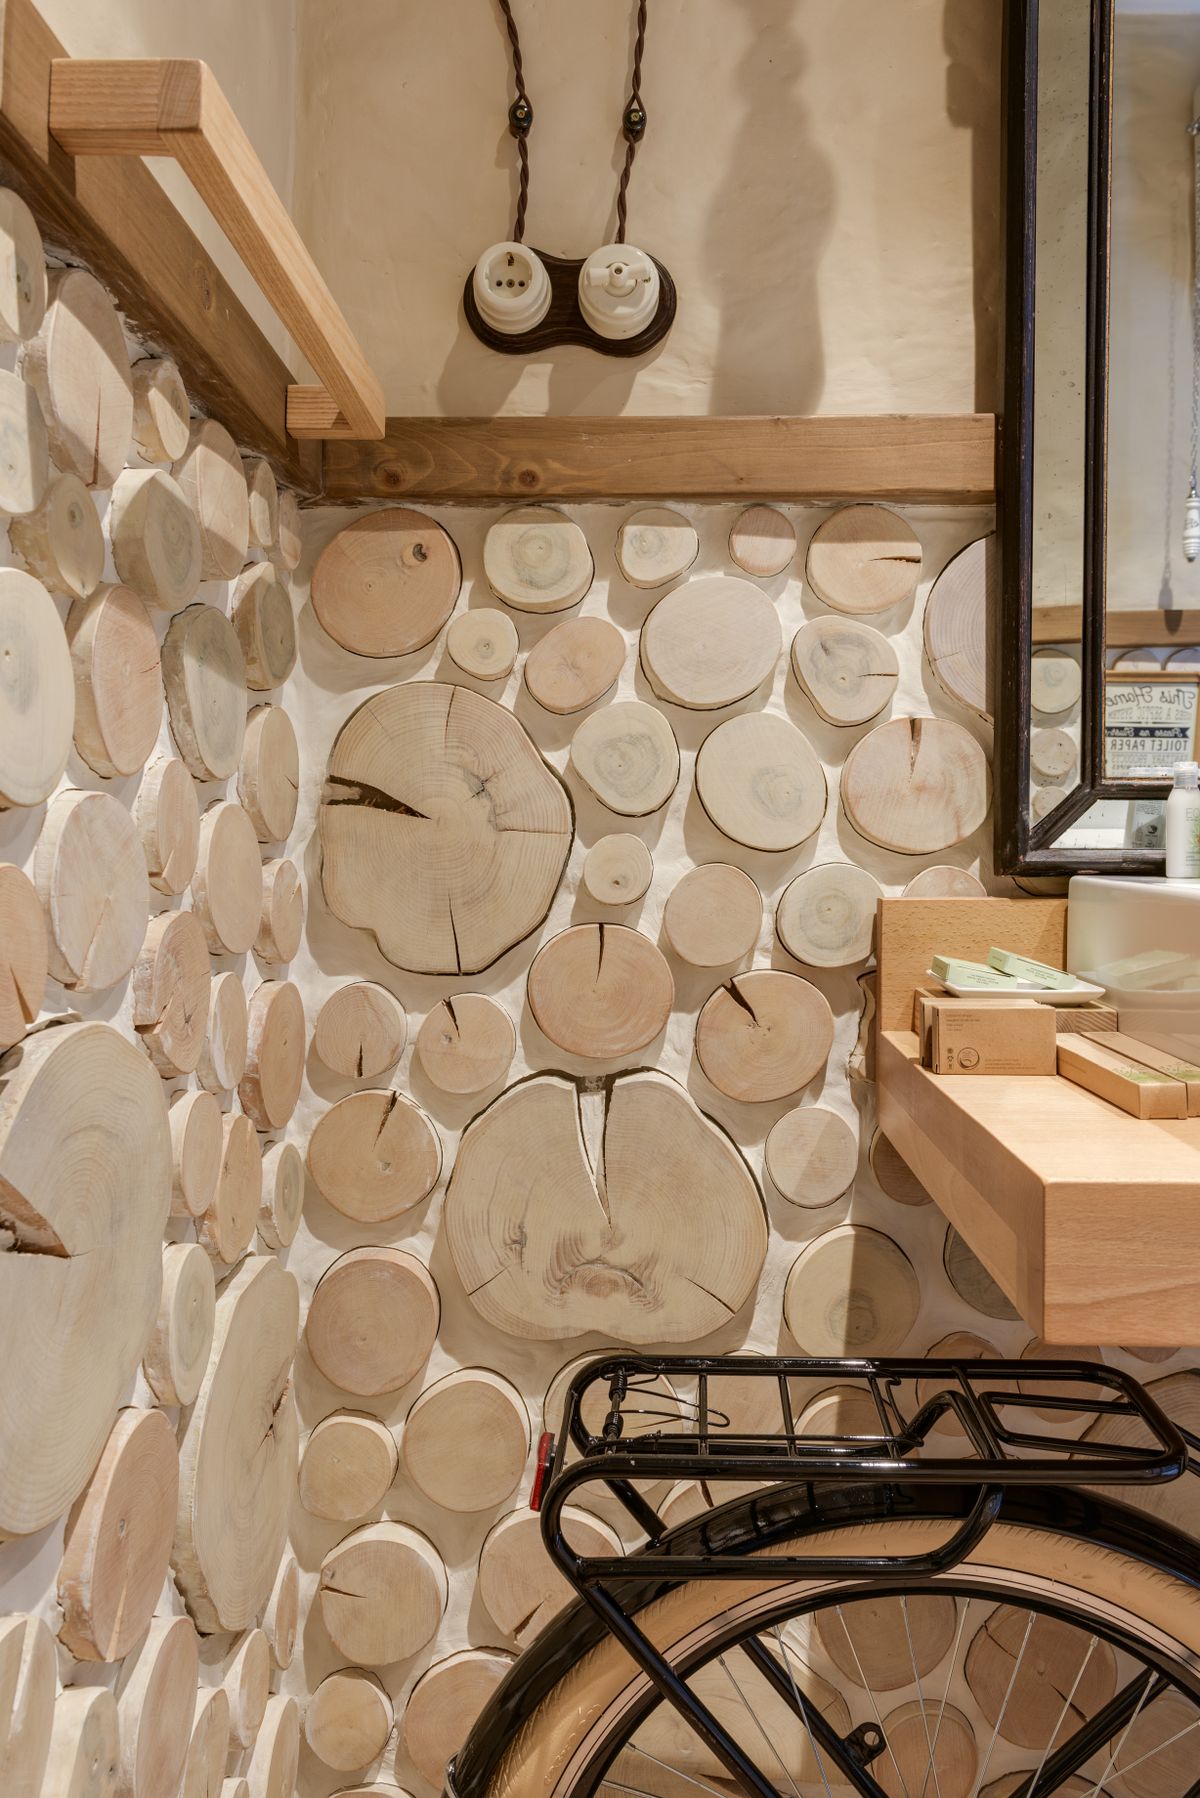
4. The Wood Slice Wall Art
I arranged seven wood slices of different sizes on a backing board in a honeycomb pattern, gluing each one firmly. I sanded the slices lightly, left the bark on for texture, and sealed the whole piece with clear matte spray.
The downside is weight. My first wall art pulled its picture hook out of plaster because I underestimated the weight, so I switched to two wall anchors into studs. It has not moved since, and guests always touch the bark first.
Pro Tip: Hang wood slice wall art with wall anchors into studs, not a single picture hook.
Cost / Time / Difficulty: $12 to $20 per piece | 2 hours | Medium
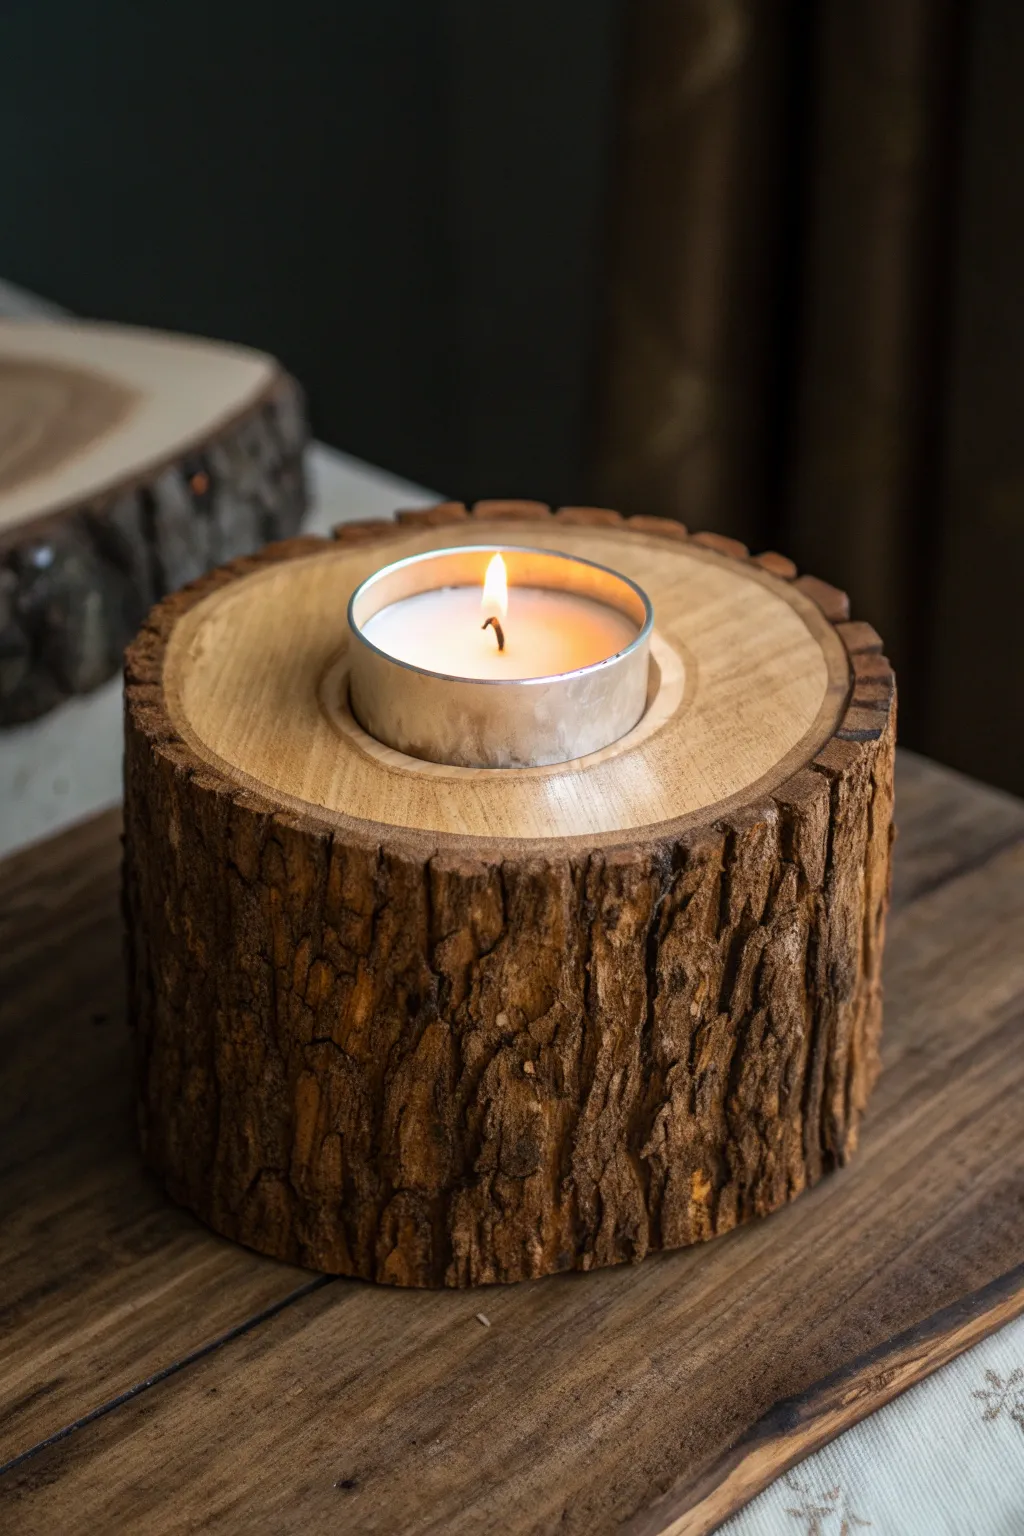
5. The Wood Slice Candle Holder
I drilled a shallow well into a thick wood slice, just deep enough for a tea light, and sealed the wood around it. I used a 4-inch slice, a Forstner bit, and a battery tea light for safety, since real flames near wood make me nervous.
The downside is scorching. My first holder with a real tea light darkened the wood around the well, so I switched to battery lights permanently. The glow looks the same, and I do not worry about it overnight.
Pro Tip: Use battery tea lights in wood slice holders, never real flames in a wooden well.
Cost / Time / Difficulty: $3 to $6 per holder | 45 minutes | Medium
6. The Wood Slice Photo Frame
I glued four small wood slices at the corners of a plain wooden frame, then sealed the whole frame. I chose slices with interesting grain, kept them small so they did not overpower the photo, and used wood glue, not hot glue, for a lasting bond.
The downside is bulk. My first frame was too heavy for a desk stand because the slices added weight, so I hung it on the wall instead. On the wall it looks rustic and deliberate, and the photo still leads.
Pro Tip: Use wood glue, not hot glue, for wood slice frames, or slices will pop off with temperature changes.
Cost / Time / Difficulty: $6 to $10 per frame | 1 hour plus drying | Easy

7. The Wood Slice Garland
I strung small wood slices on twine, alternating them with wooden beads, and hung the garland across a mantel. I drilled each slice carefully, sanded the holes smooth, and spaced the slices by hand so the garland draped evenly.
The downside is drilling splits. My first slices split because I drilled too close to the edge, so I now drill at least half an inch from the edge and use a sharp bit. No splits since, and the garland has survived three seasons.
Pro Tip: Drill holes at least half an inch from a wood slice edge, with a sharp bit, to avoid splits.
Cost / Time / Difficulty: $6 to $12 per garland | 2 hours | Medium

8. The Wood Slice Clock
I made a clock from a large wood slice, drilling a centre hole for a clock mechanism and adding simple wooden hands. I used a slice about 10 inches across, sanded it smooth, sealed it, and fitted a battery mechanism from a craft store.
The downside is balance. My first clock hands stuck because the slice was not perfectly flat, so I sanded the back flat and used a slightly longer mechanism shaft. It keeps time accurately now, and the rings make a natural face.
Pro Tip: Sand the back of a wood slice clock flat, or the mechanism will bind and stop.
Cost / Time / Difficulty: $12 to $20 per clock | 2 hours | Medium

9. The Wood Slice Place Card Holder
I cut a small slit into a standing wood slice, just wide enough for a card, and used it as a place card holder for dinner parties. I used slices about 2 inches across, cut the slit with a fine saw, and sanded the slit smooth so cards slid in easily.
The downside is tipping. My first holders tipped over because the slices were too thin, so I switched to slices at least three-quarters of an inch thick. They stand firmly now, even when guests bump the table.
Pro Tip: Use slices at least three-quarters of an inch thick for standing place card holders.
Cost / Time / Difficulty: $1 to $2 per holder | 1 hour for a set | Easy

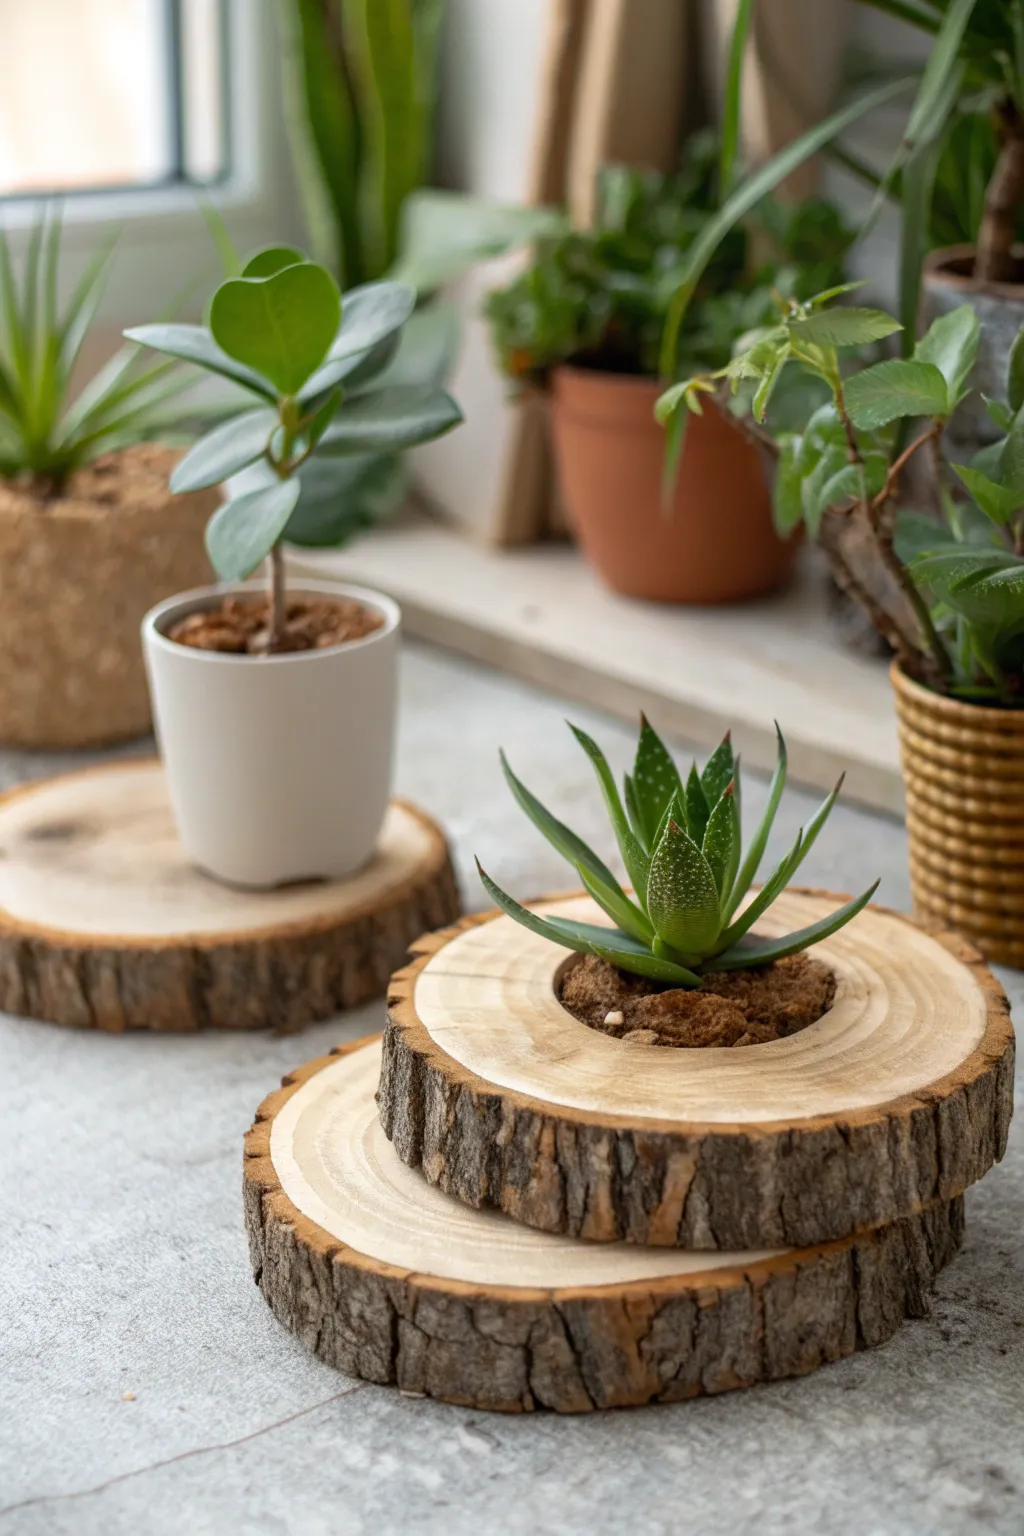
10. The Wood Slice Plant Stand
I stacked three wood slices of increasing size, gluing them into a tiered stand for small pots. I used slices 4, 6, and 8 inches across, glued them with wood glue, and sealed the stand with clear varnish.
The downside is wobble. My first stand wobbled because the slices were not flat, so I sanded each one flat before gluing and checked the stand on a level surface. It now holds three small pots without rocking.
Pro Tip: Sand each slice flat before gluing a tiered stand, and test it on a level surface.
Cost / Time / Difficulty: $8 to $14 per stand | 1 hour plus drying | Medium
Also read: Hot Glue Gun Crafts
11. The Wood Slice Key Holder
I glued small hooks to a flat wood slice, mounted it by the door, and used it for keys and a dog lead. I used a slice about 8 inches across, screwed the hooks in by hand, and mounted it with two screws into a stud.
The downside is pull-out. My first key holder pulled out of plaster because I used only adhesive, so I switched to screws into a stud. It now holds keys, a lead, and a small bag without moving.
Pro Tip: Screw a wood slice key holder into a stud, never rely on adhesive alone for daily use.
Cost / Time / Difficulty: $5 to $9 per holder | 45 minutes | Easy

12. The Wood Slice Trivet
I made a trivet from a thick wood slice, sealing it with heat-resistant varnish and adding cork pads underneath. I used a slice 8 inches across and 1 inch thick, sanded it smooth, and sealed it three times for heat protection.
The downside is heat marks. My first trivet darkened under a hot pan because I sealed it only once, so I resealed it three times and now use it only for warm, not boiling, dishes. It has stayed pale and pretty since.
Pro Tip: Seal a wood slice trivet three times, and use it for warm dishes, not boiling pans straight from the stove.
Cost / Time / Difficulty: $4 to $8 per trivet | 1 hour plus drying | Easy

13. The Wood Slice Magnet Set
I glued small magnets to the backs of thin wood slices, painted tiny designs on the fronts, and used them on the fridge. I used slices 2 inches across, painted with acrylic, sealed them, and used strong disc magnets, not weak strip magnets.
The downside is slipping. My first magnets slid down the fridge because the magnets were too weak for the wood weight, so I switched to stronger discs. They now hold photos and lists without sliding.
Pro Tip: Use strong disc magnets, not strip magnets, for wood slice fridge magnets.
Cost / Time / Difficulty: $4 to $8 for a set of six | 1 hour plus drying | Easy

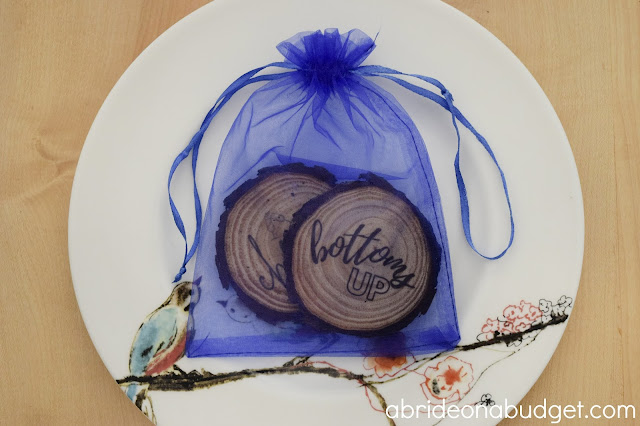
14. The Wood Slice Wedding Favour
I made wedding favours from small wood slices, engraving initials with a wood-burning tool and tying twine around each one. I used slices 3 inches across, practised on scrap first, and burned slowly so the letters stayed even.
The downside is smoke. My first burning session filled the garage with smoke because I worked without ventilation, so I now burn outdoors or by an open door with a fan. The favours look rustic and personal, and guests kept them.
Pro Tip: Burn wood outdoors or with strong ventilation, and practise initials on scrap slices first.
Cost / Time / Difficulty: $1 to $2 per favour | 2 hours for twenty | Medium
15. The Wood Slice Bookend
I used two large, heavy wood slices as bookends, sealing them and adding felt pads underneath. I chose slices at least 8 inches tall and 1 inch thick, so they had enough weight to hold books upright.
The downside is sliding. My first bookends slid on a smooth shelf because they had no grip, so I added felt pads and a strip of non-slip shelf liner underneath. They now hold a full row of books without budging.
Pro Tip: Add felt pads and non-slip liner under wood slice bookends, or they will slide on smooth shelves.
Cost / Time / Difficulty: $8 to $14 for a pair | 1 hour | Easy

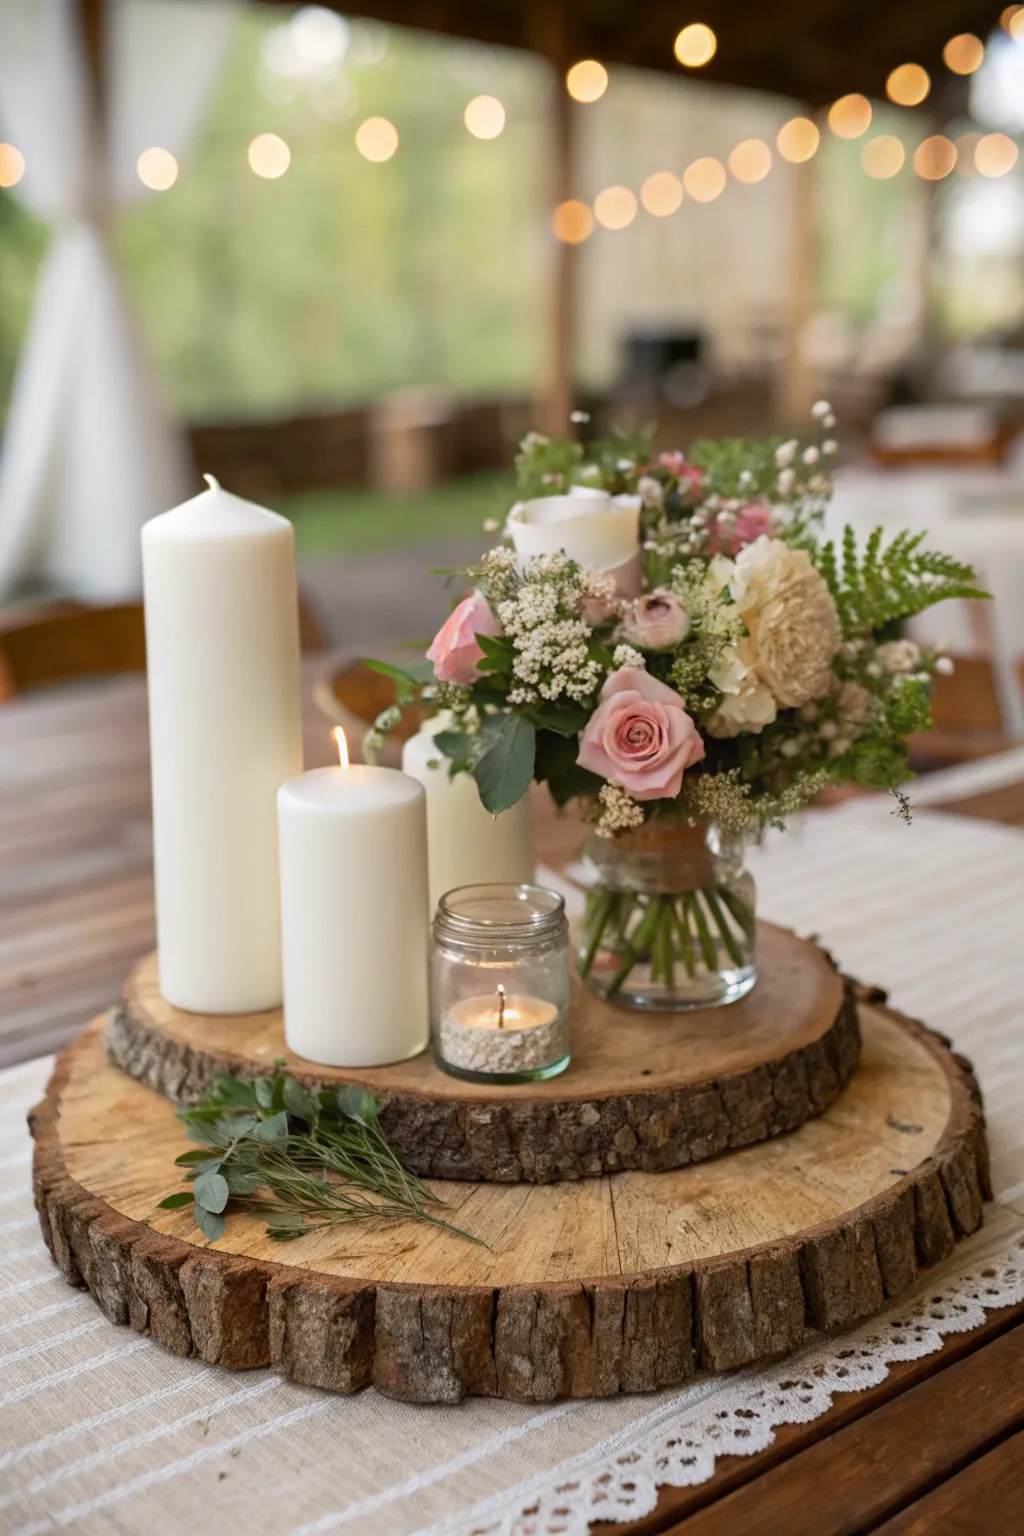
16. The Wood Slice Centrepiece
I arranged a large wood slice as a centrepiece base, setting candles and greenery on top of it for a dinner table. I used a slice 14 inches across, sealed it, and kept candles in glass holders on top, never directly on the wood.
The downside is wax. My first centrepiece got wax drips on the wood because a candle tipped, so I now use glass holders for every candle and check them before guests sit down. The wood still looks perfect after three dinners.
Pro Tip: Keep every candle in a glass holder on a wood slice centrepiece, never directly on wood.
Cost / Time / Difficulty: $10 to $16 per centrepiece | 30 minutes | Easy
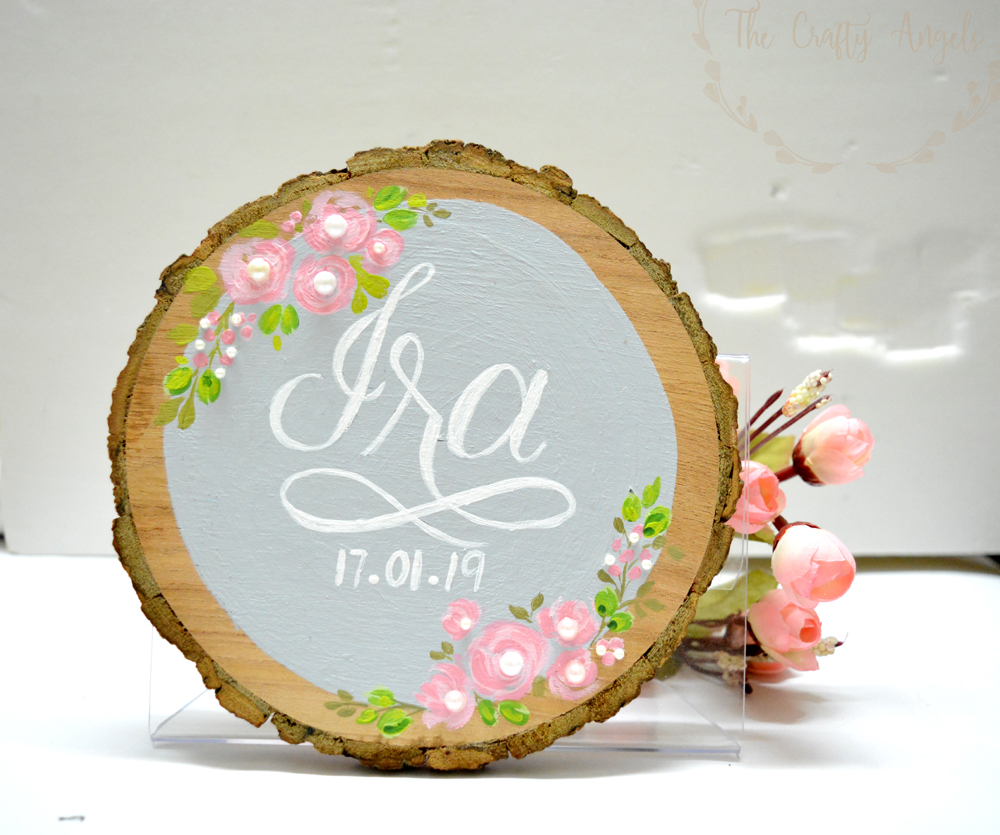
17. The Wood Slice Name Sign
I painted a family name across a large wood slice in white acrylic, sealed it, and hung it by the front door. I used a slice 12 inches across, sketched the letters in pencil first, and painted slowly with a fine brush.
The downside is weather. My first sign faded outdoors because I used indoor sealant, so I resealed it with outdoor varnish and brought it inside during heavy rain. It has kept its colour for a year since.
Pro Tip: Seal outdoor wood slice signs with outdoor varnish, and bring them in during heavy rain.
Cost / Time / Difficulty: $8 to $14 per sign | 2 hours | Medium
18. The Wood Slice Bird Feeder
I drilled a hole through a thick wood slice, threaded rope through it, and hung it with a small seed cup attached underneath. I used a slice 6 inches across, sealed it, and hung it from a tree branch away from windows.
The downside is squirrels. My first feeder was emptied by squirrels in a day, so I hung it from a thin wire they could not climb easily, and I refill it every few days. Birds visit daily now, and the slice has weathered well.
Pro Tip: Hang a wood slice bird feeder from thin wire, not thick rope, to slow down squirrels.
Cost / Time / Difficulty: $5 to $9 per feeder | 1 hour | Easy

Comparison Table
| Project | Best For | Cost | Effort |
|---|---|---|---|
| Wood slice coaster | Daily use | $2 to $4 | Easy |
| Wood slice ornament | Gifts, trees | $1 to $3 | Easy |
| Wood slice serving board | Cheese, bread | $10 to $18 | Medium |
| Wood slice wall art | Living rooms | $12 to $20 | Medium |
| Wood slice clock | Statement walls | $12 to $20 | Medium |
| Wood slice centrepiece | Dinner tables | $10 to $16 | Easy |
Mistakes I Made (So You Don’t Have To)
I sealed only the top of my first coasters, and they warped from moisture underneath. Seal both sides of every wood slice, every time.
I used varnish on a serving board that touched food, which was not food-safe. Use mineral oil only for food-contact wood, and re-oil monthly.
I hung heavy wood slice art from a single picture hook, and it fell. Use wall anchors into studs for anything heavy, and weigh the finished piece first.
I dried thin slices near a heater, and they cracked. Dry wood slowly in a cool room, and accept that some slices will crack no matter what, so buy spares.
FAQ
How long do wood slice crafts last?
Mine last years indoors if sealed and kept dry. Outdoors, expect one to two years before resealing is needed, especially in rain and sun.
What would you do differently on your first project?
I would start with coasters, not wall art. Coasters teach sanding, sealing, and patience in one small, useful project, and mistakes cost almost nothing.
Can I use branches from my own garden?
Yes, if the wood is dry and pest-free. Let fresh branches dry for several weeks first, check for insects, and seal both sides before crafting.
Final Thoughts
Wood slices are forgiving if you respect the wood itself. Sand patiently, seal both sides, and do not rush drying, and a simple branch becomes something you will keep for years. My favourite pieces are still the plainest ones, where the rings do most of the talking.
Read this next: Pressed Flower Craft Ideas