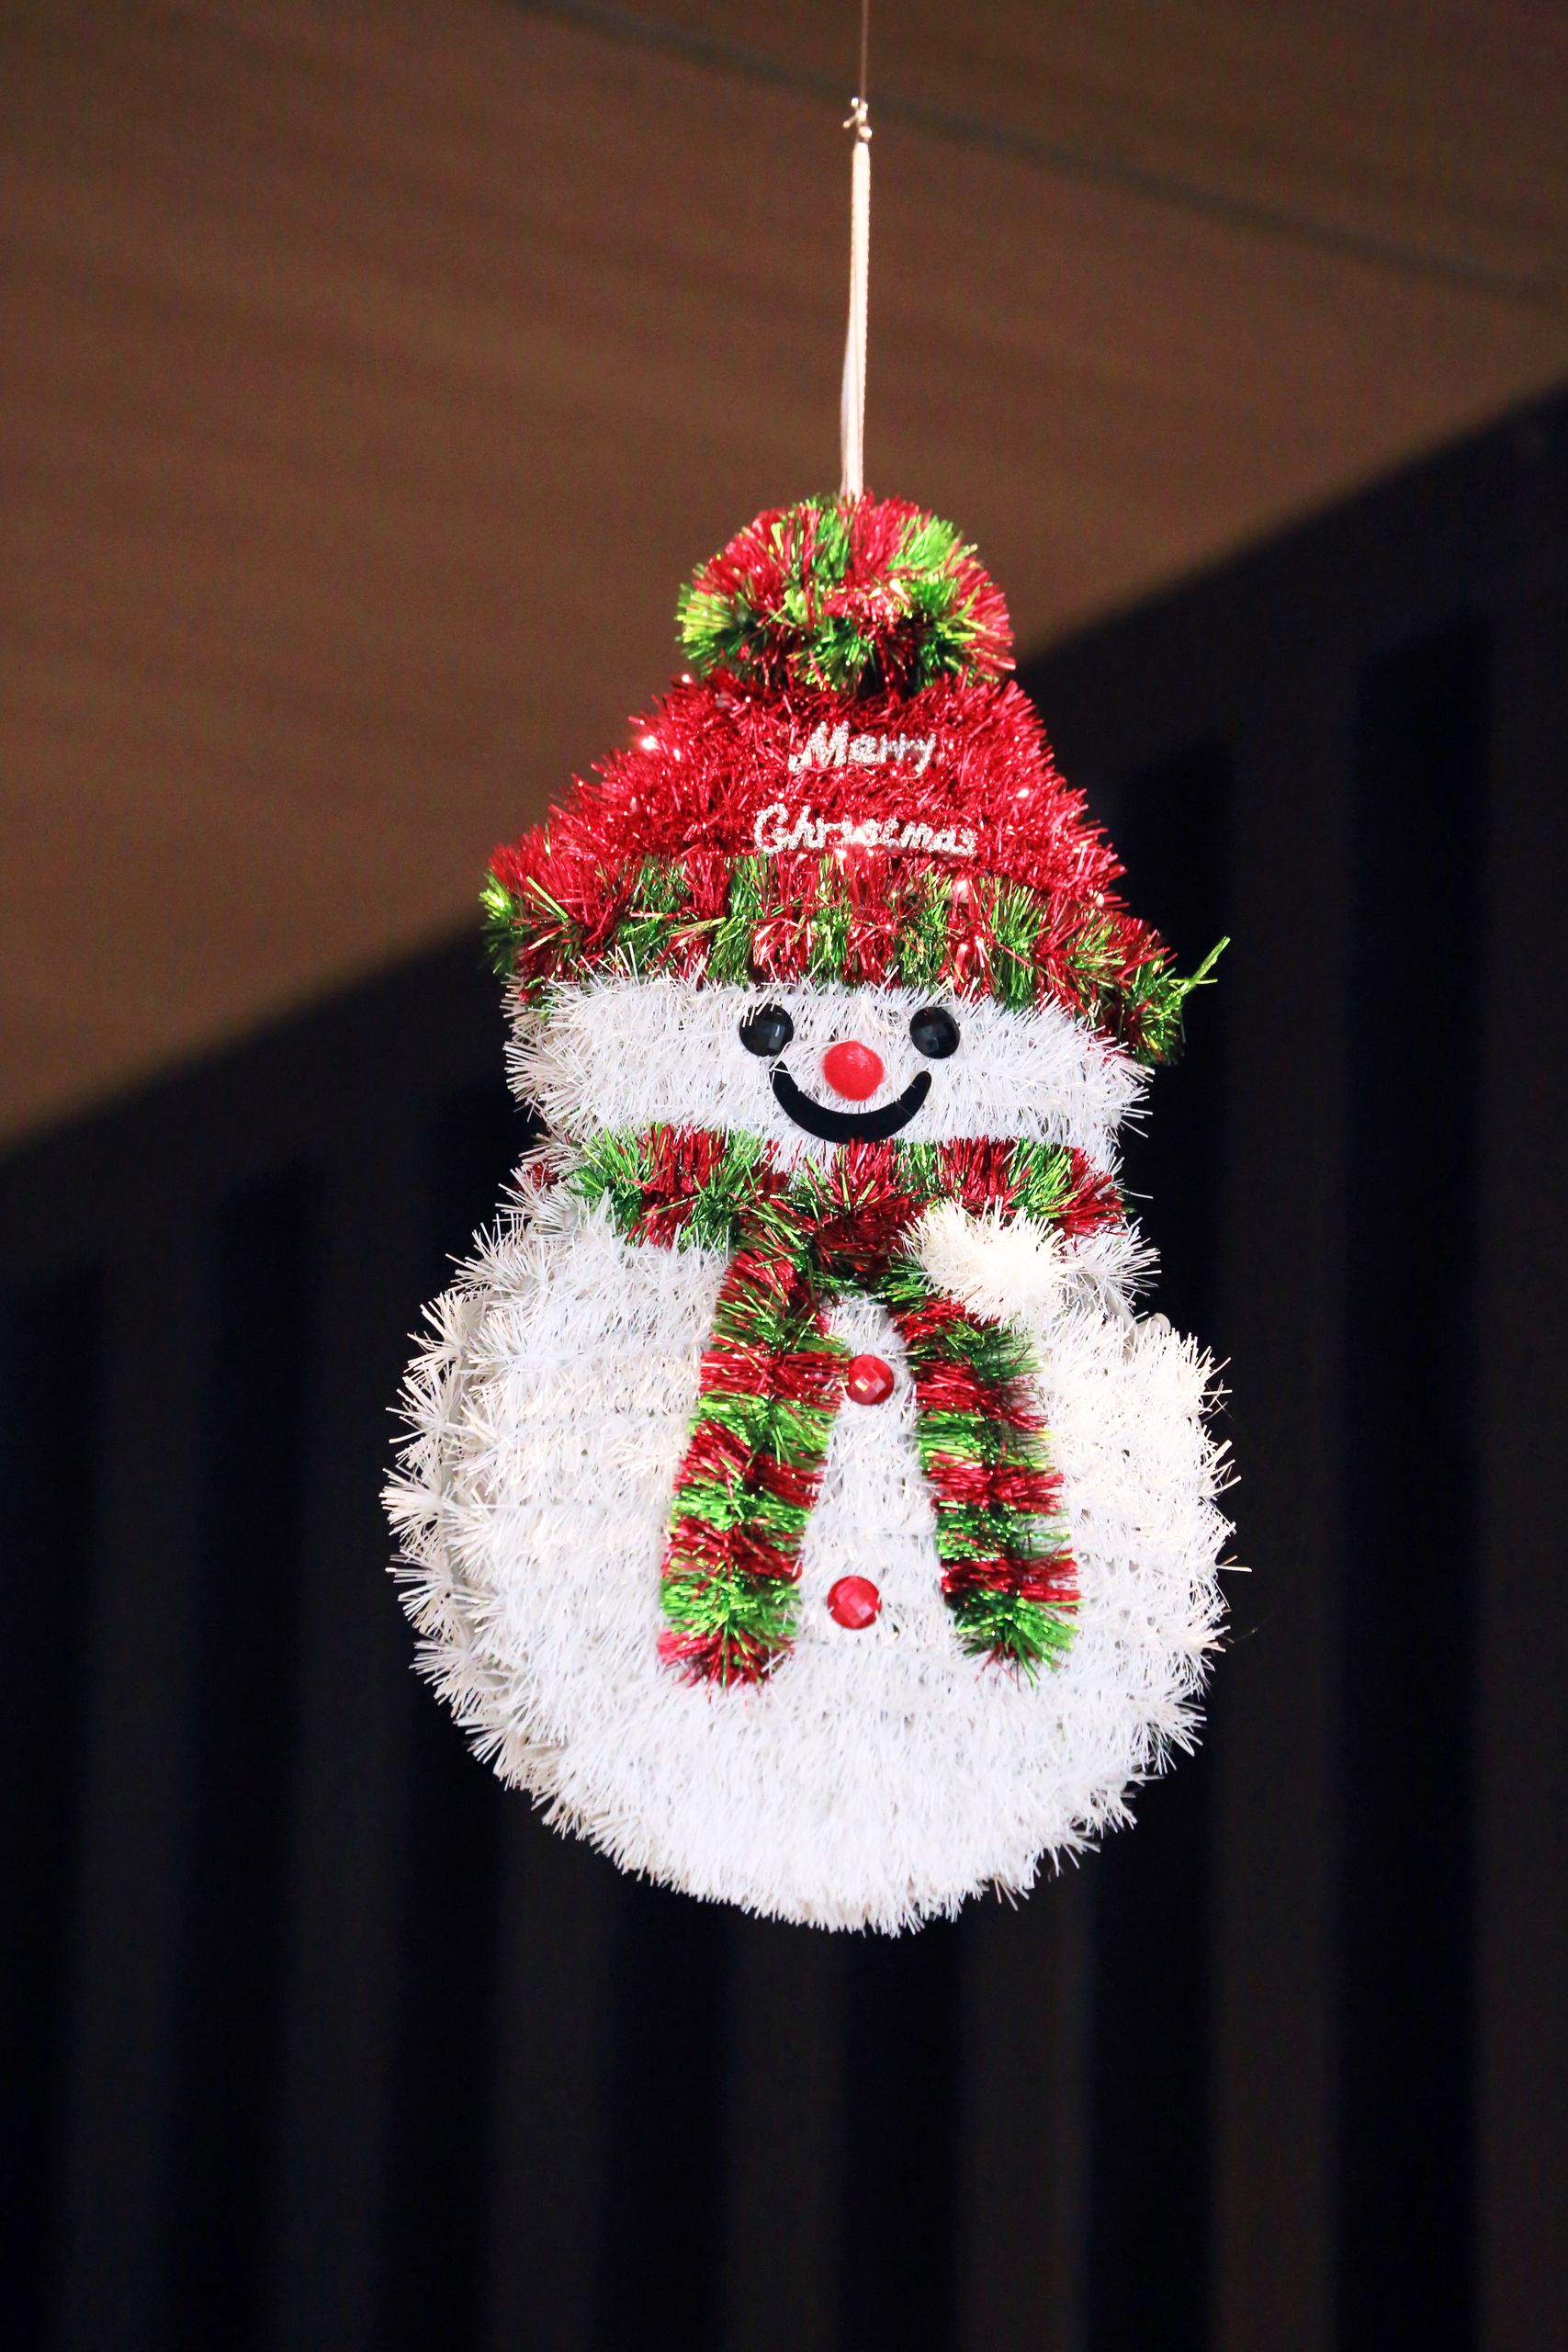
20 Kids Snowman Crafts
When snow kept us indoors last winter, I looked for kids snowman crafts that would hold my children’s attention past ten minutes. Most lists were glitter-heavy or needed supplies I did not own, so I tested ideas at my kitchen table instead.
How I picked these: every project was tried in my house first, costs under $5, and finishes in one sitting. I kept only the kids snowman crafts that survived real children, and tossed out anything needing hot glue in small hands or tiny parts for toddlers.
For a snowy day, pair these with outdoor play. Related article: kids snow day games for burning off energy between crafts, and keep a craft bin ready with white paper, cotton balls, old socks, and washable paint.
Key Takeaways
Start with paper plate snowmen and cotton-ball collages for toddlers; both are mess-friendly and need little setup.
Save jar snow globes and salt-dough ornaments for older kids who can handle waiting for things to dry.
Keep a winter craft bin ready with white paper, kid-safe scissors, washable paint, cotton balls, and old socks.
20 Kids Snowman Crafts: 20 Ideas I Actually Tried
1. Classic Paper Plate Snowman
I made this paper plate snowman with my daughter on a rainy afternoon, and it is still the first of all kids snowman crafts I reach for. We painted one plate white, glued a smaller plate on top for the head, and added black paper eyes, an orange triangle nose, and a red scarf cut from felt.
My daughter named him Frosty and carried him around for two days, proudly. The downside is that plates bend if little hands press too hard with glue, so I now back each plate with a piece of card before we start decorating.
Pro Tip: Let kids paint the plates first and decorate second, because wet paint smears paper eyes and makes the whole face slide sideways.
Cost: Under $3 / Time: 25 minutes / Difficulty: Easy / Ages: 3+

2. Sock Snowman from the Odd-Sock Bin
I filled a clean white sock with dry rice for this sock snowman, tied it with string to make a head and body, and watched my son turn laundry clutter into a toy. We added button eyes, a felt scarf, and a tiny hat cut from an old glove, and it sat on our mantel all winter.
The rice gives it a satisfying weight, like a little beanbag, but one thin sock leaked rice all over the floor the first time we tried it. Now I double up the sock or use a second sock inside, and I keep the finished snowman away from toddlers who might chew the buttons.
Pro Tip: Use a rubber band under the string tie, because string alone slowly loosens and the head starts to flop forward.
Cost: Under $3 / Time: 25 minutes / Difficulty: Easy / Ages: 5+

3. Felt Snowman on a Board
I cut a snowman shape from white felt and stuck it on a felt board for my youngest, who rearranged the face about twenty times in one sitting. We made three hats, two scarves, and several sets of eyes, so every version looked different and nobody argued over whose turn it was.
Felt pieces stick to each other without glue, which makes this wonderfully mess-free, but the small felt buttons are a choking risk for toddlers. I keep the tiny pieces in a jar for older kids only, and the board itself lives on the fridge where everyone can play with it.
Pro Tip: Cut the snowman body slightly larger than you think, because small felt bodies leave no room for chunky toddler fingers to place the face.
Cost: Under $5 / Time: 30 minutes / Difficulty: Easy / Ages: 3+

4. Salt-Dough Snowman Ornament
I mixed flour, salt, and water into salt dough, rolled it flat, and helped my kids cut out snowman shapes with a round cookie cutter. We baked them low and slow, painted them white with rosy cheeks, and hung the first one on the tree the same evening, slightly lopsided and completely beloved.
Salt dough is cheap and sturdy once baked, but the ornaments crack if they go into a hot oven or dry too fast. I bake at the lowest setting and leave them in the cooling oven overnight, and I seal finished ornaments with clear varnish so they survive next December too.
Pro Tip: Poke the hanging hole before baking, not after, because baked dough splits when you try to force a hole through it.
Cost: Under $2 / Time: 1 hour plus drying / Difficulty: Easy / Ages: 4+

5. Real Outdoor Snowman Build
I took the kids outside after the first proper snowfall and we rolled three snowballs for a real snowman, exactly like the one in every winter storybook. My son rolled the base, my daughter rolled the head, and I lifted it into place while everyone shouted instructions at once, which is half the fun.
Packing snow builds best, while powdery snow just falls apart in your mittens, so we now check the snow by squeezing a handful first. The honest downside is cold hands and wet sleeves, so I set a twenty-minute timer and we warm up inside with cocoa before anyone gets miserable.
Pro Tip: Roll the base snowball in a spiral path across fresh snow instead of pushing it straight, because it grows faster and stays rounder.
Cost: Free / Time: 30 minutes / Difficulty: Easy / Ages: 4+

6. Handprint Snowman Card
I painted my daughter’s palm white, pressed it onto blue card, and turned the four finger prints into a row of tiny snowmen with hats and scarves drawn on afterwards. It was messy, quick, and the card went straight to her grandmother, who still has it pinned to her fridge a year later.
White paint on blue card looks magical, but it needs a thick coat or the card colour shows through patchily. I do two thin coats with drying time between them, and I keep a damp cloth ready because white paint on small hands ends up everywhere except the paper.
Pro Tip: Paint the palm, not the fingers, for the main print, then add fingers separately, because a full handprint makes one giant snowman instead of a row.
Cost: Under $2 / Time: 20 minutes / Difficulty: Easy / Ages: 2+
7. Cotton-Ball Snowman Collage
I drew a big snowman outline on card and let my youngest glue cotton balls all over it until it looked properly fluffy. It took her a full half hour of quiet concentration, and the finished collage felt soft enough that everyone wanted to touch it.
Cotton balls are wonderfully sensory, but they shed fibres and the glue dries slowly, so the picture looks sparse if kids rush it. I spread the glue in small sections and we work from the bottom up, and I now buy the larger cotton balls because the tiny ones are fiddly for small fingers.
Pro Tip: Use a glue stick for the outline and liquid glue for the middle, because liquid glue alone makes the card buckle and curl.
Cost: Under $2 / Time: 30 minutes / Difficulty: Easy / Ages: 3+

8. Snowman Greeting Card with Buttons
I folded blue card in half, glued three white circles down the front, and let my son choose real buttons for the snowman’s coat. He picked mismatched buttons on purpose, declared it a fashion choice, and the card became the one every relative commented on that Christmas.
Real buttons look far better than drawn ones, but they add weight and bulk, so the card needs a bigger envelope and extra postage. I also avoid tiny buttons for children under four, and I glue them with a strong craft glue rather than a glue stick, which simply will not hold them.
Pro Tip: Glue the buttons the day before you write inside the card, because a heavy buttoned front warps wet ink on the inside.
Cost: Under $3 / Time: 25 minutes / Difficulty: Easy / Ages: 4+

9. Snowman in a Jar Snow Globe
I helped my older child glue a small snowman figure inside a clean jam jar lid, fill the jar with water and glitter, and seal it tight for a snowman snow globe. Shaking it sent glitter swirling around the snowman, and my son shook it approximately four hundred times that first evening.
Water and glitter are a dream combination until the jar leaks, so I seal the lid with waterproof glue and tape around the rim before any child shakes it. I also use plastic jars for younger kids, because a dropped glass jar on a tiled floor is a disaster I only needed once.
Pro Tip: Add a single drop of glycerine to the water, because it makes the glitter fall slowly instead of sinking in one clump.
Cost: Under $4 / Time: 30 minutes / Difficulty: Medium / Ages: 6+

10. Paper-Bag Snowman Puppet
I turned a brown paper bag upside down, painted the bottom flap white for the snowman’s face, and added paper eyes, a carrot nose, and a scarf around the neck. My daughter immediately put on a puppet show in which the snowman complained about the heating being on, which made us all laugh.
Paper bags are free and forgiving, but the paint cracks along the fold if it goes on too thick. I use thin paint or white paper glued over the face instead, and I keep the puppet shows short because enthusiastic puppeteering tears the bag at the seams within days.
Pro Tip: Draw the face on the flat bottom panel before painting, because painting first makes the pencil lines disappear and the face ends up crooked.
Cost: Free / Time: 20 minutes / Difficulty: Easy / Ages: 3+

11. Snowman Paper-Chain Garland
I cut strips of white paper, looped them into a chain, and added a snowman face to every third link for a snowman garland across our fireplace. The kids loved the repetitive looping once they got the rhythm, and the garland stayed up from December until we finally took the decorations down in January.
Paper chains are simple but surprisingly long to make, so younger kids lose interest halfway and leave you finishing alone. I now make it a two-day project, ten links a day, and I use slightly thicker paper because thin strips tear when excited hands pull the chain tight.
Pro Tip: Staple each link instead of gluing it, because glue takes too long to dry and the chain falls apart when you try to hang it.
Cost: Under $2 / Time: 40 minutes / Difficulty: Easy / Ages: 4+

12. Snowman Watercolour Painting
I set out watercolours, thick paper, and a photo of a snowman, and let my son paint his own snowy scene with a blue wash sky and a white snowman left unpainted. Leaving the snowman white against the blue looked properly wintry, and he was genuinely proud of the trick once he saw it work.
Watercolour is forgiving for kids because mistakes just become snowfall, but thin paper buckles the moment it gets wet. I tape thick watercolour paper to a board first, and I limit the palette to blue, purple, and black so the painting does not turn into brown mud by the third colour.
Pro Tip: Paint the sky first and let it dry completely, because painting the snowman over wet blue turns him grey instead of white.
Cost: Under $3 / Time: 30 minutes / Difficulty: Easy / Ages: 5+

13. Snowman Rock Painting
I washed smooth garden stones, painted them white, and helped my kids turn each one into a tiny snowman face with a hat and scarf. We dotted them along the garden path, and neighbours actually stopped to look at them, which made my children absurdly proud for a whole week.
Rocks are free and the paint sticks well, but unsealed paint washes off in the first rain. I seal ours with clear outdoor varnish, adult job only, and I choose flat stones because round ones roll off the table and the paint smears before it dries.
Pro Tip: Wash and dry the stones the day before, because paint peels off dusty or damp stone no matter how careful the painting is.
Cost: Under $3 / Time: 35 minutes / Difficulty: Easy / Ages: 4+

14. Toilet-Roll Snowman
I saved cardboard tubes for a week, wrapped each one in white paper, and let the kids add a paper hat, scarf, and face to make a toilet-roll snowman family. They lined up five of them on the windowsill like a choir, and one of them still stands there, slightly dented, months later.
Cardboard tubes are wonderfully free, but they roll off the table and crush easily in a school bag. I flatten the bottom slightly so they stand steady, and I use a glue stick rather than wet glue, which soaks the cardboard and makes the whole tube go soggy.
Pro Tip: Wrap the paper first and decorate second, because decorating a bare tube then wrapping it covers half the face with paper.
Cost: Free / Time: 20 minutes / Difficulty: Easy / Ages: 3+

15. Snowman Bookmark
I cut a tall white rectangle from card, drew a snowman face near the top, and added a felt scarf and a ribbon tassel for a snowman bookmark. My son, who had never voluntarily used a bookmark before, suddenly kept his place in his bedtime book just so he could show the snowman off.
Bookmarks are quick and genuinely useful, but thin card bends and tears inside a bag. I laminate ours with clear sticky-back plastic, which takes two minutes and turns a flimsy craft into something that survives a whole school term of being shoved into backpacks.
Pro Tip: Make the bookmark narrower than the book it will live in, because a wide bookmark sticks out, folds over, and tears at the crease.
Cost: Under $2 / Time: 15 minutes / Difficulty: Easy / Ages: 5+

16. Snowman Headband with a Hat
I cut a strip of card to fit around my daughter’s head, glued a black top hat shape on the front, and added a snowman face below it for a snowman headband. She wore it to a winter party and spent the evening tipping it at everyone.
Headbands need measuring, because a strip cut too short will not close and one cut too long slides over the eyes. I measure around the head, add two centimetres for overlap, and staple the join rather than gluing it, since glue takes too long and the headband falls apart mid-party.
Pro Tip: Fit the headband before decorating it, because a decorated band that does not fit gets bent out of shape while you try to fix the size.
Cost: Under $2 / Time: 20 minutes / Difficulty: Easy / Ages: 3+

17. Tiny Tabletop Snowman from Fake Snow
I mixed bicarbonate of soda with a little white conditioner to make fake snow, then shaped a tiny snowman on a tray for days when real snow never arrived. It felt cold and powdery, it held its shape beautifully, and my youngest played with it for an hour without once asking for a screen.
Fake snow is brilliant sensory play, but it dries out and crumbles if left uncovered overnight. I store it in a sealed tub and add a spoonful of conditioner to revive it, and I keep it on a tray because the powder gets into carpet and never fully comes out again.
Pro Tip: Add the conditioner a spoonful at a time, because too much turns the snow into sticky paste instead of powdery, mouldable snow.
Cost: Under $2 / Time: 25 minutes / Difficulty: Easy / Ages: 3+

18. Snowman Lantern from a Jar
I wrapped a clean jar in white tissue paper, drew a snowman face on the front, and placed a battery tea light inside for a glowing snowman lantern. On a dark winter evening it glowed softly on our windowsill, and my kids insisted it stay on until bedtime every single night that week.
Tissue paper tears easily when glued wet, so I brush the glue onto the jar first and lay the tissue over it gently. I only ever use battery lights inside, never a real candle, because paper and flame are a combination I will not risk with children in the house.
Pro Tip: Use a battery tea light with a timer, because otherwise the lantern stays on all night and the battery is flat by morning.
Cost: Under $4 / Time: 25 minutes / Difficulty: Easy / Ages: 5+

19. Snowman Wreath for the Door
I cut a ring from a paper plate, glued cotton balls around it, and added a small snowman face at the bottom for a snowman wreath. It hung on our front door all December, it survived wind and rain better than I expected, and visitors kept asking my daughter if she had really made it herself.
Paper plate wreaths are light and cheerful, but cotton balls fall off if the glue is thin, especially outdoors. I use a hot glue gun myself for the base layer, adult job only, and let the kids add the face and scarf with ordinary glue once the fluffy ring is secure.
Pro Tip: Hang it inside the porch rather than fully outside, because driving rain soaks the paper plate and the wreath sags within days.
Cost: Under $3 / Time: 35 minutes / Difficulty: Easy / Ages: 4+

20. Snowman Family Display Shelf
I cleared one low shelf, lined up every snowman my kids had made that winter, and added a strip of white paper as snow along the front. It became our snowman family display, and guests genuinely stopped to admire it, which mattered far more to my children than any single perfect craft.
A display shelf only works if it is low enough for kids to reach and sturdy enough to survive bumps. I use a shelf at child height, I put the heaviest snowmen at the back, and I photograph the display before tidying up, because the shelf gets cleared for something else within a fortnight.
Pro Tip: Photograph the display on the day you finish it, because the snowman family migrates around the house and never looks the same twice.
Cost: Free / Time: 15 minutes / Difficulty: Easy / Ages: 3+

Mistakes I Made / What I Learned the Hard Way
I once used thin paper plates for snowmen, and every one bent under the glue. Backing plates with card first fixed it completely.
White paint needs two coats on coloured card. One thin coat looks patchy, so I now budget drying time between coats instead of rushing.
I glued buttons onto cards with a glue stick once, and every button fell off in the school bag. Strong craft glue, applied the day before, is the only method I trust now.
My biggest lesson with kids snowman crafts is to protect the table, not the craft. A cheap plastic cloth saves the table and lets kids enjoy the mess.
Which One Should You Make First?
| Craft | Best for | Cost | Effort |
|---|---|---|---|
| Paper Plate Snowman | Toddlers | Under $3 | Low |
| Sock Snowman | A keepsake for the mantel | Under $3 | Low |
| Salt-Dough Ornament | A tree ornament to keep | Under $2 | Medium |
| Real Outdoor Snowman | Snow days | Free | Medium |
| Snowman Lantern | Evening display | Under $4 | Low |
Frequently Asked Questions
How long did your snowman crafts actually last?
The salt-dough ornaments and sock snowman lasted all winter and came out again next year. Paper snowmen lasted about a fortnight on the fridge, which was fine, because the kids wanted new ones anyway.
Are these safe for toddlers?
The paper, cotton-ball, and felt ideas are toddler-friendly with supervision, but buttons, small pom-poms, and hot glue are not. Tiny parts are for age four and up, and I do all hot gluing myself.
Final Thoughts
If I had to pick one to start with, I would pick the paper plate snowman for little kids and the sock snowman for older ones. Both are cheap and quick, and both end with a snowman that gets a name and a place on the shelf.
Also read: winter crafts for kids for more cold-weather projects, and Read this next: winter paper crafts for kids if paper projects are your children’s favourite. Start with one snowman this weekend, and let the snowman family grow all winter.





One Comment