Kids Christmas Tree Crafts
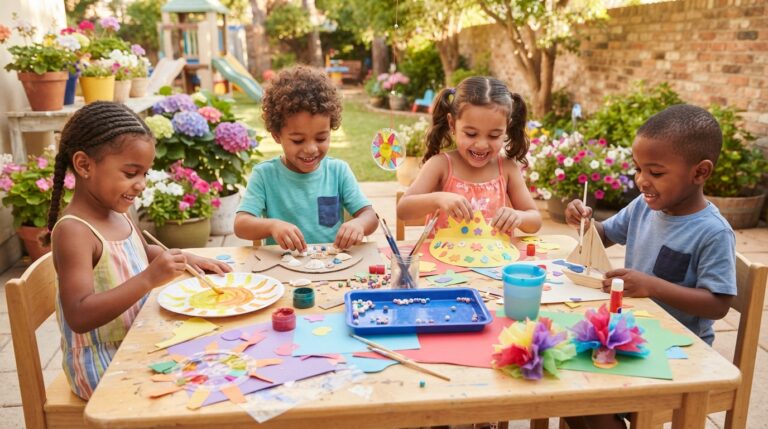
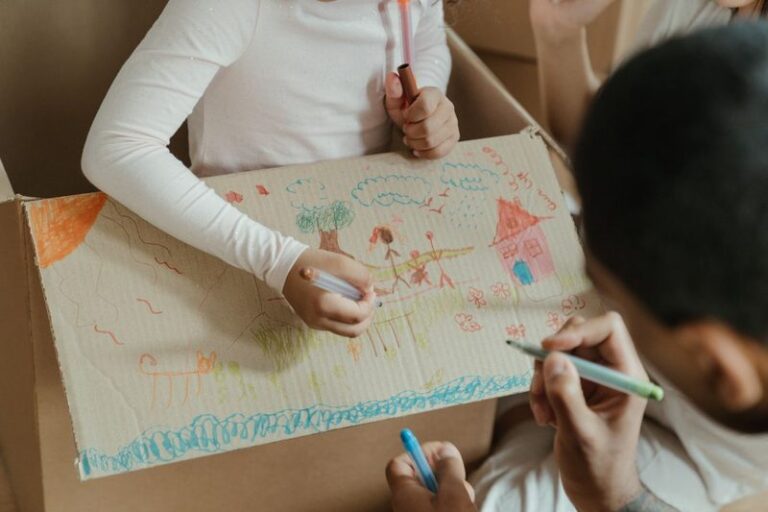
Every December, my kitchen table turns into a tiny tree factory, and these kids christmas tree crafts are the ones my kids actually ask for again. I picked and tested each idea at home with children aged 3 to 10, keeping only the crafts that were fun to make, simple to clean up, and sturdy enough to display. You will find paper, felt, pine cone and keepsake ideas below, with honest notes on mess, cost and safety.
Before you start, set out a tray, an old shirt for each child, and a small bin for scraps. Most of these crafts use things you already have, and none of them need special tools. If a craft looks too fiddly for your child’s age, I have said so, and there is always a simpler swap in the same section.
Key Takeaways
- Start with paper, felt or pom-pom trees for ages 3 to 5, and save salt dough and ribbon work for ages 6 and up.
- Use plastic ornaments, washable paint and child-safe scissors, and keep small parts away from toddlers.
- Prep cutting and gluing stations in advance, so kids spend their time decorating, not waiting.
- Display finished trees on a tray or windowsill, and store keepsakes wrapped in tissue paper for next year.
Kids Christmas Tree Crafts by Age and Mess Level
This list runs from the simplest paper trees to keepsake ornaments, so you can pick by age, time and how much mess you can face today. Each idea includes what I used, what worked, and what to watch out for.
1. Paper Plate Christmas Tree

Cut a paper plate into a triangle, paint it green, and let your child stick on paper baubles, star stickers and a strip of tinsel for garland. I set this one up on a tray with everything already cut out, so my youngest could just glue and decorate without waiting for me. We used a gold star on top and a brown paper trunk, and it stood proudly on our mantel for a week. The flat shape makes it easy for little hands, and there is no worry about it toppling over.
Pro Tip: glue the trunk on the back so the front stays flat for display. Cost: under $2 | Time: 20 minutes | Difficulty: Easy. Watch out: paint can stain clothes, so use an old shirt or apron.
2. Handprint Christmas Tree Card

Trace your child’s handprints in green paint on folded card, layering them upward to make tree branches, then add fingerprint baubles in red and gold. I made this with my daughter last December and she still remembers pressing her paint-covered hands onto the paper and giggling at the tickle. We wrote a short message inside and posted it to her grandmother, who kept it on her fridge. It is a keepsake as much as a craft, and every year the hands look a little bigger.
Pro Tip: do one hand at a time and wash it straight away, before the paint dries. Cost: under $2 | Time: 25 minutes | Difficulty: Easy. Watch out: use washable paint only, and cover the table first.
3. Pine Cone Mini Christmas Tree

Stand a pine cone upright in a small pot, paint the tips green or white, and add tiny pom-poms and a star on top. I gathered cones on a walk with my kids, then we baked them briefly to dry them out before painting, which stopped sap getting everywhere. My son loved choosing which pom-pom went where, and his cone tree sat beside the big tree all season. It looks surprisingly real once the tips are dusted with white paint for snow.
Pro Tip: use a blob of play dough inside the pot to hold the cone steady. Cost: $2-4 | Time: 30 minutes | Difficulty: Easy. Watch out: check cones for bugs and sharp bits, and keep small pom-poms away from toddlers.
4. Felt Christmas Tree for the Wall

Cut a large tree shape from green felt, stick it to a wall with removable tape, and let kids rearrange felt ornaments on it again and again. I made this for my toddler years ago when our real tree was strictly hands-off, and it saved us daily battles over baubles. She moved the ornaments every morning, and nothing broke. The felt sticks to itself without glue, so it is endlessly reusable and perfect for a classroom corner too.
Pro Tip: cut ornaments slightly larger than you think, so small fingers can grip them. Cost: $3-6 | Time: 40 minutes | Difficulty: Easy. Watch out: use removable tape only, and test it on your wall paint first.
5. Paper Strip Christmas Tree

Cut strips of green paper in different lengths, fold them into loops, and glue them in rows on card to build a layered tree. I tried this on a rainy afternoon when we had no fancy supplies left, and the result looked far better than I expected. My daughter arranged the loops from longest at the bottom to shortest at the top, which quietly taught her ordering while she thought she was just crafting. Add a paper star and some dot stickers for baubles.
Pro Tip: pre-cut the strips for younger kids and let them do the gluing. Cost: under $2 | Time: 30 minutes | Difficulty: Easy. Watch out: supervise scissors for under-5s, or use safety scissors.
Related article: if you want more seasonal projects after these trees, that list pairs well with a quiet afternoon at home.
6. Salt Dough Tree Ornaments

Mix flour, salt and water into dough, roll it out, cut tree shapes, bake until hard, then paint and hang them. I first made salt dough ornaments with my kids when they were small, and a few of those slightly wonky trees still hang on our tree today. The dough is forgiving, so children can press in patterns with forks and bottle caps. Once painted and varnished lightly, they last for years if stored carefully in tissue paper.
Pro Tip: make a hole with a straw before baking, so string threads through easily. Cost: under $2 | Time: 45 minutes plus baking | Difficulty: Easy. Watch out: an adult must handle the oven, and salt dough is not for eating.
7. Pom-Pom Christmas Tree

Glue green pom-poms onto a cardboard cone in rows, then add red pom-poms as baubles and a yellow one as the star. I set this out as a quiet table activity while dinner cooked, and my youngest stayed focused far longer than with a colouring book. The soft texture is satisfying for little hands, and there is no paint to dry. It makes a lovely table centrepiece, and it survives being knocked over far better than a paper tree.
Pro Tip: use a low-temperature glue gun yourself, or white craft glue for kids. Cost: $3-5 | Time: 30 minutes | Difficulty: Easy. Watch out: pom-poms are a choking hazard for children under 3, so keep them out of reach.
8. Button Christmas Tree Picture

Draw a simple tree outline on card and let kids glue buttons inside it in green shades, with a few bright buttons as ornaments. I raided my grandmother’s old button tin for this one, and my daughter spent ages sorting them by size before she glued a single one. The finished picture looked like folk art and went straight into a frame. It is a calm, sitting-down craft, ideal for an evening when everyone is tired but still wants to make something.
Pro Tip: sort buttons first into small bowls, so gluing is quick and fun. Cost: $2-4 | Time: 35 minutes | Difficulty: Easy. Watch out: buttons are small parts, so this is for ages 4 and up with supervision.
9. Toilet Roll Christmas Tree

Cut green card into triangles, roll a toilet roll into a trunk, and stack the triangles to make a standing tree your child can decorate. I love this one because it uses something we already had in the recycling, and my son was proud that his tree actually stood up on the shelf. We added cotton wool snow on the branches and a foil star. It is not the sturdiest tree, but that is part of the fun of testing and fixing it together.
Pro Tip: tape the triangles from behind for extra strength. Cost: under $1 | Time: 25 minutes | Difficulty: Easy. Watch out: supervise cutting the card, and keep the tree away from candles.
10. Popsicle Stick Christmas Tree

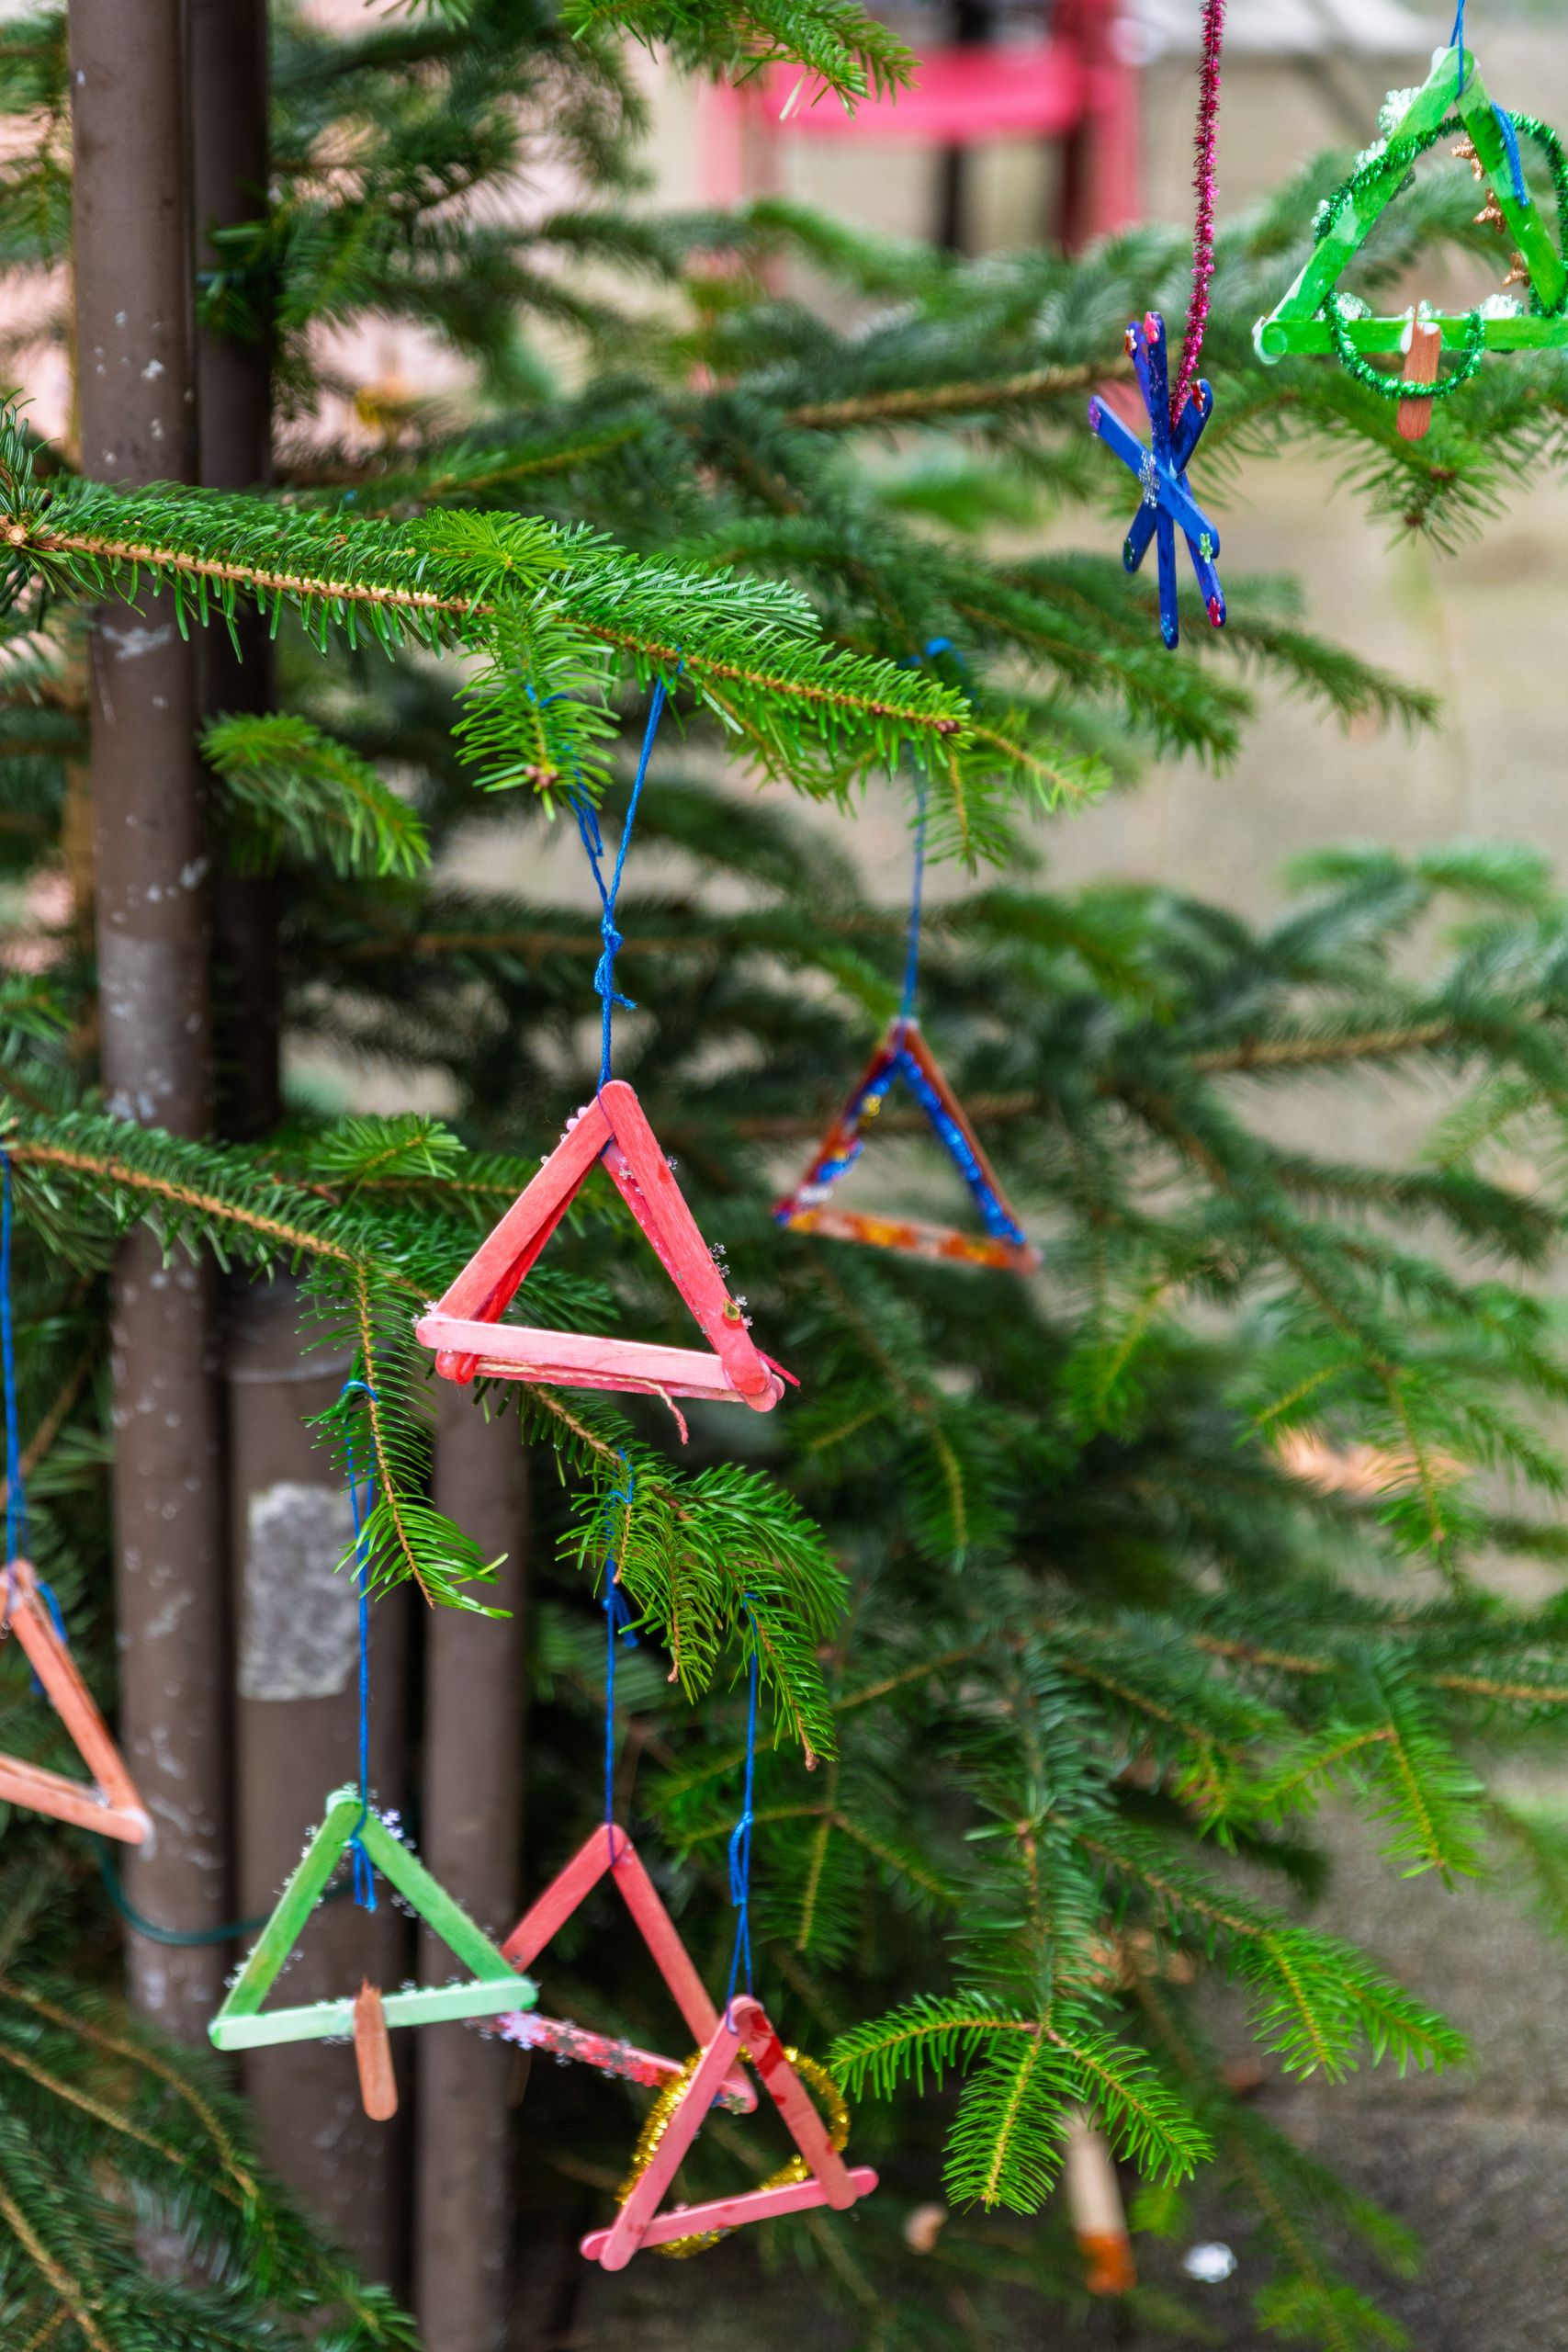
Glue three popsicle sticks into a triangle, paint it green, and add small beads, sequins and a star. I made a batch of these as classroom gifts one year, and the kids loved that each tree was small enough to hang on the real tree. My daughter added a tiny photo in the middle of hers, which turned it into a keepsake ornament. They dry quickly, pack flat, and make sweet gifts for grandparents who appreciate handmade things.
Pro Tip: paint the sticks before gluing, so there are no unpainted edges showing. Cost: $2-3 | Time: 30 minutes | Difficulty: Easy. Watch out: sequins are small parts, so supervise younger children closely.
11. Christmas Tree Suncatcher

Cut a tree shape from black card, stick contact paper behind it, and let kids fill it with green and gold tissue paper squares. I hung ours on the kitchen window, and the afternoon light turned it into stained glass. My son kept adding squares until it was completely covered, then stood back to admire the glow. It is a wonderful no-paint craft for a bright windowsill, and it peels off the window cleanly in January.
Pro Tip: cut tissue squares in advance, so kids can focus on placing them. Cost: $2-3 | Time: 25 minutes | Difficulty: Easy. Watch out: scissors for the card shape are an adult job for under-5s.
12. Mini Tree Decorating Station

Set out a small artificial tree with child-safe ornaments, ribbons and a step stool, and let kids decorate it themselves from top to bottom. I did this with a tabletop tree when my children were too small for the big tree, and they decorated and redecorated it for days. Giving them their own tree stopped the daily negotiations over the family tree, and their pride in it was wonderful to see. Use shatterproof ornaments only for this station.
Pro Tip: put a tray underneath to catch fallen ornaments and glitter. Cost: $8-15 for a small tree | Time: 20 minutes | Difficulty: Easy. Watch out: keep the tree stable, and never leave a child on a stool unsupervised.
Also read: snowman crafts make a sweet companion display next to a row of little trees.
13. Ornament Painting for the Tree

Give kids clear plastic baubles to fill with paint, glitter or small paper shapes, then hang them on the tree. I tried paint-filled baubles with my daughter and we learned to use very little paint, or the colours turn muddy brown. Her best one was simple: white paint swirled inside with a pinch of gold glitter. They look beautiful against the lights, and because they are plastic, a drop does not end in tears or broken glass.
Pro Tip: let the paint dry with the cap off for a day before hanging. Cost: $4-7 | Time: 30 minutes | Difficulty: Easy. Watch out: use plastic baubles only, and keep glitter out of eyes and mouths.
14. Tree Garland from Paper Chains

Cut coloured paper into strips, loop them into chains, and drape them around a small tree or along the mantel. I remember making paper chains as a child, and teaching my kids the same simple loop-and-glue rhythm felt like passing something on. My son made a red and green chain while my daughter chose gold and white, and both went up the same afternoon. It is repetitive in a calming way, and the finished garland is long enough to impress.
Pro Tip: use a glue stick rather than liquid glue, so chains do not go soggy. Cost: under $2 | Time: 30 minutes | Difficulty: Easy. Watch out: keep paper chains away from real candles and fairy lights that get hot.
15. Fairy Light Tree Picture

Draw or paint a tree on dark card, then glue on small yellow dot stickers or paint dots to look like fairy lights. I made this with my youngest on a dark winter evening, and the yellow dots glowing against the dark blue card looked magical. We added a silver star and a few white dots for snow, and it became our Christmas card design that year. It needs no electricity, no mess beyond paint, and it suits children who like drawing more than building.
Pro Tip: use a cotton bud for neat light dots if brushes feel tricky. Cost: under $2 | Time: 20 minutes | Difficulty: Easy. Watch out: use washable paint and protect clothes and the table.
16. Ribbon Christmas Tree

Layer different ribbons in a tree shape on card, starting wide at the bottom and narrow at the top, then add a bow on top. I had a box of leftover ribbons from gift wrapping, and this craft used them up beautifully. My daughter chose velvet and satin ribbons, and the mix of textures made the picture look rich and layered. It is a lovely way to use scraps, and the finished tree looks far more grown-up than the effort suggests.
Pro Tip: glue the longest ribbons first, working upward. Cost: $2-4 | Time: 30 minutes | Difficulty: Medium. Watch out: keep ribbons away from small children who might wrap them around fingers or necks, and supervise cutting.
17. Snowy Tree with Cotton Wool

Paint a tree green on card, then dab white paint and stick cotton wool balls on the branch tips for snow. I did this on the first snowy day we had, when my kids were desperate to play outside but it was too cold. They pressed the cotton wool on with great concentration, and the fluffy texture made the picture feel wintry and soft. Add a few silver dot stickers for frost, and the tree looks like it belongs in a snow globe.
Pro Tip: pull cotton wool apart into thin wisps, so it looks like snow rather than blobs. Cost: under $2 | Time: 25 minutes | Difficulty: Easy. Watch out: cotton wool is not for mouths, so supervise toddlers.
18. Tree Ornament Photo Frame

Cut a tree shape from card, glue a small photo in the centre, and hang it on the tree with ribbon. I made one with a photo from our first Christmas in this house, and it still makes me smile every December when I unwrap it. My kids now choose their own photos each year, and the tree is slowly becoming a timeline of our family. It is simple, personal, and far more meaningful than a shop-bought bauble.
Pro Tip: print photos small, about 5 cm wide, so they fit the frame. Cost: $1-3 | Time: 20 minutes | Difficulty: Easy. Watch out: use child-safe scissors for the photo, or cut it yourself for younger kids.
Read this next: for more dough ornaments that last for years, that guide has extra shapes and painting ideas.
19. Tissue Paper Tree Collage

Tear green tissue paper into small pieces, scrunch them lightly, and glue them onto a tree outline to make a textured collage. I set this up for a playdate, and the tearing was half the fun for the children, who loved the rustling sound. The scrunched tissue gives the tree depth that flat paint cannot match, and no two trees look alike. Add gold tissue for a star, and the collage is ready for the fridge or a frame.
Pro Tip: use a glue stick on the outline first, then press tissue on top. Cost: under $2 | Time: 30 minutes | Difficulty: Easy. Watch out: tissue tears easily when wet, so do not over-glue.
20. Christmas Tree Countdown Craft

Make a paper tree with 25 numbered pockets or flaps, and hide a small treat or activity note behind each one for December. I made a felt version one year with pockets sewn on, and my children raced to it every morning, which made December feel extra special. A paper version is simpler: fold small flaps and glue them down on three sides. It doubles as decoration and as a countdown, and it builds excitement without buying a shop calendar.
Pro Tip: write activity notes like ‘bake biscuits’ or ‘read a Christmas story’ for half the days. Cost: $3-5 | Time: 45 minutes | Difficulty: Medium. Watch out: keep small treats away from children with allergies, and check notes before hiding them.
Comparison Table: Which Tree Craft Should You Pick?
| Craft | Best For | Cost | Time | Mess Level |
|---|---|---|---|---|
| Paper plate tree | Ages 3-5, quick win | Under $2 | 20 min | Low |
| Handprint card | Keepsake gift | Under $2 | 25 min | Medium |
| Pine cone tree | Nature lovers | $2-4 | 30 min | Medium |
| Felt wall tree | Toddlers, reusable play | $3-6 | 40 min | Low |
| Salt dough ornaments | Keepsakes that last | Under $2 | 45 min + baking | Medium |
| Mini decorating station | Independent play | $8-15 | 20 min | Low |
| Suncatcher tree | Window display | $2-3 | 25 min | Low |
| Countdown tree | December excitement | $3-5 | 45 min | Low |
Mistakes I Made / What I Learned the Hard Way
First, I once used glass baubles for a kids decorating station, and one drop ended the whole activity in tears and a careful clean-up. Plastic ornaments only now, no matter how pretty the glass ones look. Second, I skipped the tray on a painting day and spent longer cleaning the table than we spent crafting, so a tray and an old shirt are now non-negotiable.
Third, I let my children paint salt dough ornaments before they were fully cool, and the paint bubbled and peeled. Let dough cool completely, then paint in thin layers. Fourth, I cut felt ornaments too small for toddler fingers, which led to frustration rather than fun. Bigger shapes, fewer pieces, and a happier craft time work far better.
Frequently Asked Questions
What age are these tree crafts best for?
Paper, felt and pom-pom trees suit ages 3 to 5 with help, while salt dough, ribbon and countdown trees suit ages 6 and up. I always adjust the prep: I pre-cut for younger kids and let older kids cut and design on their own.
How long did your keepsake trees actually last?
Salt dough ornaments and popsicle stick trees from three years ago are still hanging on our tree, wrapped in tissue paper each January. Paper trees last one season on display, but the handprint card has lasted years in a frame, which is why it is my favourite gift idea.
What would you do differently next time?
I would prep less and let the kids choose more. The trees they designed themselves, even the wonky ones, are the ones we kept. I would also photograph each finished tree before it goes up, so we have a record even if a paper one gets squashed.
Are these crafts safe for toddlers?
Choose the felt wall tree, paper plate tree and tissue collage for toddlers, and skip buttons, pom-poms, sequins and small beads. Always supervise scissors and glue, use washable paint, and keep hot glue guns strictly for adults.
Final Thoughts
The best tree craft is not the neatest one, it is the one your child wants to make again. These kids Christmas tree crafts work best when you keep the session short and the display proud, rather than chasing perfection. Start with one simple idea, display it proudly, and let the rest of the list wait for another afternoon. Our tree now holds a mix of wonky, glittery, handmade pieces, and honestly, those are the ones I look for first every December.