Pressed Flower Craft Ideas
Pressed flower crafts are the slowest, quietest craft I do, and honestly, they are my favorite way to keep a garden alive long after summer ends. I picked these 18 ideas by pressing flowers from my own garden and a few grocery-store bunches, then actually making every single project on my kitchen table before writing a word about it.
Some of these pressed flower crafts took two weeks of drying and five minutes of assembling, and some taught me hard lessons about fading and moisture. I will tell you which ones are still hanging on my walls a year later, which ones fell apart, and what I would do differently next time.
Related article: 19 Dried Flower Thanksgiving Decor Ideas
Key Takeaways
- Press thin, flat flowers like pansies, violets, and ferns first; thick blooms like roses rarely press well whole.
- Two to four weeks of pressing in a heavy book gives the flattest, longest-lasting results.
- Keep finished pieces out of direct sunlight or the colors will fade within months.
- Seal with a clear, acid-free spray or resin if you want the piece to last more than a season.
- Start with a frame project before moving on to resin, candles, or phone cases.
18 Pressed Flower Crafts to Try
1. Classic Framed Botanical Art
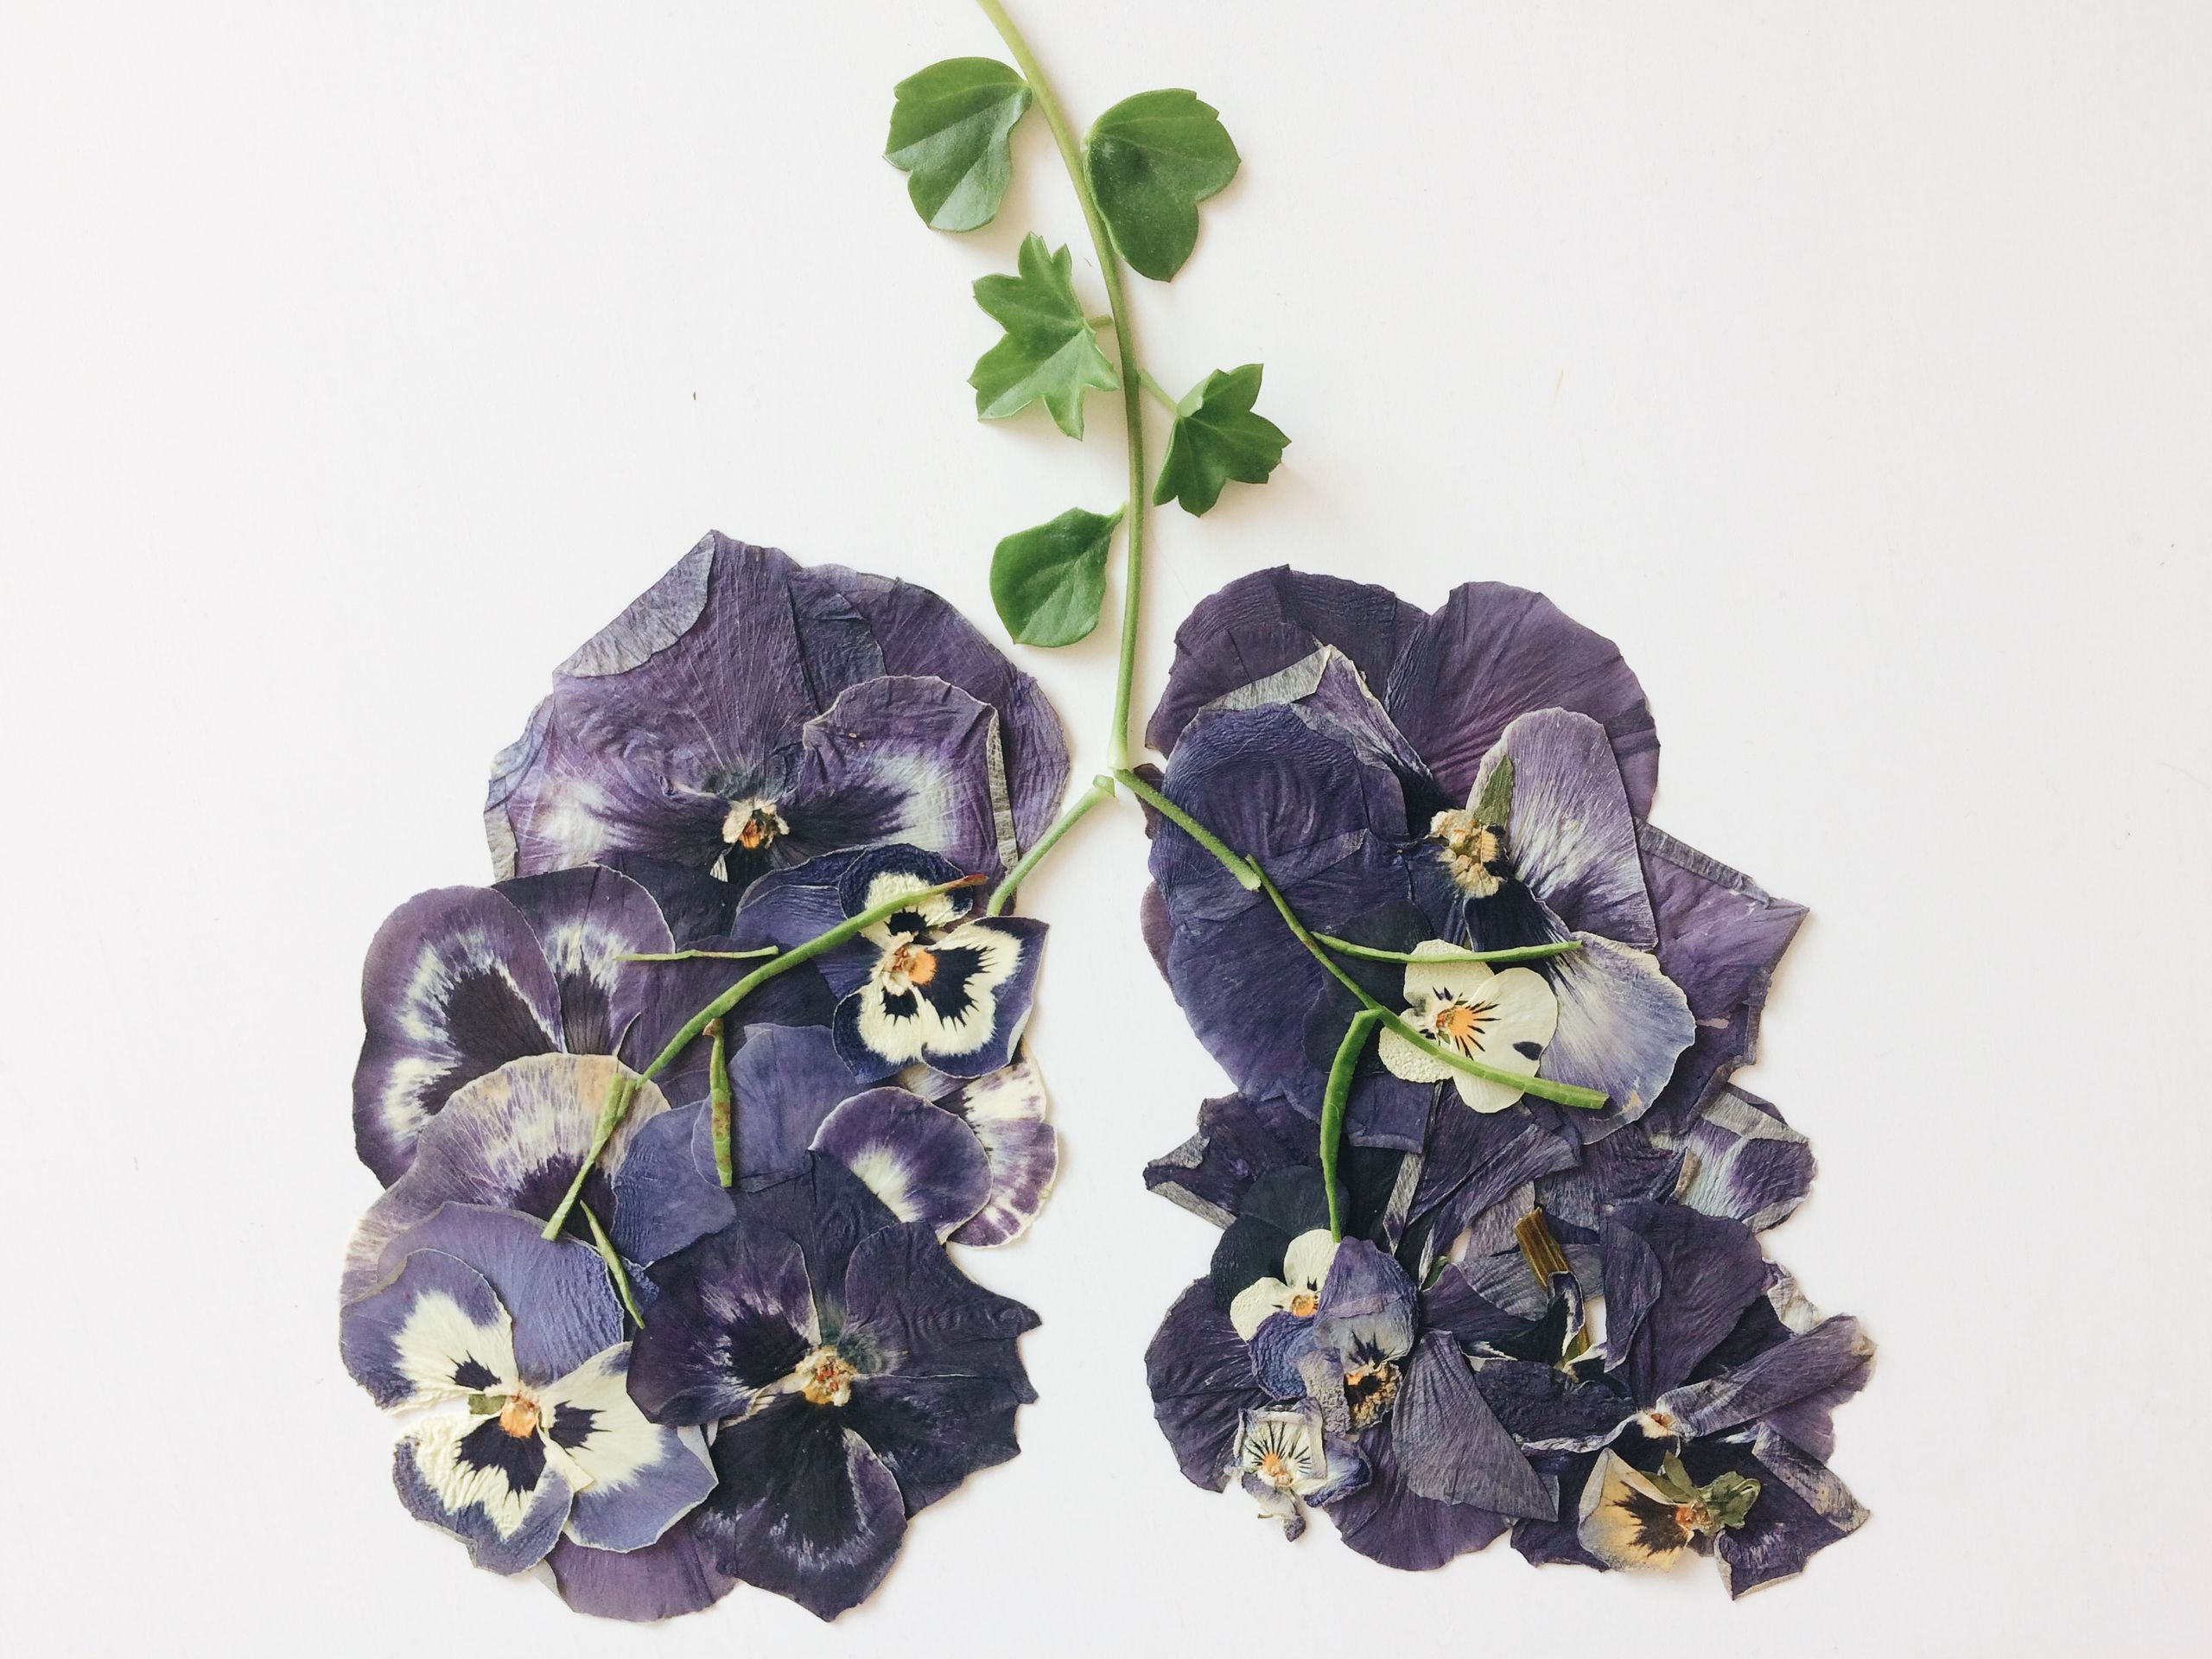
I started with the simplest of all pressed flower crafts: a white frame, a cream card, and five pansies I had pressed between the pages of an old cookbook for three weeks. I arranged them in a loose triangle, glued each stem with the tiniest dot of clear-drying craft glue, and closed the frame. It took about twenty minutes, and it still hangs in my hallway today.
The honest downside is fading. The purple pansies near the window lost their depth within six months, so I moved the frame to a shaded wall, where the color has held beautifully for over a year now. If you frame yours, hang it away from direct sun.
Pro Tip: Lay the arrangement on the card first and photograph it before gluing anything, because pressed petals tear if you rearrange them twice.
Cost: Under $10 if you already own a frame | Time: 20 minutes plus 2-4 weeks pressing | Difficulty: Easy
2. Pressed Flower Bookmarks
These bookmarks are the project I make most often, because they use up the small, imperfect flowers that are too fiddly for frames. I press tiny violets and fern tips, arrange two or three on a strip of heavy card, and seal the whole thing with clear packing tape on both sides. My daughter has used hers daily for eight months and it still looks fresh.
The watch-out is thickness. My first bookmark was so lumpy with layered petals that it would not sit flat in a book and kept marking the pages. Keep it to one thin layer of flowers, and trim the card edges after sealing so no tape sticks out.
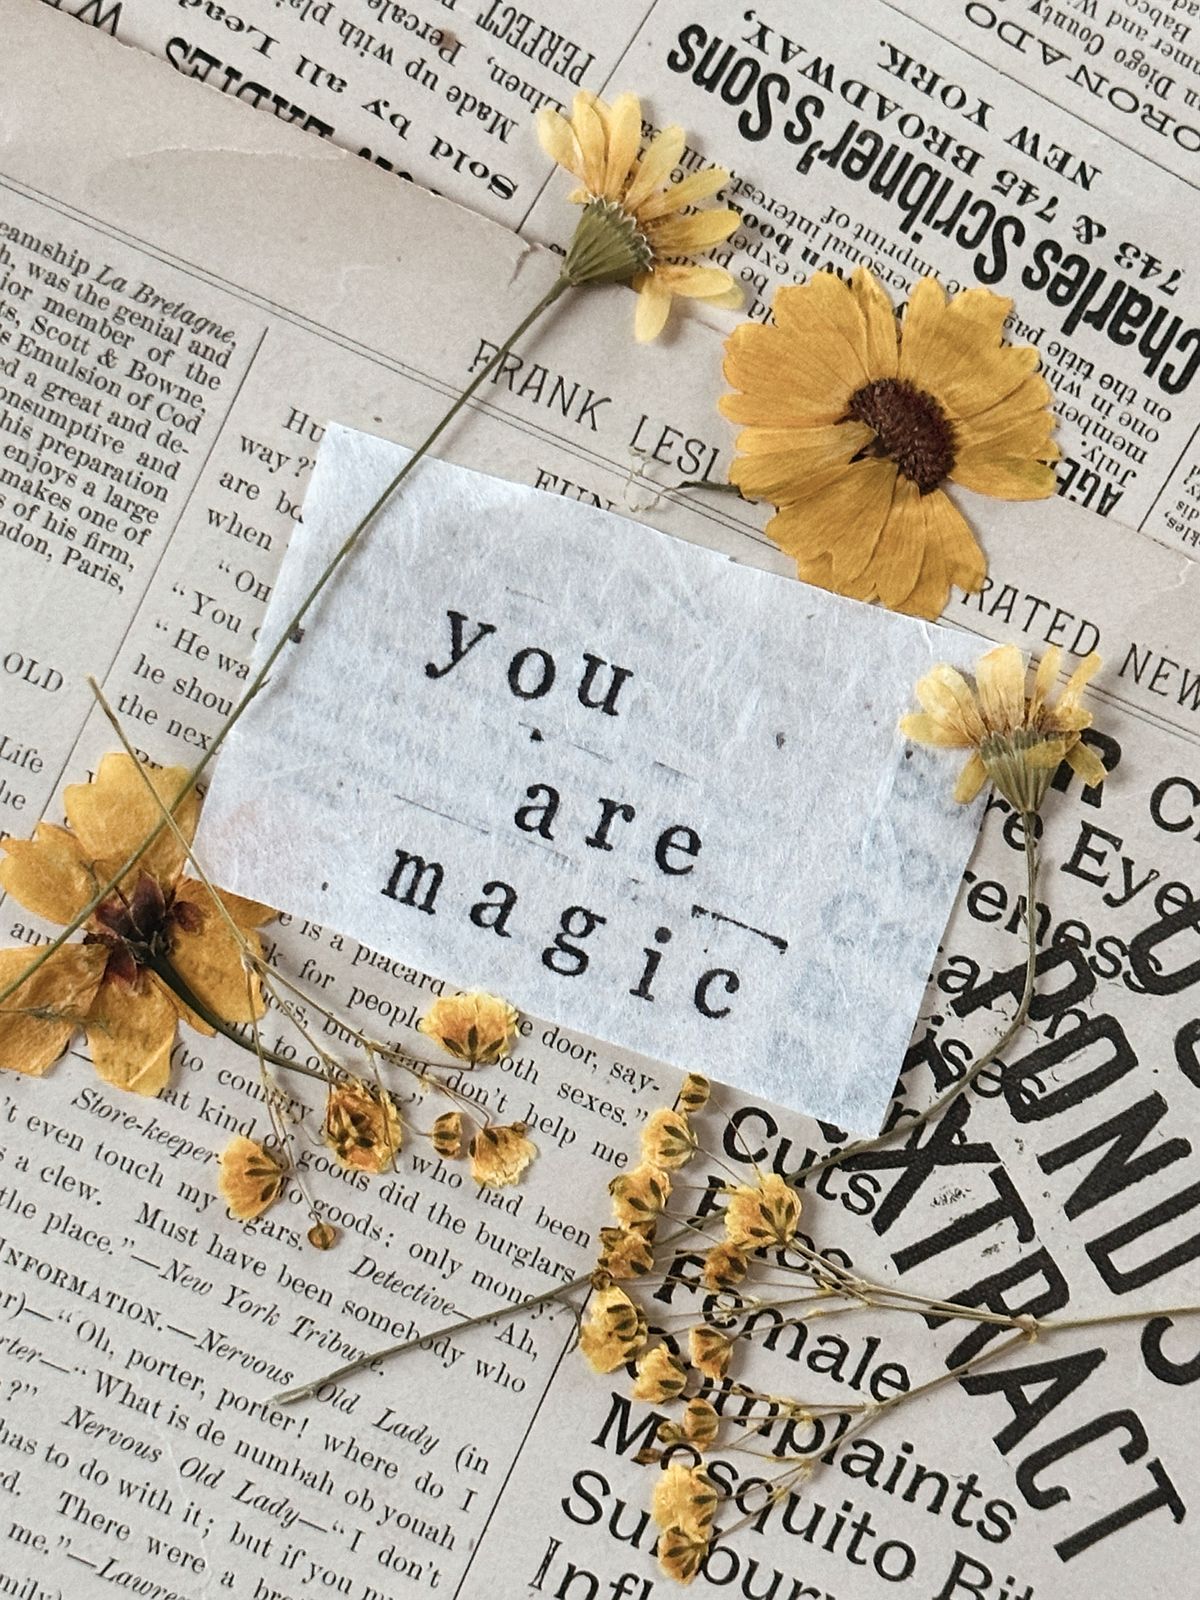
Pro Tip: Laminate with clear tape in one smooth pass; peeling it back up to fix a bubble will rip the petals.
Cost: Under $5 | Time: 15 minutes plus pressing time | Difficulty: Easy
3. Flower-Pressed Greeting Cards
I made a set of twelve birthday cards one rainy weekend using pressed daisies, lavender sprigs, and plain kraft cards. I glued one small arrangement on each card front, pressed it overnight under a stack of books, and wrote the message inside. Friends kept asking where I bought them, which is the best compliment a handmade card can get.
The downside is postage. A card with a raised flower cluster needs a padded envelope, not a standard one, or the post office machinery will crush it. For mailing, keep the design very flat and stick to one or two small blooms.
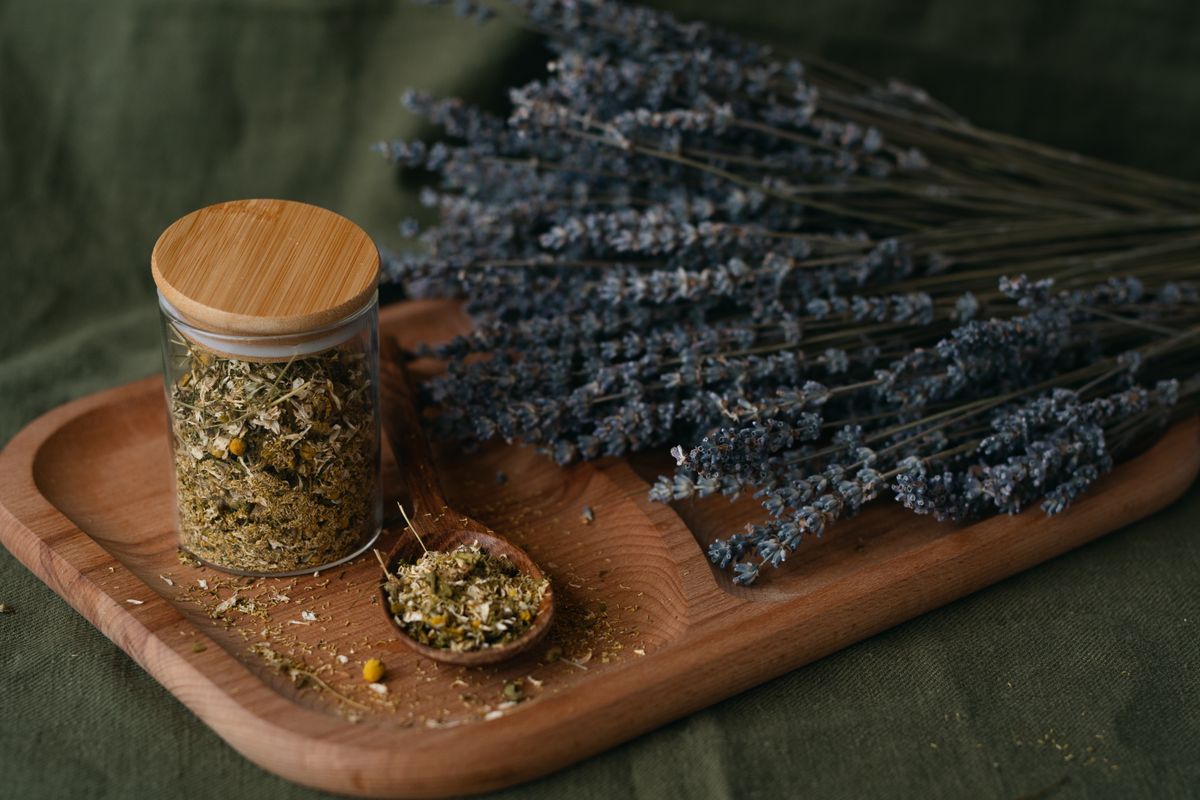
Pro Tip: Glue flowers to a separate small card panel first, then glue the panel to the card; it hides any glue marks.
Cost: About $1 per card | Time: 15 minutes per card plus pressing | Difficulty: Easy
4. Pressed Flower Phone Case
This one surprised me by actually lasting. I arranged pressed ferns and tiny white blossoms on the inside of a clear phone case, sealed them with a thin layer of clear-drying glue, and let it cure for a full day before putting my phone in. It looked like a little meadow, and I used it for four months before one corner petal finally curled.
The honest catch is heat. Phones get warm, and warmth plus trapped moisture is the enemy of pressed flowers. Make sure your flowers are bone dry before sealing, and expect to remake the case every few months rather than treating it as permanent.
Pro Tip: Use a cheap clear case for your first try, not your good one, until you know your sealing method works.
Cost: $5-$12 for a clear case | Time: 30 minutes plus drying | Difficulty: Easy to moderate
5. Botanical Wall Hanging on Linen
For a softer look than glass frames, I stitched pressed ferns and wildflowers onto a rectangle of natural linen, then hung it from a wooden dowel with twine. The fabric background makes the flowers look like an old herbarium page, and it cost me almost nothing because I already had the linen and dowel in my craft box.
The watch-out is dust. Fabric cannot be wiped like glass, so this hanging lives in my bedroom rather than near the kitchen, and I give it a gentle shake outside every few weeks. If your house is dusty, a frame is the safer choice.
Pro Tip: Use tiny tacking stitches through the stems only, never through the petals, or the flowers will crack.
Cost: $8-$15 | Time: 45 minutes plus pressing | Difficulty: Moderate
6. Pressed Flower Candles
I pressed small flat flowers onto the outside of a plain pillar candle using a heat gun on its lowest setting, then brushed a thin coat of melted wax over the top to seal them. The result looked like something from a boutique, and it made a lovely gift for my sister, who still has it unlit on her mantel two years later.
Here is the important downside: these are decoration only. I never burn a flower-covered candle, because dried petals are flammable, and I say so on the gift tag every time. If you want a candle you can actually light, keep the flowers only on the lower third and never leave it unattended.
Pro Tip: Work with the heat gun in short bursts and keep it moving, or the petal edges will brown in seconds.
Cost: $8-$15 per candle | Time: 30 minutes plus pressing | Difficulty: Moderate
7. Flower Petal Coasters
I made a set of four coasters by arranging pressed petals and tiny leaves on cork rounds, then pouring a thin layer of clear resin over each one. They took a full weekend because of the resin curing time, but they are the most-used pressed flower project in my house, surviving daily coffee mugs for over a year.
The catch is resin itself. My first pour had bubbles trapped under the petals because I skipped the sealing coat, and the petals floated and shifted. Seal the flowers with a thin resin layer first, let it get tacky, then pour the main layer. Also, work in a ventilated room and wear gloves.
Pro Tip: Warm the resin bottles in warm water for ten minutes before mixing; it cuts bubbles dramatically.
Cost: $15-$25 for a set of four | Time: 1 hour active, 48 hours curing | Difficulty: Moderate
8. Pressed Flower Jewelry Dishes
Using air-dry clay, I rolled out small dishes, pressed flowers face-down into the surface while the clay was still soft, and peeled them away to leave a delicate imprint. After painting and sealing, the dishes hold rings and earrings by my bedside. The flower imprints are subtle and pretty, like fossils.
The downside is that real flowers left in the clay will mold if the clay stays damp, so I remove the flowers after imprinting rather than embedding them. My first dish, where I left a violet embedded, developed a dark spot within a week. Imprint, remove, then seal.
Pro Tip: Roll the clay to about half a centimeter thick; thinner dishes warp and crack while drying.
Cost: $10-$15 | Time: 1 hour plus 24 hours drying | Difficulty: Easy to moderate
9. Herbarium-Style Journal Pages
This is my quiet-evening project. I glue pressed specimens onto thick journal pages, label each with the flower name and the date and place I picked it, and add a line about why I chose it. Over two years I have filled half a journal, and flipping through it feels like walking back through old summers.
The watch-out is glue choice. Regular white glue yellowed on my first pages and left damp marks that wrinkled the paper. Now I use acid-free glue sticks or photo corners, and I press the finished pages under weight overnight so the journal still closes flat.
Pro Tip: Use paper of at least 200gsm for journal pages, or the glue and flower moisture will buckle it.
Cost: Under $10 for a journal | Time: 20 minutes per page | Difficulty: Easy
Also read: 21 Easy Flower Painting Ideas
10. Pressed Flower Resin Keychains
Small silicone molds, tiny pressed blooms, and clear resin make keychains that look far more expensive than they are. I filled each mold halfway, placed a single small flower face-down, topped it up, and added a keyring finding after curing. I made six in one afternoon and gave five away as gifts.
The honest downside is durability on keys. The one I kept has a few scratches after a year of rattling around in my bag, and one corner yellowed slightly from sun exposure. These are best as bag charms or gifts rather than daily keyring workhorses.
Pro Tip: Pop surface bubbles with a toothpick or a quick pass of a lighter held well above the resin, never touching it.
Cost: $12-$20 for resin and molds | Time: 45 minutes plus 24 hours curing | Difficulty: Moderate
11. Floral Monogram Letter Art
For my niece’s bedroom, I drew a large letter on card, filled the outline with pressed flowers and leaves in shades of pink and green, and framed it. It took the longest of any project here, about two hours of fiddly placement, but it is completely personal in a way a shop-bought letter never could be.
The watch-out is planning. I ran out of pink petals halfway through and had to press a second batch, which added two weeks. Sketch the letter, count roughly how many flowers each section needs, and press about a third more than you think you will use.
Pro Tip: Start filling from the edges of the letter inward, so the outline stays crisp and clean.
Cost: $10-$18 | Time: 2 hours plus pressing | Difficulty: Moderate
12. Pressed Flower Table Runner
This sounds grand, but it is really just a long strip of clear vinyl with pressed flowers arranged inside a fabric border. I laid flowers between two layers of sheer organza, stitched the edges, and used it down the center of the table for a spring lunch. Guests photographed it more than the food.
The downside is practicality. It cannot be washed, and a spilled glass of juice would ruin it, so it only comes out for dry, careful occasions. I store it rolled in tissue paper between uses, and after three lunches it still looks lovely.
Pro Tip: Use only fully flat, fully dry flowers, or the runner will ripple and the flowers will mildew inside the fabric.
Cost: $12-$20 | Time: 1.5 hours plus pressing | Difficulty: Moderate
13. Flower-Pressed Gift Tags
Tiny pressed flowers on small kraft tags turn even a plain wrapped gift into something special. I make these in batches of twenty while watching television, gluing one miniature bloom and a fern tip on each tag and sealing with clear tape. They cost pennies and take two minutes each once the flowers are pressed.
The only real downside is scale. Anything bigger than a thumbnail looks crowded on a tag, and thick flowers make the tag curl. Stick to the smallest blooms in your press, like violets, tiny daisies, and fern tips, and the results are consistently charming.
Pro Tip: Punch the tag hole before gluing the flower on, so you never crack a finished design with the punch.
Cost: Under $5 for a batch of twenty | Time: 2 minutes per tag | Difficulty: Easy
14. Pressed Flower Clock Face
I replaced the face of a cheap wall clock with a card covered in pressed flowers, then fitted the hands back through the center. It hangs in my craft room and actually keeps time, which still delights me. The flowers sit behind the glass of the clock, so they are protected from dust and touch.
The watch-out is weight and balance. A heavy cluster of flowers near the center can interfere with the hands, so keep the middle of the clock face clear and place the flowers around the edge. My first attempt had a fern across the center and the minute hand kept catching on it.
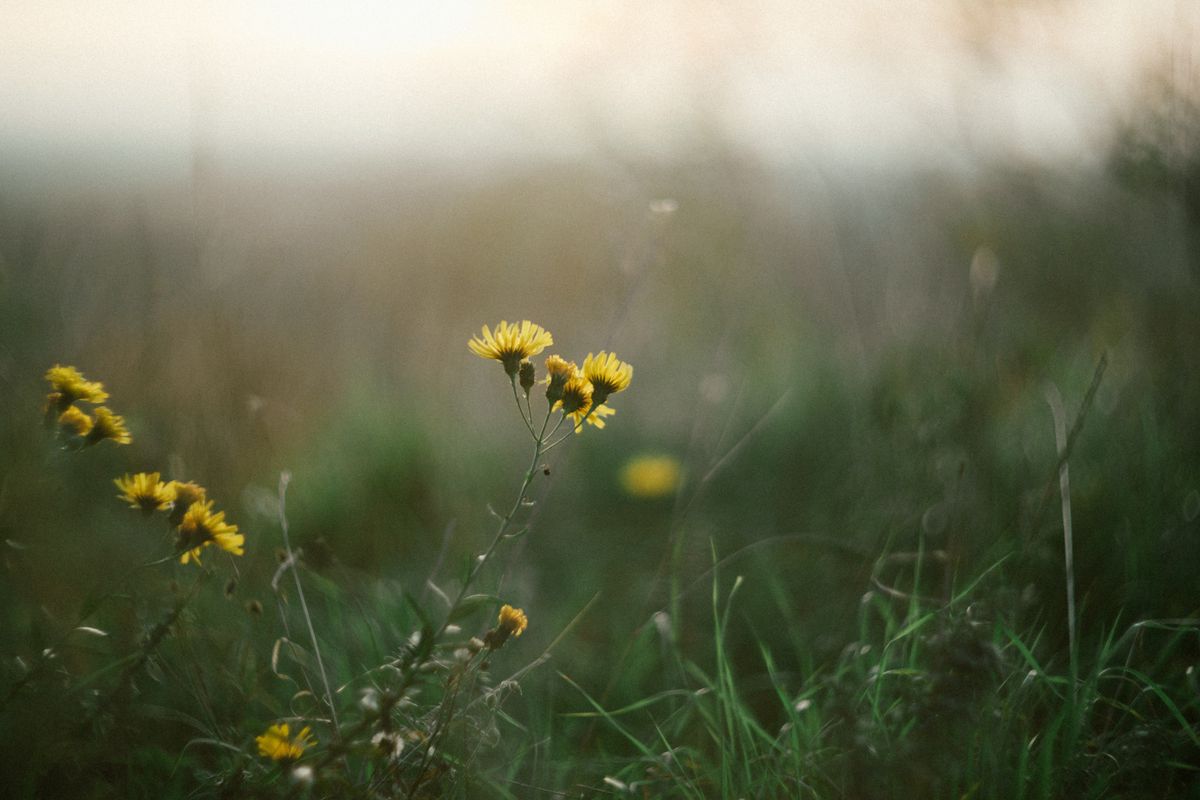
Pro Tip: Test the hands through a full rotation before you glue the face into the clock case.
Cost: $12-$20 including a basic clock | Time: 1 hour plus pressing | Difficulty: Moderate
15. Botanical Glass Ornaments
Clear glass baubles with a pressed flower tucked inside make beautiful tree ornaments and year-round window decorations. I used tweezers to place a single small flower and a fern tip inside each bauble, added a ribbon, and hung them in the window, where the light shines through the petals.
The downside is fragility, obviously, but also static: petals cling to the inside of the glass and can be hard to position. A thin wooden skewer helps nudge them into place, and I accept that each ornament will look slightly different, which is honestly part of the charm.
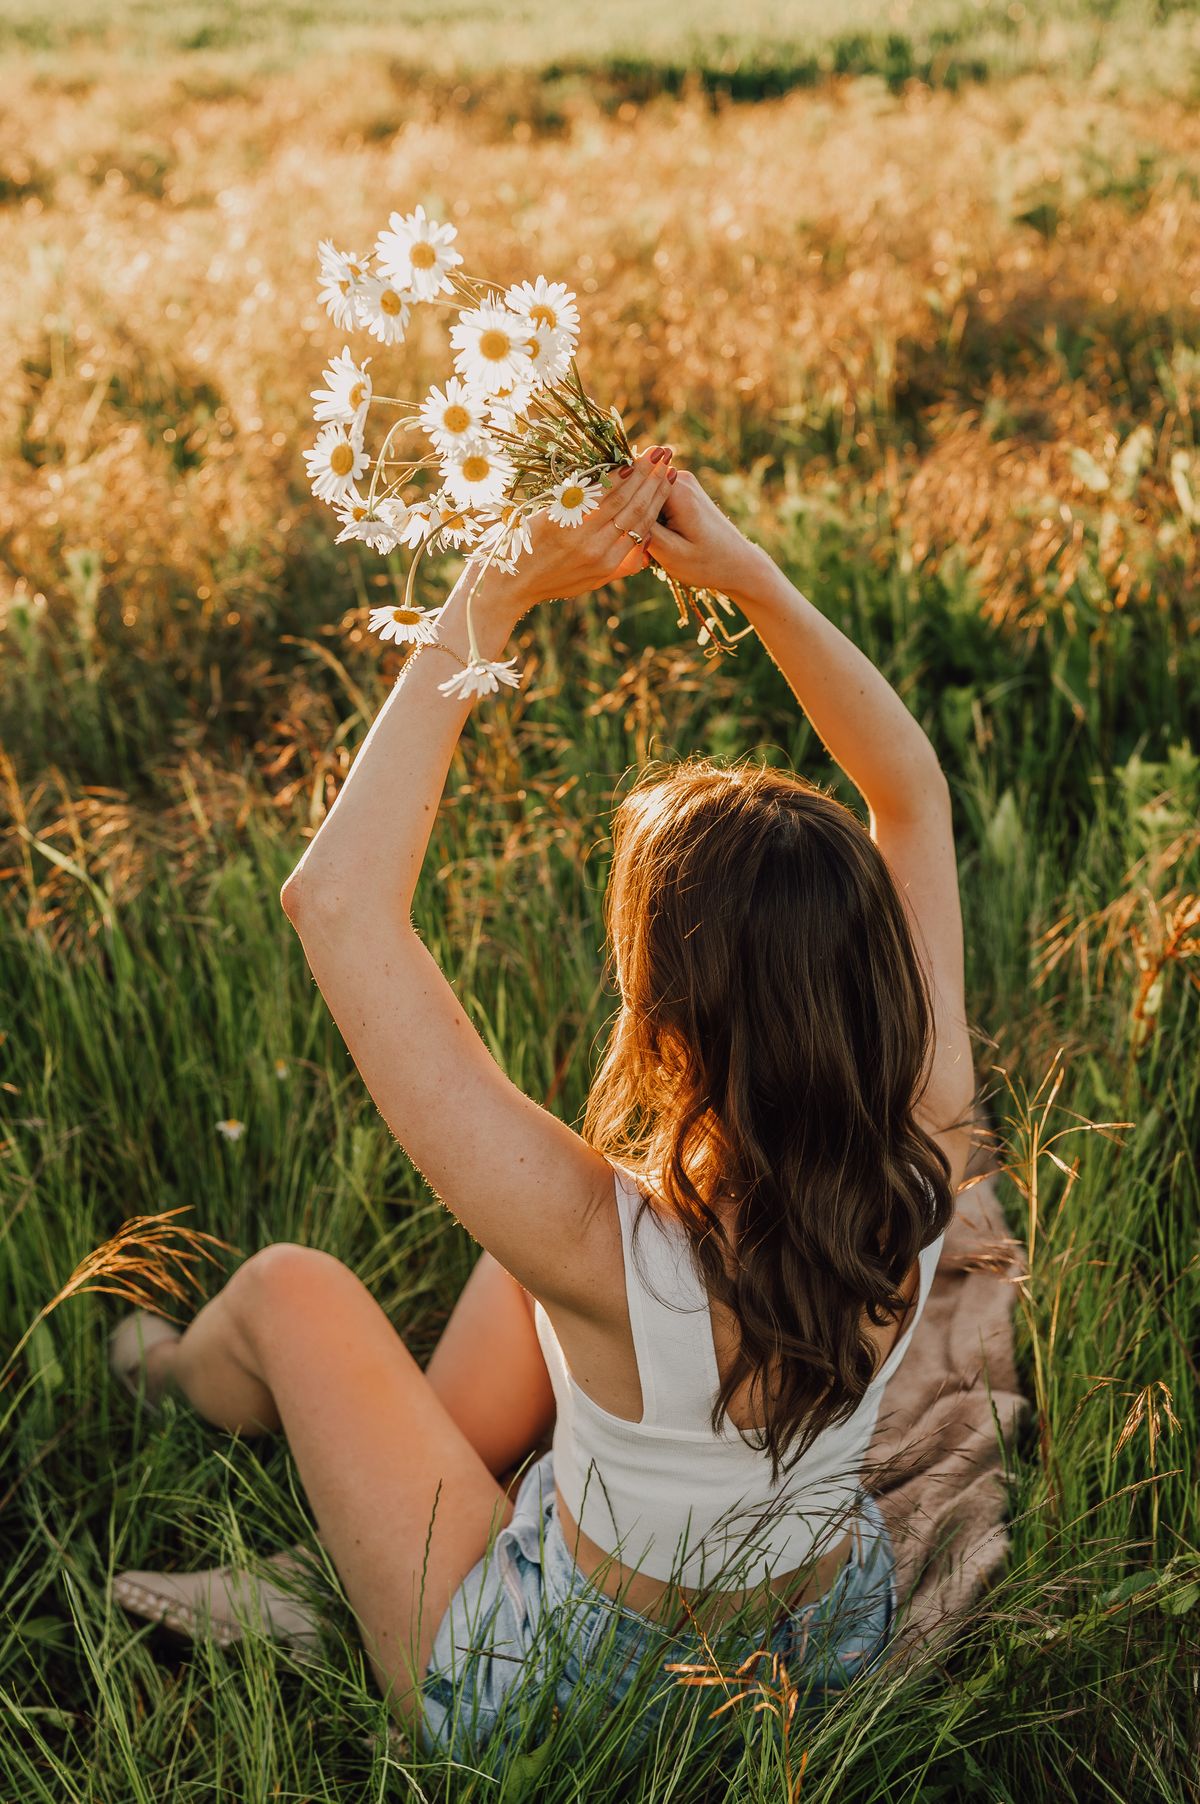
Pro Tip: Choose baubles that open at the top rather than sealed ones, so you can adjust the flower placement.
Cost: $8-$15 for a set | Time: 15 minutes per ornament | Difficulty: Easy
16. Pressed Flower Serving Tray
I lined the base of a plain wooden tray with pressed flowers, sealed them under a sheet of clear acrylic cut to size, and now use it for serving tea. The acrylic protects the flowers from cups and spills, and the tray looks like a garden captured under glass every time I carry it out.
The honest catch is the acrylic. Getting it cut to fit cost more than the tray itself, and if the seal is not tight, moisture creeps in around the edges. I ran a thin bead of clear sealant around the rim, and a year later there is still no fogging or mold.
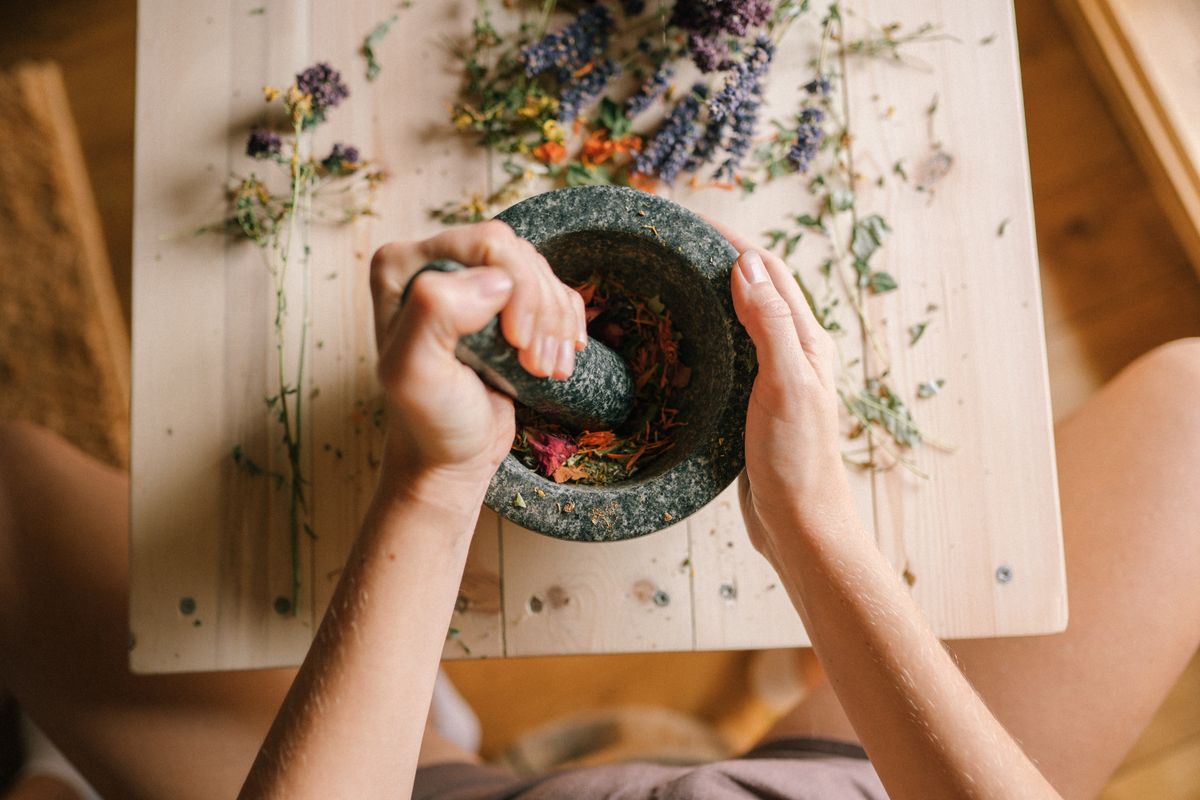
Pro Tip: Measure the tray interior twice and take the tray to the cutter with you, rather than trusting a written measurement.
Cost: $20-$30 | Time: 1 hour plus pressing | Difficulty: Moderate
17. Flower-Pressed Lamp Shade
For a plain white lamp shade, I glued pressed leaves and small flowers around the outside, then sealed them with a clear matte spray. When the lamp is on, the light glows softly through the petals, and the effect in the evening is genuinely lovely, like a garden lantern.
The safety note matters here. I only use this on a low-heat LED bulb, never a hot incandescent one, and I keep the flowers on the outside of the shade, away from the bulb. Dried flowers and heat do not mix, so treat this as a low-heat project only.
Pro Tip: Spray the sealant outdoors in light coats, letting each coat dry, or the spray will darken the petals.
Cost: $15-$25 | Time: 1 hour plus pressing | Difficulty: Moderate
18. Pressed Flower Memory Frame for a Special Date
My favorite piece of all is a frame holding flowers from my wedding anniversary bouquet, pressed the week after the celebration, with the date written underneath in my own handwriting. It cost almost nothing and means more to me than any decoration I have bought.
The lesson I learned is timing. I waited three days before pressing that bouquet, and a few outer petals had already wilted, so the arrangement is slightly sparser than I planned. Now I press event flowers the same day they are received, while every petal is still fresh, and the results are much fuller.
Pro Tip: Press event flowers the same day, and press extras so you can choose the best specimens later.
Cost: Under $10 | Time: 30 minutes plus pressing | Difficulty: Easy
Mistakes I Made (So You Don’t Have To)
Pressing flowers that were still damp. My first batch went into a book straight from a rainy garden, and every single bloom came out moldy and brown. Now I pat flowers dry and leave them on a towel for an hour before pressing.
Using the wrong flowers. I wasted a month trying to press whole roses and dahlias. Thick flowers need to be taken apart petal by petal, or they simply will not flatten. Start with pansies, violets, ferns, and daisies.
Hanging finished art in sunlight. A framed piece by a sunny window faded badly within months. Pressed flowers are light-sensitive, so shaded walls and UV-protective glass are worth it.
Skipping the seal. Unsealed bookmarks and cards absorbed kitchen humidity and curled within weeks. A clear tape layer or sealant spray makes a real difference.
Which Pressed Flower Craft Should You Try First?
| Project | Best For | Cost | Effort |
|---|---|---|---|
| Framed botanical art | Beginners and gifts | Under $10 | Low |
| Bookmarks and gift tags | Using small leftover flowers | Under $5 | Very low |
| Resin coasters and keychains | Durable everyday items | $12-$25 | Medium |
| Candles and lamp shades | Decorative display only | $8-$25 | Medium |
| Memory frame | Wedding and anniversary flowers | Under $10 | Low |
Frequently Asked Questions
How long do pressed flowers actually last?
In my house, framed pieces kept out of direct sunlight still look good after two to three years, while unsealed bookmarks faded faster. Sealing and shade are the two things that matter most for longevity.
What would you do differently if you started again?
I would press far more flowers than I needed, and I would label every batch with the flower name and date. My unlabeled early pressings are a mystery now, and I cannot repeat the ones I loved most.
Can I press flowers without a flower press?
Yes, and I still mostly do. Heavy books with parchment paper between the pages work perfectly well. A proper press is faster for big batches, but it is not required to start.
Why did my pressed flowers turn brown?
Usually moisture or the wrong flower. Thick or damp flowers mold and brown instead of drying. Press thin, dry flowers, change the blotting paper after a few days, and keep the press somewhere dry.
Are pressed flower crafts safe around children?
The flowers themselves are safe to handle, but keep small loose petals away from toddlers who mouth objects, and supervise any use of sealant sprays or resin, which are adult-only steps.
Read this next: Fall Leaf Crafts for Adults That Are Actually Worth Your Time
Final Thoughts
Pressed flower crafts taught me patience in a way no other craft has, and that is probably why I keep coming back to them. A flower pressed today becomes a bookmark, a frame, or a memory you can hold in winter, and that small act of saving something beautiful feels worthwhile every time.
Start with a frame or a bookmark, press more flowers than you think you need, and keep your finished pieces out of the sun. Then tell me which one you made first, because I am always curious which project hooks a new presser.