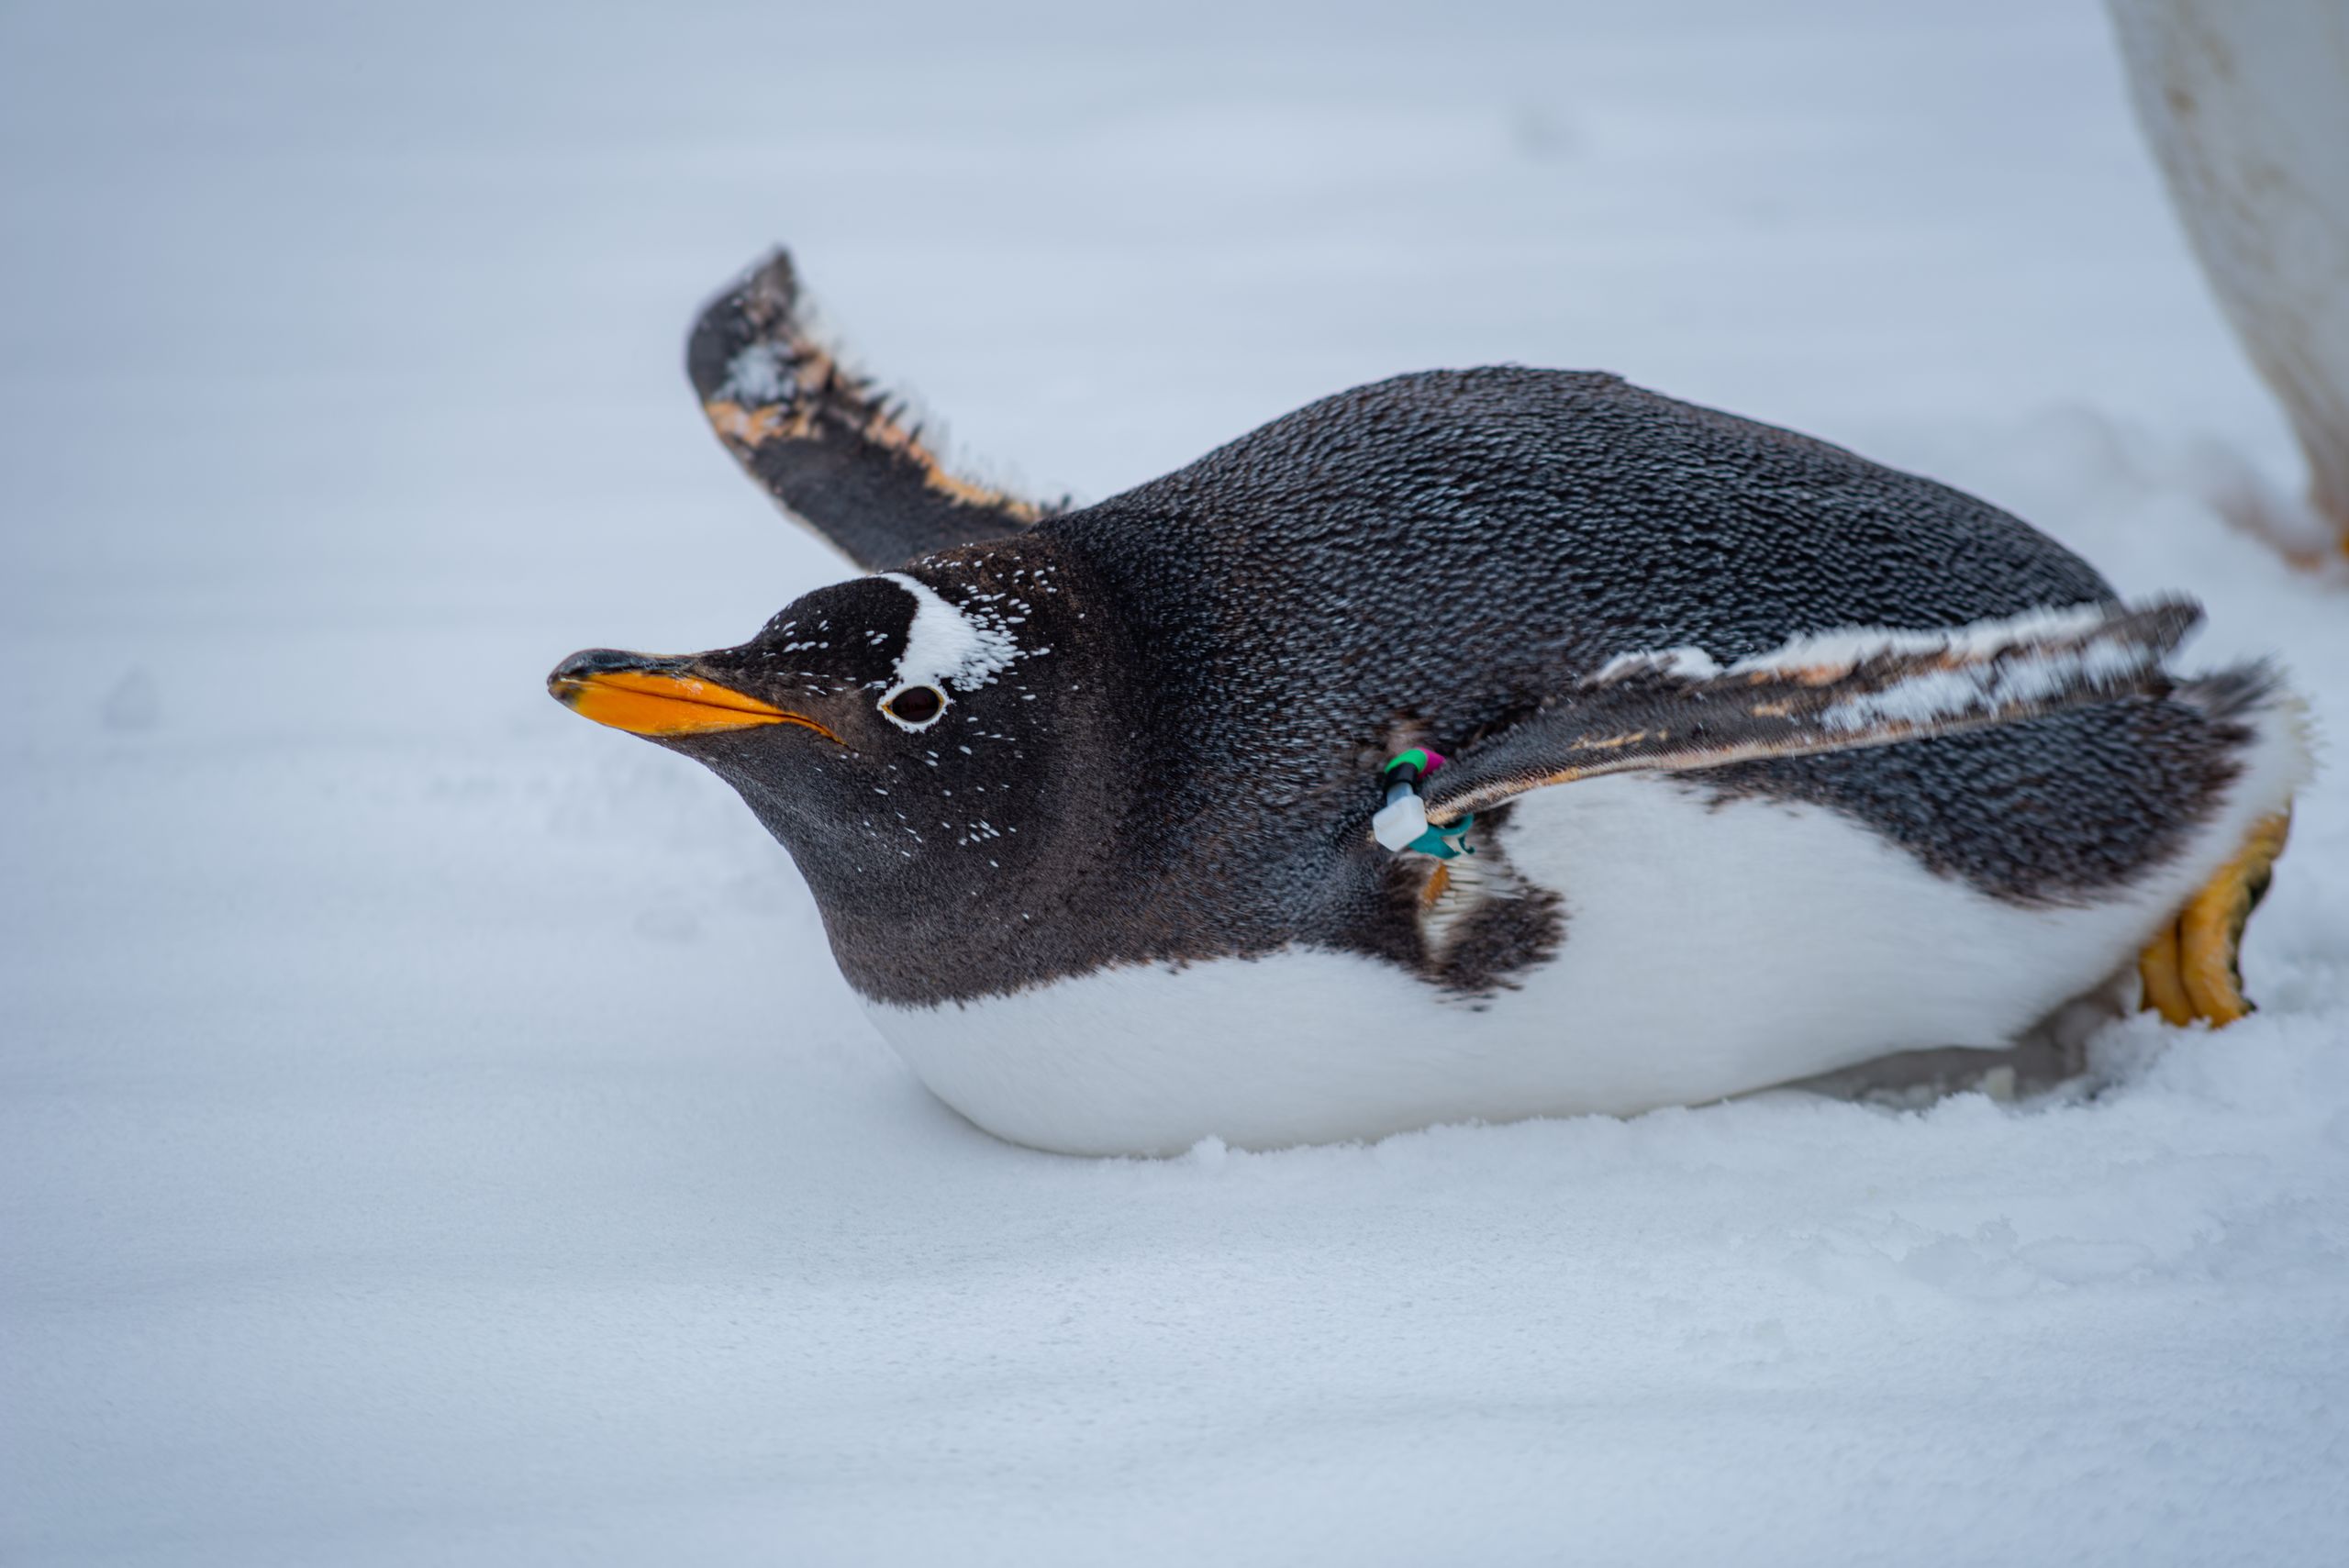
20 Kids Penguin Crafts
My daughter came home from school obsessed with penguins last winter, so I went looking for kids penguin crafts that were more than just a printed colouring sheet. I wanted projects she could make, waddle around with, and show off, and I tested a whole colony at our kitchen table.
How I picked these: every project was tried in my house first, costs under $5, and finishes in one sitting. I kept only the kids penguin crafts that survived real children, and tossed out anything that fell apart before dinner.
Penguins pair well with a winter craft afternoon. Related article: winter crafts for kids for more cold-weather ideas, and keep black and white paper, googly eyes, and orange card ready, because almost every penguin here starts with those three things.
Key Takeaways
Start with paper plate penguins and handprint penguins for toddlers; both are quick, forgiving, and need almost no setup.
Save pom-pom penguins, mobiles, and dioramas for older kids who can handle longer steps and drying time.
Keep black paper, white paper, orange card, googly eyes, and kid-safe scissors in one bin.
20 Kids Penguin Crafts: 20 Ideas I Actually Tried
1. Paper Plate Penguin
I painted a paper plate black, folded the sides in for wings, and glued a white paper belly on the front for a paper plate penguin. My daughter added googly eyes and an orange beak, then waddled around the kitchen making penguin noises, which is the only proper way to test a penguin.
The folded wings are the tricky part, because they spring open if the glue is weak. I now fold them, crease them hard with a ruler, and hold them with a peg for five minutes, and I use a paper plate rather than a plastic one, which will not hold paint at all.
Pro Tip: Paint the plate black first and let it dry fully, because painting over glued paper pieces smears the black onto the white belly.
Cost: Under $3 / Time: 25 minutes / Difficulty: Easy / Ages: 3+

2. Handprint Penguin
I painted my son’s hand black, pressed it onto white card, and turned the print into a penguin by adding a white belly, eyes, and orange feet. The fingers became the penguin’s flippers, which delighted him enormously, and the finished picture went up on the fridge next to his sister’s snowman.
Black paint shows every smudge, so I keep a damp cloth beside us and I paint the hand with a sponge rather than a brush, which gives an even coat. The downside is that black paint stains clothes fast, so old shirts are non-negotiable for this one in our house.
Pro Tip: Press the hand down once and lift straight up, because wiggling the hand while printing turns the penguin into an unrecognisable blob.
Cost: Under $2 / Time: 20 minutes / Difficulty: Easy / Ages: 2+

3. Paper-Bag Penguin Puppet
I painted a paper bag black, glued a white belly on the front, and added a beak and feet for a paper-bag penguin puppet. My kids immediately staged a puppet show about a penguin who was afraid of water, which was both funny and, I suspect, a little bit autobiographical for one of them.
Paper bags tear at the fold if children puppeteer too enthusiastically, so I reinforce the inside fold with tape before decorating. I also keep the puppet’s beak small, because a large cardboard beak flops forward and covers the puppet’s face during the show.
Pro Tip: Tape the fold before you paint, because tape will not stick properly to a painted, slightly damp bag surface.
Cost: Under $3 / Time: 25 minutes / Difficulty: Easy / Ages: 3+

4. Salt-Dough Penguin Ornament
I rolled salt dough flat, cut out a penguin shape with a cardboard template, and helped my kids paint it black and white with an orange beak. We baked it slowly, varnished it, and hung it on the tree, where it looked charmingly handmade next to the shop-bought ornaments.
Salt dough penguins are sturdy, but the beak is a thin triangle that snaps off if it is rolled too thin. I make the beak chunky, I bake at the lowest oven setting, and I let the ornament cool in the oven overnight so it does not crack from a sudden temperature change.
Pro Tip: Paint the black body first, then the white belly, because white paint over wet black turns grey and the penguin looks grubby.
Cost: Under $2 / Time: 1 hour plus drying / Difficulty: Easy / Ages: 4+

5. Penguin Cork Stamp Art
I cut a wine cork in half, shaped one end into an oval, and let my kids stamp penguin bodies onto blue paper with black paint. They added bellies, eyes, and feet with a cotton bud afterwards, and the stamped penguins looked surprisingly professional, like a little marching colony.
Cork stamping is satisfyingly simple, but the stamp slips if little hands press too hard or at an angle. I glue the cork to a small wooden block for a proper handle, and I use a paint pad rather than a puddle of paint, so the stamp picks up an even layer every time.
Pro Tip: Stamp on scrap paper first, because the first stamp is always too paint-heavy and blobs, while the second one is just right.
Cost: Under $3 / Time: 25 minutes / Difficulty: Easy / Ages: 4+

6. Waddling Toilet-Roll Penguin
I wrapped a cardboard tube in black paper, added a white belly and orange feet, and set it on a slope to waddle for a toilet-roll penguin. My son raced his penguin against his sister’s down a tilted baking tray, and the waddling race became the main event of that afternoon.
Toilet-roll penguins topple easily because the tube is tall and narrow, so I weight the base with a few coins glued inside before sealing it. I also cut the feet slightly wide, like little skis, which helps the penguin stand and, more importantly, helps it waddle in a straight line.
Pro Tip: Glue the feet on last and let them dry flat, because feet glued while the tube is upright slide sideways and the penguin leans.
Cost: Free / Time: 20 minutes / Difficulty: Easy / Ages: 3+

7. Felt Penguin Finger Puppet
I cut two small penguin shapes from black felt, stitched the edges loosely, and left the bottom open for a finger puppet. My youngest wore it on her finger for an entire car journey, narrating the penguin’s adventures in a squeaky voice that I now associate permanently with traffic jams.
Felt finger puppets are wonderfully soft, but sewing around a tiny shape frustrates small children. I do the sewing myself, adult job, and let the kids choose the felt colours, glue on the belly and eyes, and name the puppet, which is honestly the part they care about most.
Pro Tip: Cut the felt shapes a finger-width larger than you think, because felt has no stretch and a tight puppet will not fit a child’s finger.
Cost: Under $3 / Time: 30 minutes / Difficulty: Medium / Ages: 5+

8. Penguin Greeting Card
I folded dark blue card, glued a white paper penguin on the front, and let my daughter write a message inside for her friend’s winter birthday. The penguin wore a tiny red scarf, the card got a round of applause at the party, and my daughter has requested penguin cards for every occasion since.
Cards look best when the penguin is slightly off-centre rather than dead centre, which sounds odd but is true. The downside is that thick layered paper makes the card bulky, so I use thin card for the penguin pieces and keep the message short, because the front is the star here.
Pro Tip: Glue the penguin on before writing inside, because pressing on a finished card to glue the front creases the writing on the inside.
Cost: Under $2 / Time: 20 minutes / Difficulty: Easy / Ages: 4+

9. Penguin Bookmark
I cut a black rectangle from card, added a white belly and a beak near the top, and glued two googly eyes on for a penguin bookmark. My son marked his place with it every night for a month, and the penguin’s beak slowly went wonky, which only made him love it more.
Bookmarks need to be sturdy, because they live in bags and get bent constantly. I cover ours with clear sticky-back plastic, and I keep the googly eyes flat rather than domed, because domed eyes catch on pages and peel off inside the book.
Pro Tip: Make the bookmark shorter than the book, because a bookmark that sticks out the top gets folded, torn, and eventually lost.
Cost: Under $2 / Time: 15 minutes / Difficulty: Easy / Ages: 5+

10. Penguin Snow Scene Diorama
I lined a shoebox with blue paper, added cotton wool snow, and placed a paper penguin inside for a penguin snow scene diorama. My daughter arranged and rearranged the scene for days, adding a paper iceberg and a tiny fish, and the shoebox became a permanent fixture on her bedroom shelf.
Dioramas look impressive but they collect dust and fall apart if moved, so I keep ours in one place and I glue the main pieces down firmly. I also use a shoebox with a lid, because the lid protects the scene during the inevitable moment when it gets knocked off the shelf.
Pro Tip: Glue the background first and the penguin last, because gluing the penguin first means you keep knocking it over while decorating around it.
Cost: Under $3 / Time: 40 minutes / Difficulty: Medium / Ages: 5+

11. Penguin Headband
I cut a card strip to fit my son’s head, glued a penguin face on the front, and added orange feet shapes at the sides for a penguin headband. He wore it while waddling around the house, flippers out, and declared himself Emperor Penguin for the rest of the day, which seemed fair.
Headbands slip, especially on fine hair, so I add a small piece of double-sided tape inside the band for parties. I measure the head first, add overlap for the join, and staple rather than glue the join, because glue takes too long to set and the band falls apart mid-waddle.
Pro Tip: Decorate the band after fitting it, because a fitted band that is already decorated bends and cracks the decorations while you adjust it.
Cost: Under $2 / Time: 20 minutes / Difficulty: Easy / Ages: 3+

12. Penguin Paper Chain
I cut black and white paper strips, looped them alternately, and added a penguin face to every fourth link for a penguin paper chain. It stretched across our living room for a winter party, and the kids counted the penguins along the chain like a game every time they walked underneath it.
Paper chains take longer than anyone expects, so I make this a two-day project with a clear stopping point each day. Thin paper tears when pulled tight, so I use medium-weight paper, and I staple the links because glue dries too slowly for impatient chain-makers.
Pro Tip: Alternate the colours in a pattern and stick to it, because a random chain looks messy while a black-white-black pattern looks deliberate.
Cost: Under $2 / Time: 40 minutes / Difficulty: Easy / Ages: 4+

13. Penguin Watercolour Painting
I gave my daughter watercolours and thick paper, and she painted a blue icy background, leaving a white penguin shape unpainted in the middle. The white-on-blue trick worked beautifully again, and she added black wings and an orange beak once the background had dried completely.
Watercolour penguins look best when the background is pale, because a dark background swallows the black wings. I tape the paper to a board first so it does not buckle, and I keep the palette small, blue and purple only, so the painting stays icy instead of turning muddy brown.
Pro Tip: Let the background dry before painting the penguin, because wet blue paint bleeds into the white belly and turns it grey.
Cost: Under $3 / Time: 30 minutes / Difficulty: Easy / Ages: 5+

14. Penguin Pom-Pom Craft
I wrapped black wool around a cardboard ring, tied it off, and trimmed it into a fluffy pom-pom penguin body with a white felt belly. It took patience, it shed wool all over the table, and the finished pom-pom penguin was so soft that both kids fought over who got to keep it.
Pom-poms are fiddly for small hands, because wrapping wool takes ages and the trimming stage looks alarming. I wrap the wool myself for younger kids and let them do the trimming and decorating, and I do it over a tray, because wool trimmings get everywhere otherwise.
Pro Tip: Wrap the wool at least fifty times around the ring, because a thin pom-pom falls apart when you trim it and looks bald.
Cost: Under $3 / Time: 35 minutes / Difficulty: Medium / Ages: 6+

15. Penguin Suncatcher
I cut a penguin shape from black card, filled the middle with coloured tissue paper, and hung it on the window for a penguin suncatcher. Sunlight turned the tissue into glowing blue and purple, and my daughter moved her chair so she could sit in the coloured light while reading.
Tissue paper suncatchers are beautiful but fragile, because the tissue tears if pressed too hard. I use clear sticky-back plastic as the base, lay the tissue on gently, and seal it with a second sheet, which makes the suncatcher sturdy enough to survive being taken down and rehung.
Pro Tip: Use small pieces of tissue rather than one big sheet, because small pieces overlap into pretty colour patches instead of one flat colour.
Cost: Under $3 / Time: 25 minutes / Difficulty: Easy / Ages: 4+

16. Penguin Egg-Carton Craft
I cut a single cup from an egg carton, painted it black, and added a white belly, beak, and feet for a penguin egg-carton craft. It wobbled charmingly on the table, it cost nothing, and my son made a whole colony of them, one for every member of our family, complete with names.
Egg cartons are uneven, so some cups sit flat and others wobble, which children find hilarious but adults find annoying. I trim the bottom of each cup flat with scissors before painting, and I use acrylic paint, because washable paint peels off the cardboard carton surface.
Pro Tip: Trim the cup flat before painting, because trimming afterwards chips the paint and the penguin ends up with a bald patch.
Cost: Free / Time: 25 minutes / Difficulty: Easy / Ages: 3+

17. Penguin Mask
I cut a penguin face shape from card, added eye holes, a beak, and an elastic string for a penguin mask. My kids wore their masks for a full afternoon of penguin games, peeking through the eye holes and waddling in formation around the garden, which was genuinely delightful to watch.
Masks need eye holes in the right place, which is harder than it sounds, so I hold the card up to each child’s face and mark the eyes before cutting. I use soft elastic rather than string, because string ties slip and the mask slides down over the nose mid-game.
Pro Tip: Mark the eye holes while the child is wearing the card, because guessing the position always puts the holes too high or too far apart.
Cost: Under $2 / Time: 20 minutes / Difficulty: Easy / Ages: 4+

18. Penguin Pebble Story Stones
I painted smooth stones with penguins, fish, icebergs, and snowflakes, and we used them as penguin story stones, pulling stones from a bag to build a tale. My daughter’s story involved a penguin who opened a fish restaurant, and it was, without question, the best story told in our house that month.
Story stones need sealing, because unsealed paint rubs off in the bag within days. I varnish them myself, adult job, and I use flat stones that sit still on the table, because round stones roll away mid-story and derail the entire plot at a crucial moment.
Pro Tip: Paint the background colour first and the details second, because details painted onto bare stone soak in and disappear.
Cost: Under $3 / Time: 40 minutes / Difficulty: Easy / Ages: 5+

19. Penguin Mobile
I hung paper penguins from a coat hanger with string at different lengths for a penguin mobile above my daughter’s bed. It turned slowly in the draught, the penguins seemed to swim through the air, and she fell asleep watching them for weeks, which is high praise indeed.
Mobiles need balance, because one heavy penguin tips the whole thing sideways. I hang the penguins one at a time, adjusting the string lengths until it hangs level, and I hang it high enough that small hands cannot reach it, because mobiles are for looking at, not grabbing.
Pro Tip: Balance the mobile before decorating the penguins, because adding decorations afterwards changes the weight and tips it over.
Cost: Under $3 / Time: 35 minutes / Difficulty: Medium / Ages: 6+
20. Penguin Gift Bag
I decorated a plain paper gift bag with a big penguin face, orange feet at the bottom, and a scarf across the middle for a penguin gift bag. My son carried his friend’s birthday present in it, the bag got more comments than the present inside, and he now wants one for every party.
Gift bags need the decoration to survive carrying, so I glue everything firmly and avoid anything that sticks out too far. I use a sturdy bag, not a flimsy one, because a heavy present tears a weak bag at the handles, and the penguin ends up face-down on the pavement.
Pro Tip: Decorate the bag before putting anything inside it, because a full bag bulges and the glued face peels off at the edges.
Cost: Under $3 / Time: 25 minutes / Difficulty: Easy / Ages: 4+

Mistakes I Made / What I Learned the Hard Way
I once used plastic plates for penguin bodies, and the paint slid straight off. Paper plates hold paint properly, and I have never bought plastic ones for crafts since.
Black paint needs a sponge, not a brush, for handprints. Brush strokes leave gaps and the print comes out patchy, so I sponge paint on evenly now.
I glued googly eyes onto bookmarks with a glue stick, and they peeled off inside the book within days. Strong craft glue, or drawn-on eyes, are what I trust now.
My biggest lesson with kids penguin crafts is to protect clothes, not just the table. Black paint stains fast, so old shirts are now a house rule.
Which One Should You Make First?
| Craft | Best for | Cost | Effort |
|---|---|---|---|
| Paper Plate Penguin | Toddlers | Under $3 | Low |
| Handprint Penguin | A keepsake for grandparents | Under $2 | Low |
| Salt-Dough Ornament | A tree ornament to keep | Under $2 | Medium |
| Penguin Diorama | Older kids who love detail | Under $3 | Medium |
| Penguin Puppet | Puppet shows and play | Under $3 | Low |
Frequently Asked Questions
How long did your penguin crafts actually last?
The salt-dough ornaments and story stones lasted months and are still in use. Paper plate penguins lasted a couple of weeks of enthusiastic waddling, a good run for paper.
What would you do differently next time?
I would buy googly eyes in bulk at the start of winter. Running out mid-project ends a craft afternoon fast, and a big bag costs almost nothing.
Are these safe for toddlers?
The paper plate, handprint, and egg-carton penguins are toddler-friendly with supervision. Googly eyes, pom-poms, and buttons are for age four and up, and I do all hot gluing myself.
Final Thoughts
If I had to pick one to start with, I would pick the paper plate penguin for little kids and the handprint penguin for a keepsake. Both are cheap and quick, and both end with a penguin that gets a name and a starring role in a puppet show.
Also read: paper plate crafts for kids for more plate projects, and Read this next: handprint crafts for kids if handprint art is your children’s favourite. Start with one penguin this weekend, keep the black and white paper stocked, and let the colony grow all winter.