Paper Plate Crafts for Kids
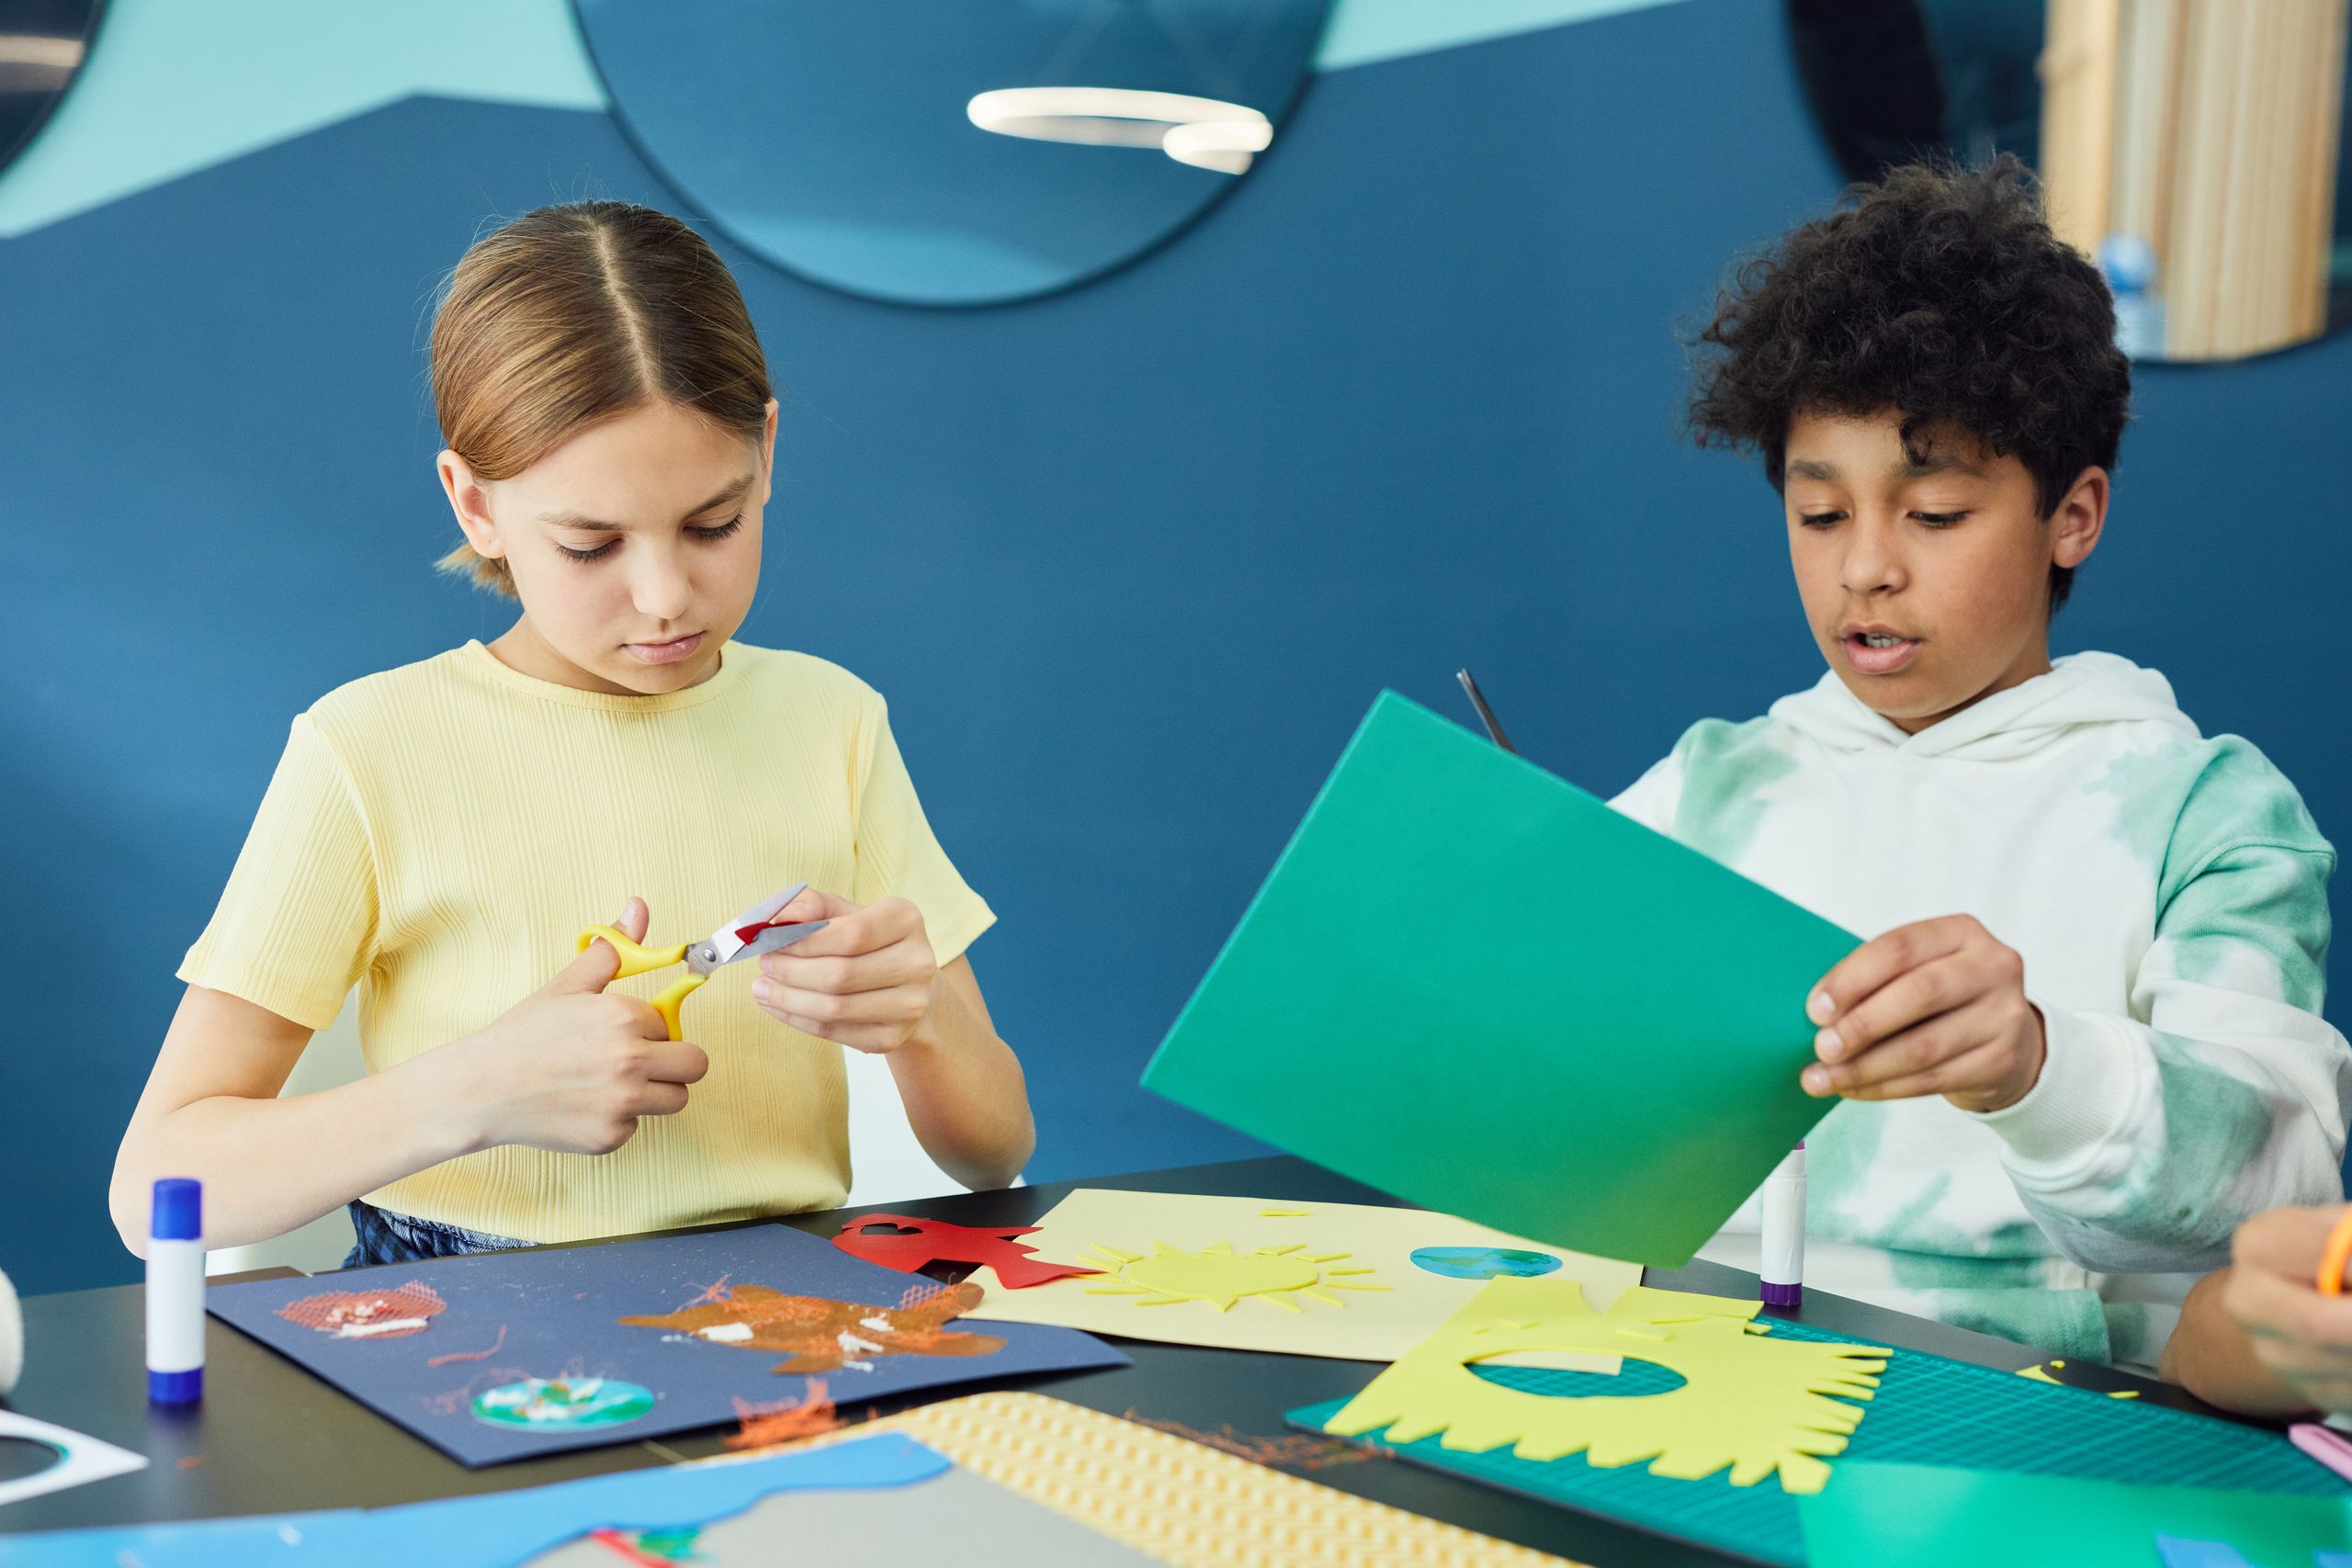
Paper plate crafts for kids are my emergency rainy-day plan, because I always have a stack of plates in the cupboard and they turn into almost anything. I picked these 18 ideas by making them with my own children over several school holidays, and keeping only the ones that were finished, displayed, and played with afterward.
A quick safety note: these paper plate crafts for kids use child-safe scissors, non-toxic paints and glues, and adult help for tricky cuts and hot glue. Children under three should stick to painting and sticking with large pieces, and small decorations like googly eyes and beads stay out of reach for toddlers who still mouth objects.

Related article: 28 fun and easy crafts for kids
Key Takeaways
- One stack of plain, uncoated paper plates covers almost every project in this list.
- Ages 2-3 do best with painting and sticking; ages 4-6 can cut simple shapes; ages 7+ can build masks and mobiles.
- Use washable, non-toxic paint and cover the table before any painting starts.
- Supervise scissors and keep small parts away from children under three.
- Paper plates are cheap enough that a wobbly or messy result never matters, which is exactly why kids love them.
18 Paper Plate Crafts for Kids to Try
1. Paper Plate Lion
The paper plate lion is a classic for a reason. We paint a plate yellow, glue strips of orange and brown paper around the edge for the mane, add a smaller plate or paper circle for the face, and finish with googly eyes and a drawn nose. My four-year-old’s lion lived on the fridge for a month and roared at everyone who opened it.
The honest downside is the mane. Paper strips flop and tangle if they are too long, and my first lion looked more like a jellyfish. Keep the mane strips about five centimeters long and glue them flat around the back rim, and the lion looks properly majestic. Best for ages 3 and up.
Pro Tip: Glue the mane strips to the back of the plate first, then flip it over to add the face, so no glue shows on the front.
Cost: Under $5 | Time: 30 minutes plus paint drying | Difficulty: Easy
2. Paper Plate Rainbow Fish
We paint a plate in rainbow stripes, cut a triangle from one side to make the mouth, glue that triangle on the other side as a tail, and add a googly eye and tissue paper scales. The fish looks wonderful hung in a window, and the mouth-and-tail trick always delights children when they see how it works.
The watch-out is the mouth cut, which needs an adult or an older child, because cutting a wedge from a plate takes strength. Once the wedge is cut, younger children can paint, glue, and decorate everything else themselves. Best for ages 4 and up.

Pro Tip: Paint the plate before cutting the mouth, so the paint covers the whole plate evenly without bare edges.
Cost: Under $5 | Time: 30 minutes plus drying | Difficulty: Easy
3. Paper Plate Butterfly
For this one, we cut a plate in half to make two wings, paint them in bright colors, and glue them to a cardboard tube body with pipe cleaner antennae. My daughter’s butterfly had pink wings with purple spots, and she flew it around the garden for an entire afternoon.
The downside is the wings drooping. Paper plate halves are heavy for a cardboard tube, and my first butterfly’s wings sagged within an hour. I now glue a small strip of cardboard across the back as a brace, and the wings stay up. Best for ages 4 and up.
Pro Tip: Paint the wings before gluing them to the body, and let them dry flat so the paint does not run.
Cost: $3-$6 | Time: 30 minutes plus drying | Difficulty: Easy
4. Paper Plate Clock
A paper plate clock taught my six-year-old to tell time better than any worksheet did. We wrote numbers around the rim, attached two cardboard hands with a paper fastener in the center, and practiced moving the hands to different times. It hung in the kitchen for months and got used at homework time constantly.
The honest catch is the hands. If the fastener is too loose, the hands flop down; too tight, and small fingers cannot move them. I adjust the fastener until the hands stay put but still move with a gentle push, and I check it every few weeks. Best for ages 5 and up.
Pro Tip: Write the numbers with a thick marker before decorating, so they stay readable under paint and stickers.
Cost: Under $3 | Time: 25 minutes | Difficulty: Easy
5. Paper Plate Sun and Moon Mobile
We made a sun from a yellow plate with triangle rays and a moon from a white plate painted silver, then hung them from a coat hanger with string along with paper stars. The mobile hung in my son’s bedroom and turned gently in the breeze from the window.
The watch-out is balance. My first mobile tipped to one side because the sun plate was heavier than the moon. I now hang the heaviest piece closest to the center of the hanger and adjust the strings until it hangs level. Best for ages 5 and up, with adult help tying knots.
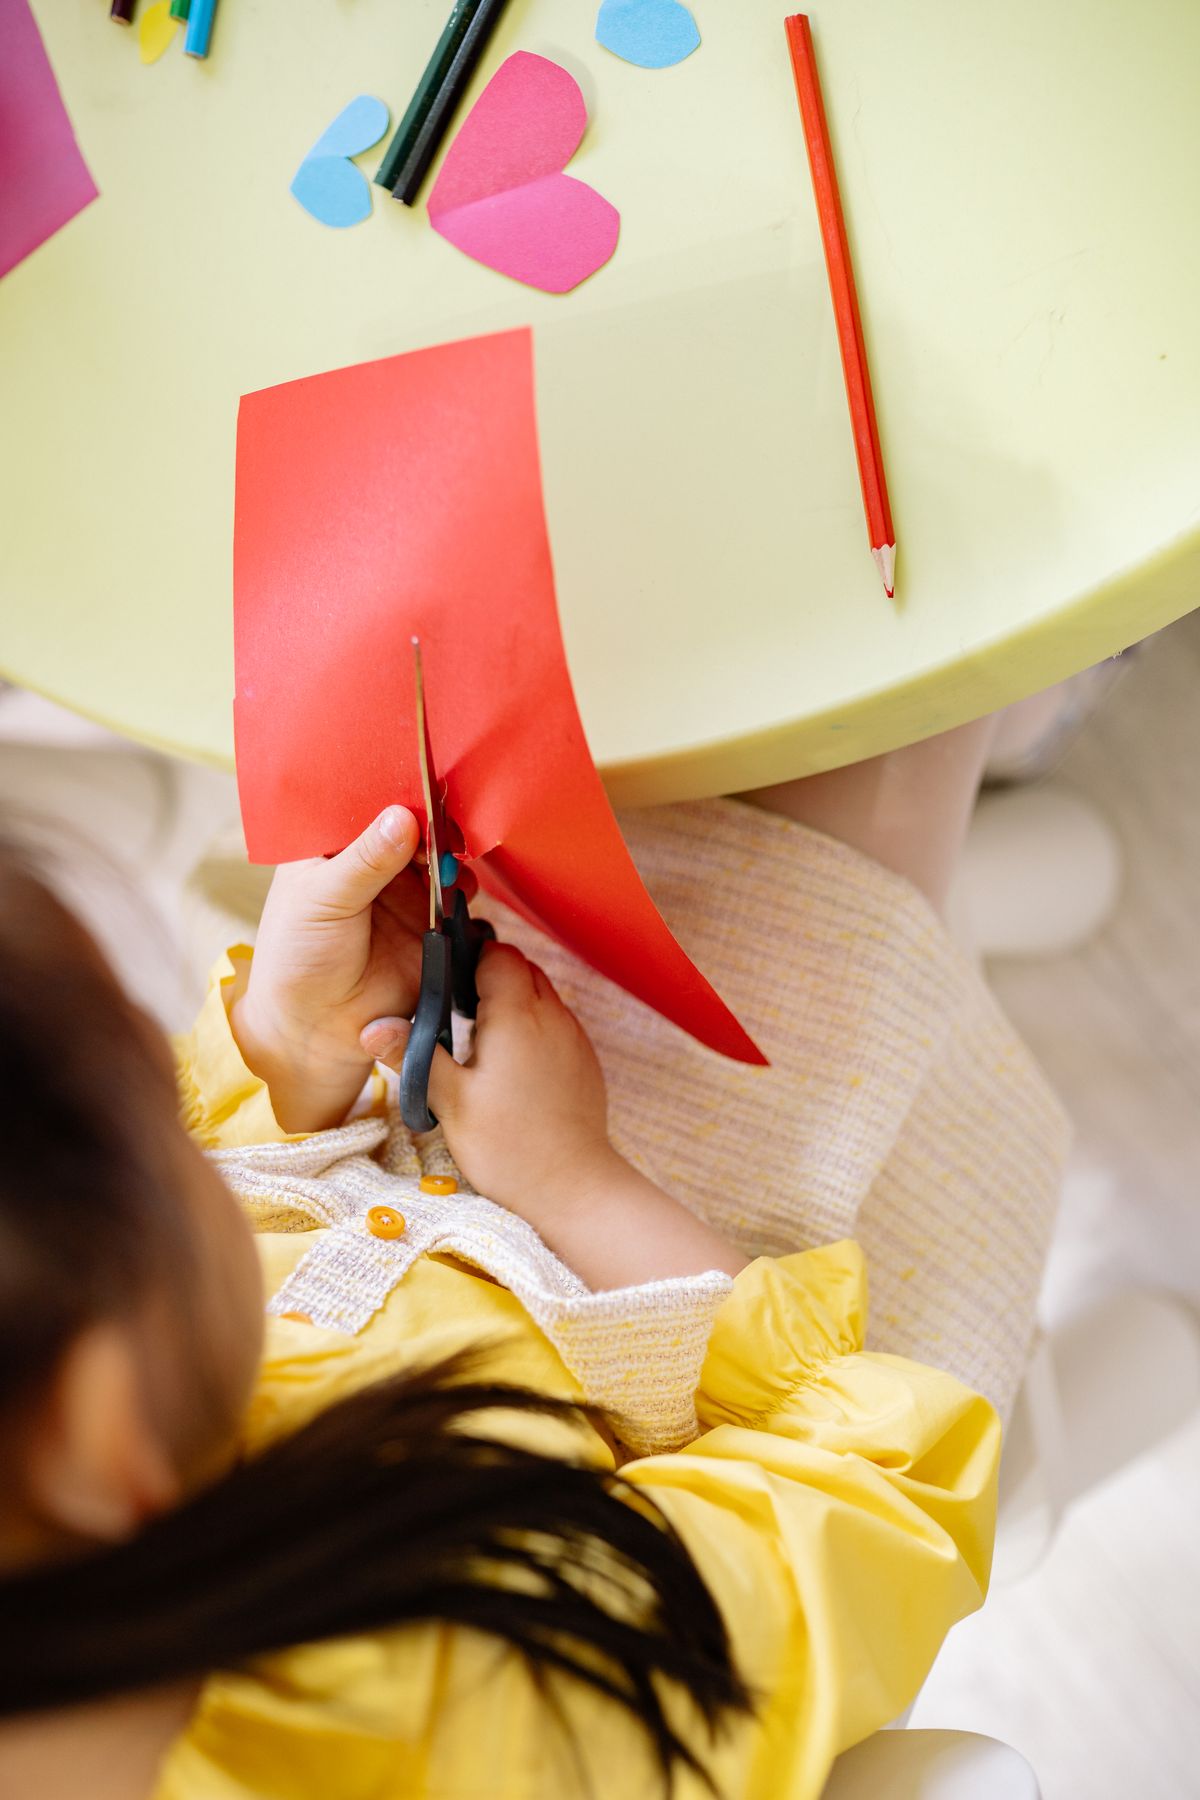
Pro Tip: Use short strings for the mobile pieces, or they tangle into a knot within days.
Cost: $3-$6 | Time: 40 minutes plus drying | Difficulty: Moderate
6. Paper Plate Frog
A green plate, two smaller circles for eyes on top, a wide drawn smile, and a red paper tongue make a frog that my kids use as a puppet. We hold the plate by the bottom edge and make it hop around the table, which is simple and endlessly funny to a four-year-old.
The downside is the eyes. Googly eyes glued to the top of the plate fall off if the frog gets waved around enthusiastically, which it always does. I now glue the eyes to a folded card strip that stands behind the plate, and they survive much longer. Best for ages 3 and up.
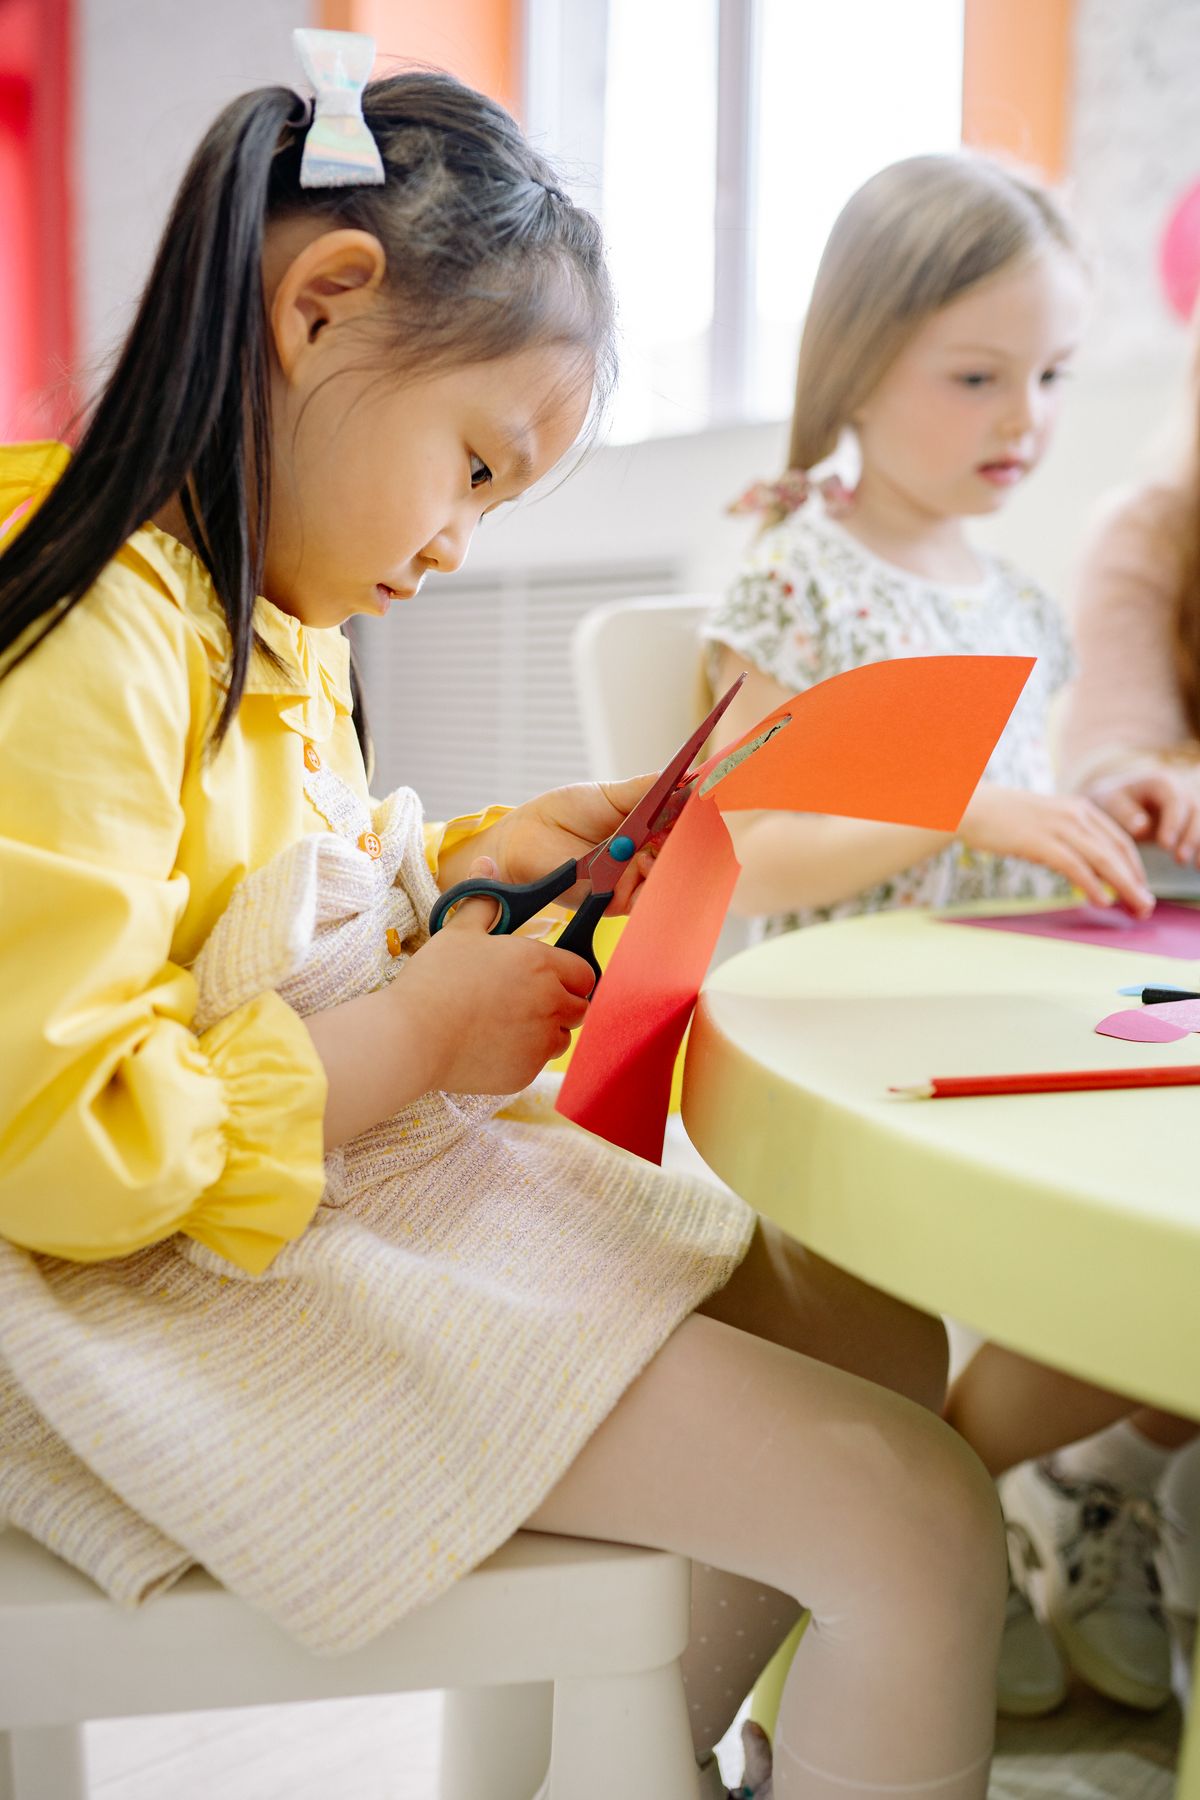
Pro Tip: Use a double layer of glue for the eyes and let it dry fully before any frog hopping begins.
Cost: Under $5 | Time: 25 minutes plus drying | Difficulty: Easy
7. Paper Plate Dreamcatcher
We cut the center out of a plate, leaving just the rim, then weave yarn across the ring in a crisscross pattern, and hang beads and feathers from the bottom. My eight-year-old made one for her bedroom door and was extremely proud of the weaving, which took real concentration.
The honest catch is the weaving itself, which frustrates younger children because the yarn slips off the rim. For ages under six, I punch holes around the rim and let them thread yarn through the holes instead, which is much more manageable. Best for ages 6 and up for weaving, 4 and up for hole threading.
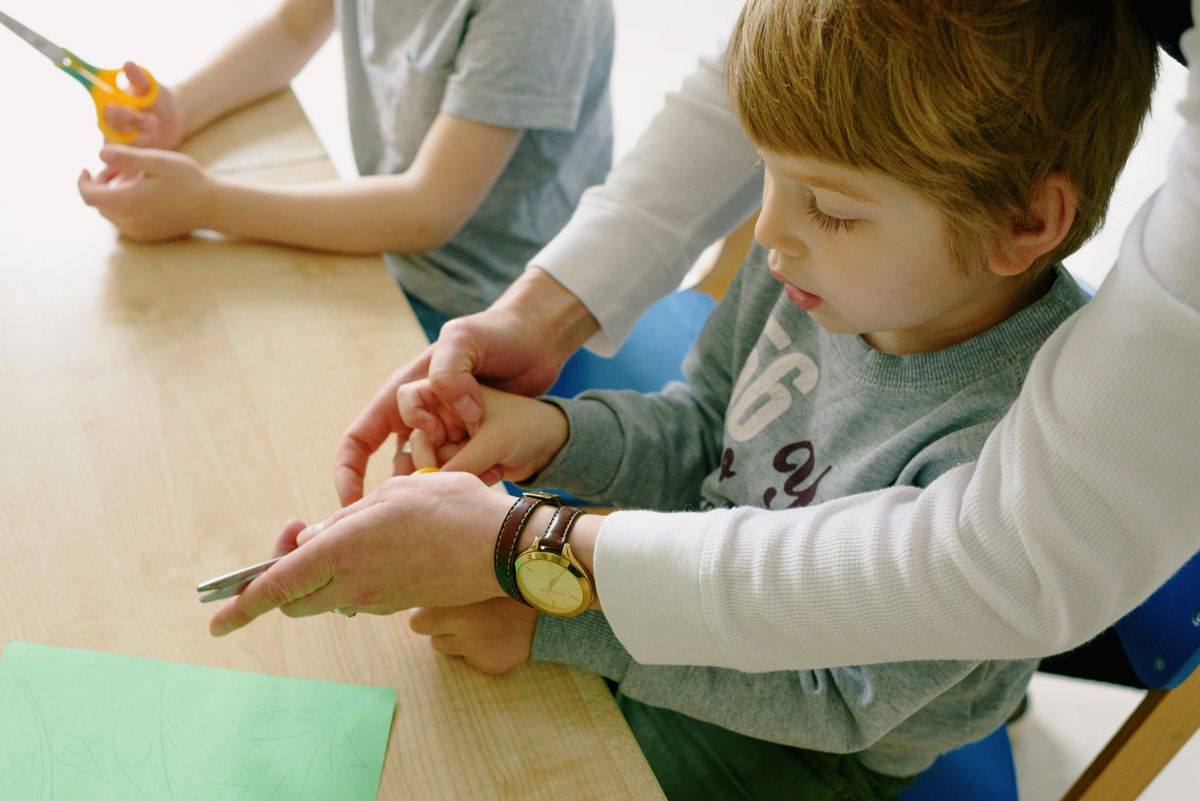
Pro Tip: Tape the starting end of the yarn to the back of the rim so the weaving does not unravel as children work.
Cost: $3-$6 | Time: 45 minutes | Difficulty: Moderate
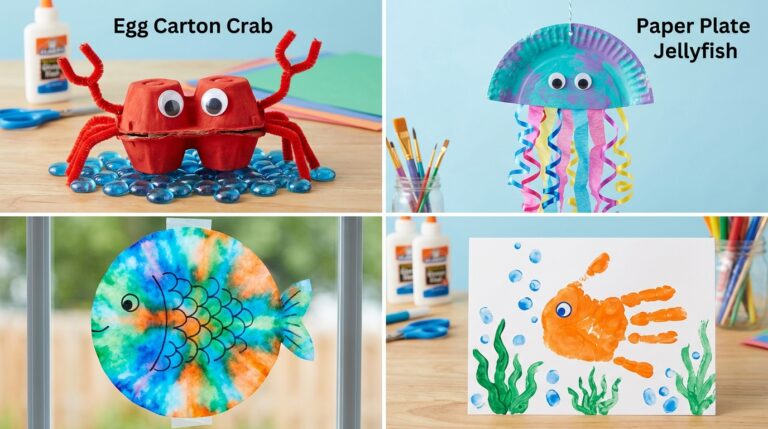
8. Paper Plate Jellyfish
A plate cut in half, painted pink or purple, with long strips of crepe paper and ribbon hanging from the straight edge, makes a jellyfish that looks lovely hung from the ceiling. My kids made a whole jellyfish family and hung them in the hallway, where they swayed gently every time someone walked past.
The downside is the ribbons tangling. Long ribbons wrap around each other and around chair backs, and my hallway jellyfish needed untangling weekly. Shorter ribbons, about thirty centimeters, tangle far less and still look like tentacles. Best for ages 3 and up.
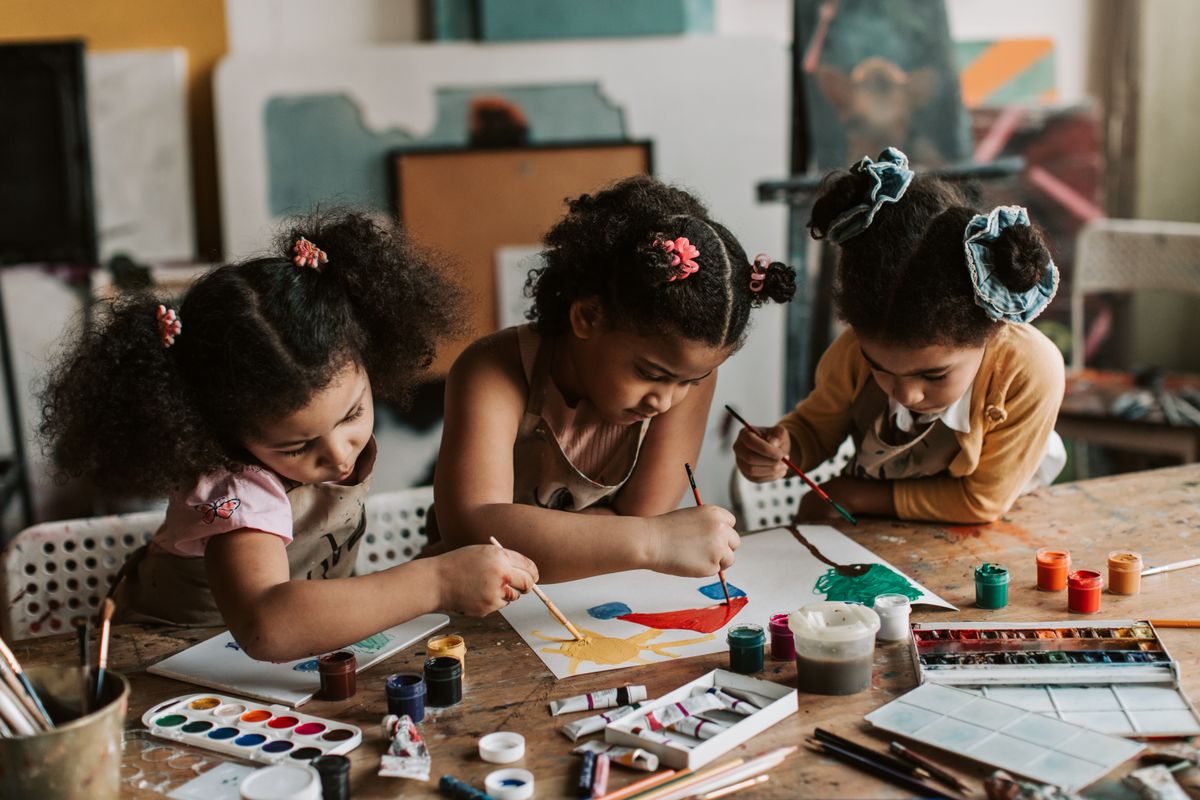
Pro Tip: Curl the crepe paper strips by running them gently over a scissor blade, like curling ribbon, for a wavier tentacle look.
Cost: $3-$6 | Time: 30 minutes plus drying | Difficulty: Easy
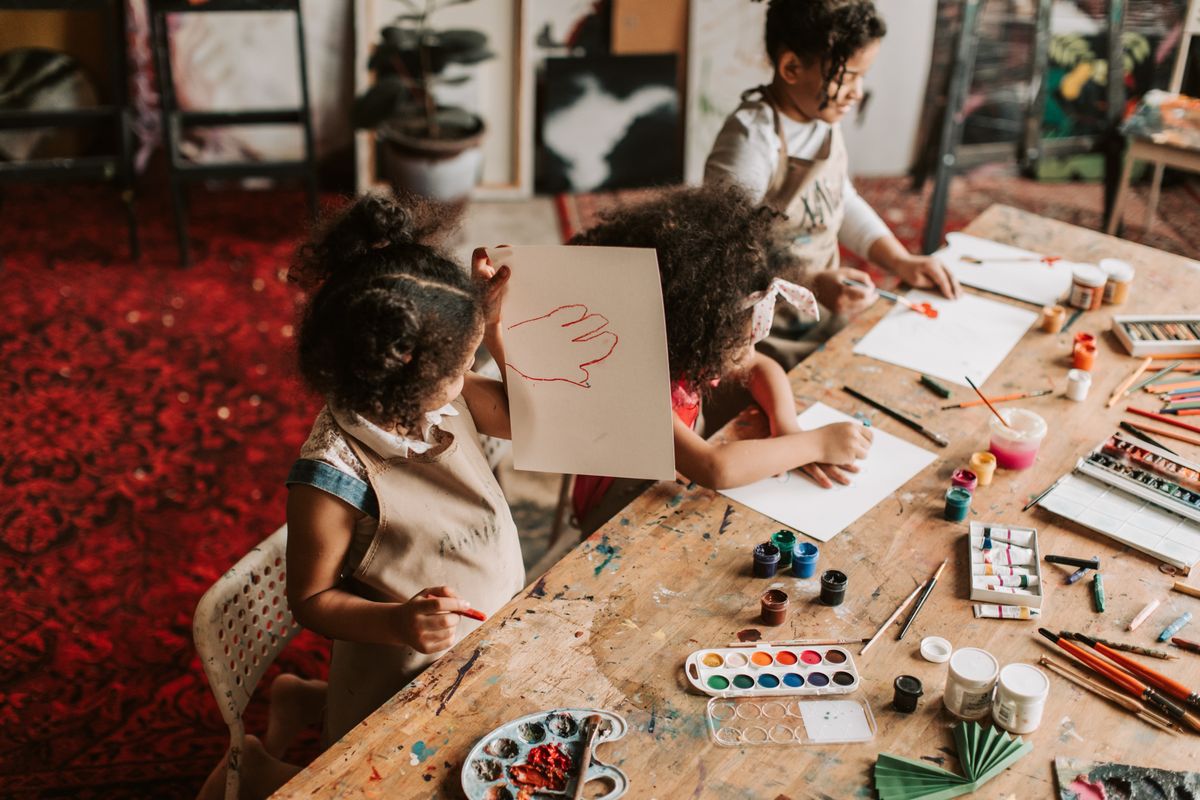
9. Paper Plate Tambourine
Two plates stapled together around the rim with dried beans or rice inside, decorated with paint and stickers, make a tambourine that actually sounds good. My kids formed a band with theirs and performed for grandparents, who were very polite about the noise.
The safety note matters here: the beans inside are a choking hazard if the tambourine breaks open, so this is not for under-threes, and I staple the rim closely all the way around and tape over the staples. I also check the tambourine regularly for tears. Best for ages 4 and up.
Pro Tip: Use dried rice instead of beans for a softer sound, and only a small handful, or the tambourine gets too heavy.
Cost: Under $5 | Time: 20 minutes plus drying | Difficulty: Easy
Also read: Easy Bee Paper Craft for Kids with Simple Steps to Make at Home
10. Paper Plate Pumpkin
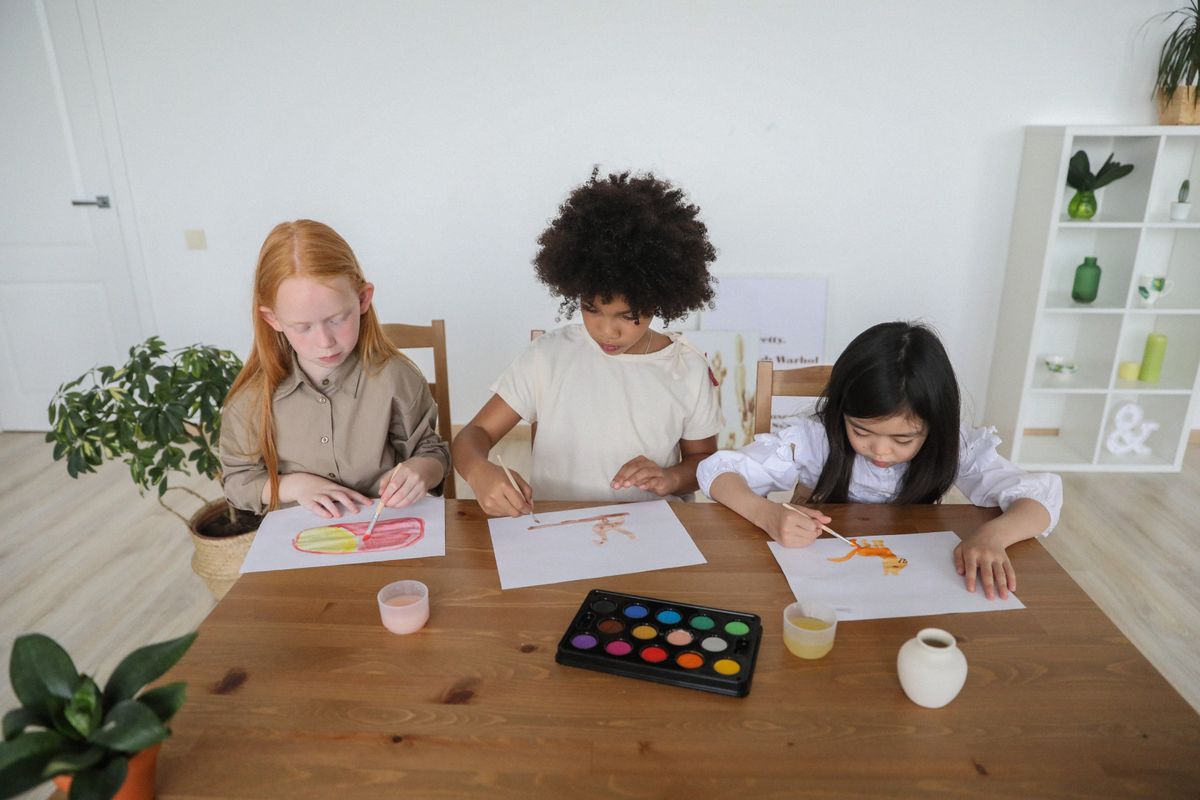
For autumn, we paint a plate orange, glue on a brown paper stem and a green leaf, and draw a jack-o-lantern face with a black marker. These pumpkins lined our windowsill all October, and they were far easier than carving real pumpkins with small children.
The honest downside is the face. Marker on painted plates smudges if the paint is not fully dry, and my first pumpkin’s smile smeared into a frown. Let the orange paint dry completely, ideally overnight, before drawing the face. Best for ages 3 and up.
Pro Tip: Paint the plate orange the day before you plan to finish it, so the face step never has to wait.
Cost: Under $5 | Time: 20 minutes plus drying | Difficulty: Easy
11. Paper Plate Snowman
In winter, we stack two plates, a large one for the body and a smaller one for the head, paint them white with a little glitter, and add a paper carrot nose, button eyes, and a scarf cut from felt. The snowman stood on our mantel all December and never melted, which my kids considered a major advantage.
The watch-out is glitter, which gets everywhere and stays there. I now use glitter glue instead of loose glitter for children’s projects, because it gives the same sparkle with a fraction of the mess. Best for ages 3 and up.
Pro Tip: Glue the two plates together with a strip of cardboard behind the join, or the head flops forward.
Cost: $3-$6 | Time: 30 minutes plus drying | Difficulty: Easy

12. Paper Plate Flower Garden
We cut plates into flower shapes with rounded petals, paint them in bright colors, glue them to green paper stems, and arrange a whole garden on a big sheet of card. My daughter’s garden had twelve flowers and lived on her bedroom wall for a year.
The downside is cutting petals, which is hard for small hands because the plate rim is thick. For younger children, I pre-cut the flower shapes and let them paint and arrange, which keeps the fun without the frustration. Best for ages 4 and up, or 3 and up with pre-cut shapes.
Pro Tip: Draw the petal shape on the back of the plate first, so children can follow the line while cutting.
Cost: $3-$6 | Time: 40 minutes plus drying | Difficulty: Easy to moderate
13. Paper Plate Masks
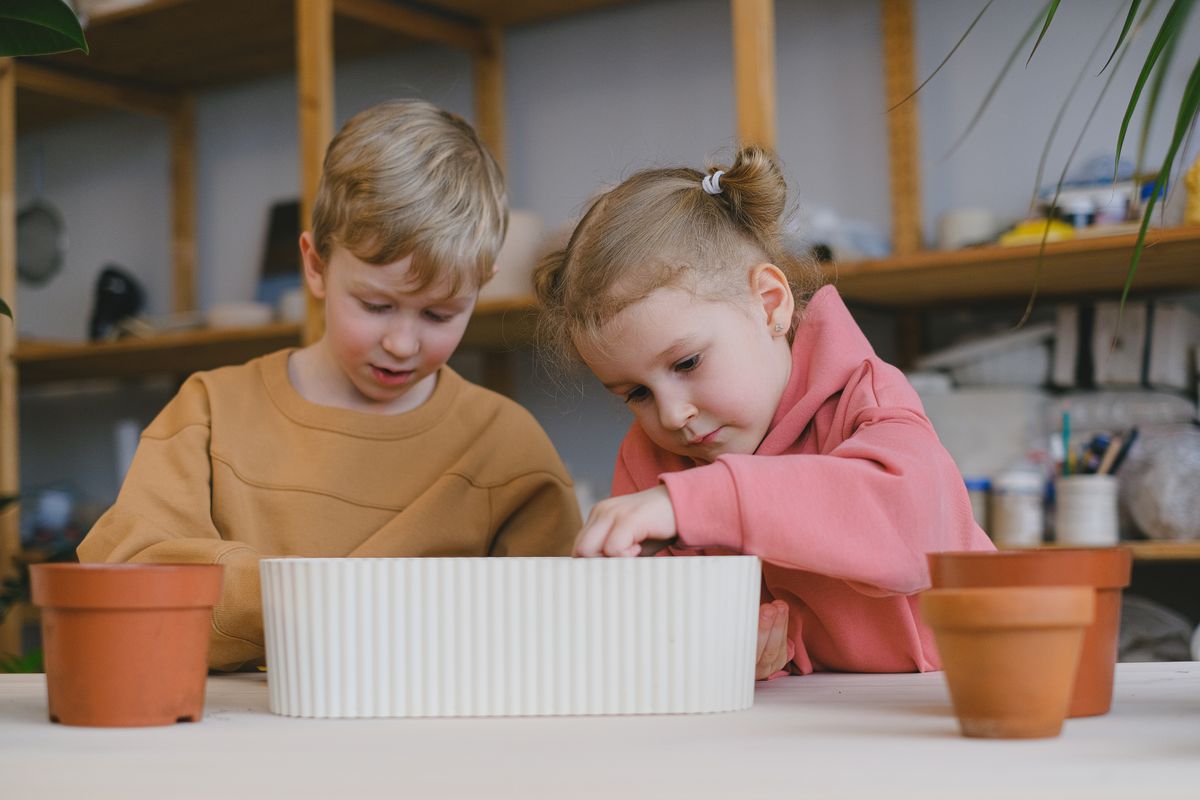
Animal masks from paper plates are a birthday party staple in my house. We cut eye holes, paint the plate as a cat, dog, or tiger, add paper ears, and attach elastic or a stick handle. The tiger mask from my son’s sixth birthday party was worn for the entire party and most of the next day.
The safety note is the eye holes and elastic. An adult should cut the eye holes and check the fit, and elastic should be snug but not tight. For younger children, I use a stick handle instead of elastic, which avoids any tightness problem entirely. Best for ages 4 and up.
Pro Tip: Hold the plate up to the child’s face and mark the eye positions with a pencil before cutting.
Cost: $3-$6 | Time: 30 minutes plus drying | Difficulty: Moderate
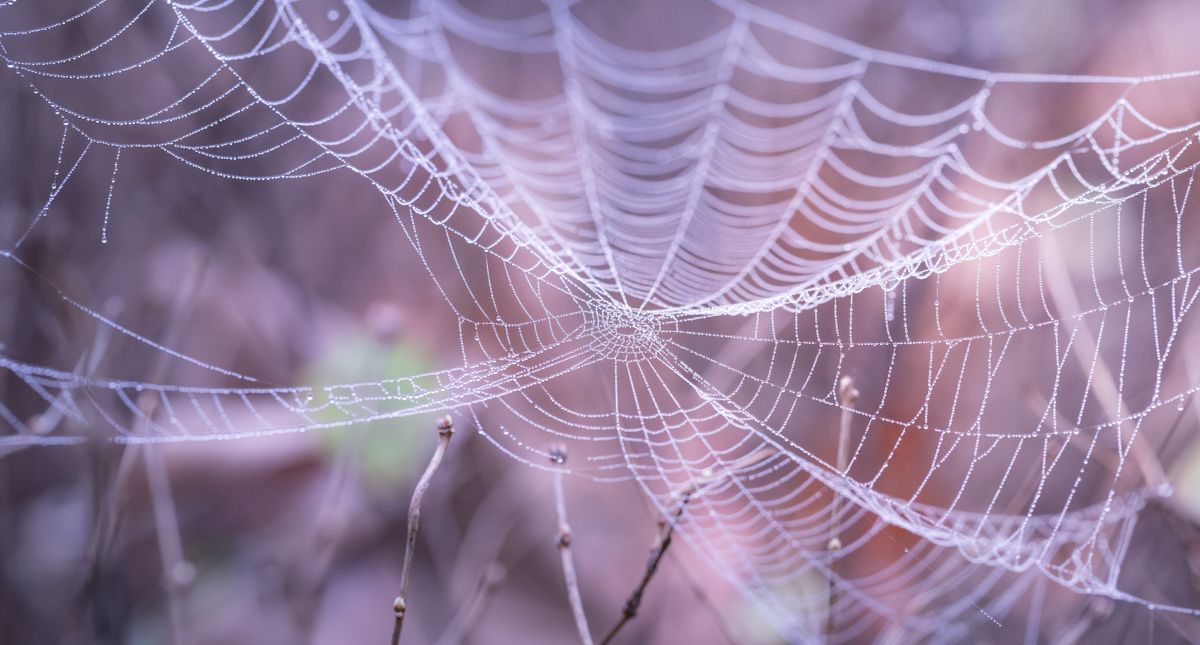
14. Paper Plate Spider Web
We cut a plate into a spiral, paint it black or purple, and add a paper spider with pipe cleaner legs for a Halloween decoration. The spiral cut is satisfying to make, and the finished web hangs in the window looking properly spooky.
The honest catch is the spiral cut, which needs steady hands and an adult’s help for younger children, because one wrong snip cuts the web in half. I draw the spiral line on the back first and cut slowly together with the child. Best for ages 5 and up.
Pro Tip: Cut the spiral from the outside in, keeping the strips about two centimeters wide, or the web tears.
Cost: Under $3 | Time: 25 minutes | Difficulty: Moderate
15. Paper Plate Basket
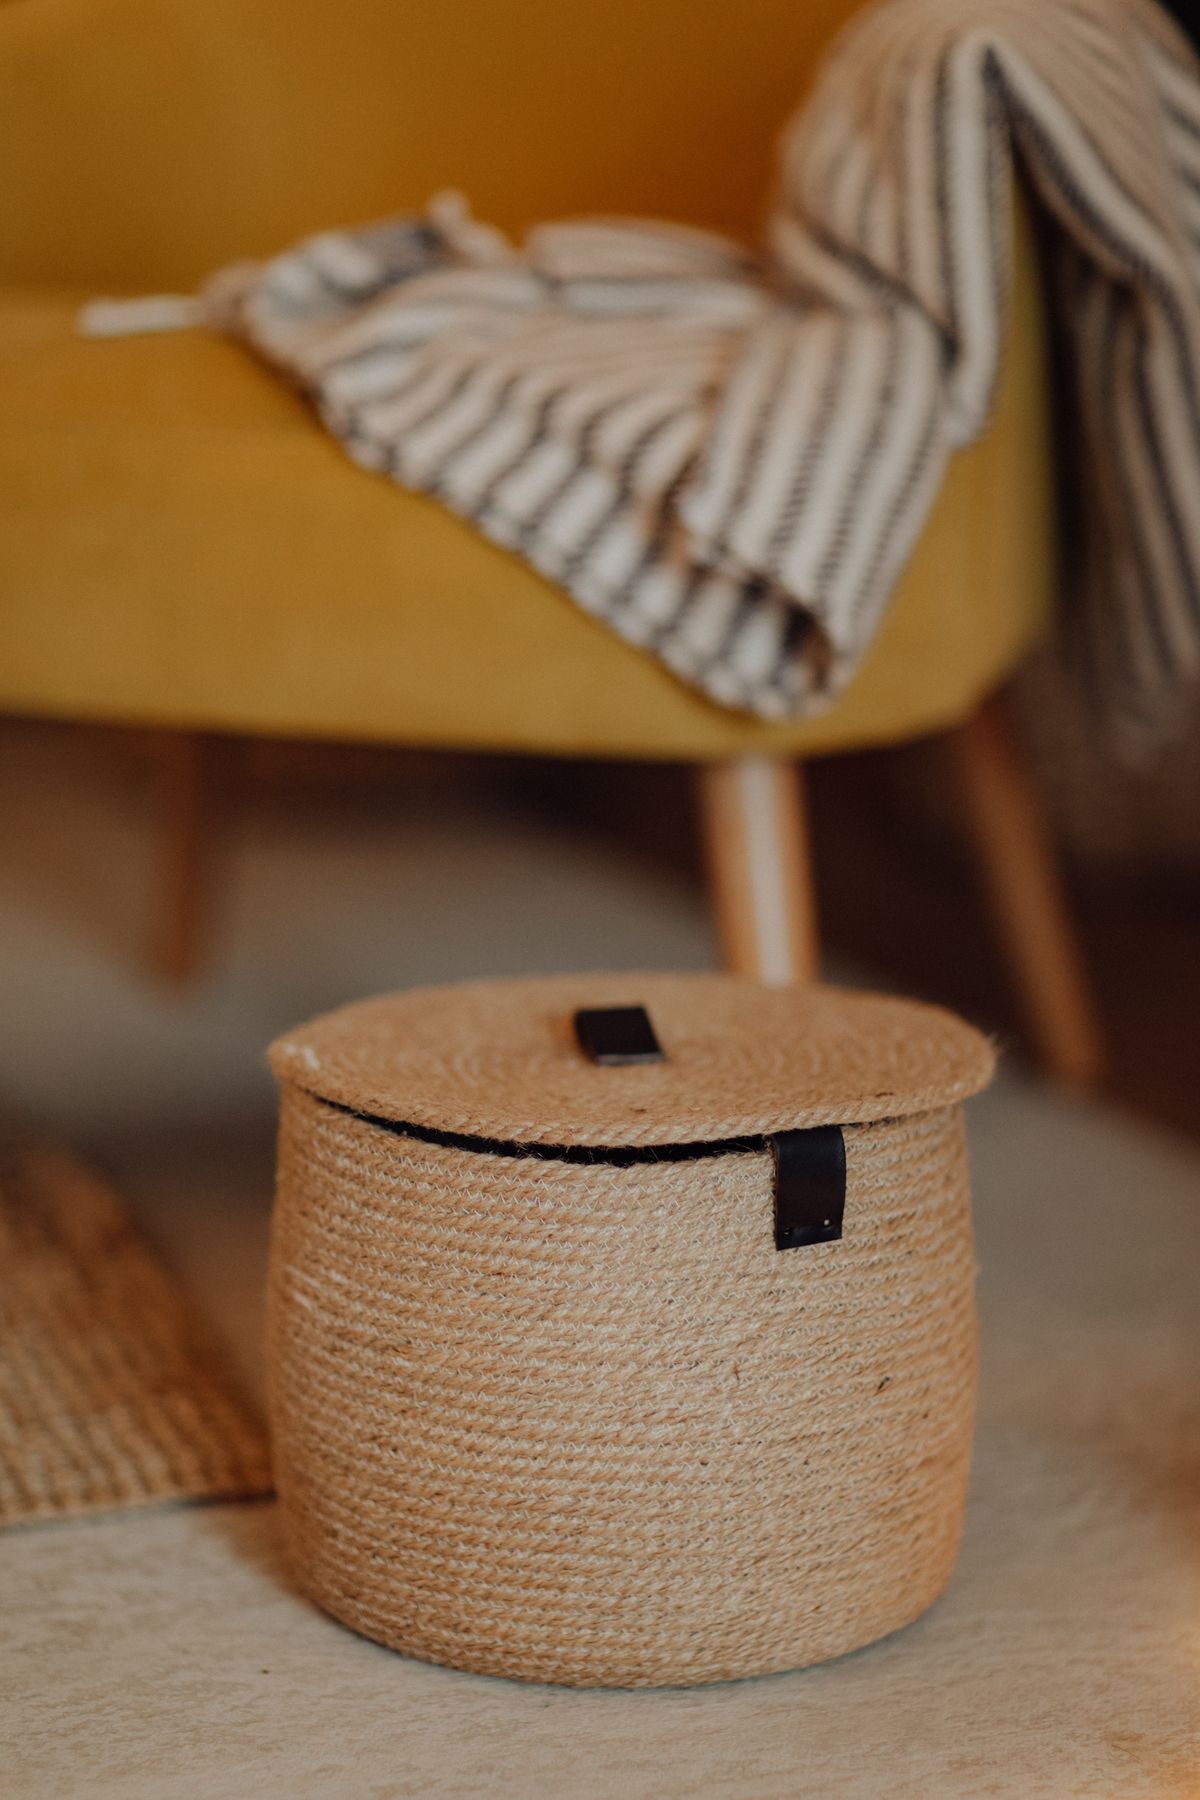
We cut a plate in half, fold up the sides, staple the edges, and add a paper handle to make a small basket, perfect for Easter eggs or tiny treasures. My kids made baskets for a spring egg hunt and carried their finds proudly all afternoon.
The downside is strength. A paper plate basket holds light things only, and my son’s basket split when he loaded it with too many chocolate eggs. Now I reinforce the sides with tape and remind children it is for light treasures. Best for ages 5 and up.
Pro Tip: Use two plates glued together for the basket base if you want it to hold anything heavier than a few small eggs.
Cost: Under $3 | Time: 20 minutes | Difficulty: Easy
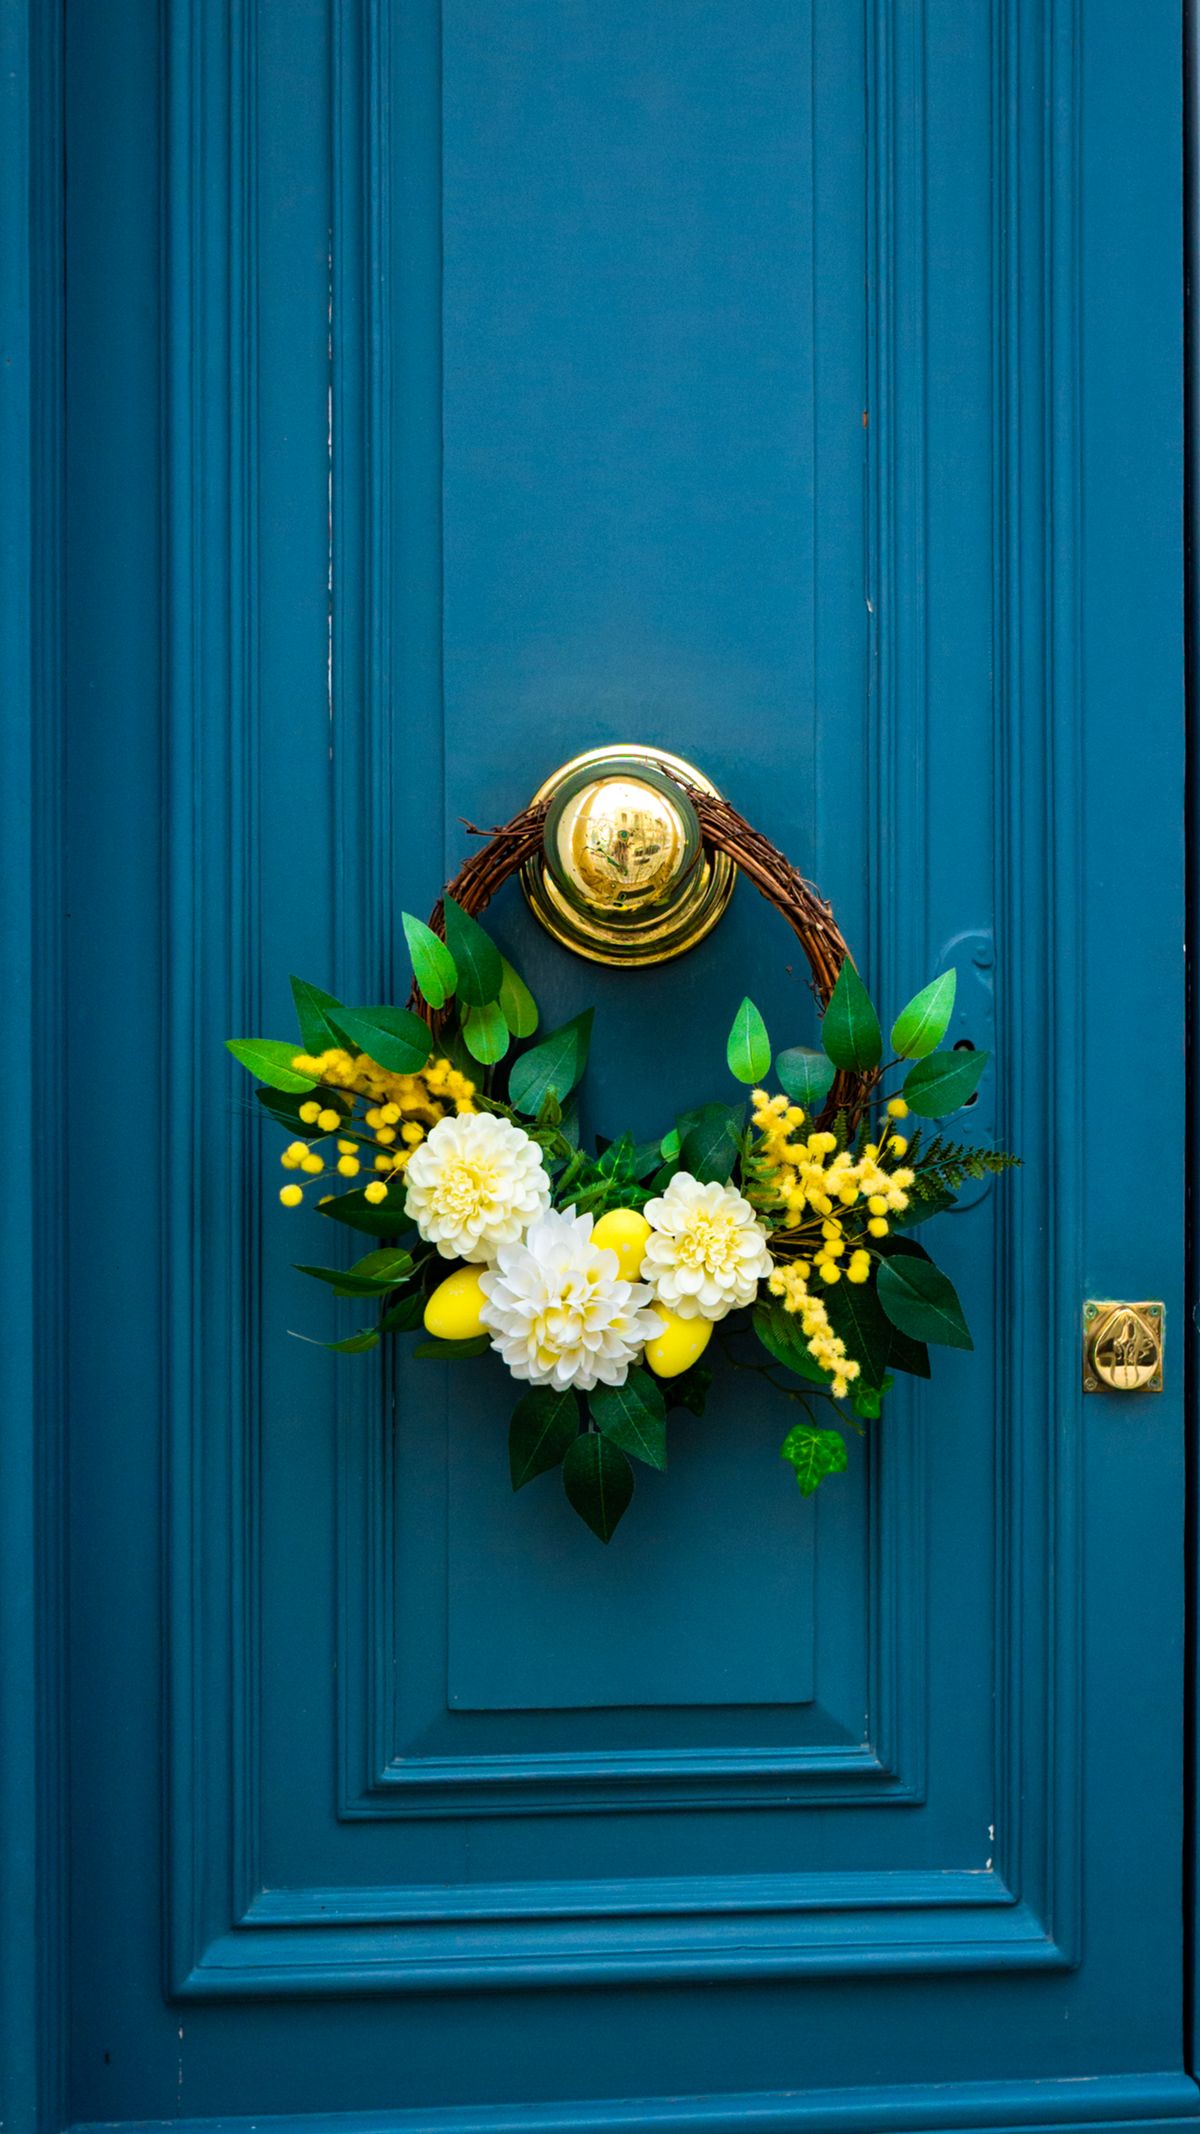
16. Paper Plate Wreath
We cut the center out of a plate, then glue paper leaves, flowers, and pom-poms around the rim to make a wreath for any season. The Christmas version with red and green paper and cotton wool snow is my favorite, and it hung on our front door all December.
The watch-out is the center cut, which needs an adult for younger children. Once the ring is ready, children of all ages can decorate it, and the decorating is the part they enjoy most anyway. Best for ages 3 and up with adult cutting.
Pro Tip: Overlap the decorations around the rim so no bare plate shows, which makes the wreath look full and professional.
Cost: $3-$6 | Time: 30 minutes | Difficulty: Easy
17. Paper Plate Aquarium
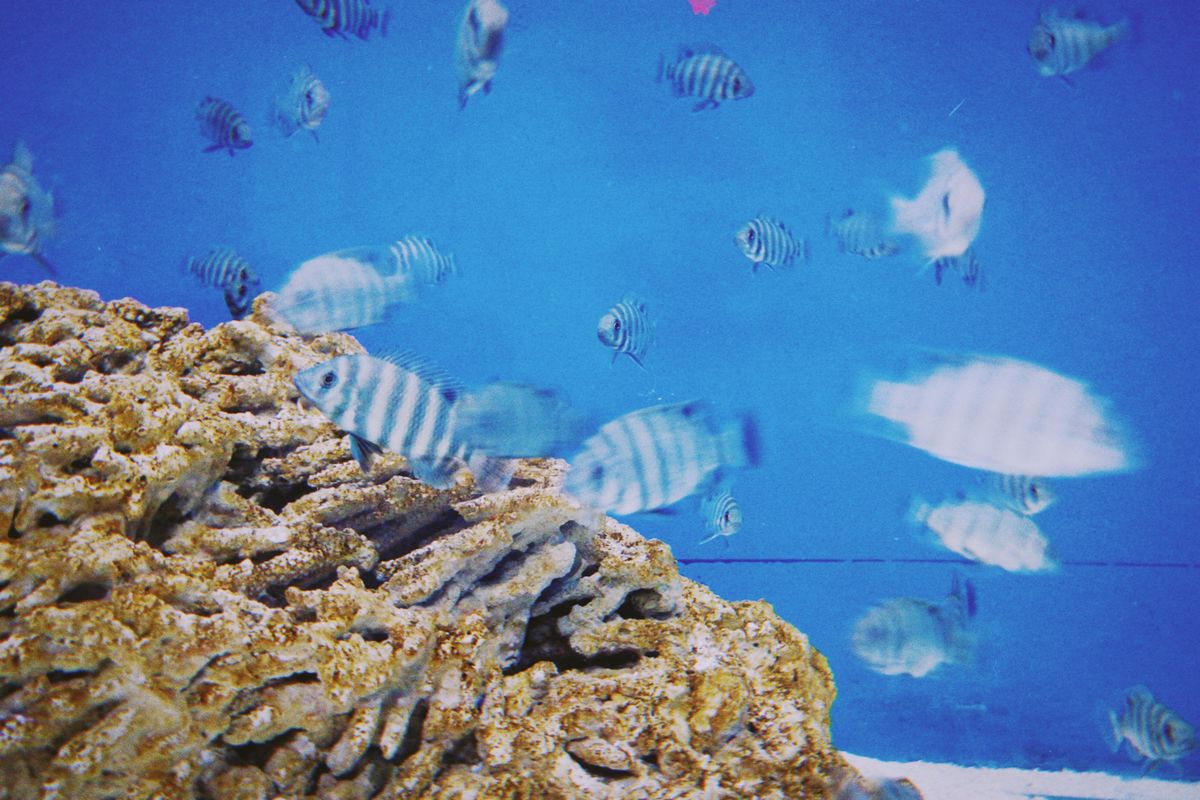
We paint the inside of a plate blue, glue on paper fish, seaweed, and shells, then cover it with clear plastic wrap to look like water. The aquarium hung in the hallway and my kids added a new fish to it every week for a month.
The honest downside is the plastic wrap, which wrinkles and clouds over time. I replace the wrap every few weeks, and I use tape around the rim to keep it smooth. It is a small job and the kids like helping with the refresh. Best for ages 4 and up.
Pro Tip: Use cling film pulled taut and taped at the back, not the front, for the clearest water effect.
Cost: $3-$6 | Time: 30 minutes plus drying | Difficulty: Easy
18. Paper Plate Emotion Faces
This is my favorite learning craft. We make a set of plates, each with a different face: happy, sad, surprised, silly, and sleepy. My kids use them to show how they feel when they cannot find the words, and we play matching games with them at the kitchen table.
The downside is that the faces get mixed up and lost, because there are five of them and they are all the same size. I now store them in a labeled paper bag hanging on a hook, and we have kept the full set for months. Best for ages 3 and up.
Pro Tip: Draw the faces with thick markers and keep the features big and simple, so young children can read them easily.
Cost: Under $3 | Time: 20 minutes | Difficulty: Easy
Mistakes I Made (So You Don’t Have To)
Buying coated, shiny plates. My first batch of paper plate crafts used shiny coated plates, and the paint slid off in puddles. Plain uncoated plates absorb paint properly and are worth seeking out.
Skipping the table cover. One painting session without a cover left green paint on my kitchen table that took an hour to scrub. Now the old sheet goes down before the paint comes out, every single time.
Letting toddlers use small decorations. Googly eyes and beads are tempting for little hands and dangerous for little mouths. Now small parts live in a high box, and toddlers get painted or drawn features instead.
Rushing the drying. Gluing decorations onto wet paint is a recipe for sliding eyes and smeared faces. I learned to paint one day and decorate the next whenever I can.
Which Paper Plate Craft Should You Try First?
| Project | Best For | Cost | Effort |
|---|---|---|---|
| Paper plate lion | Ages 3+, a first craft | Under $5 | Low |
| Paper plate rainbow fish | Ages 4+, window display | Under $5 | Low |
| Paper plate clock | Ages 5+, learning time | Under $3 | Low |
| Paper plate dreamcatcher | Ages 6+, fine motor skills | $3-$6 | Medium |
| Paper plate masks | Ages 4+, parties | $3-$6 | Medium |
Frequently Asked Questions
How long did your kids actually play with these afterward?
The masks, tambourines, and frog puppets got days of play, while the wall decorations like the flower garden and aquarium stayed up for months. The tambourine band, I should warn you, performed for a full week.
What would you do differently next time?
I would buy plain uncoated plates from the start and paint the day before decorating. Those two changes alone would have saved me half my frustration in the early days.
Are paper plate crafts safe for toddlers?
Painting and sticking with large pieces works well for toddlers using non-toxic washable paint and adult supervision. Skip small parts, beads, and googly eyes for under-threes, and handle all cutting yourself.
What kind of paper plates work best?
Plain, uncoated, sturdy plates. Shiny coated plates reject paint, and very flimsy plates tear during cutting. The cheap uncoated ones from the supermarket are actually the best for crafting.
Can I do paper plate crafts with a whole class?
Yes, and they are ideal for groups because plates are cheap and every child gets their own project. The lion, fish, and emotion faces scale best for twenty or more children.
Read this next: 41 Crafts for 2 Years Old
Final Thoughts
Paper plate crafts for kids remind me that the best craft supply is often the simplest one. A stack of plates, some paint, and an afternoon can produce a lion, a fish, a clock, and a band, and the total cost is less than a single shop-bought toy.
Start with the lion or the rainbow fish, cover your table, and let the kids take the lead. The wobbly, paint-smeared results are the ones that end up on the fridge, and that is exactly as it should be.