15 Air Dry Clay Craft Ideas For Kids To Recreate
Air dry clay day is one of my favorite kinds of chaos. No kiln, no oven, no special equipment — just a lump of soft clay, a table I do not mind wiping down, and kids who are suddenly very quiet and very busy. Over the years I have tested a lot of air dry clay craft ideas for kids, and the 15 below are the ones my family asks for again and again.
Every project here is kid-safe, uses simple supplies, and works for a wide mix of ages. Younger children can roll, squash, and stamp, while older kids can sculpt, paint, and add the tiny details that make a piece feel like theirs. Most pieces dry within one to three days, ready for paint and a proud spot on the shelf.
Key Takeaways
- I choose soft, non-toxic air dry clay — it needs no kiln or oven and is easy for small hands.
- Thin pieces dry fastest; I aim for about a quarter inch thick so projects dry in 24–72 hours.
- A cup of water smooths cracks and joins pieces — my cheapest and best clay tool.
- I let pieces dry completely before painting, or the paint seals in moisture and stays tacky.
- Acrylic paint plus a clear brush-on sealer gives the brightest, longest-lasting finish.
- Leftover clay keeps for weeks in an airtight bag with a damp paper towel.
Related article: If your kids love themed craft days as much as mine do, you will find plenty more inspiration in my under the sea craft ideas roundup.
15 Air Dry Clay Craft Ideas For Kids To Recreate
1. Rainbow Arch Decorations
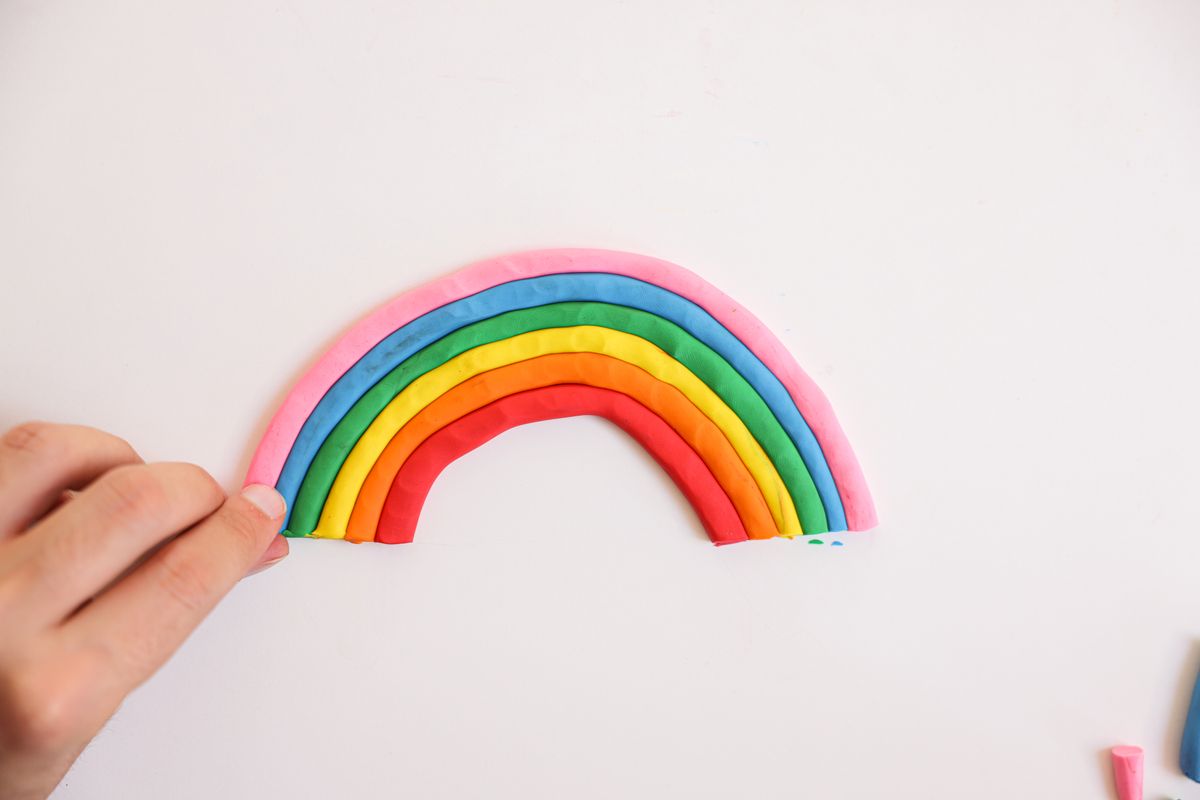
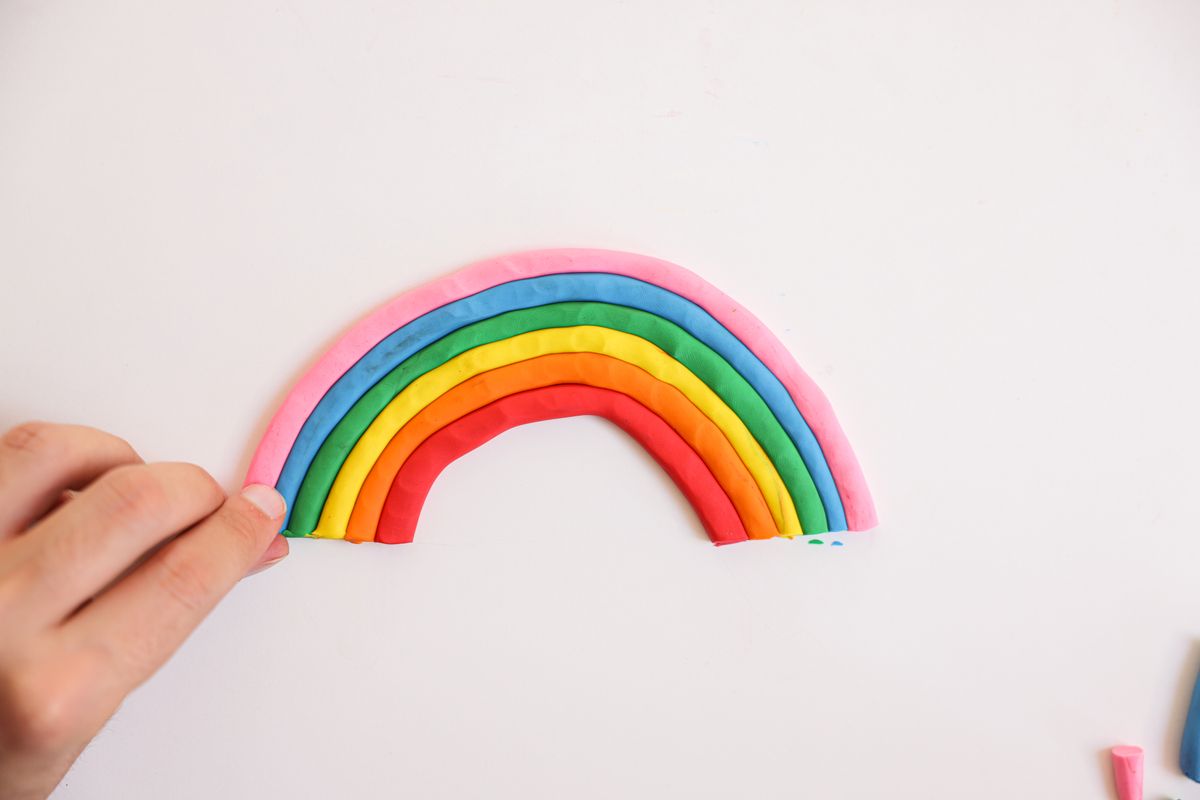
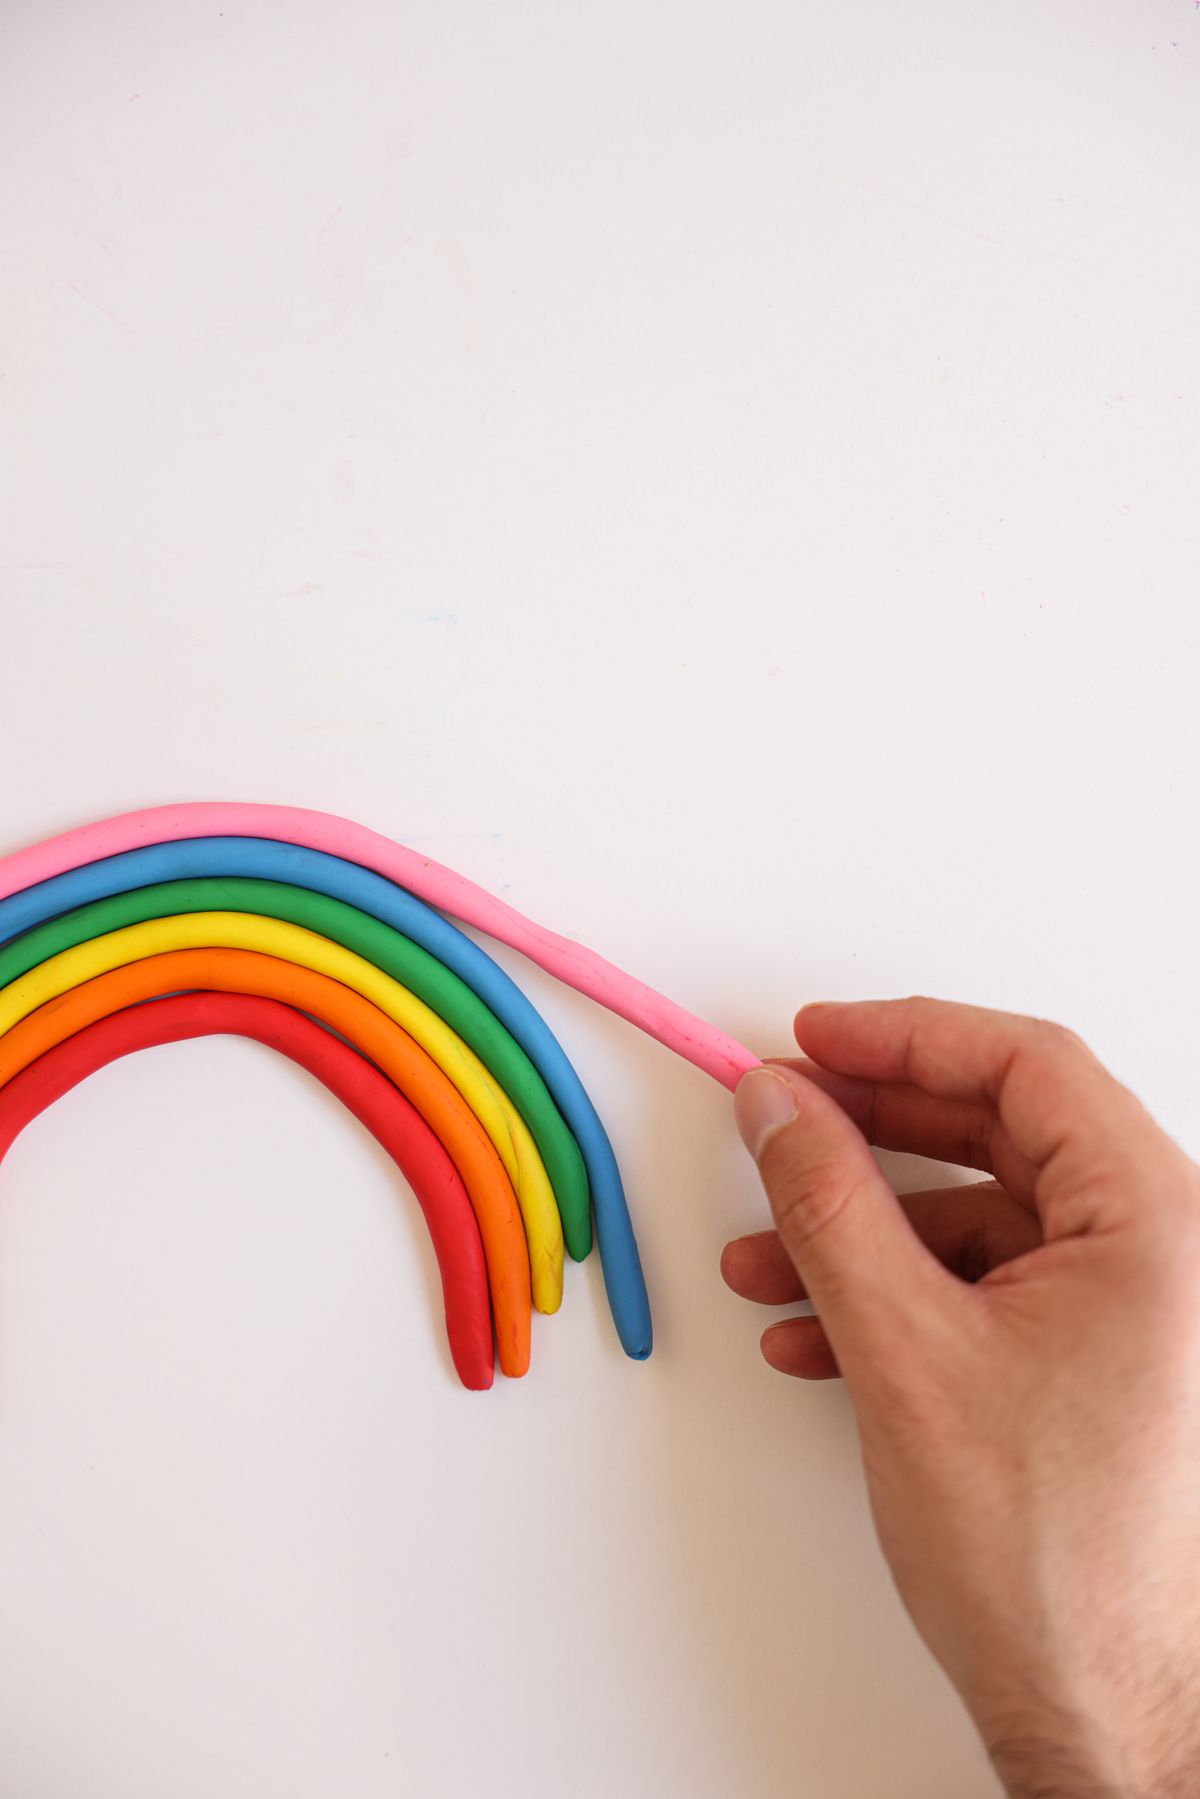
A clay rainbow is the first project I teach because it cannot really go wrong. We roll long, even snakes of clay in three or four colors, bend them into arches, and press the ends flat so the rainbow stands up on a windowsill.
Once dry, the arches make sweet room decor and photo props. My kids like adding a tiny cloud at each end, rolled from two flattened balls of white clay.
Pro Tip: Roll snakes on a smooth table with palms flat — even thickness means even drying and no cracked arches. Most rainbows dry in about 48 hours.
2. Tiny Clay Animals
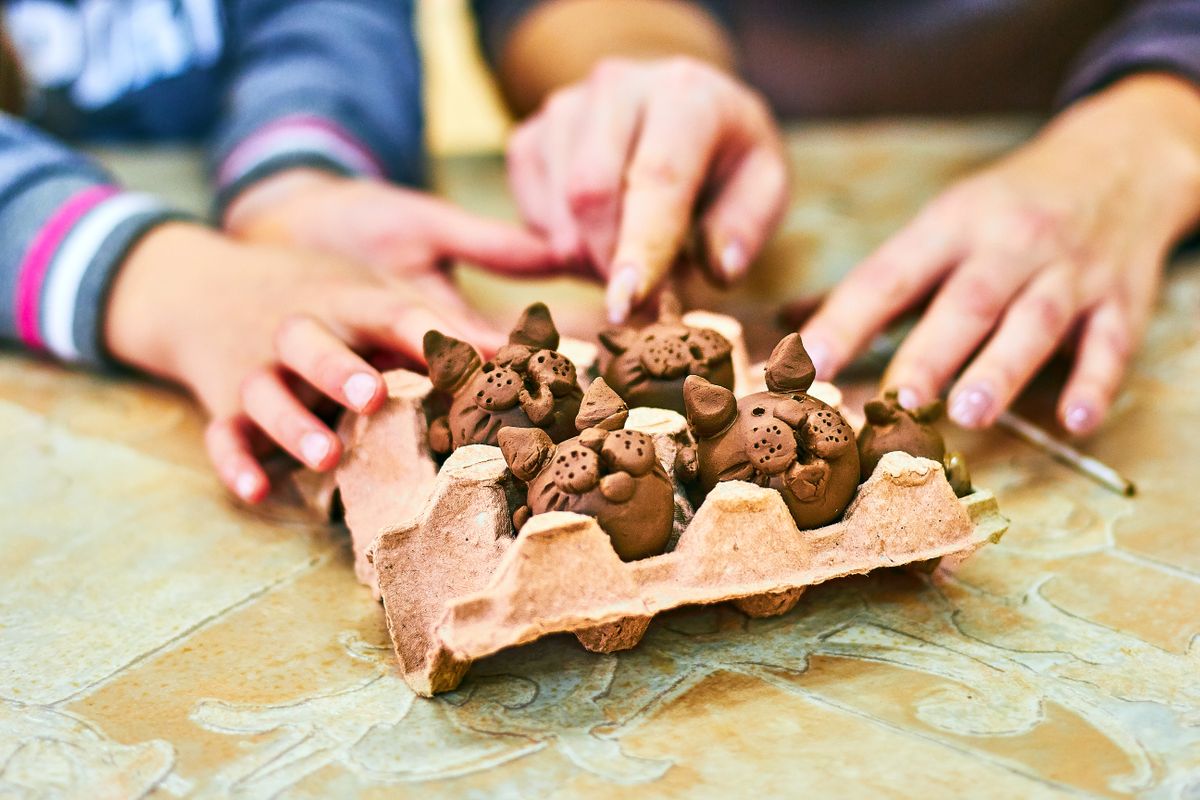
Small animals are perfect starter sculptures: a round body, a smaller round head, and two pinch ears already make a very convincing cat. We work through a whole egg carton of creatures — bunnies, owls, turtles, and one very proud lumpy dinosaur.
I keep a toothpick handy for eyes and toes, and a little water on a fingertip smooths every join. The egg carton doubles as a safe drying tray and a display box afterward.
Pro Tip: Keep animals under two inches tall. Small, simple shapes dry evenly in 24–48 hours and are far less likely to crack than big chunky pieces.
3. Stamped Name Plaques
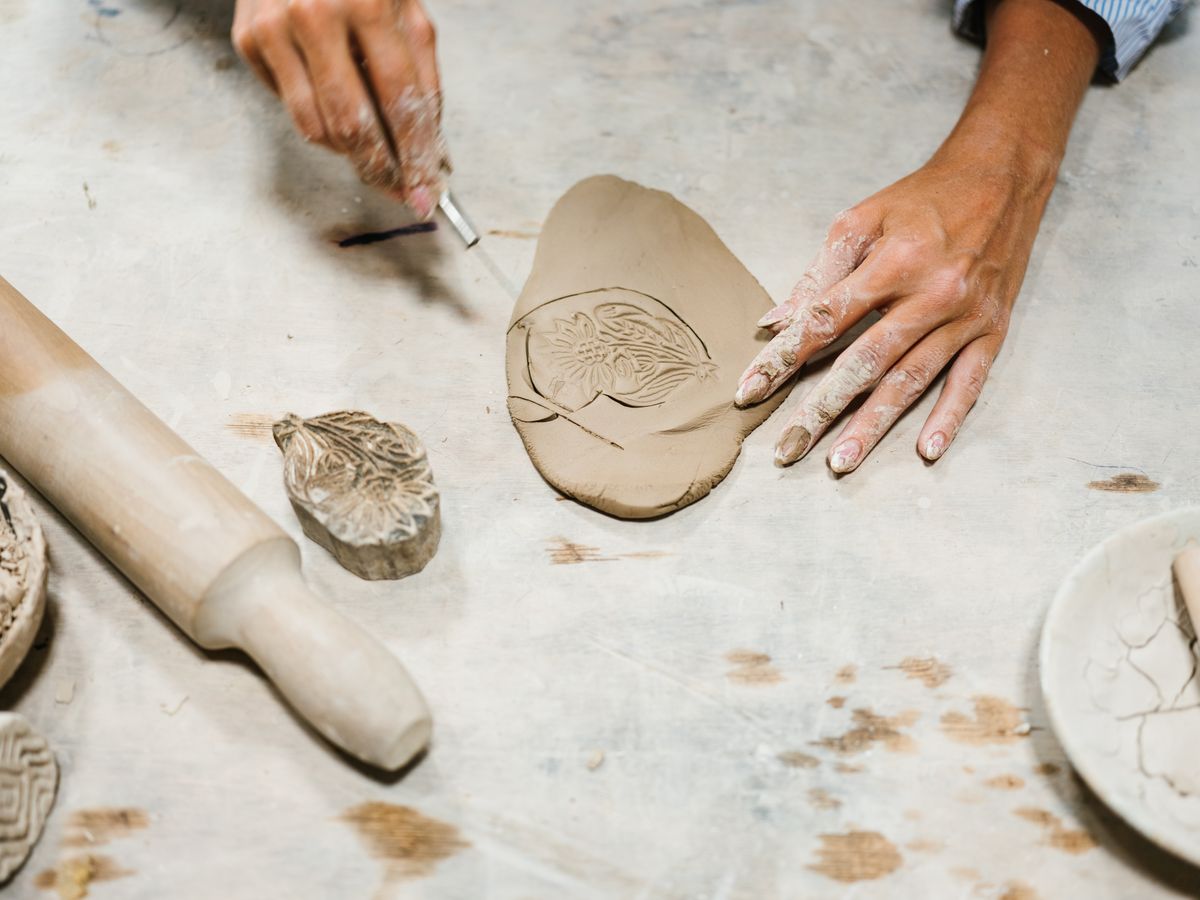
Every kid in my house has a stamped plaque on their bedroom door. We roll the clay into a flat slab, trim it into a rectangle or heart, then press letter stamps — or the end of a pencil — to spell out a name.
Texture stamps are half the fun: lace, leaves, Lego bricks, and fork tines all leave great patterns. Two small holes poked at the top before drying make room for ribbon once the plaque is painted.
Pro Tip: Press stamps before the clay starts to firm up, and poke hanging holes with a straw while it is soft — drilling dry clay almost always cracks it.
4. Coil Pots for Treasures
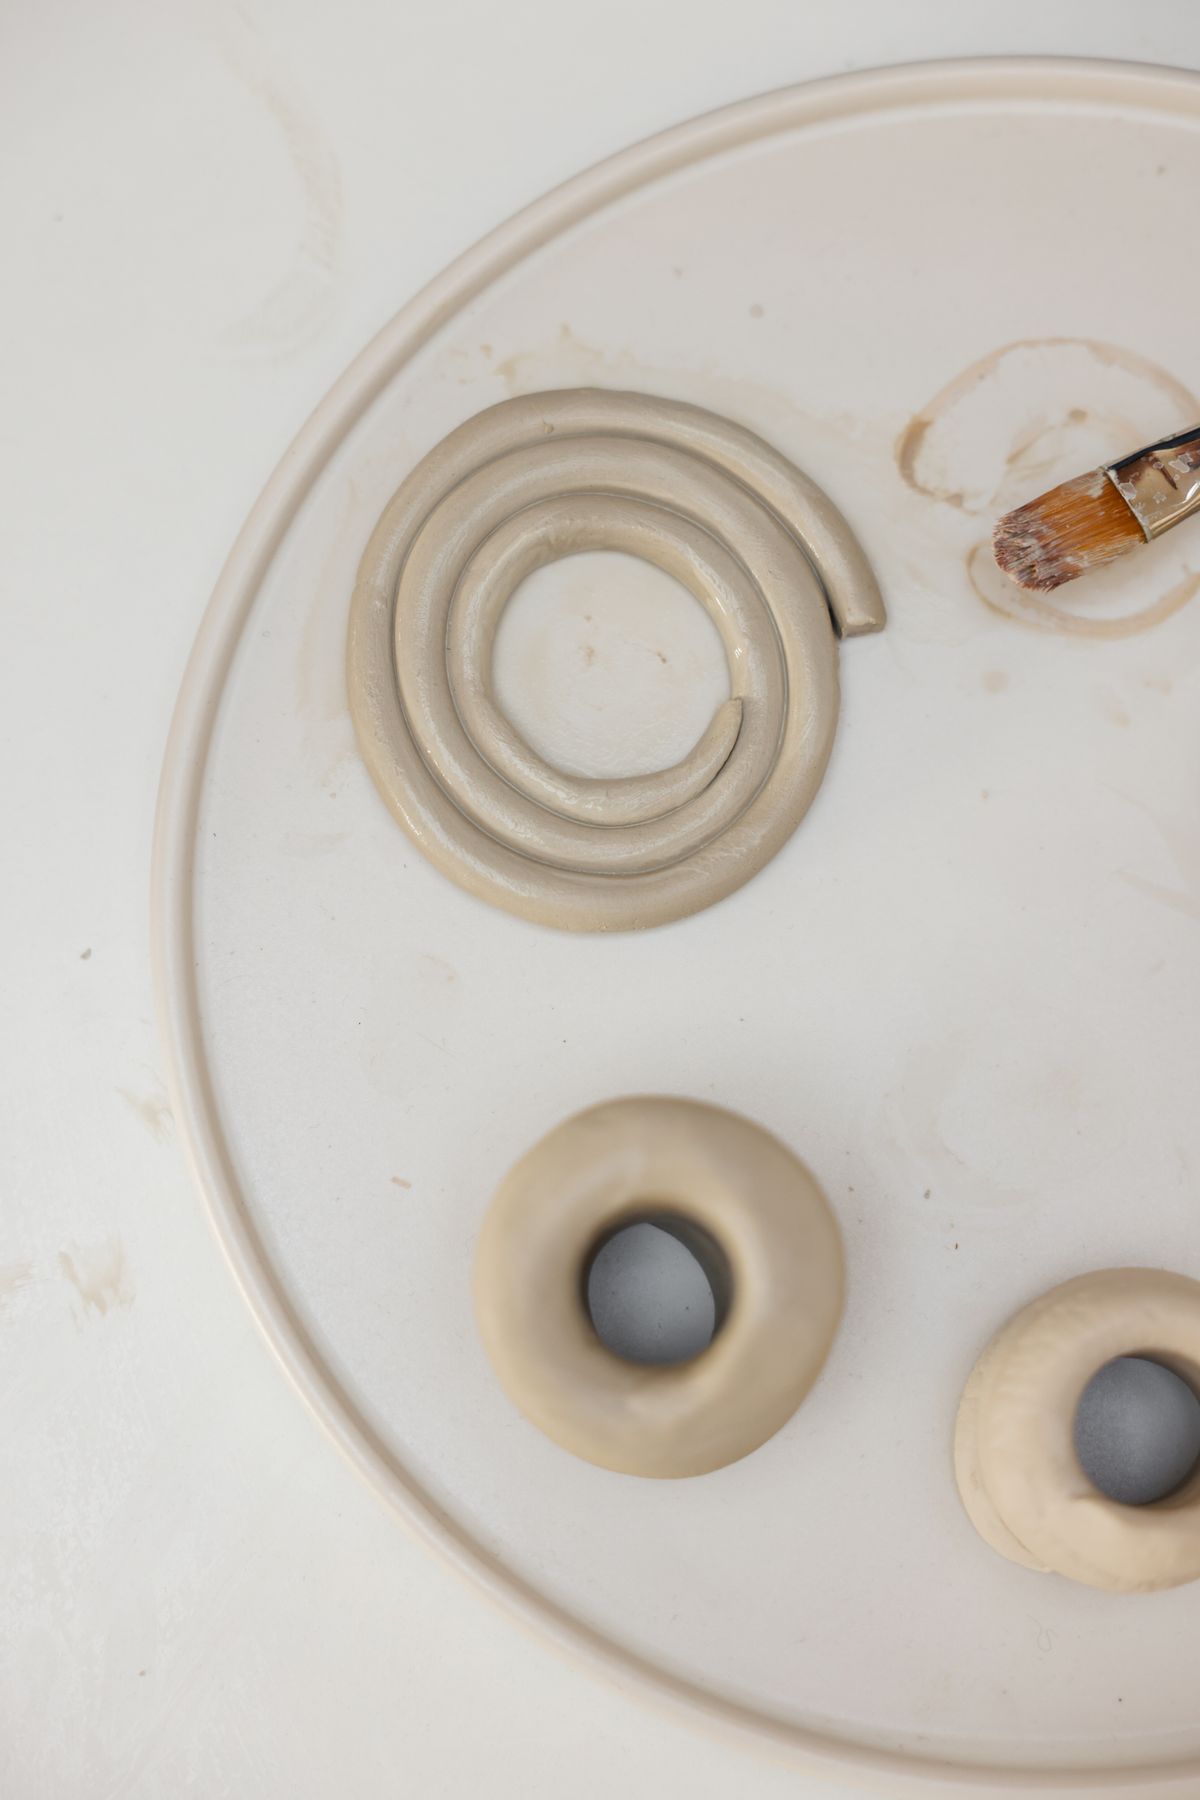
Coil pots look impressive and are wonderfully forgiving. We roll a flat circle for the base, then stack clay snakes in a spiral on top of it, smoothing the inside wall with a wet thumb as we go.
Finished pots hold hair clips, found rocks, and other small treasures. Older kids can alternate two colors of clay for a striped pot that needs no paint at all.
Pro Tip: Score and wet every join — scratch light crosshatch lines where pieces meet, dab with water, then press. It is the difference between a pot and a pile of rings.
5. Painted Clay Bead Necklaces
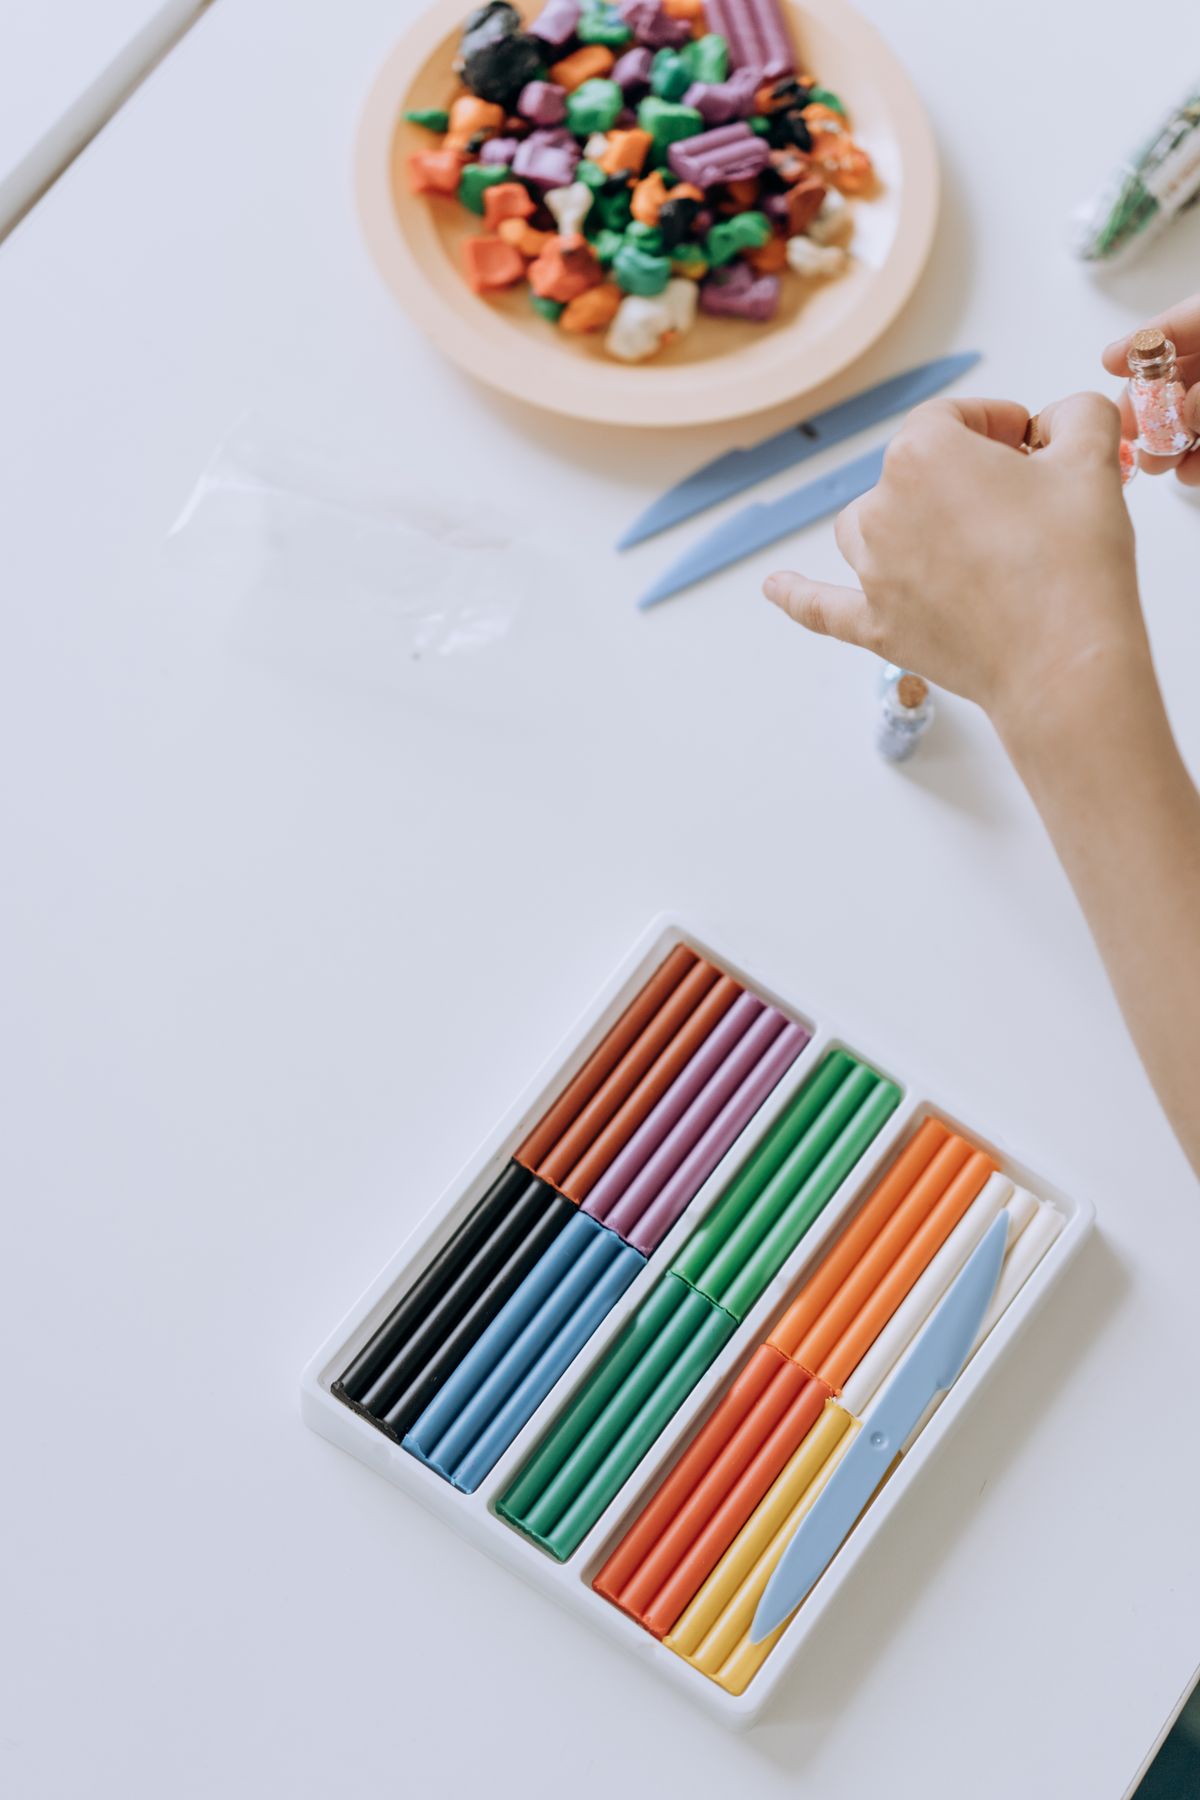
Beads are my go-to rainy-day project because drying time flies. We roll clay into grape-sized balls, poke a hole through each with a skewer, and let them dry on the skewer so the holes stay open.
After 24 hours the beads are ready for acrylic paint, patterns, and stringing onto cord or elastic. My daughter makes matching sets for her whole class every single year.
Pro Tip: An adult should do the skewer poking for younger kids, and beads are not for children under three — they are exactly mouth-sized, so supervise stringing time.
6. Mini Pretend Play Food

A whole tiny bakery from one pack of clay: cupcakes, donuts with sprinkles, pizza slices, and ice cream cones. We pinch, roll, and flatten each piece, then paint everything once it is dry and hard.
The finished food stocks our play kitchen for months. I love that this project stretches over two days — sculpting on Saturday, painting and ‘opening the shop’ on Sunday.
Pro Tip: Sprinkles are just tiny clay sausages snipped with safety scissors before drying. Make a big batch in every color and store them in a jam jar for future projects.
7. Garden Markers and Pot Faces
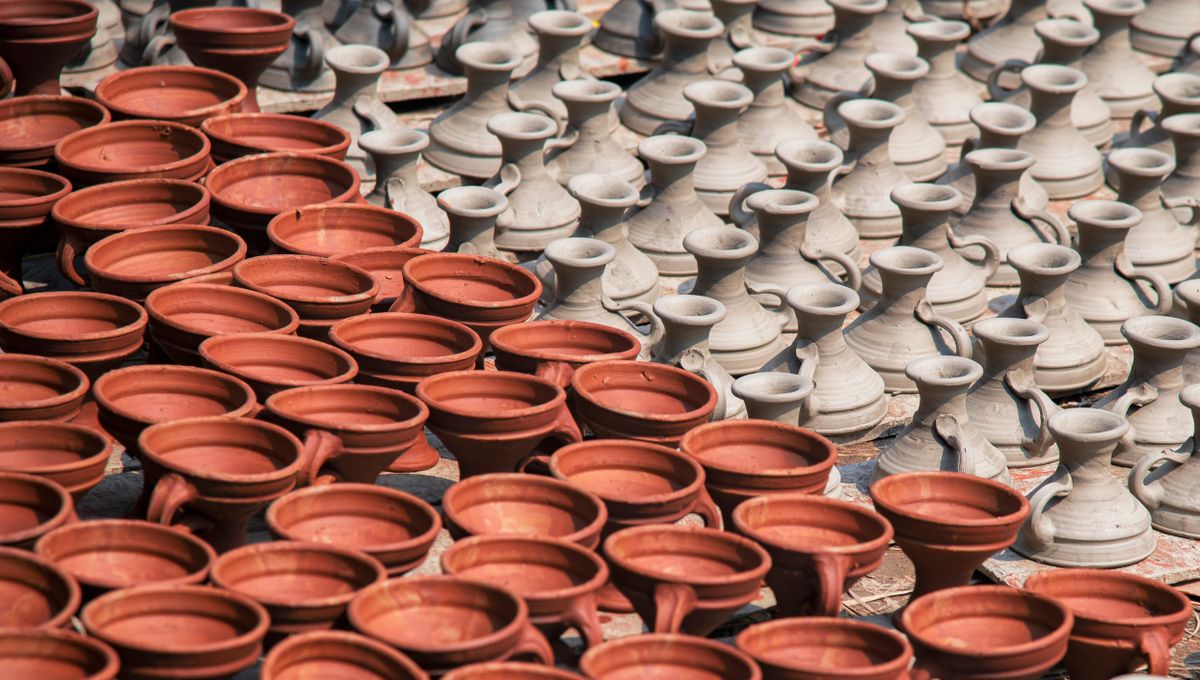
Clay and the garden belong together. We flatten clay into rounded labels, stamp in the names of our herbs and seedlings, and prop them by the pots to dry — or press a silly face onto a plain plant pot instead.
Because these live outdoors, finish matters. Two coats of outdoor brush-on sealer keep painted markers readable through a whole season of watering.
Pro Tip: Let garden pieces dry a full 72 hours before sealing — they sit in damp soil, and trapped moisture will bubble the paint within a week.
8. Clay Handprint Keepsakes
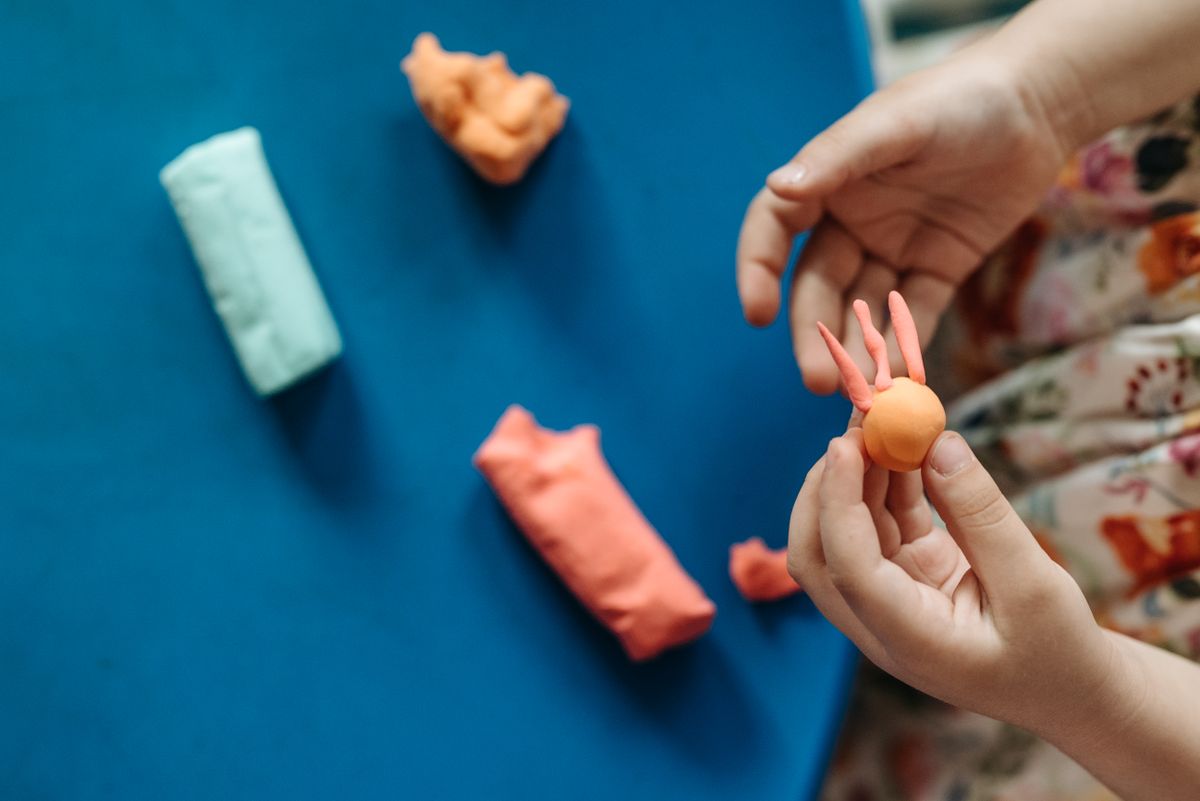
Handprint keepsakes are the project grandparents ask me for by name. We roll a thick slab, the child presses a hand firmly into the middle, and I trim a neat circle or heart around the print.
Painted in soft colors with the child’s name and the year stamped underneath, these become the decorations I never pack away. They also make honest, heartfelt gifts that cost almost nothing.
Pro Tip: Roll this slab a good half inch thick — handprints need depth. Press the hand straight down and lift straight up so little fingers do not drag.
Read this next: Before you buy a single new supply, check your recycling bin — my favorite ingenious upcycling ideas turn jars, lids, and boxes into craft gold.
9. Sea Creature Magnets
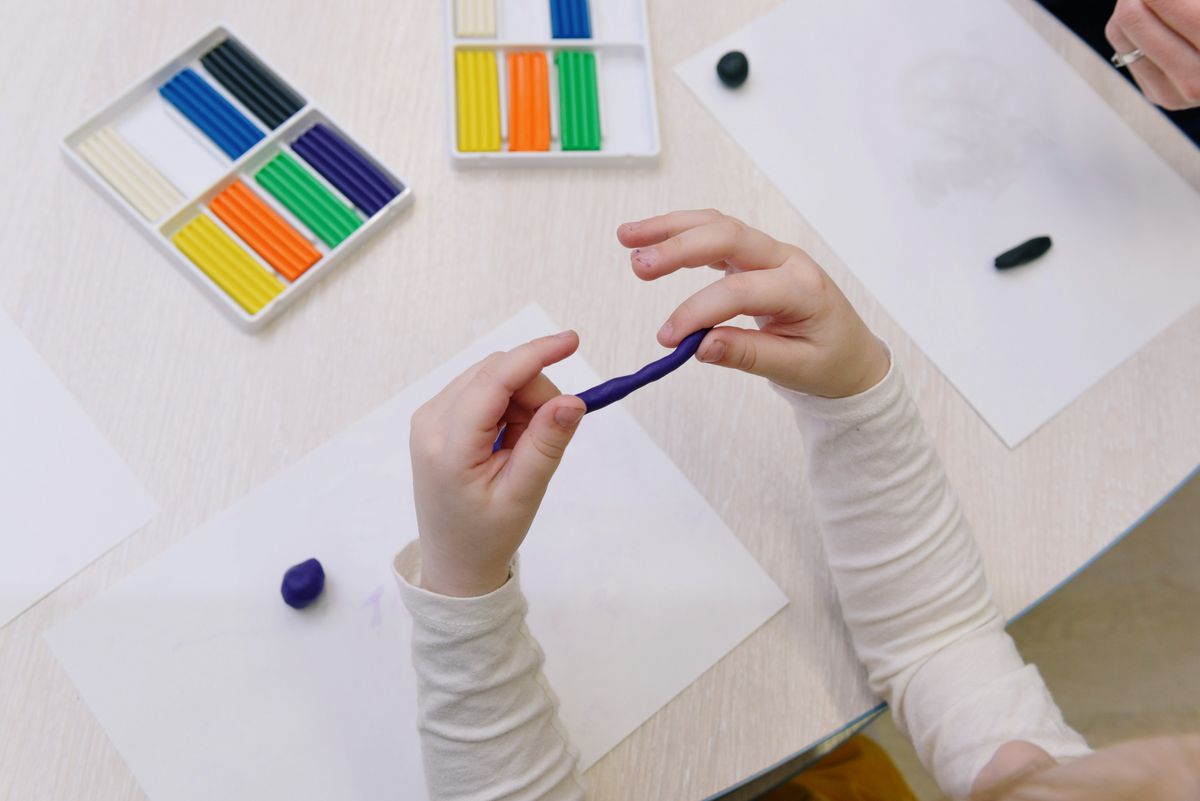
Octopuses, starfish, and turtles are all just balls and rolls arranged with confidence. We sculpt a friendly sea creature, flatten the back, and let it dry completely before painting.
A magnet glued to the back with strong craft glue turns each creature into fridge art. My fridge currently hosts an entire purple octopus family, and I regret nothing.
Pro Tip: Glue magnets on only after painting is fully dry, and let the glue cure overnight before the creatures go on the fridge — warm kitchens soften fresh glue.
10. Leaf Print Coasters
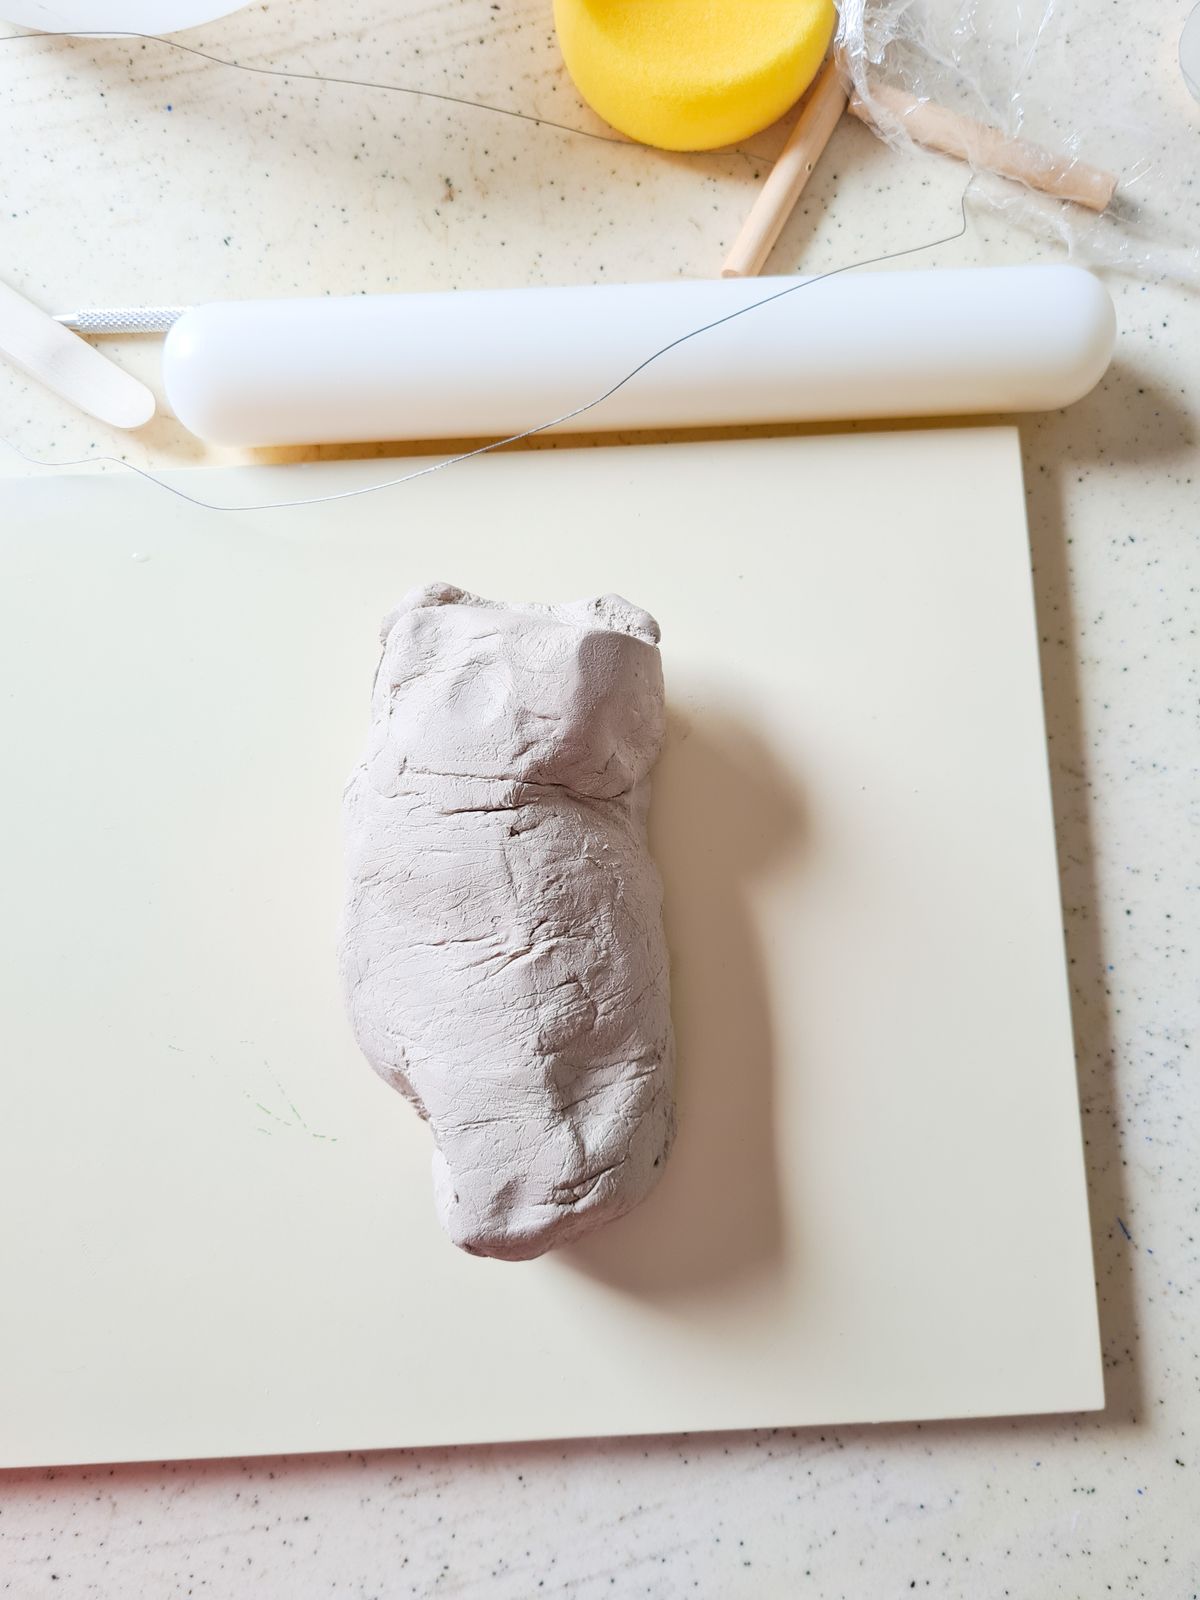
On our next walk, have everyone pick one beautiful leaf. Back home we roll clay slabs, press the leaf vein-side down firmly, peel it away, and trim the slab into a circle — instant nature print.
Painted in greens and golds, these coasters are genuinely pretty, and kids love spotting ‘their’ leaf at the dinner table. A felt circle glued underneath protects the table.
Pro Tip: Air dry clay is not waterproof or food-safe, even sealed — use these coasters under dry cups only, and keep clay pieces away from snacks and drinks.
11. Clay Cupcake Bakery

This is pretend play at its best. We pinch little cup shapes for the cases, swirl a clay snake into frosting, and top each cupcake with a tiny cherry or strawberry.
A muffin tin is the perfect drying rack and display stand in one. Once painted, the cupcakes live in the play kitchen, where they are ‘sold’ to me daily at very inflated prices.
Pro Tip: Real cupcake liners make cleanup easy and stop flat-bottomed cakes from sticking to the table while they dry — flip them halfway through drying if you can.
12. Alphabet Letter Tiles
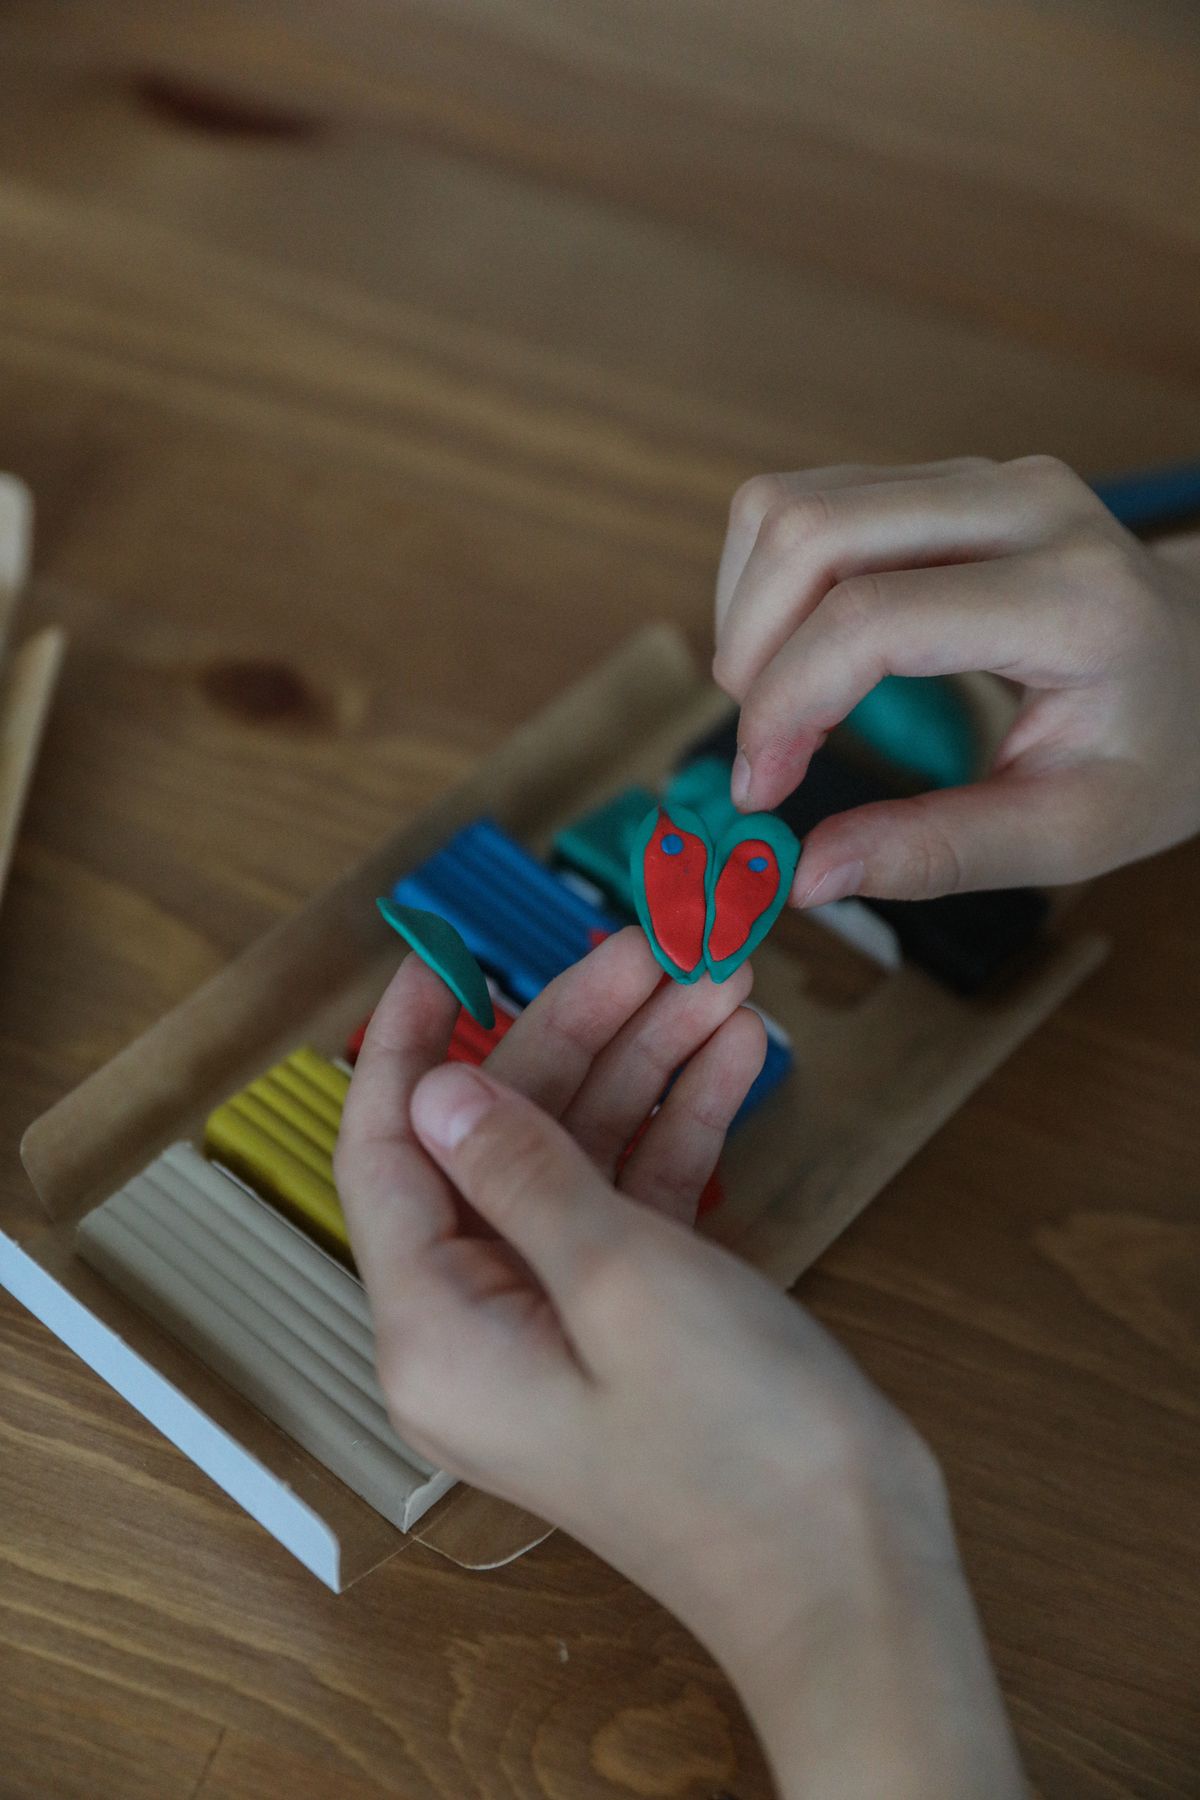
Learning letters is much more fun when you make them yourself. We roll small clay squares, press a letter into each tile with a stamp or a toothpick, and let the full alphabet dry in a muffin tin.
Once painted, the tiles spell names, label toy shelves, and turn spelling practice into a game. Older kids enjoy making a second set in a ‘fancy’ font with curled edges.
Pro Tip: Make two of every vowel right away. You will need them for every word game, and remaking a single tile later never matches the set.
13. Clay Picture Frames
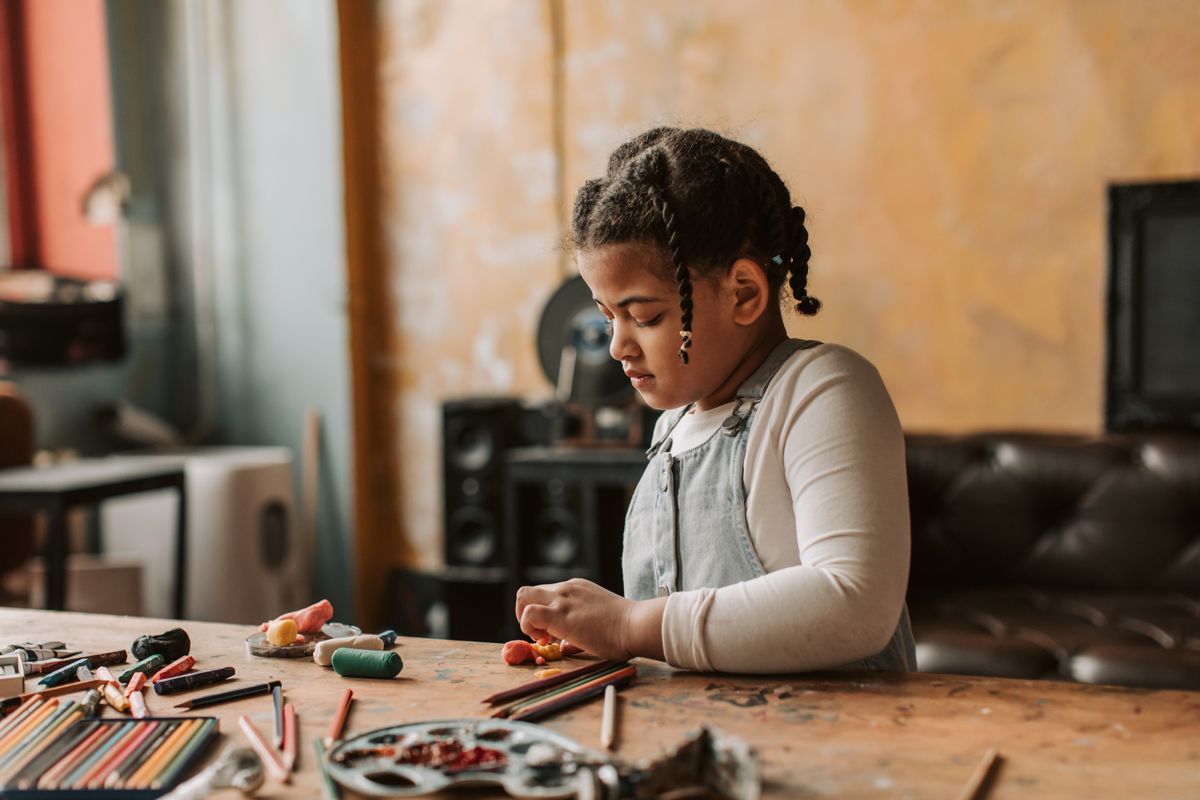
A clay frame turns a favorite photo into a handmade gift. We roll a flat slab, cut a window in the middle with a butter knife, and decorate the border with tiny balls, stars, and swirls.
Tape the photo behind the window once everything is painted and dry. Frames in our house lean on bookshelves — hanging needs a ribbon loop pressed into the back while the clay is wet.
Pro Tip: An adult should do all the knife work. Keep frames under six inches wide; big flat slabs warp as they dry unless you flip them every few hours.
14. Sunshine and Cloud Mobiles
For a mobile, we shape flat suns, clouds, raindrops, and rainbows, poke a hole in each with a straw, and dry them flat. Painting both sides is the secret — mobiles spin, so the back is on show too.
Thread the pieces onto string at different lengths and tie them to a hoop or a sturdy stick from the garden. Hung over a desk or by a window, they turn slowly all day.
Pro Tip: Flat pieces dry in about 24 hours, but wait the full time before threading — string through a soft center will tear a hole twice its size.
15. Family Clay Portrait Tiles
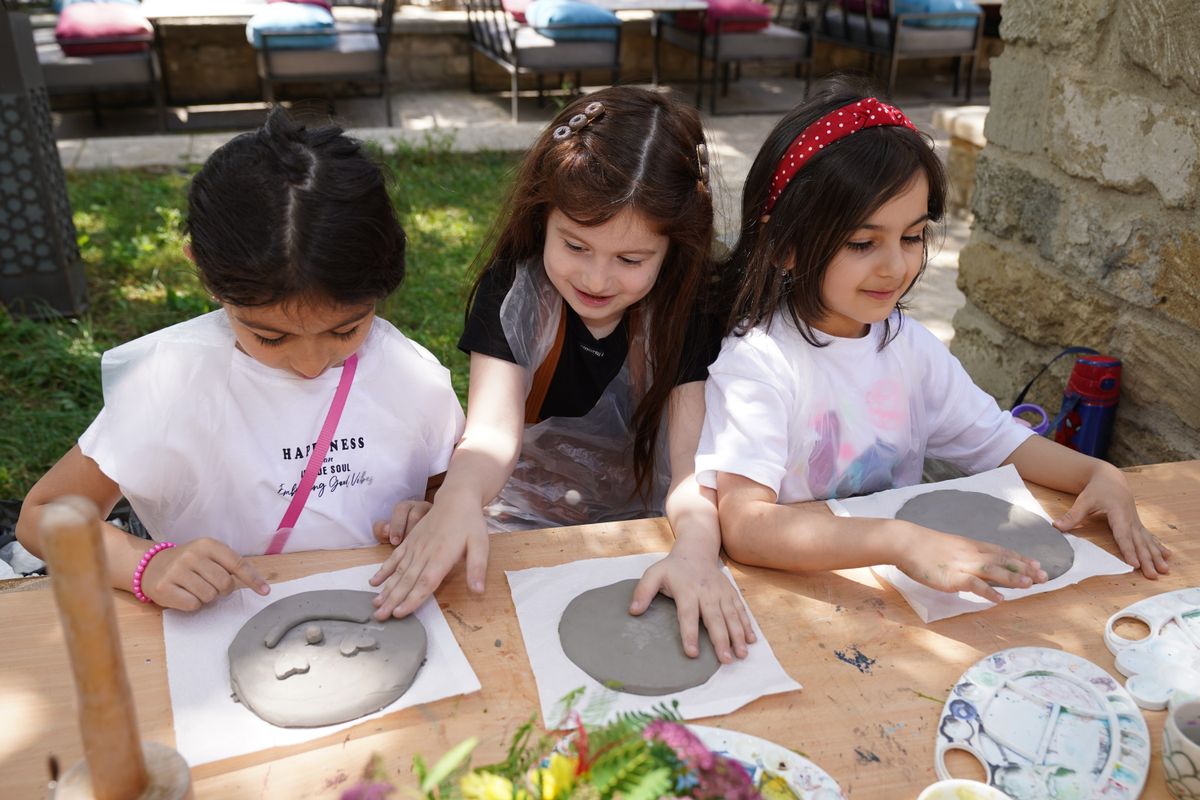
Our favorite group project: everyone gets one square tile and sculpts a simple portrait of someone else in the family — big smiles, wild hair, and all. Shallow relief works best; press features on rather than carving in.
Arranged together on a tray or a shelf, the tiles become a family portrait wall that makes every visitor laugh. We add a new tile each year and watch the ‘art’ improve.
Pro Tip: Work outdoors or on a washable mat for group sessions, and have everyone wash hands well afterward — clay dust and little fingers near mouths do not mix.
Also read: When the clay has dried and the table is finally clear, my crew usually gallops straight to these horse craft ideas kids can’t wait to try for their next project.
Frequently Asked Questions About Air Dry Clay Crafts for Kids
What age is air dry clay best for?
I start simple rolling and stamping at age three with close supervision, since small pieces are a mouthing risk. Ages five to eight handle most of these projects happily, and older kids enjoy the detailed sculpting and painting stages. Match the project to the child, not the birthday.
How long does air dry clay take to dry?
In my experience, thin pieces around a quarter inch thick dry in 24 to 48 hours, while thicker sculptures need up to 72 hours. Warm, airy rooms speed things up. A piece is ready to paint when it feels room-temperature, light in color, and no longer cool to the touch.
Why did our clay crack while drying?
Cracks usually mean the clay dried too fast, was rolled unevenly, or pieces were joined without water. I dry projects away from heaters and direct sun, smooth joins with a wet fingertip, and fill any small cracks with a paste of clay and water before painting.
What paint works best on air dry clay?
Acrylic craft paint is my first choice — it covers in one or two coats, dries fast, and comes in every color. For younger kids I use washable tempera, knowing the colors are softer. Either way, I finish special pieces with a clear brush-on sealer for shine and strength.
Is air dry clay safe for kids?
Yes, when you choose a certified non-toxic clay and follow basic rules: no eating it, wash hands after crafting, and keep finished pieces away from food and drinks. Dried clay is not food-safe, so our clay bowls hold treasures and trinkets, never snacks.
How do I store leftover clay?
I wrap leftover clay tightly in plastic wrap, seal it in an airtight bag or tub with a barely damp paper towel, and keep it at room temperature. Stored that way it stays soft for weeks. If a skin forms, I knead in a few drops of water to revive it.
Final Thoughts
That is my family’s clay greatest-hits list — rainbows, animals, keepsakes, and a whole pretend bakery, all from one humble pack of clay. Start with the rainbow arches if your crew is new to sculpting, and save the portrait tiles for a slow weekend afternoon when nobody is in a rush.
Keep a bag of clay in your craft cupboard and you always have a plan for rainy days, playdates, and homemade gifts. I would love to know which project your kids claim as their favorite — in my house, the cupcake bakery wins every single time.


One Comment