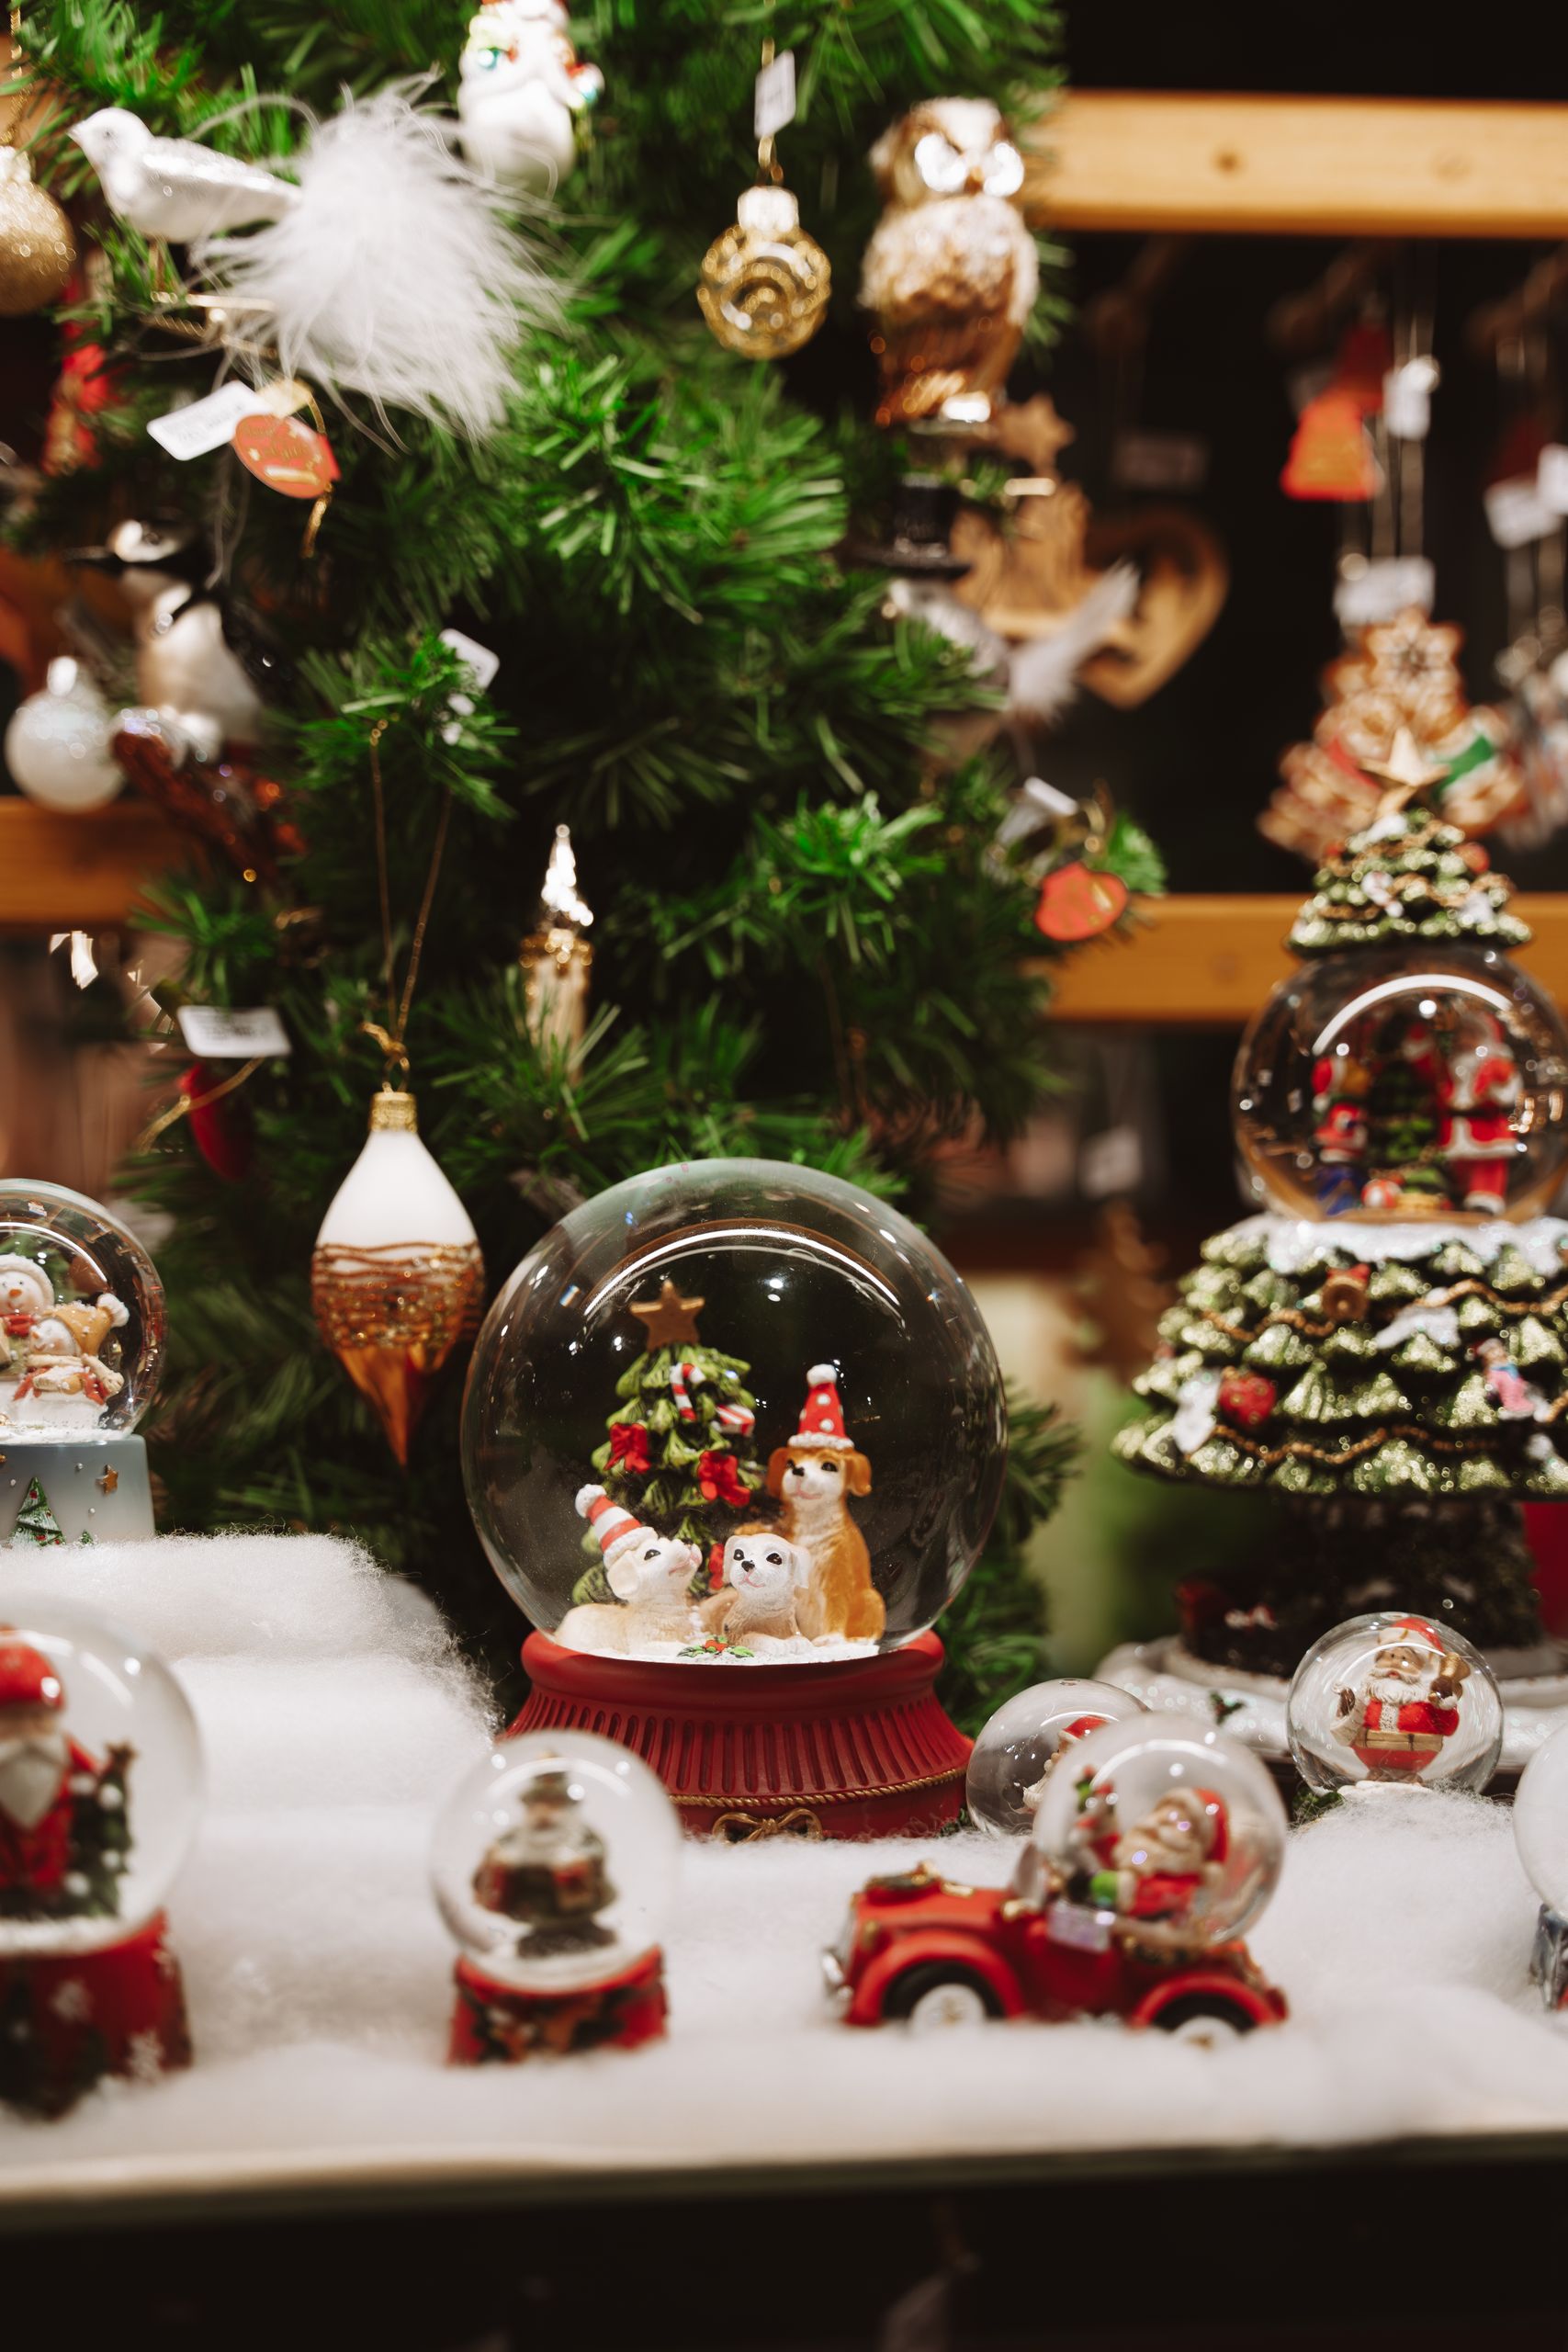
20 DIY Snow Globe Ideas
I have made diy snow globe ideas at my kitchen table for years, and the ones in this list are the ones that stayed clear, stayed sealed, and survived being shaken. Every globe below was built by me, and each one taught me something about water, glitter, glue, or sealing.
How I picked these: I kept only globes that cost under $18, can be built in about an hour, and use figurines that survive under water. I tossed out anything that used food, fabric, or paper inside, because those materials always cloud the water in the end.
Before you start, gather distilled water, waterproof glue, and good glitter. Tap water clouds, craft glue softens, and cheap glitter bleeds, and those three mistakes ruined more of my early globes than anything else. The best diy snow globe ideas start with the right supplies.
Key Takeaways
- Use distilled water, waterproof glue, and good-quality glitter, because tap water, craft glue, and cheap glitter ruin globes.
- Test every figurine and coloured detail in water overnight before sealing, especially fabric, felt, and painted parts.
- Glue figurines a day before filling, so the glue cures fully, and test the sealed globe over a sink for a day.
- Keep water globes on adult shelves, and use shatterproof ornament globes for children’s rooms and trees.
20 DIY Snow Globe Ideas I Made at Home
1. Classic Glass Snow Globe with Bokeh Lights
This is the snow globe I picture when I think of Christmas. I take a round glass globe, place a small tree and a tiny house inside, fill it with distilled water and glitter, and seal it carefully.
My first globe clouded over, because I used tap water and cheap glitter that bled colour. The honest downside is sealing: a globe that is not sealed properly will leak, so I test it over a sink for a day.
Pro Tip: Use distilled water, not tap water, to keep the globe clear and to protect the figurines inside.
Cost: $6–$12 / Time: 40 minutes / Difficulty: Medium

2. Santa on a Sled Snow Globe
A Santa globe is my children’s favourite, because Santa is instantly recognisable inside the snow. I glue a small Santa on a sled to a sturdy base, fit it inside a round globe, and add white and silver glitter.
My first Santa globe tipped over, because the base was too narrow for the tall figurine. The watch-out is paint: cheap figurines can lose paint in water, so I test a spare piece in water first.
Pro Tip: Glue the figurine the day before you fill the globe, so the glue cures fully and holds under water.
Cost: $7–$14 / Time: 45 minutes / Difficulty: Medium

3. Santa, Snowman and Tree Snow Globe
A globe with three figures feels like a whole scene, not just one ornament. I arrange a small Santa, a snowman, and a tiny tree on a base, spacing them so each one shows from the front.
My first three-figure globe looked crowded, because I placed everything in a row. The downside is balance: a crowded base is heavier, so I use a wider globe and a heavier base to keep it steady.
Pro Tip: Arrange figures in a triangle, tallest at the back, so every figure is visible from the front.
Cost: $8–$15 / Time: 50 minutes / Difficulty: Medium

4. Santa Figurine Snow Globe
A single Santa figurine in a globe is my simplest, most giftable design. I choose one well-painted Santa, glue him to a base, and fill the globe with fine white glitter.
I once used a figurine with a felt coat, and the felt went soggy and shed in the water. The downside is finding a good figurine, so I buy a few at a time and keep spares for next year.
Pro Tip: Avoid fabric, felt, and paper inside a water globe, because they soak, shed, and cloud the water.
Cost: $5–$11 / Time: 35 minutes / Difficulty: Easy

5. Snowman Ornament Globe
A snowman ornament globe is my winter alternative to a Christmas-only globe. I use a snowman ornament as the centrepiece, set it in a clear globe with white glitter, and keep the base plain white.
My first snowman globe used a heavy ceramic snowman, and it was too tall for the globe I had. The watch-out is glitter colour: white alone looks like snow, while coloured glitter can look like confetti.
Pro Tip: Measure the figurine inside the dry globe first, before you glue or fill anything.
Cost: $6–$12 / Time: 35 minutes / Difficulty: Easy

6. Snowman with a Lantern Globe Scene
A snowman holding a lantern is my cosiest globe scene. I place a small snowman figurine with a lantern on a snowy base, add fine glitter, and set the globe near a window where daylight catches it.
My first lantern snowman lost his lantern, because I glued it with craft glue that softened in water. The downside is that small lanterns are fragile, so I handle the finished globe gently and store it in tissue, not loose in a box.
Pro Tip: Use waterproof epoxy, not craft glue, for anything that will sit under water permanently.
Cost: $7–$13 / Time: 45 minutes / Difficulty: Medium

7. Snowman with a Red Scarf Globe
A red scarf is the simplest way to make a snowman globe pop. I use a white snowman figurine, add a tiny red scarf made from waterproof ribbon, and fill the globe with white glitter.
My first scarf was fabric, and it bled red dye into the water within a week. The downside is that tiny scarves are fiddly, so I attach them with tweezers and a dot of waterproof glue.
Pro Tip: Test any coloured detail in a glass of water overnight before you seal it inside a globe.
Cost: $5–$10 / Time: 30 minutes / Difficulty: Easy

Related article: winter crafts for kids
8. Snowman with a Black Knitted Cap Globe
A snowman with a dark cap looks smart and a little old-fashioned, which I love. I use a snowman figurine with a black cap, set him on a white base with a few tiny trees, and add silver glitter for sparkle.
My first dark-cap snowman used a fabric cap, which went soggy like the felt coat I mentioned earlier. The watch-out is contrast: a dark cap needs a light background inside the globe, or it disappears.
Pro Tip: Keep the inside background light when your figurine has dark details, so nothing vanishes in the snow.
Cost: $6–$11 / Time: 35 minutes / Difficulty: Easy

9. Frosty Snowman Close-Up Globe
A close-up snowman globe, with one large snowman filling the globe, is my boldest design. I choose a chunky snowman figurine, place him centrally, and use larger glitter flakes so the snow shows up against his white body.
My first large snowman globe used fine glitter, which was invisible against the white figurine. The downside is that a large figurine needs a large globe, so I buy the globe first and the figurine second, never the other way round.
Pro Tip: Mix fine and large glitter flakes, so the snow shows against both white and coloured figurines.
Cost: $7–$13 / Time: 40 minutes / Difficulty: Easy

10. Snowman with a Red Hat Globe
A red hat is my other favourite snowman accent, and it works beautifully in a globe. I use a snowman with a red hat and scarf, set him on a snowy base, and add white and gold glitter.
I once used a snowman whose hat was glued on with weak glue, and it floated off inside the globe. The downside is that red hats can bleed dye, so I test them in water first.
Pro Tip: Tug every attached part gently before sealing, because a loose hat inside a sealed globe cannot be fixed.
Cost: $5–$10 / Time: 30 minutes / Difficulty: Easy

11. Snowman Decor Globe
A snowman decor globe is my display-piece design, meant for a shelf rather than a child’s hands. I use a detailed snowman figurine, add a few miniature gifts at his feet, and set the globe on a wooden base.
My first display globe sat on a narrow shelf, and I worried about it falling every time someone walked past. The downside is dust on the outside, so I wipe the glass weekly with a soft cloth, never with a rough towel.
Pro Tip: Place display globes on wide shelves, not narrow ones, and keep them away from busy walkways.
Cost: $8–$14 / Time: 40 minutes / Difficulty: Medium

12. Snowman and Christmas Tree Lights Globe
A snowman beside a lit tree is my most festive globe scene. I place a snowman figurine next to a tiny tree with battery lights in its base, so the globe glows softly in the evening.
My first lit globe used a battery pack that was too big for the base, and it wobbled. The watch-out is battery life: I keep spare coin batteries in the same box as the globe, so I am not hunting for them in December.
Pro Tip: Test any lights before sealing the globe, and keep spare batteries with the globe in storage.
Cost: $9–$16 / Time: 55 minutes / Difficulty: Medium

13. Snowman, Gifts and Ornaments Globe
A snowman surrounded by gifts and ornaments is my celebration globe. I arrange a snowman with tiny wrapped gifts and a few baubles on a snowy base, then add gold and white glitter.
My first gift globe used paper-wrapped gifts, which went soggy in water. The downside is that tiny gifts are easy to lose while building, so I work on a tray and count the pieces before sealing.
Pro Tip: Make miniature gifts from wood or plastic, never paper, for any globe that will hold water.
Cost: $8–$15 / Time: 50 minutes / Difficulty: Medium

14. Gingerbread House Globe
A gingerbread house globe smells like Christmas even though you cannot eat it. I use a small resin gingerbread house, set it on a snowy base with a tiny tree, and add white glitter.
My first gingerbread globe used a real gingerbread house, which dissolved in water within days. The downside is finding a small enough house, so I check craft shops in November, before the best sizes sell out.
Pro Tip: Never put real gingerbread, cookie, or food inside a water globe, because it will dissolve and cloud the water.
Cost: $7–$14 / Time: 45 minutes / Difficulty: Medium

Also read: christmas crafts for kids
15. Gingerbread Houses Display Globe
A row of gingerbread houses makes a village globe, which is my most ambitious design. I place two or three tiny houses on a snowy base, add a path of glitter, and finish with a tiny tree.
My first village globe was crowded, because I tried to fit four houses into a small globe. The downside is cost, because tiny houses add up, so I buy them on sale after Christmas for next year.
Pro Tip: Leave at least a third of the base empty, so falling glitter reads as snow rather than clutter.
Cost: $10–$18 / Time: 1 hour / Difficulty: Medium

16. Gingerbread House on Gifts Globe
A gingerbread house sitting on gifts is my gift-table globe. I place a small house on a base of tiny wrapped boxes, add a sprinkle of glitter, and set it on the gift table.
My first gift-base globe used real wrapping paper on the boxes, which went soggy like the paper gifts before it. The downside is that painted boxes chip, so I handle the globe gently and touch up paint each year.
Pro Tip: Paint gift boxes rather than wrapping them, for any globe that will sit in water or near it.
Cost: $8–$15 / Time: 50 minutes / Difficulty: Medium

17. Gingerbread Cookie House Globe
A gingerbread cookie house globe is my kitchen-table design. I use a small house-shaped cookie ornament made from resin, not real cookie, set it on a snowy base, and add a tiny candy-cane striped pole.
I once made the mistake of using a real cookie ornament with icing, and the icing dissolved into a cloudy mess. The downside is that resin houses can look too perfect, so I add a little glitter snow to soften the edges.
Pro Tip: Label resin food-lookalikes clearly, especially in a house with children who might try to taste them.
Cost: $7–$13 / Time: 40 minutes / Difficulty: Medium
18. Kids’ Mason Jar Snow Globe
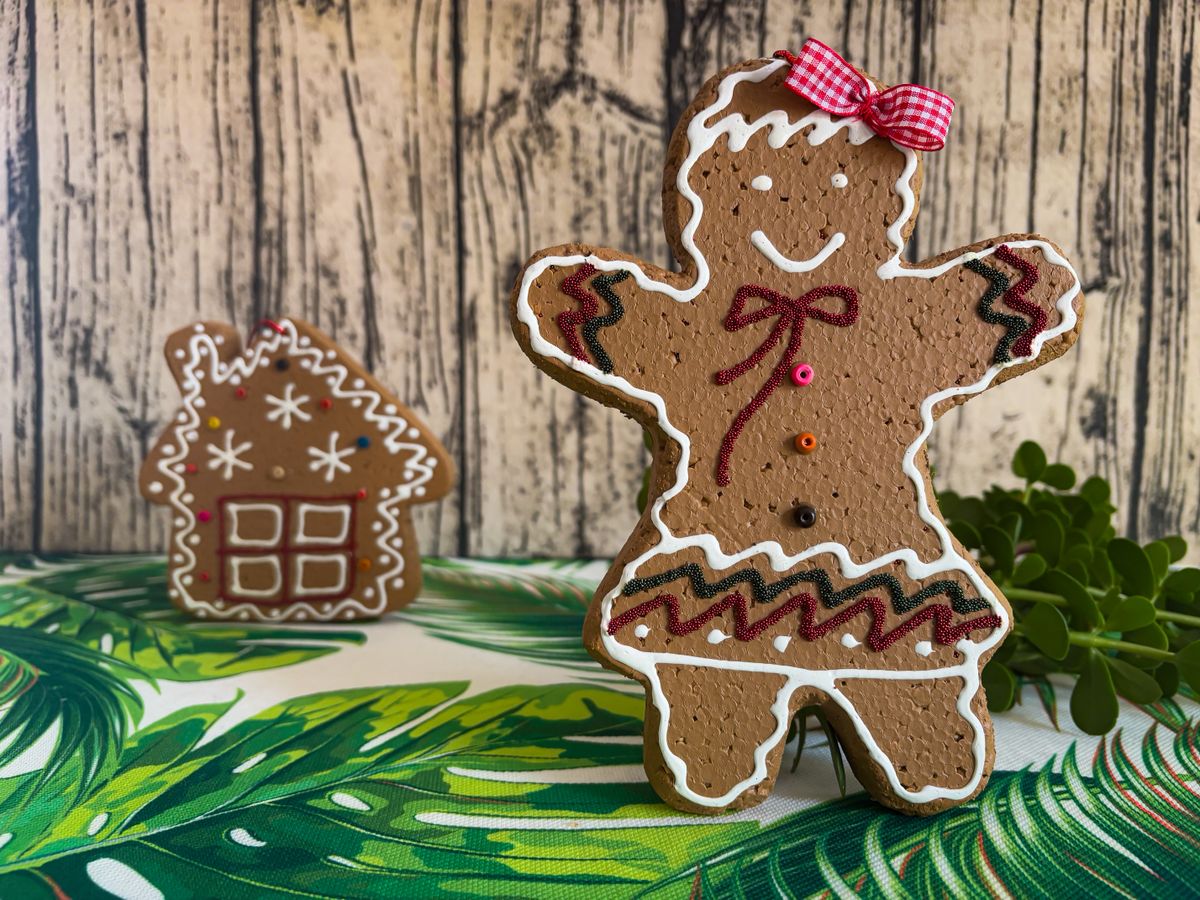
This is the mason jar globe I make with my children, and the building is the point. We glue a small house and figures to the inside of a jar lid, fill the jar with water and glitter together, and an adult handles the sealing.
My first globe-making session with children was messy, because glitter went everywhere. The watch-out is glass: children choose the figures and glitter, and adults handle glass globes, glue, and sealing, without exception.
Pro Tip: Work on a tray, measure glitter in advance, and let adults handle glass and sealing.
Cost: $6–$12 / Time: 1 hour / Difficulty: Medium

19. Winter Village Toy House Globe
A toy house village globe is my year-round winter design. I use a small pastel toy house, add a snowy base and a few tiny trees, and keep the glitter white and silver.
My first village house was too tall for its globe, and I had to start again with a smaller house. The downside is that pastel houses can look washed out in bright light, so I display this one away from direct sun.
Pro Tip: Keep a note of house and globe sizes that fit together, so next year’s village is easy to rebuild.
Cost: $8–$15 / Time: 45 minutes / Difficulty: Medium

20. Gingerbread Cupcake House Globe
My last globe is a playful one: a tiny gingerbread house on a cupcake base, inside a globe. I use a resin cupcake base, set a tiny house on top, and add white glitter like frosting snow.
My first cupcake globe used a real cupcake topper, which went soggy and stained the water brown. The downside is that it looks edible, so I keep it out of reach of small children who might try to open it.
Pro Tip: Keep food-lookalike globes out of reach of toddlers, and explain clearly that they are decorations, not treats.
Cost: $7–$13 / Time: 40 minutes / Difficulty: Medium

DIY Snow Globe Ideas: Quick Comparison
Pick by who will handle the globe. Water globes suit adult shelves, while shatterproof and ornament globes are safer for children’s rooms and trees.
| Snow Globe | Best For | Cost | Time |
|---|---|---|---|
| Classic Glass Globe | Mantel | $6–$12 | 40 minutes |
| Santa on a Sled | Children’s favourite | $7–$14 | 45 minutes |
| Santa, Snowman and Tree | Scene lovers | $8–$15 | 50 minutes |
| Santa Figurine | Gift | $5–$11 | 35 minutes |
| Snowman Ornament | Winter display | $6–$12 | 35 minutes |
| Snowman with Lantern | Cosy shelf | $7–$13 | 45 minutes |
| Snowman Red Scarf | Simple gift | $5–$10 | 30 minutes |
| Snowman Black Cap | Dark wood mantel | $6–$11 | 35 minutes |
| Frosty Close-Up | Children | $7–$13 | 40 minutes |
| Snowman Red Hat | Simple gift | $5–$10 | 30 minutes |
| Snowman Decor | Display shelf | $8–$14 | 40 minutes |
| Snowman and Lit Tree | Evening glow | $9–$16 | 55 minutes |
| Snowman, Gifts and Ornaments | Gift | $8–$15 | 50 minutes |
| Gingerbread House | Kitchen shelf | $7–$14 | 45 minutes |
| Gingerbread Village | Ambitious build | $10–$18 | 1 hour |
| Gingerbread on Gifts | Gift table | $8–$15 | 50 minutes |
| Gingerbread Cookie House | Kitchen table | $7–$13 | 40 minutes |
| Kids’ Mason Jar Globe | Family craft | $6–$12 | 1 hour |
| Winter Village Toy House | January display | $8–$15 | 45 minutes |
| Gingerbread Cupcake | Playful gift | $7–$13 | 40 minutes |
Mistakes I Made / What I Learned the Hard Way
Using tap water. My first globes clouded within weeks, because tap water leaves deposits and feeds growth. Distilled water solved it, and my later globes have stayed clear for years.
Trusting craft glue under water. Craft glue softened and figurines floated free inside sealed globes I could not open. Waterproof epoxy, cured overnight, is the only glue I trust now for anything inside a globe.
Putting food, fabric, or paper inside. Real gingerbread dissolved, felt shed, and paper gifts went soggy, each in a different globe. Nothing inside a water globe should be food, fabric, felt, or paper, without exception.
Sealing in a hurry. A globe I sealed without testing leaked glitter water across a shelf. Now I test every sealed globe over a sink for a day, and I add a ring of waterproof sealant around the lid thread.
Frequently Asked Questions
How long did yours actually last? My distilled-water globes have lasted three or more years with clear water, while my early tap-water globes clouded within weeks. The sealed globes I tested over a sink have never leaked since, and the ornament globes last indefinitely because they hold no water.
What would you do differently next time? I would buy globes and figurines together, checking sizes before I buy, rather than falling in love with a figurine that does not fit. I would also make a spare globe each year, because the best ones always get requested as gifts.
Are these safe for children? The building is safe with adult help, and adults should handle glass, glue, and sealing. For children’s rooms, I use shatterproof ornament globes rather than glass water globes, and I keep glass globes on high, stable shelves.
Why does my glitter sink too fast? That usually means too little glycerin, or glitter that is too heavy. Add one drop of glycerin at a time, test, and mix fine and large flakes, so the snow falls slowly and shows up against the figurines.
Final Thoughts
The globe I treasure most is not the fanciest one, but the slightly imperfect one my children helped build. It reminds me that snow globes are not really about perfection; they are about a tiny winter scene that you can shake back to life whenever you like.
Pick one idea from this list, build it with distilled water and waterproof glue, and test it over a sink before you display it. Then shake it, watch the snow fall, and enjoy the smallest winter in your house.
Read this next: christmas eve box ideas