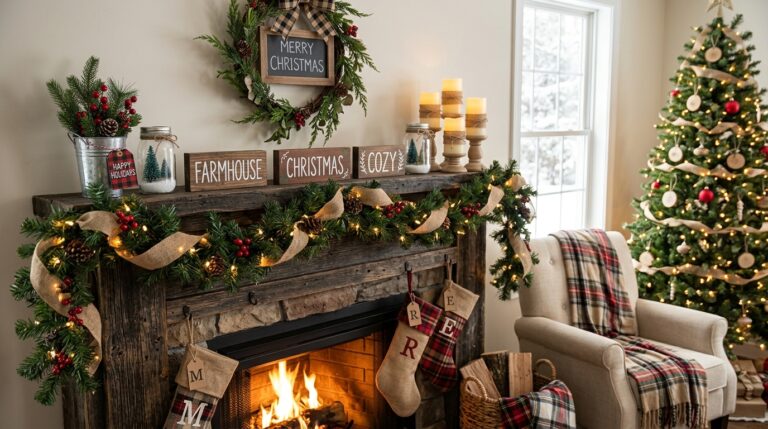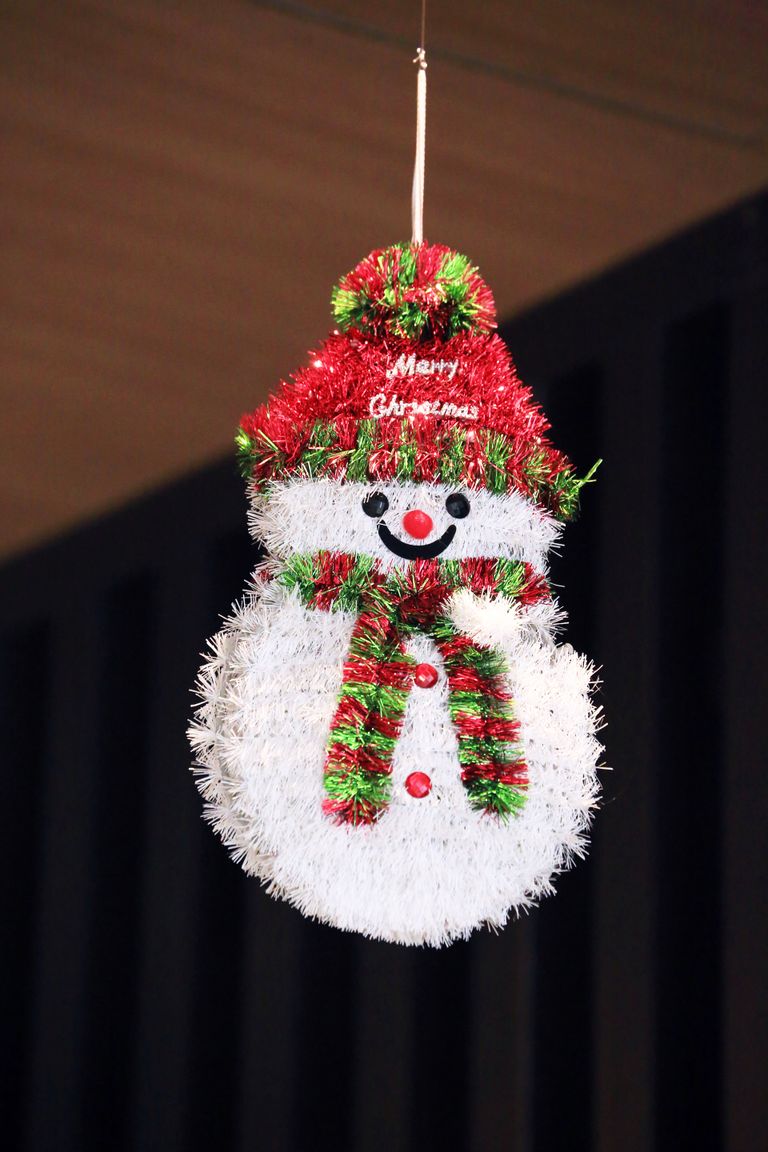
Christmas Mason Jar Craft Ideas
I still remember the first December I tried to decorate on a tight budget. I had a shelf full of empty jam jars, a string of fairy lights, and no plan at all. That evening turned into my favourite kind of crafting: simple, warm, and a little bit messy. These christmas mason jar craft ideas grew out of that night, and out of many Decembers since, when I tested what actually looks good on a real mantel, not just in a photo.
How I picked these: I made every style below at home first, kept the ones that survived a week on display, and dropped the ones that leaked, toppled, or looked tired by day two. Nothing here needs a specialist tool or a perfect steady hand.
Key Takeaways
- Start with clean, dry jars in two sizes; a mix of tall and squat jars looks more styled than twenty identical ones.
- Battery fairy lights and LED candles give you the glow without the fire worry, especially near curtains and little hands.
- Layer from the bottom up: filler first, lights second, greenery or ornaments last, so nothing gets buried.
- Label gift jars clearly and keep food jars separate from jars that held candles or glitter glue.
Why These Christmas Mason Jar Craft Ideas Work for Real Homes
They work because they are forgiving. A jar hides uneven edges, a handful of pinecones hides a gap, and warm light forgives almost everything else. I have used these on a small apartment shelf, a long farmhouse table, and a hallway console, and the same jars moved happily from room to room.
1. Classic Fairy Light Jar

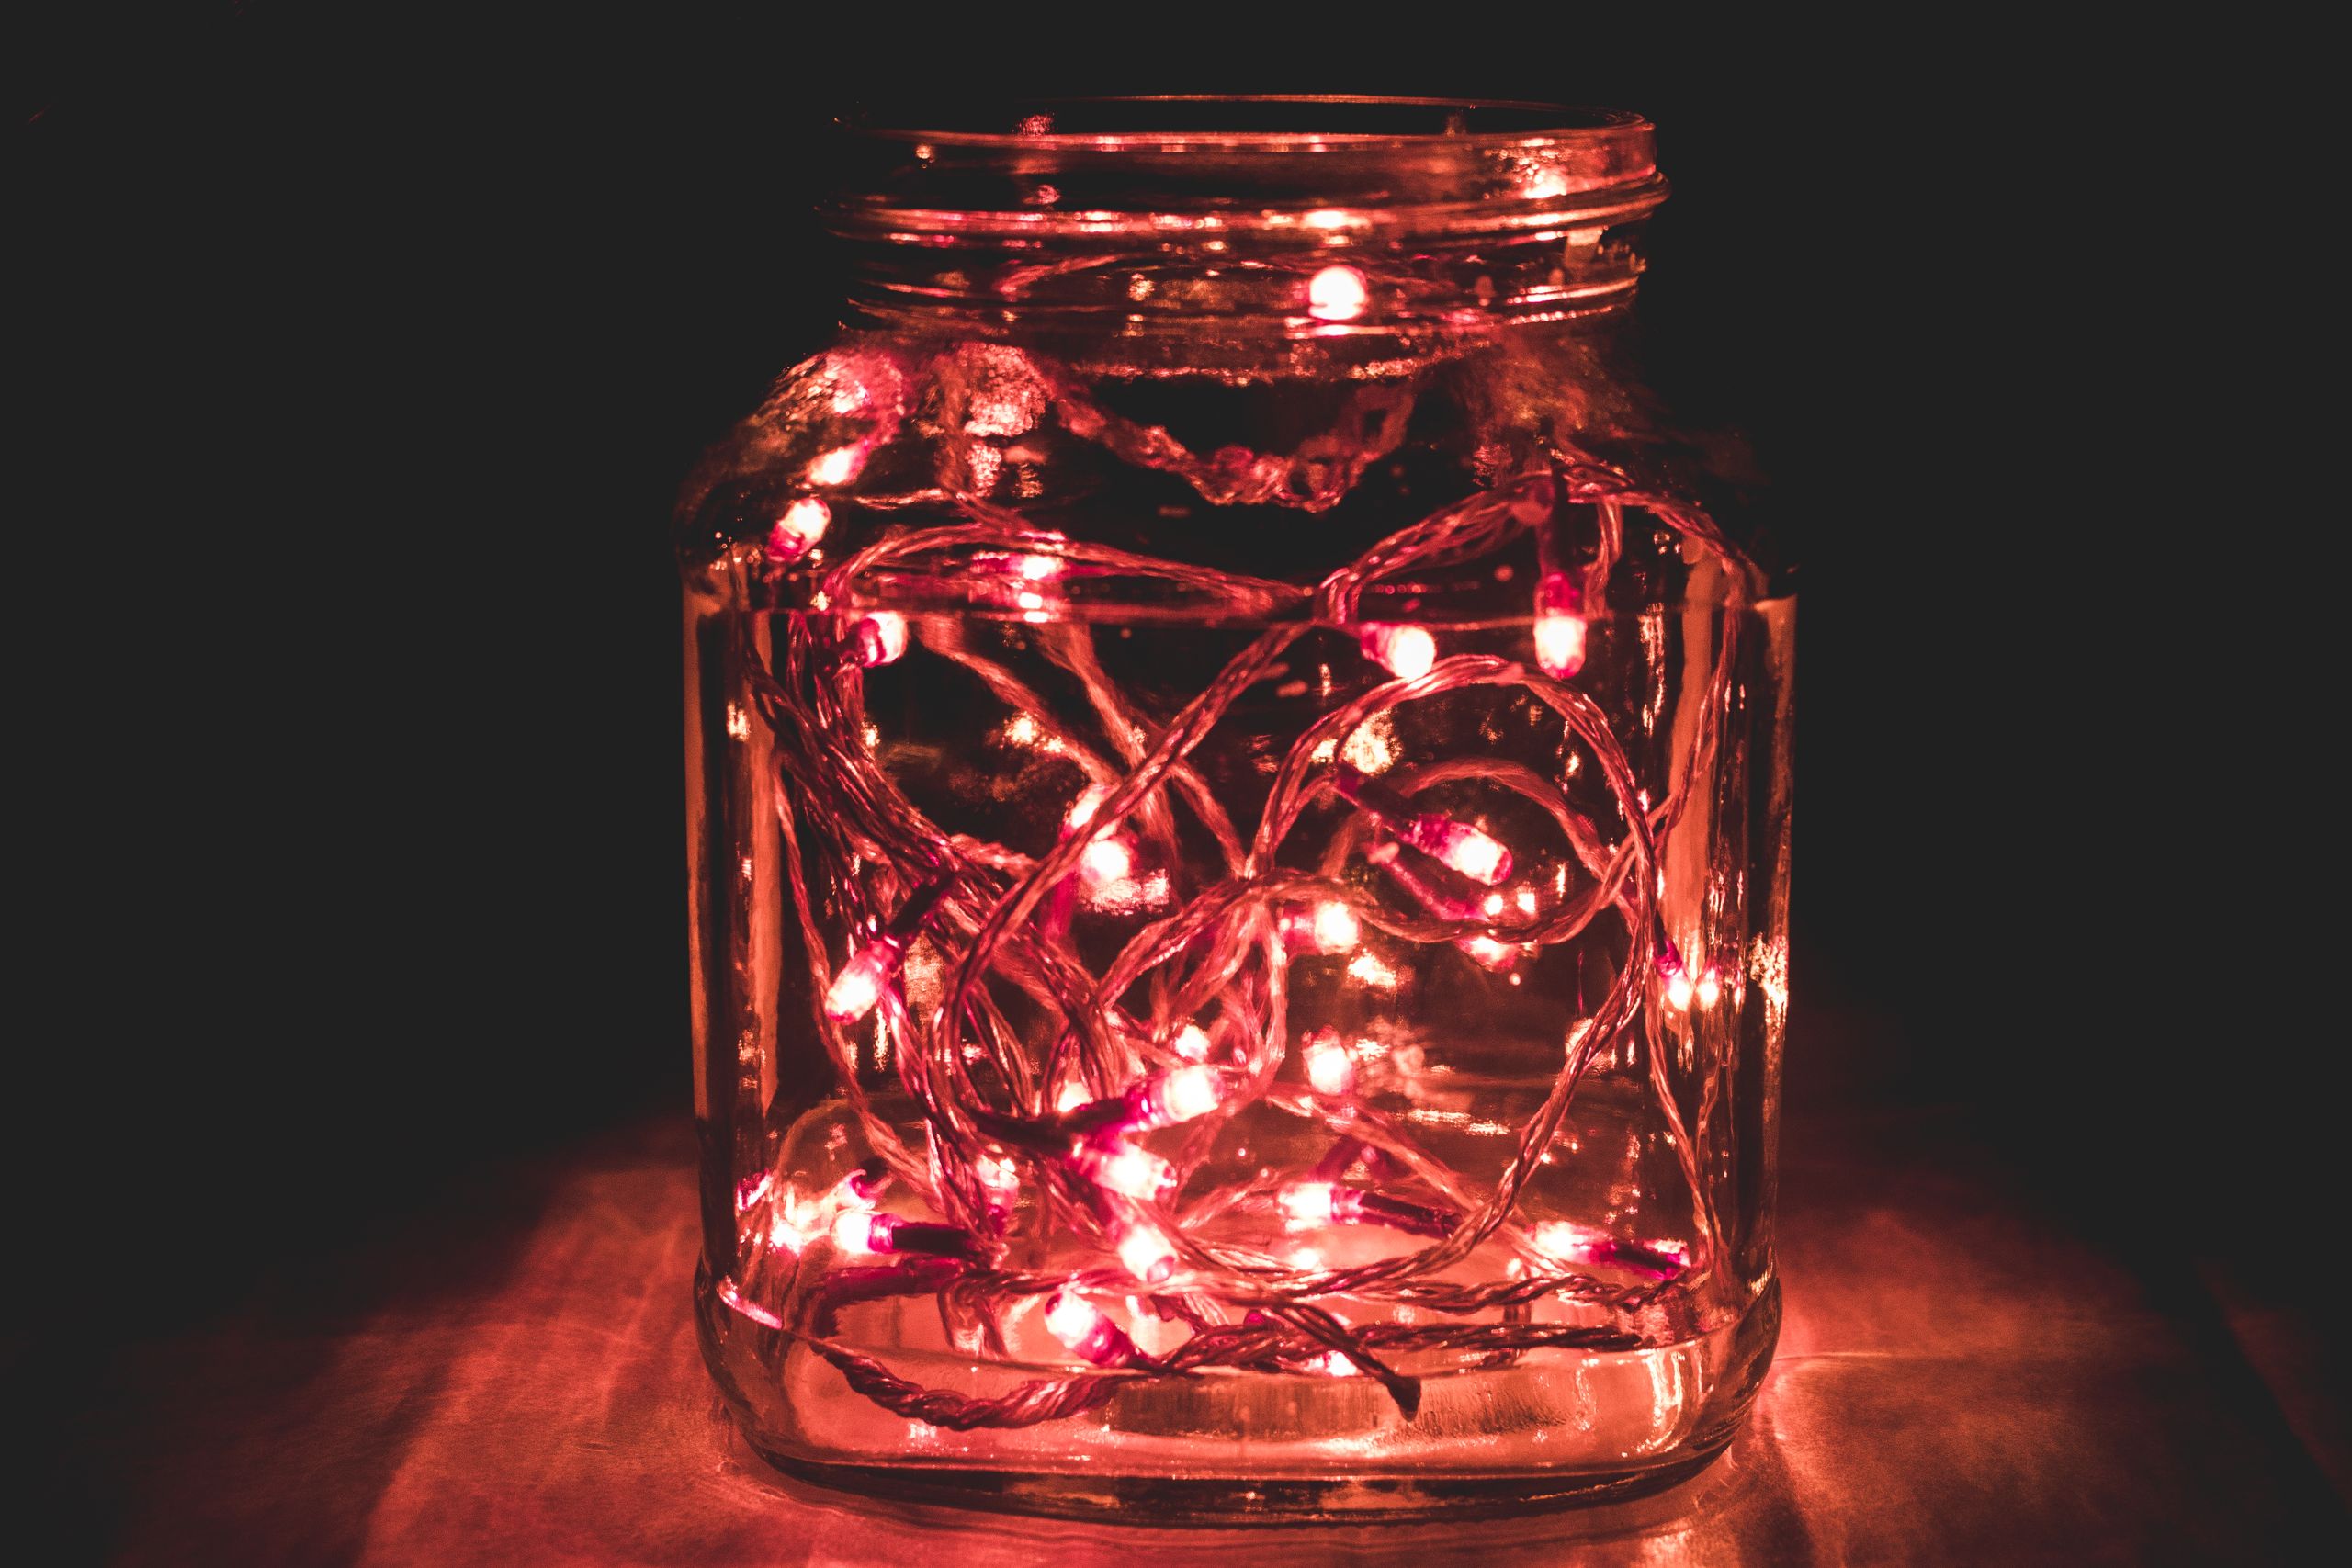
This is the jar I reach for first every year. I coil a short string of warm-white fairy lights inside a clean jar, tuck the battery pack behind it, and let the glass do the rest. The first time I made one, I overfilled it and the light looked harsh, so now I use fewer lights and leave a little breathing space. It sits on my bedside table all December and makes the whole room feel calm at night.
Pro Tip: Choose warm white over cool white if you want a cosy, candle-like glow rather than a bright shop-window look.
Cost: $3–$6 | Time: 10 minutes | Difficulty: Easy
Watch out: cheap battery packs can rattle, so I tape mine to the back of the jar where it cannot be seen.
2. Cinnamon and Candle Jar

I love this one for the smell as much as the look. I place a small candle in a jar, lean two cinnamon sticks beside it, and add a sprig of rosemary if I have one. My kitchen smells faintly of spice for days, and guests always ask what I have been baking. I made a row of three for a dinner party once, and they stayed lit through dessert without any fuss.
Pro Tip: Use a jar wide enough that the candle sits flat, and never leave a real flame burning in another room.
Cost: $4–$8 | Time: 10 minutes | Difficulty: Easy
Watch out: cinnamon sticks near a flame can dry out and curl, so keep them low and away from the wick.
3. Scented Gift Jar with a Tag

This is my go-to last-minute gift, and it has saved me more than once. I dress a scented candle jar with twine, a small sprig of greenery, and a handwritten tag, and suddenly a simple candle feels personal. I gave one to my neighbour last year, and she kept the tag on her shelf long after the candle was finished. That small detail matters more than any fancy wrapping.
Pro Tip: Write the scent and a short note on the tag, so the gift feels chosen rather than grabbed.
Cost: $5–$10 | Time: 15 minutes | Difficulty: Easy
Watch out: twine can slip off a smooth jar, so I add a tiny dot of glue under the knot.
4. Red Candle Jar for the Table

Red jars feel instantly festive, even before you add anything else. I use one tall red candle jar as the centre of a small table setting, with plain white plates around it so the colour can shine. When I tried this with patterned plates too, the table looked busy, so I learned to let one strong colour lead. It is a simple trick, and it works every time.
Pro Tip: Pair a red jar with gold cutlery or a plain linen runner to keep the table elegant, not loud.
Cost: $4–$9 | Time: 10 minutes | Difficulty: Easy
Watch out: strongly coloured glass can make a flame look dimmer, so use a brighter candle inside.
5. Peace and Joy Twin Jars

I made a pair of these for my mantel, one labelled Peace and one labelled Joy, and my children still argue gently over which one is theirs. I use plain labels, a steady hand, and two matching candles, then place cinnamon sticks in front. The pair looks intentional in a way a single jar sometimes does not, and it fills a wide mantel without buying anything large.
Pro Tip: Keep the labels at the same height, or the pair will look lopsided from across the room.
Cost: $6–$12 | Time: 20 minutes | Difficulty: Easy
Watch out: paper labels near heat can curl, so use LED candles if the jars sit close together.
6. Wooden Wick Candle Jar

A wooden wick candle in a jar feels quieter and more grown-up than a bright, glittery one. I keep one on my reading chair side table, and the soft crackle is genuinely soothing on a cold evening. I once bought a wick that was too short and it kept going out, so now I trim carefully and light it fully across the top on the first burn.
Pro Tip: Let the wax melt edge to edge on the first burn, or the candle will tunnel down the middle.
Cost: $6–$12 | Time: 5 minutes | Difficulty: Easy
Watch out: wooden wicks need a longer first burn than cotton wicks, so do not rush that step.
7. Labelled Jar for a Calm Corner

Some jars are not about Christmas sparkle at all, and I like that. I place a simple labelled candle jar in my bathroom or hallway, where it adds warmth without shouting about the season. It taught me that not every December decoration needs tinsel. A calm corner makes the busier, brighter corners look better by contrast.
Pro Tip: Choose a neutral label and a soft scent for shared spaces, so the jar suits everyone in the house.
Cost: $5–$10 | Time: 10 minutes | Difficulty: Easy
Watch out: a dark surface can hide wax drips, so check the base before the jar stains wood or stone.
8. Marble Table Candle Jar
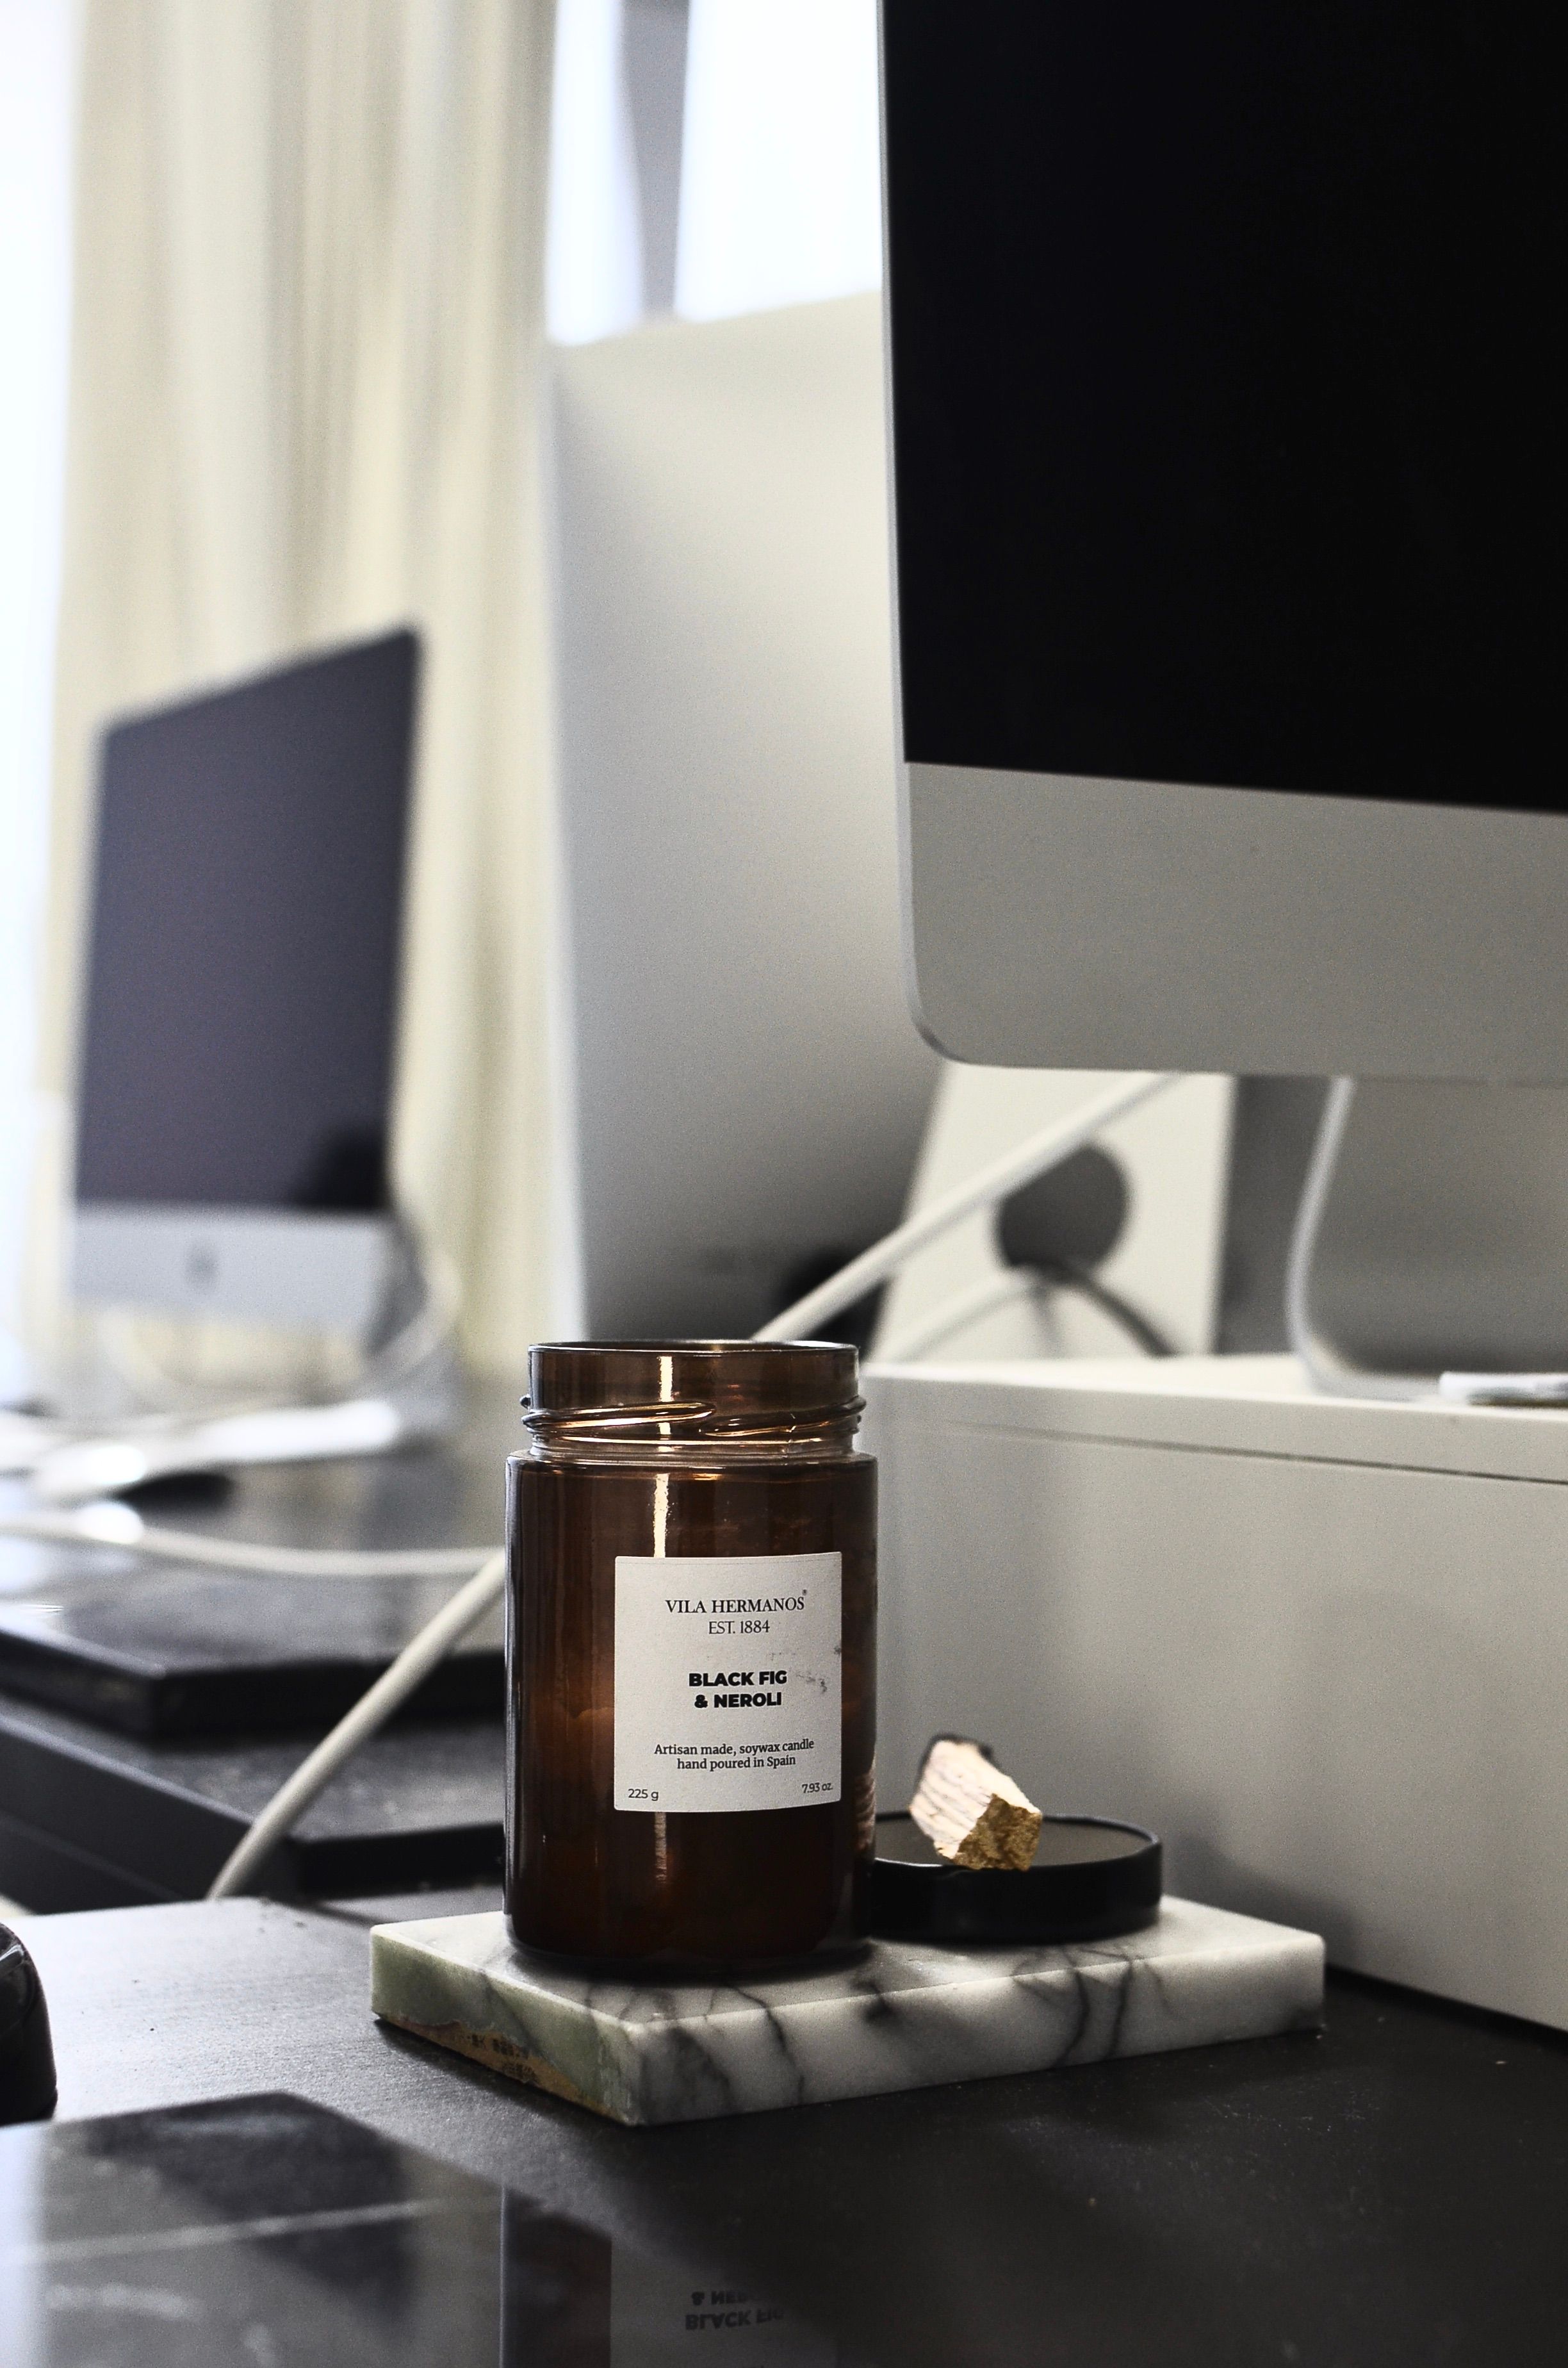
I keep this jar on a marble tray in the kitchen, where it catches morning light beautifully. The trick is the tray: it gathers the jar, a small plant, and a spoon rest into one tidy group, instead of three separate bits of clutter. I learned this after years of jars wandering around the counter. A tray gives them a home, and the whole counter instantly looks calmer.
Pro Tip: Put a cork coaster under the jar if your tray is stone or marble, so heat never marks the surface.
Cost: $5–$10 | Time: 10 minutes | Difficulty: Easy
Watch out: scented candles near cooking smells can clash, so pick a light, clean scent for the kitchen.
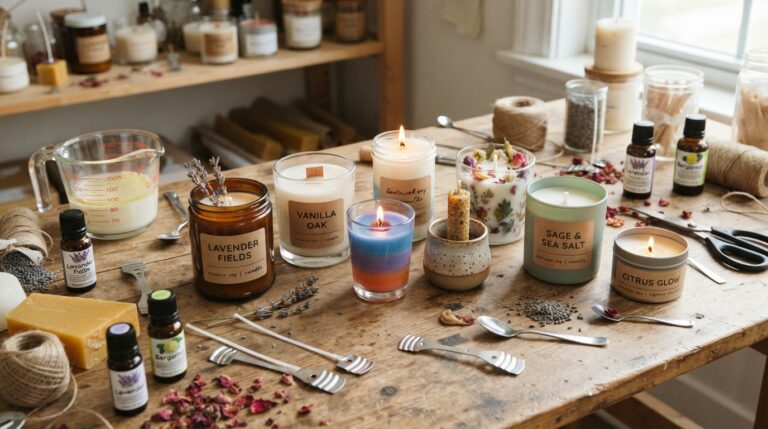
9. Handmade Wax Candle Jar

Pouring my own candle into a jar felt intimidating until I tried it, and now it is one of my favourite winter weekends. I melt soy wax, centre the wick with a chopstick, and pour slowly so no bubbles form. The first jar I poured was wonky, with the wick leaning like a tired tree, but it still burned fine, and I still smile when I think of it.
Pro Tip: Warm the jar in hot water first and dry it well, so the wax sets smoothly against the glass.
Cost: $8–$15 | Time: 45 minutes plus setting | Difficulty: Medium
Watch out: hot wax and water do not mix, so keep the work surface completely dry while you pour.
10. Handheld Lantern Jar

This jar is made for carrying, and that changes how you use it. I take a lit jar out to the porch on Christmas Eve, and the warm light makes even a cold step feel welcoming. I add a simple wire handle if the jar has none, and I always use an LED light for a handheld version. A real flame in a moving jar is not worth the risk, however pretty it looks.
Pro Tip: Twist the wire handle twice around the neck, not once, so it cannot slip when the jar swings.
Cost: $4–$9 | Time: 20 minutes | Difficulty: Easy
Watch out: glass gets warm and slippery outdoors, so carry it by the handle and wear a glove if it is frosty.
11. Hanging String Light Jars

Hanging jars changed my porch completely. I hang three jars at different heights from a branch or hook, each with a short string of lights inside, and the effect is like a row of small lanterns. I measured the drops with string first, because my first attempt had them all swinging at the same height and looking like a queue. Different heights look relaxed and natural.
Pro Tip: Hang the tallest drop in the middle if you want a gentle curve, or at the ends for a more playful look.
Cost: $10–$20 for three | Time: 30 minutes | Difficulty: Medium
Watch out: check the weight of each jar before hanging, especially on a thin branch or a suction hook.
12. Indoor Hanging Light Jars

When the weather turns, I bring the hanging idea inside. I hang two jars from a sturdy shelf bracket in the hallway, and they glow softly every evening without taking up any surface space. This is perfect for a small home, where every flat surface is already busy. My hallway used to feel dark and narrow, and these jars made it feel like a proper entrance.
Pro Tip: Use a ceiling hook rated for the jar’s weight, and keep the cord short so nobody brushes past it.
Cost: $8–$15 for two | Time: 25 minutes | Difficulty: Medium
Watch out: hanging jars above a walkway need a secure fix, so test the hook with a gentle pull first.
13. Hot Cocoa Mix Jar Gift

Layered cocoa mix in a jar is the gift I make in batches. I spoon cocoa, sugar, and mini marshmallows in neat layers, press each layer down, and tie a tag with simple instructions. I once rushed the layers and they blurred into one brown mass, which still tasted fine but looked far less gift-worthy. Taking two extra minutes to level each layer makes all the difference.
Pro Tip: Tap the jar gently on the table after each layer, so the next layer sits on a flat surface.
Cost: $3–$6 per jar | Time: 15 minutes | Difficulty: Easy
Watch out: marshmallows absorb moisture, so seal the jar tightly and gift it within a few weeks.
14. Pinecone and Ornament Jar

For this jar, I fill the bottom with small pinecones, nestle two or three ornaments among them, and finish with a dusting of fake snow on top. It looks like a tiny winter woodland, and it costs almost nothing if you gather pinecones yourself. I made one with my son, and he still points out which pinecone he chose. Those small memories are why I keep making these.
Pro Tip: Bake gathered pinecones briefly at a low heat and cool them fully, so they are clean and dry before jarring.
Cost: $2–$7 | Time: 20 minutes | Difficulty: Easy
Watch out: fresh pinecones can hide insects or sap, so never jar them straight from the ground.
15. Ornament-Filled Jar

Sometimes the simplest jar is the best one. I fill a wide jar with small red and white ornaments, add no lights and no greenery, and let the colour do the talking. It sits beside my television all December, and it is the jar guests notice first. I learned not to mix too many ornament sizes here, because tiny ones sink and disappear between the larger ones.
Pro Tip: Use ornaments of one size for a clean look, or place the smallest ones deliberately on top.
Cost: $5–$12 | Time: 10 minutes | Difficulty: Easy
Watch out: glass ornaments inside a glass jar can chip, so use shatterproof ones if children will handle it.
16. Rustic Woodland Jar

This is my rustic favourite. I layer pinecones, fir sprigs, and warm-toned ornaments in a jar, then tie burlap around the neck instead of ribbon. It suits a wooden table perfectly, and it smells faintly of pine for the first week. I tried a shiny gold ribbon on this one once, and it clashed with the woodland feel, so I keep the finish natural now.
Pro Tip: Trim fir sprigs short and push them to the edges, so they frame the ornaments instead of hiding them.
Cost: $4–$10 | Time: 20 minutes | Difficulty: Easy
Watch out: fir needles drop as they dry, so place this jar on a tray that catches the mess.
17. Keepsake Ornament Box Jar

Every family has ornaments too precious, or too fragile, for the tree, and this jar gives them a safe home. I choose one special ornament, cushion it with pinecones and soft tissue, and display the jar where we can see it daily. My grandmother’s small glass bird lives in a jar like this now, and seeing it every morning feels better than finding it buried in a box once a year.
Pro Tip: Photograph the ornament before jarring it, so you have a record if it ever breaks or goes missing.
Cost: $3–$8 | Time: 15 minutes | Difficulty: Easy
Watch out: tissue can trap moisture, so keep this jar in a dry room and check it after a damp week.
18. Evergreen and Star Jar
I love how calm this jar looks: green branches, a few stars, and nothing else competing for attention. I make it when I want the house to feel festive but not busy, usually for the hallway or a bedroom. The first version I made was overstuffed, and the stars vanished inside the branches, so now I use only three stars and leave space around each one.
Pro Tip: Place stars near the glass, not in the centre, so they stay visible from every angle.
Cost: $4–$9 | Time: 15 minutes | Difficulty: Easy
Watch out: star ornaments with sharp points can scratch glass if they rattle, so cushion them with greenery.
19. Snowy Village Jar

A tiny village scene inside a large jar is pure magic for children, and honestly for adults too. I place a small ceramic house on a bed of fake snow, add a miniature tree, and coil lights behind it so the windows glow. My daughter rearranges the village every single day, which tells me it works. I now use a wide-mouth jar, because narrow jars make rearranging almost impossible.
Pro Tip: Glue nothing down at first; live with the arrangement for a day, then fix only what keeps toppling.
Cost: $10–$20 | Time: 30 minutes | Difficulty: Medium
Watch out: ceramic houses are heavy, so a thin jar base can feel unsteady; choose a sturdy, wide jar.
20. Golden Ornament Light Jar

For a final, elegant jar, I combine golden ornaments with fairy lights and keep everything else plain. No ribbon, no snow, no extra filler. This jar sits on my dining table on Christmas Day itself, and it photographs beautifully in low light. I once added red ribbon as well, and the gold lost its quiet glow, so I learned that restraint is a decoration choice too.
Pro Tip: Use gold ornaments in two finishes, shiny and matte, so the jar has depth without extra colour.
Cost: $6–$14 | Time: 15 minutes | Difficulty: Easy
Watch out: fairy light wires can tangle around ornament hooks, so coil the lights first and add ornaments second.
Comparison Table
| Idea Type | Best For | Cost | Time |
|---|---|---|---|
| Light jars | Evenings and small rooms | $3–$20 | 10–30 minutes |
| Candle jars | Table settings and gifts | $4–$15 | 5–45 minutes |
| Filled jars | Mantels and shelves | $2–$12 | 10–20 minutes |
| Scene jars | Children and statement displays | $10–$20 | 30 minutes |
Mistakes I Made / What I Learned the Hard Way
Using a real flame in a closed jar. I once sealed a lit candle jar to keep the wind out, and the flame starved and smoked. Now I never close a jar over a real flame, and I use LED lights for any closed or hanging jar.
Overfilling every jar. My early jars were packed so tightly that nothing could be seen properly. Leaving space around each item, especially lights and ornaments, makes the jar look styled rather than stuffed.
Forgetting about storage in January. I used to dismantle jars into one big box and lose the labels, lights, and lids. Now I store each jar’s kit together in a labelled bag, so next December starts in minutes, not hours.
FAQs
Can I use old jam jars instead of mason jars?
Yes, absolutely. I use jam jars all the time, as long as they are clean, dry, and free of chips around the rim. The shape matters more than the brand, and a slightly irregular jar often looks more charming than a perfect one.
Are fairy lights in jars safe overnight?
Battery LED fairy lights are made for this, but I still switch mine off at bedtime out of habit. Check the battery pack for warmth the first few nights, and replace any string that feels hot or flickers.
How do I stop greenery from dropping needles everywhere?
Use fresh sprigs, mist them lightly, and place the jar on a tray. I also swap the greenery halfway through December, which keeps the jar looking fresh for Christmas Day itself.
Can children help with these jars?
Yes, with the right jobs. Children are brilliant at layering pinecones, choosing ornaments, and arranging fake snow. I keep hot wax, real flames, and wire handles as adult-only jobs, and everyone still feels part of it.
Final Thoughts
If you make just one jar from these christmas mason jar craft ideas this year, make the fairy light jar. It is quick, cheap, and it changes the feeling of a room in ten minutes. Then, when you are ready for more, try a filled jar for the mantel and a cocoa jar as a gift. Related article for more gift inspiration, and Also read if you want table ideas. Read this next for ornament projects to fill your jars.
I hope these jars bring the same quiet, warm feeling to your home that they bring to mine. Start small, enjoy the making, and let one glowing jar be enough.