DIY Christmas Snowflake Craft Ideas
There is something wonderfully calming about cutting a paper snowflake. I fold, I snip, I hold my breath, and then I open it up to find a shape I did not quite expect. These diy christmas snowflake craft ideas began with childhood afternoons at my kitchen table, and they have grown into a whole December tradition in my home, from simple paper cuts to glittering window displays.
How I picked and tested these: I made each snowflake myself, hung it for at least a week, and kept only the ones that held their shape, survived a little handling, and still looked good in daylight. Fiddly designs that tore on the second fold did not make the list.
Key Takeaways
- Start with plain white copy paper for practice, then move to thinner craft paper or coffee filters for delicate cuts.
- Sharp, small scissors matter more than fancy paper; blunt scissors tear and frustrate children quickly.
- Press snowflakes flat under a heavy book overnight if you want crisp, neat window displays.
- Mix sizes on one window or garland; a range of large, medium, and small snowflakes looks far more natural.
Why These DIY Christmas Snowflake Craft Ideas Suit Every Skill Level
They suit every skill level because a snowflake cannot really go wrong. Every cut creates a pattern, every fold hides a mistake, and no two snowflakes need to match. I have made them with a five-year-old, with friends over coffee, and alone late at night, and each time the result felt personal in a way shop-bought decorations never do.
1. Classic Six-Point Paper Snowflake

This is where everyone should start. I fold a square of paper into a triangle, then into a smaller triangle, and cut simple triangles and curves along the edges. The first snowflake I ever made was lopsided, with one arm much longer than the rest, and I loved it anyway. Unfolding slowly is the best part, so I always tell beginners not to rush that moment. I always keep the scraps, because tiny cut pieces make lovely confetti for cards.
Pro Tip: Cut less than you think you need to on your first try; you can always snip more, but you cannot glue paper back.
Cost: $0–$2 | Time: 15 minutes | Difficulty: Easy
Watch out: thick card tears along folds, so use ordinary paper until your folding feels confident.
2. Red Background Snowflake Cutouts

White snowflakes pop beautifully against red, and I use this combination for cards and table displays. I cut several small snowflakes, scatter them on red paper, and add a touch of glitter only to the centres. I once glittered every edge, and the whole thing looked dusty rather than sparkly, so restraint really does help here. A second practice snowflake usually turns out neater than the first attempt.
Pro Tip: Use a glue pen, not a glue stick, for glitter, so it lands exactly where you want it.
Cost: $2–$5 | Time: 30 minutes | Difficulty: Easy
Watch out: loose glitter travels everywhere, so work over a tray you can tip back into the pot.
3. Wooden Snowflake Ornament

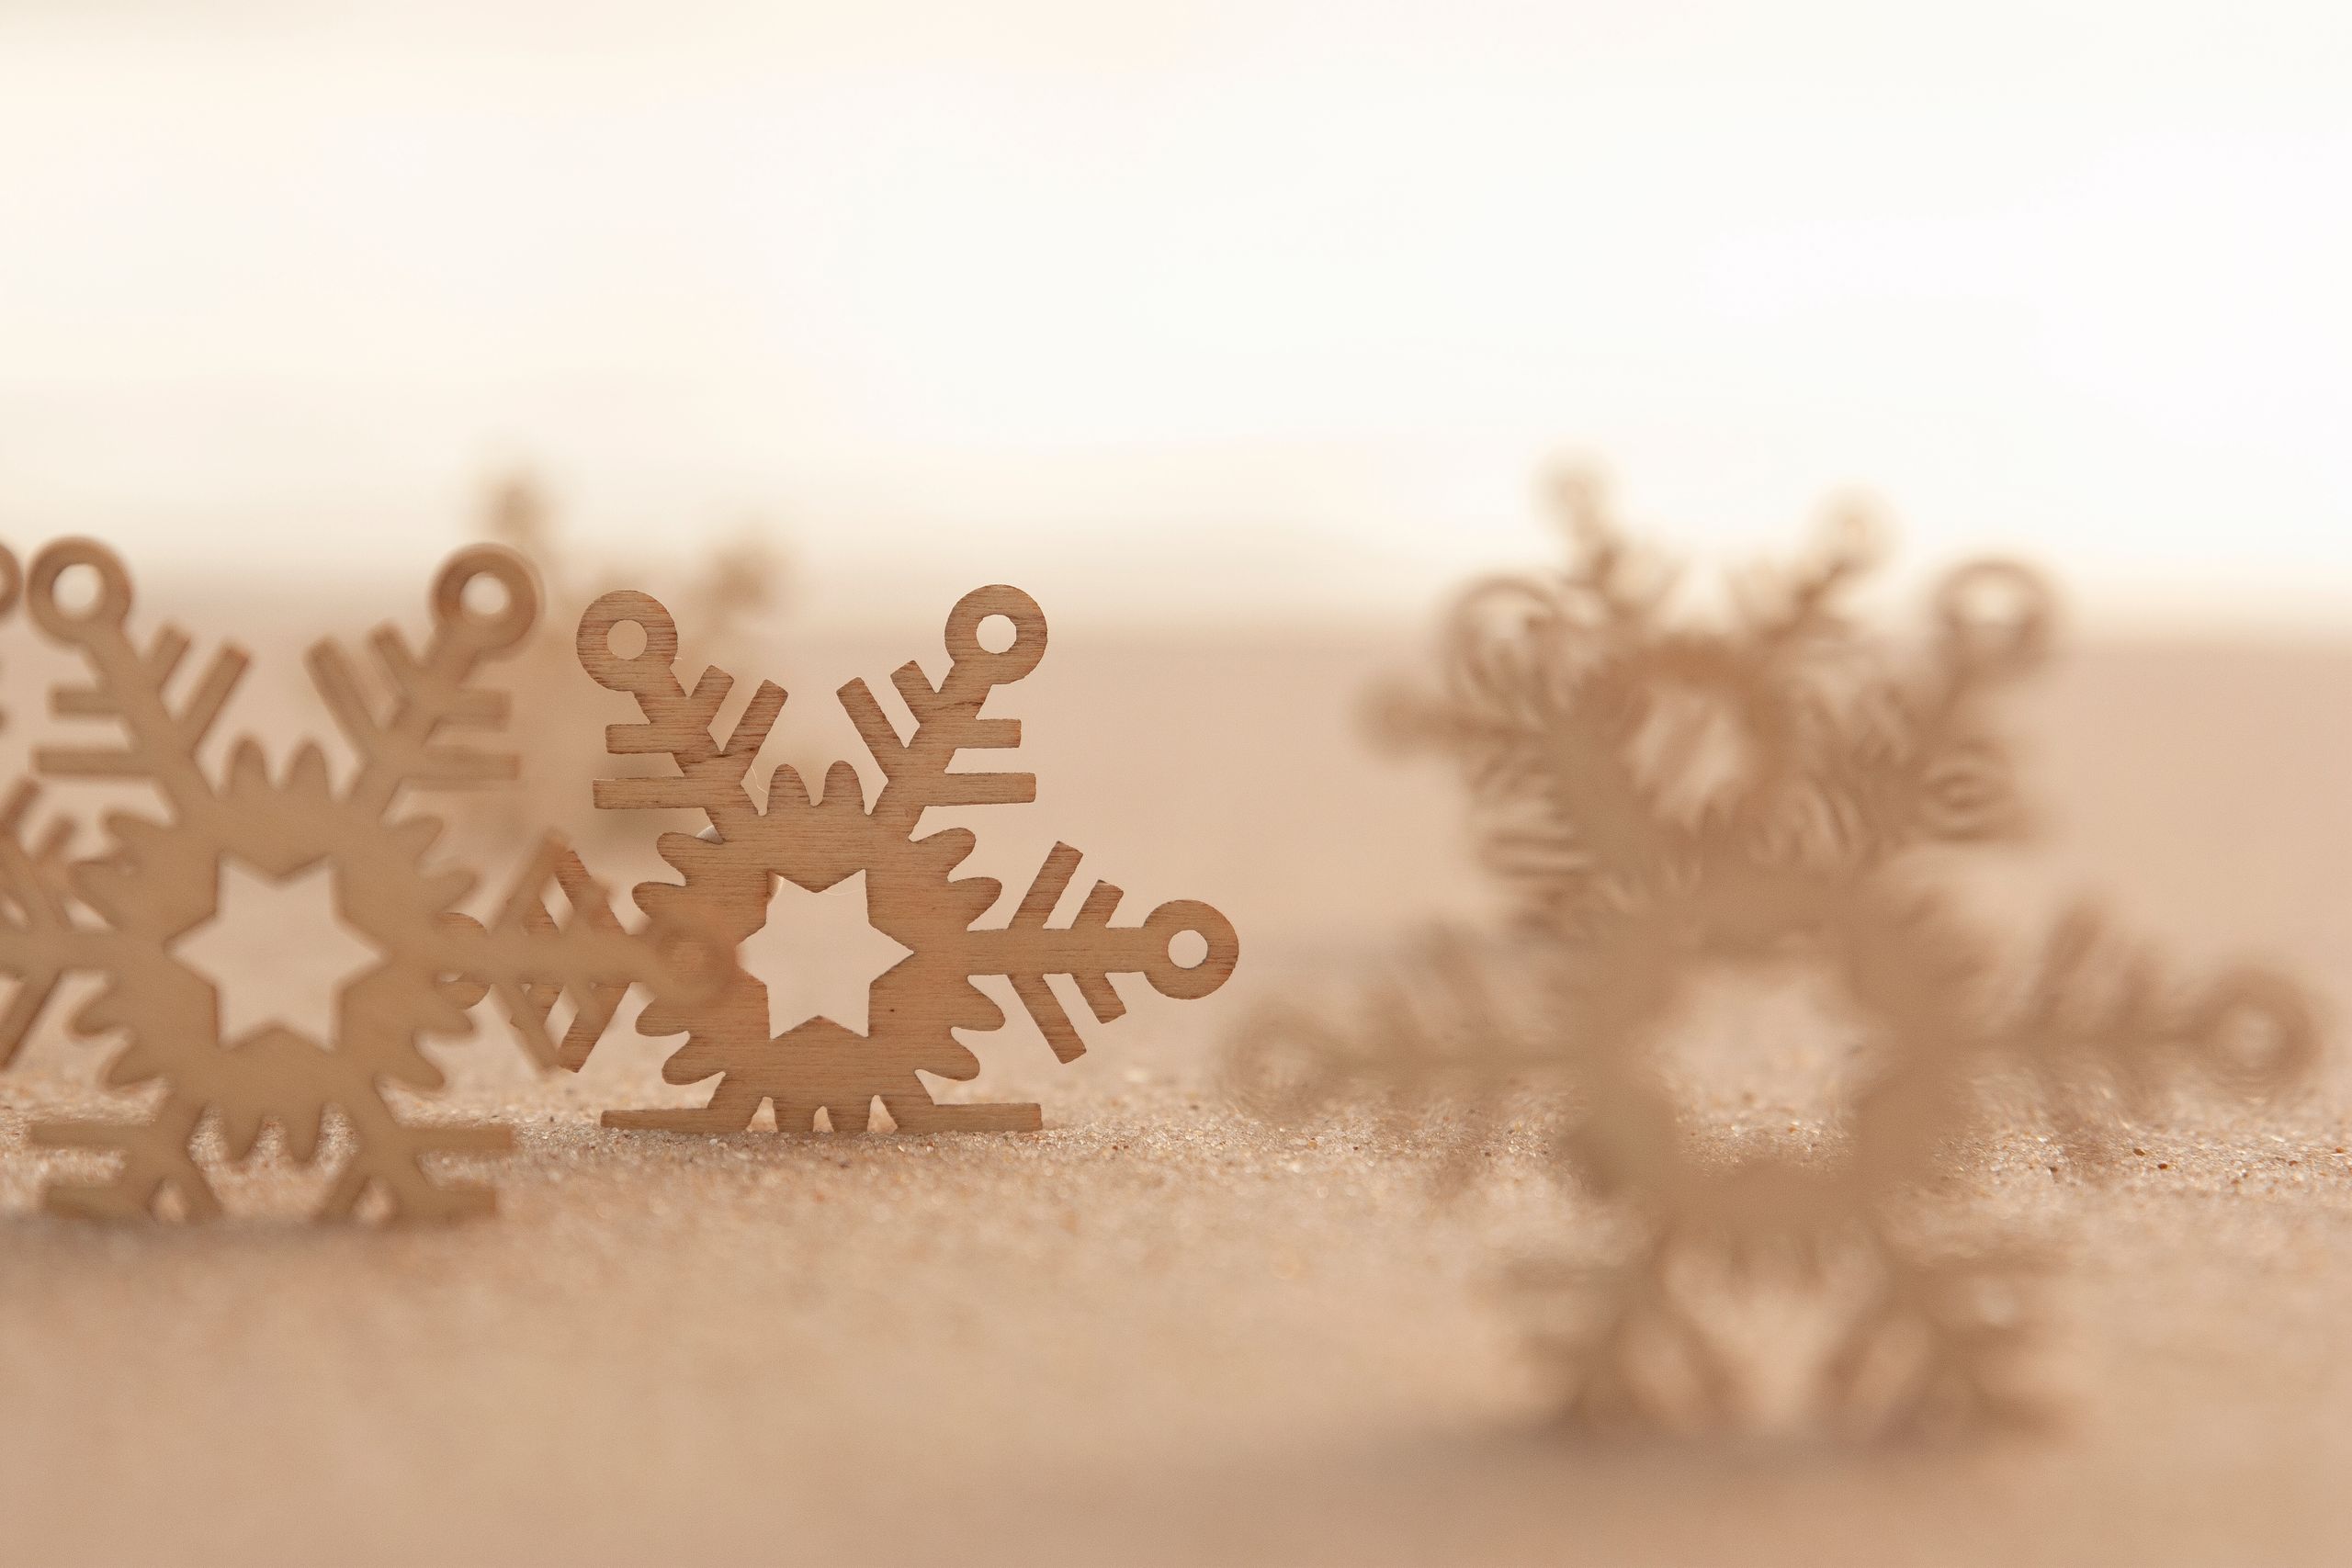
Wooden snowflakes feel sturdy and heirloom-like, and they survive years of tree decorating. I paint mine white or pale gold, tie them with red ribbon, and hang them low enough for children to admire. One of my wooden snowflakes has a small chip from a fall, and I keep it anyway, because that chip is part of our family’s Christmas story now. I store finished snowflakes flat between sheets of tissue paper until display day.
Pro Tip: Paint both sides and let each side dry fully, or the ornament will stick to the table.
Cost: $5–$12 | Time: 40 minutes plus drying | Difficulty: Easy
Watch out: heavy wooden ornaments can pull down thin branches, so hang them on sturdier inner branches.
4. Snowflake Ornament on the Tree

Placing a snowflake ornament on the tree is a small ritual in my house. I hang the largest snowflake near eye level, where the lights catch it, and tuck smaller ones deeper into the branches. I learned to hang snowflakes last, after baubles and tinsel, because they are easy to crush if you keep reaching past them. Taking a photo before hanging helps me remember which design worked best.
Pro Tip: Hang snowflakes at different depths, not just on the outer tips, for a fuller tree.
Cost: $3–$10 | Time: 20 minutes | Difficulty: Easy
Watch out: wire hooks can scratch delicate snowflake edges, so use ribbon loops instead.
5. Snowflake Market Garland

Inspired by market stalls, I string snowflakes along twine to make a garland for a doorway or mantel. I space them unevenly, with a larger snowflake every third position, and the result looks gathered rather than manufactured. My first garland was perfectly even, and it looked oddly stiff, so I deliberately vary the gaps now. I keep a small box of spare snowflakes for last-minute gifts and cards.
Pro Tip: Tie each snowflake with a small knot, not glue, so you can reuse the garland next year.
Cost: $4–$10 | Time: 45 minutes | Difficulty: Easy
Watch out: a long garland gets heavy, so fix the ends securely and support the middle too.
6. White Snowflake Tree Decoration

A single white snowflake against warm tree lights is one of my favourite sights in December. I use felt or foam snowflakes for this spot, because they do not bend when the tree is brushed. I once used a paper snowflake right by the front of the tree, and it crumpled within a day, so material choice really matters for high-traffic spots. A quick press under a heavy book overnight makes every snowflake lie flatter.
Pro Tip: Choose matte white over shiny white if your tree already has lots of glitter and shine.
Cost: $3–$8 | Time: 15 minutes | Difficulty: Easy
Watch out: felt snowflakes attract dust, so shake them gently before hanging each year.
7. Silver Snowflake Bauble Accent

Silver snowflake baubles add a cool, elegant note to a warm tree. I mix them with plain silver baubles and a few white ones, keeping the palette tight. When I tried adding gold and red as well, the tree looked busy, so I learned that a limited palette lets the snowflake pattern actually be seen. I label the back of each favourite snowflake with the year I made it.
Pro Tip: Place patterned baubles near lights, so the snowflake design catches the glow.
Cost: $5–$12 | Time: 20 minutes | Difficulty: Easy
Watch out: patterned baubles can look plain from the back, so turn the design towards the room.
8. Paper Tree and Snowflake Flat Lay

This is a lovely craft for a table centre or a framed display. I cut a simple tree shape, surround it with snowflakes and stars, and glue everything onto a large sheet. I made one with my niece, and she arranged the snowflakes in a swirling pattern that I would never have thought of. Letting children lead the layout often produces the best result. Extra snowflakes tucked into envelopes make sweet surprises for friends.
Pro Tip: Lay everything out without glue first, photograph it, and then glue from the centre outwards.
Cost: $3–$7 | Time: 40 minutes | Difficulty: Easy
Watch out: glue can wrinkle thin paper, so use small dots and press gently with a dry cloth.
9. Snowflake Gift Wrap Topper

A paper snowflake on top of a plain wrapped gift looks far more special than a shop-bought bow. I wrap in brown paper, tie with twine, and tuck a small snowflake under the knot. I did this for every gift one year, and my family started saving the snowflakes before opening the presents, which felt like a lovely compliment. I save the prettiest failures too, because they often inspire a better design.
Pro Tip: Make the snowflake slightly stiff with a light spray of starch, so it does not flop during delivery.
Cost: $2–$5 | Time: 20 minutes for several | Difficulty: Easy
Watch out: delicate snowflakes crush in a gift bag, so tape them to the outside of the parcel instead.
10. Glitter Snowflake on Black

Black card makes white and silver snowflakes glow, and I use this for a dramatic hallway display. I cut snowflakes from glitter card, mount them on black paper, and frame the whole sheet. It looks surprisingly grown-up, and guests always stop to look closer. I keep this one away from direct sunlight, because glitter card fades faster than I expected. A thin coat of spray starch helps delicate snowflakes hold their shape longer.
Pro Tip: Use a frame with glass, not an open display, to keep glitter from shedding onto the floor.
Cost: $4–$9 | Time: 35 minutes | Difficulty: Easy
Watch out: glitter card is thicker than paper, so use strong scissors and cut slowly around curves.
11. Gold Snowflakes on Blue

Gold on deep blue feels like a winter night sky, and I love this palette for a bedroom or a quiet corner. I scatter gold snowflakes and stars on blue card, keeping the largest snowflake slightly off-centre. My first version was perfectly symmetrical, and it looked like wrapping paper, so a little asymmetry makes it feel like art instead. I test each new design in daylight, since colours look different under lamps.
Pro Tip: Vary the gold finishes, matte and shiny, so the display has depth in low light.
Cost: $4–$9 | Time: 30 minutes | Difficulty: Easy
Watch out: gold foil paper tears easily when folded, so score folds lightly with a ruler first.
12. Frosted Window Snowflakes

For windows, I cut snowflakes from white contact paper or cling film and press them onto the glass. They look like frost from outside, and they peel off cleanly in January. I made a whole window of them one year, and from the street our house looked like a snow globe. That is still one of my favourite December memories. Keeping scissors sharp makes cutting curves far easier and much more enjoyable.
Pro Tip: Dampen the glass very slightly before applying, so you can slide the snowflake into place.
Cost: $3–$7 | Time: 30 minutes | Difficulty: Easy
Watch out: contact paper on old or cracked glass can be hard to remove, so test a small corner first.
13. Frost Pattern Window Display

This display pairs paper snowflakes with a spray-on frost effect around the edges of the window. I tape snowflakes in place first, spray lightly around them, and peel them off to leave clear snowflake shapes in the frost. It looks magical, and children love the reveal moment. I practise on a small mirror first every year, just to check the spray. I hang a test snowflake first, then adjust the rest to match its height.
Pro Tip: Spray in short bursts from a distance, or the frost will run and blur the edges.
Cost: $5–$10 | Time: 40 minutes | Difficulty: Medium
Watch out: frost spray can stain curtains and sills, so mask the edges with old newspaper.
14. Snowy Night Scene Backdrop

Sometimes a snowflake craft is about the scene behind it. I hang large paper snowflakes in front of a dark window at night, with a lamp glowing behind them, and the whole window becomes a winter picture. I tried this on a whim one snowy evening, and it stopped me in my tracks. Simple materials, dramatic result, and no extra cost at all. A spare set of snowflakes means a torn one never ruins the whole display.
Pro Tip: Hang snowflakes on clear thread at different distances from the glass for a layered, three-dimensional look.
Cost: $0–$4 | Time: 25 minutes | Difficulty: Easy
Watch out: thread tangles easily in a draught, so weight the bottom of each strand with a tiny bead.
15. Snowfall Forest Mobile

A mobile of hanging snowflakes turns gently in the warm air above a radiator, and it is mesmerising. I hang snowflakes of different sizes from a wooden hoop, using clear thread, and let them drift. My cat watches it for far too long, which is a warning in itself: hang it high enough that curious paws cannot reach it. I photograph the mobile from below, where the layered shapes look best.
Pro Tip: Balance the hoop by adding snowflakes one at a time and checking that it hangs level.
Cost: $4–$9 | Time: 45 minutes | Difficulty: Medium
Watch out: an unbalanced mobile tilts and tangles, so do not rush the balancing step.
16. Snow Day Photo Snowflakes

On a real snow day, I take my paper snowflakes outside for a photograph beside falling snow. It sounds silly, but comparing a cut paper snowflake with real flakes is a wonderful teaching moment for children. We talk about symmetry, about how no two flakes match, and then we come inside for hot chocolate. The craft becomes a whole afternoon. Warm hands and cold paper do not mix well, so I work at the table indoors.
Pro Tip: Photograph paper snowflakes against a dark coat or glove, so their shape shows clearly.
Cost: $0–$2 | Time: 20 minutes | Difficulty: Easy
Watch out: paper snowflakes wilt in wet snow within minutes, so keep spares dry indoors.
17. Real Snowflake Study Craft

Before cutting, I sometimes study real snow on a dark glove, just to see the shapes nature makes. Then I try to copy one shape in paper, which is much harder than it sounds. I have never copied a real flake perfectly, and that is the point: it teaches patience, observation, and a healthy respect for winter. Children love this challenge. Sketching the design first saves paper and avoids a disappointing final cut.
Pro Tip: Use a magnifying glass outdoors, and sketch the flake quickly before it melts.
Cost: $0–$3 | Time: 30 minutes | Difficulty: Medium
Watch out: bare hands melt snowflakes instantly, so always use gloves for this activity.
18. Winter Landscape Snowflake Art

For a larger art project, I glue paper snowflakes onto a painted winter landscape, with mountains, trees, and a pale sky. The snowflakes sit in the foreground, while the painting stays soft behind them. I framed one of these for my hallway, and visitors often assume it was bought. It was not, and that makes me quietly proud every time I pass it. I frame only the snowflakes that still look crisp after a week on display.
Pro Tip: Glue only the centre of each snowflake, so the edges lift slightly and cast tiny shadows.
Cost: $5–$12 | Time: 60 minutes | Difficulty: Medium
Watch out: heavy glue warps painted paper, so use a thin layer and let it dry flat.
19. Kids Snow Day Snowflake Craft

This is the simplest snowflake session for young children, and it works best after playing outside. I give each child pre-folded paper and safety scissors, and we cut together at the table. There is no right answer, no judging, and every snowflake goes on the window. The pride on their faces when they find their own snowflake is the whole reward. Each child gets their own envelope, so no snowflake gets mixed up or lost.
Pro Tip: Pre-fold the paper for children under seven, so they can focus on the fun cutting part.
Cost: $1–$4 | Time: 30 minutes | Difficulty: Easy
Watch out: safety scissors still need supervision, especially when children are excited and cutting quickly.
20. Night Light Snowflake Display

For a final display, I hang snowflakes near a warm lamp at night, so the light shines through the cut patterns. The shadows they cast on the wall are almost as pretty as the snowflakes themselves. I discovered this by accident, when a snowflake left near a lamp threw a perfect pattern across my ceiling, and now I plan for it deliberately. I step back across the room to check the display, since close-up views can mislead.
Pro Tip: Use thin paper for this display, as thick card blocks the light instead of glowing through it.
Cost: $2–$6 | Time: 25 minutes | Difficulty: Easy
Watch out: keep paper snowflakes well away from hot bulbs, and use LED lamps for this display.
Comparison Table
| Idea Type | Best For | Cost | Time |
|---|---|---|---|
| Paper cuts | Beginners and children | $0–$5 | 15–40 minutes |
| Window displays | Streetside wow factor | $3–$10 | 30–40 minutes |
| Ornaments and garlands | Tree and mantel decorating | $3–$12 | 20–45 minutes |
| Art and mobiles | Statement pieces | $4–$12 | 45–60 minutes |
Mistakes I Made / What I Learned the Hard Way
Cutting through the fold. Early on, I cut straight across a fold and my snowflake fell into two halves. Now I always check which edge is the fold before cutting, and I mark it lightly with a pencil if I am unsure.
Using the wrong paper for windows. I once taped ordinary paper snowflakes to a steamy bathroom window, and they curled and fell within an hour. Windows need contact paper, cling film, or laminated snowflakes, not plain paper.
Making every snowflake the same size. My first window display used twenty identical snowflakes, and it looked flat and dull. Mixing large, medium, and small snowflakes instantly made the display look fuller and more natural.
FAQs
What paper is best for paper snowflakes?
Plain white copy paper is best for learning, because it folds crisply and cuts cleanly. Once you are confident, try coffee filters for delicate snowflakes, or thin craft paper for coloured versions.
How do I make snowflakes that last for years?
Laminate your favourites, or cut them from felt, foam, or thin wood. I laminate one snowflake from each child every year, and we now have a growing collection that comes out every December.
Can I hang paper snowflakes outside?
Not for long, as rain and damp will ruin plain paper quickly. For outdoor displays, use plastic, laminated paper, or wooden snowflakes, and bring paper ones inside at night.
How do I store paper snowflakes?
Press them flat between sheets of tissue paper, stack them in a large envelope, and store them somewhere dry. I label each envelope by year, so I can find a favourite design again without unfolding everything.
Final Thoughts
If you try just one of these diy christmas snowflake craft ideas this year, try the classic six-point paper cut. It takes fifteen minutes, costs almost nothing, and it reminds you why handmade decorations feel so special. Then add a window display or a garland when you are ready. Related article for more paper projects, and Also read for kid-friendly paper crafts. Read this next for ornament ideas to pair with your snowflakes.
I hope your windows fill with snowflakes this December, and that at least one of them makes you stop, smile, and unfold it very slowly.