25 Scrapbook Ideas for Beginners That Make Your Memories Look Like Art
These scrapbook ideas for beginners are the ones I actually finished, not the ones that stayed half-glued in a drawer. I tested each layout with real photos, real glue, and real time limits, and I kept only the spreads that still make me smile when I open the album.
I picked these 25 by starting with the simplest page I know, the all-about-me opener, then adding one new skill at a time, so you can work through the list without buying a craft shop. If you love cutting machines, this Related article is a lovely next step for titles and shapes.
Most spreads cost under $20, take one to two hours, and use supplies you probably already own. I will tell you honestly where each idea gets messy, so you can enjoy the process instead of fighting it.
Key Takeaways
- One hero photo, three supporting photos maximum, and a short honest caption make every spread work.
- Sort photos before buying paper, and lay out the whole page before gluing anything.
- Dates, names, and one remembered detail matter more than stickers or glitter.
- Start with the all-about-me page, then try travel, birthday, and gratitude spreads next.
1. All About Me Opener Page

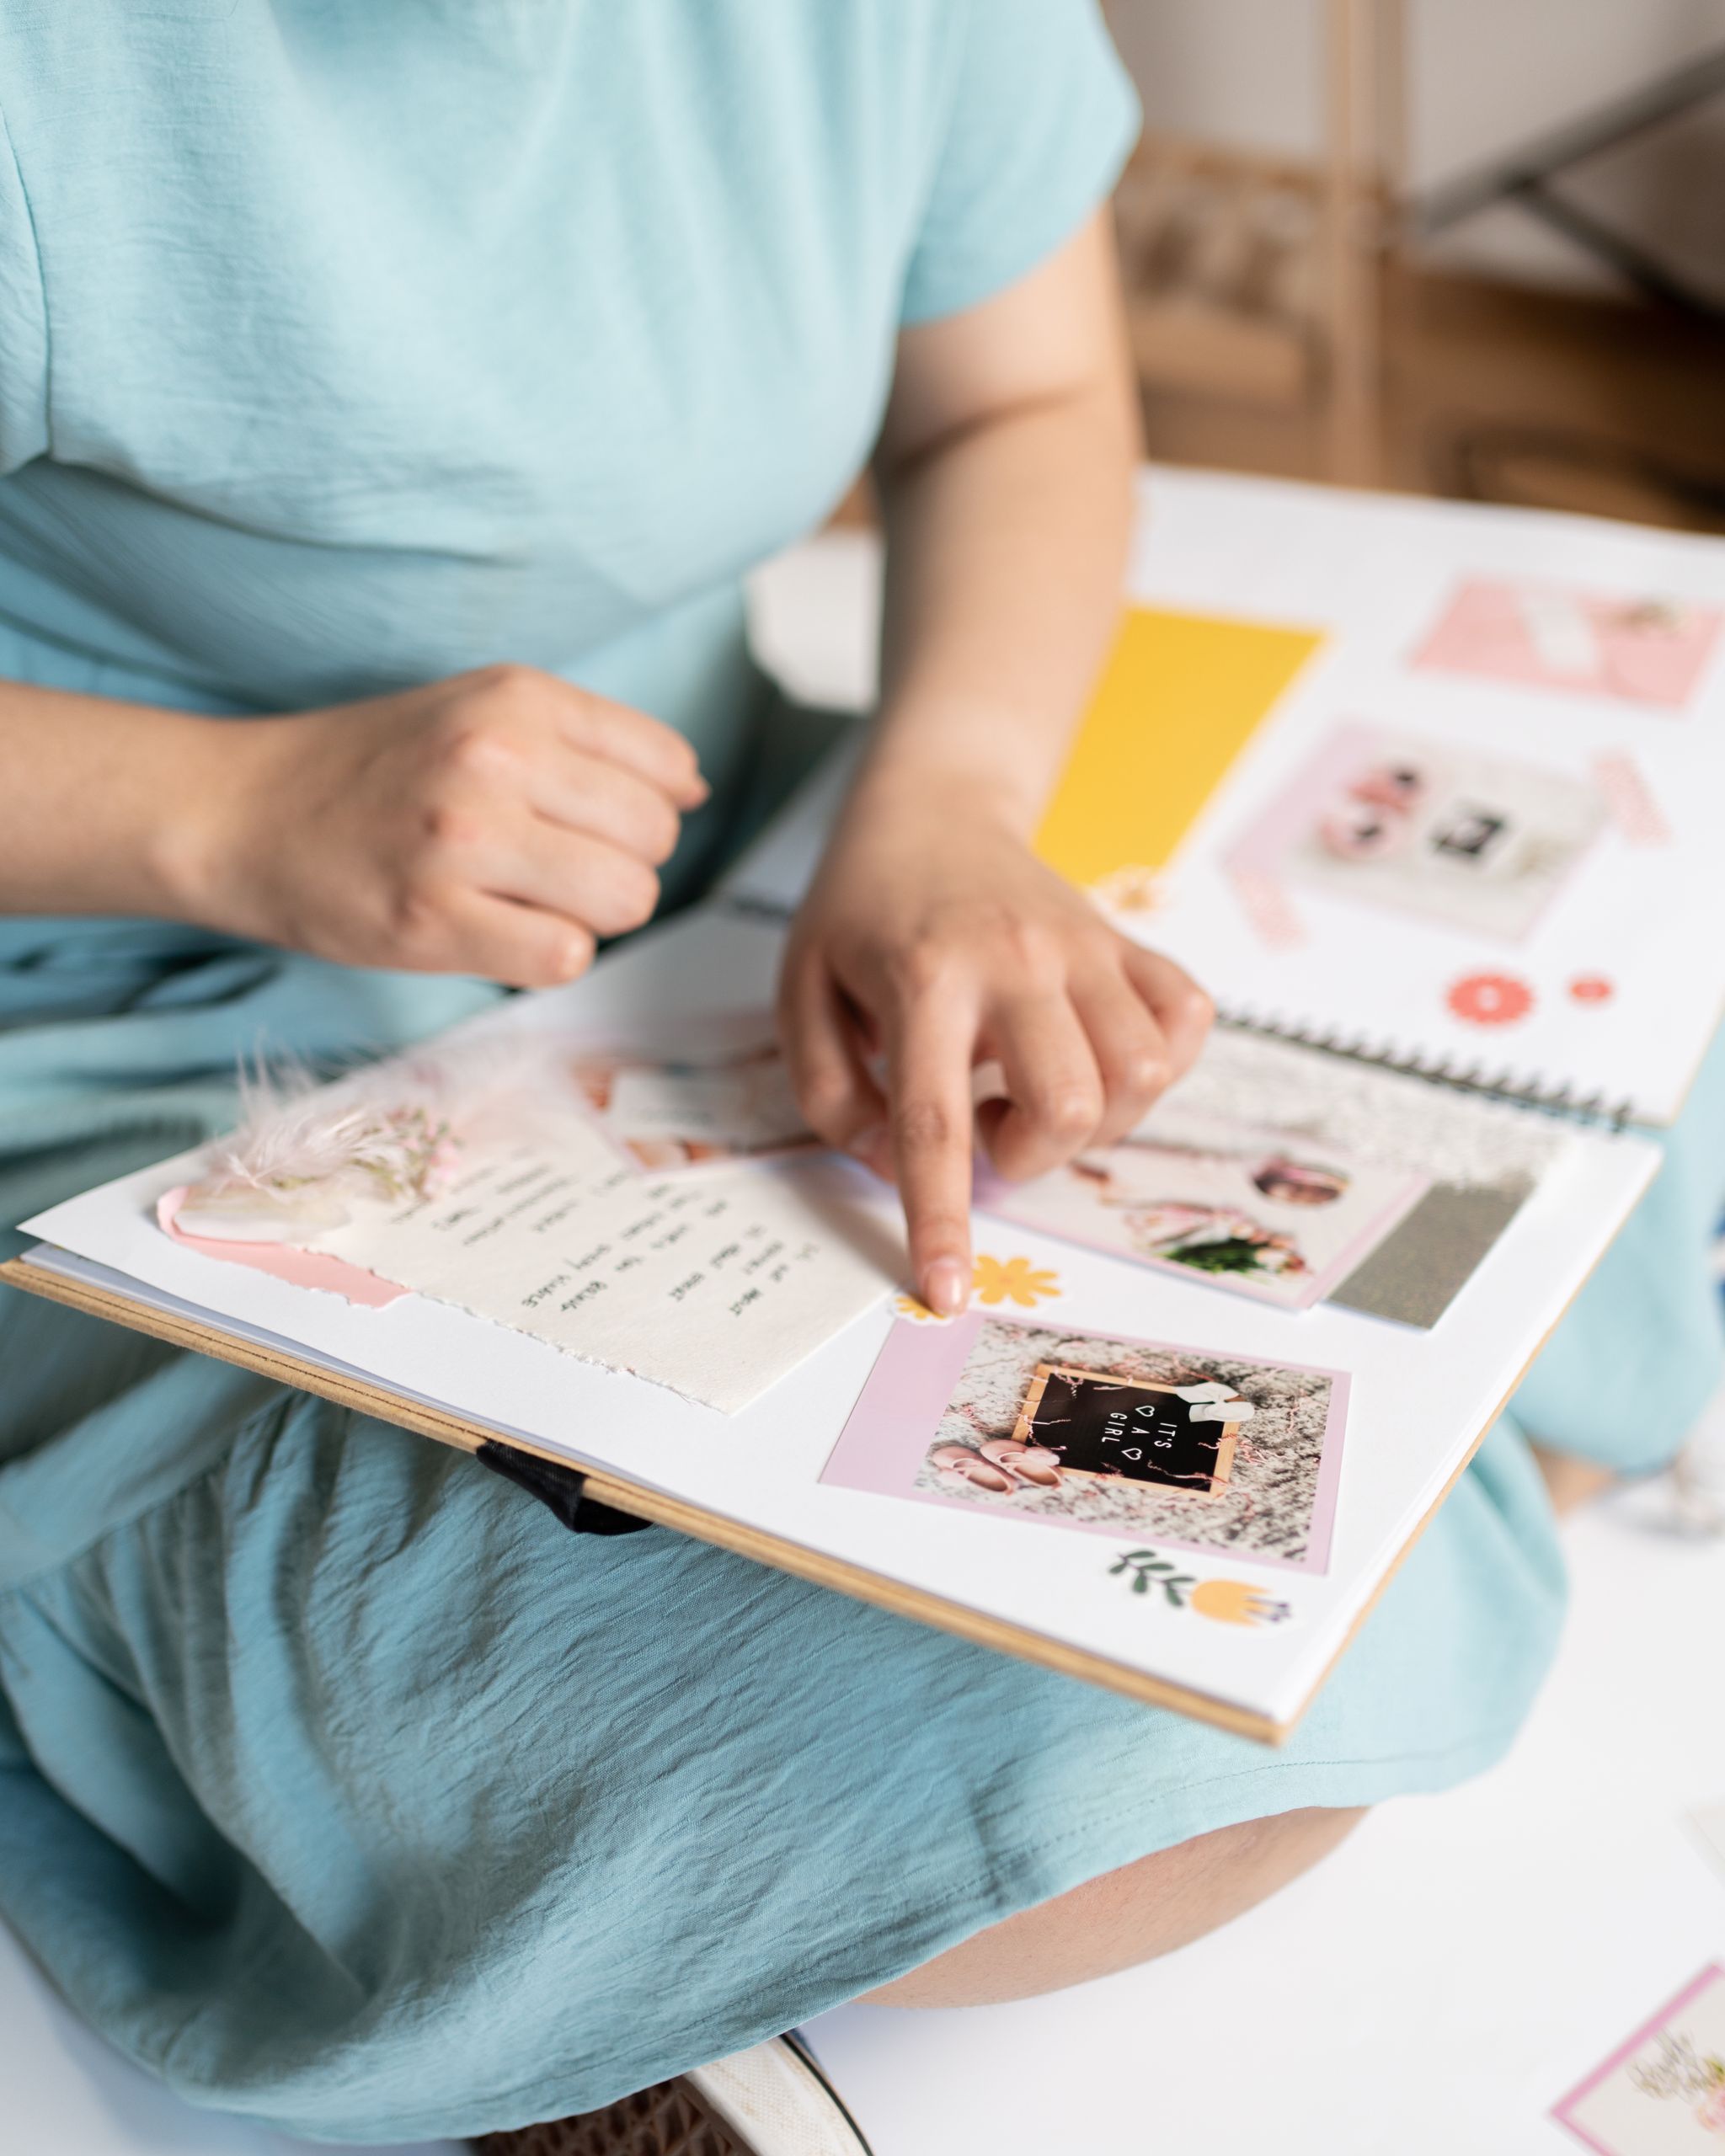
Every scrapbook I love starts with an all-about-me page, because it tells future me who I was when I made it. I used a favourite photo, a short list of likes and dislikes, and one honest line about what I was hoping for that year.
I keep this page simple on purpose: patterned paper, one photo, and handwriting instead of perfect printing. The downside is that writing about yourself feels awkward at first, so I treat it like a letter to a friend. It is now the page I reread most.
Cost / Time / Difficulty: Under $10 / 1 hour / Beginner
Pro Tip: Write your list first on scrap paper, then copy only the lines that still make you smile.
2. Travel Adventures Spread

My travel spreads work best when I plan around one hero photo and a few small keepsakes, like a ticket stub or a café receipt. I lay everything out on the page before gluing anything, then add a short caption about what I actually remember.
I learned this the hard way after gluing a whole trip in the wrong order and running out of room for the best photo. The downside is that travel pages can get cluttered fast, so I limit myself to five photos per spread. It keeps the story clear.
Cost / Time / Difficulty: $10-$20 / 1-2 hours / Beginner
Pro Tip: Glue the biggest photo first, then build smaller photos and paper scraps around it, not the other way round.
3. Birthday Milestones Spread

For birthdays I pick one age, one cake photo, and one detail nobody else would remember, like the song we sang off-key. I add the date in large numbers and a few stickers, then leave a small space for a handwritten wish.
I made one for my fortieth and wrote the wish last, after looking at the photos again, which made it far more honest. The downside is that birthday pages invite every photo you own, so I cap it at six. Less really does look better here.
Cost / Time / Difficulty: $5-$15 / 1-2 hours / Beginner
Pro Tip: Choose the photo where everyone looks happy, not the one where everyone looks perfect.
4. Baby’s First Year Album
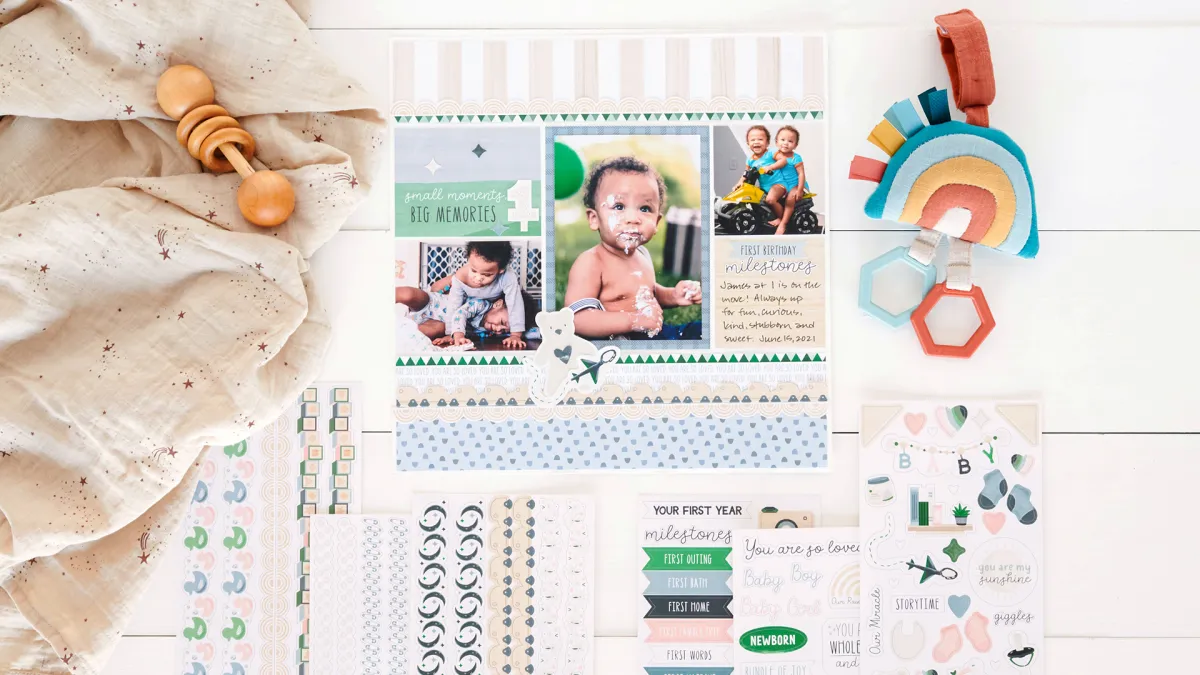
A first-year album feels huge until you break it into months: one photo, one milestone, and one tiny story per month. I used soft pastel paper, monthly stickers, and short captions like first tooth, first steps, and first haircut.
I made this for my nephew and cried writing the captions, because a year passes so fast when you see it on twelve pages. The downside is that baby photos multiply endlessly, so I let his mum pick just one per month. That rule saved the whole album.
Cost / Time / Difficulty: $15-$30 / A weekend / Easy
Pro Tip: Sort photos by month before you buy anything, or you will buy paper for photos you never use.
5. Wedding and Anniversary Pages

Wedding pages deserve slow, simple layouts: one large photo, cream or blush paper, and a vow or lyric that still means something. I add the date, the venue, and one small keepsake, like a dried petal from the bouquet.
I remade my own anniversary page after the first version buried our photo under too much glitter. The downside is that wedding paper tempts you to over-decorate, so I now use three embellishments maximum. The photo should always win.
Cost / Time / Difficulty: $10-$25 / 2-3 hours / Easy
Pro Tip: Mat the main photo on a slightly larger card colour, which instantly makes it look professionally finished.
6. Four Seasons Scrapbook

A four-seasons book gives you four ready-made chapters, and I love how it shows a year changing. I used green for spring, gold for summer, rust for autumn, and icy blue for winter, with one photo and one nature note per season.
I started mine in January and finished it in December, adding pages as the year went on. The downside is that waiting a whole year tests patience, so I also made a quick version from old photos in one weekend. Both versions hang proudly on my shelf.
Cost / Time / Difficulty: $15-$30 / Ongoing / Easy
Pro Tip: Pick one colour per season and repeat it on every page, so the whole book feels connected.
7. Family Recipes Scrapbook

My recipe scrapbook is the one my family actually uses: handwritten recipes, a photo of the cook, and a note about who always asks for seconds. I protect each page with a clear sleeve, because kitchen hands are messy hands.
I copied my grandmother’s soup recipe in her exact words, including her pinch of this and dash of that, and it tastes like childhood every time. The downside is that sleeves add bulk, so I use a thicker album. It is worth it for stain-free pages.
Cost / Time / Difficulty: $10-$20 / 2-3 hours / Easy
Pro Tip: Write one honest tip per recipe, like which pan actually works, so the book helps the next cook too.
8. Garden Journal Scrapbook
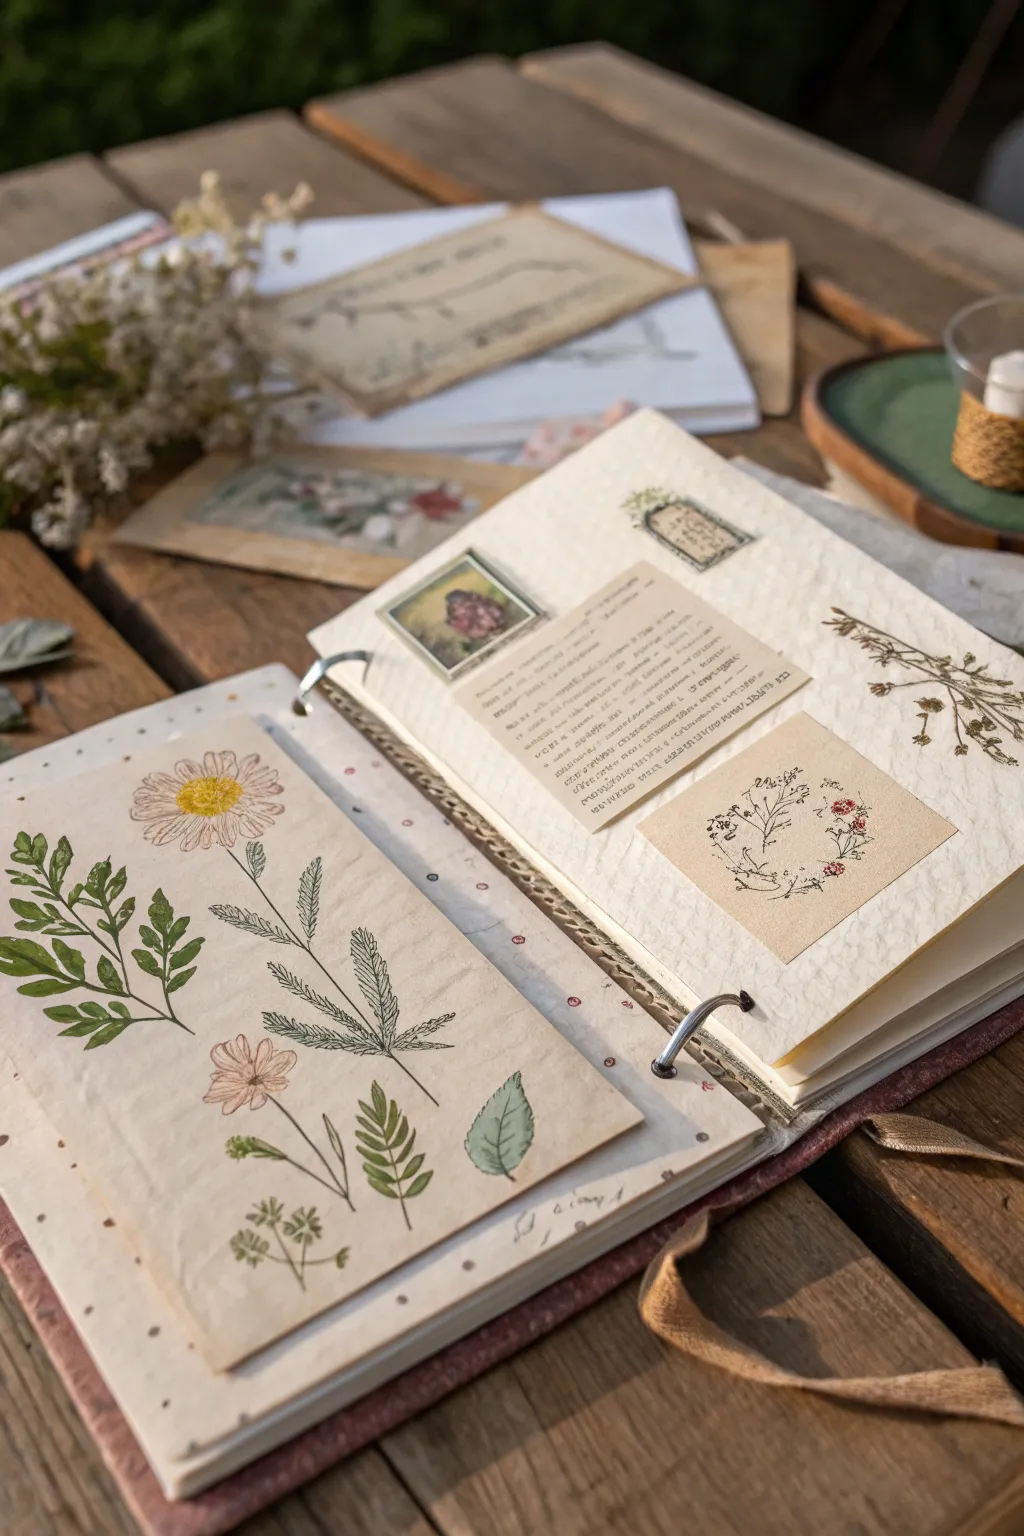
A garden scrapbook is part diary, part science experiment: seed packets, pressed leaves, and notes about what grew and what flopped. I glue in the packet, add the planting date, and photograph the same bed each month.
My tomato page is gloriously honest, with a note that I planted too many and gave half away. The downside is that pressed leaves crumble, so I laminate the fragile ones. It is the scrapbook I consult every spring before planting again.
Cost / Time / Difficulty: $5-$15 / Ongoing / Beginner
Pro Tip: Date every entry, because a garden note without a date is useless next year.
9. Friendship Scrapbook

Friendship pages are my favourite gift, because they say what a text message cannot. I use candid photos, not posed ones, plus ticket stubs, silly notes, and one page per friend with a memory only the two of us share.
I made one for a friend moving away and she kept it on her bedside table for months. The downside is that choosing photos for a whole friendship takes time, so I ask the friend to pick their top five. It makes the book feel shared, not one-sided.
Cost / Time / Difficulty: $10-$20 / 2-3 hours / Easy
Pro Tip: Use candid, laughing photos; posed photos look like a yearbook, not a friendship.
10. School Years and Graduation

School scrapbooks work best as a timeline: first day, favourite teacher, proud moment, and graduation day. I add report-card jokes, not grades, and a photo of the outfit that felt so grown-up at the time.
I made one for my niece’s graduation and included her shaky first-day photo beside her confident final photo, which made everyone emotional. The downside is that school years generate boxes of paper, so I photograph bulky art and scrapbook the photo instead.
Cost / Time / Difficulty: $10-$20 / 2-4 hours / Easy
Pro Tip: Photograph oversized school art and include the photo, so the album stays a size you can actually lift.
11. Christmas Memories Spread

Christmas pages should feel warm, not perfect, so I use one tree photo, one gift-opening photo, and a note about the year the lights would not work. I add red and green paper, but I keep the layout calm so the photos shine.
I love rereading the note about my dad untangling lights for an hour, because that is the memory, not the perfect tree. The downside is that Christmas photos are often dark indoors, so I brighten prints before gluing. It makes a real difference.
Cost / Time / Difficulty: $10-$20 / 1-2 hours / Beginner
Pro Tip: Print indoor photos slightly brighter than they look on screen, or they will look muddy on paper.
12. Summer Beach Days

Beach pages need colour and sand-proof simplicity: bright paper, one big sea photo, and a caption about the coldest swim or the best ice cream. I avoid glitter here, because it sticks to everything in a beach album forever.
I made a beach spread after a trip where we got rained on, and it is still funny because I wrote the truth about it. The downside is that beach photos all look alike, so I pick one wide shot and one close-up detail per day. That contrast tells the story.
Cost / Time / Difficulty: $5-$15 / 1-2 hours / Beginner
Pro Tip: Add one non-beach detail, like a café receipt, so the page feels like a real day, not a postcard.
13. Pet Pages
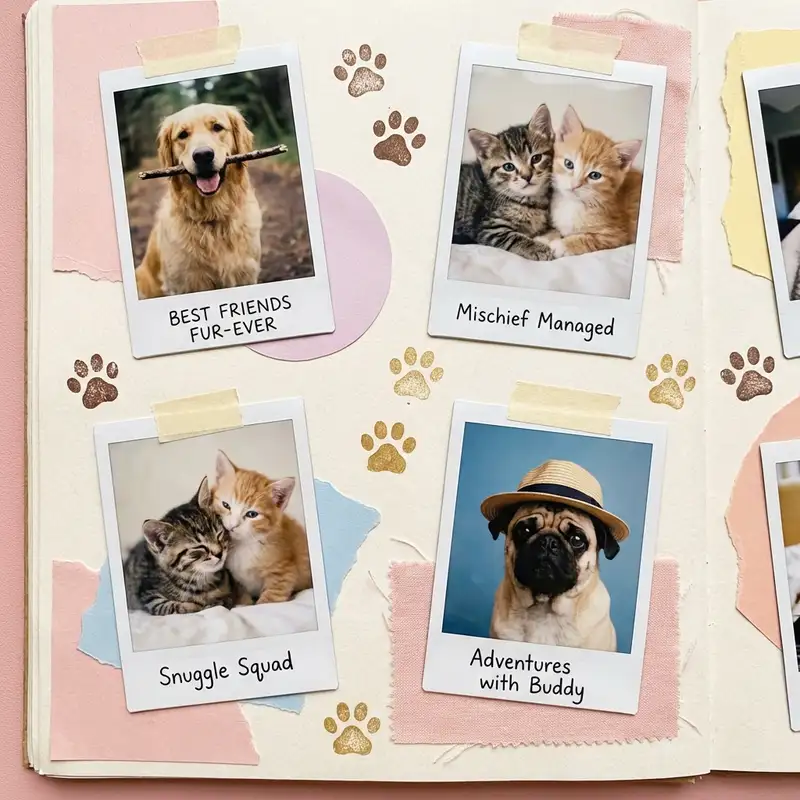
Pet pages are pure joy: one favourite portrait, a paw-print stamp, and a note about a habit only your pet has. I keep the layout simple and let the photo do the talking, with a short caption about the day the photo was taken.
My dog’s page includes the story of him stealing a whole sandwich, which still makes me laugh. The downside is that pet photos are endless, so I limit each spread to three photos and one story. It keeps the album from becoming a blur of fur.
Cost / Time / Difficulty: $5-$15 / 1 hour / Beginner
Pro Tip: Use a paw-print stamp or a traced paw outline as the page border; it is simple and instantly personal.
14. Gratitude Journal Scrapbook

A gratitude scrapbook is slower and kinder than a regular album: one small thing per page, a photo if you have one, and a sentence about why it mattered. I use calm colours and lots of white space, so the pages feel peaceful.
I started one during a hard month and it genuinely changed how I noticed ordinary days. The downside is that gratitude pages can feel forced if you try to fill one daily, so I do one a week. Weekly gratitude feels honest, not homework.
Cost / Time / Difficulty: Under $10 / 30 minutes per page / Beginner
Pro Tip: Write the reason, not just the thing: not coffee, but coffee with my sister on a rainy morning.
15. Concert and Ticket Stub Pages
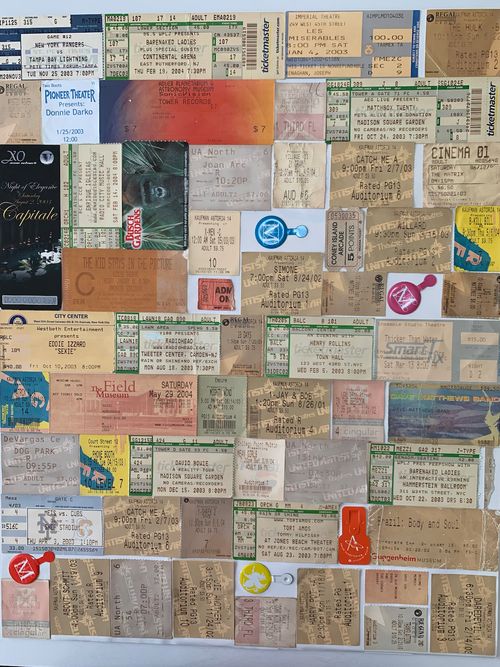
Ticket stubs deserve better than a drawer, so I build a page per concert: the stub, one crowd photo, and the setlist or the song I still hum. I use dark paper for rock shows and bright paper for pop, which sounds silly but looks great.
I kept every stub from my twenties in a shoebox, and turning them into pages finally let me enjoy them. The downside is that old stubs fade, so I photograph them before gluing. That way the memory survives even if the ink does not.
Cost / Time / Difficulty: $5-$15 / 1 hour / Beginner
Pro Tip: Photocopy or photograph fragile stubs first, then glue the copy and keep the original safe.
16. Family Tree Heritage Pages

A family tree page starts with what you know, not what you wish you knew: names, dates, and one photo per person if you have it. I draw a simple tree, add short notes like born in, loved, and known for, and leave blanks honestly.
I made one with my mum and learned stories I had never heard, including a great-aunt who ran a bakery. The downside is that missing photos and dates can frustrate you, so I label gaps as to be discovered. It makes the book feel alive, not unfinished.
Cost / Time / Difficulty: $10-$20 / 2-4 hours / Easy
Pro Tip: Interview one older relative before you start; one conversation fills more branches than a week of guessing.
17. First Home and Moving Day

Moving-day pages capture a chaotic, happy day: the empty rooms, the first meal on boxes, and the key photo by the new door. I add the address, the date, and one line about what home meant that day.
I made one for our first flat and included a photo of us eating takeaway on the floor, which is still my favourite page. The downside is that moving day is too busy for perfect photos, so I take quick phone shots and print the honest ones later.
Cost / Time / Difficulty: $5-$15 / 1-2 hours / Beginner
Pro Tip: Take a photo of every empty room before boxes arrive; you will never see it that empty again.
18. Autumn Road Trip Spread

Road-trip pages need a route, not just photos: a simple map line, one photo per stop, and a note about the best meal or the worst wrong turn. I use autumn colours and leaf stickers, but I keep the map as the star.
Our autumn trip page includes the wrong turn that led to the best farm shop, which is exactly why I scrapbook. The downside is that road trips generate hundreds of photos, so I pick one per stop before I start gluing. The route stays readable.
Cost / Time / Difficulty: $10-$20 / 2 hours / Easy
Pro Tip: Draw the route first in pencil, then place photos along it, so the journey reads left to right.
19. Winter Snow Days

Winter pages love white space, silver paper, and one bright accent, like a red scarf in a snowy photo. I add the temperature, the first-snow date, and a note about hot chocolate afterwards, because those details fade fastest.
I made a snow-day page with my kids and included their snowman, which melted by morning but lives on in the album. The downside is that snow photos overexpose easily, so I print them slightly darker. It brings back the snow texture beautifully.
Cost / Time / Difficulty: $5-$15 / 1-2 hours / Beginner
Pro Tip: Print snow photos a touch darker than screen brightness, or the snow will look like a blank page.
20. Spring Blooms Scrapbook
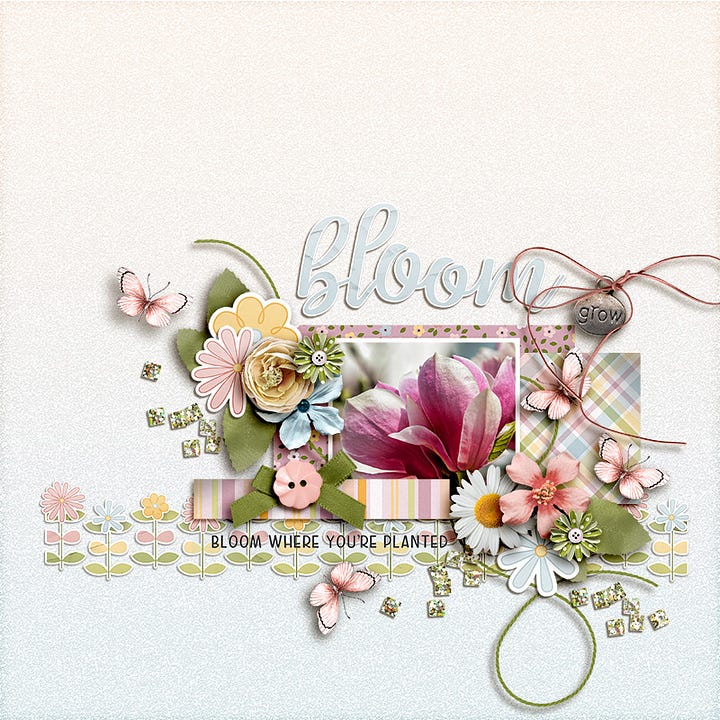
Spring pages are my colour therapy: blossom photos, pressed petals, and a note about the first flower I spotted each year. I use pastel paper and keep the layout airy, with one large bloom photo per page.
I press a blossom every spring now, and comparing years in one album feels like watching time bloom. The downside is that pressed petals fade, so I photograph them too and add the photo beside the real petal. Both versions tell the story.
Cost / Time / Difficulty: $5-$15 / 1-2 hours / Beginner
Pro Tip: Press petals between paper towels in a heavy book for two weeks before gluing them in.
21. Kitchen Wins and Recipe Fails

This is my funniest scrapbook: burnt toast, lopsided cakes, and the one perfect roast, all with honest captions. I include the recipe, the mistake, and what I would change, because a perfect-only cookbook teaches nobody anything.
My burnt-cake page is a family favourite, complete with a photo of the smoke alarm moment. The downside is that photographing failures feels embarrassing at first, but it is the page everyone asks to see. Honesty makes scrapbooks memorable.
Cost / Time / Difficulty: Under $10 / 1 hour / Beginner
Pro Tip: Write the mistake in the caption; future you will thank present you for the warning.
22. Game Day and Sports Pages

Sports pages work when you capture the noise: team colours, a ticket or programme, and a caption about the winning goal or the rain-soaked loss. I use bold paper and big numbers for the score, which makes the page feel like a match day.
I made a game-day page for my brother and included his muddy boots photo, which he loved more than any action shot. The downside is that action photos blur, so I use one sharp crowd or celebration photo as the hero instead.
Cost / Time / Difficulty: $5-$15 / 1-2 hours / Beginner
Pro Tip: Use the score as a design element in huge numbers; it anchors the whole page instantly.
23. Mixed Media Art Journal Pages

Mixed media pages break every scrapbook rule in the best way: paint, torn paper, stamps, and handwriting layered together. I start with a wash of colour, add torn paper shapes, then write one honest sentence over the top.
I made my first mixed media page when words alone felt too small for the memory, and it freed up my whole scrapbooking style. The downside is that wet paint wrinkles paper, so I use heavier card or gesso first. It is messy, joyful, and very forgiving.
Cost / Time / Difficulty: $10-$20 / 1-2 hours / Intermediate
Pro Tip: Seal paint layers with a light gesso or matte medium coat before adding paper on top.
24. Letters to Your Future Self

A future-self page is a time capsule in an album: a letter, a current photo, and three predictions for five years ahead. I seal the letter in an envelope glued to the page, so opening it later feels like a real event.
I wrote one at thirty and opened it at thirty-five, and my predictions were hilariously wrong in the best way. The downside is that sealing a letter means you cannot peek, so I write a copy for myself too. The sealed original stays special.
Cost / Time / Difficulty: Under $10 / 1 hour / Beginner
Pro Tip: Date the envelope clearly and write open on on the front, or you will forget when to open it.
25. Year in Review: Twelve Months

A year-in-review spread is my favourite December project: twelve small photos, one per month, in a grid, with one word per month underneath. I pick the word after looking at the photos, not before, so it stays honest.
I made one for last year and the word for March was muddy, which made us all laugh and remember the trip perfectly. The downside is that choosing twelve photos from a year is hard, so I shortlist in January each month as I go. Next December is easy.
Cost / Time / Difficulty: $10-$20 / 2-3 hours / Easy
Pro Tip: Shortlist one photo per month during the year, so December becomes assembly, not archaeology.
Comparison Table: Which Idea Fits Your Day?
| Idea | Best For | Cost | Effort |
|---|---|---|---|
| All About Me | A new album | Under $10 | Low |
| Travel Adventures | A holiday | $10-$20 | Low |
| Baby’s First Year | A new baby | $15-$30 | Medium |
| Family Recipes | A family gift | $10-$20 | Low |
| Year in Review | December | $10-$20 | Medium |
| Mixed Media | Creative freedom | $10-$20 | Medium |
Mistakes I Made (So You Don’t Have To)
Gluing before laying out: I ruined a travel spread by gluing in the wrong order, and now I photograph my layout before any glue touches paper.
Buying paper before sorting photos: I own a drawer of unused paper from albums I never finished, so I sort photos first, every time.
Over-decorating wedding pages: glitter and stickers buried our photo, and now I use three embellishments maximum on important pages.
Skipping captions: a beautiful page without a date or a name confused me a year later, so I write the who, where, and when on every spread.
Scrapbook Ideas for Beginners: Your Questions, Answered
What supplies does a beginner actually need?
An album, a paper trimmer, adhesive, patterned paper, and a pen. Everything else, like stickers and stamps, is optional and can wait until your second album.
Should I print photos at home or use a shop?
A shop gives steadier colour for important pages, while home printing is fine for everyday spreads. I use a shop for wedding and baby pages, and home prints for the rest.
How do I scrapbook if I have too many photos?
Pick one hero photo per spread and three supporting photos maximum. The rest can live in a digital folder, and the album stays enjoyable instead of overwhelming.
Can I scrapbook digitally and still call it scrapbooking?
Absolutely. Digital pages follow the same rules: one story, a few photos, and honest captions. Print your favourites, because a printed book gets opened far more often.
Final Thoughts
My favourite scrapbook is not the prettiest one; it is the messy, honest one with burnt cake, wrong turns, and muddy March. That is what scrapbooking is really for: keeping the truth of a life, not just the highlight reel.
If you try just one idea this weekend, make it the all-about-me page or a gratitude page, then come back for travel and year-in-review spreads. And if you enjoy making things by hand, this Read this next guide is a cosy companion project for a scrapbooking evening.
Start tonight, with one photo and one sentence. That is what these scrapbook ideas for beginners are really about: That is a scrapbook, and it is already art. For another hands-on craft to pair with your album, Also read this clay pot guide, which makes a lovely handmade gift to go with a friendship scrapbook.