
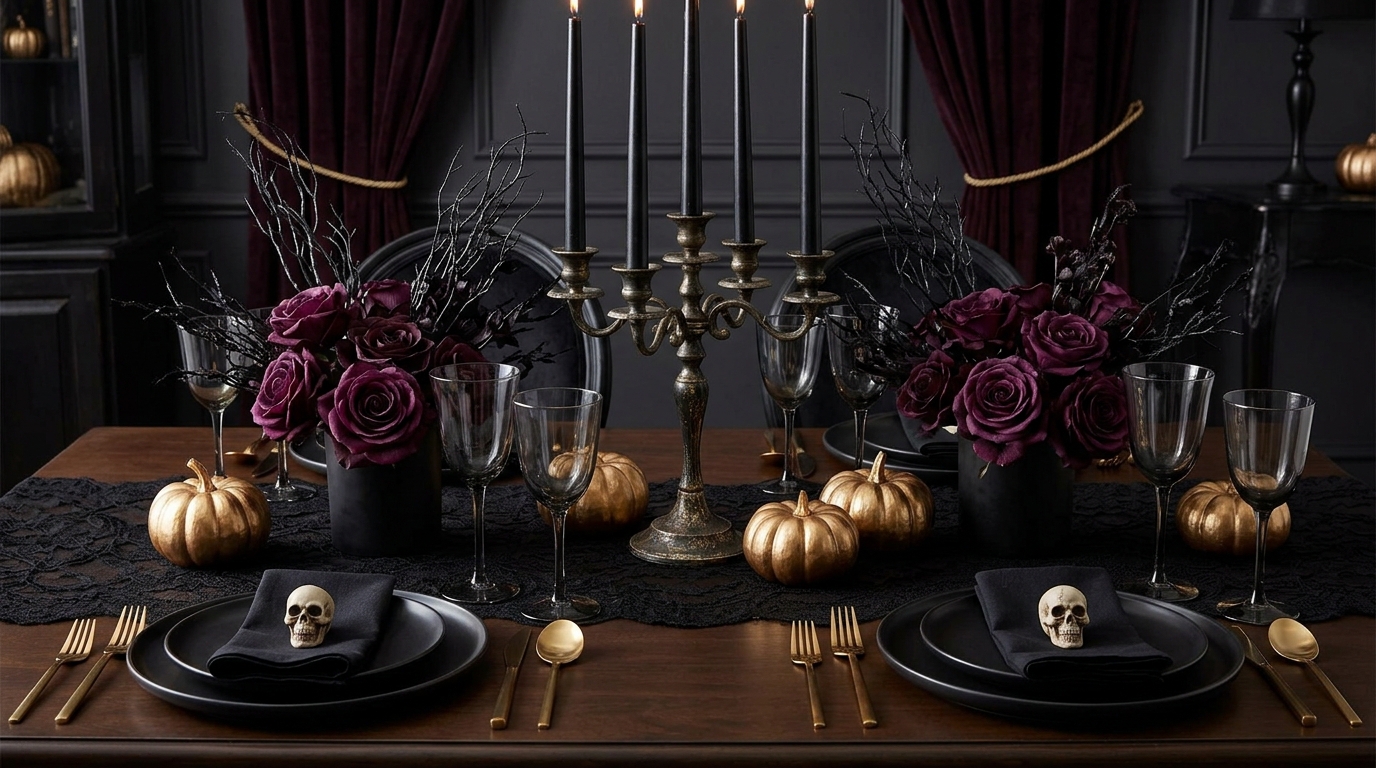
21 Halloween Table Decoration Ideas (Elegant to Spooky, From $10)
My dining table is one of the easiest places to make Halloween feel intentional because I only have one defined area to decorate. Instead of filling the room with seasonal props, I can focus on a runner, a simple color palette, one focal point, and useful details around each seat.
I’ve found that the most successful tables are not necessarily the ones with the most decorations. Using plates, glasses, and serving pieces I already own lets me put more of the budget toward a few seasonal accents that actually change the look.
The 21 ideas below cover four different approaches: elegant black and gold, traditional orange and purple, gothic dinner party, and a practical kids’ table. I’ve included approximate costs, setup times, and the situations where each idea makes the most sense.
These 21 Halloween table decoration ideas range from simple $10–$15 accents to complete tables for eight that can cost roughly $45–$50. Actual costs will vary by retailer and by how much tableware and decor I already have.
My basic decorating method uses five stages: start with the tablecloth or runner, plan the centerpiece area, add lighting, arrange the place settings, and finish with one small seasonal detail.
For a dining table, I make conversation and eating space part of the decorating plan. A centerpiece should add atmosphere without forcing guests to lean around it, and the front of every place setting needs enough room for plates, glasses, utensils, and elbows.
Save this for later
Table of Contents
For family gatherings, I also consider safety before choosing decorations. LED lighting is often easier around children, while balloons, small decorative pieces, craft supplies, and food-related favors need age-appropriate handling.
Key Takeaways
- Choose one main palette instead of mixing too many Halloween colors.
- Build the table around one focal point rather than filling every open space.
- Keep the centerpiece low enough for conversation or clearly elevated above the sight line.
- LED candles are a practical option for busy tables, children, costumes, paper, and fabric.
- A runner, pumpkins, coordinated place settings, and lighting can create most of the seasonal effect.
- Prepare the centerpiece and nonperishable decorations ahead of time whenever possible.
- For children’s tables, prioritize washable surfaces, activity space, age-appropriate materials, and food awareness.
Related article: 25 Dollar Store Halloween Decorations That Look High-End (DIY Hacks)
How Do You Decorate a Table for Halloween?
I work from the table outward in five stages.
1. Base layer: Start with a tablecloth, runner, lace, burlap, or kraft paper. This establishes the main color and texture.
2. Centerpiece: Decide where the main visual focus will sit. I leave enough surrounding space for serving dishes and avoid placing decorations where guests need to reach.
3. Lighting: Add LED tea lights, puck lights, or flameless tapers where they support the centerpiece rather than compete with it.
4. Place settings: Set out plates, glasses, napkins, and utensils before adding decorative details. This prevents me from using space that guests actually need.
5. Finishing detail: Add one small Halloween touch per seat or in another open area, such as a pumpkin name card, decorative key, or themed napkin.
For a table of eight, about 30–60 minutes is a reasonable personal planning estimate when the supplies are ready and the centerpiece has already been assembled. A more involved arrangement may take longer.
Elegant Black and Gold Tablescapes
1. The Full Black-and-Gold Table
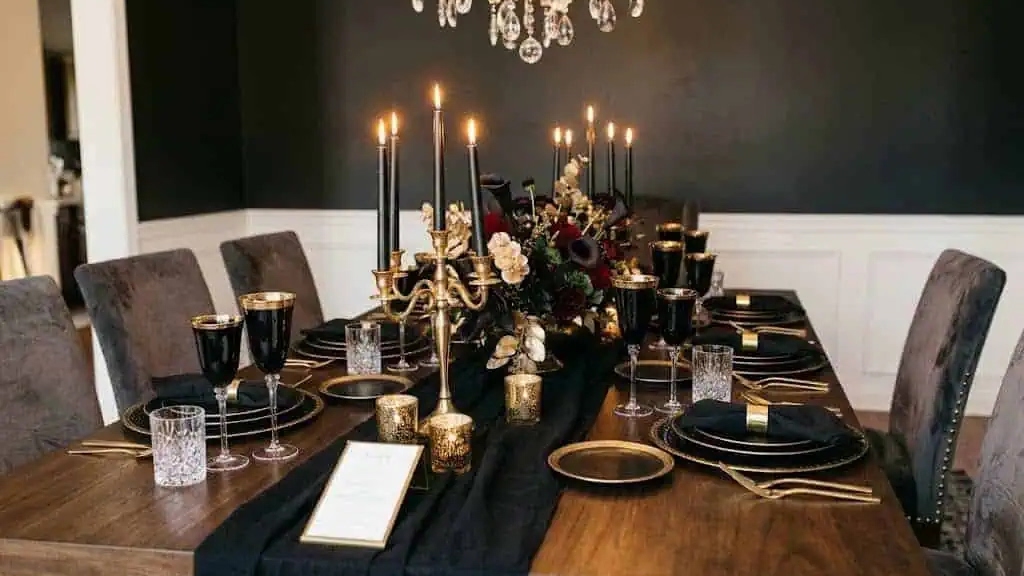
A black-and-gold table gives me a polished Halloween look without relying on graphic or overly spooky decorations. I start with a black tablecloth, then layer in gold chargers, white plates, gold-painted mini pumpkins, and black candleholders.
The important part is coordination. Instead of adding gold to every object, I repeat it across a few details so the table feels connected.
For eight seats, I’d estimate about $35–$45 if I need to buy most of the seasonal pieces. The total can be lower when the plates, glasses, and candleholders are already in my cupboard.
Best for: Adult dinner parties and hosts who want Halloween atmosphere without a heavily themed table.
Setup time: About 45 minutes.
2. Gold-Dipped Pumpkin Place Cards
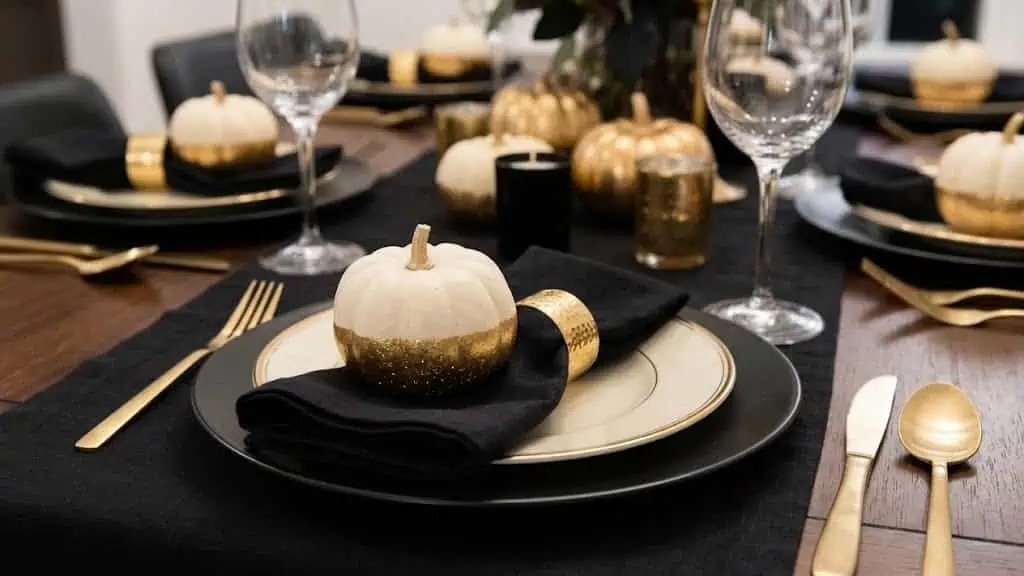
Mini pumpkins can handle two jobs at once: decorating the table and showing guests where to sit. I can paint or cover the lower half with a gold finish, then attach a small name tag to the stem.
The pumpkins work best when the finish is completely dry before they are placed near the tableware. Real or faux mini pumpkins can both work, depending on whether I want a natural accent or something reusable.
For eight guests, I’d budget roughly $10–$15 depending on the pumpkins and finishing supplies.
Best for: Sit-down dinners where place cards can also become small take-home favors.
Setup time: About 30 minutes, plus drying time if I paint them.
3. Taper Candle Runway
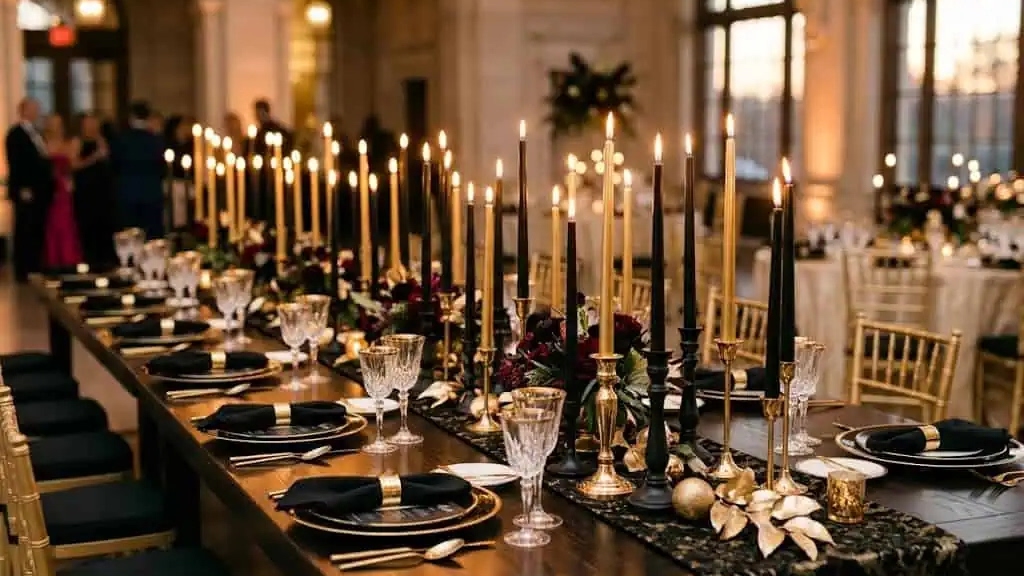
Instead of building one central centerpiece, I can create a long visual line with five to seven black candleholders placed down the table.
Varying the holder heights gives the arrangement more dimension. For a busy dining table, I use flameless taper candles so the repeated candle effect doesn’t introduce open flames near napkins, sleeves, or other decorations.
The cost is roughly $15–$20 if I need to buy the holders and LED tapers.
Best for: Creating a dramatic linear centerpiece without flowers or complicated crafting.
Setup time: About 15 minutes.
4. Gilded Skull Centerpiece Bowl
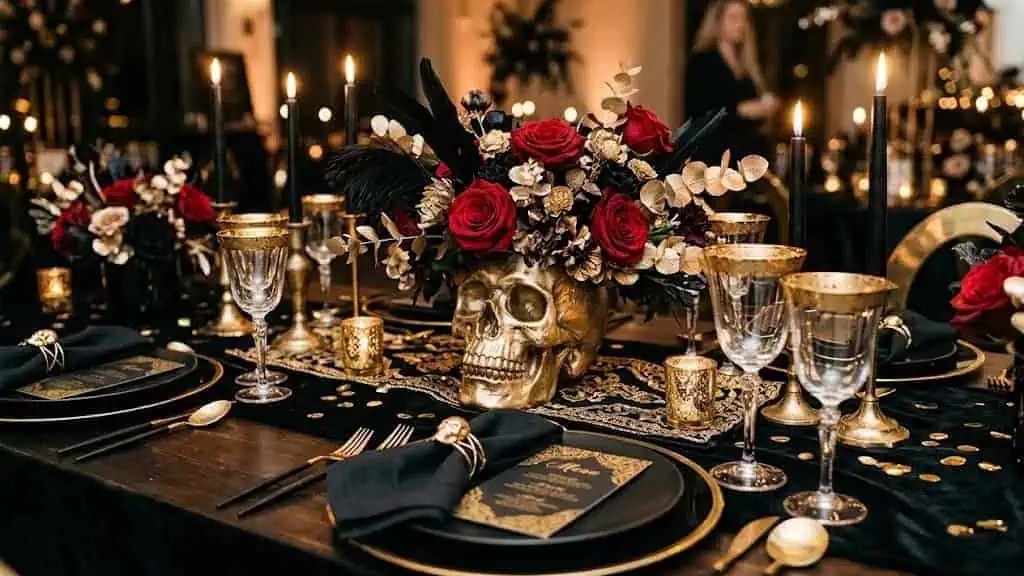
This idea is much more focused than a complete tablescape. I use a low black bowl as the base, add one or two lightweight decorative skulls, and surround them with dark faux stems.
A metallic finish on the skulls gives the arrangement a more refined appearance while the black bowl keeps the whole piece grounded.
I’d expect to spend approximately $12–$16 depending on the bowl, skulls, and faux stems.
Best for: A low, dramatic centerpiece that leaves the rest of the table relatively open.
Setup time: About 20 minutes.
5. Black Lace Overlay
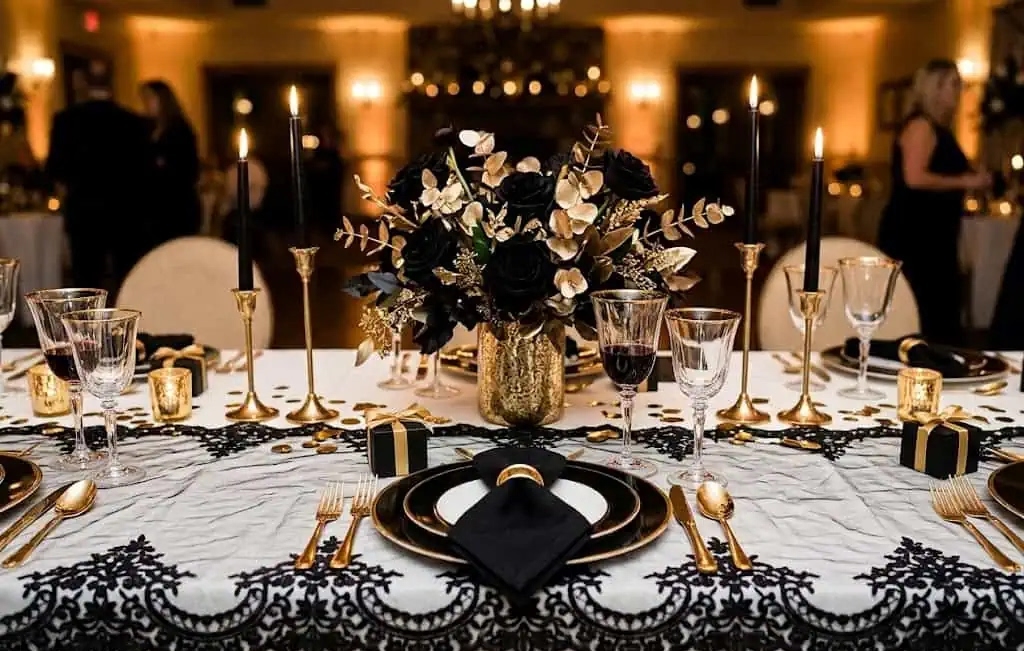
A piece of black lace can completely change a plain table without much work. I place it over a white or neutral tablecloth so the pattern remains visible.
This is primarily a textile update rather than a collection of decorations, which makes it useful when I want a quick Halloween transformation.
A fabric-store remnant or inexpensive lace panel may cost around $8–$12, depending on size and material.
Best for: A fast, inexpensive change when I already have a basic tablecloth.
Setup time: About 5–10 minutes.
6. Amber Glass Moment
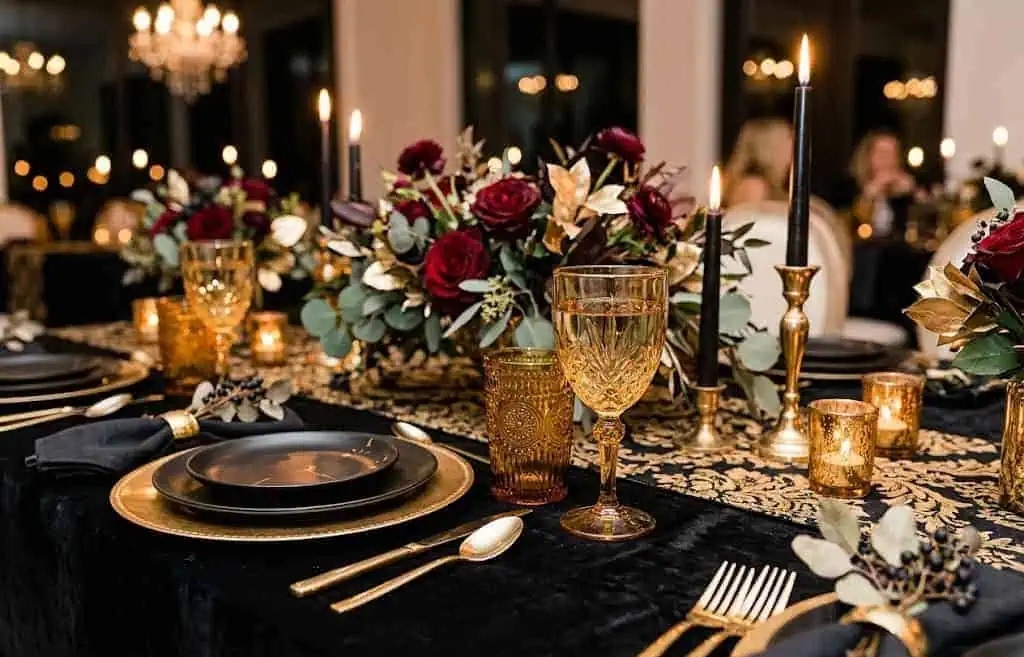
Rather than decorating every part of the table, I can make the glassware itself the seasonal accent. Amber or smoke-colored tumblers add warmth and look especially good when the table is lit with soft LED lights.
This works well when I want Halloween styling to be noticeable without using pumpkins, spiders, skulls, or other obvious props.
A set of eight inexpensive glasses may cost roughly $10–$20, although using existing glassware keeps the cost much lower.
Best for: A subtle Halloween table where the seasonal detail is concentrated at eye level.
Setup time: About 10 minutes.
Pro Tip: When I want black-and-gold decor to feel more sophisticated, I repeat the gold in only a few places rather than covering every item in metallic finishes. A small amount of contrast usually has more impact than a table full of matching accessories.
Classic Orange and Purple Tables
7. Pumpkin Patch Runner
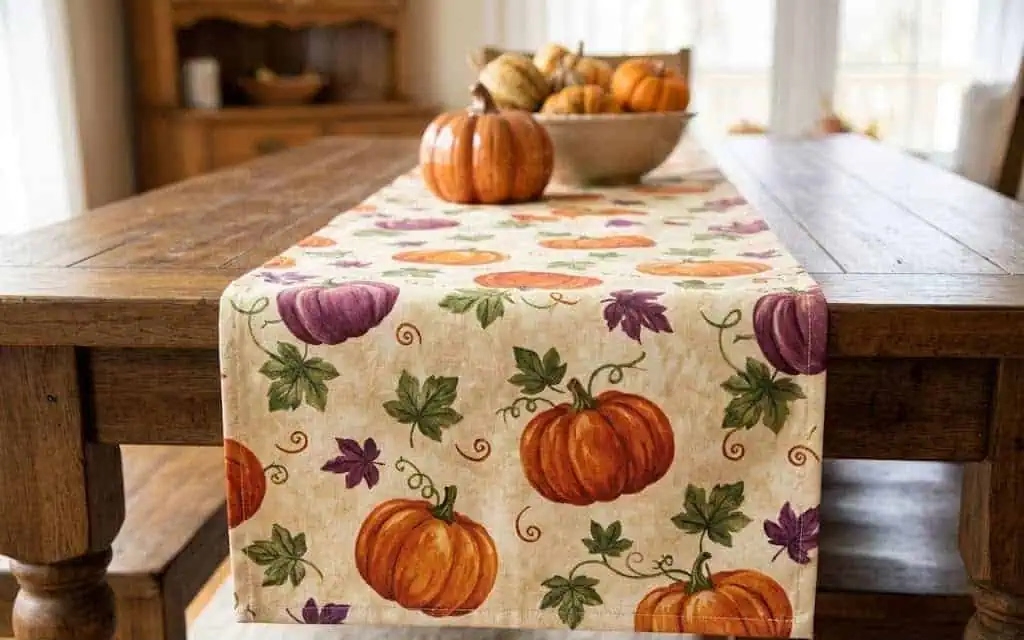
For a traditional fall-Halloween table, a burlap runner gives me a natural base for mini pumpkins and gourds. I arrange them in a loose line rather than making the centerpiece perfectly symmetrical.
Small LED tea lights can be tucked between the pumpkins for evening meals. The combination of natural textures, orange tones, and warm lighting works beyond Halloween as well.
A basic version should cost roughly $15–$20, depending on the number and size of pumpkins.
Best for: Family dinners and traditional fall decorating that can transition into early November.
Setup time: About 20 minutes.
8. Purple Glow Centerpiece
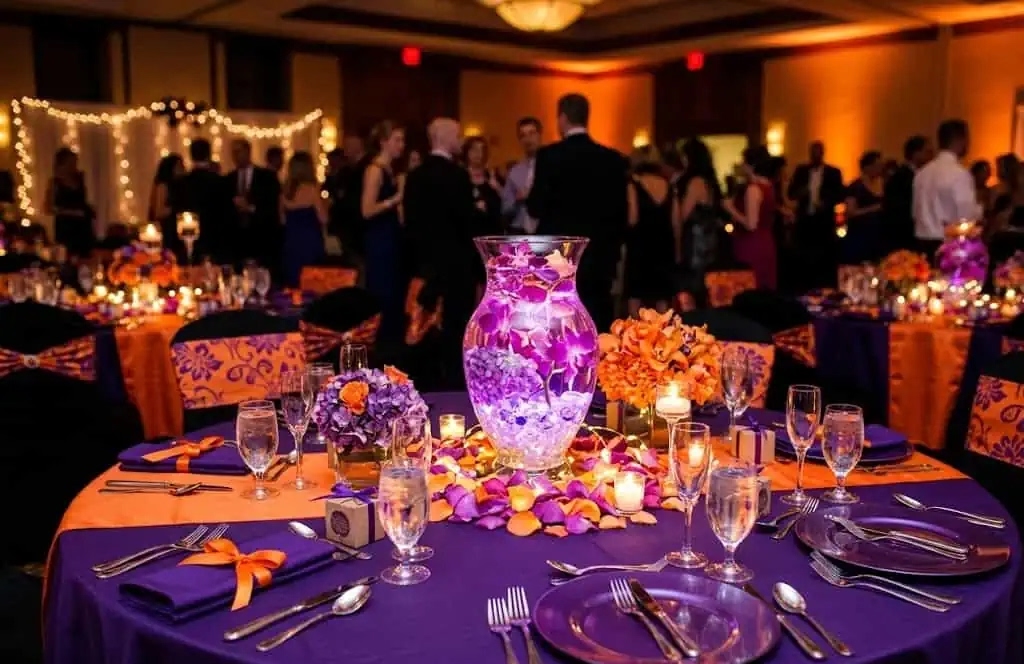
Here, the lighting is the main feature. I can place a battery-powered purple LED light beneath a sheer fabric layer and arrange dark branches above it to create a soft glow.
The light should remain positioned according to the manufacturer’s instructions, and fabric should not cover a device that becomes hot. Battery-powered LEDs make this arrangement easier to manage than an open flame.
The materials may cost about $10–$15 if I need to buy the light, fabric, and branches.
Best for: An atmospheric centerpiece where the lighting creates most of the visual interest.
Setup time: About 15 minutes.
9. Candy Corn Mason Jar Trio
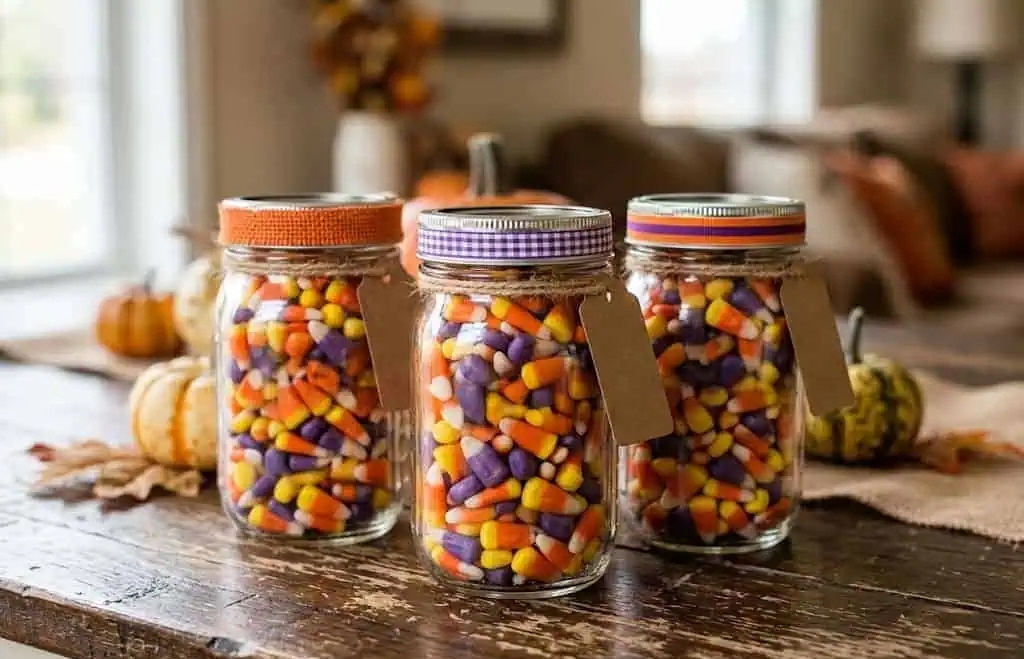
Three clear jars filled with candy corn create a cheerful orange, yellow, and white centerpiece. I group them together on a tray or wood slice and add faux flowers or seasonal stems.
If the candy is purely decorative, I treat the jars as decor rather than serving containers. When candy is meant for guests to eat, I use a clean, appropriate food container instead and keep craft materials away from it.
The decorative version can cost around $10–$15.
Best for: Daytime Halloween parties, family gatherings, and cheerful buffet styling.
Setup time: About 15 minutes.
10. Spiderweb Doily Placemats
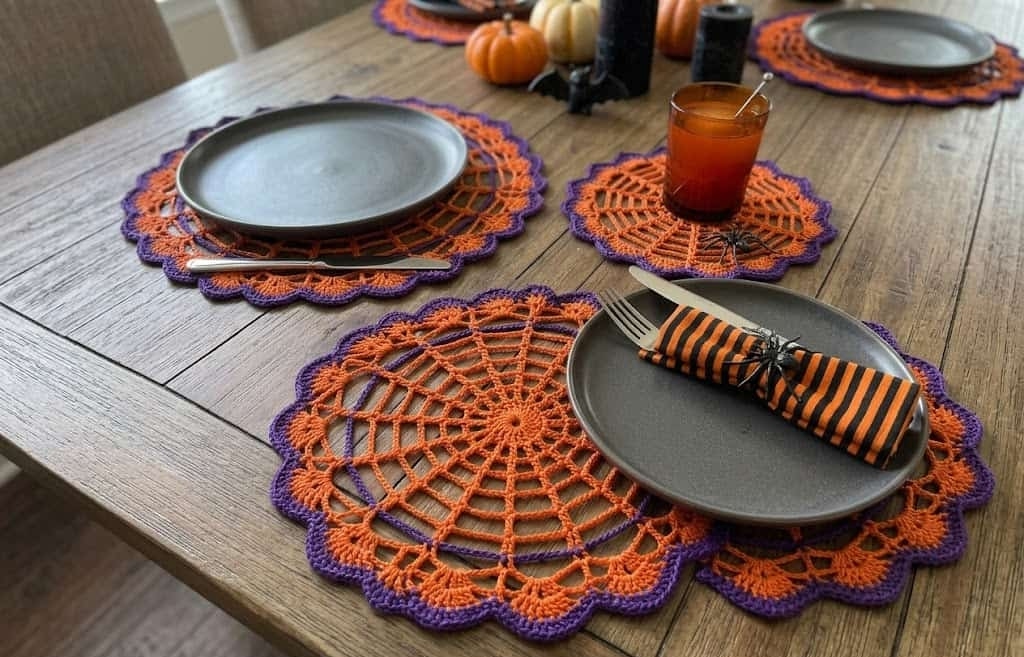
Spiderweb paper doilies give every place setting an instant Halloween identity. I place one beneath each plate and let the strong black-and-white contrast do most of the work.
Because the decoration is repeated at every seat, I don’t need a large centerpiece. A package for eight settings may cost around $5–$8, depending on the size and retailer.
Best for: Low-cost decorating when I want every guest’s place to feel part of the theme.
Setup time: About 5–10 minutes.
11. Jack-o’-Lantern Lantern
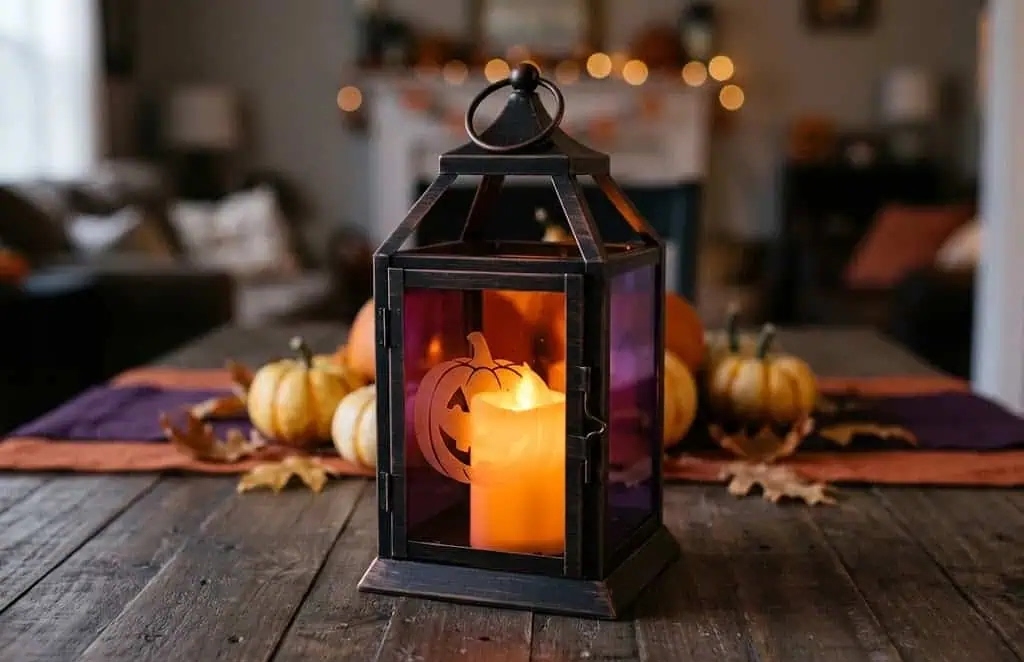
A single illuminated pumpkin gives the table one unmistakable Halloween focal point. I carve a medium pumpkin ahead of time and use a suitable battery-powered LED light inside.
A few faux leaves or small gourds around the base are enough to complete the display. I avoid overcrowding the table because the pumpkin itself is the main feature.
I’d budget approximately $8–$12 depending on the pumpkin and lighting.
Carving shortens the useful life of a pumpkin, so I prepare it relatively close to the event and check it before placing it near food or serving pieces. Any pumpkin showing deterioration should be discarded rather than kept on the table.
Best for: A classic Halloween dinner where one recognizable centerpiece is enough.
Setup time: About 20–30 minutes, including carving and cleanup.
Gothic Dinner Party Tables
12. The Full Gothic Table
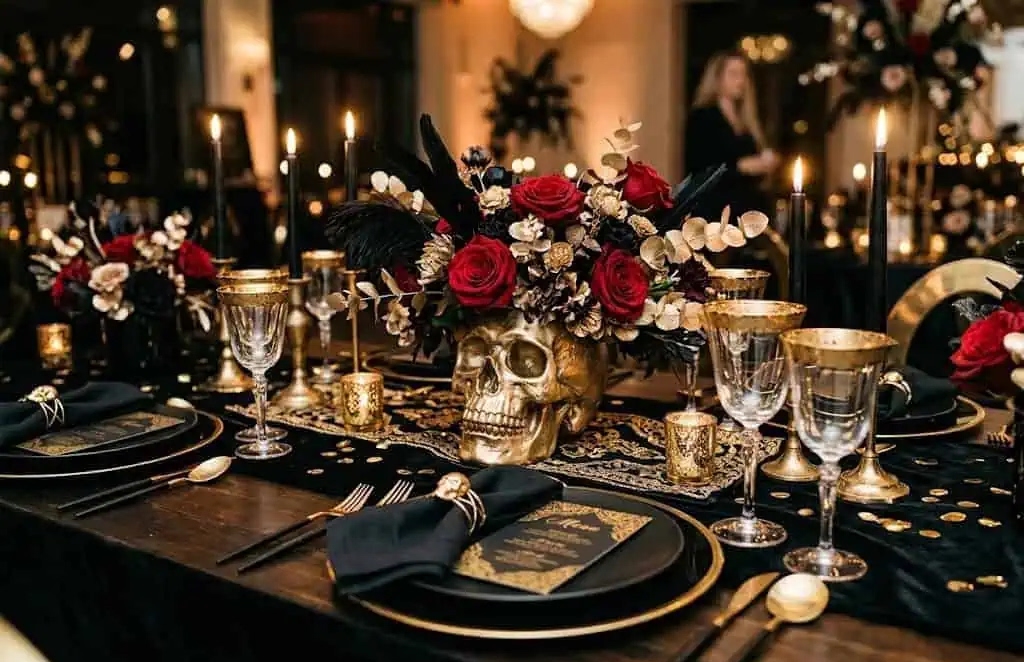
This table has a different mood from the black-and-gold option. Instead of metallic elegance, I lean into a darker evening atmosphere with black, burgundy, deep red, dark florals, vintage-style glassware, lace, and decorative keys.
I keep the colors rich and limited so the table feels intentional rather than crowded. Thrifted glassware can also help create the vintage appearance without requiring a matching new set.
For eight guests, approximately $40–$50 is a reasonable planning estimate if I need to purchase most of the seasonal pieces.
Best for: Adult evening dinners, murder mystery parties, and dramatic Halloween gatherings.
Setup time: About 45–60 minutes.
Also read: 15 Halloween Party Ideas for Teens Nobody Will Call Childish
13. Dripping Wax Candles
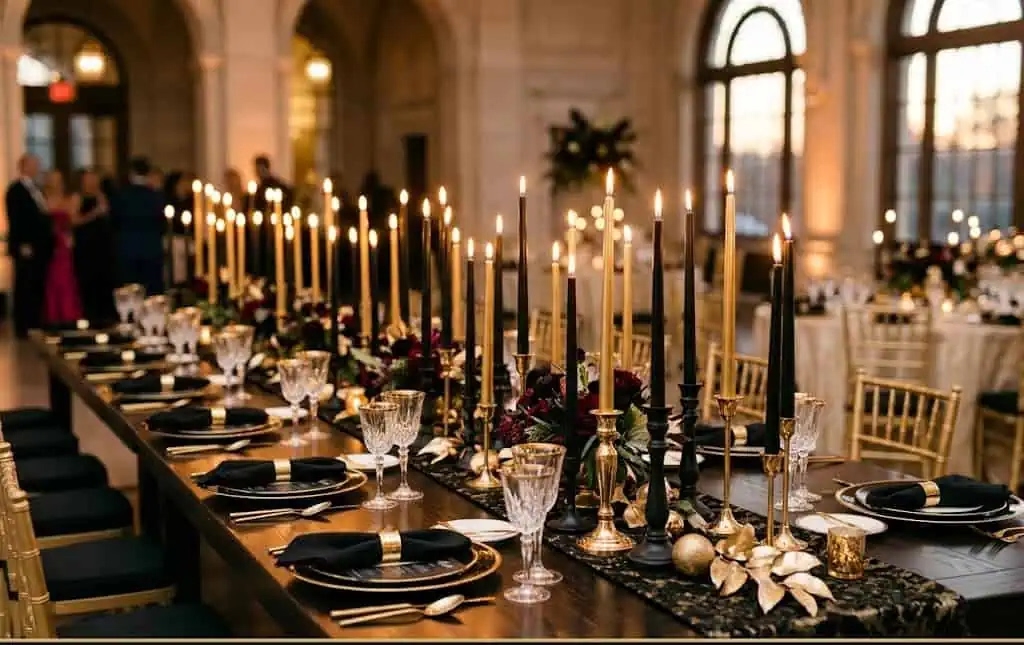
This is a specific gothic accent rather than a complete candle centerpiece. White pillar candles can be given a decorative red-wax effect before the event and then displayed as part of the table styling.
I prepare the wax effect away from children and flammable materials and allow the pieces to cool and set completely before arranging them.
For four decorative candles, the materials may cost roughly $8–$12 depending on what I already have.
Best for: Adding one recognizable gothic detail to a dark tablescape.
Setup time: About 20–30 minutes, plus cooling time.
14. Dark Floral Centerpiece
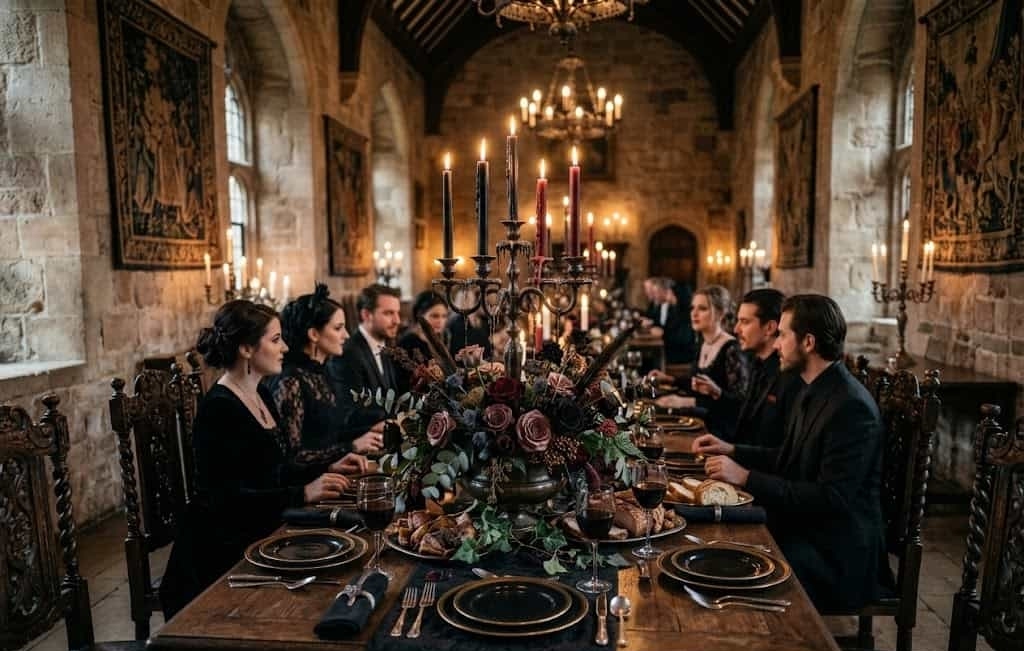
A reusable arrangement of burgundy, deep purple, and black faux flowers can become the main centerpiece for a gothic table. I place the stems in a matte black vase and arrange them low and wide.
The wider shape gives me a fuller display without creating a tall barrier between guests. Faux flowers are also useful here because the arrangement can be stored and brought back every October.
A basic version may cost around $15–$20, depending on the stems and vase.
Best for: A reusable seasonal centerpiece with a dark floral palette.
Setup time: About 20 minutes.
15. Vintage Key Place Settings
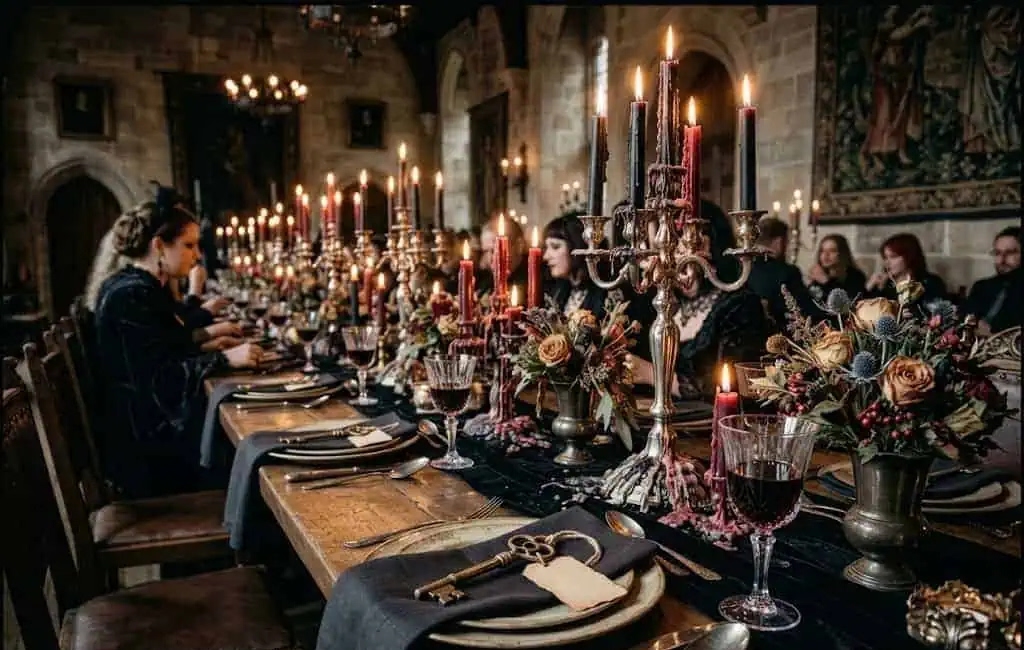
Decorative antique-style keys add a small gothic detail directly to each place setting. I tie one to a rolled black napkin with twine and add a name tag when assigned seating is needed.
A package of decorative keys may cost approximately $8–$12 for eight, depending on the design.
Because keys and similar decorative pieces are small, I keep them away from young children who may put objects in their mouths.
Best for: Adult dinners where individual place settings are part of the theme.
Setup time: About 15 minutes.
16. Black Feather Accents
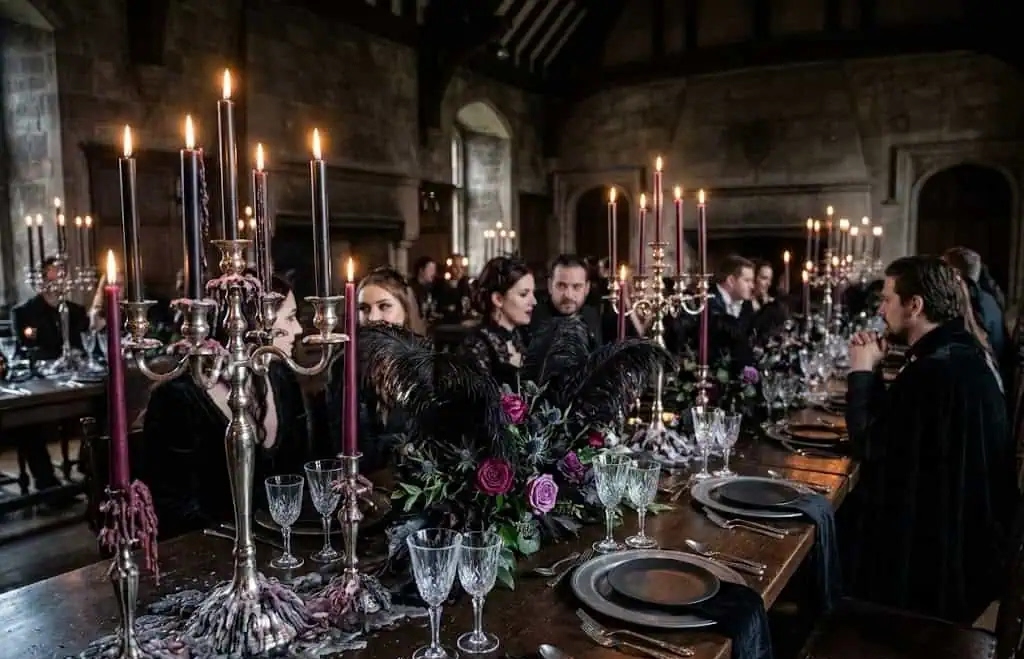
Two small arrangements of black faux feathers can frame a table without taking over the center. I place one toward each end and leave the middle available for the main centerpiece or serving space.
This works particularly well when the table looks slightly empty at the edges but already has enough decoration in the center.
The cost can be around $7–$12 depending on the vases and feather stems.
Best for: Filling table edges while keeping the main conversation area clear.
Setup time: About 5–10 minutes.
Pro Tip: Halloween tables often include paper, fabric, costumes, and plenty of movement, so LED candles are my practical choice for most gatherings. If real candles are used, stable holders, clear space around the flame, and active supervision are essential.
The Kids’ Halloween Table
17. The Full Kids’ Tablescape
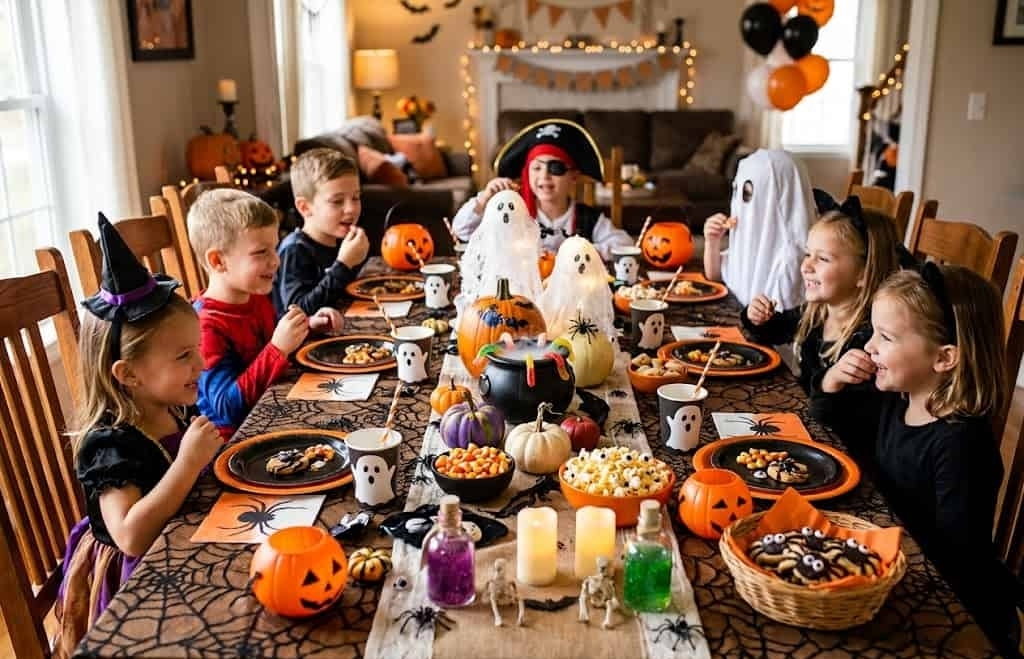
A children’s table needs to work harder than an adult table because it can also become an activity area. I start with a wipeable orange tablecloth, then add simple monster-themed place settings and a kraft-paper runner for drawing.
The goal is not to make every inch decorative. Leaving part of the table available for crayons and activities makes the setup more useful during the party.
For eight children, approximately $18–$25 covers a basic version if I need to purchase the main supplies.
Best for: Family Halloween parties where children need an engaging, practical table.
Setup time: About 30 minutes.
18. Monster Place Settings
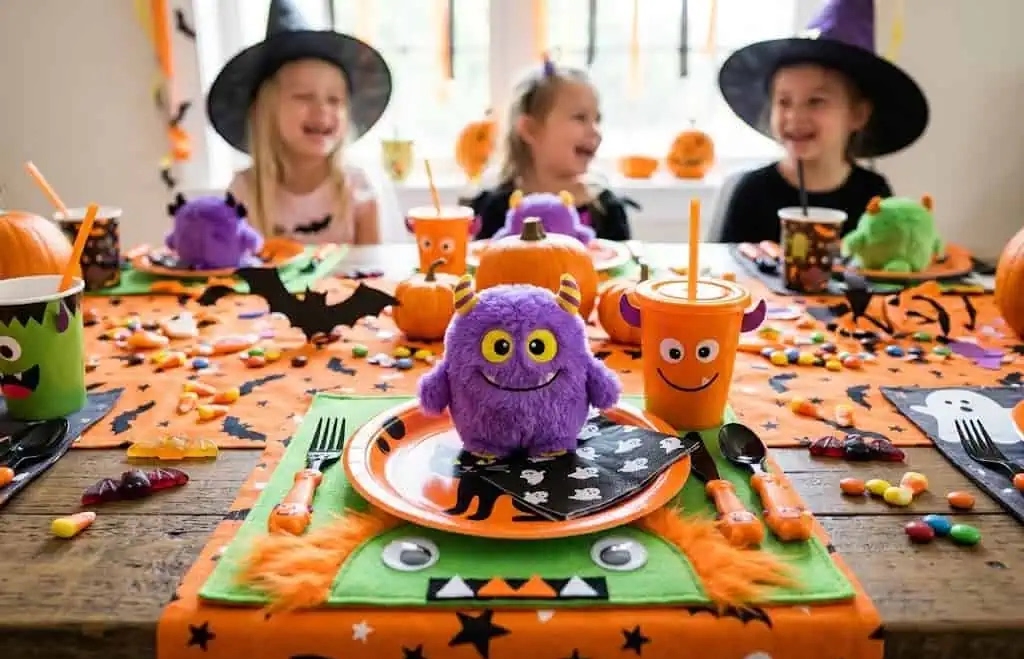
Plain paper plates can become simple monster faces with large decorative eyes and paper details around the rim. I use larger components for younger children and supervise any decorating involving small pieces.
The plate itself becomes the main decoration, so there is less need for extra table props. Napkins can add another playful detail without taking up much room.
The cost is roughly $8–$12 for eight settings, depending on the materials.
Best for: A playful children’s table where the place setting is part of the entertainment.
Setup time: About 20 minutes.
19. Drawing Paper Runner
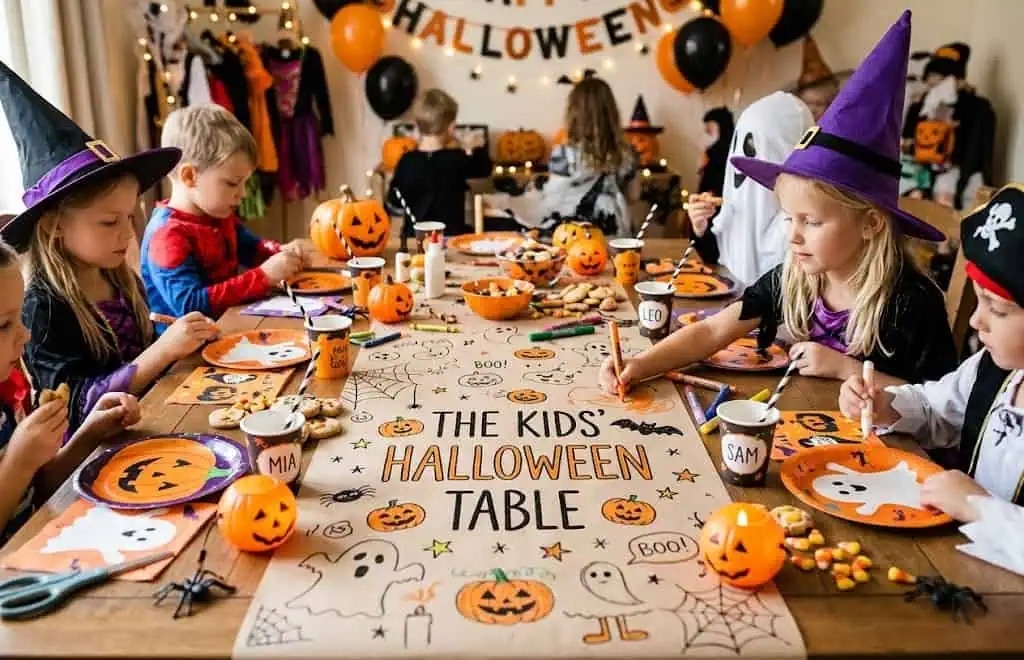
A long sheet of kraft or white paper protects the table while giving children something to do. I put washable crayons at the table and add simple prompts such as “draw your costume” or “design a friendly monster.”
I keep the art supplies in their own containers and away from food. Choosing age-appropriate, washable materials also makes cleanup easier.
The basic setup may cost around $7–$10 depending on the paper and crayons.
Best for: Giving children an activity while they wait for food or other party games.
Setup time: About 10 minutes.
20. Balloon Ghost Chair-Backs
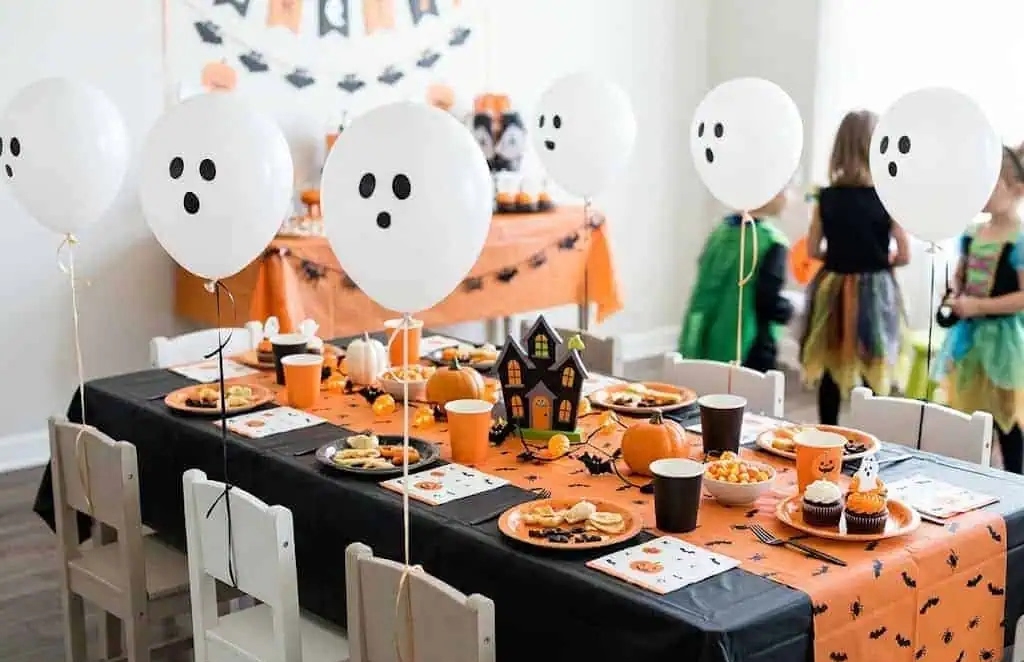
White balloons with simple ghost faces can decorate the backs of individual chairs instead of taking up valuable tabletop space.
I secure each balloon properly and make sure it cannot easily fall into the eating area. Uninflated and broken balloons should always be kept away from young children because pieces can present a choking hazard.
For eight chairs, approximately $6–$10 is a reasonable estimate depending on the balloons and supplies.
Best for: Giving each child’s seat its own Halloween decoration.
Setup time: About 15 minutes.
21. Treat Cup Place Markers
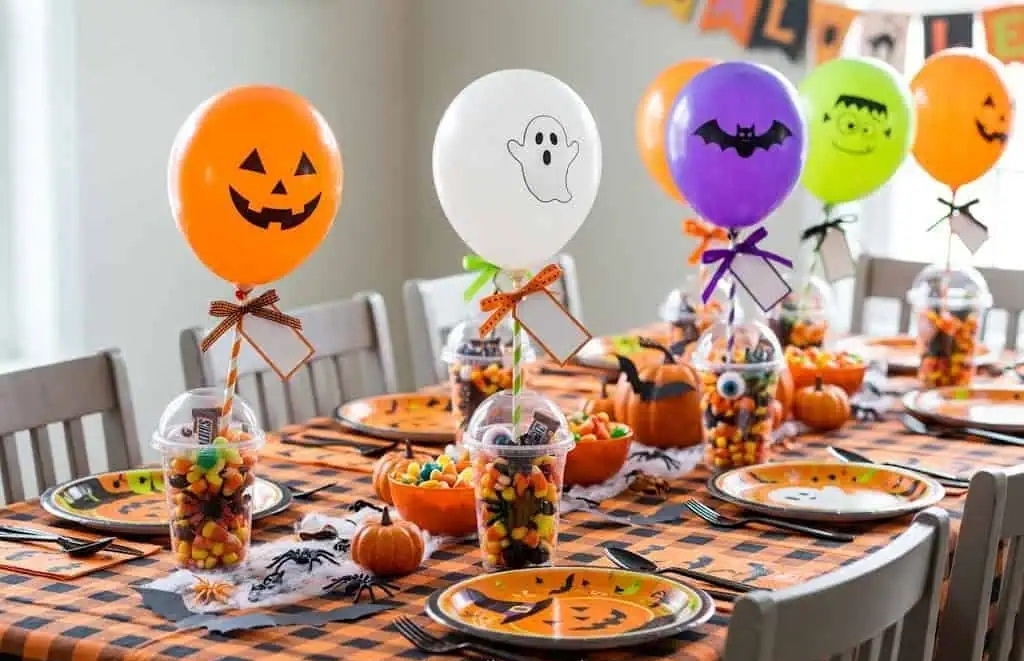
Clear cups labeled with each child’s name can combine seating assignments with individual treats. I can add suitable snacks such as pretzels or packaged candy while keeping the cups separate from craft supplies.
For children’s parties, I check with parents or the host about known allergies and dietary restrictions before choosing treats. Markers, glue, paint, and other craft materials should never be used directly on surfaces intended to contact food.
The cost is roughly $8–$12 for eight cups and treats, depending on what I choose.
Best for: Children’s parties where I want the place marker to serve a practical purpose and feel like a small favor.
Setup time: About 10 minutes.
What Makes a Good Halloween Centerpiece?
A good Halloween centerpiece should make the table more interesting without making it harder to use. For a dining table, I favor a low arrangement that leaves the conversation sight line open. If I want height, I make it clearly elevated rather than stopping directly in front of seated guests.
I also find that a centerpiece works better when it has three basic elements: one focal object, a visual base, and some form of lighting. The base might be a tray, wood slice, runner, or other defined surface.
I assemble complicated arrangements on their tray the night before. That way, party-day setup involves positioning the centerpiece rather than rebuilding it while I’m also preparing food.
Most importantly, I leave enough surrounding space for plates, serving dishes, glasses, and hands to move comfortably.
Which Style Should You Pick?
| Style | Cost (Table of 8) | Difficulty | Setup Time | Best For |
|---|---|---|---|---|
| Elegant black & gold | $35–$45 | Easy-medium | 45 min | Adult dinner parties |
| Classic orange & purple | $25–$35 | Easy | 30 min | Family dinners, all ages |
| Gothic dinner party | $40–$50 | Medium | 60 min | Murder mysteries, adults |
| Kids’ table | $18–$25 | Easy | 30 min | Family and mixed-age parties |
These are approximate planning estimates rather than fixed prices. The final cost depends on the table size, local prices, and how much I already own.
For an elegant dinner, black and gold keeps the styling restrained. Orange and purple gives me a more traditional Halloween look, while the gothic approach is suited to an evening table with darker colors and vintage details.
The kids’ option puts function ahead of elaborate styling by combining decoration with activities and washable surfaces.
Common Halloween Table Mistakes
A centerpiece that blocks conversation. If guests have to lean around the decoration, I reduce the height or move it to a different part of the table.
Strongly scented candles. Heavy fragrance can compete with the food. Unscented candles or LED alternatives are more suitable around a dinner table.
Too many colors. Combining every Halloween color at once can make the table feel disconnected. I normally choose two main colors and let black or a neutral shade support them.
No protection underneath decorations. Pumpkins can leave moisture, and candles can leave wax. Trivets, trays, chargers, or washable mats provide a simple barrier between seasonal decor and the tabletop.
Too much decoration in the eating area. The space directly around each place setting needs to remain usable. Plates, glasses, utensils, food, and elbows need priority over decorative props.
Halloween Table Decoration FAQ
How much does it cost to decorate a Halloween table for 8?
The ideas range from roughly $10 for a simple setup to about $45–$50 for a more complete table. Prices vary by retailer and can be much lower when I reuse plates, glassware, candleholders, or decorations I already own.
What order should I set the table in?
I start with the tablecloth or runner, then establish the centerpiece area and lighting. Next come the plates, glasses, napkins, and utensils. Decorative details are added last so they don’t take away space needed for eating.
How tall should a Halloween centerpiece be?
For a dining table, I keep the centerpiece low enough to preserve the view across the table. If I want a taller arrangement, I place it high enough that it clearly sits above the seated sight line rather than directly in front of guests.
Should I use real candles or LED?
For Halloween dinners, I generally choose LED candles when children, costumes, paper, fabric, or a busy table are involved. Real candles need stable holders, clear space from flammable materials, supervision, and careful placement.
Real pumpkins or faux?
Real mini pumpkins work well when I want natural fall texture and an inexpensive seasonal look. Faux pumpkins are more useful when I want to paint, customize, and store the same decorations for future years.
Once a real pumpkin is carved, I check it regularly for softening or deterioration and keep deteriorating produce away from food and serving areas.
How do I protect a wood table?
I put pumpkins, wet floral materials, and candles on trays, chargers, trivets, or other protective surfaces. This helps prevent moisture, condensation, wax, and residue from sitting directly on the finish.
How do I decorate a buffet table instead of a dining table?
A buffet gives me more freedom to use height because guests aren’t sitting across from one another. I place taller decorations toward the back and keep the front edge clear for plates, serving utensils, and food.
What’s a quick 10-minute Halloween table setup?
I use a black or kraft runner, three mini pumpkins, several LED tea lights, and simple Halloween paper accents beneath the plates. The whole setup can come together quickly while still giving an ordinary dinner a seasonal feel.
Are place cards worth the effort for a casual party?
For a sit-down meal, I find them useful when guests need assigned seats. For a casual buffet, I usually skip them and use that preparation time on the centerpiece or serving area.
Set the Scene, Then Sit Down
I don’t try to fill every empty part of the table. One clear palette, one focal point, and a few useful seasonal details are usually enough.
Preparing the centerpiece ahead of time also makes a difference. When the main arrangement is finished the night before, I can concentrate on food, guests, and the final table setting instead of starting a decorating project at the last minute.
The table should still work as a table. Once everyone has enough room to sit, eat, talk, and reach the food comfortably, I know I’m finished decorating.
Read this next: 29 Halloween Decor Ideas for 2026 to Create a Spooky Home
Conclusion
A Halloween table does not need a large budget or a completely new set of dishes. I can start with everyday plates and glasses, then change the mood with a runner, pumpkins, lighting, textiles, or a few themed place-setting details.
The most useful decorating choice is the one that fits the way the table will actually be used. A dinner table needs open sight lines and eating space, while a kids’ table benefits from washable surfaces and activities. A buffet gives me more freedom to build height.
I also plan for practical details before the guests arrive: protecting the tabletop, choosing appropriate lighting, keeping small decorations away from young children, and checking food-related favors for dietary concerns.
Once the colors, focal point, and functional details feel balanced, I stop adding things. The finished table should make people want to sit down, eat, talk, laugh, and enjoy the Halloween celebration.

One Comment