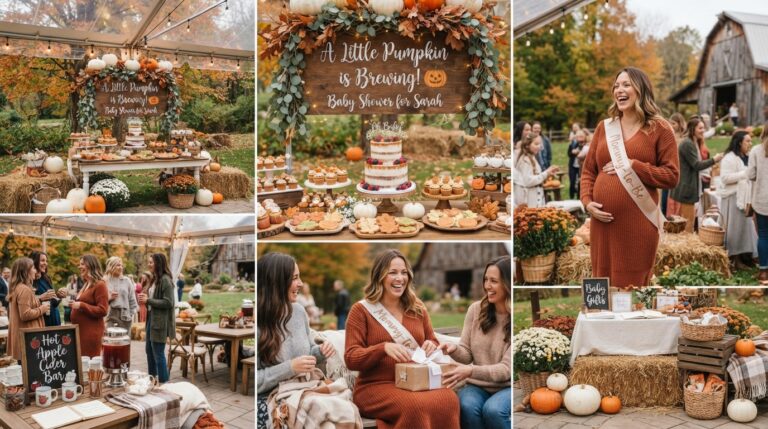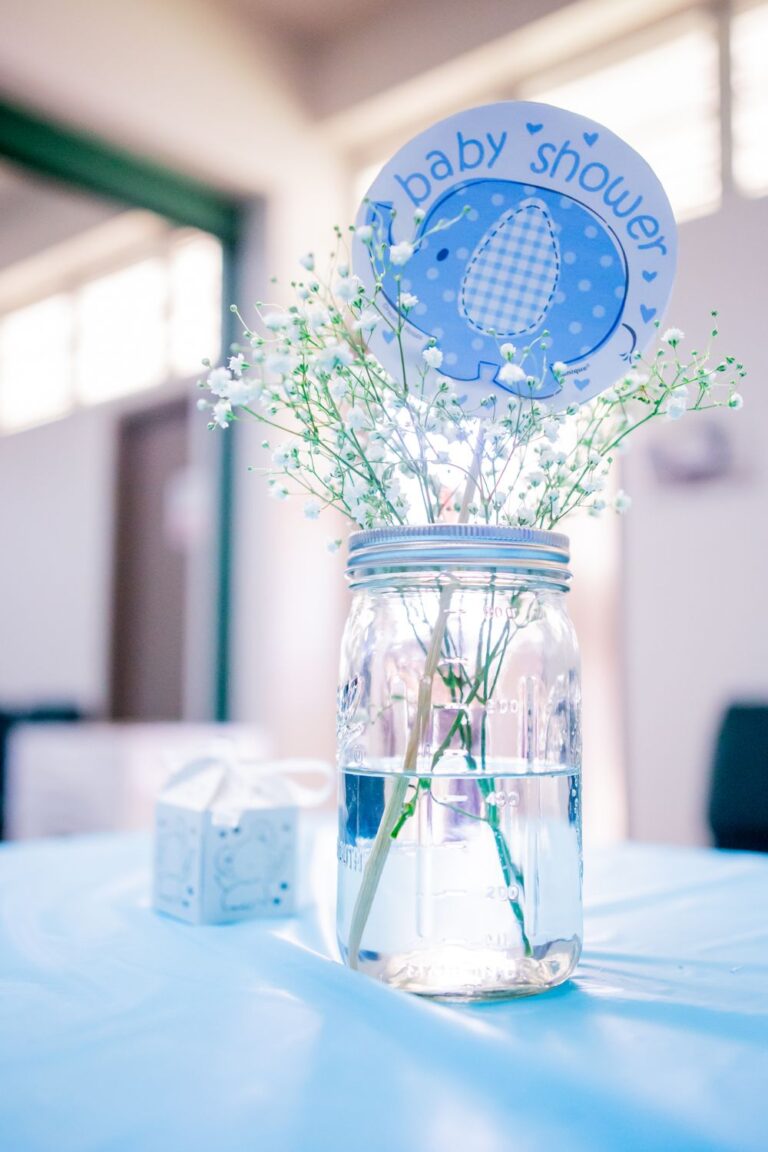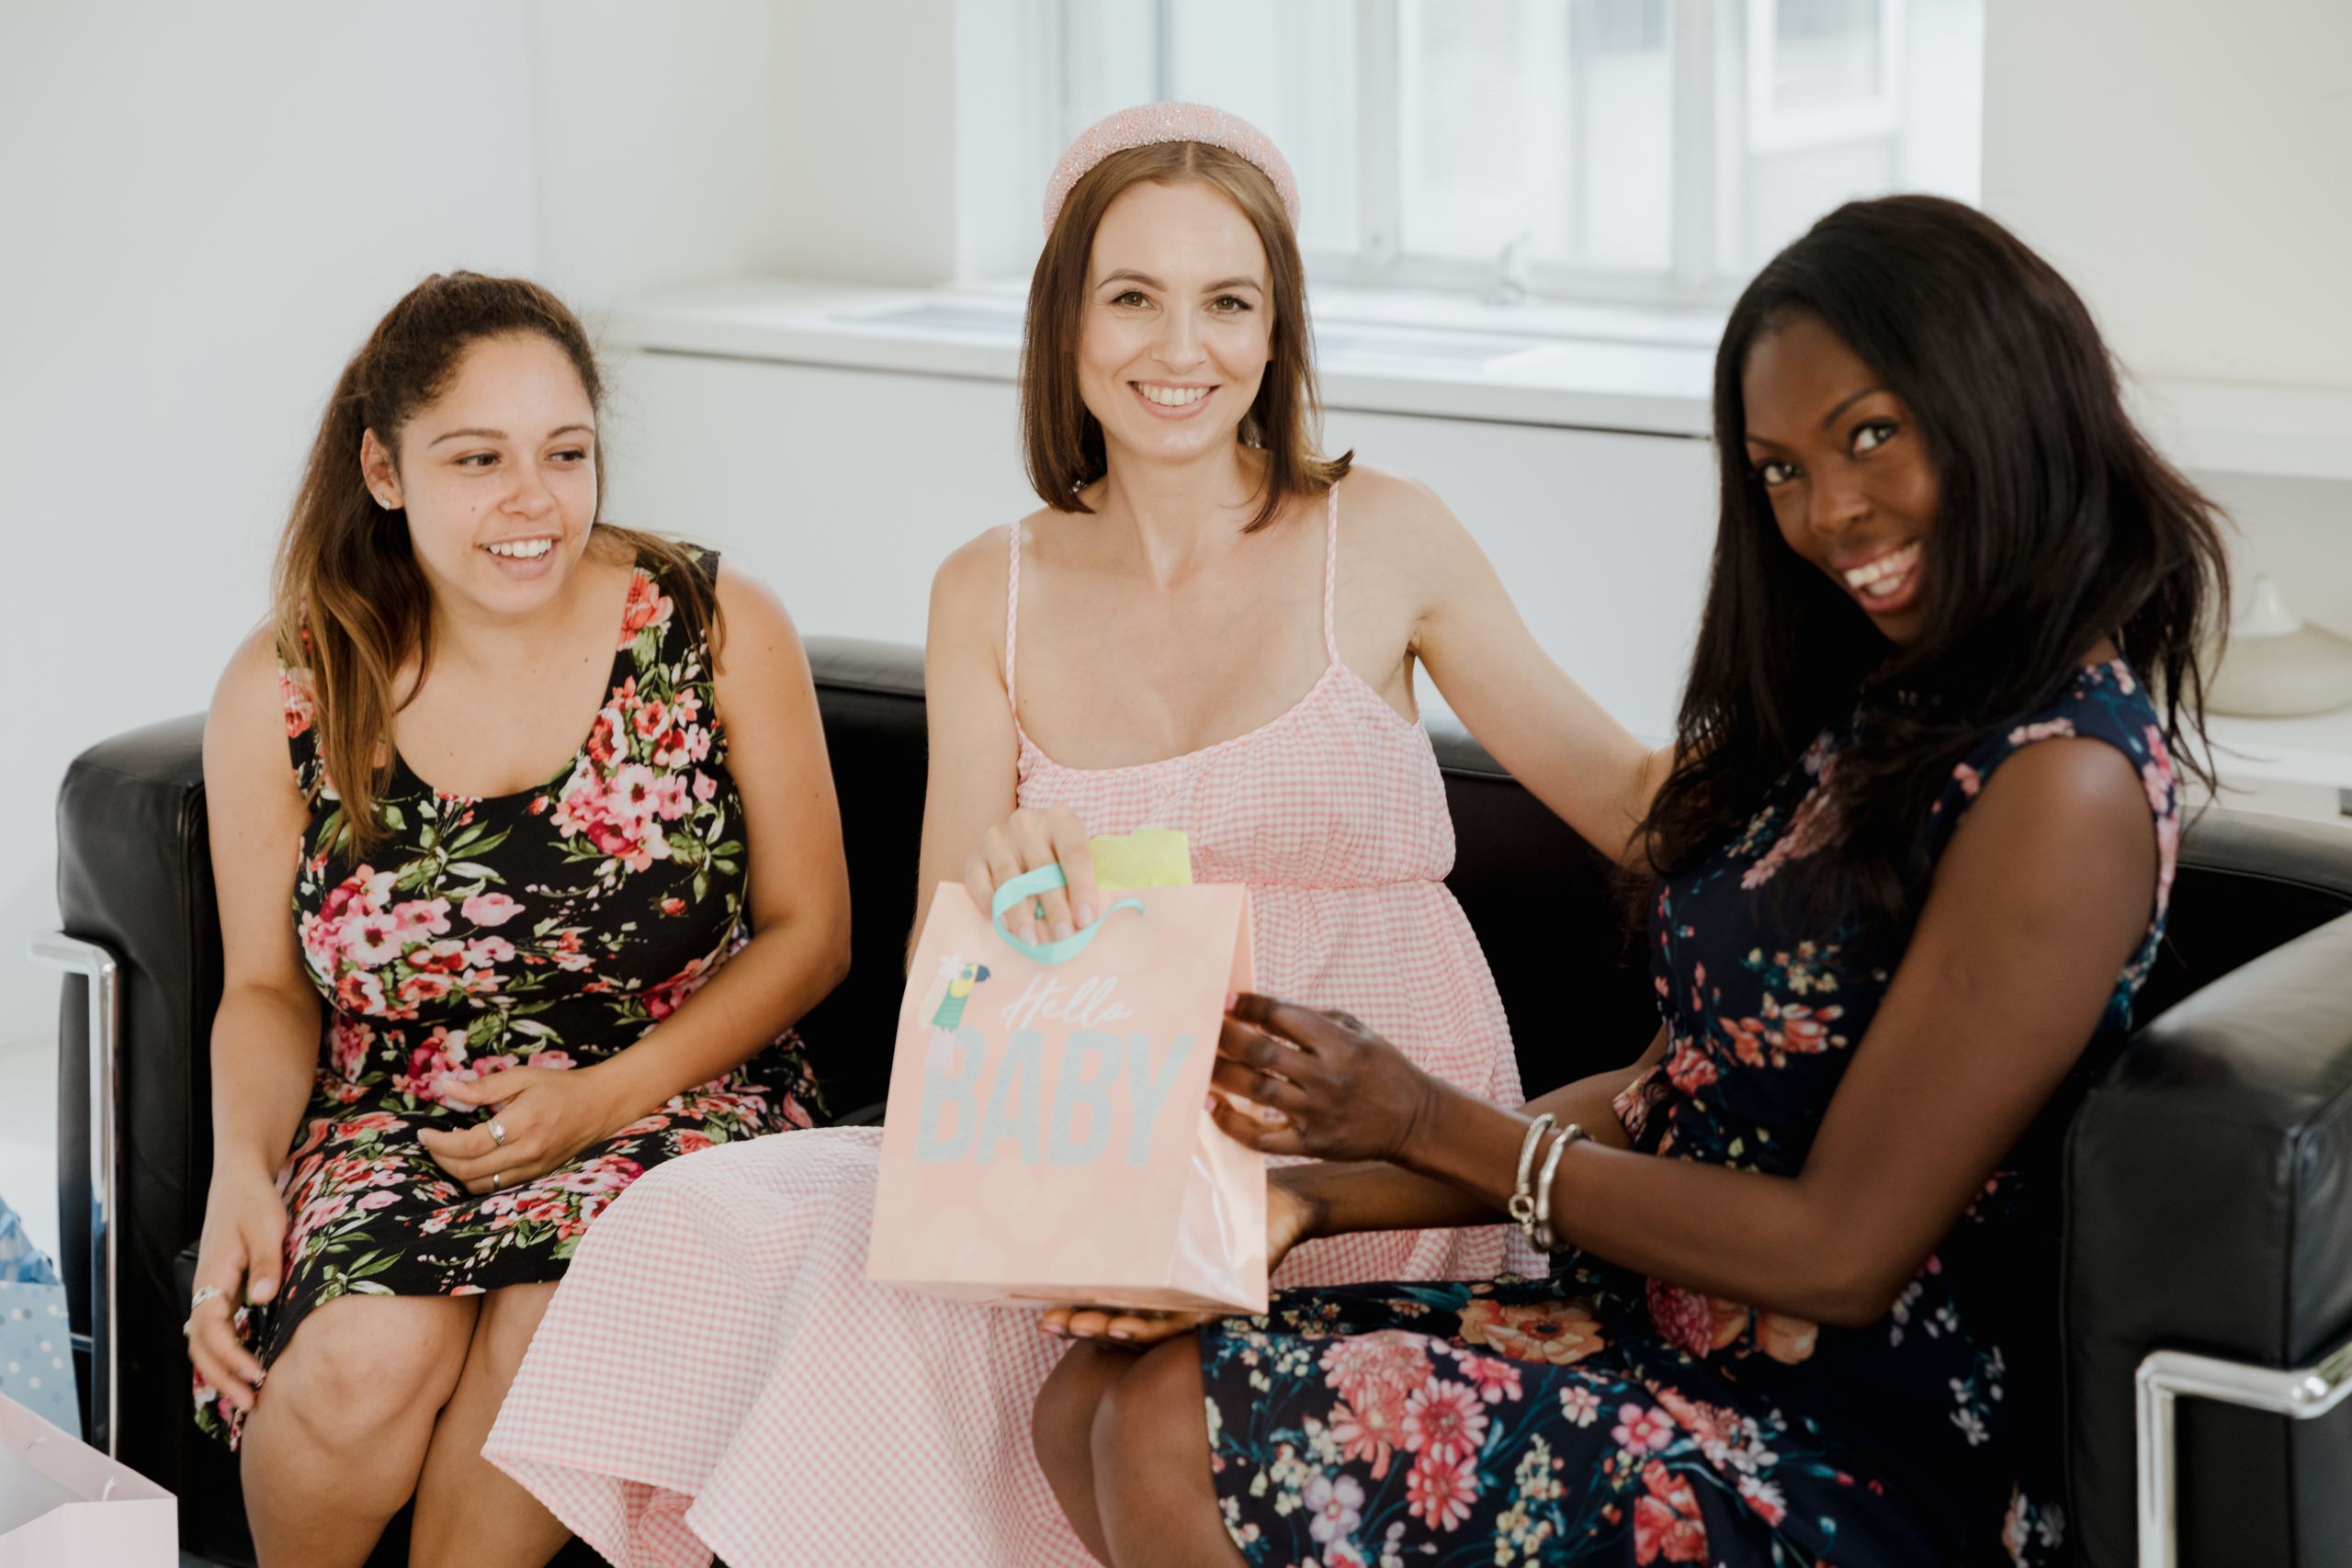
Baby Shower Centerpiece Ideas
Baby shower centerpiece ideas should make the table feel special without blocking a single conversation, and I learned that lesson at a shower where a tall flower arrangement hid the mom-to-be from half her guests. Since then I have styled tables for showers in homes, halls, and gardens, and I kept only the centerpieces I have actually built, timed, and watched guests enjoy.
How I picked these: I tested each idea at a real table, with real plates and glasses around it, and I kept it only if guests could still see each other, reach the food, and take a photo without moving the whole display.
Key Takeaways
- Keep centerpieces low, or tall and narrow, so no one has to peer around them to talk.
- One hero piece per table beats five small items fighting for attention.
- Use items guests can eat, take home, or reuse, so the centerpiece is not just clutter after the party.
- Most ideas below cost under $50 and take under an hour to build.
- These baby shower centerpiece ideas all survived a real table, so none of them are untested theory.
20 Baby Shower Centerpiece Ideas
1. Pastel Balloon Table Centerpiece

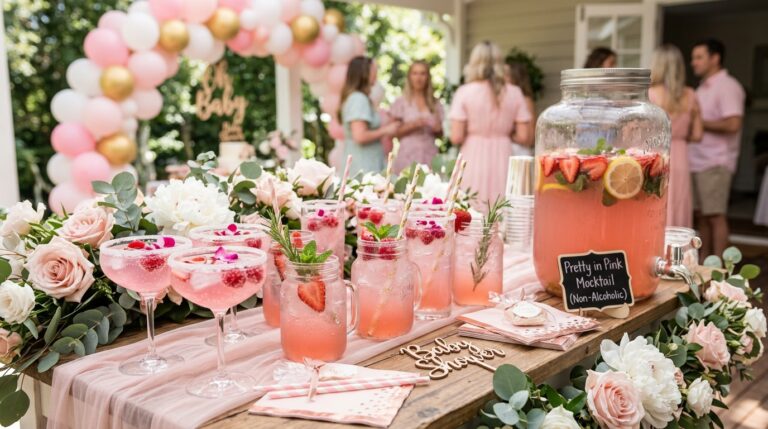
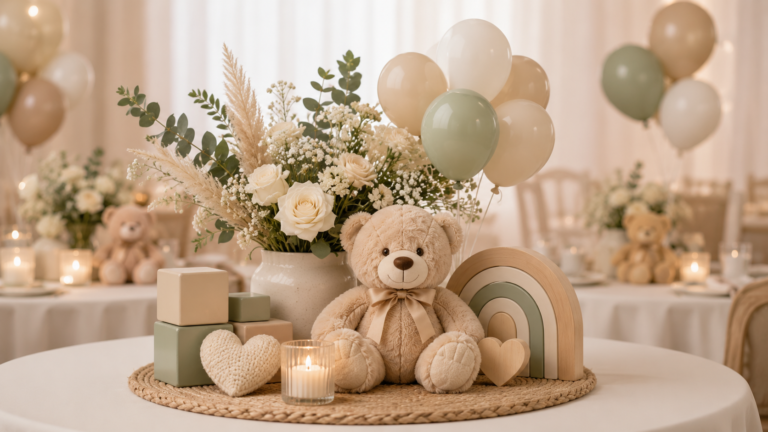
A small cluster of pastel balloons tied to a pretty weight makes an instant centerpiece, and it costs far less than flowers. I use three balloons per table, in two sizes, so the cluster looks full without floating into guests’ faces.
The downside is movement. Balloons drift toward heaters and lights, so I tie them short and place the weight in the exact centre of the table before adding plates. I also match the balloon colours to the napkins, so the table looks planned rather than thrown together.
Pro Tip: Use matte balloons, because they photograph softer and do not show fingerprints.
Cost: $20 | Time: 20 minutes | Difficulty: Easy
2. Sweets Table as the Centerpiece

When the main table is also the dessert table, the sweets themselves become the centerpiece. I raise cakes on stands, group treats by colour, and leave one clear space for the mom-to-be to sit for photos.
I once piled everything flat on the table, and it looked like a shop shelf rather than a celebration. Height is the fix: two stands and one tall jar change the whole table. I leave a small card beside each treat listing ingredients, because guests with allergies always ask.
Pro Tip: Put the prettiest cake at the back centre, so it frames photos without blocking the mom-to-be.
Cost: $60 | Time: 45 minutes | Difficulty: Medium
3. Pink and Blue Sweets Display

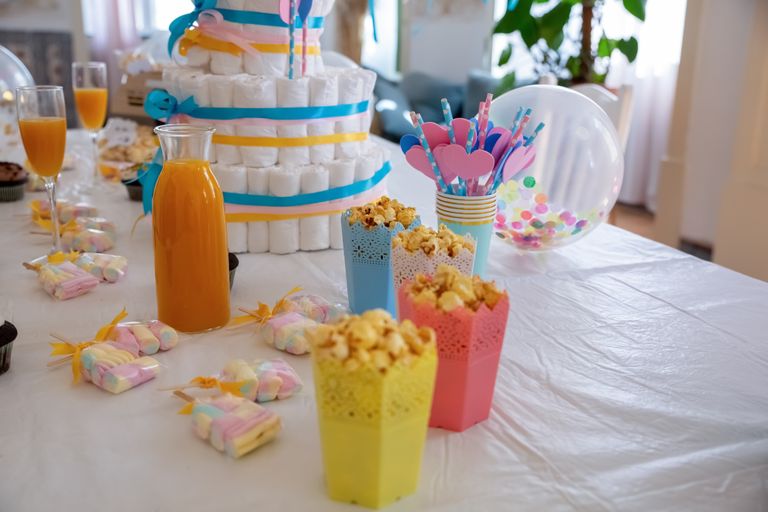
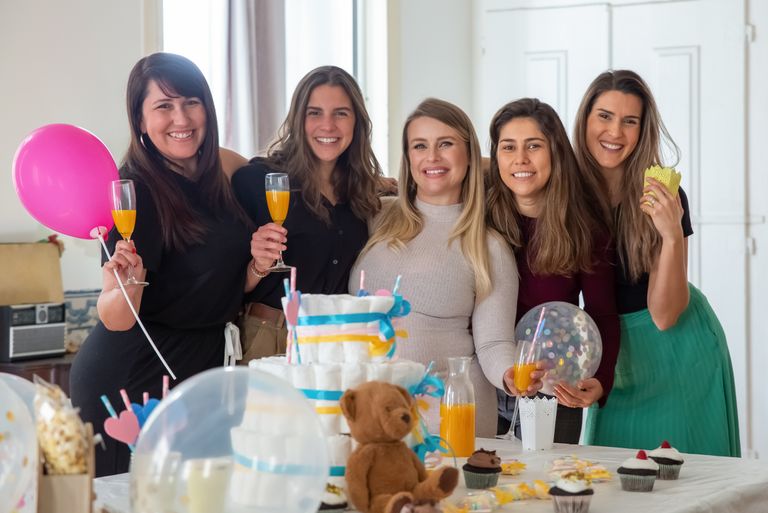
A pink and blue sweets display suits a reveal or a classic shower, and it works even when you do not know the baby’s gender yet, because both colours together feel celebratory rather than specific. I mix cupcakes, wrapped sweets, and one striped cake stand.
The watch-out is clashing shades. Hot pink next to pale blue can look messy, so I stick to one pink and one blue, and I use white as the bridge colour between them. I use white cupcake liners only, so the pink and blue colours stay clean and bright.
Pro Tip: Wrap sweets in clear bags tied with ribbon, so guests can take them home as favours.
Cost: $55 | Time: 40 minutes | Difficulty: Easy
4. Flower-Topped Cake Centerpiece
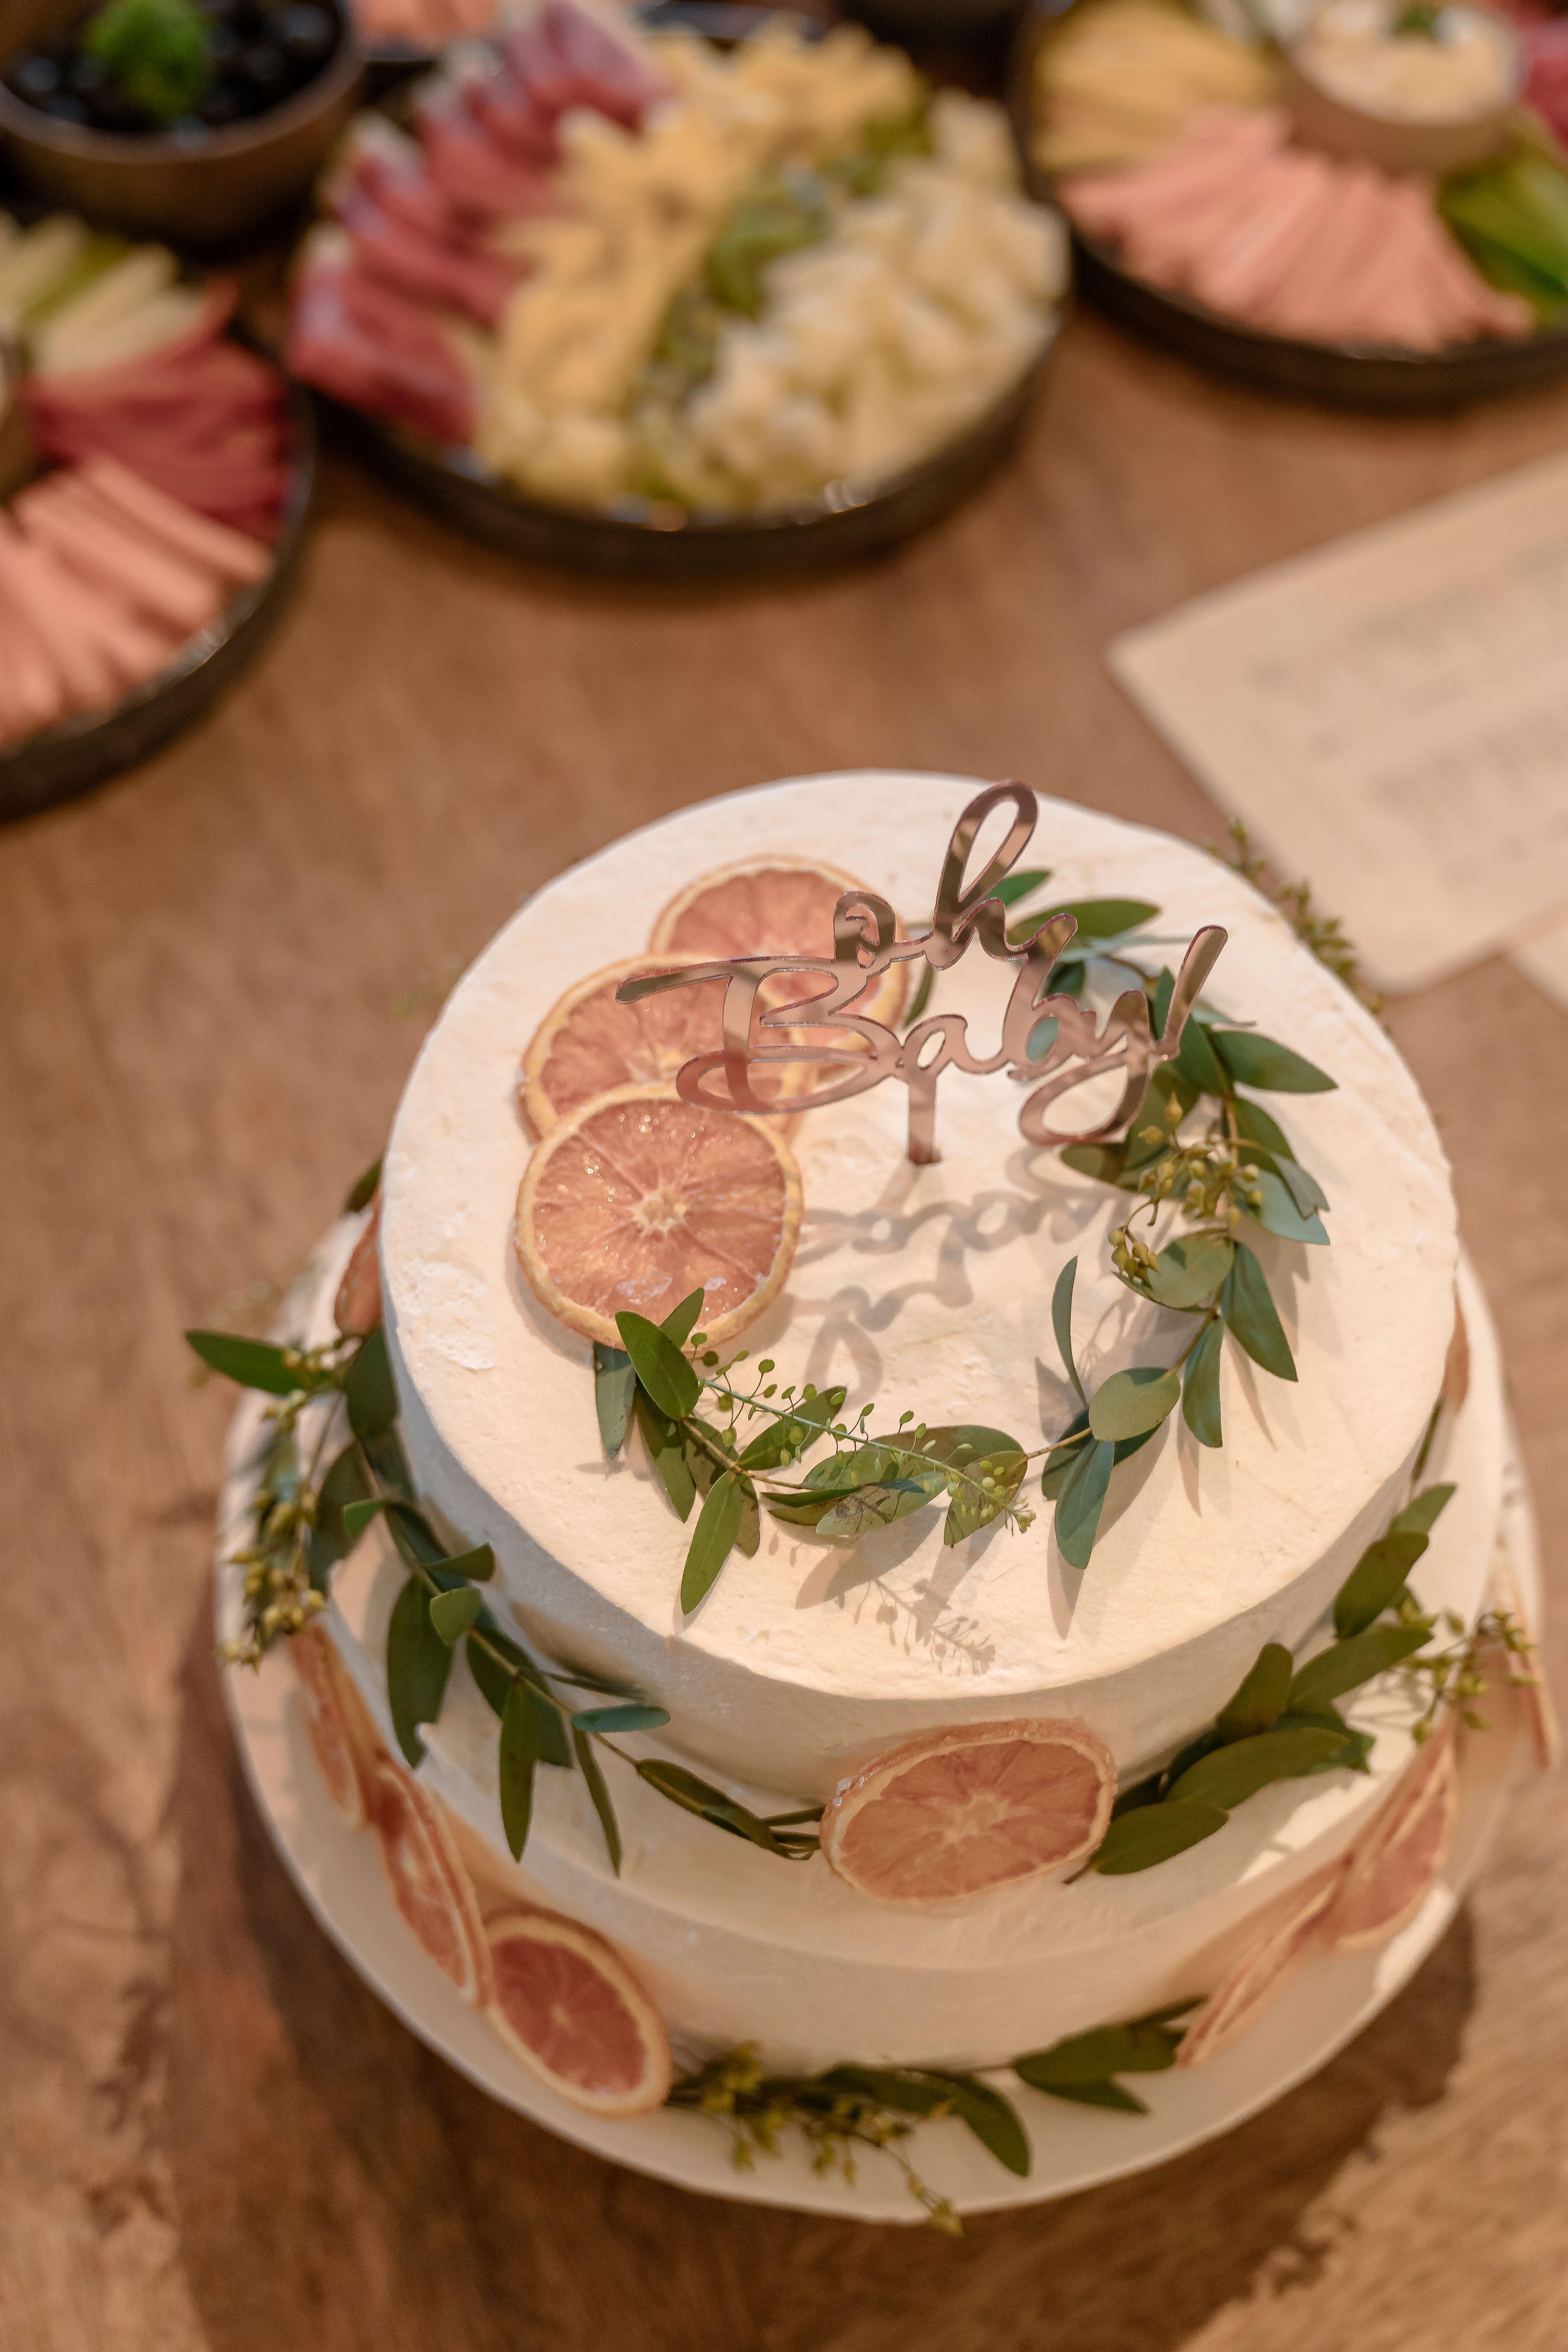
A single cake topped with soft flowers is my favourite low-effort centerpiece, because the cake is already the star. I ask the baker to use food-safe flowers, or I add fresh blooms myself just before guests arrive.
Never use unknown garden flowers on a cake, since some are toxic even if they look pretty. I stick to roses, carnations, or blooms the florist confirms as food-safe, and I remove them before cutting. I chill the cake for twenty minutes after adding flowers, so nothing slides during the party.
Pro Tip: Place the cake on a stand one shade darker than the tablecloth, so it stands out in photos.
Cost: $50 | Time: 15 minutes | Difficulty: Easy
5. Popcorn Board Centerpiece

A popcorn board in the middle of the table doubles as a snack and a centerpiece, which guests love because they can nibble while chatting. I use a large wooden board, pile popcorn in the centre, and ring it with small bowls of sweets and dried fruit.
Popcorn goes stale quickly in open air, so I build the board no more than an hour before guests arrive, and I keep a refill bag nearby. It is fun, but it is not a set-it-the-night-before idea. I place small scoops in each bowl, because guests sharing one scoop slows the whole table down.
Pro Tip: Offer one plain and one sweet popcorn, so guests with sensitive stomachs still have an option.
Cost: $30 | Time: 25 minutes | Difficulty: Easy
6. Candlelit Dinner Table Centerpiece

Candles at different heights, with simple greenery between them, make an evening shower feel intimate without a big budget. I used this for a small dinner shower, and guests stayed at the table long after dessert because the light felt so calm.
Real candles and flowing sleeves do not mix, so I keep candles away from the table edge and I switch to battery candles if children will be reaching across the table. I light the candles only after the food is served, so the table looks intentional rather than half-finished.
Pro Tip: Use unscented candles when food is served, so the scent does not compete with the meal.
Cost: $35 | Time: 30 minutes | Difficulty: Easy
7. Folded Napkin and Floral Place Setting

Sometimes the place setting itself is the centerpiece. I fold napkins upright, add a single stem on each plate, and keep the centre of the table almost empty. It looks elegant, costs little, and leaves room for serving dishes.
Upright napkins fall over if the fold is wrong, so I practise one fold the night before and use starched napkins. A collapsed napkin on every plate looks worse than a flat one. I practise the napkin fold on three napkins first, because the first attempt always looks uneven.
Pro Tip: Tuck a tiny name card into each napkin fold, so seating sorts itself out.
Cost: $25 | Time: 35 minutes | Difficulty: Easy
8. Wreath Napkin and Candlelight Table

A wreath-shaped napkin ring with a candle beside it gives each place a finished look, and the repeated shape down the table reads as one long centerpiece. I use this for autumn and winter showers, when a little greenery feels right.
Fresh wreath napkins wilt in a heated room, so I use faux greenery for the rings and save fresh flowers for one central vase. Guests cannot tell the difference from across the table. I add one fresh stem to the centre vase, so the faux rings still smell faintly of real greenery.
Pro Tip: Keep the candle in a glass holder, so wax never reaches the napkin.
Cost: $30 | Time: 40 minutes | Difficulty: Easy
9. Floral Tablecloth Setting

A floral tablecloth with simple folded napkins and clear glasses lets the cloth do the decorating, which suits hosts who do not want to arrange flowers. I pair a busy cloth with plain plates, so the table does not look cluttered.
The risk is a cloth that fights with the theme colours, so I choose the cloth first and then match balloons and napkins to it, not the other way around. That order saved me from a pink-and-orange clash once. I choose plain white plates, because patterned plates compete with a busy floral cloth.
Pro Tip: Iron the cloth the day before, because creases show badly in photos.
Cost: $35 | Time: 20 minutes | Difficulty: Easy
10. Citrus Yellow Napkin Centerpiece
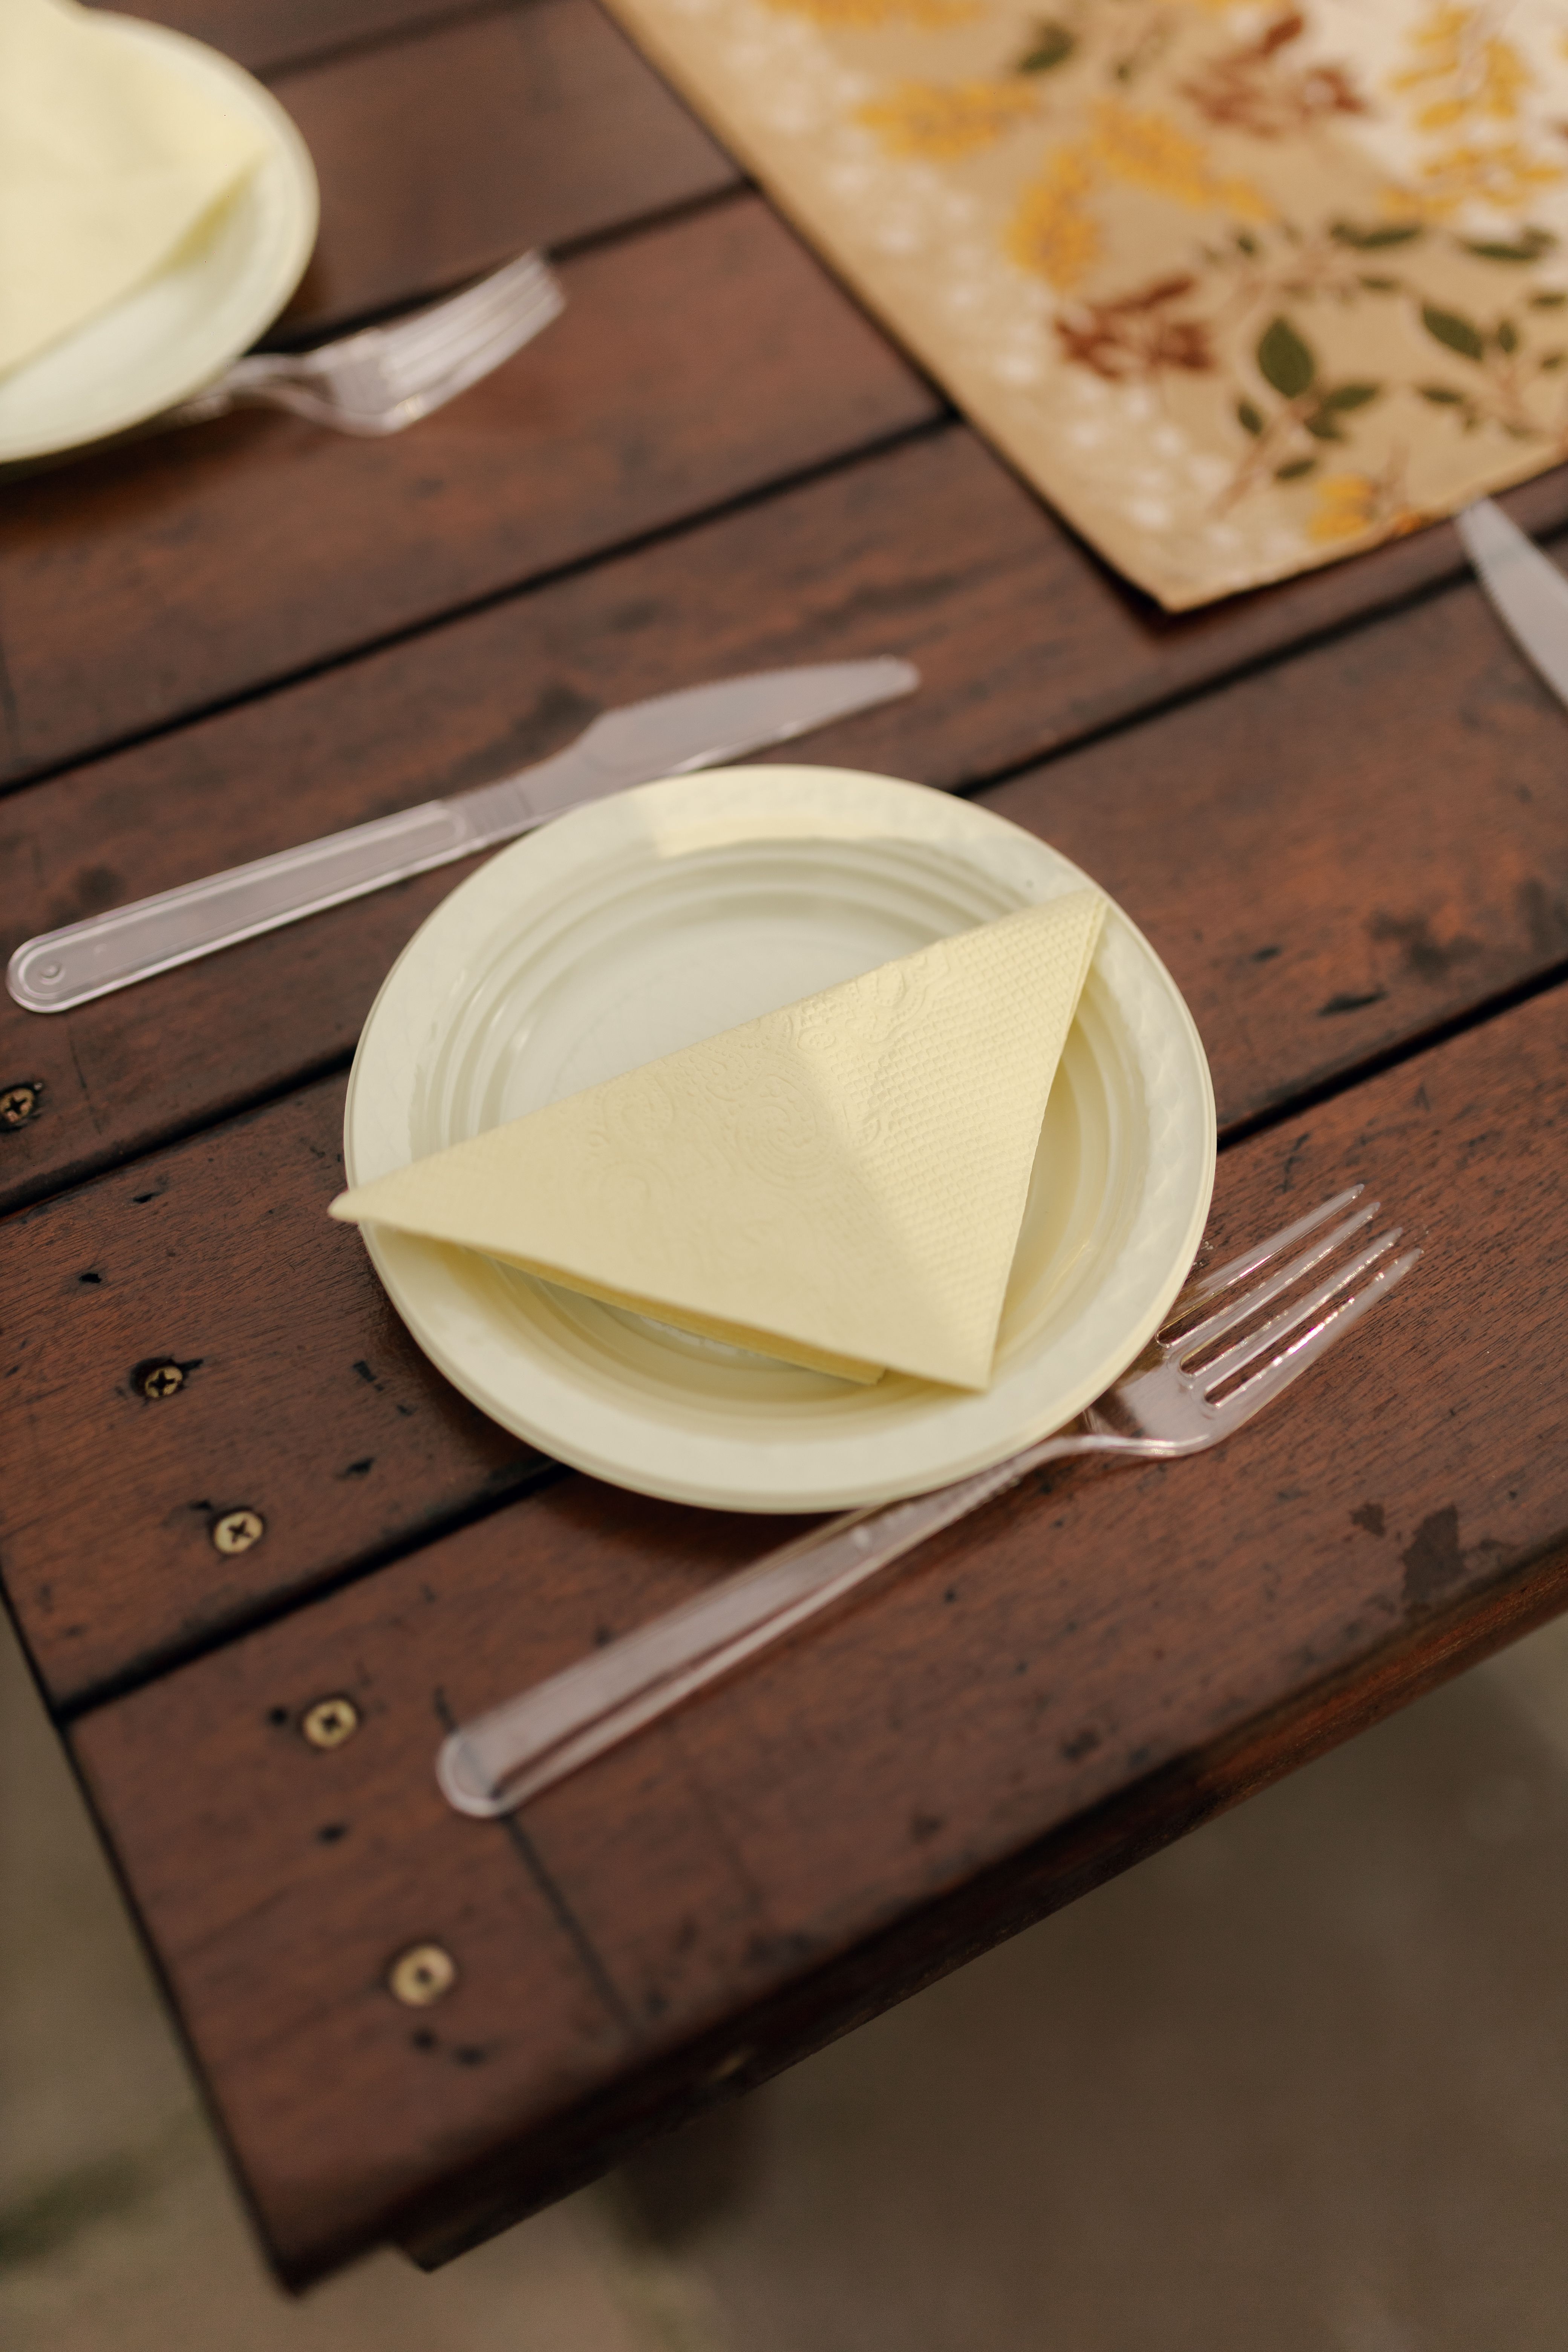
Yellow napkins on a wooden table feel sunny and gender-neutral, and they work beautifully for a spring or lemon-themed shower. I add a small lemon or a single yellow bloom beside each plate, and the whole table glows.
Yellow shows food stains instantly, so I keep spare napkins ready and I avoid tomato-based dishes on this table. It is a pretty choice, but it needs a backup plan. I add a lemon wedge to each water glass, so the citrus theme carries through to the drinks.
Pro Tip: Use wooden chargers under the plates, so the yellow pops against a warm background.
Cost: $28 | Time: 25 minutes | Difficulty: Easy
11. Rosemary Bundle Place Setting

A sprig of rosemary tied to each napkin smells wonderful and costs almost nothing if you grow herbs or buy one bunch. Guests notice the scent when they sit down, and several have told me it was their favourite small detail.
Rosemary drops needles on the plate, so I tie the sprig to the napkin, not the food, and I shake each bunch outside first. One stray needle in a drink is enough to spoil the effect. I wrap the rosemary in twine, not ribbon, because twine holds better and looks more rustic.
Pro Tip: Add a tiny tag with the guest’s name to the rosemary bundle, doubling it as a place card.
Cost: $15 | Time: 30 minutes | Difficulty: Easy
12. Elegant Glassware and Napkin Table

Polished glassware, a folded napkin, and a low floral stem make a grown-up centerpiece for a shower with mostly adult guests. I polish glasses the night before, because water spots are the first thing guests notice in bright light.
Tall glasses block views just like tall flowers do, so I use short tumblers for water and keep wine glasses only if the menu truly needs them. Sightlines matter more than a full place setting. I place a small jug of water on the table, so guests can refill without leaving their seats.
Pro Tip: Chill glasses for cold drinks, so condensation does not pool on the tablecloth.
Cost: $20 | Time: 30 minutes | Difficulty: Easy
13. Restaurant-Style Napkin Close-Up Table

A crisp folded napkin, a simple plate, and one small flower give a restaurant feel at home, which suits a shower hosted in a hired room. I keep the centre clear except for a low candle, so serving staff can move easily.
Hired rooms often charge for linen damage, so I check whether candles and flowers are allowed before I plan anything that drips or stains. A quick question saved me a cleaning fee once. I confirm the candle policy in writing, because verbal permission is easy to dispute later.
Pro Tip: Ask the venue for a spare table to style first, so you can approve the look before the main tables are set.
Cost: $25 | Time: 30 minutes | Difficulty: Easy
14. Sophisticated Plate and Napkin Setting
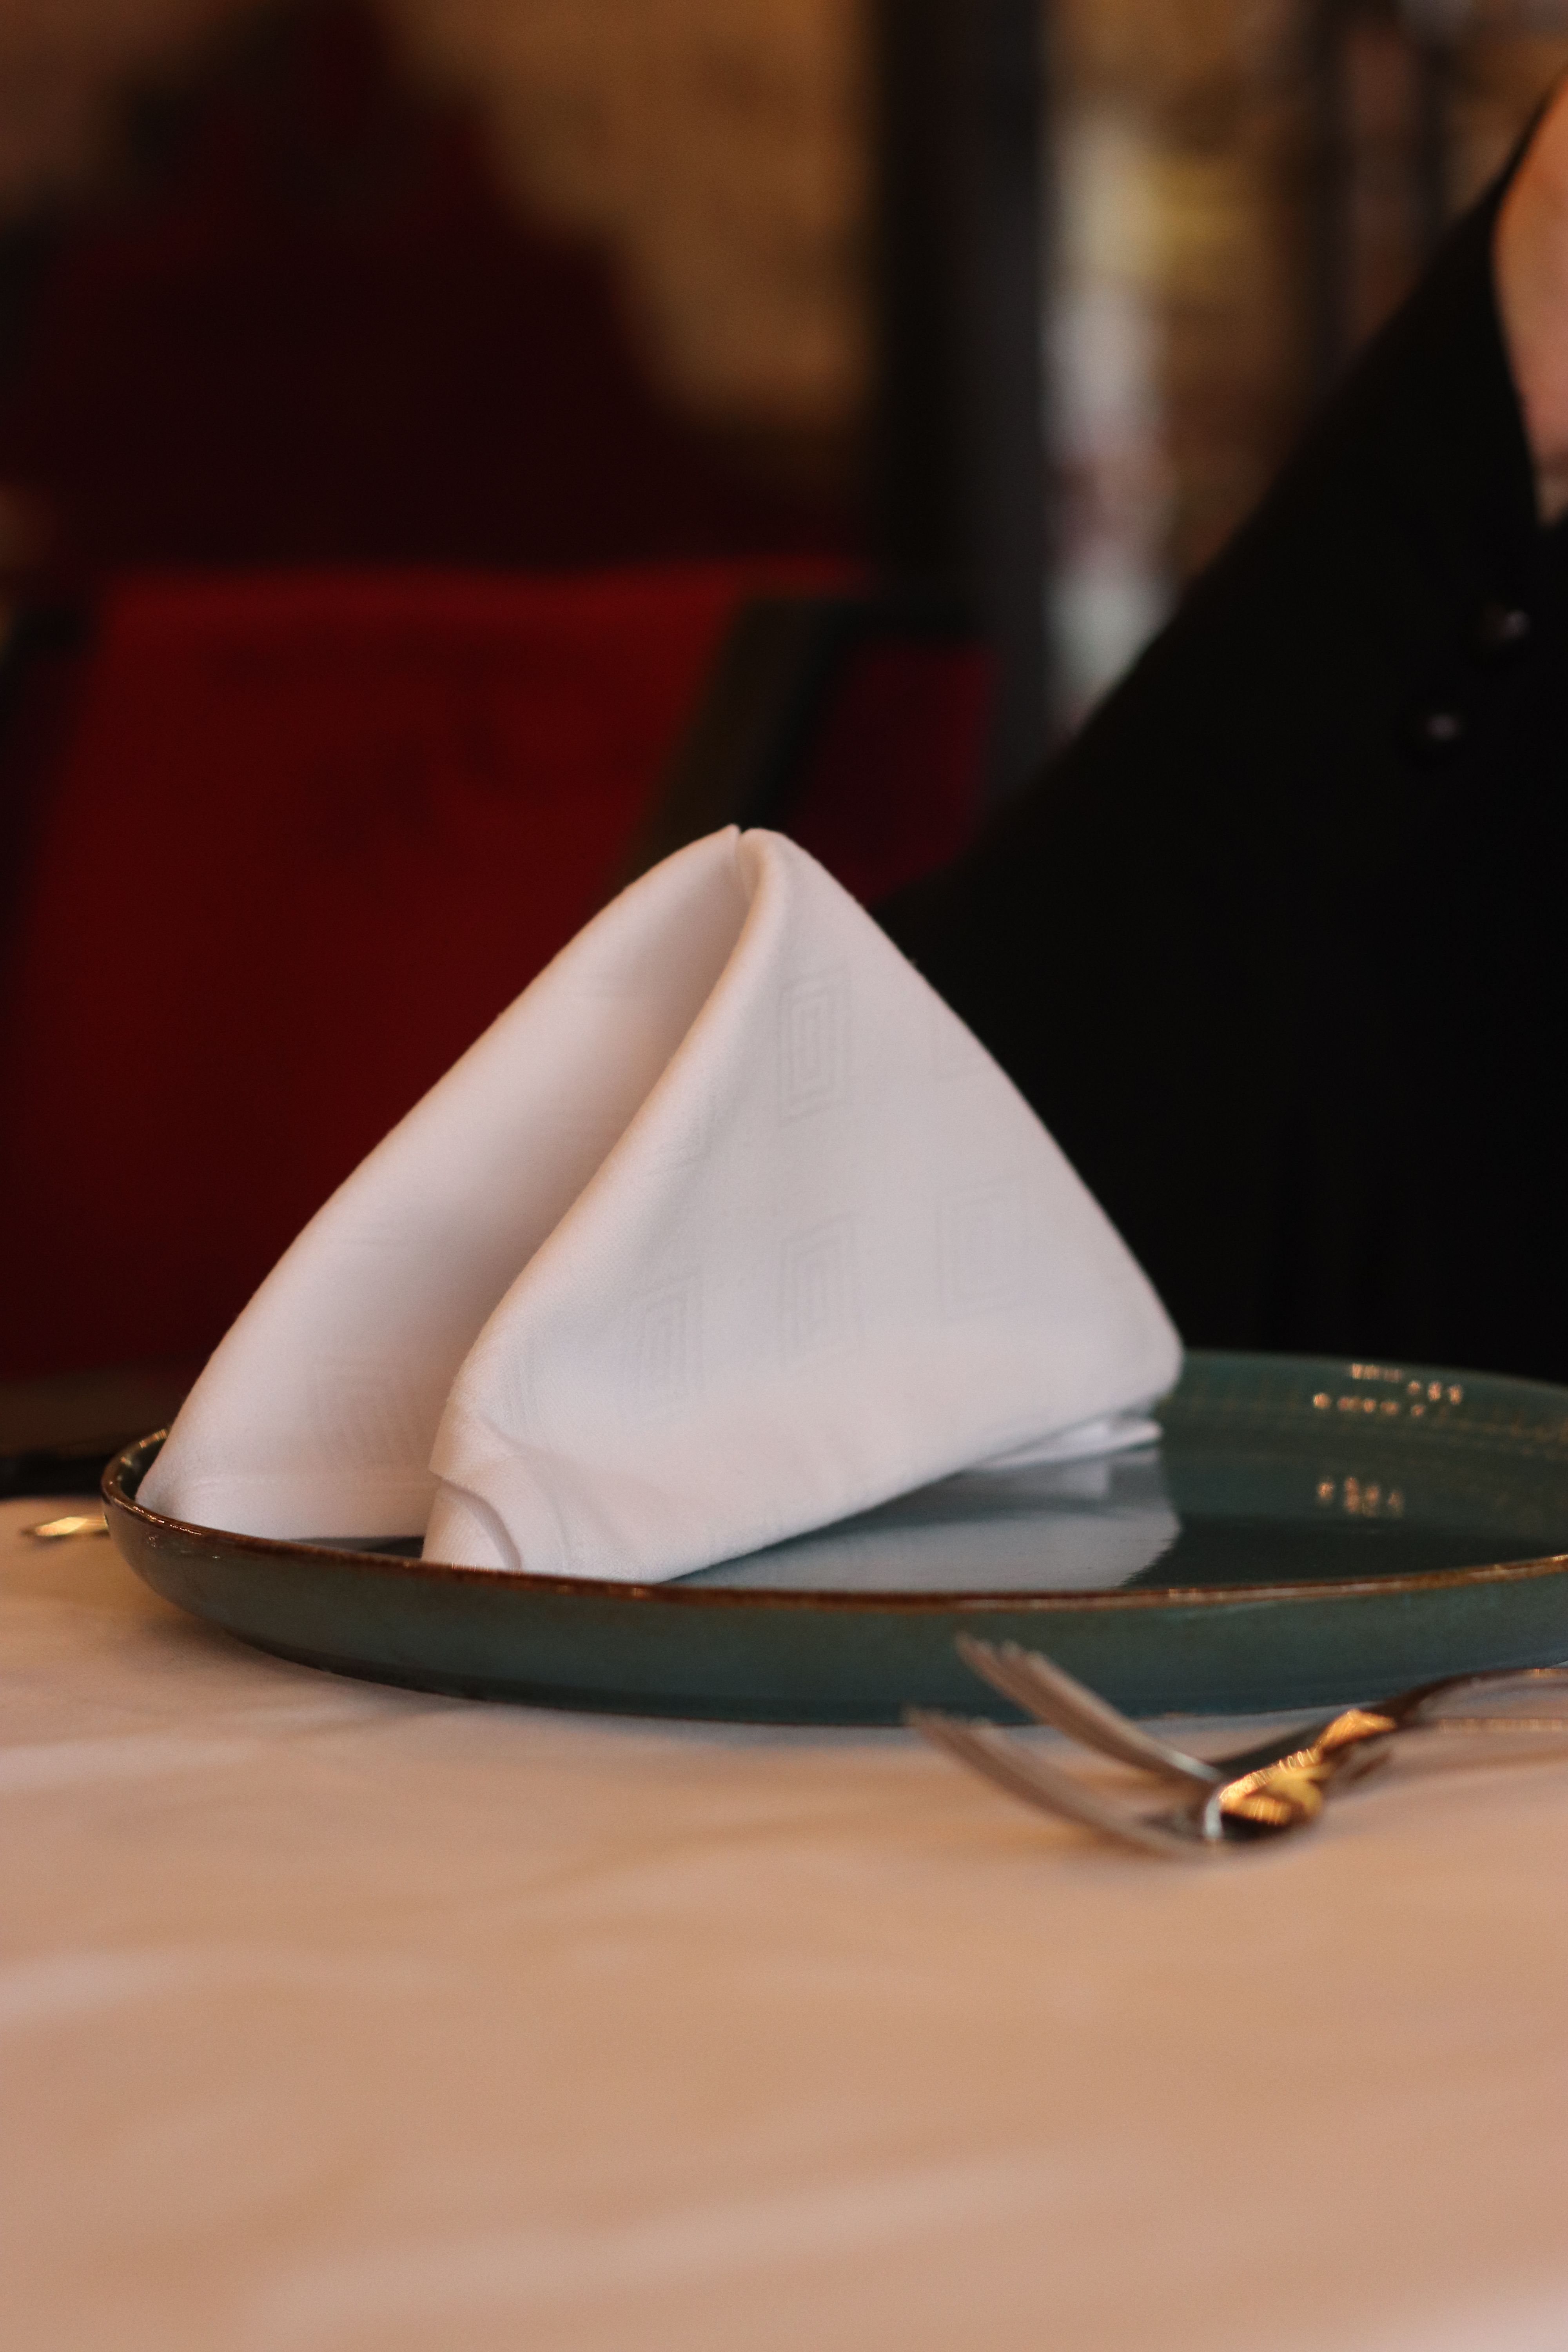
A neatly folded napkin on a plain plate, with a single candle nearby, is my go-to when the budget is tight but the room must still feel dressed. The secret is consistency: every place identical, every fold the same way.
Inconsistent folds look accidental rather than relaxed, so I fold all napkins in one sitting and stack them carefully. It takes patience, but the table photographs beautifully. I count the napkins twice before folding, because running short halfway through is stressful.
Pro Tip: Steam or iron napkins, even if they are paper, to remove fold lines from packaging.
Cost: $18 | Time: 35 minutes | Difficulty: Easy
15. Greenery Mantel-Style Centerpiece

When the shower has a mantel or sideboard, I style it as the room’s centerpiece instead of crowding the dining table. Greenery, candleholders, and a framed sign draw eyes upward and leave the table free for food and conversation.
The downside is that guests may not notice a sideboard display at first, so I place the gift table nearby, which naturally pulls people toward it. A centerpiece no one sees is just extra work. I hang a small banner above the mantel, so guests look up and notice the display immediately.
Pro Tip: Light the candles ten minutes before guests arrive, so the display is glowing when the door opens.
Cost: $40 | Time: 35 minutes | Difficulty: Easy
16. Glass Candle Holders Display

Glass candle holders in a row, with small ornaments between them, make a safe and pretty centerpiece for a long table. The glass protects the flame, catches the light, and still lets guests see each other over the top.
Glass shows fingerprints and dust, so I wipe each holder before setting it out. It is a boring job, but smudged glass ruins an otherwise elegant table. I place the tallest holder in the centre, so the row rises and falls gently like a skyline.
Pro Tip: Vary holder heights slightly, so the row looks designed rather than flat.
Cost: $32 | Time: 25 minutes | Difficulty: Easy
17. Lantern and Foliage Centerpiece
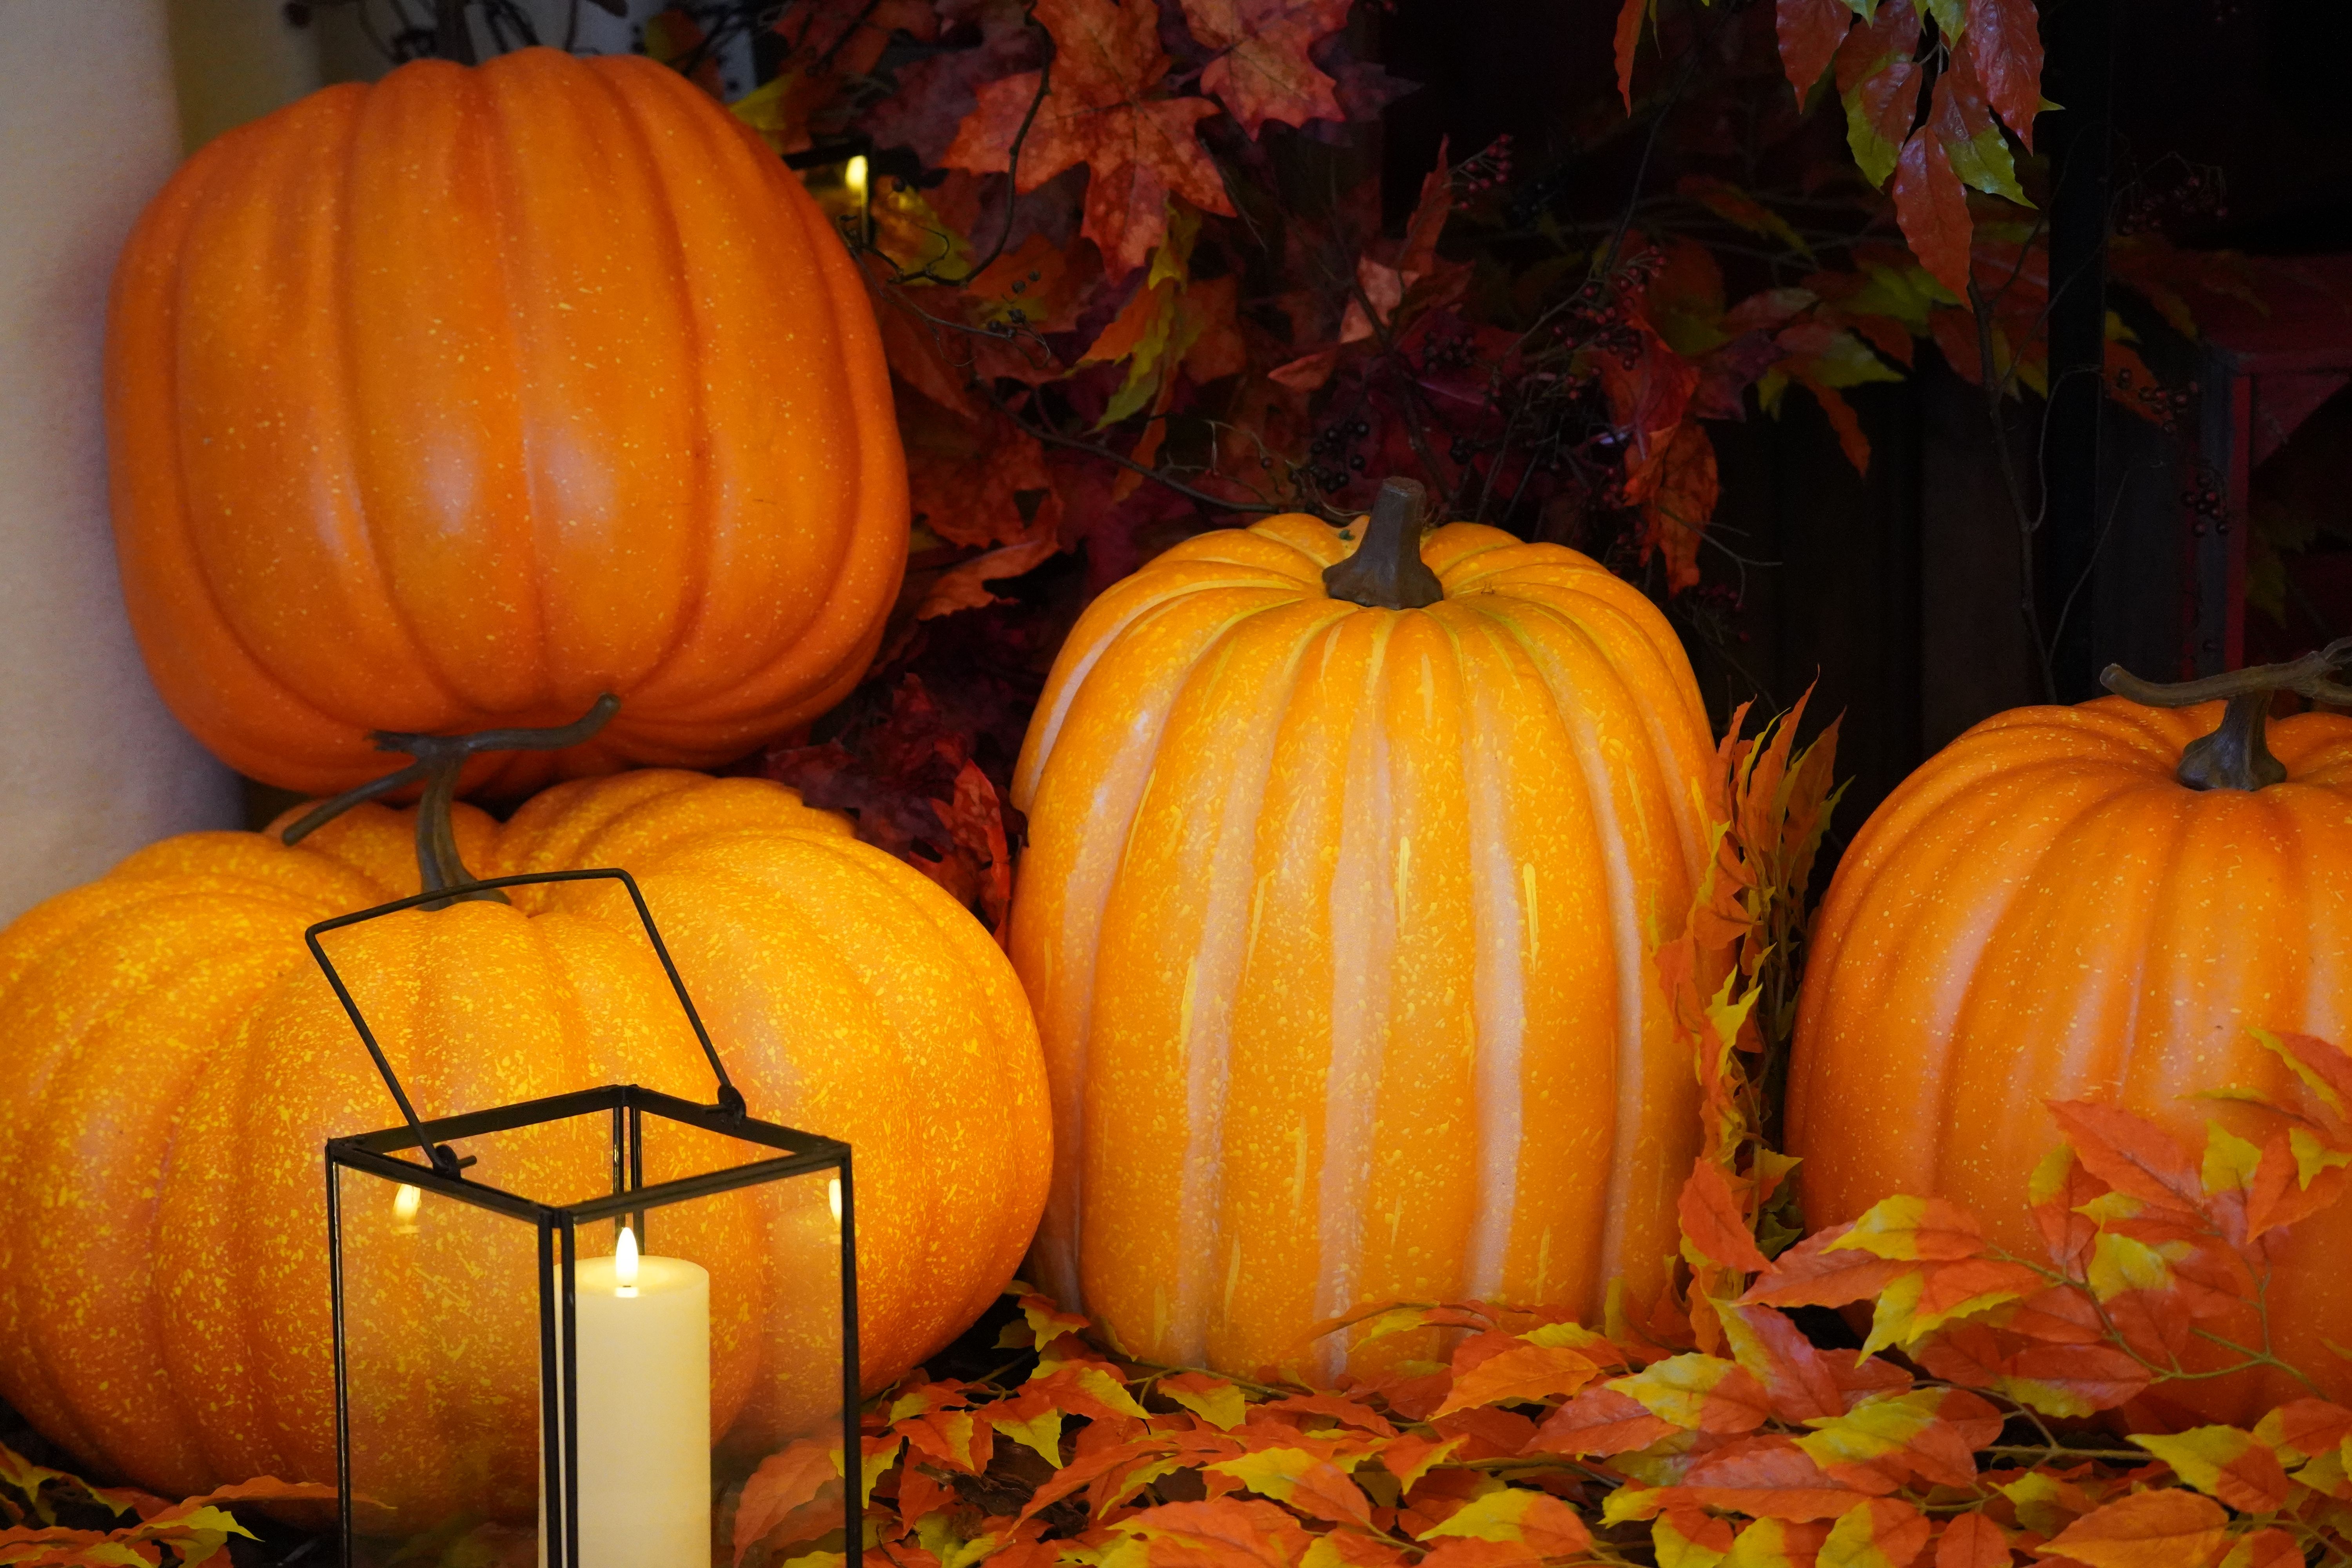
A lantern filled with a battery candle, ringed with foliage, works for autumn showers and for rustic themes all year. I used one lantern per table at a barn shower, and guests took the lanterns home as favours, which saved me packing up.
Real candles inside a closed lantern get hot and sooty, so I only use battery candles here. It is also safer if a child grabs the lantern during the party. I add a few dried leaves around the lantern base, because bare wood can look unfinished.
Pro Tip: Put a small mirror tile under the lantern, to double the candle glow.
Cost: $38 | Time: 20 minutes | Difficulty: Easy
18. Candle Cluster on a Soft Throw

A cluster of candles on a folded plaid throw, placed on a side table rather than the dining table, creates a cozy corner centerpiece. I use this beside the gift table, where guests pause and chat, and it makes that corner feel intentional.
Cloth near candles needs care, so I keep the throw flat, the candles in holders, and nothing dangling over the flame. I never leave this display unwatched in a room full of children. I keep the throw folded neatly, because an unfolded blanket on a table just looks messy.
Pro Tip: Choose a throw in a theme colour, so the corner ties into the main table.
Cost: $28 | Time: 15 minutes | Difficulty: Easy
19. Single Candle and Ornament Centerpiece

One beautiful candle beside a small ornament is the simplest centerpiece that still feels finished, and it suits tiny tables where anything larger would crowd the plates. I use a scented candle only on a non-food table, so the scent stays pleasant.
A single item can look like you forgot the rest, so I add a small tray underneath to frame it. The tray tells guests the candle is the display, not a leftover. I choose a candle with a lid, so the table still looks tidy after the candle is blown out.
Pro Tip: Light the candle just before guests arrive, so the scent is fresh, not overwhelming.
Cost: $15 | Time: 10 minutes | Difficulty: Easy
20. Balloon Box Table Focal Point

A decorated balloon box on the main table works as both a centerpiece and a party moment, especially for a reveal. I wrap the box in theme paper, fill it with balloons, and keep it closed until the planned moment, so anticipation builds.
The box is bulky, so I only use it on a large table or a dedicated display table. On a small dining table it crowds out plates and drinks, which guests notice fast. I write the reveal time on a small sign beside the box, so guests gather without being called.
Pro Tip: Test the box opening twice before the party, so the lid lifts cleanly on the day.
Cost: $40 | Time: 30 minutes | Difficulty: Easy
Comparison Table
| Idea | Best For | Cost | Setup Time |
|---|---|---|---|
| Balloon Cluster | Budget tables | $20 | 20 minutes |
| Flower-Topped Cake | Small showers | $50 | 15 minutes |
| Candlelit Table | Evening showers | $35 | 30 minutes |
| Sweets Table | Dessert lovers | $60 | 45 minutes |
| Lantern Centerpiece | Rustic venues | $38 | 20 minutes |
| Rosemary Place Setting | Fragrant tables | $15 | 30 minutes |
Mistakes I Made / What I Learned the Hard Way
Building Too Tall
My first centerpiece hid the guest of honour behind flowers, and photos from that shower barely show her face. Now I measure: if I cannot see over it while seated, it is too tall.
Forgetting the Food Space
A beautiful centerpiece that leaves no room for plates gets pushed aside within minutes. I now set one full place setting first, then build the centerpiece around the space that remains.
Using Scented Everything
Scented candles, fresh lilies, and perfumed favours together gave one guest a headache. I now pick one scent for the room and keep everything else unscented.
Leaving No Photo Angle
A centerpiece that looks good only from one side disappoints guests on the other side of the table. I walk around the table before guests arrive and check it from every seat.
If you want the dessert table to match, this Related article shows layouts I have used beside these centerpieces.
Frequently Asked Questions
How low should a baby shower centerpiece be?
I keep centerpieces under 30 centimetres tall, or tall and very narrow, so guests can see each other easily. If you must go tall, use a thin stand with a small arrangement on top, not a wide bouquet.
Can I use real candles as a centerpiece with children present?
I use battery candles whenever children attend, and real candles only on adult tables where I can watch them. Glass holders help, but they do not make an open flame safe around small hands.
How many centerpieces do I need for 20 guests?
For 20 guests at two long tables, I use two hero centerpieces and simple place settings, rather than ten small ones. Fewer, better pieces look calmer and cost less than a crowd of tiny decorations.
Should the centerpiece match the theme exactly?
It should match the colours and mood, but it does not need a literal theme character on every table. A blush candle display suits a princess theme perfectly well without a single crown on the table.
What is the cheapest centerpiece that still looks good?
A folded napkin, a single stem, and a battery candle cost under $5 per table and look genuinely elegant. Consistency across all tables matters more than spending a lot on one table.
Final Thoughts
The best centerpiece is the one guests barely notice while they are talking, then photograph on their way out. Of all these baby shower centerpiece ideas, the low, simple ones always worked best. Keep it low, keep it simple, and let the mom-to-be be the real focus of the table.
For more table ideas, this Also read covers handmade centerpieces, and this Read this next has seasonal centerpiece inspiration.