21 Christmas Cookie Decorating Ideas That Turn Your Kitchen Into a Bakery
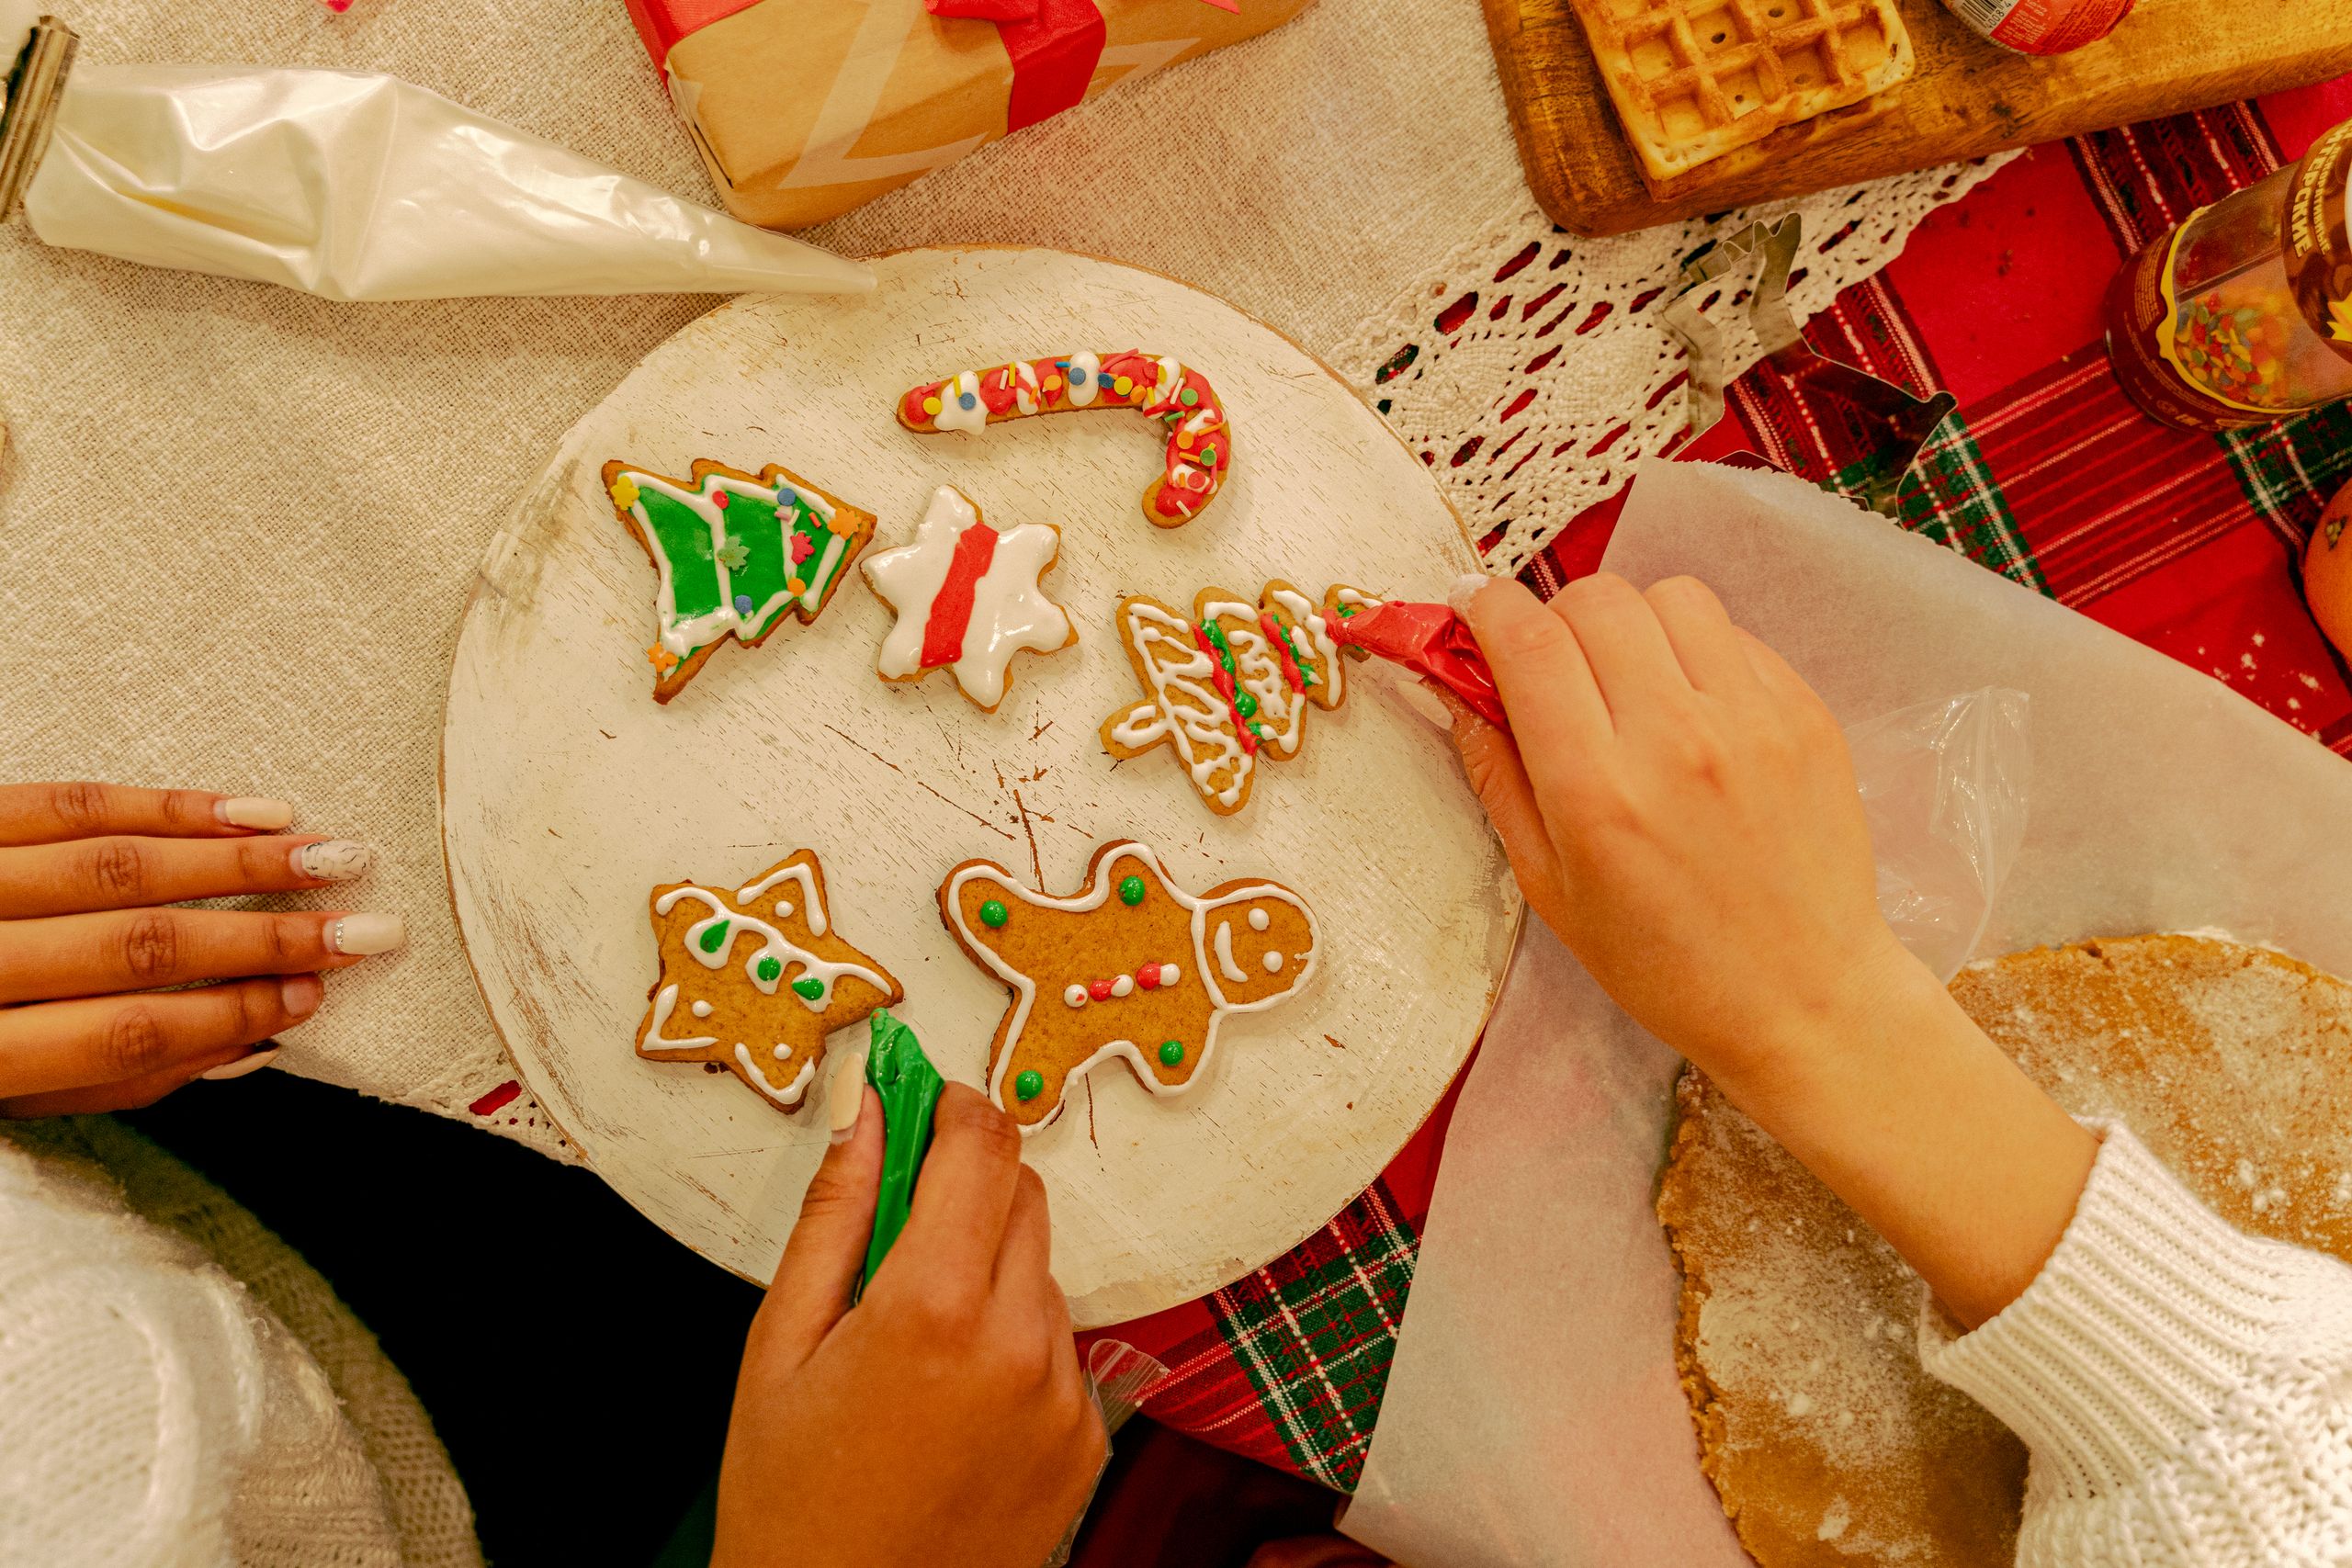
There is a specific kind of happiness that only happens when you are standing in a kitchen covered in powdered sugar, holding a piping bag, with Christmas music on and a tray of cookies cooling on the counter. I have spent more December afternoons than I can count doing exactly that, and these christmas cookie decorating ideas are the ones that actually worked in my kitchen, not just in a photo.
I picked them the way I test everything on this blog: I baked them, decorated them, served them, and kept only the ideas that survived real life, including impatient kids, a wobbly piping hand, and one memorable incident with a whole bottle of edible glitter. Here are 21 ways to decorate Christmas cookies that look beautiful and taste even better.
Key Takeaways
- Start with a reliable sugar cookie dough that holds its shape, and chill it properly before cutting.
- Royal icing needs two consistencies: thick for outlines, thinner for flooding. One bag cannot do both jobs well.
- Let each layer dry before adding the next, or colors will bleed into each other.
- Kids do best with sprinkles and simple shapes, while adults can try piping, painting, and gold leaf.
- Most of these cookies cost $8 to $20 per batch and take 1 to 3 hours including decorating time.
1. Classic Royal Icing Sugar Cookies
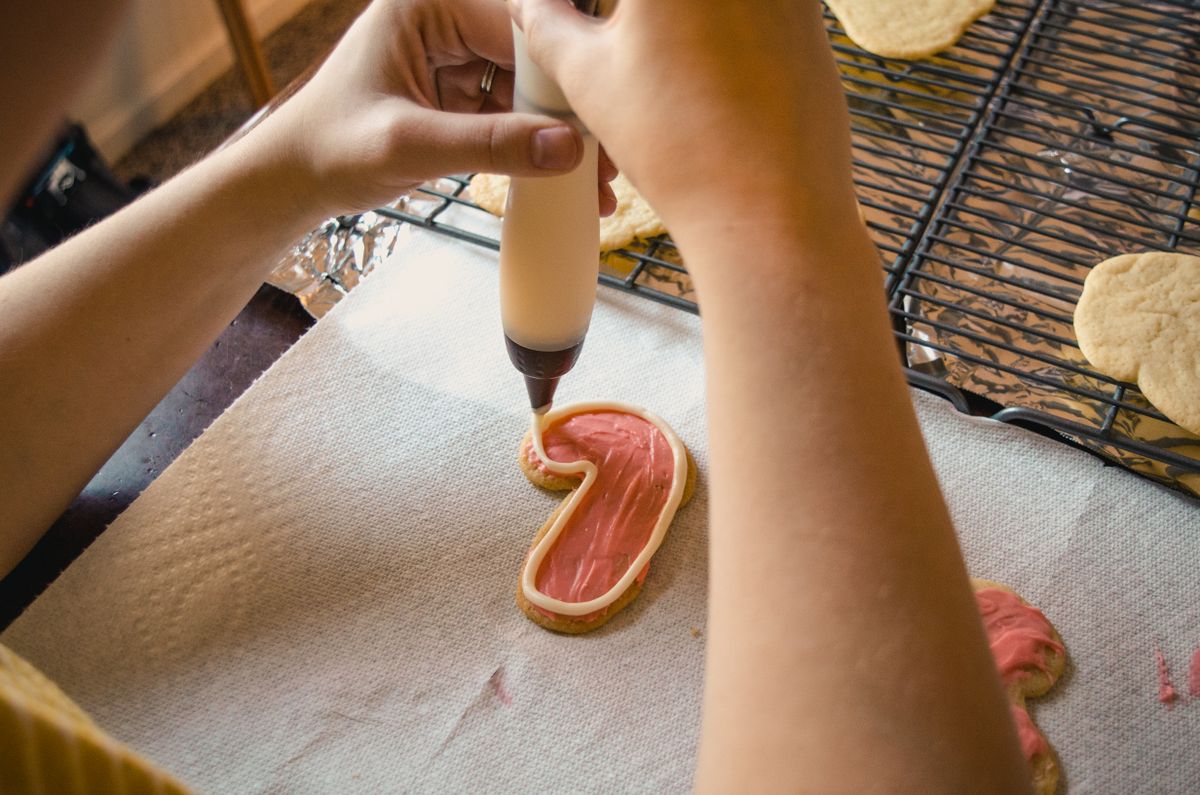
Every cookie decorator starts here, and for good reason. A buttery sugar cookie with smooth royal icing is a blank canvas, and it is the cookie I make first every December to get my hand back in practice. I roll the dough a quarter inch thick, chill the cut shapes for fifteen minutes, and bake until just the edges turn golden.
The classic mistake is flooding with icing that is too thin, so it runs off the edges and pools on the tray. I test my flood icing on one cookie first: it should settle smooth in about ten seconds. If it runs off the side, it needs more powdered sugar, a teaspoon at a time.
Pro Tip: Outline the cookie first with thick icing and let it set for ten minutes. The outline acts like a dam and keeps the flood icing exactly where you want it.
Cost: $8–$12 per batch | Time: 2 hours | Difficulty: Easy
2. Gingerbread Men with Personality
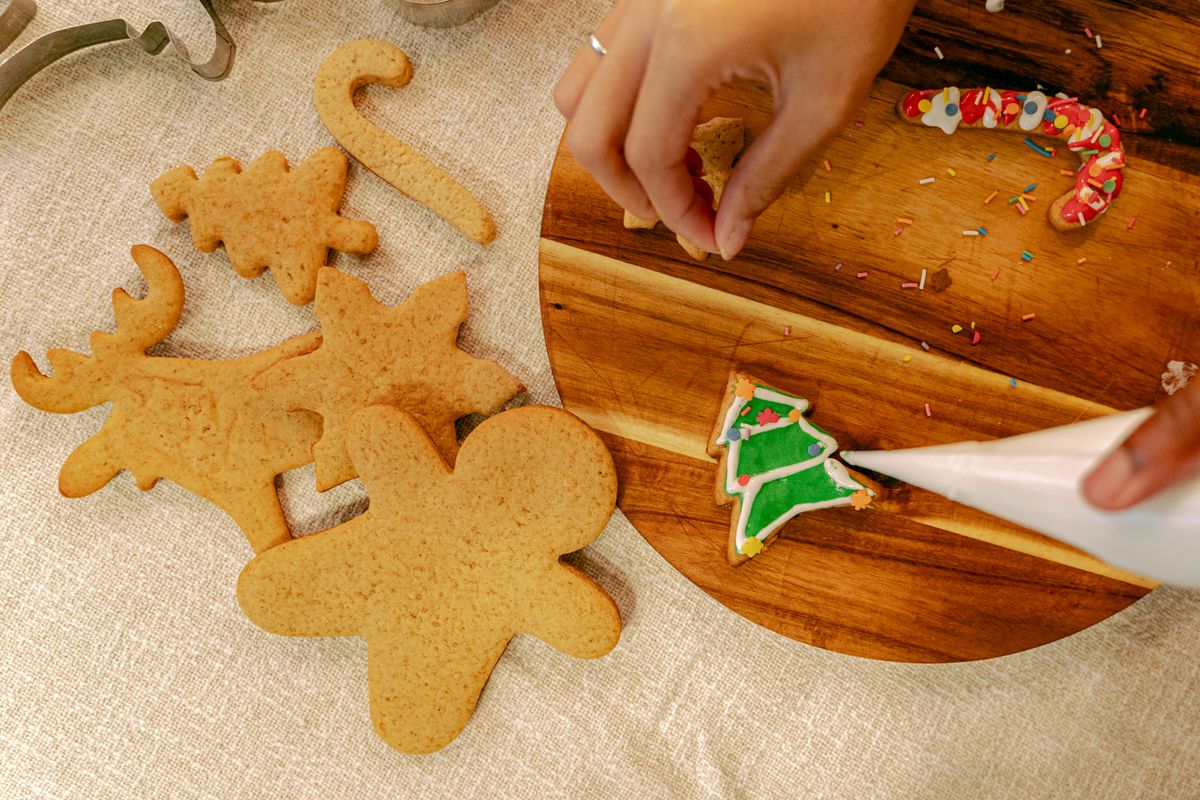
Gingerbread men are the one cookie where imperfection is the whole point. I give each one a different face, some with candy buttons, some with gumdrop bows, some with expressions that look mildly surprised. Kids love choosing which personality they get, and adults secretly do too.
Gingerbread dough spreads if it is too warm, and then your gingerbread men look like gingerbread blobs. I chill the dough for an hour, roll it cold, and chill the cut shapes again before baking. It is an extra step, but it is the difference between a cookie and a puddle.
Pro Tip: Decorate the faces after the cookies cool completely, and use a toothpick for tiny details like eyes and smiles.
Cost: $10–$15 per batch | Time: 2–3 hours | Difficulty: Easy

3. Stained-Glass Window Cookies
Stained-glass cookies look like magic when you hold them up to the light. My favorite version is actually a linzer-style cookie: two almond cookies sandwiched with bright raspberry jam, where the cutout in the top cookie reveals a jewel-like jam center that glows like a tiny stained-glass window.
The jam needs to be smooth, or seeds and lumps ruin the glass effect. I warm seedless raspberry jam gently and spoon it carefully into the center, then dust the top cookie with powdered sugar before sandwiching. The result looks far fancier than the effort it takes.
Pro Tip: Use seedless jam and a small round or star cutter for the window. Bigger windows show off the jam better.
Cost: $12–$18 per batch | Time: 2 hours | Difficulty: Medium

4. Marbled Icing Swirl Cookies
Marbled icing is my favorite technique for making plain cookies look like art. I flood a cookie with white icing, then drop a few dots of red and green icing on top and drag a toothpick through them in lazy S-curves. Every cookie comes out different, and they look like they came from a bakery.
Timing is everything. If the base icing sets before you swirl, the toothpick drags and tears instead of marbling. Work one cookie at a time, swirl immediately after flooding, and do not overwork it. Three or four drags is plenty. More than that turns the whole thing muddy.
Pro Tip: Use a toothpick, not a knife, for swirling. It makes finer lines and gives you much more control.
Cost: $10–$15 per batch | Time: 2 hours | Difficulty: Medium
5. Hot Cocoa Mug Cookies
Hot cocoa mug cookies are the cutest thing on my Christmas table: a cookie shaped like a mug, decorated with a handle and a little marshmallow on top, served next to an actual mug of cocoa. I make the mug shape with a rectangular cutter and add the handle from a small piece of dough before baking.
The handle is the weak point. If it is too thin, it breaks off in the oven or when someone picks the cookie up. I make handles thick, press them firmly onto the mug body, and accept that one or two will still snap. Those become the baker’s private tasting samples.
Pro Tip: Add mini marshmallows to the top of the cookie after baking, stuck on with a dot of icing, so they stay white and puffy.
Cost: $10–$15 per batch | Time: 2 hours | Difficulty: Medium

6. Christmas Tree Stack Cookies
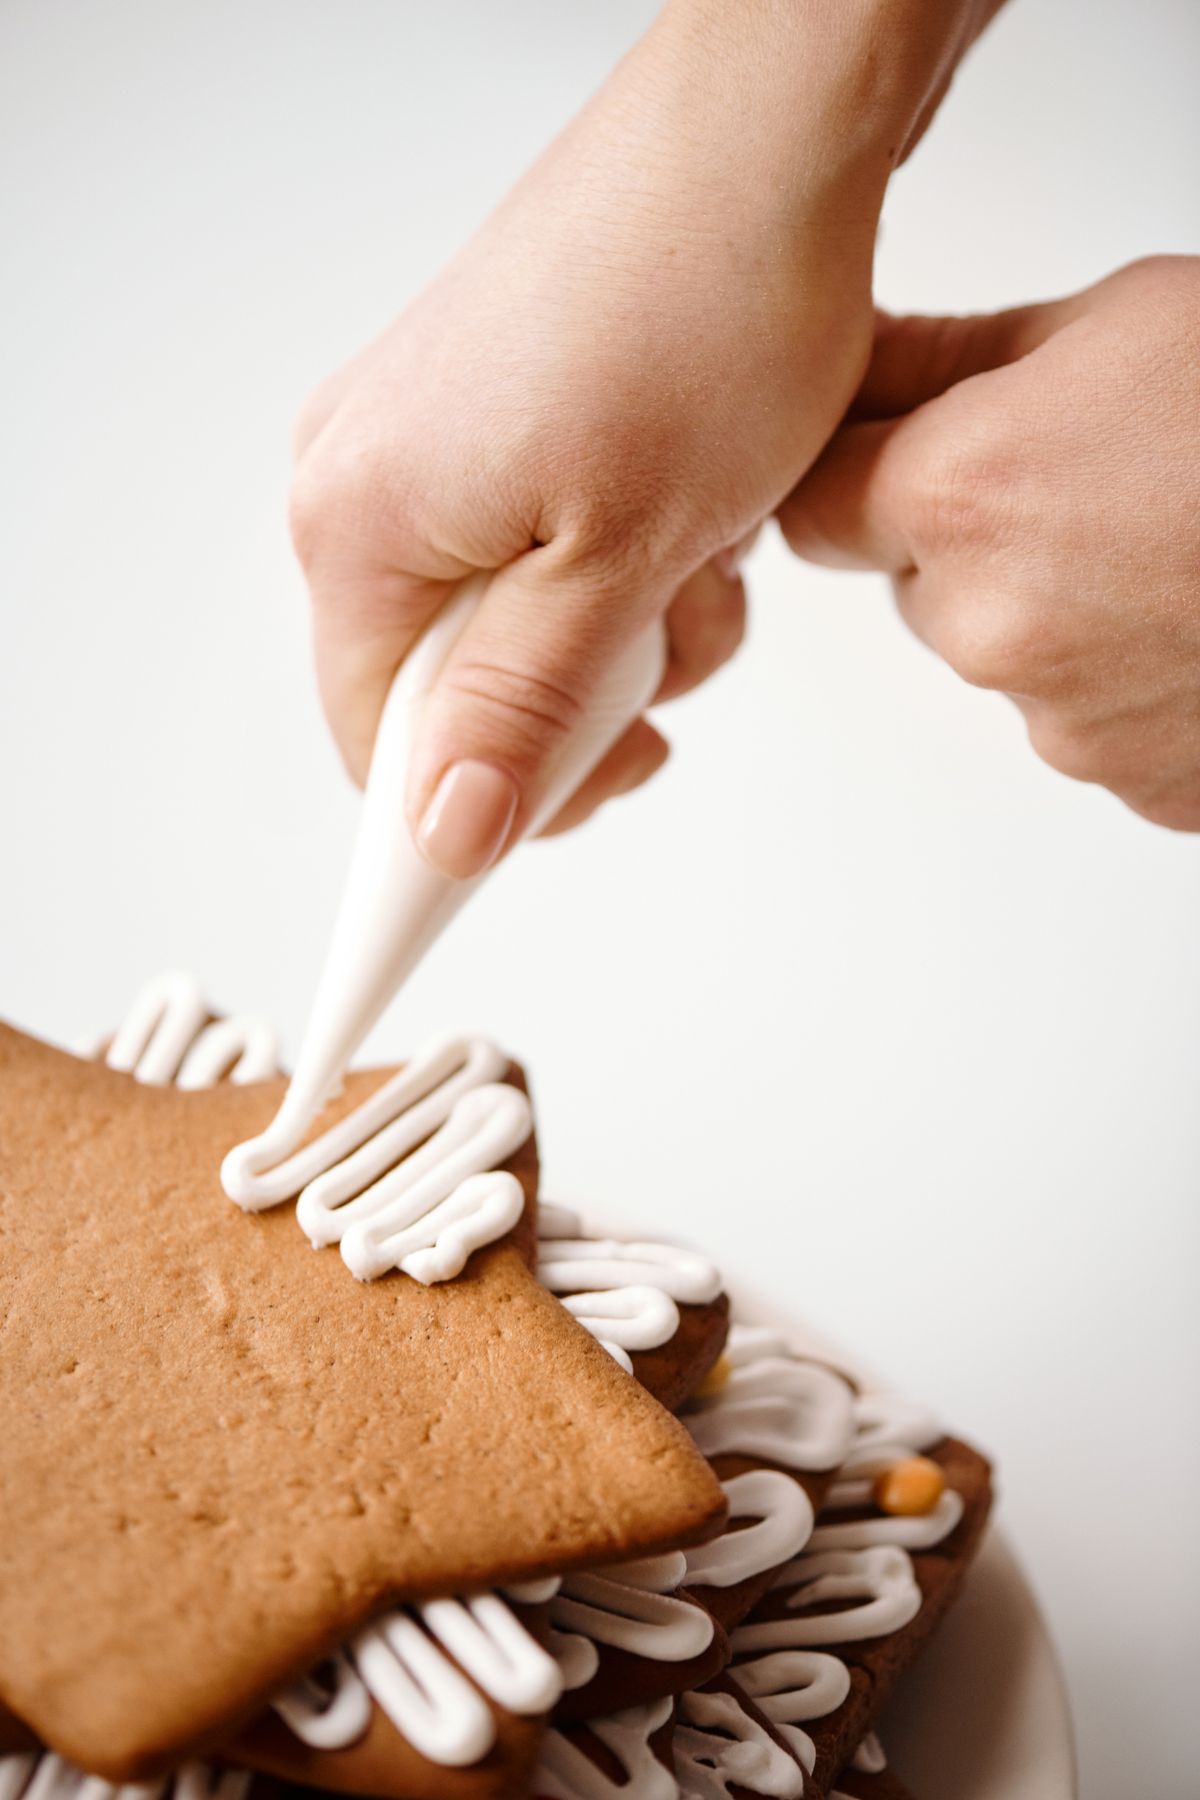
Tree stack cookies are a showstopper: three or four star-shaped cookies in graduating sizes, stacked with icing and dusted with powdered sugar, so they look like a little Christmas tree. I make the stars in three sizes from one batch of dough, and the whole thing takes less time than it looks.
The stack needs to be stable, or it leans like a tipsy tree. I pipe a generous blob of thick icing between each layer and let each layer set for a few minutes before adding the next. A tiny star on top finishes it, and powdered sugar snow hides any wobbles.
Pro Tip: Bake the star sizes on separate trays, because the small stars cook faster than the big ones.
Cost: $10–$14 per batch | Time: 2 hours | Difficulty: Medium

7. Snowflake Cookies with Royal Icing
Snowflake cookies are the prettiest cookies I make, and the most forgiving. A round or snowflake-shaped cookie flooded white, then piped with simple lines and dots in a slightly thicker white icing, looks like real snowfall. No two need to match, which takes all the pressure off.
White-on-white piping is hard to see while you work, so I pipe under a bright light and step back every few cookies to check the overall effect. The trick is contrast in texture: smooth flooded base, then raised piped lines on top, so the design catches the light.
Pro Tip: Use a very small round tip or a parchment cone for snowflake lines. A big tip makes blobs, not flakes.
Cost: $8–$12 per batch | Time: 2–3 hours | Difficulty: Medium
8. Reindeer Face Cookies
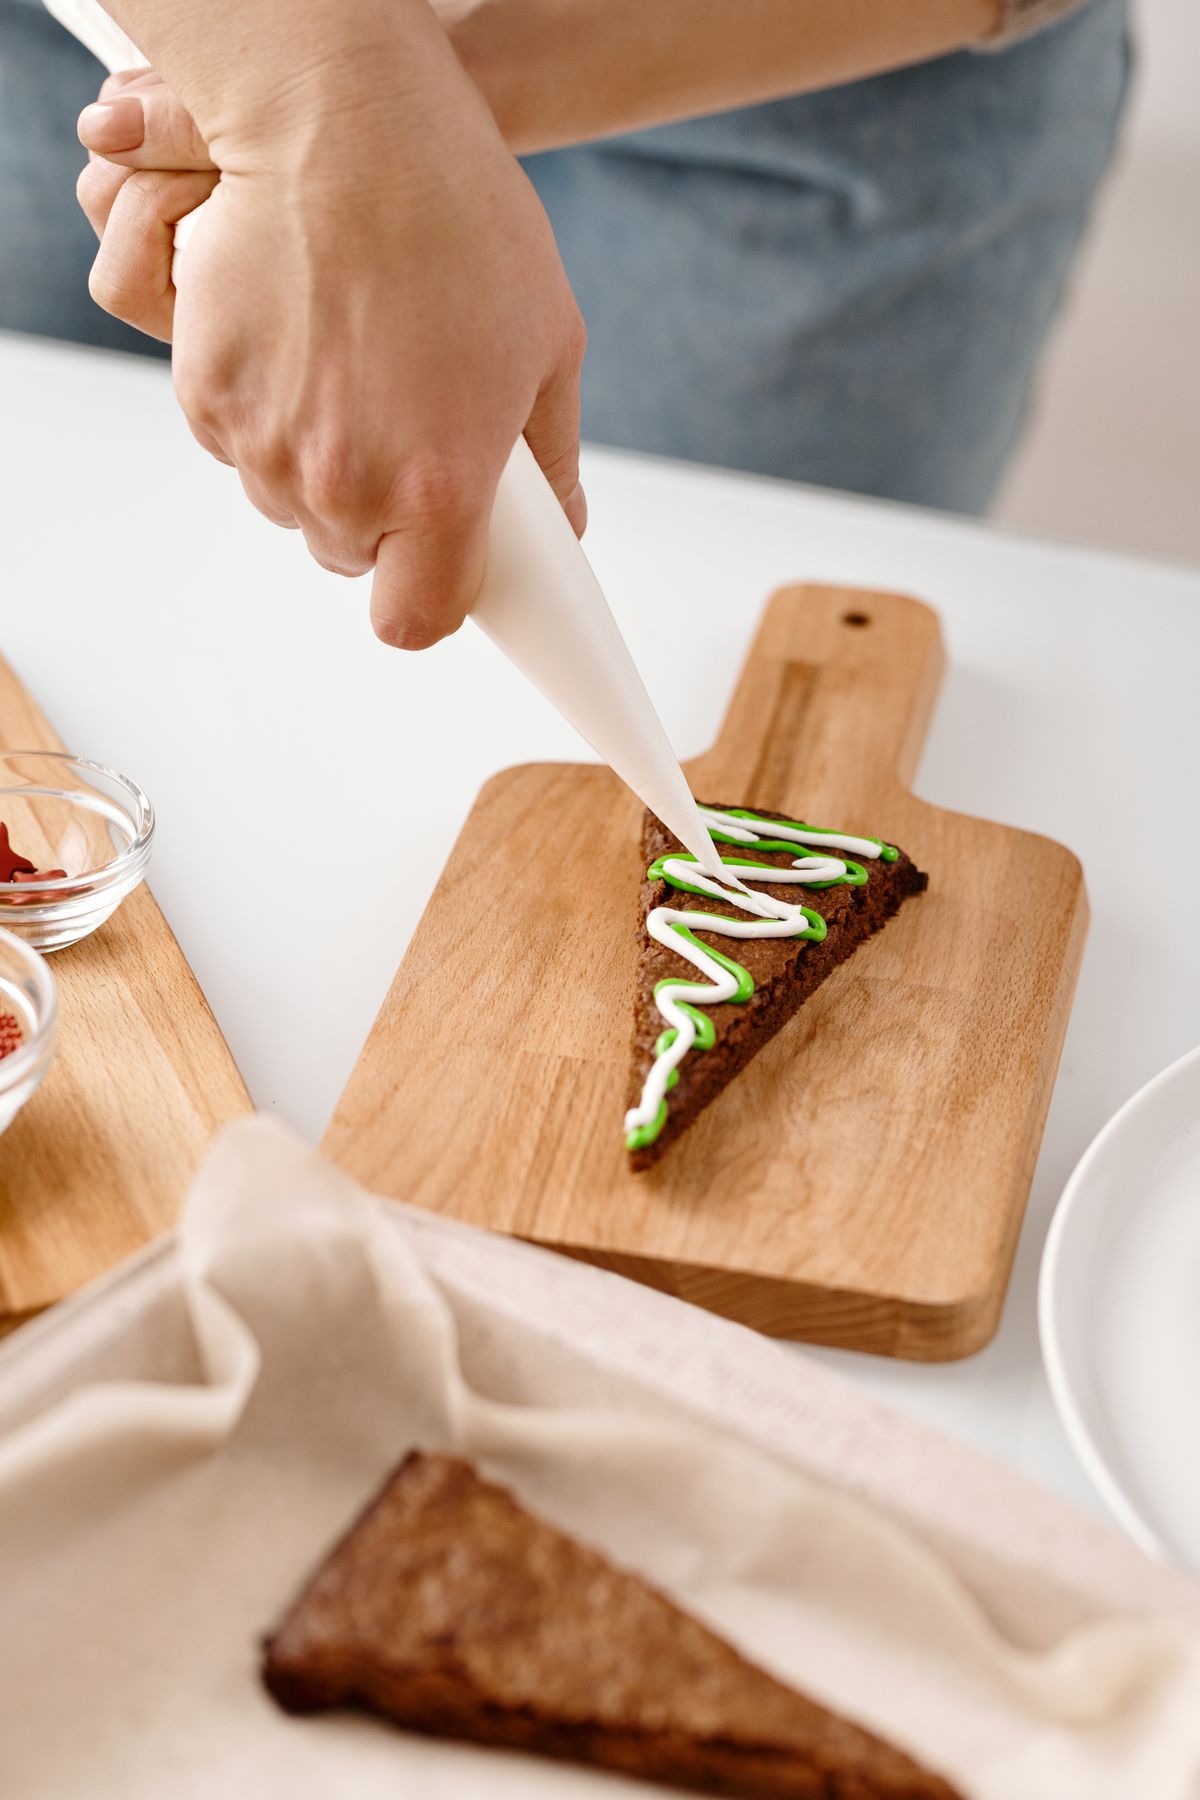
Reindeer face cookies are the ones kids ask for by name. I use a round gingerbread cookie as the face, pipe two antlers with chocolate icing, add candy eyes, and finish with a red candy nose for Rudolph. They are simple, they are adorable, and they disappear faster than any other cookie I make.
The antlers are the tricky part. If the chocolate icing is too thin, the antlers droop. I use thick icing for antlers and let them set for at least twenty minutes before moving the cookies. One year I stacked warm reindeer cookies and ended up with a tray of antlerless blobs.
Pro Tip: Use pretzel pieces for antlers instead of piping if you are short on time. They look great and add a salty crunch.
Cost: $10–$15 per batch | Time: 2 hours | Difficulty: Easy
9. Santa Hat Cookies
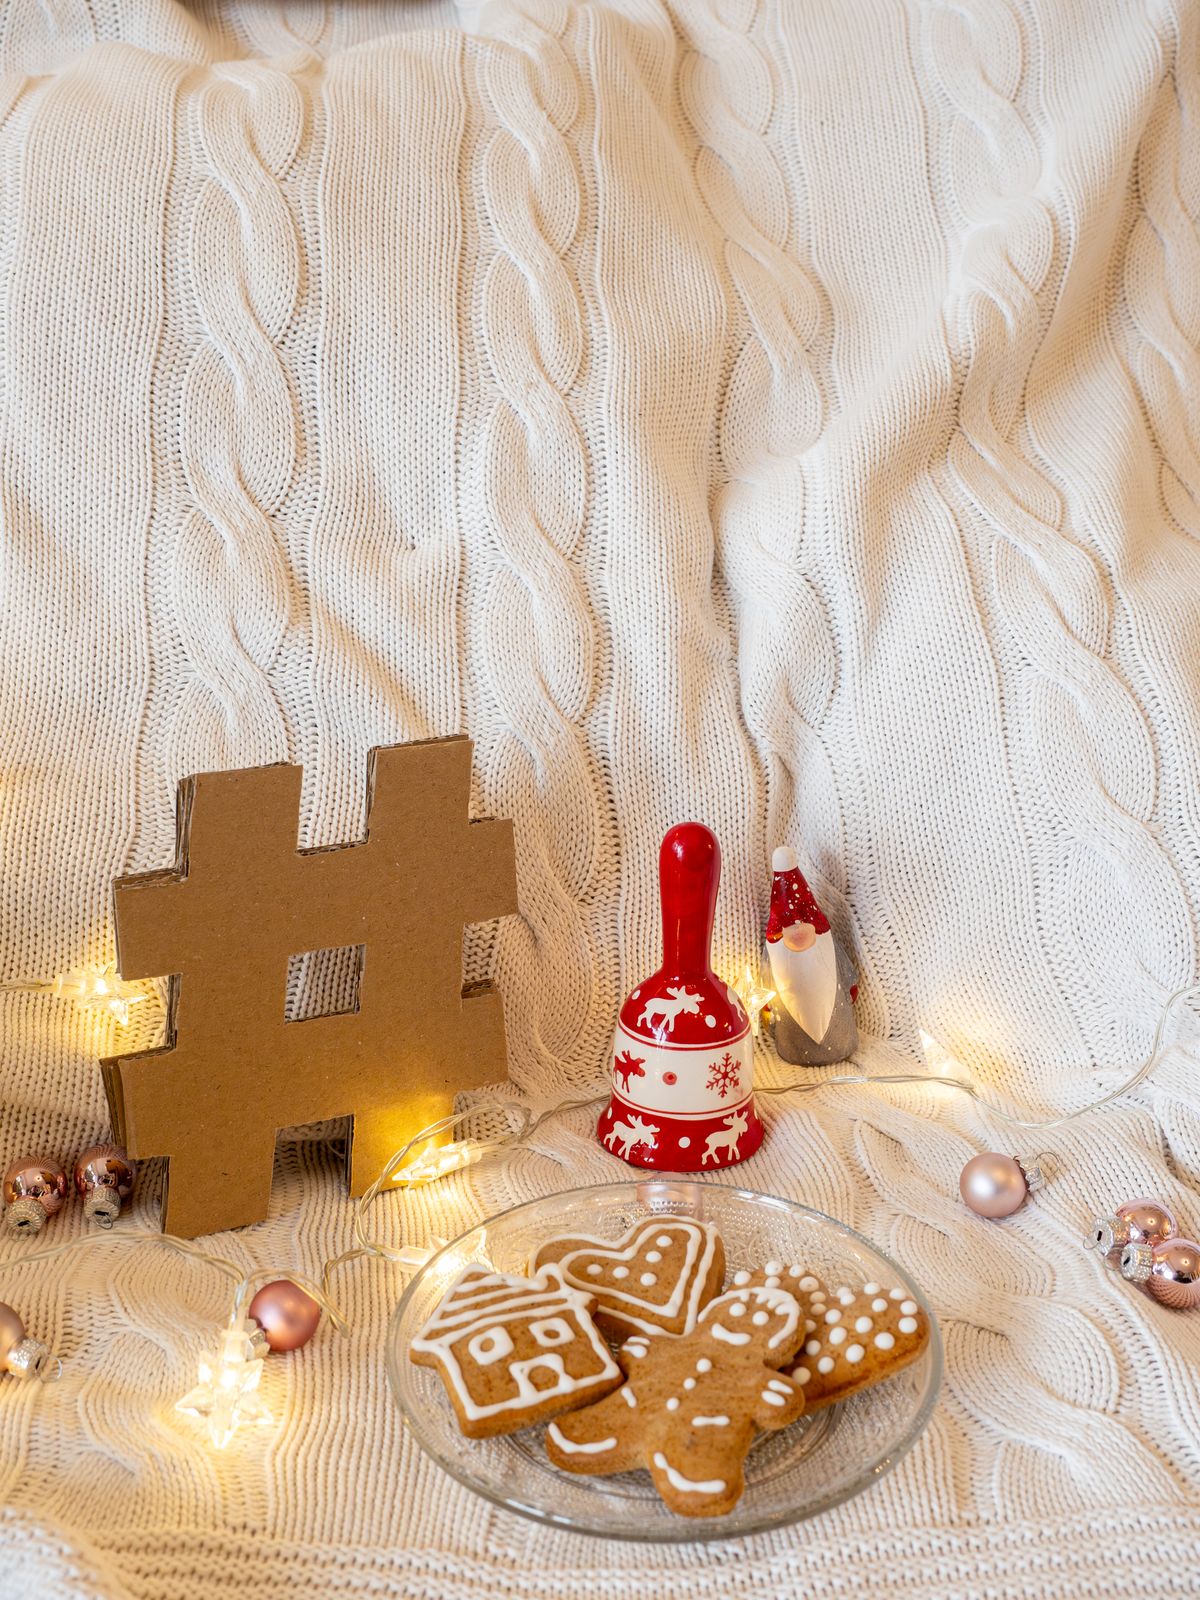
Santa hat cookies are a triangle of red icing on a round cookie, finished with a white brim and a white pompom on top. They are so simple that kids can make them unsupervised, and they look instantly festive on any cookie tray. I make a big batch every year because they are the first to go.
Red icing can bleed into white if the layers are not dry. I pipe the red triangle first, let it crust over for at least an hour, then add the white brim and pompom. If you rush it, you get pink hats, which are still cute but not quite Santa.
Pro Tip: Use a mini marshmallow for the pompom instead of piped icing. It looks better and saves piping time.
Cost: $8–$12 per batch | Time: 2 hours | Difficulty: Easy
10. Ugly Sweater Cookies
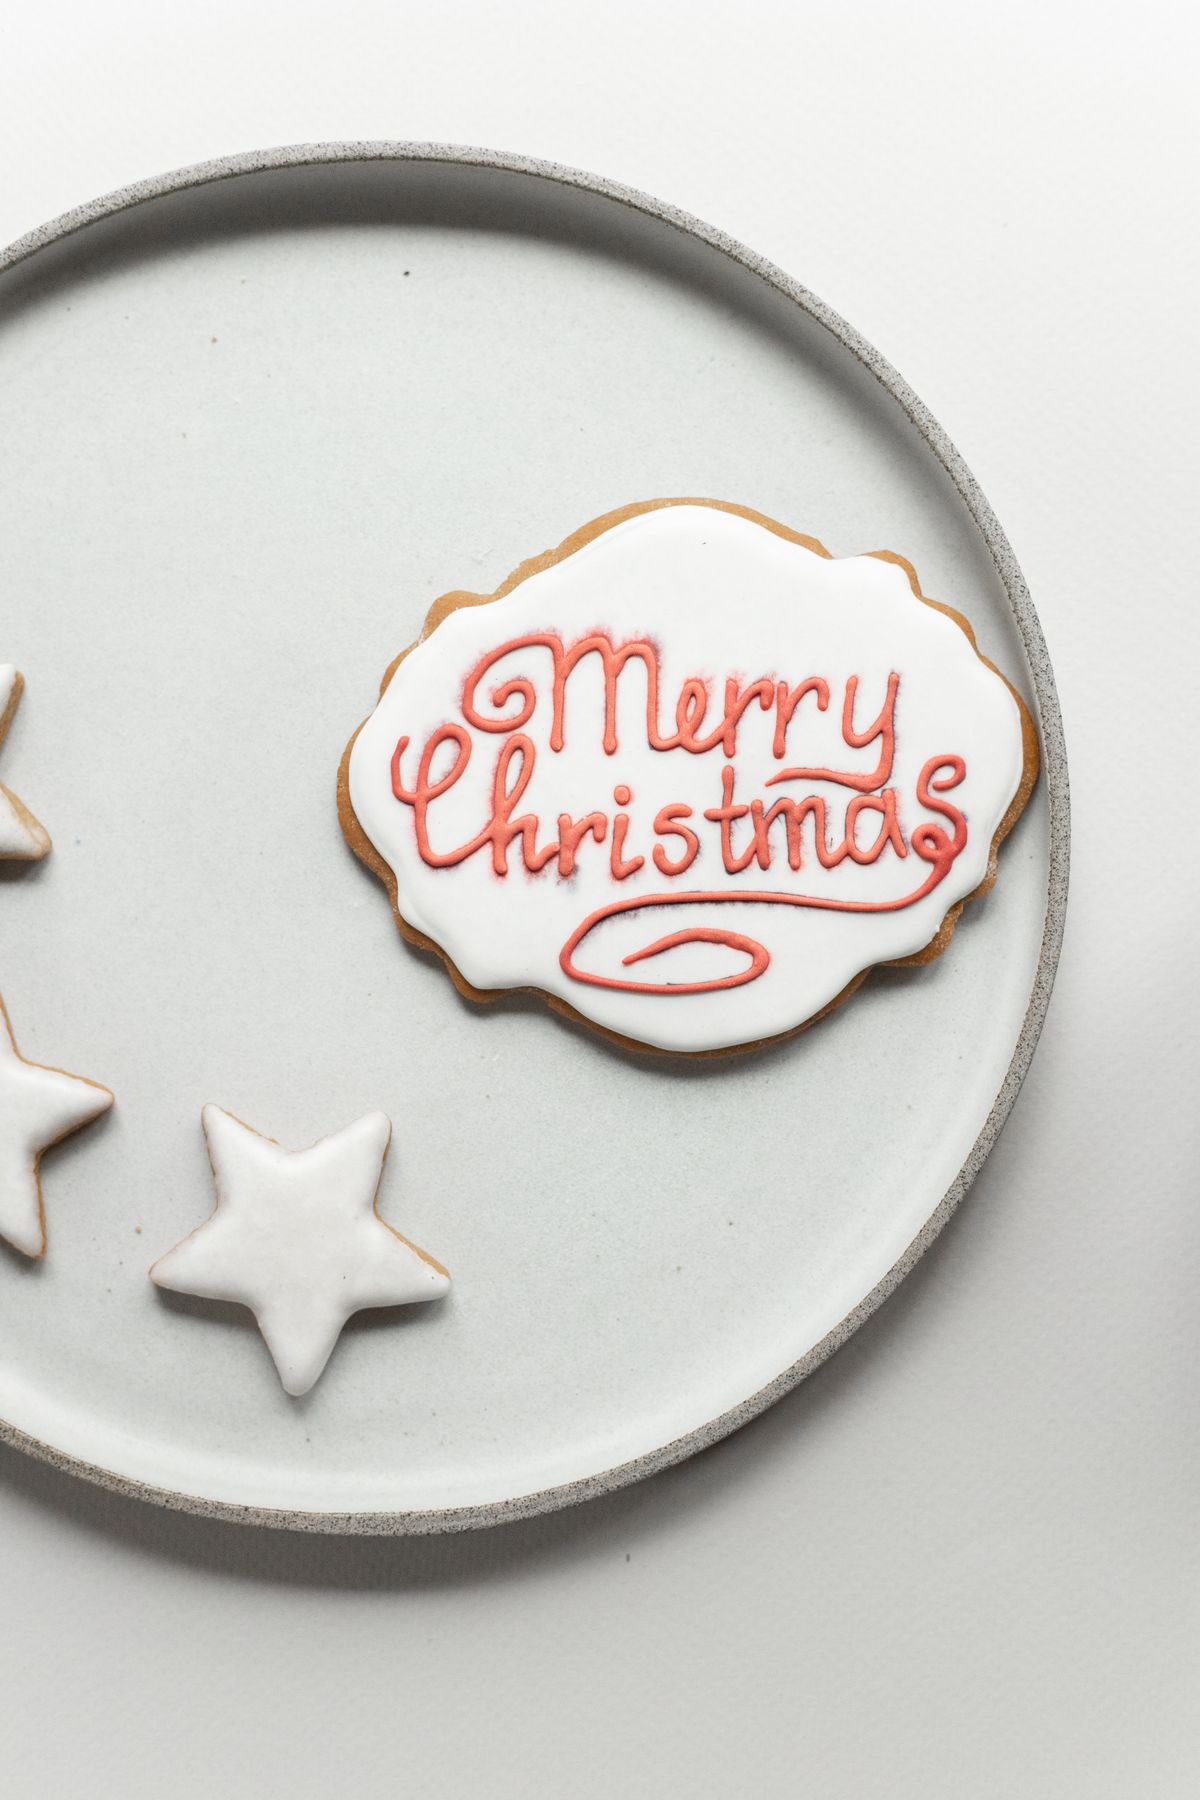
Ugly sweater cookies are my party trick. I cut sweater shapes from sugar cookie dough, flood them in wild colors, and pipe on patterns: zigzags, snowflakes, trees, and the uglier the better. Guests vote for the ugliest sweater cookie, and the winner gets absolutely nothing except glory.
The sweater shape needs a cutter, or you can cut a simple rectangle with a small notch for the neckline using a knife. The first year I freehanded them, they looked like misshapen blobs. A proper cutter, or a steady hand with a template, makes all the difference.
Pro Tip: Flood the sweater in one base color, let it dry completely, then pipe the ugly pattern on top. Two dry stages make the pattern crisp.
Cost: $10–$15 per batch | Time: 2–3 hours | Difficulty: Medium
11. Cookie Decorating Party Station Setup
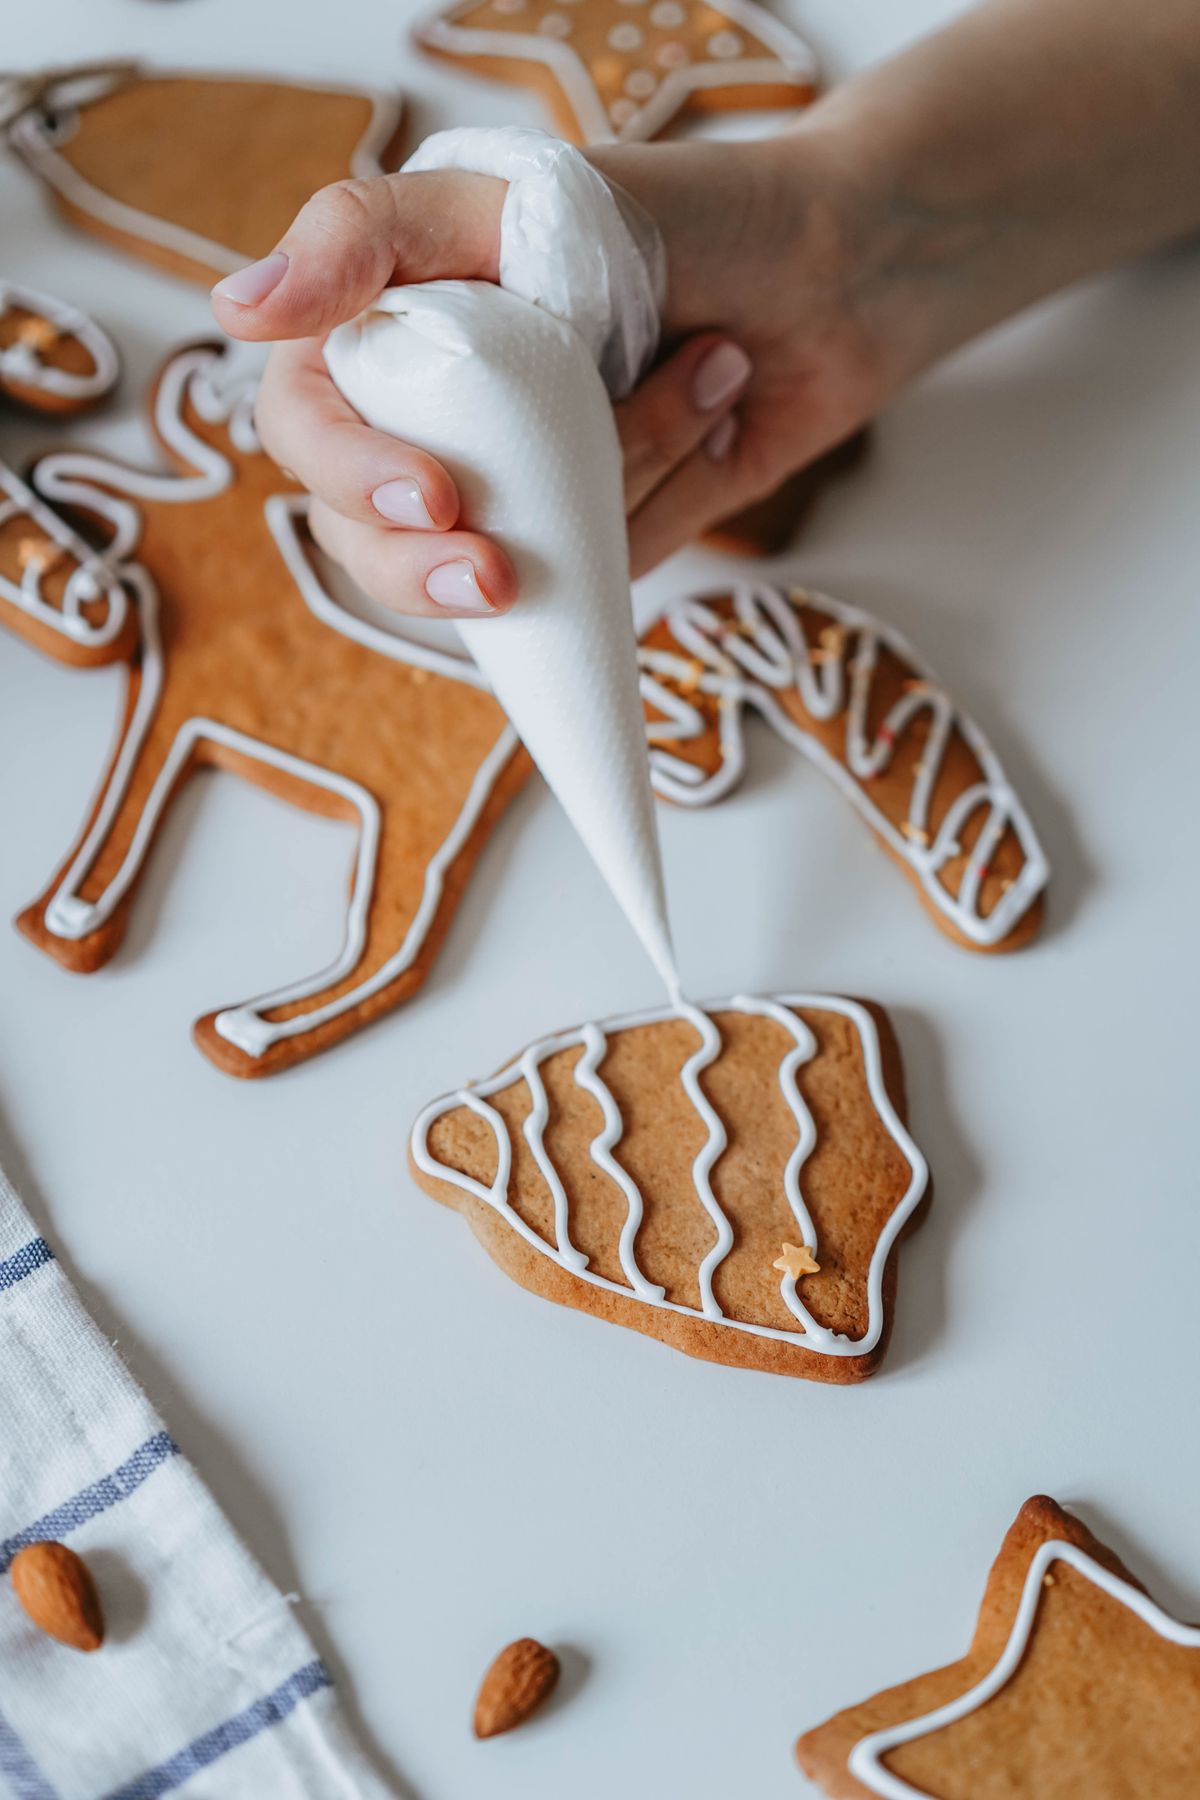
A decorating party is my favorite December gathering. I set up a station with plain baked cookies, bowls of colored icing, sprinkles, candies, and piping bags, and let guests decorate their own. It works for kids and adults, it needs almost no hosting skill, and everyone leaves with a box of cookies they made.
The station gets chaotic fast if you do not organize it. I learned to put icing in squeeze bottles instead of piping bags for beginners, keep sprinkles in small bowls with spoons, and cover the table with a plastic cloth. The whole setup takes twenty minutes and the cleanup takes ten.
Pro Tip: Bake twice as many plain cookies as you think you need. People always decorate more than expected, and broken ones become snacks.
Cost: $20–$35 for a party of 8 | Time: 1 hour setup | Difficulty: Easy
12. Kids’ Sprinkle-Explosion Cookies
For young kids, forget piping and give them sprinkles. I bake plain round sugar cookies, spread a thin layer of icing on top, and let kids go wild with every sprinkle in the cupboard. The results are gloriously chaotic, colorful, and completely theirs, which is why they taste better to them than any perfect cookie.
Confine the chaos or it spreads everywhere. I put each child at a spot with a rimmed baking sheet under their cookie, which catches most of the sprinkles. The rest end up on the floor, and I have made peace with that. For more kid-friendly craft ideas, Related article on easy Christmas crafts has projects the whole family enjoys.
Pro Tip: Use a thin layer of icing as glue, not a thick one, or the sprinkles slide off in a sugary avalanche.
Cost: $8–$12 per batch | Time: 1 hour | Difficulty: Easy

13. Elegant Gold-Leaf Cookies
Gold-leaf cookies are my grown-up showpiece. A simple round or star cookie with smooth white or dark chocolate icing, topped with a small piece of edible gold leaf, looks like it came from a patisserie. It is shockingly easy, because the gold leaf does all the visual work.
Gold leaf is delicate and sticks to everything except where you want it. I use tweezers, never fingers, and I apply it to icing that is just set but still slightly tacky. If the icing is fully dry, a tiny dab of water or clear extract helps it stick. One sheet covers a surprising number of cookies if you tear it carefully.
Pro Tip: Buy edible gold leaf, not craft gold leaf. Craft leaf is not food-safe, and the packaging looks frustratingly similar.
Cost: $15–$25 per batch including gold leaf | Time: 2 hours | Difficulty: Medium

14. Piped Wreath Cookies
Wreath cookies are my favorite cookie to give as gifts. A round shortbread cookie becomes a wreath when you pipe green icing around the edge in little leaf shapes and add tiny red candies as berries. They look like miniature Christmas wreaths, and they taste buttery and wonderful.
The piping takes practice, but the leaf shape is forgiving. I use a small leaf tip and pipe short overlapping strokes around the circle, then add the berries while the icing is still soft so they stick. If a leaf looks wrong, scrape it off and redo it before it sets.
Pro Tip: Chill the shortbread rounds before piping so the icing does not slide on a warm cookie.
Cost: $10–$15 per batch | Time: 2–3 hours | Difficulty: Medium

15. Candy Cane Striped Cookies
Candy cane cookies are all about the peppermint. I make a chocolate cookie base, top it with white chocolate, and press crushed candy canes into it while the chocolate is still wet. The red and white pieces sparkle, the peppermint flavor is unmistakable, and the whole cookie tastes like Christmas candy.
Crushed candy cane melts if the chocolate is too hot, so I let the white chocolate cool for a minute before sprinkling. I also crush the canes in a sealed bag with a rolling pin, because loose candy cane shards get everywhere and one year I was still finding them in February.
Pro Tip: Use a mix of fine crumbs and bigger pieces. The fine crumbs give color, the bigger pieces give crunch.
Cost: $10–$15 per batch | Time: 1–2 hours | Difficulty: Easy

16. Melted Snowman Cookies
Melted snowman cookies are the funniest cookies I make. A round pool of white icing on a cookie, a little snowman face sliding off to one side, a tiny hat, and a couple of stick arms. Kids love them because they look like the snowman gave up, and adults love them because they are genuinely charming.
The puddle needs to be the right consistency: thick enough to hold a shape, thin enough to look melted. I flood a rough circle, then nudge the edges with a toothpick to make it look like a puddle. The face goes on top while the icing is wet, slightly off-center, as if it is sinking.
Pro Tip: Use a mini peanut butter cup for the snowman’s hat. It is the perfect size and it stays put.
Cost: $10–$14 per batch | Time: 2 hours | Difficulty: Easy
17. Ornament Bauble Cookies
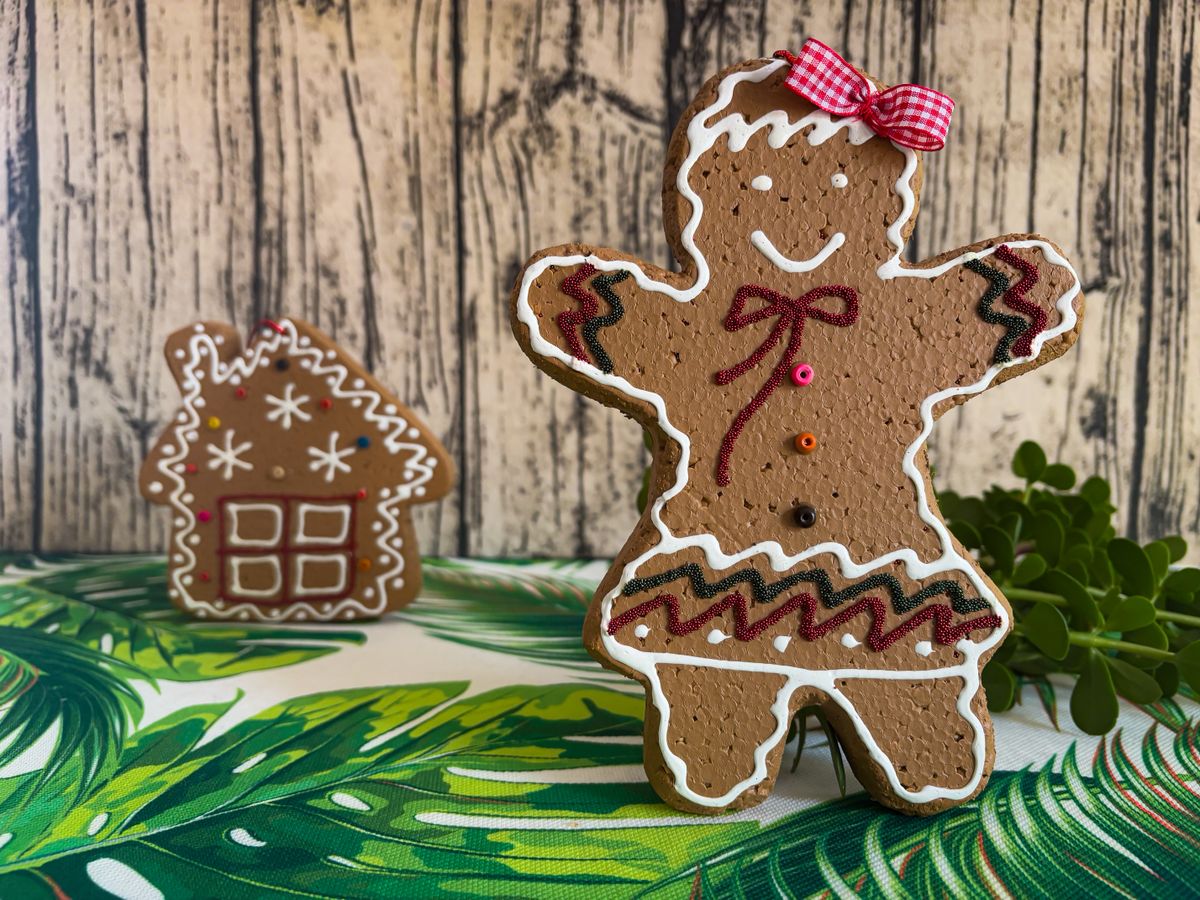
Ornament cookies are round cookies decorated to look like Christmas baubles, complete with a little cap on top and a loop to hang them. I flood them in bright colors, add stripes or dots, and pipe a small silver cap at the top. They look stunning on the tree, and they are even better on a plate.
If you plan to hang them, poke a hole before baking with a straw, because drilling after baking cracks the cookie. I hang most of mine for a day for photos, then take them down to eat, because a cookie on a tree never survives long in my house anyway.
Pro Tip: Add the metallic cap with silver icing or a small piece of foil-wrapped chocolate. It sells the ornament illusion instantly.
Cost: $10–$15 per batch | Time: 2 hours | Difficulty: Medium

18. Edible Glitter and Sparkle Cookies
Edible glitter turns an ordinary cookie into a jewel. I dust it over freshly iced cookies while the icing is still tacky, or mix it into a clear glaze and paint it on. Gold and silver glitter on dark chocolate cookies looks especially stunning, and kids go absolutely wild for it.
Use edible glitter, not craft glitter, and keep the bottle far away from the craft supplies. I once grabbed the wrong bottle and had to throw away a whole tray, because craft glitter is not food-safe no matter how pretty it looks. Edible glitter is labeled clearly, and it is worth the extra dollar.
Pro Tip: Apply glitter over a baking sheet so the excess falls where you can tip it back into the bottle.
Cost: $12–$20 per batch including glitter | Time: 2 hours | Difficulty: Easy

19. Cookie Gift Boxes and Bags
The prettiest cookies deserve pretty packaging. I pack mixed cookies into small boxes lined with tissue paper, tie them with ribbon, and add a handwritten tag. A box of homemade cookies is the gift I give most often, and it is the one people thank me for most sincerely.
Pack cookies in layers with parchment between them, and put the sturdiest cookies on the bottom. I learned to avoid packing soft and crisp cookies together, because the soft ones make the crisp ones soggy by morning. Separate bags inside the box solve this completely.
Pro Tip: Include a little card listing the cookie flavors. Guests always ask, and it makes the gift feel professional.
Cost: $5–$10 per box for packaging | Time: 20 minutes per box | Difficulty: Easy

20. Painted Watercolor Cookies
Watercolor cookies are my artistic indulgence. I flood a cookie with white icing, let it dry completely, then paint on it with food coloring diluted in a little clear extract, using a clean food-safe paintbrush. Soft washes of color, little trees, or abstract winter scenes all work, and every cookie is a tiny painting.
The icing must be fully dry, or the brush drags and tears the surface. I wait at least eight hours, usually overnight, before painting. Dilute the food coloring well, because a little goes a long way, and test your colors on one cookie before committing to the whole batch.
Pro Tip: Use a separate brush for each color family so your reds do not turn muddy with green.
Cost: $12–$18 per batch | Time: 3 hours including drying | Difficulty: Medium
21. No-Bake Decorated Cookies
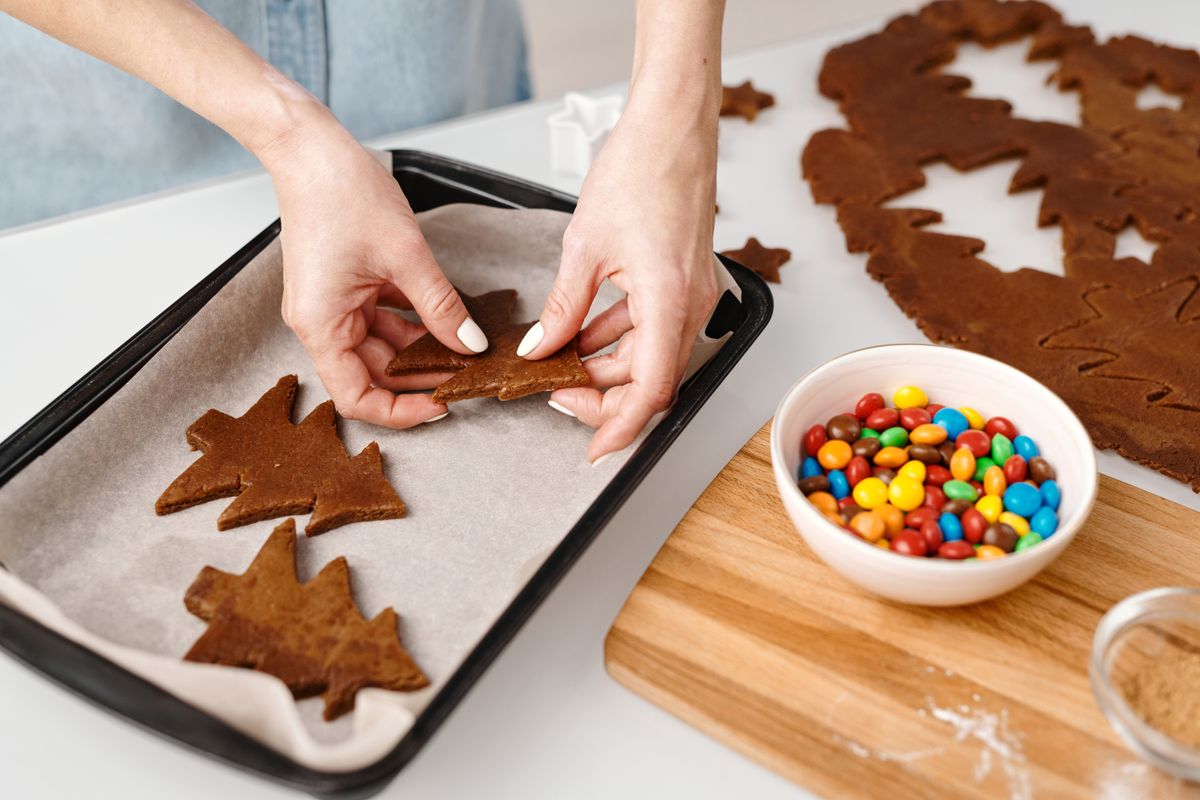
Some Decembers I have no time to bake at all, and that is when store-bought cookies save Christmas. I buy plain shortbread or sugar cookies, then decorate them with icing, sprinkles, and candies exactly as I would homemade ones. Guests cannot tell the difference once they are decorated, and I am not telling either.
Choose a sturdy store-bought cookie that does not crumble when you press on it. Thin, fragile cookies break under piping. Shortbread fingers and thick sugar cookies work best, and a quick taste test before you buy a big box saves disappointment. For more easy holiday projects, Also read these easy DIY Christmas decorations.
Pro Tip: Warm the store-bought cookies for two minutes in a low oven first. They taste freshly baked and the icing sticks better.
Cost: $8–$15 per batch | Time: 1 hour | Difficulty: Easy

Christmas Cookie Decorating Ideas at a Glance
| Idea | Best for | Cost per batch | Skill |
|---|---|---|---|
| Classic royal icing | Beginners | $8–$12 | Easy |
| Gingerbread men | Kids | $10–$15 | Easy |
| Stained-glass linzer | Gifts | $12–$18 | Medium |
| Marbled swirl | Wow factor | $10–$15 | Medium |
| Decorating party station | Groups | $20–$35 | Easy |
| Sprinkle explosion | Young kids | $8–$12 | Easy |
| Gold-leaf cookies | Elegant gifts | $15–$25 | Medium |
| Watercolor cookies | Artists | $12–$18 | Medium |
| No-bake decorated | Busy weeks | $8–$15 | Easy |
Mistakes I Made (So You Don’t Have To)
1. I flooded cookies with icing that was too thin. It ran off the edges and pooled on the tray. Test flood icing on one cookie first, and thicken it a teaspoon of powdered sugar at a time.
2. I decorated warm cookies. Icing melts on a warm cookie and slides right off. Let cookies cool completely, and chill shortbread before piping.
3. I mixed up edible and craft glitter. Craft glitter is not food-safe, and I had to throw away a whole tray. Keep edible supplies in a separate, clearly labeled box.
4. I skipped chilling the dough. Warm dough spreads in the oven and ruins shapes. Chill the dough, roll it cold, and chill the cut shapes again before baking.
Frequently Asked Questions
How long do decorated Christmas cookies last? Royal icing cookies keep well for two to three weeks in an airtight container at room temperature, which makes them perfect for gifting and shipping.
Can I freeze decorated cookies? Yes, freeze them in a single layer first, then stack with parchment between layers. Thaw them uncovered at room temperature so condensation does not smudge the icing.
What is the best icing for beginners? Start with a simple powdered sugar glaze for dipping and sprinkles, then move to royal icing once you want piping and flooding. Glaze is forgiving and tastes wonderful.
How do I stop royal icing colors from bleeding? Let each layer crust over before adding the next, use gel food coloring instead of liquid, and avoid over-thinning your icing.
Can kids help with cookie decorating? Absolutely. Give young kids sprinkles and squeeze bottles, and save piping bags for older kids and adults. A decorating party station keeps everyone happy at their own level.
Final Thoughts
The cookies I remember most are not the perfect ones. They are the lopsided reindeer, the glitter explosion, and the gingerbread man with one eye bigger than the other that my daughter made when she was six. Pick a few of these christmas cookie decorating ideas, put on some music, and enjoy the mess. For a matching craft to go with your cookie afternoon, Read this next for easy Christmas ornament painting ideas.