21 New Year’s Eve Decor Ideas That Make Midnight Feel Magical
These new year’s eve decor ideas are the ones I actually tested in my own living room over the last three New Year’s Eves, not just pretty pictures I saved online. I picked them by a simple rule: each idea had to look expensive, cost very little, and survive a house full of guests until well past midnight.
I tested every look below in real life, usually the afternoon of December 31, with the same timer running and the same tired feet. Some ideas took ten minutes and stole the whole night. Others looked gorgeous in photos and fell apart by 10 p.m., and I will tell you exactly which ones those were.
What I learned is that New Year’s Eve decorating is less about buying more and more about picking one metallic palette and repeating it everywhere. I stick to black, gold, and warm white light, and I let that trio carry the balloons, the table, and the front door.
Key Takeaways
- Pick one palette — black, gold, and warm light — and repeat it in every corner so the whole house reads as one party.
- Put your money on lighting and the entryway first; guests notice glow and a grand entrance far more than scattered trinkets.
- Build the big pieces early in the day and save the balloons, confetti, and fresh candles for the last hour before guests arrive.
- Keep walkways, the toast area, and the photo corner clear — the best new year’s eve decor ideas never block the fun.
Before you start, here is a trick I use every year: I lay everything out on the dining table first, grouped by room, so I am not running around with tape in my teeth at 7 p.m. Related article: if you love balloon work, my guide to balloon garland ideas has the counts and color combos I still borrow for New Year’s Eve.
21 New Year’s Eve Decor Ideas I Love
1. Black-and-Gold Balloon Arch Over the Door
I built my first balloon arch with a cheap strip kit, two bags of balloons in black and gold, and a lot of patience. I inflated the balloons in two sizes, large and small, and twisted them into the strip in clusters of four, alternating colors so no patch looked flat.
The arch went over our front door, and honestly it did more for the party than anything else that year. Guests stopped for photos before they even came inside. The honest downside is that balloons pop and sag, so I always inflate a dozen spares and hang the arch no more than three hours before the party.
Pro Tip: Add a few clear balloons filled with gold confetti; they catch the light and make the whole arch look twice as expensive.
Cost: $15–$25 | Time: 45–60 minutes | Difficulty: Easy
2. Gold Letter Balloons on the Mantel

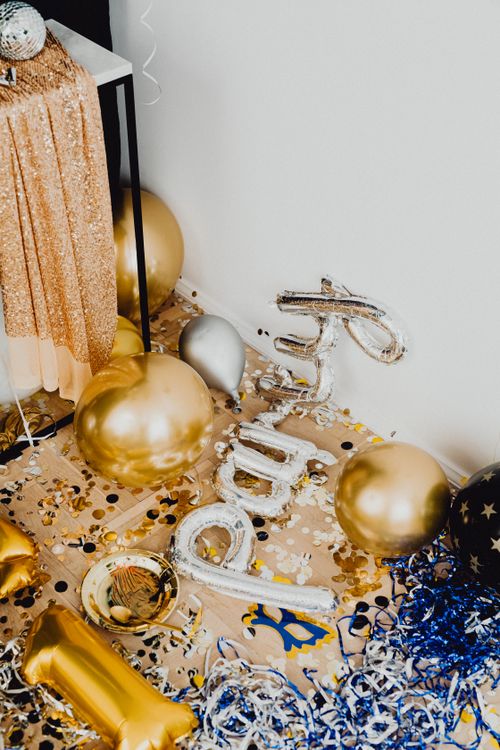
When I do not have the energy for a full arch, gold letter balloons spelling out a short greeting go on the mantel instead. I tape the string ends behind the mantel shelf so the letters float just above the garland, and I anchor the ends with small gold-wrapped books.
I tried spelling a long phrase once and it looked crowded and droopy by midnight, so now I keep it to four letters or a single word. The letters photograph beautifully against fairy lights, and kids love pointing at them. The downside is that foil letters crease easily, so I store them flat and never fold them.
Pro Tip: Mix one oversized letter balloon with smaller round balloons in gold and black for a styled, finished look.
Cost: $10–$20 | Time: 15 minutes | Difficulty: Easy
3. Champagne Bottles and Confetti Table Display
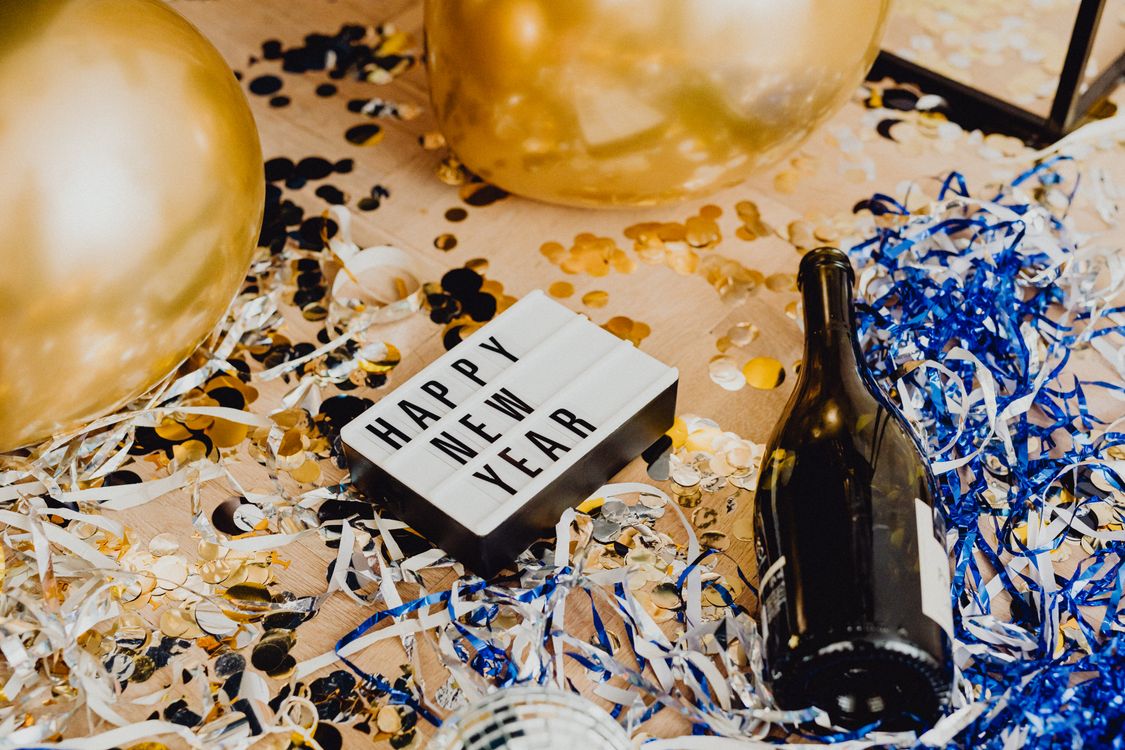
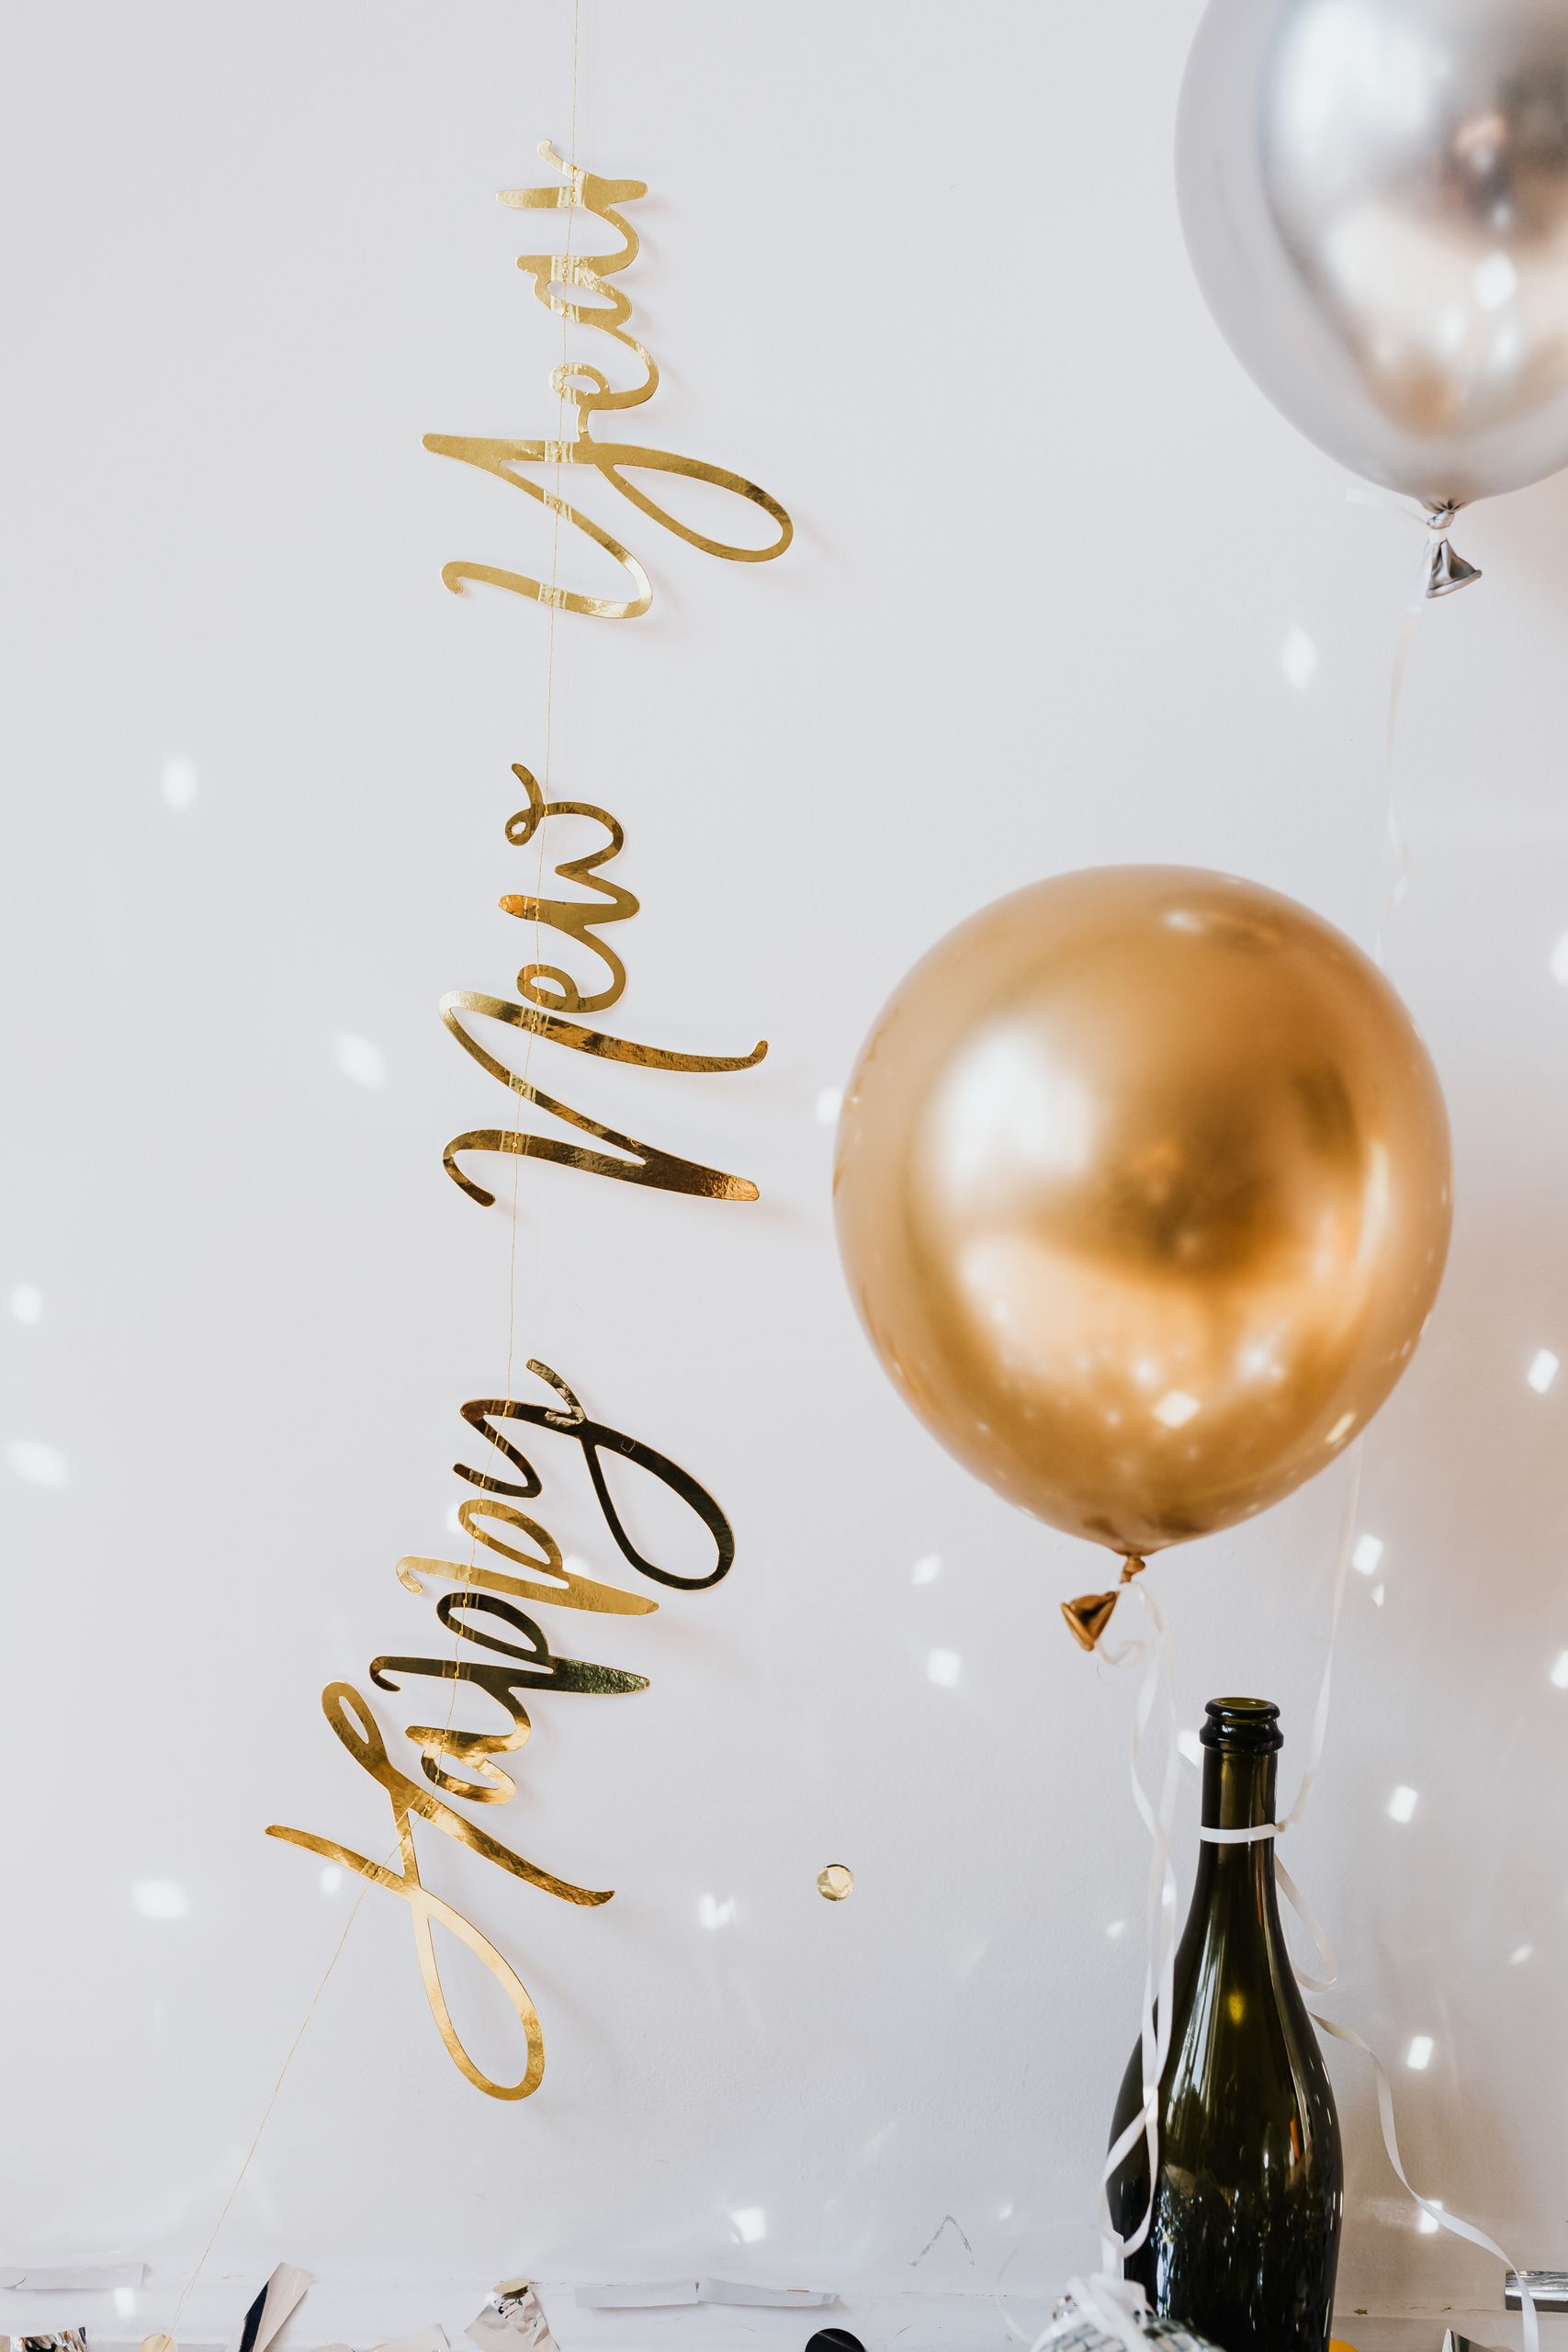
I set a small side table near the door with two champagne bottles, a scattering of gold confetti, and a cluster of balloons, and it instantly tells guests they are at a celebration. I use empty bottles I saved from last year, cleaned and dried, so nothing precious is at risk if someone bumps the table.
One year I used real confetti on a dark table and spent a week finding it in the rug, so now I scatter metallic confetti only on a tray I can lift and shake out. The display costs almost nothing, but it photographs like a styled party corner. Keep it away from the main traffic path, or it becomes a tripping display.
Pro Tip: Put the whole display on a mirrored or gold tray so the confetti stays contained and the shine doubles.
Cost: $0–$10 | Time: 10 minutes | Difficulty: Easy
4. Disco Ball as the Room’s Centerpiece
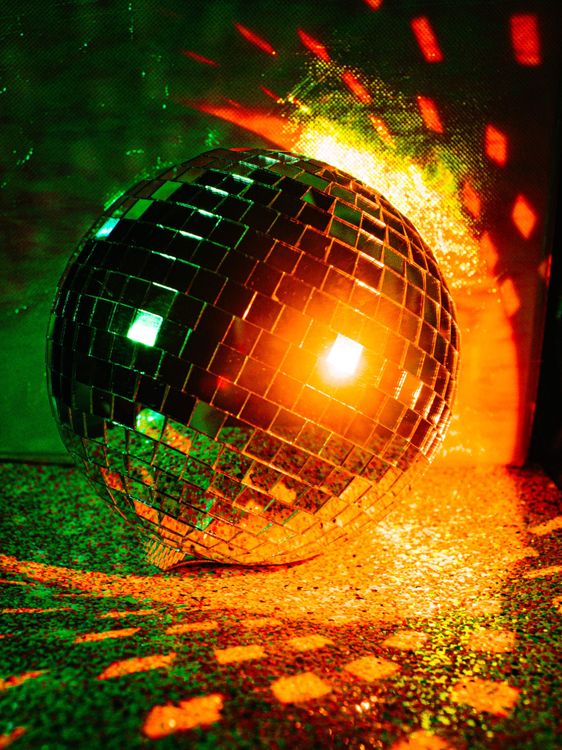
I hang one medium disco ball from the living room ceiling light hook and point a small spotlight at it, and suddenly the whole room moves. I bought a 12-inch ball and a clip-on spotlight for less than a takeout dinner, and it is the single item guests comment on most.
The trick I learned the hard way is to hang it high enough that tall guests do not bump it, and to secure it with a proper hook, not tape. The downside is that a spinning ball throws light everywhere, including onto the television, so I switch it off during the countdown broadcast and back on for dancing.
Pro Tip: Aim one warm spotlight and one cool one at the ball from opposite sides for a fuller scatter of light.
Cost: $15–$30 | Time: 20 minutes | Difficulty: Easy
5. Gold Tinsel Curtain Backdrop
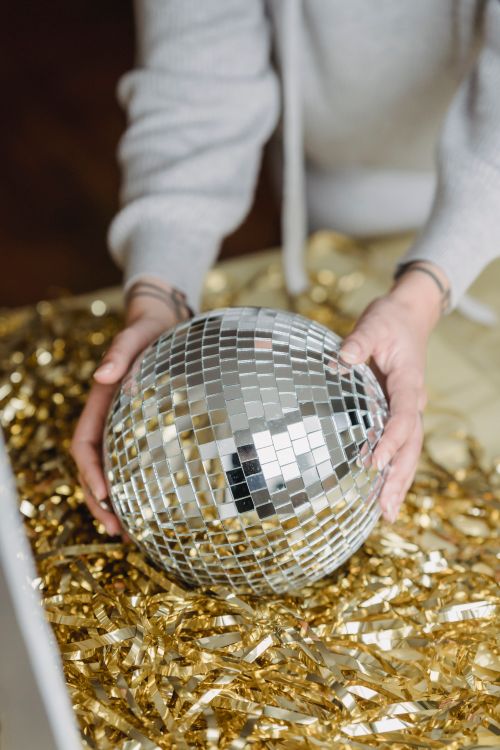
A gold tinsel curtain is my favorite five-minute transformation. I tape two curtains across the wall behind the food table, overlapping them slightly so there are no gaps, and I let them puddle just a little on the floor for a lush look.
I once hung a single curtain and the wall showed through in every photo, so now I always double up. The tinsel catches candlelight beautifully and hides a multitude of sins, including my chipped paint. The downside is tangling: I roll curtains back up around a cardboard tube after the party instead of stuffing them in a bag.
Pro Tip: Hang the curtain slightly in front of fairy lights so the tinsel glows from behind in photos.
Cost: $8–$15 | Time: 10 minutes | Difficulty: Easy
6. Fairy-Light Ceiling Canopy

I drape warm white fairy lights from the center ceiling fixture out to the four corners of the room, like a tent, and the ceiling disappears into glow. I use four strands of the same warm tone, because mixing warm and cool white always looked muddy in my photos.
I secure the ends with small clear hooks that I leave up all year, which makes December setup a ten-minute job. The canopy makes even a plain room feel like an event tent. The honest downside is the tangle factor when you take them down, so I wind each strand around a piece of cardboard as I go.
Pro Tip: Put the canopy on a dimmer or a plug-in timer so you can lower the lights for the countdown without touching a ladder.
Cost: $20–$35 | Time: 30 minutes | Difficulty: Easy
7. Candlelit Gold Table
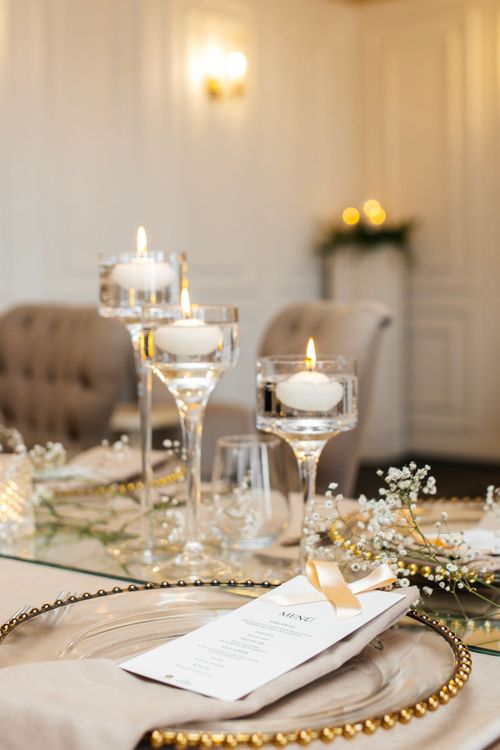
For our sit-down portion of the night, I set a gold-and-white table with tall taper candles in brass holders at three different heights. I keep the centerpiece low between the candles so guests can actually see each other, a mistake I made the first year with a tall floral arrangement.
I use battery candles in the tallest holders near curtains and real candles only in the center of the table where I can watch them. The glow makes everyone look wonderful in photos. The downside is wax: I put a small gold tray under every candle, and it saves the tablecloth every single time.
Pro Tip: Mix three candle heights and one low bowl of gold ornaments for a table that looks styled, not cluttered.
Cost: $20–$40 | Time: 30 minutes | Difficulty: Easy
8. Charger Plates and Black Napkins Setting
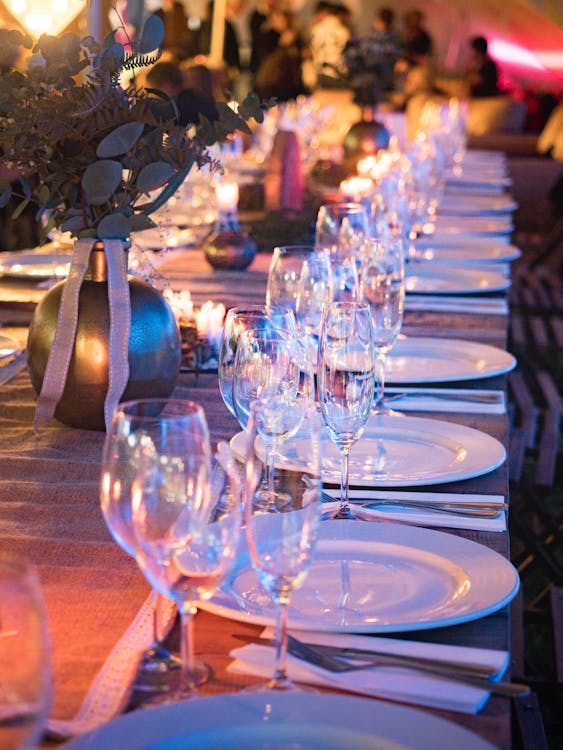
Gold charger plates under plain white dinner plates are my cheapest luxury trick. I bought a set of twelve chargers years ago, and they have dressed up every New Year’s table since, paired with black cloth napkins folded into simple rectangles.
I add one sprig of greenery or a single gold star pick on each napkin, and the place setting looks complete without a single extra purchase. The downside is storage: chargers are bulky, so mine live stacked in a labeled bin with the rest of the New Year’s box. Guests always ask where the “fancy plates” came from, and I love telling them they are just chargers.
Pro Tip: Tie each napkin with thin gold ribbon and tuck in a tiny handwritten place card for a personal touch.
Cost: $15–$30 | Time: 20 minutes | Difficulty: Easy
9. Photo-Booth Corner with Props
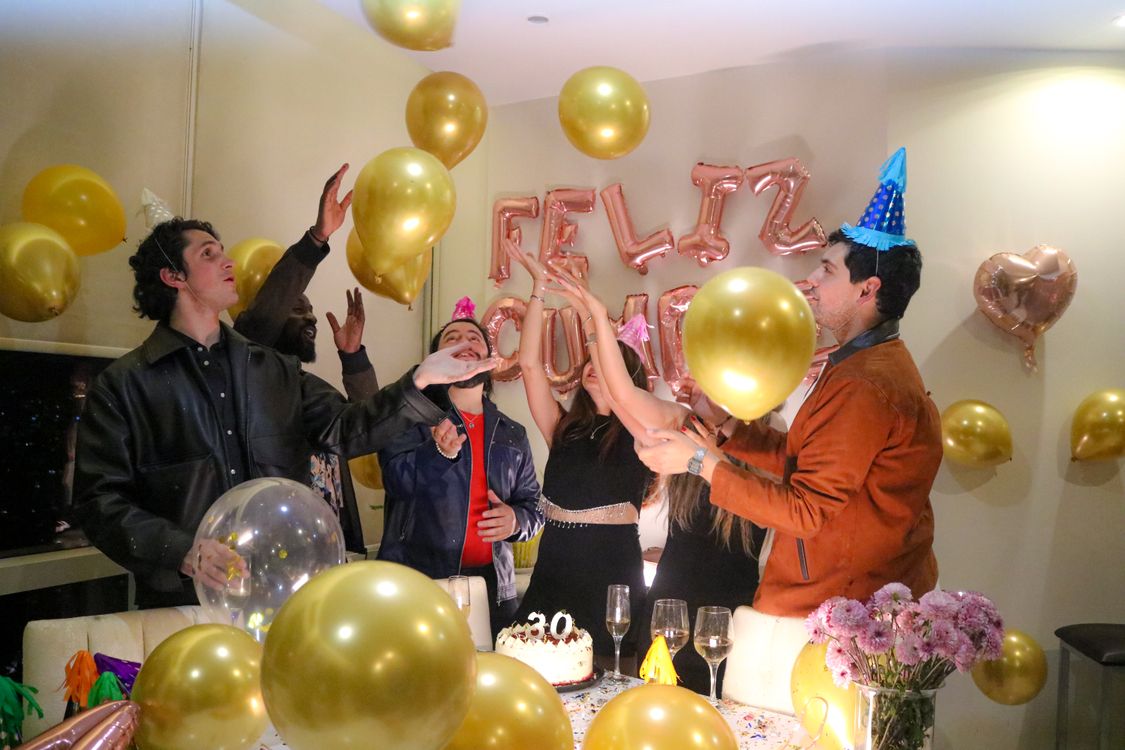
I carve out one corner, hang the tinsel curtain there, and set out a basket of props: oversized glasses, hats, feather boas, and speech-bubble signs. I also set a small stool and a phone stand so groups can take their own photos without hunting for a photographer.
The first year I skipped the stand and every photo was blurry or missing someone, so the stand is now non-negotiable. The downside is prop chaos by midnight, so I keep a small basket for returns and do one quick tidy at 11 p.m. Also read my guide to party backdrop ideas for more ways to frame this corner.
Pro Tip: Tape a few sample poses on the wall — it breaks the ice and gets shy guests posing fast.
Cost: $10–$25 | Time: 25 minutes | Difficulty: Easy
10. Midnight Toast Station

The toast station is a small bar cart or side table stocked with glasses, sparkling cider for non-drinkers, and a bucket of ice, set up an hour before midnight. I learned to count glasses twice after the year we ran four short and guests toasted with water bottles.
I chill the bottles in advance and keep a spare opener tied to the cart with ribbon so it never wanders off. The station keeps the kitchen clear at the busiest moment of the night. The downside is breakage risk when everyone rushes over, so I use sturdy stemless glasses for the actual toast and save the fancy flutes for photos.
Pro Tip: Pre-pour nothing, but pre-chill everything, and set out a small tray of confetti poppers right beside the glasses.
Cost: $10–$20 | Time: 15 minutes | Difficulty: Easy
11. Champagne Toast Bar for Guests

Separate from the midnight station, I set a small toast bar where guests can help themselves to a glass whenever they arrive. I stock it with sparkling wine, sparkling cider, and a jug of a simple pomegranate spritzer, plus a bowl of sugared cranberries for garnish.
This little bar changed our parties because guests stopped hovering in the kitchen asking what to drink. The downside is that open bottles go flat, so I use small bottles where I can and a good champagne stopper for the rest. A handwritten menu card makes it feel intentional rather than thrown together.
Pro Tip: Freeze cranberries and rosemary sprigs into ice cubes the night before for a garnish that chills without watering drinks down.
Cost: $15–$30 | Time: 20 minutes | Difficulty: Easy
12. Gift-Table Toast Nook
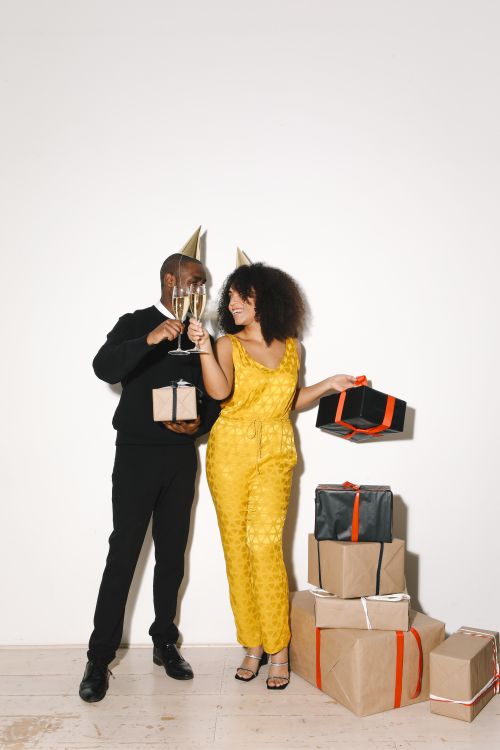
If guests bring gifts or party favors, I style them into a nook rather than letting them pile on a chair. I stack wrapped boxes in black, gold, and white on a side table, add two glasses and a small candle, and suddenly the gift pile is part of the decor.
I learned to put a small sign saying “gifts here” after the year presents ended up in three different rooms. The nook also gives early arrivers something to admire while they wait. The downside is that curious kids unwrap things, so I keep this table in the adult zone and put kids’ favors elsewhere.
Pro Tip: Wrap a few empty boxes in matching paper just for height and shape, even if you have few real gifts.
Cost: $5–$15 | Time: 15 minutes | Difficulty: Easy
13. Basket of Fairy Lights by the Fireplace
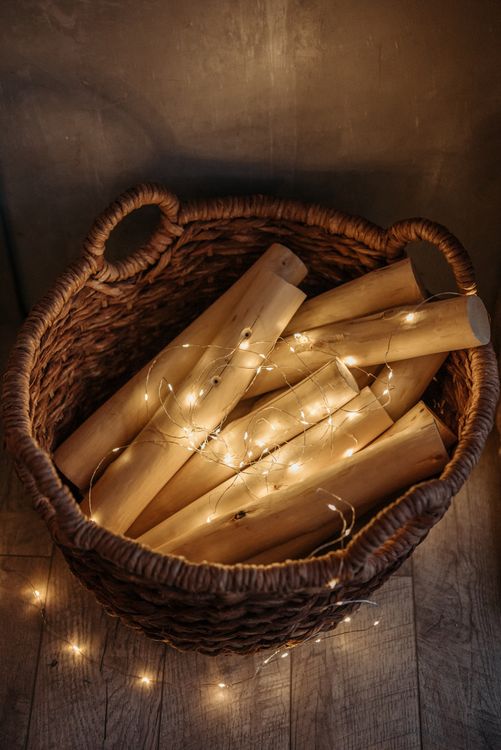
When our fireplace is not lit, I fill a woven basket with fairy lights and a few pinecones, and it glows like a hearth all night. I coil one long strand loosely in the basket so the light spills out between the weave, and I hide the battery pack under a pinecone.
This is my favorite low-effort glow for a dark corner, and it is completely safe around kids and pets since nothing gets hot. The downside is that battery packs die mid-party, so I use a plug-in strand when there is an outlet nearby and keep spare batteries taped to the basket base.
Pro Tip: Add a few gold ornaments to the basket so the light bounces and the basket reads as intentional decor.
Cost: $8–$15 | Time: 10 minutes | Difficulty: Easy
14. Gold Spiral Candles Display
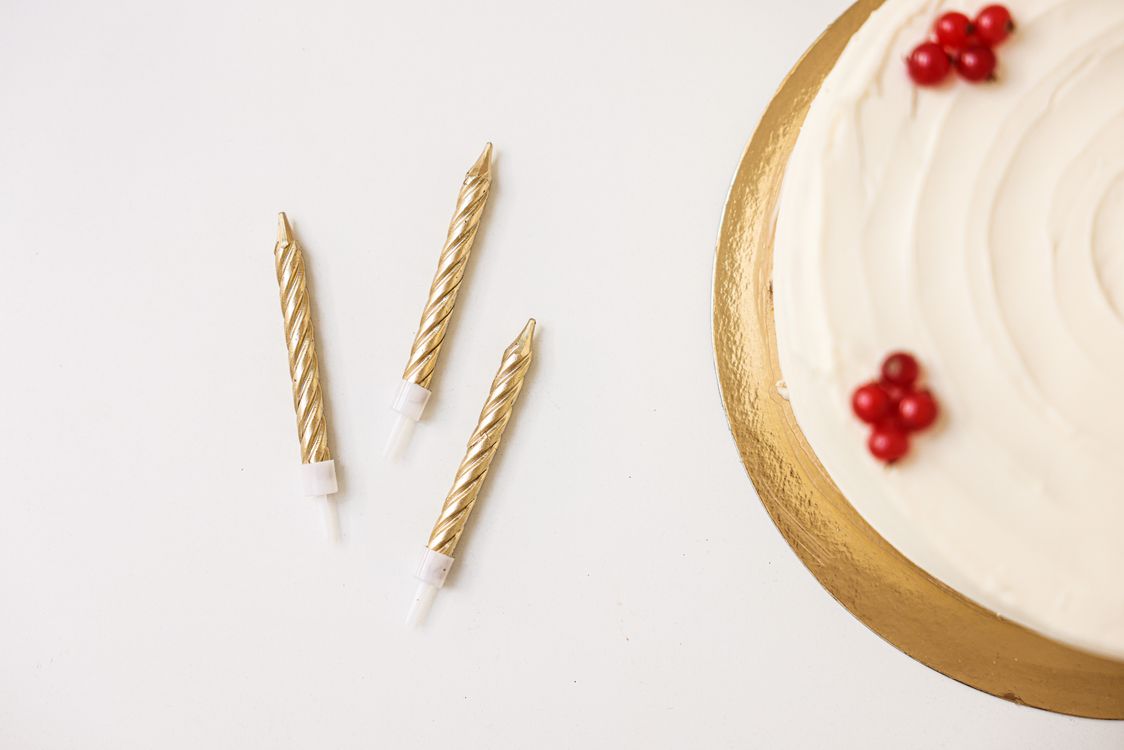
Gold spiral candles on a cake stand or tray make a dessert-table centerpiece that needs no flowers at all. I group five candles of different heights on a gold tray, with a scattering of star confetti around the base, and light them just before dessert.
I tried real taper candles on a wooden tray once and learned about wax drips the hard way, so the tray is now always metal or glass. The display looks far more expensive than it is. The downside is that spiral candles burn unevenly if there is a draft, so I keep this display away from the front door.
Pro Tip: Light the candles only for the dessert hour and the countdown, so they last the whole night and stay safe.
Cost: $10–$20 | Time: 10 minutes | Difficulty: Easy
15. Long Banquet Table, Candlelit

When we host a bigger crowd, I push two tables together, cover them with one long black cloth, and run a line of candles and greenery down the center. One long table feels more like a celebration than three small ones, and conversation flows across it all night.
I keep the centerpiece under eight inches tall so nobody has to peer around it, and I repeat the same candle-and-greenery rhythm every two feet. The downside is seating: I always make a quick seating plan on paper first, because a long table without one turns into musical chairs. Read this next: my dinner party games for adults keep this long table lively after the plates are cleared.
Pro Tip: Run a gold sequin runner down the center instead of a full cloth if you want sparkle without buying a new tablecloth.
Cost: $25–$45 | Time: 40 minutes | Difficulty: Moderate
16. Cozy Candlelit Dining Room
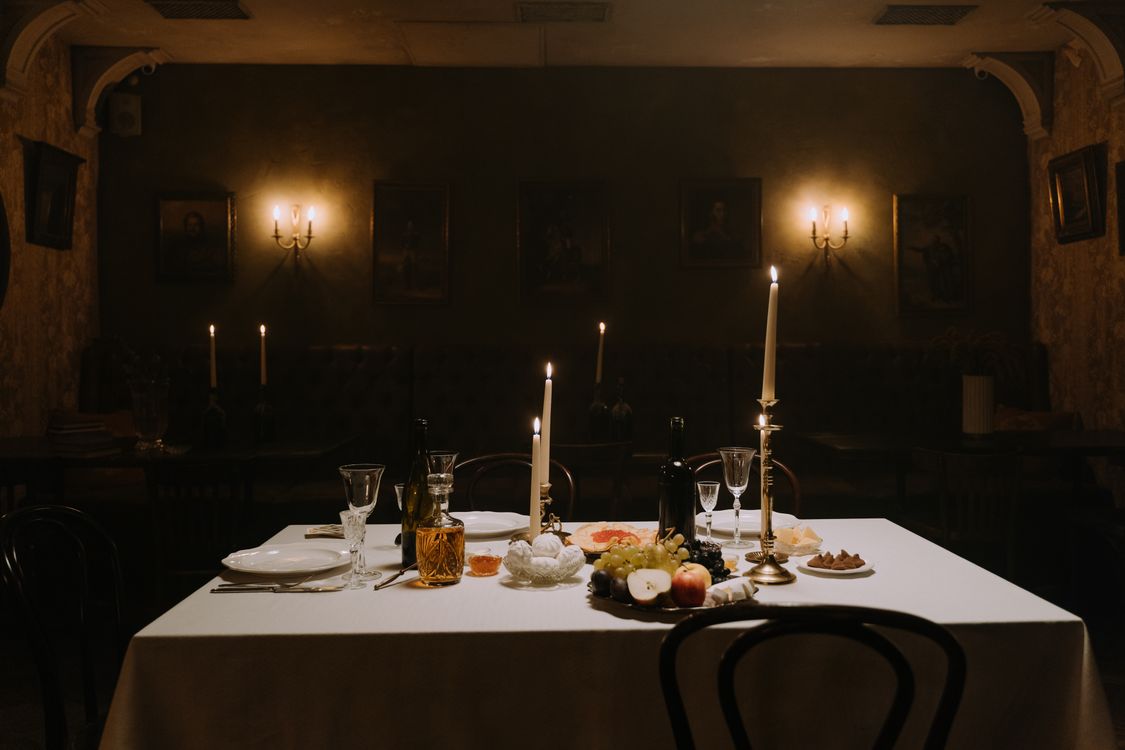
For a smaller, quieter New Year’s dinner, I skip the big party look and go candlelit and cozy: dim overhead lights, candles on the table, a bowl of fruit, and wine glasses already set. The room feels intimate, and the conversation stays unhurried.
I learned that dim lighting hides a multitude of kitchen sins, including my slightly burnt appetizers one year, and nobody noticed a thing. The downside is photos: dim rooms photograph dark, so I add one warm lamp in the corner for a soft glow that flatters faces without killing the mood.
Pro Tip: Use unscented candles on a dinner table so the candle smell never competes with the food.
Cost: $10–$20 | Time: 20 minutes | Difficulty: Easy
17. Outdoor Countdown Table
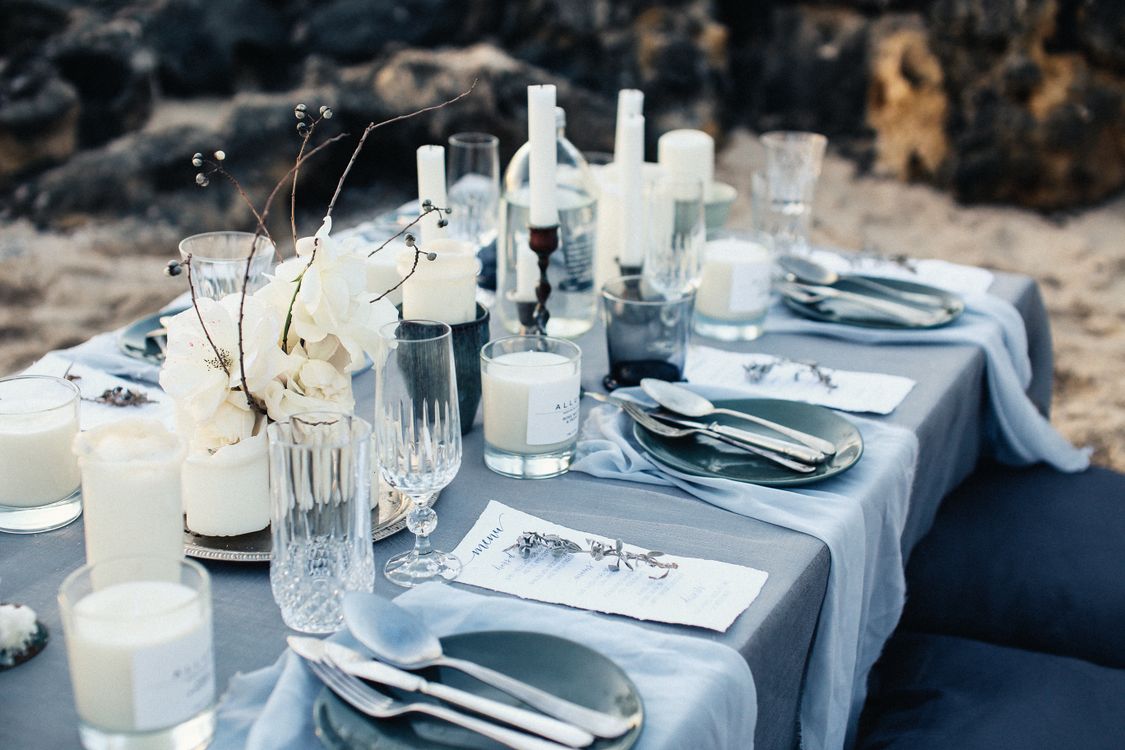
If your climate allows it, even for ten minutes, an outdoor table for the countdown is magical. I set a small table on the porch with candles in hurricane glasses, blankets on the chairs, and a portable speaker for the countdown.
We stepped outside last year at 11:55 p.m. and watched distant fireworks while toasting, and it was the most memorable part of the night. The downside is obvious: cold and wind. Hurricane glasses are essential, and I keep the outdoor stint short, with hot cocoa waiting inside for the return.
Pro Tip: Lay a thick blanket over each chair before guests go out, so nobody has to hunt for warmth in the dark.
Cost: $10–$25 | Time: 20 minutes | Difficulty: Easy
18. Dance-Floor Corner with Party Hats
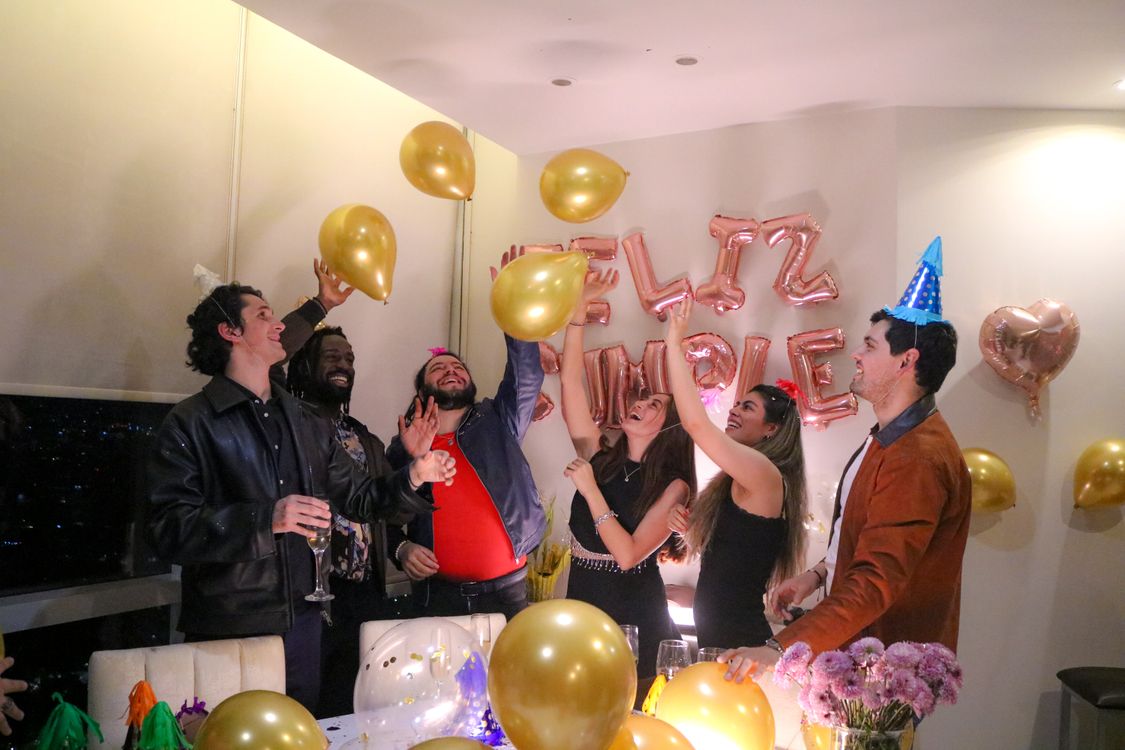
I clear one corner of the living room, push the furniture back, and call it the dance floor, with a basket of party hats and noisemakers by the edge. Naming the space matters: once I put a small sign up, even shy guests drifted over after midnight.
I keep the floor clear of cables and rug corners, because a dance floor with a tripping hazard is a party-ender. The hats and noisemakers live in one basket so cleanup is one trip, not twenty. The downside is noise, so if neighbors are close, I keep the dancing to the countdown hour and then move everyone back inside.
Pro Tip: Put the speaker at ear height on a sturdy stool, not on the floor, so the music carries across the room.
Cost: $0–$15 | Time: 15 minutes | Difficulty: Easy
19. Hand-Held Balloon Photo Moment
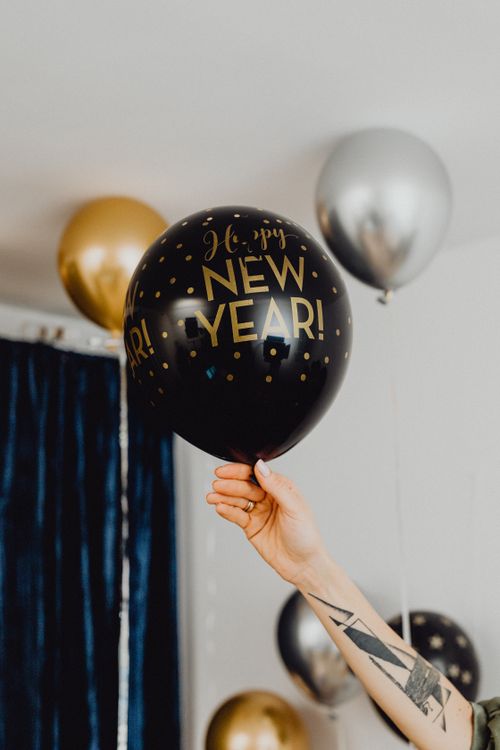
I buy a few oversized black and gold balloons on ribbons and keep them by the door for guests to hold in photos. A single big balloon in a photo does more than a whole wall of small ones, and it gives people something to do with their hands in pictures.
I learned to buy helium-grade balloons and fill them the same day, because regular balloons filled at home never float properly. The downside is that helium balloons escape through doors, so I tie every ribbon to a small gold weight and warn the kids about the great balloon escape of last year.
Pro Tip: Keep two spare inflated balloons in a closet for replacements when one pops or floats away.
Cost: $8–$15 | Time: 10 minutes | Difficulty: Easy
20. Disco Ball Wall Display
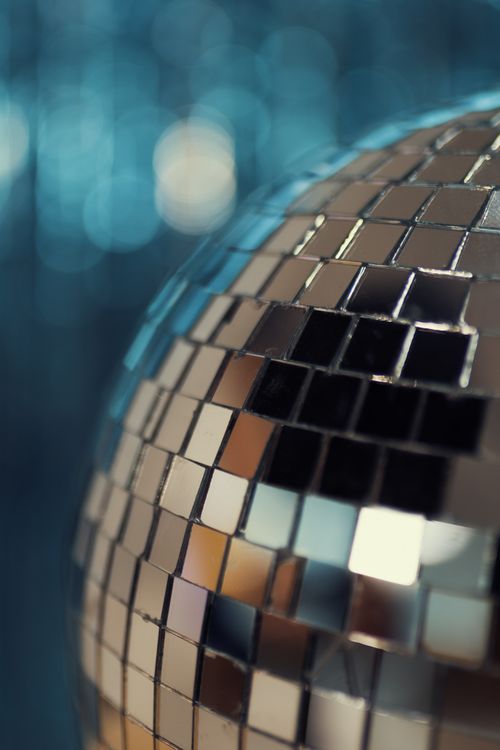
For a wall that needs something but cannot hold a curtain, I mount three small disco balls at different heights on clear hooks and let a spotlight hit them. The scattered light dances across the wall all night, and the display costs less than a single framed print.
I tried hanging them with string first and they twisted constantly, so now I use short, stiff wire hooks that hold them steady. The downside is that the light scatter can be distracting over the food table, so I put this display on a side wall, not behind the buffet.
Pro Tip: Use balls in three sizes — small, medium, and large — for a display that looks collected rather than random.
Cost: $12–$25 | Time: 20 minutes | Difficulty: Easy
21. Silver-and-Black Theme Corner
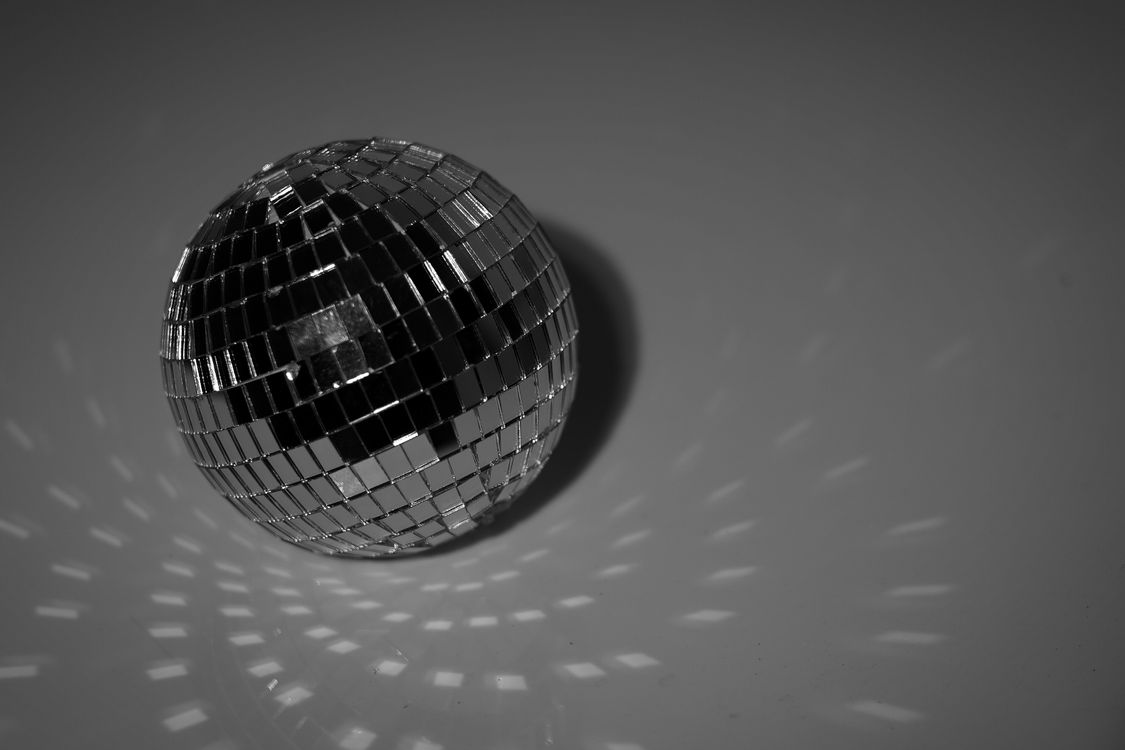
If gold is not your style, a silver-and-black corner is just as striking and feels a little more modern. I style one side table in silver and black: a mirrored tray, a silver disco ball, black candles, and white fairy lights, and it balances the gold on the other side of the room.
I learned that mixing gold and silver everywhere looks messy, but giving each metallic its own zone looks deliberate. The downside is that silver shows fingerprints fast, so I wipe the tray once before guests arrive and then stop fussing. This corner photographs beautifully in black and white, which is a fun filter for the night.
Pro Tip: Add one white element, like white candles or a white cloth, so the black and silver do not turn the corner too dark.
Cost: $15–$30 | Time: 20 minutes | Difficulty: Easy
New Year’s Eve Decor at a Glance
| Idea | Best For | Cost | Effort |
|---|---|---|---|
| Balloon arch | Grand entrances | $15–$25 | Medium |
| Disco ball | Dance floors | $15–$30 | Low |
| Fairy-light canopy | Whole-room glow | $20–$35 | Medium |
| Tinsel backdrop | Photo corners | $8–$15 | Low |
| Candlelit table | Sit-down dinners | $20–$40 | Medium |
| Toast station | Midnight moment | $10–$20 | Low |
Mistakes I Made (So You Don’t Have To)
Decorating in every color at once. My first New Year’s party had red, gold, silver, pink, and blue, and it looked like a clearance aisle. Now I pick black, gold, and warm light, and repeat only those three.
Building balloons too early. I once inflated everything at noon for an 8 p.m. party, and by midnight half the arch sagged. Now balloons go up in the last three hours, with spares ready.
Blocking the toast spot. I placed a tall centerpiece right where everyone gathered at midnight, and the countdown photos show the back of a floral arrangement. Keep the midnight gathering spot clear and low.
Forgetting the cleanup plan. Confetti without a tray, candles without trays, and props without a basket turned January 1 into a punishment. Every messy item now gets its own tray or basket before the party starts.
Frequently Asked Questions
How early should I start decorating for New Year’s Eve? I do the big, sturdy pieces — lights, curtains, and table settings — the day before or early on the 31st, and save balloons and fresh candles for the last few hours. That split keeps everything looking fresh at midnight.
What is the cheapest way to make New Year’s Eve decor look expensive? In my experience, it is lighting plus one metallic repeated everywhere. Warm fairy lights, a few candles, and gold or silver accents on every surface read as luxury for very little money.
Can I reuse New Year’s Eve decorations next year? Yes, and I do. Chargers, candle holders, tinsel curtains rolled on tubes, and the disco ball all live in one labeled bin. Balloons and confetti are the only things I rebuy each year.
How do I decorate a small space for New Year’s Eve? Go vertical: a ceiling canopy, a wall curtain, and a door arch use no floor space at all. Skip the big floor displays and put the sparkle on walls, ceilings, and the table.
Final Thoughts
My favorite new year’s eve decor ideas are not the most expensive ones; they are the ones that hold up until midnight and make guests feel like something special is happening. Pick your palette, light the room well, give people a photo corner and a clear spot to toast, and the night largely takes care of itself.
I will be reusing most of this list again this year, with the same black-and-gold bin coming out of storage and the same disco ball going up first. Happy New Year, and may your midnight be bright, golden, and gloriously confetti-covered.