Dinosaur Crafts for Kids
Dinosaur crafts for kids have taken over my kitchen table more times than I can count, because in my house the dinosaur phase lasted years, not weeks. I picked these 18 ideas by making them with my own children, aged four to nine, and keeping only the ones they actually finished, played with afterward, and asked to make again.
A quick safety note before we start: these dinosaur crafts for kids use child-safe scissors, non-toxic paints and glues, and adult supervision for cutting, hot glue, and any small parts. Children under three should skip projects with googly eyes, beads, or small bones, which are choking hazards, and every project below notes the age range it worked for in my house.
Related article: 27 Zoo Animal Craft Ideas for Kids That Spark Creativity
Key Takeaways
- Paper plates, cardboard, and toilet rolls make the best dinosaur bodies, and they cost almost nothing.
- Ages 3-5 do best with painting, sticking, and simple cutting; ages 6+ can handle masks, puppets, and fossil digs.
- Always supervise scissors and hot glue, and use non-toxic paints and glues for young children.
- Keep small parts like googly eyes and beads away from children under three.
- Dinosaur crafts double as learning: name the dinosaur, count its spikes, and talk about fossils while you make.
18 Dinosaur Crafts for Kids to Try
1. Paper Plate Triceratops
This is the dinosaur craft my four-year-old asks for by name. We paint a paper plate green, cut a triangle frill from another plate, add three paper horns and two googly eyes, and suddenly there is a triceratops staring back from the table. The whole thing takes about half an hour, and it survives on the fridge for weeks.
The honest downside is the horns. Paper horns flop forward unless you fold a small tab at the base before gluing, which I learned after our first triceratops looked permanently sad. Fold the tab, glue it flat, and the horns stand up properly. Best for ages 3 and up with supervision for cutting.
Pro Tip: Use a sturdy, uncoated paper plate; shiny coated plates reject paint and the color slides right off.
Cost: Under $5 | Time: 30 minutes | Difficulty: Easy
2. Toilet Roll T-Rex
I save toilet rolls for exactly this project. We paint one green, cut a mouth shape at the top, add paper teeth, tiny arms, and googly eyes, and the T-Rex stands on the shelf roaring at anyone who walks past. My six-year-old made three in one afternoon and staged a full dinosaur battle with them.
The watch-out is the mouth cut. An adult should cut the mouth shape with a craft knife or sturdy scissors, because little hands struggle with the thick cardboard roll. Once the mouth is cut, children can do everything else themselves. Best for ages 4 and up.
Pro Tip: Cut the mouth before painting, so paint does not crack along the cut edges later.
Cost: Under $3 | Time: 25 minutes plus paint drying | Difficulty: Easy
3. Dinosaur Footprint Painting
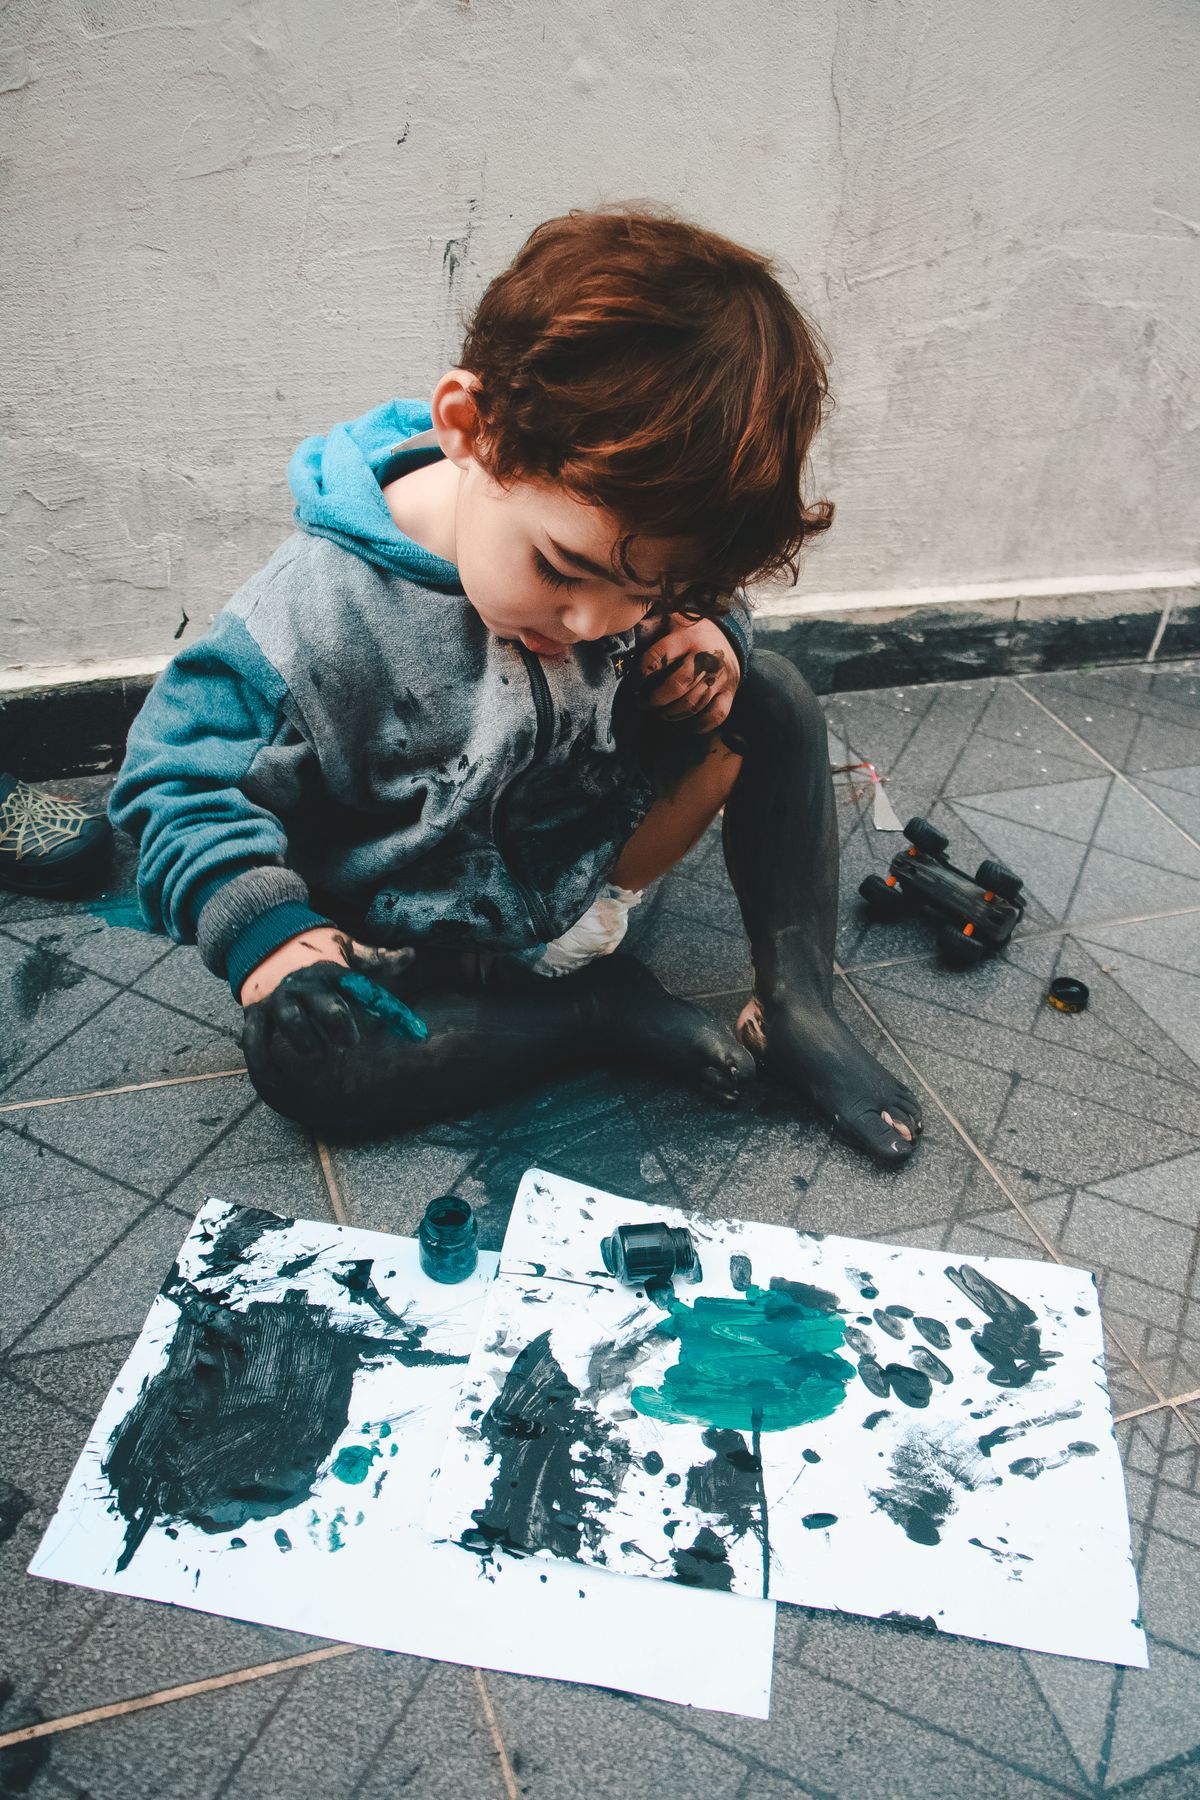
This one is gloriously messy and my kids love it. We dip a toy dinosaur’s feet in washable paint and walk it across a long sheet of paper, leaving a trail of footprints. Then we add a painted sun, grass, and a volcano, and the footprint trail becomes a whole prehistoric scene.
The downside is the mess, and I mean that seriously. Painted dinosaur feet end up on hands, sleeves, and at least once, the dog. Use washable paint only, cover the table with an old sheet, and put children in old shirts. The payoff is a piece of art they are genuinely proud of. Best for ages 3 and up.
Pro Tip: Use one dinosaur and one paint color at a time, or the footprints turn into brown mush within minutes.
Cost: $5-$8 for washable paint and paper | Time: 30 minutes | Difficulty: Easy
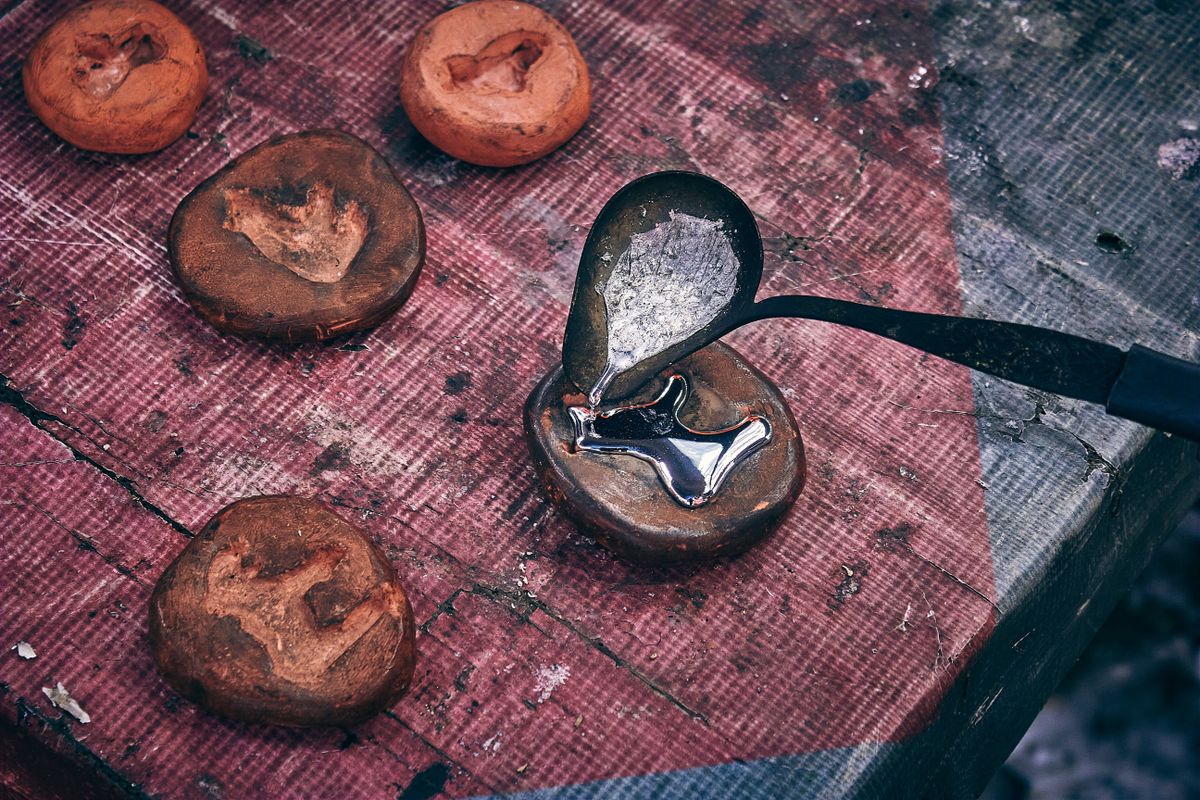
4. Salt Dough Fossils
Salt dough fossils are the closest thing to real paleontology in my craft box. We mix two cups of flour, one cup of salt, and one cup of water, press toy dinosaurs and leaves into flattened dough discs, and bake them low and slow until hard. The kids then bury them in a tray of sand for a fossil dig.
The honest catch is baking time. Thick fossils take two to three hours in a low oven, and impatient children will ask about them constantly. Make the dough discs no thicker than a centimeter, and bake them the day before the dig if you can. Best for ages 4 and up, with adult handling of the oven.
Pro Tip: Press the toy in firmly and lift straight up; wiggling it sideways blurs the fossil imprint.
Cost: Under $3 | Time: 20 minutes plus 2-3 hours baking | Difficulty: Easy
5. Cardboard Dinosaur Mask
A big piece of cardboard, cut into a T-Rex head shape with eye holes, painted green, and fitted with an elastic strap, makes a mask my children wear for days. We add paper teeth along the jaw and spikes down the top, and suddenly the living room has a dinosaur in it.
The watch-out is the eye holes. An adult should cut them and check the fit, because a mask that slips down over the eyes leads to tripping and tears. I also use soft elastic and check it is not too tight. Best for ages 5 and up, with adult cutting.
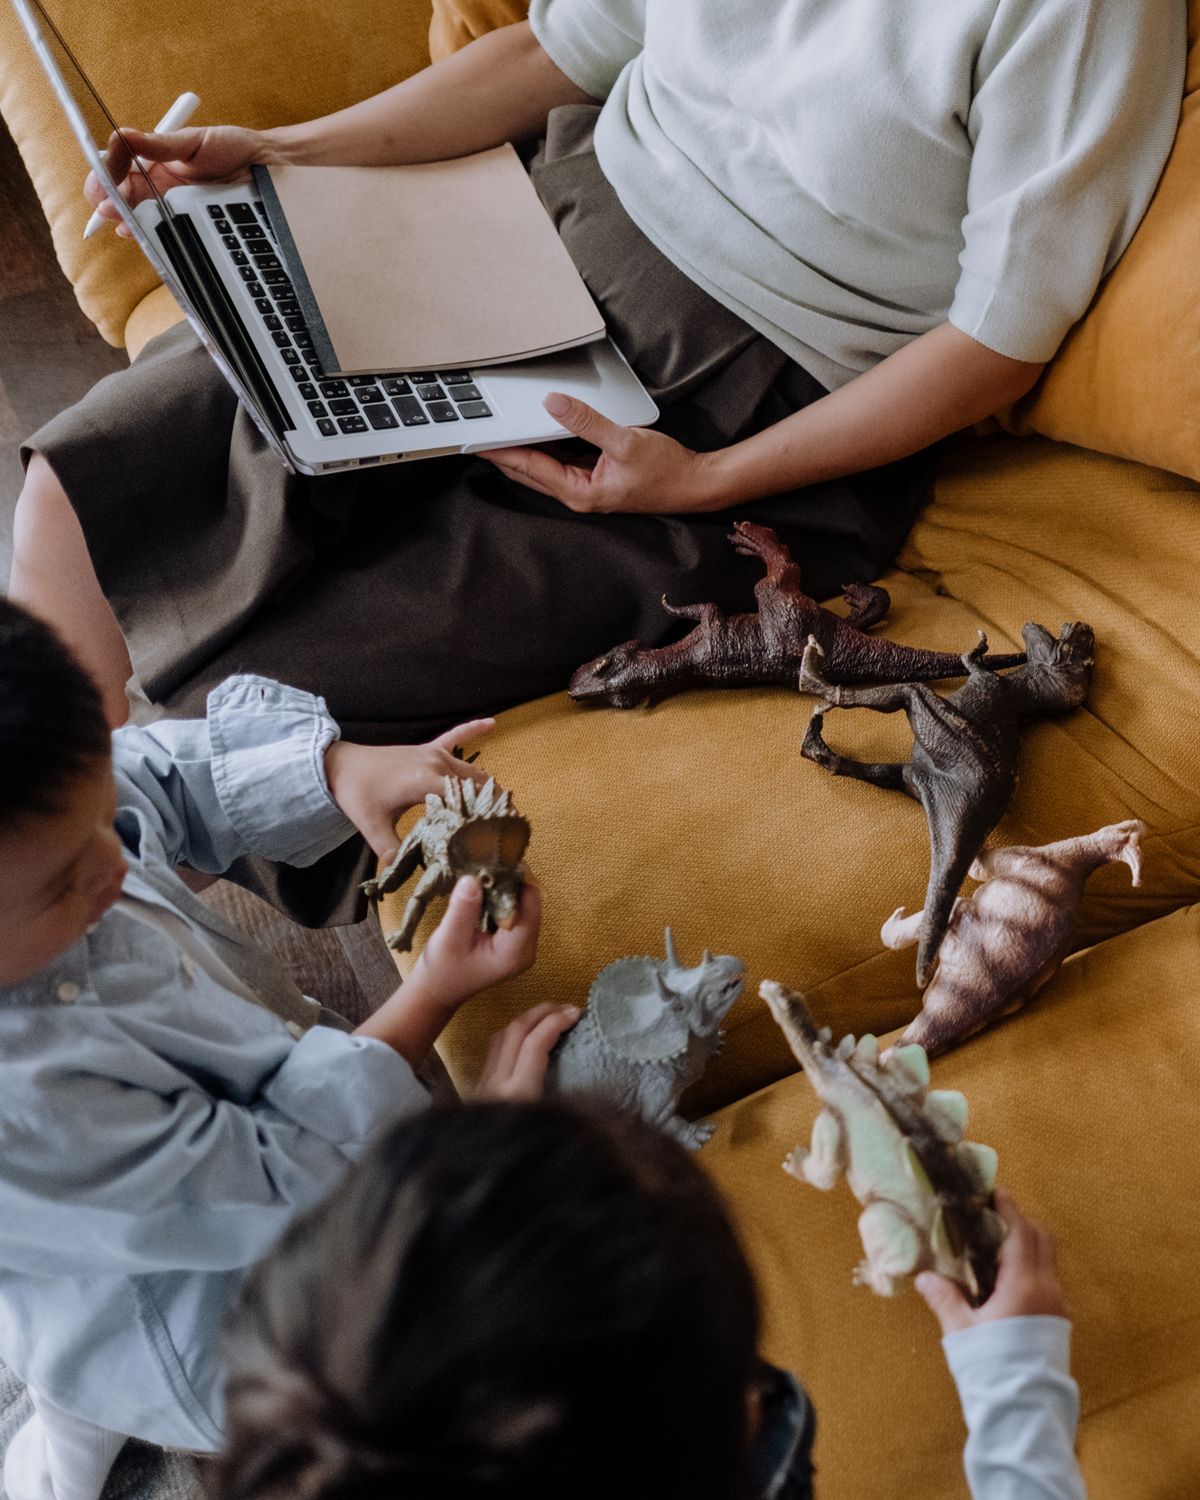
Pro Tip: Hold the cardboard up to the child’s face and mark the eye positions before cutting, rather than guessing.
Cost: $3-$6 | Time: 45 minutes plus paint drying | Difficulty: Moderate
6. Dinosaur Egg Surprise
We make dinosaur eggs by wrapping a small toy dinosaur in foil, then covering it with a thick layer of paper mache made from newspaper strips and flour paste. Once dry, the kids paint the egg speckled and then crack it open to discover the baby dinosaur inside. The reveal never gets old.
The downside is drying time. Paper mache needs a full day to dry, sometimes two, and a damp egg that gets cracked early turns into a soggy mess. Make the eggs one day and crack them the next, and the anticipation actually becomes part of the fun. Best for ages 5 and up.
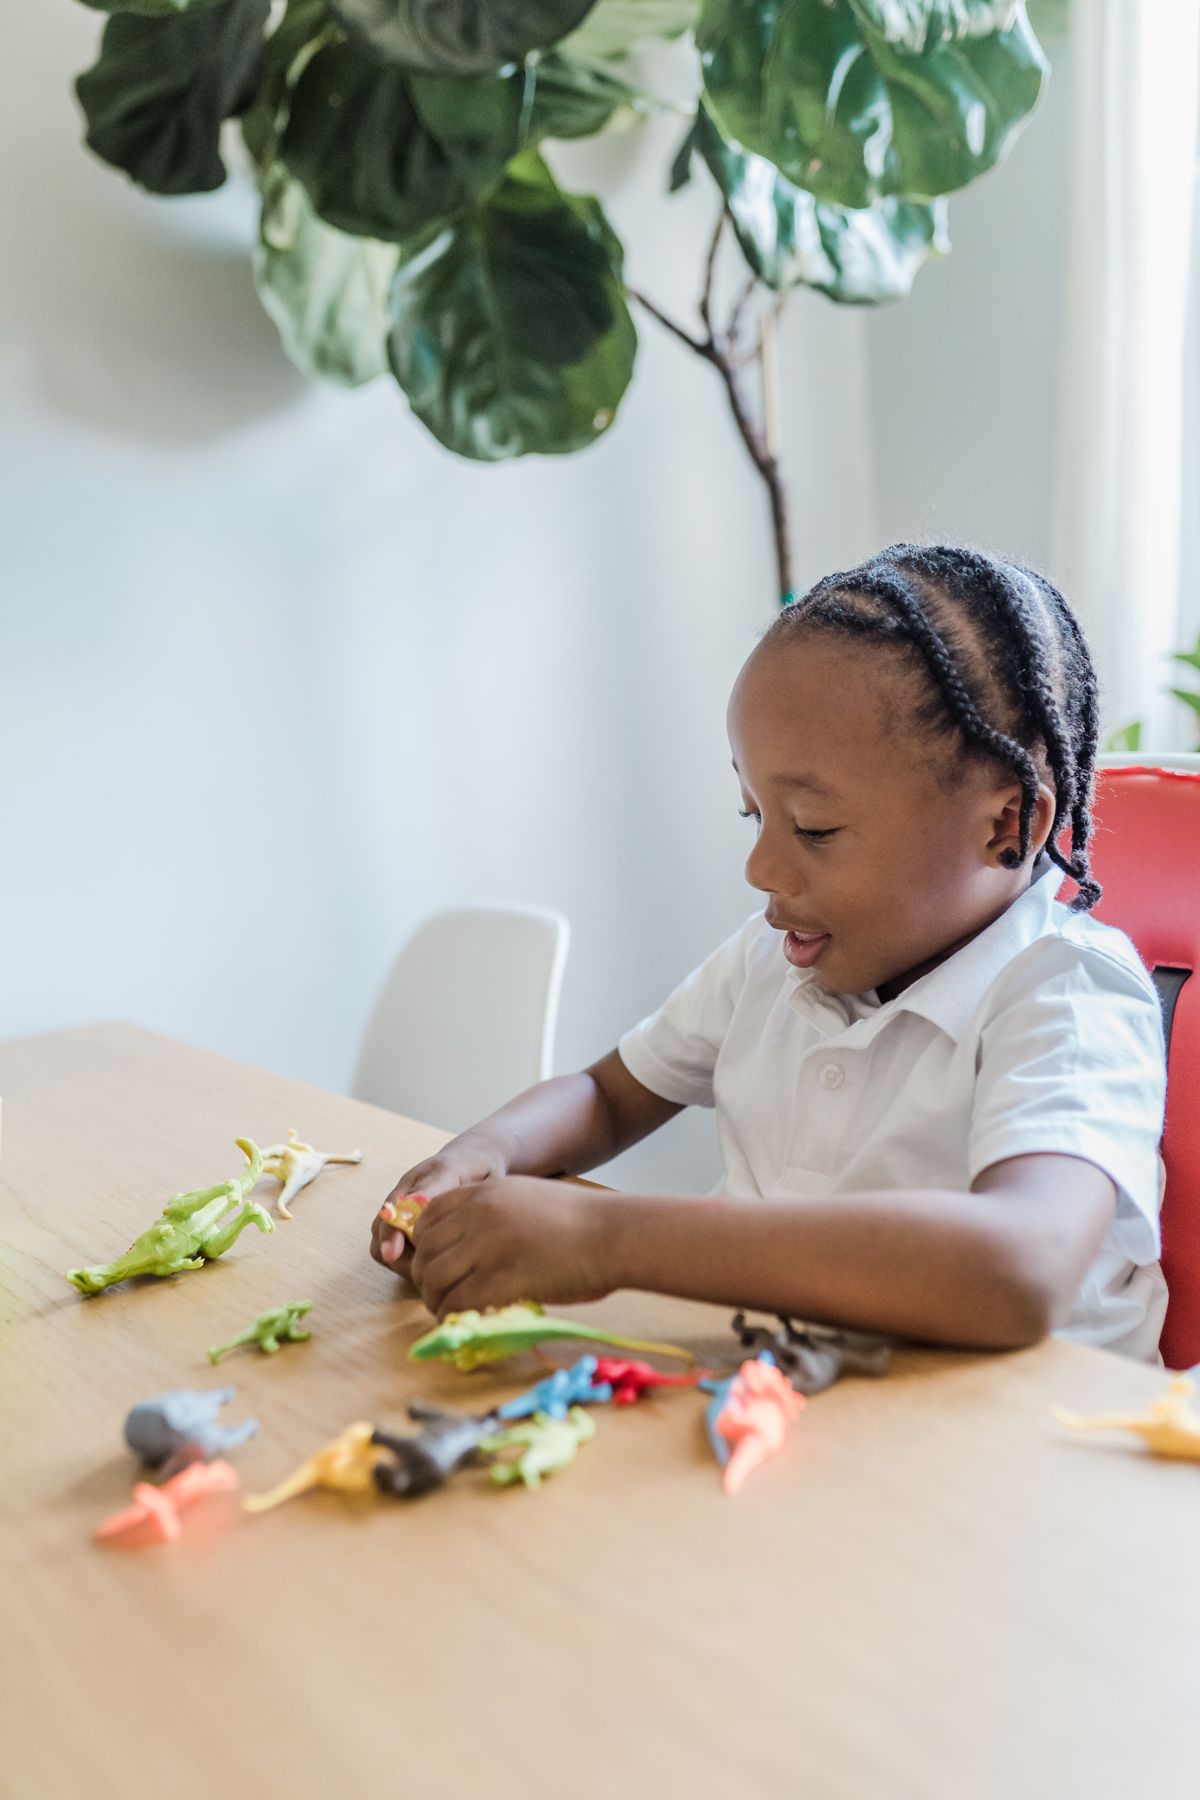
Pro Tip: Use three layers of paper mache, no more, or the egg becomes too hard for small hands to crack open.
Cost: Under $5 | Time: 30 minutes plus 24 hours drying | Difficulty: Moderate
7. Handprint Dinosaur
This is the keepsake craft I treasure most. We paint a child’s hand green, press it onto paper with the fingers pointing down to make the dinosaur’s legs and tail, then add a paper head, spikes, and an eye once the paint dries. My oldest child’s handprint dinosaur from age three is still framed in our hallway.
The honest downside is the paint on hands, which some children hate. My youngest cried the first time because the paint felt cold and tickly. Now I let children paint their own hands with a brush instead of pressing into a paint tray, and they enjoy it much more. Best for ages 2 and up with non-toxic paint.
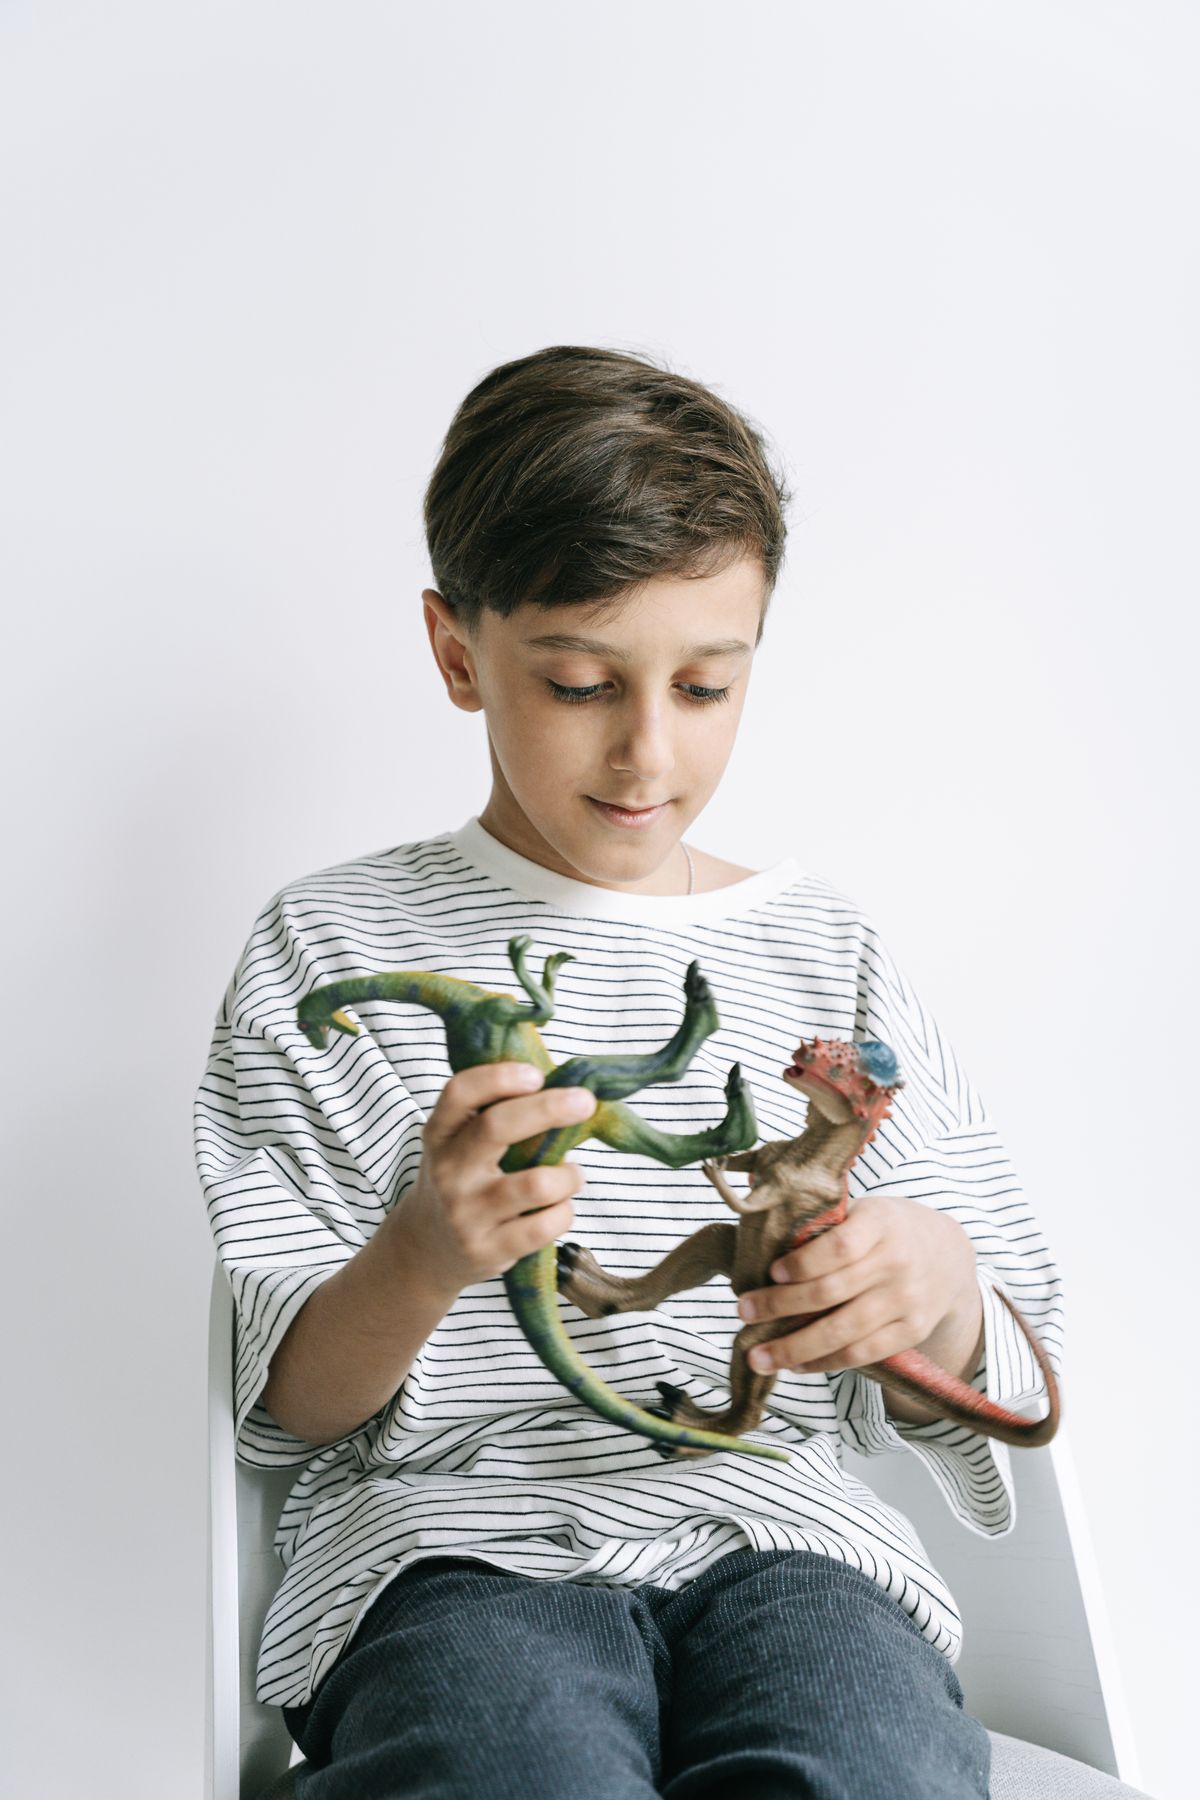
Pro Tip: Use washable, non-toxic paint and press the hand down firmly once; lifting and re-pressing smudges the print.
Cost: Under $5 | Time: 20 minutes | Difficulty: Easy
8. Dinosaur Tail for Dress-Up
A dinosaur tail made from a long triangle of felt or fabric, stuffed lightly, with felt spikes sewn or glued along the top, and an elastic waistband, turns any child into a dinosaur in seconds. My kids wear theirs with the cardboard masks for full dinosaur mode, and the tails have survived months of stomping around the garden.
The watch-out is length. My first tail was so long it dragged on the floor and tripped my daughter twice. Now I make tails that end just below the knees, and I check the waistband is snug but comfortable. Best for ages 3 and up, with adult sewing or gluing.
Pro Tip: Use felt for spikes; it holds its shape without sewing and glues cleanly to fabric.
Cost: $5-$10 | Time: 45 minutes | Difficulty: Moderate
9. Dino Dig Sensory Bin
A big tray filled with dry sand or kinetic sand, buried salt dough fossils, small brushes, and toy dinosaurs makes a dig site that keeps children busy for an hour. I set this up on a rainy afternoon and my kids excavated fossils, brushed them clean, and named each dinosaur they found.
The downside is sand everywhere. Even with a tray, sand migrates across the floor, and kinetic sand sticks to socks. I set the bin on an old shower curtain outside or in the kitchen, and cleanup takes ten minutes instead of thirty. Best for ages 3 and up; skip small fossils for under-threes.

Pro Tip: Give each child their own small brush and a muffin tin to sort finds into, or everyone digs in the same spot.
Cost: $5-$10 | Time: 15 minutes setup, hours of play | Difficulty: Easy
Also read: 19 Turtle Craft Ideas That Look Cute and Colorful
10. Paper Bag Dinosaur Puppets
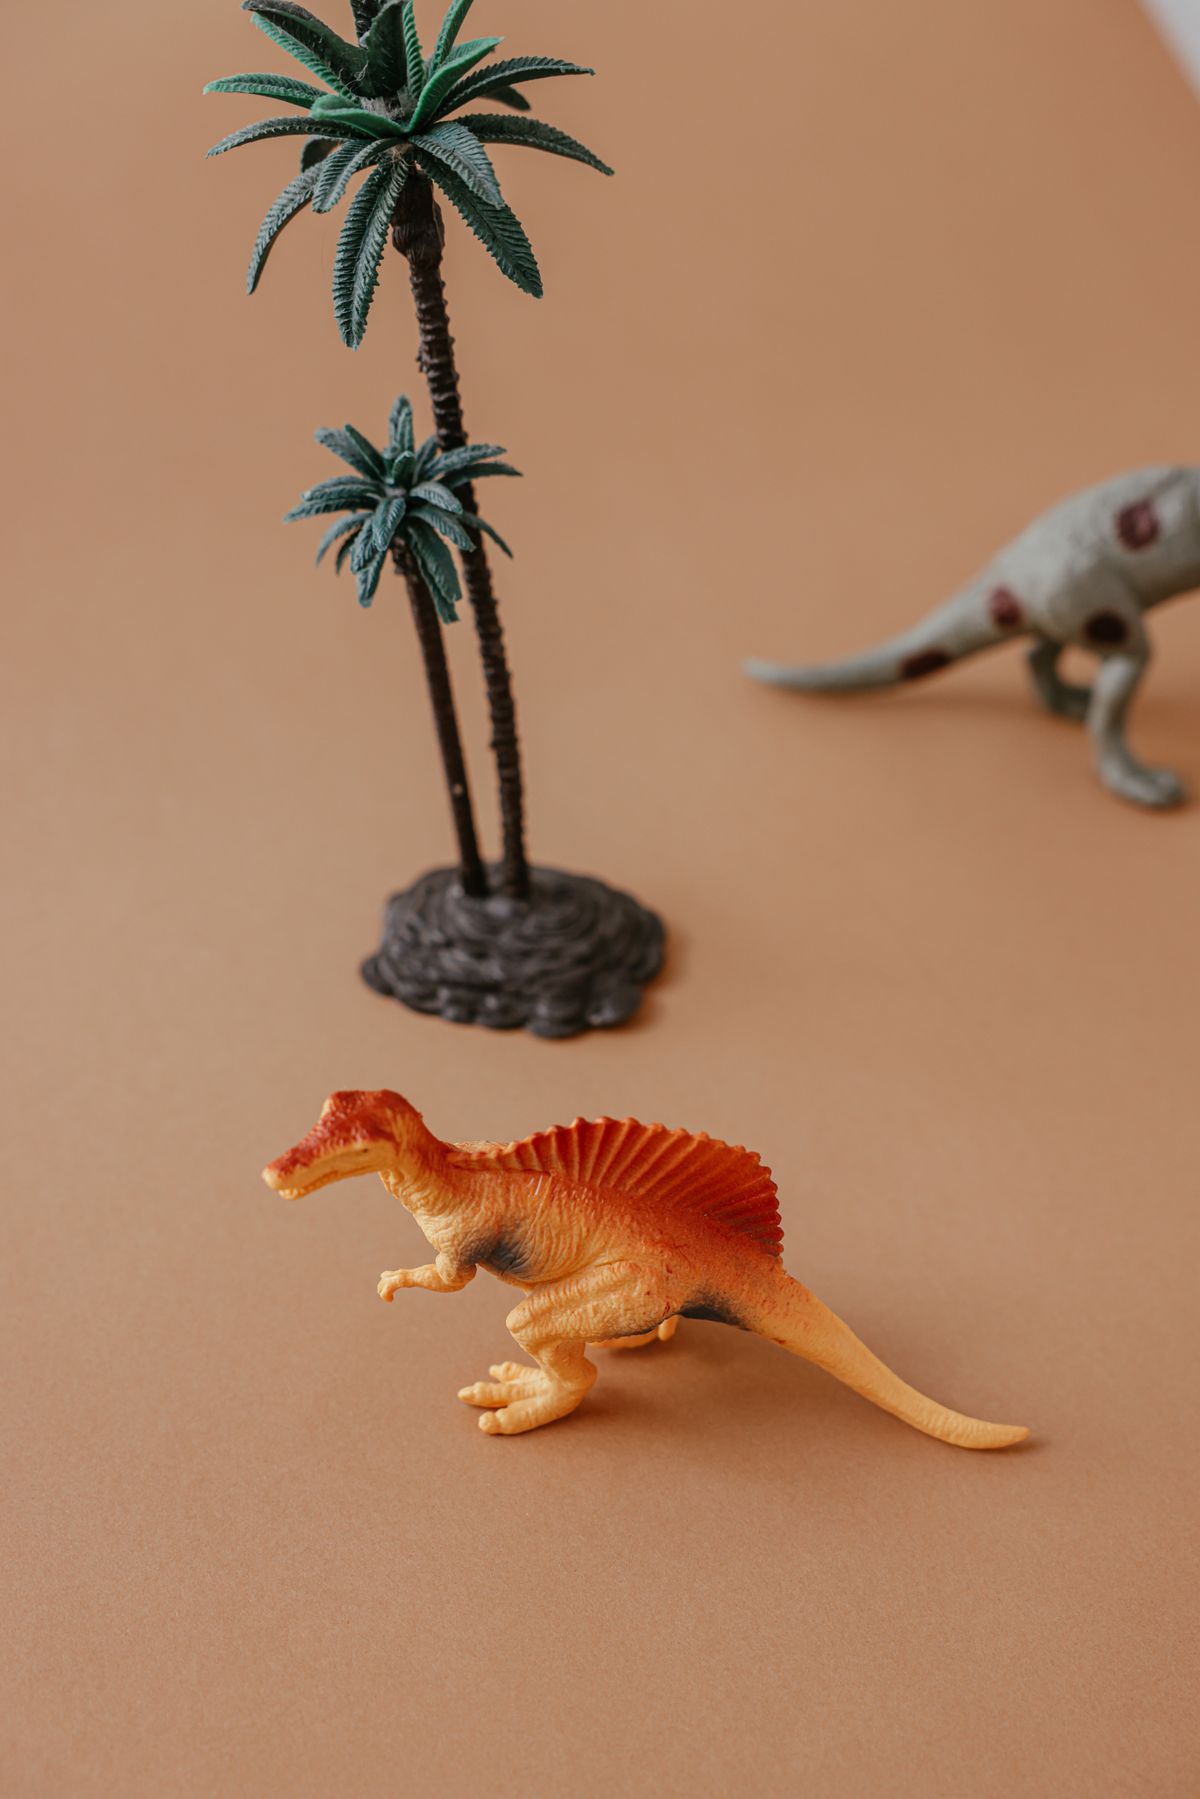
A brown paper bag, painted green, with a folded mouth, paper teeth, eyes, and spikes, becomes a dinosaur puppet in about twenty minutes. My kids put on full puppet shows with theirs, complete with roaring sound effects that I can hear from the next room.
The honest catch is durability. Paper bag puppets tear at the fold after a few enthusiastic shows, especially when little hands pull too hard. I reinforce the fold inside with tape before decorating, and that doubles the puppet’s life. Best for ages 4 and up.
Pro Tip: Decorate the bag while it is flat, then fold the mouth; decorating after folding smudges the paint.
Cost: Under $5 | Time: 20-30 minutes | Difficulty: Easy
11. Dinosaur Volcano Eruption Craft
We build a volcano from cardboard and paper mache around a small bottle, paint it brown with red lava drips, place toy dinosaurs around the base, and then erupt it with baking soda and vinegar. The science and the craft together make this the most requested project in my house.
The safety note is simple but important: do this outside or in a tray, because vinegar fizz goes everywhere, and keep the mixture away from eyes. I also use food coloring sparingly, because red dye stains clothes. Best for ages 4 and up with adult supervision of the eruption.
Pro Tip: Add a squirt of dish soap to the vinegar for a foamier, more dramatic eruption.
Cost: $5-$8 | Time: 1 hour plus drying | Difficulty: Moderate

12. Sponge-Painted Stegosaurus
We cut a stegosaurus shape from cardboard, then dab paint on with a sponge instead of a brush, which gives a lovely textured, scaly effect. My kids then glue on paper plates cut into spikes along the back, and the finished stegosaurus looks far more interesting than a flat painted one.
The downside is sponge paint drying darker than it looks wet, which disappointed my daughter the first time when her bright yellow turned mustard. Now we test sponge colors on scrap cardboard first, and there are no surprises. Best for ages 3 and up.
Pro Tip: Use one sponge per color and dab, don’t drag, or the texture disappears into streaks.
Cost: $5-$8 | Time: 30 minutes plus drying | Difficulty: Easy
13. Dinosaur Suncatchers
We cut a dinosaur shape from black card, stick clear contact paper behind it, and let children fill the shape with torn tissue paper in bright colors. Hung in the window, the light shines through and the dinosaur glows. These are beautiful, and they use up tissue paper scraps perfectly.
The watch-out is the contact paper, which sticks to everything, including small fingers and the table. I tape the contact paper sticky-side up to the table first, and children press tissue onto it without the sheet sliding around. Best for ages 3 and up with adult handling of the contact paper.
Pro Tip: Pre-tear the tissue paper into small pieces; children get frustrated tearing it during the craft itself.
Cost: $5-$8 | Time: 30 minutes | Difficulty: Easy

14. Dino Stomp Painting with Bubble Wrap
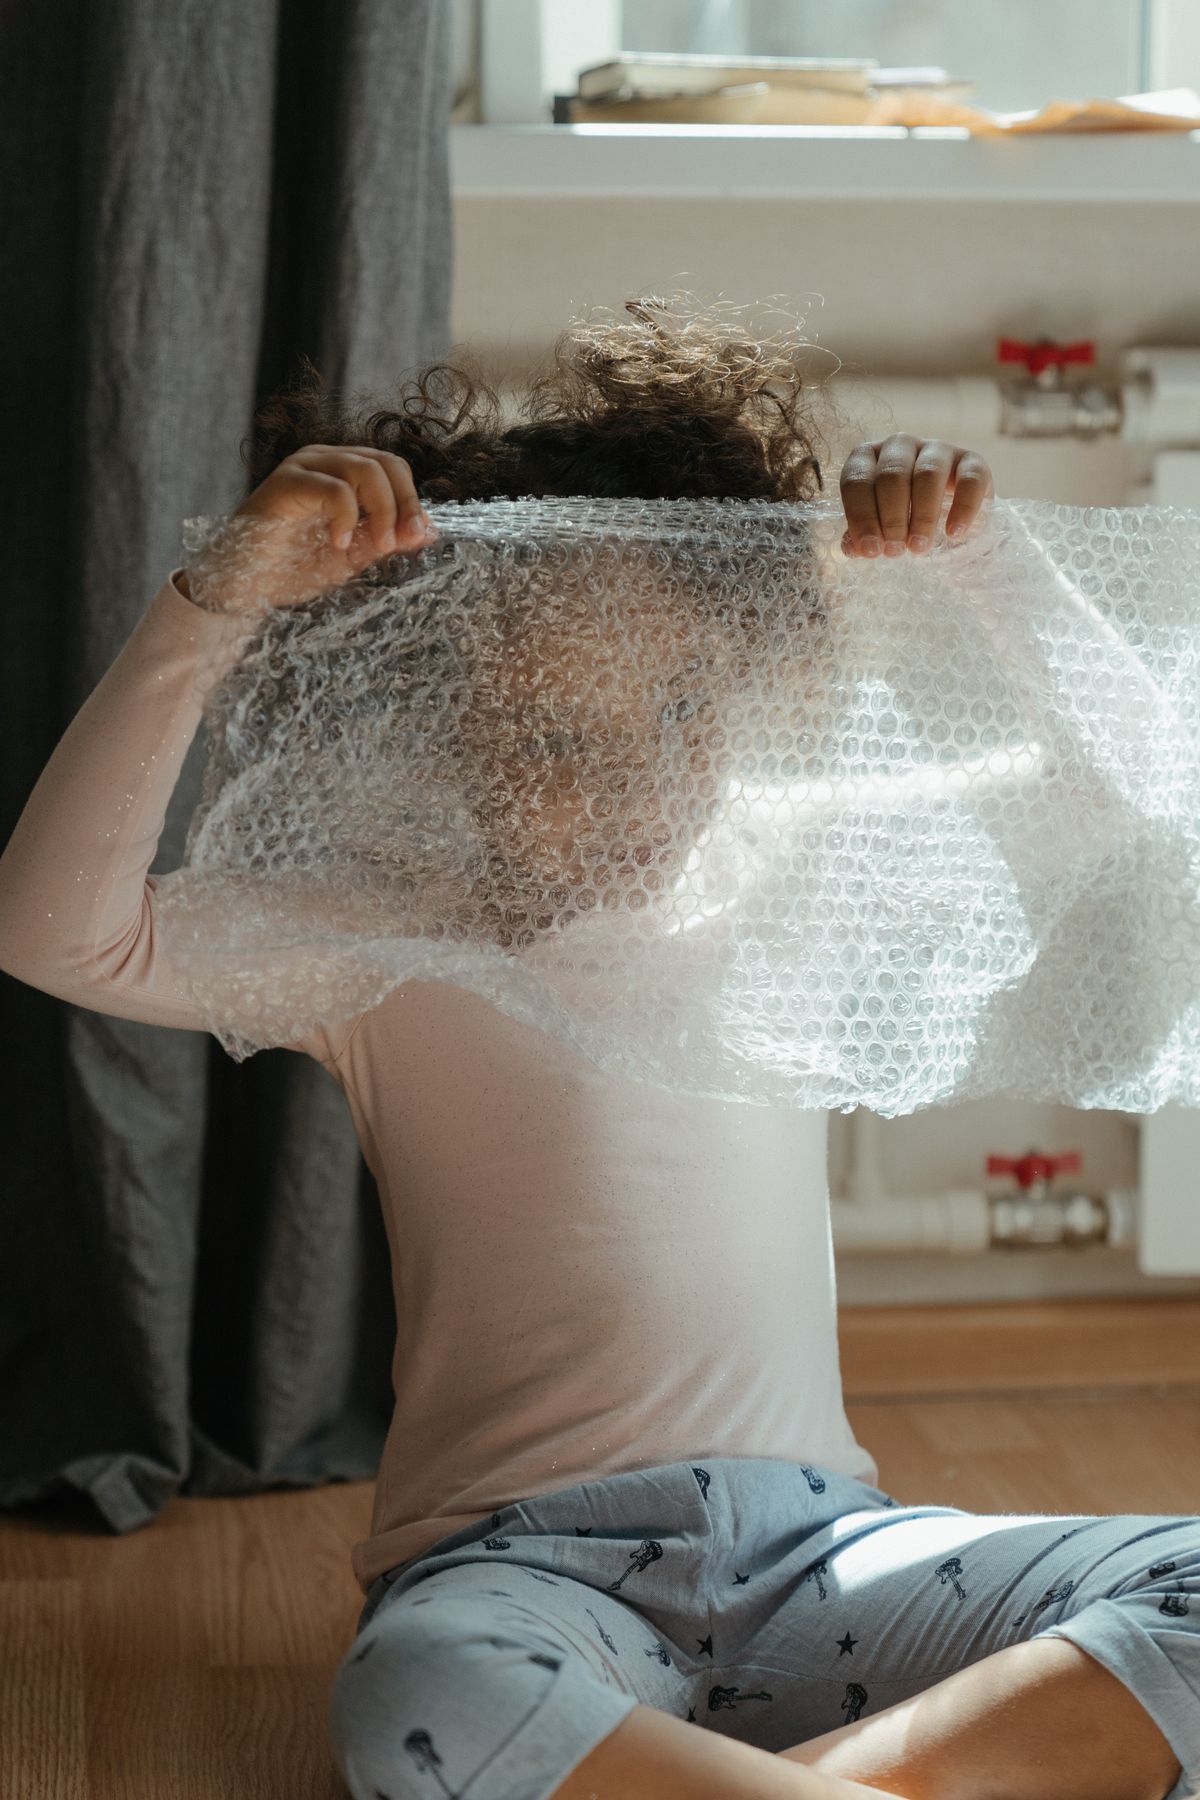
We wrap bubble wrap around a child’s shoe, dip it in paint, and stomp across a long roll of paper to make big dinosaur footprints. The bubble wrap texture makes each print look scaly and prehistoric, and the stomping itself is half the fun for energetic kids.
The honest downside is paint on shoes and floors, so this is strictly an outdoor or garage project in my house, with old shoes and washable paint. I also limit it to one color per child at a time, or the paper turns brown. Best for ages 3 and up.
Pro Tip: Tape the bubble wrap firmly around the shoe with masking tape, or it slips off mid-stomp.
Cost: $5-$8 | Time: 20 minutes | Difficulty: Easy
15. Clay Dinosaurs
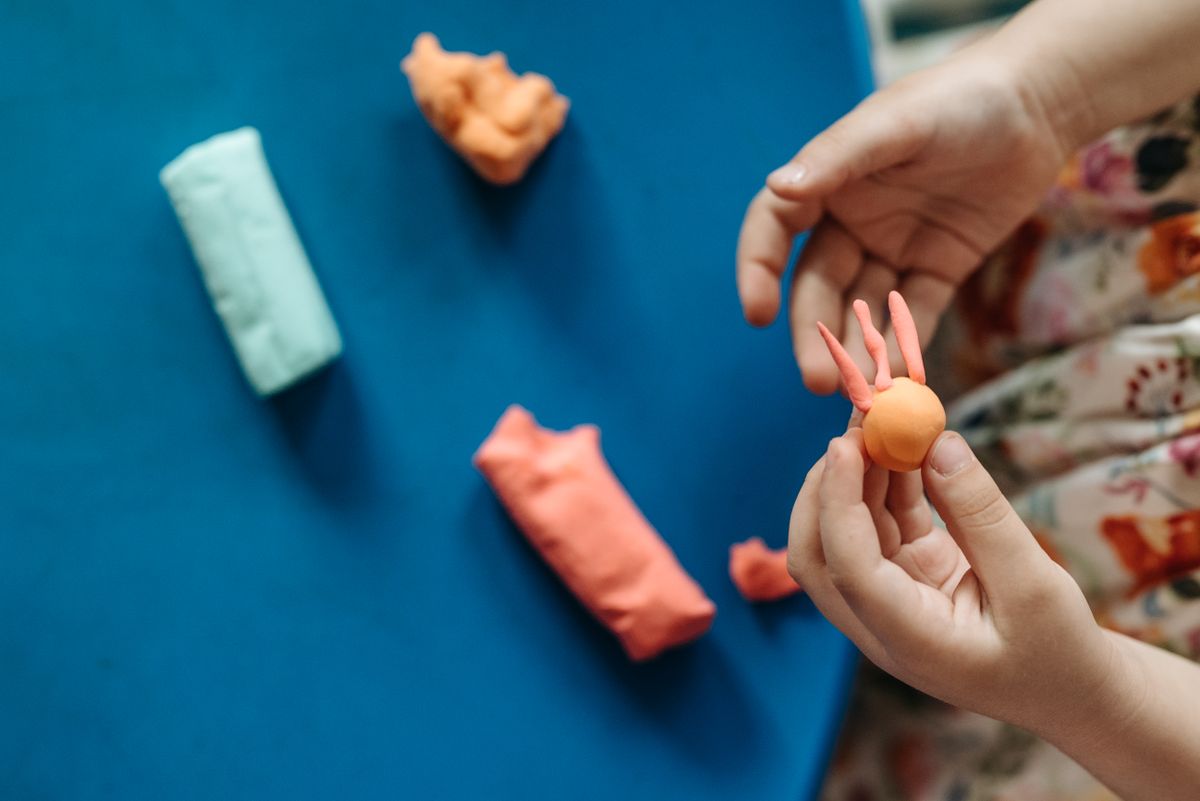
Air-dry clay is my go-to for rainy days. Children roll a body, add a long neck or a tail, press in spikes made from small clay triangles, and add bead eyes if they are old enough. Once dry, they paint their dinosaurs in wild colors, and the results live on bedroom shelves for months.
The safety note: use air-dry clay, not polymer clay, for young children, because polymer clay needs oven baking and is not for little hands. Also, keep beads away from under-threes, and use painted clay dots for eyes instead. Best for ages 4 and up, or 3 and up without beads.
Pro Tip: Score and wet the joints where legs and necks attach, or the pieces fall off while drying.
Cost: $8-$12 for air-dry clay | Time: 45 minutes plus 24 hours drying | Difficulty: Moderate
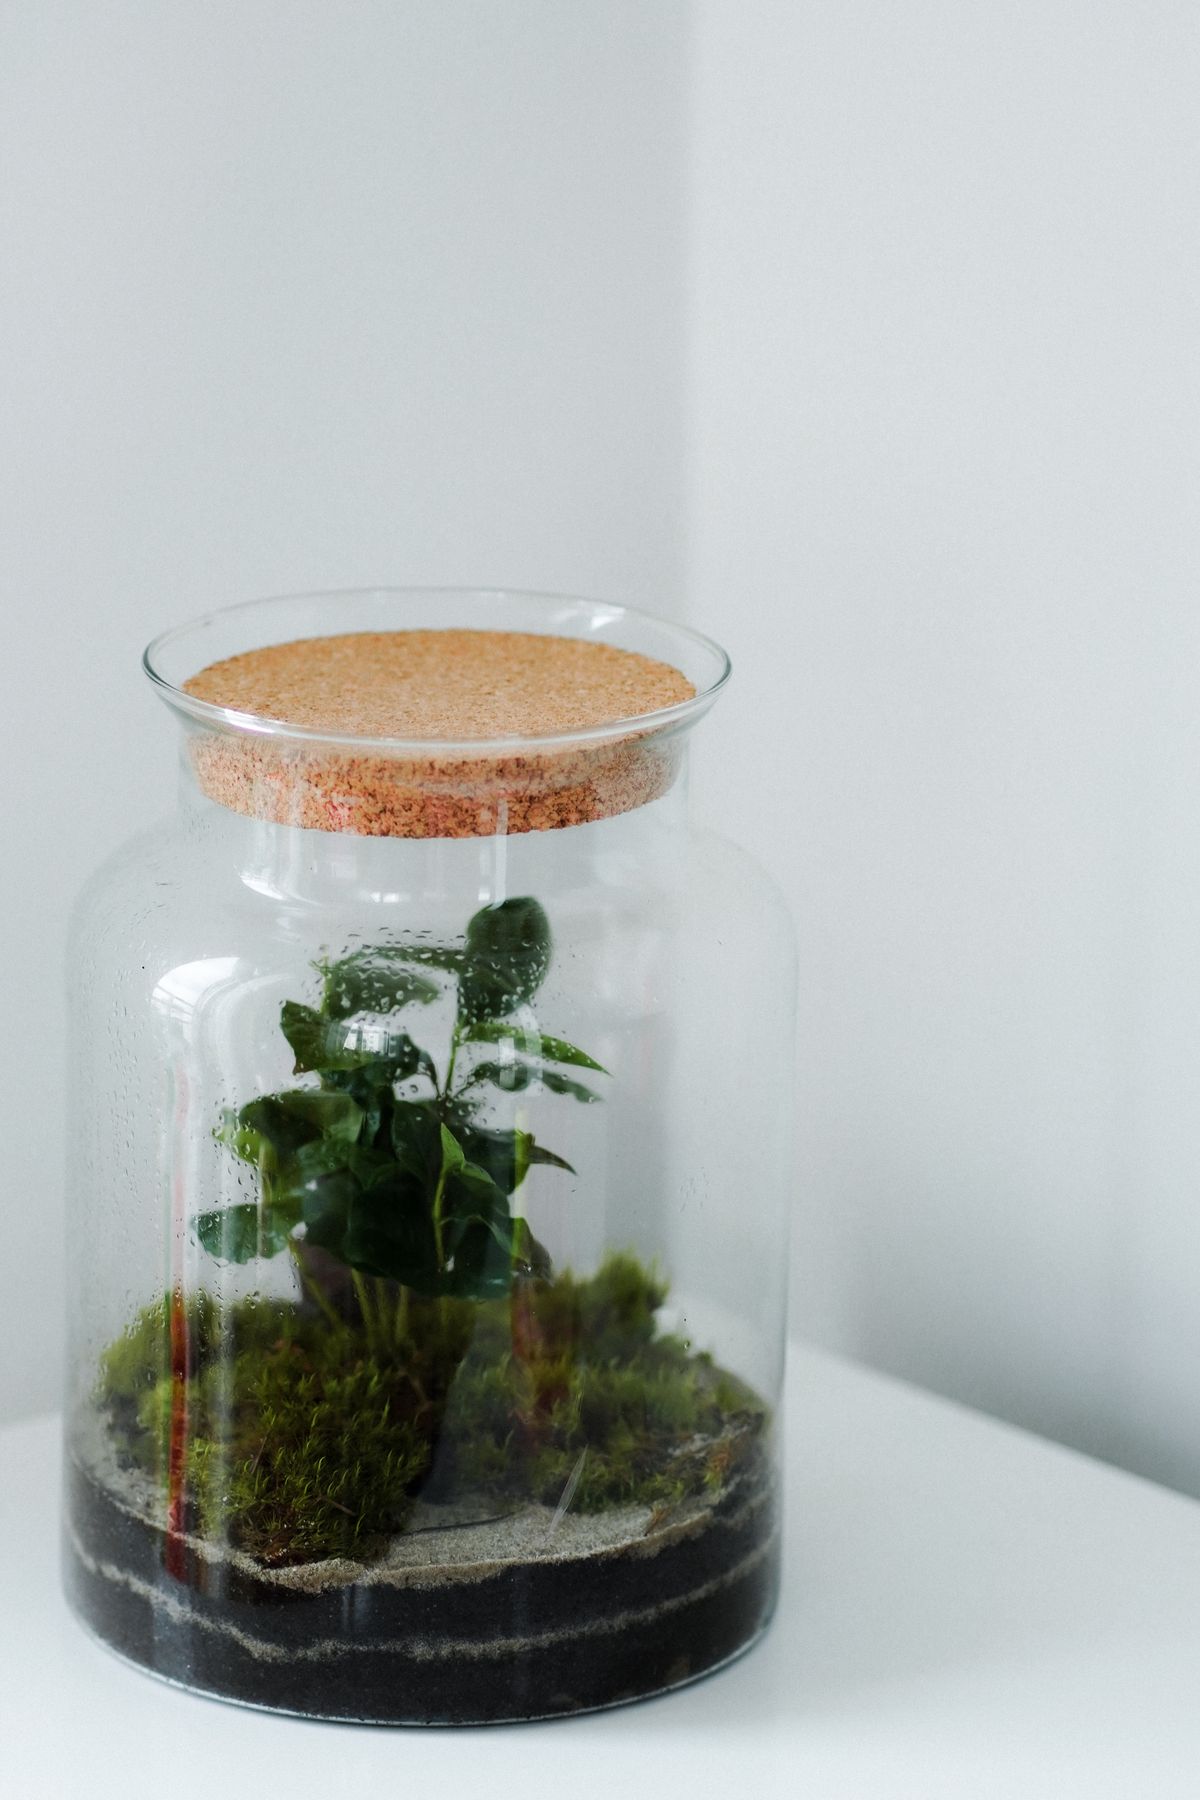
16. Dinosaur Terrarium
A clear plastic container, a layer of pebbles and soil, a few small plants, and toy dinosaurs make a miniature Jurassic world. My kids built one together, misted the plants daily, and checked every morning whether the dinosaurs had moved overnight, which of course they had not, but the checking continued for weeks.
The downside is plant care. My first terrarium used plants that needed more light than our windowsill gave, and they wilted within a fortnight. Now I use hardy succulents or even plastic plants for younger children, and the terrarium lasts months. Best for ages 5 and up.
Pro Tip: Use a container with a lid that children can open themselves, or watering becomes an adult-only job.
Cost: $10-$15 | Time: 30 minutes | Difficulty: Easy to moderate
17. Dinosaur Birthday Crown
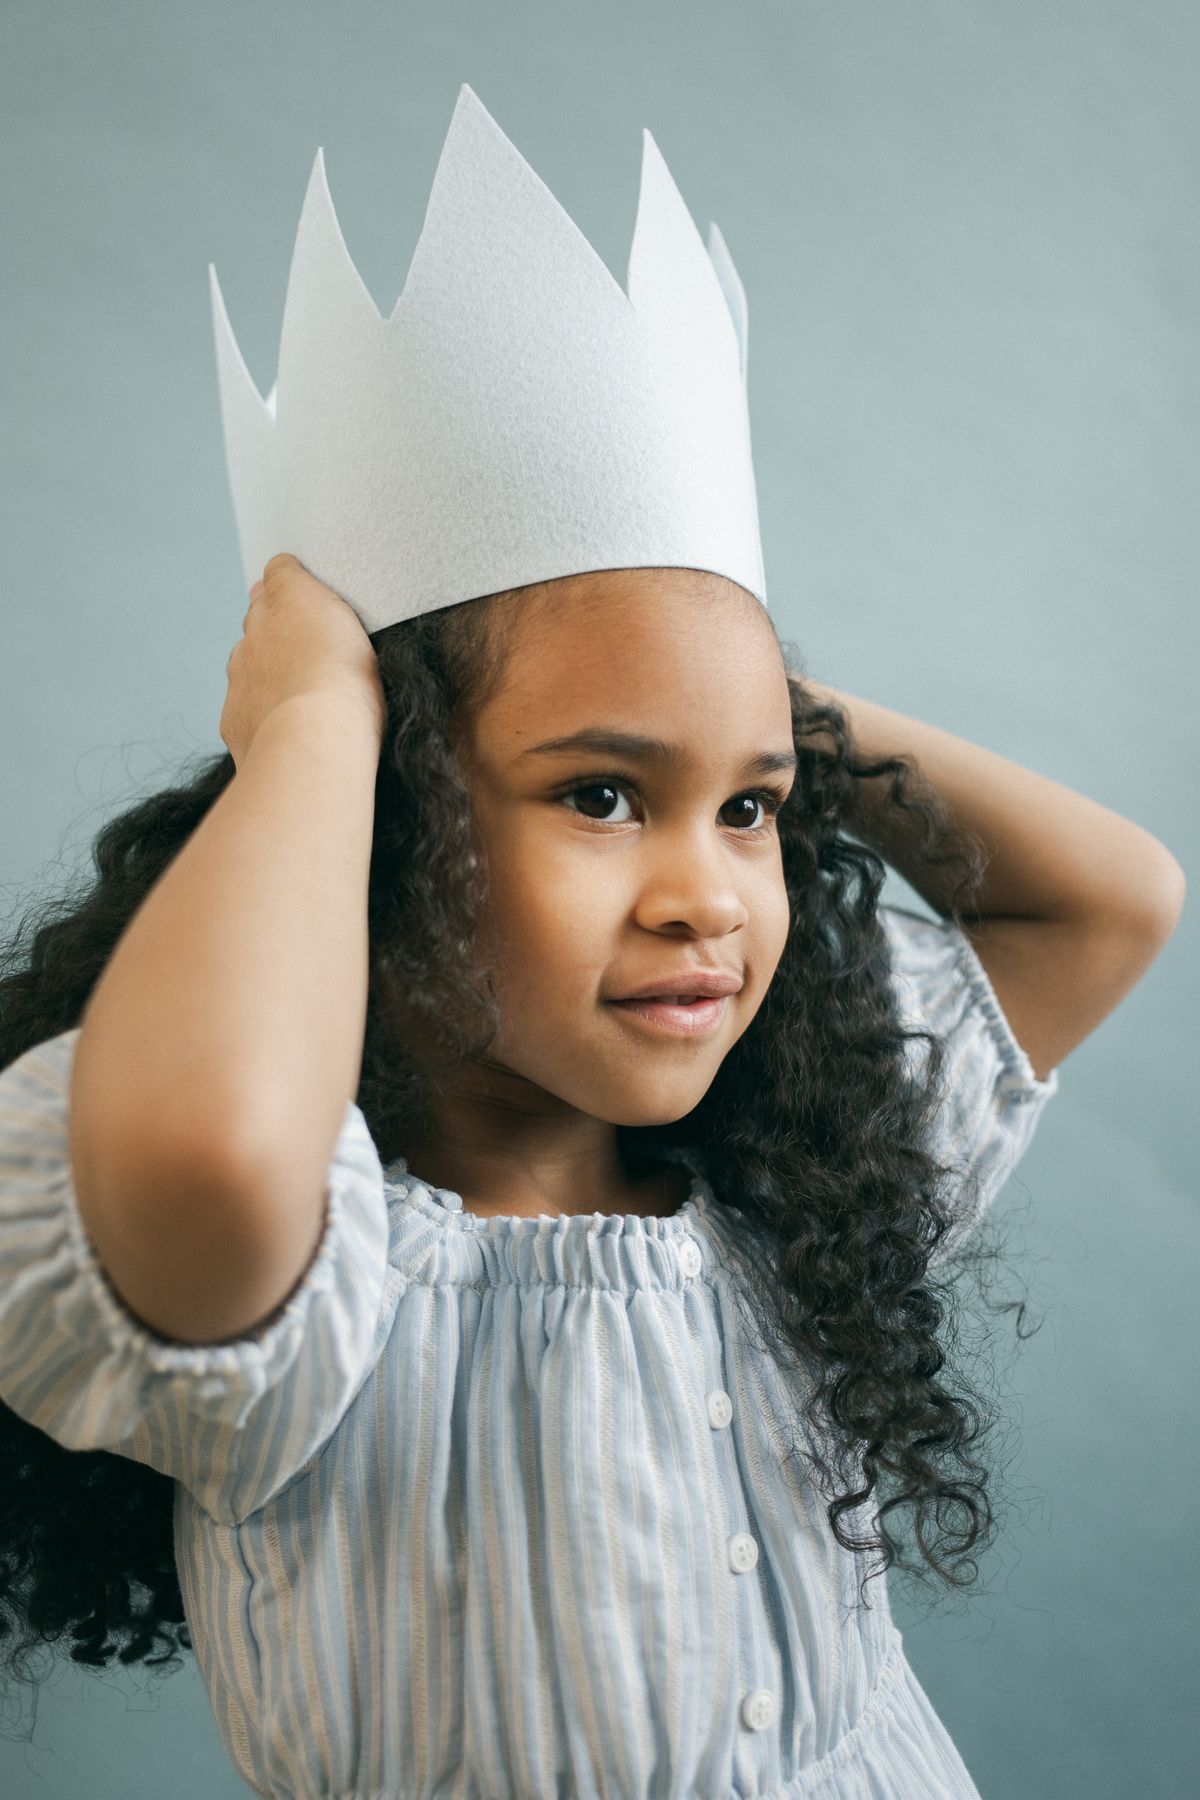
A strip of card, decorated with dinosaur spikes, footprints stamped in paint, and the birthday child’s name, makes a crown that turns a regular birthday into a dinosaur party. I made one for my son’s fifth birthday and he wore it all day, including to bed, which tells you everything.
The watch-out is fit. A crown that is too tight gives a headache and a crown that is too loose slides over the eyes. I measure the child’s head, add two centimeters for comfort, and staple the ends with the staples facing outward so nothing scratches. Best for ages 3 and up.
Pro Tip: Decorate the crown flat before joining the ends, and let the paint dry fully before fitting it.
Cost: Under $5 | Time: 30 minutes | Difficulty: Easy
18. Fossil Rubbing Art
We place salt dough fossils or plastic dinosaur skeletons under a sheet of thin paper and rub over them with the side of a crayon. The fossil pattern appears like magic, and children love the reveal. It is a calm, quiet craft, which makes it perfect for winding down after the messier dinosaur projects.
The honest downside is that faint fossils give faint rubbings, and children get frustrated if nothing appears. Use fossils with deep, clear impressions, and press firmly with the crayon on its side, not the tip. Best for ages 4 and up.
Pro Tip: Tape the paper to the table over the fossil so it does not slide mid-rub and blur the image.
Cost: Under $5 | Time: 20 minutes | Difficulty: Easy
Mistakes I Made (So You Don’t Have To)
Letting paint projects run without a covered table. My kitchen table still has a faint green footprint from the first footprint painting session. Now every paint project starts with an old sheet on the table, and cleanup is five minutes.
Cutting cardboard shapes myself in advance. I used to pre-cut everything to save time, and my kids were bored because there was nothing left to do. Now adults only cut the hard parts, and children do the rest, even if it is wobbly.
Using small googly eyes with toddlers. I once handed a toddler a pile of googly eyes before thinking, and spent the afternoon watching like a hawk. Now small parts stay in a high box until children are old enough, and toddlers get painted eyes instead.
Making the craft too complicated. My most elaborate dinosaur mask took two hours and my child lost interest halfway. The simple paper plate version got finished, played with, and loved. Simple wins with kids.
Which Dinosaur Craft Should You Try First?
| Project | Best For | Cost | Effort |
|---|---|---|---|
| Paper plate triceratops | Ages 3+, first dinosaur craft | Under $5 | Low |
| Salt dough fossils | Ages 4+, a fossil dig | Under $3 | Low |
| Cardboard dinosaur mask | Ages 5+, dress-up play | $3-$6 | Medium |
| Dino dig sensory bin | Ages 3+, rainy days | $5-$10 | Low |
| Clay dinosaurs | Ages 4+, keepsakes | $8-$12 | Medium |
Frequently Asked Questions
How long did your kids actually play with these afterward?
The masks, tails, and puppets got weeks of play, while the paper plate dinosaurs lived on the fridge for about a month. The fossil dig bin was replayed for three rainy afternoons in a row, which is a record in my house.
What would you do differently next time?
I would set up the messy projects outside from the start instead of halfway through cleanup. I would also make twice as many salt dough fossils, because the dig ends too fast when there are only a few to find.
Are these dinosaur crafts safe for toddlers?
The handprint and sponge painting projects work for toddlers with non-toxic washable paint and adult supervision. Skip anything with small parts, beads, or googly eyes for under-threes, and keep scissors adult-handled.
What if my child cannot cut well yet?
That is completely normal. Adults can pre-cut the tricky shapes, and children can paint, glue, and decorate, which is the part they enjoy most anyway. The craft still counts as theirs.
Can I do these crafts in a classroom?
Yes, and the paper plate dinosaurs, handprint dinosaurs, and fossil rubbings scale well for groups. The volcano and sensory bin work best as a shared station rather than one per child.
Read this next: 31 Crafts for 5 Year Olds
Final Thoughts
Dinosaur crafts for kids work because they mix making with playing, and in my house the playing always lasts longer than the making. A paper plate triceratops is not just a craft, it is a character in a game that runs all afternoon.
Start with the paper plate triceratops or the salt dough fossils, cover your table, and let the roaring begin. And if a dinosaur ends up with five eyes and no tail, that is not a mistake, that is a new species.