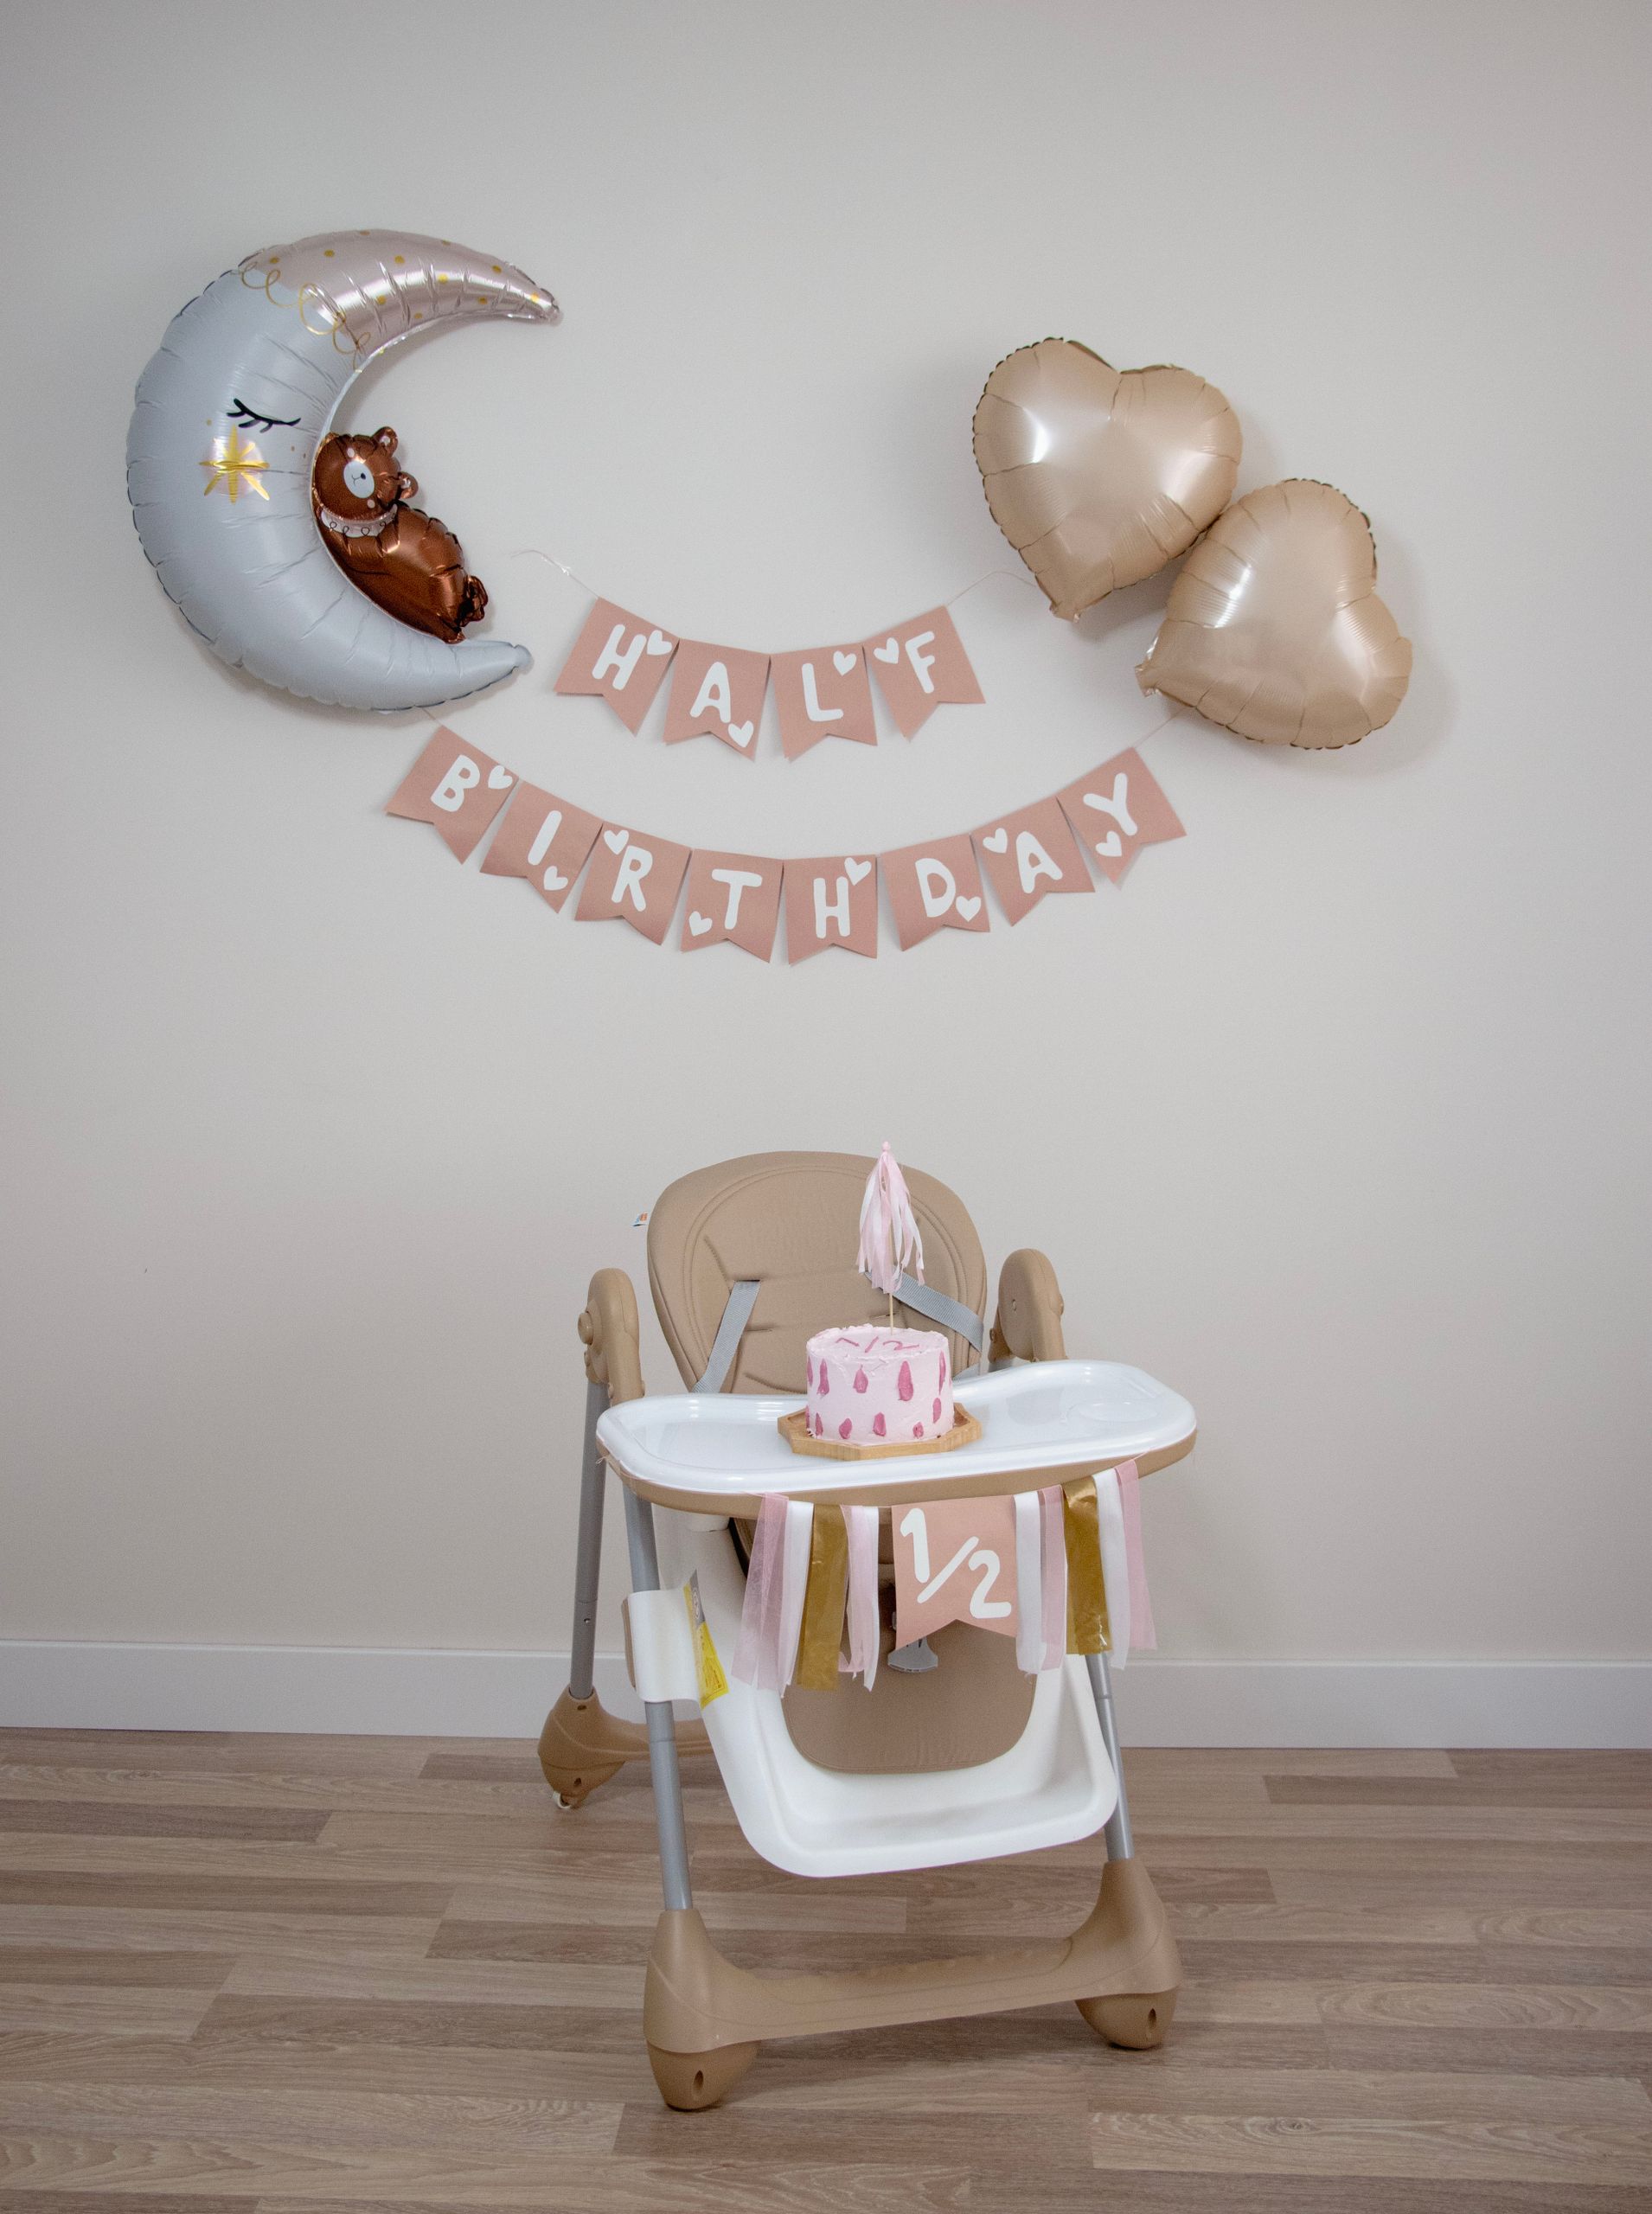
18 First Birthday High Chair Decor Ideas That Photograph Beautifully
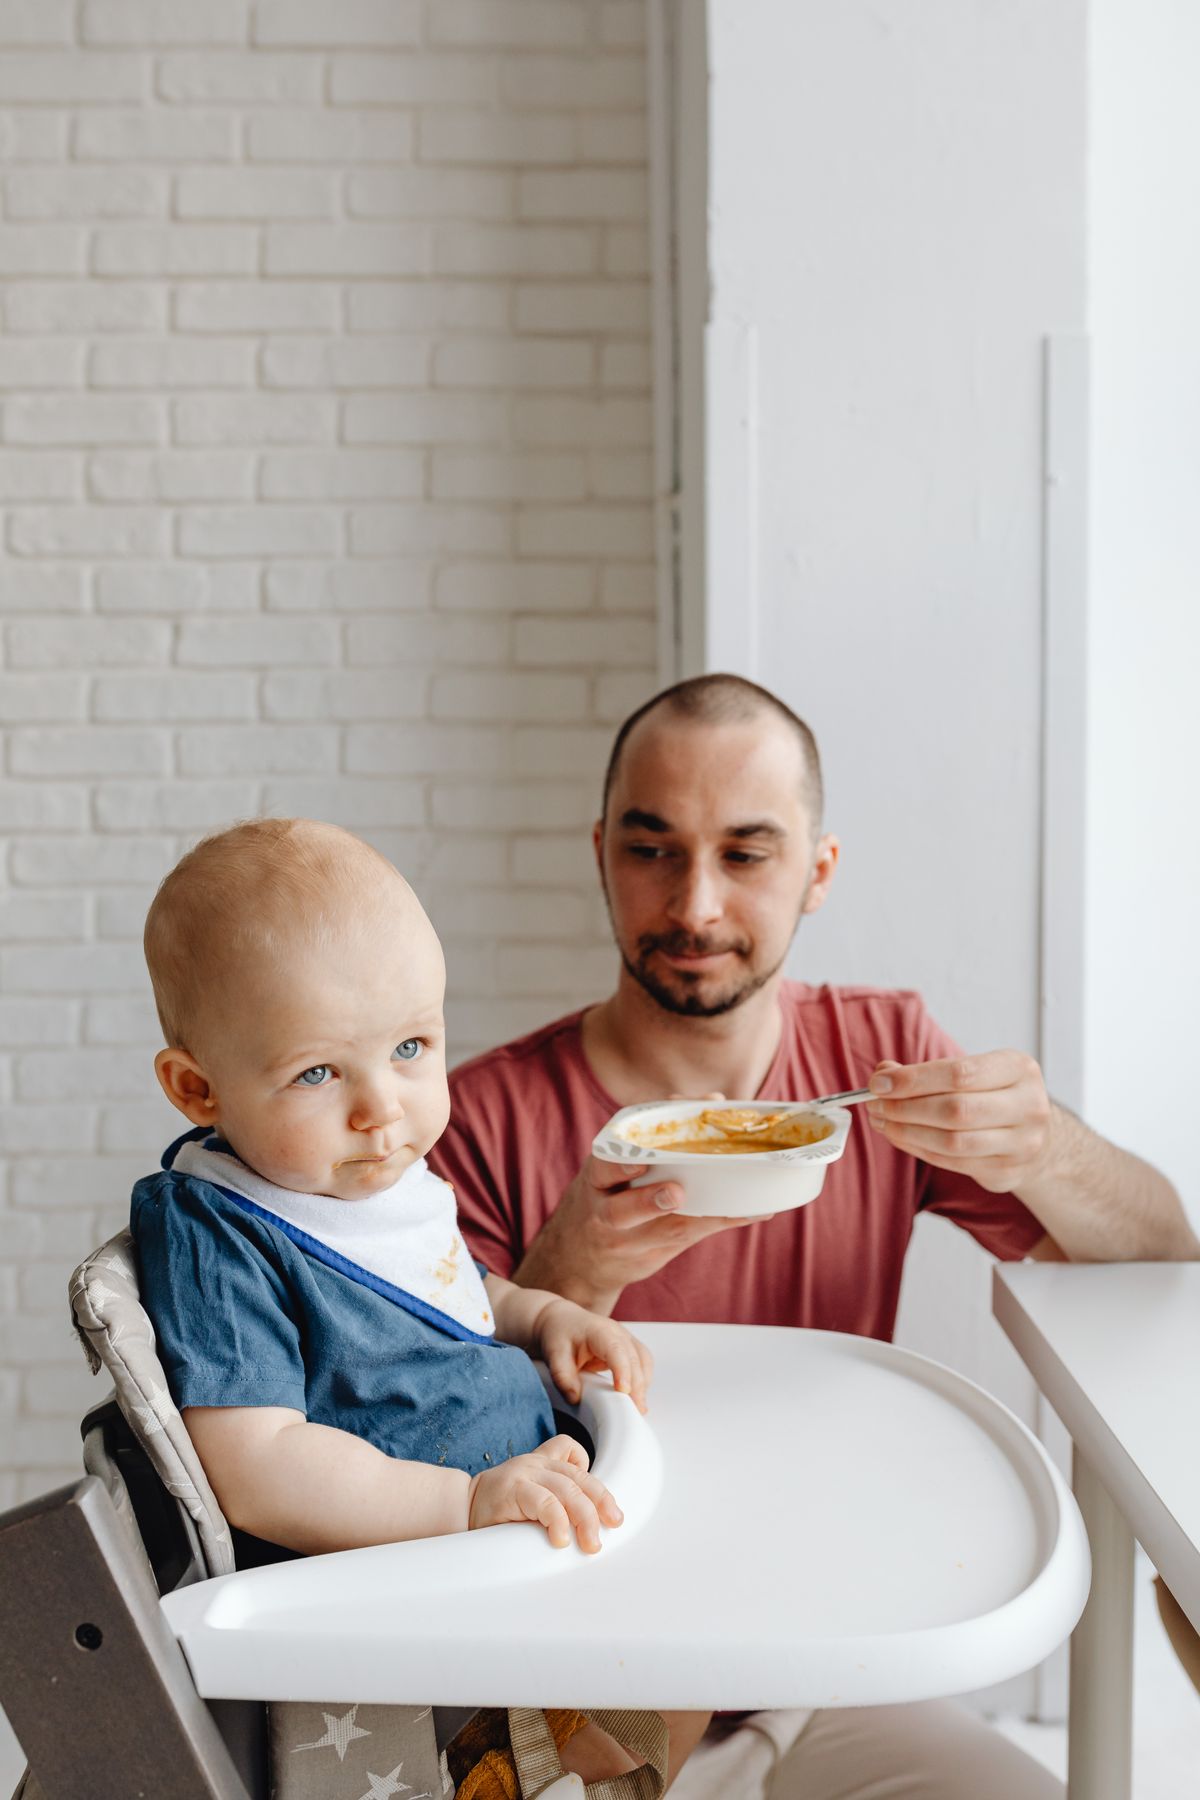
The high chair is the star of a first birthday, because that is where the cake smash happens and where most photos are taken. These first birthday high chair decor ideas are ones I have actually set up and cleaned up after at real first birthdays.
How I picked these: I tested each idea on a real high chair with a wriggling one-year-old nearby, checked what stayed put and what got grabbed, and kept only the ideas that were safe, quick to set up, and easy to remove.
Before you start, a safety note for every idea below. Nothing small, loose, or dangly should sit near the baby’s face or mouth, because anything pulled off can become a choking hazard.
Secure every decoration so it cannot fall onto the baby, keep ribbons and strings short and out of reach, and check the chair is stable on a flat floor before the party starts. If a decoration wobbles or pulls loose when you tug it, take it off.
Related article: First Birthday Invitation Ideas
Key Takeaways
- Decorate the back and sides of the chair, never the tray edge or anything within grabbing distance.
- Tulle, felt, and paper are safer and cheaper than anything with small beads, buttons, or loose glitter.
- A chair with one strong theme photographs better than a chair buried under competing ideas.
- Keep scissors, tape, and spare ties nearby, because something always needs a fix.
18 First Birthday High Chair Decor Ideas
1. The Classic Tulle Tutu Skirt
A tulle skirt turns a plain wooden or white high chair into a birthday throne in about twenty minutes. I cut six strips of soft tulle, each about 45 centimetres long, and knotted them around wide elastic measured to fit the chair back and sides.
I made mine in blush pink for my niece, and it hid the chair legs beautifully in photos.
The downside is that tulle snags. One strip tore on a chair screw, so keep the skirt on the back and sides only, never across the front where little hands can reach it.
Pro Tip: Tie the tulle to elastic, not directly to the chair, so you can slide the whole skirt on and off in seconds for cleaning.
Cost / Time / Difficulty: $5 to $12 | 20 to 30 minutes | Easy

2. Pastel Balloon Garland on the Chair Back
A small balloon garland, just five to seven balloons, gives the chair instant party energy without overwhelming it. I inflated mini balloons in cream, sage, and dusty pink, and tied them in clusters of three to the chair back.
At a garden party, the garland framed every photo perfectly, and because the balloons sat above and behind the baby, she could not reach them.
The downside is balloons pop, and a popped balloon is a real choking hazard with a baby nearby. I kept a spare cluster ready and swept up every scrap immediately when one popped.
Pro Tip: Use air-filled mini balloons, not helium, so the garland stays exactly where you put it and cannot float into the baby’s face.
Cost / Time / Difficulty: $8 to $15 | 30 minutes | Easy

3. A Big ONE Banner Across the Back
A ONE banner says what the day is about and reads beautifully even in a quick phone photo. I cut chunky letters from thick gold card, each about 12 centimetres tall, and strung them on twine tied to the chair’s back posts.
I have used the same banner three times, and big bold letters read clearly from across the room, while small ones disappear in photos.
The downside is droop. My first banner sagged because the twine was too long, so now I measure it to the chair back’s exact width, pull it taut, and tape the ends behind the posts.
Pro Tip: Make letters at least 12 centimetres tall and use thick card, so the banner reads clearly in photos taken from a distance.
Cost / Time / Difficulty: $4 to $10 | 25 minutes | Easy

4. The Classic Decorated Chair, Done Simply
Sometimes the best chair is a plain white chair with just a bow, a banner, and a clean tray. I tied one large satin bow to the top of the chair back, added a small felt ONE sign, and left everything else bare.
This was the chair at my own daughter’s first birthday, and it is still my favourite photo of the day, because nothing distracted from her delighted, cake-covered face.
Simple can feel plain in a big decorated room, so this works best when the backdrop behind the chair already carries the theme; if the room is bare, add balloons behind the chair, not on it.
Pro Tip: If in doubt, decorate less. One bow and one banner beat a chair covered in competing colours and textures.
Cost / Time / Difficulty: $3 to $8 | 10 minutes | Easy
5. Smash-Cake-Ready Tray Styling
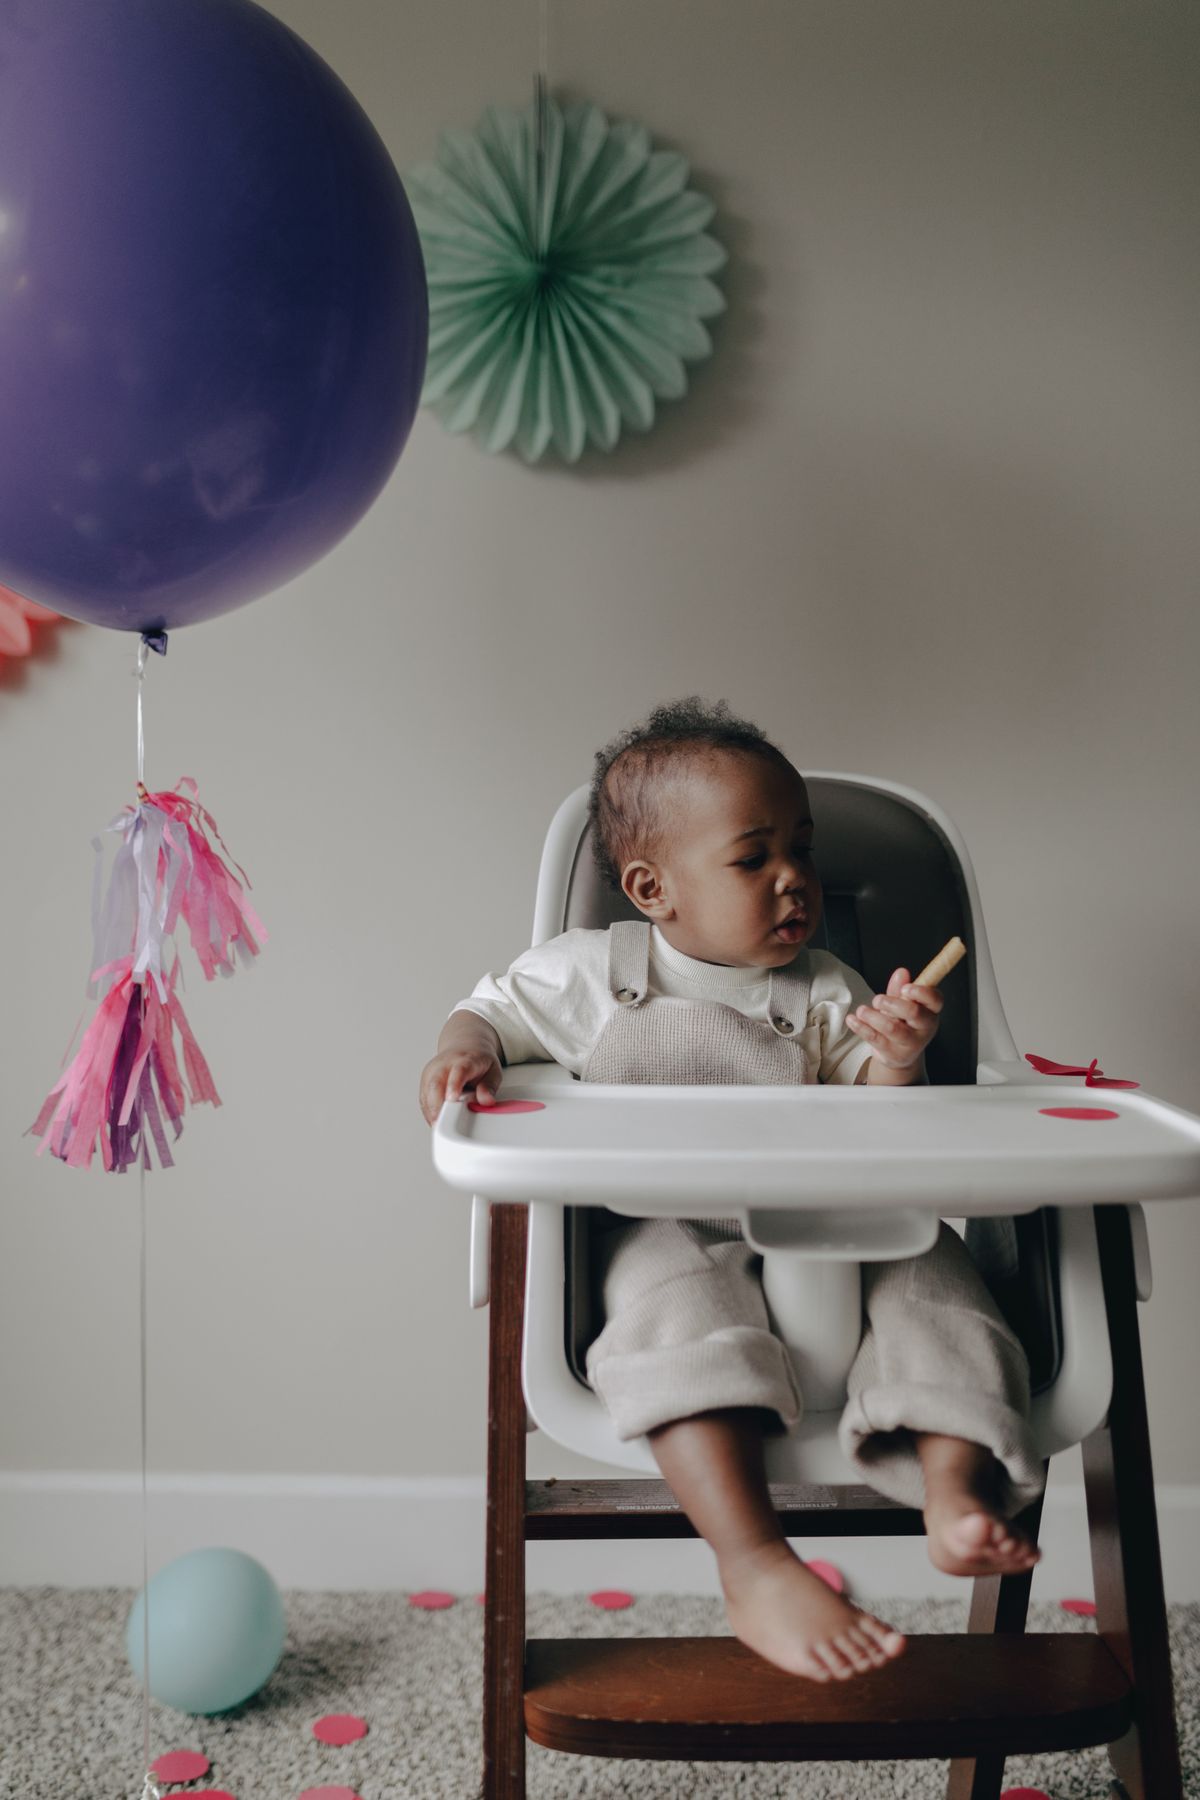
The tray is where the mess happens, so I style around it rather than on it. I place a washable tray liner in the party colour under the smash cake, and keep the cake small, about 15 centimetres across, so it sits safely mid-tray.
At my nephew’s party, the coral liner made the white cake pop in photos, and afterwards I simply lifted it away and the tray underneath was clean.
The downside is sliding. A loose liner can bunch up under a cake, so I tape its corners down on the underside of the tray, away from the baby’s hands, and never put anything decorative on the tray itself.
Pro Tip: Use a washable tray liner in one bold party colour, and tape its underside corners down so it cannot bunch or slide.
Cost / Time / Difficulty: $2 to $6 | 5 minutes | Easy

6. Fresh Flower Chair, Done Safely
Fresh flowers make a high chair look expensive, but only if you place them where the baby cannot eat them. I wired three small bunches of silk-look roses and eucalyptus to the top corners of the chair back with florist wire twisted behind the posts.
I used faux flowers for my sister’s party after a real rose petal ended up in her baby’s mouth at a rehearsal, and nobody could tell the difference in photos.
The downside is weight. A heavy bunch can tip a light chair backwards, so I keep each bunch under 100 grams, balance one on each side, and test stability by pressing gently on the back first.
Pro Tip: Use faux flowers wired tightly behind the chair posts, never real flowers within reach, and keep each bunch light and balanced.
Cost / Time / Difficulty: $10 to $20 | 30 minutes | Easy

7. Rustic Woodland Chair
A woodland chair suits a first birthday with browns, creams, and soft greens. I wrapped burlap around the chair back, added a felt fox and mushroom sewn flat onto the fabric, and finished with faux fern behind one post.
I made this one for an autumn party, and the burlap hid a very scratched old wooden chair completely; guests kept asking where I had bought it.
The downside is texture. Burlap sheds fibres, and I found loose threads on the tray afterwards, so I now back it with cotton and trim every loose thread beforehand.
Pro Tip: Back burlap with cotton fabric and trim all loose threads, so no fibres end up on the tray or near the baby’s hands.
Cost / Time / Difficulty: $8 to $18 | 40 minutes | Moderate

8. Rainbow Bright Chair
A rainbow chair is pure joy, and it photographs well even in a dim room. I tied felt strips in rainbow order across the chair back, each about 5 centimetres wide, with a white cloud cutout at each top corner.
My neighbour’s rainbow chair was the hit of her twins’ party, because the bright colours drew the eye straight to the babies in every photo.
The downside is colour chaos if you add anything else. Rainbow plus patterned balloons plus a busy backdrop becomes visual noise, so I keep the rest of the chair plain.
Pro Tip: Use felt, not paper, for rainbow strips, because felt does not tear when it gets damp from cake or sticky hands nearby.
Cost / Time / Difficulty: $6 to $14 | 35 minutes | Easy

9. Boho Neutral Chair
A boho chair uses cream, beige, and dried grasses for a calm, grown-up look that still feels celebratory. I draped a cream muslin swag across the chair back, wired two small pampas stems behind the posts, and tied a large-bead wooden garland along the top rail.
I set this up for a friend who dislikes bright party colours, and the photos looked like a magazine shoot.
The downside is pampas shedding. The feathery plumes dropped tiny fibres, so I sprayed them with hairspray the day before and kept them high behind the chair.
Pro Tip: Spray pampas stems with hairspray a day ahead to reduce shedding, and wire them behind the chair, never in front.
Cost / Time / Difficulty: $12 to $22 | 30 minutes | Easy

Also read: First Birthday Photo Ideas
10. Dusty Blue Chair for a Little Boy
Dusty blue, navy, and cream make a calm boy’s chair that does not rely on cartoon characters. I used a navy tulle skirt, a cream ONE banner, and one dusty-blue balloon cluster tied high behind the chair.
At my cousin’s son’s party, the blue tones matched his little outfit, and the chair stood out against a white wall.
The downside is that dark tulle shows cake splashes badly. Blueberry cake stained the skirt permanently, so I now keep it short, ending well above tray height.
Pro Tip: Keep a dark tulle skirt short and above tray height, so cake splashes land on the wipe-clean tray, not on the fabric.
Cost / Time / Difficulty: $6 to $14 | 25 minutes | Easy

11. Pink Princess Chair
A pink princess chair is the one most little girls’ parties ask for, and it is easy to overdo. I used a blush tulle skirt, a gold crown cutout wired flat to the chair back, and two soft pink pom-poms, each larger than a tennis ball, at the top corners.
My niece’s princess chair photographed beautifully, and because the crown was wired flat, she could not grab it.
The downside is glitter. My first crown shed gold glitter onto the cake, so I now use matte gold card with no loose glitter at all.
Pro Tip: Use matte gold card for crowns and signs, never loose glitter, which can end up on the cake and near the baby’s mouth.
Cost / Time / Difficulty: $8 to $16 | 30 minutes | Easy

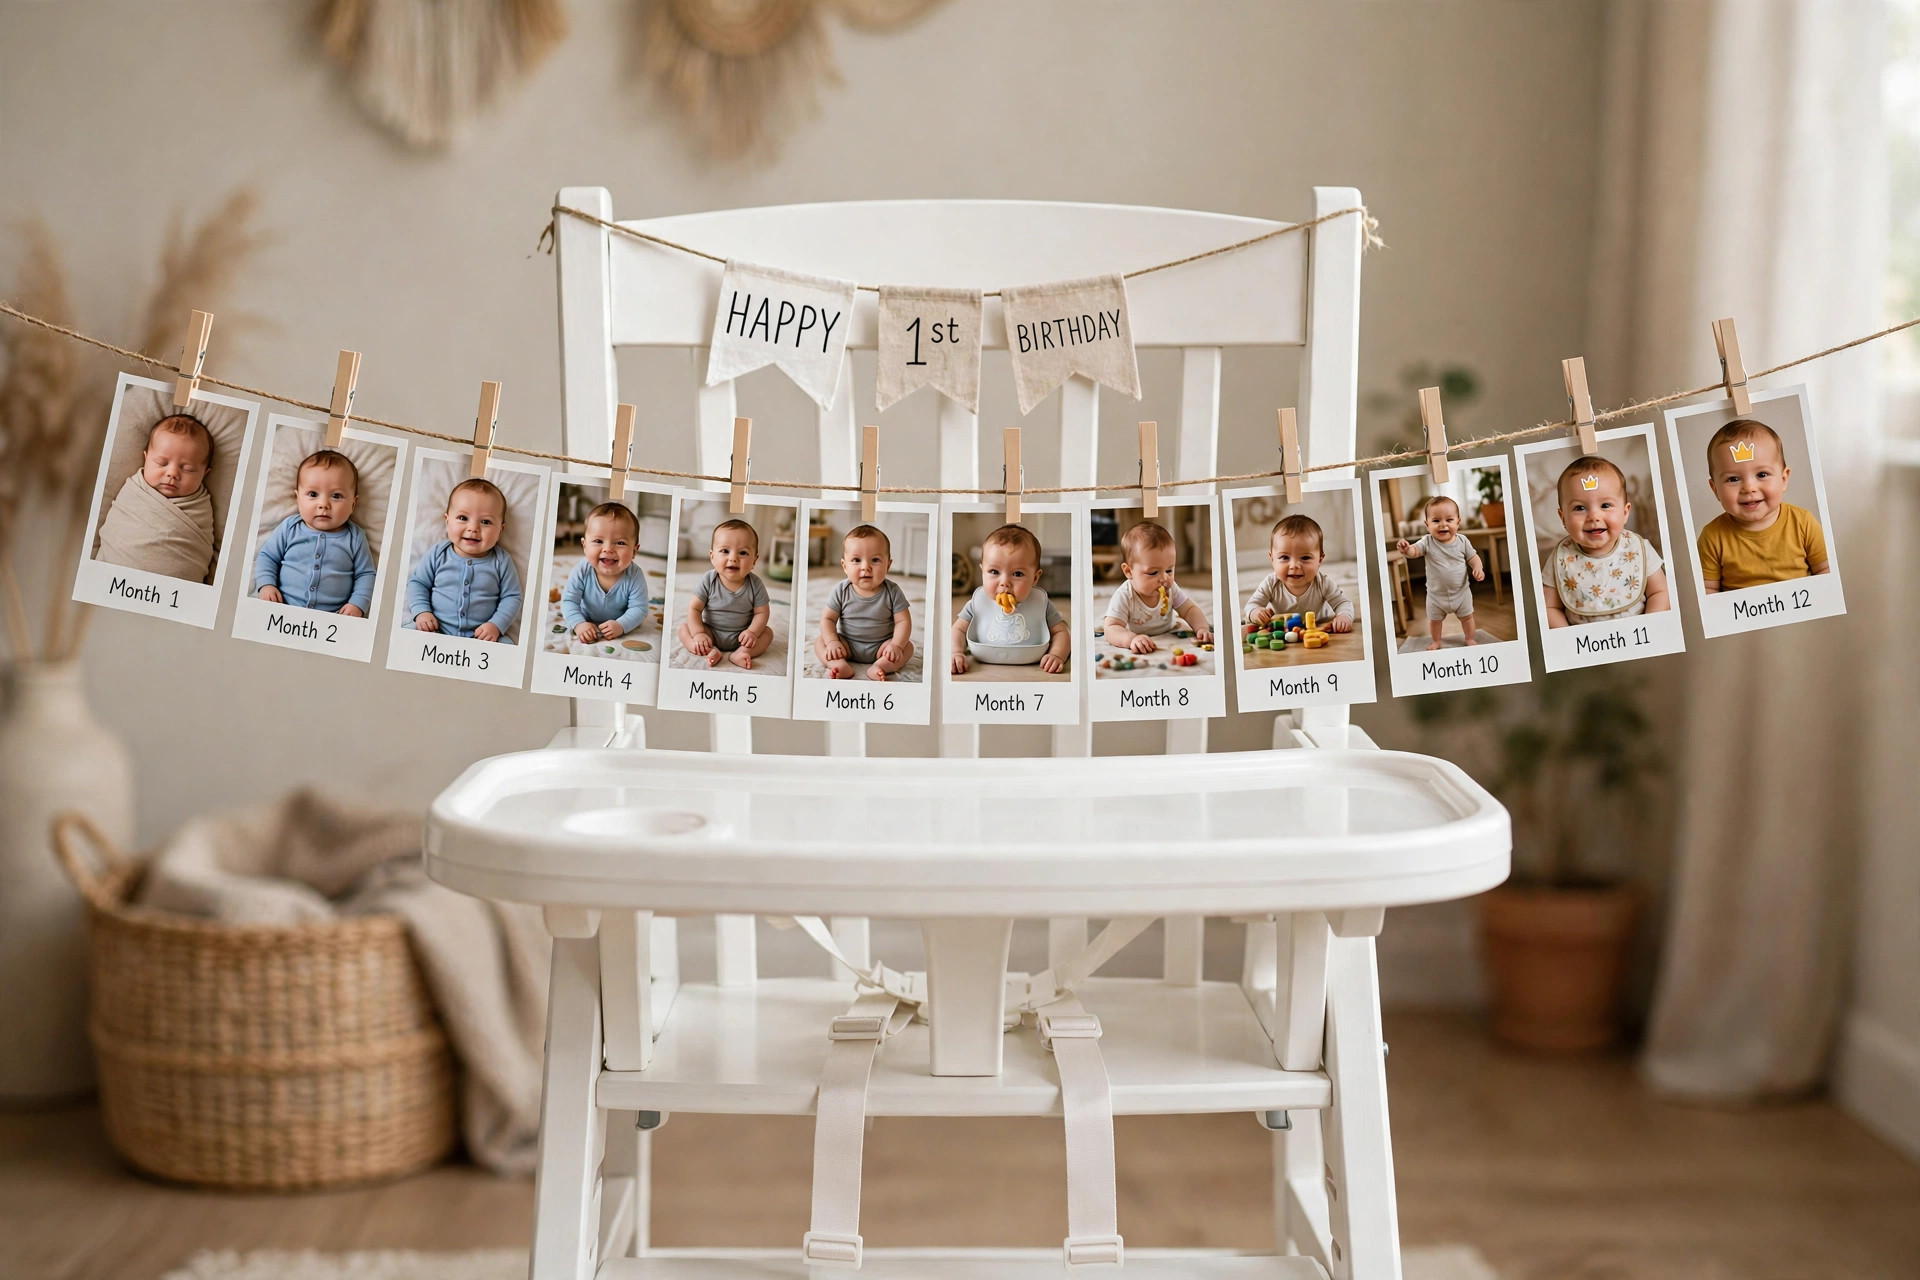
12. Monthly Photo Banner on the Chair Back
A photo banner tells the baby’s first year in twelve tiny pictures, and guests love studying it. I printed twelve photos, one per month, at about 7 by 9 centimetres each, clipped them to a ribbon in age order, and hung it across the chair back, above head height.
At a family party, grandparents spent ages pointing at each month, which made the chair a conversation piece before the cake arrived.
The downside is weight and droop. Twelve photos plus clips pulled my first ribbon into a smile shape, so I now use two short ribbons of six photos each, tied separately to the posts.
Pro Tip: Split a twelve-photo banner into two six-photo ribbons, so the weight stays balanced and the banner does not sag.
Cost / Time / Difficulty: $5 to $12 | 45 minutes | Moderate
13. Confetti Pop Chair
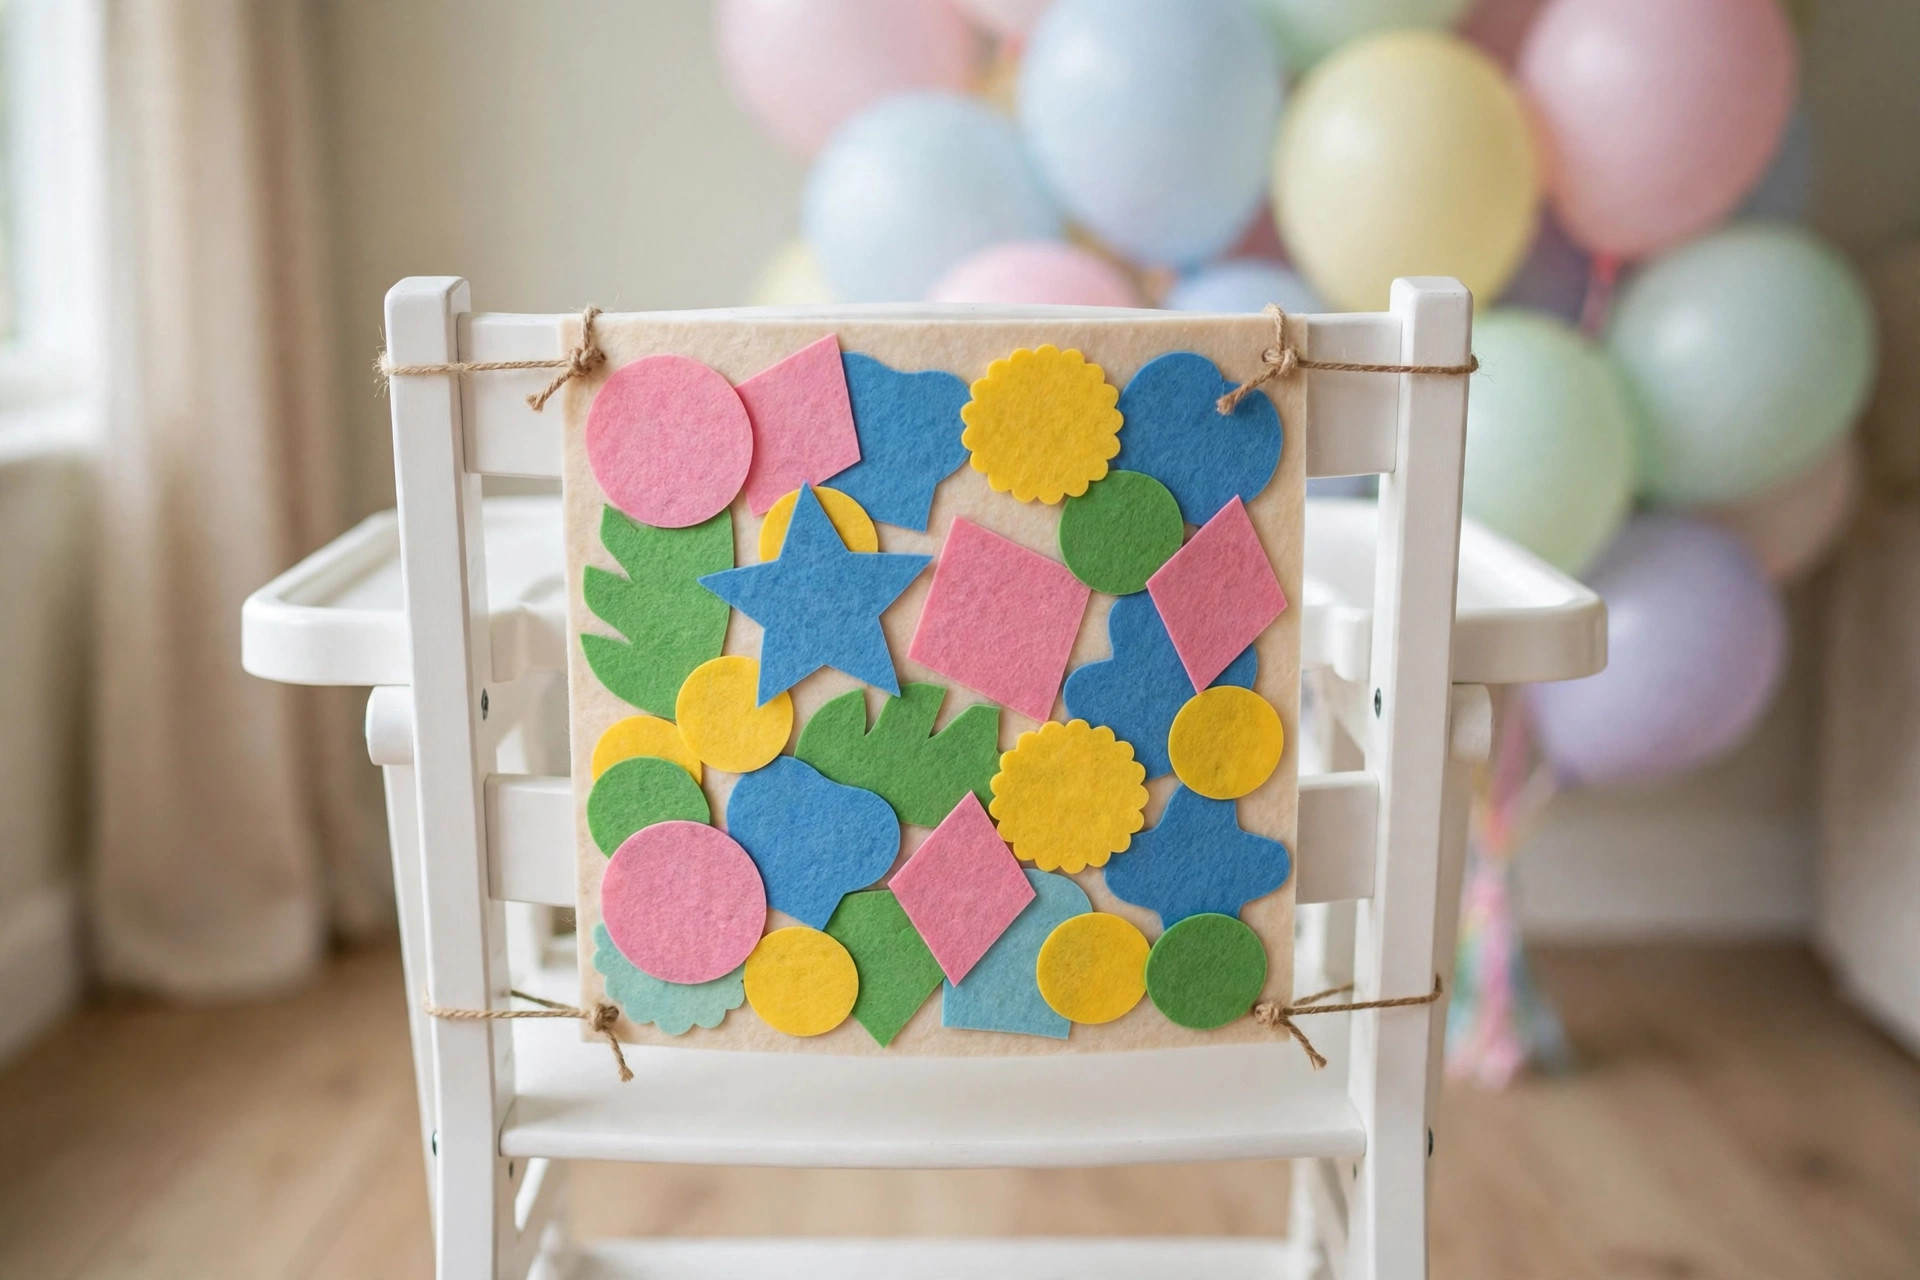
Confetti colours, without loose confetti near the baby, give a party feel with very little effort. I cut large confetti shapes, about 4 centimetres across, from bright card, and glued them flat onto a felt panel tied to the chair back.
I tried this for a last-minute party when I had no time to shop, and the flat panel looked festive in photos with zero mess on the floor.
Flat confetti can look plain up close, so this idea needs a colourful backdrop or balloons behind the chair; on its own against a white wall, it underwhelmed me.
Pro Tip: Glue confetti shapes flat onto a felt panel tied behind the chair, and never scatter loose confetti near a high chair.
Cost / Time / Difficulty: $3 to $8 | 20 minutes | Easy
14. Dessert-Table Style Chair
Matching the chair to the dessert table ties the whole party together. I picked the two main colours from the cake, sage green and cream, and used only those for the chair skirt, banner, and bow.
At a party I styled last spring, guests photographed the chair and the cake table together as one scene, which made the whole party look professionally planned.
The downside is rigidity. If the cake colours change at the last minute, the chair no longer matches, so I confirm them the week before and keep a spare white bow handy.
Pro Tip: Repeat exactly two colours from the cake on the chair, and keep a spare white bow for a last-minute colour change.
Cost / Time / Difficulty: $5 to $12 | 20 minutes | Easy

15. White and Gold Elegant Chair
White and gold suits a formal first birthday and photographs well in both daylight and evening light. I used a white chair cover, a gold satin bow at the top of the chair back, and a single gold ONE sign in thick card.
I styled this chair for an evening party in a hired hall, and the gold caught the light beautifully; the white cover also hid a borrowed chair that matched nothing else.
The downside is staining. White covers and cake do not mix, so I removed the cover from the tray area and kept the bow high on the chair back.
Pro Tip: Keep white fabric above tray height and remove any cover from the tray area, so cake stays off the fabric.
Cost / Time / Difficulty: $10 to $20 | 25 minutes | Easy

16. Garden Party Chair
A garden chair brings the outdoors to the birthday table, even when the party is inside. I tied a sage-green ribbon swag across the chair back, wired faux ivy behind the posts, and placed a small potted succulent on the floor beside the chair.
For a summer garden party, this chair blended into the setting so naturally that photos looked effortless.
Real ivy drops leaves near a baby’s mouth, so I use faux ivy only, wired tightly behind the chair.
Pro Tip: Use faux greenery wired behind the chair posts, and keep any potted plant on the floor beside the chair, never on it.
Cost / Time / Difficulty: $8 to $18 | 30 minutes | Easy

17. Keep-It-Simple Chair with a Special Bib
The simplest safe chair is a clean high chair plus one special birthday bib. I bought a plain white bib, ironed on a large number one in the party colour, and let that be the only decoration, with balloons on the floor behind the chair.
This was my fallback at a party where the baby arrived early and I had no time to decorate, and it worked brilliantly: the bib showed in every photo.
It can feel too plain if guests expect a big display, so I pair it with a decorated backdrop behind the chair.
Pro Tip: When time is short, decorate the backdrop behind the chair and keep the chair itself to one special bib.
Cost / Time / Difficulty: $3 to $8 | 10 minutes | Easy
18. Personalised Name Chair
A name on the chair makes the day feel made just for that baby. I cut large wooden-style letters spelling the baby’s name, each about 10 centimetres tall, and wired them flat across the chair back, with a star cutout at each end.
At a friend’s daughter’s party, the name chair became the backdrop for every family photo, and the letters now hang in the baby’s bedroom. Wiring them flat meant no dangling strings.
The downside is spelling and safety in equal measure. I double-checked the spelling against the birth announcement, and used thick letters with no small parts.
Pro Tip: Wire name letters flat to the chair back, double-check the spelling before fixing them, and use large letters with no small detachable parts.
Cost / Time / Difficulty: $10 to $20 | 40 minutes | Moderate

First Birthday High Chair Decor Ideas at a Glance
| Idea | Best for | Cost | Effort |
|---|---|---|---|
| Tulle tutu skirt | Classic pink parties | $5 to $12 | Easy |
| Pastel balloon garland | Big photo impact | $8 to $15 | Easy |
| ONE banner | Clear milestone photos | $4 to $10 | Easy |
| Classic simple chair | Babies who grab everything | $3 to $8 | Easy |
| Smash-cake tray styling | Messy cake smashes | $2 to $6 | Easy |
| Fresh flower chair | Elegant parties | $10 to $20 | Easy |
| Rustic woodland chair | Autumn parties | $8 to $18 | Moderate |
| Rainbow bright chair | Colourful rooms | $6 to $14 | Easy |
| Boho neutral chair | Calm, grown-up styling | $12 to $22 | Easy |
| Dusty blue chair | Boys’ parties | $6 to $14 | Easy |
| Pink princess chair | Princess themes | $8 to $16 | Easy |
| Monthly photo banner | Family gatherings | $5 to $12 | Moderate |
| Confetti pop chair | Last-minute parties | $3 to $8 | Easy |
| Dessert-table style chair | Matching the cake | $5 to $12 | Easy |
| White and gold chair | Formal parties | $10 to $20 | Easy |
| Garden party chair | Outdoor parties | $8 to $18 | Easy |
| Simple chair and bib | Short on time | $3 to $8 | Easy |
| Personalised name chair | A keepsake afterwards | $10 to $20 | Moderate |
Mistakes I Made (So You Don’t Have To)
I hung decorations where the baby could reach them: at my first attempt, ribbons tied across the front were in the baby’s mouth within seconds. Now everything goes on the back and sides.
Loose glitter and small beads caused trouble: a glitter crown shed all over the cake, and a beaded garland lost a bead on the tray. Now I use only matte card, felt, and large fixed decorations.
I forgot to test stability: a top-heavy flower bunch made a light chair rock backwards. Now I press, pull, and tug every decoration before the baby sits down.
Decorating on party morning meant crooked banners and a skirt tied in a panic. Now I decorate the night before and photograph the empty chair.
Read this next: First Birthday Smash Cake Ideas
Frequently Asked Questions
How do I keep high chair decorations safe for a one-year-old?
Keep decorations on the back and sides, out of reach, using large fixed items with no small parts. Avoid glitter, beads, buttons, and long strings, and tug-test every piece.
When should I decorate the high chair?
Decorate the night before, photograph the empty chair, and do a final safety check on party morning. Balloons are the exception, so inflate those on the day.
What if my baby pulls everything off?
Choose the simple chair and special bib idea, or a chair with only a flat banner wired to the back. A safe plain chair with a decorated backdrop photographs just as well.
How long did yours actually last?
My tulle skirt and felt banner lasted through a two-hour party and a full cake smash; balloons drooped after about three hours indoors.
Final Thoughts
A first birthday high chair does not need to be expensive to look wonderful. Pick one idea that matches your party colours, keep decorations out of reach, and test stability first.
These ideas share one rule: the baby is the star, the chair is just the frame.


One Comment