18 Pantry Organization Ideas for Small Kitchens That Actually Stay Tidy
Introduction
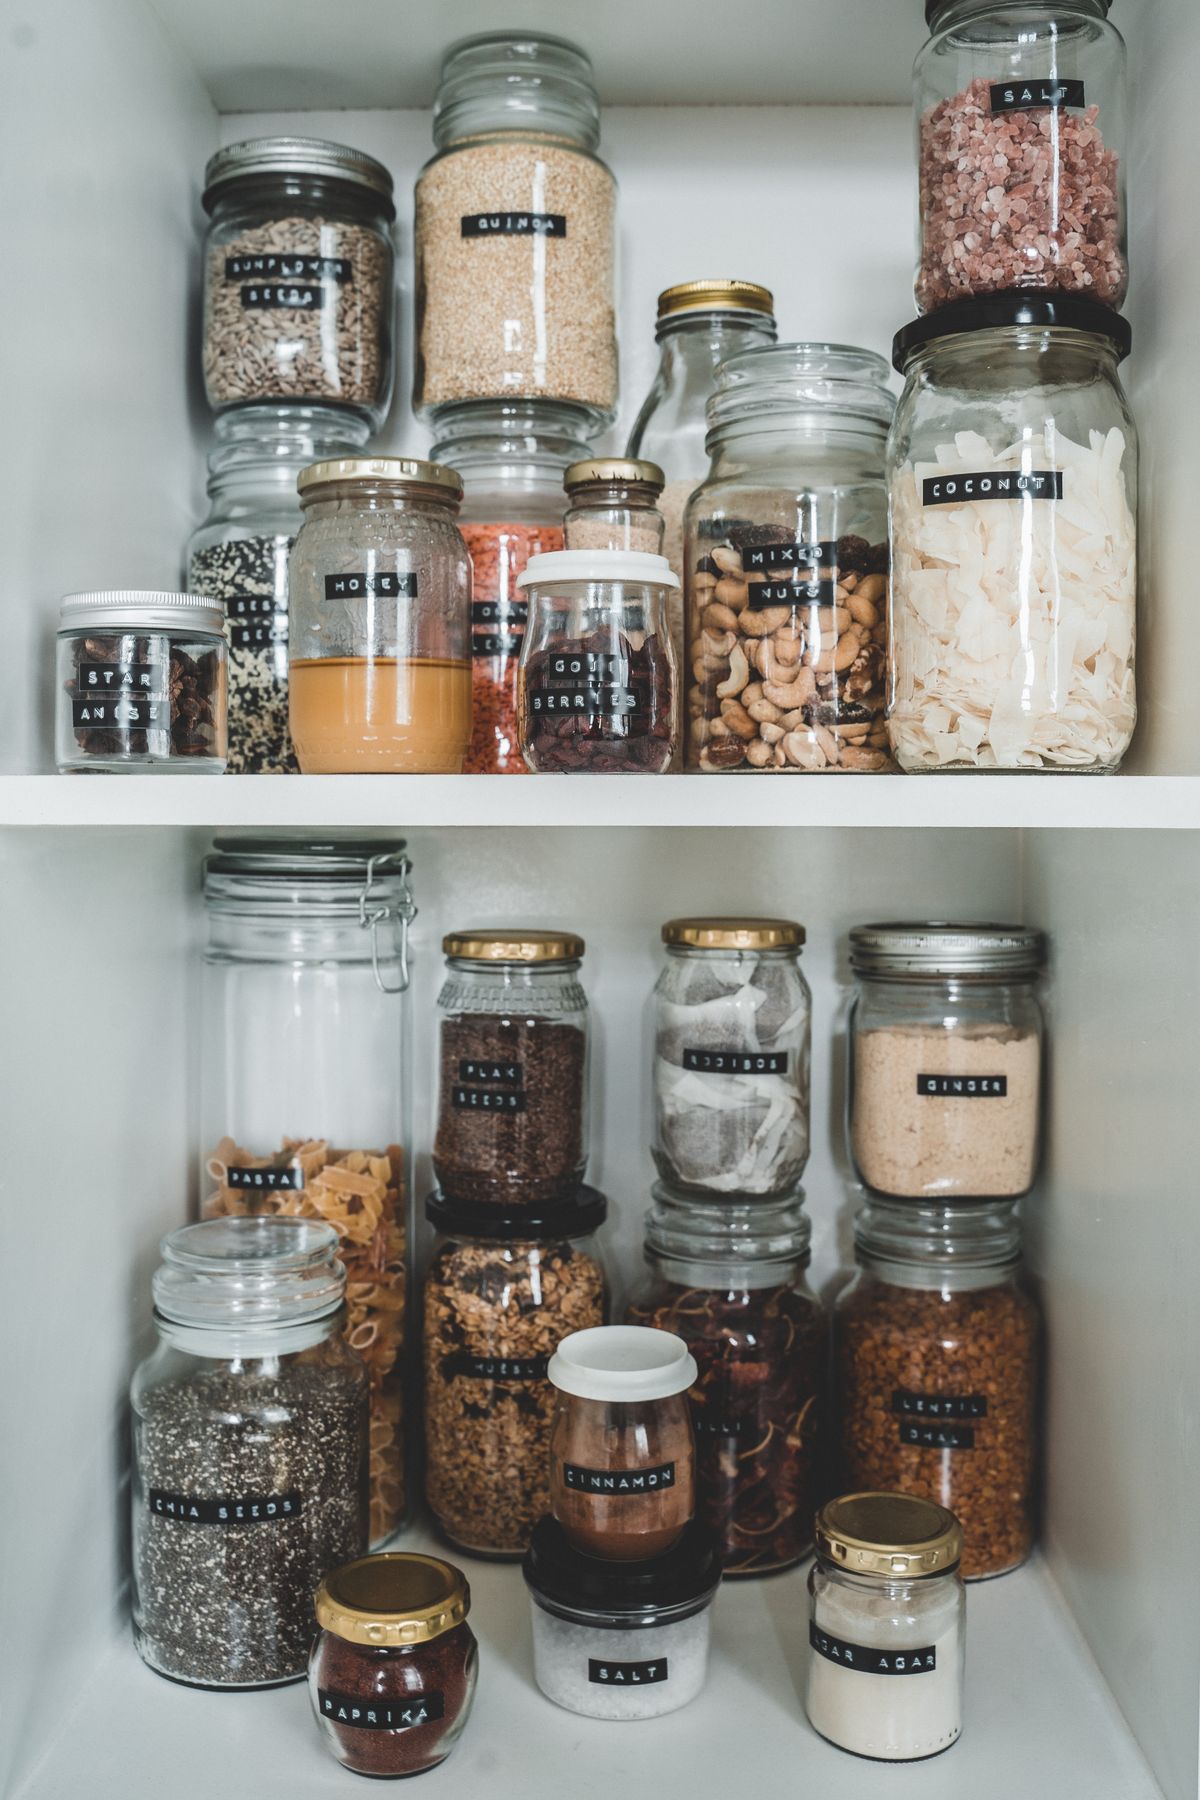
My pantry is a single cupboard, 60 cm wide and 180 cm tall, in a small kitchen with no spare room. These pantry organization ideas are the ones I tested there over two years, keeping only systems that survived daily cooking, a weekly shop, and two people reaching in at the same time.
How I picked these: I kept only ideas that used the space I actually have, that I could set up in under an hour, that cost under $30 unless I say otherwise, and that were still tidy a month later. I skipped pretty baskets that hid everything, systems that needed a bigger pantry, and anything that fell over when I pulled one thing out.
Key Takeaways
- Zone first, buy bins second, or you will buy the wrong size bins for the wrong things.
- Clear containers beat pretty opaque ones, because you can see what is running low.
- Put daily things at eye level and heavy things low, not the other way round.
- Label everything, even if you think you will remember, because in a month you will not.
18 Pantry Organization Ideas
1. Zone the Pantry by How You Cook
I divided my pantry into four zones: breakfast at the top, cooking in the middle, baking below that, and snacks at the bottom where kids can reach. I used a shelf each, roughly, and I put a small label on the shelf edge. Cooking got faster immediately, because I stopped hunting across three shelves for one meal, and I stopped buying duplicates.
The downside is that zones shift as seasons change, so I re-label every three months, which takes ten minutes.
Pro Tip: Put the zone you use most at eye level, not the zone that looks prettiest.
Cost: $0-$5 for labels | Time: 30 minutes | Difficulty: Easy
2. Clear Bins for Each Zone
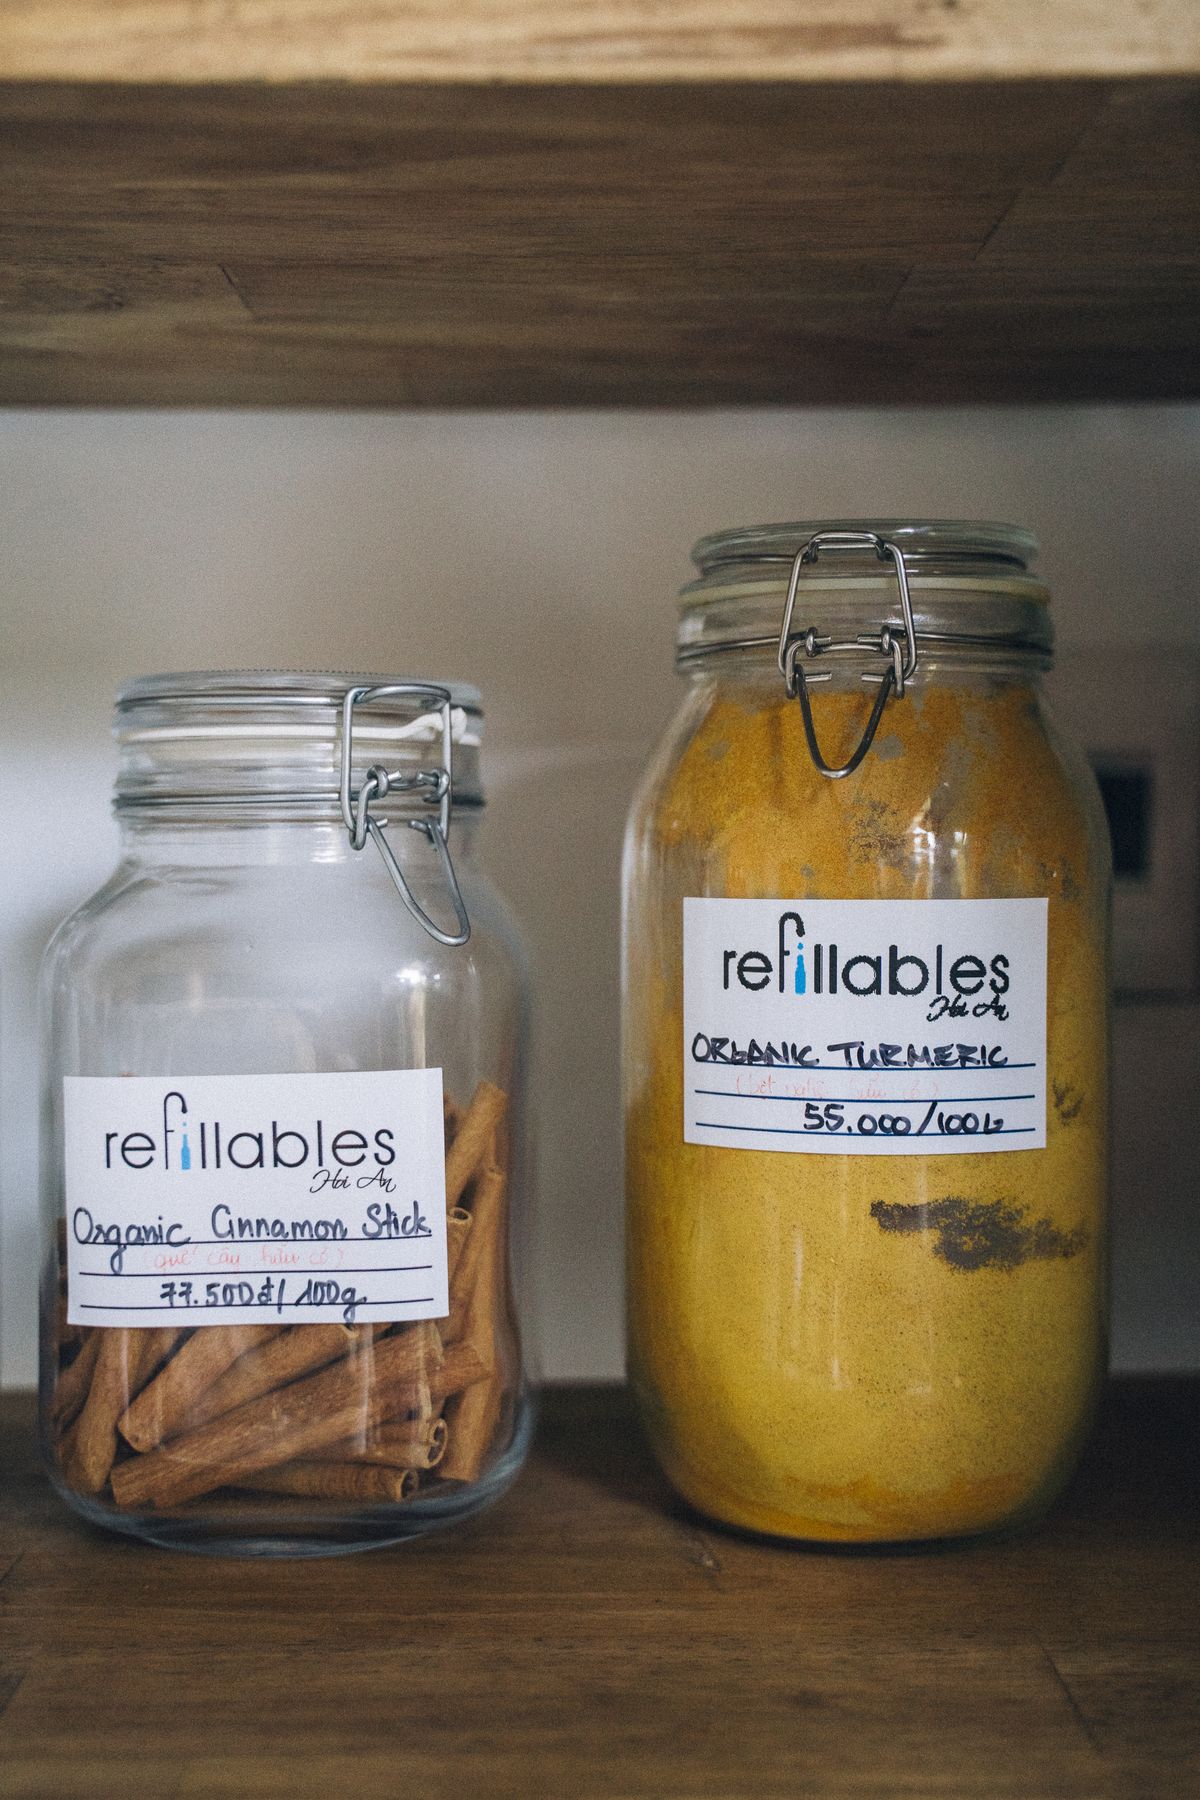
I bought four clear plastic bins, about 25 cm by 15 cm, one per zone, and put loose packets inside them. I can pull a whole bin out, find what I need, and slide it back, without knocking three packets over. The bins are light, washable, and I can see through them, which is why they beat the pretty baskets I tried first.
The downside is that bins waste a little space at the sides, so I measure the shelf before buying, not after.
Pro Tip: Buy bins with handles, you will pull them out ten times a day and handles save your nails.
Cost: $12-$20 for four | Time: 20 minutes | Difficulty: Easy

3. Matching Jars for Flour, Sugar, and Rice
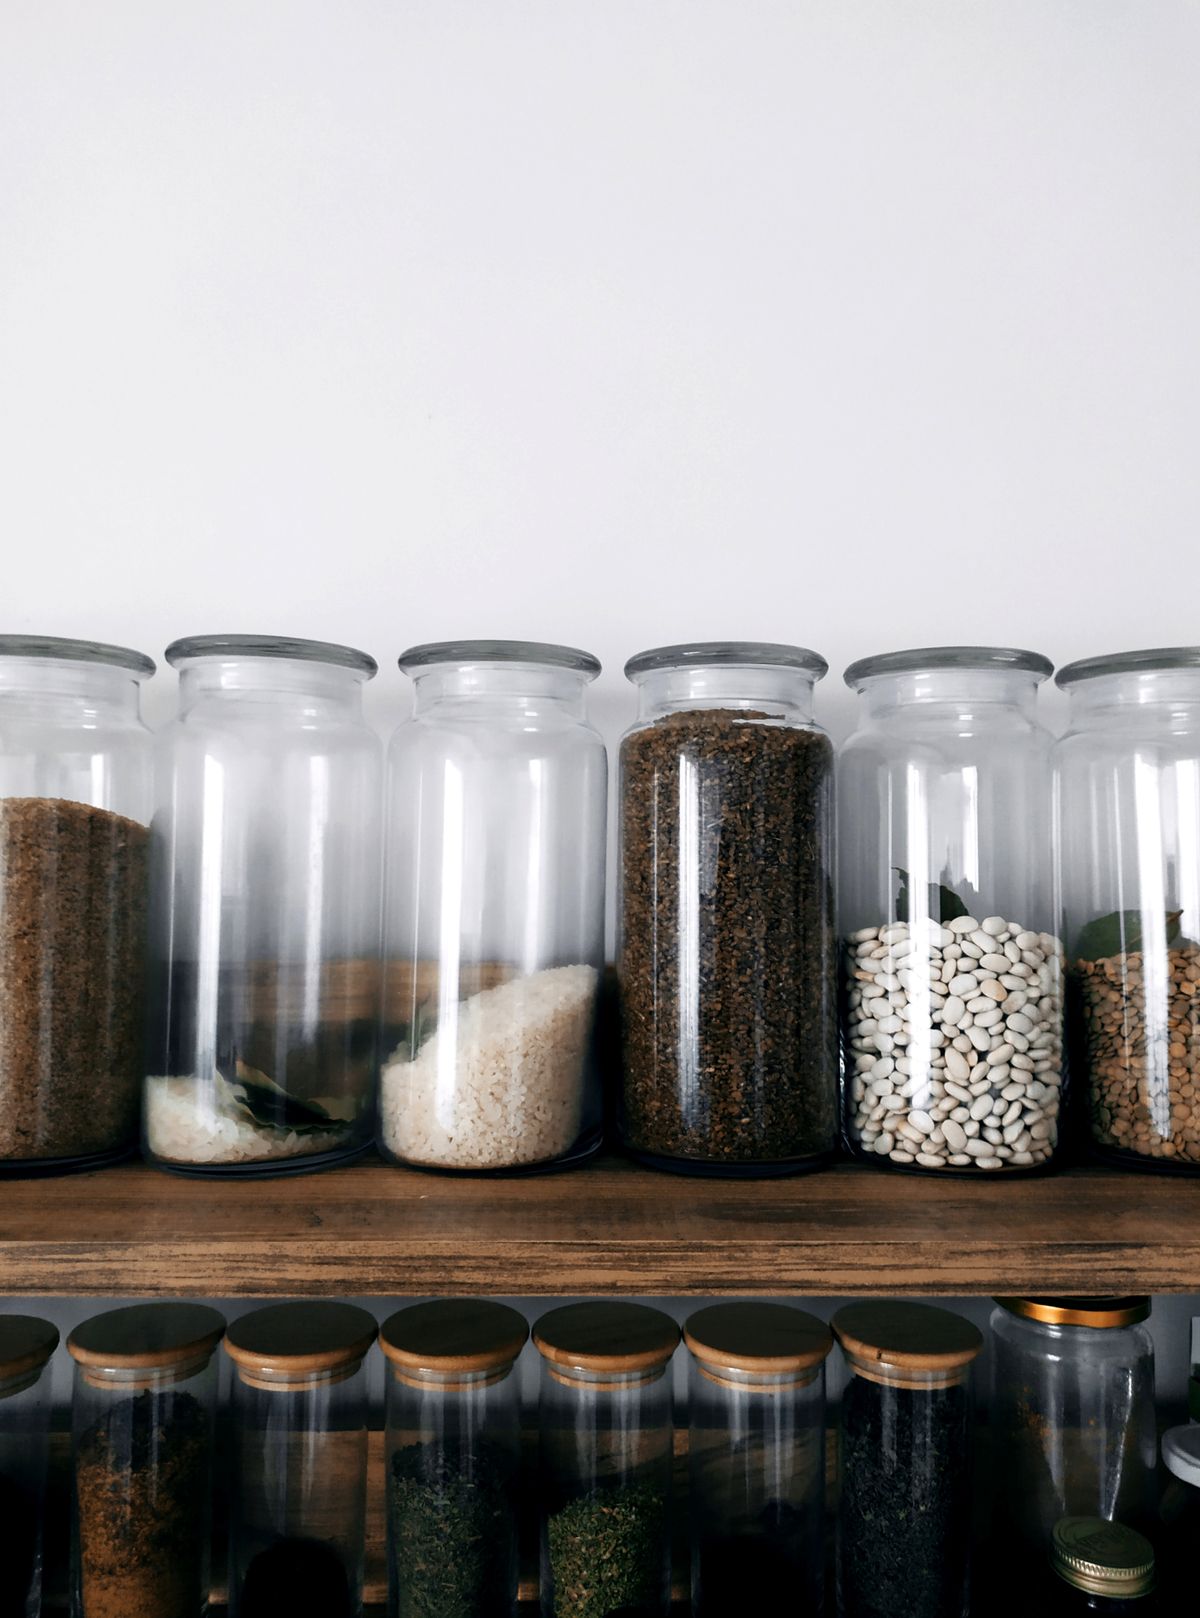
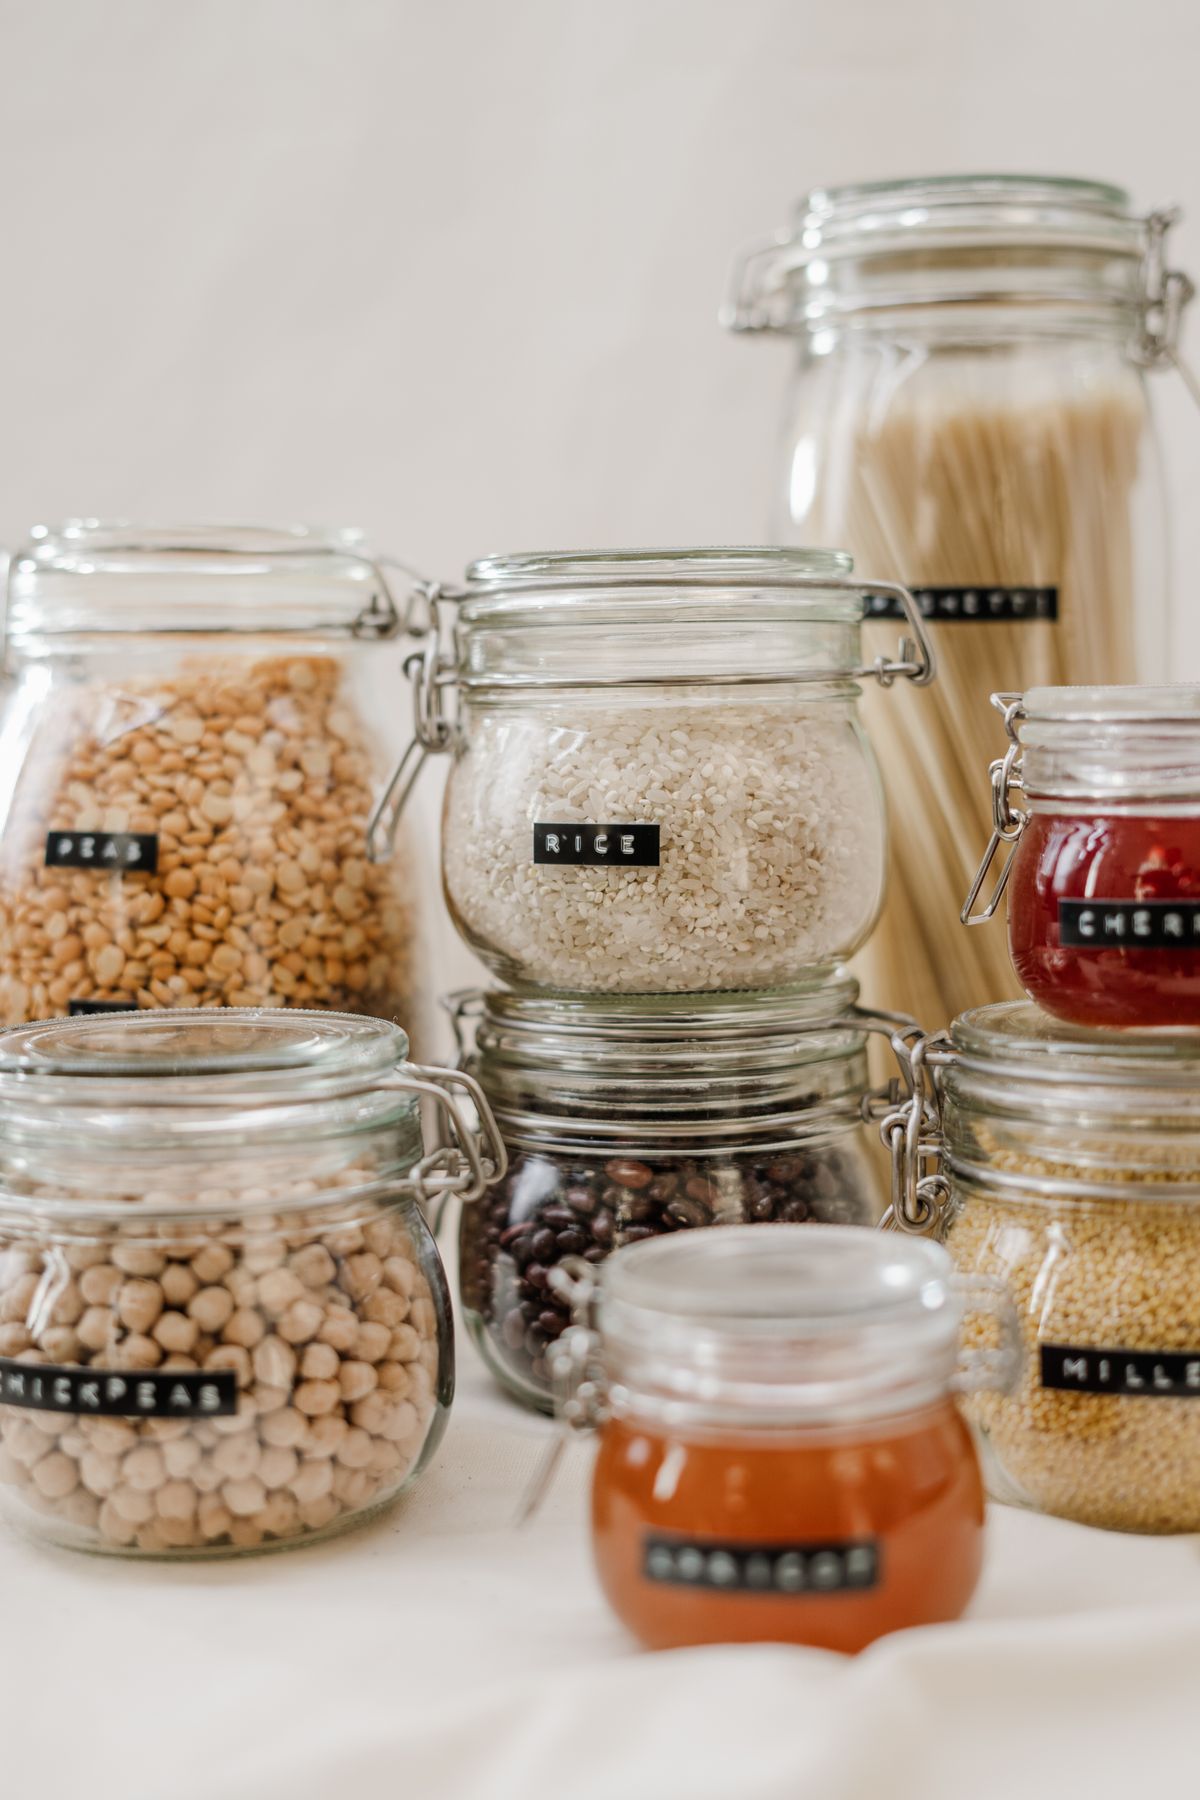
I decanted flour, sugar, and rice into three large clear jars with tight lids, about 2 litres each, and labelled them. They stack neatly, they do not spill, and I can see at a glance when rice is low. I kept the original bags’ cooking times taped inside the cupboard door, because jars do not tell you how long to cook rice.
The downside is that decanting takes time and makes a mess the first time, so I do it over the sink, not over the pantry.
Pro Tip: Buy jars with wide mouths, narrow mouths spill flour everywhere when you scoop.
Cost: $15-$25 for three | Time: 30 minutes | Difficulty: Easy

4. A Door Rack for Small Bottles
I hung a wire rack on the inside of the pantry door, with three shallow shelves, for sauces, oils, and small bottles. It uses dead space, it frees a whole shelf, and I can see every bottle without moving others. I fixed it with the hooks provided, no screws, and it has held for a year without falling.
The downside is that a door rack adds weight to the door, so I check the hinges every few months and I do not put heavy jars on it.
Pro Tip: Put only bottles under 500 ml on a door rack, heavy jars belong on a shelf, low down.
Cost: $12-$20 | Time: 15 minutes | Difficulty: Easy
5. A Lazy Susan for Oils and Vinegars
I put a 25 cm lazy Susan turntable on the middle shelf for oils, vinegars, and sauces. I spin it, I grab what I need, and I spin it back, without reaching past three bottles. It is the single change that stopped me knocking bottles over, and it cost less than a takeaway.
The downside is that a turntable wastes the corners of a square shelf, so I use it only on a wide shelf, not a narrow one.
Pro Tip: Put the turntable on a non-slip mat, or it will slide when you spin it fast.
Cost: $8-$12 | Time: 5 minutes | Difficulty: Easy

6. Shelf Risers for Cans
I added a small metal shelf riser, about 25 cm wide, on the can shelf, so cans sit in two rows, back row raised. I can see every can without moving the front row, and I stopped buying a third tin of tomatoes when I already had two. I bought a riser that fits my shelf exactly, after measuring, because a riser that is too wide will not fit and a riser that is too narrow wastes space.
The downside is that risers can wobble if overloaded, so I put light cans on top and heavy cans below.
Pro Tip: Put new cans at the back and old cans at the front, you will use the oldest first without thinking.
Cost: $10-$15 | Time: 10 minutes | Difficulty: Easy

7. A Snack Bin Kids Can Reach, and Only That Bin
I gave the kids one bin, at the bottom shelf, with their snacks in it, and I told them that bin is theirs and the rest is not. It stopped them pulling everything out looking for crisps, and it taught them to put things back, mostly. I refill the bin on shopping day, not every day, or it becomes a chore.
The downside is that the snack bin empties fast, so I buy snacks in bulk and portion them once a week, not daily.
Pro Tip: Put a small label on the snack bin with a smiley face, kids respect a bin that looks like theirs.
Cost: $3-$6 for one bin | Time: 10 minutes | Difficulty: Easy
8. A Baking Zone in One Box
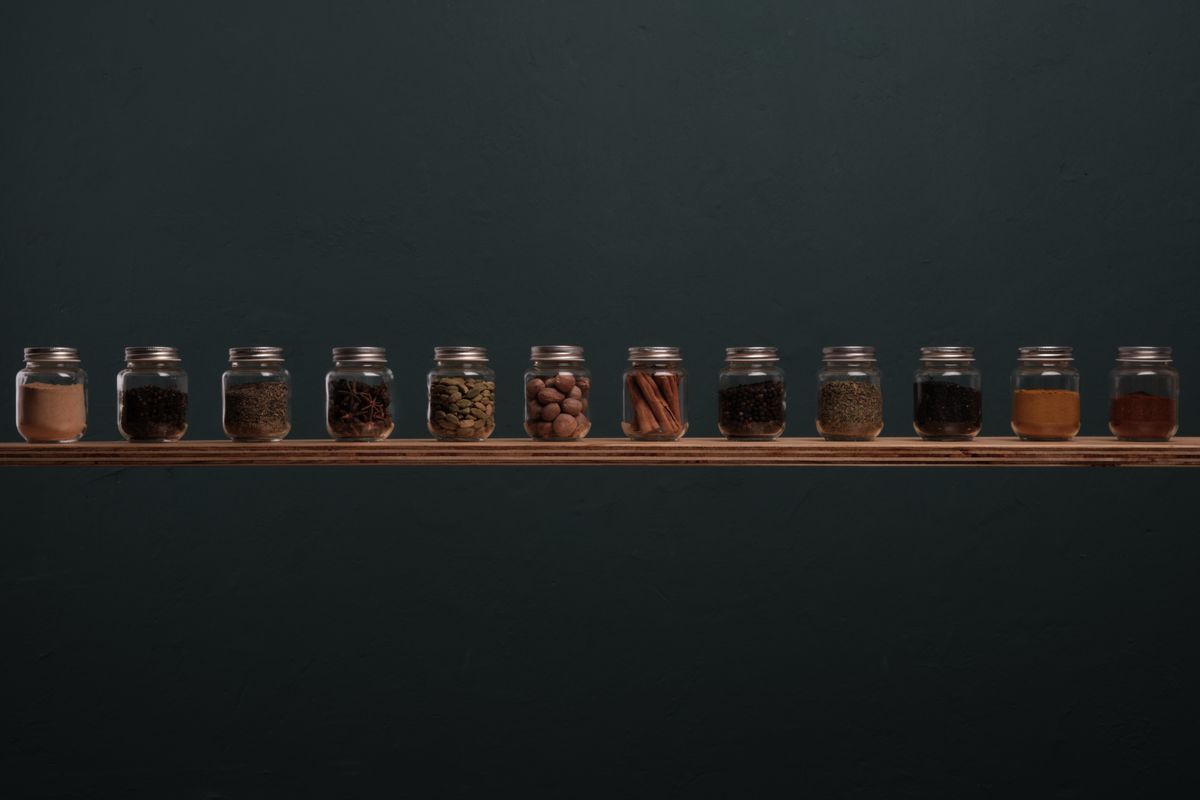
I put all my baking things, flour, sugar, baking powder, vanilla, and cake tins, in one large box I can lift out when I bake. I bake once a week, so lifting one box beats opening five cupboards, and I put it back in one move. The box is clear, so I can see if flour is low before I start a cake, which has saved me twice.
The downside is that a baking box is heavy, so I keep it on a low shelf, not a high one, and I lift with both hands.
Pro Tip: Put a small notebook in the baking box with your three favourite recipes, you will bake more often.
Cost: $5-$10 for one box | Time: 15 minutes | Difficulty: Easy
9. Labels on Everything, Even the Obvious
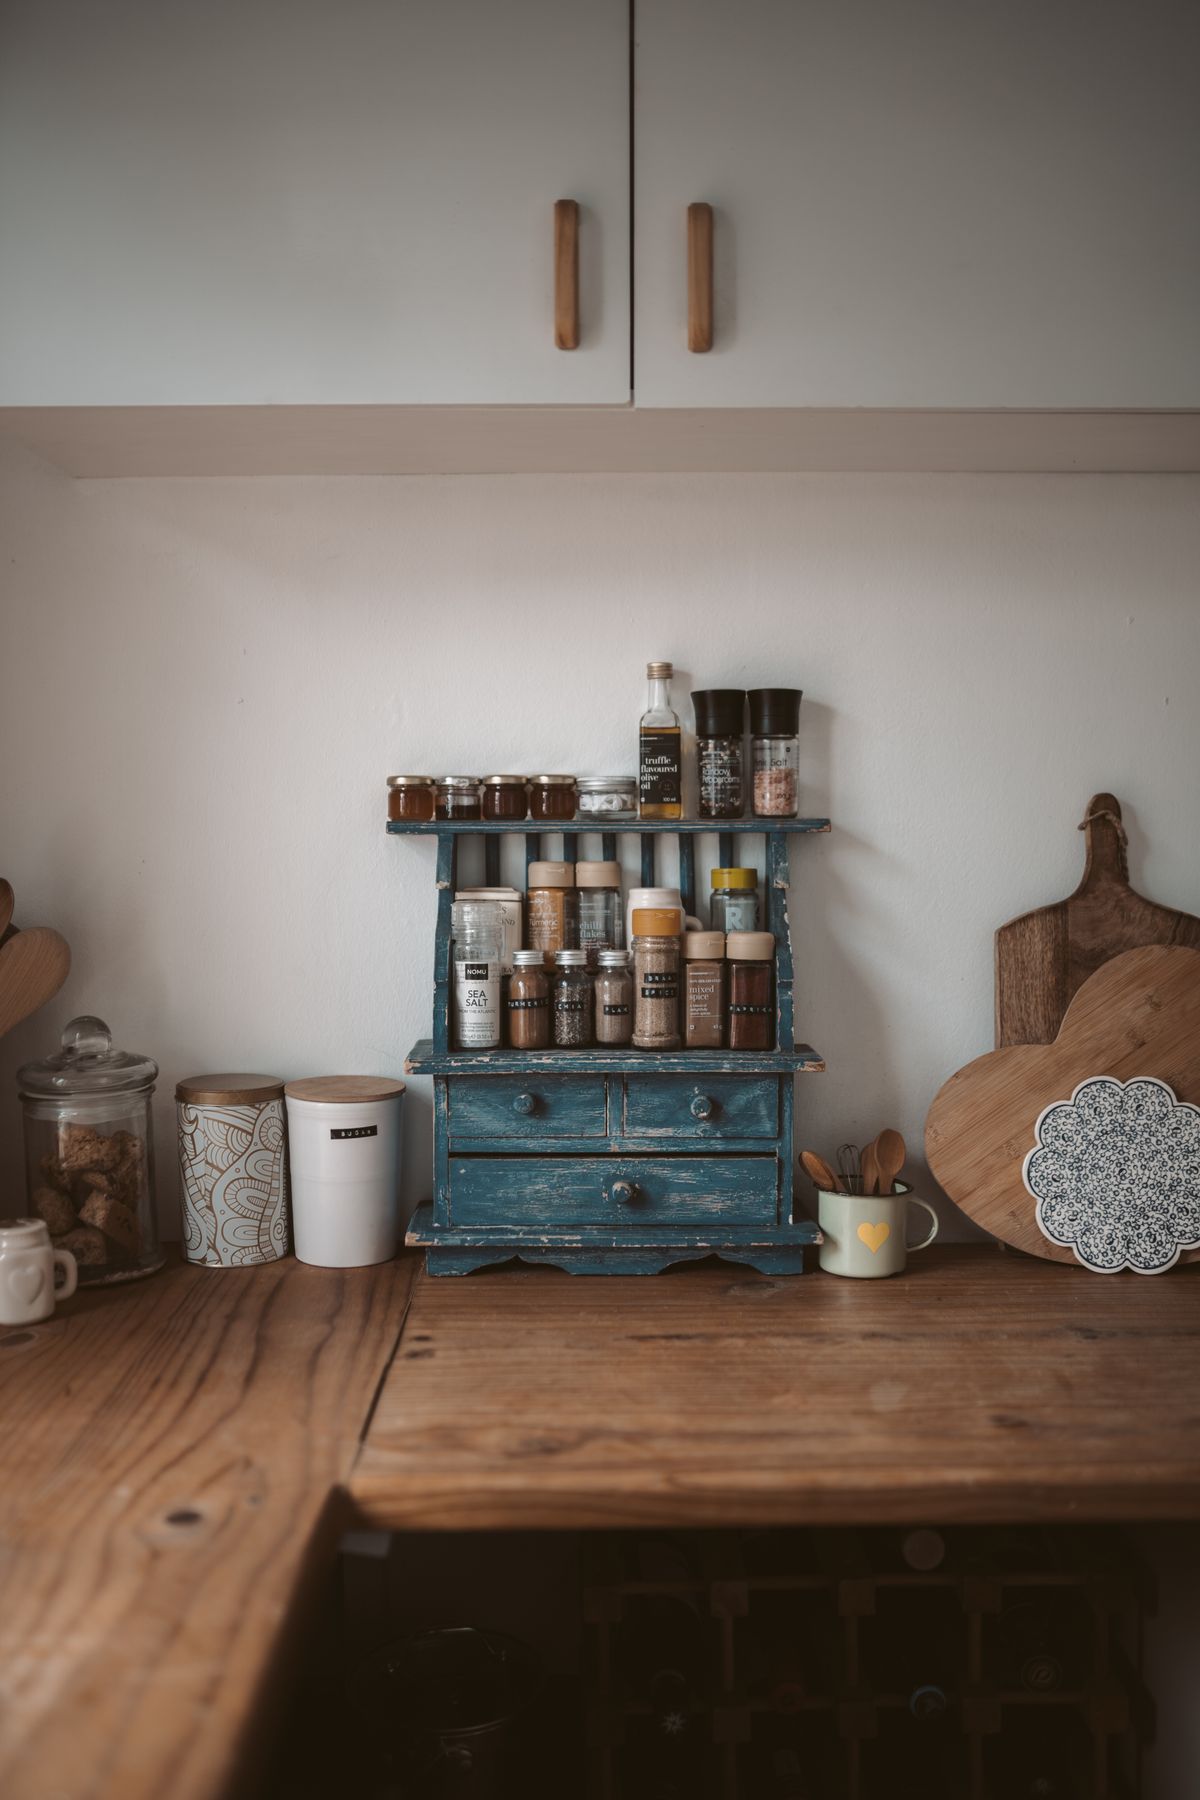
I labelled every jar and bin, even flour and sugar, which I thought I would always recognise. In a month, I mixed up icing sugar and plain flour once, and that cake was a lesson. Labels cost pennies, they take seconds, and they stop guests and kids putting things in the wrong place.
The downside is that labels peel in a steamy kitchen, so I use waterproof labels, not paper ones, near the cooker.
Pro Tip: Label the front and the top, you will see the top label when you look down from a high shelf.
Cost: $3-$8 | Time: 20 minutes | Difficulty: Easy
10. A Small Step Stool Kept by the Pantry
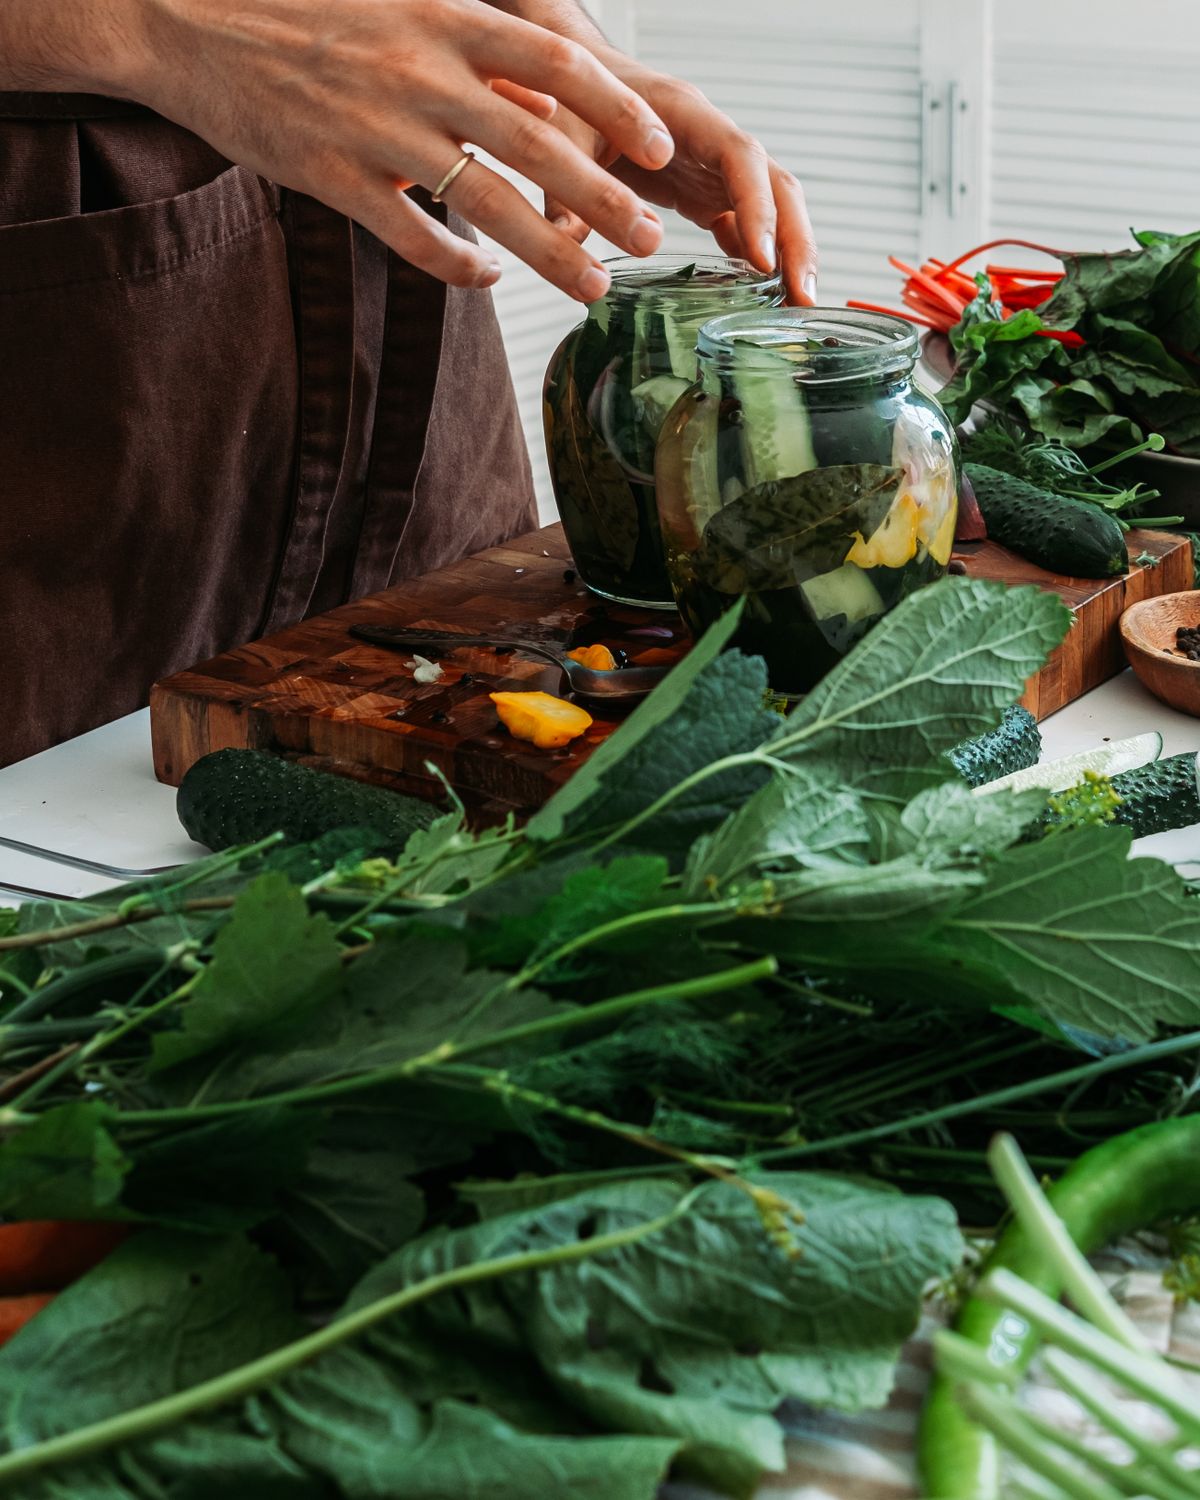
I keep a small folding step stool, 30 cm high, hooked on the side of the pantry, for the top shelf. I used to climb on a chair, which was unsafe, and I used to skip the top shelf, which wasted a whole shelf. The stool folds flat, it is light, and I use it every day, not just for the pantry.
The downside is that a stool in a small kitchen takes space, so I hang it, I do not leave it on the floor.
Pro Tip: Buy a stool with a non-slip top, wet kitchen floors and smooth stools do not mix.
Cost: $15-$25 | Time: 5 minutes | Difficulty: Easy
11. A Weekly Pantry Check, Five Minutes on Sunday
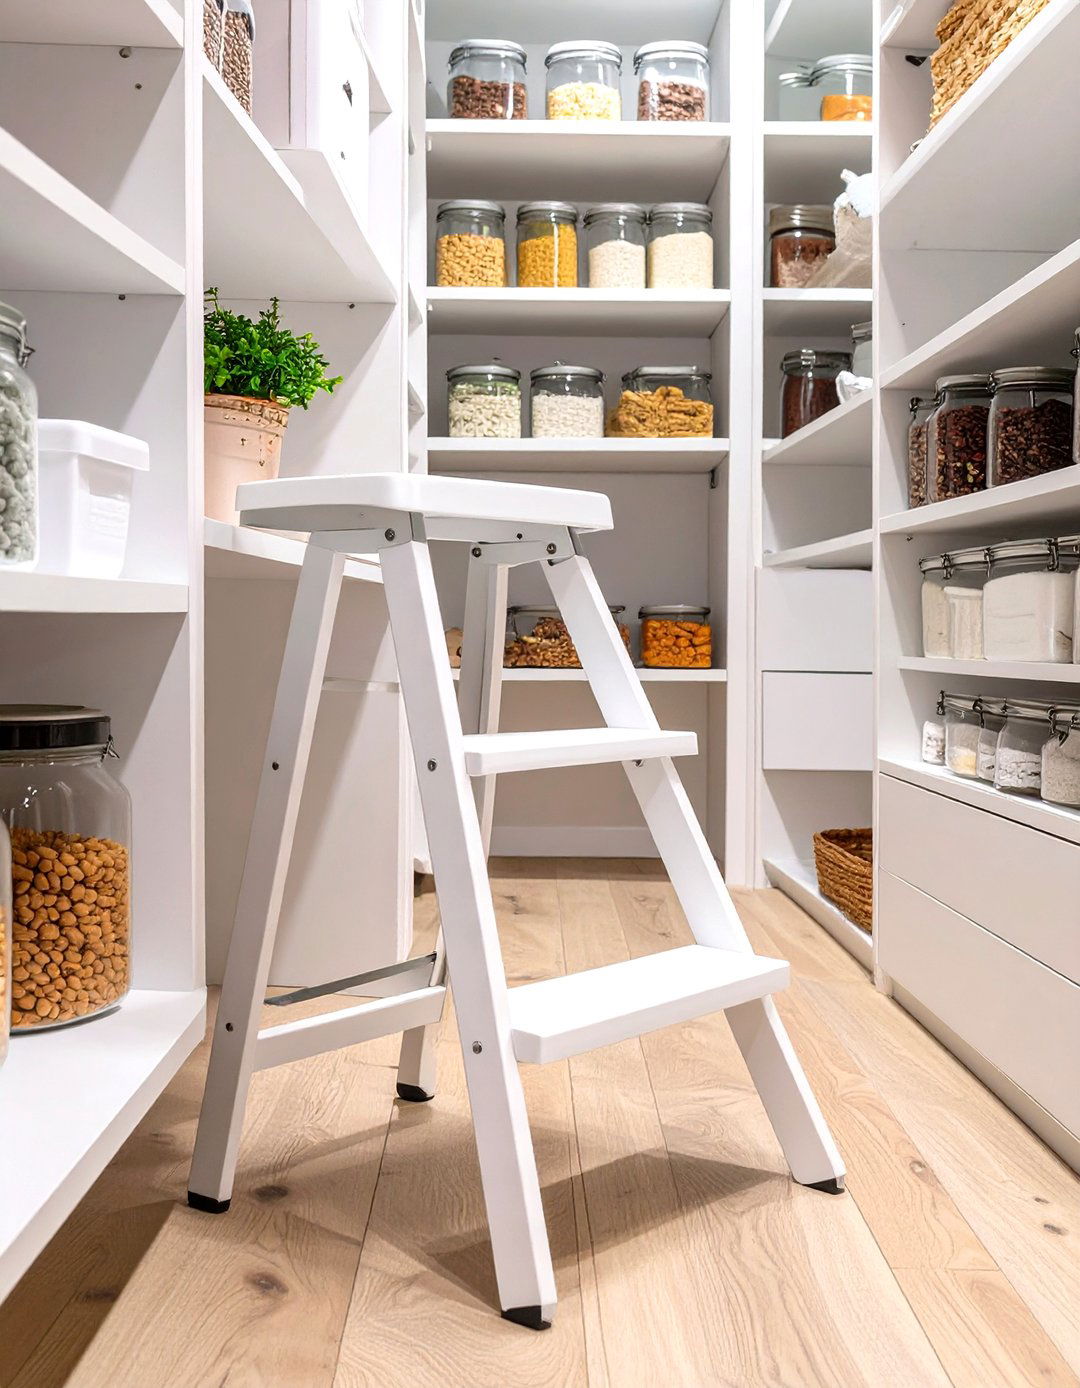
Every Sunday, I spend five minutes checking the pantry, noting what is low, and writing it on the shopping list. It stops me buying duplicates and stops me running out of rice on a Tuesday. I do it while the kettle boils, so it does not feel like a chore, and I keep the list on the pantry door.
The downside is that it only works if you actually do it weekly, so I tie it to Sunday tea, not to a reminder I will ignore.
Pro Tip: Check the back of the pantry, not just the front, that is where duplicates hide.
Cost: $0 | Time: 5 minutes weekly | Difficulty: Easy

12. A Bulk Buy Zone, Separate From Daily Use
I keep bulk buys, like a 5 kg bag of rice or a multipack of tins, on the bottom shelf, in a separate bin, and I refill the daily jars from it. It stops bulk bags splitting and spilling, and it stops me opening a new bag when the daily jar is still half full. I learned this after a bag of flour split in the pantry and I was cleaning for an hour.
The downside is that bulk storage takes a whole shelf, so I only bulk-buy things I use weekly, not things I use monthly.
Pro Tip: Decant bulk into daily jars the day you shop, not when you run out, or you will be decanting at dinner time.
Cost: $5-$10 for one bin | Time: 15 minutes | Difficulty: Easy
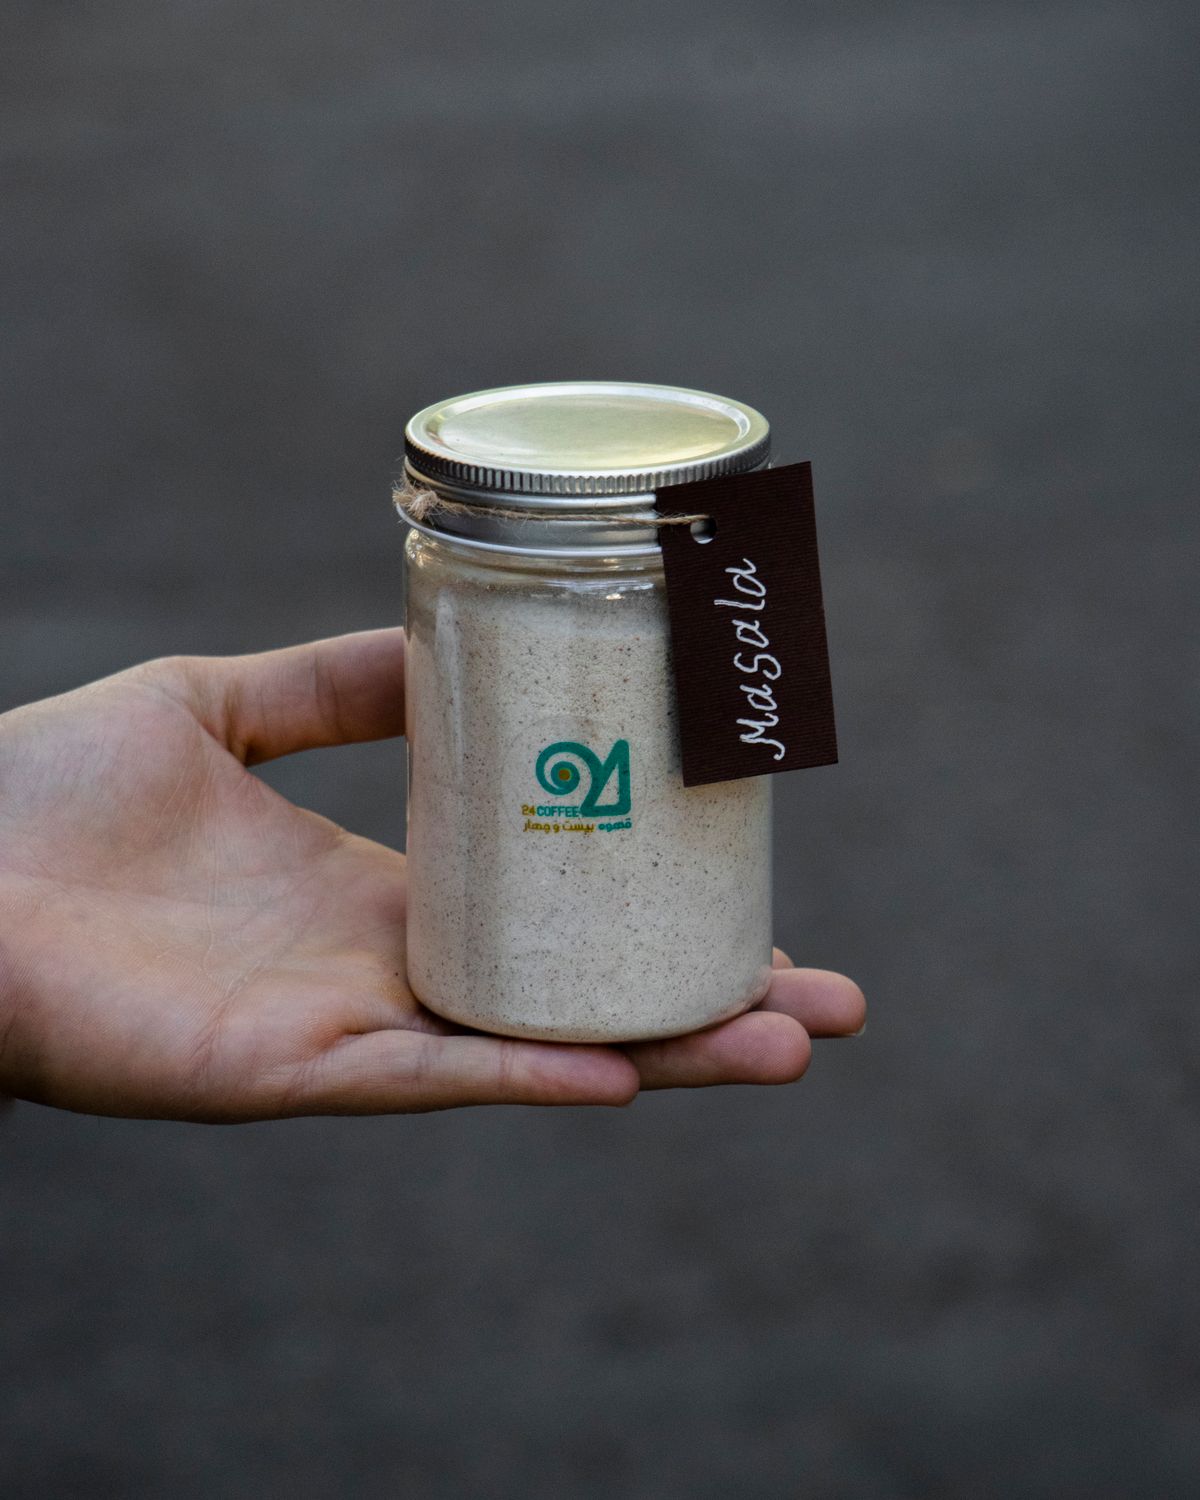
13. A Spice Drawer, If You Have One Spare
If you have a shallow drawer near the cooker, put spices in it, lying flat, labels up. I did this in my previous flat and it was the best spice system I have had, because I could see every jar at once. In my current kitchen I do not have a spare drawer, so I use a door rack instead, which is my second choice.
The downside is that a spice drawer needs a drawer you can spare, and in a small kitchen that is rare, so do not force it.
Pro Tip: Use small jars in a drawer, large jars will not fit and the drawer will not close.
Cost: $10-$20 for small jars | Time: 30 minutes | Difficulty: Easy
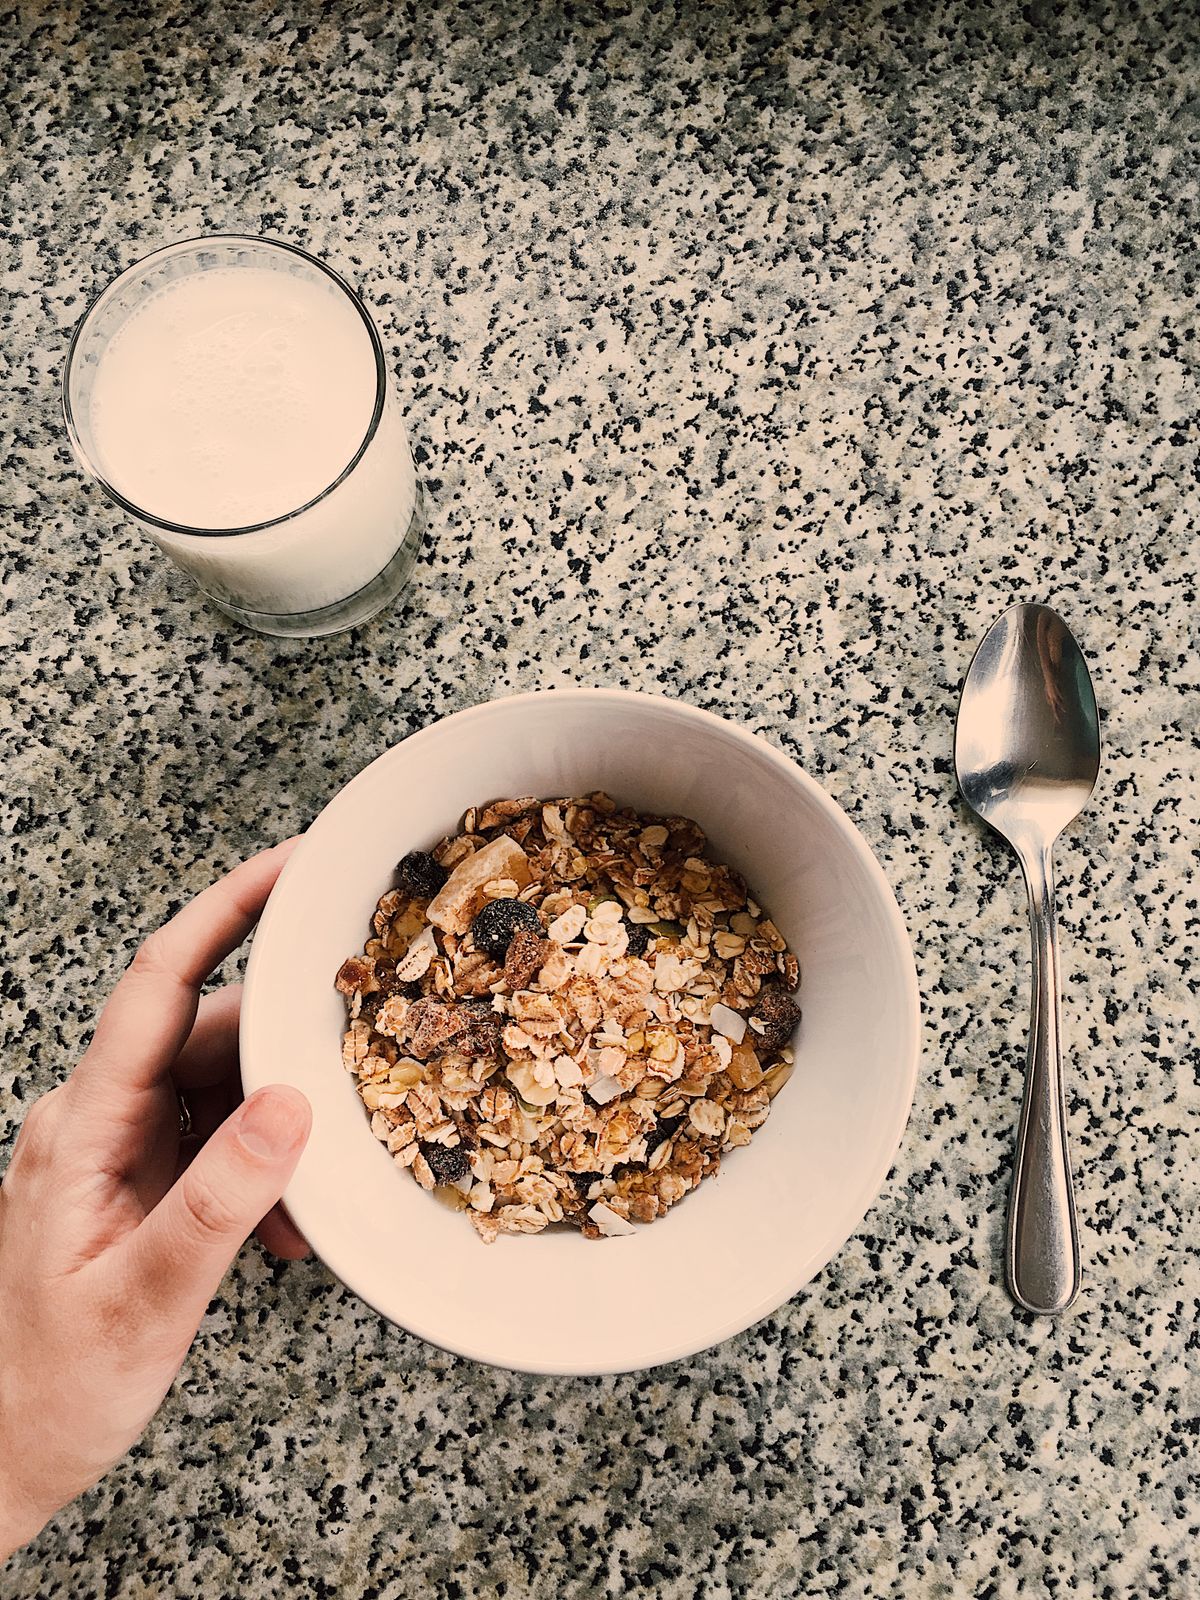
14. A Breakfast Station for Mornings
I put cereal, oats, honey, and mugs in one spot, near the kettle, so breakfast is one move, not five. I make breakfast half-asleep most days, so a station matters more than a pretty pantry. I refill it on Sunday, and I keep it to breakfast things only, or it becomes a general dumping ground.
The downside is that a breakfast station can creep, so I check it monthly and remove anything that is not breakfast.
Pro Tip: Put the kettle, mugs, and cereal together, not in three different cupboards, or mornings will stay chaotic.
Cost: $0-$10 | Time: 15 minutes | Difficulty: Easy
15. A First-In, First-Out System for Cans and Packets
I put new cans and packets at the back and move old ones to the front, every time I shop. It is simple, it stops food expiring at the back, and it has saved me money, because I used to throw away expired tins I forgot I owned. I do it as I unpack, not later, or it never happens.
The downside is that it takes an extra two minutes when unpacking, but it saves money and waste, so it is worth it.
Pro Tip: Check dates as you unpack, not when you cook, or you will find expired food at dinner time.
Cost: $0 | Time: 2 minutes per shop | Difficulty: Easy

16. A Small Pantry in a Cupboard, Not a Room
If you do not have a pantry room, a single cupboard can be a pantry, and mine is. I treat it like a room in miniature, with zones, bins, and labels, and it works as well as a walk-in pantry did in a previous house, just smaller. I do not buy pantry furniture that needs a room, I buy cupboard-sized solutions.
The downside is that a cupboard pantry fills fast, so I shop little and often, not in bulk, for most things.
Pro Tip: Measure your cupboard before buying anything, a 1 cm mistake means a bin that does not fit.
Cost: $0 | Time: 0 minutes | Difficulty: Easy
17. A Clear View From the Door
I arranged my pantry so I can see everything from the door, without bending or reaching. Daily things are at eye level, heavy things are low, and rarely used things are high. I tested this by standing at the door and naming five things I needed, and I could see four of them without moving, which is good enough.
The downside is that a clear view needs regular tidying, so I spend five minutes a week putting things back in their zones.
Pro Tip: If you cannot see it, you will not use it, and you will buy it again, so visibility is worth more than prettiness.
Cost: $0 | Time: 20 minutes to rearrange | Difficulty: Easy
18. A Pantry That Stays Tidy Because It Is Simple
My final system is simple: four zones, four bins, three jars, one door rack, and labels. That is it. I tried a complicated system with colour-coded bins, a spreadsheet, and a label maker, and it lasted two weeks, because it was too much work. Simple systems survive, complicated ones do not, and that is the most important pantry organization ideas lesson I have learned.
The downside is that a simple system looks less impressive in photos, but it is the one you will still be using in a year, which is what matters.
Pro Tip: If a system takes more than five minutes a week to maintain, simplify it until it does.
Cost: $30-$50 total | Time: 1 hour to set up | Difficulty: Easy
Comparison Table
| System | Best for | Cost | Effort |
|---|---|---|---|
| Zones + clear bins | Every small pantry, daily cooking | $12-$20 | Low |
| Door rack | Small bottles, dead door space | $12-$20 | Low |
| Lazy Susan | Oils and sauces, no reaching | $8-$12 | Low |
| Shelf risers for cans | Seeing every can, no duplicates | $10-$15 | Low |
| Simple system overall | Staying tidy a month later | $30-$50 | Low |
Mistakes I Made (So You Don’t Have To)
First, I bought pretty opaque baskets that hid everything, so now it is clear bins only. Second, I bought bins before zoning, and they were the wrong size, so now I zone first and measure second. Third, I put heavy jars on a door rack and the door sagged, so now heavy things go low on a shelf. Fourth, I built a complicated colour-coded system that lasted two weeks, so now I keep it simple, four zones, four bins, labels, and a weekly five-minute check.
FAQ
How long did your pantry system actually stay tidy?
The zones, bins, and labels system has stayed tidy for over a year in my small pantry, with a five-minute weekly check. The complicated system I tried before lasted two weeks, so simplicity was the difference.
What would you do differently in a pantry with no door?
I would skip the door rack and use a lazy Susan and shelf risers instead, and I would put small bottles in a bin on the middle shelf. The zones and labels still work, even without a door.
Is it worth decanting everything into jars?
No, only flour, sugar, rice, and things you use daily and that spill easily. Decanting everything takes hours and creates more washing up, so I decant the three staples and leave the rest in their packets, in bins.
Final Thoughts
A small pantry does not need more space, it needs zones, clear bins, labels, and a system you will actually maintain. Start with zones, add one bin per zone, label everything, and do a five-minute check on Sunday. That is the pantry organization ideas approach that has kept my 60 cm cupboard tidy for over a year, and I hope it does the same for yours.
Related article: Spice Storage Ideas
Also read: Food Storage Ideas
Read this next: Storage Ideas for Small Spaces