18 Halloween Dining Room Decor Ideas That Turn Dinner Into an Event
These halloween dining room decor ideas are ones I have actually set up in my own dining room. I tested them over three Octobers, keeping only looks that survived a real dinner.
I kept only halloween dining room decor ideas that looked good from the doorway, left room for food, and came down in under an hour.
Related article: start with the table itself — https://craftedcornerhome.com/halloween-table-decoration-ideas/
Key Takeaways
- Start with the table, then walls, then light.
- Keep the centrepiece below 30 cm, so guests can see each other.
- Use one colour story: black and orange, or white and silver.
- Keep anything fragile, lit, or dangling away from elbows and serving dishes.
Halloween Dining Room Decor Ideas for the Whole Room
1. Black and Orange Layered Table
Start with a plain black tablecloth, add a burnt-orange runner down the middle, and put black chargers under your everyday white plates. The black and orange do the Halloween work without a single plastic spider.
I set this up for eight people in about twenty minutes last October. The orange runner hid a gravy splash that would have shown on a white cloth.
The downside is that cheap black cloths show dust and pet hair. Lint-roll the cloth before guests arrive, and keep two spare chargers in case one chips.
Pro Tip: Iron the runner, not the whole cloth. A flat runner makes the whole table look deliberate.
Cost: $10–$20 | Time: 20 minutes | Difficulty: Easy

2. Pumpkin Cluster Centrepiece
Group five pumpkins of different sizes in the middle of the table. I used two small white ones and three orange ones, all uncarved. Uncarved pumpkins mean no smell, no mess, and no collapsing centrepiece halfway through dinner.
I bought the smallest ones from a farm stand for a few dollars each. They lasted three weeks on the sideboard after the dinner, which made the whole idea feel like good value.
The downside is weight. Pumpkins are heavy, so set them on a tray and lift the tray, not each pumpkin. Set the tray on a folded tea towel so it does not slide.
Pro Tip: Put a felt pad under each pumpkin. A damp pumpkin base can mark wood.
Cost: $8–$18 | Time: 15 minutes | Difficulty: Easy

3. Candelabra and Taper Candles
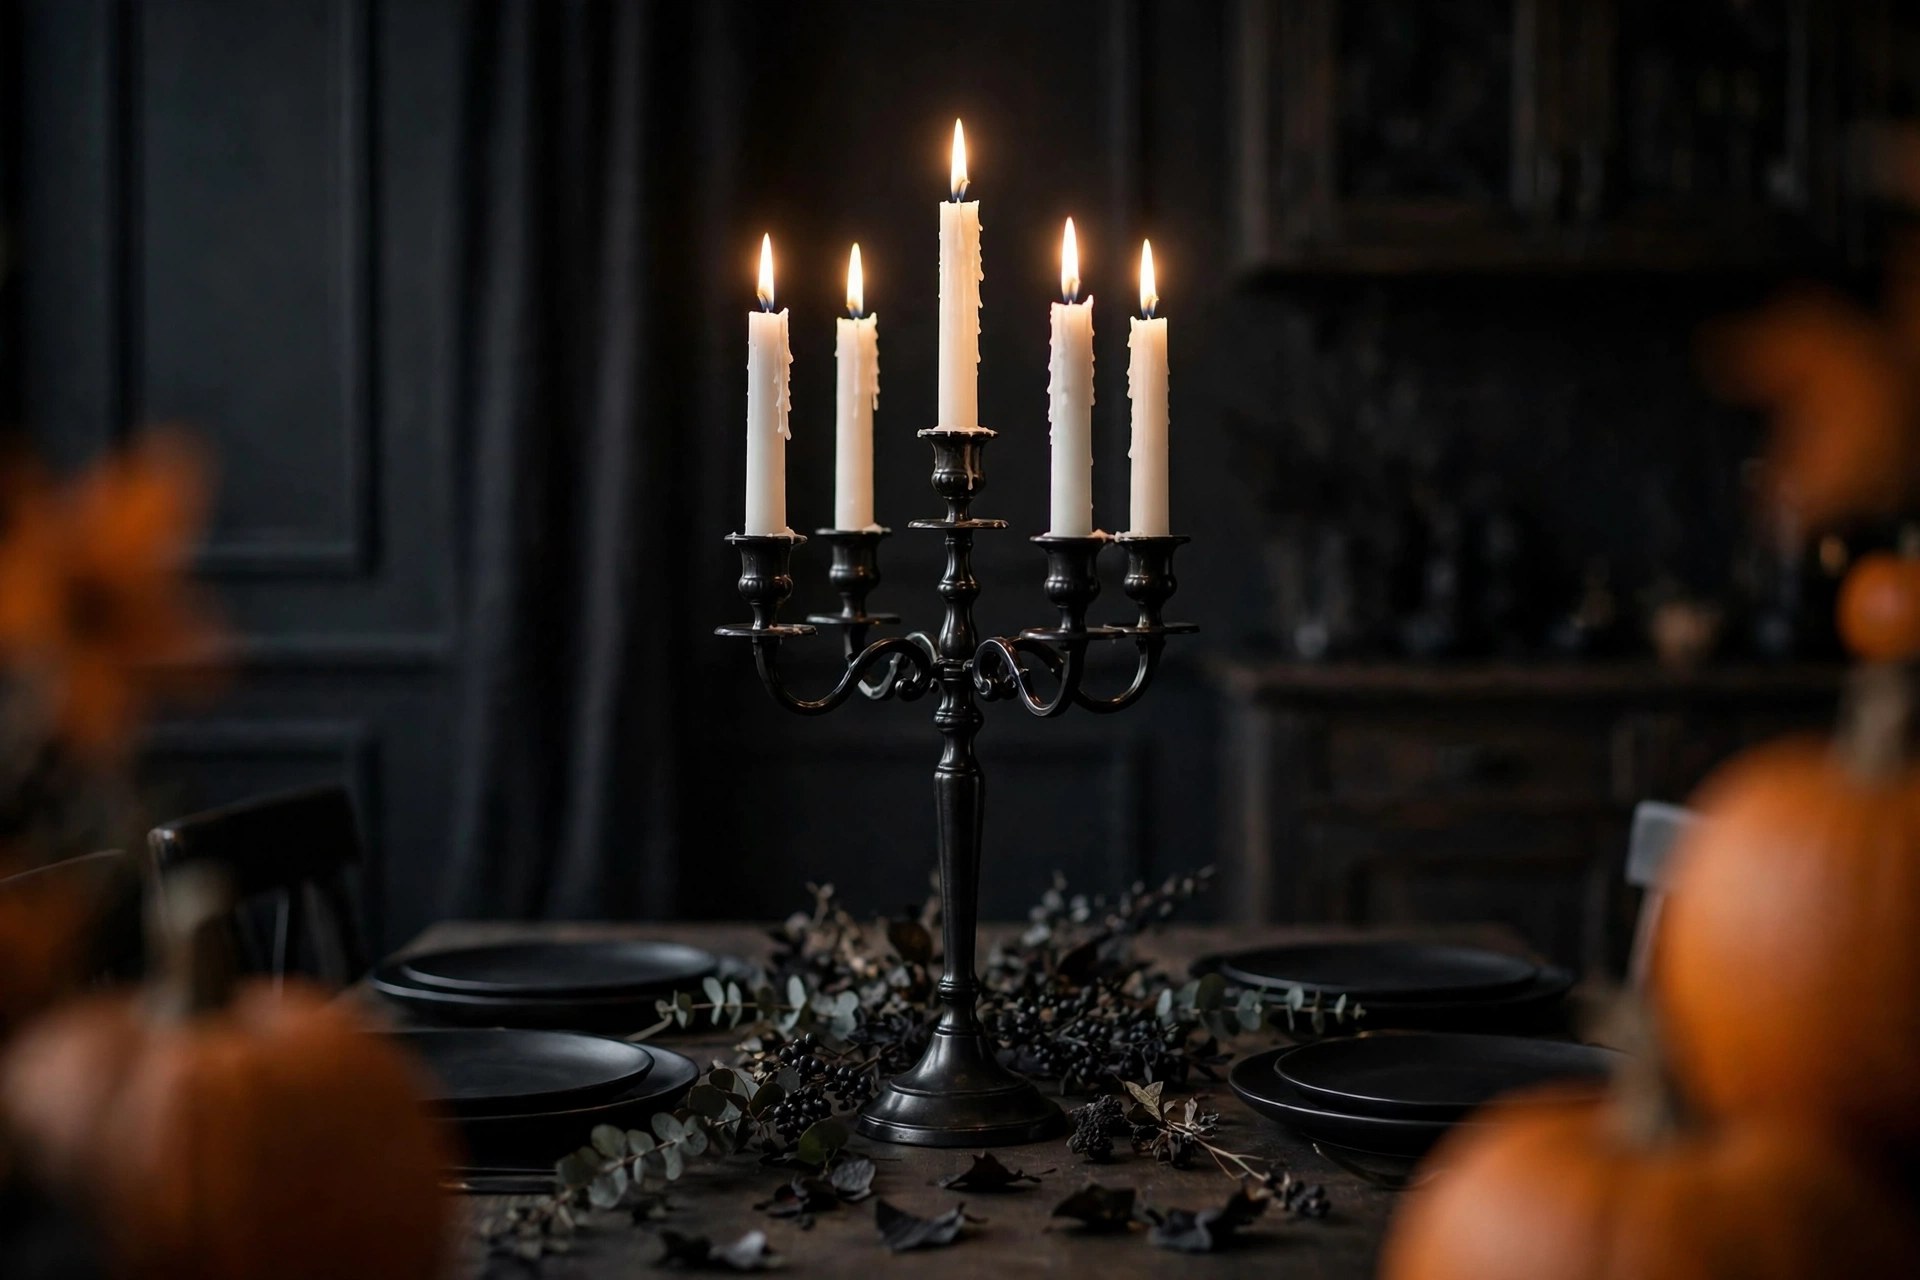
Put a tall black candelabra in the centre of the table, with white tapers, and flank it with two short pillar candles. The flames need to be at least 30 cm from any paper or fabric, and the candelabra needs to be low enough that guests can still see each other over it.
I used real candles the first year and spent the evening watching the wax. Now I use real tapers only when adults are seated and attentive, and flickering LED tapers when children are at the table.
The downside is that LED candles look flat in bright light. They only work once the room is dim, so plan the lighting first.
Pro Tip: Trim the wick to about 6 mm before lighting. A long wick smokes and drips.
Cost: $12–$30 | Time: 10 minutes | Difficulty: Easy
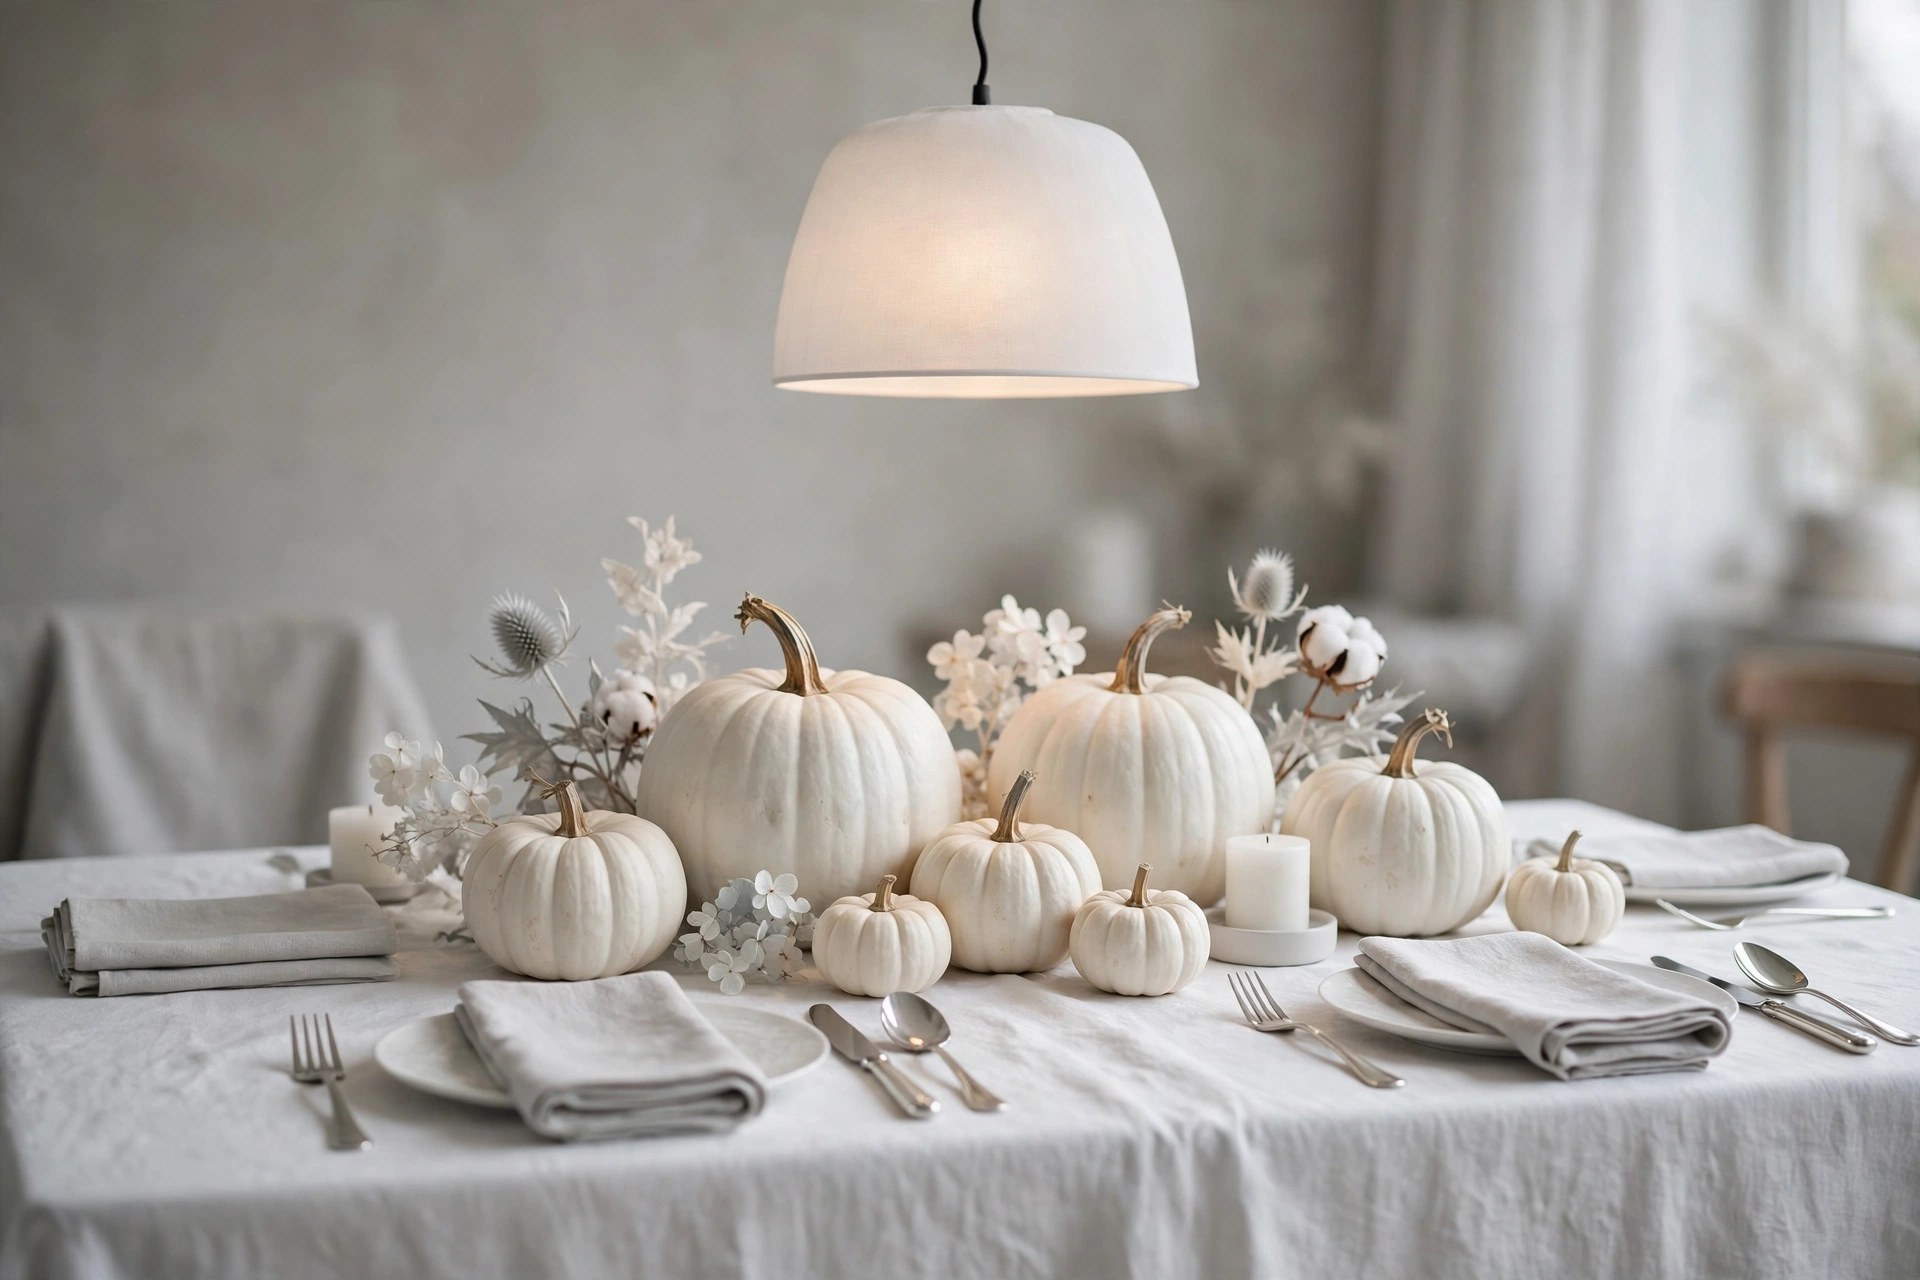
4. Ghostly White Tablescape
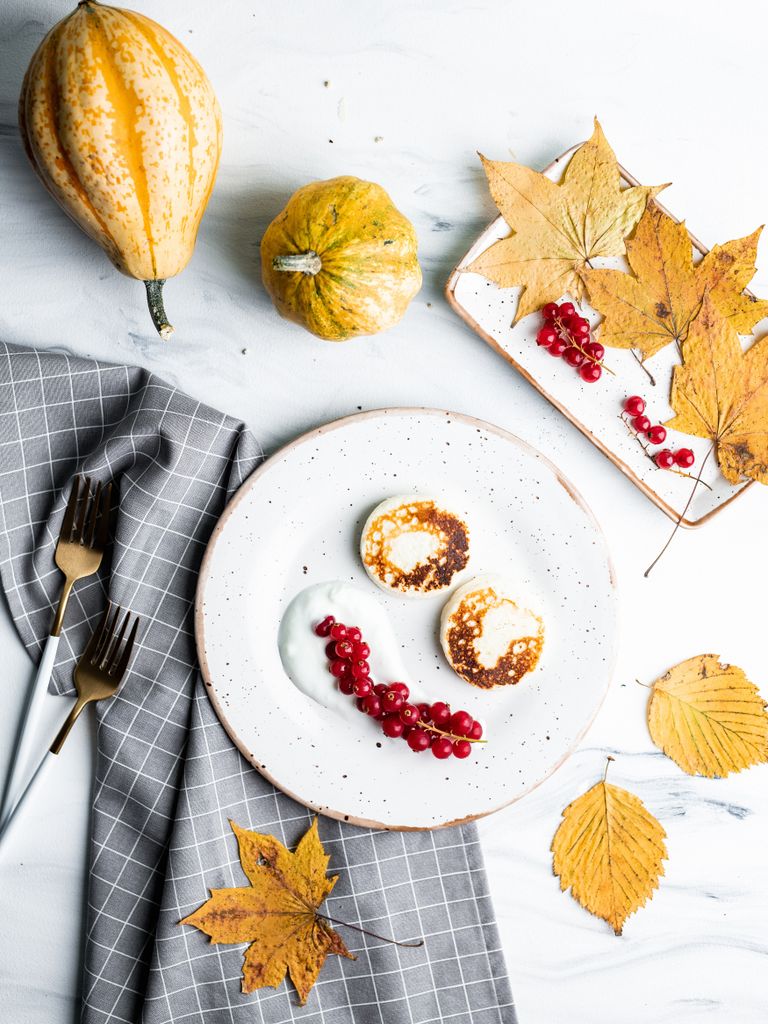
Go white on white: a white cloth, white pumpkins, silver cutlery, and pale grey napkins. It looks elegant first and Halloween second, which suits a quieter dinner.
I set this for six people and the white pumpkins glowed under the pendant light. It photographed beautifully, even without any orange in sight.
The downside is that white shows every splash. Keep stain remover nearby, put a spare napkin at each place, and do not serve tomato sauce on this cloth.
Pro Tip: Mix textures, not colours: matte pumpkins, shiny cutlery, and a linen napkin. The contrast keeps white from looking flat.
Cost: $15–$35 | Time: 25 minutes | Difficulty: Easy
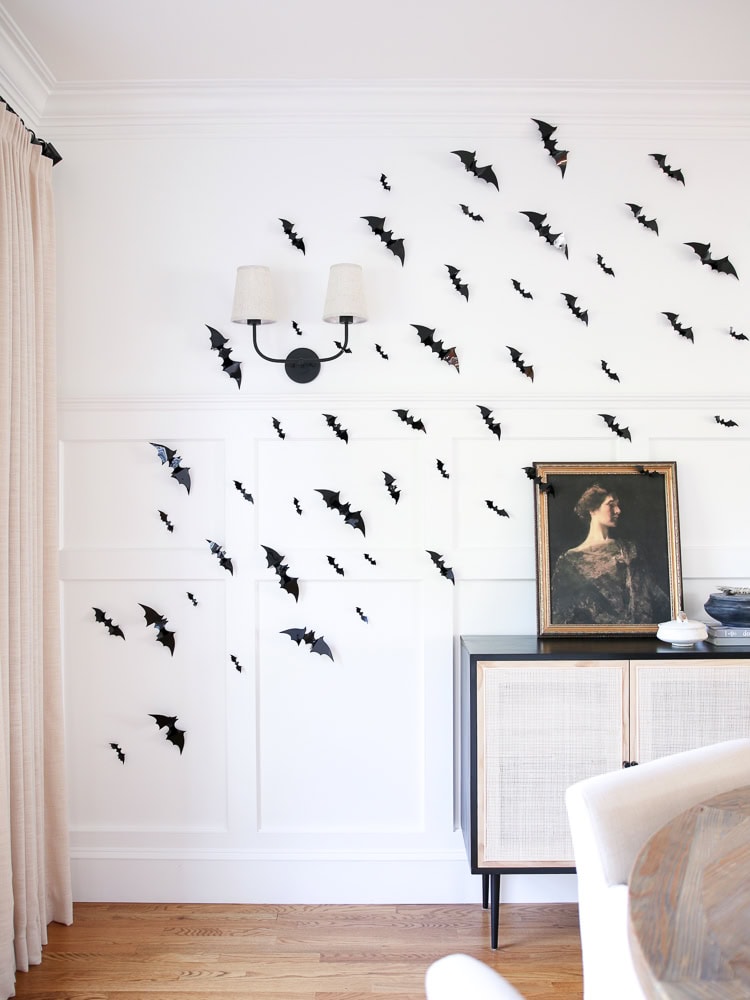
5. Bat Swarm Above the Sideboard
Cut about forty bats from black card in three sizes, and stick them above the sideboard, denser at the bottom and sparser at the top, so they look like they are flying up the wall.
I used removable adhesive dots, and the bats stayed up for two weeks without marking the paint. They were the first thing guests noticed when they walked in.
The downside is cutting time. Cutting forty bats by hand took nearly an hour, so now I cut them while watching television the night before. Save your first bat as a template.
Pro Tip: Fold each bat slightly down the middle before you stick it up. The fold gives it wings and shadow.
Cost: $2–$5 | Time: 45–60 minutes | Difficulty: Easy
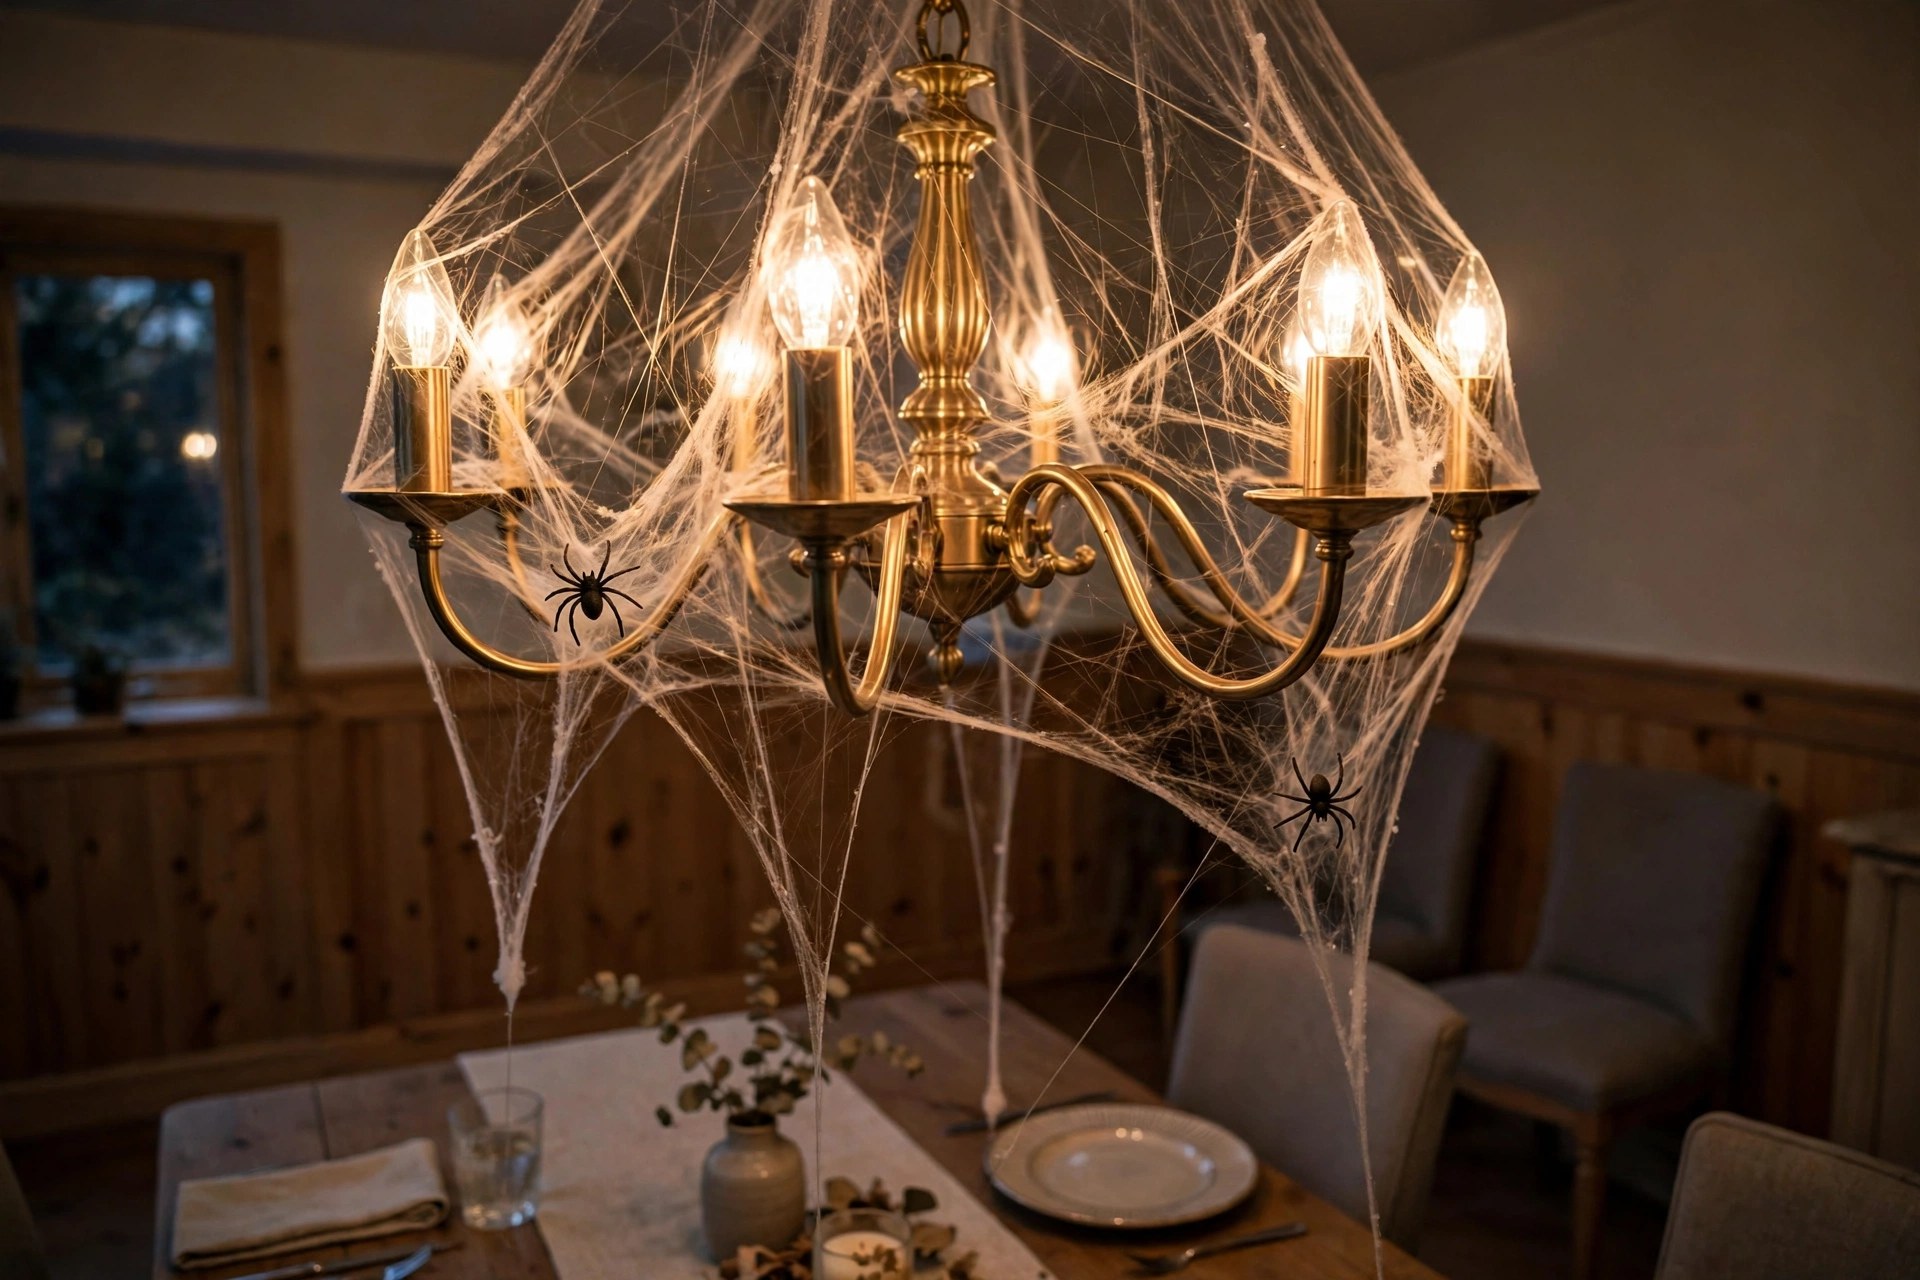
6. Cobweb Chandelier Drape
Stretch a bag of fake cobweb thinly over the chandelier, so it looks like wisps, not clumps, and add two or three plastic spiders. The light shining through thin cobweb is the whole effect.
The first time I used half a bag and the light barely came through. Now I use a quarter of a bag and check the light before adding more.
The downside is clean-up. Cobweb clings to everything, so lay an old sheet under the chandelier before you start, and again before you take it down.
Pro Tip: Keep cobweb at least 15 cm from any real bulb. Stretch webs are flammable, so LED bulbs and a wide gap are non-negotiable.
Cost: $3–$6 | Time: 15 minutes | Difficulty: Easy
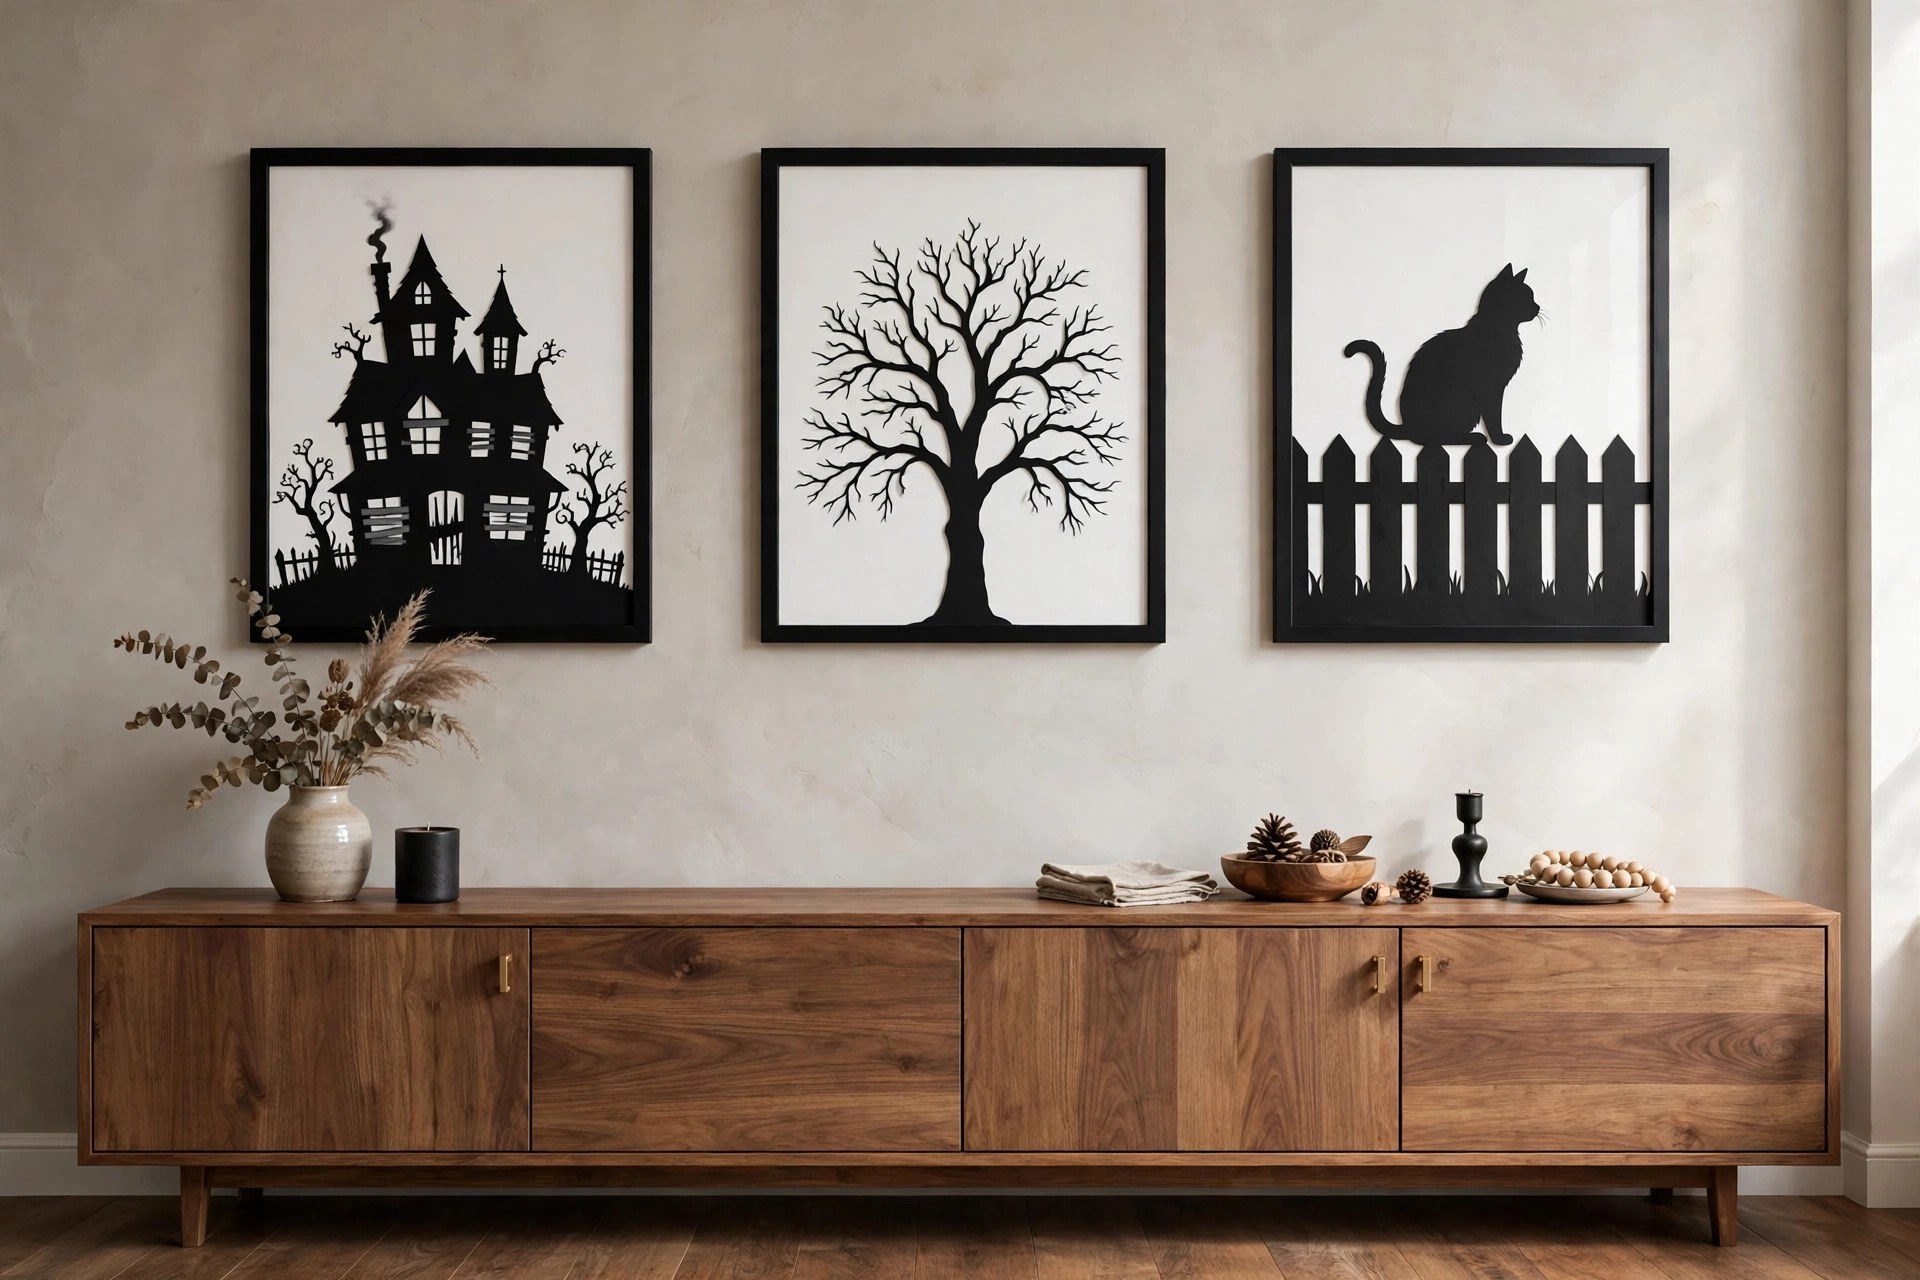
7. Haunted Gallery Wall
Swap the prints in your dining room frames for black-and-white silhouettes: a haunted house, a bare tree, and a cat on a fence. Print them at home on plain paper, and keep the frames, glass, and wall exactly as they are.
Guests notice this one second, after the table, which is perfect. It costs almost nothing and takes the room from everyday to Halloween without a single new frame.
The downside is fading. Printed silhouettes fade in direct sun, so only hang them on a north-facing wall, and take them down after Halloween.
Pro Tip: Use the same black frame and the same white mat for every print. Matching frames make cheap prints look intentional.
Cost: $0–$5 | Time: 30 minutes | Difficulty: Easy
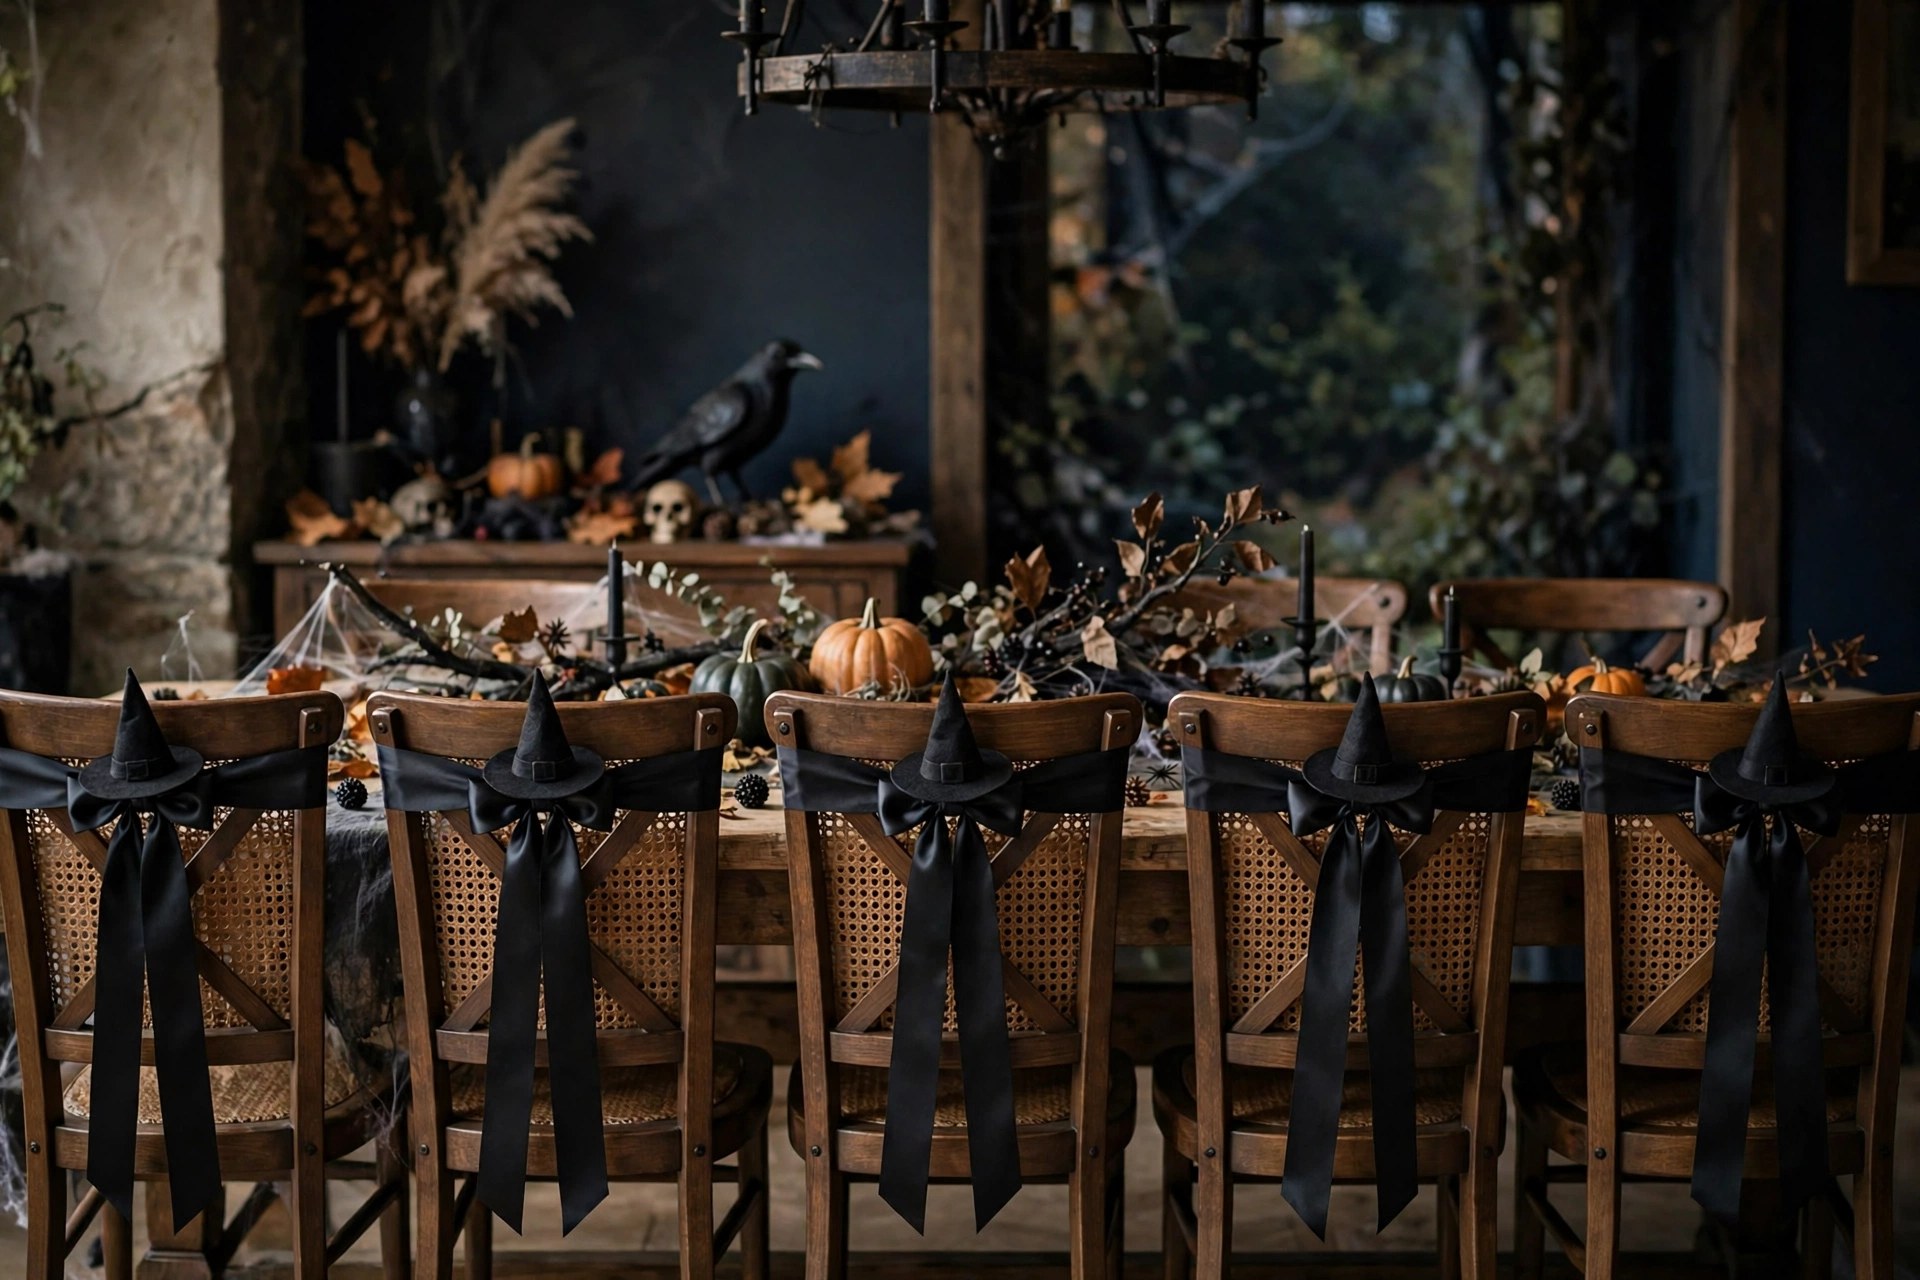
8. Witch-Hat Chair Sashes
Tie a black sash around each chair back, and pin a small witch hat or paper bat to the knot at the back. Guests see the hats as soon as they walk in, and nothing touches the food, elbows, or backs.
I made these for ten chairs in under half an hour, using ribbon I already owned. They are the cheapest way I know to make a whole room feel dressed up.
The downside is slipping. Sashes slip on smooth wooden chairs, so use a small strip of double-sided tape on the back of the knot, and tie the sashes after you push the chairs in.
Pro Tip: Keep the chair decor on the back only. Anything on the seat gets sat on, and anything on the front gets caught by sleeves.
Cost: $5–$12 | Time: 30 minutes | Difficulty: Easy
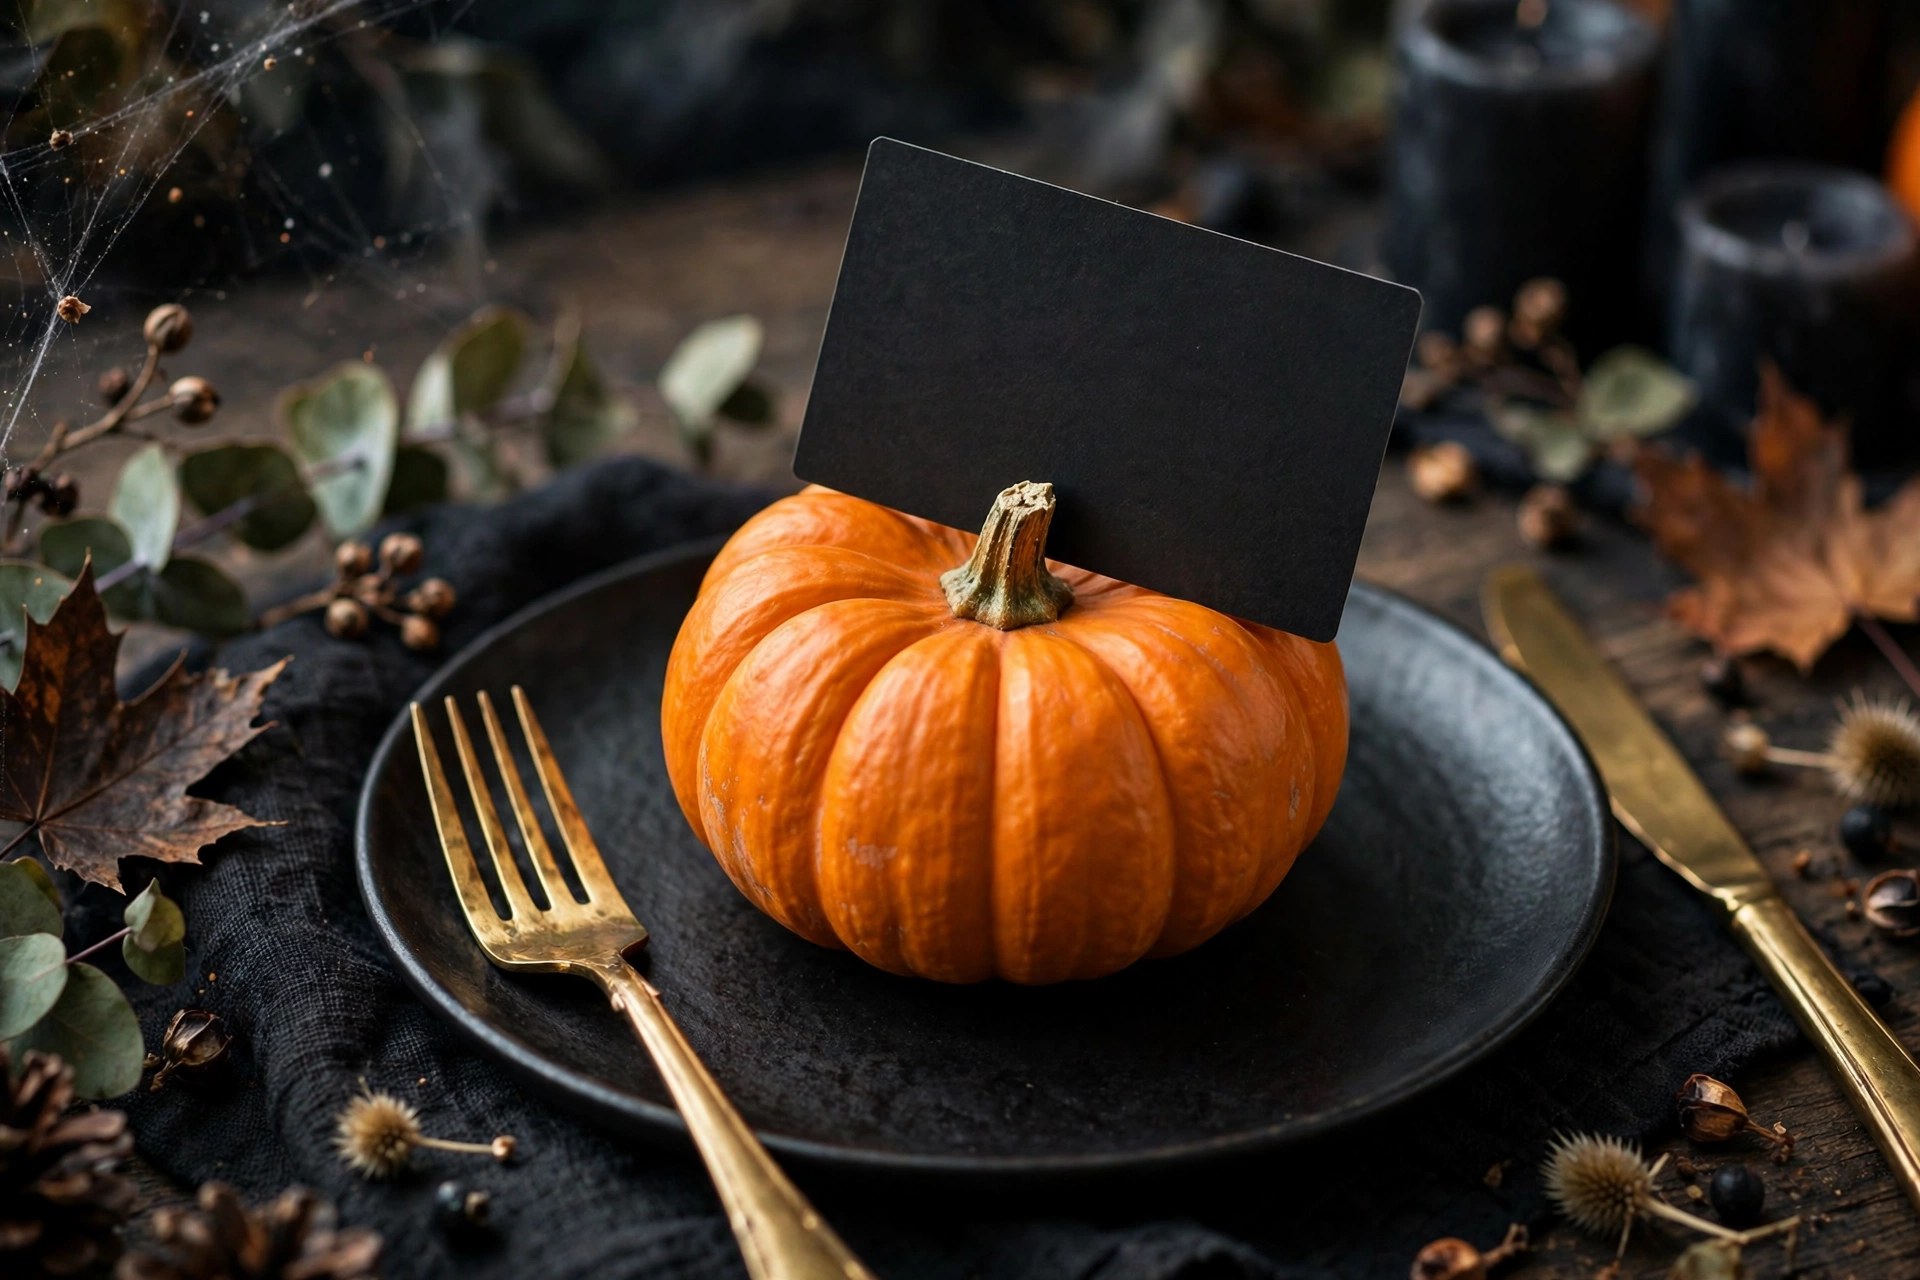
9. Mini Pumpkin Place Cards
Write each guest’s name on a small card and lean it against a mini pumpkin at their place. It solves seating without a fuss, and it doubles as a favour guests can take home.
I used a gold pen on dark card, which stood out against the orange pumpkins. Guests loved finding their names, and no one asked where to sit.
The downside is rolling. Mini pumpkins roll, so set each one on a small ring of raffia or a jar lid turned upside down. Write one spare blank card for a last-minute guest.
Pro Tip: Write the names the day before, not while you are cooking. Handwriting looks worse when you are rushed.
Cost: $4–$10 | Time: 20 minutes | Difficulty: Easy
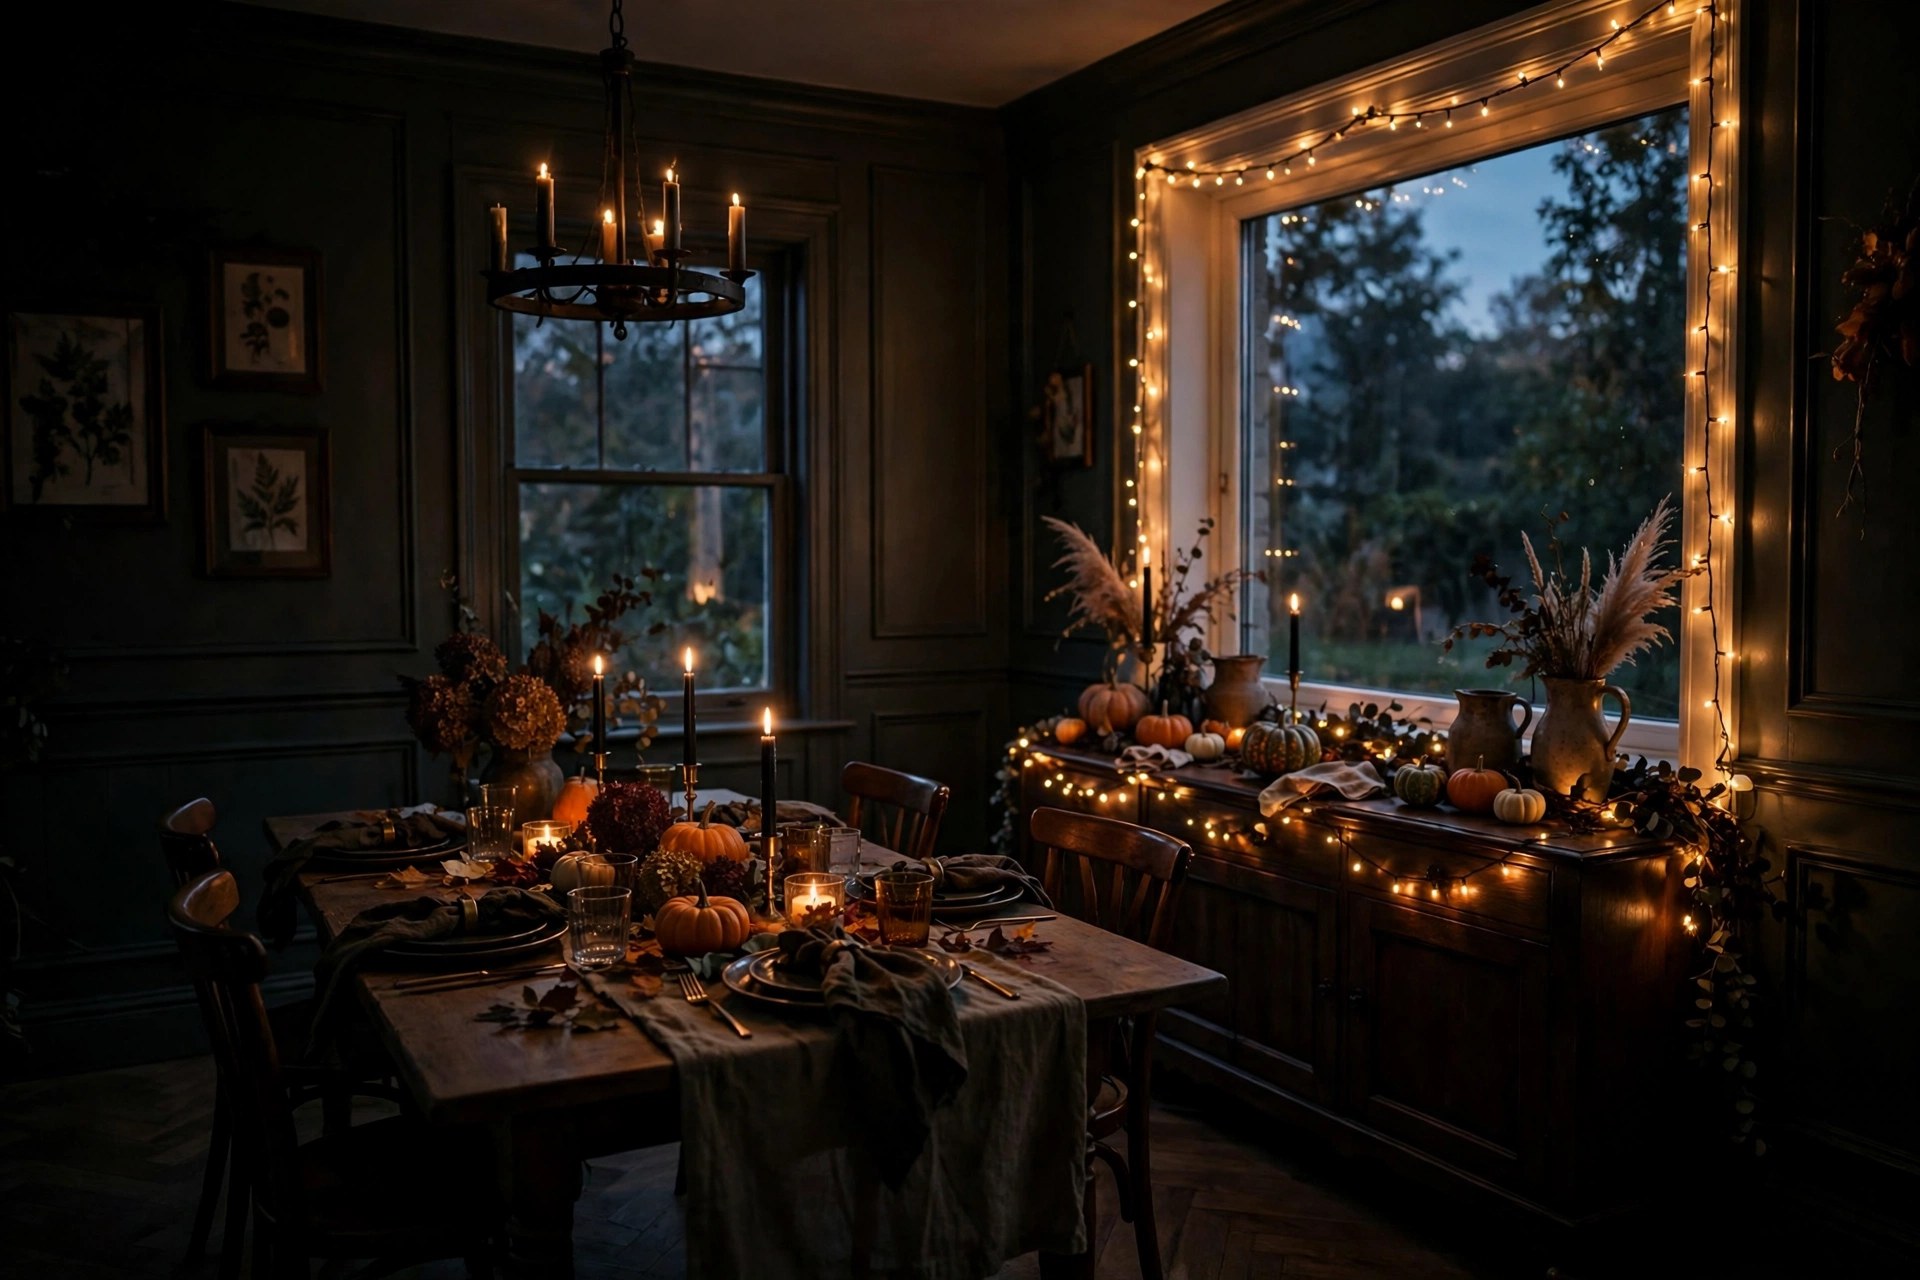
10. Moody Lighting With Dimmers and String Lights
Turn the overhead light down low, and add warm string lights along the sideboard and the window frame. The room feels like evening even at six o’clock, and every other decoration looks twice as good.
One year I left the ceiling light on full and the room looked like a classroom with pumpkins in it. Dim light is what turns the same decorations into atmosphere.
The downside is reading. Dim light makes it harder for older guests to read place cards, so keep one small lamp on near the sideboard, and put the lights on a timer plug.
Pro Tip: Use warm white lights, not orange ones. Orange string lights tint the food orange, which looks odd on a plate.
Cost: $8–$15 | Time: 15 minutes | Difficulty: Easy
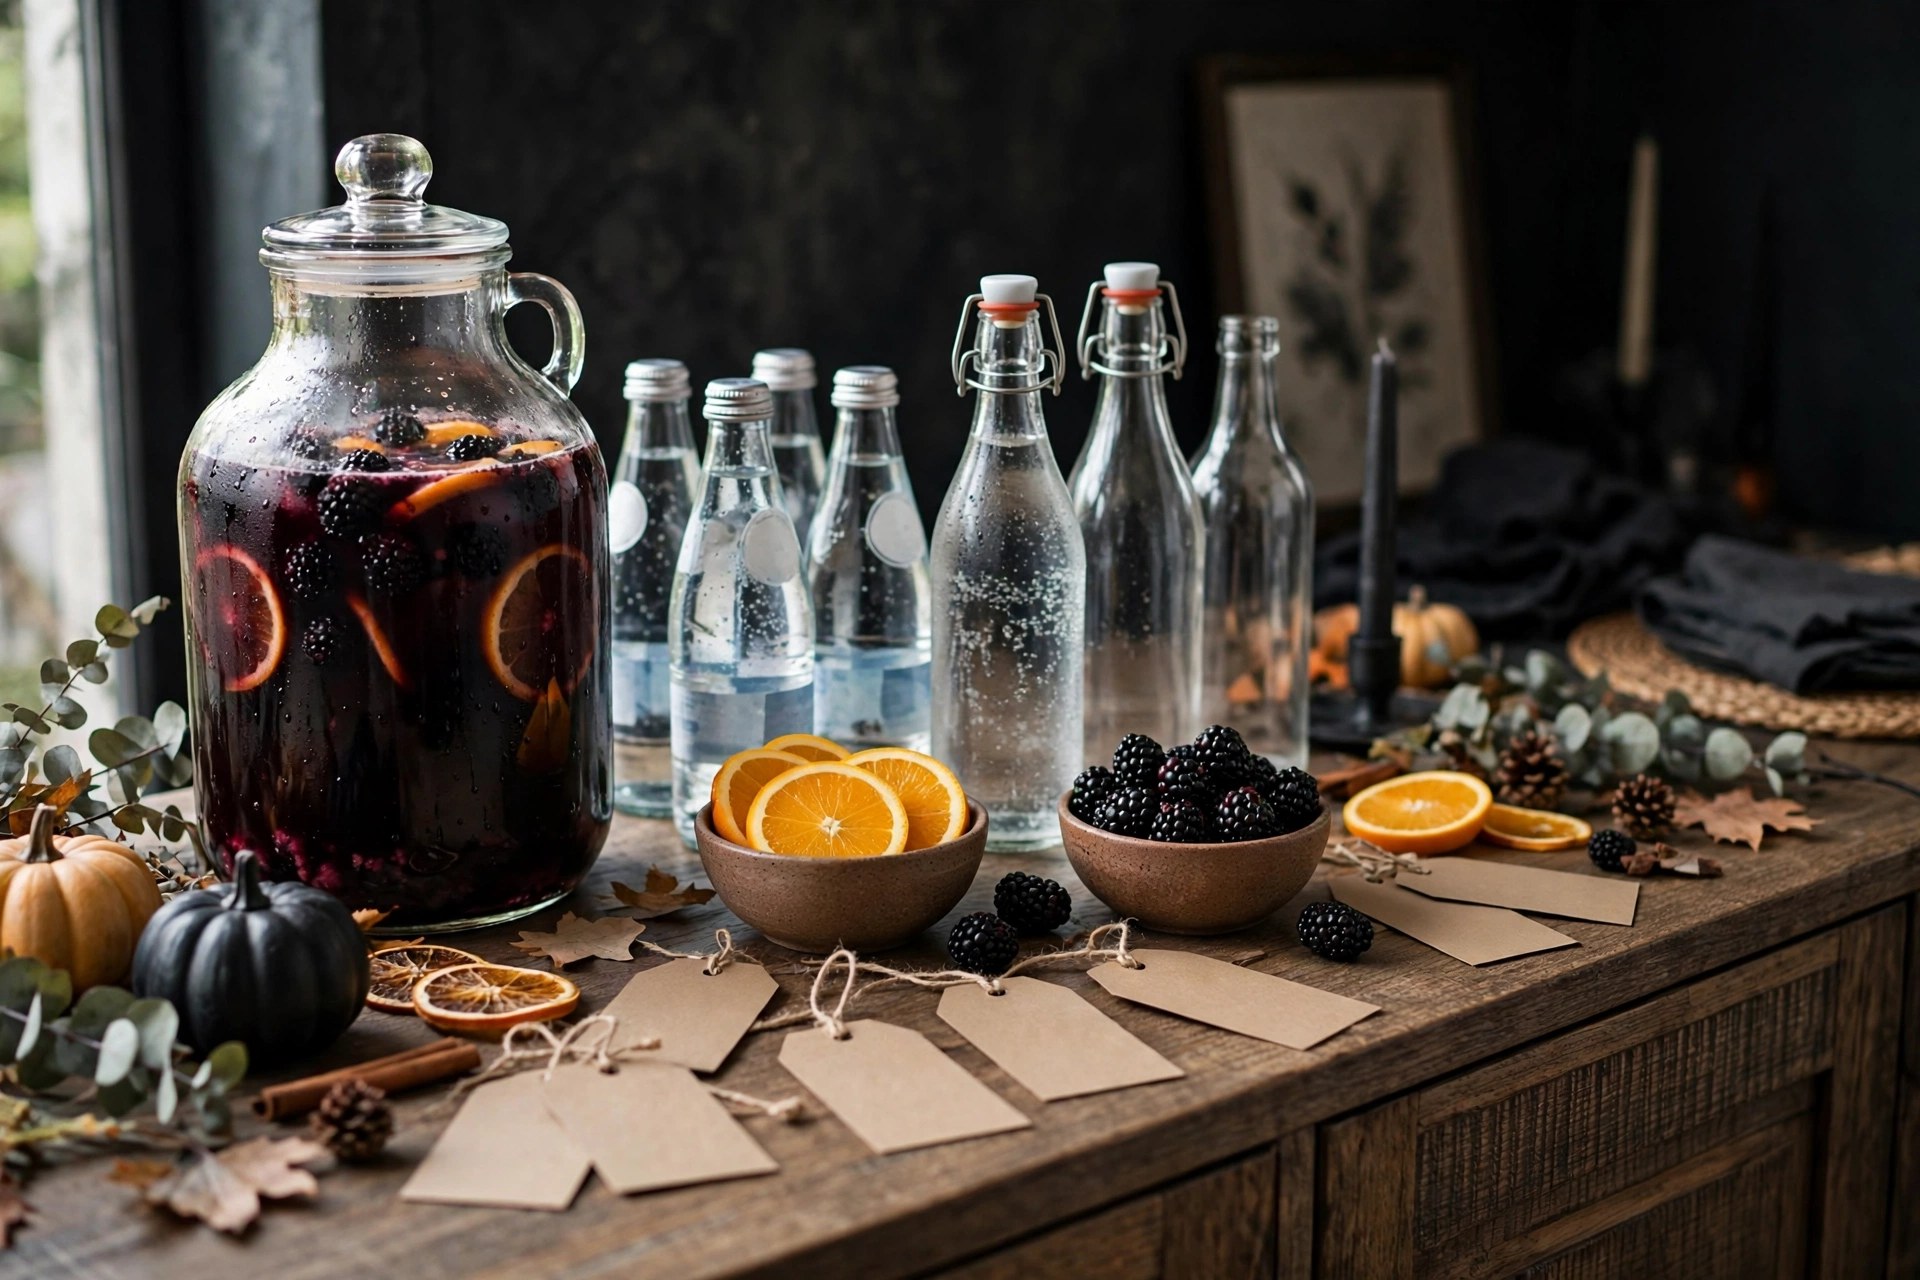
11. Sideboard Potion Bar
Turn the sideboard into a drinks station: labelled bottles, a jug of dark punch, sparkling water, and small bowls of garnishes like orange slices and blackberries. Hand-write the labels on brown paper tags.
Guests help themselves, which means you are not pouring drinks all evening. The labels are what make it feel like a potion bar rather than just bottles on a sideboard.
The downside is surface space. You need a clear surface, so move the fruit bowl and the mail pile out of the room. Chill the punch jug for two hours first, because a warm jug sweats and rings the wood.
Pro Tip: Put a small tray under every bottle. It catches drips and makes the whole station look tidy.
Cost: $10–$20 | Time: 20 minutes | Difficulty: Easy
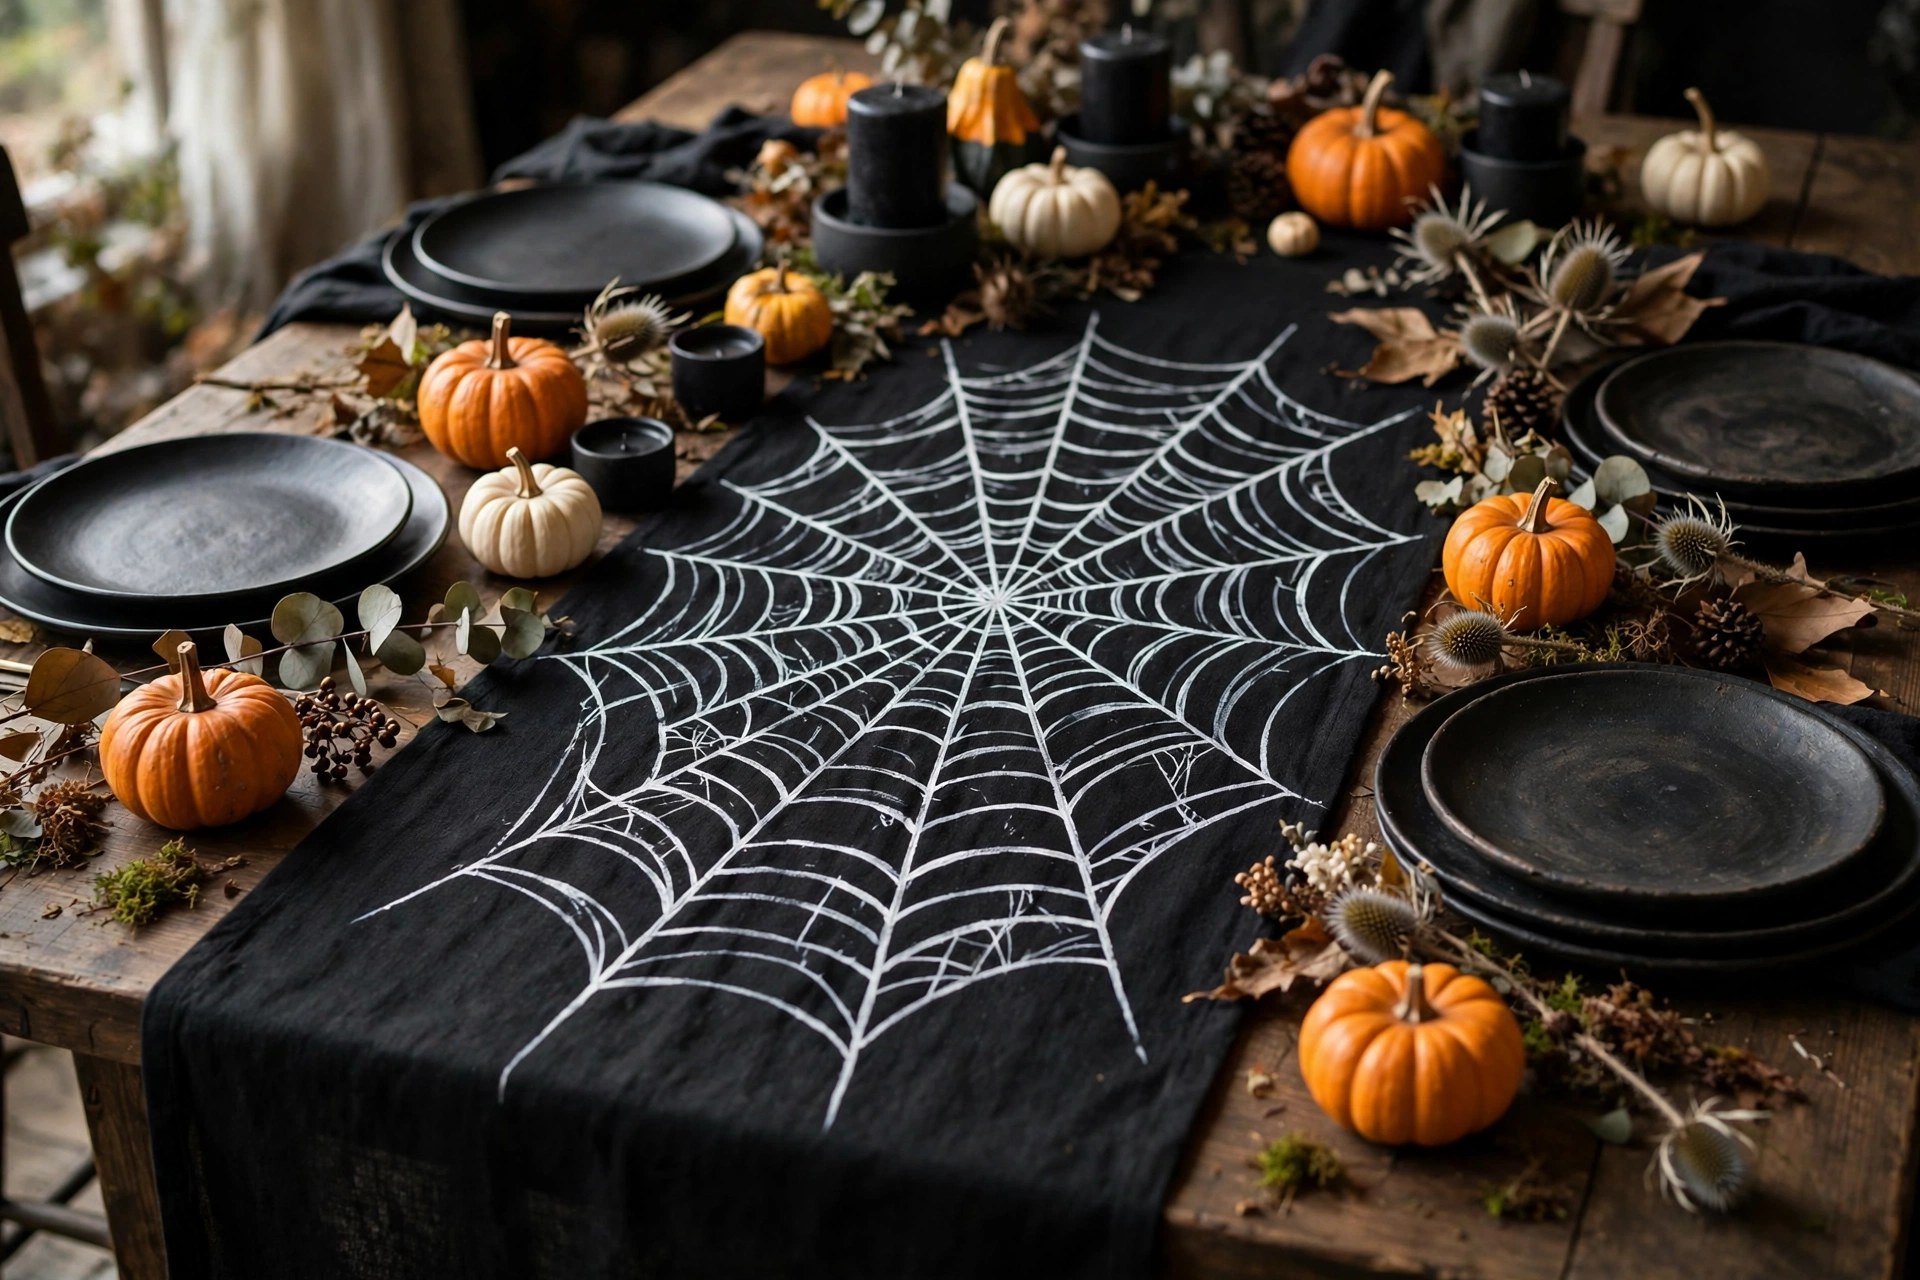
12. Spider-Web Table Runner
Take a plain black runner and draw a spider-web pattern on it with white fabric paint. Use a ruler for the spokes, then freehand the curves for the rings. From two steps away it looks store-bought, and it survives washing if you heat-set it.
My first attempt, without a ruler, looked like a tangled net. My second attempt, with straight spokes first and then the rings, looked like a real web.
The downside is drying time. Fabric paint needs a full day to cure, so make this on a Saturday, never on the day. Wash the runner in a pillowcase on cold.
Pro Tip: Practise the web on paper first, at full size. It is easier to fix a paper web than a painted runner.
Cost: $6–$12 | Time: 60 minutes plus drying | Difficulty: Medium
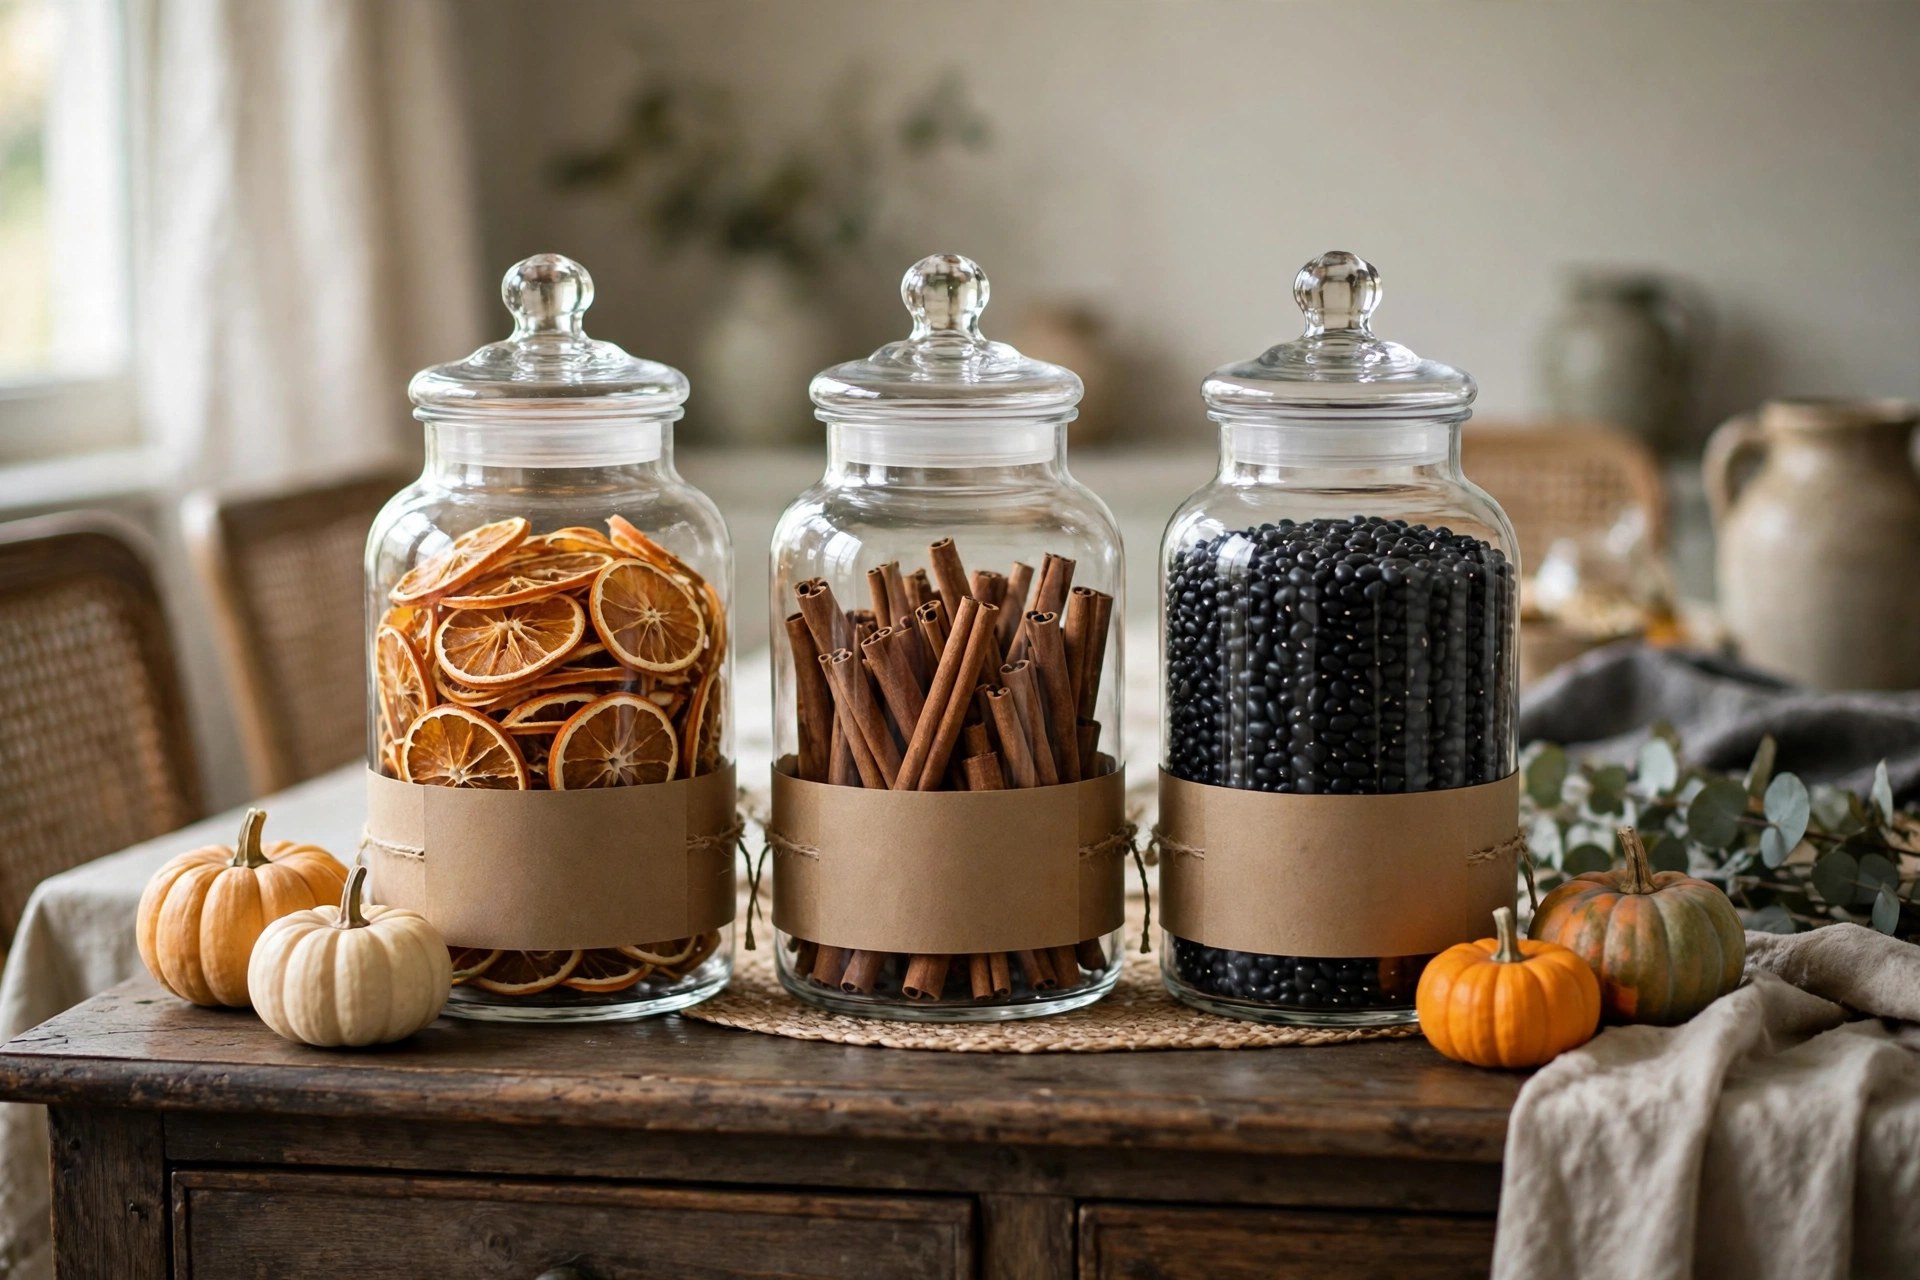
13. Apothecary Jars on the Sideboard
Fill three glass jars with dried orange slices, cinnamon sticks, and black beans, and label them with old-fashioned names like “Dragon Scales” and “Midnight Beans”. Put them on the sideboard, where guests can read them.
I used jars I already had in the cupboard, so this cost almost nothing. Children love reading the labels, and adults love guessing what is inside.
The downside is pantry moths. Dried food in jars can still attract them if left out for weeks, so empty and wash the jars the day after Halloween, every year.
Pro Tip: Use jars with lids that actually seal. A loose lid lets in damp and dulls the colours.
Cost: $3–$8 | Time: 20 minutes | Difficulty: Easy
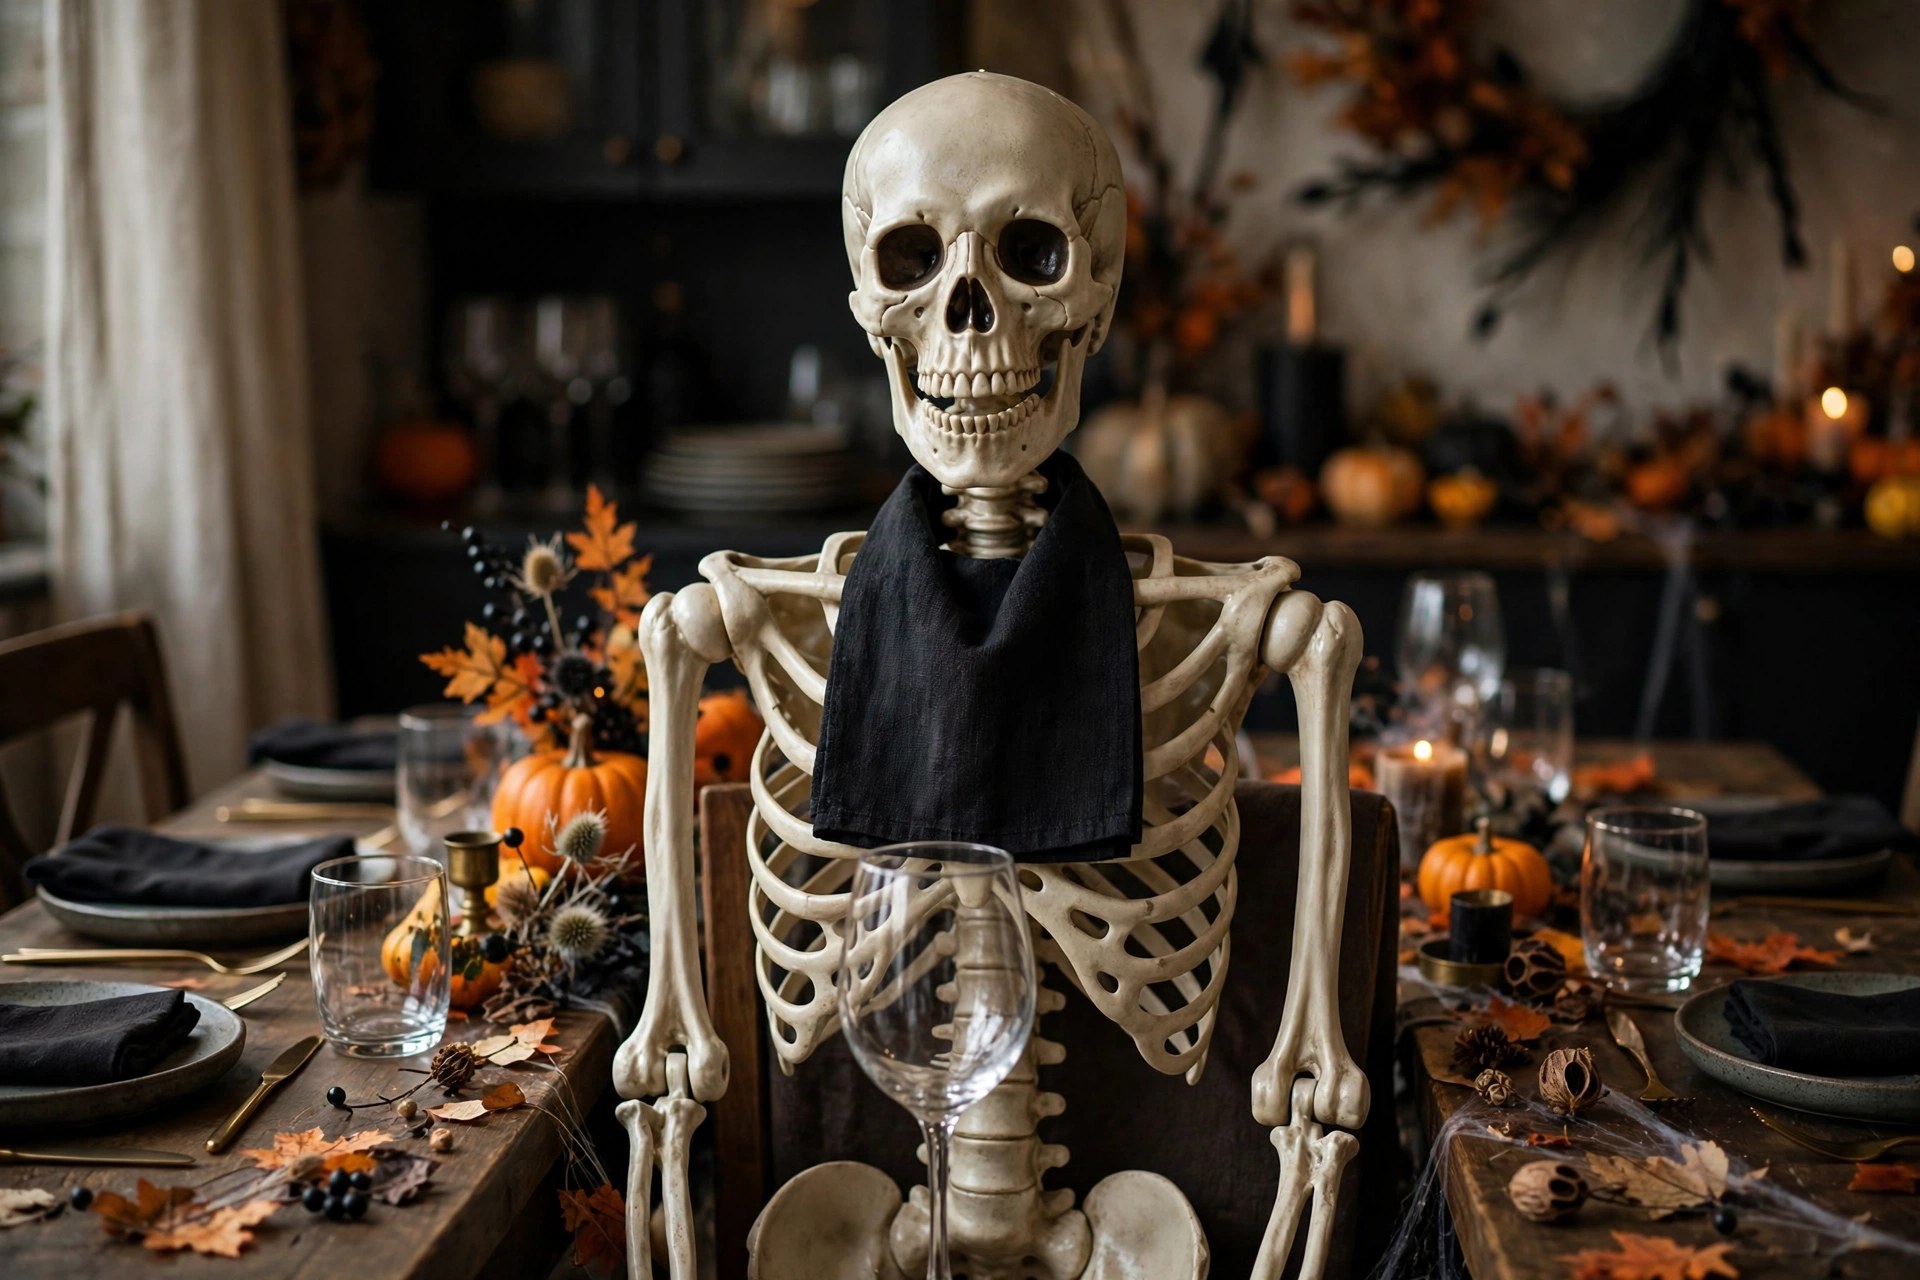
14. Skeleton Dinner Guest
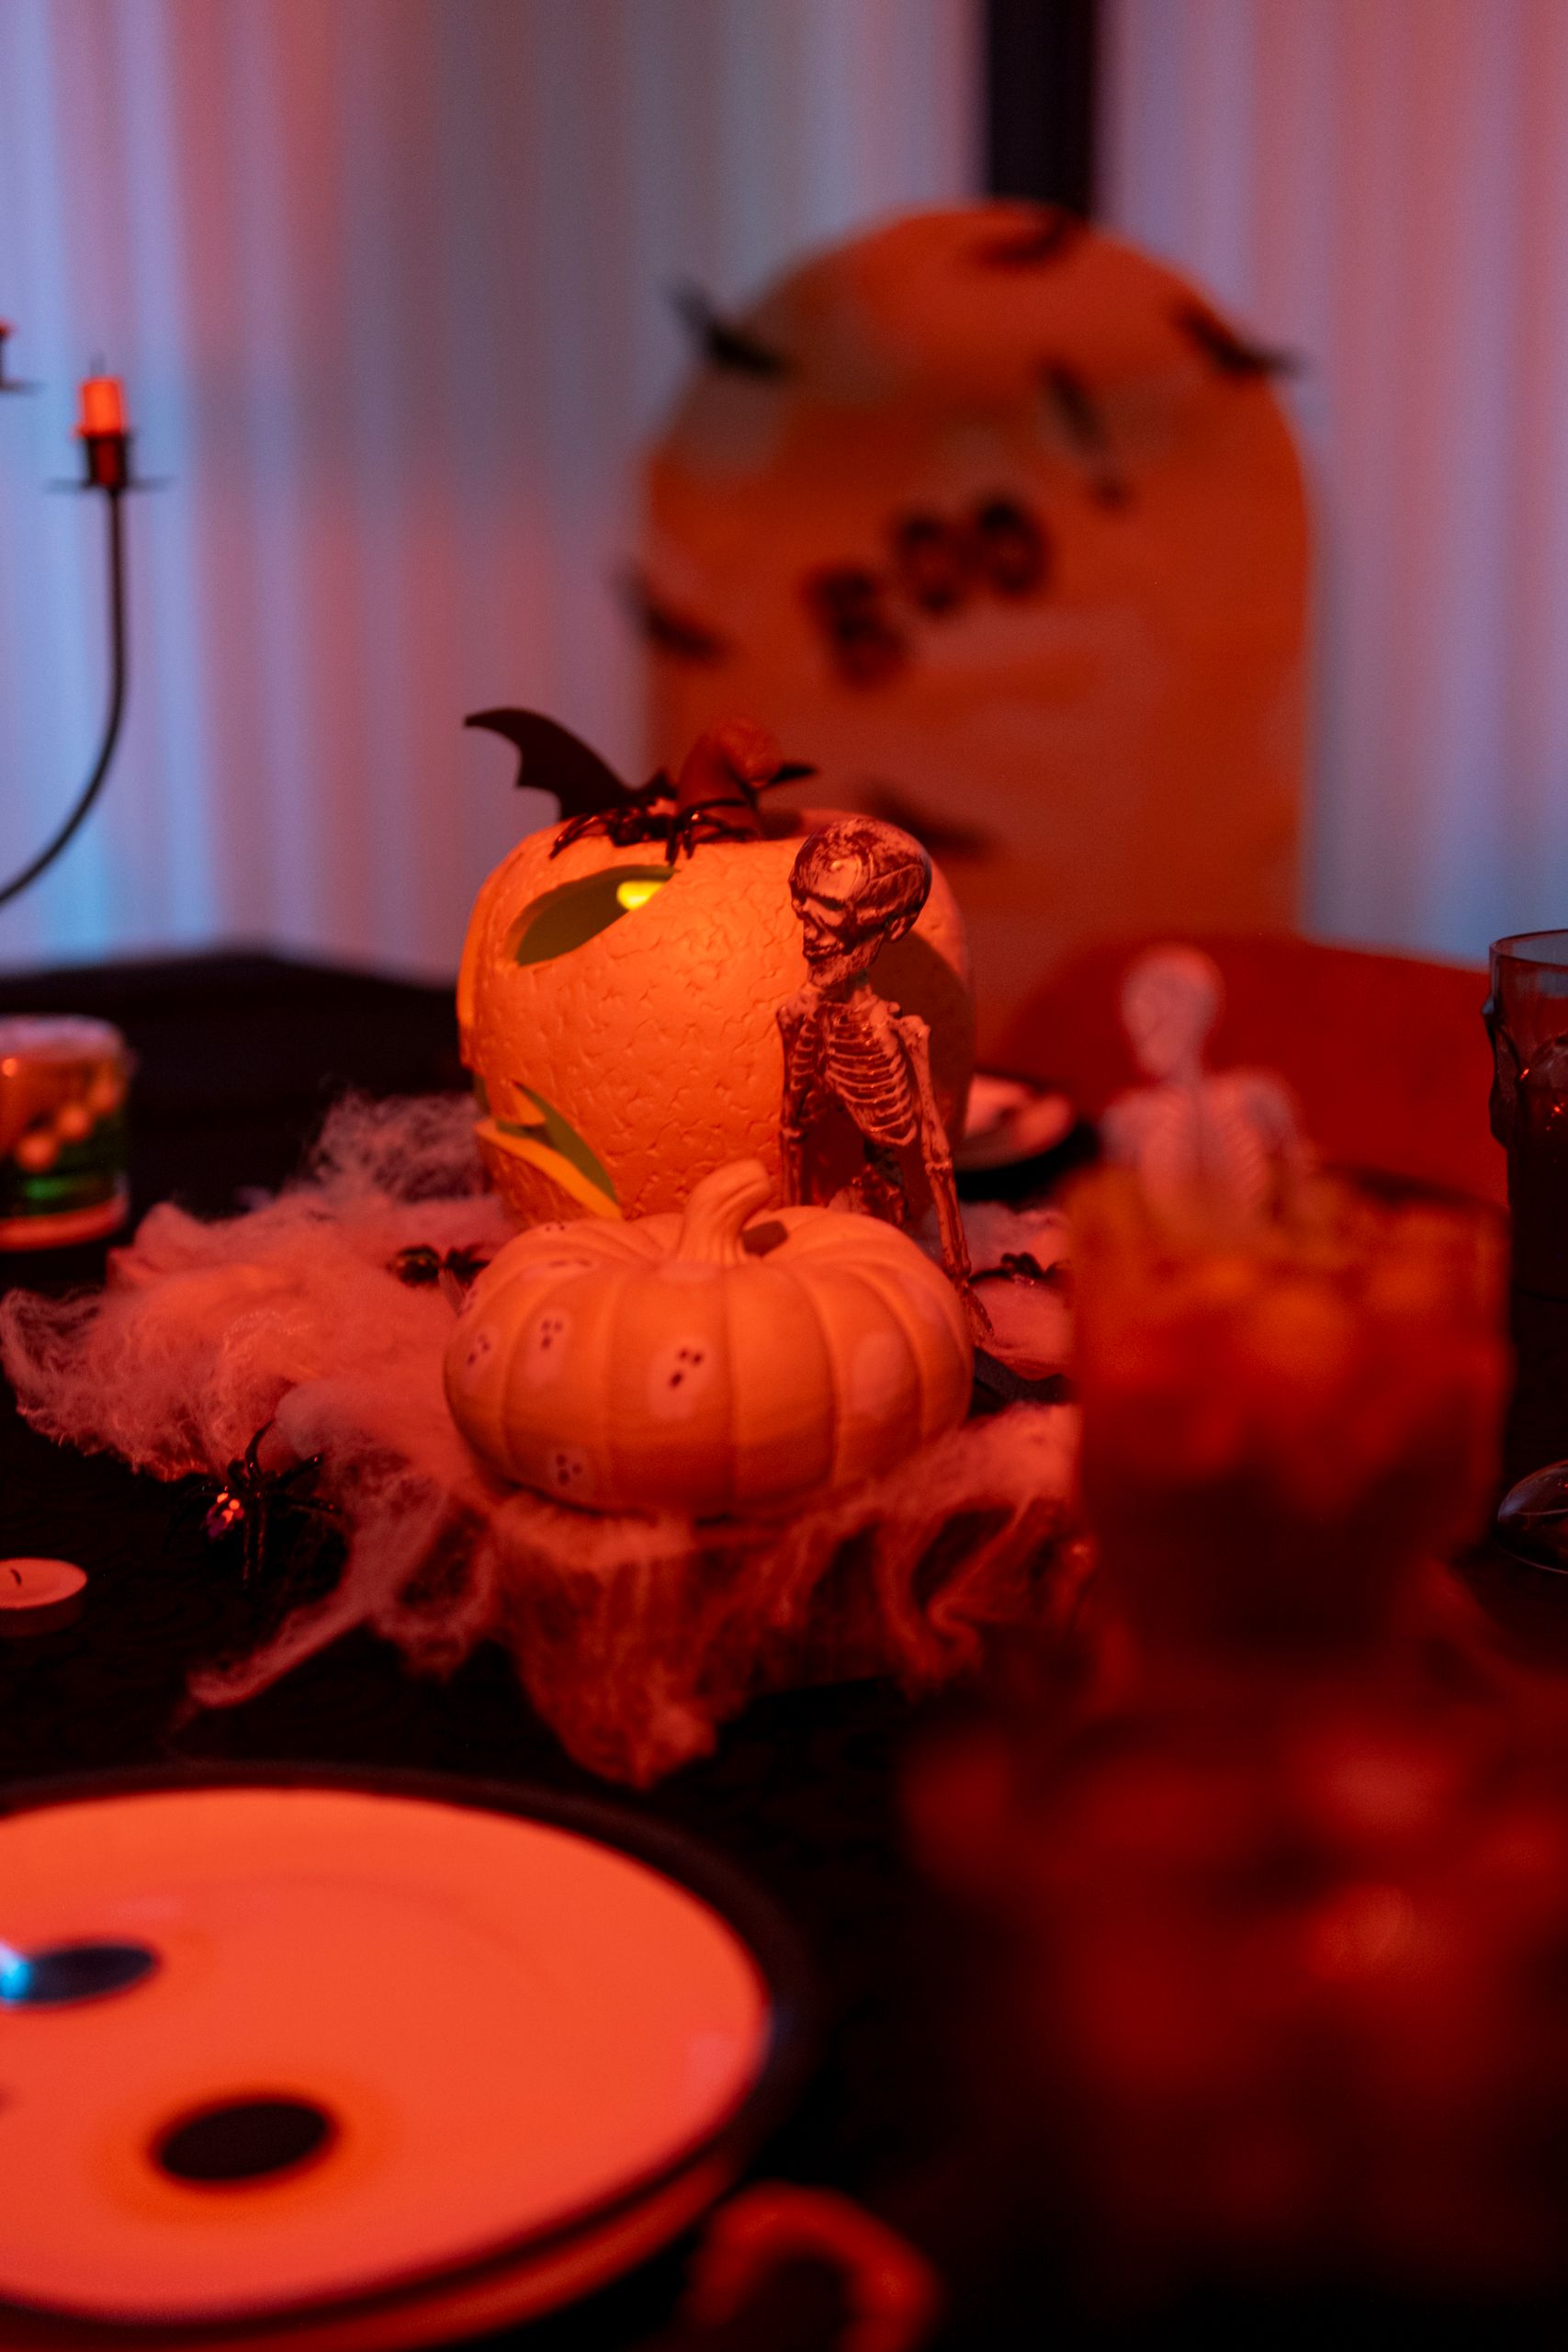
Seat a life-size skeleton at the head of the table, with a napkin tucked in like a bib and a wine glass in front of it. It gets a laugh from every guest, and it photographs better than any other decoration I own.
I bought mine years ago, and it comes out every October. It is the one decoration guests ask about by name, year after year.
The downside is space. A skeleton takes a real chair, so this only works if you have a spare seat. Do not squeeze eight guests around a six-person table just to fit a skeleton in.
Pro Tip: Pose the skeleton leaning slightly forward, elbows on the table. A slumped skeleton looks like it has given up.
Cost: $15–$30 | Time: 5 minutes | Difficulty: Easy
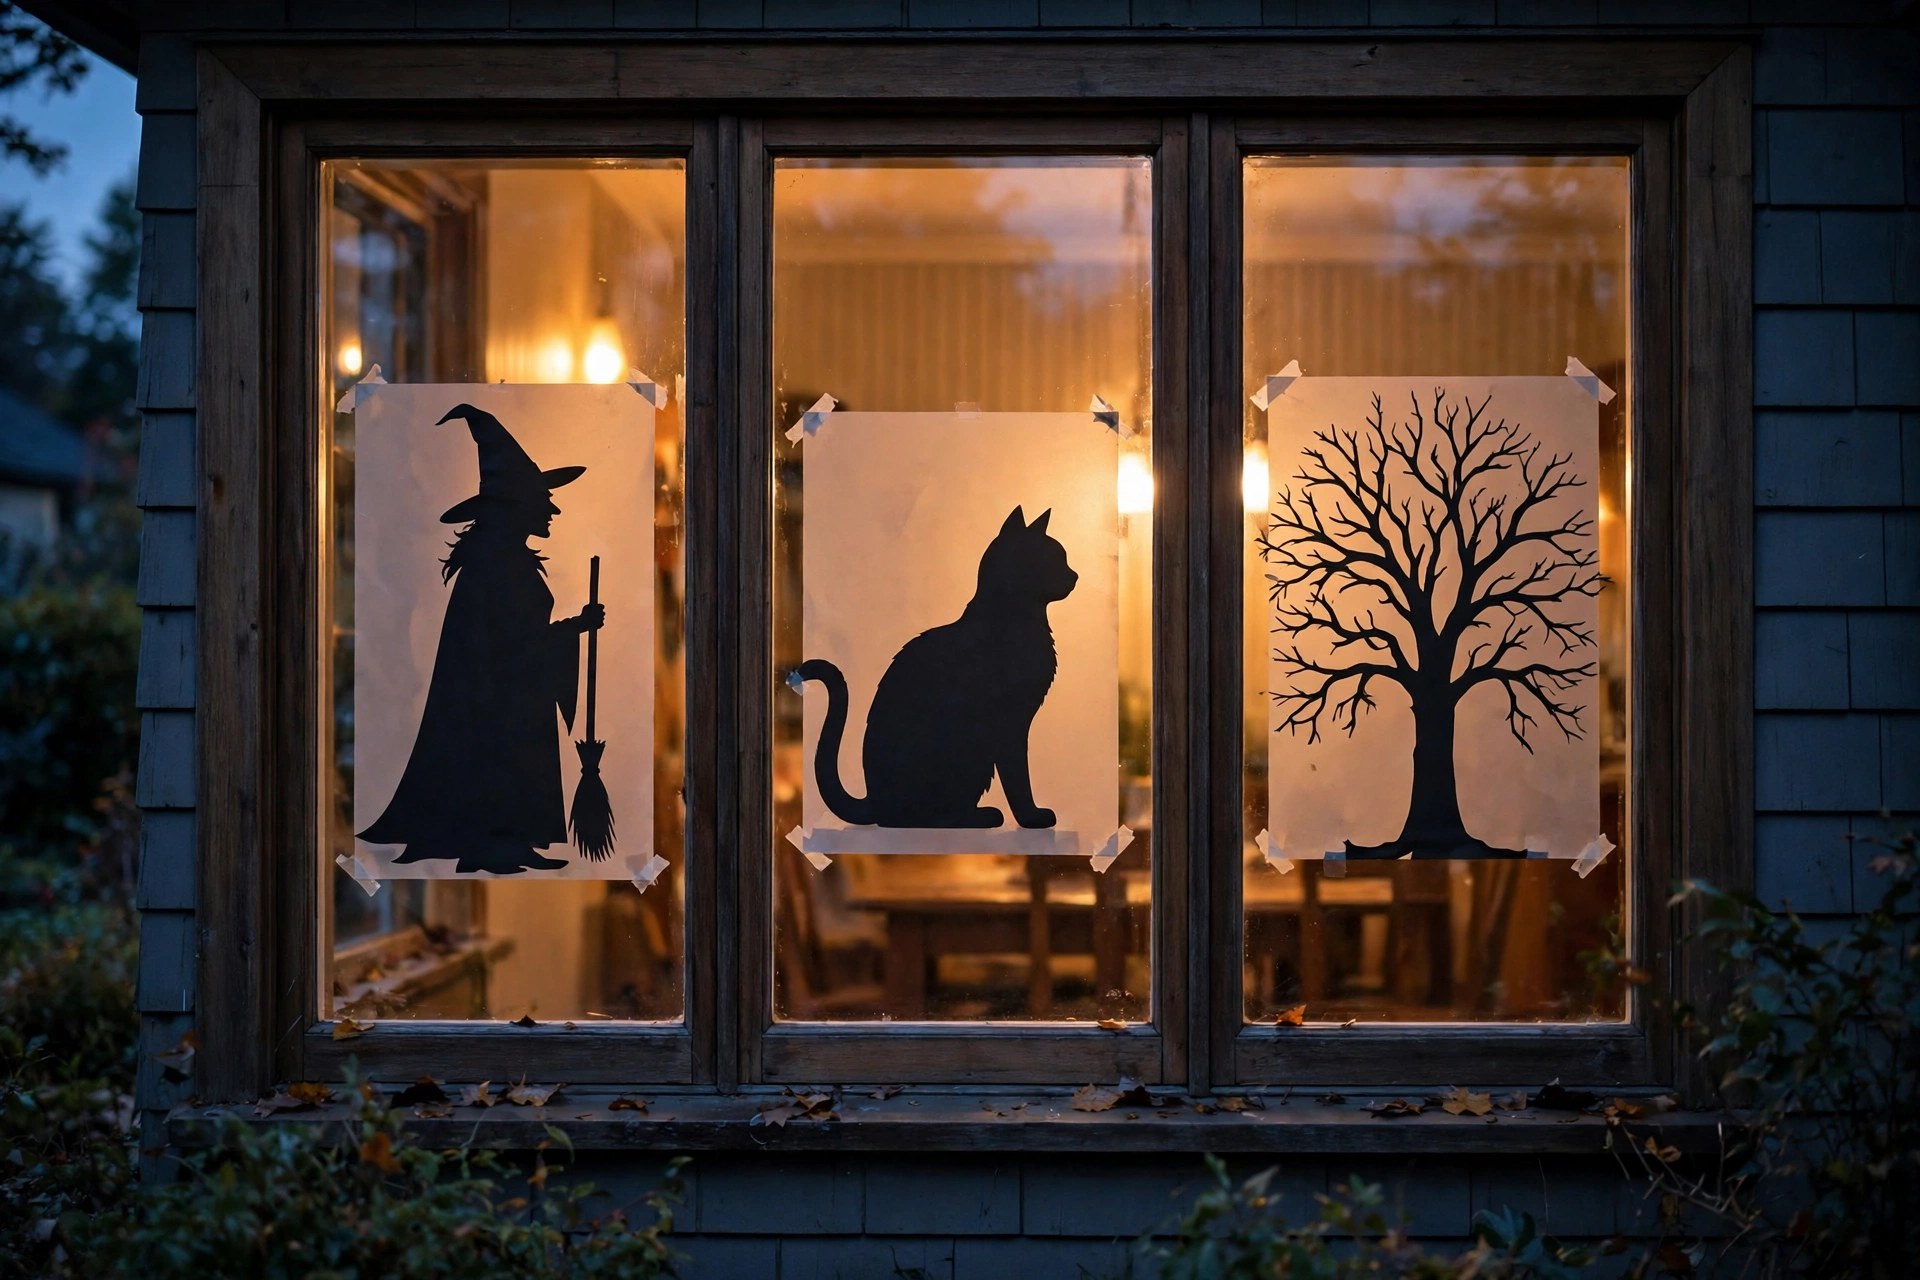
15. Window Silhouettes After Dark
Cut black paper silhouettes of a witch, a cat, and a bare tree, and tape them inside the dining room window, facing out. After dark, with the room light on, they show as shadows from outside.
This cost nothing but an evening with scissors. I put them up a week before Halloween, and neighbours stopped to look.
The downside is tape on glass. Cheap tape leaves residue, so use painter’s tape on the frame and a tiny dot of clear tape on the paper itself, never on the glass.
Pro Tip: Make the silhouettes bigger than you think. Small silhouettes disappear from the street.
Cost: $2–$4 | Time: 45 minutes | Difficulty: Easy
Also read: more table-level spookiness — https://craftedcornerhome.com/spooky-halloween-table-decorations/
16. Harvest and Spooky Mix
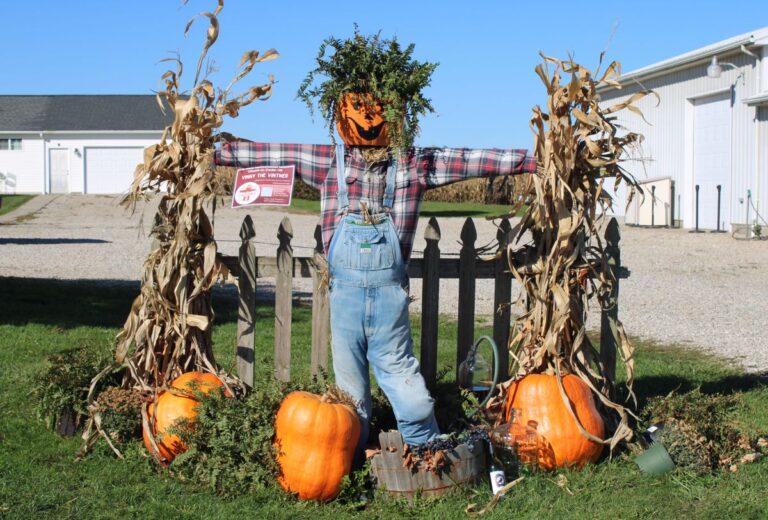
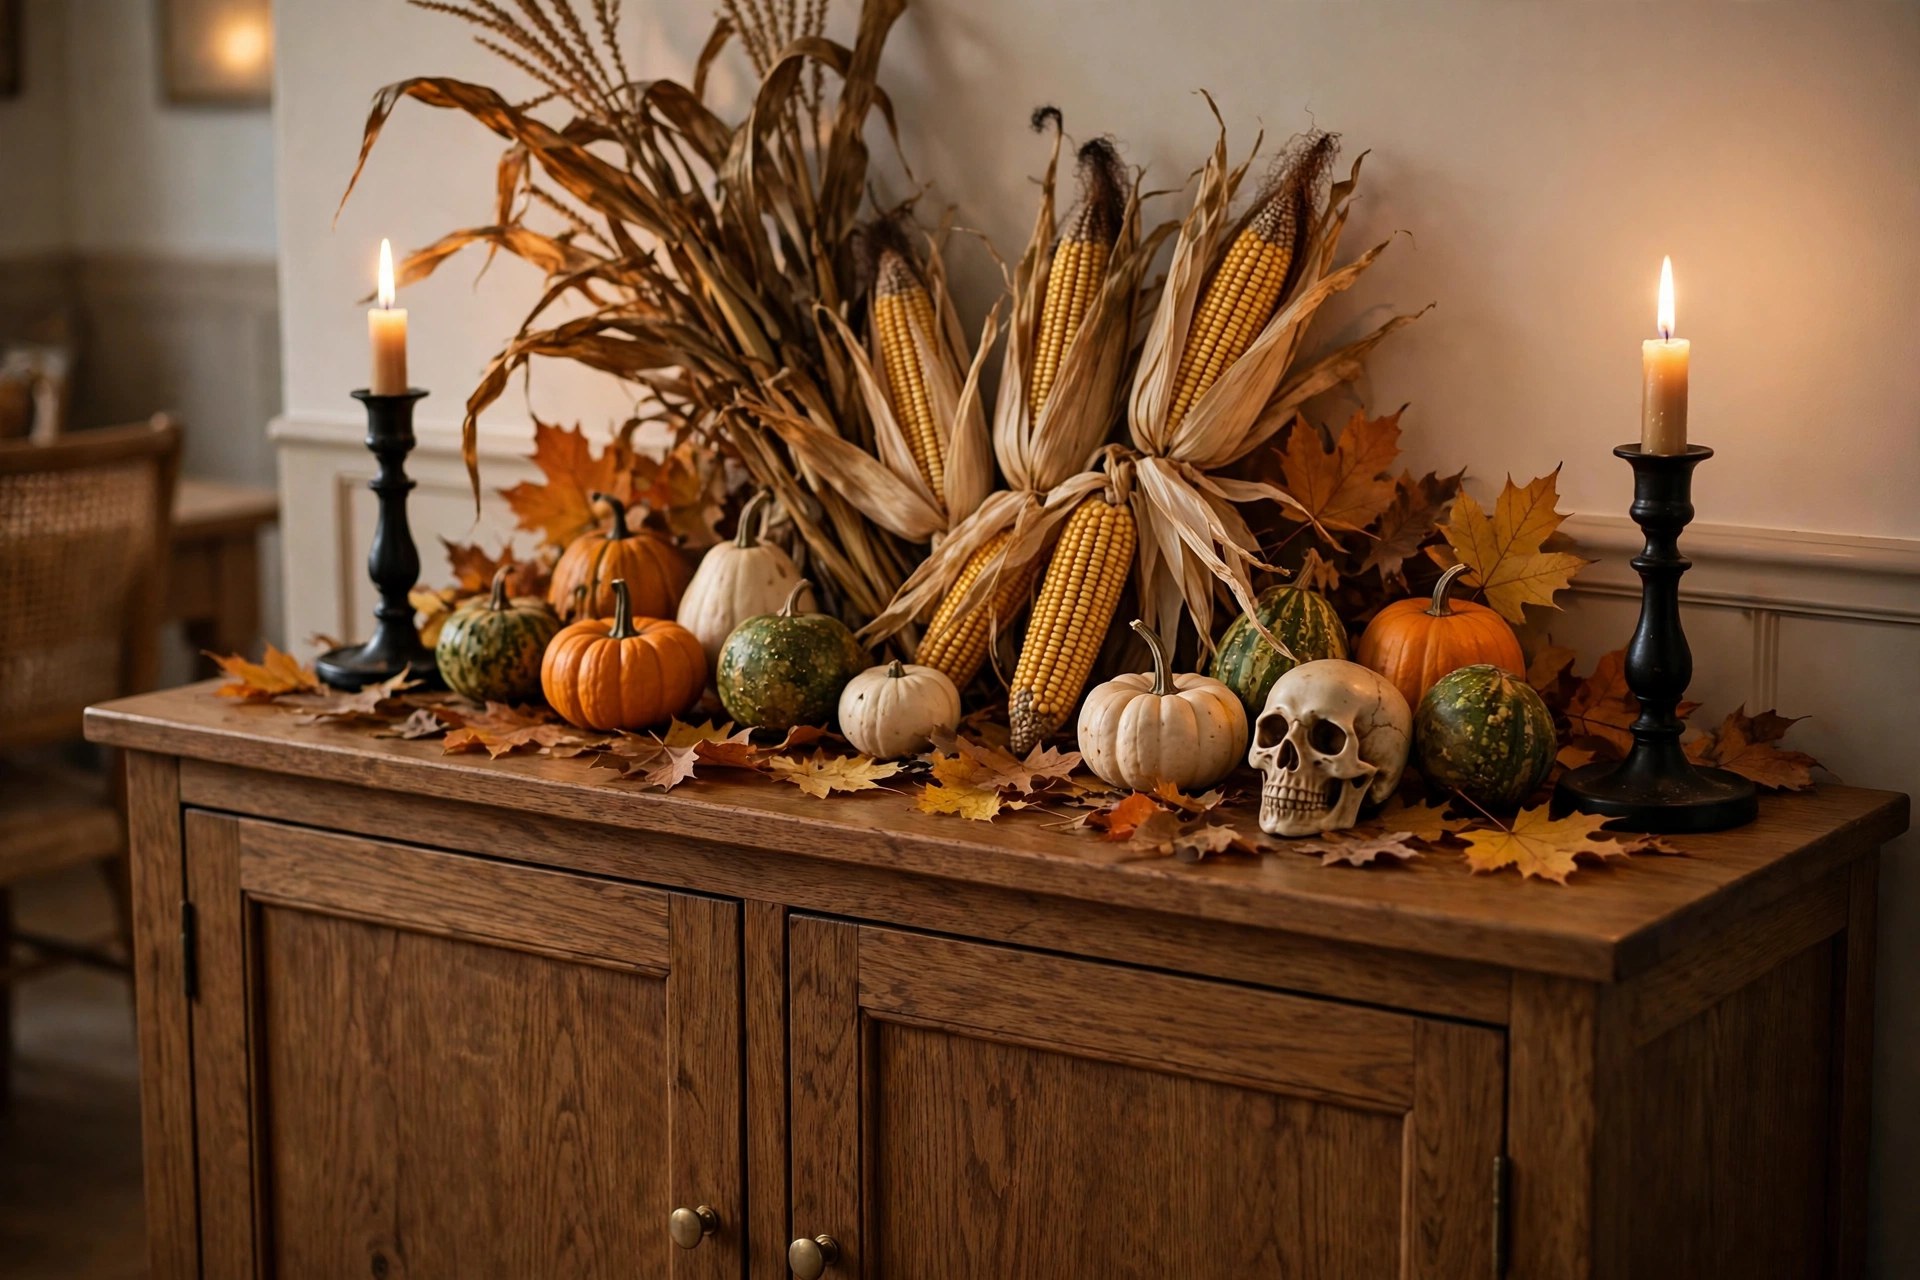
Mix autumn harvest with Halloween on the sideboard: dried corn, small gourds, and autumn leaves next to two black candlesticks and a small skull. The harvest softens the spooky, so the room feels like October, not like a haunted house attraction.
This is the look I use when grandparents are coming. It is festive without being frightening, and it uses things I already have from autumn decorating.
The downside is balance. Too much harvest and the Halloween disappears, too much spooky and the harvest looks accidental. My rough rule is two harvest pieces to one spooky piece.
Pro Tip: Keep all dried leaves away from candles. Dried leaves and flames do not mix, even for a photo.
Cost: $5–$12 | Time: 20 minutes | Difficulty: Easy
17. Kids’ Corner at the Dining Table
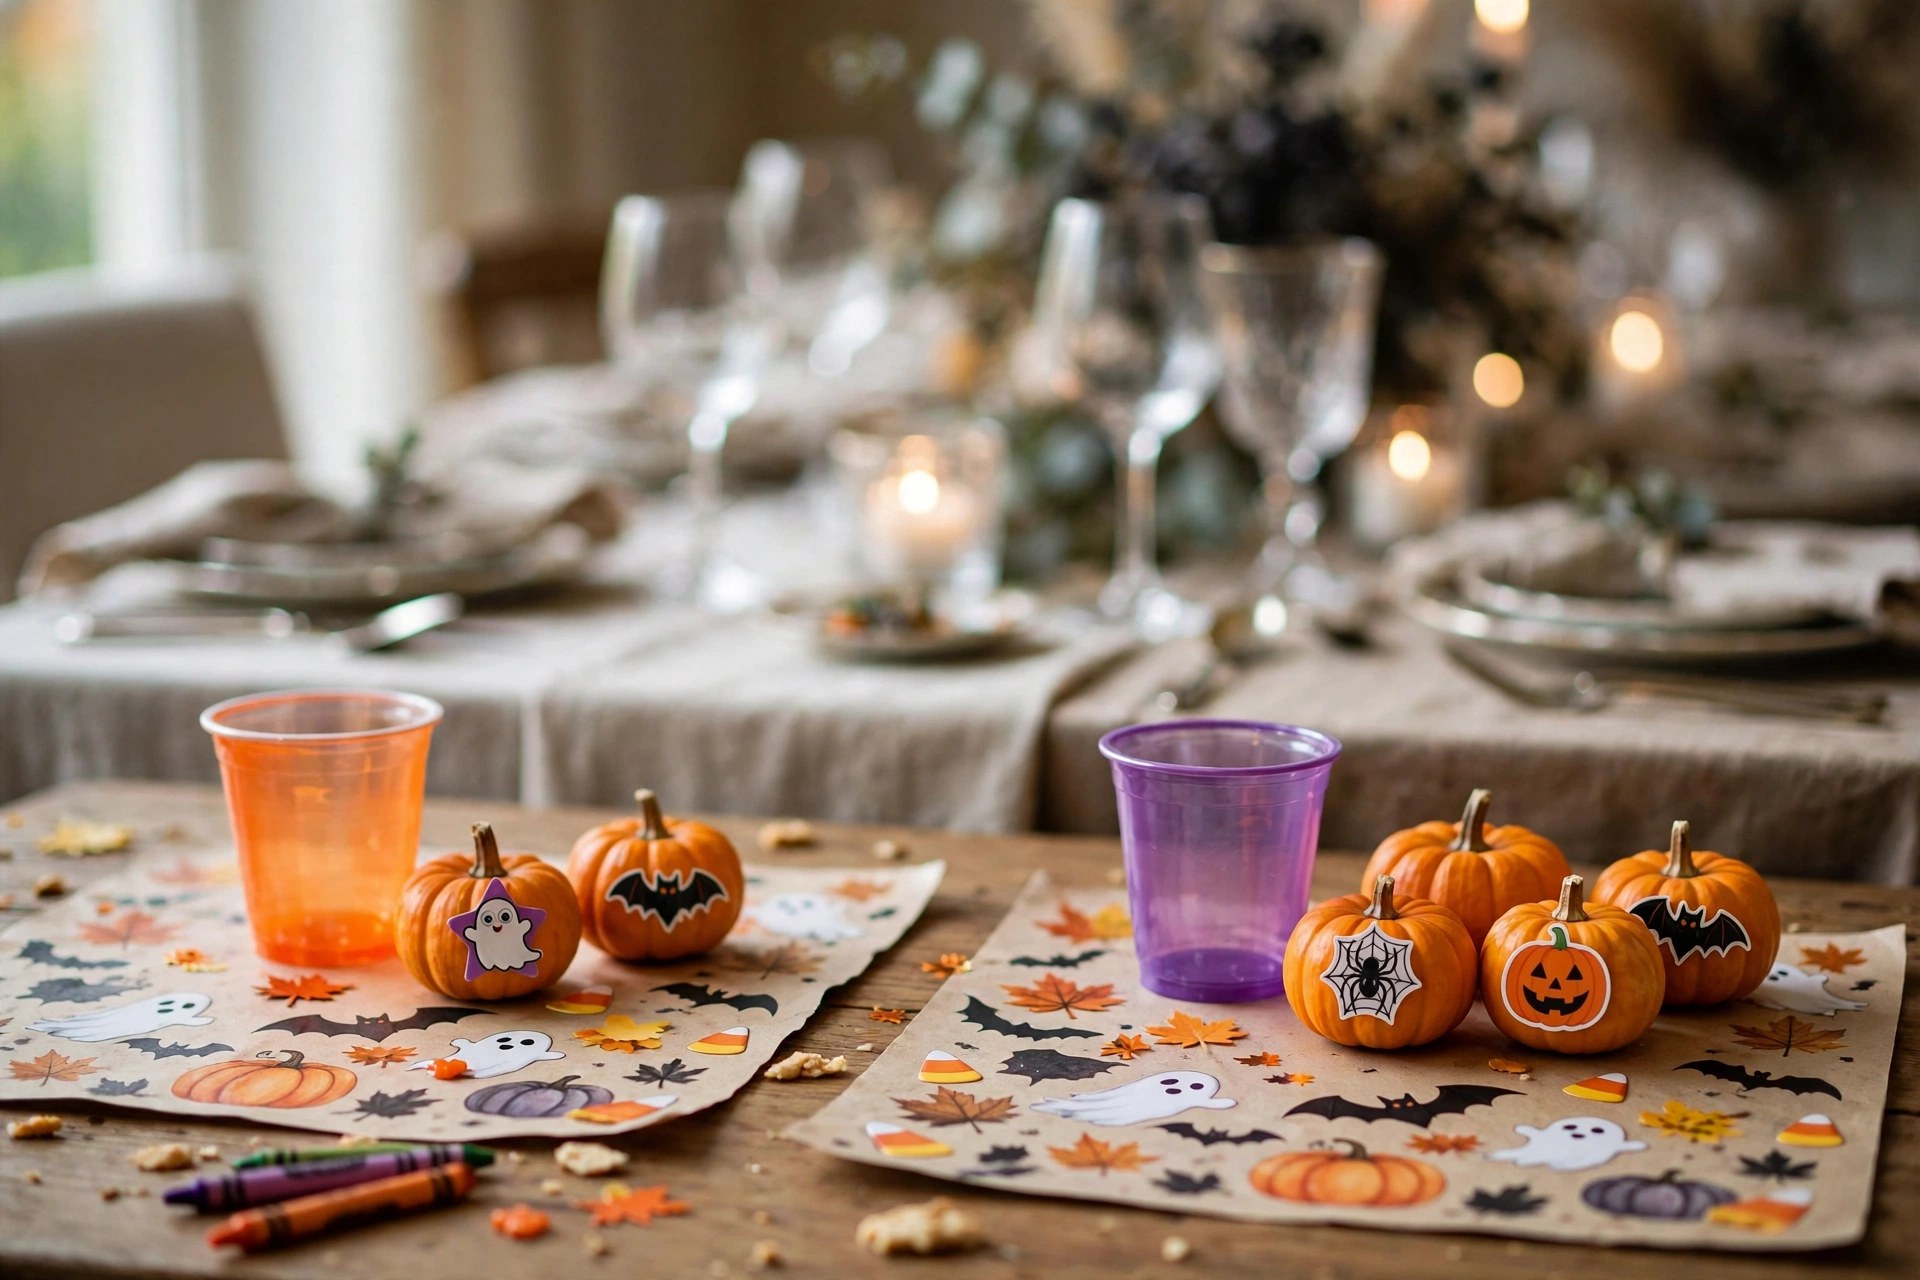
Give children a small end of the table just for them: paper placemats they can draw on, plastic cups, and a tiny pumpkin each to decorate with stickers. The adults’ end stays elegant, and the children’s end stays fun.
I did this last year for four children, and the paper placemats kept them busy through the main course. It also meant I did not worry about the good tablecloth at their end.
The downside is stickers. Stickers end up on the table, the chairs, and once on the dog. Use washable stickers only, and peel the backing off in advance.
Pro Tip: Give children their own small serving bowl of each dish. It stops them reaching across the table.
Cost: $5–$10 | Time: 20 minutes | Difficulty: Easy
18. Washable Layers for an Easy Reset
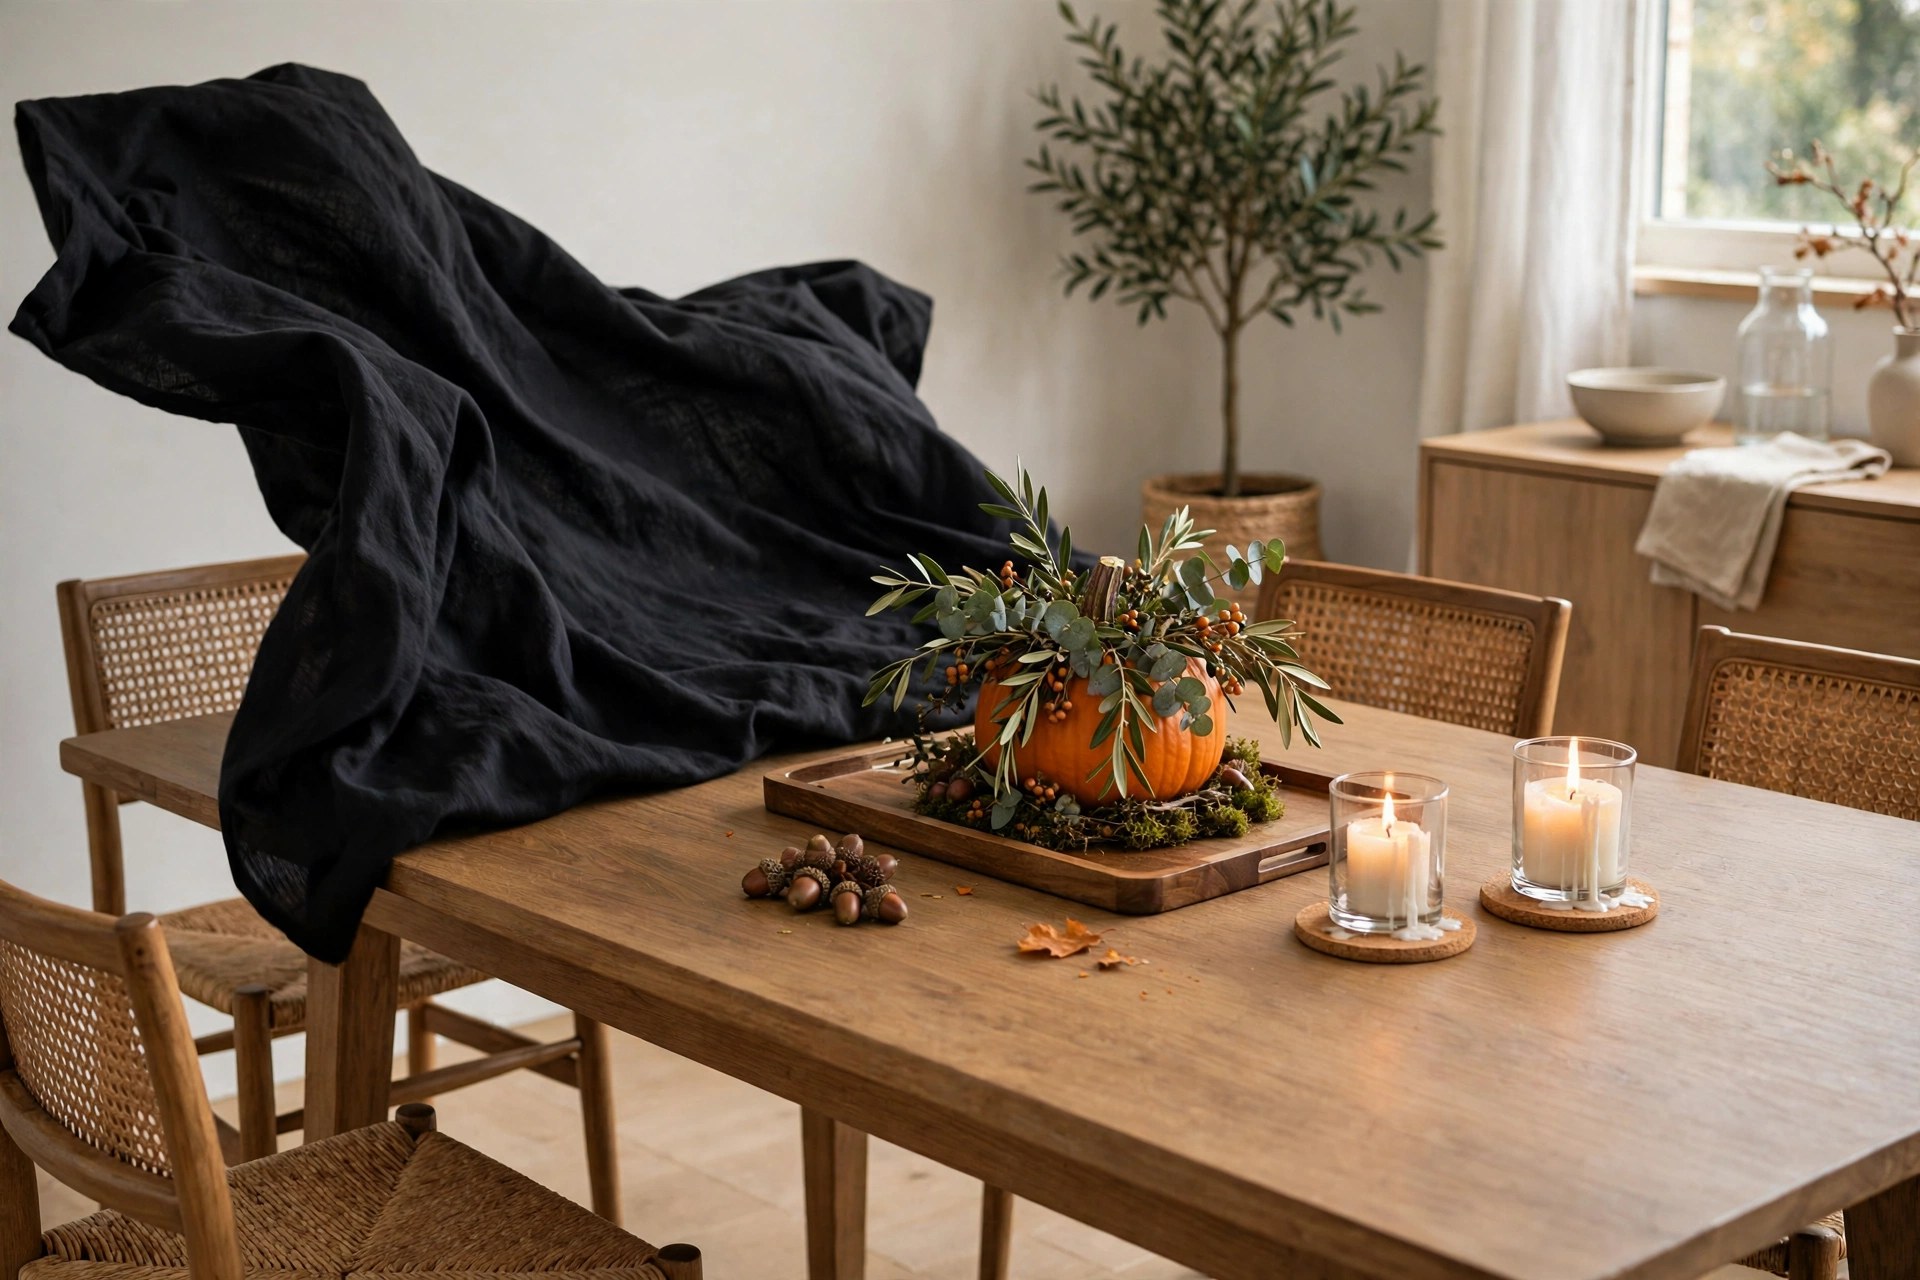
This is not a decoration, but it is what makes the others possible. Layer everything washable underneath everything precious: a cheap black cloth under the good runner, a tray under the centrepiece, and coasters under every candle.
After last year’s Halloween dinner, the room was back to normal in forty minutes. The cloth went in the wash, the tray went in the cupboard, and the pumpkins went to the porch.
The downside is looking cheap. Washable layers can look cheap if they show, so make sure every cheap layer is fully covered by something better-looking.
Pro Tip: Photograph the room before guests arrive. The photo shows you what to put back, and it is also a lovely record of the evening.
Cost: $0–$10 | Time: 15 minutes | Difficulty: Easy
Comparison Table
| Idea | Best For | Cost | Effort |
|---|---|---|---|
| Black and orange layered table | Family dinners | Low | Low |
| Pumpkin cluster centrepiece | Low centrepieces | Low | Low |
| Candelabra and tapers | Evening dinners | Low to medium | Low |
| Ghostly white tablescape | Elegant Halloween | Low to medium | Low |
| Bat swarm wall | Plain walls | Very low | Medium |
| Cobweb chandelier | Instant atmosphere | Very low | Low |
| Haunted gallery wall | Renters | Very low | Low |
| Witch-hat chair sashes | Grand entrances | Low | Low |
| Mini pumpkin place cards | Assigned seats | Low | Low |
| Moody lighting | Every other idea | Low | Low |
| Sideboard potion bar | Self-serve drinks | Low | Low |
| Spider-web runner | Crafty hosts | Low | Medium |
| Apothecary jars | Sideboards | Very low | Low |
| Skeleton guest | Parties needing a laugh | Medium | Very low |
| Window silhouettes | Street appeal | Very low | Medium |
| Harvest and spooky mix | Family dinners | Low | Low |
| Kids’ corner | Dinners with children | Low | Low |
| Washable reset layers | Easy clean-up | Very low | Low |
Mistakes I Made (So You Don’t Have To)
I built a centrepiece so tall that guests could not see each other. Now nothing in the middle goes above 30 cm.
I hung cobweb over a real candle chandelier. Now cobweb only goes near LED bulbs, and real flames stay on the table.
I decorated on party morning and ran out of time. Now the walls and windows are done two days before.
I used a white cloth for a tomato-sauce dinner. Now the cloth follows the menu: dark for saucy food, white only for light menus.
Frequently Asked Questions
How long did your dining room stay decorated?
The walls and windows stayed up for two weeks. The table was set on dinner morning, and the uncarved pumpkins lasted three weeks.
What would you do differently next time?
I would start with lighting, not shopping. Dimming the lights first made everything I already owned look better.
Is it safe with children and candles?
Yes, with two rules: real flames stay on the table in heavy holders, and children get LED candles only.
Final Thoughts
These halloween dining room decor ideas work when the table stays low, the walls and light do the dramatic work, and one colour story holds the whole room together.
Read this next: the rest of the house — https://craftedcornerhome.com/indoor-halloween-decoration-ideas/
If you try one idea this week, I would love to know which one it was. Here, it is still the pumpkin cluster.