18 Yarn Craft Ideas Without Knitting That Anyone Can Make
I cannot knit, and I stopped pretending otherwise years ago. These yarn craft ideas are the ones I made with wrapping, knotting, pom-poms, and glue, and they are proof that a basket of yarn can turn into real home decor without a single knitting needle.
How I picked these: I made each project myself, kept it in my home for at least two weeks, and watched what unravelled, faded, or collected dust. I kept only the projects that still looked deliberate after that test, and every idea below tells you what it cost, how long it took, and where it went wrong.
Related article: Macrame Craft Ideas for Beginners
Key Takeaways
- No knitting is needed for any project in this list, only wrapping, knotting, cutting, and gluing.
- Thick, chunky yarn hides mistakes far better than thin yarn.
- Measure yarn generously, because running out halfway ruins a project.
- Keep yarn crafts away from open flames and high-traffic pet areas.
- Start with a pom-pom or a wrapped letter before you try a wall hanging.
18 Yarn Craft Ideas Without Knitting
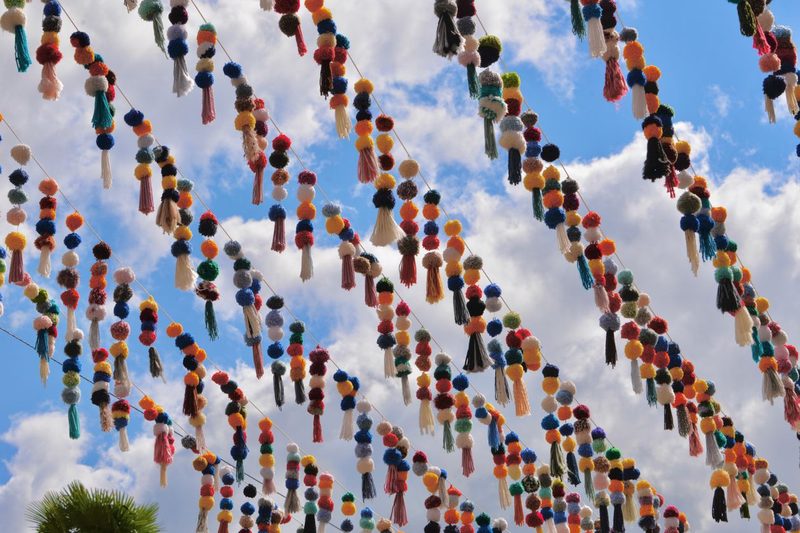
1. The Classic Pom-Pom Garland
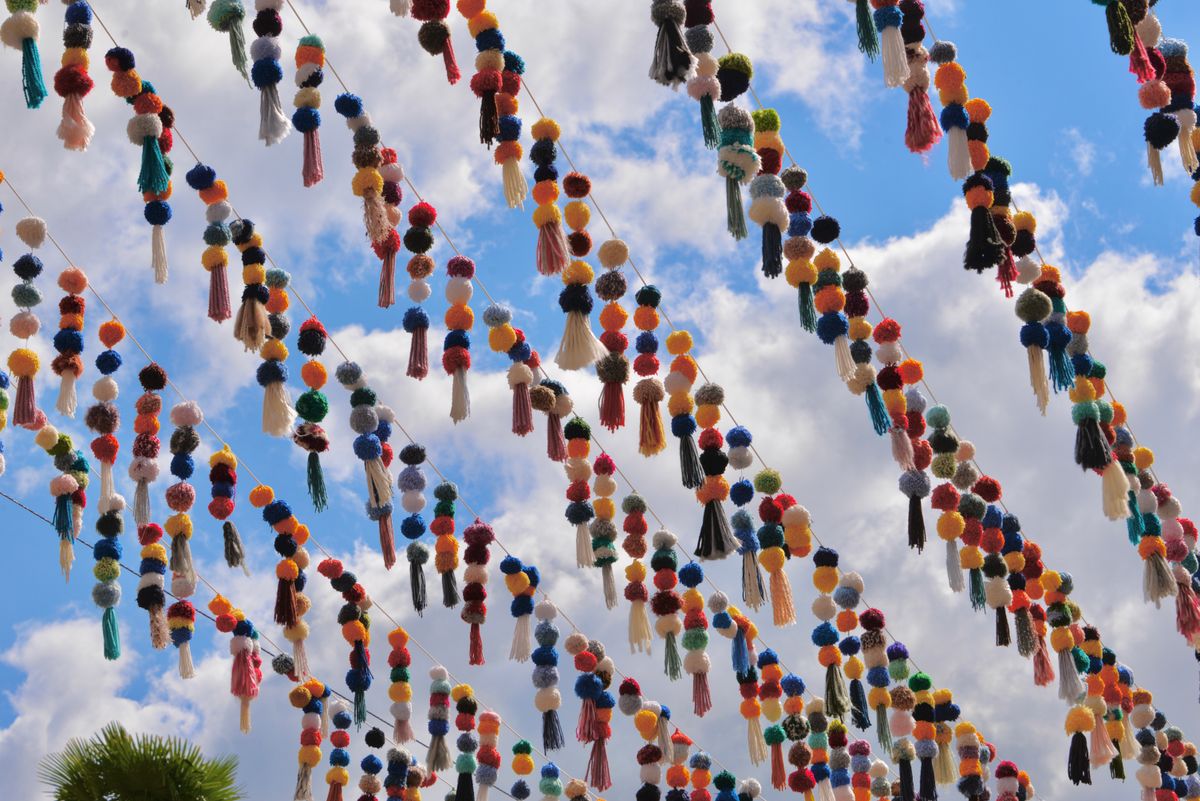
I made a garland by wrapping yarn around a fork for small pom-poms and around a cardboard ring for large ones, tying each one tightly in the middle, then cutting the loops. I strung twelve pom-poms on cotton twine, spacing them by hand, and hung the garland over a doorway.
The downside is shedding. My first garland left yarn fluff on the sofa for a week, so I trimmed each pom-pom twice and shook it outside before hanging. Trimming is boring, but it is the difference between fluffy and messy.
Pro Tip: Trim each pom-pom twice, shake it outside, then trim once more before stringing.
Cost / Time / Difficulty: $4 to $8 per garland | 1 to 2 hours | Easy
2. The Yarn-Wrapped Letter
I wrapped a large wooden letter in chunky yarn, gluing the end first, then winding tightly from top to bottom with no gaps. I used a letter from my initial, in a warm mustard shade, and I glued the final end on the back where it would not show.
The downside is gaps. My first letter had thin stripes of wood showing through because I rushed the winding, so I unwound it and started again more slowly. The second attempt took longer but looked solid, and it now sits on my bookshelf.
Pro Tip: Glue the starting end on the back, wind tightly, and check for gaps every few rounds.
Cost / Time / Difficulty: $5 to $9 per letter | 1 hour | Easy

Image credit: https://woojr.com/yarn-wrapped-letters-project/
3. The Tassel Wall Hanging
I made a wall hanging by tying yarn tassels to a wooden dowel, varying the lengths so the bottom edge formed a gentle V shape. I used three shades of cream and rust, cut the tassels to length after tying, and hung the dowel from cotton cord.
The downside is uneven tassels. My first hanging looked lopsided because I cut freehand, so I now trim against a ruler on a flat table. It took ten extra minutes and saved the whole project.
Pro Tip: Trim tassels against a ruler on a flat table, never freehand in the air.
Cost / Time / Difficulty: $6 to $12 per hanging | 2 hours | Easy

Image credit: https://abeautifulmess.com/diy-giant-tassel-wall-hanging/
4. The Yarn-Wrapped Vase
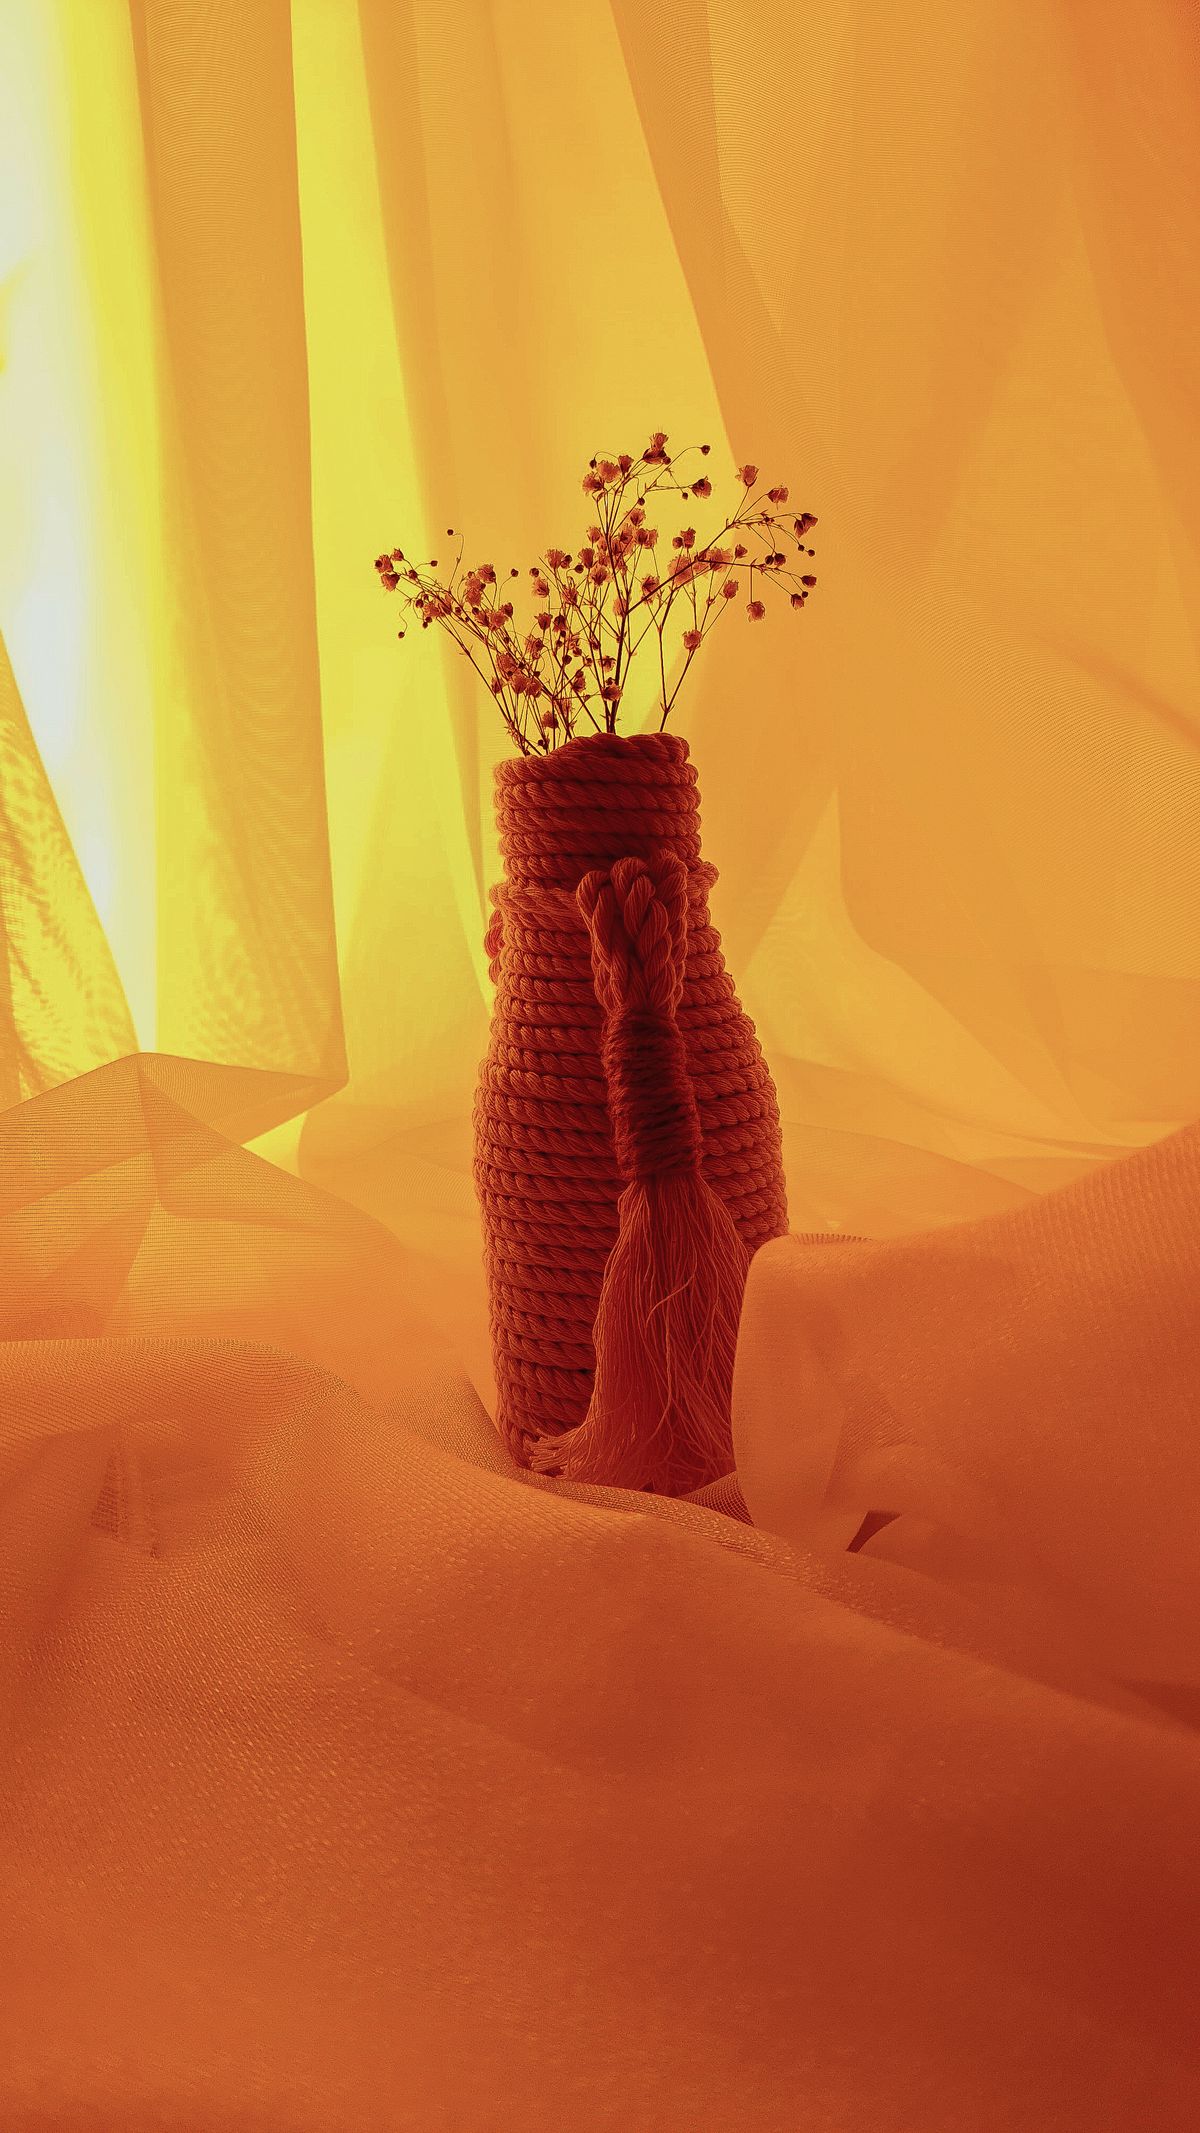
I wrapped a plain glass jar in yarn, gluing as I wound, and left the top inch bare so the glass still showed. I used a chunky cream yarn, wound from the base upward, and I pressed each round firmly against the last to avoid gaps.
The downside is glue strings. My first vase had fine hot-glue threads all over it, so I now use craft glue for the first and last rounds only, and let friction hold the middle. The result is cleaner, and the vase holds dried stems beautifully.
Pro Tip: Use craft glue only at the start and end of a wrap, and let tight winding hold the middle.
Cost / Time / Difficulty: $3 to $6 per vase | 45 minutes | Easy
5. The No-Knit Scarf
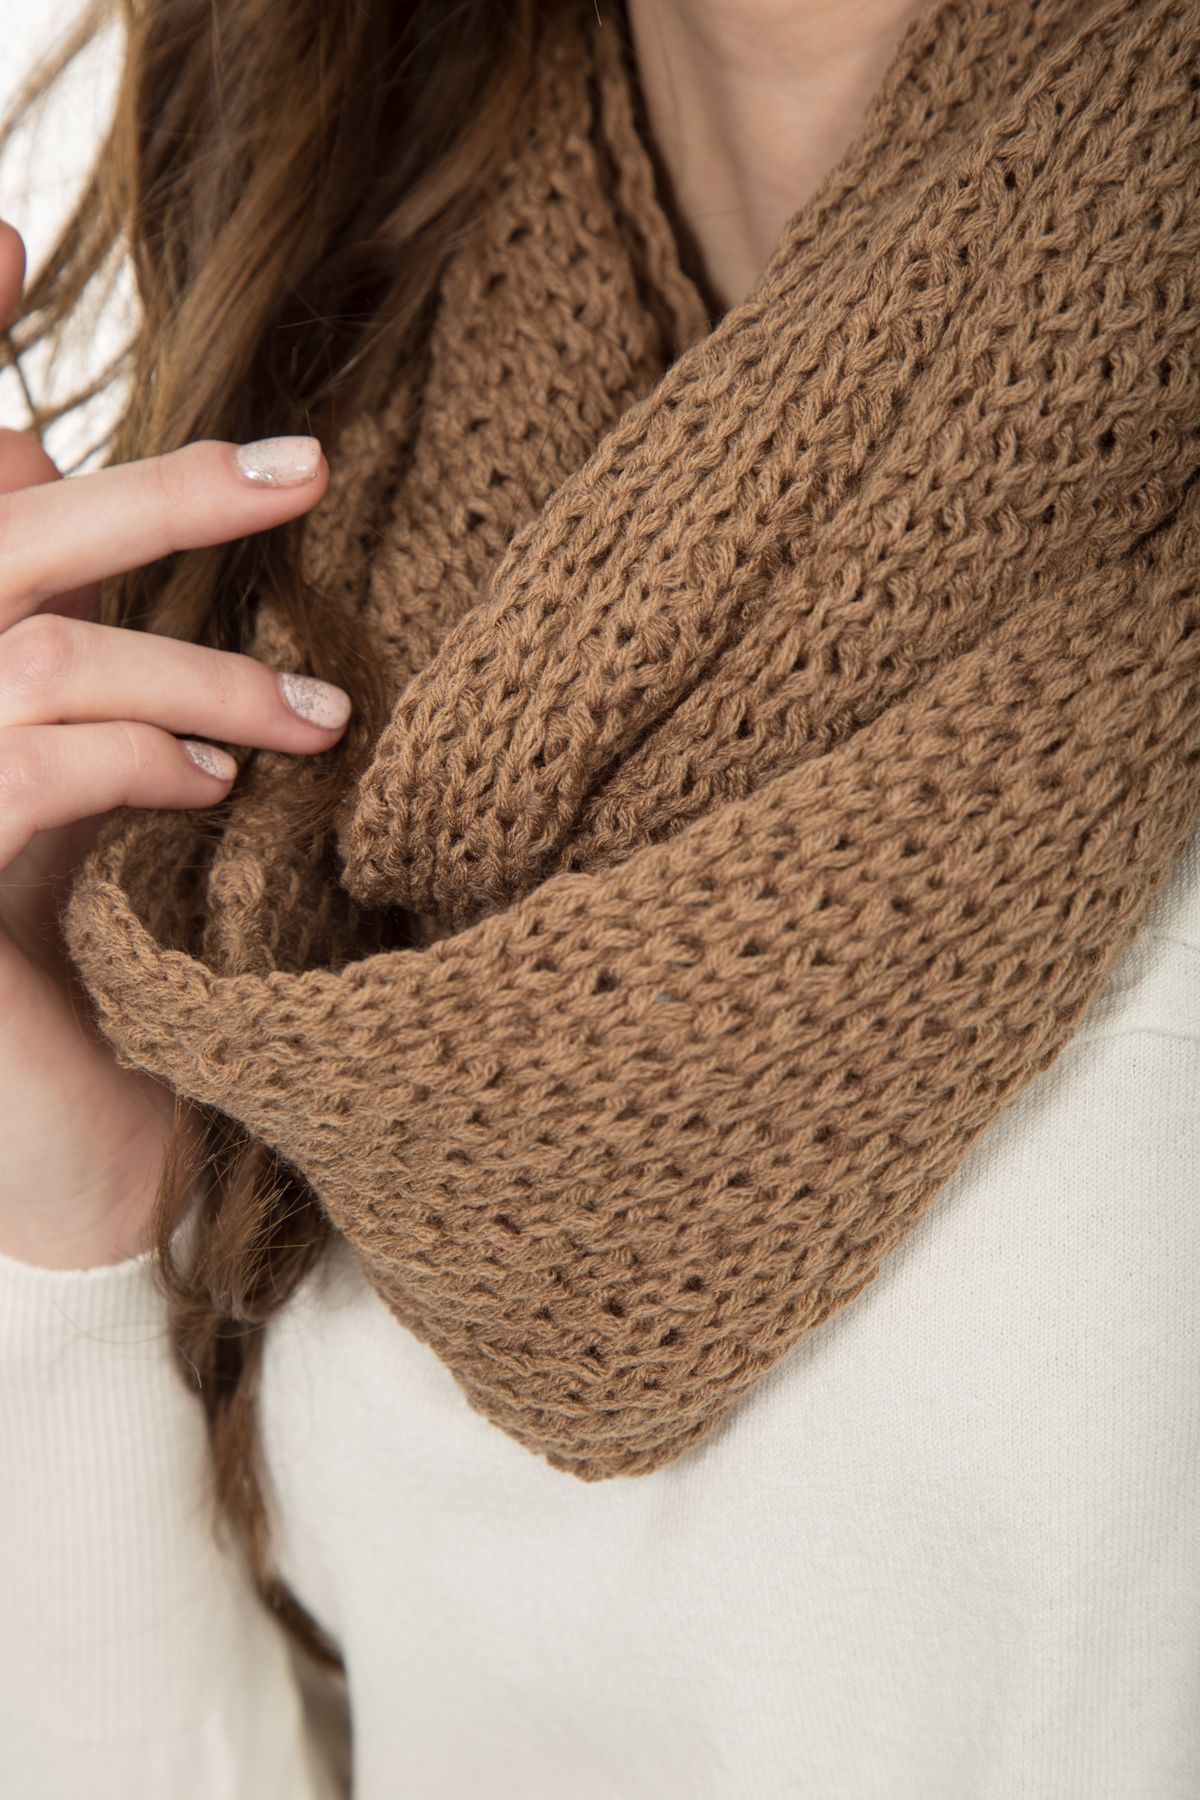
I made a scarf by looping yarn through a simple finger-loop chain, no needles at all, then joining the loops into a wide, soft strip. I used a thick, soft yarn in charcoal, worked in front of the television, and finished with a fringe made from short cut lengths.
The downside is stretch. My first scarf stretched out of shape after a week of wearing, so I made the second one shorter and narrower than I wanted, knowing it would relax. That one still fits, and I wear it most winter days.
Pro Tip: Make a no-knit scarf shorter than you want it, because it will stretch with wear.
Cost / Time / Difficulty: $8 to $14 per scarf | 3 hours | Medium
6. The Yarn Bowl
I wrapped yarn around a balloon, brushing it with watered-down craft glue, and let it dry overnight before popping the balloon. I used a medium balloon, three layers of yarn, and a bowl shape that held keys and small items by the door.
The downside is collapse. My first bowl sagged because I used too little glue, so the second got a second glue coat after the first dried. It held its shape, though I would not trust it with heavy items.
Pro Tip: Give a yarn bowl two glue coats, with full drying between them, or it will sag.
Cost / Time / Difficulty: $4 to $7 per bowl | 1 hour plus overnight drying | Medium

Image credit: https://www.carolynshomework.com/search/label/yarn
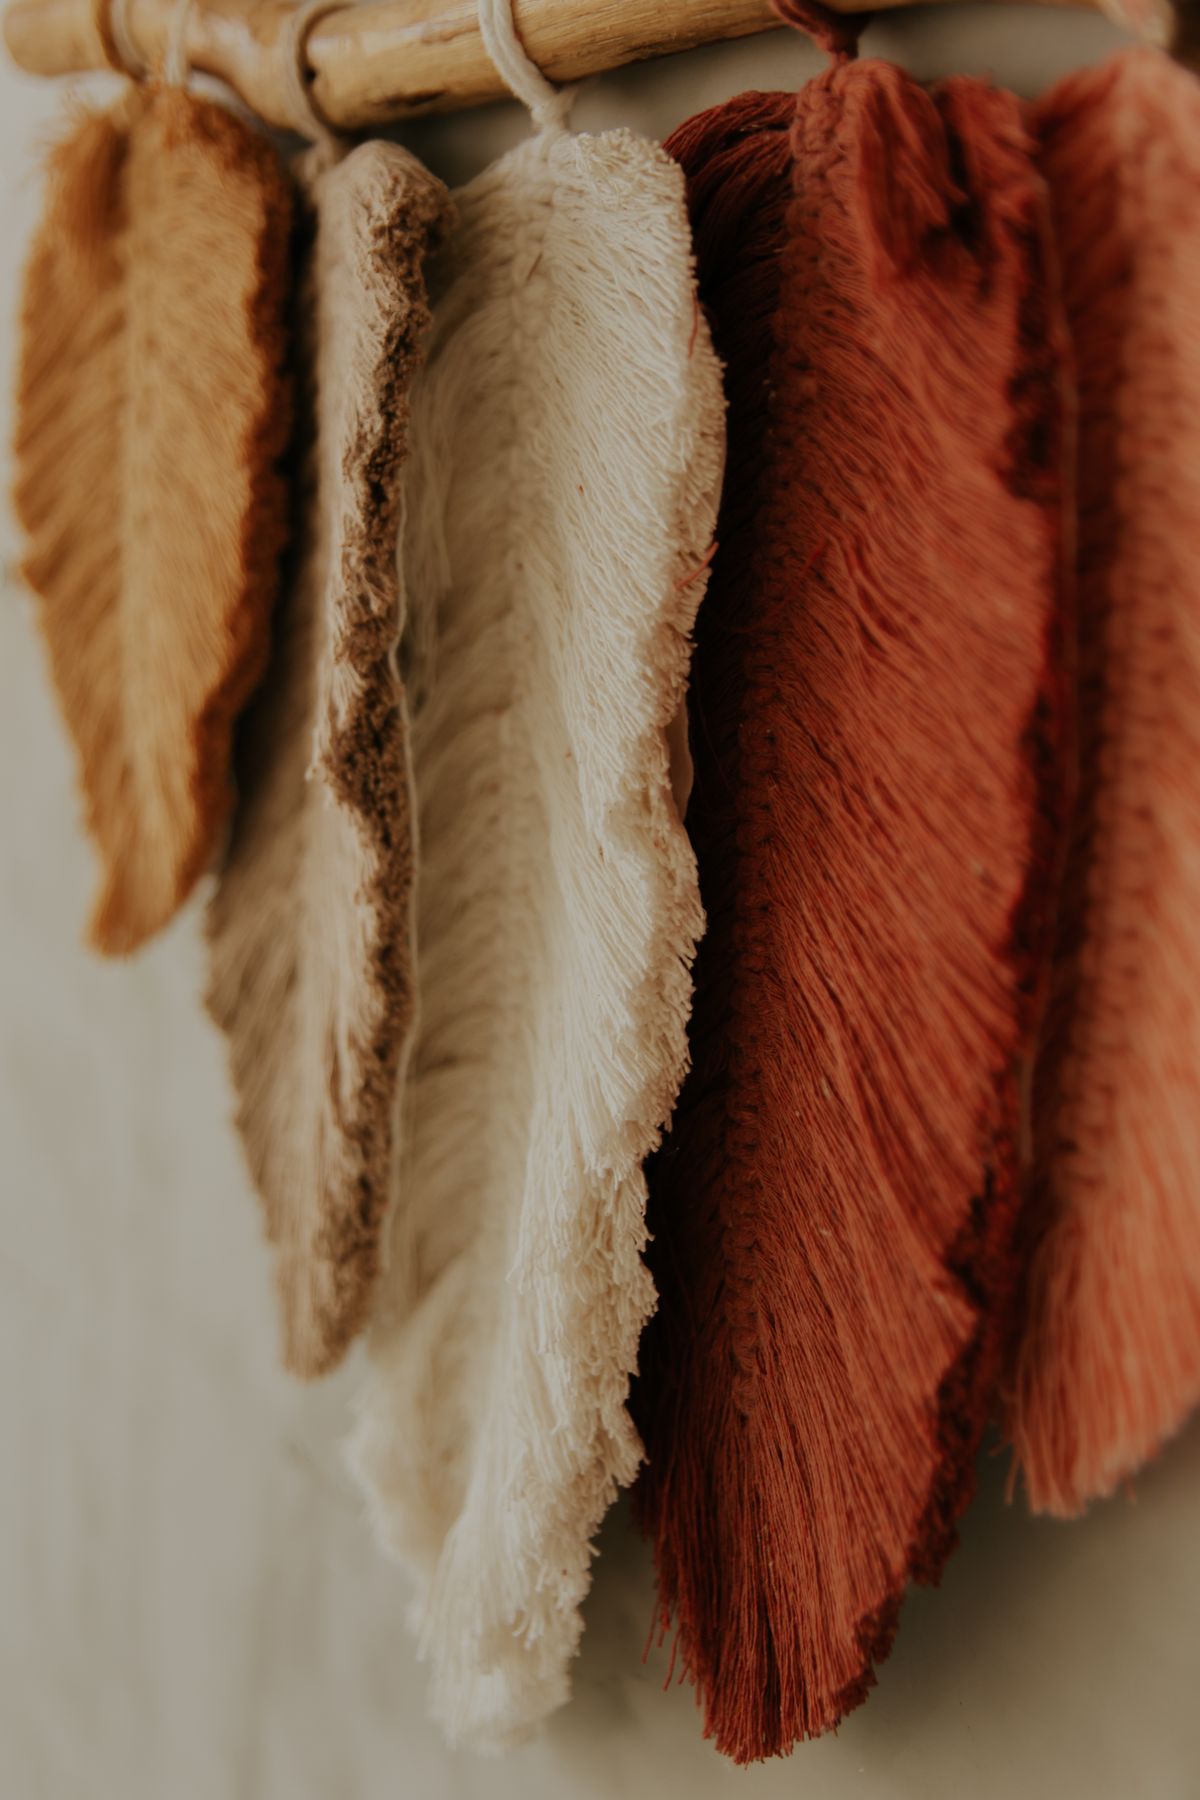
7. The Yarn Feather
I made feathers by wrapping yarn around a rectangle, tying the middle, cutting the loops, and brushing the fibres out with a pet comb. I shaped each feather with scissors, stiffened it lightly with hairspray, and hung three in a frame.
The downside is frizz. My first feathers looked like cotton balls because I brushed too hard, so I now brush gently, a little at a time, and stop early. The finished feathers look soft and deliberate, not exploded.
Pro Tip: Brush yarn feathers gently and stop early, or they turn into frizz.
Cost / Time / Difficulty: $3 to $6 for three feathers | 1 hour | Easy
8. The Friendship Bracelet Set
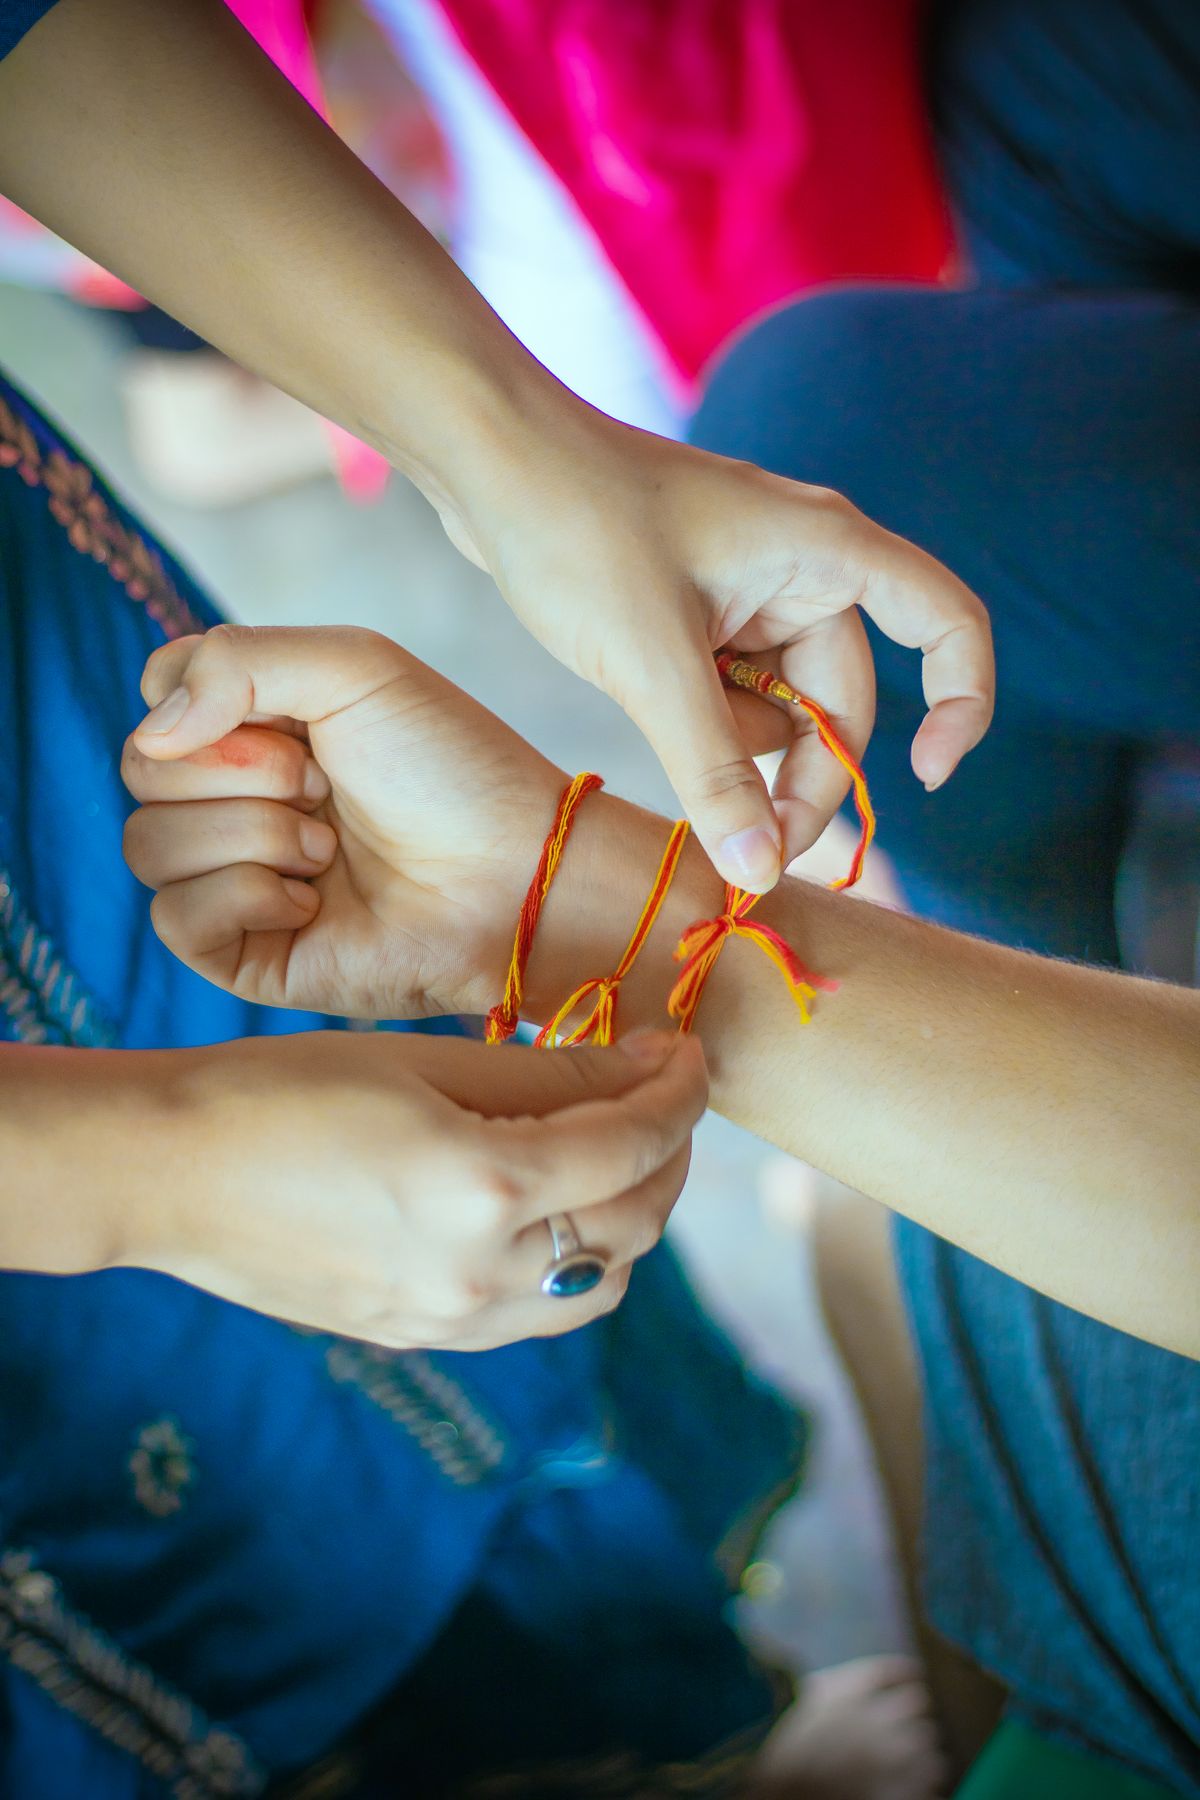
I made friendship bracelets by knotting embroidery floss in simple patterns, using a clipboard to hold the threads steady. I made a set of three in matching colours, knotted slowly, and finished each with a sliding knot so the size could adjust.
The downside is tension. My first bracelet was tight in the middle and loose at the ends because I knotted unevenly, so I now check the width every few rows. Even tension matters more than speed, every time.
Pro Tip: Check bracelet width every few rows, and keep your knotting tension even throughout.
Cost / Time / Difficulty: $2 to $5 for a set | 1 to 2 hours | Easy
9. The Yarn Dreamcatcher
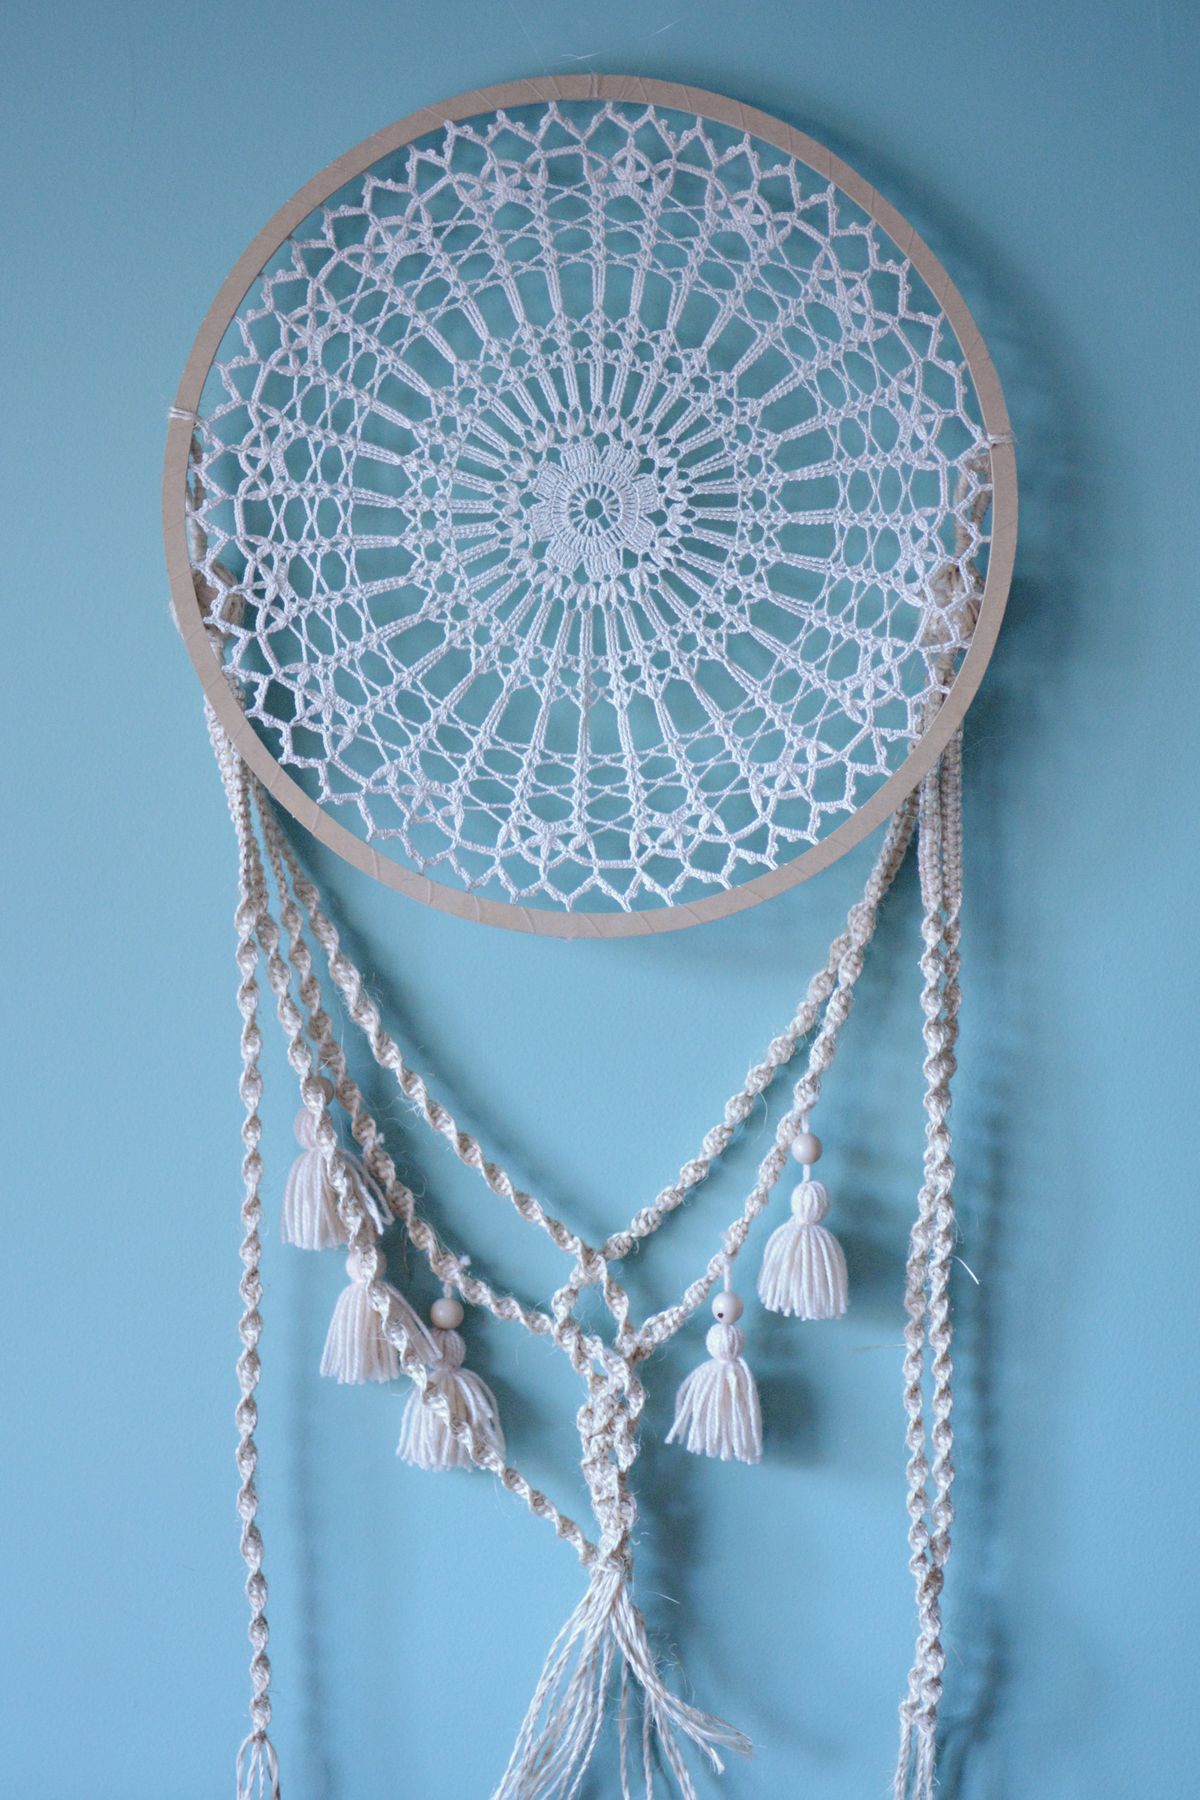
I wrapped a metal hoop in yarn, wove a simple web across it with the same yarn, and hung feathers and beads from the bottom. I used a 6-inch hoop, cream yarn, and wooden beads, and I kept the web loose enough to look handmade, not machine-perfect.
The downside is sagging web. My first web pulled to one side because I tensioned it unevenly, so I re-tied it with equal spacing around the hoop. The second web stayed centred, and the dreamcatcher now hangs over my bed.
Pro Tip: Space web knots evenly around the hoop, or the web will pull to one side.
Cost / Time / Difficulty: $5 to $10 per dreamcatcher | 2 hours | Medium
10. The Yarn-Wrapped Wreath
I wrapped a foam wreath form in chunky yarn, then glued on felt flowers and a few wooden beads. I wound tightly from the inside outward, overlapped each round slightly, and hid the starting end under a flower cluster.
The downside is bulk at the joins. My first wreath had a visible lump where I started a new ball of yarn, so I now join new yarn on the back and cover the join with a flower. No one has ever found the join since.
Pro Tip: Join a new ball of yarn on the back of a wreath, and cover it with a flower or bead.
Cost / Time / Difficulty: $8 to $14 per wreath | 2 hours | Easy

Image credit: https://www.homewardfounddecor.com/2023/01/cozy-yarn-wrapped-winter-wreath.html
Also read: Hot Glue Gun Crafts
11. The Yarn Coaster Set
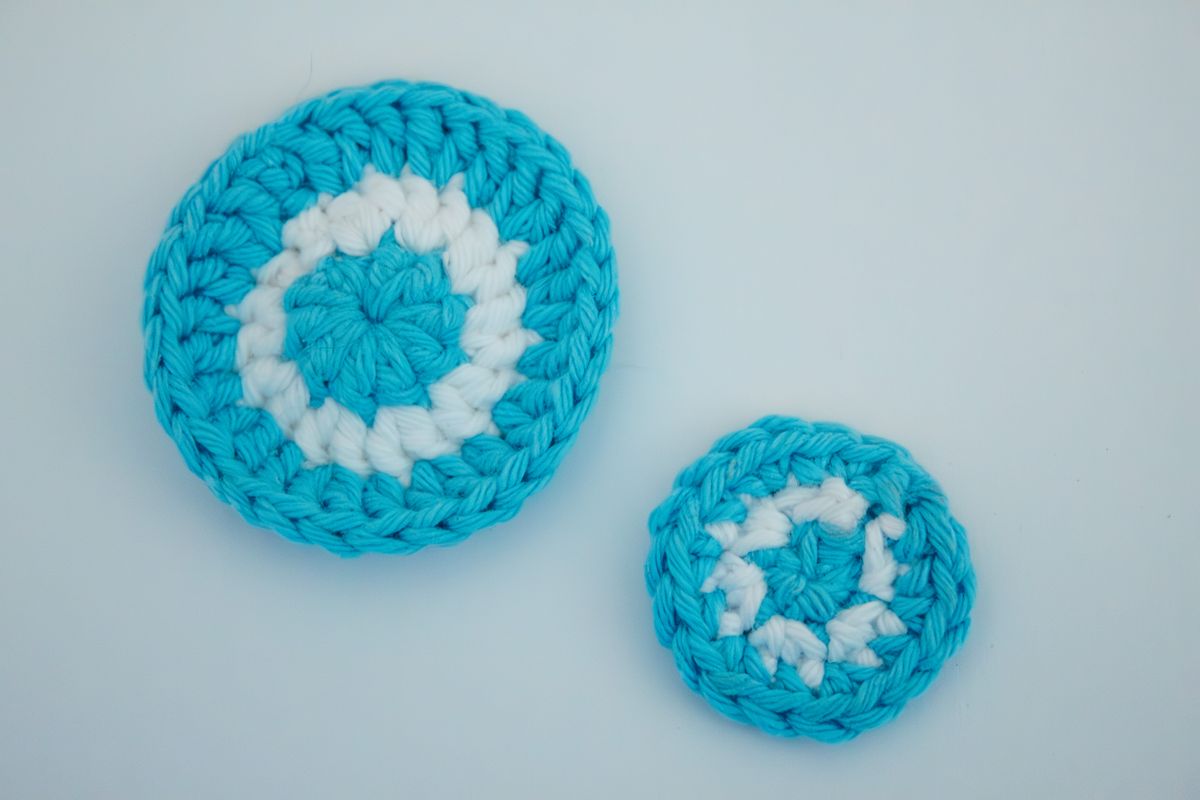
I made coasters by coiling thick yarn into flat spirals and gluing each round as I went, finishing with a felt base. I used cotton yarn, which handles heat and spills better than acrylic, and I made a set of four in matching colours.
The downside is curling. My first coasters curled at the edges because the glue dried unevenly, so I pressed them under heavy books overnight. They now lie flat, though I still would not use them for very hot mugs.
Pro Tip: Press coiled yarn coasters under heavy books overnight so they dry flat.
Cost / Time / Difficulty: $4 to $8 for a set of four | 1 hour plus overnight pressing | Easy
12. The Yarn Wall Art
I wrapped yarn around a wooden frame in a criss-cross pattern, creating a simple geometric design in two colours. I used a small frame, wound the yarn tightly, and stapled the ends on the back where they would not show.
The downside is sagging lines. My first design sagged because I wound too loosely, so I rewound it tighter and added a middle support strand. The finished piece looks intentional, like a woven panel, and hangs in my hallway.
Pro Tip: Wind wall art yarn tightly, and add a hidden support strand across the middle.
Cost / Time / Difficulty: $5 to $10 per piece | 1 to 2 hours | Easy
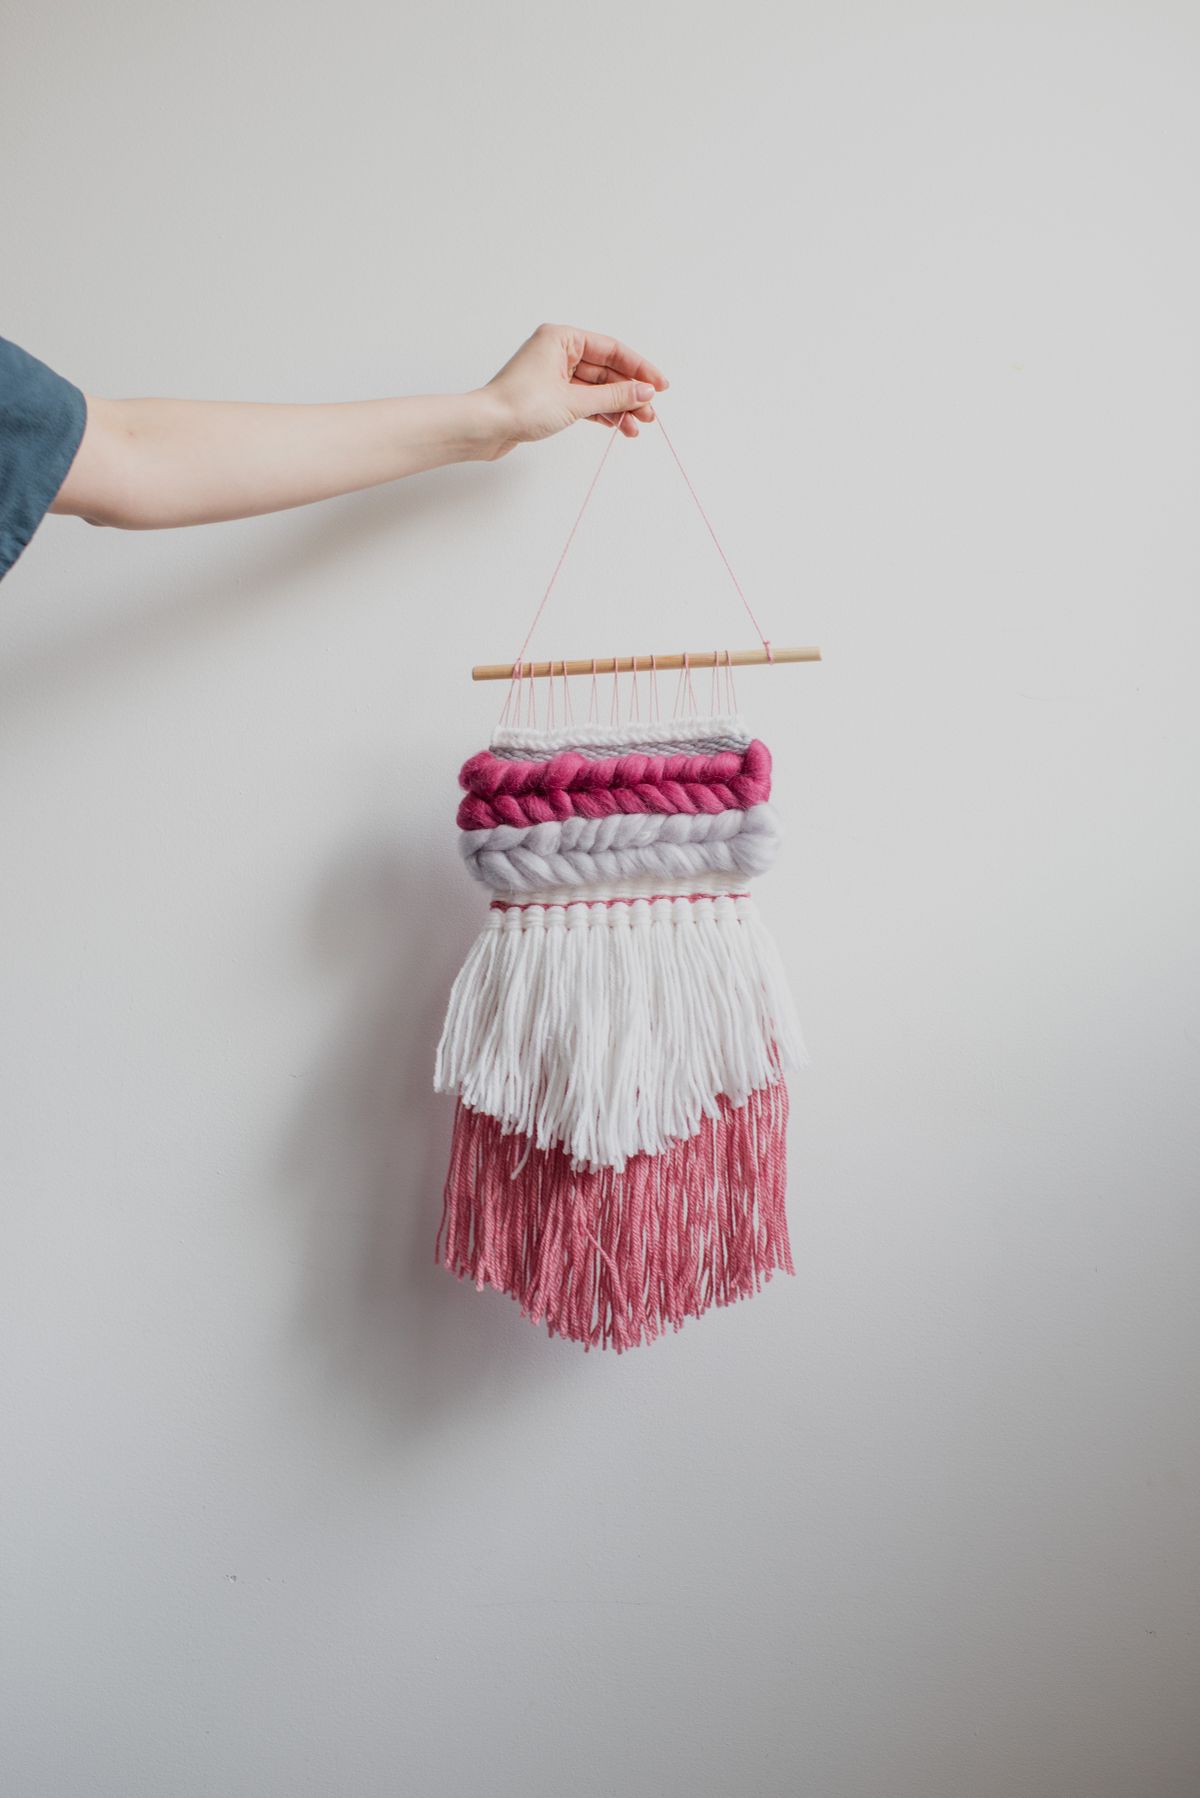
13. The Yarn Bookmark
I made bookmarks by wrapping yarn around cardboard, tying a tassel at one end, and adding a small bead. I used thin yarn for a slim bookmark that would not damage book spines, and I made five in an evening as gifts.
The downside is bulk. My first bookmarks were too thick and bent paperback spines, so I switched to thinner yarn and a smaller tassel. The slim versions slide into books without damage, and friends actually use them.
Pro Tip: Use thin yarn for bookmarks, or the tassel will bend paperback spines.
Cost / Time / Difficulty: $1 to $3 for five bookmarks | 1 hour | Easy

Image credit: https://ariannafrasca.com/2018/08/07/diy-tassel-bookmarks/
14. The Yarn-Wrapped Bottle
I wrapped an old glass bottle in yarn from base to neck, leaving the neck bare for a clean finish, and used it as a single-stem vase. I used sage green yarn, glued the start and end, and kept the winding even all the way up.
The downside is cleaning. My first bottle collected dust in the yarn texture, so I now dust it with a dry cloth weekly and keep it away from the kitchen. It still looks fresh after six months of light dusting.
Pro Tip: Keep yarn-wrapped bottles away from kitchens, where grease settles into yarn texture.
Cost / Time / Difficulty: $3 to $6 per bottle | 45 minutes | Easy

Image credit: https://mountainmodernlife.com/yarn-wrapped-bottle-vases/
15. The Yarn Basket Liner
I lined a plain basket with yarn-wrapped fabric, winding yarn around the rim and handles for colour and grip. I used a basket I already owned, chose yarn to match my living room, and glued the yarn ends on the inside.
The downside is wear on handles. My first liner frayed where hands grabbed the handles, so I wrapped the handles twice as thickly on the second basket. That one has lasted a year of daily use without fraying.
Pro Tip: Wrap basket handles twice as thickly as the rim, because hands wear them fastest.
Cost / Time / Difficulty: $5 to $9 per basket | 1 hour | Easy
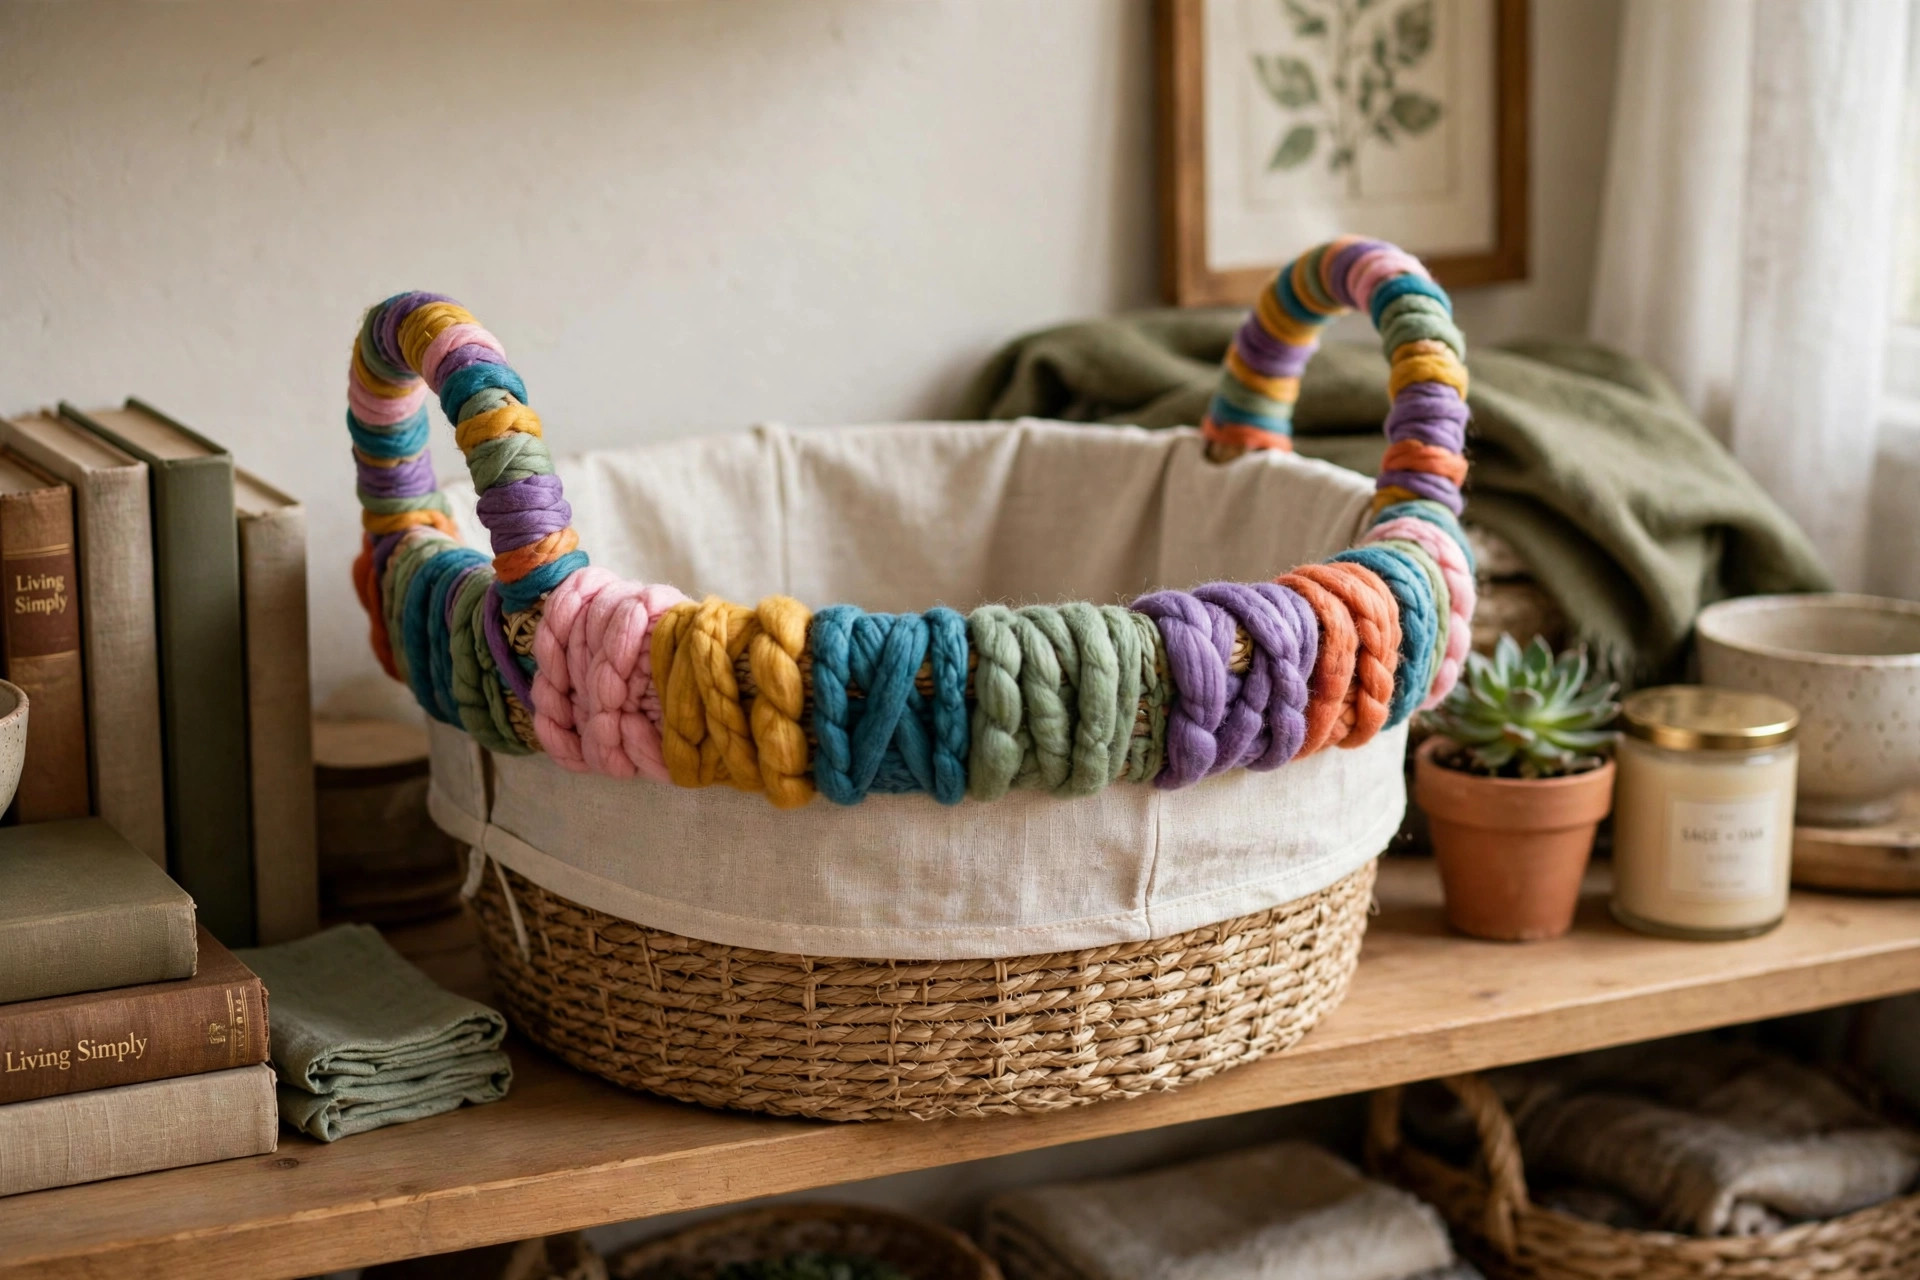
16. The Yarn Ornament
I made ornaments by wrapping small foam balls in yarn, adding a loop for hanging, and finishing with a tiny bow. I used red and cream yarn for a classic look, made a dozen in an evening, and hung them on a small tree.
The downside is weight. My first ornaments were too heavy for thin branches because I wrapped too many layers, so I used smaller foam balls and one layer only. The light versions hang without drooping branches.
Pro Tip: Use small foam balls and one yarn layer for ornaments, or branches will droop.
Cost / Time / Difficulty: $4 to $8 for a dozen | 2 hours | Easy
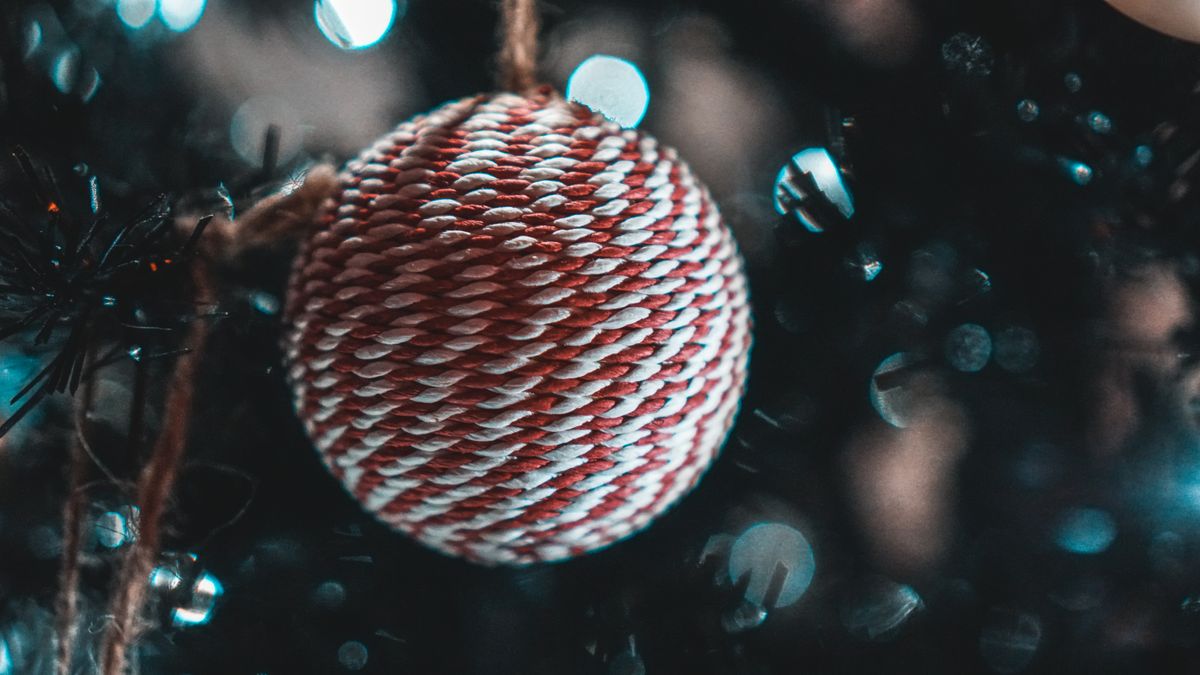
17. The Yarn Headband
I made a headband by wrapping a plain plastic headband in yarn, gluing as I wound, and adding a small fabric flower at the side. I used soft yarn so it would not itch, wound tightly, and hid the ends under the flower.
The downside is slipping. My first headband slid off because the yarn was too smooth, so I added a thin strip of velvet ribbon on the inside for grip. It stays put now, even on fine hair.
Pro Tip: Add a thin velvet strip inside a yarn headband, or it will slip on fine hair.
Cost / Time / Difficulty: $3 to $6 per headband | 45 minutes | Easy
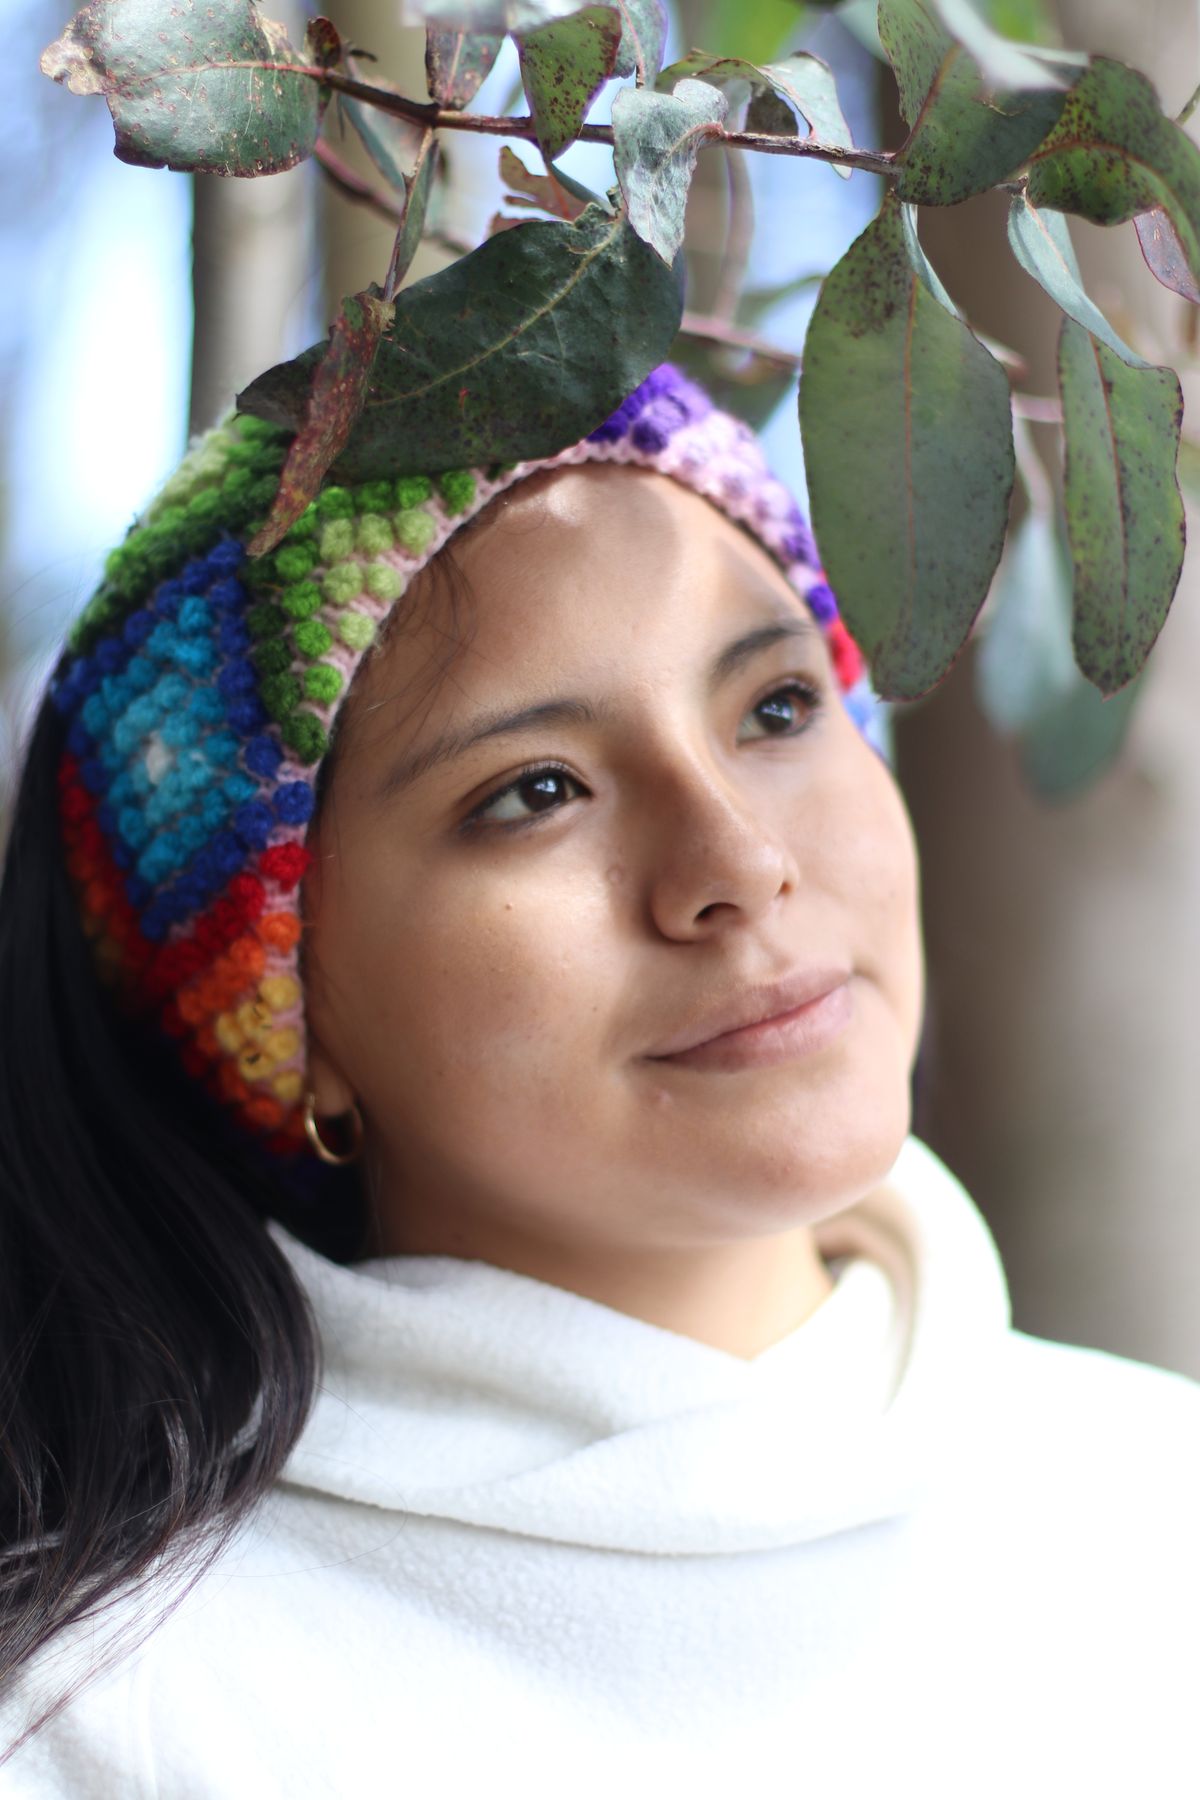
18. The Yarn Storage Jar
I wrapped the outside of a glass jar in yarn, leaving a clear window so I could see what was inside, and used it to store buttons and beads. I used a wide-mouth jar, wound yarn in bands, and glued only the band ends.
The downside is visibility. My first jar was fully wrapped, so I could never find anything, which defeated the purpose. The banded version shows the contents at a glance, and I use it every time I craft.
Pro Tip: Leave a clear window when wrapping a storage jar, or you will never find anything inside.
Cost / Time / Difficulty: $3 to $6 per jar | 45 minutes | Easy

Image credit: https://www.repeatcrafterme.com/2017/03/yarn-scrap-mason-jar-storage.html
Comparison Table
| Project | Best For | Cost | Effort |
|---|---|---|---|
| Pom-pom garland | Doorways, parties | $4 to $8 | Easy |
| Tassel wall hanging | Living rooms | $6 to $12 | Easy |
| Yarn bowl | Key storage | $4 to $7 | Medium |
| No-knit scarf | Winter gifts | $8 to $14 | Medium |
| Yarn coaster set | Everyday use | $4 to $8 | Easy |
| Yarn wreath | Seasonal decor | $8 to $14 | Easy |
Mistakes I Made (So You Don’t Have To)
I bought thin yarn for my first wall hanging, and every mistake showed. Chunky yarn hides uneven winding and makes a project look fuller faster.
I ran out of yarn halfway through a wreath because I guessed the amount. Buy one extra ball for any large project, and keep the receipt for the spare.
I pressed hot-glued yarn with my fingers and burned myself. Use a skewer or a spoon handle to press yarn down, especially on small pieces.
I hung a yarn project near a candle, and the fibres caught a spark. Keep yarn crafts away from open flames, always, no matter how pretty they look near candlelight.
FAQ
How long do yarn crafts last?
Mine last years indoors if kept dry and dusted lightly. Sun fades colours over time, so I keep wall hangings out of direct sun.
What would you do differently on your first project?
I would start with a pom-pom garland, not a wall hanging. It teaches wrapping, tying, and trimming in one easy project, and mistakes are easy to hide.
Is yarn craft safe around pets?
Mostly, but keep loose yarn and small pom-poms away from pets that chew, because swallowed yarn is a vet visit waiting to happen. Hang finished pieces out of reach.
Final Thoughts
Yarn without knitting is not a lesser craft, it is a different one. Wrapping, knotting, and pom-poms give you colour and texture without a learning curve, and the projects in this list are the ones that survived my home, my pets, and my impatience. Start small, buy chunky yarn, and trim more than you think you need to.
Read this next: Craft Supply Storage Ideas



One Comment