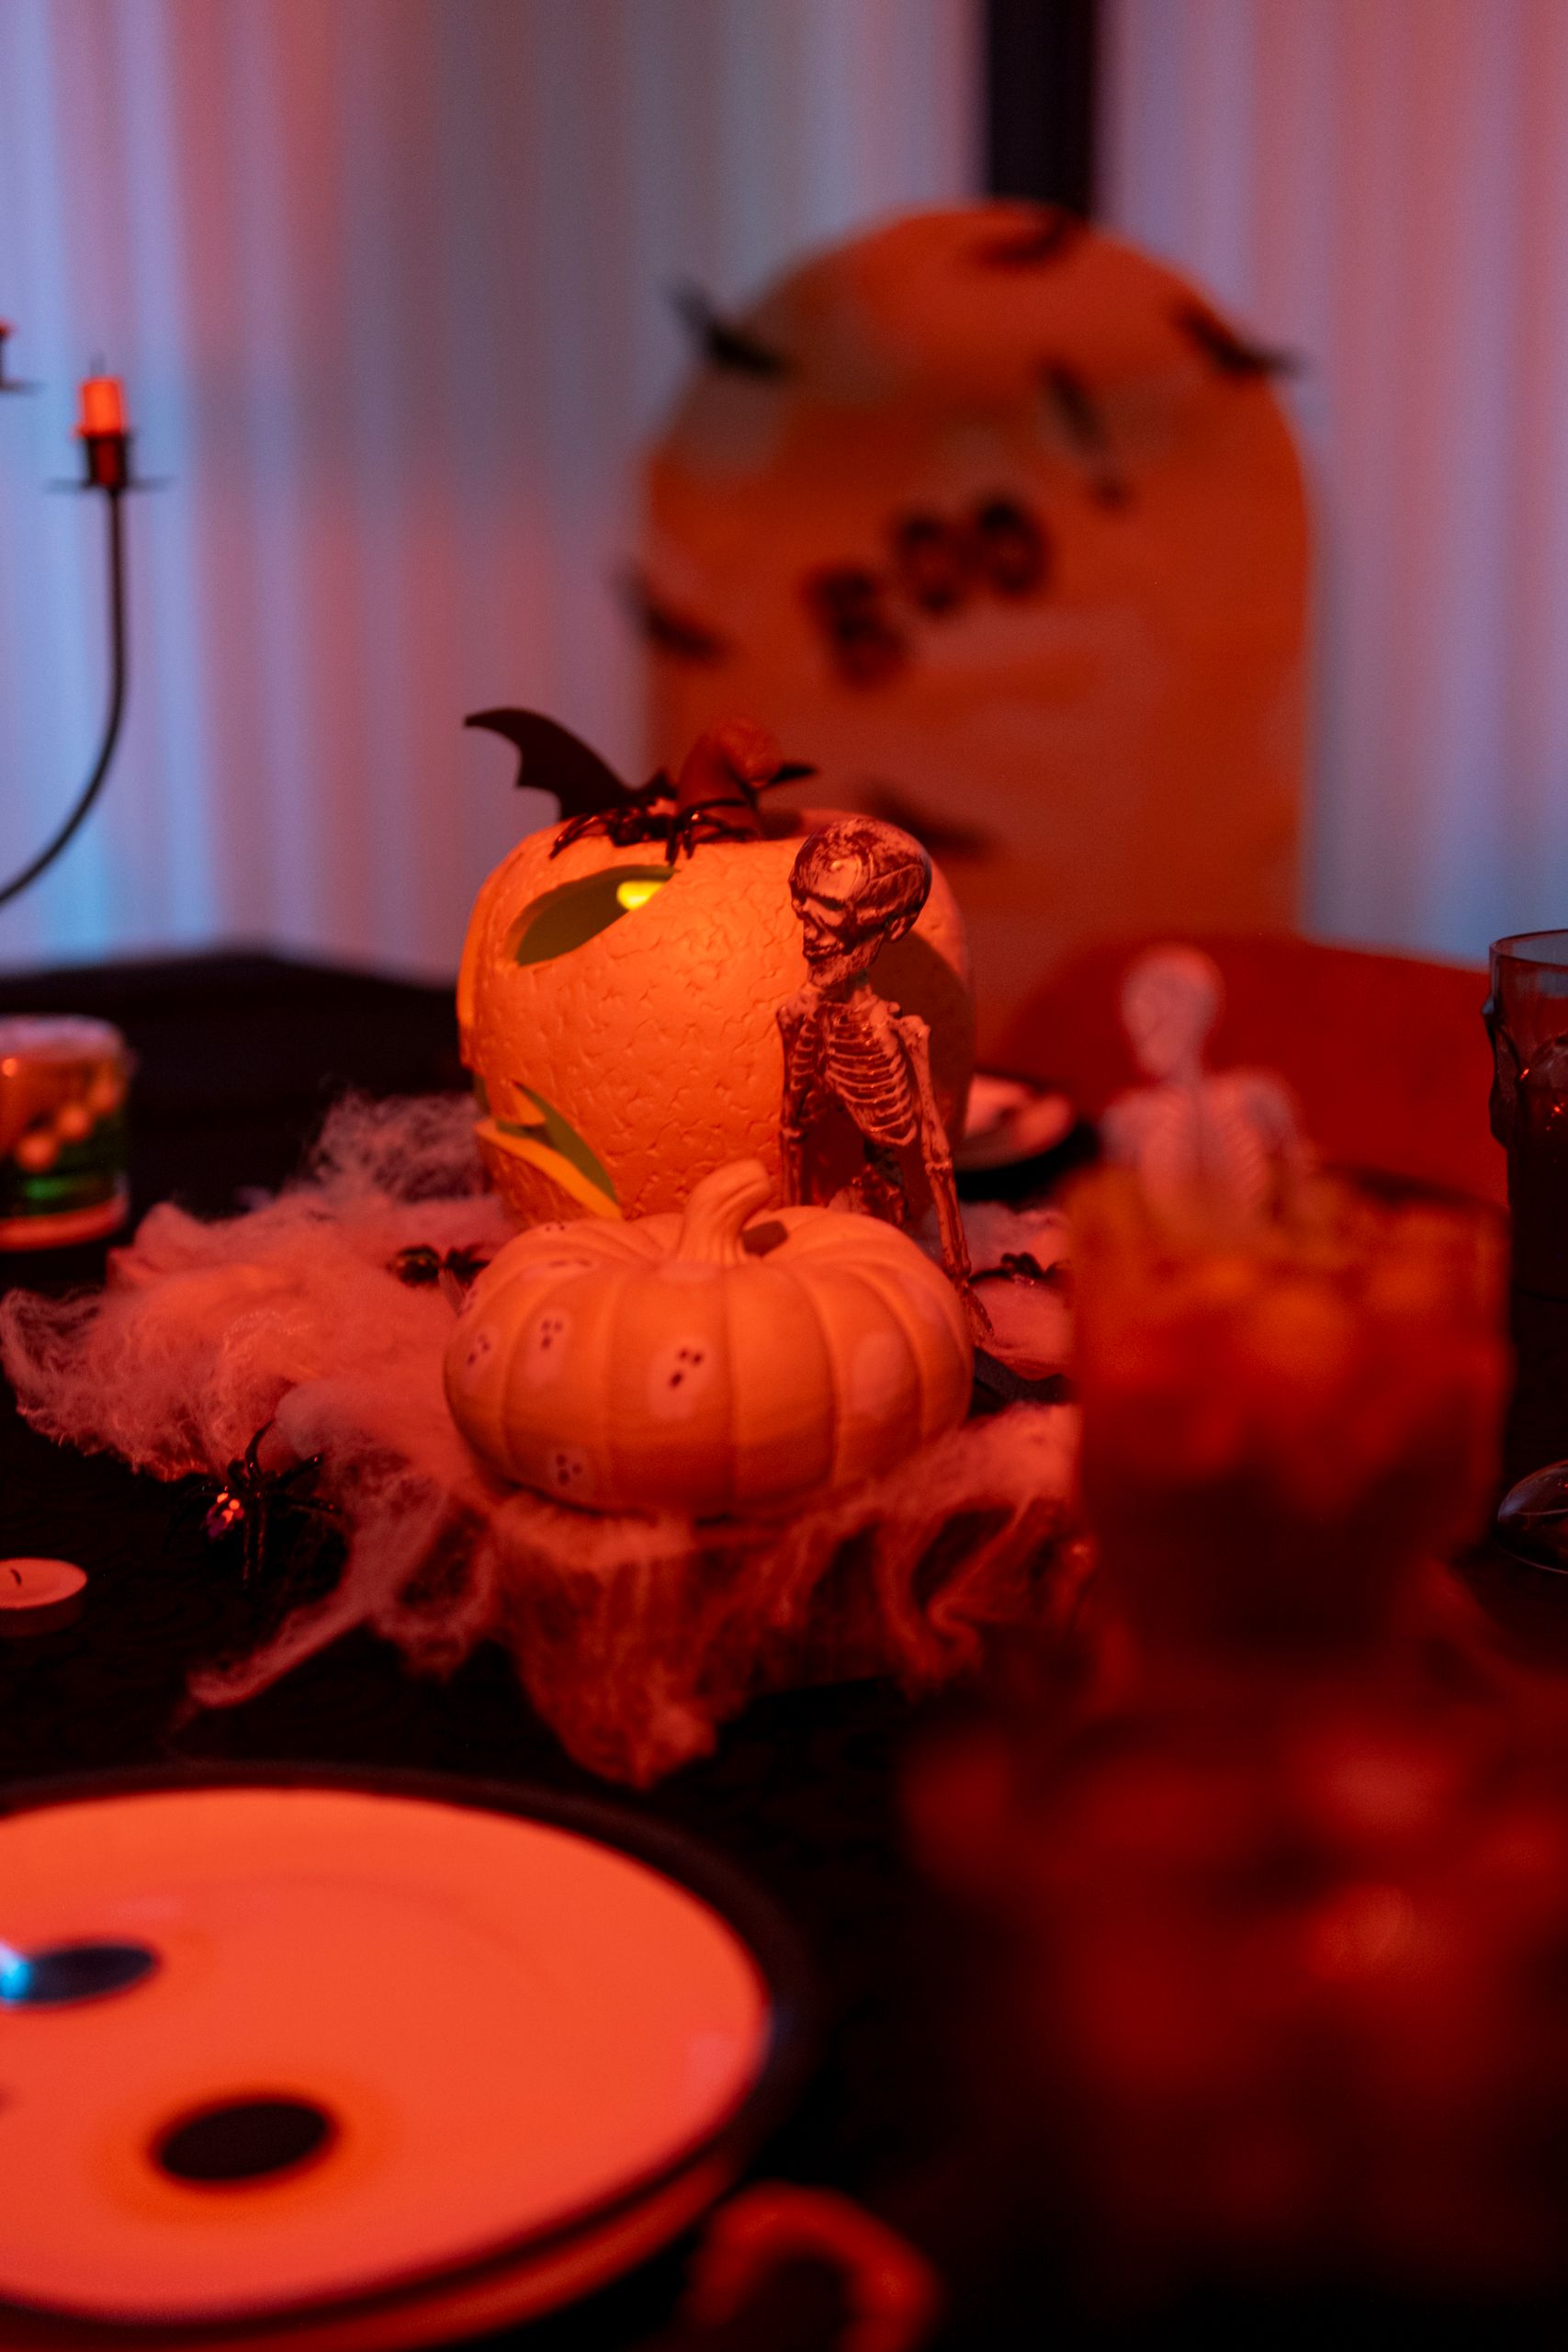
17 Halloween Tiered Tray Decor Ideas
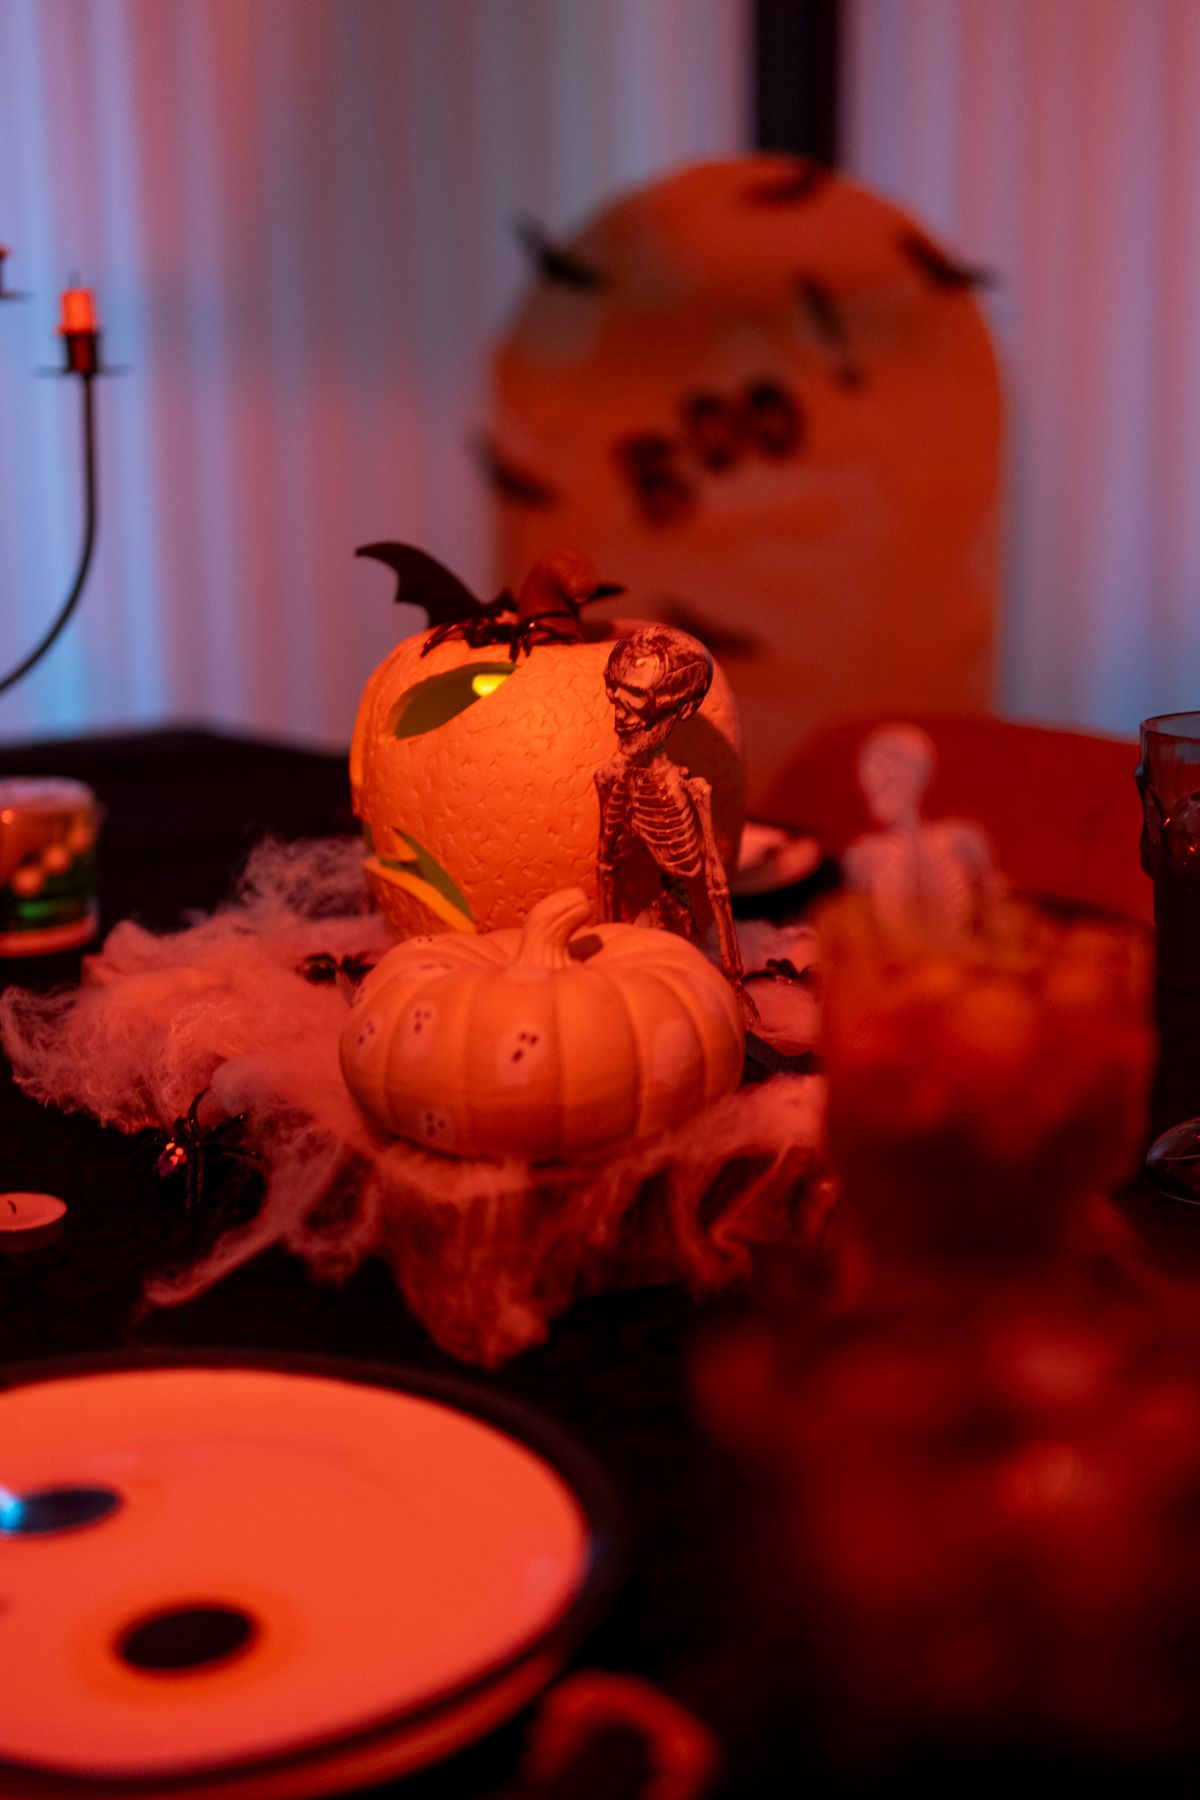
My tiered tray is the hardest-working decoration in my kitchen every October, because it holds a whole Halloween scene in about one square foot. These Halloween tiered tray decor ideas are the arrangements I have actually styled on my own three-tier wooden tray, and I kept only the ones that survived daily kitchen life without constant rearranging.
How I picked them: I styled each tray, left it in place for a week of normal cooking, school mornings, and coffee refills, and noted what got knocked over, what collected dust, and what still looked good on day seven. My tray sits on a kitchen island, so every idea here assumes people walk past it and reach near it all day.
Key Takeaways
- Put the tallest item on the top tier and the smallest details on the bottom, so the tray reads top-down.
- Leave one empty spot on each tier; a packed tray looks cluttered and topples easily.
- Use museum putty under lightweight pieces if your tray sits where people bump it.
- Most trays here cost $10-$30 to style if you already own the tray itself.
- Style the tray from the angle you actually see it, not from directly above.
Related article: 23 Amazing Halloween Centerpiece Ideas For Your Home
17 Halloween Tiered Tray Decor Ideas I Have Styled
1. Mini Pumpkin Patch Tray
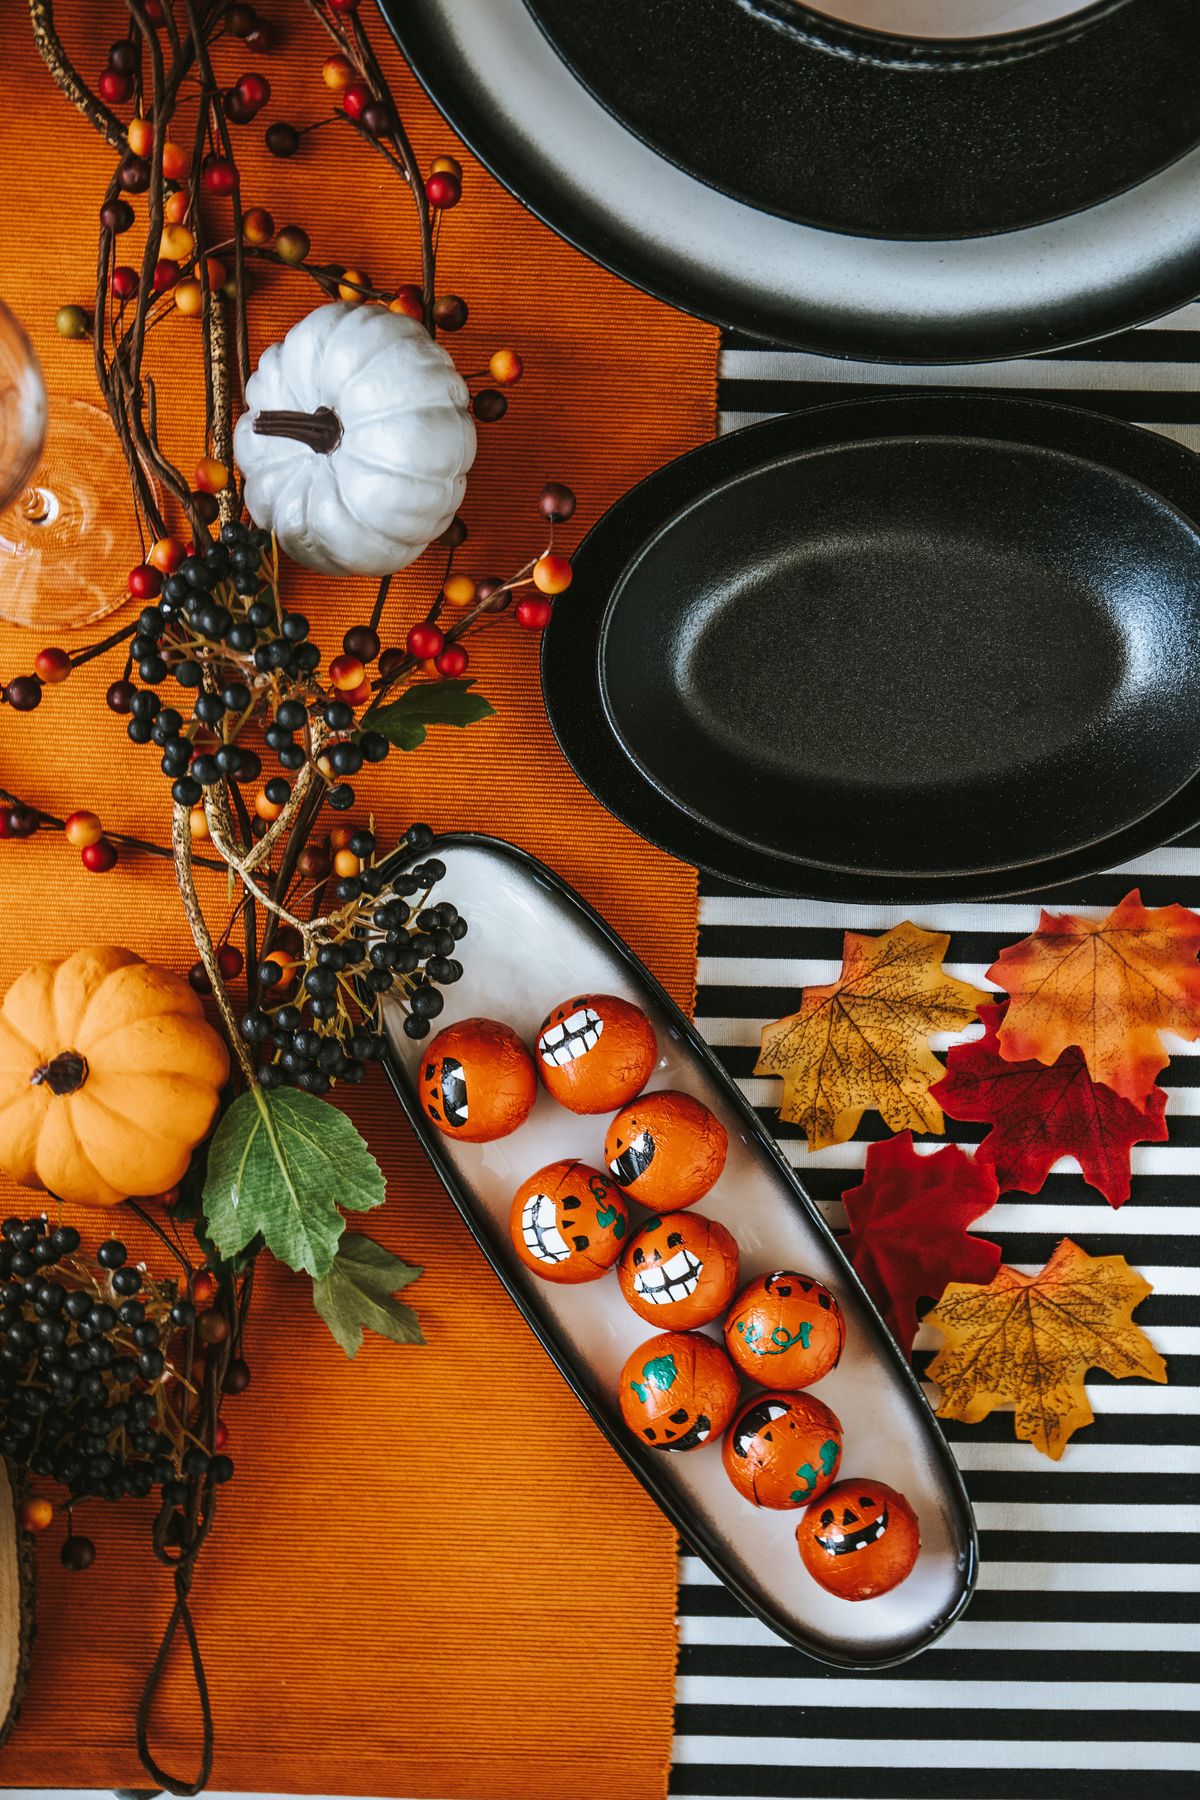
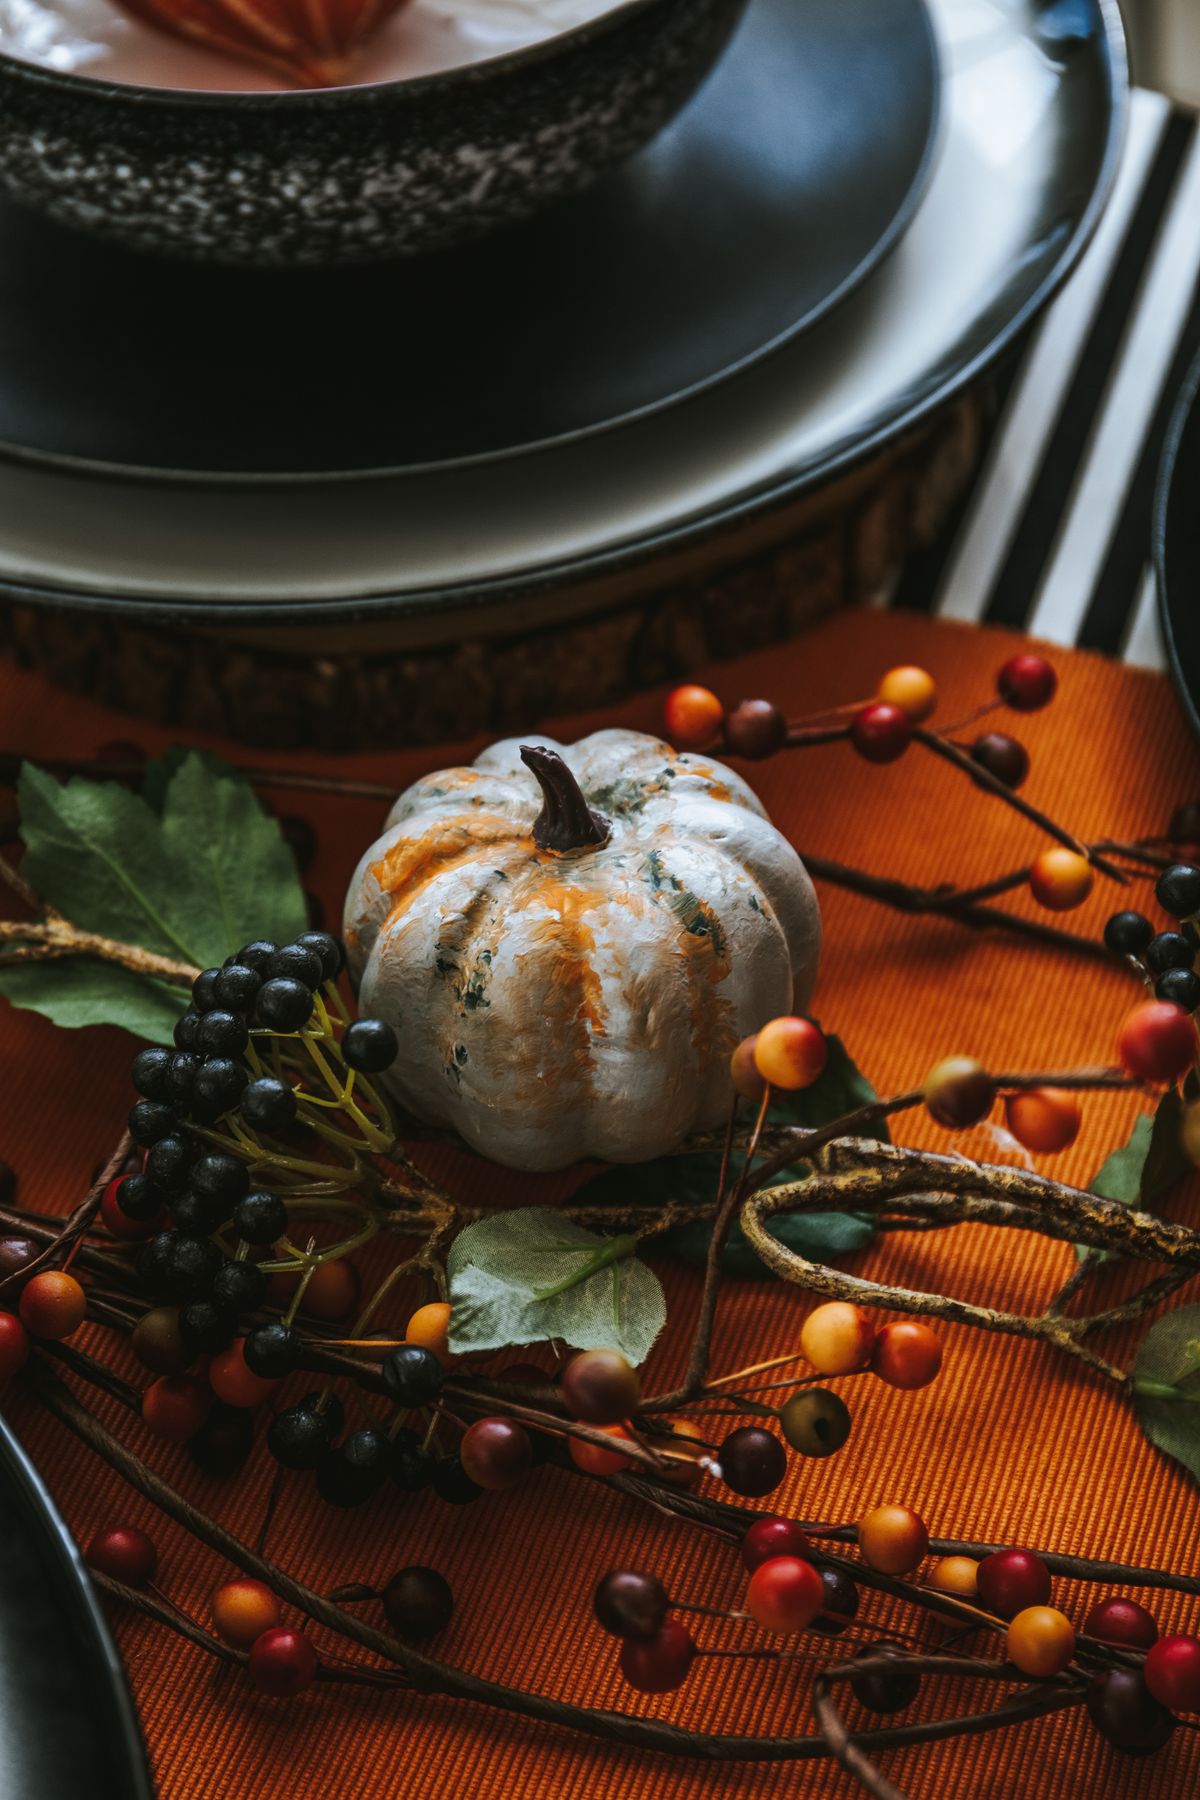
I fill each tier with mini pumpkins in orange, white, and green, tucking dried moss between them so they do not roll. It is the simplest tray I style every year and the one I recommend to anyone starting out. I used about fifteen mini pumpkins, which cost me roughly $12 at a farm stand, and the whole tray took ten minutes. It lasted all October in our kitchen, though one foam pumpkin dented when my son squeezed it to check if it was real. The downside is rolling: real mini pumpkins roll off a tray that gets bumped, so I put a small ring of moss or a dot of museum putty under each one now.
Pro Tip: Mix real and faux pumpkins; real ones add texture while faux ones hold the shape of the display.
Cost / Time / Difficulty: $10-$18 / 10 minutes / Easy
2. Ghost Family Tray
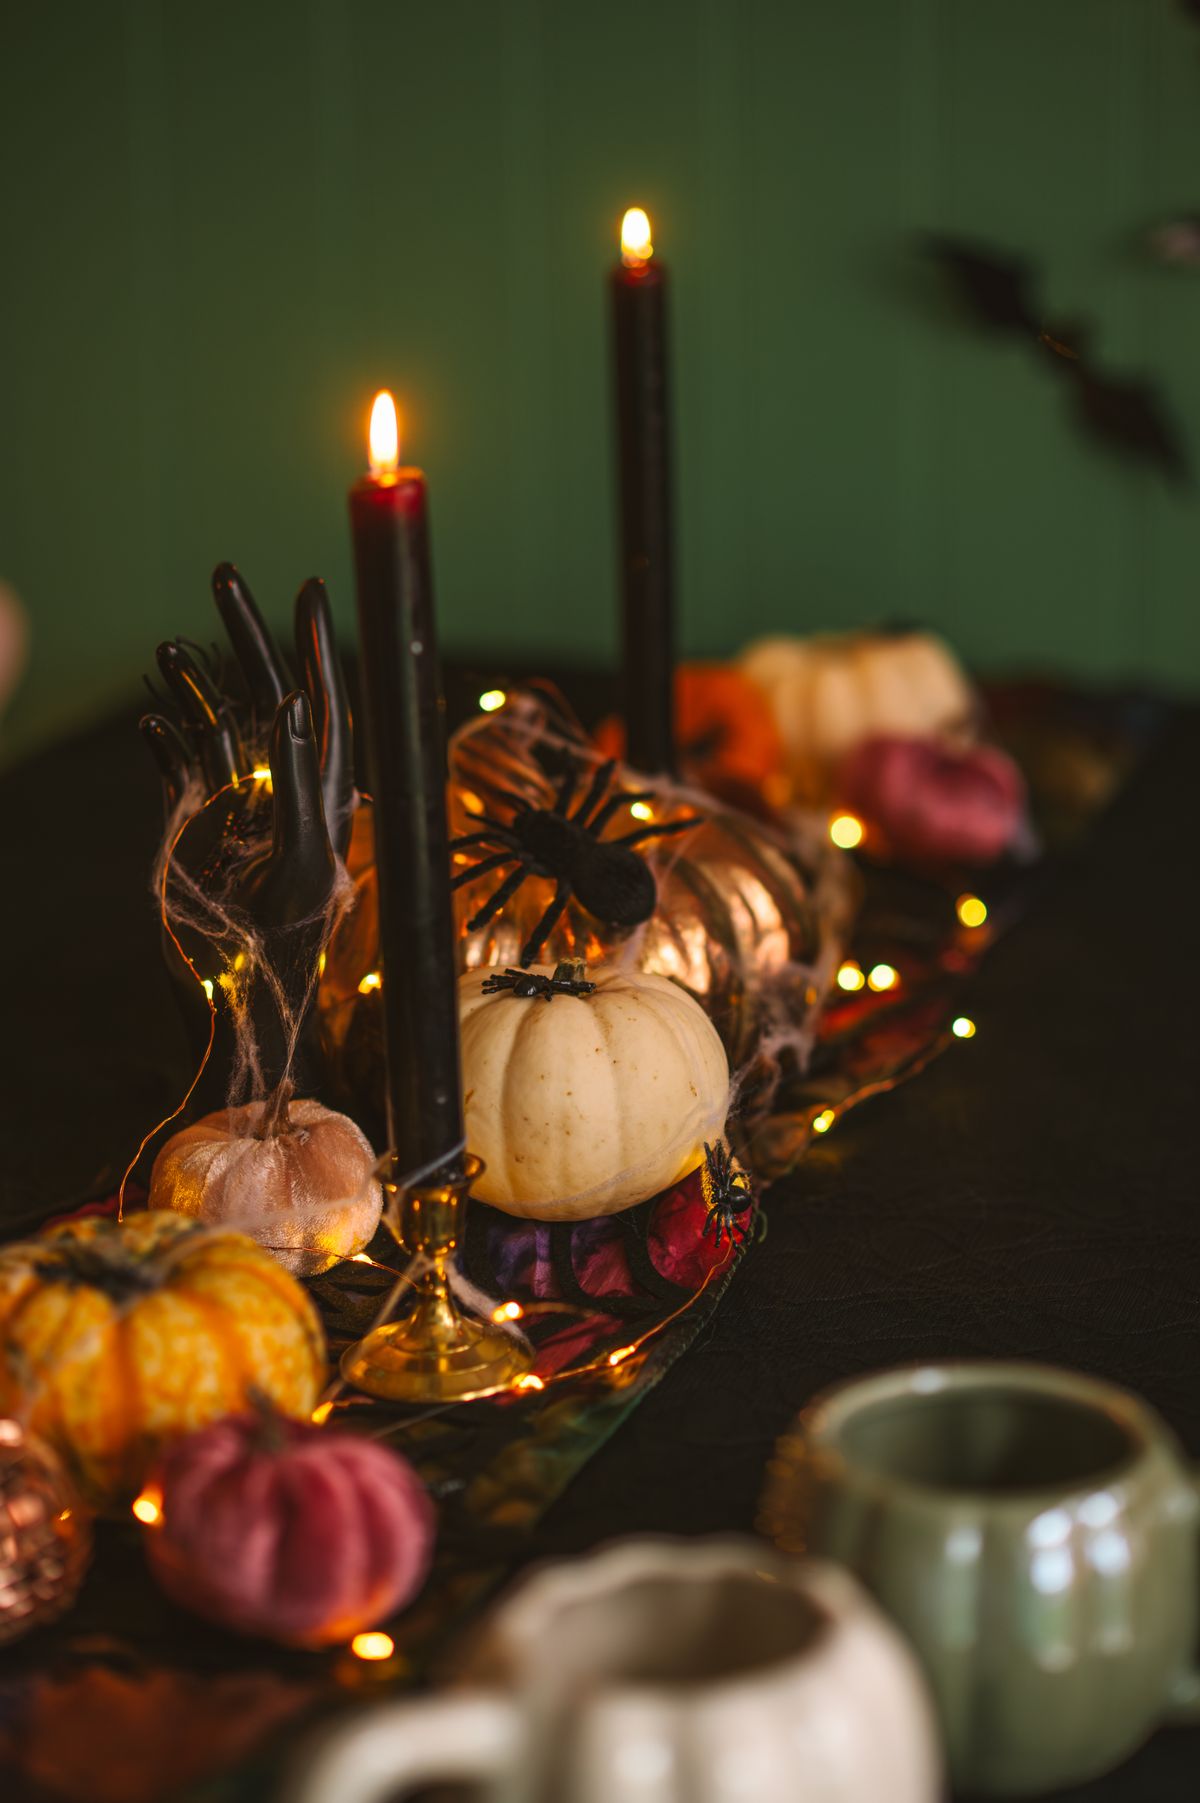
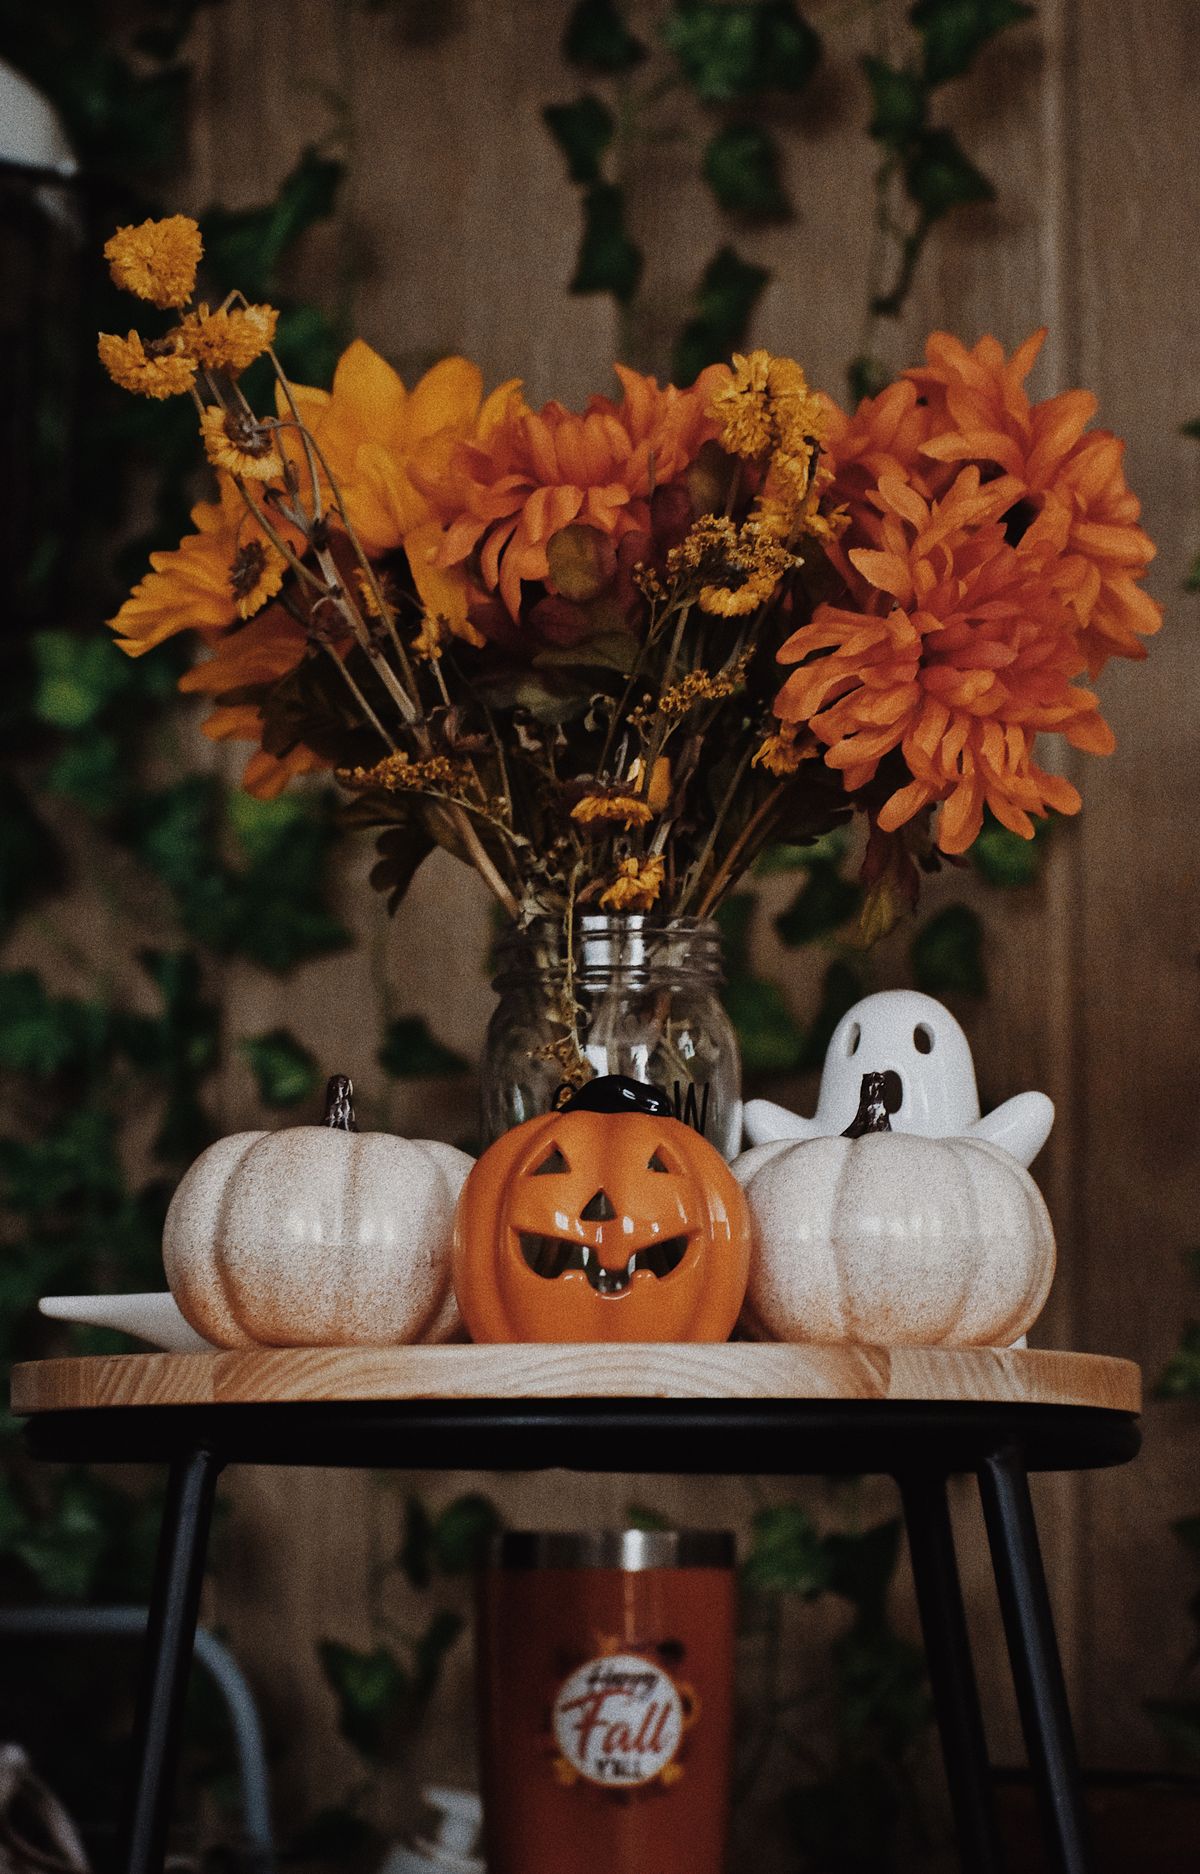
I place three ceramic ghosts of different heights on the tiers, tallest on top, with a few tiny pumpkins as their audience. It is charming rather than scary and it is the tray my kids ask for by name. The ghosts cost me about $18 as a set, and the tray took five minutes to arrange. It survived the month in our kitchen without a single casualty, which I credit to the ghosts being heavy enough not to tip. The downside is that ceramic ghosts chip if they knock together in storage, so I wrap each one in a tea towel before boxing them in November.
Pro Tip: Face all the ghosts the same direction, like they are watching the room together.
Cost / Time / Difficulty: $15-$25 / 5 minutes / Easy
3. Black Cat Tray
I style a black cat figurine on the top tier, with black and orange beads draped over the tray edges and small pumpkins below. The beads are the trick: they make a small tray feel finished without adding bulk. I bought the beads for a few dollars and the cat for about $12, and the tray took fifteen minutes. It lasted the month well, though the beads tangled once when I moved the tray to wipe the island, so now I lift the tray by its center post only. The downside is that bead strands shed tiny beads if they snag, so I check the strands before hanging them over an edge.
Pro Tip: Drape beads from the top tier only; beads on every tier look tangled, not layered.
Cost / Time / Difficulty: $12-$22 / 15 minutes / Easy
4. Witch’s Kitchen Tray
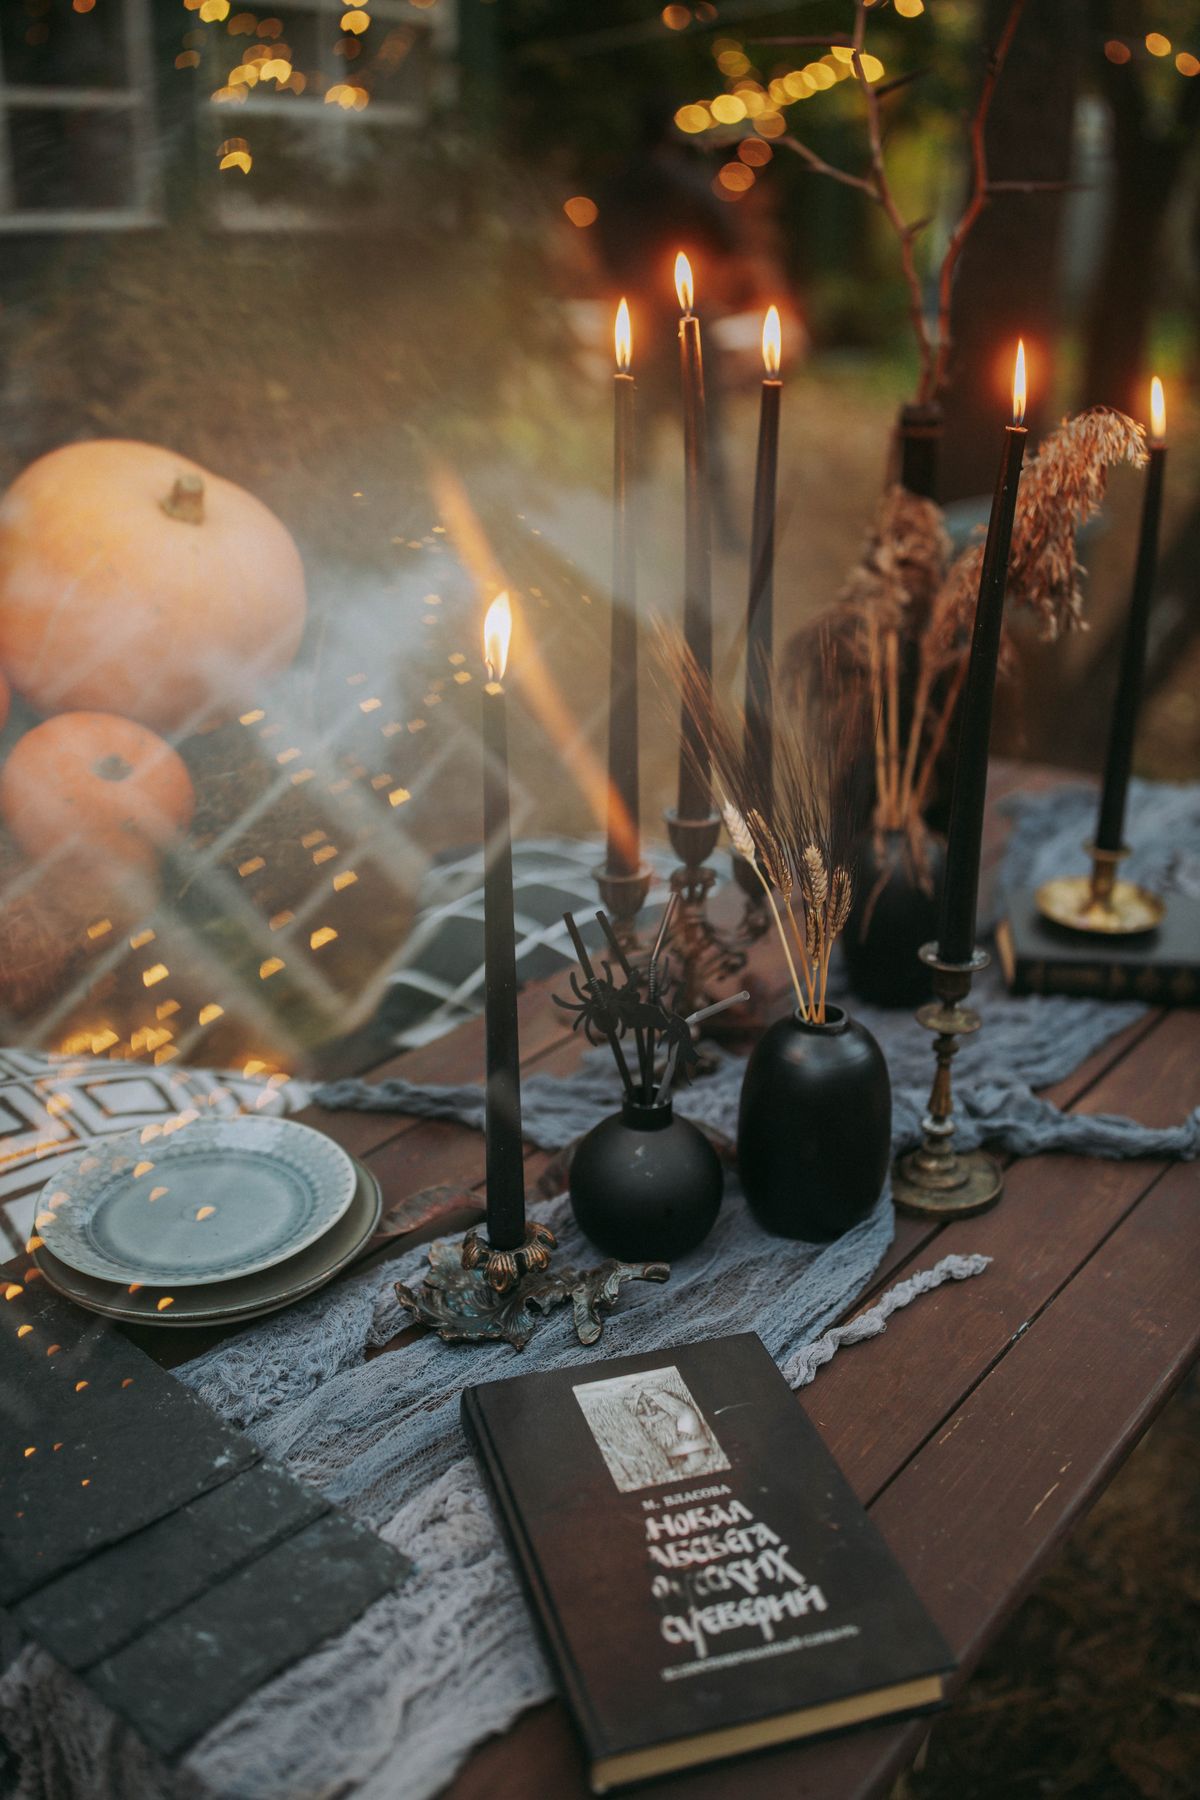
I turn the tray into a tiny witch’s kitchen with a miniature cauldron, a small broom, potion bottles, and a stack of old-looking books. It is the most detailed tray I style, and guests lean in to read the tiny labels, which is exactly the reaction I want. I spent about $25 on miniatures over two years, adding one piece at a time, and the tray takes twenty minutes to arrange because each piece has a place. It lasted the month in our kitchen, though the tiny broom fell over twice when the island got bumped. The downside is dust: miniature scenes collect it fast, so I give this tray a soft brush-down weekly.
Pro Tip: Put the tallest miniature at the back of each tier so nothing hides behind it.
Cost / Time / Difficulty: $20-$30 / 20 minutes / Moderate
5. Candy Corn Color Tray
I style the tray in bands of yellow, orange, and white using candles, pumpkins, and small dishes, echoing candy corn without using actual candy. It is cheerful and it photographs beautifully in kitchen light. I used items I already owned plus a few dollar-store pieces, spending about $15 total, and it took twenty minutes. It lasted all month, though the white pieces yellowed slightly near the kitchen window, so I moved the tray a foot away from direct sun. The downside is that the color scheme only works if you commit to it; one random purple item breaks the whole effect, so I keep a strict three-color rule for this tray.
Pro Tip: Repeat each color on every tier so the scheme reads as a whole, not three separate trays.
Cost / Time / Difficulty: $12-$20 / 20 minutes / Easy
6. Haunted House Tray
I place a small haunted-house figurine on the middle tier, with tiny pumpkins, a bare twig tree, and a fence made from craft sticks around it. It tells a whole story in one square foot, which is why I love tiered trays for Halloween. I built the fence in an evening from sticks and glue, and the house cost about $15. The tray took thirty minutes to arrange and lasted the month, though the twig tree shed a few twigs onto the island. The downside is fragility: the fence is delicate, so this tray stays on a side counter rather than the busy island during party weeks.
Pro Tip: Keep the house slightly off-center; a centered house looks like a product photo, not a scene.
Cost / Time / Difficulty: $15-$28 / 30 minutes / Moderate
7. Skeleton Party Tray
I pose three small skeletons on the tiers as if they are having a party, with tiny pumpkins and a miniature pumpkin bucket between them. It is the funniest tray I style and the one my kids rearrange daily, which I have learned to accept as part of the charm. The skeletons cost about $15 as a set and the tray takes ten minutes. It survived October, though I reposed the skeletons more times than I can count. The downside is jointed skeletons: their limbs flop and they will not hold a pose without a little florist wire, so I wire the key joints before the tray goes out.

Pro Tip: Wire one ankle of each skeleton to the tray so poses survive bumps.
Cost / Time / Difficulty: $12-$22 / 10 minutes / Easy
8. Pumpkin Spice Kitchen Tray
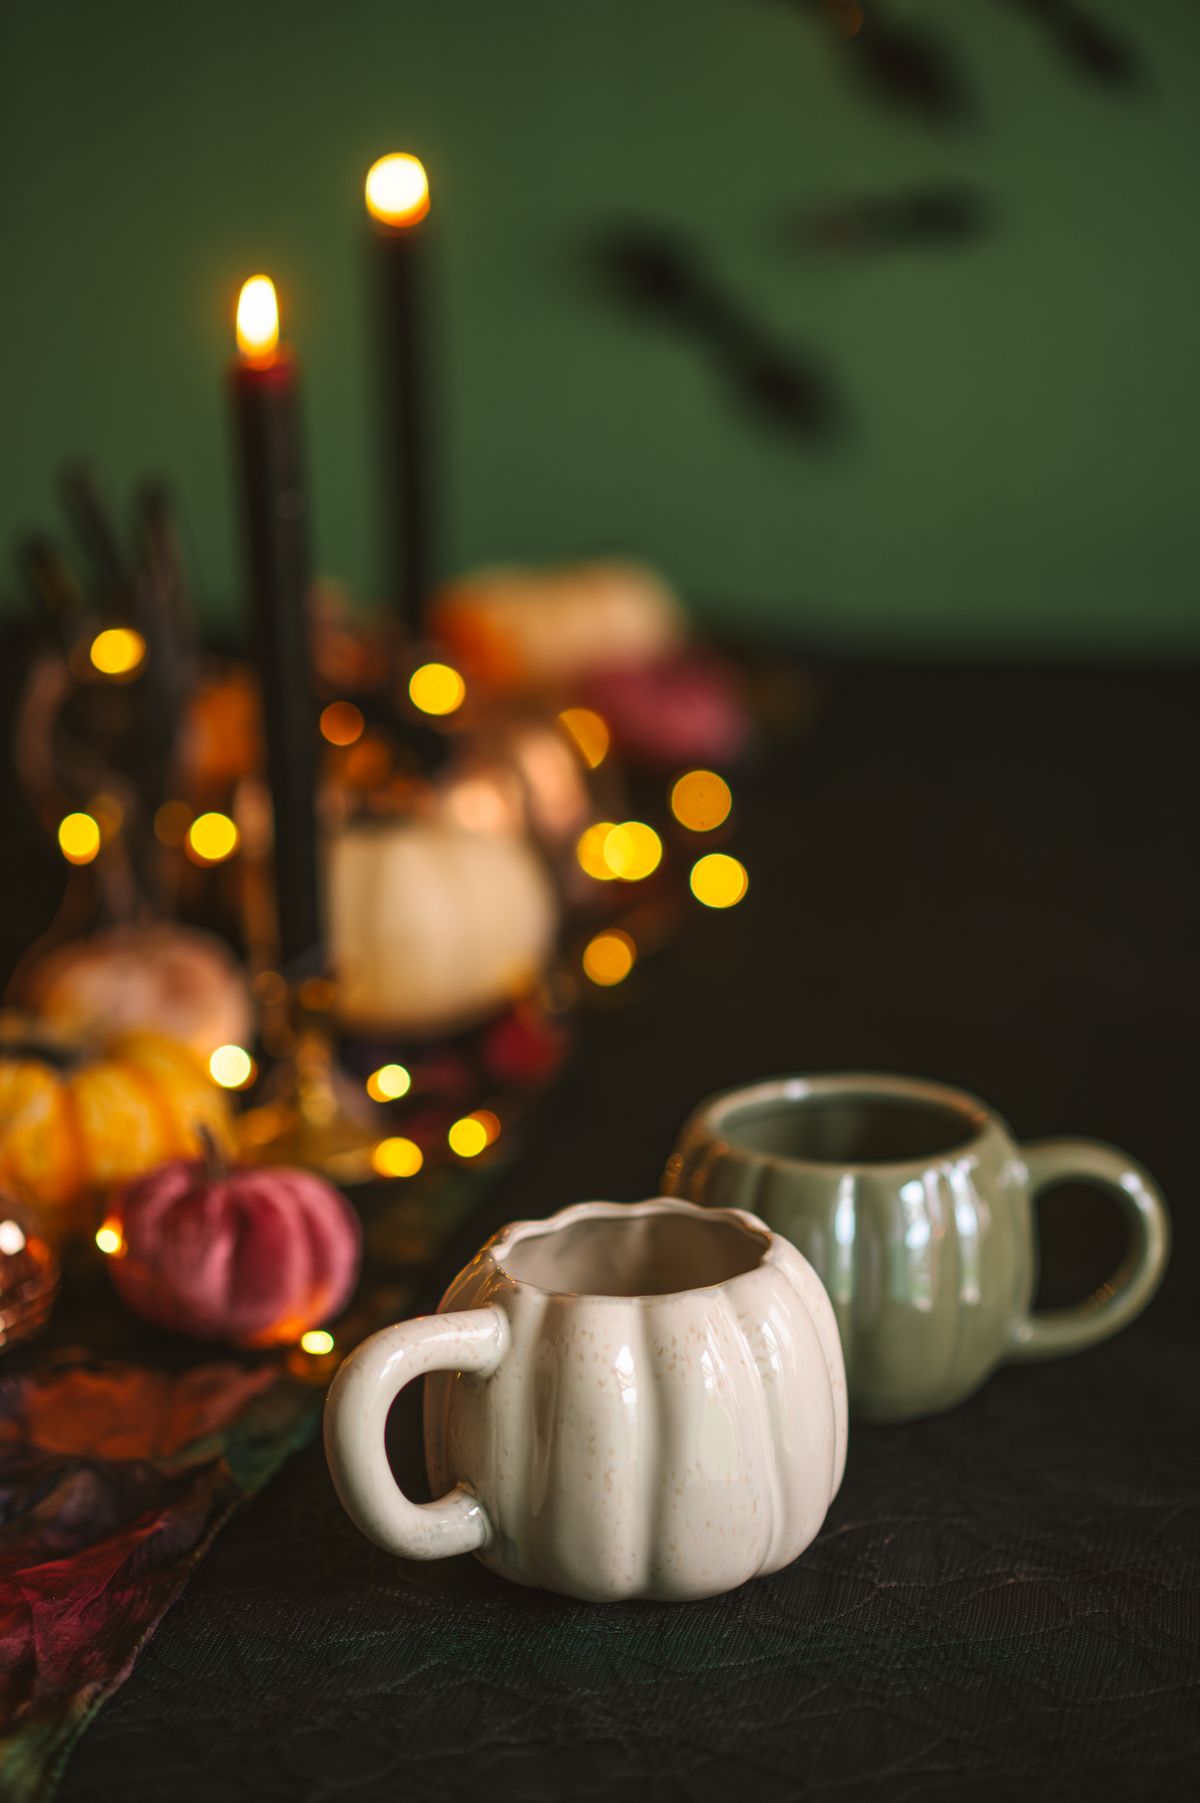
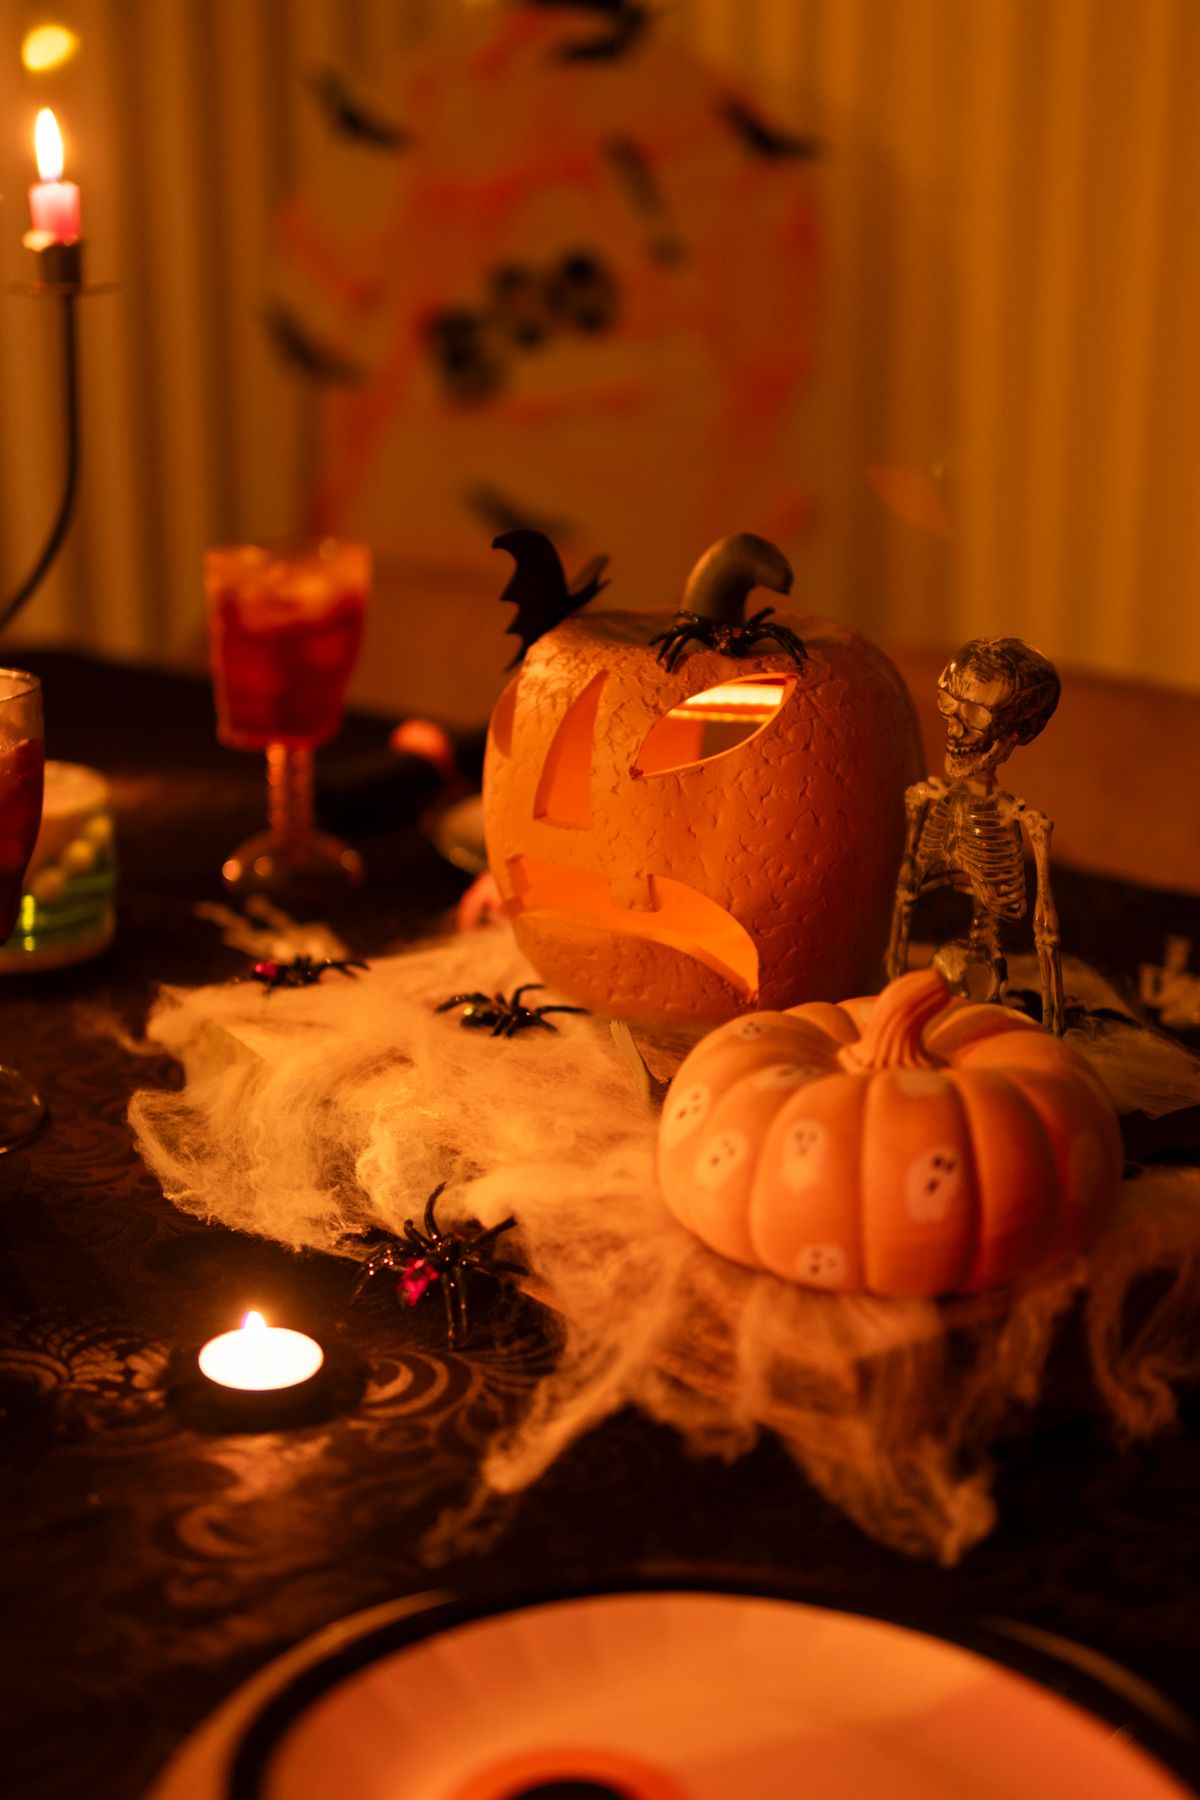
I style the tray with pumpkin-shaped mugs, cinnamon sticks, a small candle, and mini pumpkins for a cozy kitchen feel rather than a spooky one. It is the tray I keep out latest, because it bridges Halloween into November without a costume change. I already owned the mugs, so it cost me under $10 in extras, and it took fifteen minutes. It lasted six weeks in our kitchen, which is the longest of any tray here. The downside is that the mugs tempt people to actually use them, so I keep one mug empty as the designated display mug and the rest in the cupboard.
Pro Tip: Put the candle on the top tier, farthest from anything you reach for daily.
Cost / Time / Difficulty: $8-$15 / 15 minutes / Easy
9. Spiderweb Tray
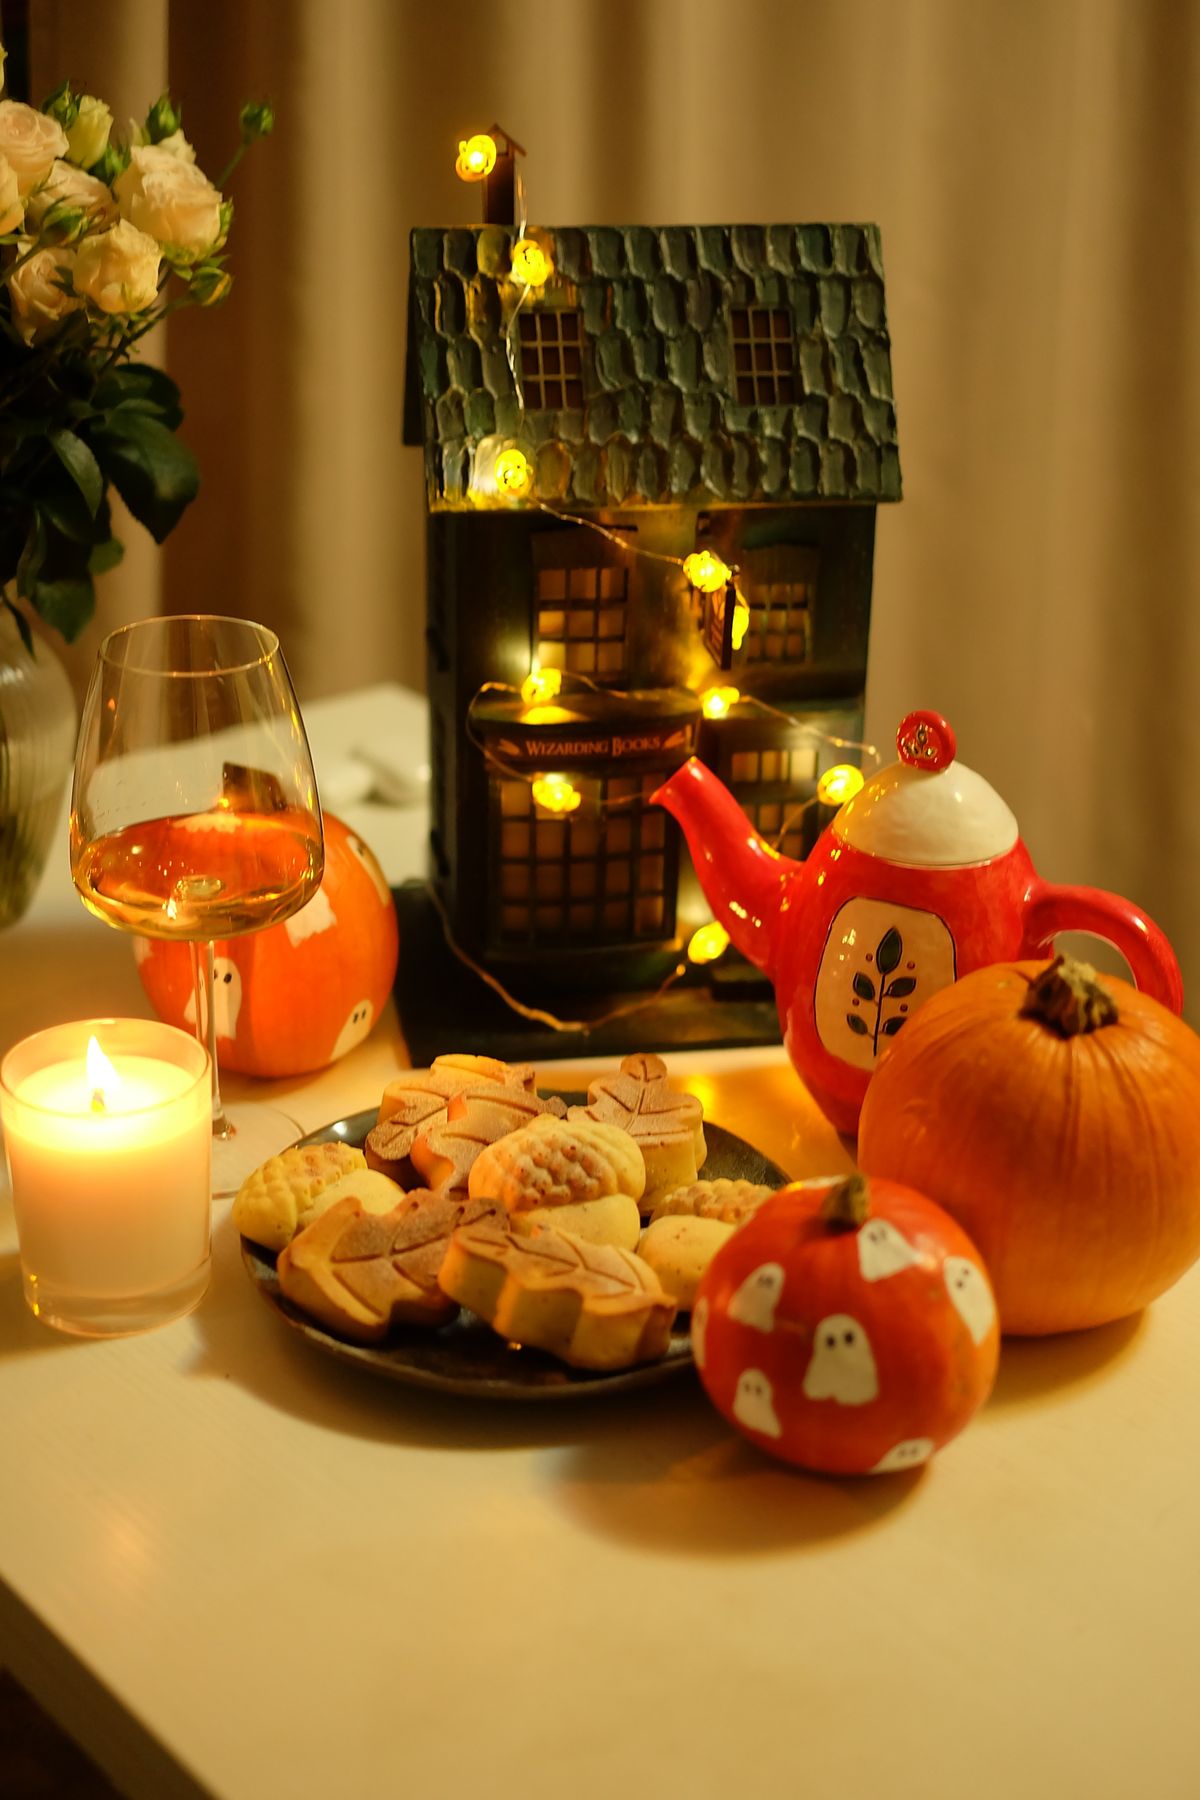
I drape a small piece of stretched spiderweb fabric over the tray tiers and add two plastic spiders and a few black pumpkins. Stretched thin, the webbing looks genuinely creepy rather than cottony, and it is the tray that gets the most double-takes. It cost under $10 and took fifteen minutes. It lasted the month, though the webbing snagged on the tray’s center post and needed re-stretching once. The downside is that webbing near food prep areas collects kitchen grease over a month, so this tray lives on a side table, not right next to the stove.
Pro Tip: Stretch the webbing until you can see through it; a thick clump looks like stuffing.
Cost / Time / Difficulty: $5-$12 / 15 minutes / Easy
Also read: 13 Spooky Halloween Table Decorations For You
10. Vintage Halloween Tray
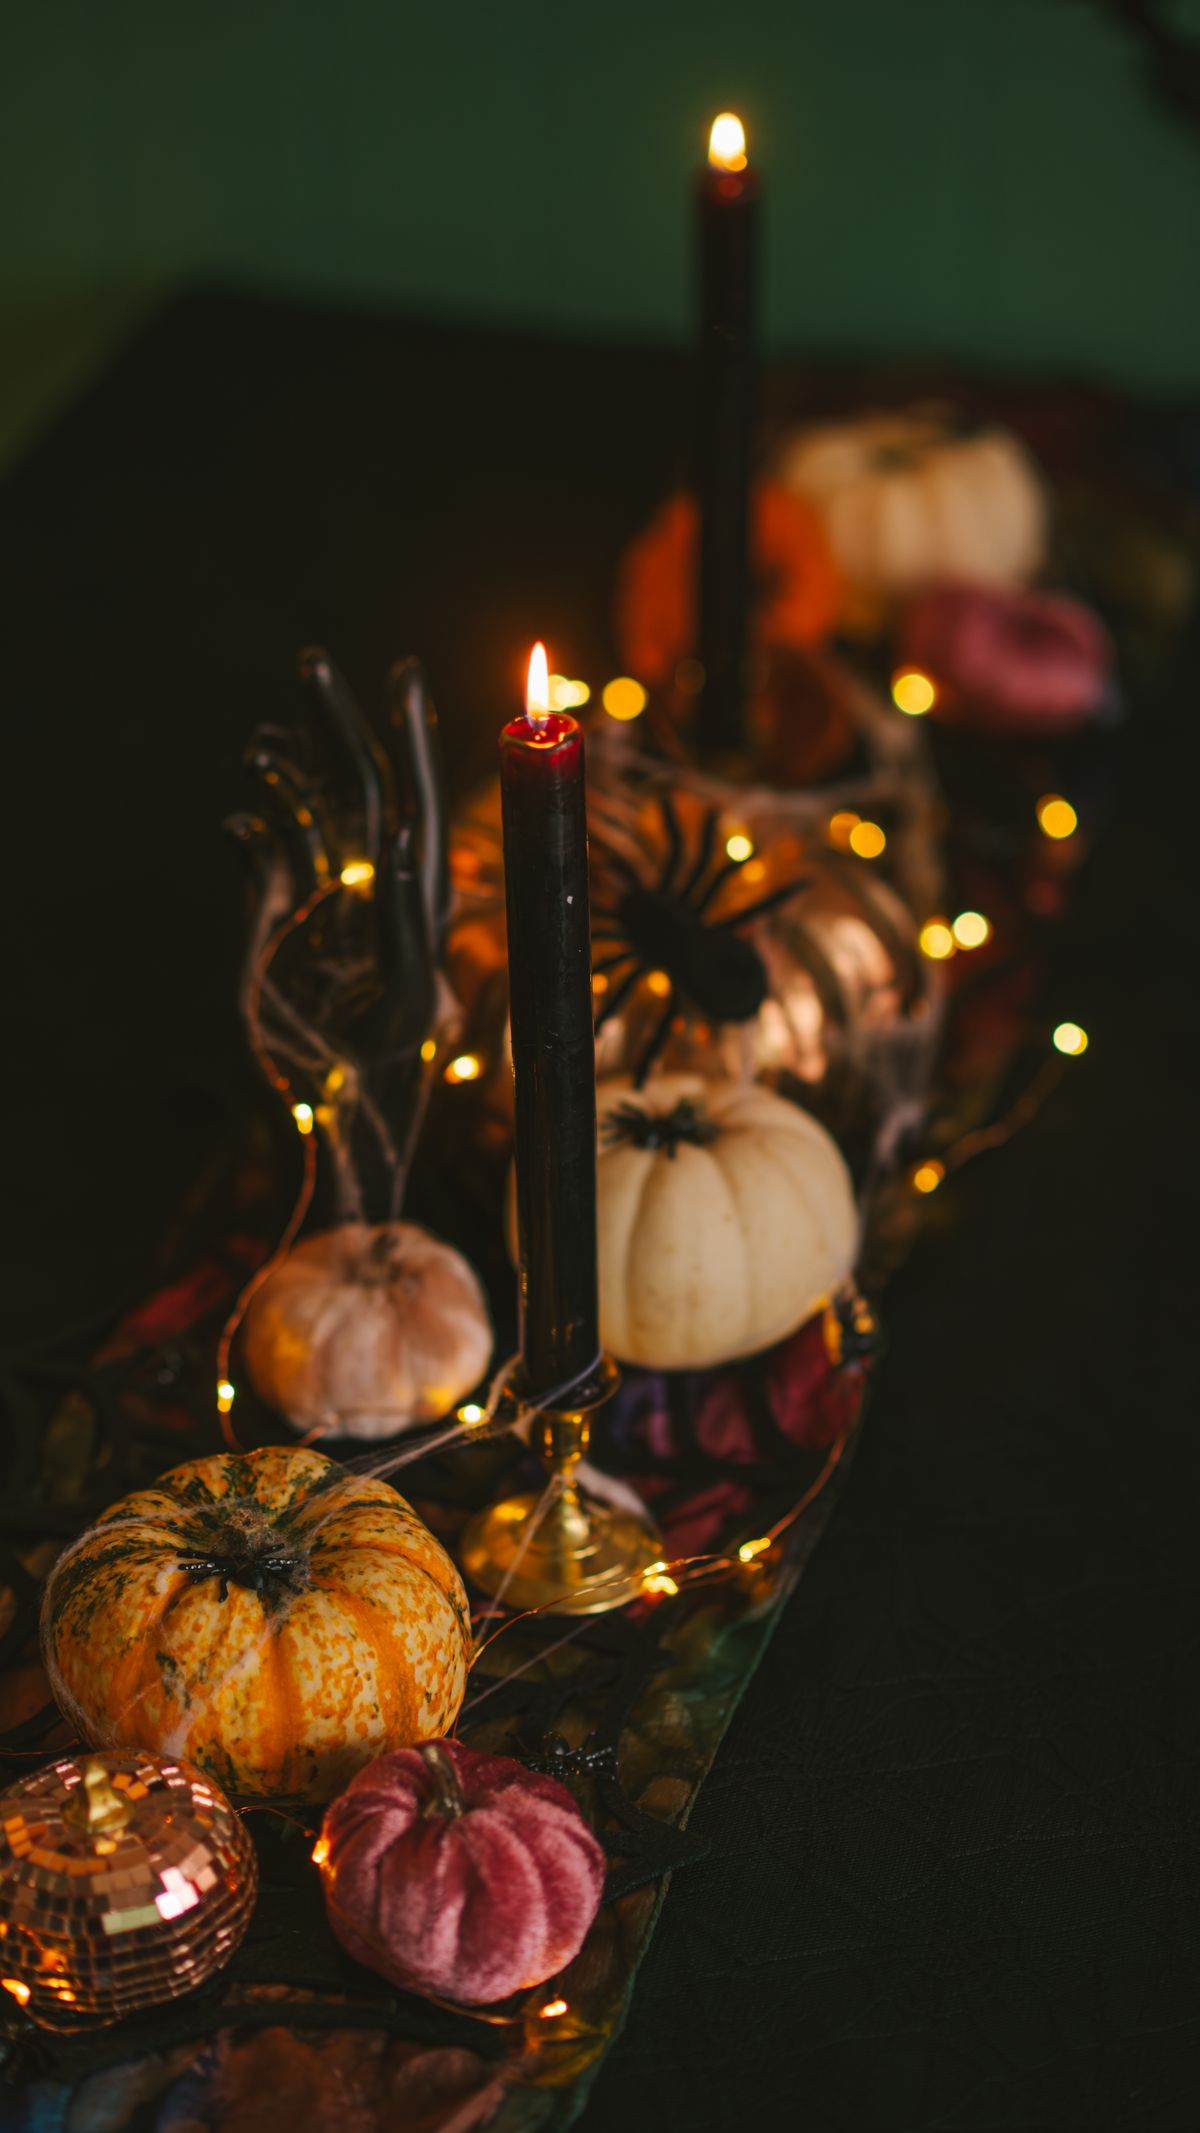
I style the tray with vintage-style Halloween pieces: an old-looking pumpkin bucket, black cat postcards propped on the tiers, and muted orange and black tones instead of neon. It feels nostalgic rather than loud, and it suits our kitchen better than bright plastic. I collected the pieces over a couple of years at thrift shops, spending about $25 total, and the tray takes twenty minutes. It lasted the month beautifully. The downside is that genuine vintage paper fades in kitchen light, so I prop postcards where they get indirect light only, and I never put paper right beside a window.
Pro Tip: Muted tones need one bright accent, like a single orange pumpkin, or the tray looks dull.
Cost / Time / Difficulty: $20-$30 / 20 minutes / Easy
11. Bat Tray
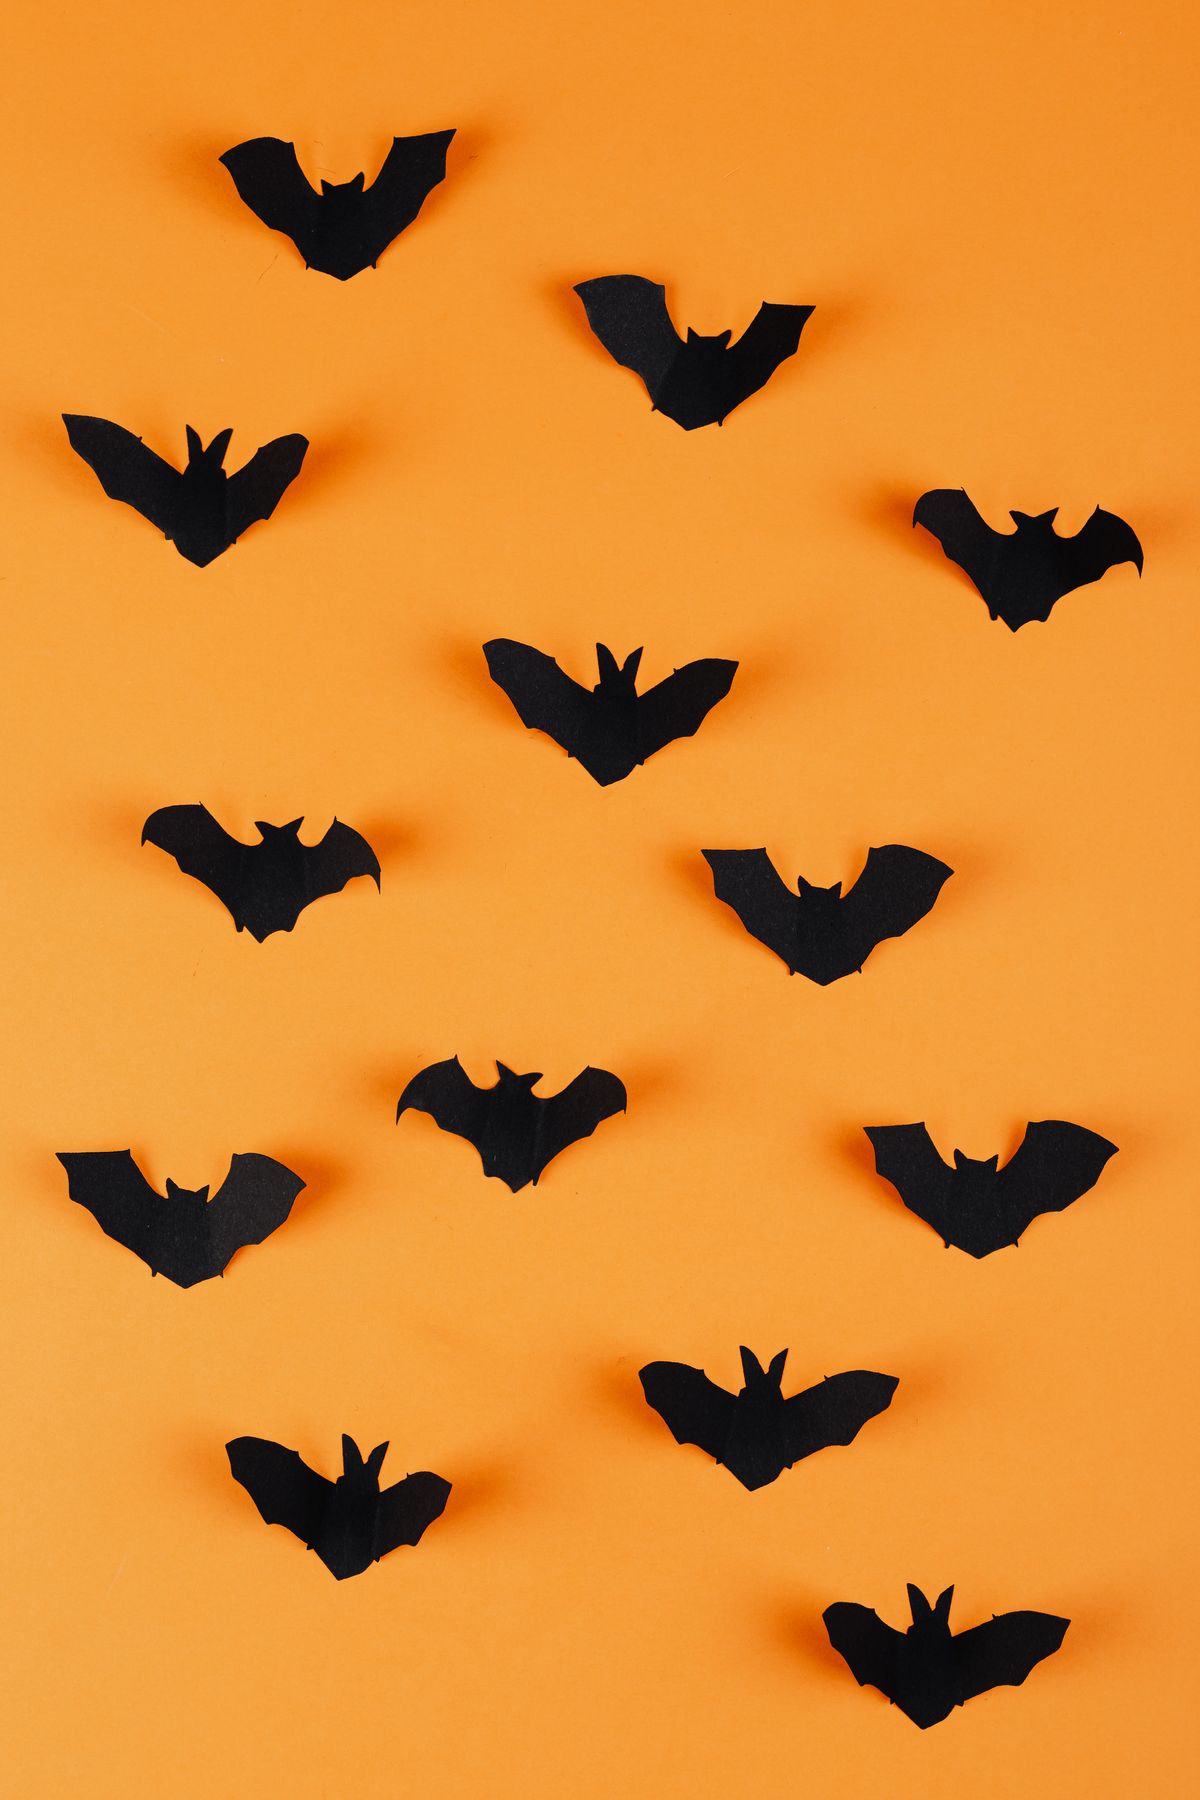
I attach small black paper bats to the tray’s edges and center post so they look like they are flying around it, with pumpkins on the tiers below. It is cheap, quick, and it makes a plain tray feel decorated from every angle. The bats cost a few dollars and the tray took twenty minutes. It lasted the month, though one bat came unstuck in kitchen steam and I reattached it with a stronger dot. The downside is steam: paper bats near a kettle or stove curl, so keep this tray away from direct steam sources.
Pro Tip: Vary the bat sizes and angles so they look like a swarm, not a row.
Cost / Time / Difficulty: $5-$12 / 20 minutes / Easy
12. Trick-or-Treat Tray
I fill the bottom tier with wrapped candy in a small bowl, put a Trick or Treat sign on the middle tier, and pumpkins on top. It is the most functional tray here because guests can actually take candy from it. I spent about $10 on candy and the sign, and it took five minutes. It lasted exactly as long as the candy did, which was about a week before I refilled it twice. The downside is obvious: candy disappears fast, and an empty candy bowl looks sad, so I refill it every few days or swap the bowl for a pumpkin when the candy runs out.
Pro Tip: Use wrapped candy only; unwrapped candy on a display tray is unhygienic in a kitchen.
Cost / Time / Difficulty: $8-$15 / 5 minutes / Easy

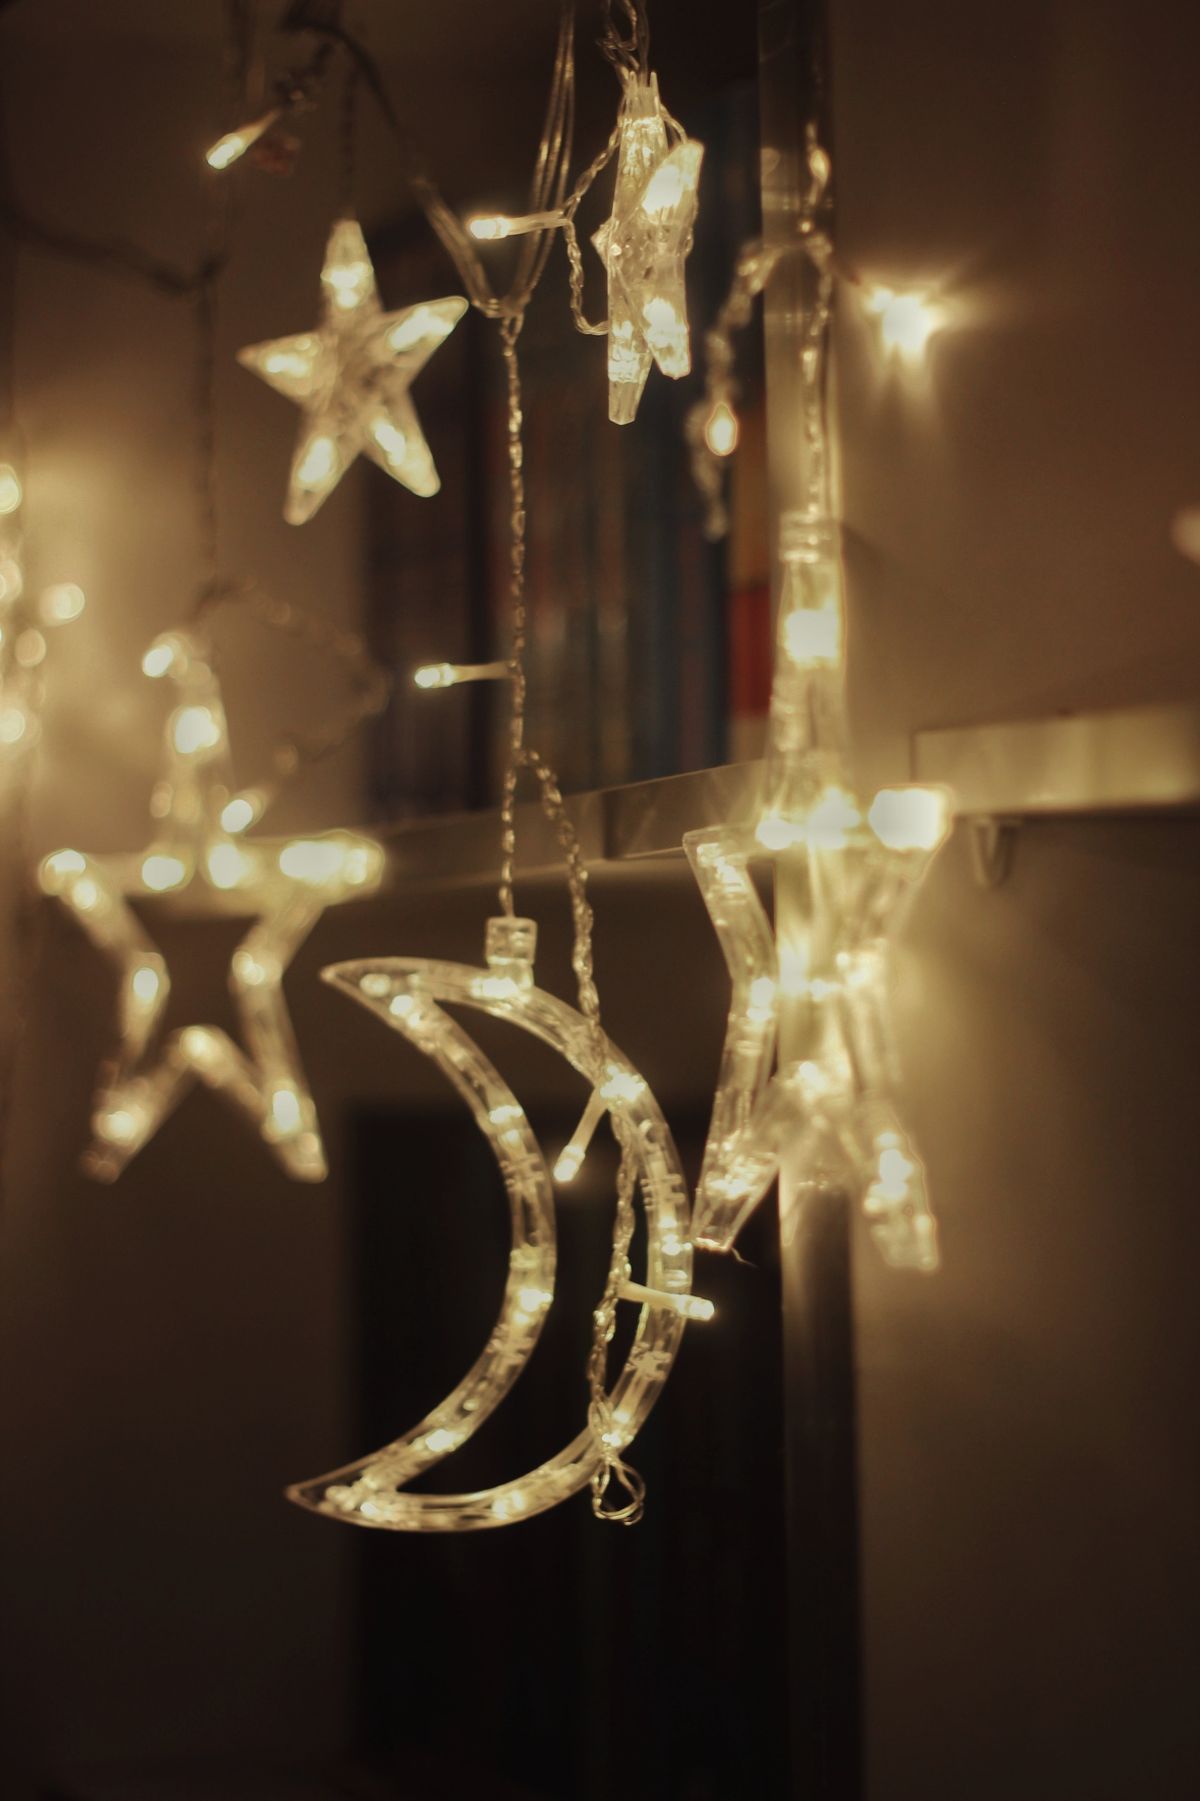
13. Moon and Stars Tray
I style the tray in black, gold, and cream with crescent moon ornaments, star picks, and white pumpkins for a celestial Halloween that is more magical than scary. It is the tray I choose when I want something different from every orange display on the street. It cost about $20 in ornaments and took twenty minutes. It lasted the month well. The downside is that gold picks tarnish if they get wet, so I keep this tray away from the sink side of the island and wipe the picks before storing them.
Pro Tip: One crescent moon per tier is enough; more moons compete with each other.
Cost / Time / Difficulty: $15-$25 / 20 minutes / Easy
14. Farmhouse Halloween Tray
I use a whitewashed wooden tray with burlap, galvanized mini buckets, and neutral pumpkins for a farmhouse Halloween that matches a country kitchen. It is calm and it photographs well against white cabinets. I spent about $20 on buckets and pumpkins, and it took fifteen minutes. It lasted all month. The downside is that burlap sheds fibers onto the counter, so I shake it outside before styling and I put a small cloth under the tray for the first few days.
Pro Tip: Galvanized metal plus one warm wood tone keeps farmhouse trays from looking cold.
Cost / Time / Difficulty: $15-$25 / 15 minutes / Easy
15. Glow-in-the-Dark Tray
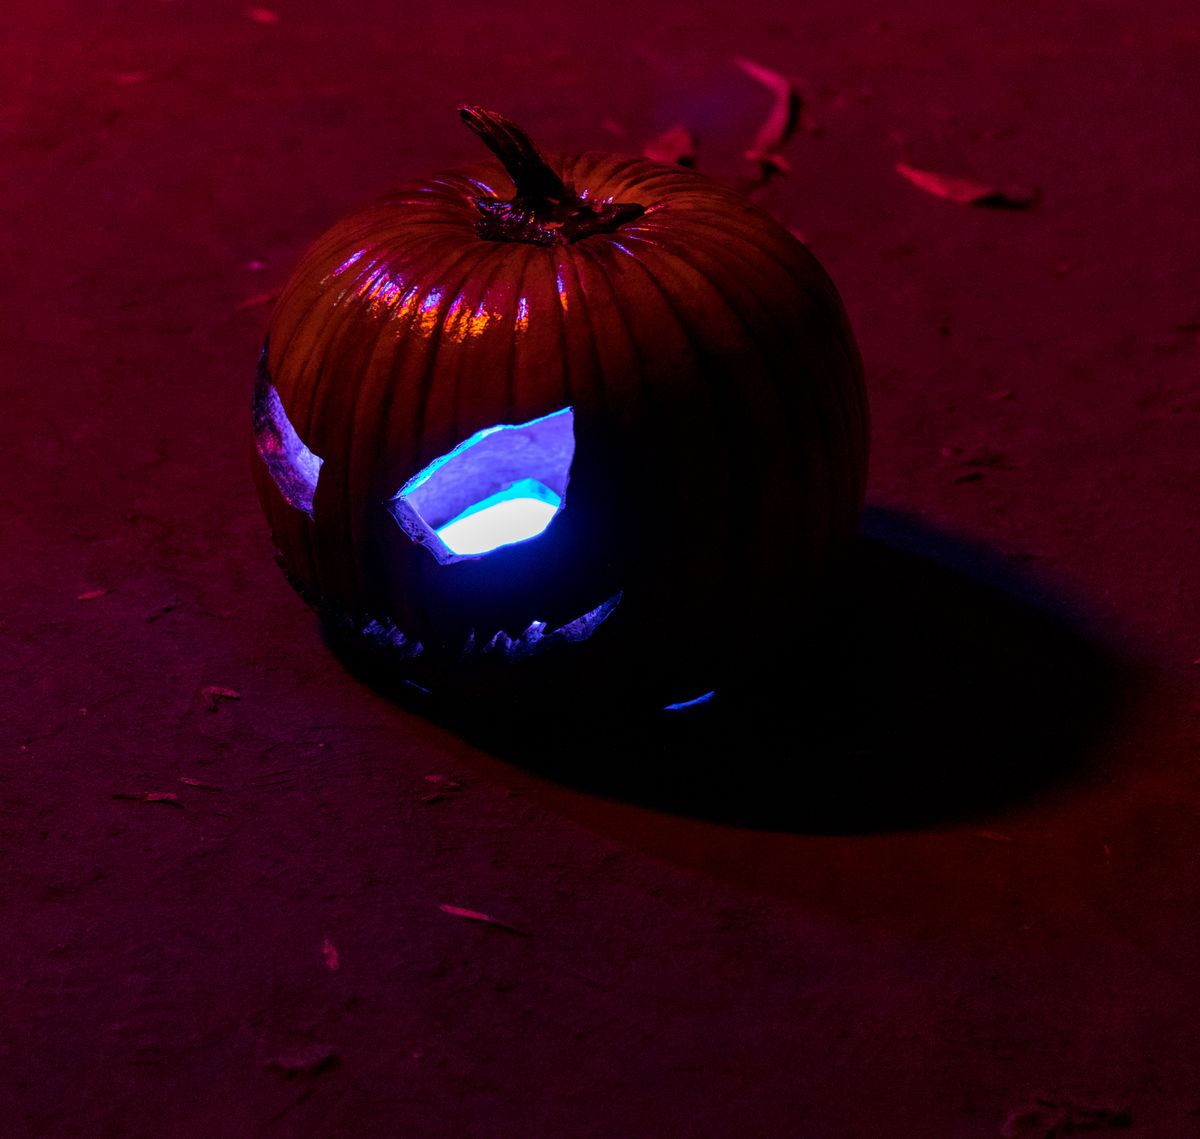
I add glow-in-the-dark stars, a small black-light-style LED, and white ghosts to the tray so it glows after the kitchen lights go off. It is a hit with kids at bedtime and it costs under $20. I charge the glow pieces in daylight and they glow for an hour or so in the evening, which is enough for the effect. It lasted the month, though the glow faded faster on cloudy days when the pieces charged less. The downside is that glow pieces need light to charge, so a tray in a dark corner will not glow at all; keep it where daylight reaches it.
Pro Tip: White and pale pieces glow best; dark pieces absorb the charge and barely show.
Cost / Time / Difficulty: $12-$20 / 20 minutes / Easy
16. One-Tier Focus Tray
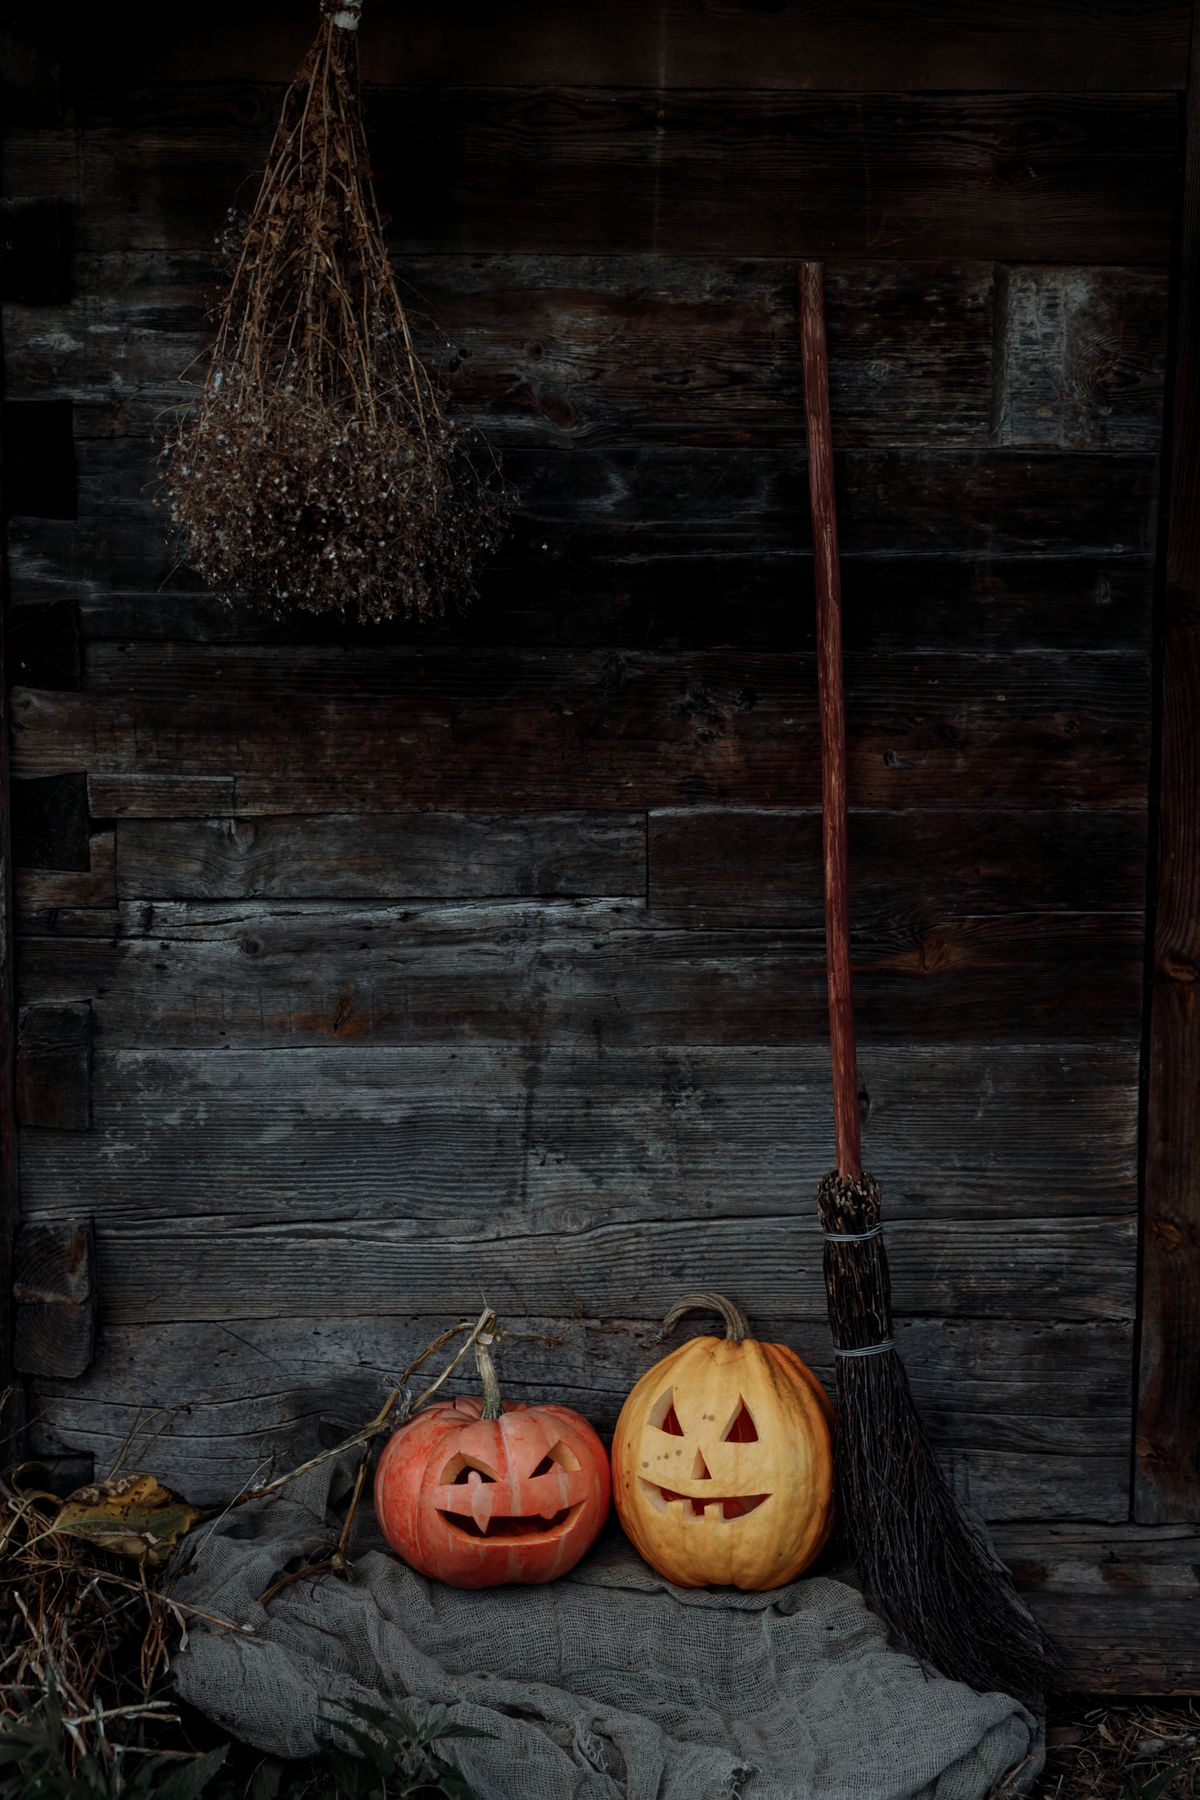
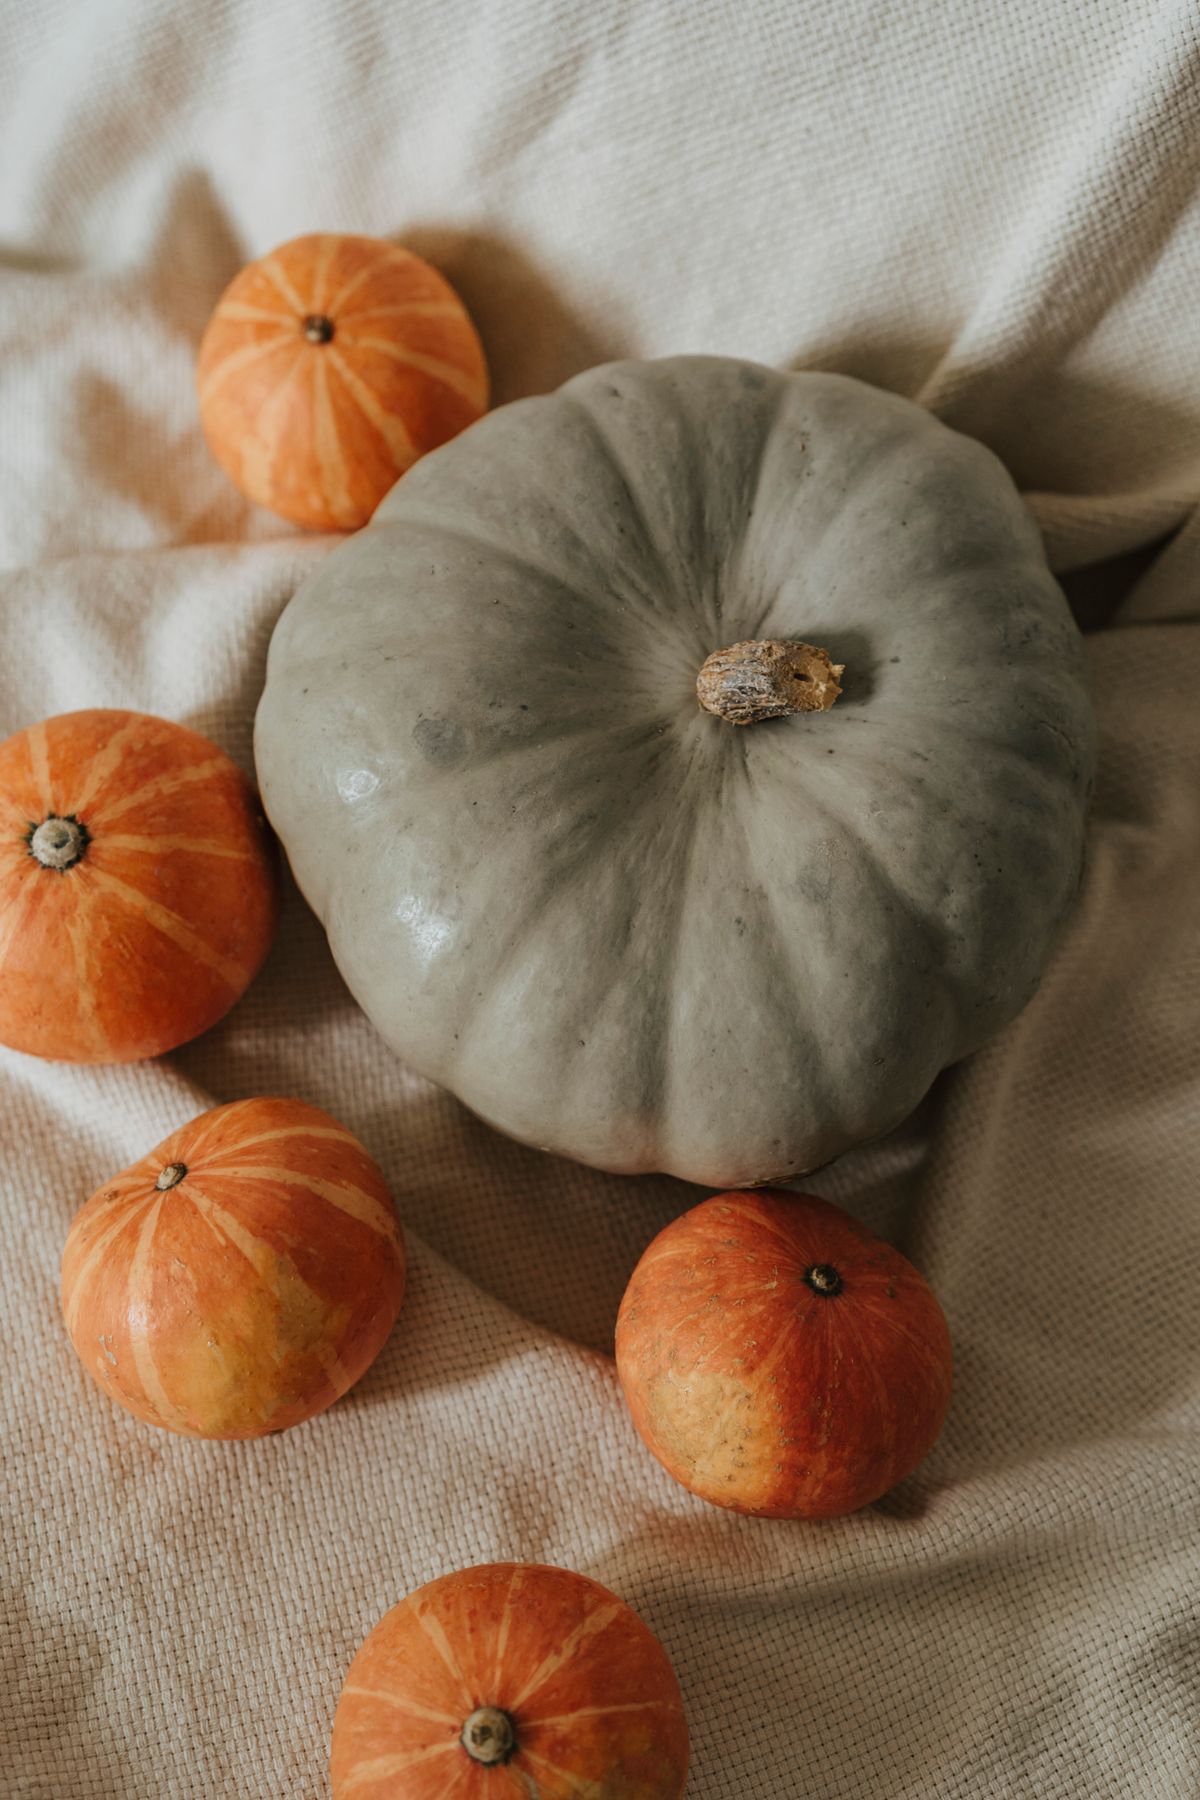
Some years I style only the top tier with a single statement piece, like a large pumpkin or a ghost, and leave the lower tiers nearly bare with one small accent each. It looks confident and it is the fastest tray I do, taking five minutes. I did this the year I was short on time and guests assumed I had chosen minimalism deliberately. It cost one purchase and lasted all month with zero maintenance. The downside is that it only works if the statement piece is big enough; a small piece on a big tray looks lost, so the piece should fill at least half the top tier.
Pro Tip: If the tray looks empty, add one small pumpkin to a lower tier, not five.
Cost / Time / Difficulty: $15-$30 / 5 minutes / Easy
17. Cookie and Cocoa Tray
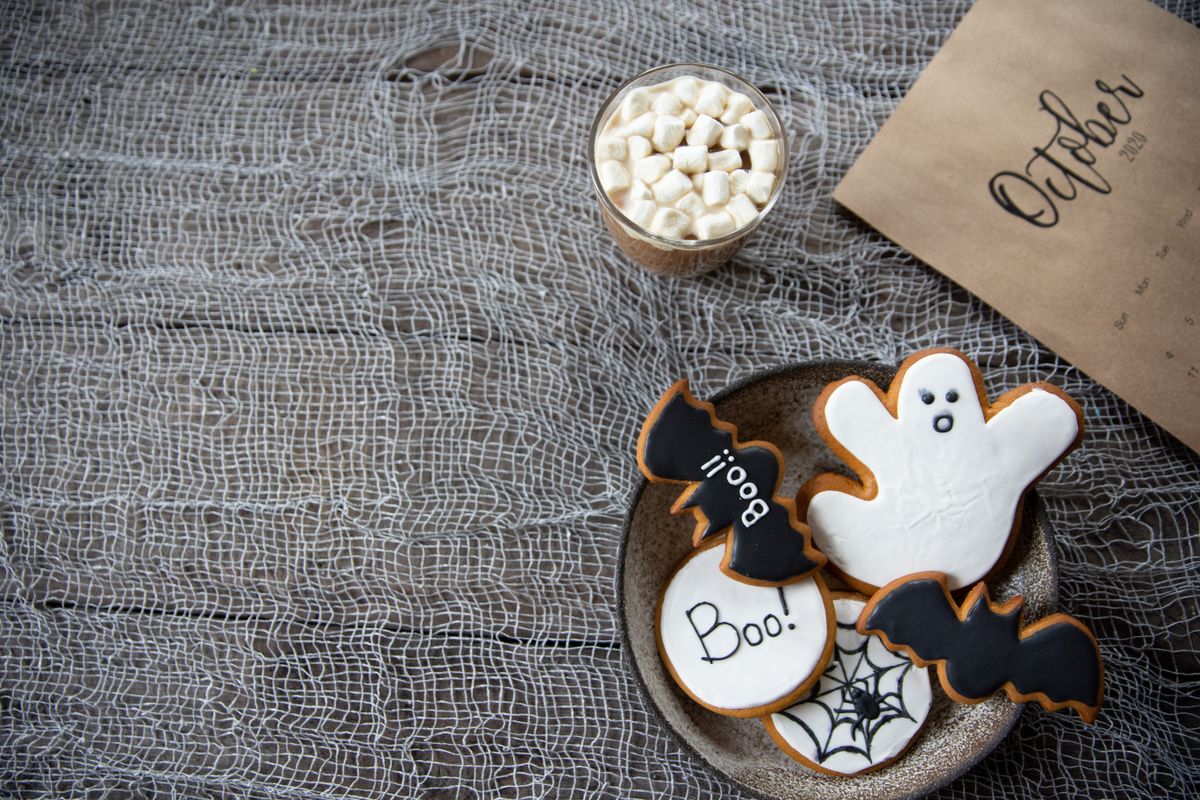
I style the tray with a small plate of Halloween cookies, a cocoa mug, and pumpkins for a tray that doubles as a snack station on movie nights. It is the tray my family actually uses, not just looks at, which makes it my favorite in a practical sense. It cost about $10 in cookies and took ten minutes. It lasted exactly one movie night before the cookies vanished, so I treat it as a weekend tray rather than a month-long display. The downside is crumbs and sticky fingers near decorations, so I keep the food on the bottom tier and the decorations above it.
Pro Tip: Food goes on the bottom tier only, so crumbs fall on the counter, not on decorations.
Cost / Time / Difficulty: $8-$15 / 10 minutes / Easy
Mistakes I Made (So You Don’t Have To)
Mistake 1: I packed every tier full. Pieces toppled whenever someone bumped the island, so now I leave one empty spot per tier as breathing room.
Mistake 2: I put paper decorations beside the stove. Steam curled them in days, so paper and card now stay on the far side of the kitchen from heat and steam.
Mistake 3: I styled the tray from above only. From the sofa it looked completely different, so I now style from the angle I actually see it from every day.
Mistake 4: I skipped museum putty under light pieces. One bump sent a ghost across the island, so lightweight items get a pea-sized dab now.
Which Halloween Tiered Tray Style Fits Your Kitchen?
| Tray style | Best for | Cost | Effort |
| Mini pumpkin patch | Beginners, busy kitchens | $10-$18 | Low |
| Ghost family | Families with kids | $15-$25 | Low |
| Witch’s kitchen | Detail lovers, parties | $20-$30 | Medium |
| Pumpkin spice kitchen | Longest display, into November | $8-$15 | Low |
| One-tier focus | Busy weeks, minimalists | $15-$30 | Minimal |
Frequently Asked Questions
How long did your Halloween tiered trays actually last?
Most lasted all of October in our kitchen. Food-based trays lasted a weekend, cheesecloth and paper needed care near steam, but pumpkin, ghost, and ceramic trays lasted the full month and went back into storage in good shape.
What would you do differently?
I would put museum putty under lightweight pieces from day one instead of after the first topple. It takes two minutes and saves a month of repositioning.
Can a tiered tray work in a small kitchen?
Yes, that is exactly where it shines, because it holds a whole scene in one square foot. Choose a two-tier tray if counter space is tight, and keep the tallest piece on top so it does not block your view across the counter.
How do I keep a tiered tray from looking cluttered?
Leave one empty spot on each tier, repeat one color across all tiers, and style from the angle you see it from most. If you can count more than seven distinct items at a glance, remove two and look again.
Read this next: 13 Beautiful Halloween Kitchen Decor Ideas For You
Final Thoughts
My pick for most kitchens is the mini pumpkin patch tray: it is cheap, fast, and it survives real daily life. Add the ghost family if you have kids, or the witch’s kitchen if you love detail.
Style it, step back to where you actually stand in the kitchen, and remove one thing. That last removal is usually what turns a good Halloween tiered tray decor idea into a great one.