18 Milestone Birthday Decor Ideas for Adults That Work for Any Big Birthday
These milestone birthday decor ideas are the systems I reach for whenever a big birthday comes around, whether it is a 30th, a 40th, a 50th, or a 60th. I have decorated for all four milestones now, and the setups that worked best were never tied to one age. They were repeatable systems: one strong number display, one photo story, one colour palette, and one well-lit table.
How I picked these: I tested each system at a real milestone party in my own home or a hired hall, kept notes on cost, setup time, and what guests actually photographed, and kept only the systems I would reuse for a different age with just the number and colours swapped.
Key Takeaways
- Pick one number display, one photo display, and one table system, and let the rest stay simple.
- A three-colour palette reused across balloons, napkins, and signage makes any milestone look planned.
- Light matters more than quantity: candles and string lights lift plain decor further than extra balloons.
18 Milestone Birthday Decor Ideas for Adults
1. The Oversized Foil Number Display
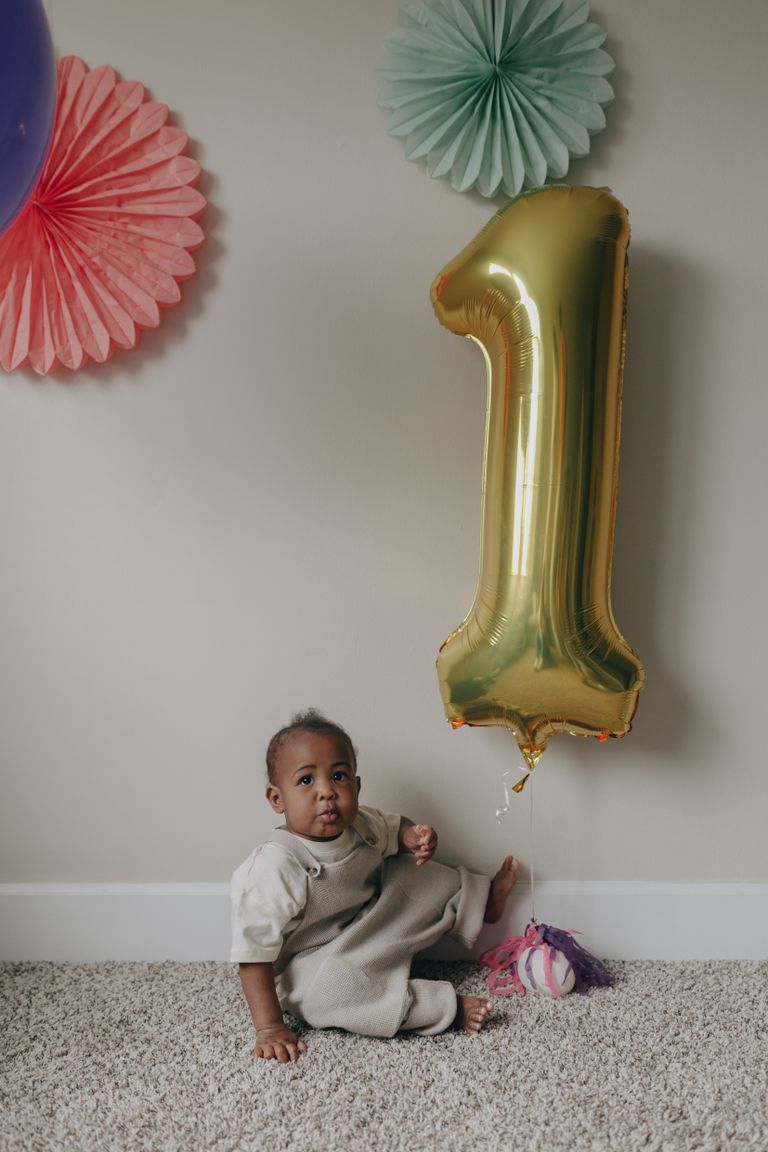
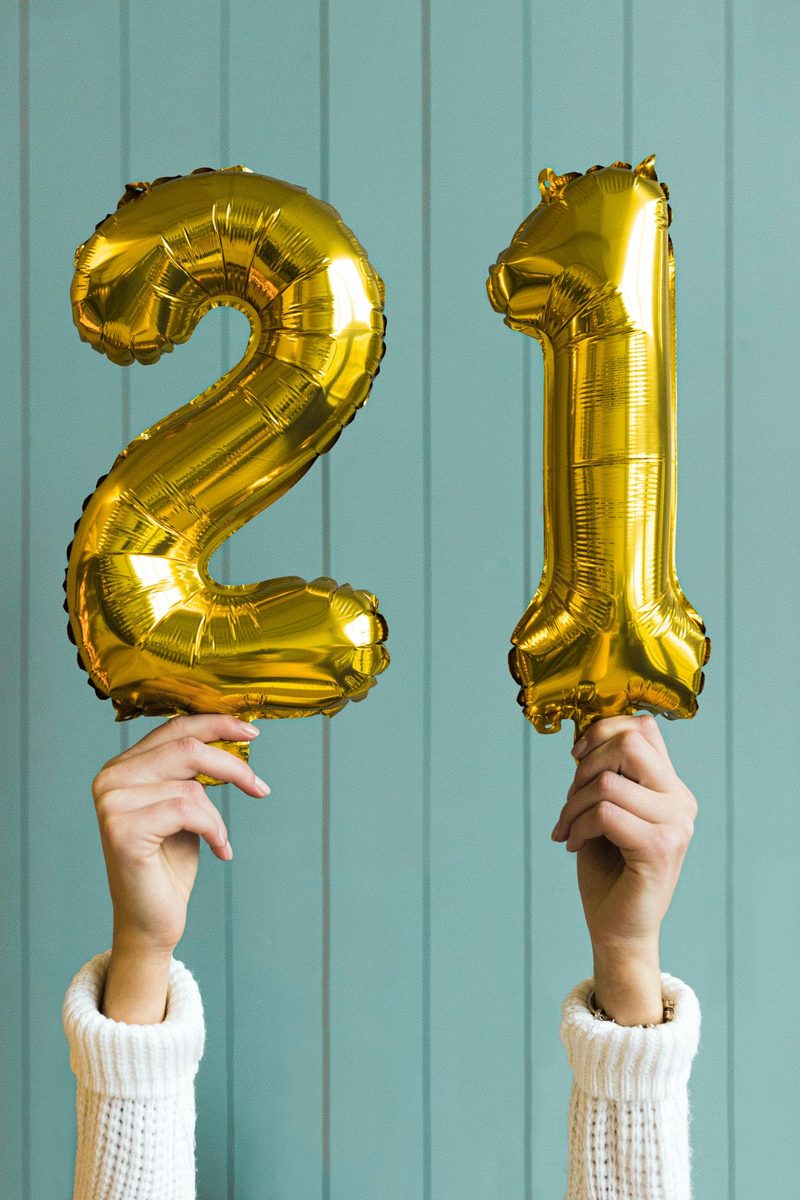
This is the single highest-impact piece of milestone decor I own, and it works for any age because only the digits change. I buy two 40-inch foil number balloons in the party’s main metallic colour, fill them with helium the morning of the party, and anchor them with a weight hidden inside a small gift box or a bunch of latex balloons.
For my friend’s 50th, I stood the numbers beside the cake table so every cake photo included them, and guests used them as the meeting point all night. The honest downside is helium fade. My 40th numbers looked perfect at 6 pm but were drooping by midnight, so for evening parties I now tape the numbers to a backdrop frame instead of relying on helium alone.
Pro Tip: Buy the numbers a size up from what you think you need; 32-inch numbers disappear in photos, while 40-inch ones read clearly.
Cost / Time / Difficulty: $20 to $40 for two foil numbers | 30 minutes to inflate and place | Easy

2. The Balloon Arch Over the Entrance
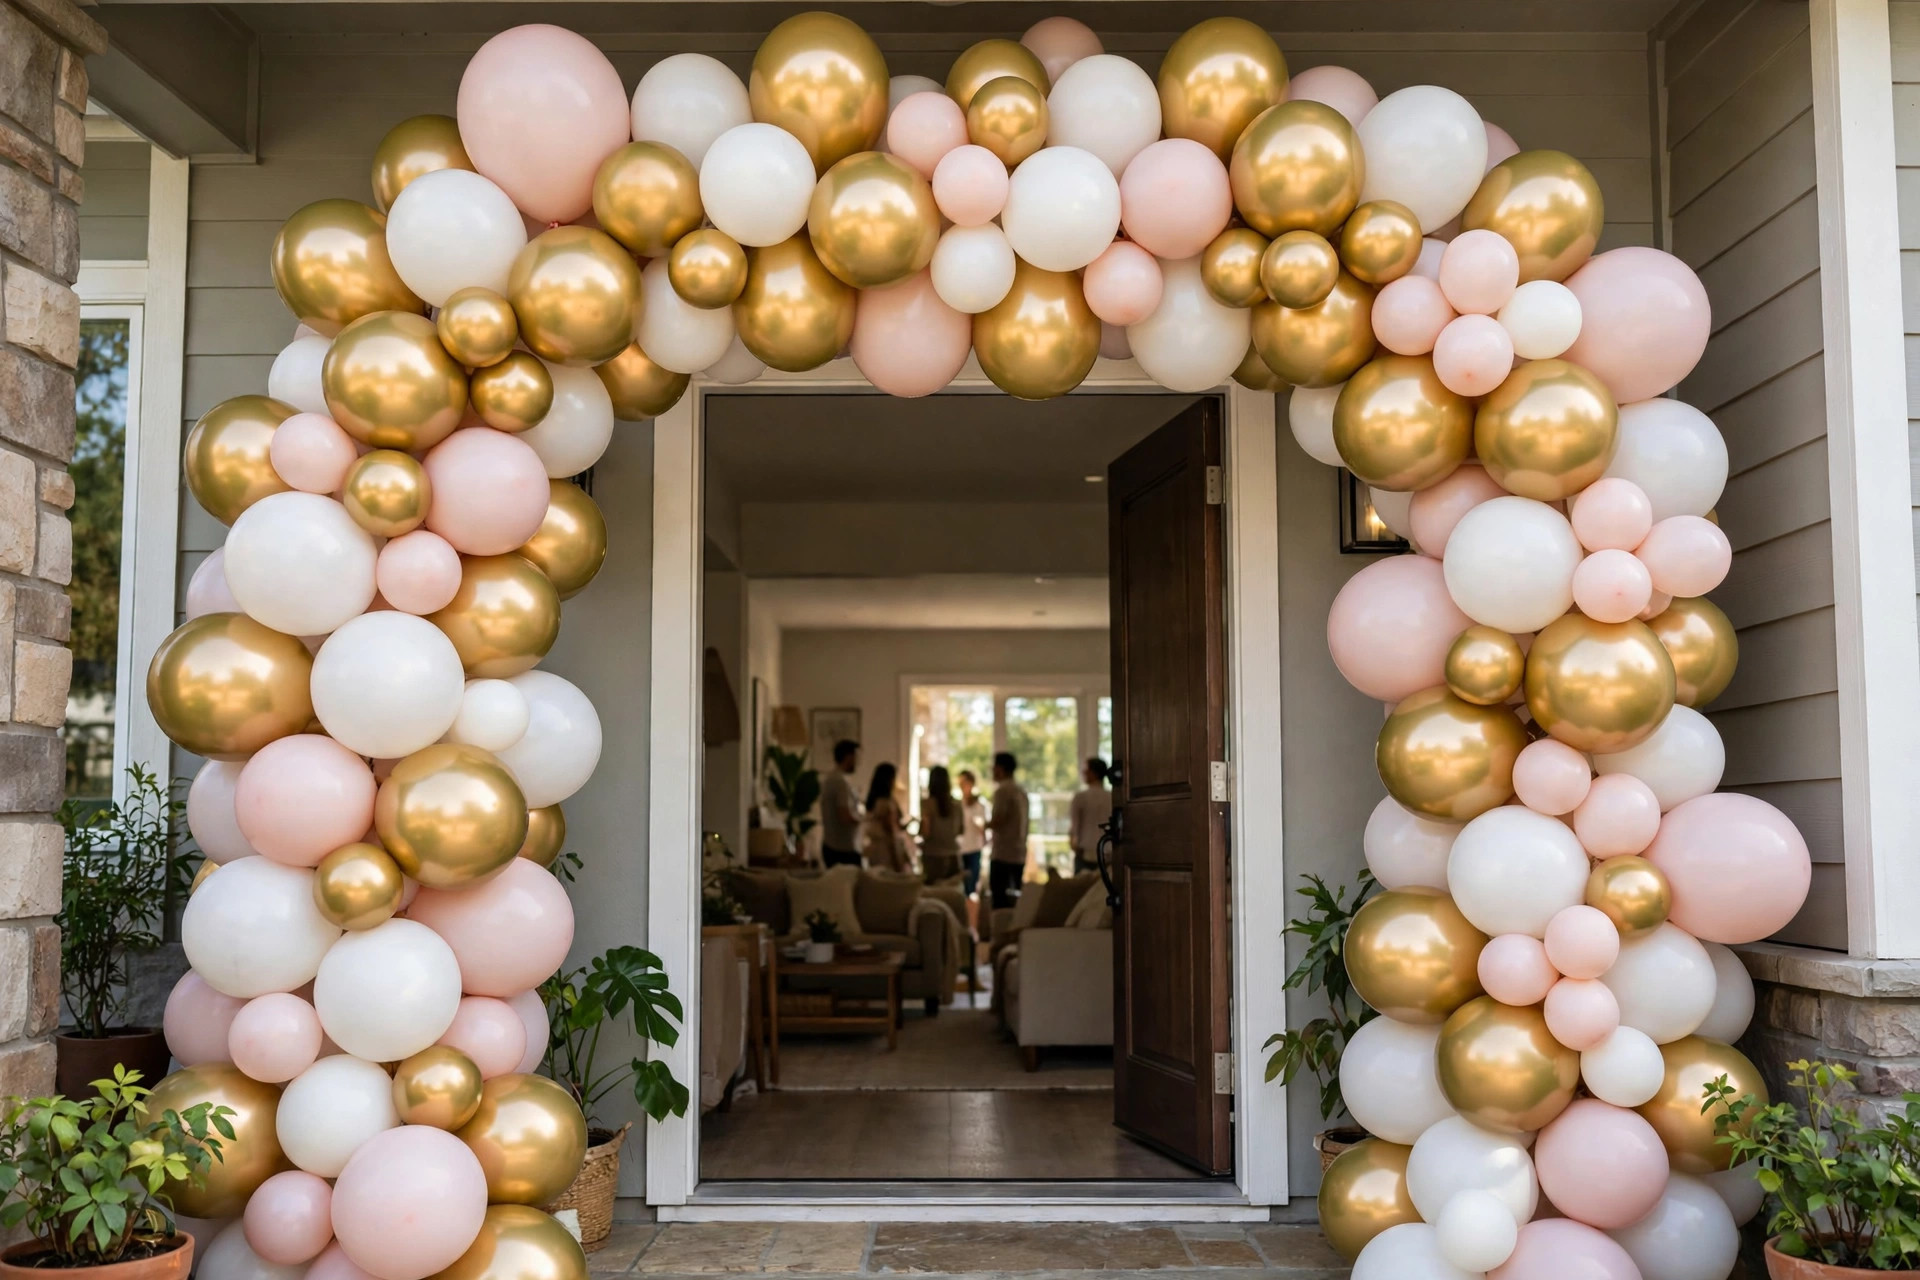
A balloon arch tells guests they have arrived somewhere special before they see anything else. I build mine on a reusable arch strip, using 5-inch and 11-inch balloons in the party palette, clustered in groups of four and twisted onto the strip, then I add a few metallic balloons for shine.
The downside is time and popping. My first arch took nearly three hours because I inflated balloons one by one, and two popped against a rough doorframe. I now inflate with an electric pump, keep the arch a hand’s width from rough edges, and build it the day before when the venue allows.
Pro Tip: Inflate all balloons to slightly different sizes; uniform balloons make an arch look flat and store-bought.
Cost / Time / Difficulty: $30 to $60 for balloons and strip | 2 to 3 hours | Medium
3. The Photo Timeline Wall
A photo timeline turns a blank wall into the guest of honour’s life story, and it suits every milestone because the decades are the point. I print one photo per decade or per five years, mount them on card in the party colours, and hang them in age order along a string or a picture rail with the age written underneath in marker.
The downside is printing time. I once left printing to the night before and ran out of ink halfway through the 1990s. I now print a week ahead, order ten percent extra prints, and keep the originals safe at home rather than pinning them up.
Pro Tip: Ask family members for one photo each rather than raiding albums yourself; you get pictures you have never seen.
Cost / Time / Difficulty: $15 to $30 for prints and card | 2 hours | Easy

4. The Three-Colour Palette System
Instead of buying decorations in every colour I like, I now pick three colours and repeat them everywhere: one main colour, one metallic, and one neutral.
The honest downside is discipline. At a 30th I let a well-meaning helper add bright pink balloons to my black, gold, and white scheme, and the photos looked messy. I now write the palette on a card, tape it to the decoration box, and tell helpers that anything outside the palette stays in the bag.
Pro Tip: Photograph your three colours together before buying anything; if they clash in the photo, they will clash in the room.
Cost / Time / Difficulty: $0 extra if you plan first | 30 minutes of planning | Easy

5. The Layered Guest Table
A layered table looks expensive without expensive pieces. I start with a plain cloth, add a runner in the main colour, then place a low centrepiece, candles, and one small personal item at each setting, such as a printed place card with a memory or a joke about the guest of honour.
The downside is clutter. My first attempt had tall flowers, tall candles, and tall menus, and nobody across the table could see each other. I now keep everything below eye level, use short candles and low bowls, and test the sightline by sitting down before guests arrive.
Pro Tip: Set one full place setting the day before and sit at it; if you cannot see the person opposite, something is too tall.
Cost / Time / Difficulty: $40 to $80 for a table of twelve | 1 hour | Easy

6. The Cake Table as a Centrepiece
For milestones, I treat the cake table as a display, not an afterthought. I raise the cake on a sturdy stand, add a cloth that reaches the floor, place two small flower arrangements at the sides, and hang or stand the number display behind it so the cake, the numbers, and the flowers read as one scene.
The downside is crowding. I once squeezed the cake, gifts, and cards onto one table, and a guest nearly knocked the cake reaching for a card. I now keep gifts and cards on a separate table, and I leave a clear metre of space in front of the cake table for photos.
Pro Tip: Put the cake table against a plain wall, not a window; backlight makes cake photos dark and grey.
Cost / Time / Difficulty: $25 to $50 for stand hire or purchase, cloth, and flowers | 45 minutes | Easy

7. The Candlelight Layer
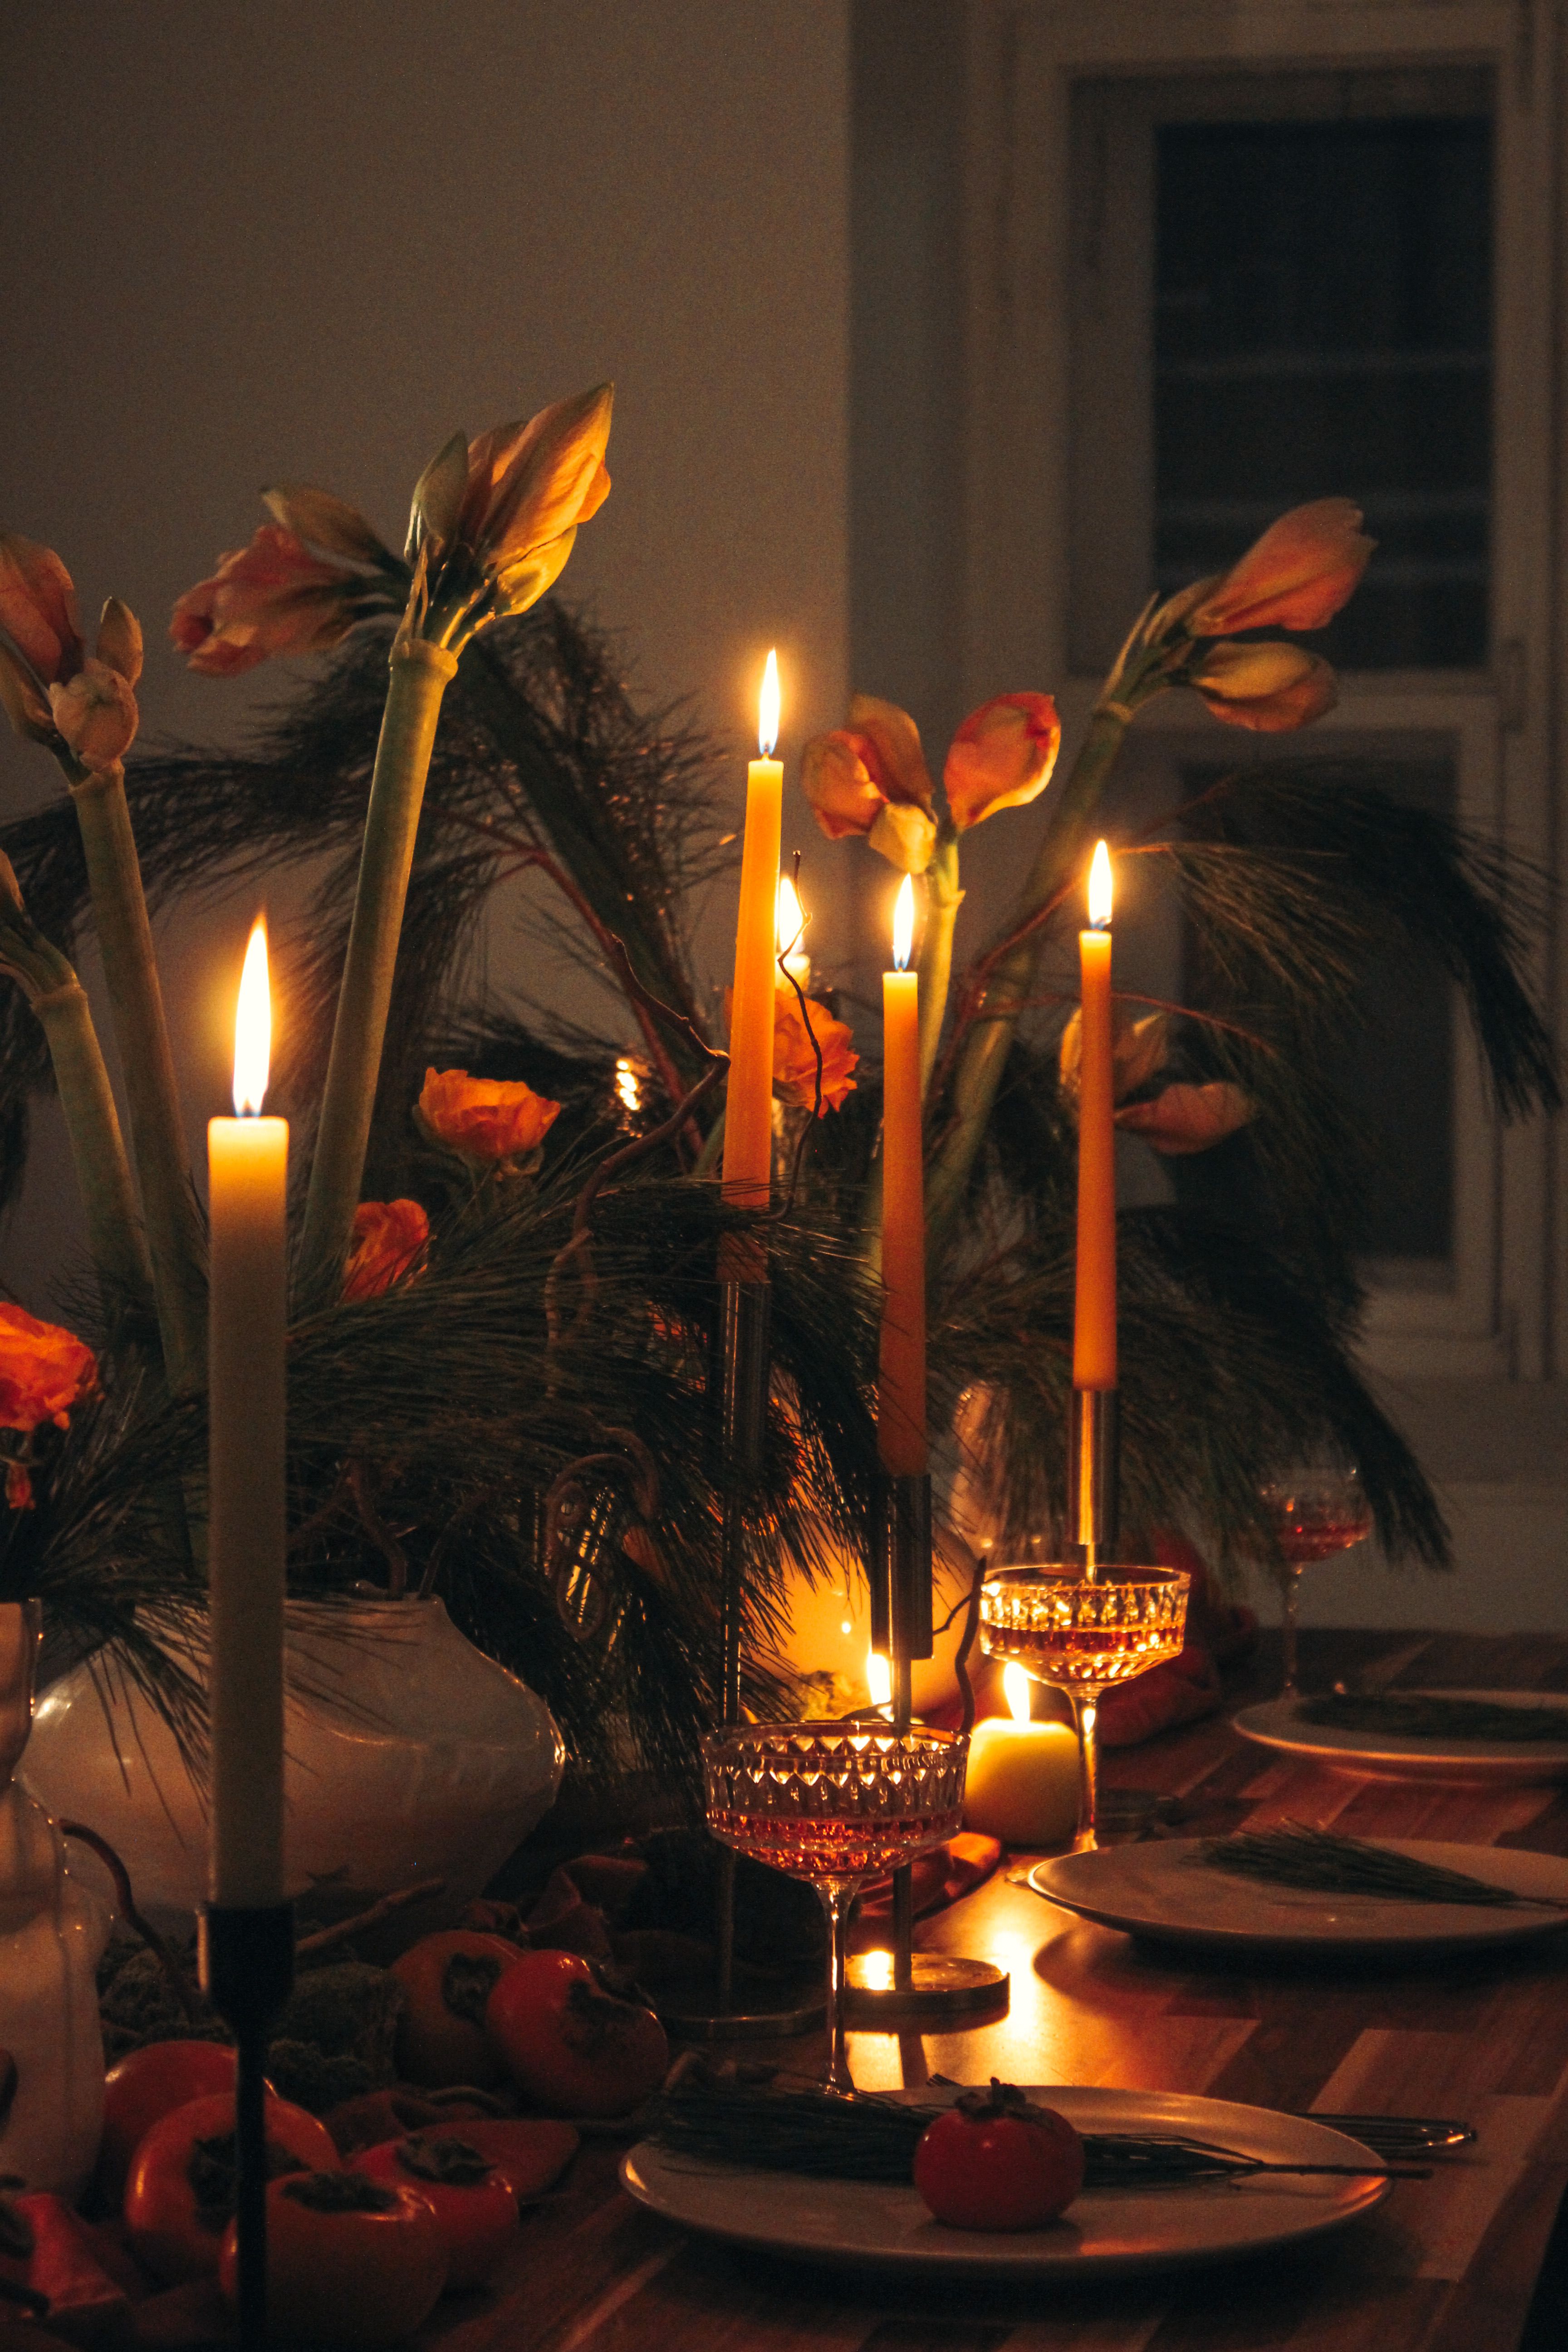
Candles change a room more than almost any other decoration, and they flatter every age. I use three heights of pillar candles in glass hurricanes on tables and windowsills, plus tea lights in small holders, all in unscented wax so they never fight with the food.
The honest downside is safety and wax. I once placed a candle too close to a paper banner and spent the evening moving it every ten minutes. I now use battery candles for anything near paper, fabric, or children, and keep real flames only inside tall glass hurricanes on stable surfaces, away from table edges.
Pro Tip: Light candles last, just before guests arrive, so they burn evenly and you are not watching them during setup.
Cost / Time / Difficulty: $20 to $40 | 20 minutes | Easy
8. The String Light Ceiling
String lights give a milestone party its evening glow, indoors or out. I drape warm-white fairy lights in swags across a ceiling or along a fence, using removable hooks and keeping the drops even by measuring the first swag and copying it.
The downside is tangling and power. My first set arrived in a knot that took forty minutes to undo, and I ran out of outdoor sockets halfway along the fence. I now buy lights on a reel, test them the day before, and plan one socket per two strings with an outdoor-rated extension lead.
Pro Tip: Choose warm white, not cool white; cool white makes skin look grey in photos.
Cost / Time / Difficulty: $25 to $50 | 1 to 2 hours | Medium

9. The Dessert Table That Doubles as Decor
A dessert table is decoration guests can eat, which makes it the hardest-working display at a milestone party. I cover a table in the party palette, use cake stands and boxes at three heights, and repeat one motif, such as gold toppers or fresh flowers, across every plate.
The downside is heat and timing. Cream desserts slumped at a summer 50th because I set the table out three hours early. I now keep desserts chilled until thirty minutes before serving and choose sturdier bakes, like biscuits and brownies, for warm rooms.
Related article: If you want age-specific decoration lists to compare with these systems, read the Stunning 30th Birthday Party Decoration Ideas post, which covers the 30th in detail.
Pro Tip: Label anything with nuts, dairy, or alcohol on small cards; guests ask less and eat more confidently.
Cost / Time / Difficulty: $30 to $60 for stands, cloth, and toppers | 1 hour | Easy
10. The Memory Table
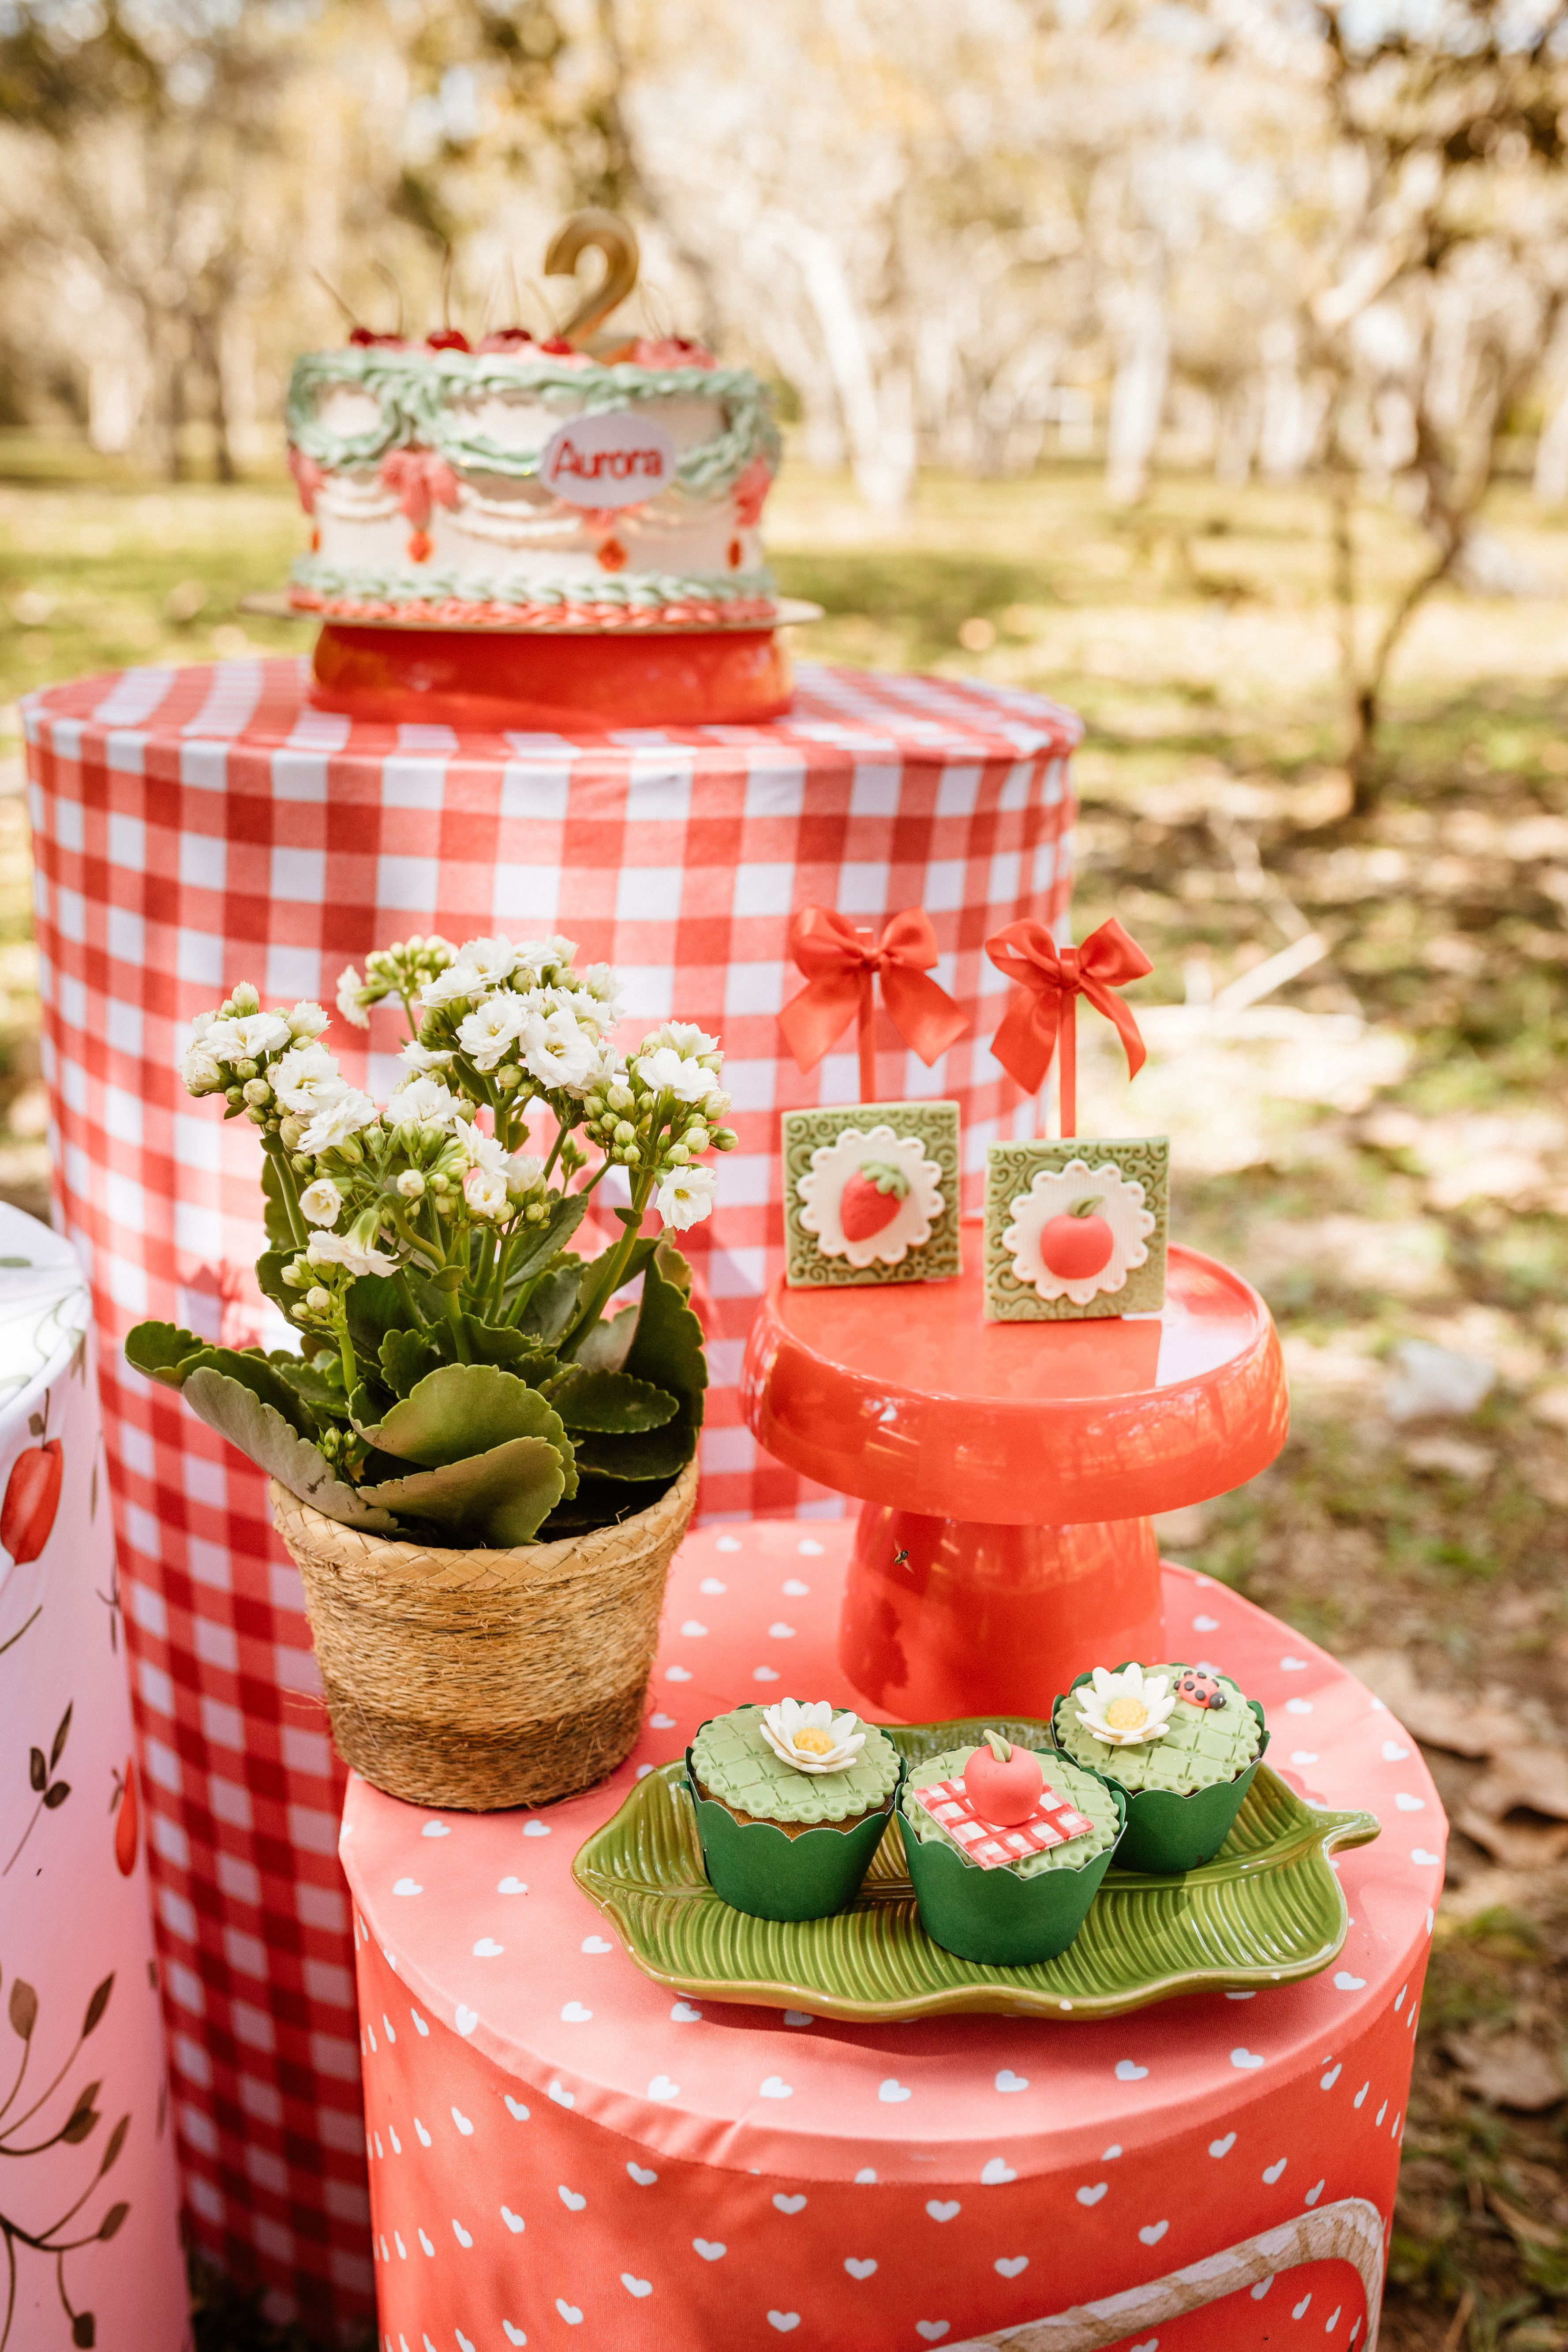
A memory table gives older guests and quieter guests a place to linger, and it works at every milestone. I set a small table with a framed photo of the guest of honour, a few meaningful objects, such as a first record, a travel souvenir, or a sports medal, and a stack of cards where guests can write a memory or a wish.
The downside is that a memory table can feel sad if it leans too heavily on people who are gone. I learned to balance it with funny, living memories, and I keep the tone celebratory by adding a lighthearted prompt on the cards, such as “My favourite story about you starts with…”.
Pro Tip: Place the memory table near the entrance, not in a dark corner, or guests will miss it until the party ends.
Cost / Time / Difficulty: $10 to $25 for cards, pens, and frames | 45 minutes | Easy
11. The Backdrop and Banner Photo Corner
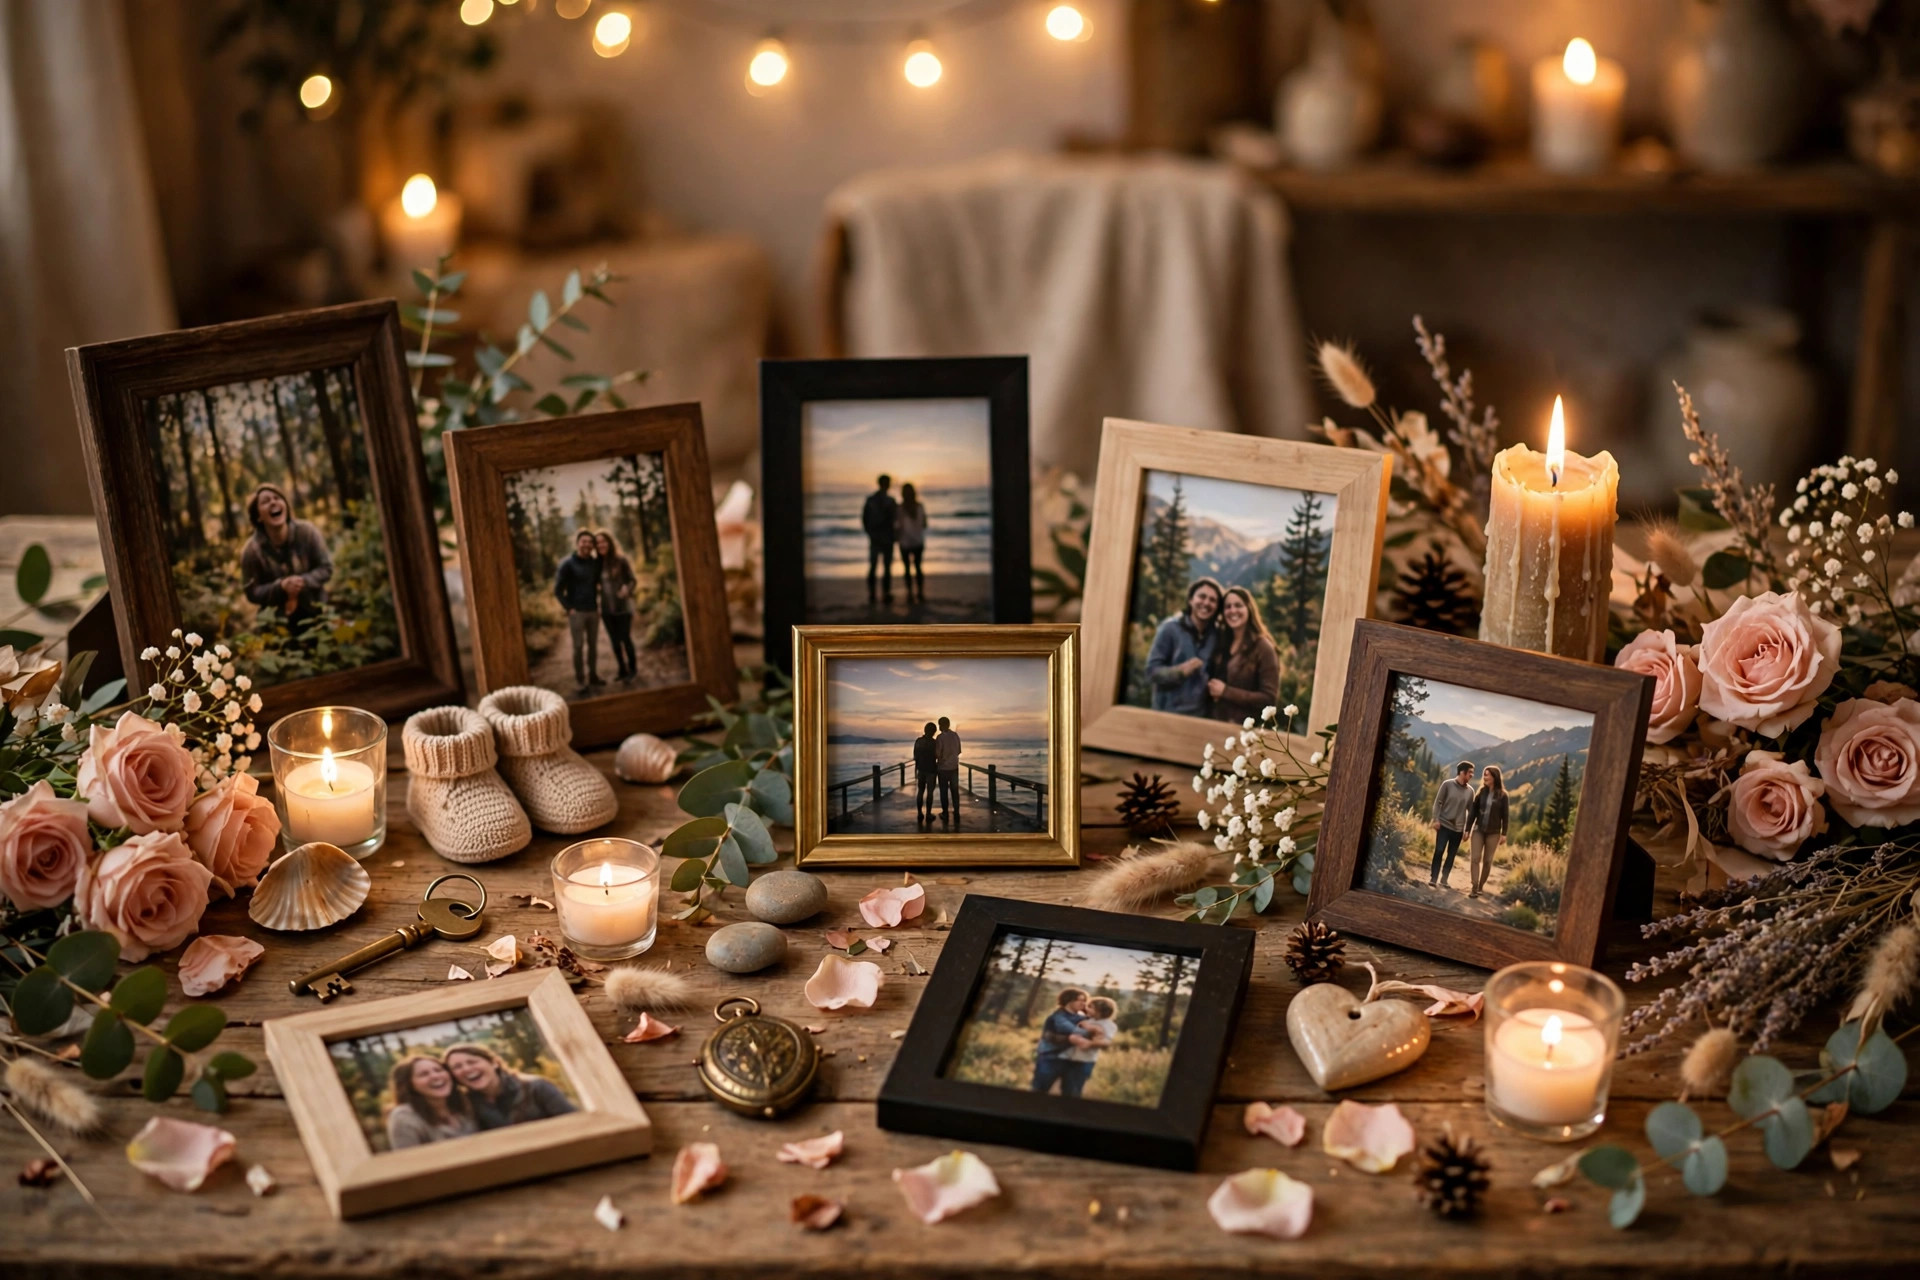
A simple backdrop gives every phone photo a finished look, which matters because milestone photos get shared for years. I hang a plain cloth or paper backdrop in the palette colour, add a foil banner and a few balloons at the sides, and leave a small basket of props, like hats and glasses, beside it.
The downside is size. My first backdrop was only a metre wide, so group photos always cut someone out. I now make backdrops at least two metres wide, mark the floor where people should stand with tape, and check it with a full group before the party starts.
Pro Tip: Iron or steam the backdrop cloth; wrinkles show up harshly in flash photos.
Cost / Time / Difficulty: $20 to $40 | 45 minutes | Easy

12. The Confetti Moment
A planned confetti moment gives a milestone its big cheer without decorating the whole room. I hand out small confetti cones or push-poppers just before the cake is cut or the toast is made, and I tell one trusted guest to give the signal so everyone throws at once.
The downside is cleanup, and some venues ban confetti outright. I once spent an hour picking paper from a carpet and paid a cleaning fee. I now check the venue rules first, use large tissue confetti that sweeps up easily, and keep it outdoors when the venue allows.
Pro Tip: Buy biodegradable confetti for outdoor parties; it saves an awkward conversation with the venue afterwards.
Cost / Time / Difficulty: $10 to $20 | 15 minutes to hand out | Easy

13. The Toast Corner
Milestone birthdays deserve a proper toast, and a small drinks station makes it feel ceremonial. I set a side table with glasses, a bottle or two of something sparkling, and a non-alcoholic option that looks just as good, plus a small sign with the toast time so guests gather rather than drift.
The downside is glass breakage and cost. I once used thin hired glasses and lost four to a crowded table edge. I now use sturdier glasses, keep the station away from the dance area, and buy one bottle fewer than I think I need, because someone always brings one.
Also read: The Fall 40th Birthday Party Ideas post shows how seasonal colours and food displays can shape a 40th, which pairs well with the palette system above.
Pro Tip: Chill glasses for thirty minutes before the toast; cold glasses keep sparkling drinks bubbly for longer.
Cost / Time / Difficulty: $15 to $30 for glasses and signage, plus drinks | 30 minutes | Easy

14. The Repeating Floral Centrepiece
One floral design repeated on every table looks far more polished than a different arrangement on each. I choose one low design, such as three short jars with one flower type each, or a single bowl of greenery with two blooms, and I make or buy the same one for every table.
The downside is freshness. Flowers bought three days early wilted before a summer 50th, and I was arranging replacements an hour before guests arrived. I now buy hardy flowers, like roses and carnations, the day before, keep them in water in a cool room, and avoid delicate blooms in warm venues.
Pro Tip: Make one test centrepiece a week ahead and leave it out for a day; if it wilts, pick a tougher flower.
Cost / Time / Difficulty: $8 to $15 per table | 1 to 2 hours | Medium
15. The Personalised Welcome Sign
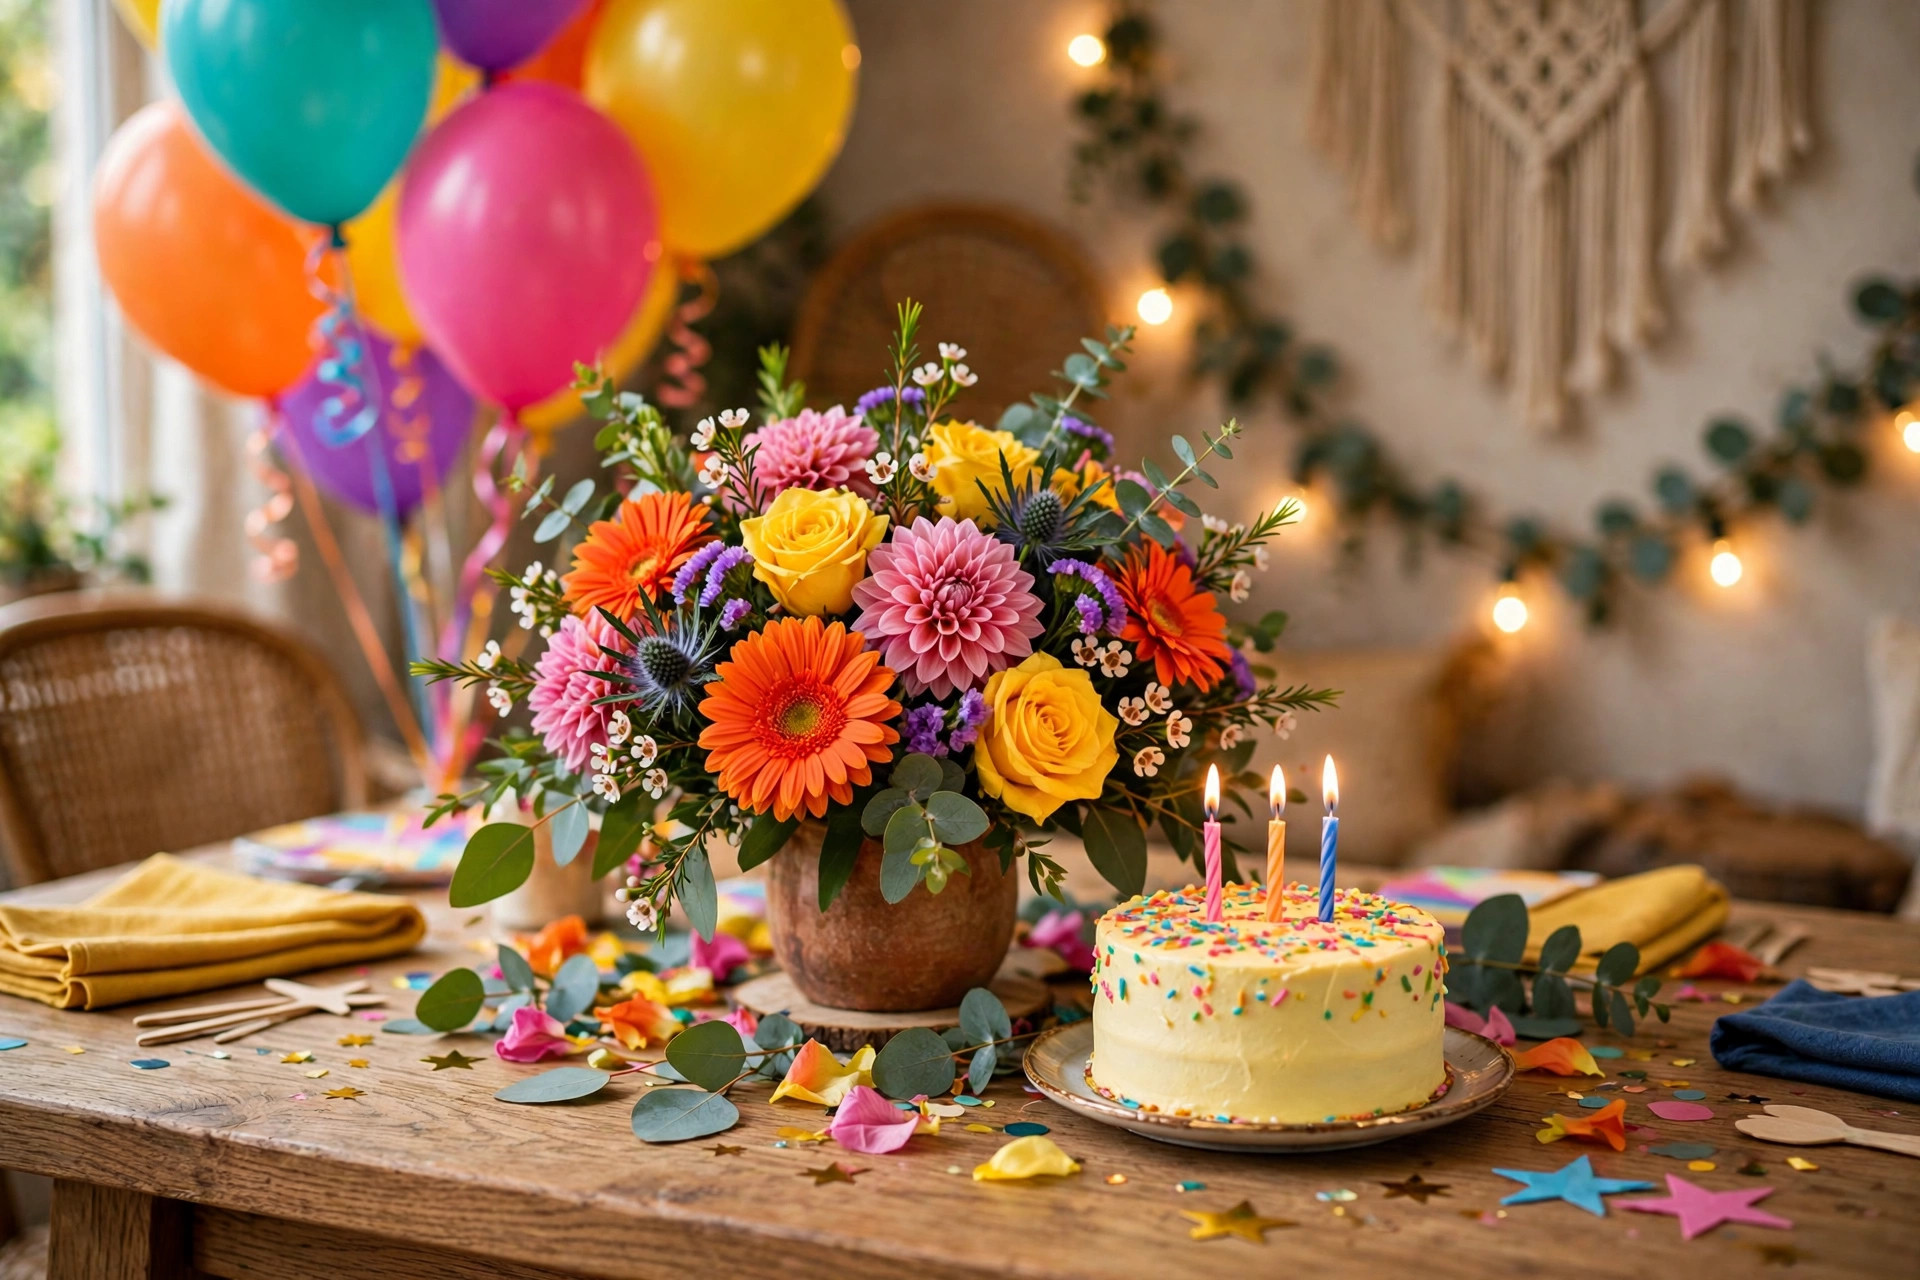
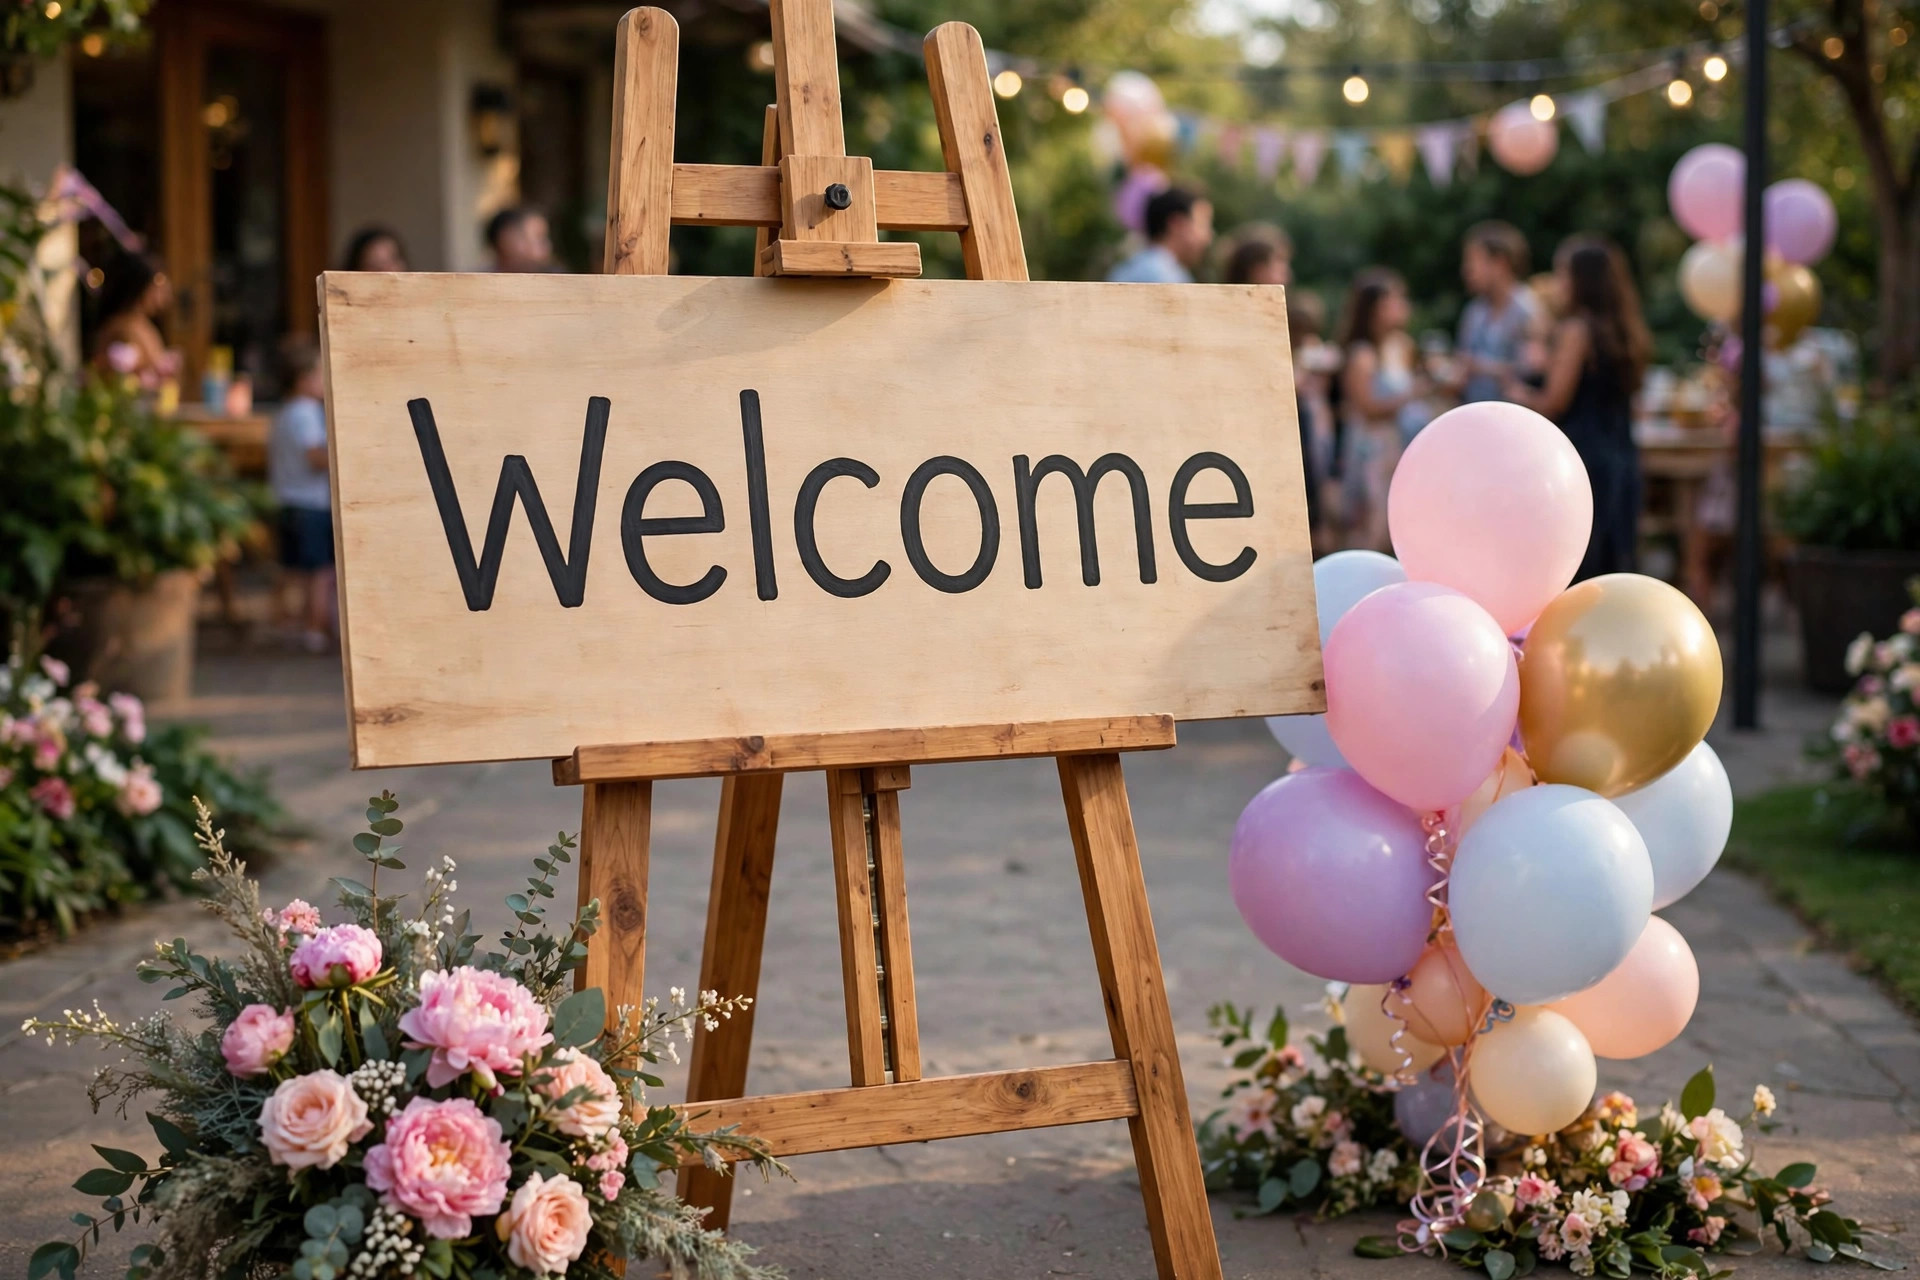
A welcome sign with the guest of honour’s name and age turns a generic room into their party. I print a large sign on foam board or chalkboard, stand it on an easel by the entrance, and add one line about the person, such as “Celebrating 50 years of Margaret” rather than just “Happy Birthday”.
The downside is spelling and size. I once printed a sign with the wrong spelling of a name and noticed it ten minutes before doors opened. I now read the sign aloud to the guest of honour’s partner before printing, and I print text at least 5 centimetres tall so it reads from the doorway.
Pro Tip: Keep the sign to name, age, and one short line; long poems on a welcome sign never get read.
Cost / Time / Difficulty: $15 to $35 for printing and easel hire | 30 minutes | Easy
16. The Thoughtful Place Setting
Place settings are small, but guests touch them all evening, so they carry a lot of decor weight. I use a cloth napkin in the main colour, a simple gold or wooden charger, a printed name card, and one tiny favour, such as a wrapped chocolate or a mini candle, tied with ribbon in the palette.
The downside is cost creep. Favours, chargers, and printed cards each look cheap alone, but together they doubled my table budget at a 60th. I now set a per-place budget before buying, and I drop the favour first if I need to save, because the name card alone still feels personal.
Pro Tip: Handwrite name cards only for parties under twenty; above that, print them in a script font and add one handwritten word each.
Cost / Time / Difficulty: $3 to $6 per place | 1 to 2 hours for twenty places | Easy

17. The Balloon Colour Block
Instead of scattering balloons everywhere, I block them into one or two strong colour groups: a cluster of metallic balloons at the cake table, a cluster of the main colour by the entrance, and nothing in between. The eye reads the blocks as design, while scattered balloons read as leftovers.
The downside is balance. My first attempt put all the dark balloons on one side of the room, and photos looked lopsided. I now place the biggest cluster opposite the cake table, step back, and check the room from the doorway before calling it done.
Pro Tip: Mix matte and metallic balloons in each cluster; all-metallic clusters glare in flash photos.
Cost / Time / Difficulty: $20 to $40 | 45 minutes | Easy

18. The Candle and Sparkler Finale
Ending the night with candles and sparklers gives a milestone its closing moment. I bring the cake out with its candles lit, let everyone sing, then hand out sparklers outside for a group photo, with a bucket of water or sand ready for used sparklers.
The honest downside is safety. Sparklers burn hot, and I once had a guest hold one too close to a balloon arch indoors, which is a combination I will never repeat. I now keep sparklers strictly outdoors, away from balloons and dry grass, and I give them only to adults, with a clear bucket for disposal.
Pro Tip: Buy long sparklers, not short ones; short sparklers burn out before the photo is taken.
Cost / Time / Difficulty: $10 to $20 | 15 minutes | Easy
How the Milestone Birthday Decor Ideas Compare
| System | Best for | Cost | Effort |
|---|---|---|---|
| Foil number display | Any milestone, any room | $20 to $40 | Low |
| Balloon arch | Entrances and halls | $30 to $60 | Medium |
| Photo timeline wall | Guests who love stories | $15 to $30 | Low |
| Three-colour palette | Making cheap decor look planned | Free to plan | Low |
| Layered guest table | Sit-down dinners | $40 to $80 | Low |
| Cake table centrepiece | Photo-heavy parties | $25 to $50 | Low |
| Candlelight layer | Evening parties | $20 to $40 | Low |
| String light ceiling | Gardens and halls at night | $25 to $50 | Medium |
Mistakes I Made (So You Don’t Have To)
I bought decorations before choosing a palette, and ended up with four clashing colour stories in one room. Now the palette comes first, and nothing gets bought until it matches.
I built a balloon arch the morning of the party and lost three hours I needed for food and getting dressed. Now arches and timelines go up the day before whenever the venue allows.
I put real candles near paper banners and spent the evening as a fire warden instead of a host. Now anything near paper, fabric, or children gets a battery candle, and real flames stay inside glass.
Frequently Asked Questions About Milestone Birthday Decor Ideas
How far ahead should I start decorating for a milestone birthday?
I start planning four weeks ahead, buy non-perishables two weeks ahead, and set up the day before when I can. Balloons and flowers are the only jobs I leave to the day itself, because balloons fade and flowers wilt.
How do I decorate a milestone birthday on a small budget?
Pick the number display, the photo timeline, and the palette system, and skip the rest. Those three cost under $75 together in my experience, and they photograph better than a room full of random decorations. These milestone birthday decor ideas work precisely because repetition, not spending, makes a room look planned.
What colours work for a milestone birthday for adults?
Any three colours work if you repeat them consistently, but my safest adult combinations are black, gold, and white; deep green, gold, and cream; and navy, silver, and white.
How long did your decorations actually last?
Foil numbers taped to a frame lasted the whole evening and into the next day, while helium numbers drooped after about eight hours. Fresh flowers lasted one evening in a cool room, and string lights and backdrops can be reused for the next milestone.
Final Thoughts
A milestone birthday does not need more decorations than an ordinary birthday; it needs better-chosen ones. These milestone birthday decor ideas all share one rule: pick a number display that photographs well, a photo story that gets guests talking, and a colour palette you repeat everywhere, and the room will feel like a milestone without feeling crowded.
Read this next: If you love a darker, moodier adult party look, the Gothic Birthday Party Ideas for Adults post is a good next read for styling inspiration.