20 Easy Pumpkin Painting Ideas for Kids They’ll Be Proud Of
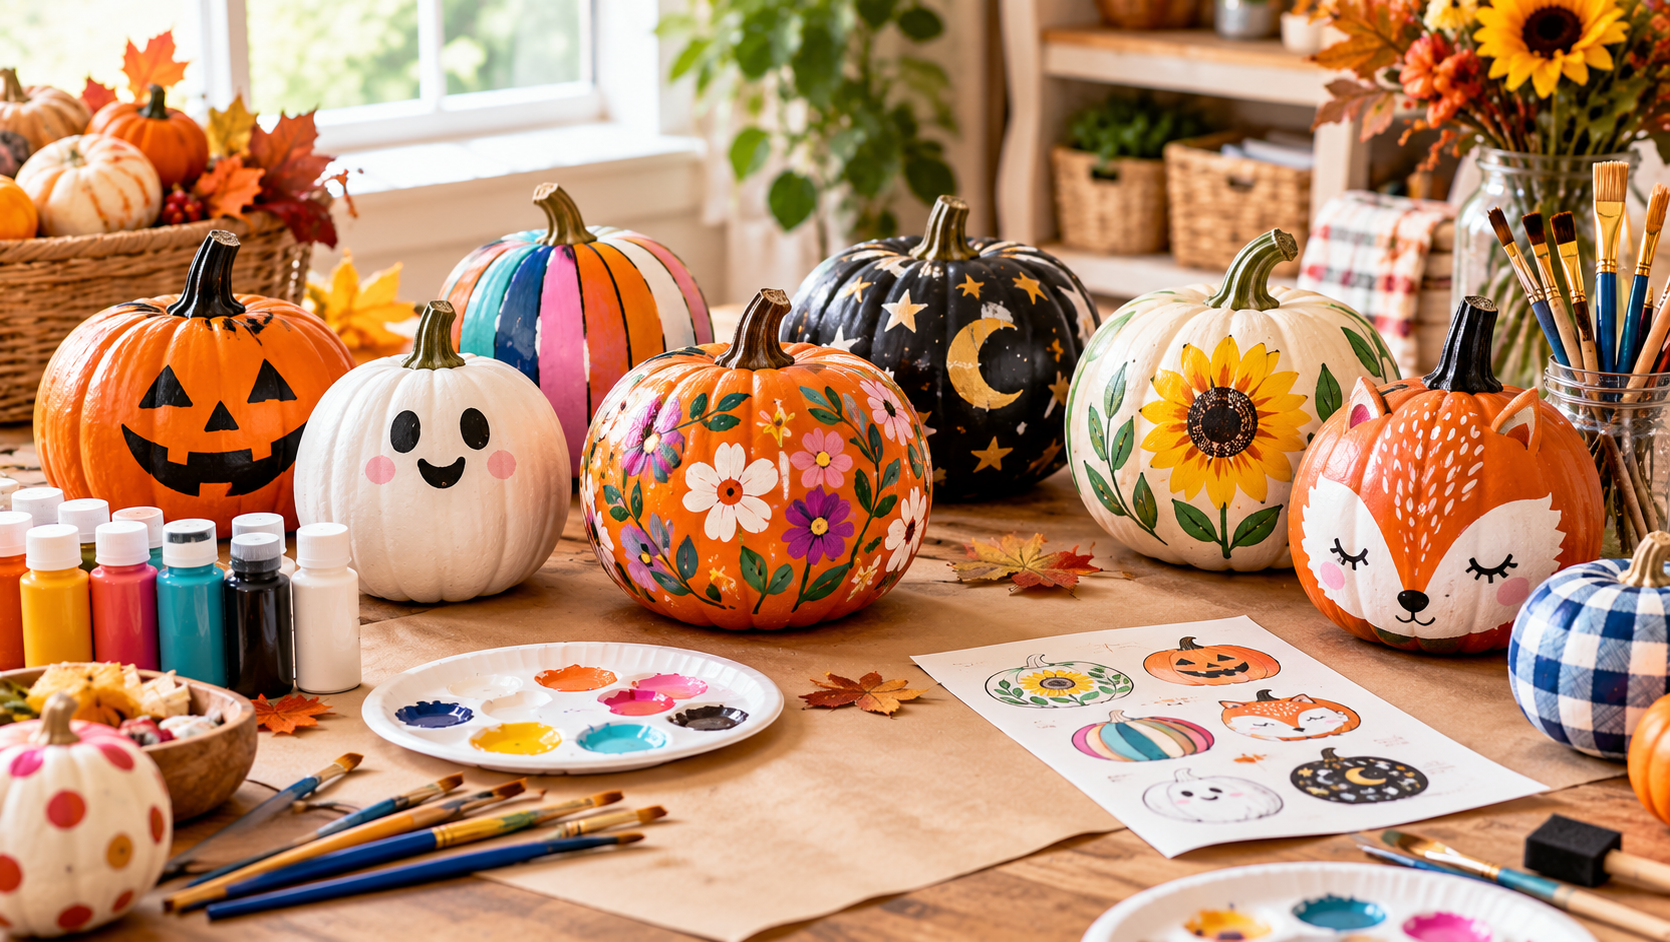
When fall arrives, I always find myself looking for simple activities that let kids be creative without turning the whole afternoon into a complicated project. Pumpkin painting is one of my favorite choices because children can make something colorful and personal without needing carving knives or complicated tools.
I also like that painted pumpkins work for a wide range of ages. A toddler can make fingerprints or dots, while an older child can try stripes, galaxy effects, marble paint, or detailed characters.
If you want an easy fall craft that feels festive but doesn’t require a lot of preparation, these pumpkin painting ideas for kids give me plenty of options. I can keep the designs simple for younger children or let older kids experiment with their own styles.
I’ve included 20 easy pumpkin painting ideas for kids, ranging from friendly animals and silly monsters to colorful patterns, nature designs, and creative techniques for older children. Most projects require only a pumpkin, washable craft paint, brushes, and a few basic supplies.
I especially like using painting instead of carving when younger children are involved. There are no carving knives to manage, and I can adjust each project to match a child’s age and attention span.
Save this for later
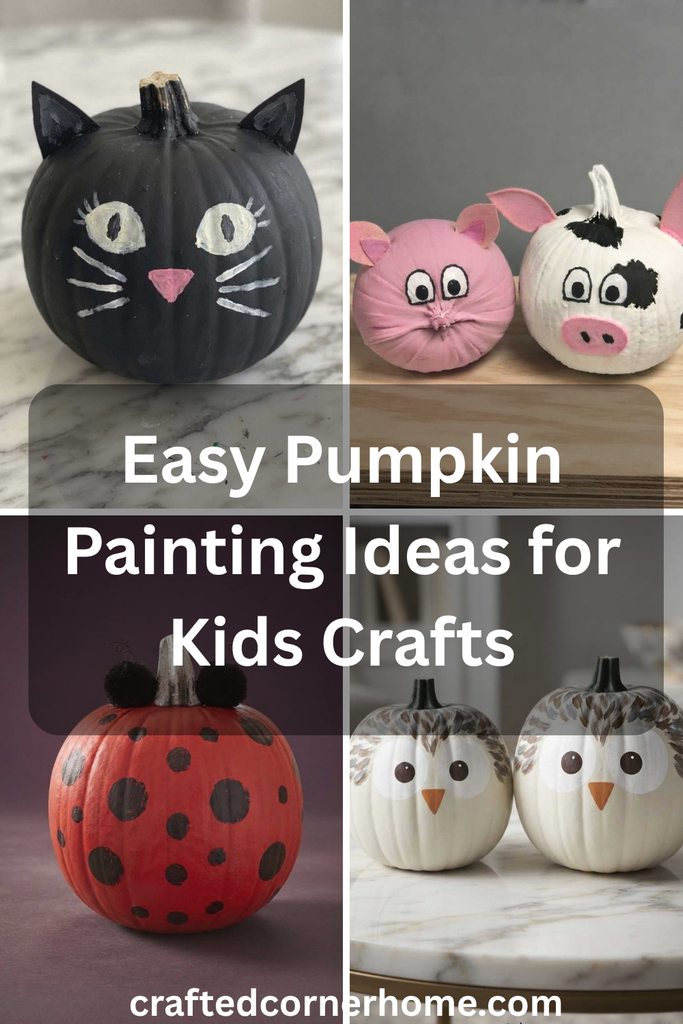
Table of Contents
The ideas below include ladybug, owl, cat, farm animal, underwater, monster, emoji, superhero, mummy, galaxy, handprint, polka dot, glitter, family portrait, rainbow, watercolor, chalkboard, marble, and leaf-print pumpkins.
Key Takeaways
- I choose small or medium pumpkins when children are doing the painting themselves because they are easier for little hands to handle.
- Washable, non-toxic craft paint makes cleanup much easier, especially with toddlers and preschoolers.
- I let each coat dry before adding details so colors stay cleaner and don’t smear.
- Younger children usually enjoy fingerprints, dots, sponges, and handprints more than detailed brushwork.
- Older kids can experiment with painter’s tape, paint washes, drips, splatters, and leaf prints.
- Keeping painted pumpkins away from direct sunlight and moisture can help them stay attractive for longer.
Related article: 16 Halloween Minute to Win It Games: No Guesswork, Just Supplies & Instructions
What You’ll Need Before You Start
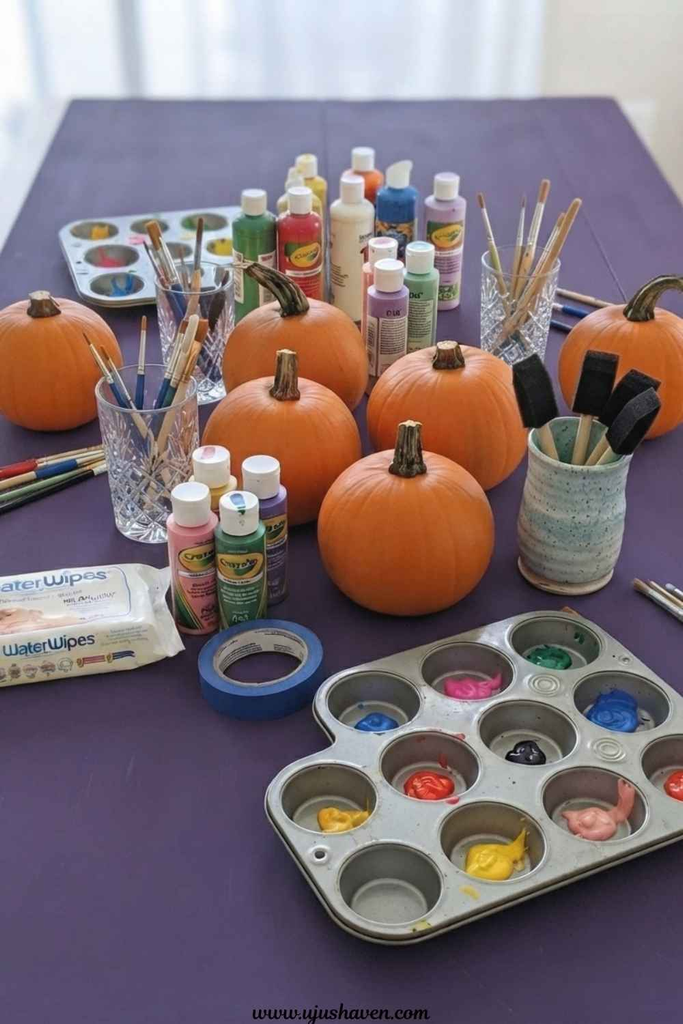
I don’t think a pumpkin painting activity needs a long shopping list. In most cases, I can put together everything I need from a basic craft drawer and a few household supplies.
I recommend preparing the work area before the kids sit down. This keeps me from having to stop halfway through the activity to look for a brush or clean up an unexpected paint spill.
- One small or medium pumpkin for each child
- Non-toxic washable acrylic or craft paint in several colors
- A few regular paintbrushes in different sizes
- Foam brushes or sponges for younger children
- Paper plates, small bowls, or a muffin tray for paint
- Painter’s tape for stripes and geometric patterns
- Newspaper, kraft paper, or a washable table covering
- Baby wipes or a damp cloth for quick cleanup
- Optional googly eyes, glitter, gauze, chalk, or natural leaves depending on the design
I always check my craft supplies before buying anything. Old brushes, leftover paint, and simple household items can often handle most of these projects.
Pro Tip: I place each child’s pumpkin on a piece of cardboard or a disposable tray. It makes moving the finished pumpkin much easier and protects the table underneath.
Friendly Animal Pumpkin Painting Ideas for Kids
Animal designs are some of the easiest pumpkin projects for children because the basic shapes are familiar. I can also simplify almost any animal so younger kids don’t have to worry about making every detail perfect.
1. Ladybug Pumpkin
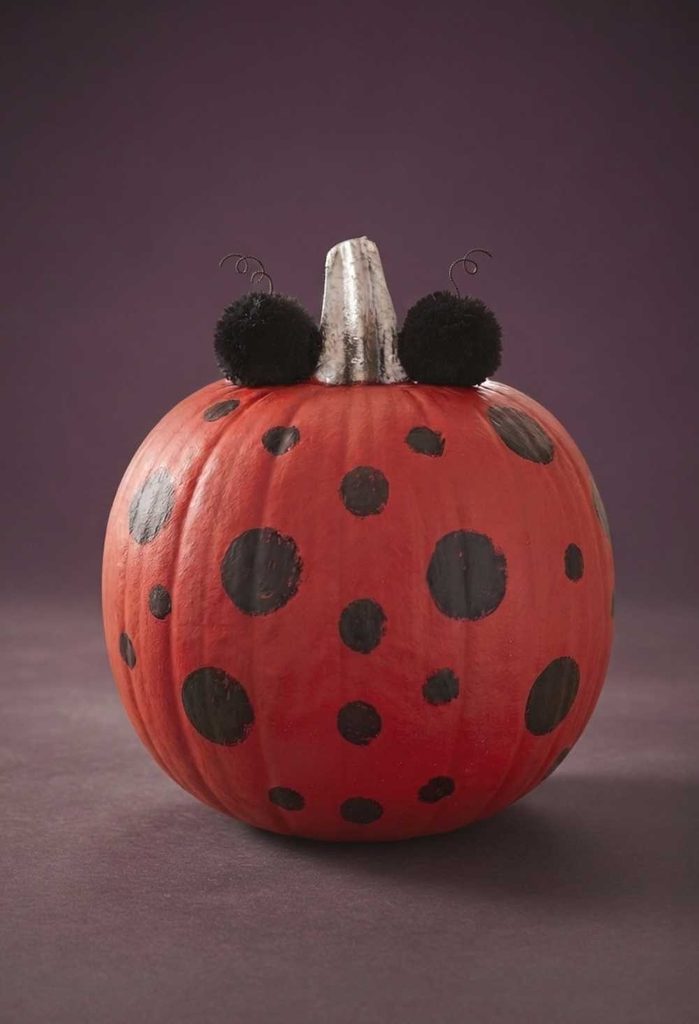
I start with a red-painted pumpkin and let it dry completely. Then I add a black line from top to bottom and paint small black spots on both sides.
For the face, I can add simple eyes and black antennae. Pipe cleaners, small pom-poms, or paper pieces can work for the antennae if I want to add a little dimension.
This is a great beginner project because the design depends on simple circles and lines rather than precise artwork.
2. Owl Pumpkin
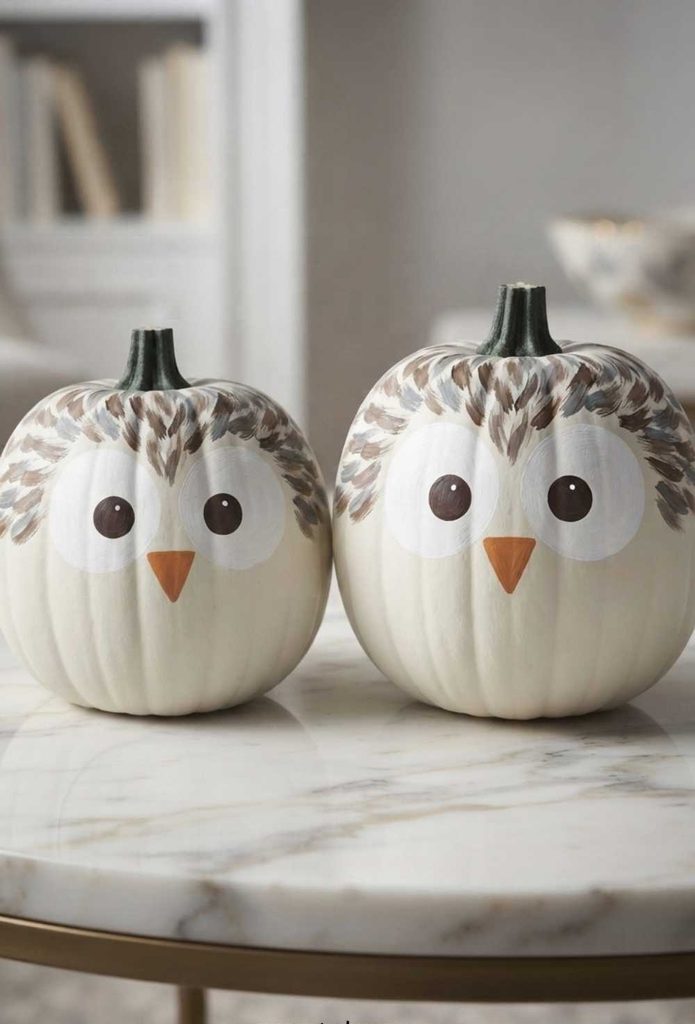
For an owl pumpkin, I paint the base in a color such as brown, gray, cream, or even purple. I then create two large round eyes using white paint and add smaller dark circles inside them.
A small orange or yellow triangle makes an easy beak. I can finish the top and sides with simple feather shapes.
I don’t worry about making every feather identical. The uneven details often make a child’s pumpkin look more handmade and fun.
3. Cat Pumpkin
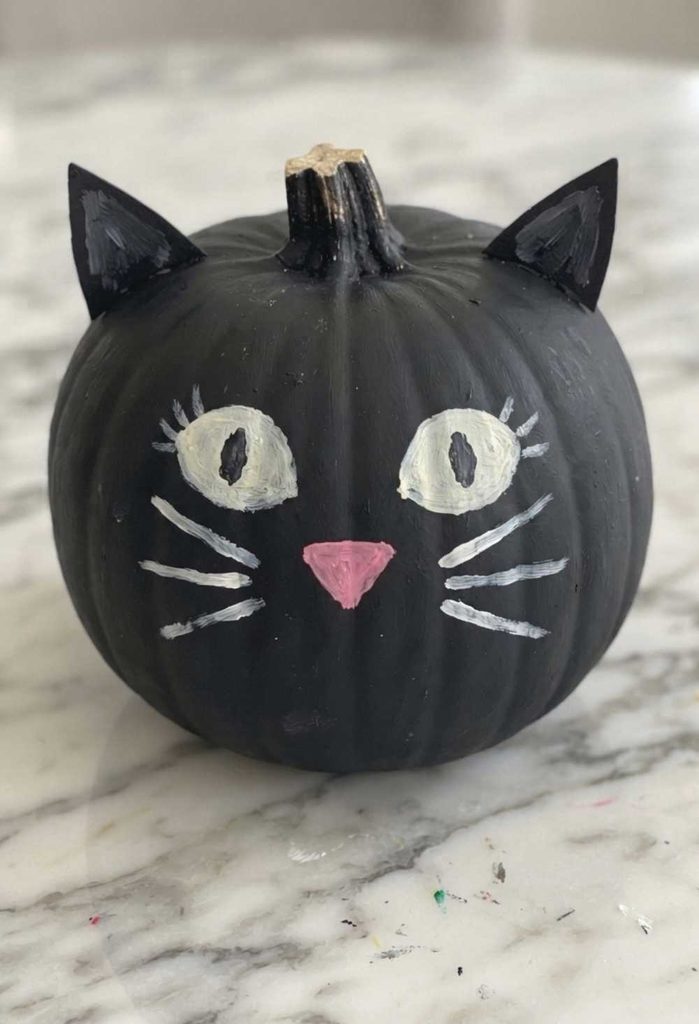
I like using black paint for a classic Halloween cat, although children can choose any color they want. After the base dries, I add two triangle ears, a small nose, eyes, and thin whiskers.
White paint works well for the whiskers and eyes against a dark pumpkin.
Pro Tip: If a child has a favorite cat at home, I let them choose the eye and fur colors themselves. That small choice makes the project feel more personal.
4. Farm Animal Pumpkin
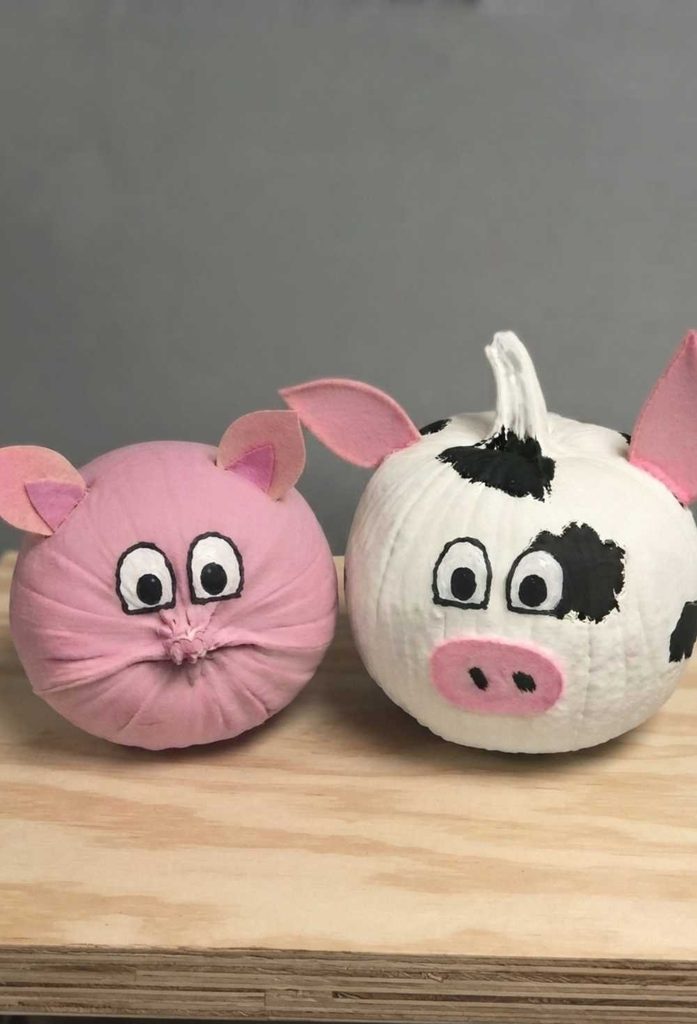
A few basic shapes can turn a pumpkin into a pig, cow, or other farm animal. For a pig, I use pink paint and add a darker oval snout with two small nostrils.
For a cow, I paint the pumpkin white and add irregular black patches. Ears and simple eyes complete the design.
I like this idea for younger children because the animal doesn’t need to look realistic. Large, simple shapes are enough to make the character recognizable.
5. Under-the-Sea Pumpkin
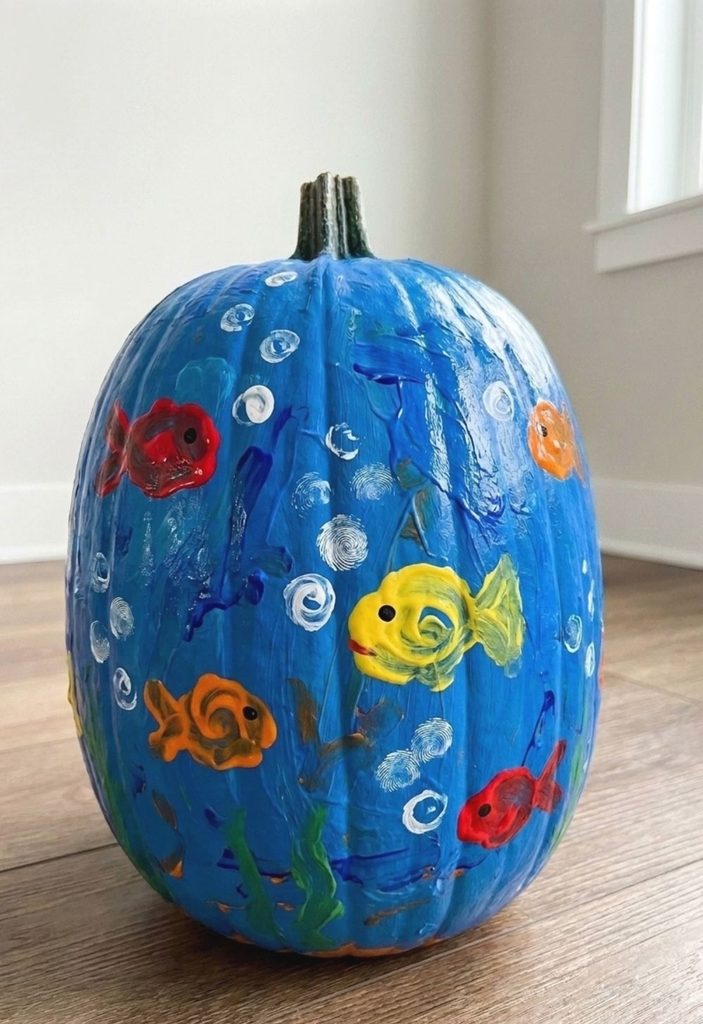
I paint the pumpkin blue or turquoise as the background for an underwater scene. Once the base is dry, I add colorful fish, bubbles, seaweed, and other simple shapes.
For an easy texture, kids can use their fingertips to create small fish or scale-like marks.
I find this project especially useful when children want to use lots of colors. They can turn one pumpkin into an entire underwater scene without following a complicated pattern.
Silly and Spooky Pumpkin Painting Ideas for Kids
For children who enjoy Halloween more than traditional fall designs, I like using funny monsters, expressive faces, and slightly spooky characters.
These ideas don’t require advanced painting skills, so kids can concentrate on making their pumpkins look amusing rather than perfect.
6. Googly-Eyed Monster Pumpkin
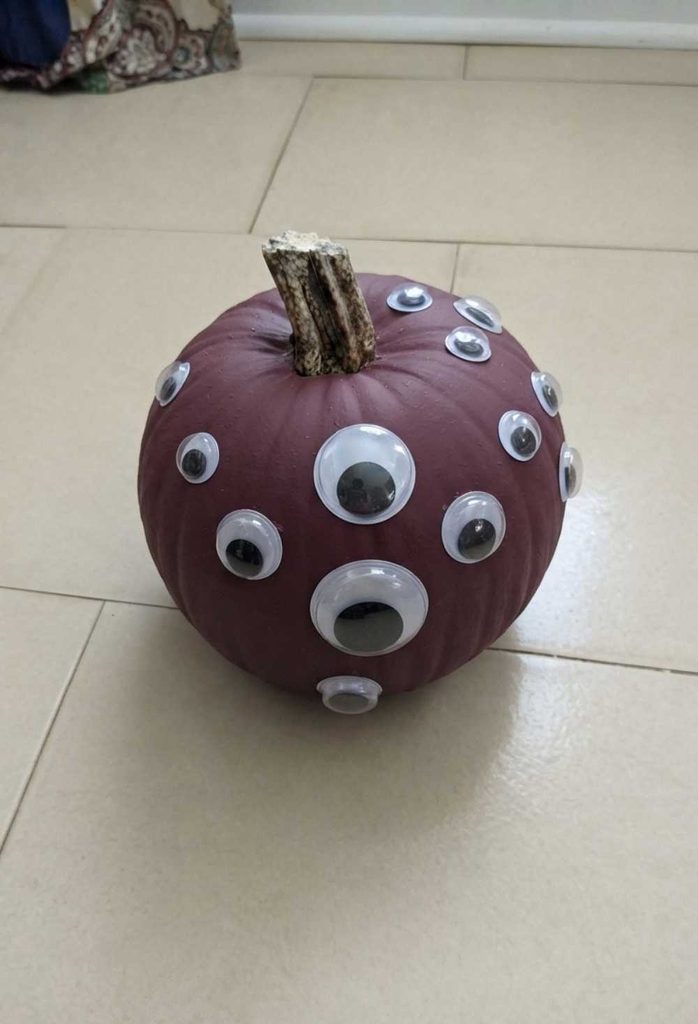
I let the child choose a base color such as green, purple, orange, blue, or black. Once the paint dries, I attach several oversized googly eyes in different positions.
The fun part is that the eyes don’t need to match. One can be higher than another, or the monster can have three, four, or even more eyes.
This makes the activity especially easy for younger children because the personality comes from the placement of the eyes rather than detailed painting.
7. Emoji Face Pumpkin
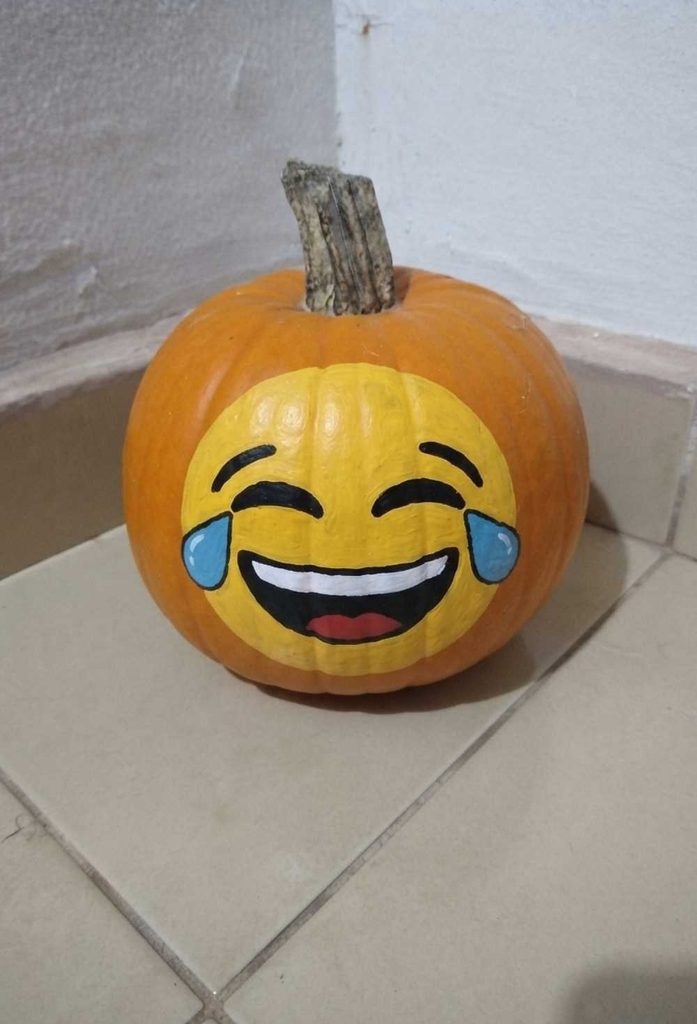
I choose a familiar emoji as inspiration and recreate its basic expression on the pumpkin. A laughing face, heart eyes, surprised face, or simple smile can all work.
I keep the design large so the expression is easy to recognize from a distance.
This is also a quick option when I need a pumpkin activity that doesn’t take an entire afternoon. Kids can spend more time deciding which expression they want and then paint a fairly simple design.
8. Superhero Pumpkin
For a superhero pumpkin, I start with a bold base color and paint a simple mask, emblem, lightning bolt, or large initial on the front.
I encourage children to create their own superhero instead of worrying about copying an existing character exactly. They can choose the costume colors and invent a name or symbol.
Pro Tip: I sketch the emblem lightly on paper first. That gives kids a chance to change the design before putting paint on the pumpkin.
9. Mummy Pumpkin
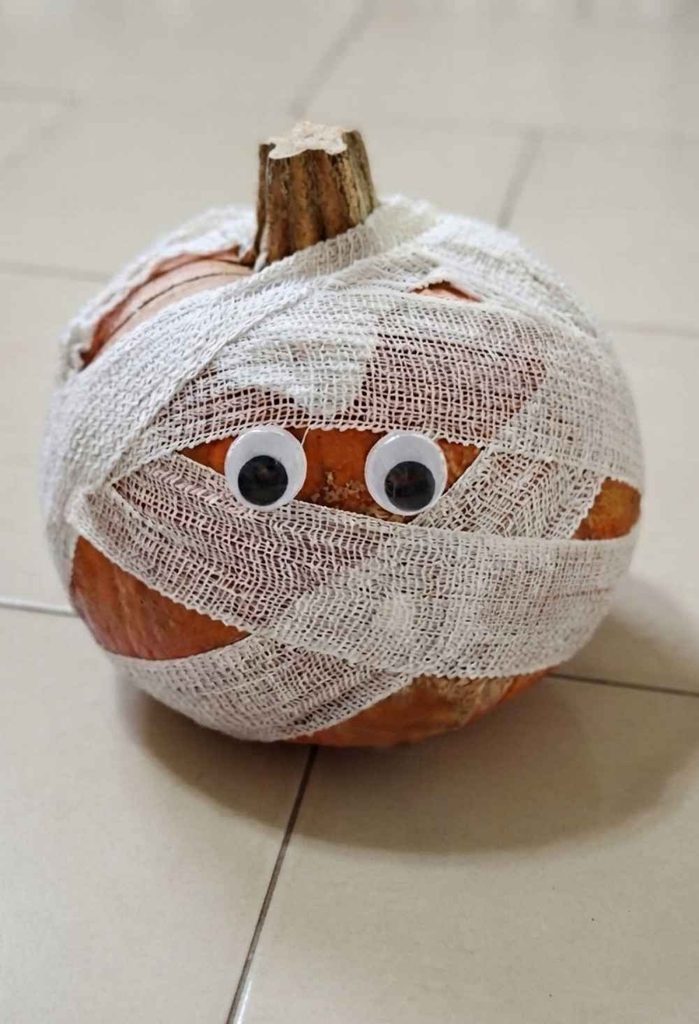
A mummy pumpkin is a good choice when I want a spooky result without much painting. I wrap strips of white gauze or fabric around the pumpkin, leaving a small opening for the eyes.
I can attach googly eyes underneath the layers or paint two simple eyes directly onto the pumpkin.
The loose, uneven wrapping actually works in the design’s favor, so children don’t need to worry about keeping every strip perfectly straight.
10. Galaxy Splatter Pumpkin
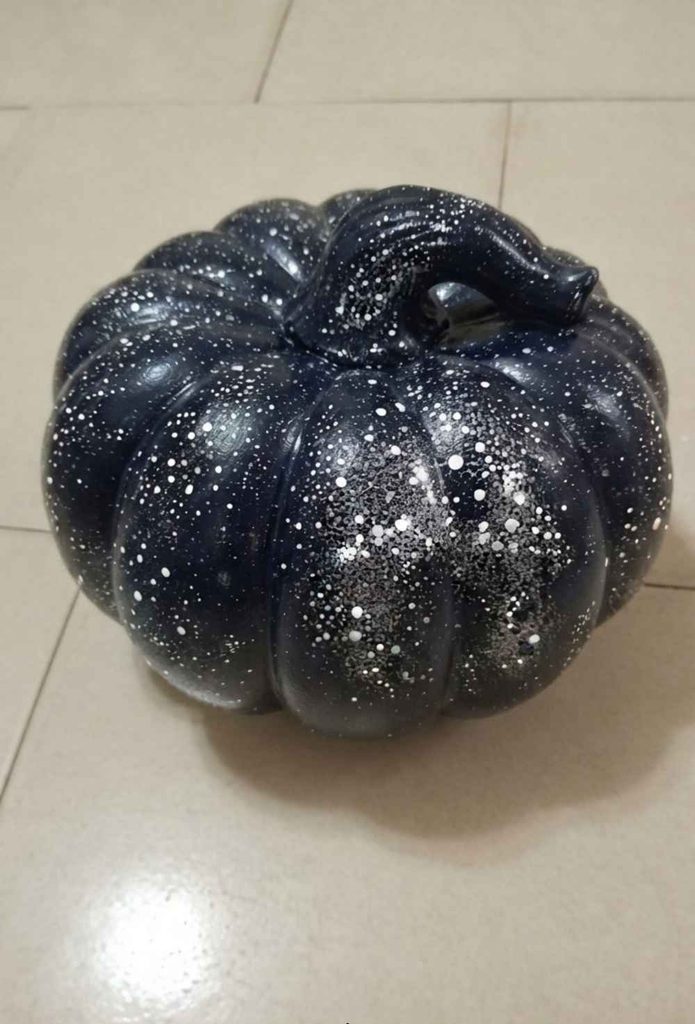
For older children, I like creating a galaxy effect with dark blue, navy, or black paint as the base.
After the pumpkin is dry, I use a spare toothbrush to flick small amounts of white or silver paint across the surface. The tiny splatters resemble stars.
I always protect the surrounding area before doing this because splatter paint can travel farther than expected.
Pro Tip: I practice the splatter technique on scrap paper first. It helps kids learn how much paint to put on the brush and how hard to flick it.
Easy Pumpkin Painting Ideas for Toddlers and Preschoolers
With toddlers and preschoolers, I focus less on a perfect finished pumpkin and more on giving them a technique they can manage independently.
Simple dots, fingerprints, handprints, and large shapes are usually easier for small hands than thin brushes and detailed designs.
11. Handprint Ghost Pumpkin
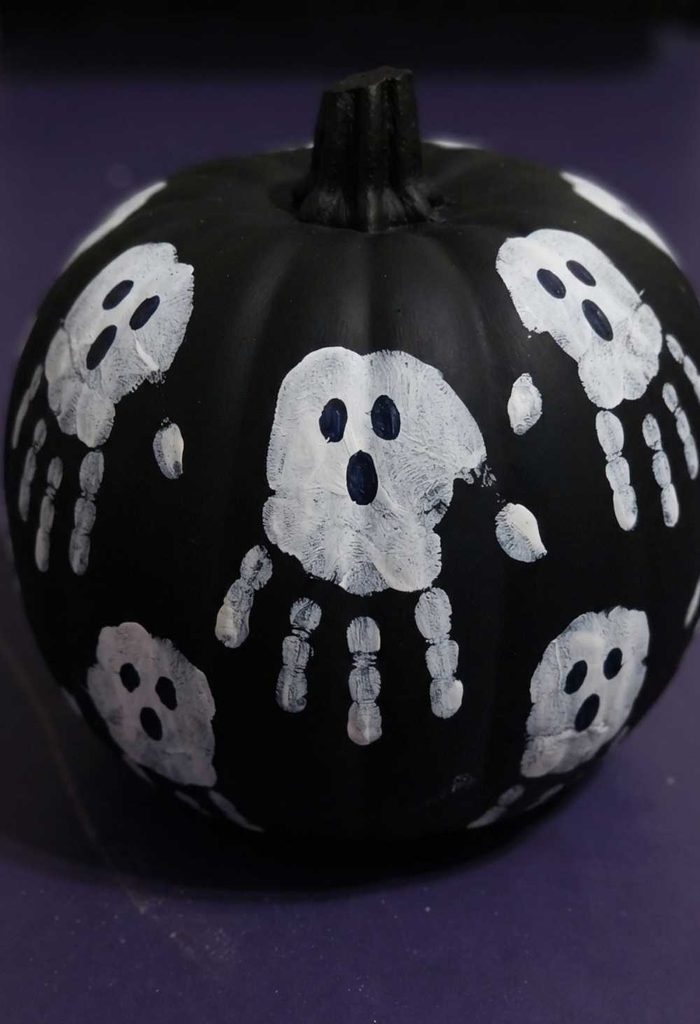
I paint the pumpkin black and let it dry completely. Then I cover a child’s palm with white paint and carefully press the hand onto the pumpkin.
With the fingers pointing downward, the handprint can look like a tiny ghost. I can add simple eyes and mouths after the paint dries.
I love keeping a photo of the finished pumpkin because a child’s handprint becomes a fun record of how small they were that fall.
12. Polka Dot Pumpkin
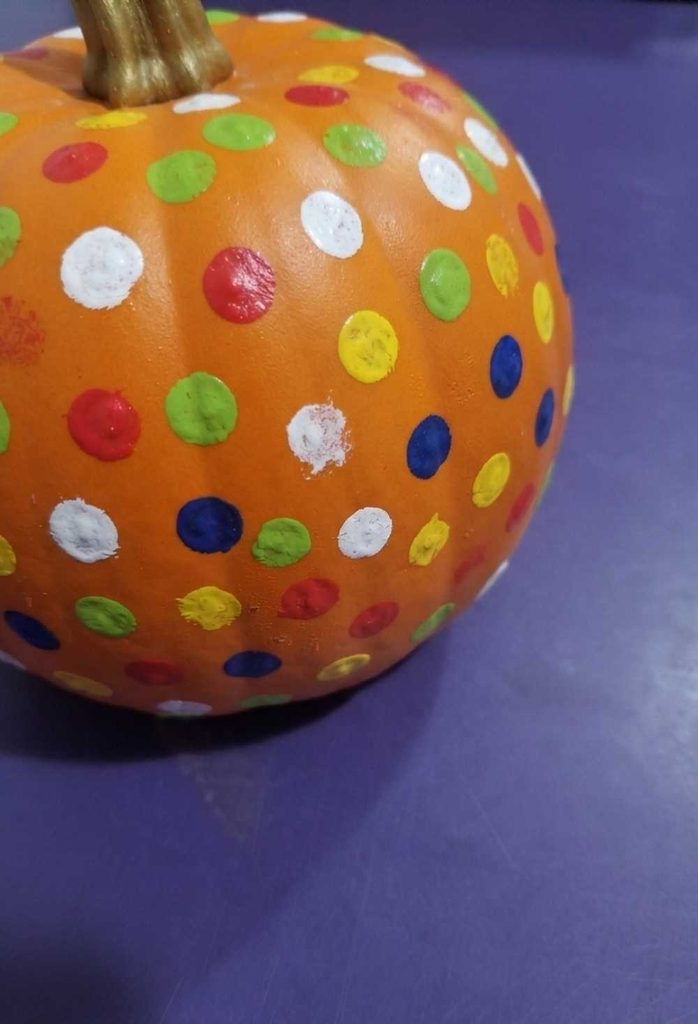
For an easy dot pattern, I use a cotton swab, pencil eraser, or round sponge dipped in paint.
Children can cover the pumpkin with one color or alternate several colors. They can make the dots evenly spaced or place them wherever they like.
There really isn’t a wrong way to make this design, which makes it a comfortable first painting activity for preschoolers who may be nervous about getting things perfect.
13. Glitter Pumpkin
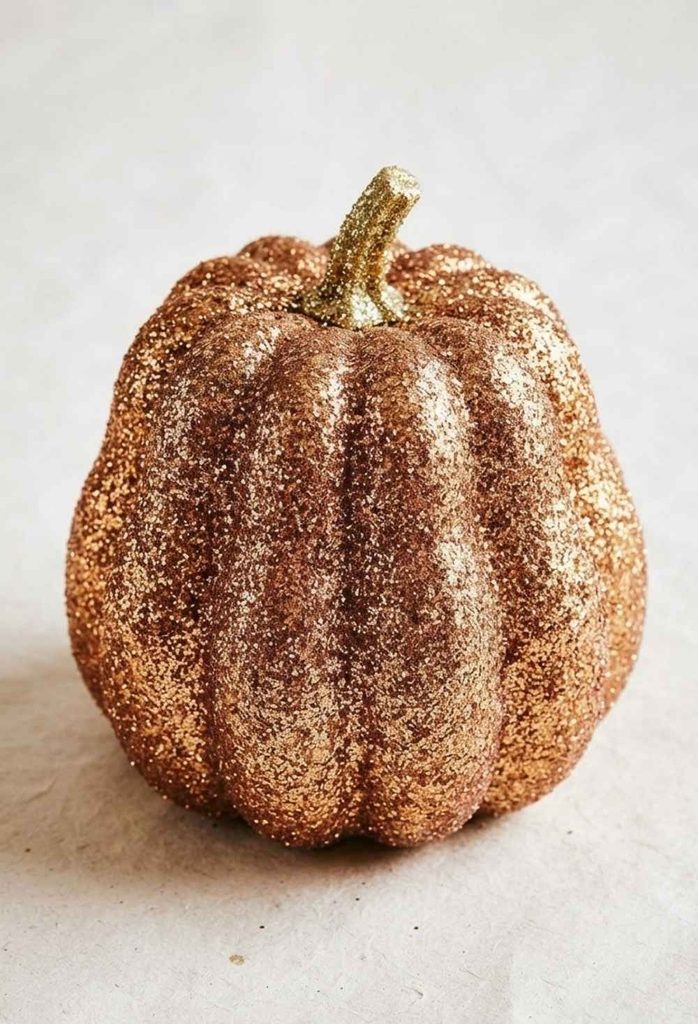
I paint the pumpkin in a chosen color and add glitter while the paint is still slightly wet. The glitter sticks to the surface and gives the pumpkin an instant festive finish.
I prefer working over a shallow tray so extra glitter doesn’t spread across the entire table.
For younger children, I supervise closely and use age-appropriate craft materials according to the product label.
14. Pumpkin Family Portrait
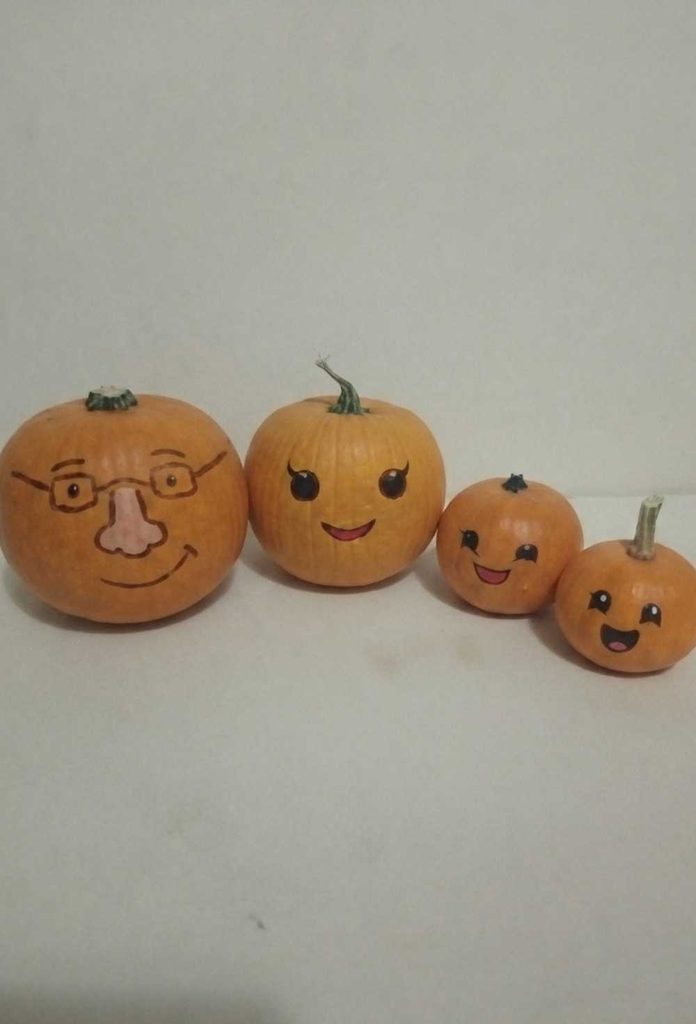
For this idea, I use several small pumpkins and turn each one into a member of the family. Kids can choose a different color, hairstyle, facial expression, or accessory for everyone.
Pets can have their own pumpkins too, which often becomes one of the funniest parts of the activity.
I like this project because the children aren’t simply following instructions. They are making decisions about how each person should look, so the finished pumpkins tell a little story about the family.
Also read: 15 Halloween Party Ideas for Teens Nobody Will Call Childish
15. Fingerprint Fall Tree Pumpkin
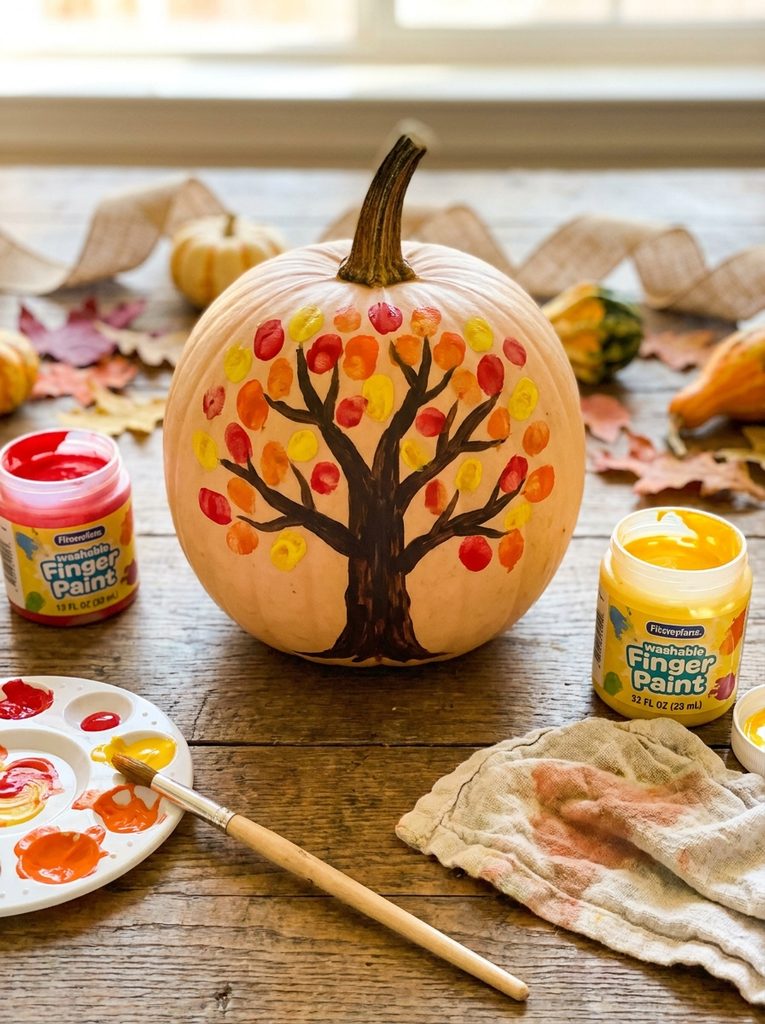
I paint a simple brown trunk and a few branches onto the pumpkin. Once that base is dry, children can use their fingertips to add red, orange, and yellow leaves.
The fingerprints naturally create different shapes and sizes, making the tree look full without requiring detailed brushwork.
Pro Tip: I keep a separate damp cloth nearby for cleaning fingers between colors. That helps prevent the fall colors from turning into one muddy shade.
Creative Pumpkin Painting Ideas for Older Kids
Older children often want more control over the finished design, so I like giving them techniques that allow room for experimentation.
These projects can also be adapted for tweens who may have outgrown very simple pumpkin faces but still enjoy seasonal crafts.
16. Rainbow Stripe Pumpkin
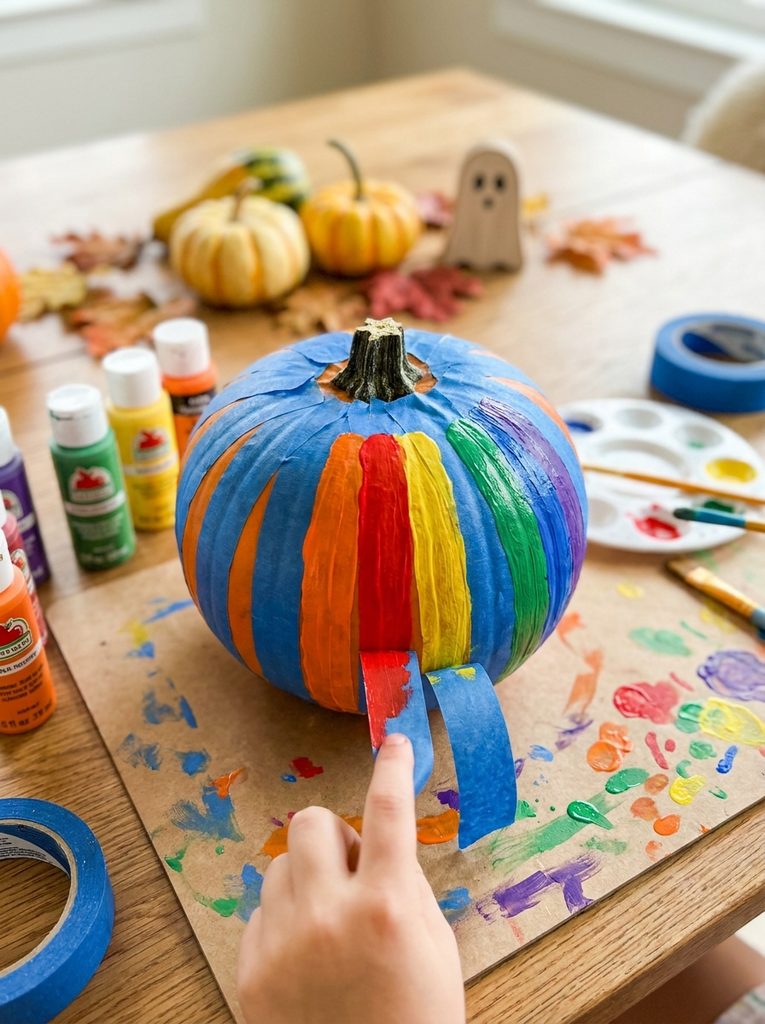
I use painter’s tape to create vertical sections around the pumpkin. Kids can paint each section a different color to create a rainbow effect.
After the paint has dried, I carefully remove the tape to reveal cleaner lines between the colors.
This is one of my favorite ways to help children create a polished-looking design without requiring perfect brush control.
17. Watercolor Wash Pumpkin
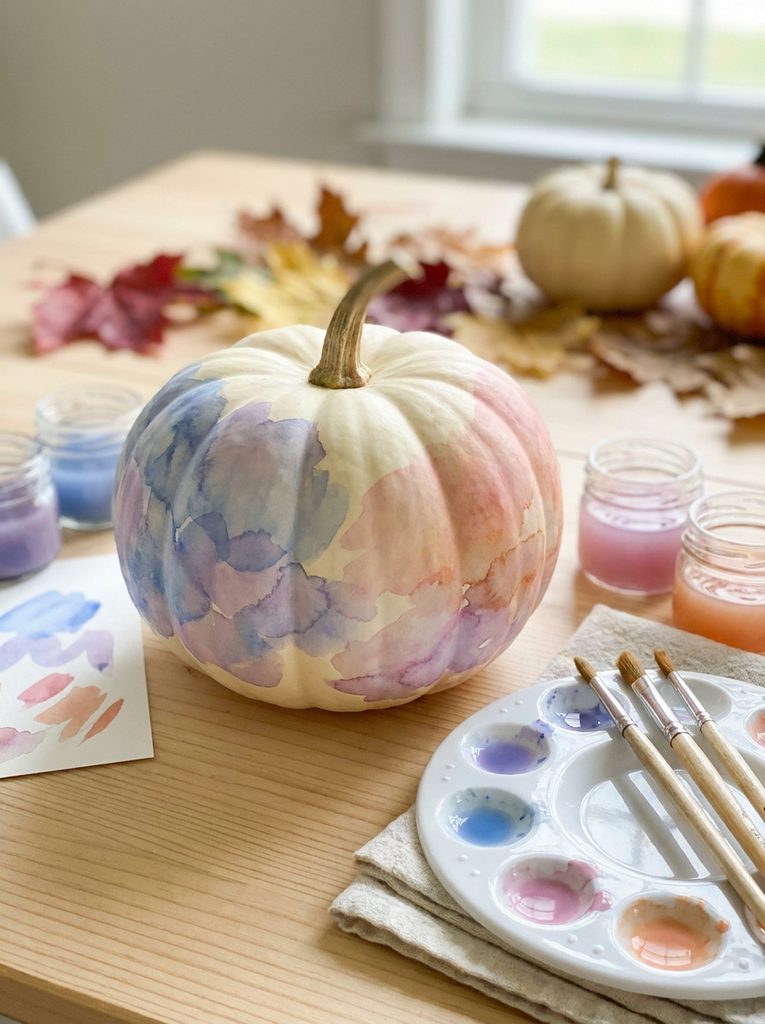
For a softer effect, I thin suitable craft paint slightly with water and brush loose layers over the pumpkin.
I let different shades overlap so they blend into one another. Blue and purple, pink and orange, or several fall colors can all create interesting combinations.
I recommend testing the paint mixture on a small area first because too much water can make the finish uneven.
18. Chalkboard Pumpkin
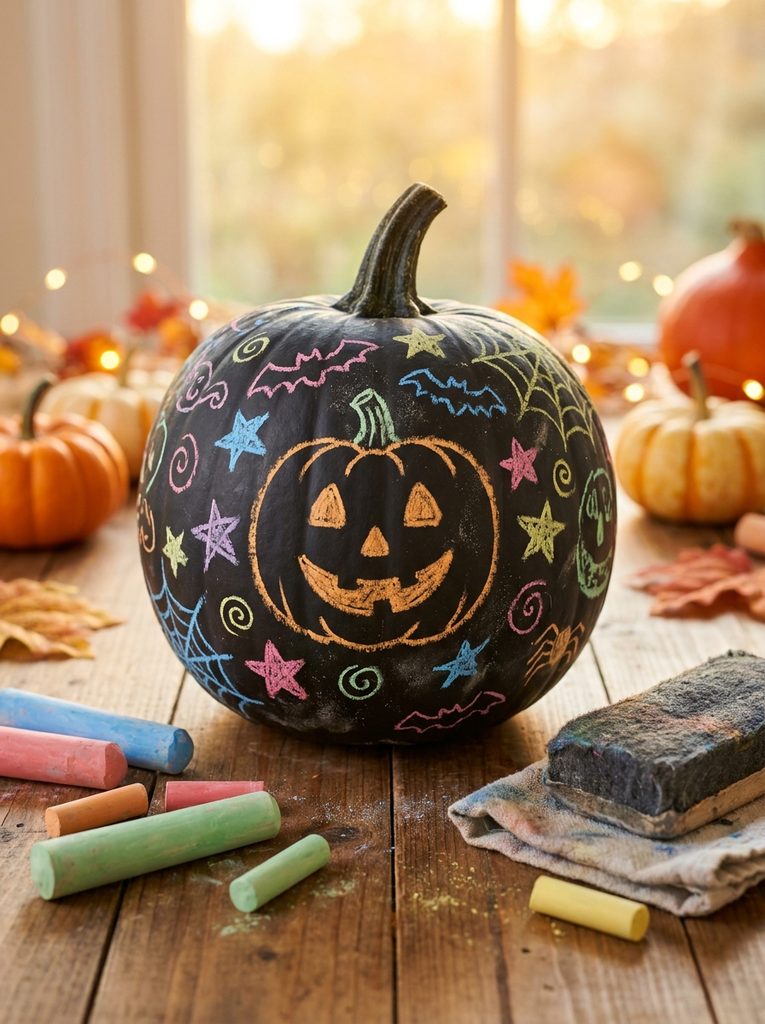
I cover the pumpkin with chalkboard paint and let it dry according to the product instructions. Once ready, children can use chalk to draw faces, messages, patterns, or seasonal pictures.
The main advantage is that the design can be changed instead of being permanent.
I especially like this option when children can’t agree on one design. They can create a Halloween face one day and change it to a fall drawing later.
19. Marble Drip Pumpkin
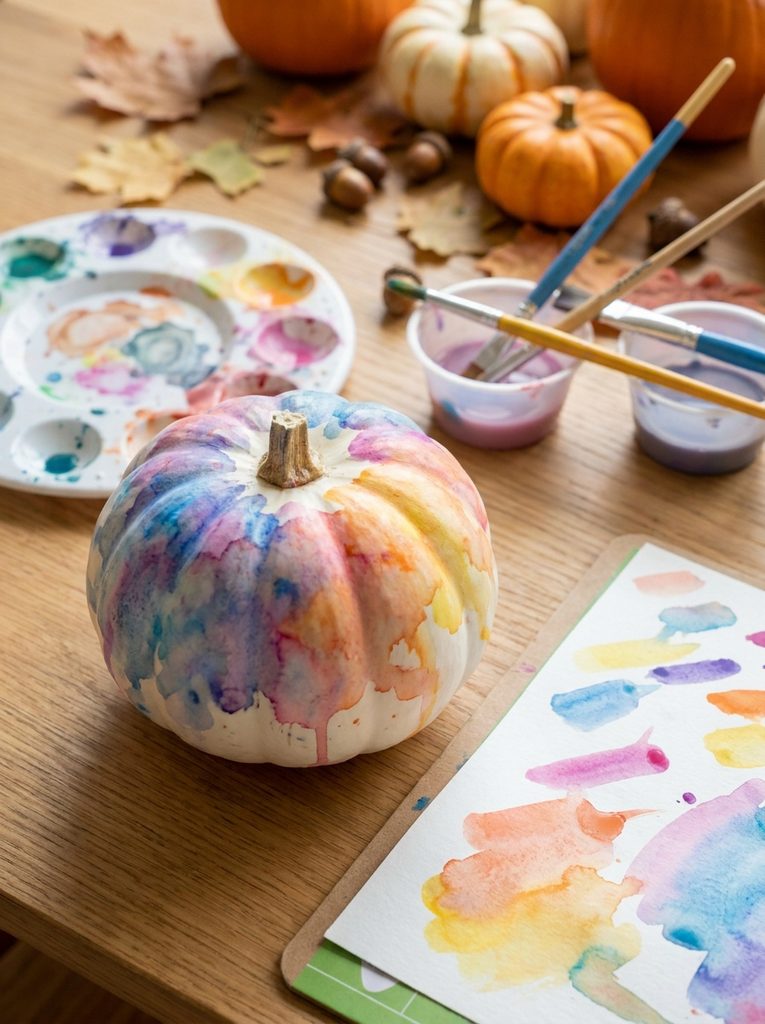
For this technique, I choose several paint colors and thin them enough to flow. I place small amounts near the top of the pumpkin and carefully tilt it so the colors travel downward.
The paint naturally creates streaks and overlapping patterns.
I recommend putting the pumpkin on a tray before starting because the paint will collect underneath as it runs down the sides.
20. Nature-Inspired Leaf Print Pumpkin
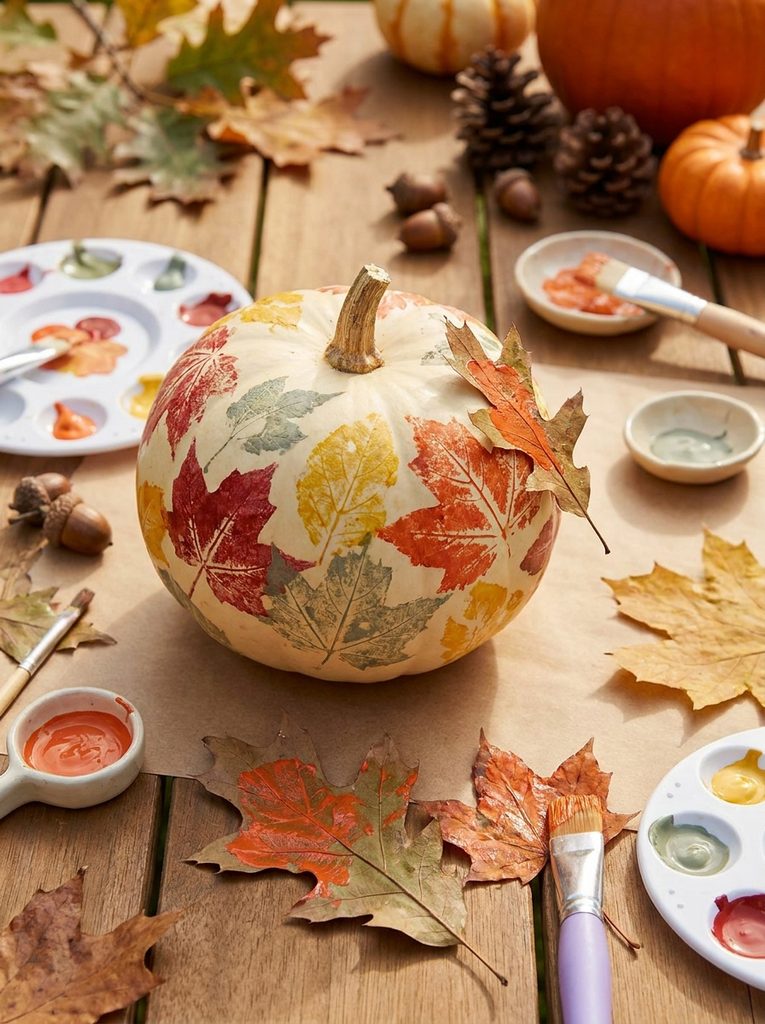
For a nature-inspired pumpkin, I collect a few interesting leaves and use them as stamps.
I brush paint onto the textured back of a leaf and press it against the pumpkin. When I lift it away, the veins and outline leave a natural pattern behind.
I like combining this craft with a short outdoor walk. Kids can collect different leaf shapes first and then decide which ones they want to use for their pumpkin.
Tips for a Smoother Pumpkin Painting Session
I’ve found that a little preparation makes pumpkin painting much easier, especially when several children are involved.
- Let the first coat dry before adding another color or small details.
- Start with lighter colors when possible because darker paint can be harder to cover.
- Give toddlers foam brushes, large brushes, or sponges instead of tiny detail brushes.
- Let children choose from two or three design options if they tend to spend a long time deciding.
- Keep wipes or a damp cloth nearby throughout the activity.
- Protect the floor and table before opening the paint.
- Put finished pumpkins somewhere they won’t be bumped while drying.
I also try not to correct every crooked line or uneven spot. The goal is to give children a chance to create something themselves, and small imperfections are part of that experience.
Pro Tip: I prepare one small paint tray per child instead of putting everyone around one shared plate. It reduces reaching across the table and makes the activity easier to manage.
How to Make a Painted Pumpkin Last Longer
Painted pumpkins can stay attractive for quite a while when I keep them in suitable conditions. Unlike carved pumpkins, they don’t have a large opening that exposes the inside of the pumpkin to air, moisture, and insects.
I keep painted pumpkins somewhere shaded rather than in strong direct sunlight. Heat and moisture can contribute to faster deterioration.
If the weather is very cold, I bring the pumpkin indoors rather than leaving it outside through freezing temperatures.
Once the paint has completely dried, I can apply a clear acrylic sealer if the product is suitable for the surface and intended use. I always follow the sealant manufacturer’s directions and use it in a properly ventilated area.
I also check the bottom of the pumpkin from time to time. If I notice soft spots, leaking, mold, or an unpleasant smell, I remove it rather than trying to keep it on display.
Read this next: 33 Best Cheesy Christmas Movies To Watch
Frequently Asked Questions
Do I need to seal a painted pumpkin?
No, sealing isn’t essential for a short-term display. I use a clear sealant when I want additional protection from light moisture and handling, but I always make sure the paint is completely dry first.
Is pumpkin painting actually safer and less messy than carving?
For families with young children, I find painting easier to manage because it doesn’t require carving knives. It can still get messy, but the cleanup is usually focused on paint rather than pumpkin pulp and seeds.
I still supervise children and choose craft materials according to their age and the manufacturer’s safety instructions.
What age is pumpkin painting good for?
Pumpkin painting can work from the toddler years through the tween years. For younger children, I prefer dots, fingerprints, handprints, and sponge painting.
Older kids can handle more involved techniques such as tape patterns, paint washes, drips, and splatter effects.
How long does a painted pumpkin actually last?
There isn’t one exact lifespan because temperature, moisture, sunlight, and the condition of the pumpkin all make a difference.
A firm pumpkin kept in a cool, dry, shaded location can remain decorative for several weeks. I check it regularly and discard it once it begins to soften or show signs of decay.
Can I reuse a pumpkin from a previous painting session?
Yes, if the pumpkin is still firm and free from soft spots, mold, or damage. I wipe away dust and dirt, allow the surface to dry, and then add a new base coat if needed.
Final Thoughts
I don’t expect a child’s pumpkin to look exactly like a Pinterest picture, and honestly, I think that’s part of the fun.
A crooked stripe, mismatched eyes, messy fingerprints, or an unexpected color combination can tell me much more about the child who made it than a perfectly painted pumpkin ever could.
What I love most about these pumpkin painting ideas is that I can adjust them for almost any age. I can keep things simple for a preschooler or give an older child a technique that lets them experiment.
All I really need is a pumpkin, some paint, a protected workspace, and a little time together. The finished decoration is nice, but the creative time spent making it is what I would remember most.